Anyway decided to crack on for an hour with the pulp steamer build.
The start of this build can be found here
http://shedwars.blogspot.co.uk/2015/01/pulp-tramp-steamer-full-speed-ahead.html
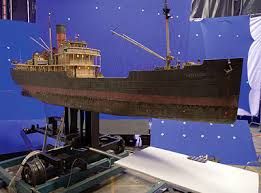
A quick trawl on google for pictures of the King Kong movie ship lead me to the decision that I wasn't happy with my ships configuration. The movie boat shows the superstructure at the back of the boat allowing for one large cargo area. So I decided to move mine. A quick skip through the movie has helped enormously with rigging, colours etc


So here is the old configuration...
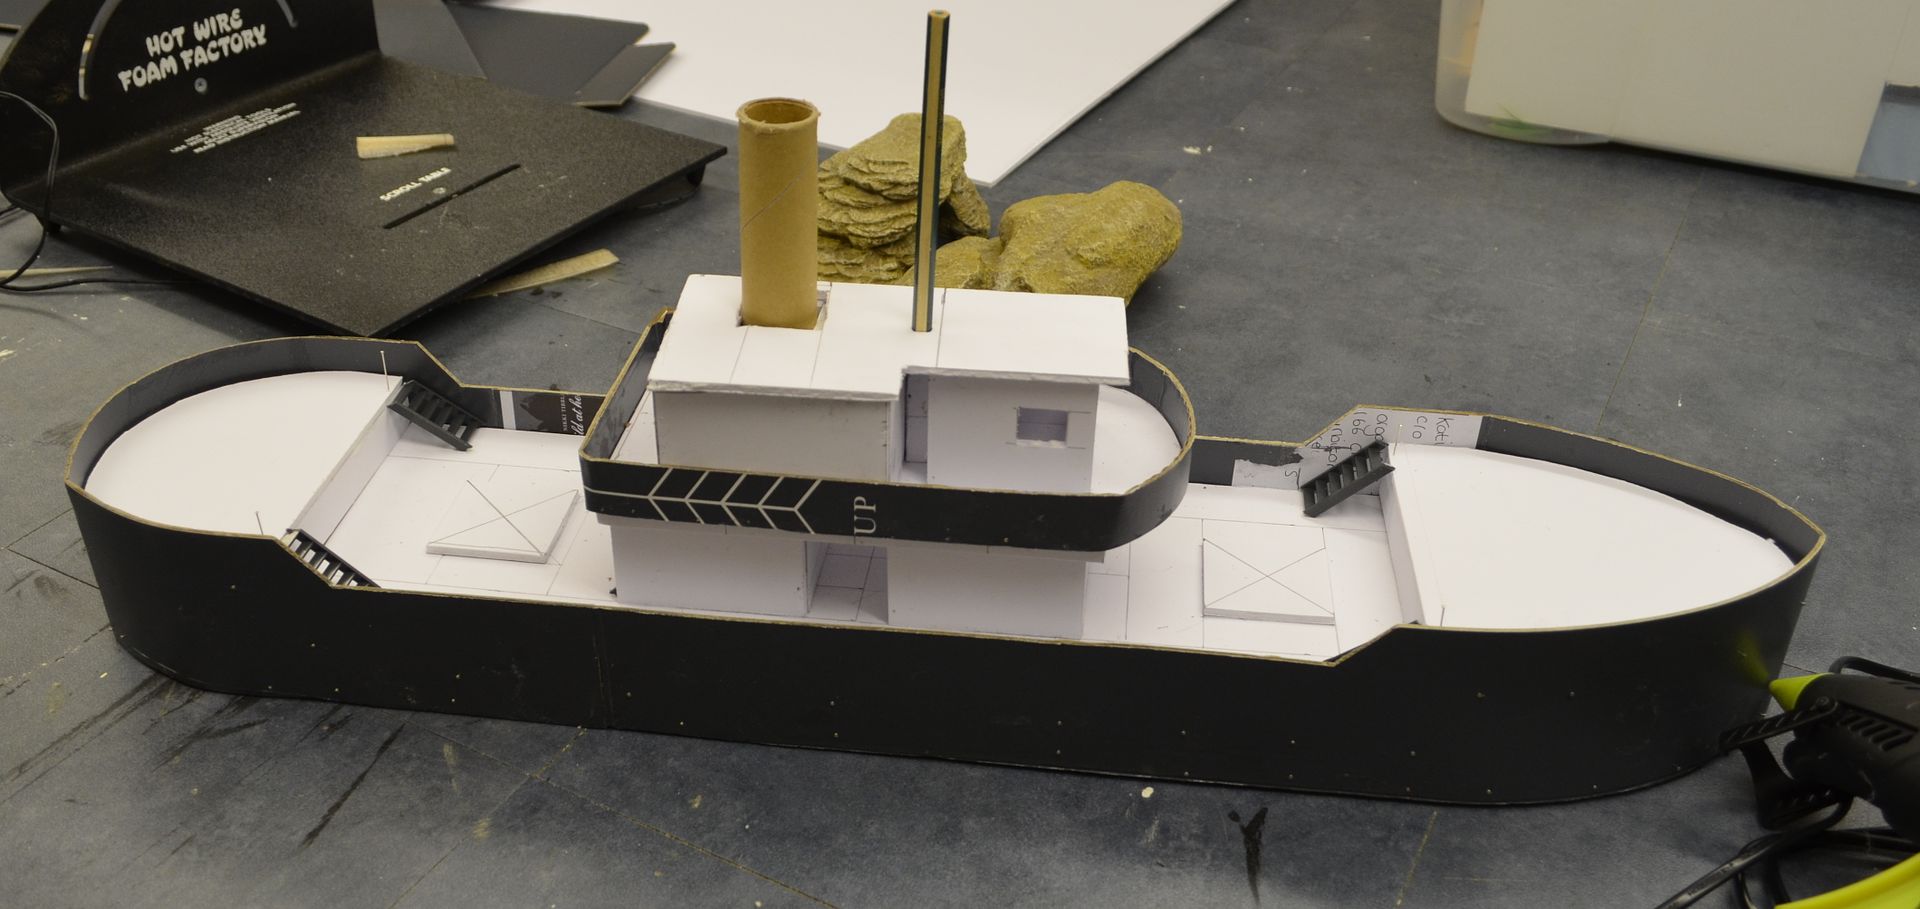
and here is the new...hopefully you like the change.
You can also see in the above photo that the decks have been clad. Many years ago I bought a massive bag of coffee stirrers from a catering outlet for a couple of quid. I think the pack held 1000. These would be used for the deck planking.
This really was an easy job, slap down the pva, trim the stirrers and apply.
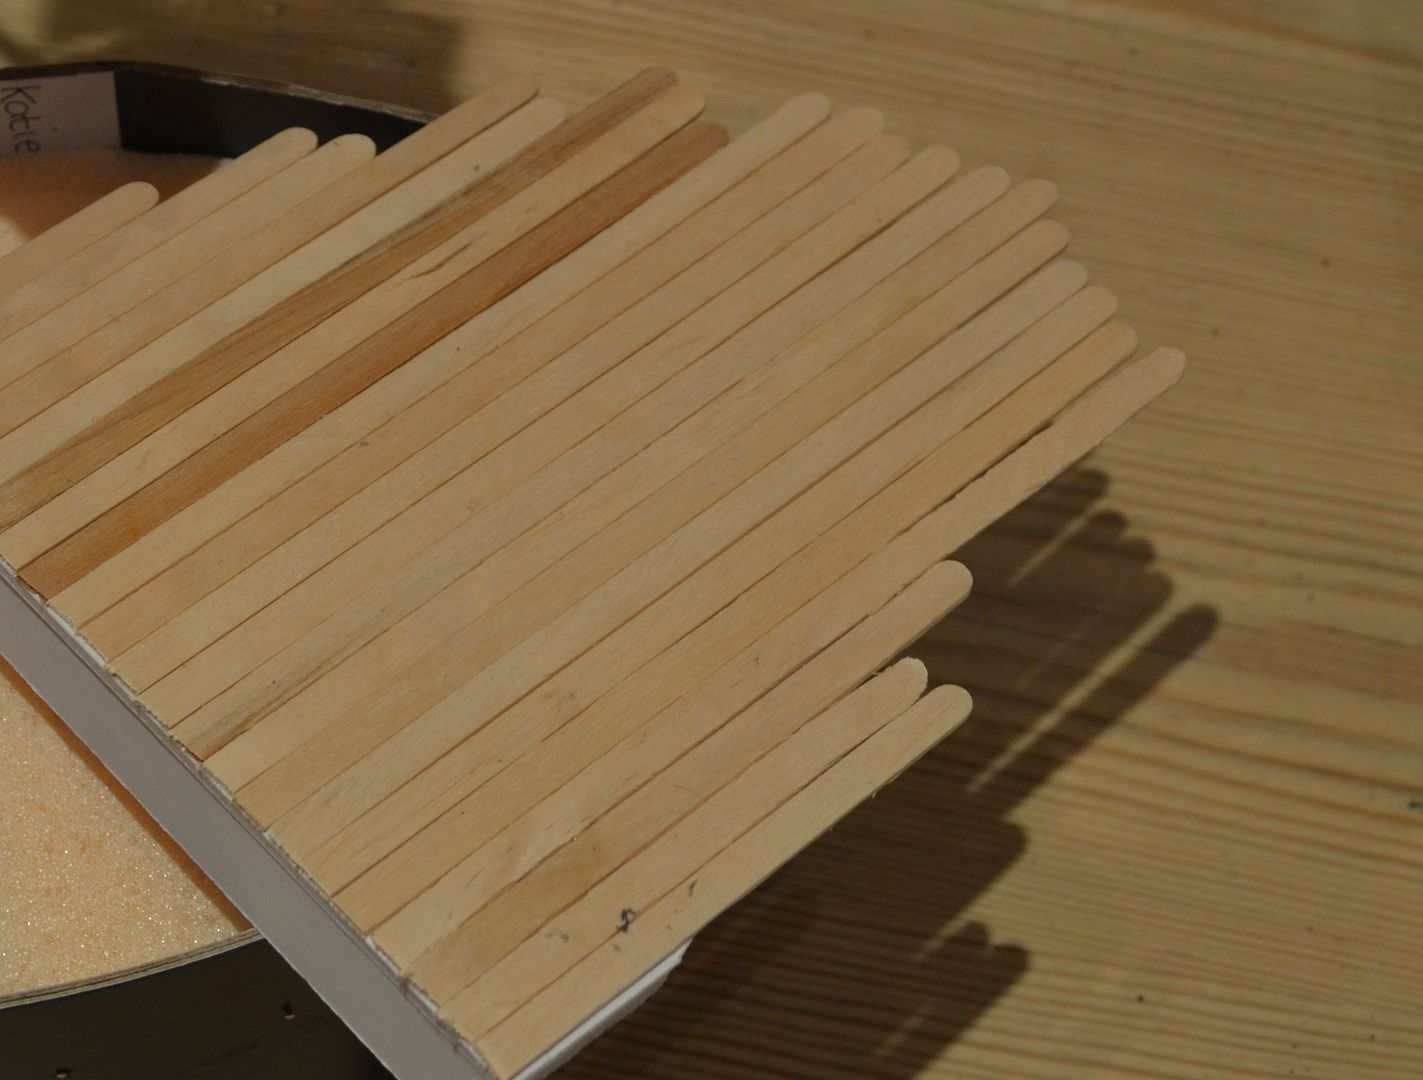
I glued down all the planks on the precut deck plates.
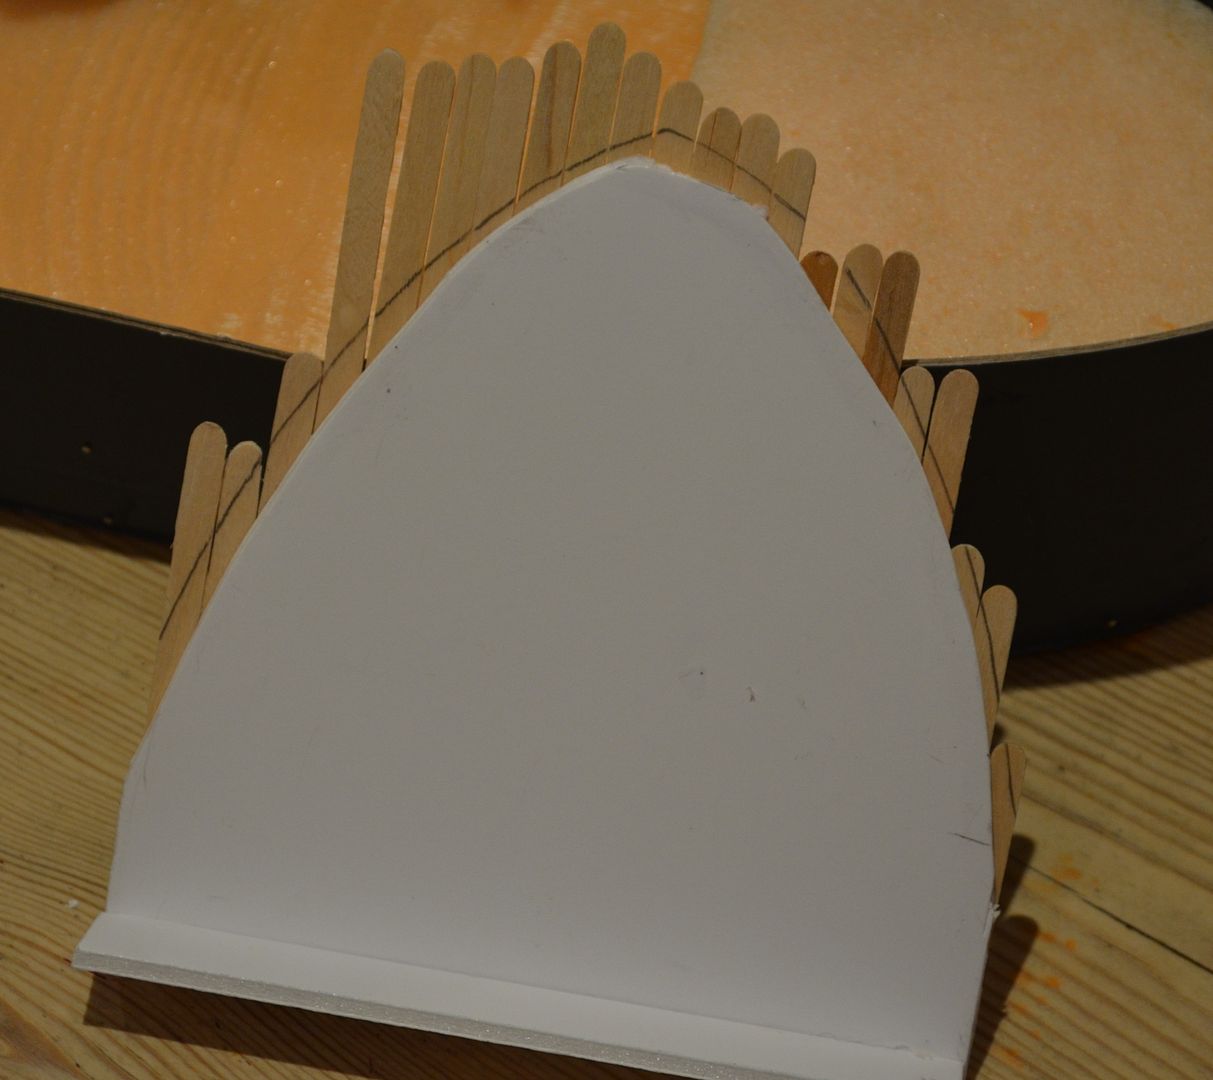
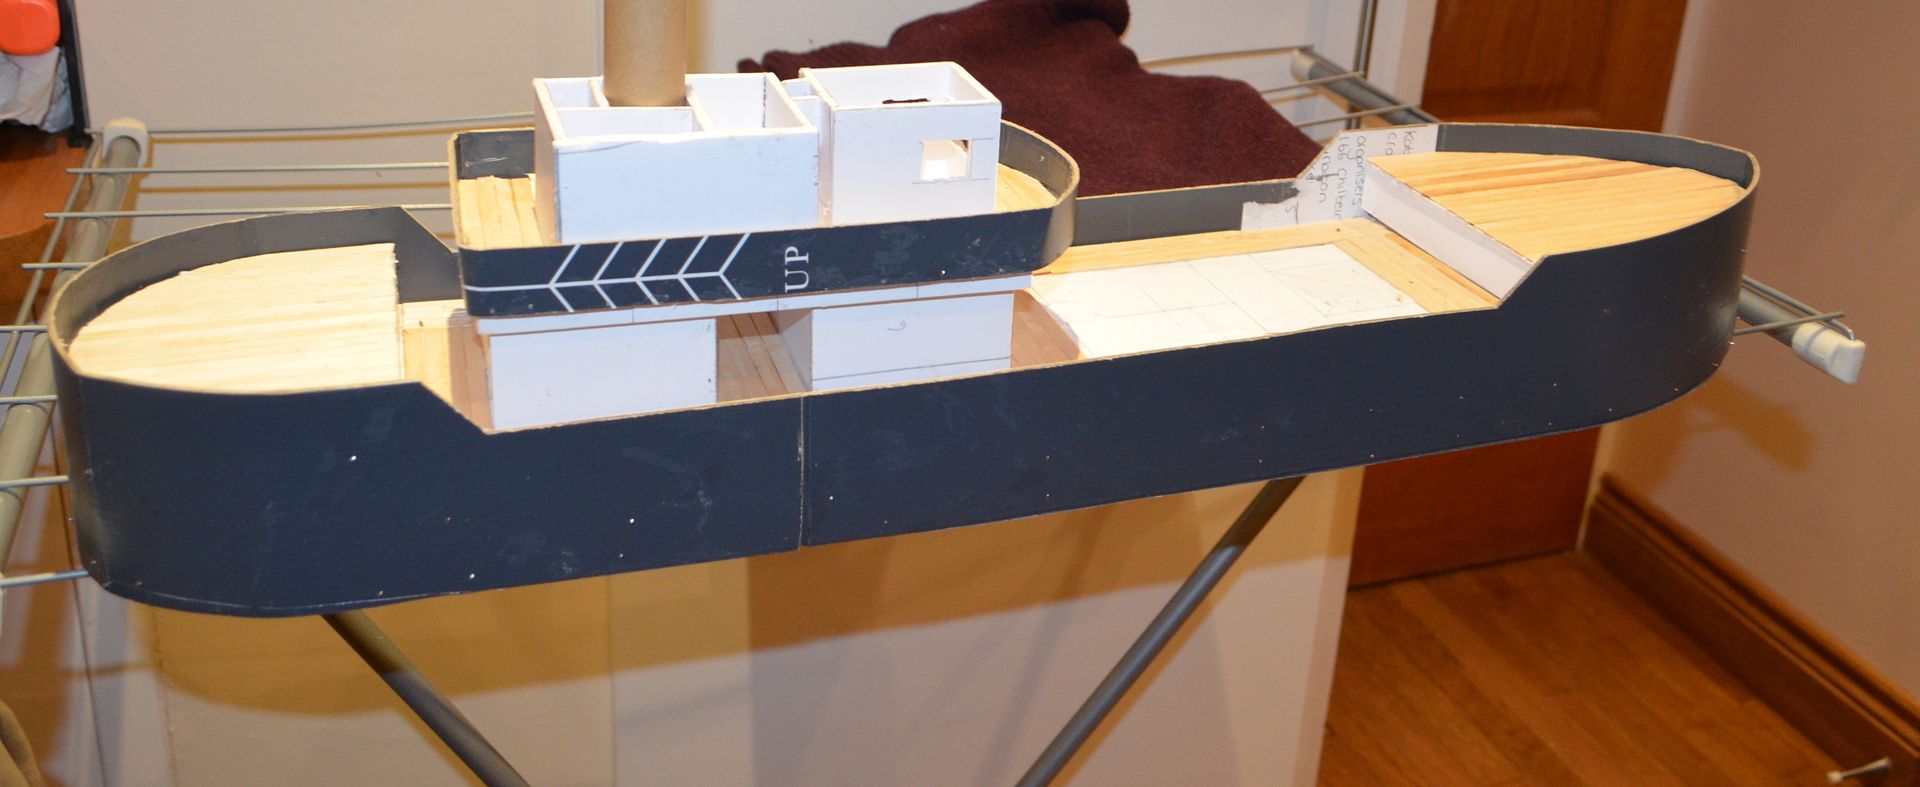
Once dry I drew on the outline of the hull and then trimmed to shape
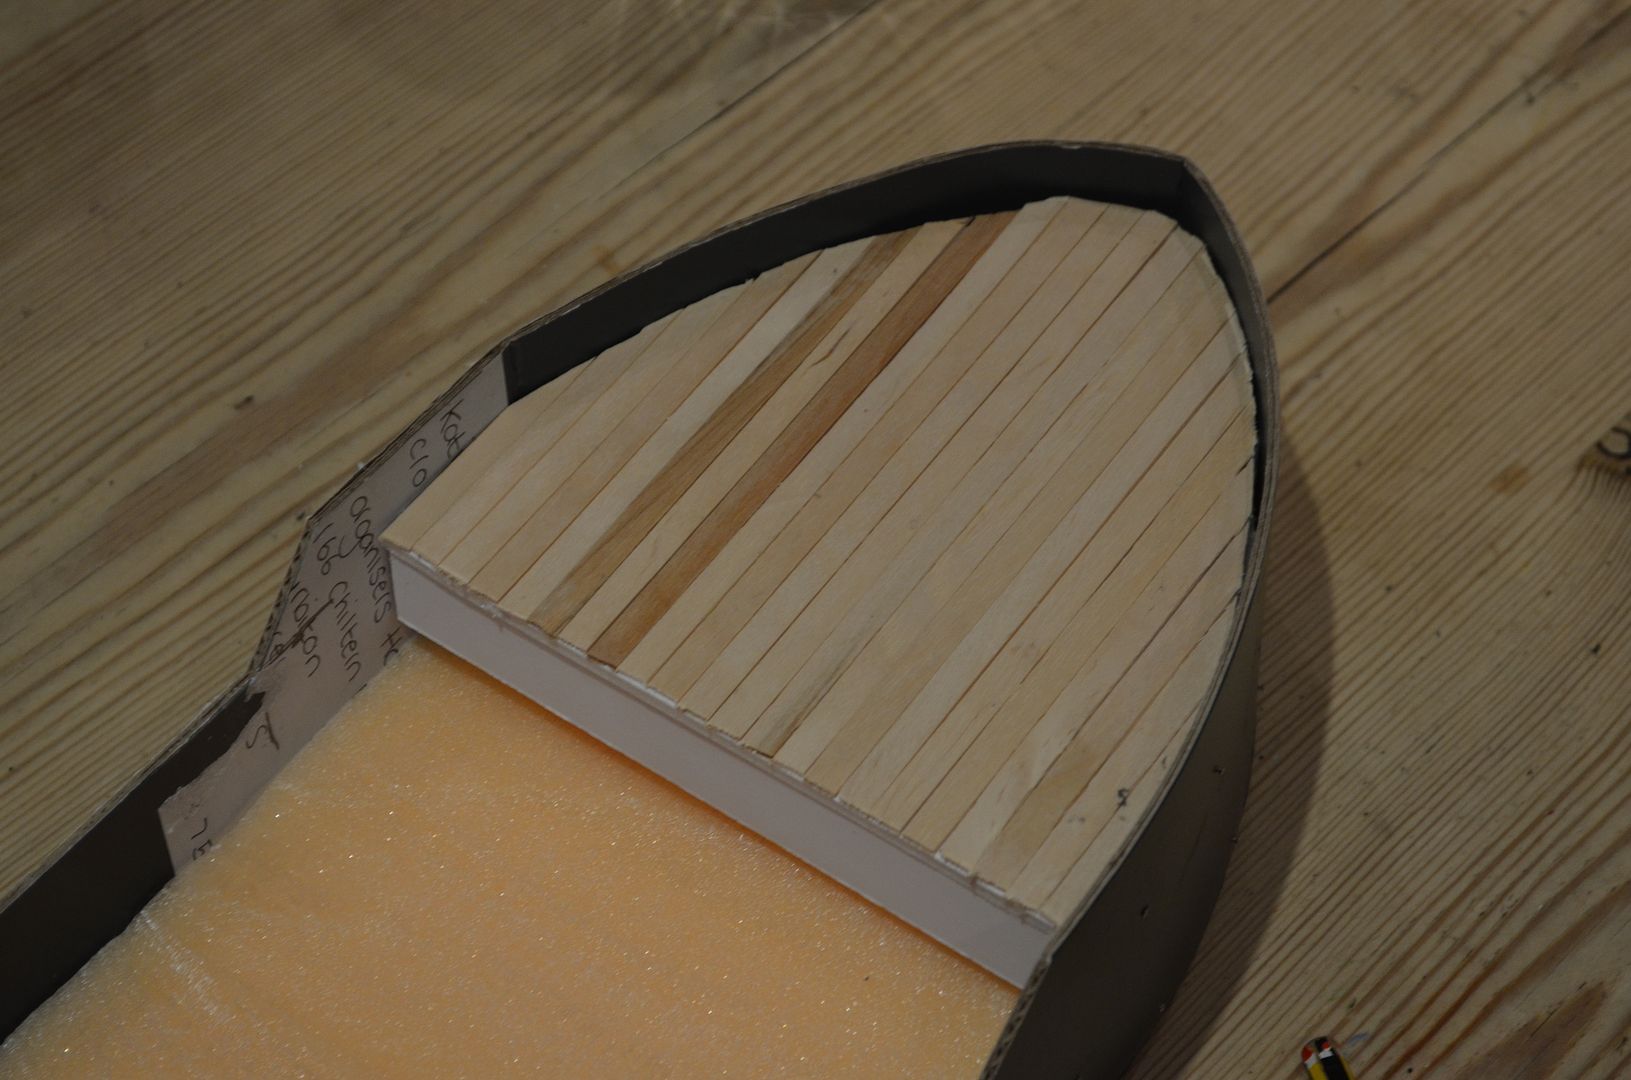
All the decks have been done including the bridge deck.
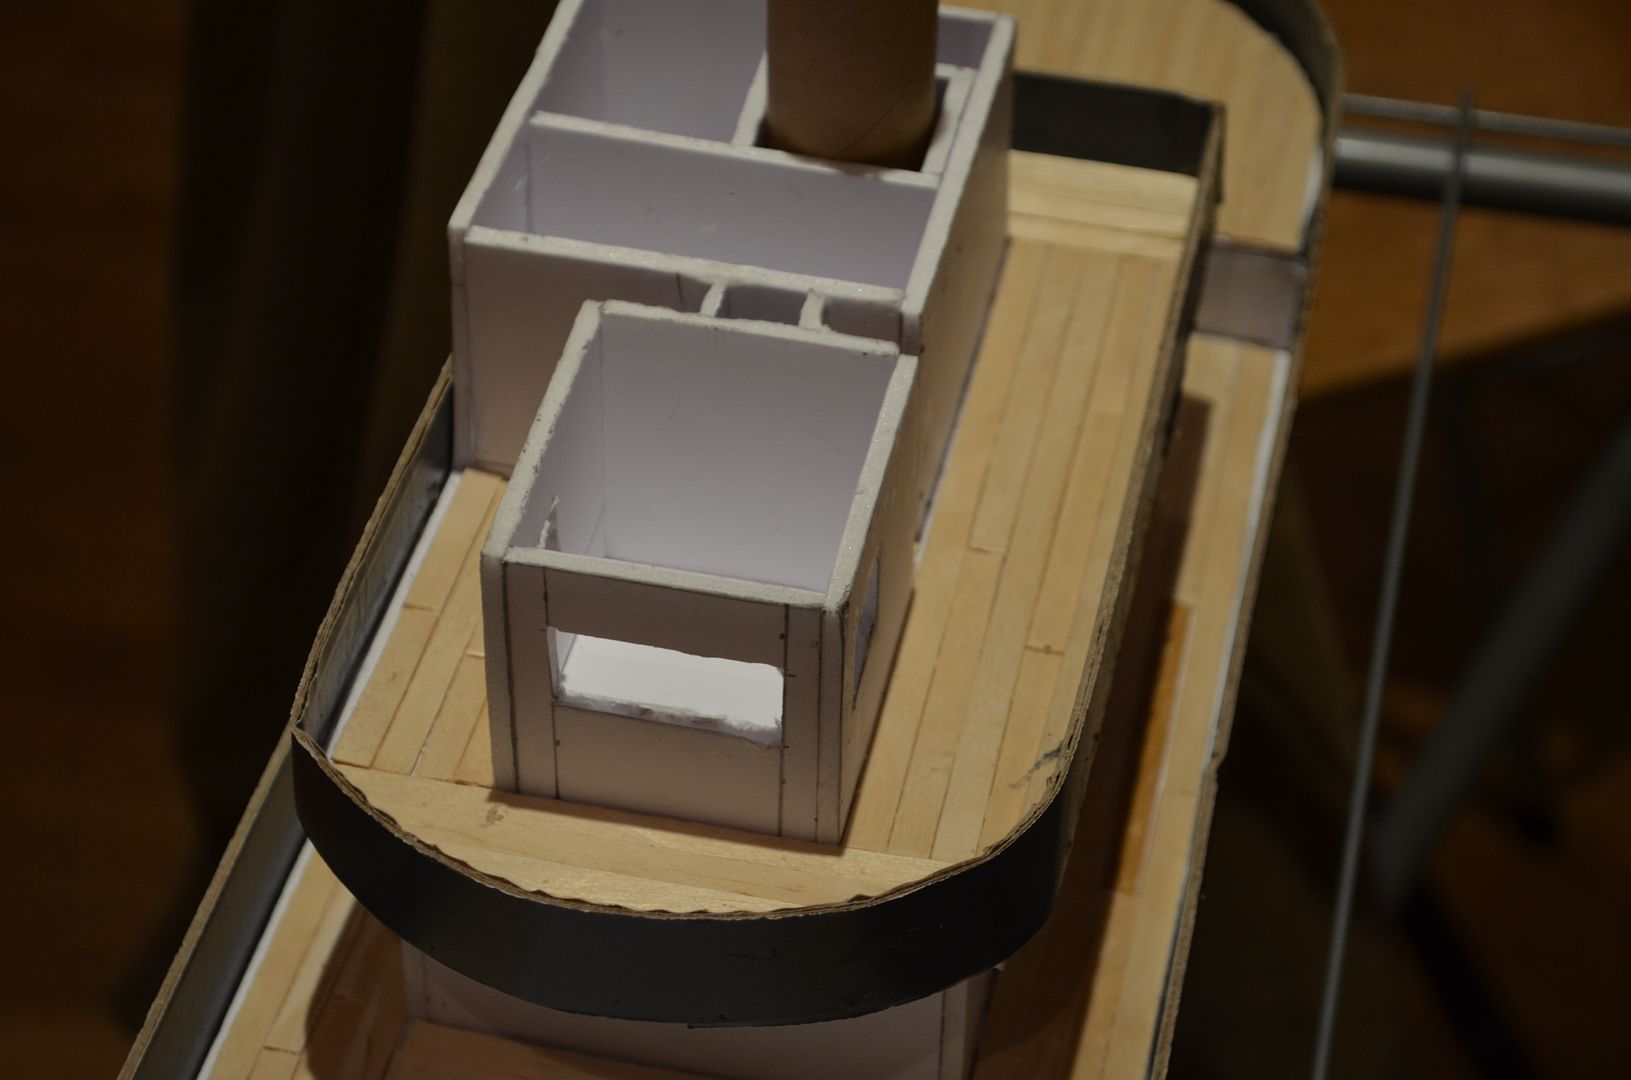
I still haven't glued down the deck plates (the foamcore) as this can be done once the hull is painted.
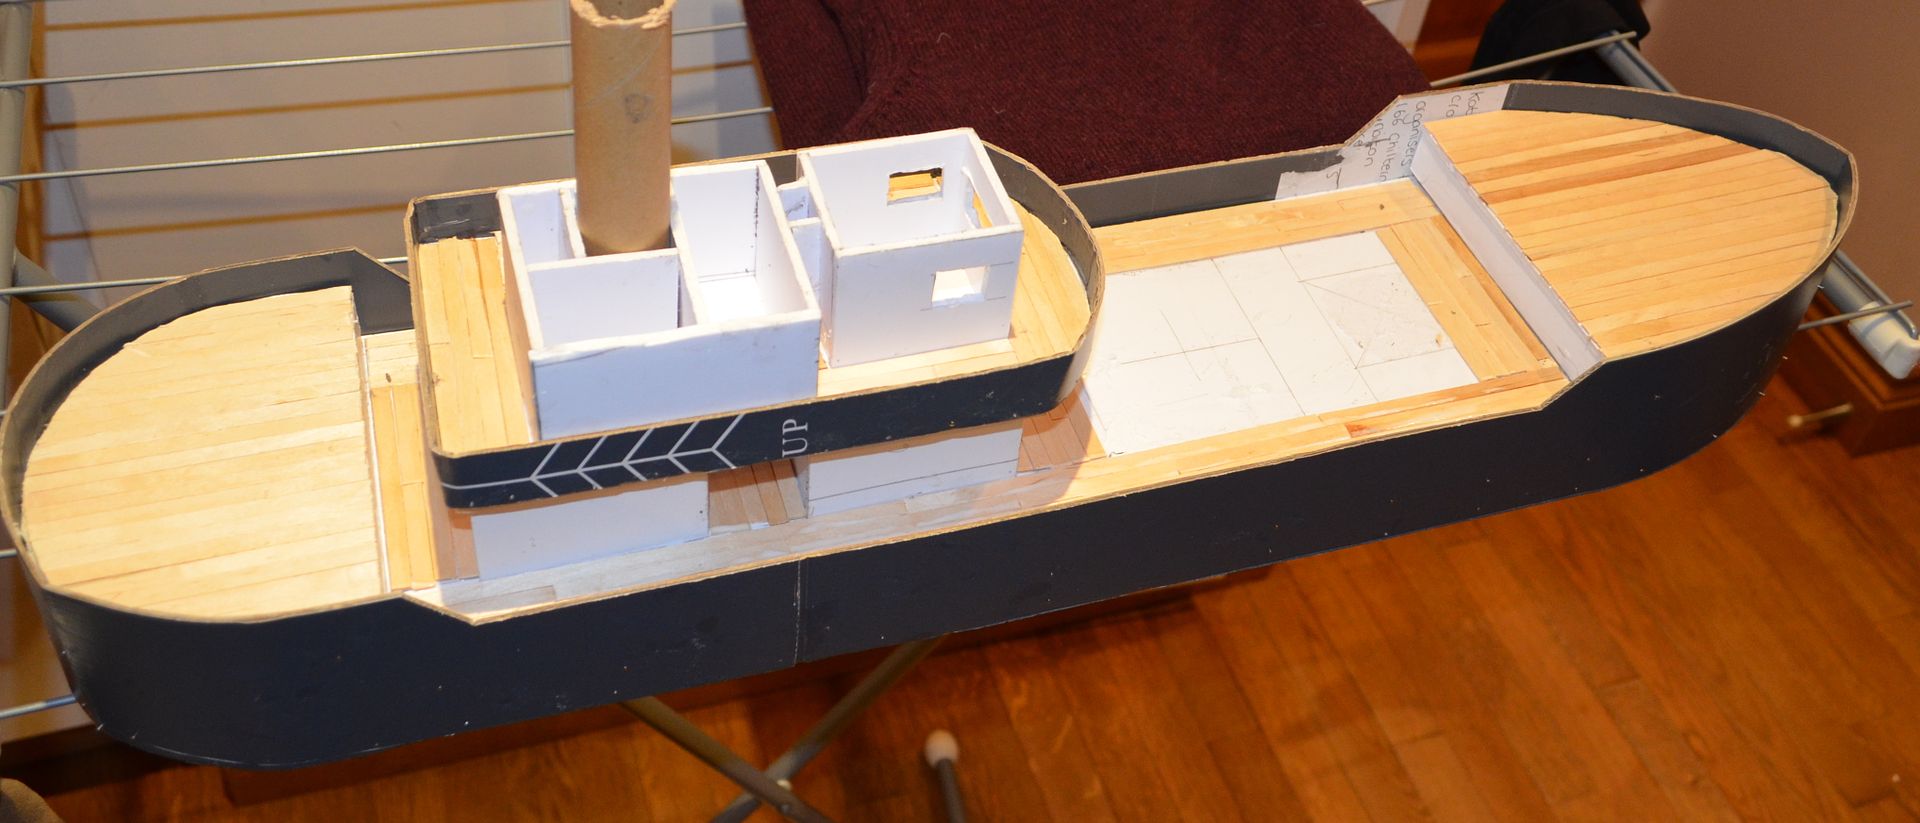
The large white are in the front of the ship will be the new hold area
Finally I have found the perfect portholes...
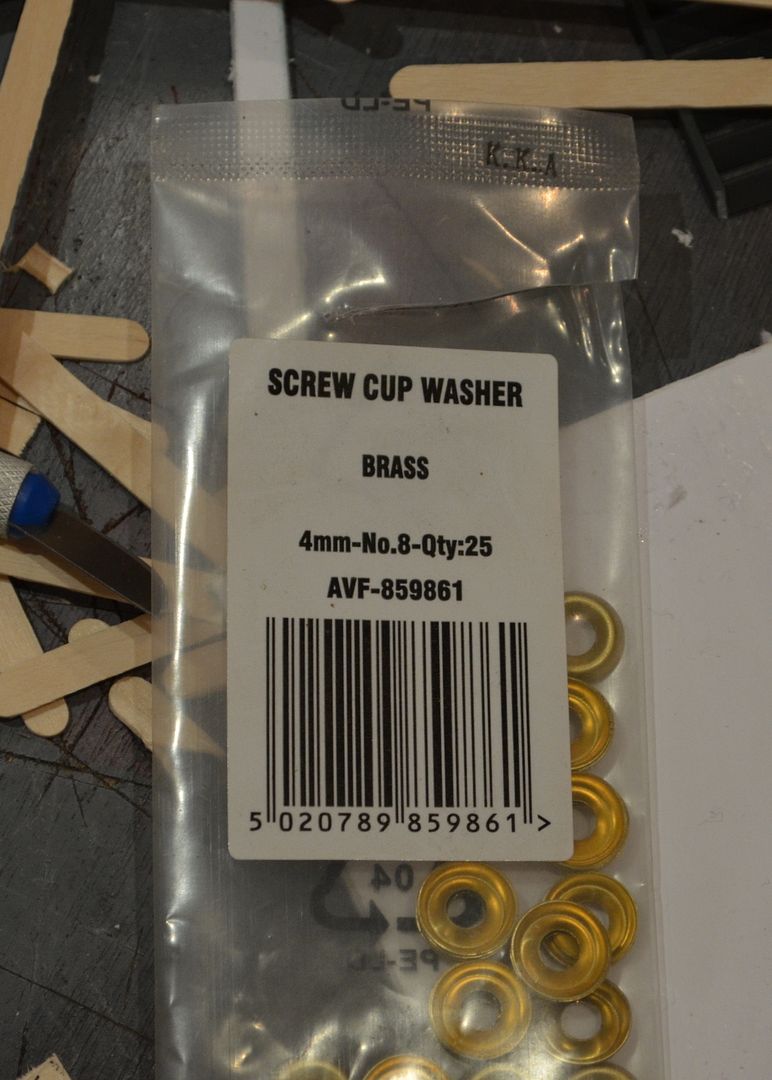
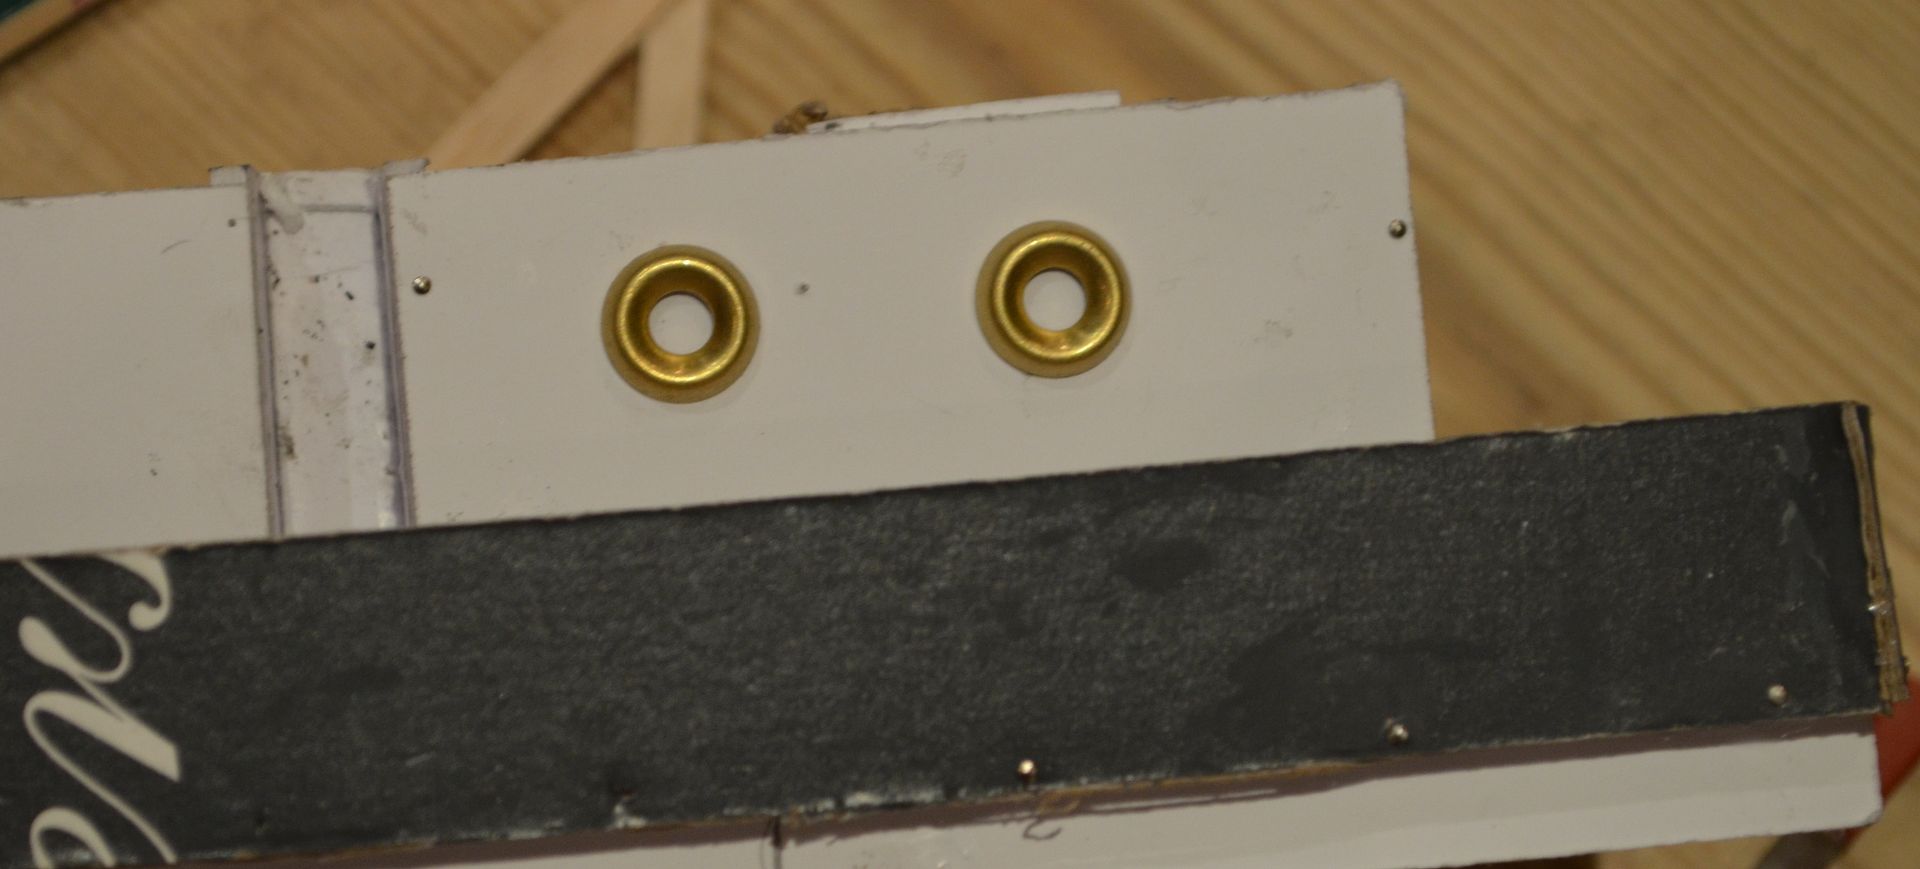
Hopefully these will get fixed with superglue.
The next step in this build is here
http://shedwars.blogspot.co.uk/2015/01/pulp-tramp-steamer-first-coat-of-paint.html
Until next time...
That is really coming together nicely! Can't wait to see the finished project.
ReplyDeleteGreat looking build. What did you use to cut the coffee stirrers?
ReplyDeleteStarted off using clippers and then found scissors were just as good.
DeleteIt's just getting better and better.
ReplyDeleteThanks for sharing
It just keeps getting better and better.
ReplyDeleteReally enjoying the Steamer project so far, Eric! Keep up the good work! (wish I was in your gaming group!)
ReplyDeleteThis is a great build you have undertaken. Everything is coming along superbly. I am sure everyone is impressed with it.
ReplyDeleteReally impressive - looking forward to seeing the finished model.
ReplyDeleteFascinating stuff sir. I'm hanging on every post!
ReplyDeleteNice work, sir! I look forward to seeing it finished.
ReplyDelete