With temperatures sitting below freezing and snow lashing in from the East the weekend plans were abandoned allowing for some good terrain time ! If I am lucky Monday will be a day at home !
 |
| My Car after first snowfall |
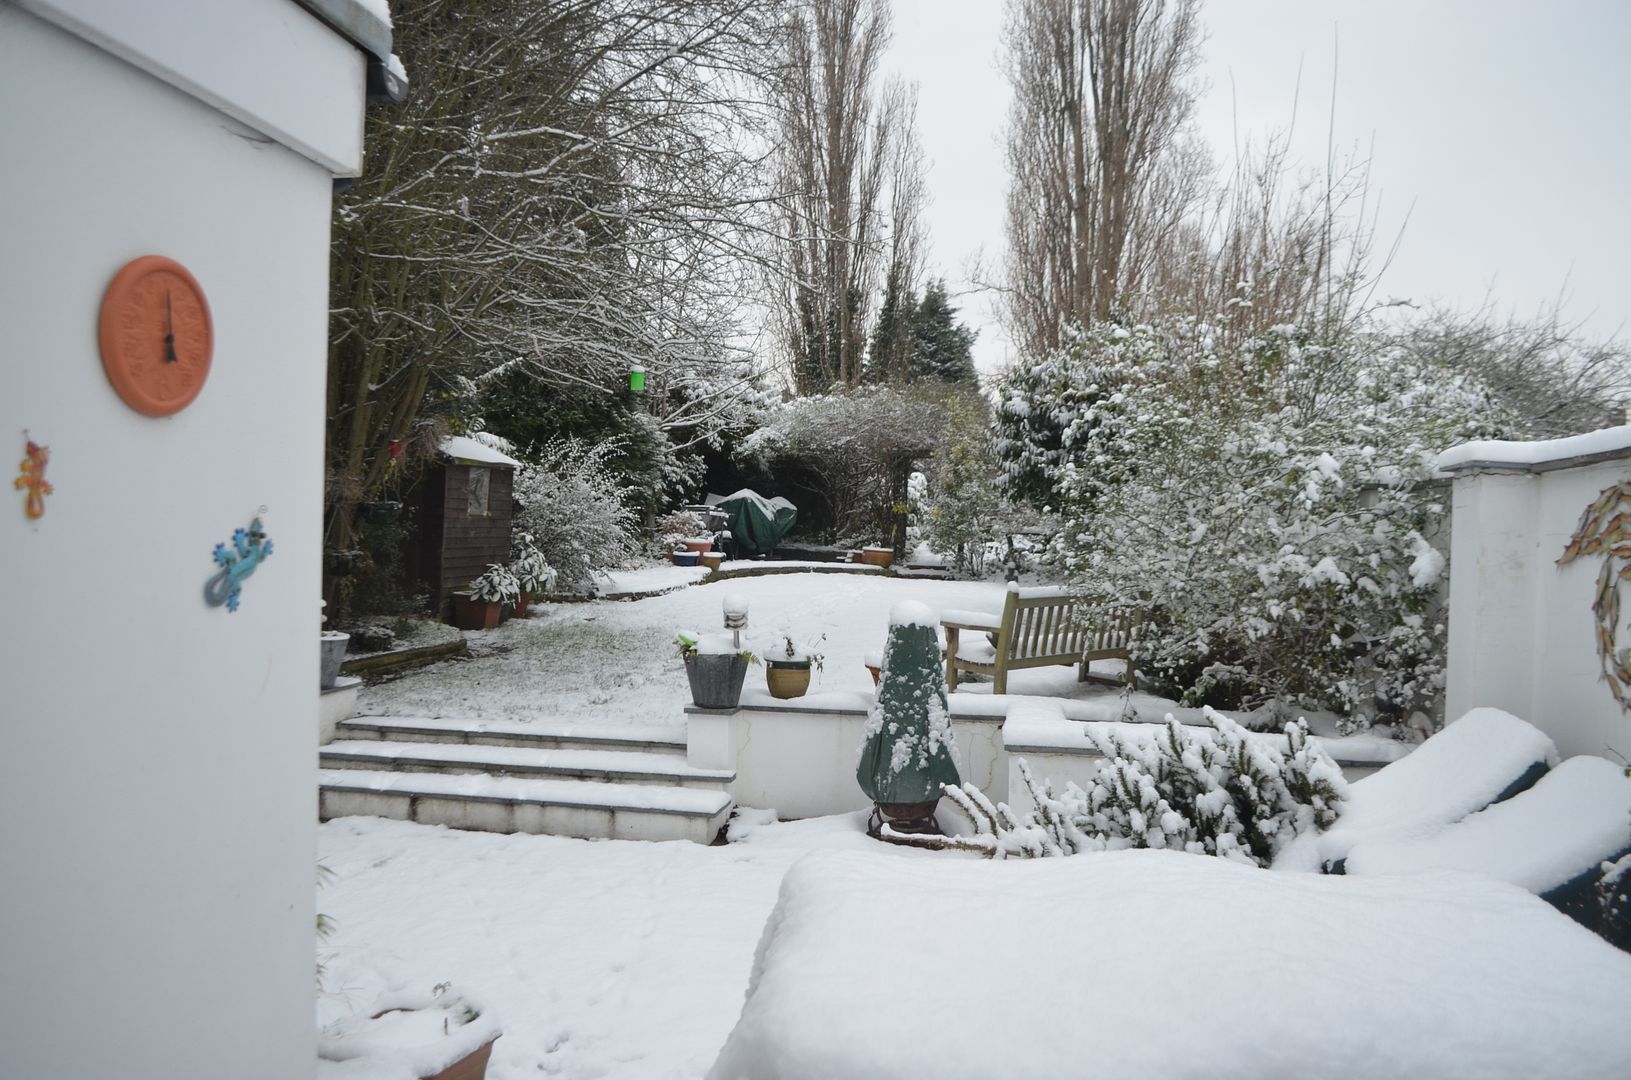 |
| Rear Garden - the shed is under the tall tree right at the end of the garden. |
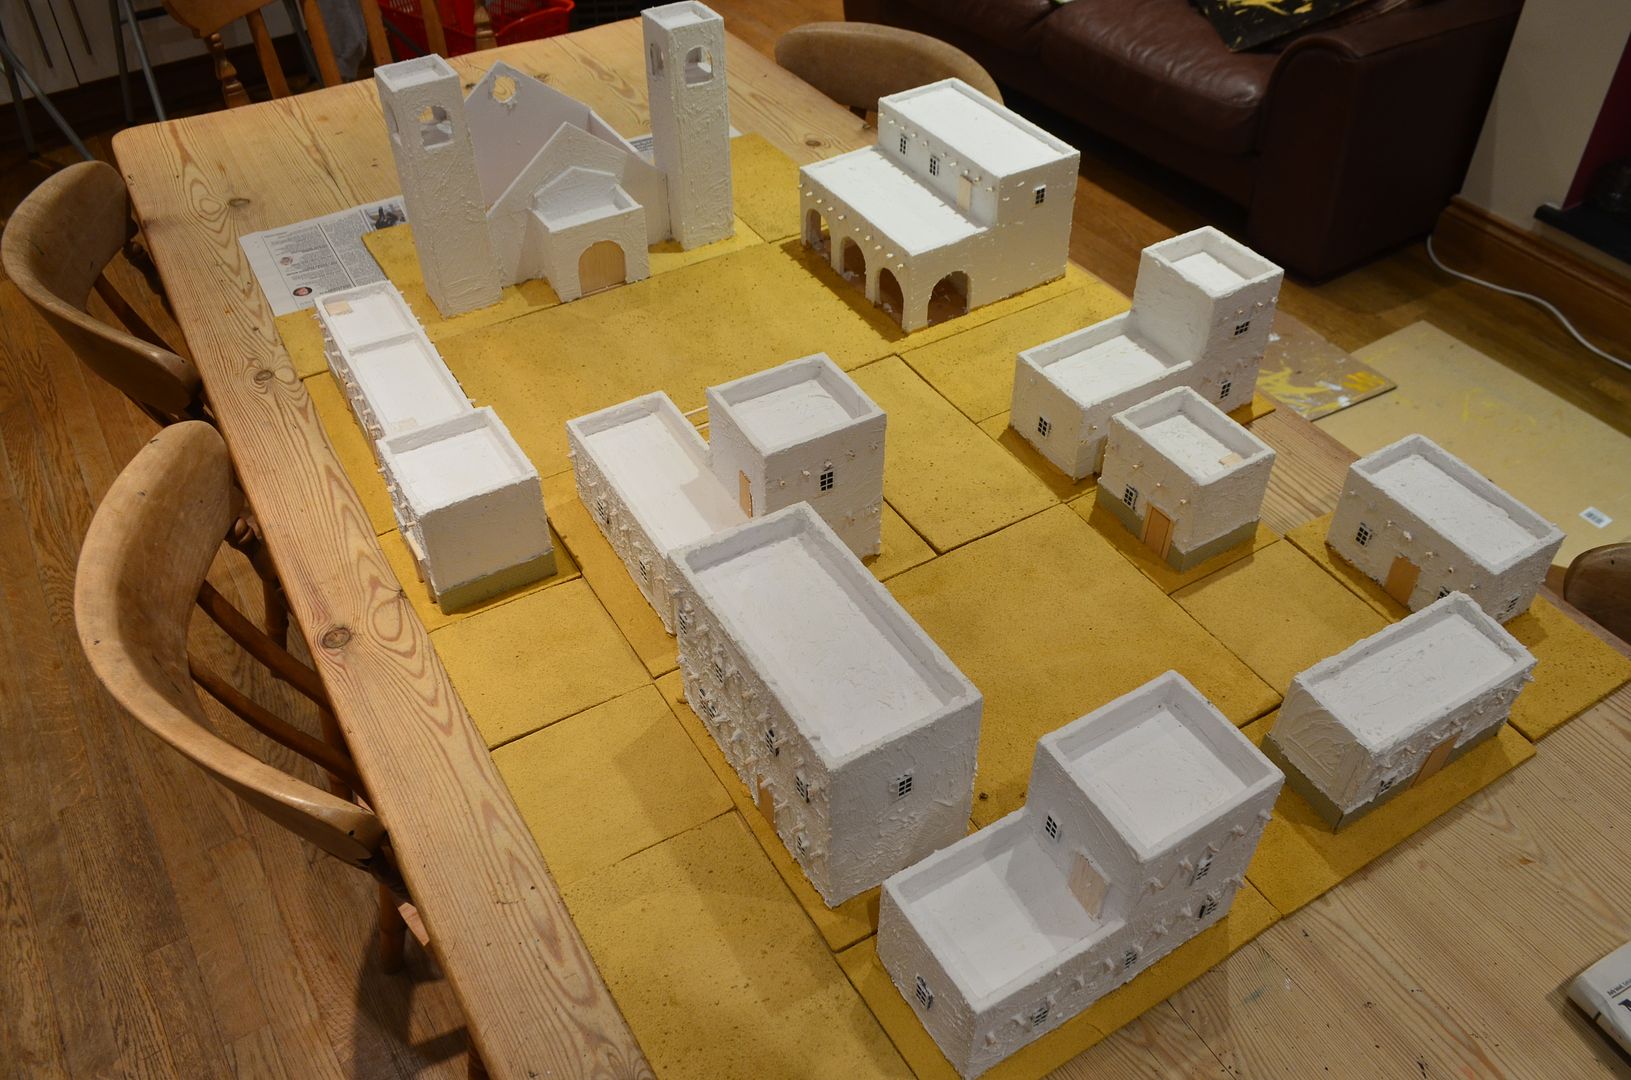
In the last post I illustrated the basic construct of the town. In this article I have tried to explain the next steps.
Originally I intended to make the windows from matchsticks. This proved very fiddly and did not give the impact I was looking for. An alternative was sort. Having searched hi & lo on the internet for model window frames
I settled on a range used by model railway enthusiasts. Three packs(60 windows) were ordered along with a few shutters and some larger arch windows.
This is where I sourced the windows - the range is called Dornaplas
http://www.ontracks.co.uk/index.php?page=search_results&string=windows&page_now=2
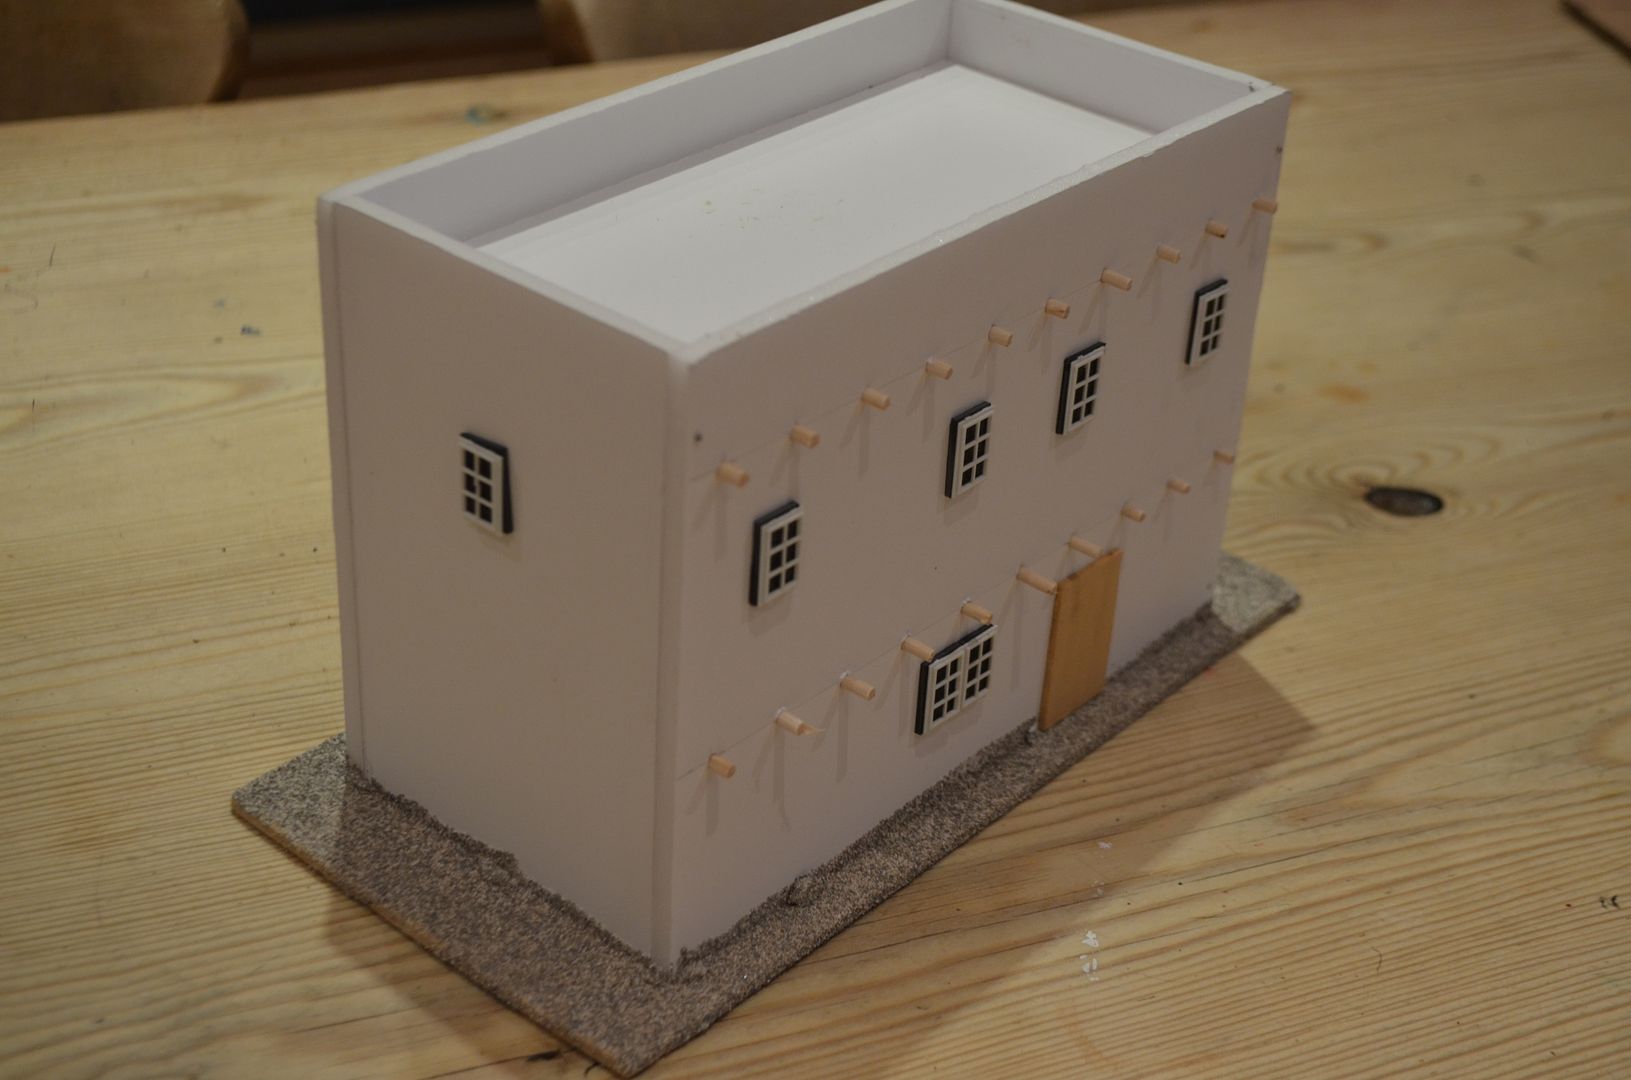
Seven days later they arrived and quite frankly I was very disappointed as they seemed to have no depth. Once the buildings have been covered in plaster they would just disappear. Every so often I get a flash of inspiration with regards to my terrain building and I was lucky to get one of those eureka moments. I’d build the windows up on plasticard. An hour later 60 windows were ‘based’.
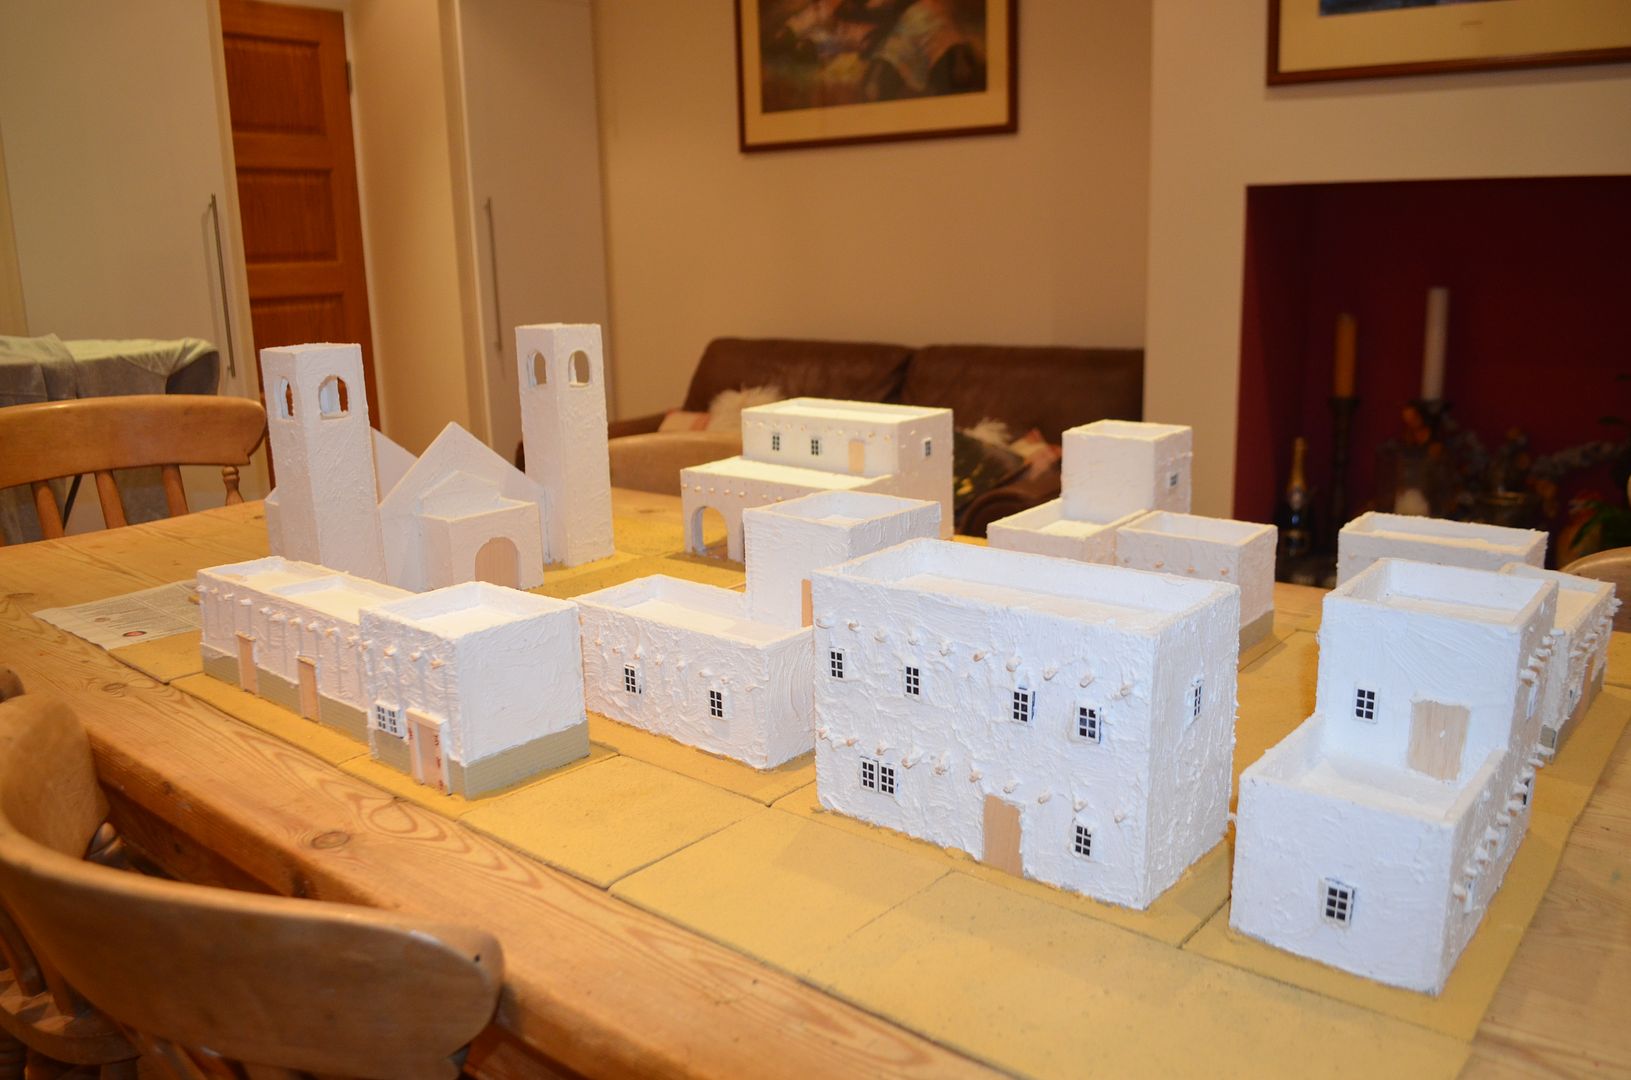
With a quick calculation I determined how many windows could go on each building. I marked up in pencil a line of height for where these would go and a few minutes later they were all glued in place. The doors were finished off in balsa and the frames from various wooden odds and ends.
The first of these were glued onto the buildings and I was quite pleased with the results.

Onto the plaster, I was advise on the Lead Adventurer forum that watered down polyfilla was the way to go with my plastering - so here goes.
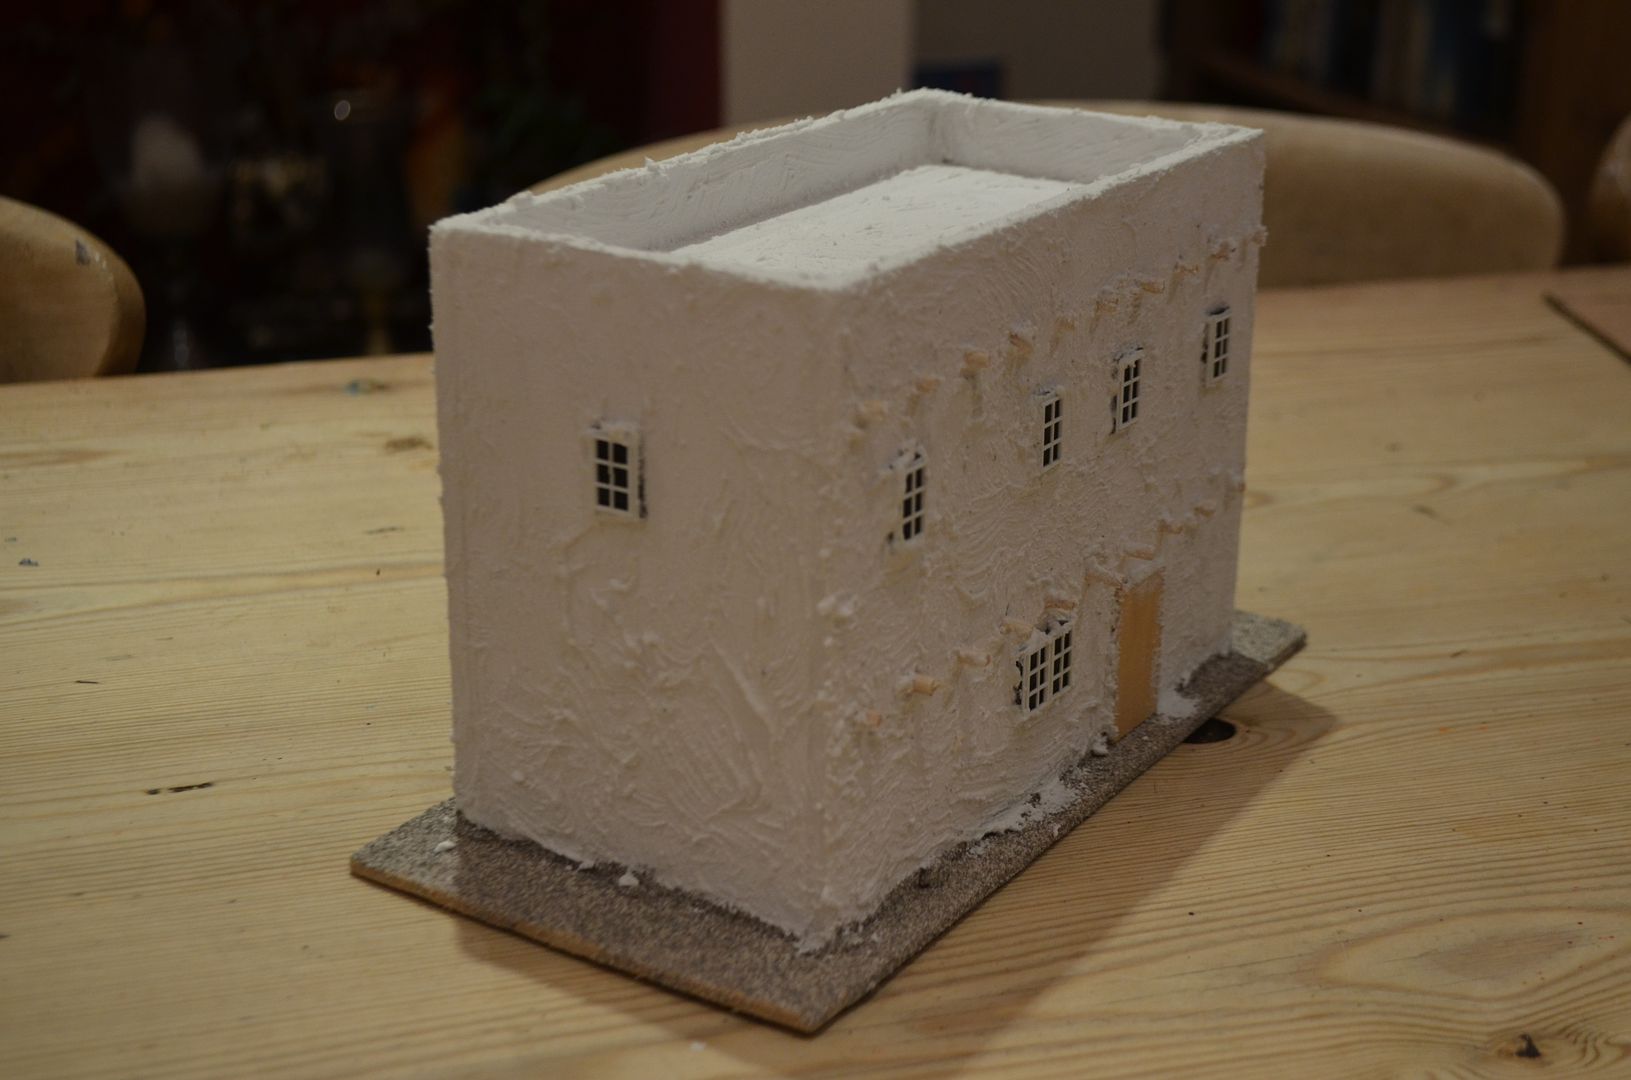
Its a bit of a mess but after some sanding and painting I reckon it will work. So a couple of hours later the town was plastered.
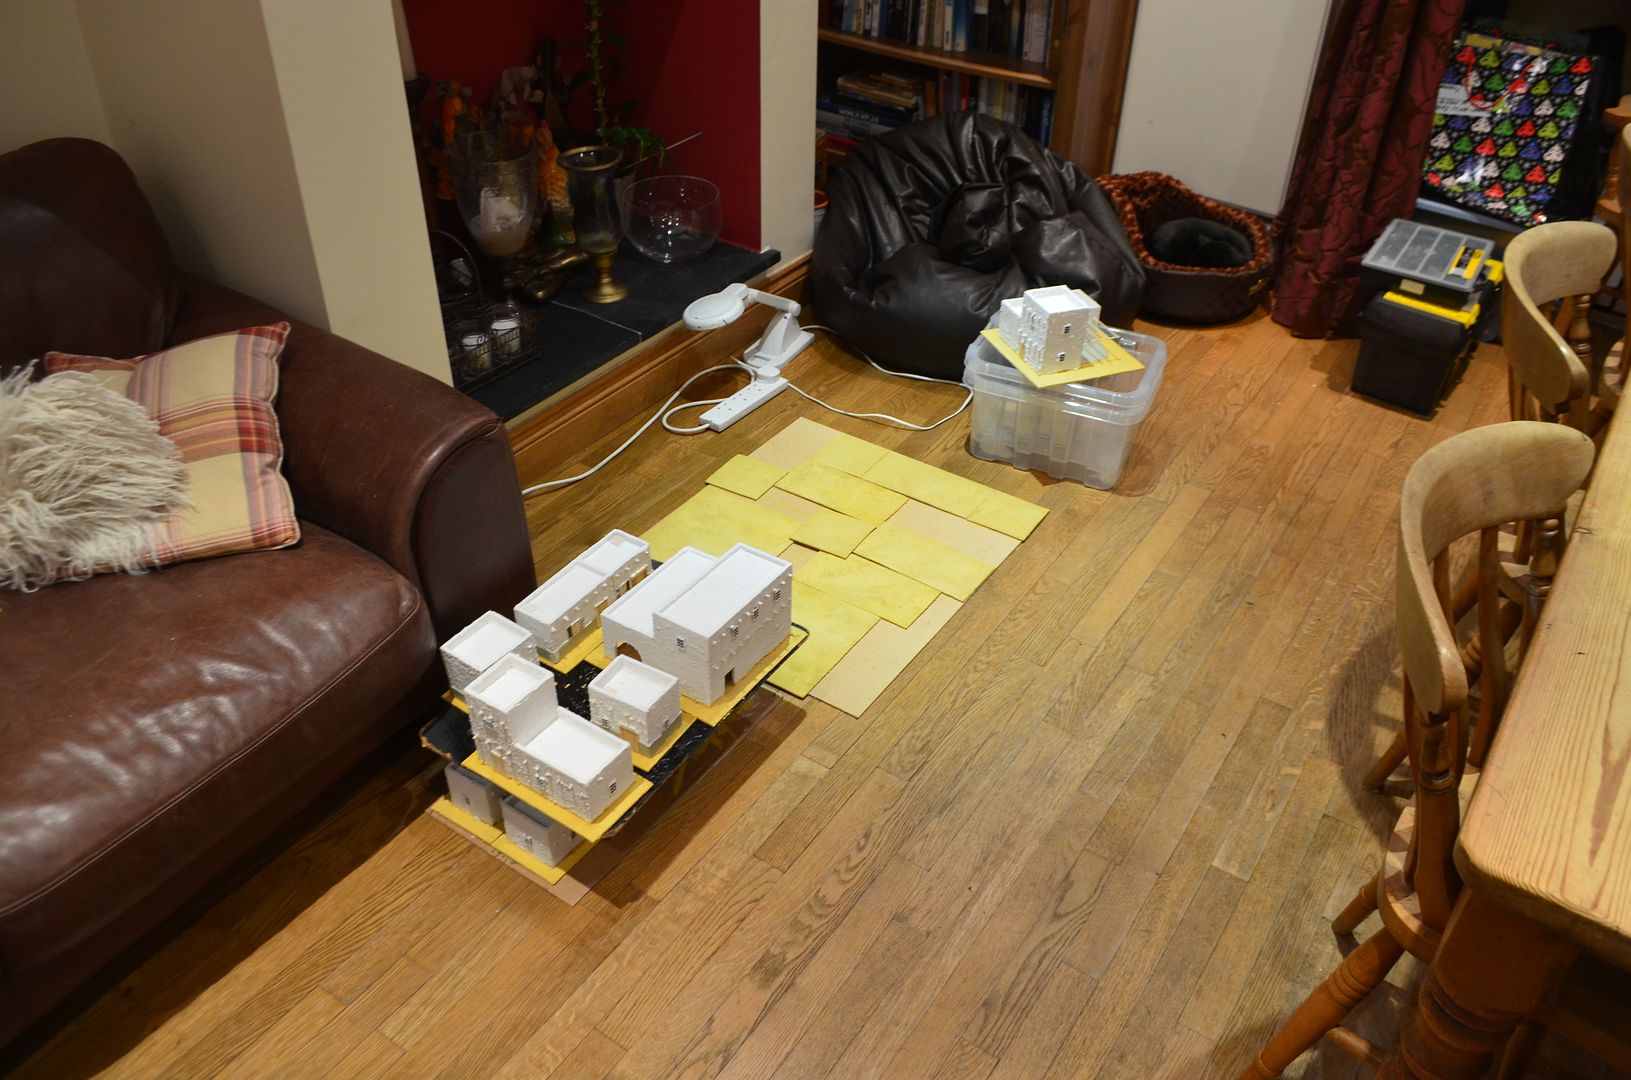
Next up - I decided to paiont the base boards. Settling on a sandy theme the first coat is an acrylic mix of buff titanium and yellow ochre. Once dry it will get drybushed. With temperatures still under 0 degress the kitchen has become my workshop.

 |
| Stacked and waiting to dry |
Sunday morning - just had to lay the town out for a progress shot
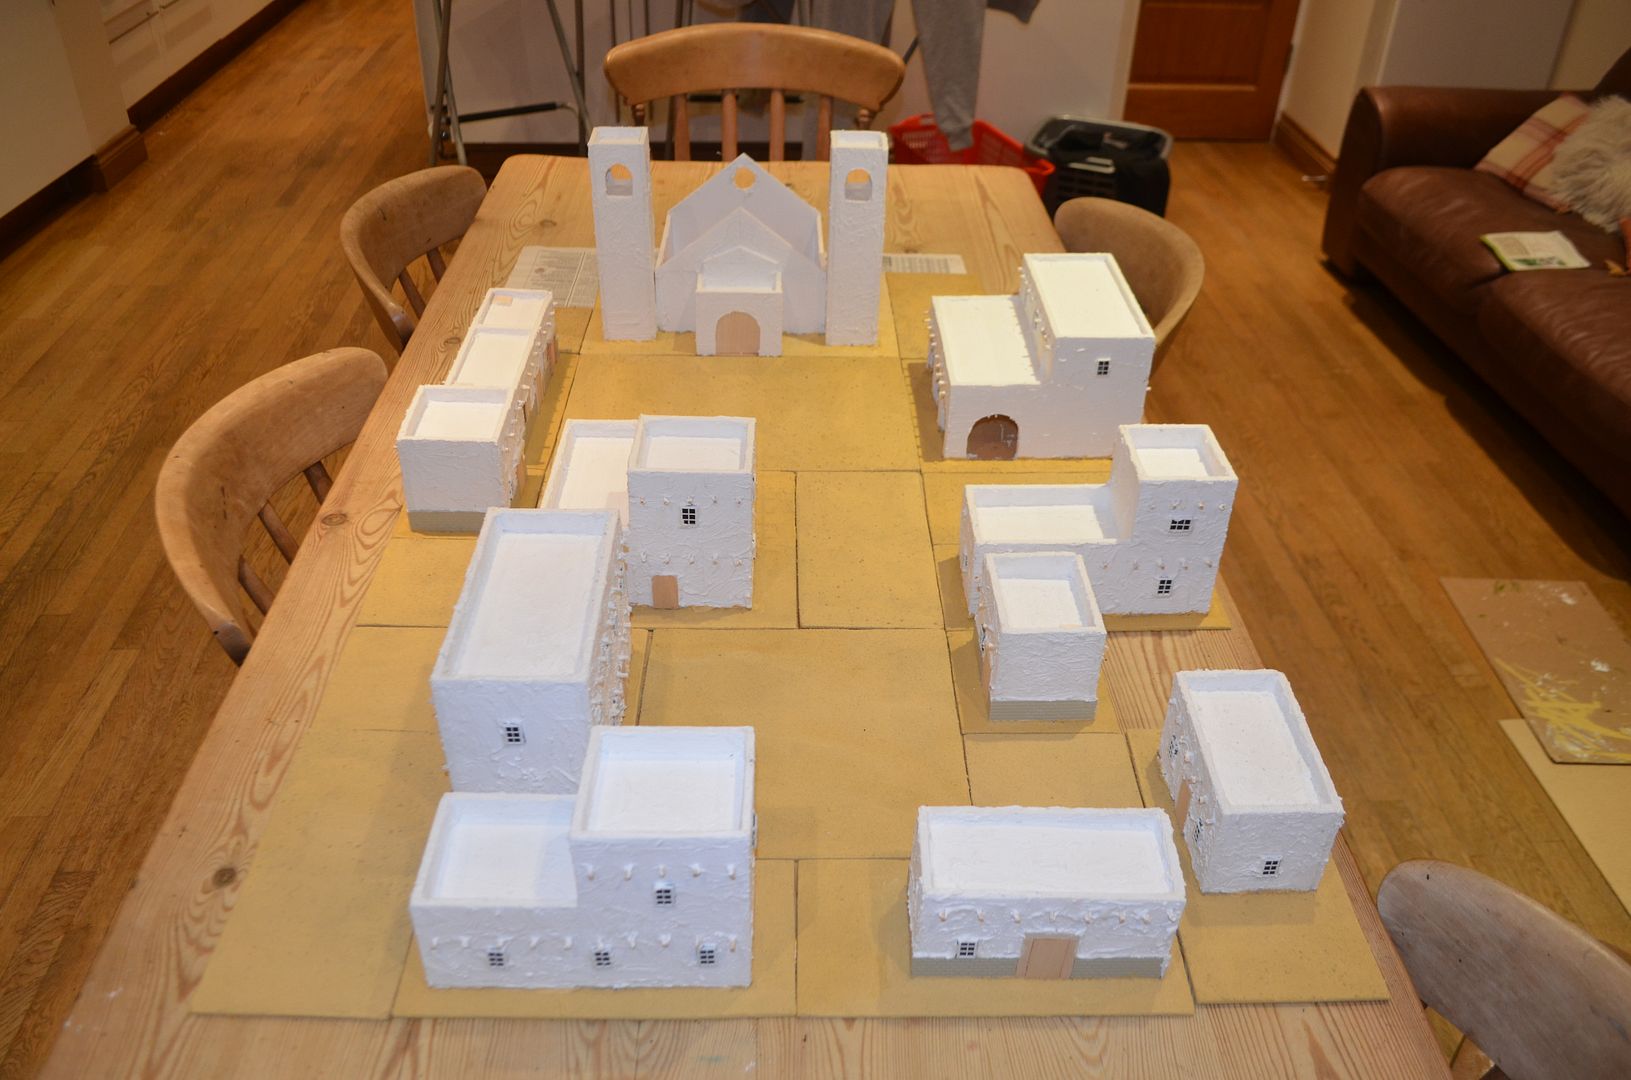
Not too sure how much progress will be made today but the town is coming along....
The town also now has a name - 'Corbertizo' which means (according to google translate - Spanish) - 'Shed'
Part 4 can be found here
http://shedwars.blogspot.co.uk/2013/01/the-chapel-of-santa-maria-in-corbetiza.html
Eric
They look great. Have to admire your productivity - amazing work. The windows look impressive from here. I'd love to know the details of them and where you sourced them.
ReplyDeleteFrank
http://adventuresinlead.blogspot.com.au/
Hi Frank
DeleteThe range is called Dornaplas - sourced from here
http://www.ontracks.co.uk/index.php?page=search_results&string=windows&page_now=2
Thanks for the support and feedback
Eric
Great work so far its really coming together nicely. Good idea with the windows but Could you not of plastered first then attached the windows after? Or would they still of been to thin?
ReplyDeleteHi Simon Q -
Deleteprobably could have done the other way round - just thought butting the plaster up to the window would look better. The windows themsselves are really thin - about 1mm. Tha plasticard has strengthened them considerably.
Thank you for your comments...
Eric
No offence ment but I will not show my club members this town. If I did I would not hear the end of it. They'd want one twice the size with more options and all the buildings with interiors, and muggins would have to make it or put up with thier whineing for years and years. Fast and effective work. It looks real good. Like the whole pirate town project so far. Thanks for sharing.
ReplyDeleteGreat work. The skip-trowel stucco looks very nice.
ReplyDeleteLooks excellent Eric ... I don't miss the snow (I grew up in Canada) :-) All the details you are adding are really making the difference.
ReplyDeleteA plasterer is a tradesman who works with plaster, such as forming a layer of plaster on an interior wall or plaster decorative moldings on ceilings or walls. Very impressive post! I love these updates! Thanks for sharing wonderful info!
ReplyDeletePlasterers Merseyside