Sunday, 5 October 2014

Rocky Escarpments part 3

Hi Folks

Well Mrs Shed has been very kind and let me spend yesterday in the man cave and so I decided to crack on with the escarpments.

The Previous part 2 - can be found here

http://shedwars.blogspot.co.uk/2014/09/rocky-escarpments-part-2.html

Over the week I had been starting to fill the tops and sides with standard filler and whilst doing this I realised I hadn't actually built the boxes for my Egyptian tomb entrances. Rather than build some big boxes I built two half size versions


Again these have the same side panels allowing alignment

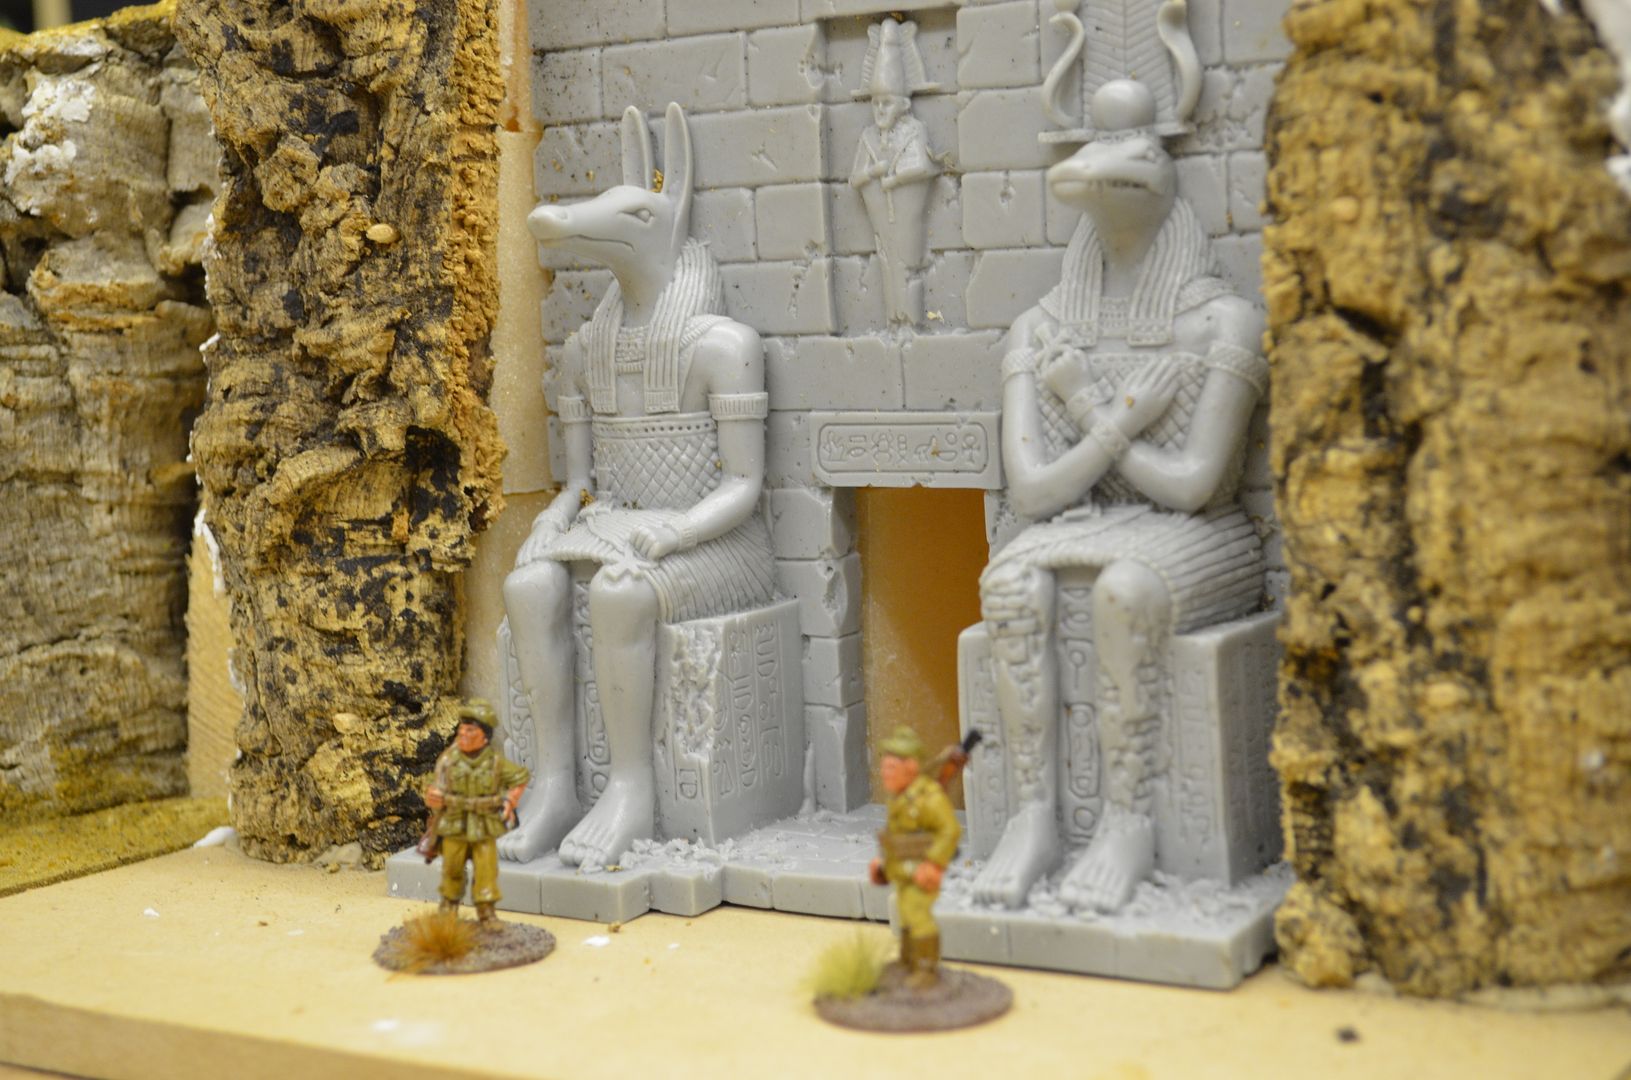
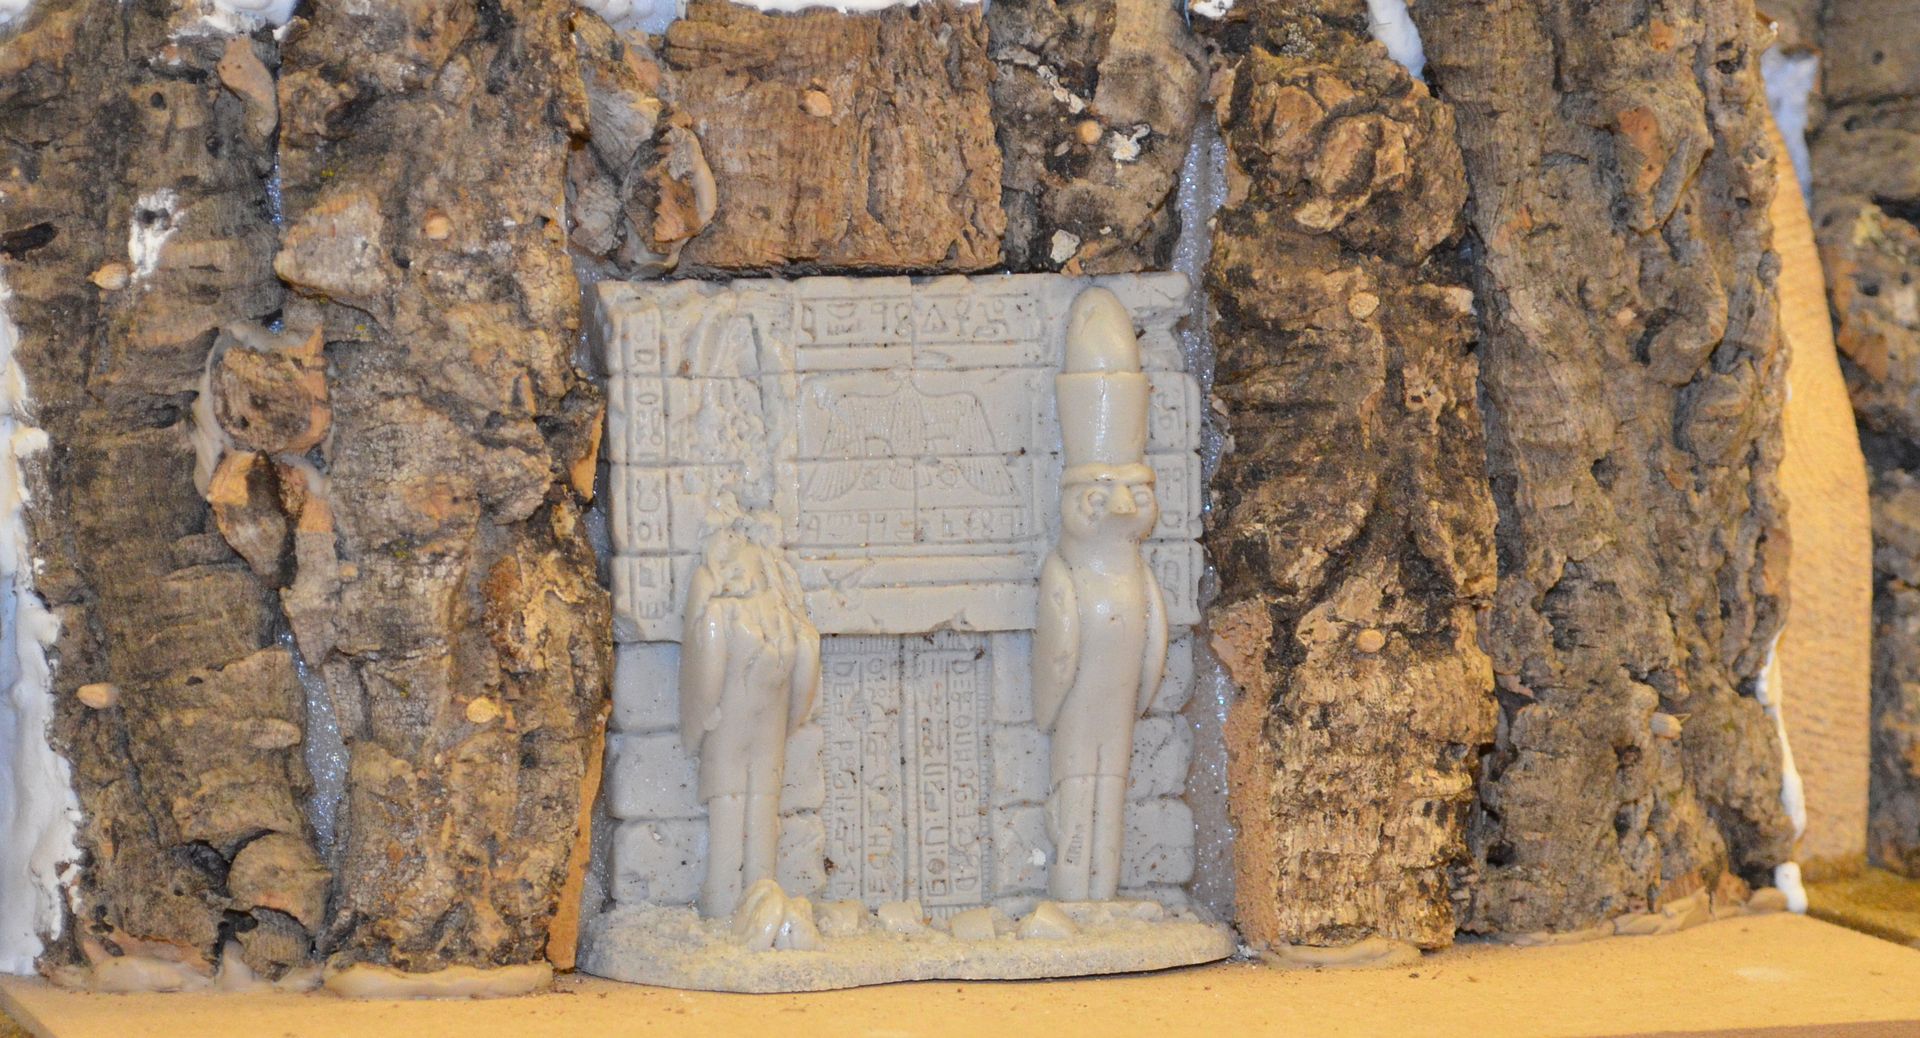
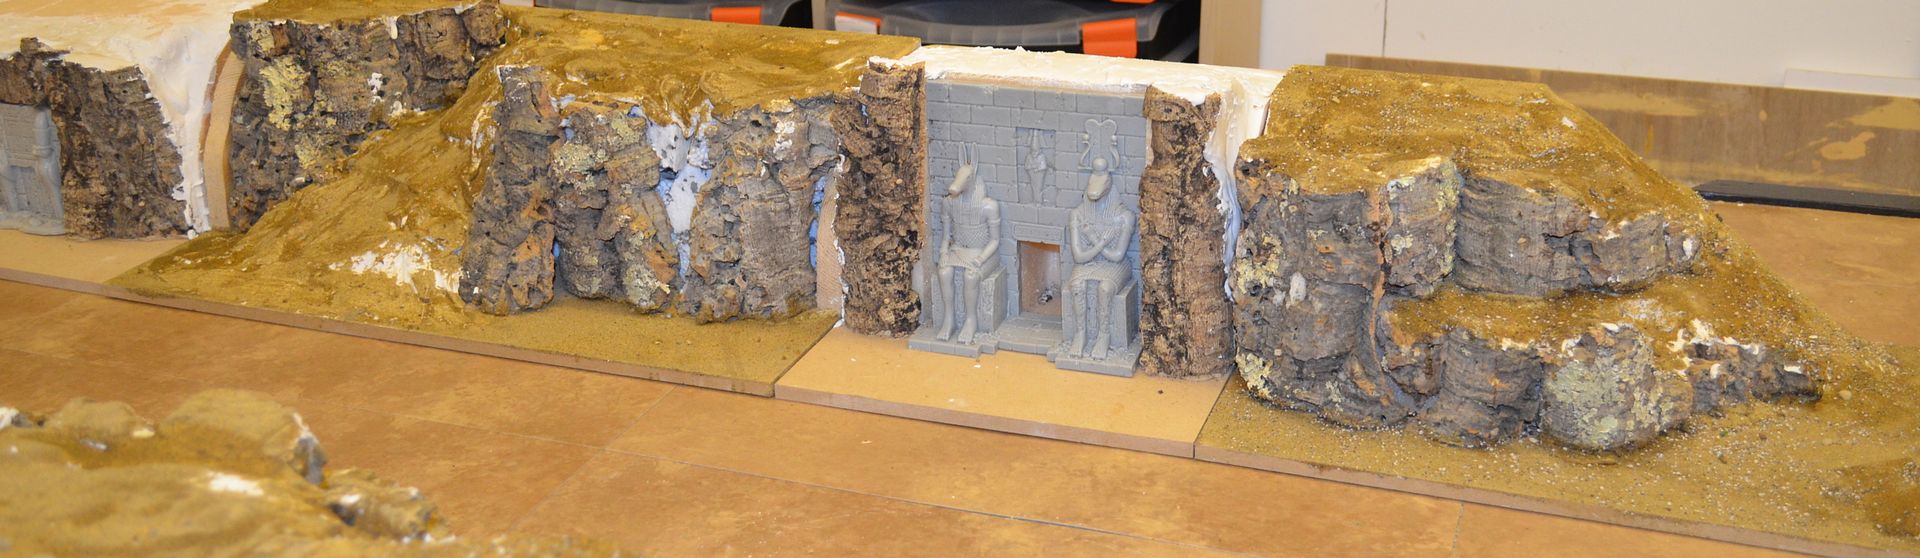
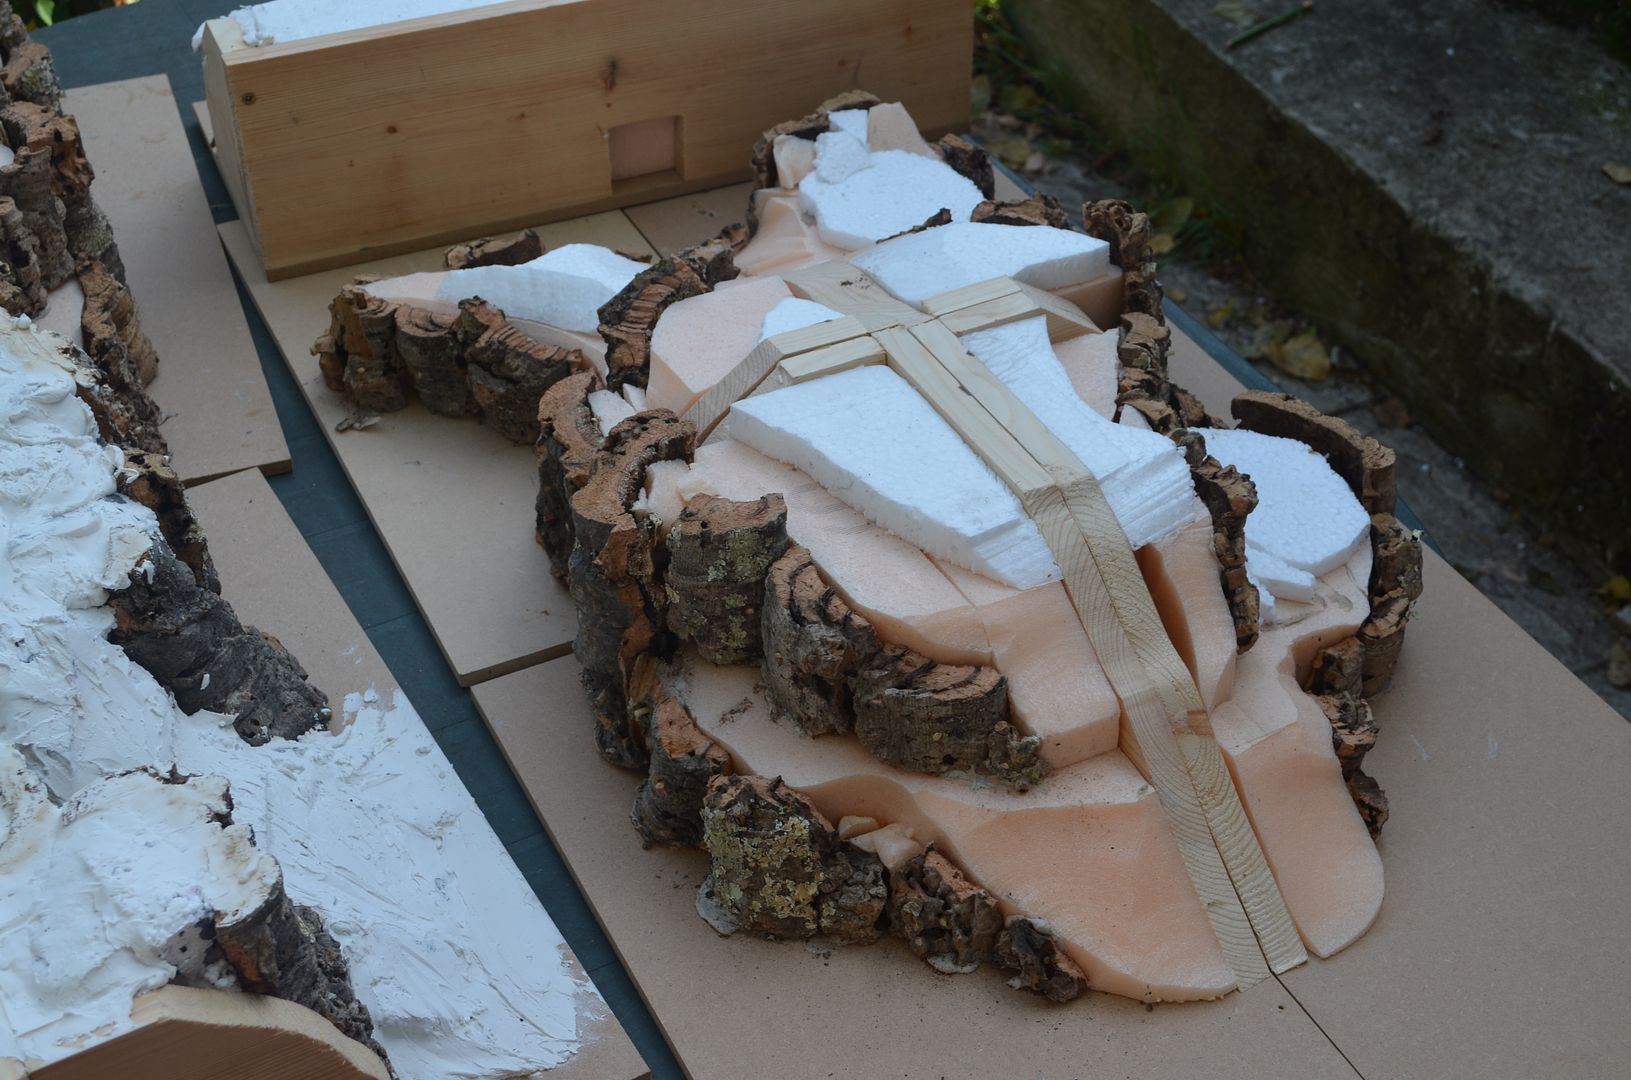
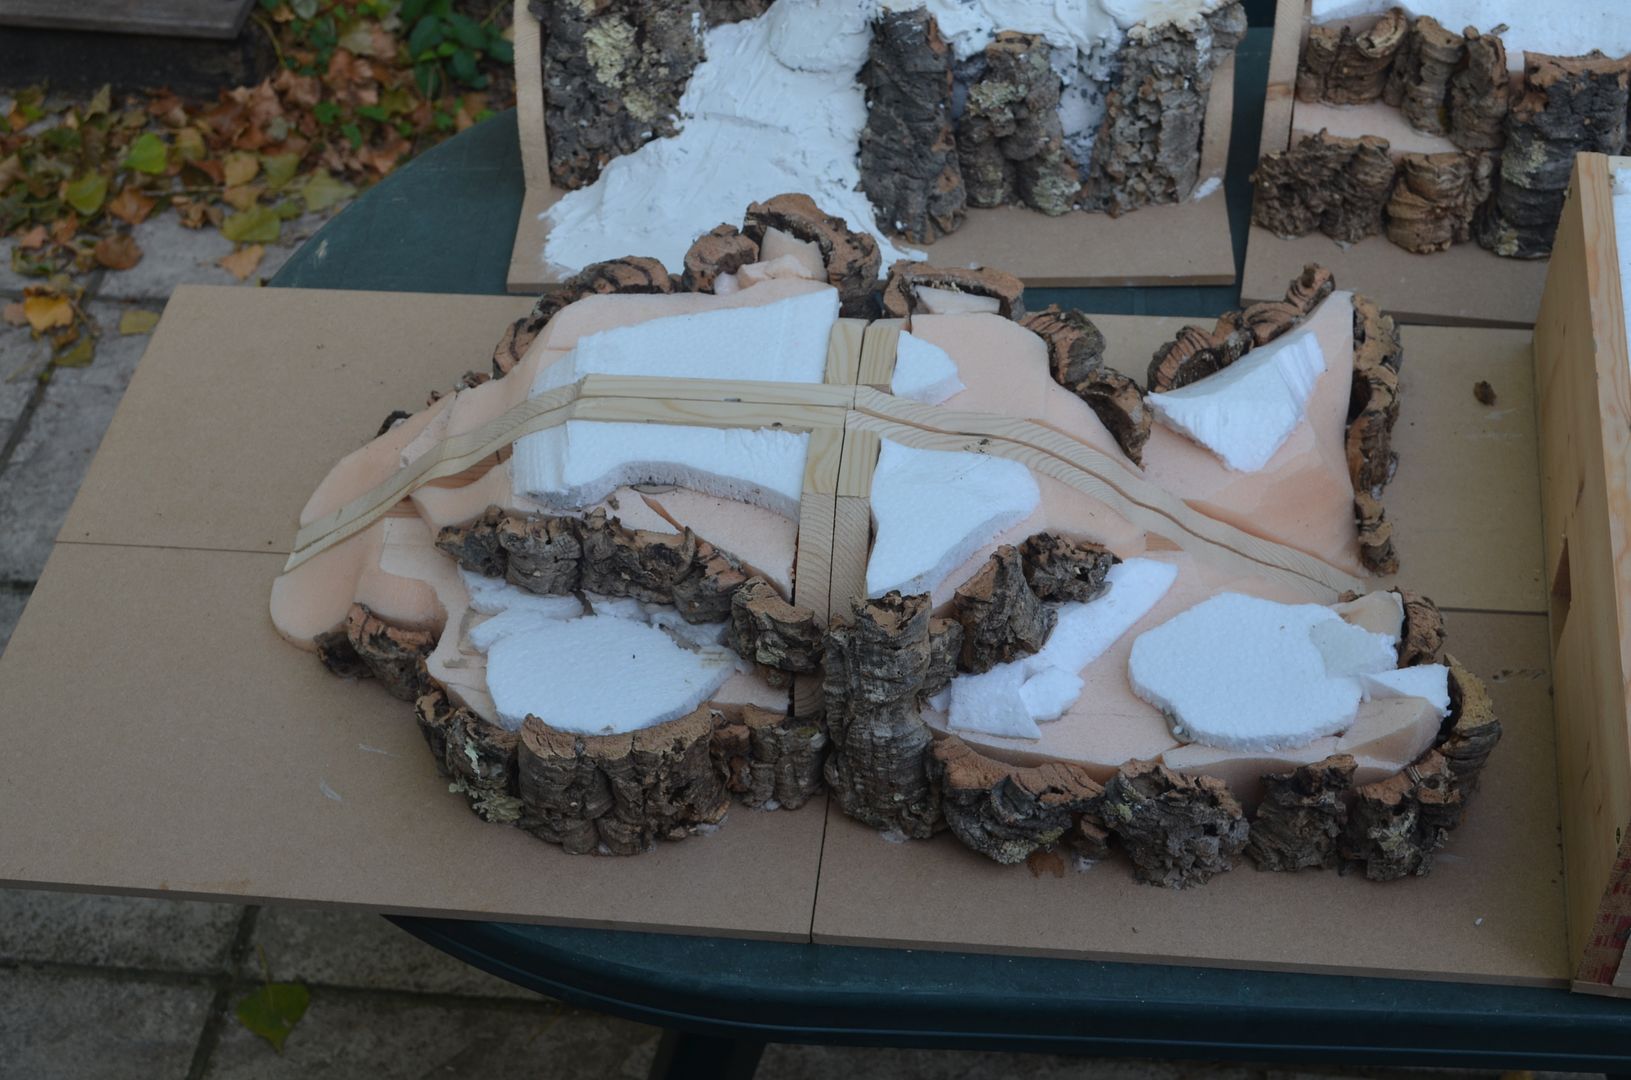
The following picture illustrates the plan for the tomb entrance better. The resin entrances shown in these pictures all come from Scotia Grendel..

Scotia Grendel Website


You can also see in the above picture the 'white' filler on top of the cliffs.

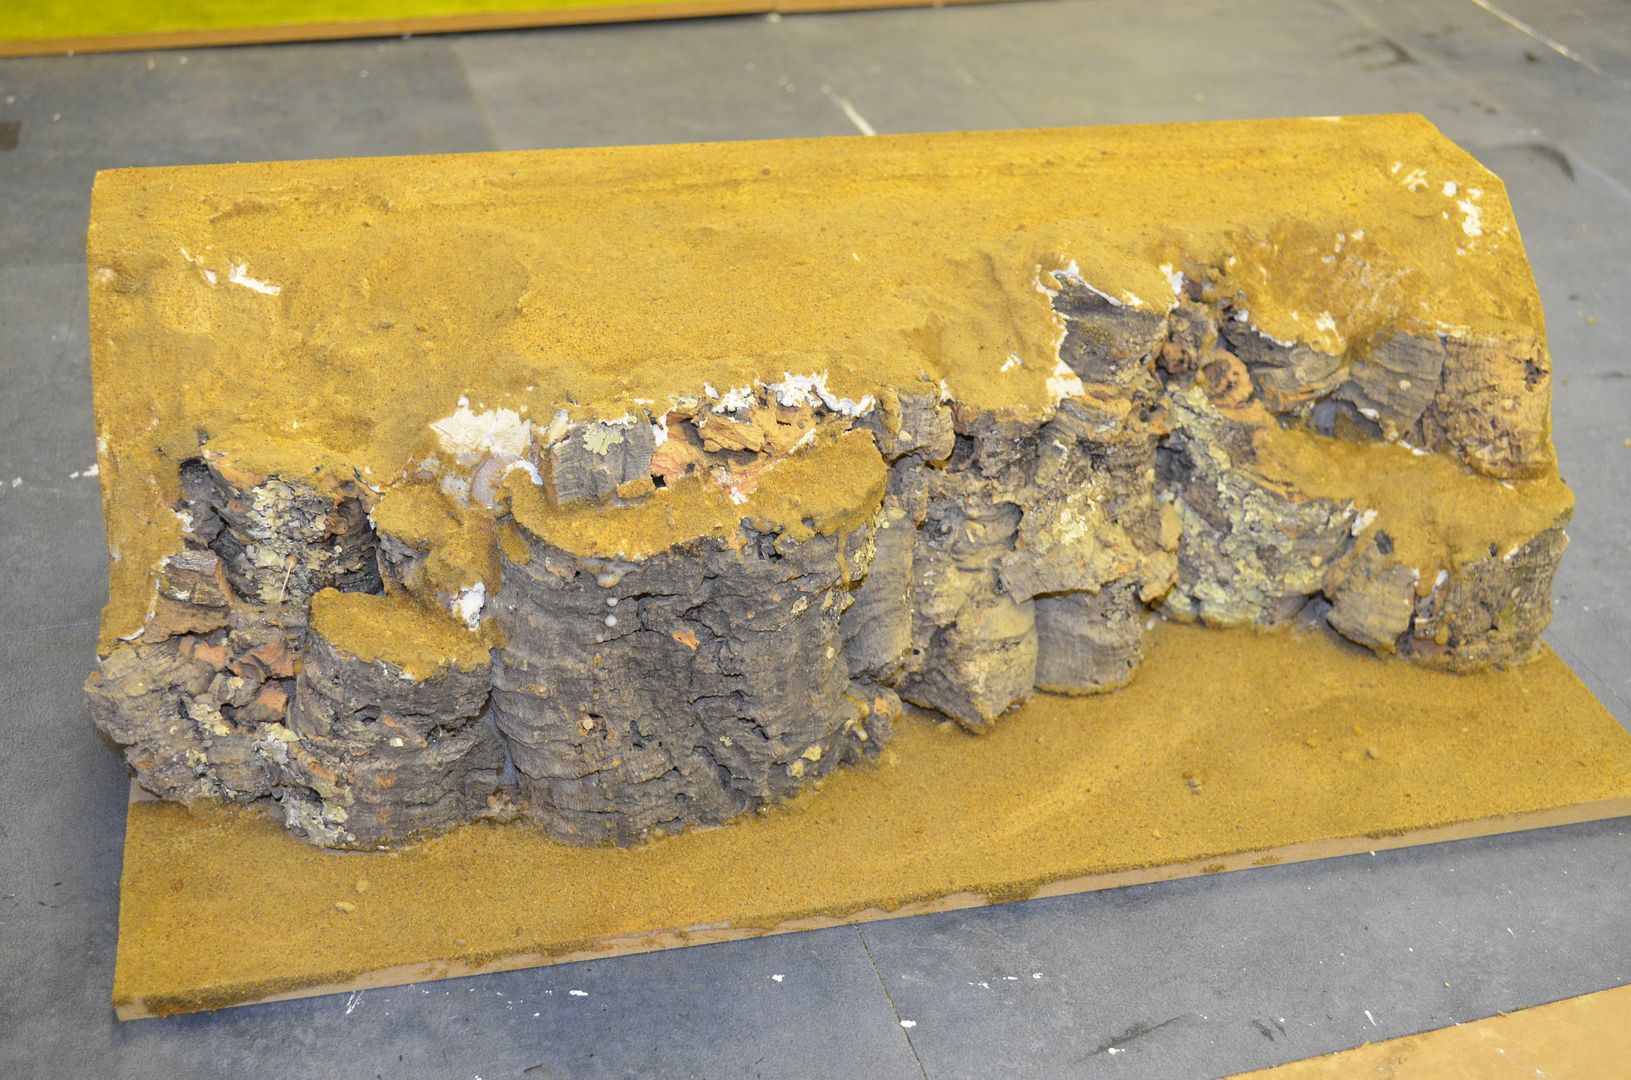
With the filler dry on all the big pieces it was time top start adding the sand...

Now on the subject of sand my 'mix' is a combination of coarse builders sand (found by the side of the road), fine sand from the local woods (rather funny to sneaky in with a bucket), and some model coarse rail ballast. This was all baked in the oven until golden brown completely dry.

Copious amounts of PVA were used in the application and I am in two minds thinking that two coats of base might be necessary.


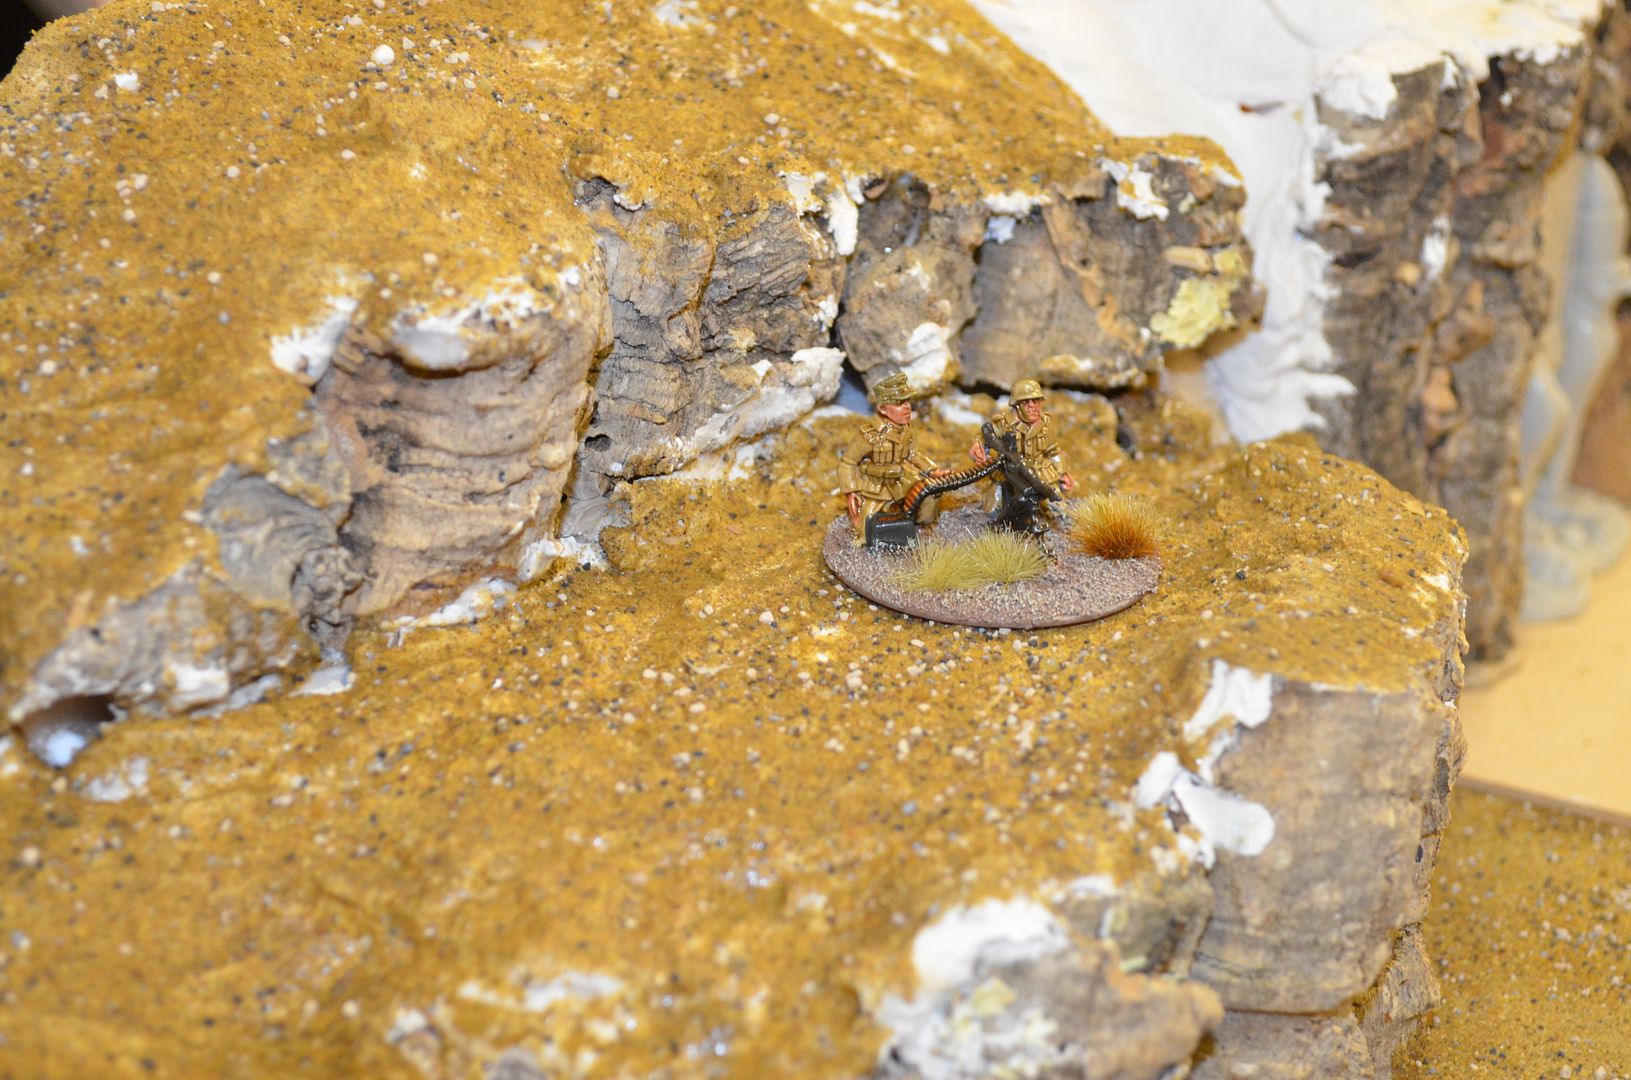
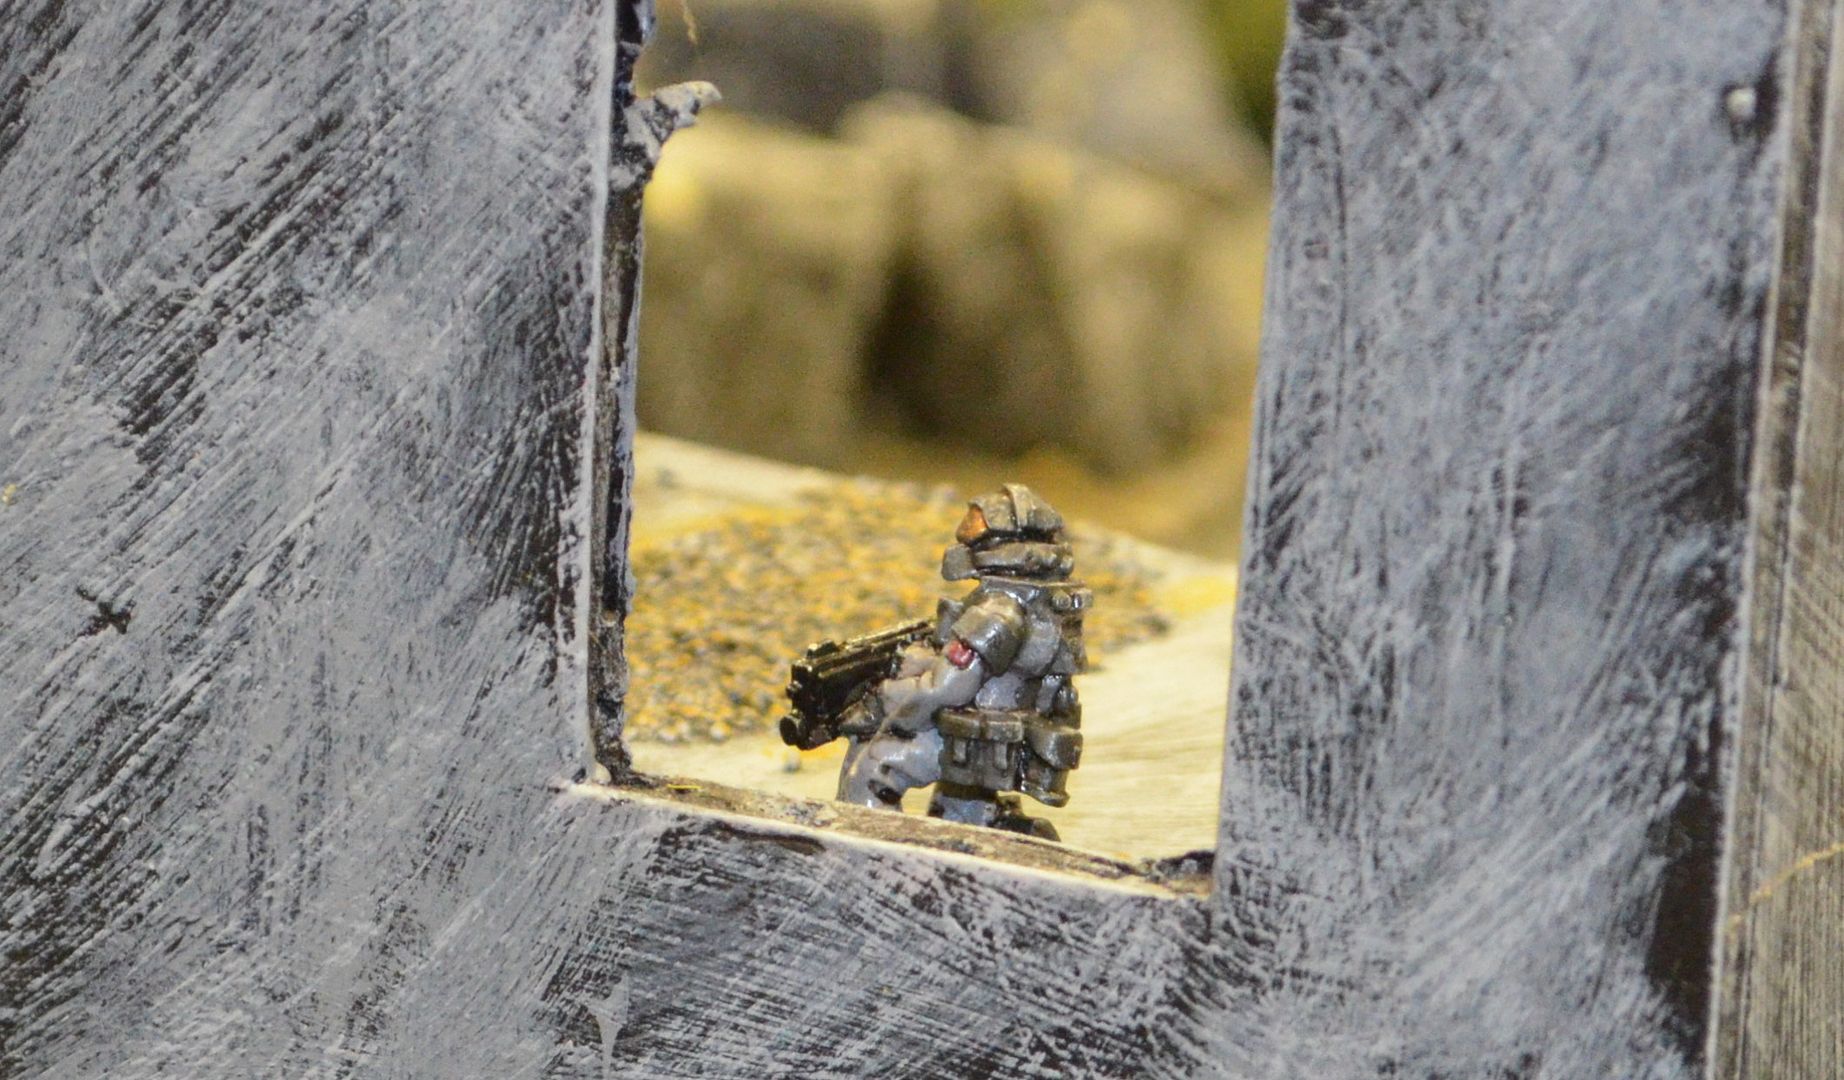
Starting look very good....couldn't help putting out a figure


The base on the MG crew will be the colour I am going to strive for in these builds - but you can still see a lot of the white filler - this is going to need covering.

It was at this point I realised the shed was starting to get rather messy...


Back to the tomb entrances...these were built up in the same way as the big boxes...


Rather impressive size given the figures are 28mm 

This is a smaller entrance so I had to build up the cliff face above

At the moment they are not fixed in place but will be eventually. The larger of the two looks really impressive.

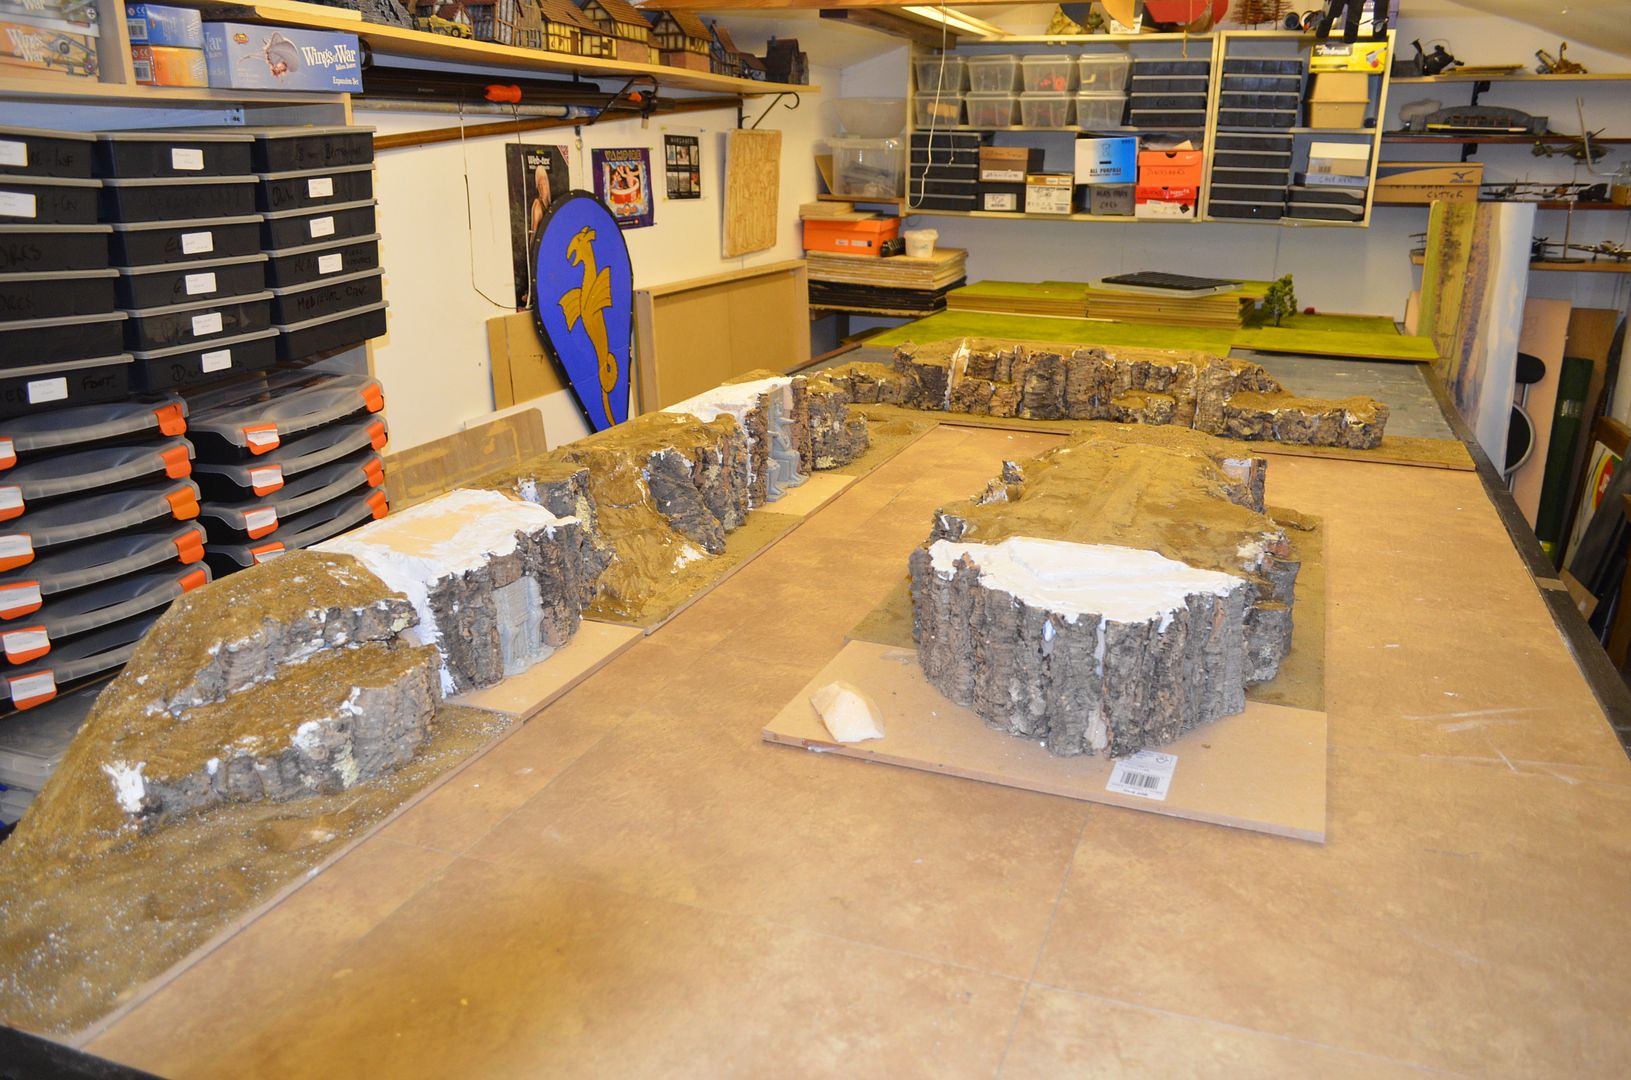
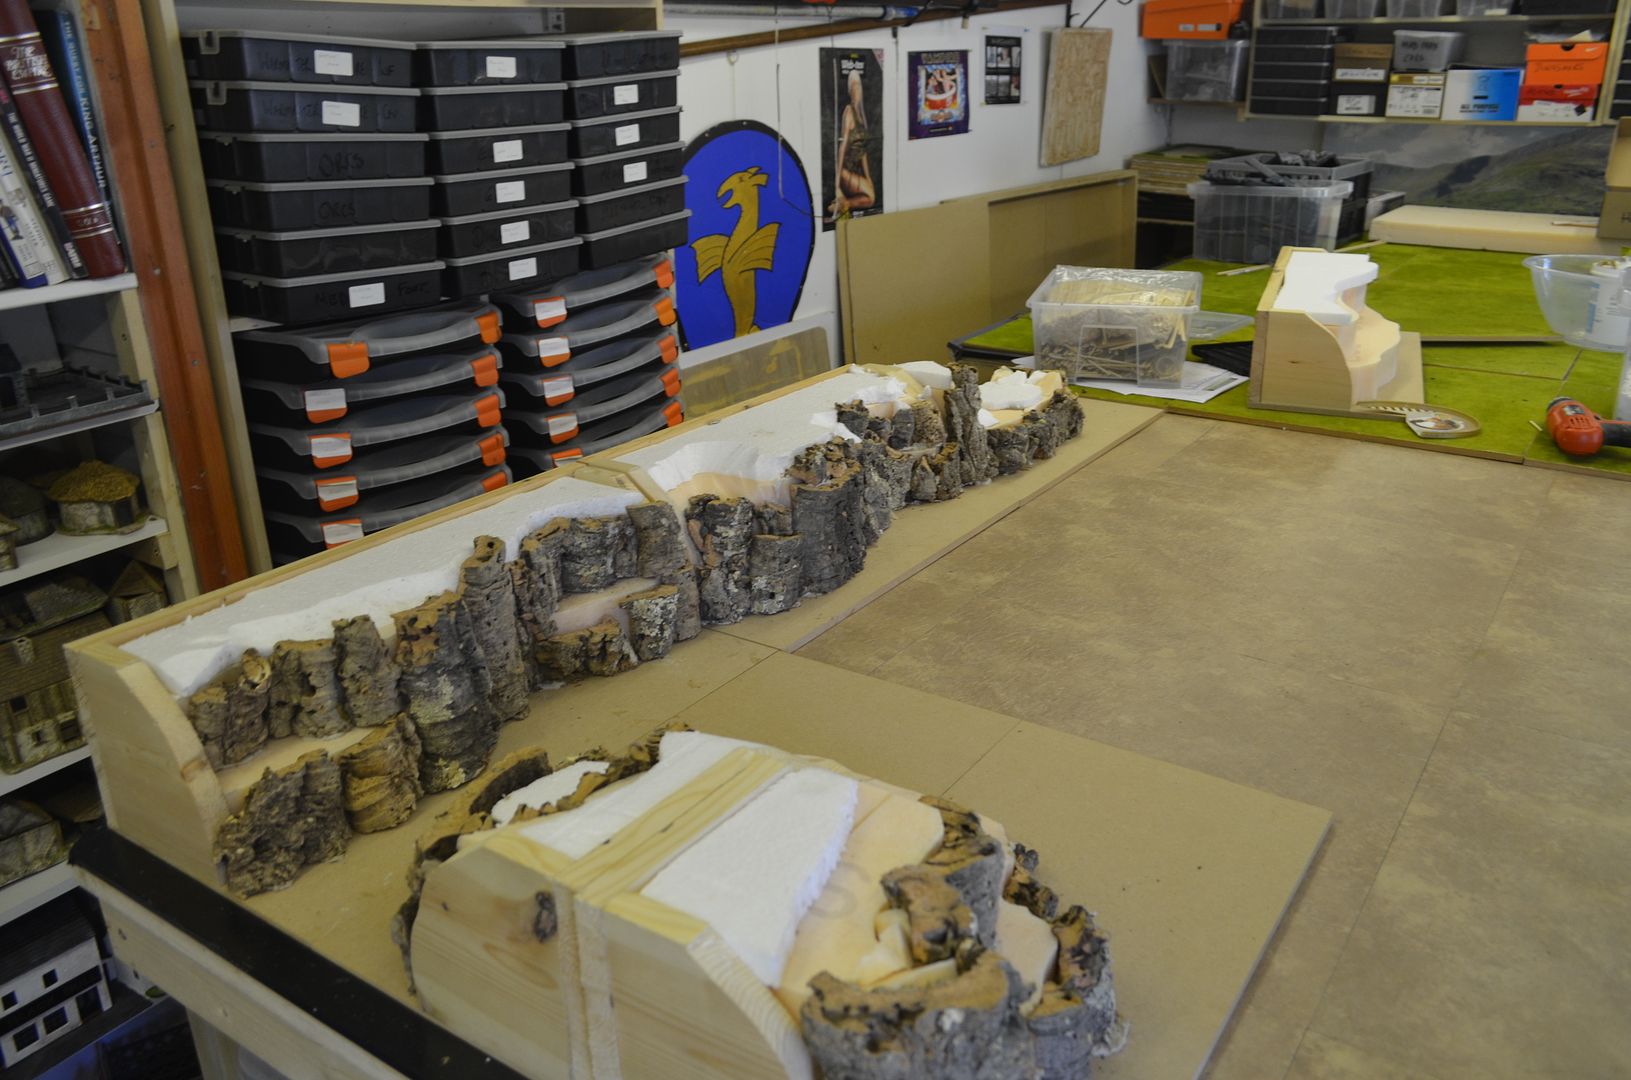
Ok so now the last couple of shots...as you can see I now have around 5 metres of cliff face


If needs must I can build two really big mesa this size - 1 metre long


And of course build the valley side for the tombs


What next...well in no particular order

1. Finish filling some of the cliffs
2. Fill in some of the rock face gaps with small bark pieces
3. Fionish the ground work...

And then paint it.

Realising that painting this is going to be a real sod I have just invested in a compressor and air brush - hopefully this will be with me next week.

This build is going to take a bit of a break - I have BLAM next week (the wargame weekend) and to be frank I want to get cracking on painting the 100+ Saracens that have just turned up


next time...

Part 4 can be found here

http://shedwars.blogspot.co.uk/2014/10/rocky-escarpments-part-4.html

My cat is wondering why I have bought cat litter?


Saturday, 4 October 2014

The Angels have Landed - A VBCW short film

Hi Folks

Shed Wars TV is proud to present the trailer for my VBCW game being hosted at BLAM in a weeks time...

All credit must go to my Son for his multi talented production .

I hope you enjoy this as much as we did putting it together

Here's the link...

The Angels have Landed - Shed Wars TV Trailer


Until next time...


Tuesday, 30 September 2014

Terminators - A fight for survival

This Monday night the shed launched a new game called...
 
Terminators

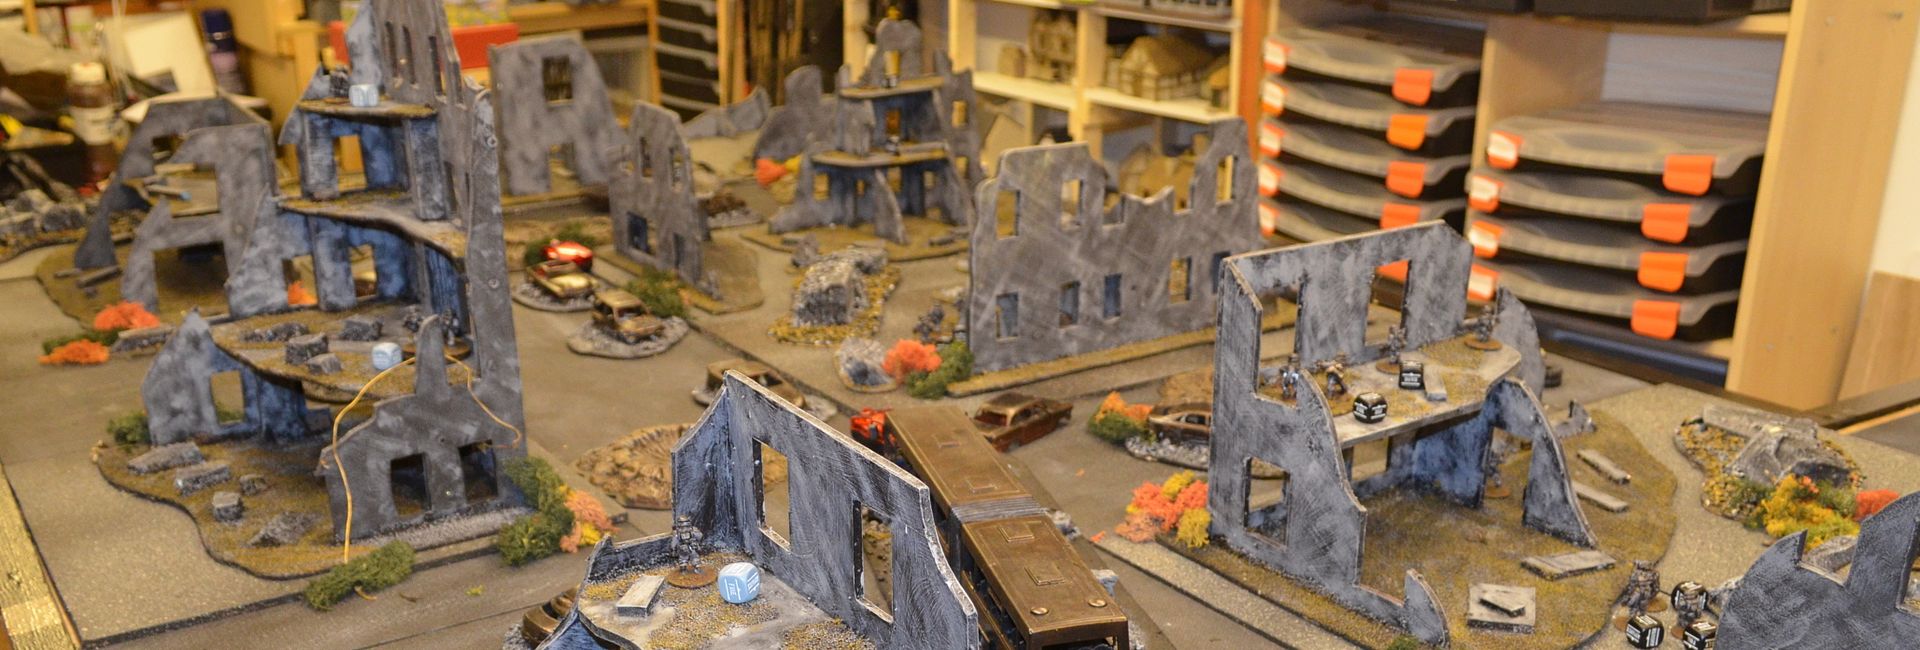
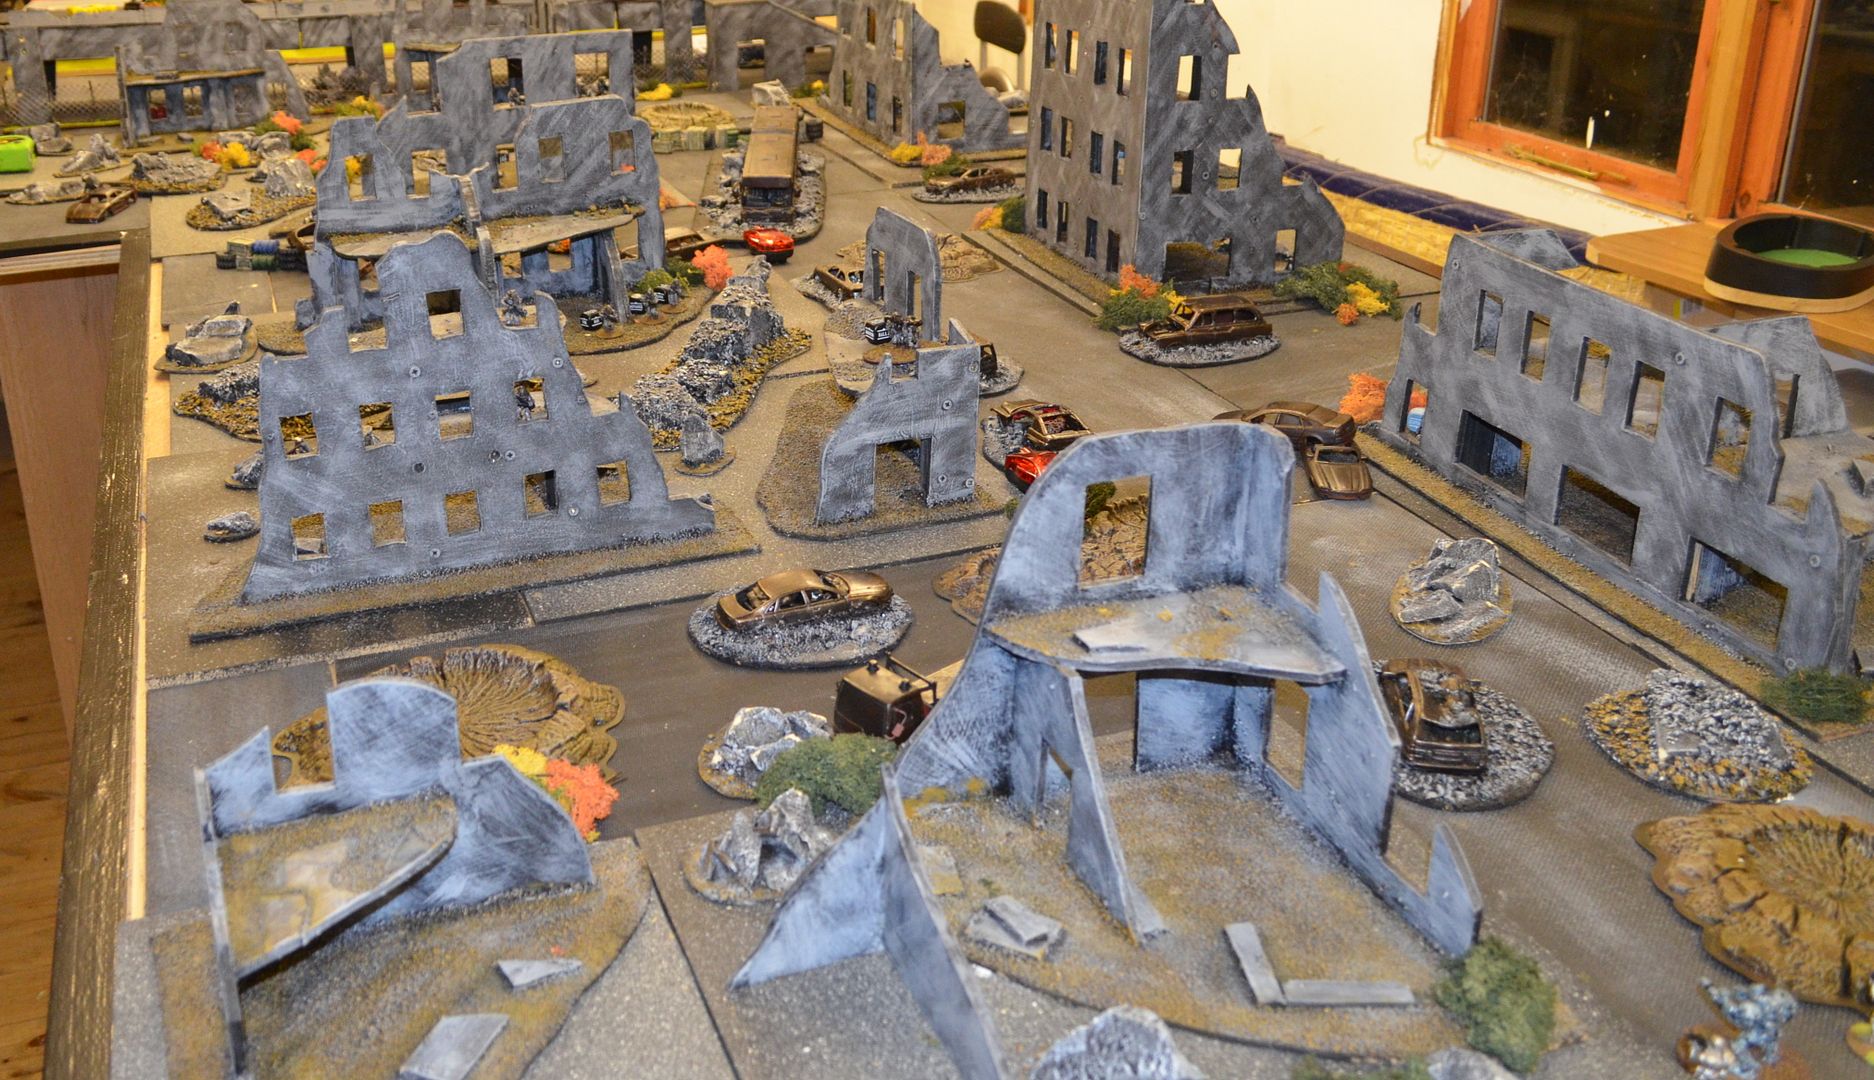
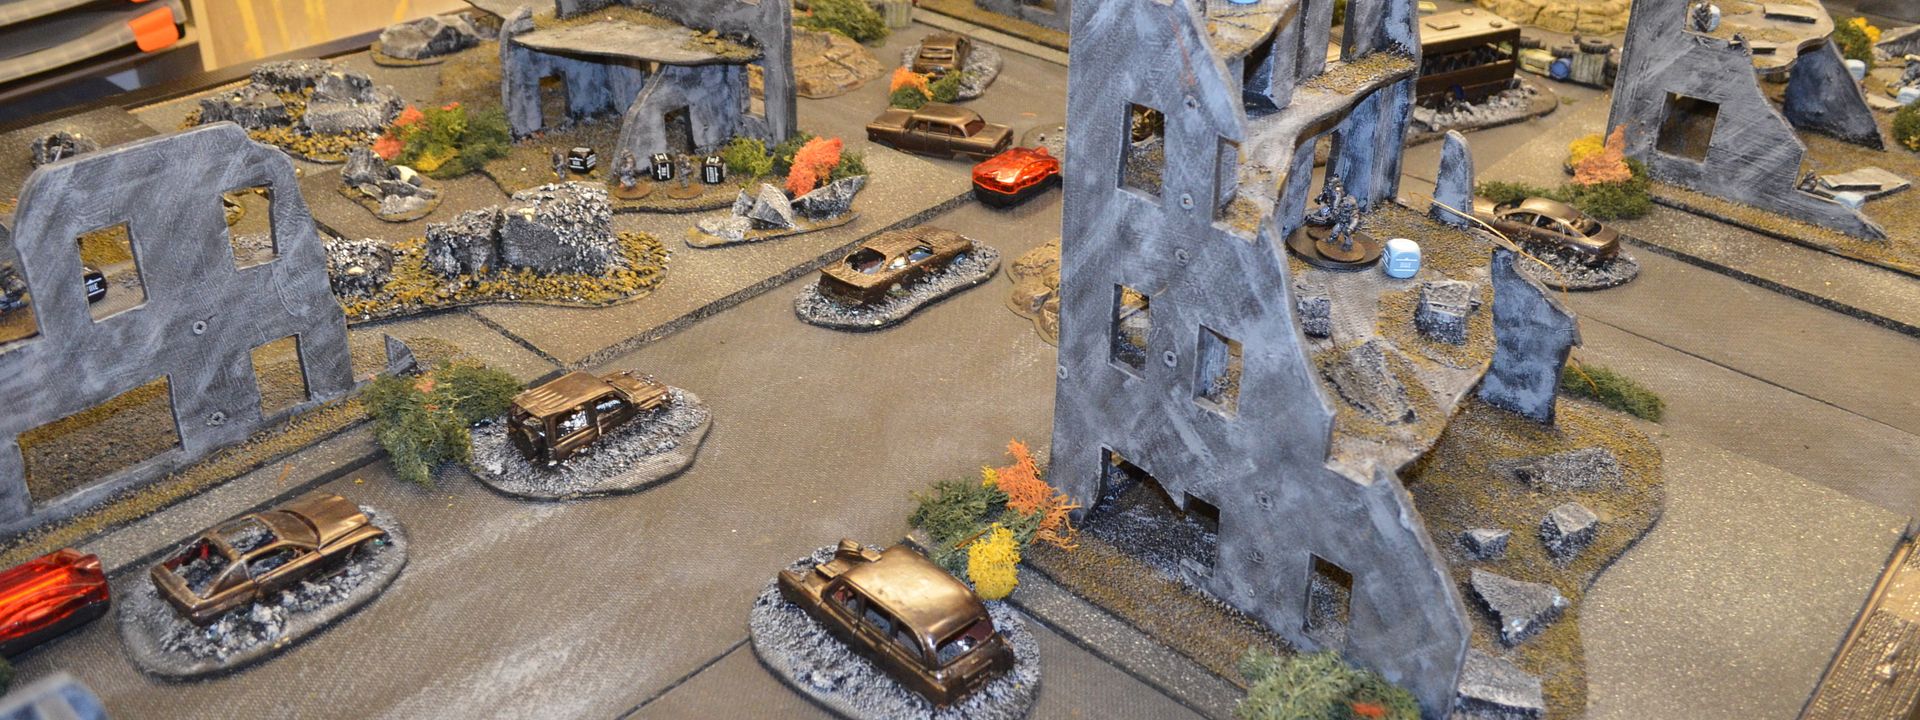
This was an opportunity to layout my old ruined city landscape and use my Terminators from Copplestone and Pig Iron troopers.

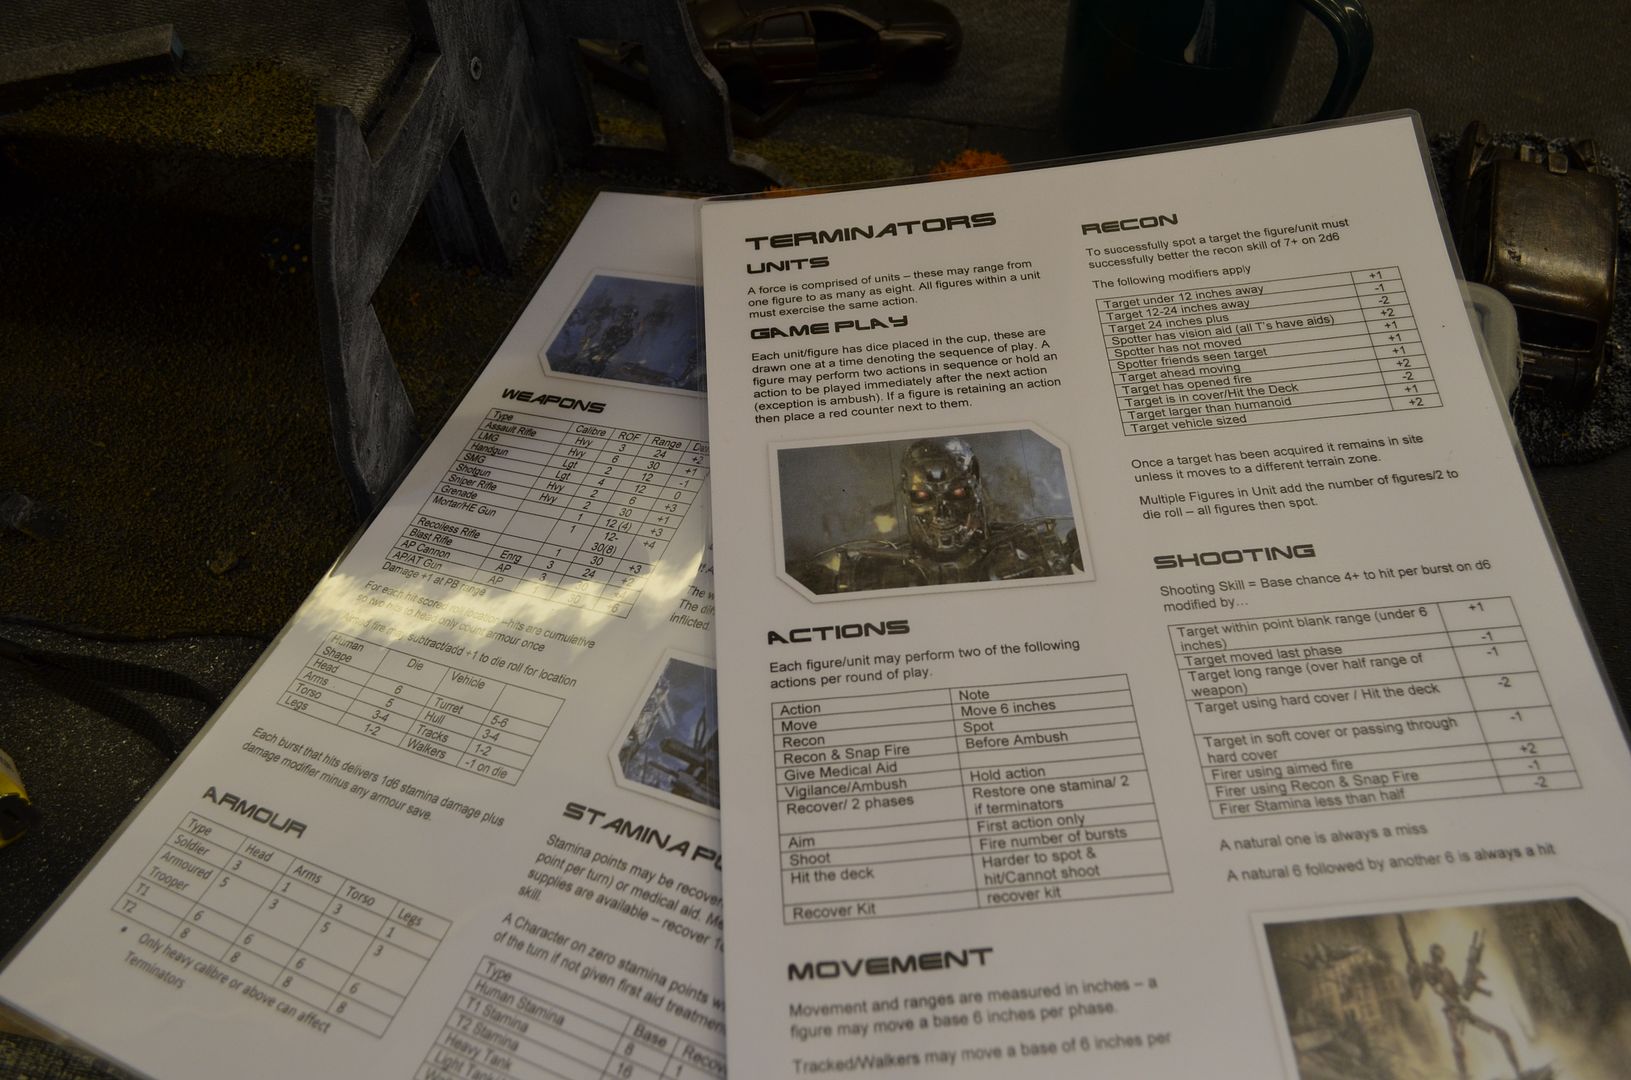
The rules are of my own making and I will gladly send anybody a pdf set if the contact me through the blog or via one of the forums.


The rules are all on two sheets


In essence this is a figure on figure game...no units just individual men and machines fighting it out in an urban landscape.

In summary each figure gets two actions per turn, they can run twice, shoot twice, run and shoot etc. The order of play is driven by a colour drawn from the dice cup - Terminators black, Humans grey or blue. A figure can hold one action and use this later in the turn depending on what happens.

Combat is straight forward but before you shoot you have to spot your target, terminators of course get an easier roll thanks to their superior technology.

To hit rolls are generated on a d6 - multiple shots for auto weapons. If a hit is scored then damage is taken according to the weapon type less the armour. The residual score is removed from the stamina. Suffice to say humans tend to get wasted first shot but the Terminators are much much tougher and also get to regenerate (in the game we played this became known as rebooting)

So how did the game play

To start with I put out too many shiny toys and after 30 minutes of play it became evident that the game would degenerate into a slugfest. We stopped, regrouped and decided on some simple changes. Firstly we reduced the number of figures. The Terminators got 3 T1's and one larger T2. The Survivors received eight two man squads. This seemed to balance out play significantly and gave both sides a realistic chance of winning. The game went to the last dice roll - always a good sign.

The Urban Wasteland

A quick point on the terrain - this city landscape was built by me over four years ago. The buildings are a combination of mdf and foam core. A suitable number of wrecked cars and other debris acts as scatter across the table. All figures get a soft cover bonus in the ruins and only if they are up against a wall or barrier do they receive the hard cover bonus.

The objective of the game was for the Terminators to make their way across the length of the board an switch off the power generators (bicycle lights). The humans could defend in depth or attack. With three of us playing one player controlled the Terminators (Mark) whilst I and John each controlled 4 squads of humans.

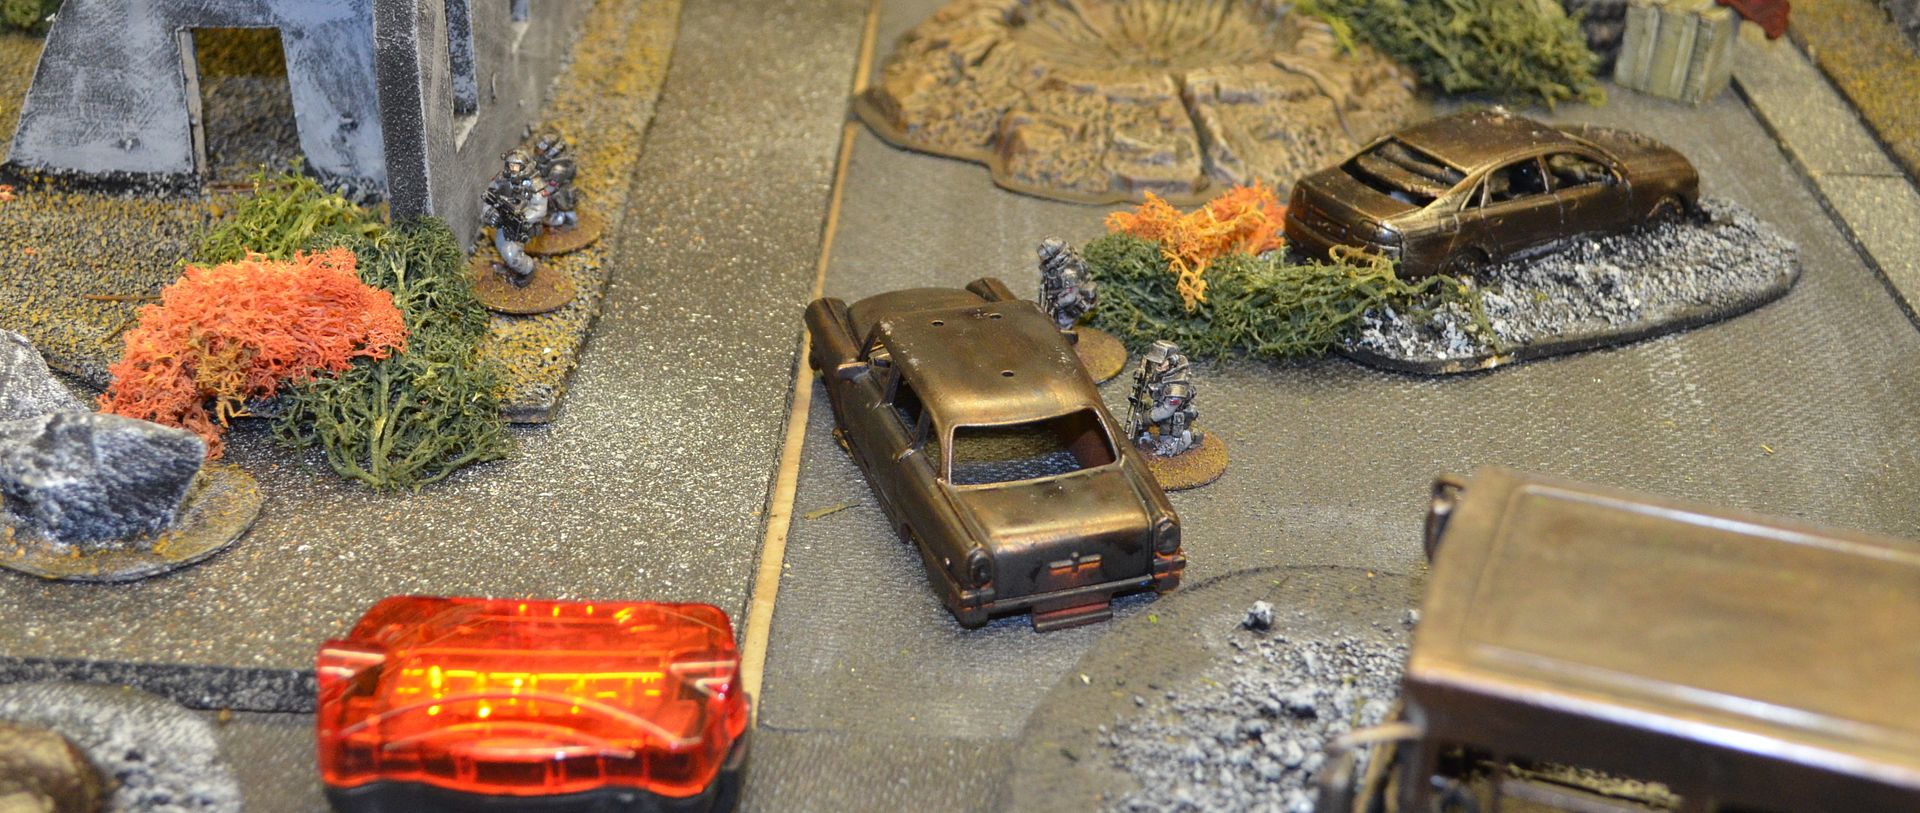
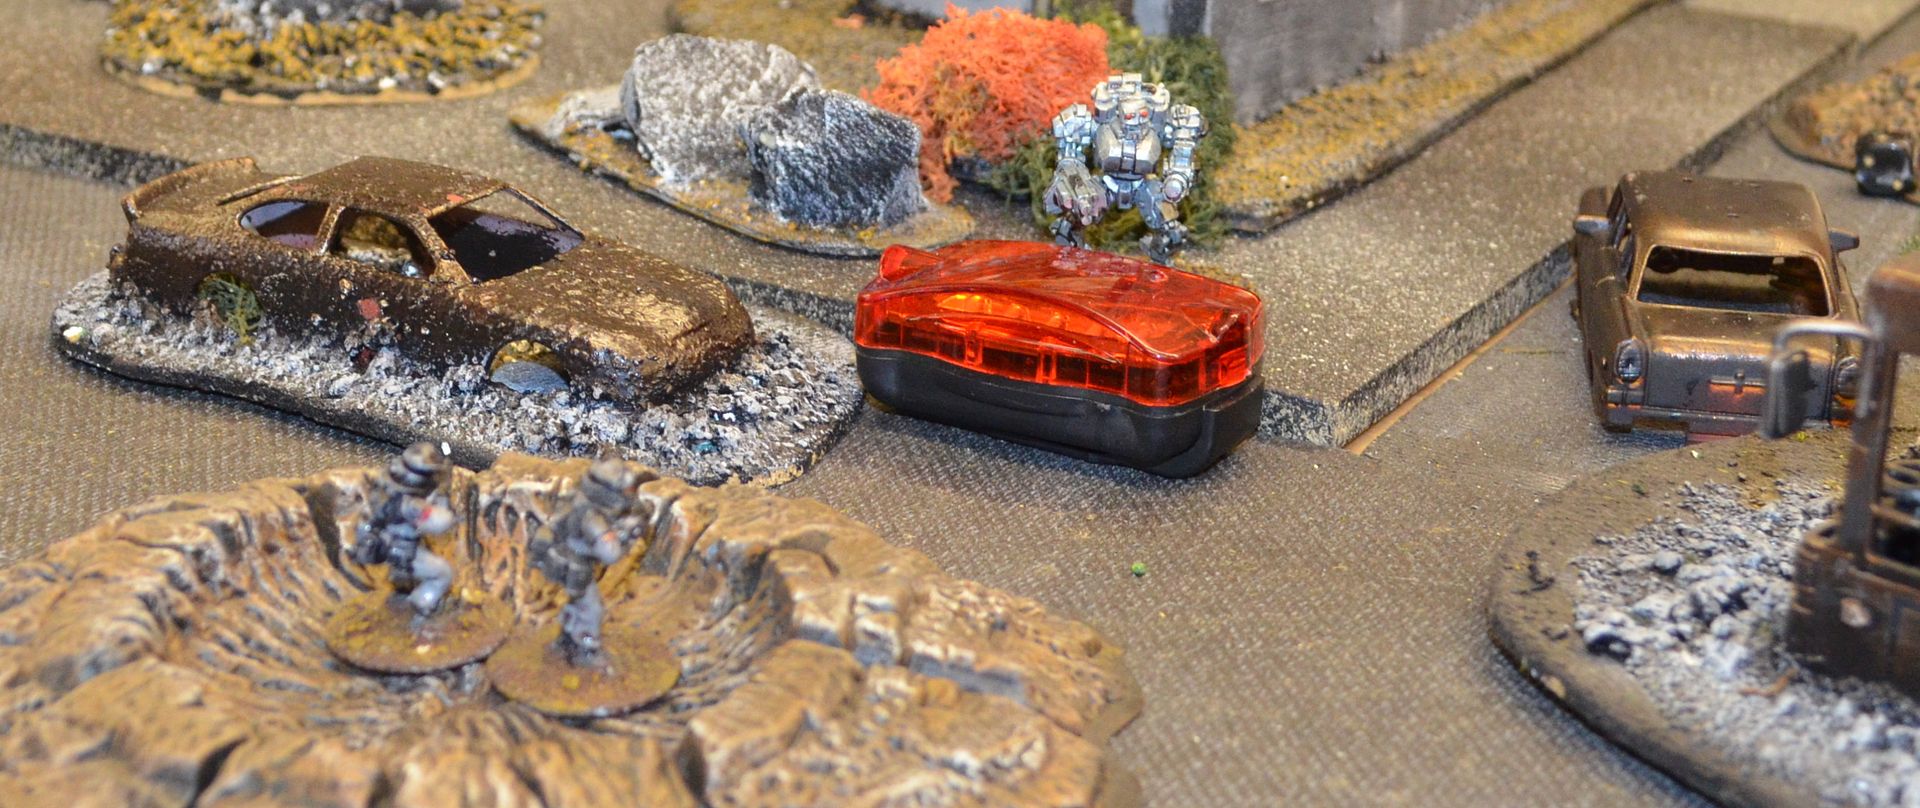
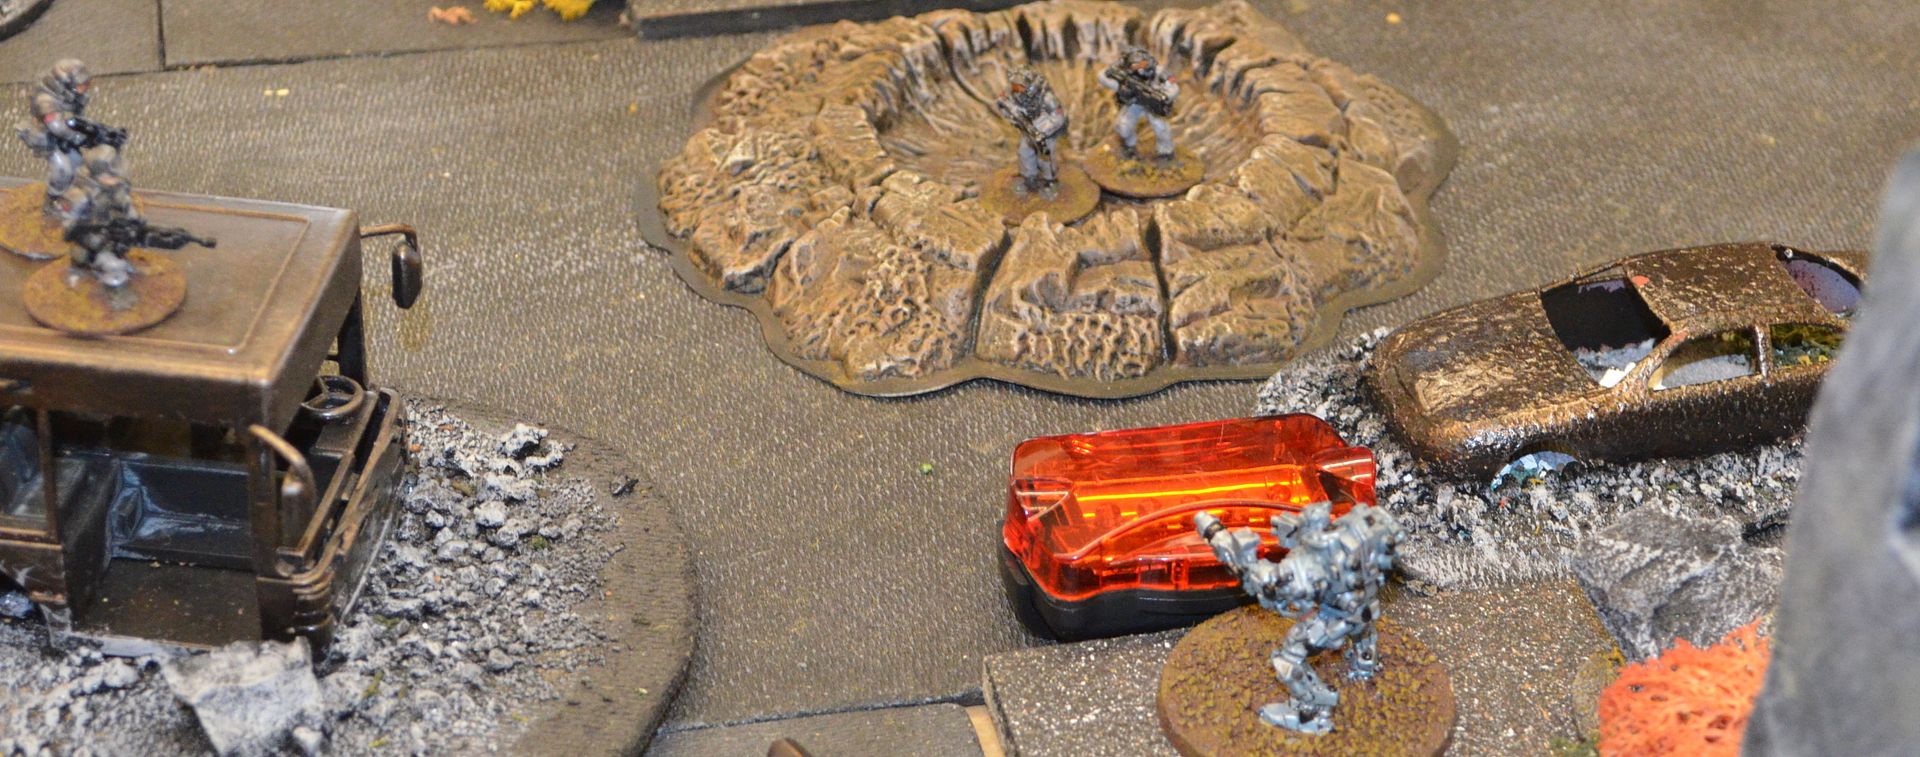
The generators were positioned evenly along the main road up the board

The Terminators quickly advanced along the left hand side of the board, thereby negating half of the humans fire power (me), and within a few minutes had switched off the first generator.

When all the lights go out the Terminators win...can the Survivors stop them?

As the Terminators marched forward they came under fire from the humans defending the first block. The way the rules work is quite simple - if you hit your damage has to exceed the Terminator armour to cause any damage. With each burst only delivering 1d6+2 damage against a T1 armour of six this could be a slow fight of attrition. However if the fire hit the same location in the same burst (each gun fires three rounds) the armour only counts once. It soon became evident that the only way to take down these metal terrors was to use aimed fire (helps with location rolls) in vast quantities.


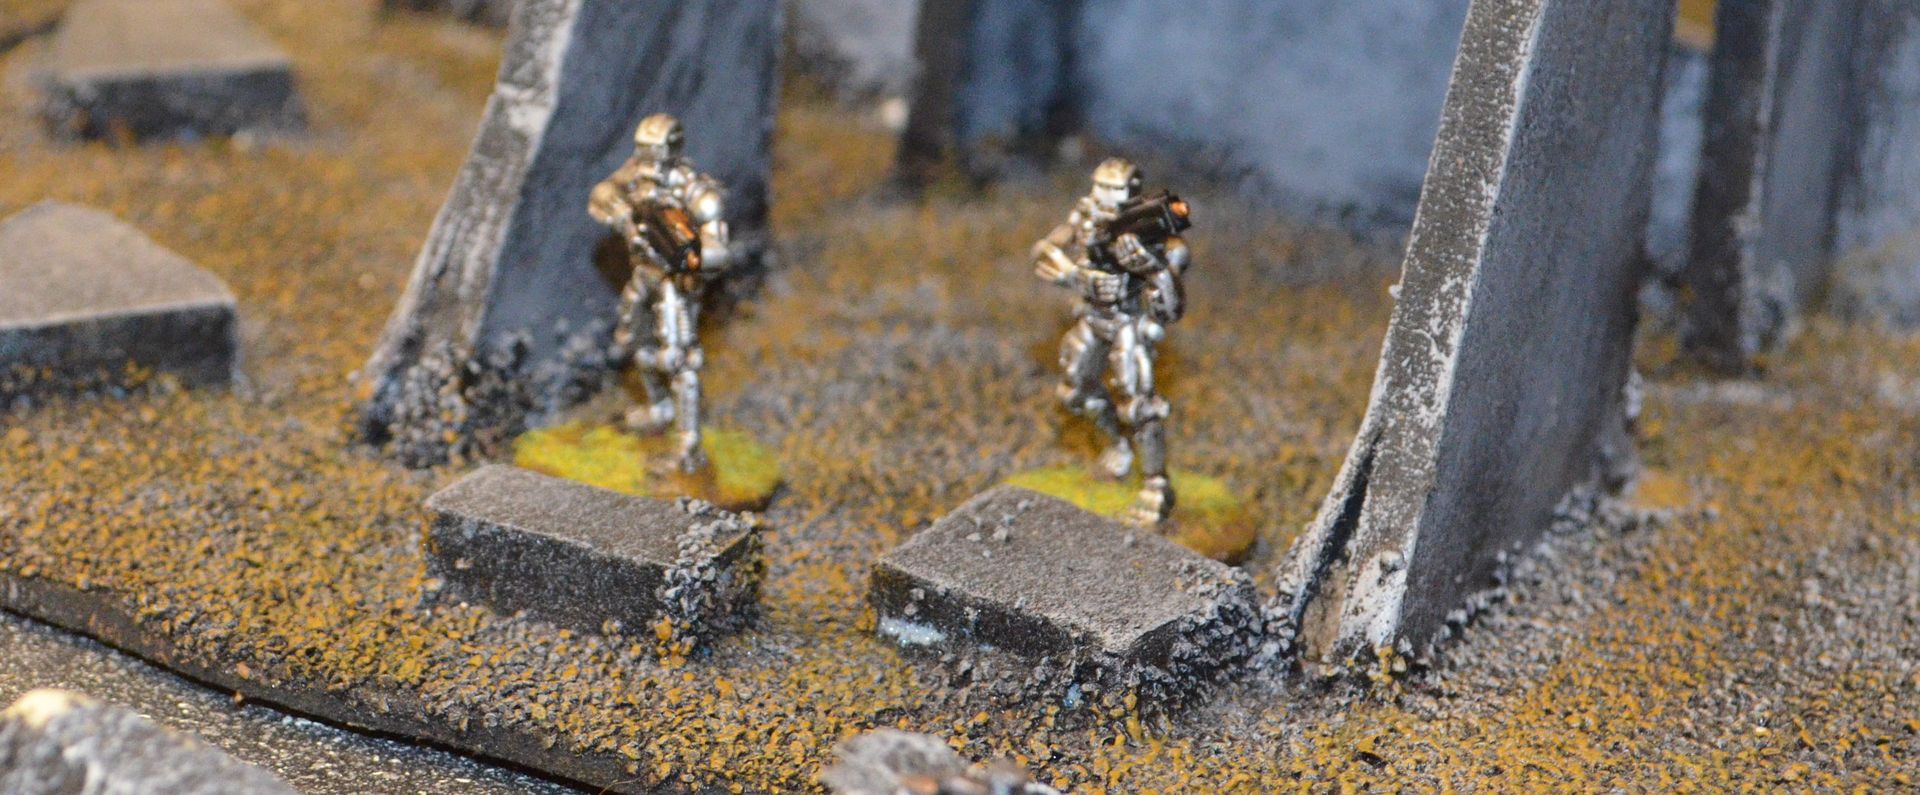
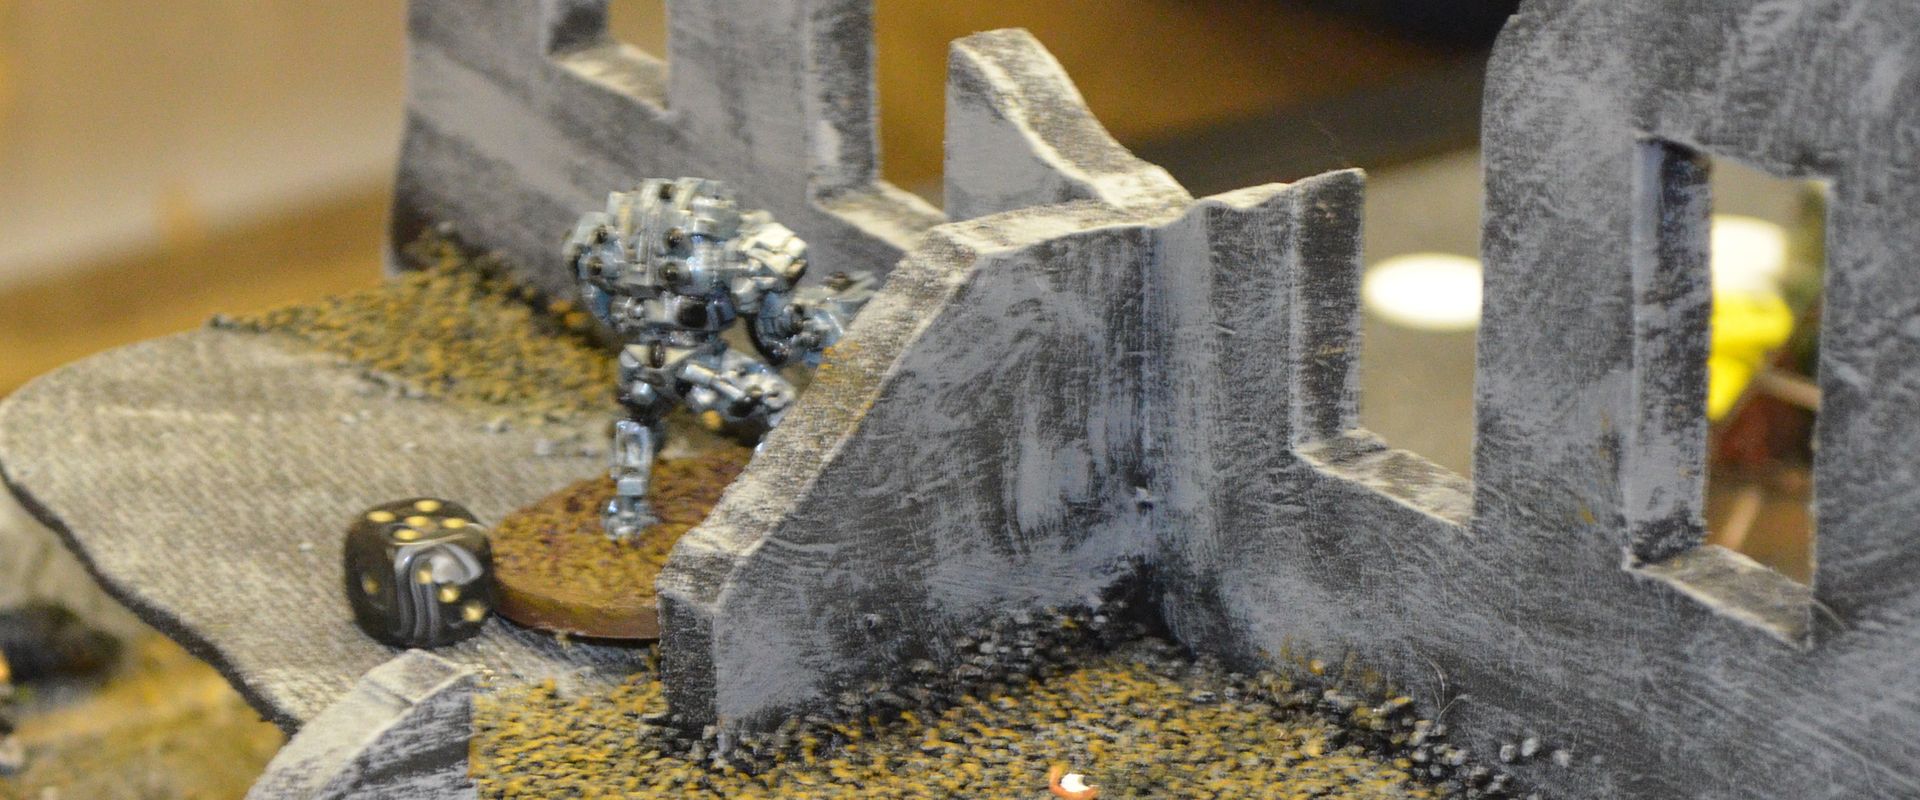
T1's advancing (courtesy of Copplestone Miniatures)

John soon dropped one of the T1's but in the process lost three men to some rather brutal return fire. Did I say that humans don't last long - their low stamina and weak armour just couldn't cope with the Robot firepower.

With one light out the Terminators adopted a new strategy - one T1 would advance unhindered down the left side of the board to the last light whilst the others poured fire into the survivors defending the second light.


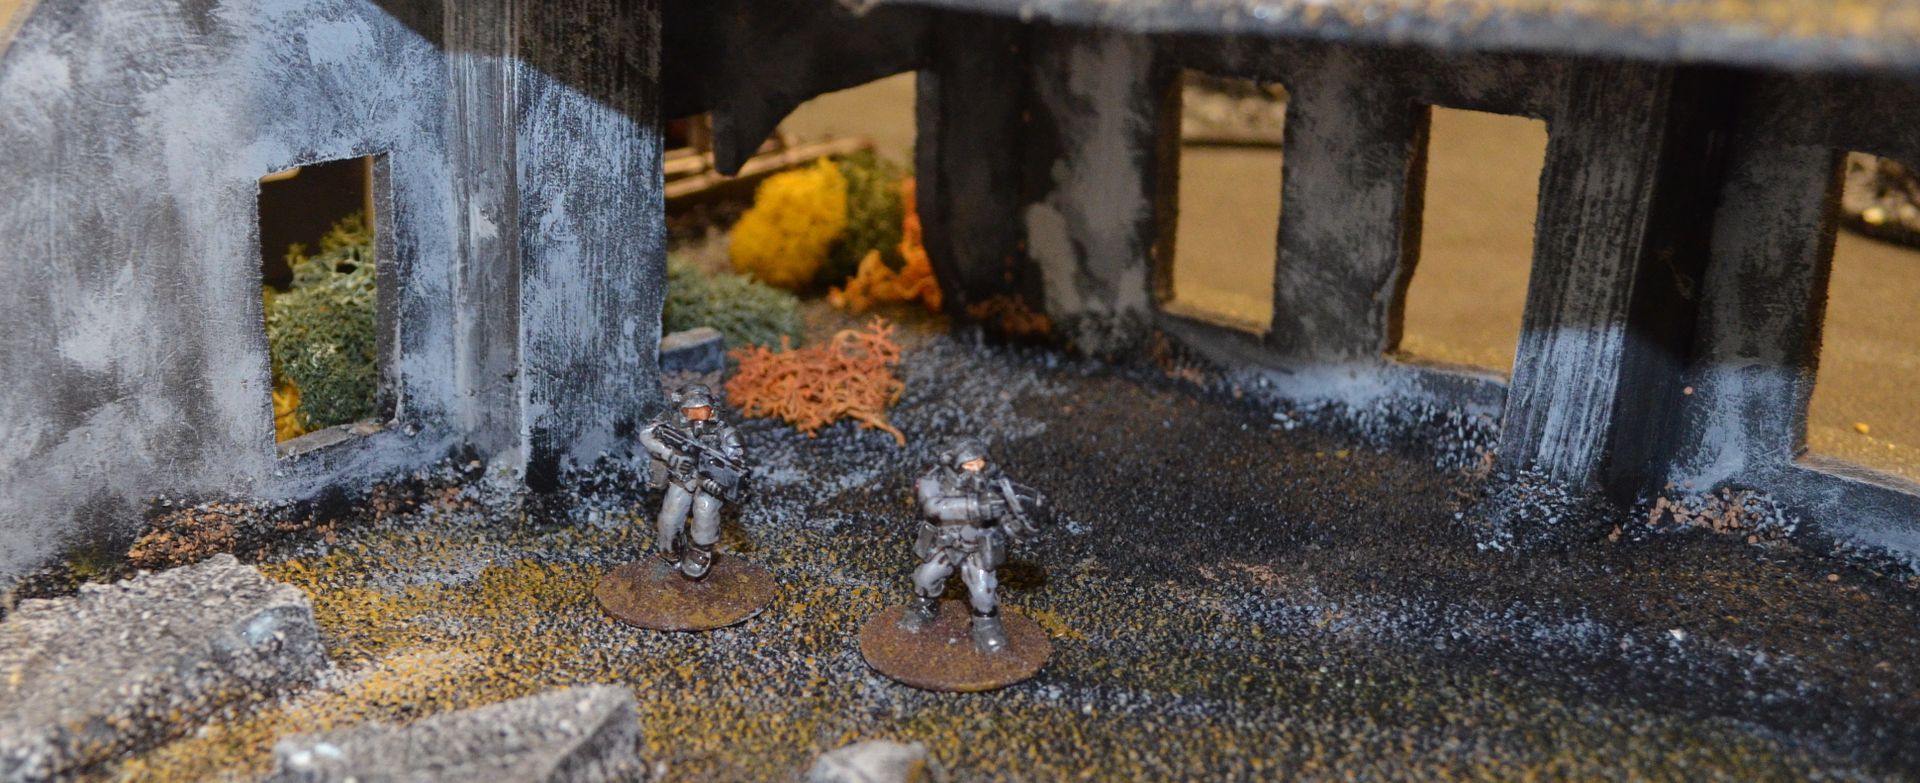
Defending the second light - figures from Pig Iron

At this time the T2 came into its own - armed with two weapons - superior armour (value 8) and regenerative powers it tore apart Johns remaining defenders.


Despite taking some hits - John almost killed it - it stood back and regenerated back to full strength. Ready for the final push.

Mean whilst I finally managed to get my squads into action and a lucky burst - three hits and a whopping 17 points of dame destroyed a lurking terminator near the second light.

taking Aim...Fire...gotcha

By now Marks advancing T1 had reached the point where he could switch off the furthest light. He ducked out the window and reached for the off switch. Could the humans waiting in ambush mode take him down...


We have a problem Houston...all the squads failed to see this silver humanoid climb out the window and switch off the light. Two lights down and one to go.

As the turn finished we drew the new dice. This time the squads did see him and again some fortunate fire took down the remaining T1

Back to the middle light. Our T2 had fully repaired itself and trusting in his armour stepped forward to switch off the third generator. As he stepped out of the ruins my two remaining squads on ambush let rip.


The first squad all missed, I drew breath. The second had to hit. I rolled 3 hits ! All in the same location...17 points of damage plus a further three for point blank range (under 6 inches) - The T2 armour class was eight - therefore a total of 12 damage points. With a damage value of 12 the final T2 bit the dust. We just did it...


Returning to base to fight another day

A cracking game and ruleset that actually works...it delivered the tense atmosphere we wanted and certainly is worthy of a replay at another time.

A big thank you to my game testers Mark & John

Until next time
 

Sunday, 28 September 2014

Rocky Escarpments part 2

Hi Folks

When I left you last on this project I'd filled in one of the box modules but of course I had 7 more to finish. With the sun shining this morning I headed out into the garden to tackle the remainder.

Part 1 of the build can be found here

http://shedwars.blogspot.co.uk/2014/09/egyptian-adventures-rocky-escarpments.html


As you will see from the pictures below it was a really productive day.

The shot below is the first box I finished with the filler now added over the polystyrene. This will take about 3 days to completely dry and at the point I can start on the ground and base work.


The first box built

a sense of scale? heres one cliff with a 28mm figure


In the above picture you can see the first box with the second alongside. The pre-cut side panels allow these to align up neatly.

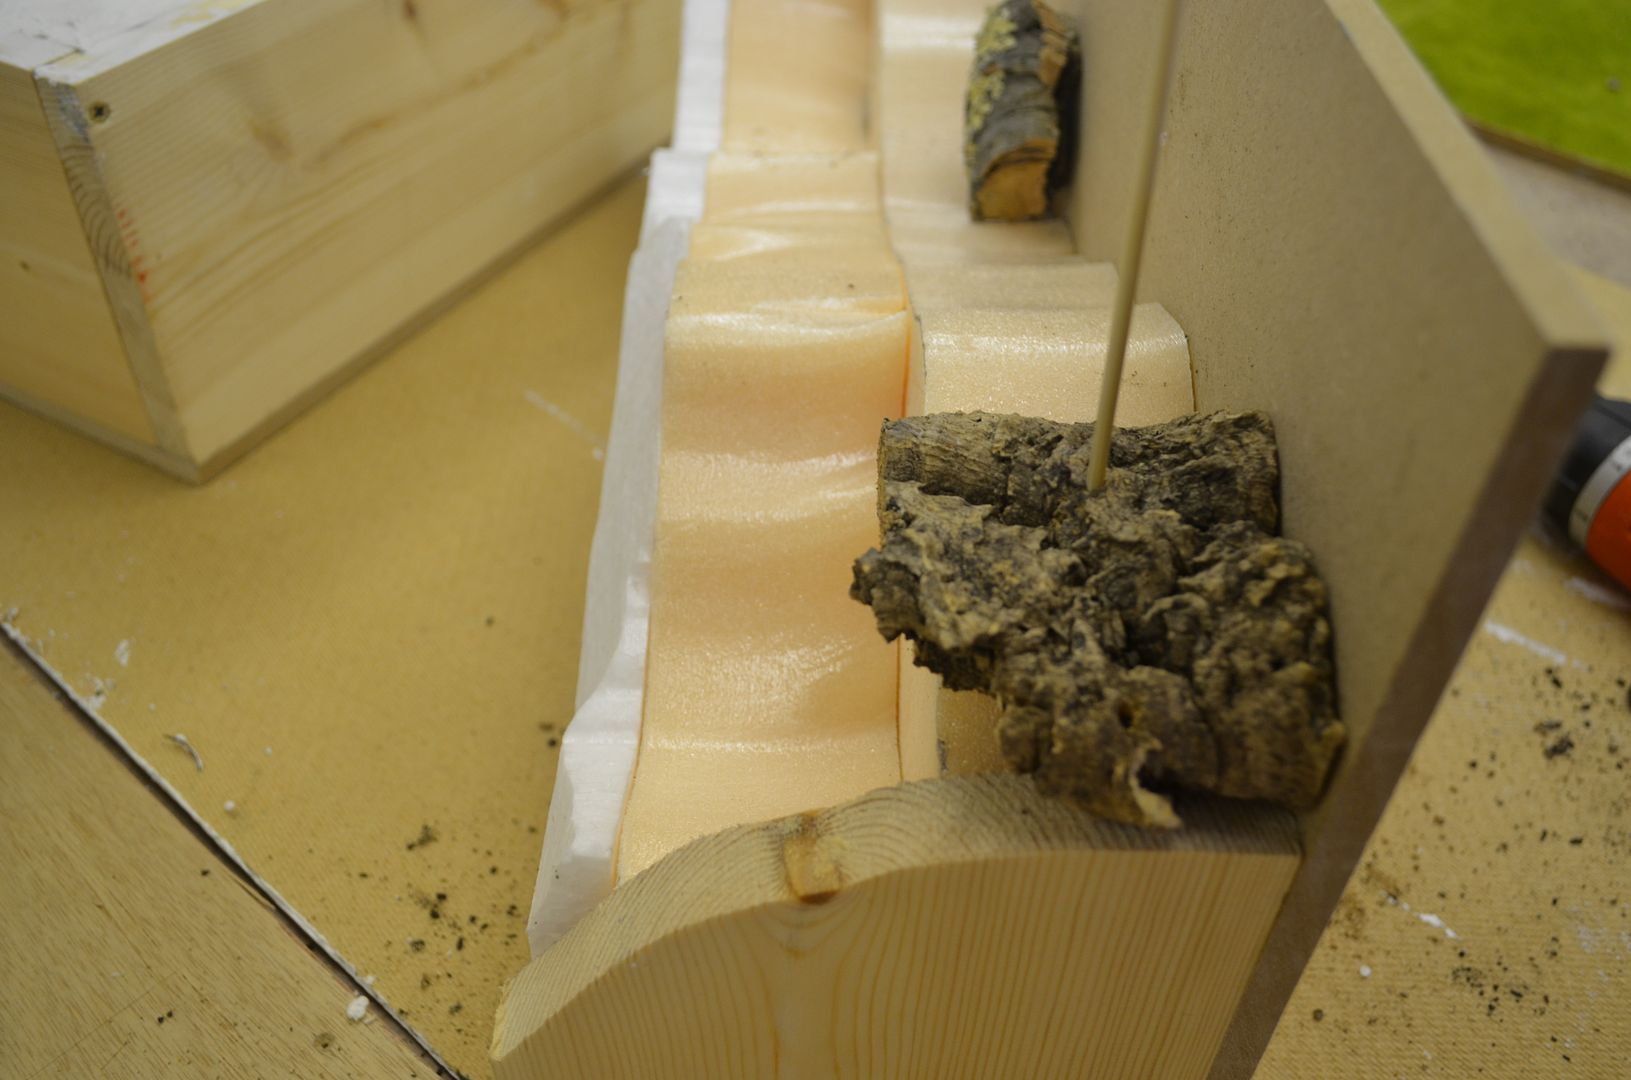
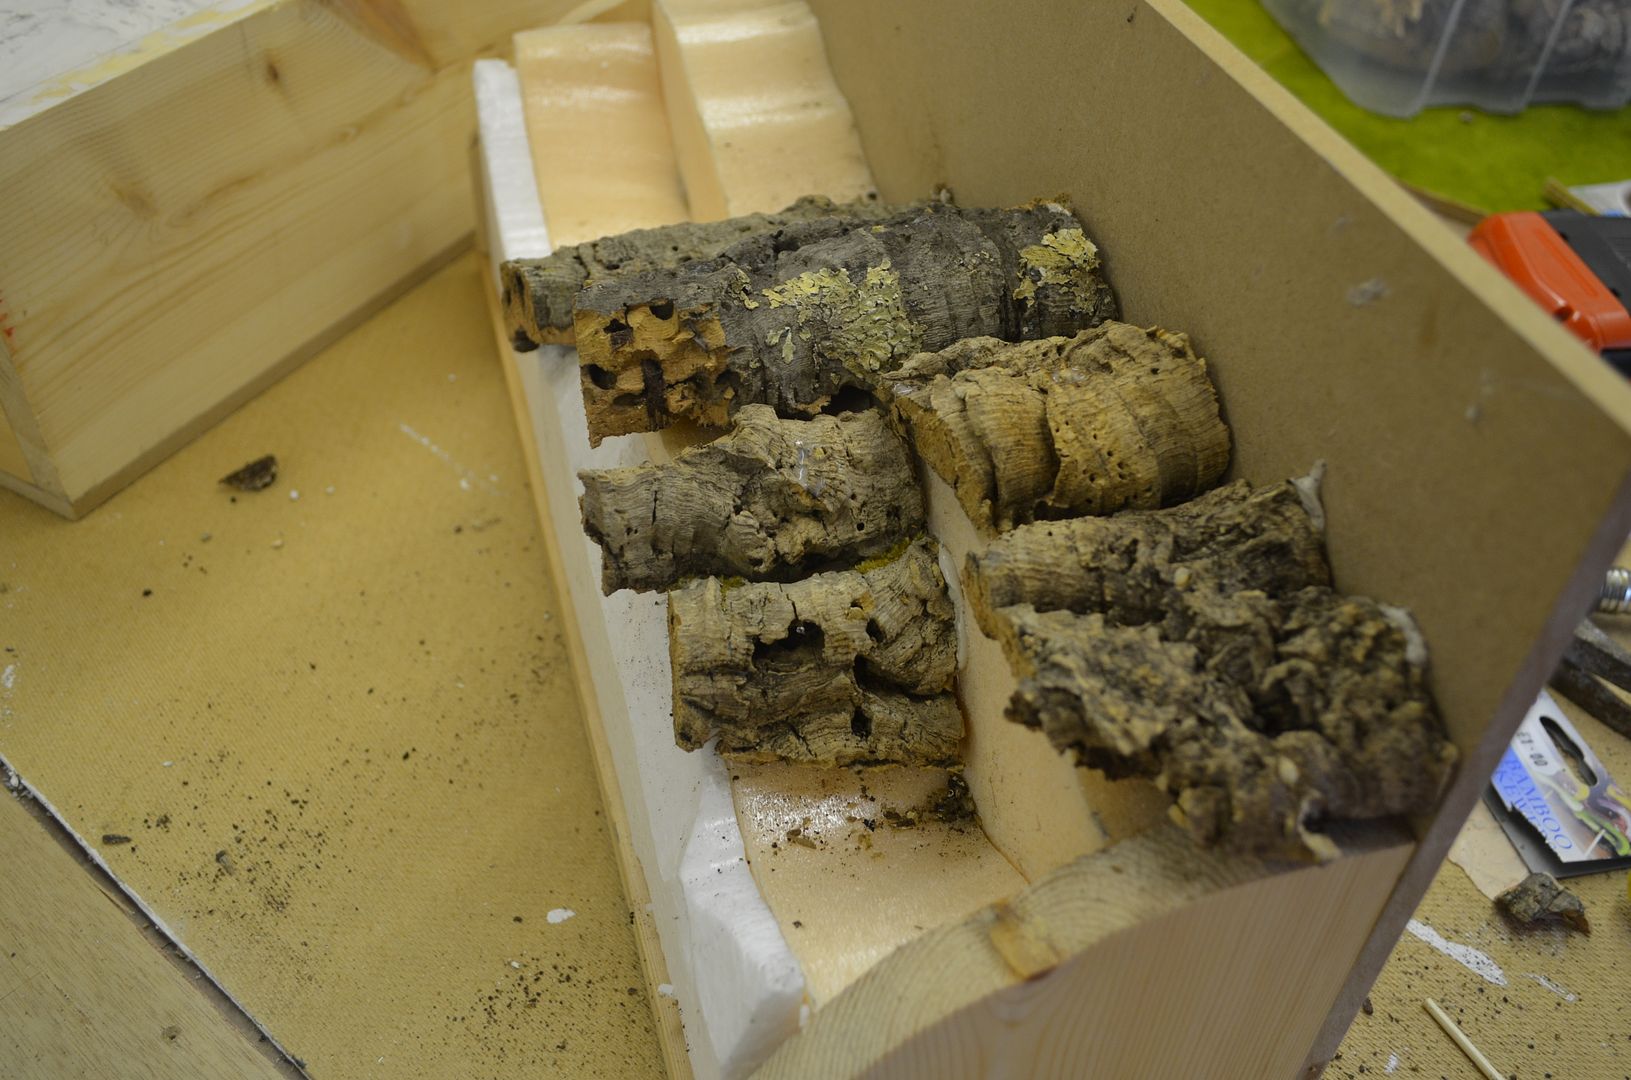
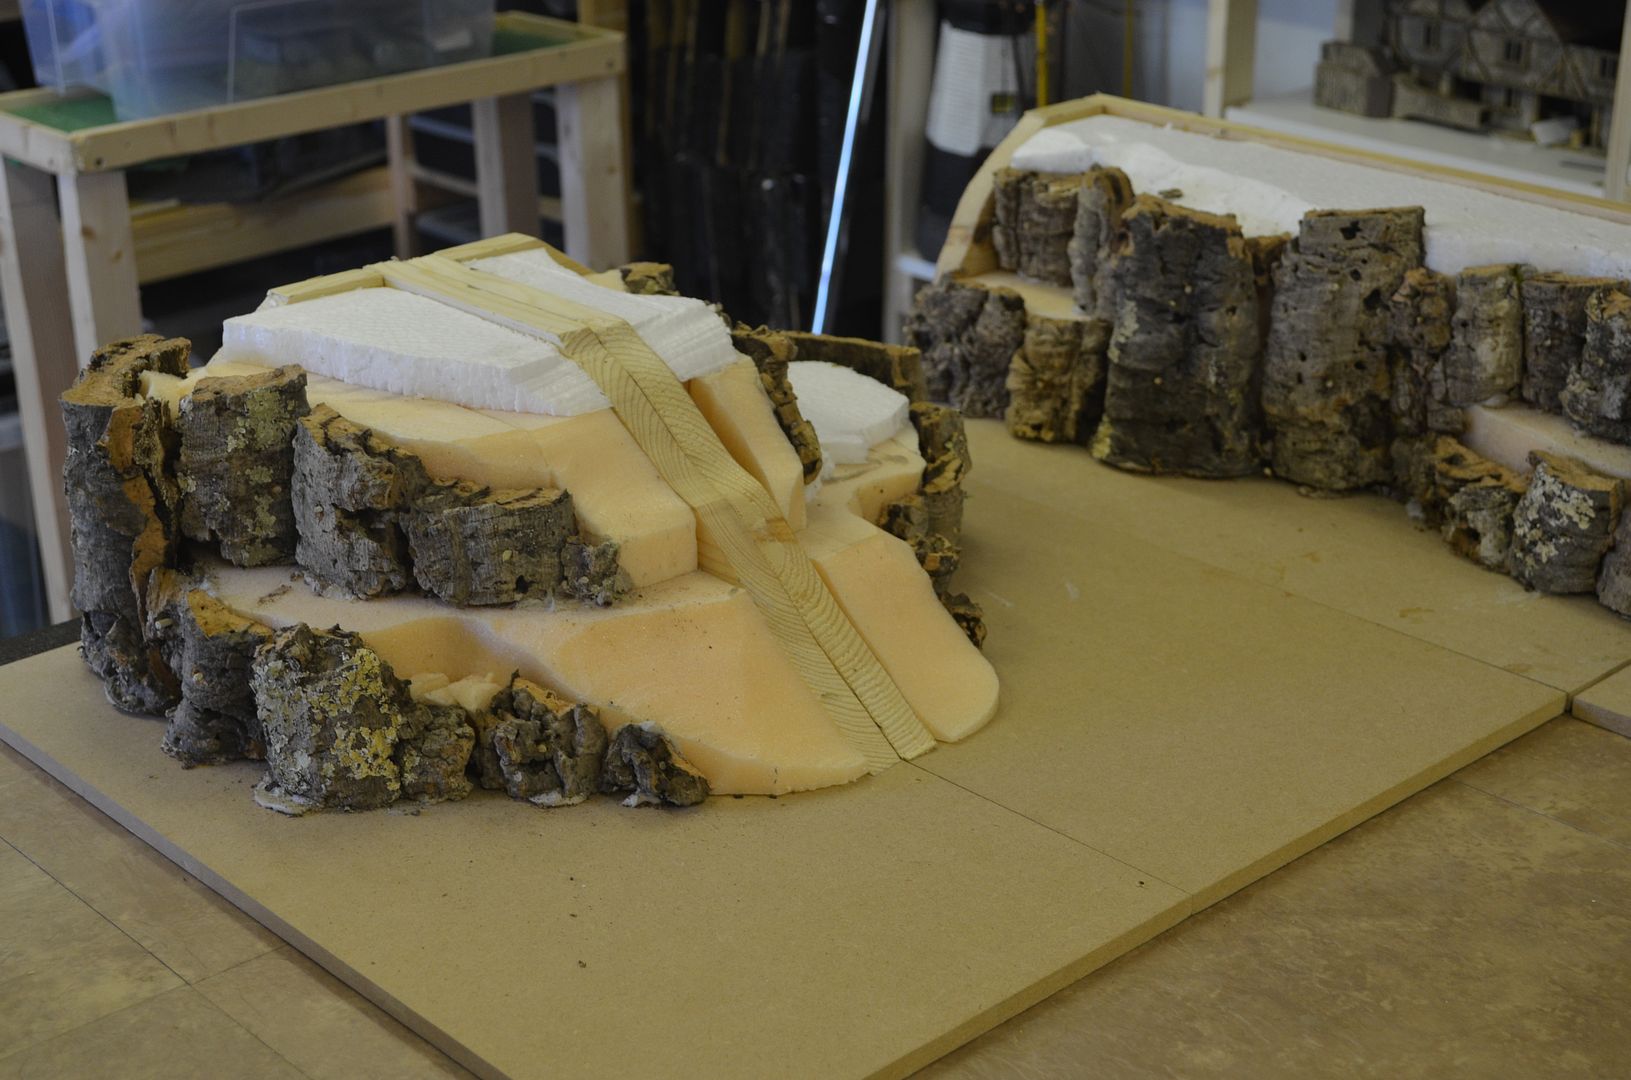
I thought you might be interested to learn how I fix the cork bark/cliff faces to the polystyrene inners. Quite simple really....I use barbecue skewers.

Just drill a hole in the bark and then push the skewer through. Not forgetting to add glue !


Drive a skewer through a drilled hole - you can also see the sandwich of foam in this picture


The skewers are then trimmed flush


The cliff faces soon started to take on a life of their own.

The run consists of three modules - I am building 8


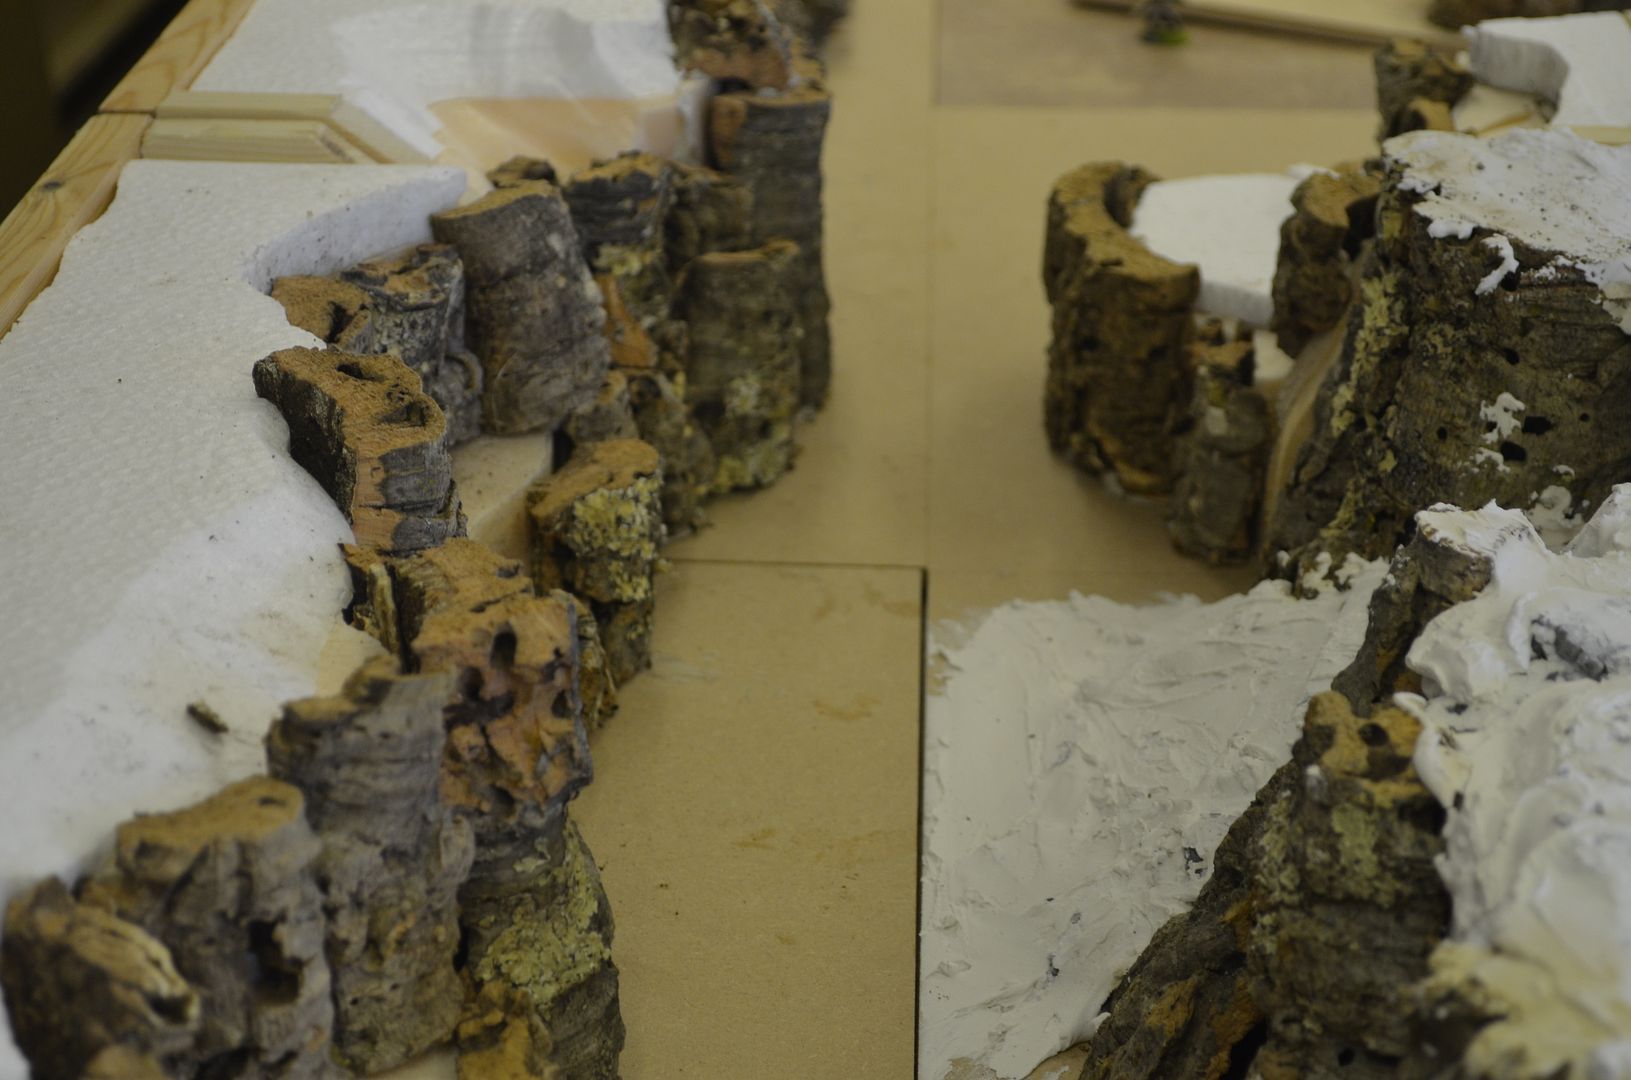
By playing around with the boxes I can build an infinite number of shapes,. I still need to build a few more corner pieces but I think it is starting to take shape.


A rocky outcrop - four corner pieces

another shot of the above


A rocky canyon


Two corners against the table edge
A cliff wall to the front, a hill in the middle


The next big job is to complete the filler process on these pieces ! With a bit of luck I might be able to get these done next week

Until next time
Part 3 is now done and can be found here

Part 3

Tuesday, 23 September 2014

Halfords Camo Paint

Hi Folks

It was brought to my attention on one of the forums that Halfords (A UK Auto/Bicylcle chain) have started selling a product called Camo Paint...

It says on the label that it is suitable for models !!

Although I haven't tried the product yet some folks are raving about the quality. There are three products in the range - Green, Brown and Khaki


I bought the last two on the shelf...its clearly been popular.

When I got home I decided to tease my 16 year old daughter (studying Art for A Level) and say that through the magic of modern science they have invented a spray paint that spays different colours and that this was one of the first uses.

Needless to say that she fell for this hook line and sinker...'Dad...that's sick, that's so cool you can spray camo patterns from one can !' Ten minutes later it hit her social networking site.

Not wanting to embarrass her any further I told her the truth.

Next up the Missus (no talent for Art but she tries - bless her. 'Gosh...what will they think of next now can you fix that...

She still thinks it is camo paint...

Finally I showed to my son, rattled off the line and let it sink in....two minutes later I got the response...'bog off Dad' -

I might even get round to using the spray paint soon..

Sunday, 21 September 2014

1930's Garage & Petrol Station - VBCW

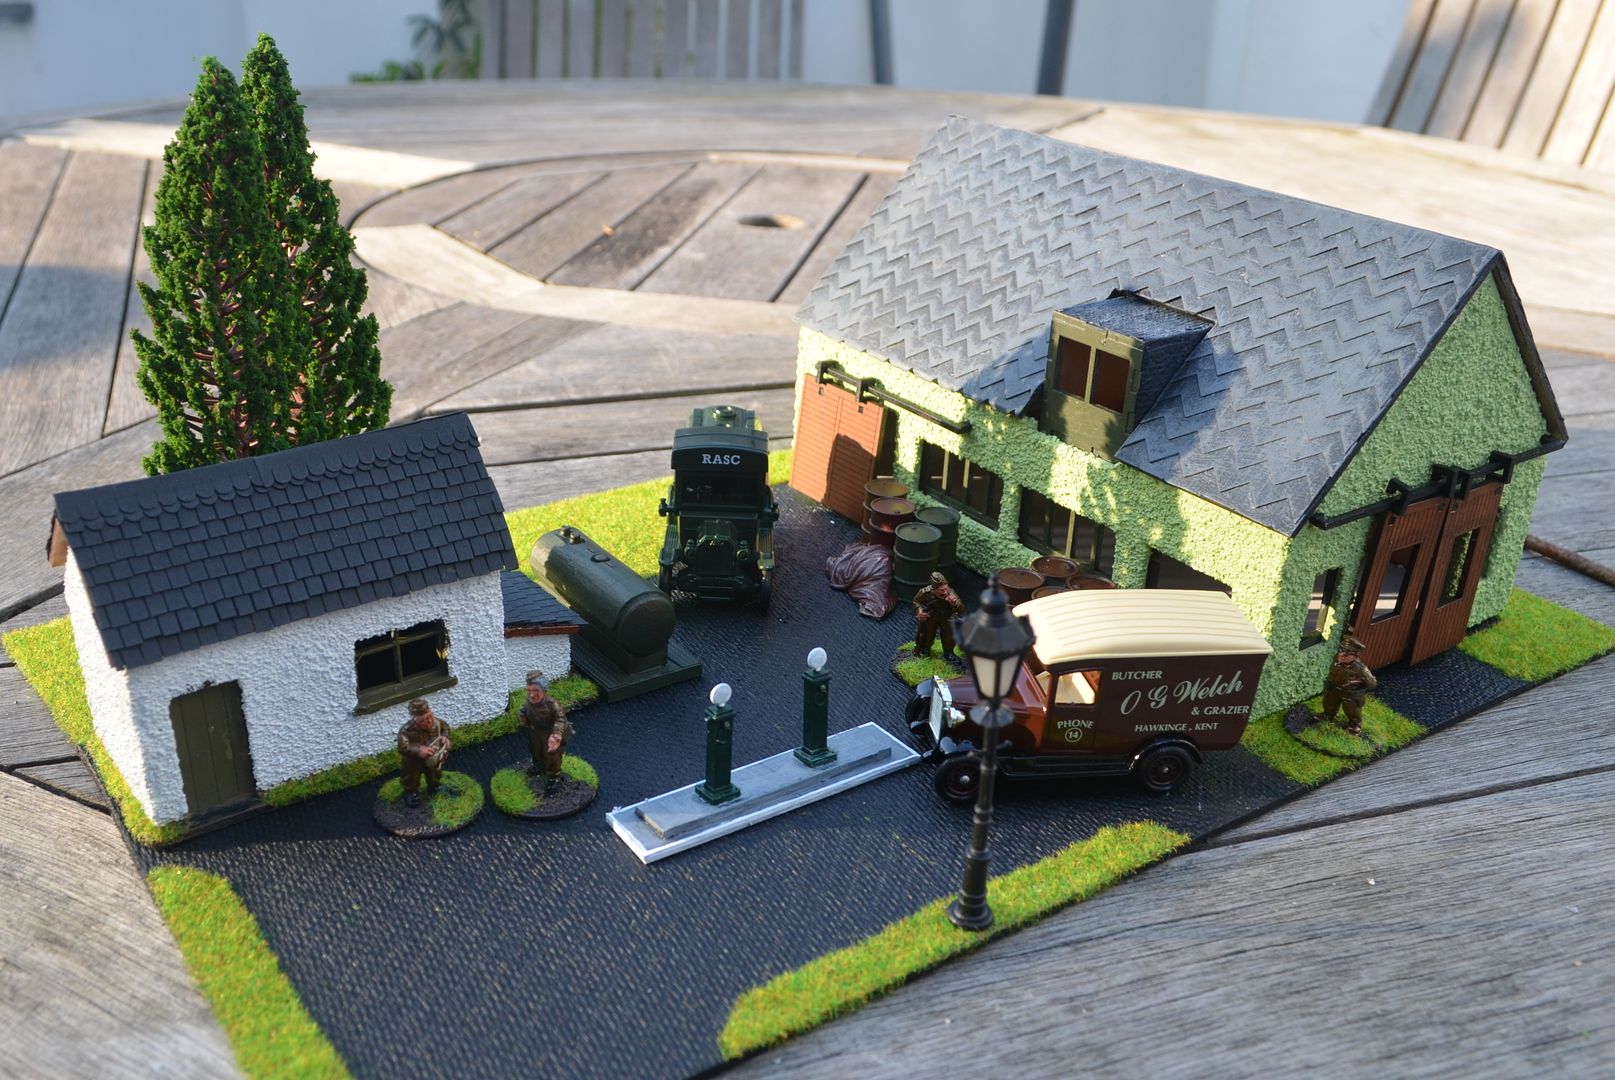
So with my next big VBCW game fast approaching I thought I'd put together the new kit that recently launched by Warbases - their garage workshop.

For more info you can get it here

http://war-bases.co.uk/BUILDINGS/VBCW-28MM


This really is a straight forward build and its a nice touch that they provide the roofing material.  The only area I had to cover on the roof was the second floor office. I used some kitchen roll with PVA to give an asphalt/lead effect.

Like all mdf buildings I personally detest the engraved stone work so like the others in my village this got the render job and then treated with a nice green finish.

I decided that the garage should have its own base so rummaging through my bits and bobs box I found some barrels and other paraphernalia.

The petrol pumps are some simple HO models bought on ebay and mounted on a plasticard base.

The little shop/office is actually am outhouse from time line miniatures. I actually bought the kit off ebay and then last week I discovered this company. I went and bought a number of their terrace house kits (more on that another time) but the service was fantastic - ordered Thursday arrived Saturday


http://www.timelineminiatures.co.uk/


Now somewhere in my shed are a number of old 1930 advertising signs - when I have found these Ill add them to the buildings. In the meantime here are a few more photos.


Until next time


Sunday, 14 September 2014

Milestones, Memorials & MDF Buildings

Hi Folks

A few updates this morning wrapped up in one post.

Some great news for my ego - last night I hit the 200k Hits Milestone !


Totally chuffed to bits. In simple terms I have now doubled traffic to the website in less than 8 months. The goal of 250k by Christmas is looking possible. If this can be achieved by the third Shed Wars birthday on 19th December I'll be setting up a very special competition.

Enough of these ramblings...

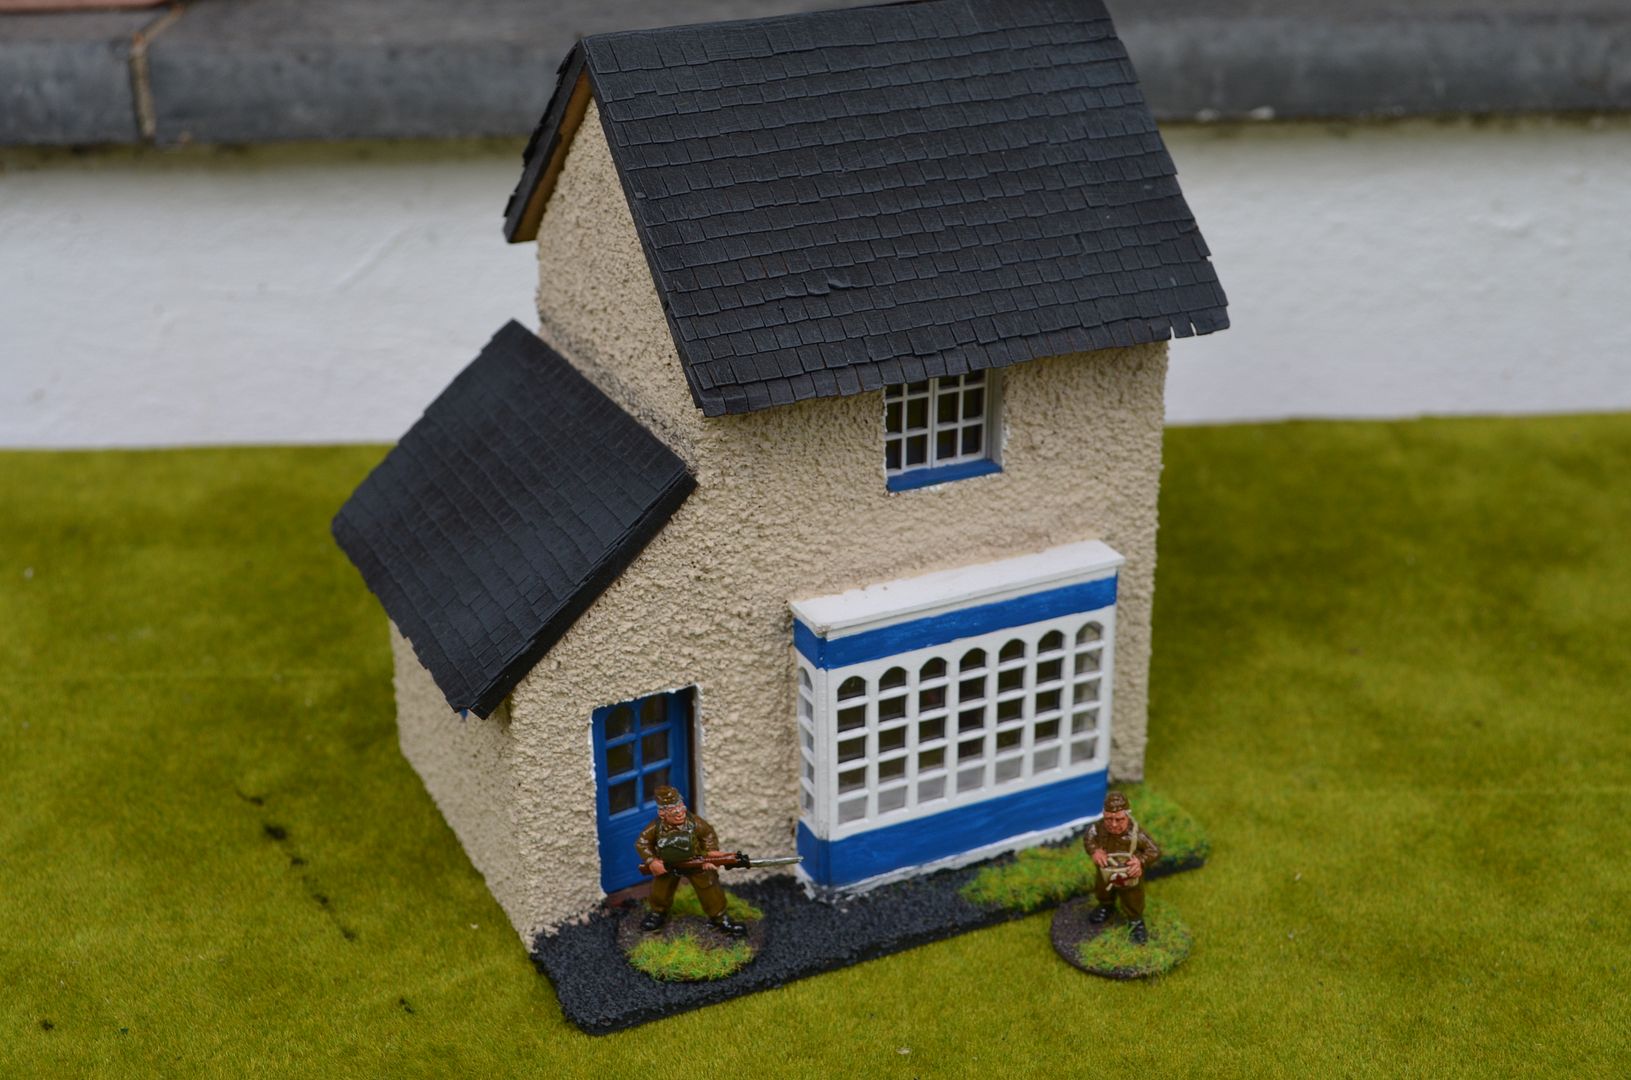
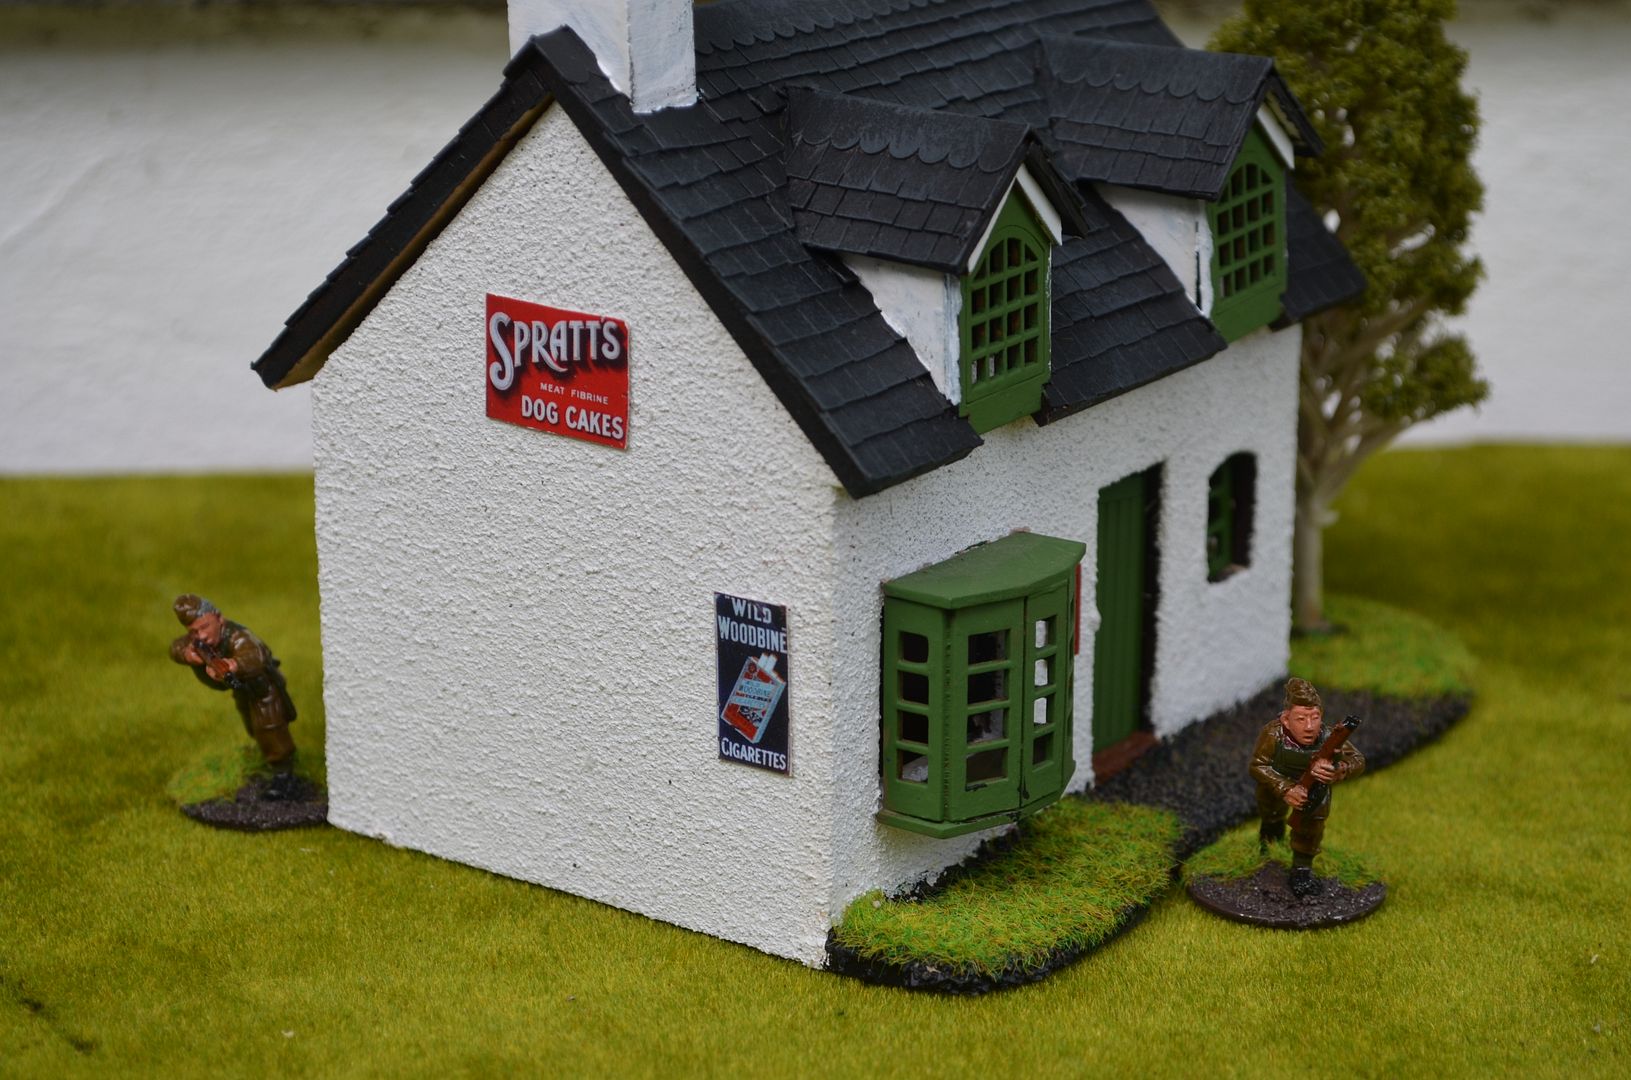
As some of you will know I am hosting a game at this years BLAM - the title of this is the Angels have Landed and is set in the ficticious VBCW period. I needed to complete all the various bits and bobs required soon because the event is in less than four weeks. This week I tackled the pile of mdf buildings awaiting the finishing touches. They are now all done.


A couple of buildings


The Store


The Post Office


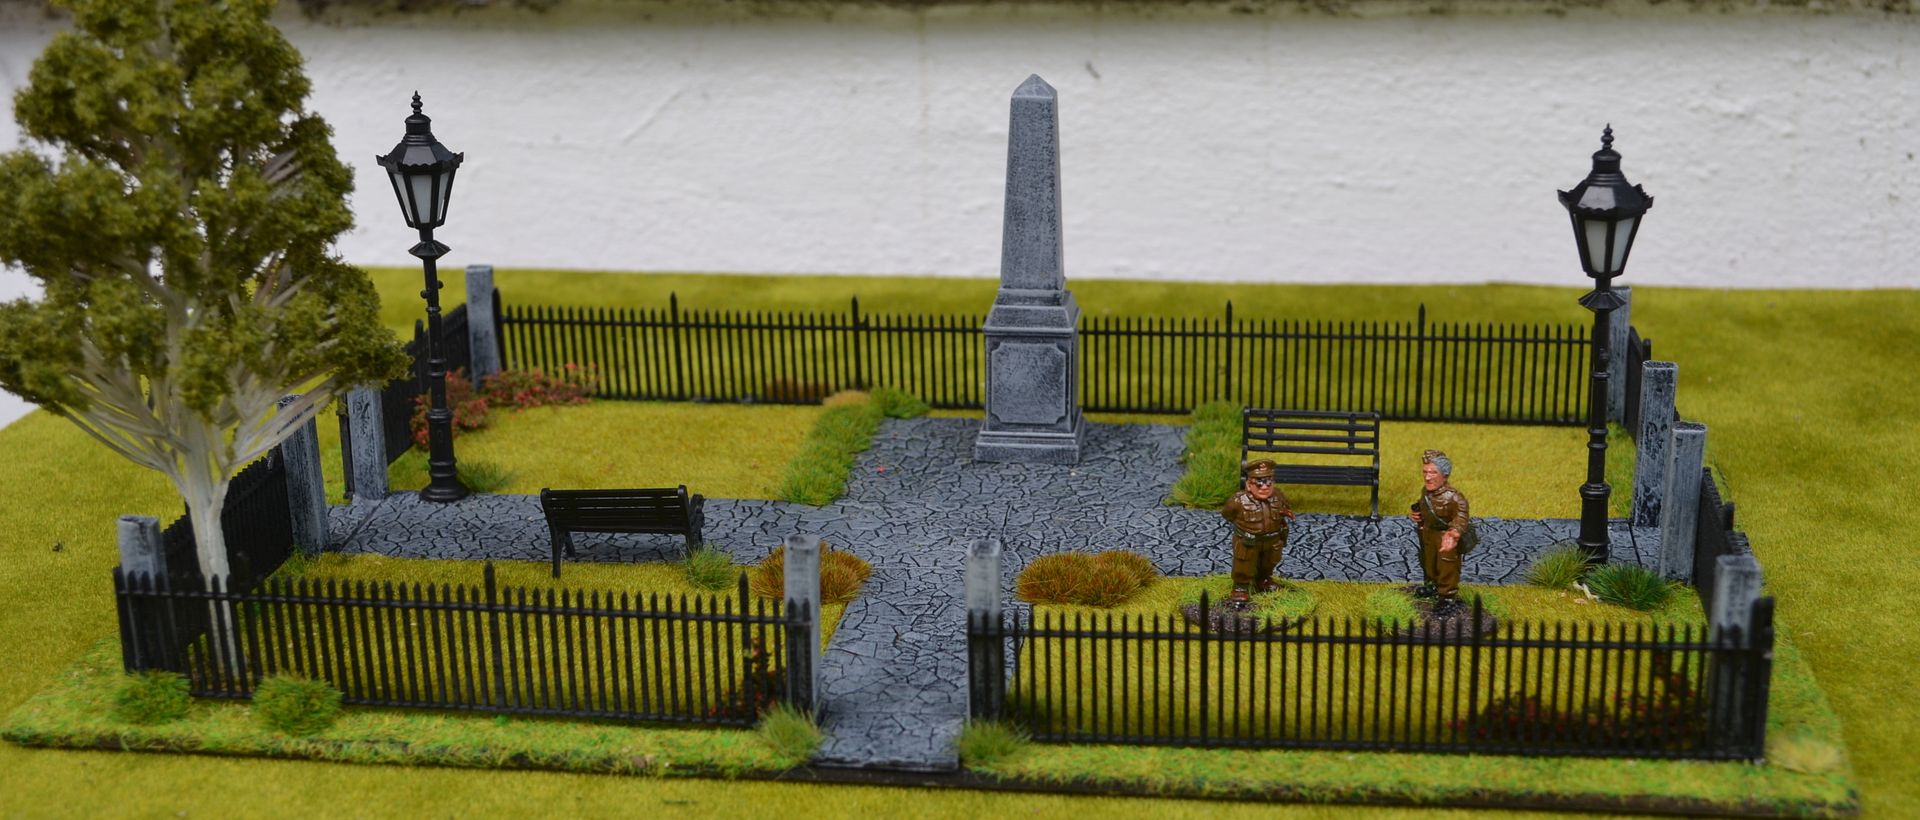
The thought also occurred to me that my village should have a memorial garden/park so a couple of hours later I managed to turn this pretty little thing out. All the bits came from my odds and end box with the exception of the railing fences. I'd sourced these from Fenris games some time ago.


The posts are actually Chinese chopsticks glued into drill holes.


The pathway is from some old embossed plastic sheeting and the memorial came from Ainsty castings.
 The lamps and benches came from a Chinese supplier on ebay selling railway scenics


Home Guard Figures are from Foundry - 28mm

and finally - yesterday morning I headed down to the toy fair at Sandown park for a quick wander. Loads of over priced toys but managed to pick up the following for less than a fiver in one of the rummage bins.


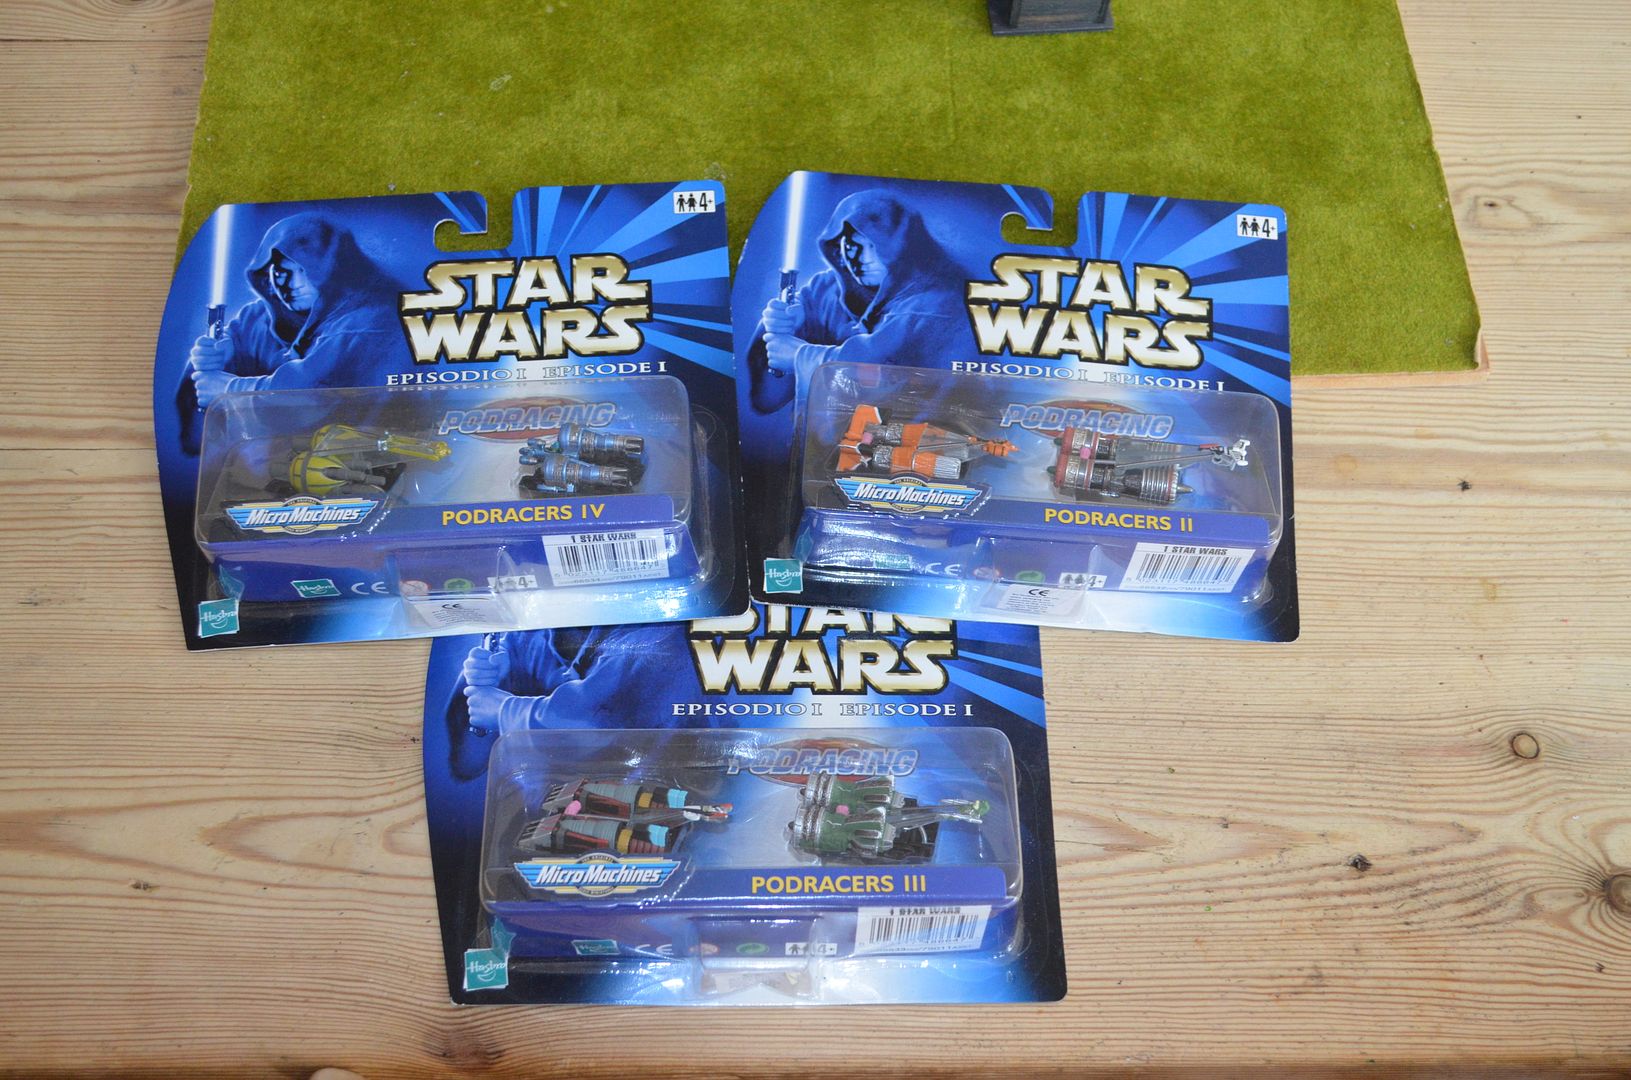
and as I left I saw these for £1.50 each - mint condition Star Wars pod racers - 2 per pack. These quickly got snaffled up - maybe one day Ill write up a set of rules for these.


PS BLAM is an invite only annual event open to likeminded individuals who regularly post on the Lead Adventure Forum. Its three days of games, beer and fun. This year I have the pleasure of hosting this at my local pub. We have even had special t shirts made up...