This post is quite long - and contains the best part of 40 photos. Right at the end is a critique of the ruleset.
With six players (including myself) I decided to throw a fairly large extravaganza using most of the troops I had available. Tonight would determine if I need any more big units for this period.
The unit cards prepared earlier (listed in the post before this one) would be used by all the players.
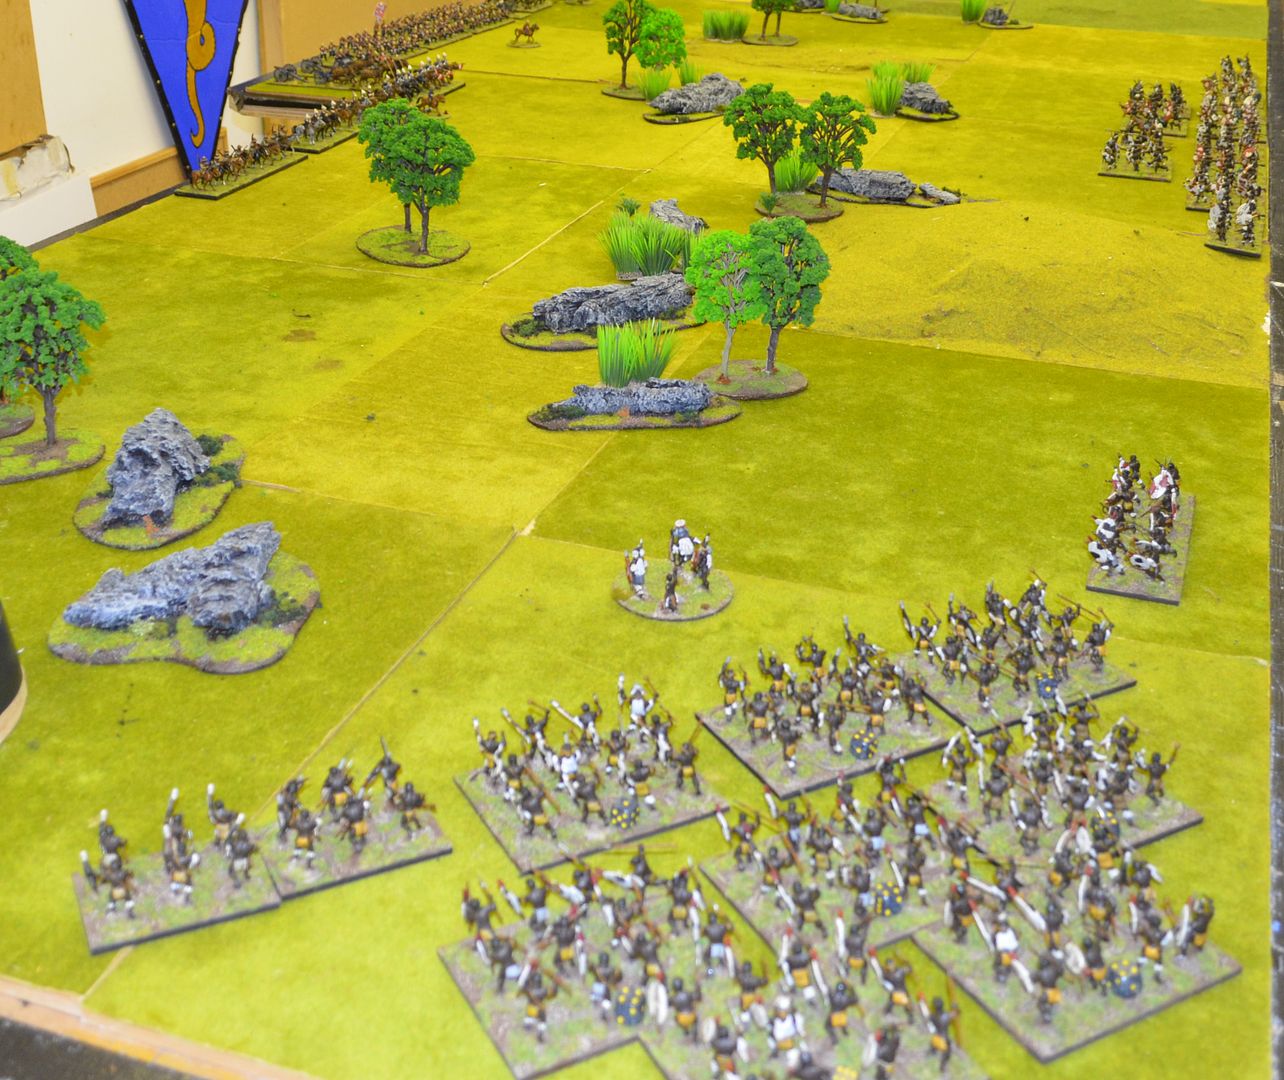
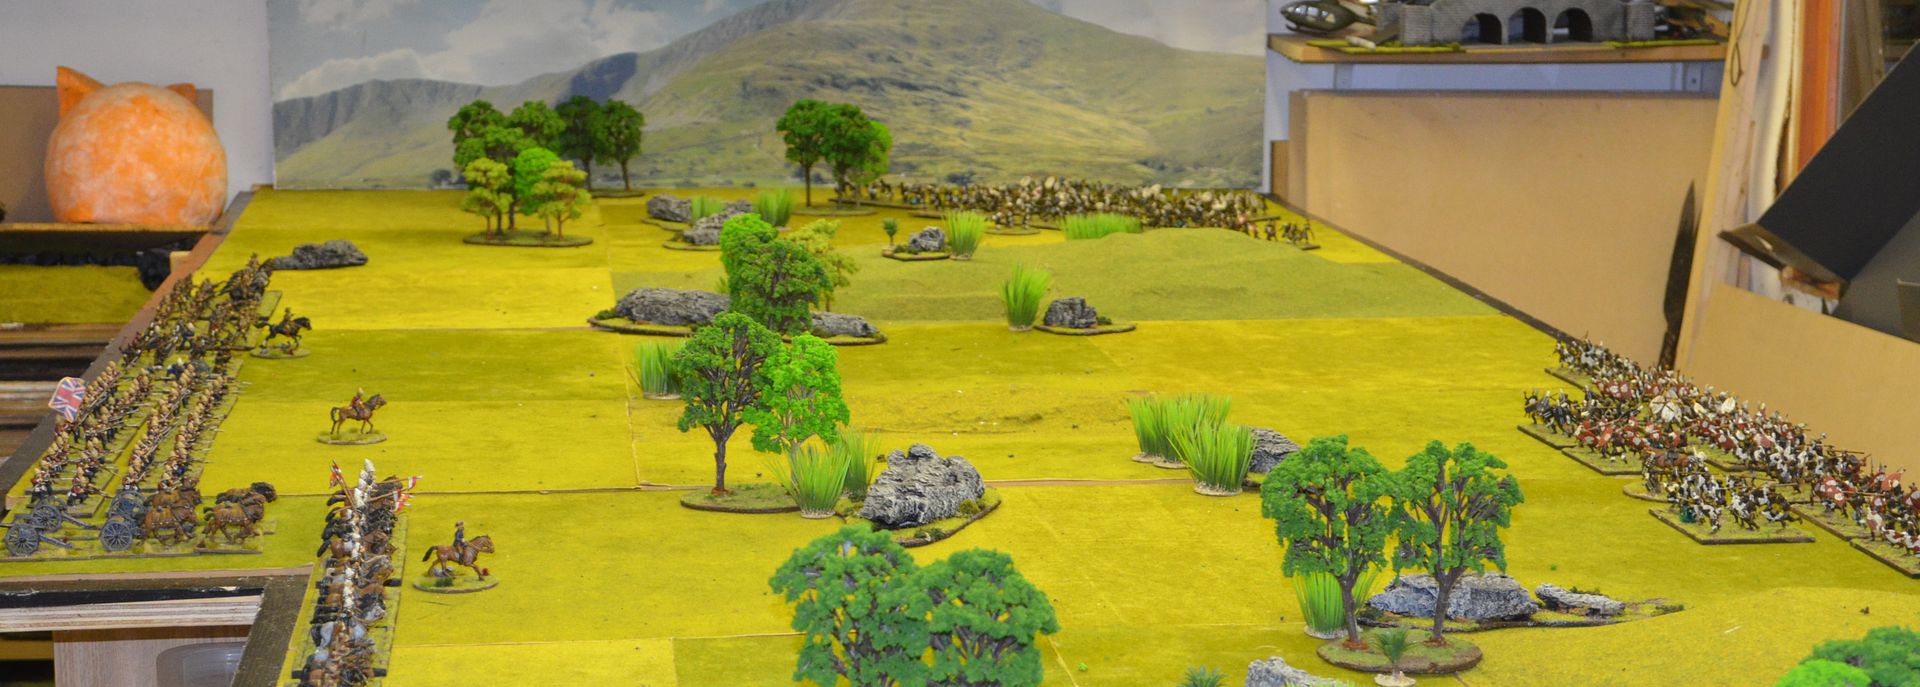
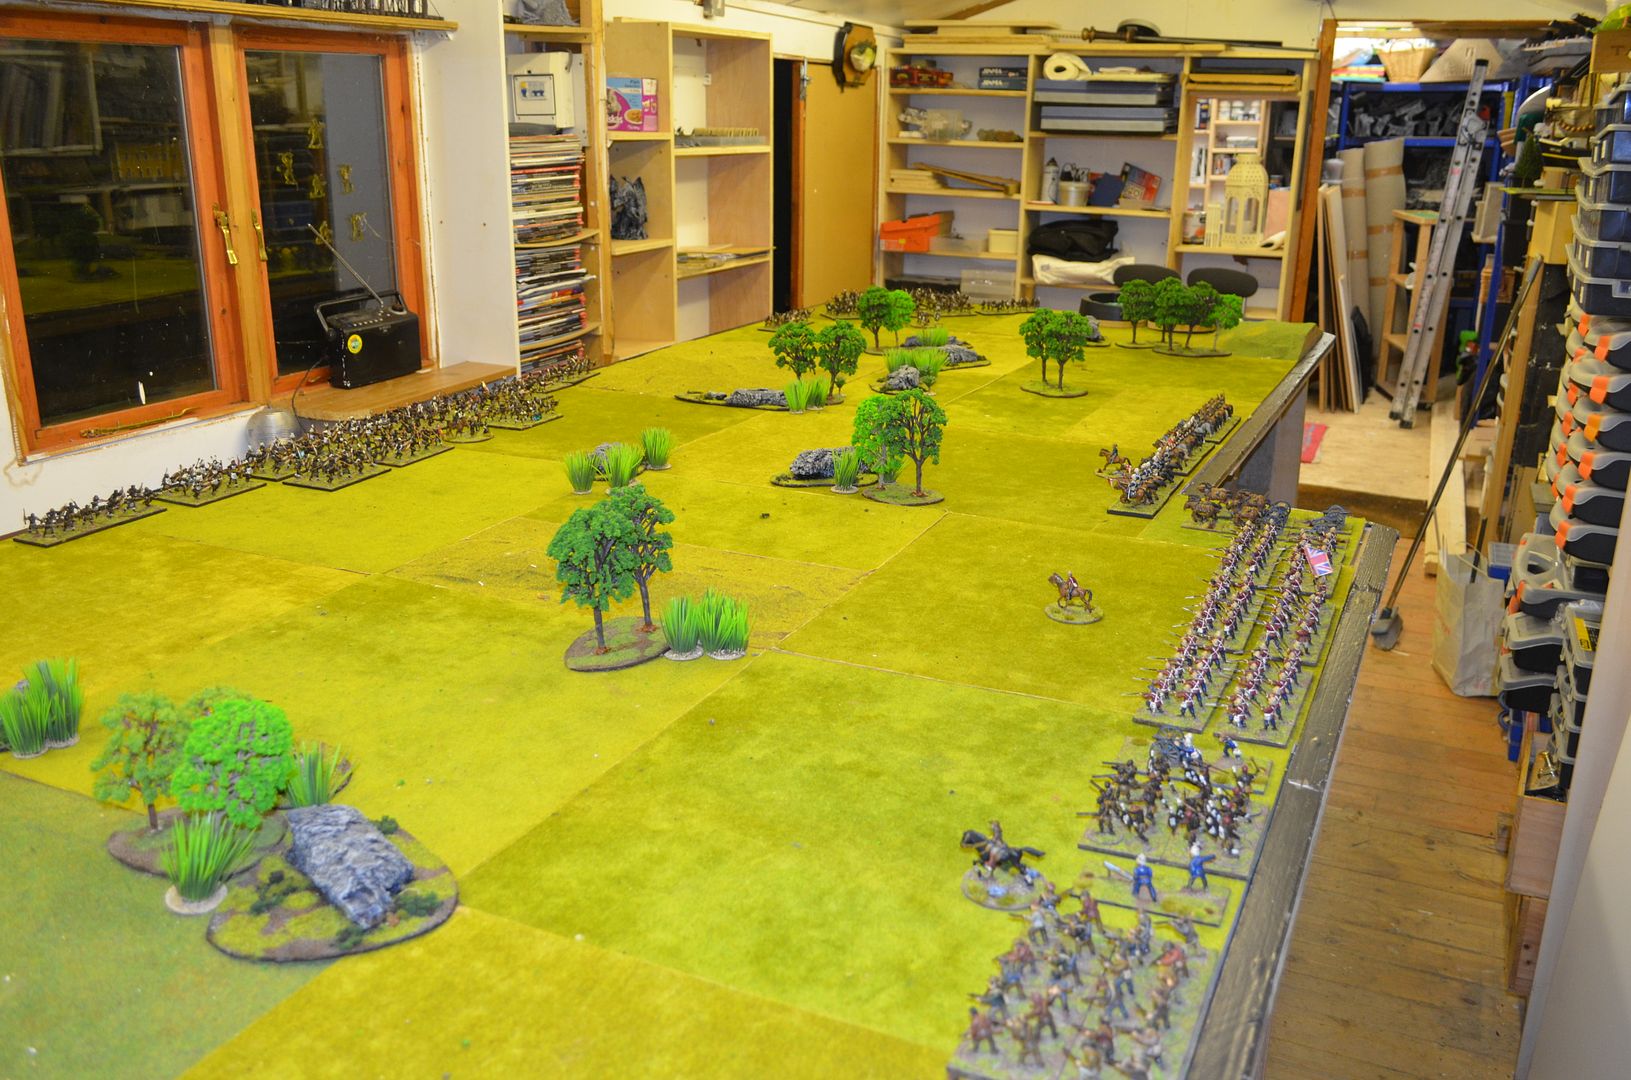
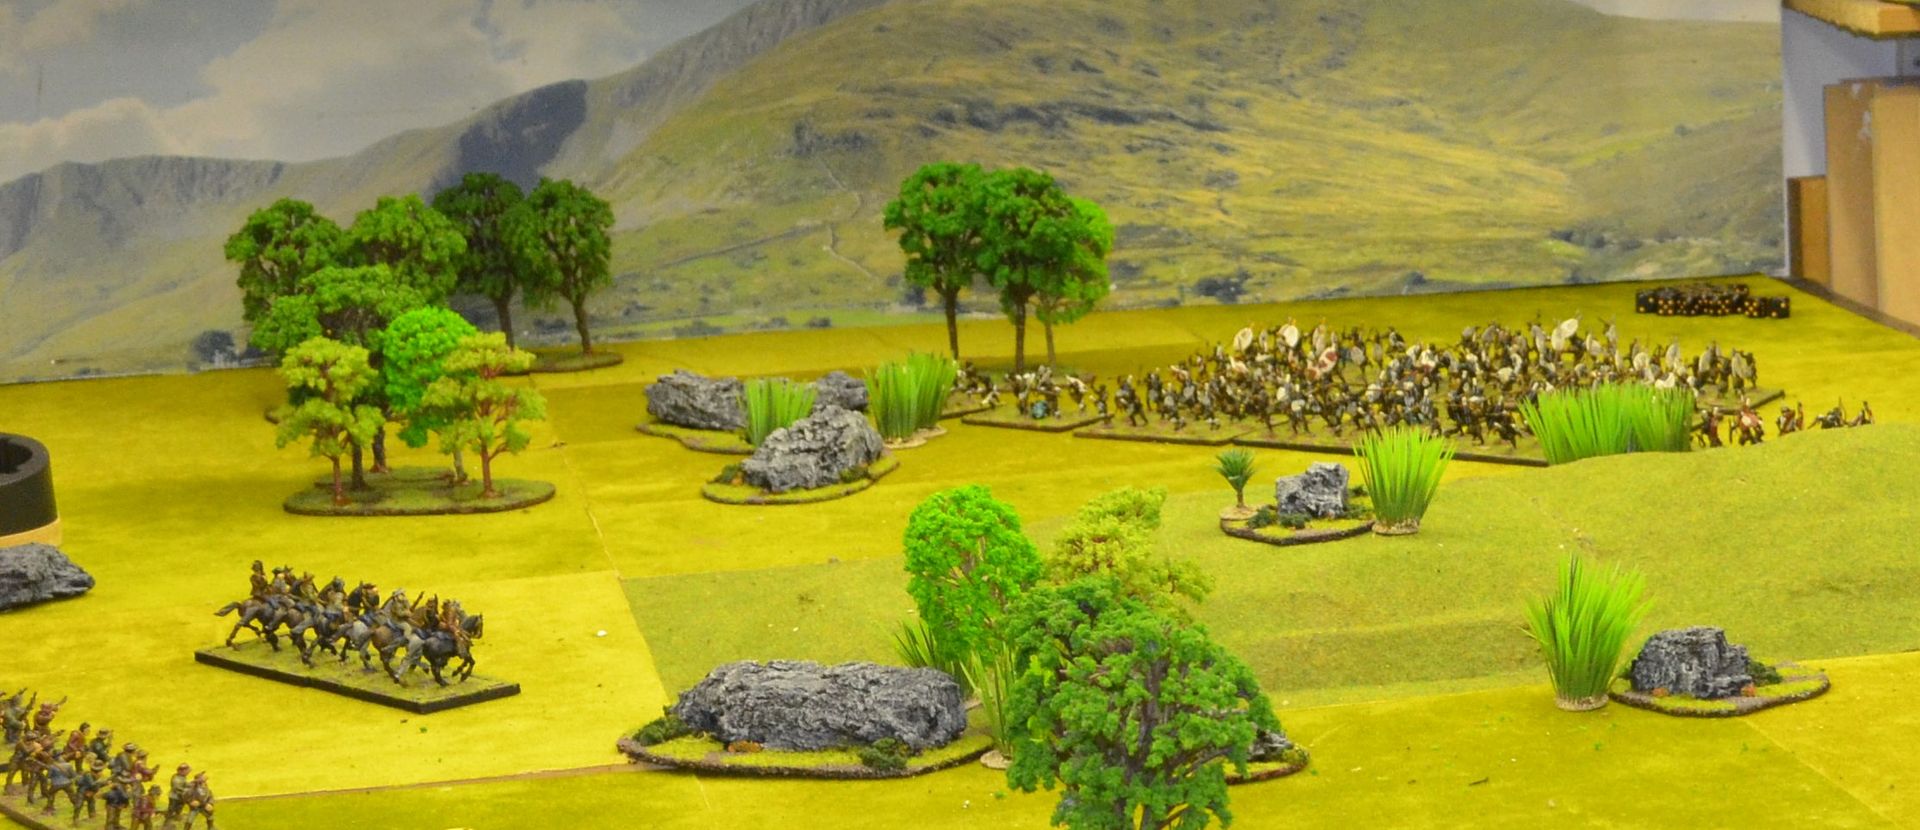
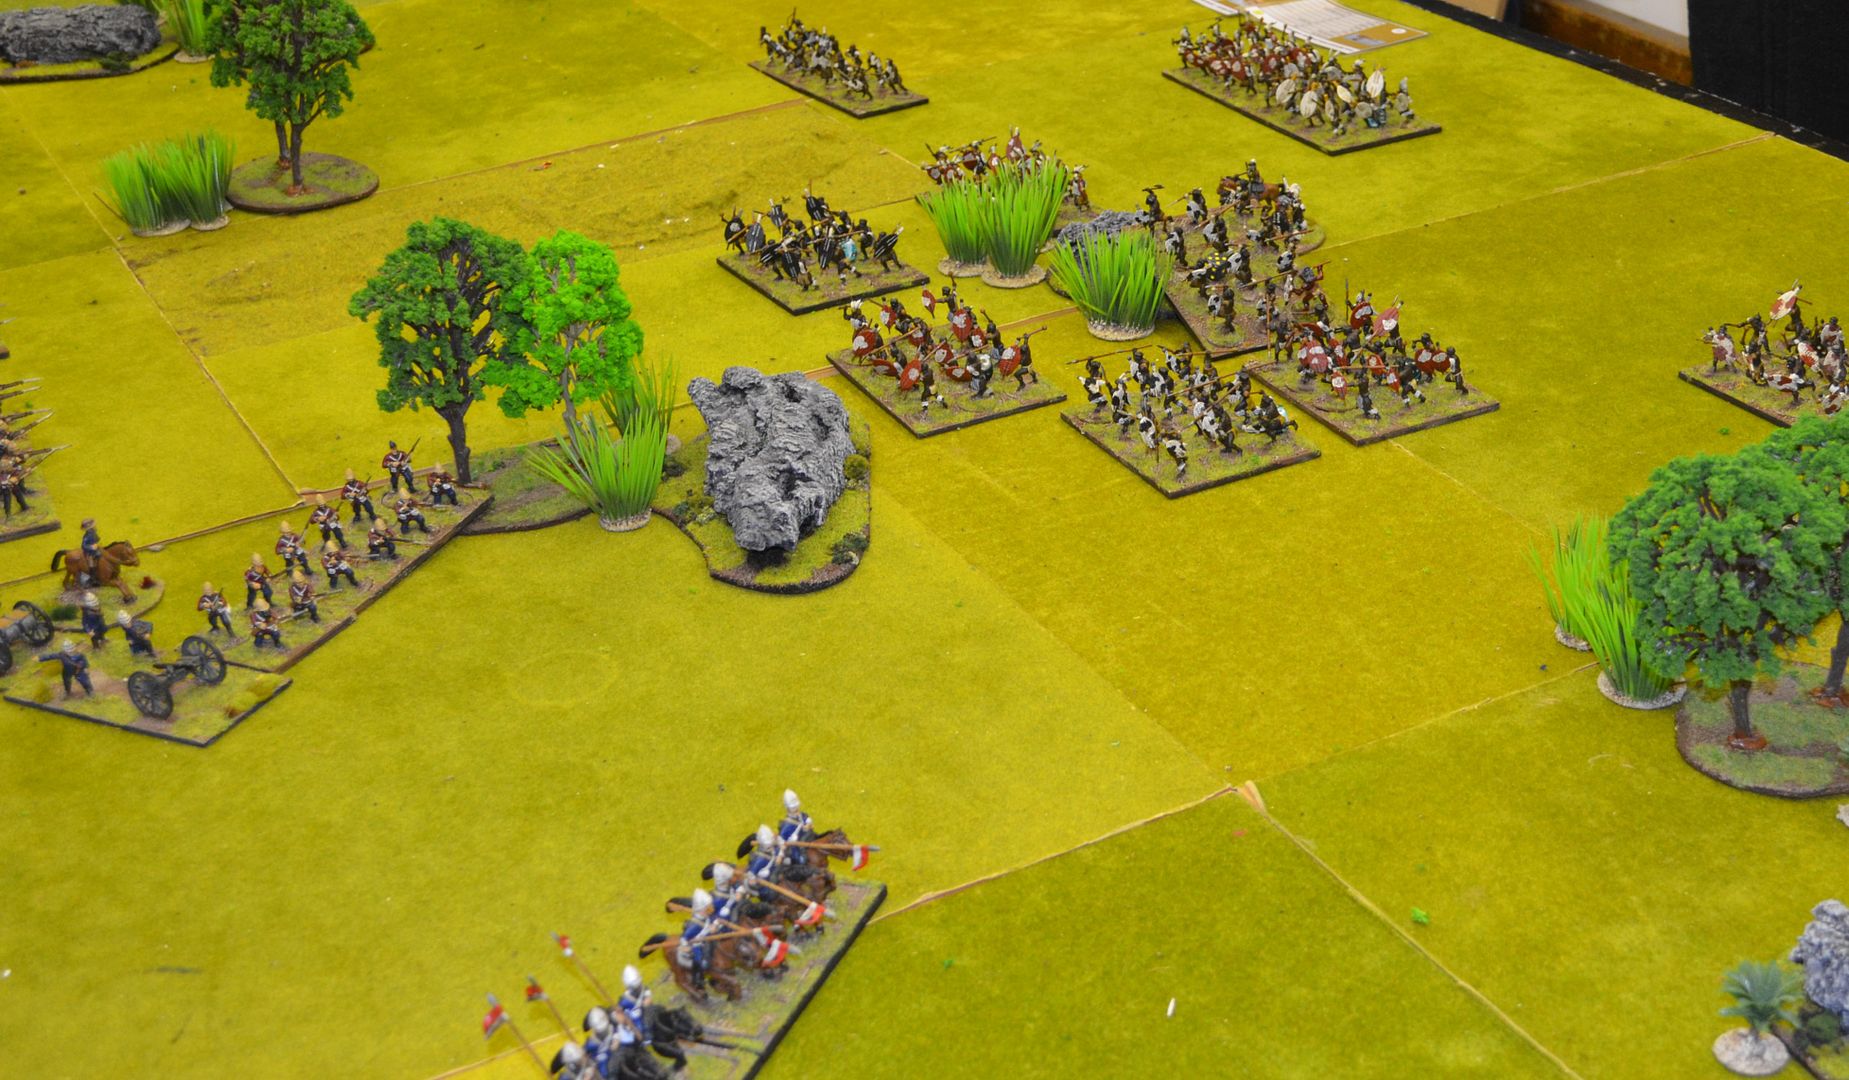
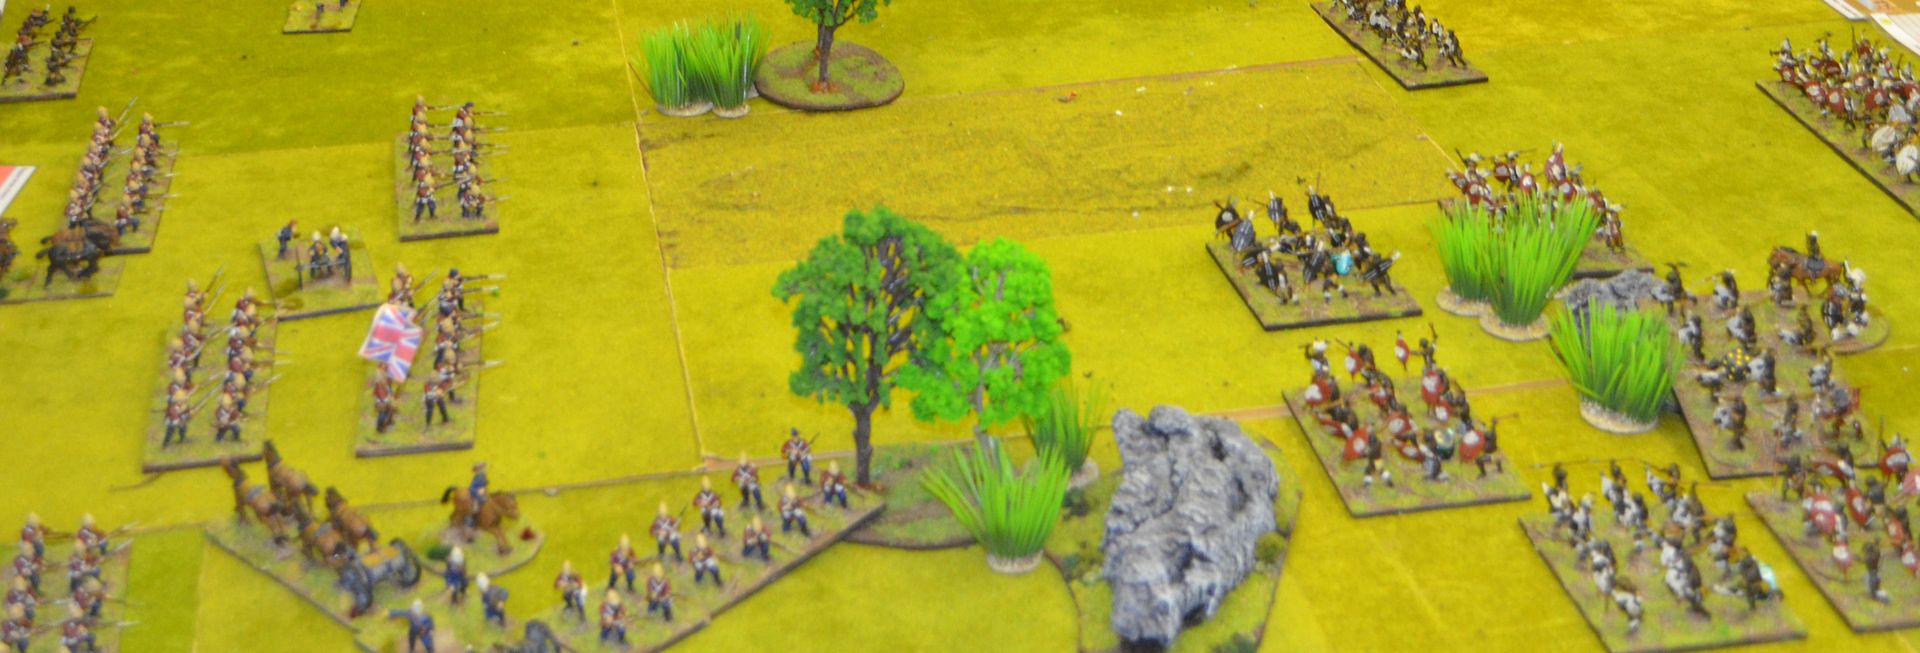
The forces were quite straightforward and as you see the Zulus are about 50% stronger than the British Force. This will be a good test to see if the points system listed in the book work.

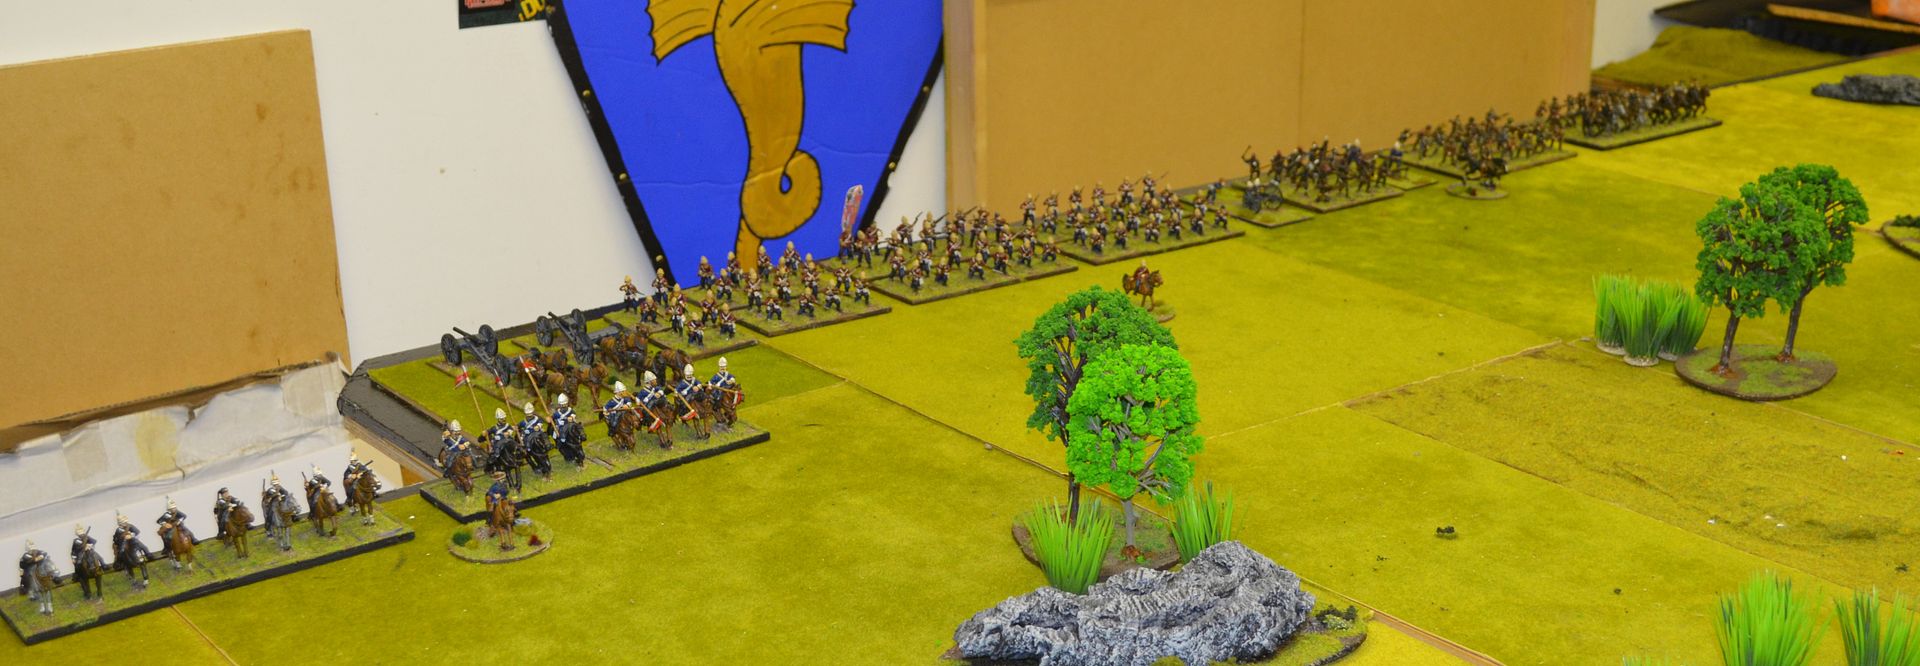
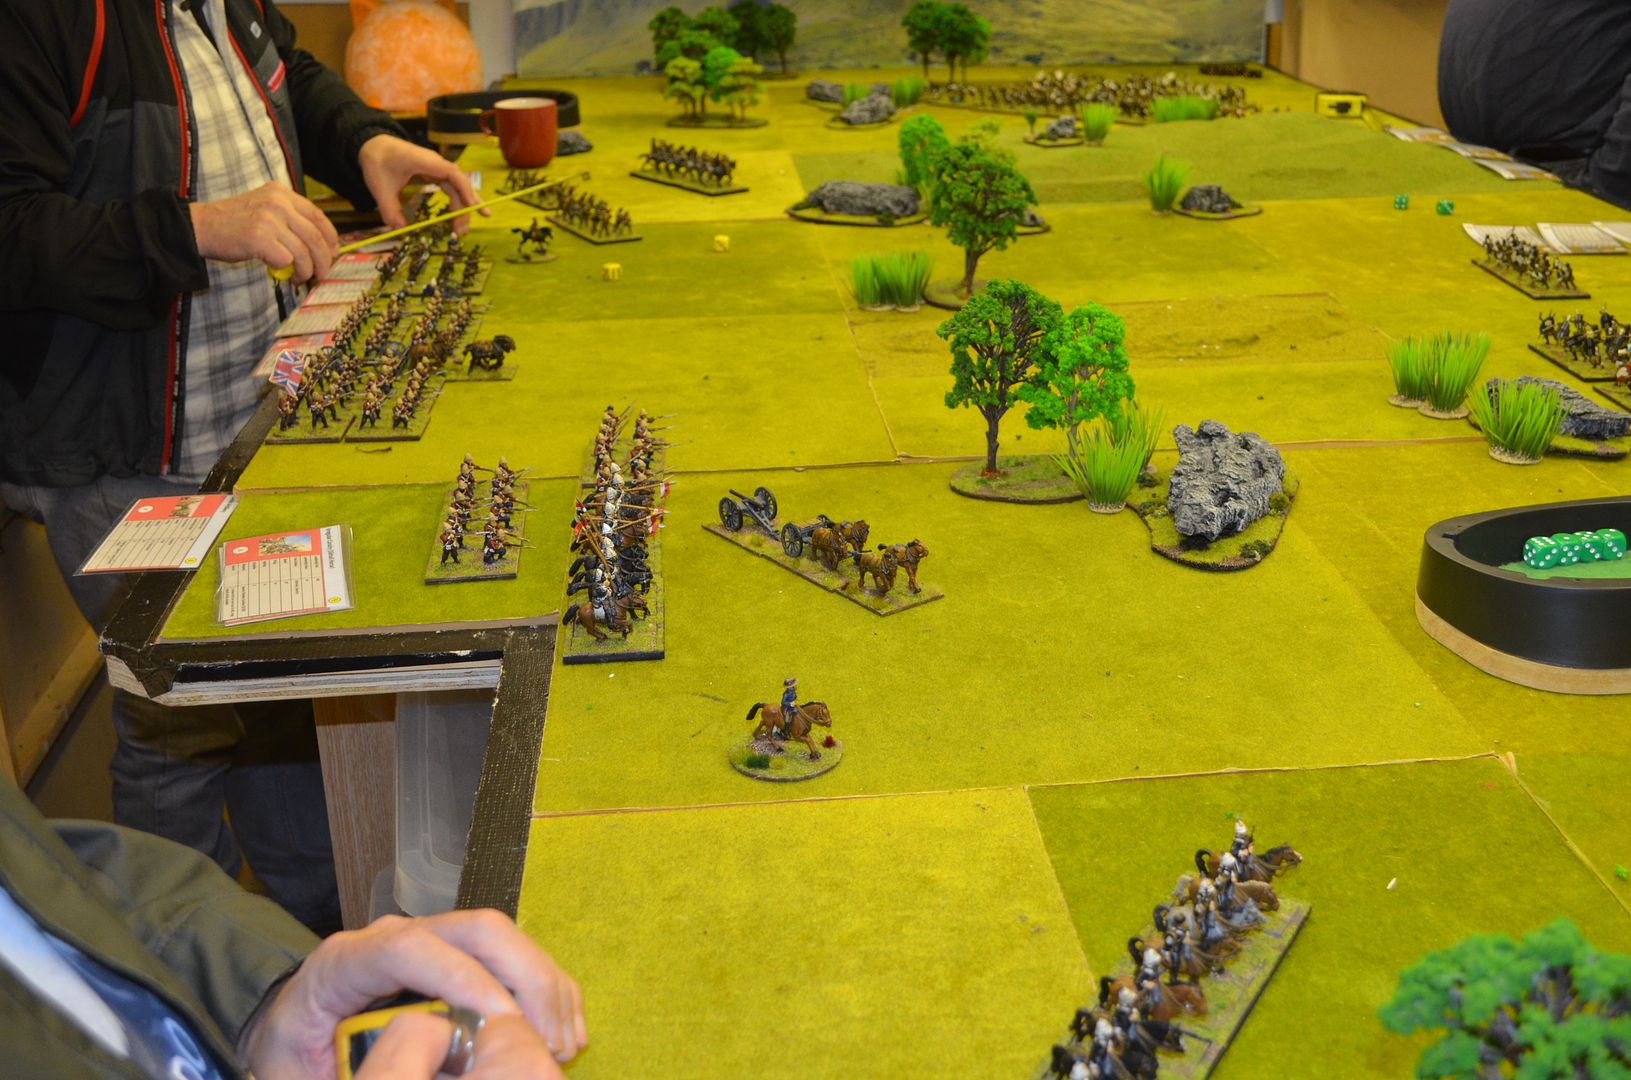
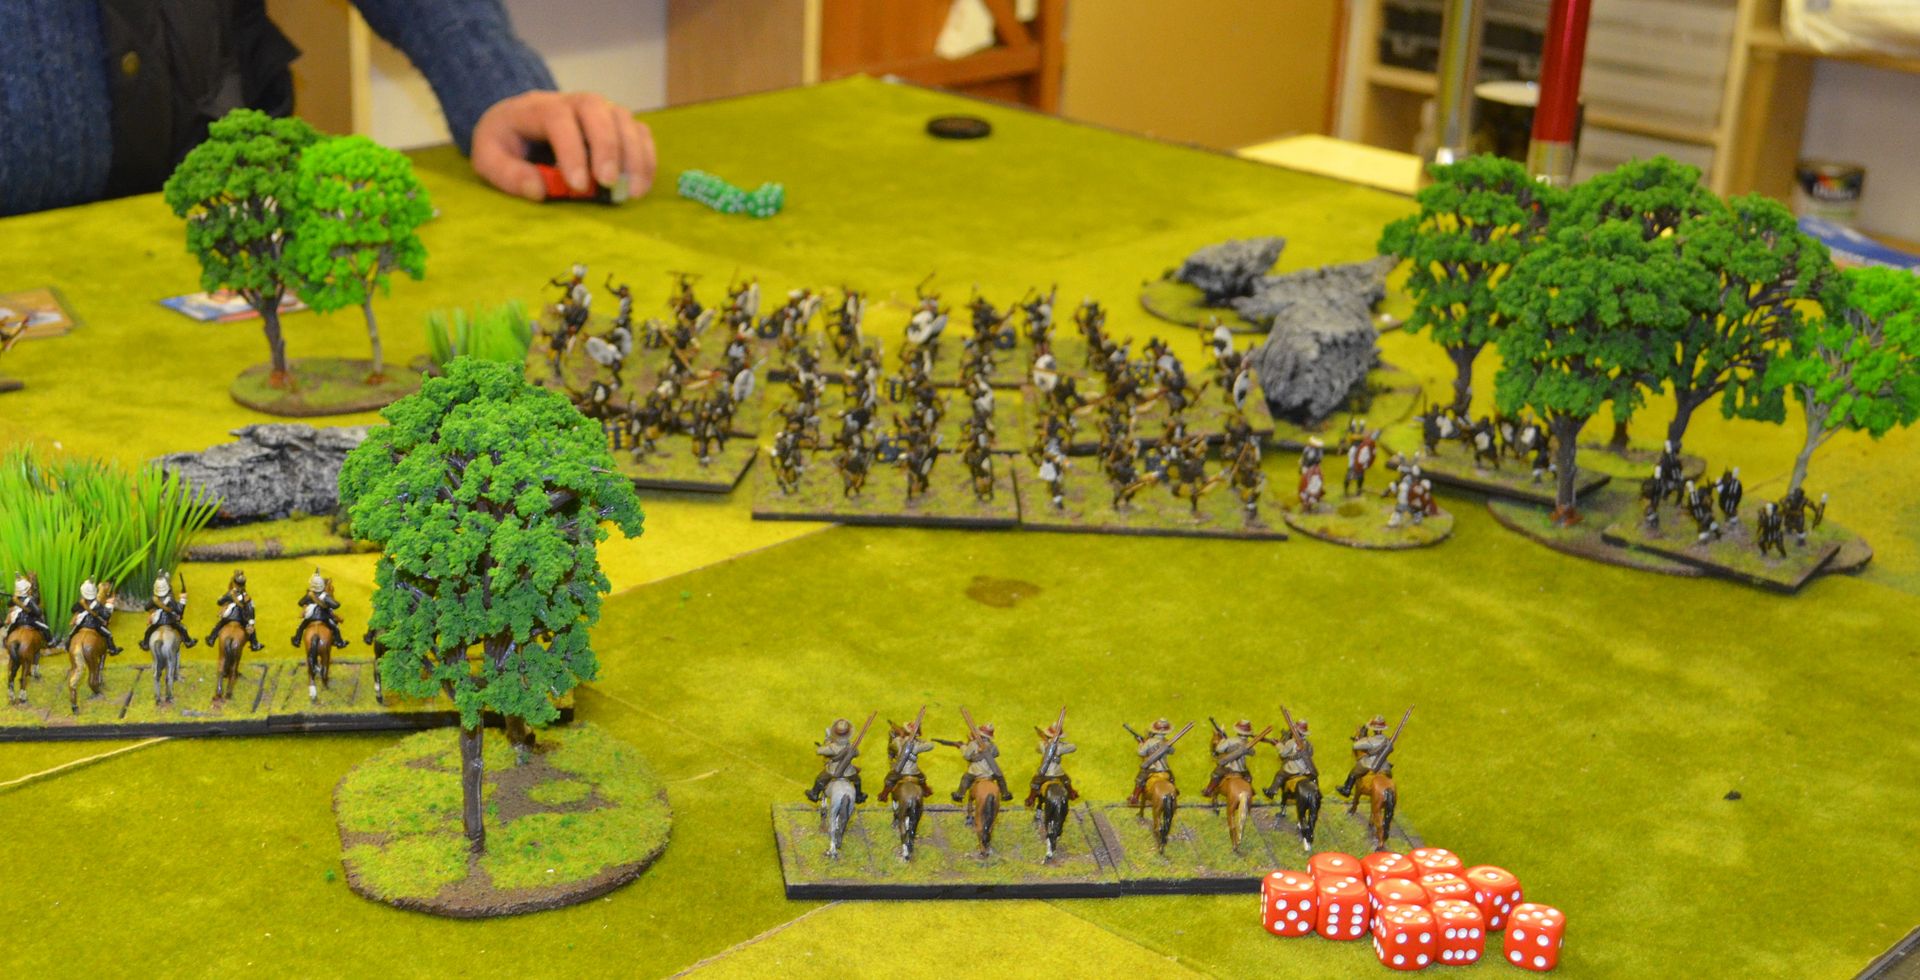
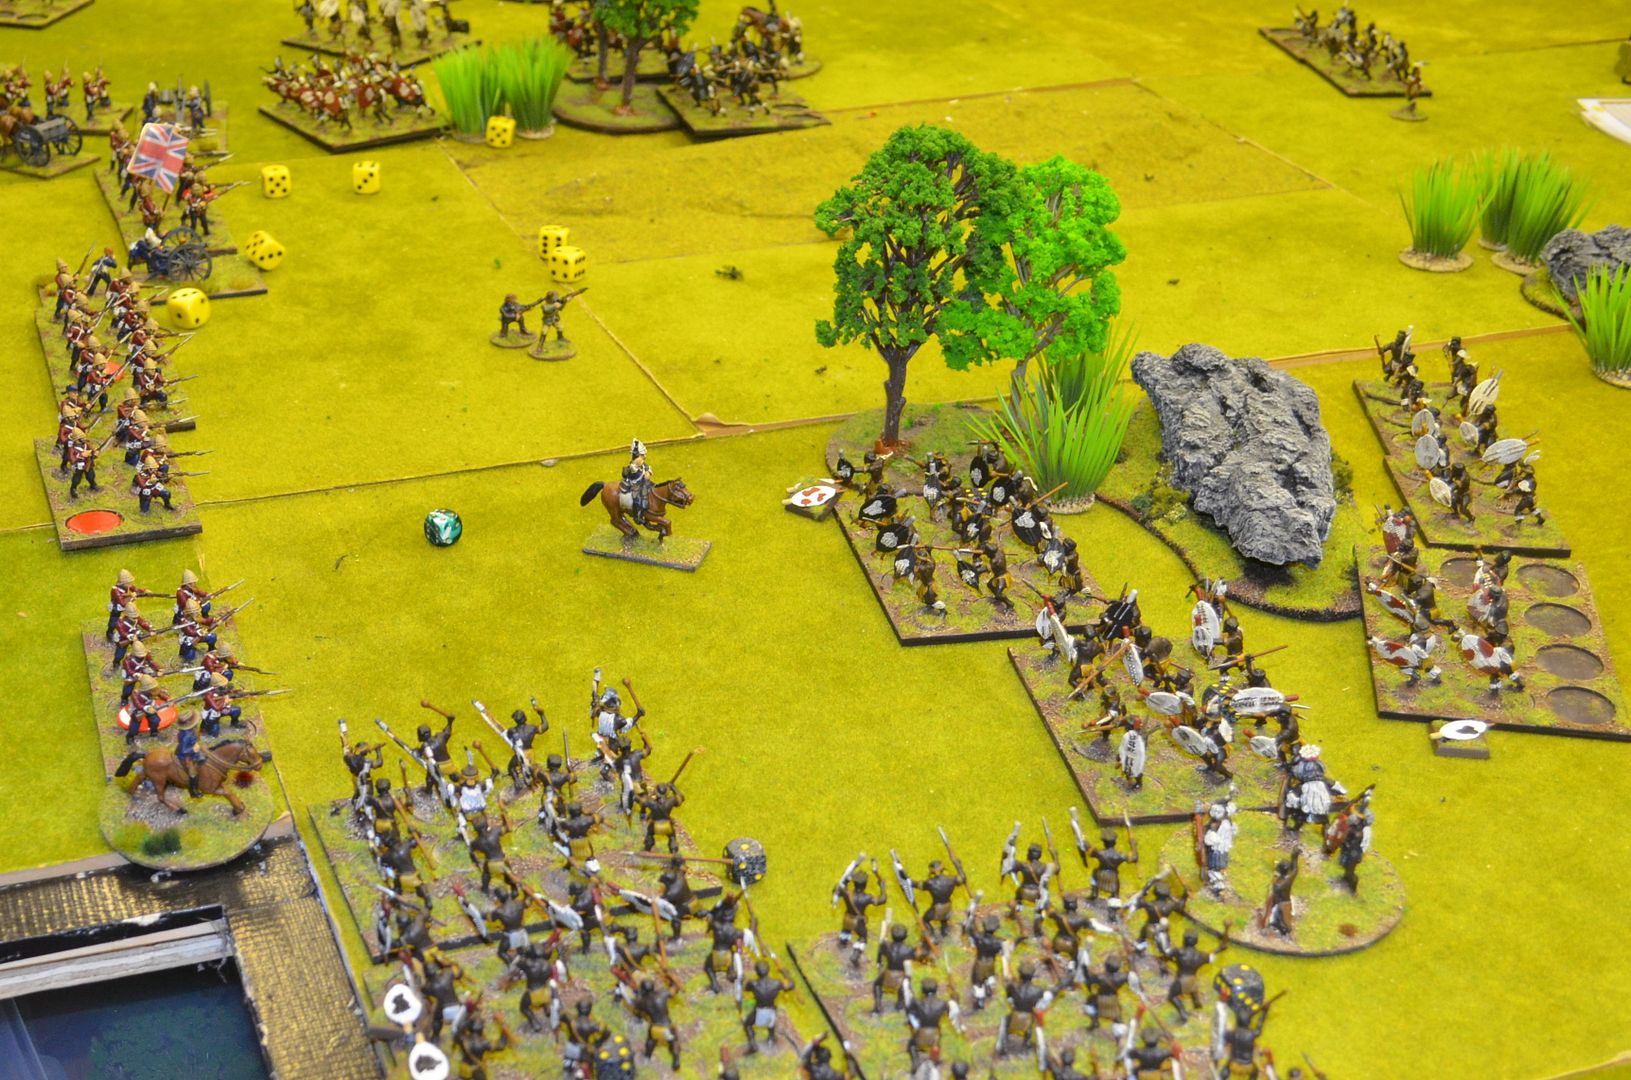
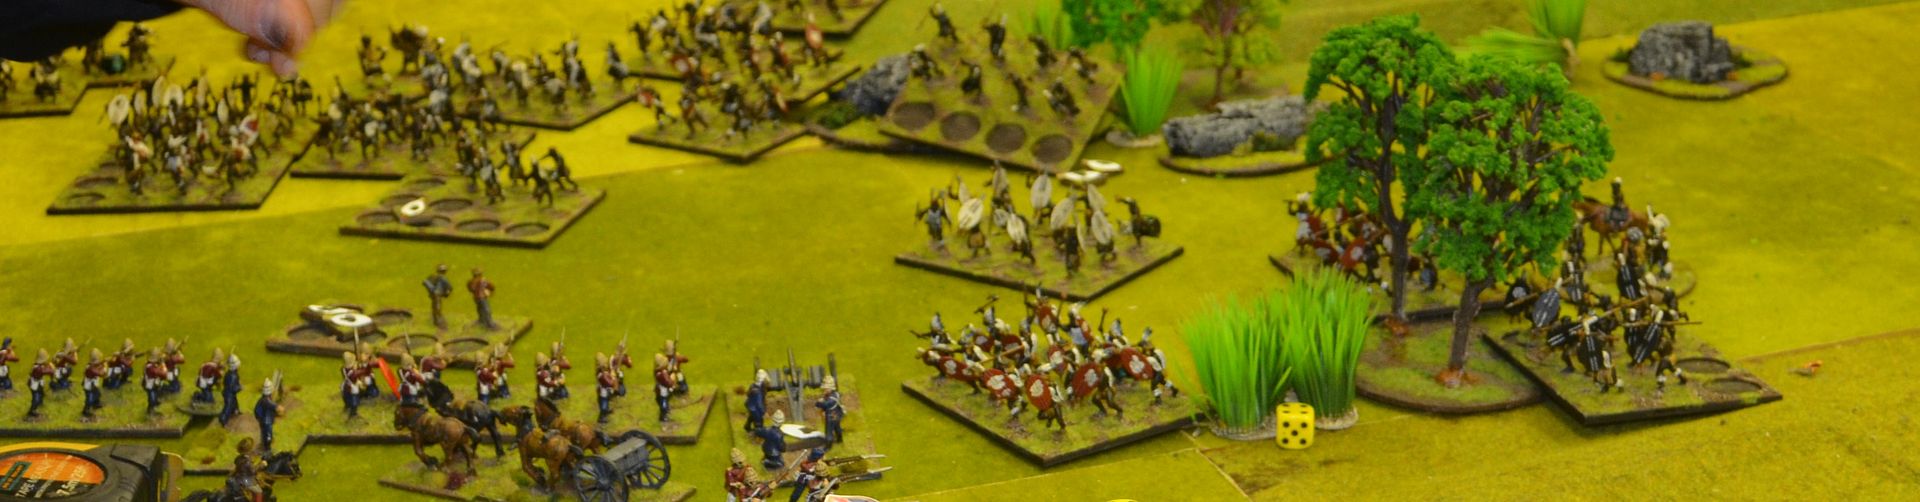
The British were divided into three brigades
The Infantry (Redcoats) with Gatling Gun support
The Boers with Rocket Support
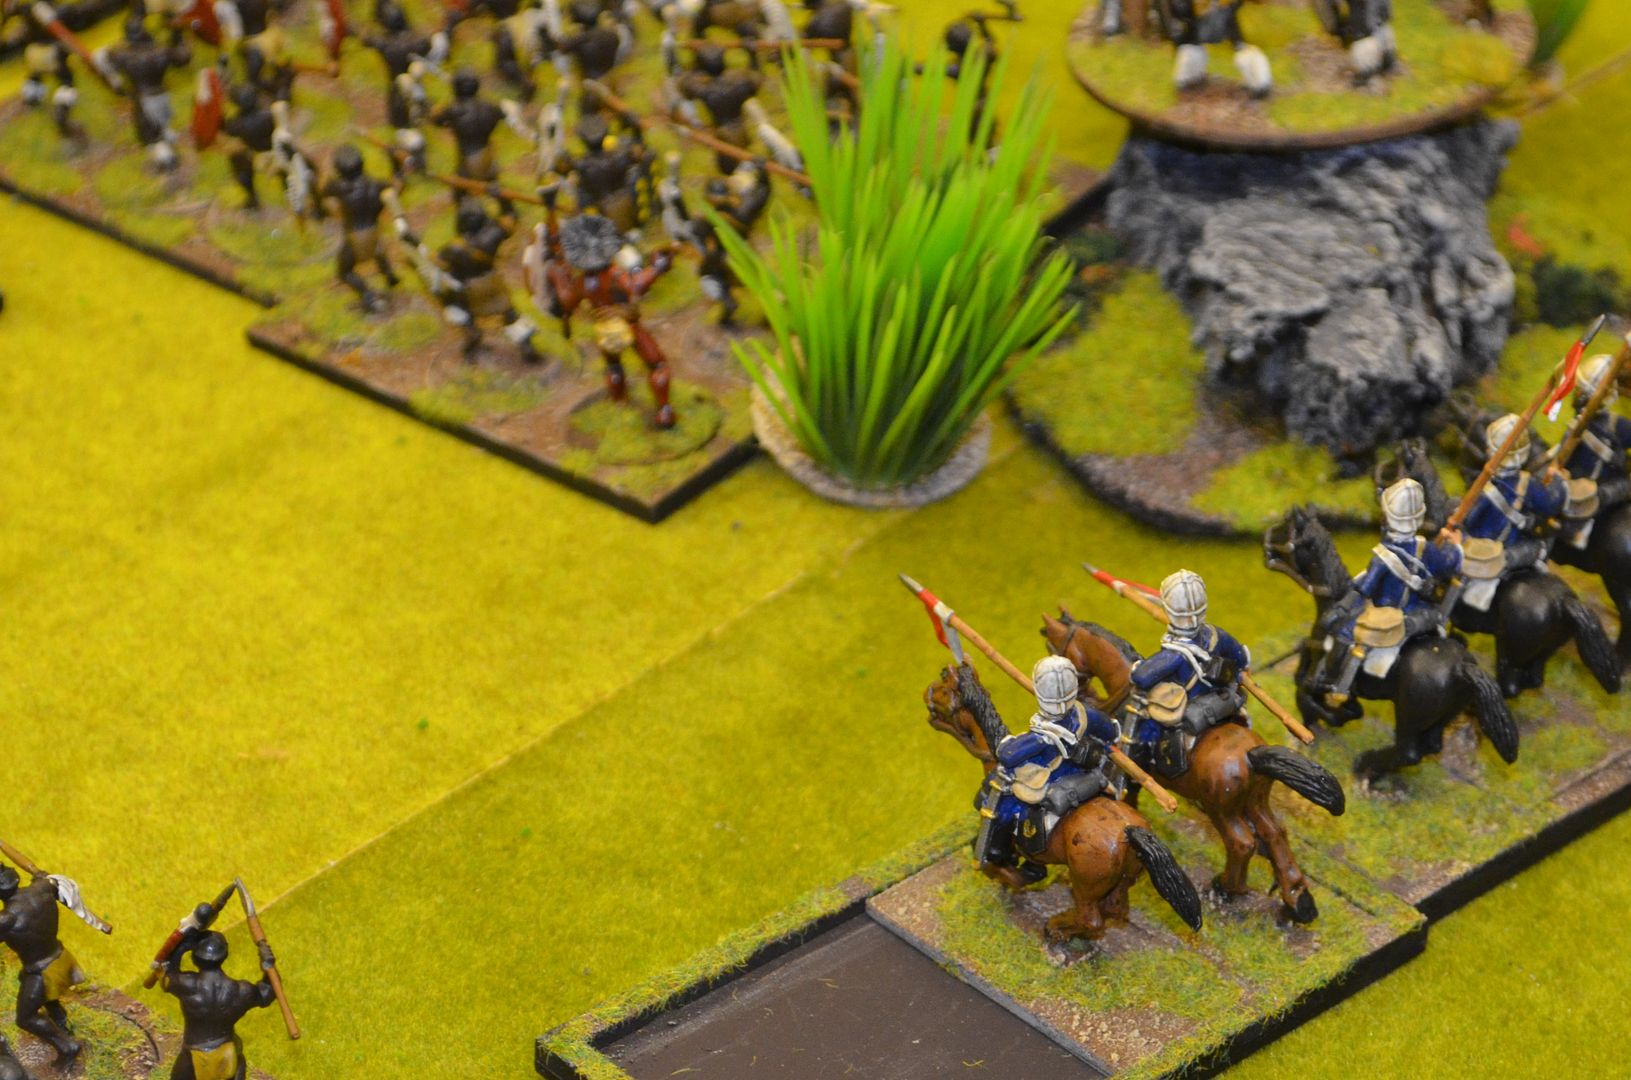
The Cavalry with two horse gun artillery support
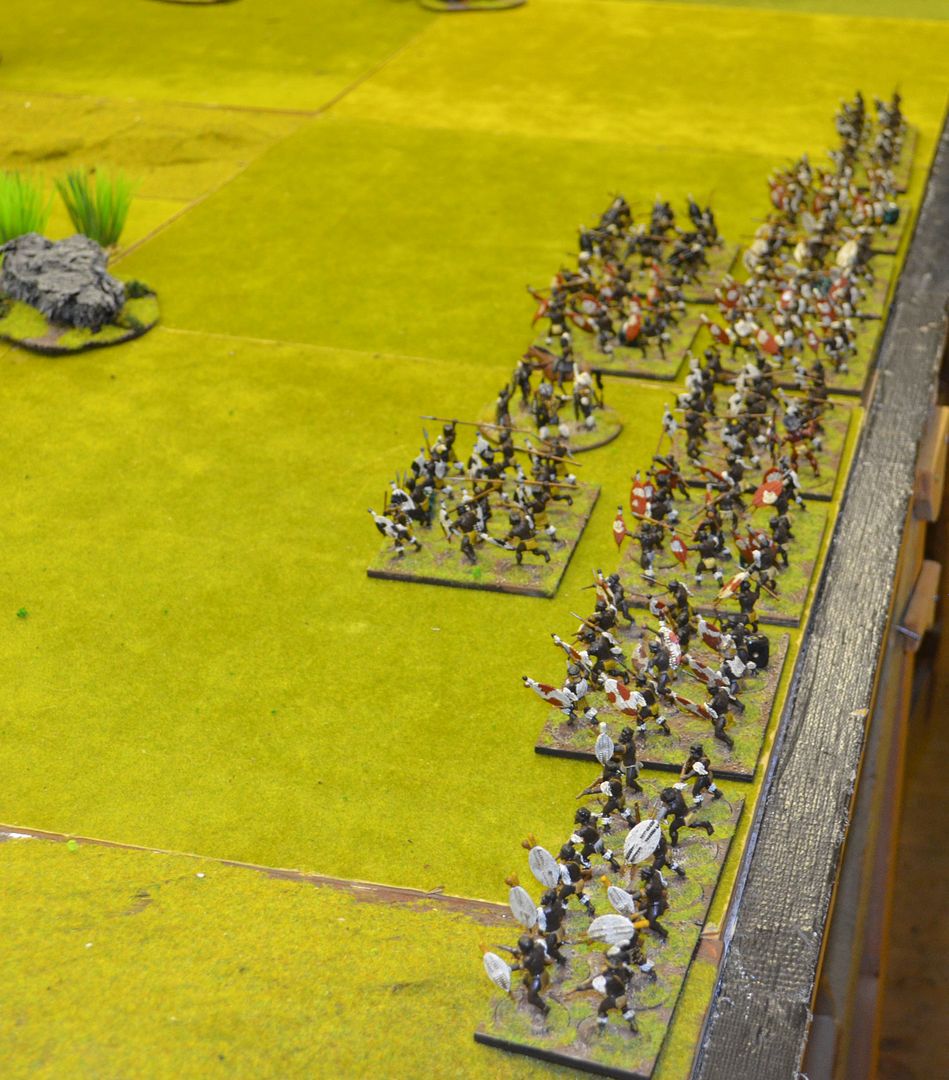
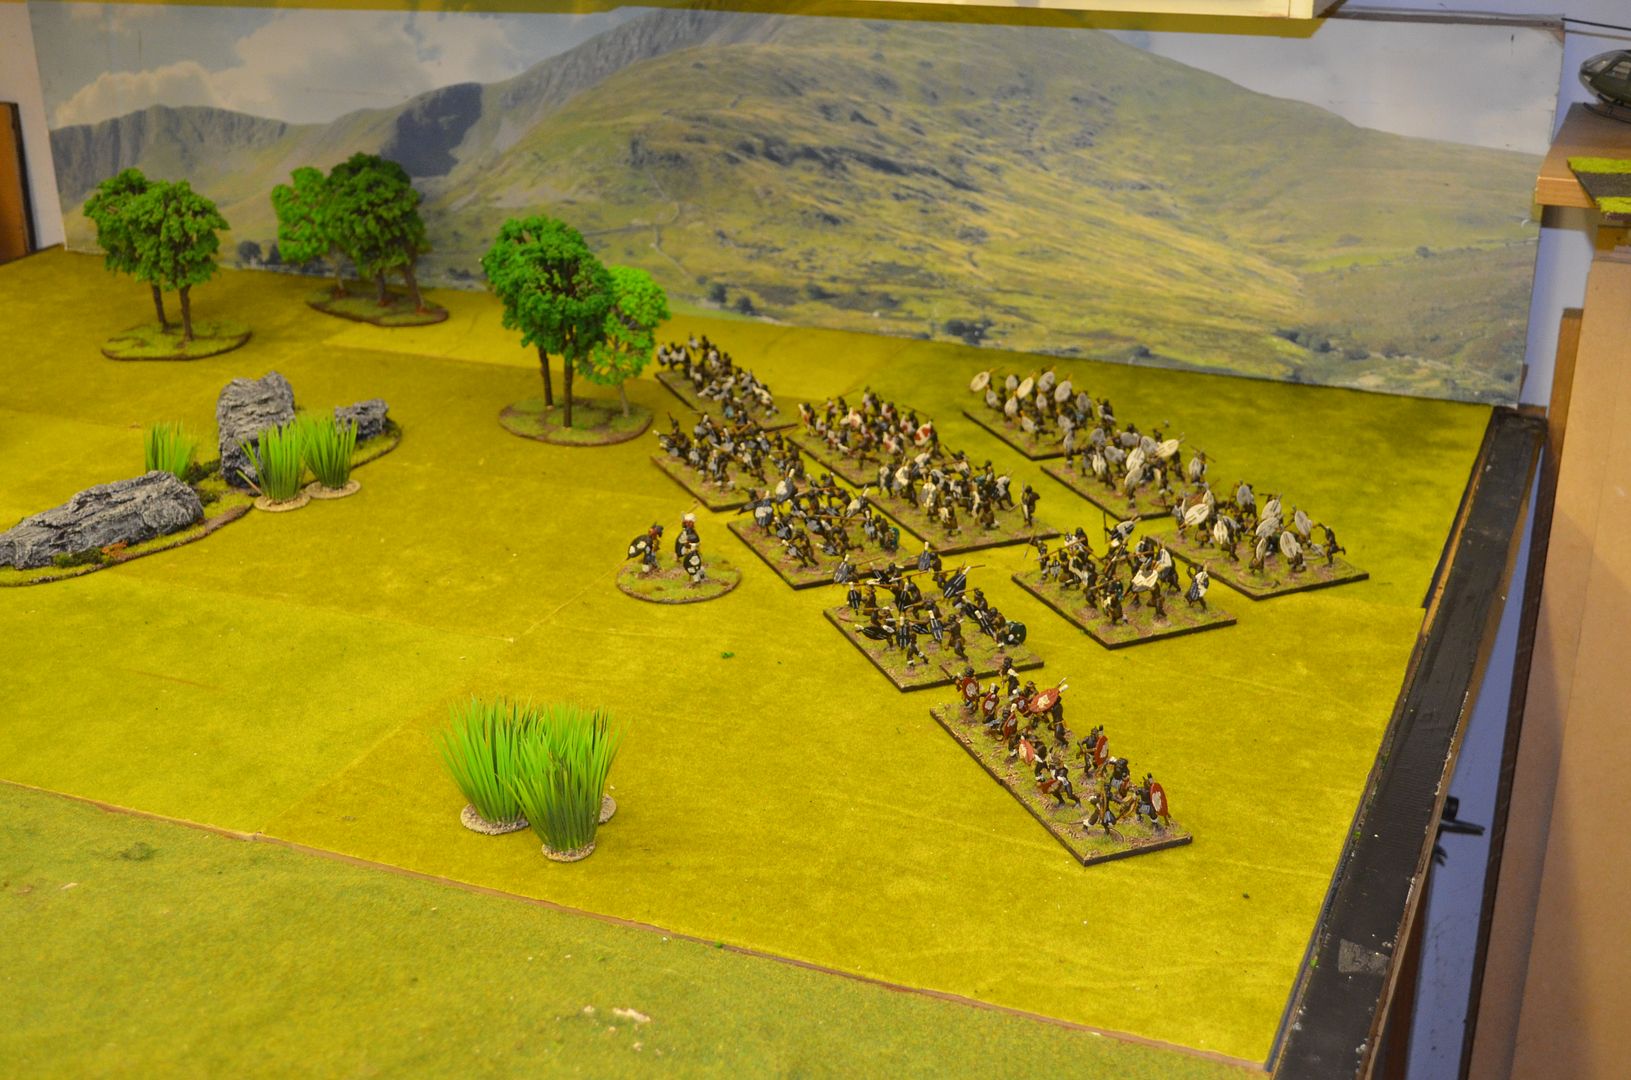
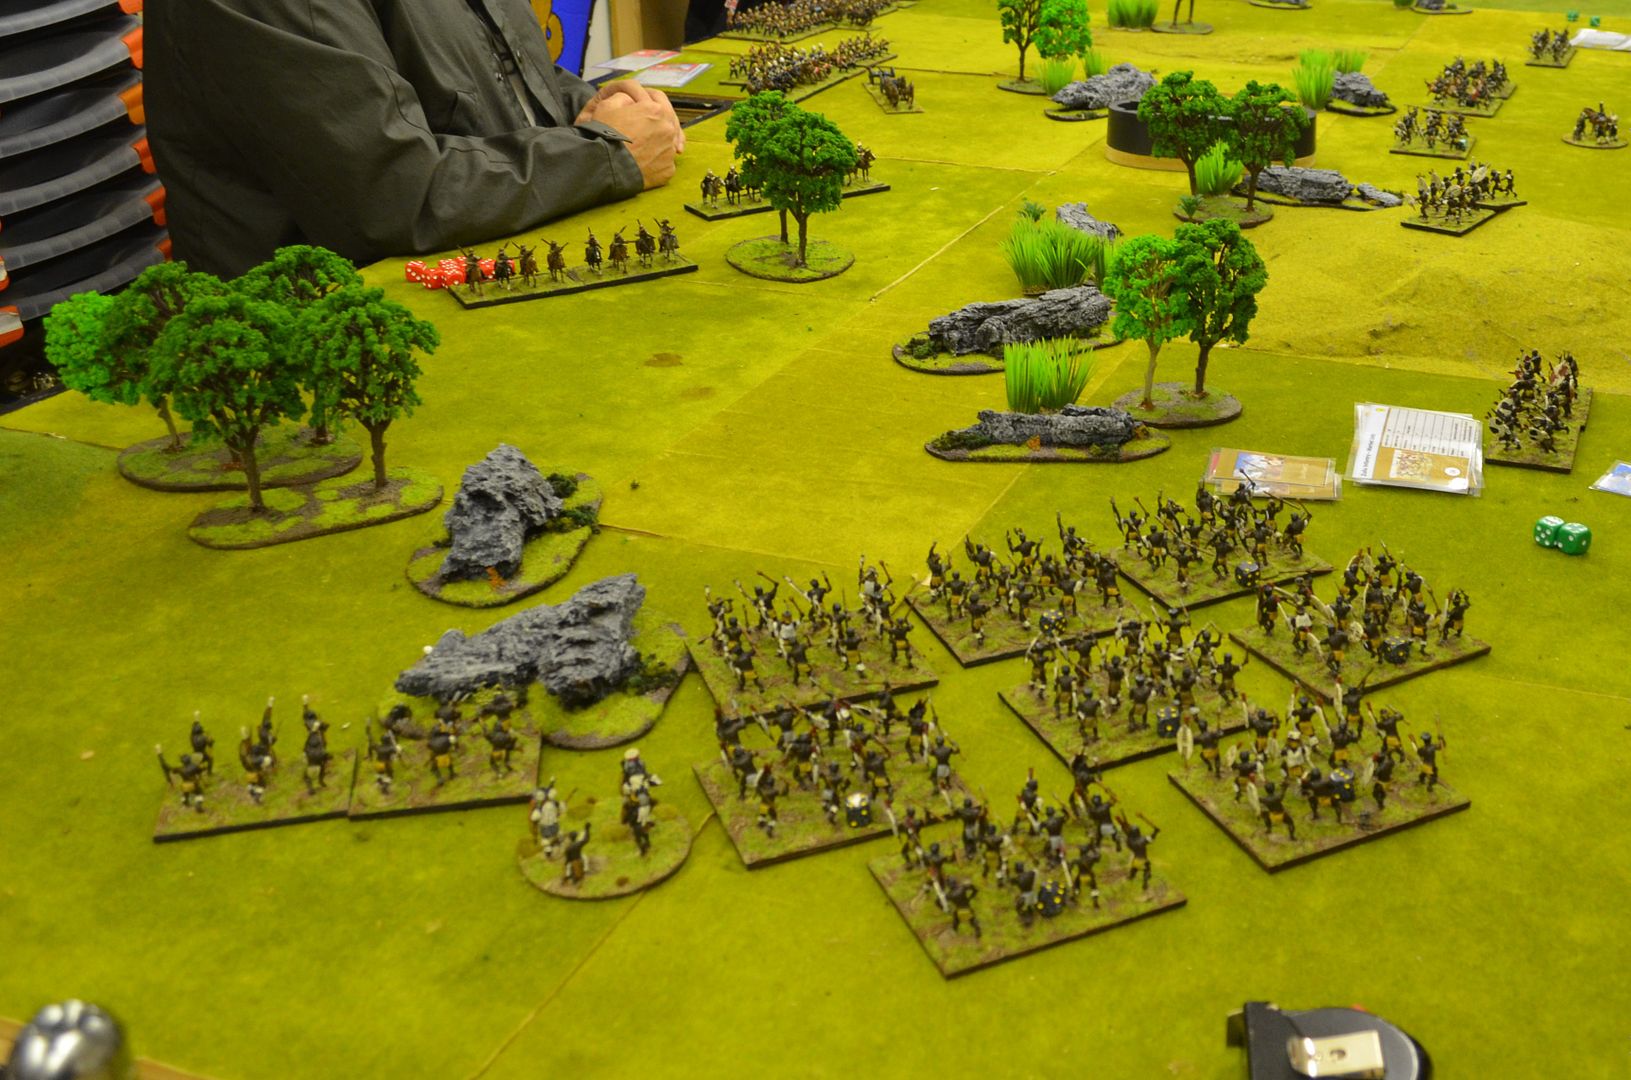
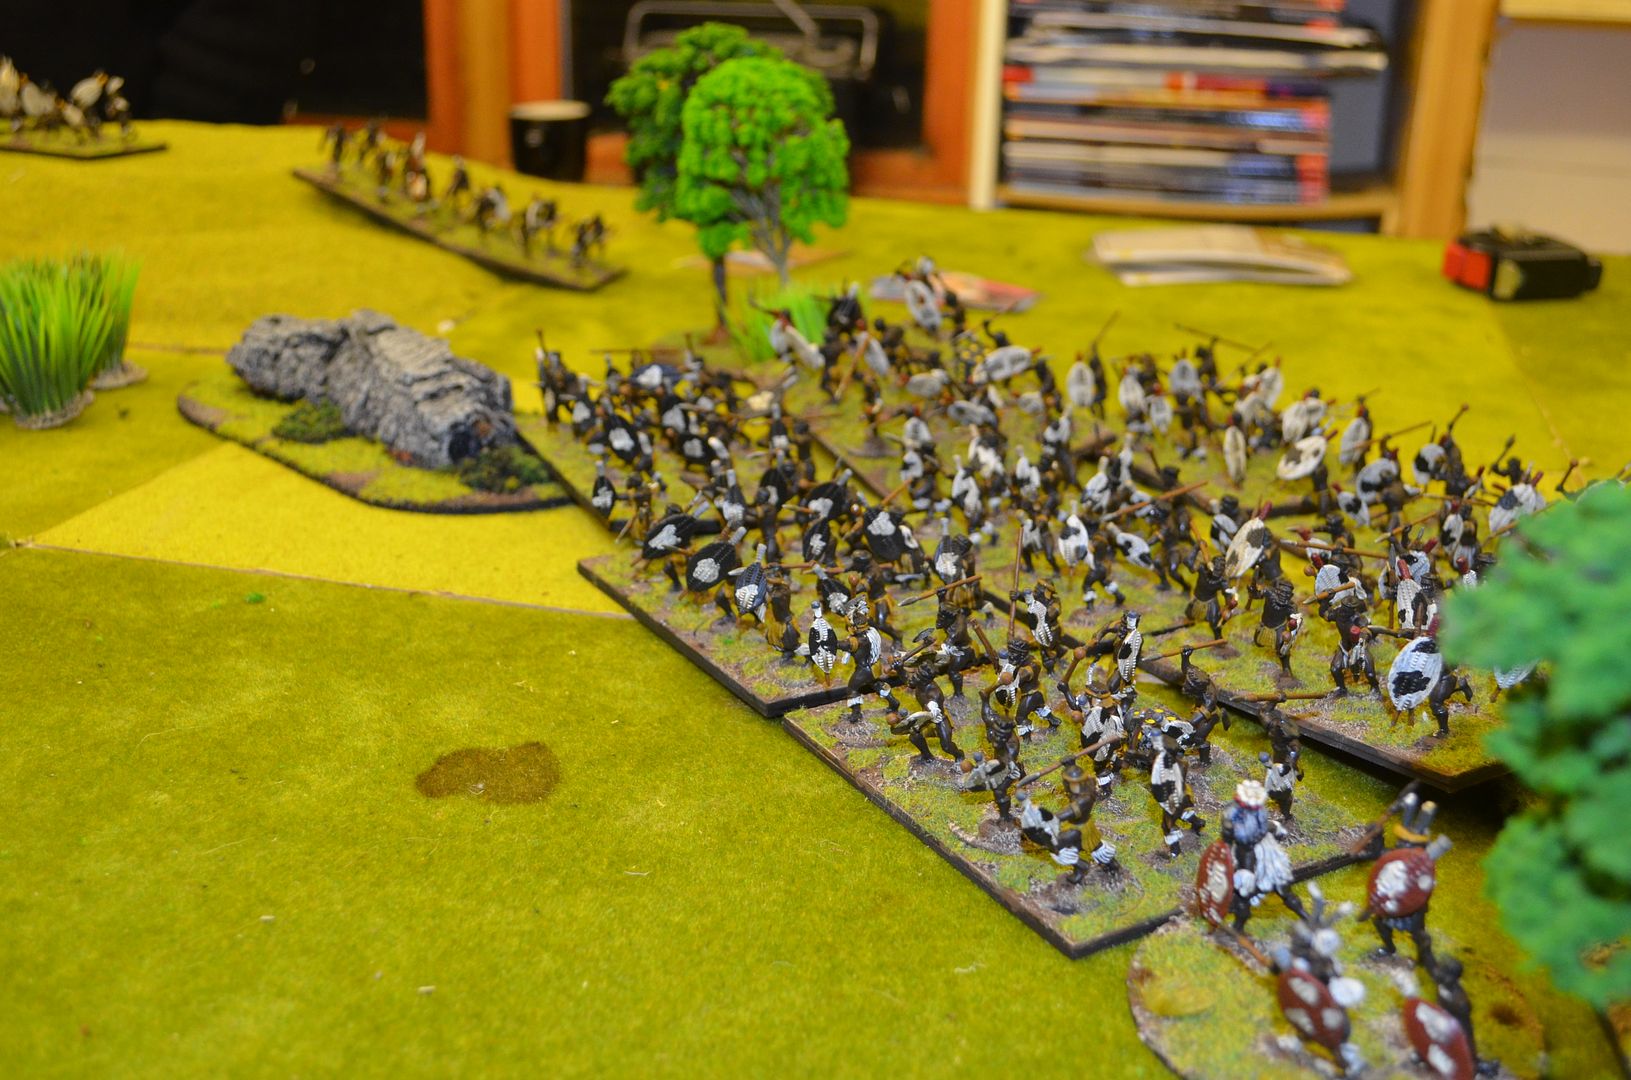
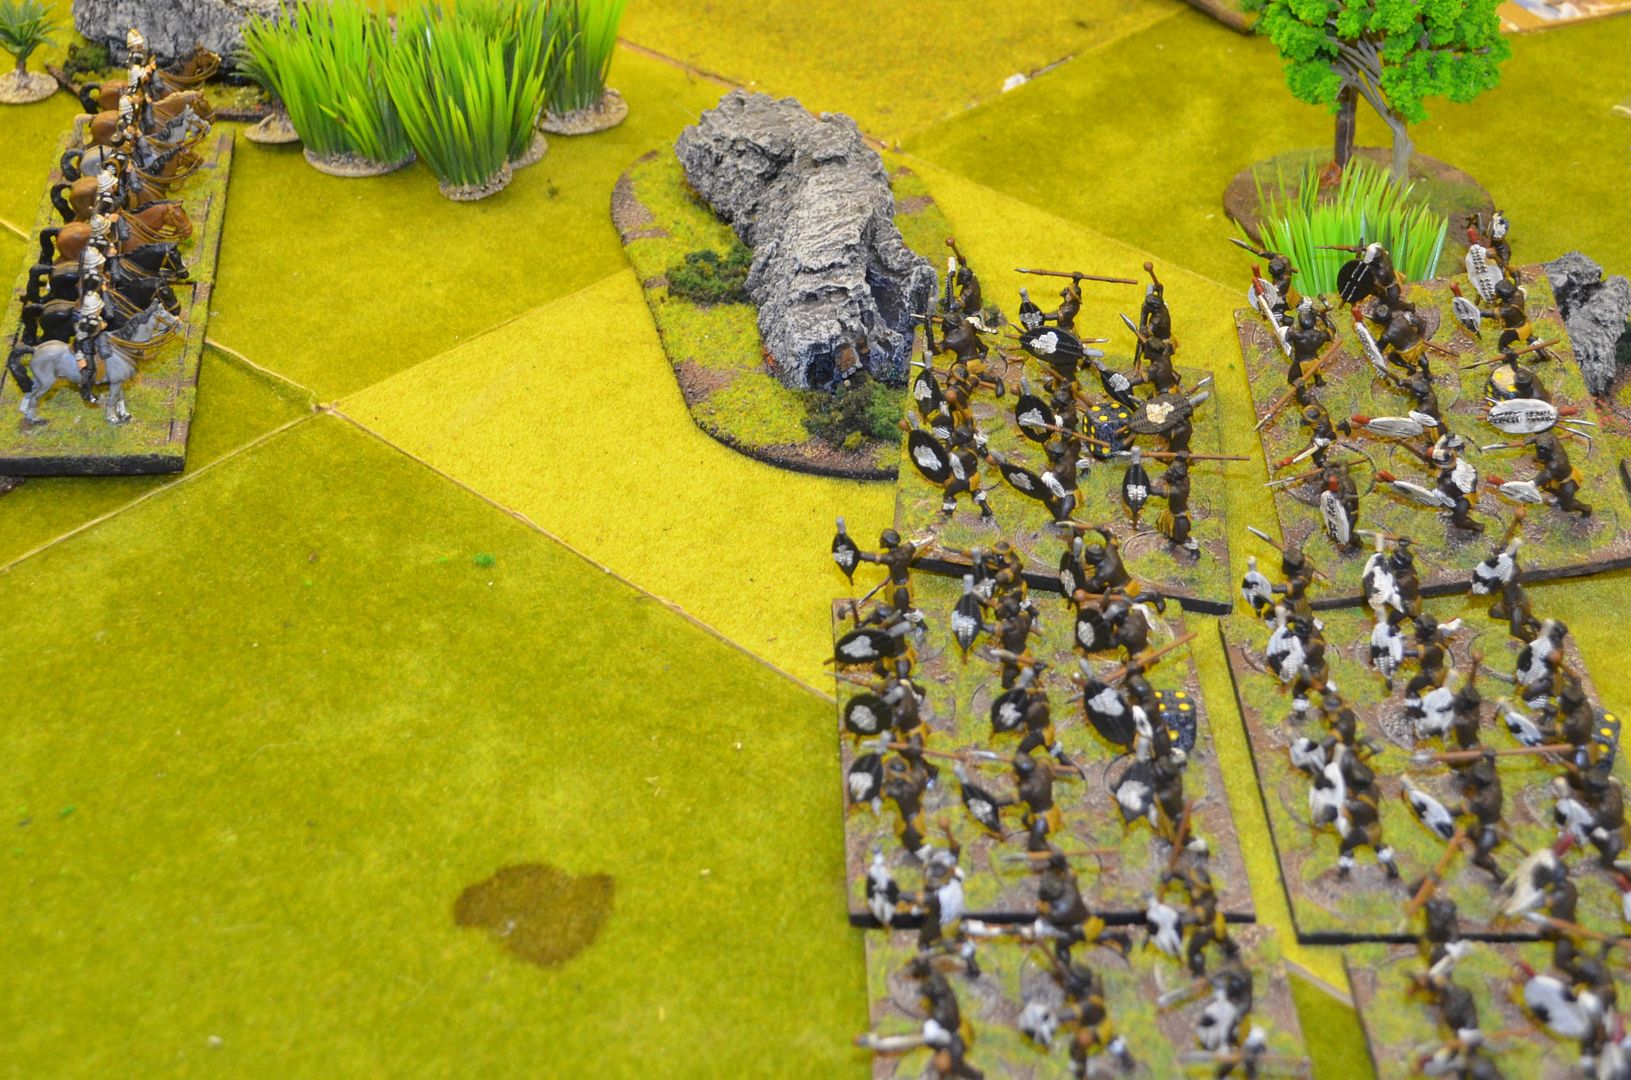
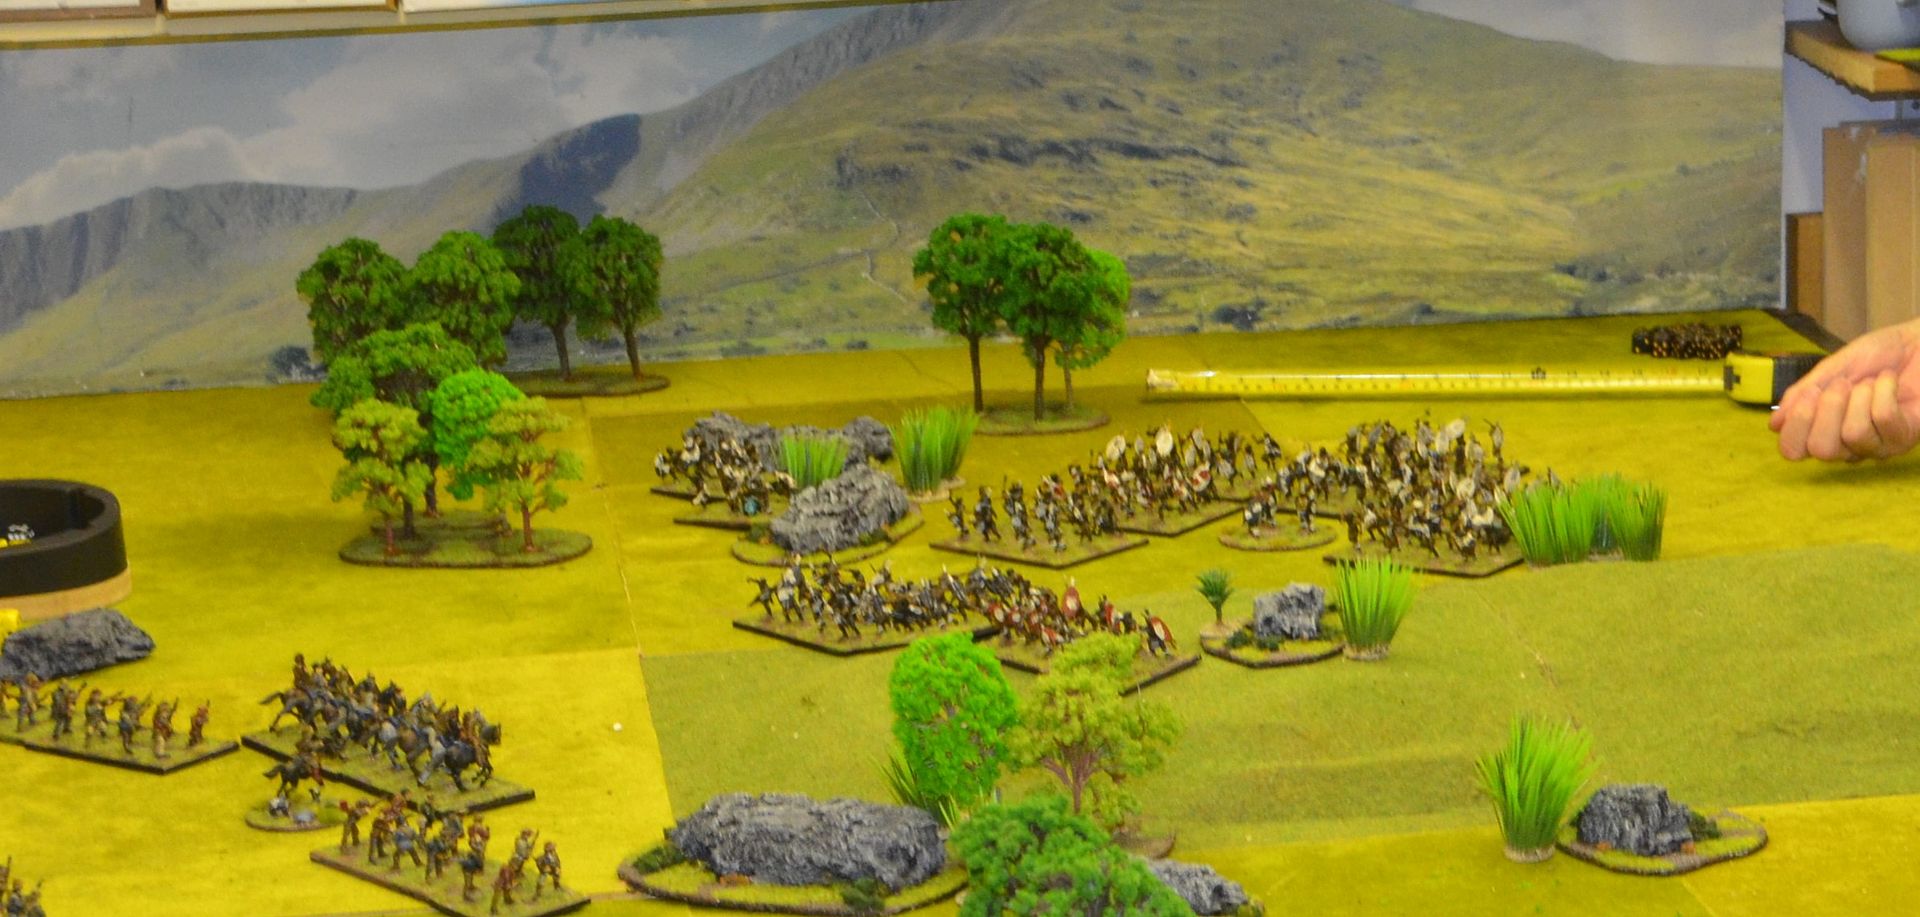
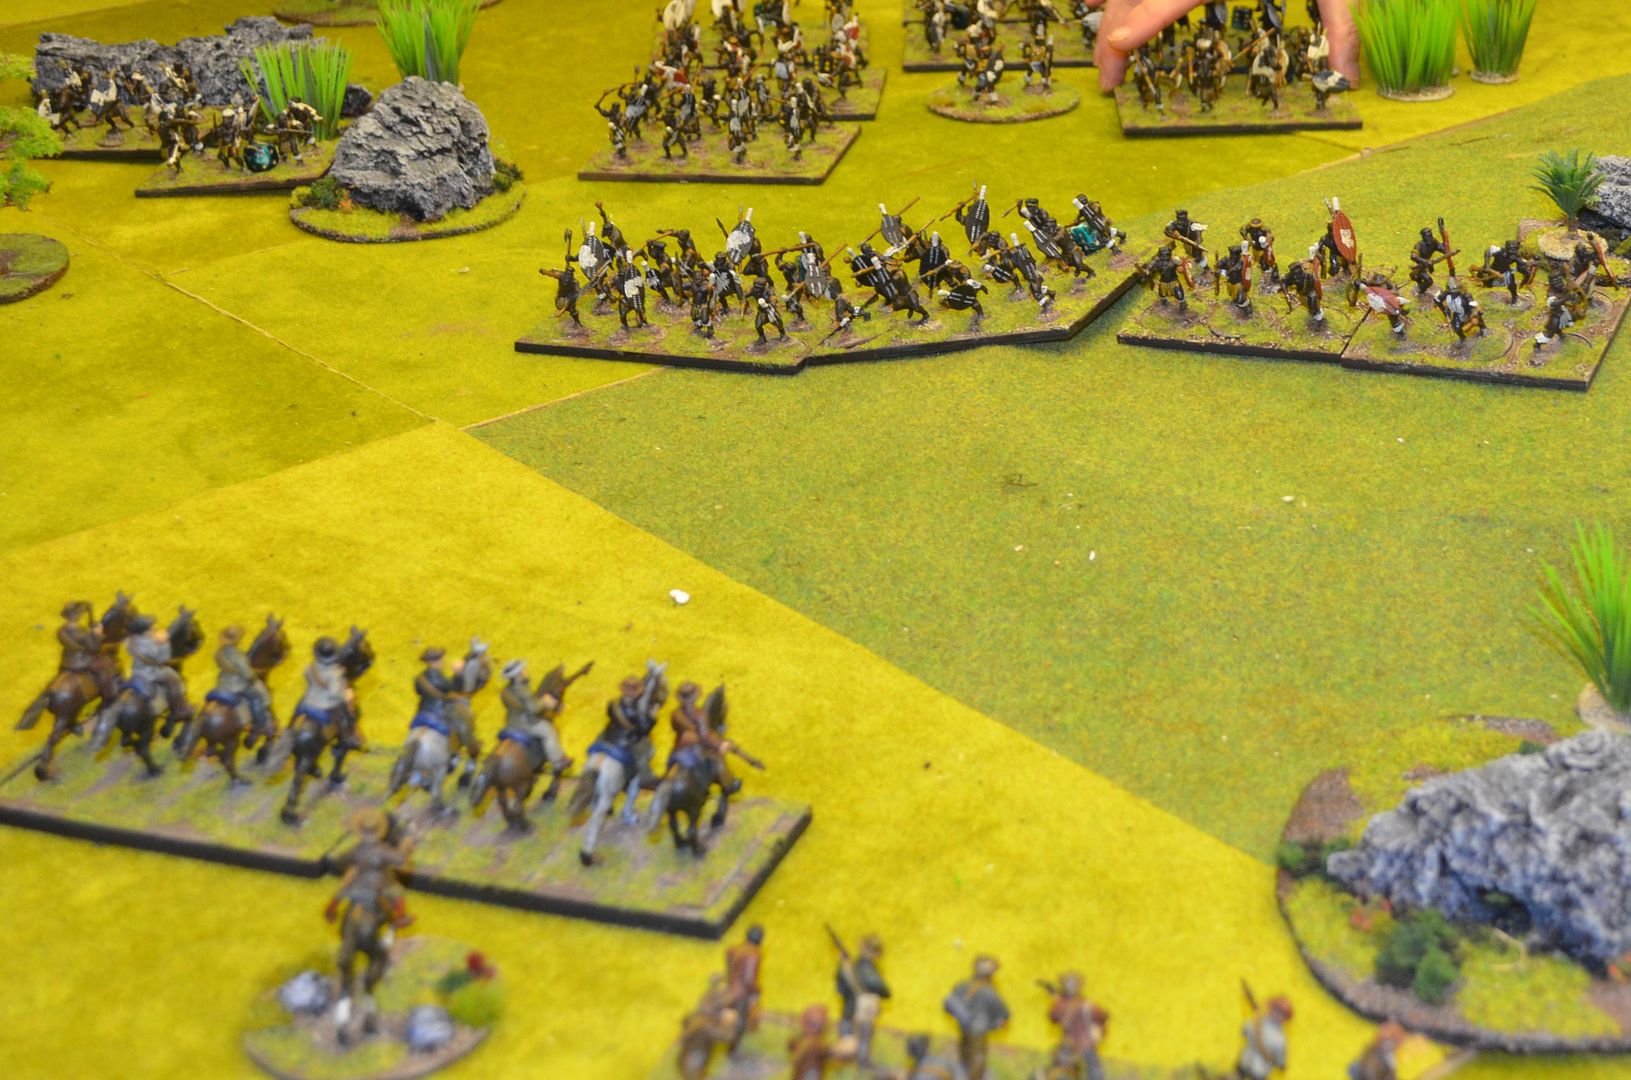
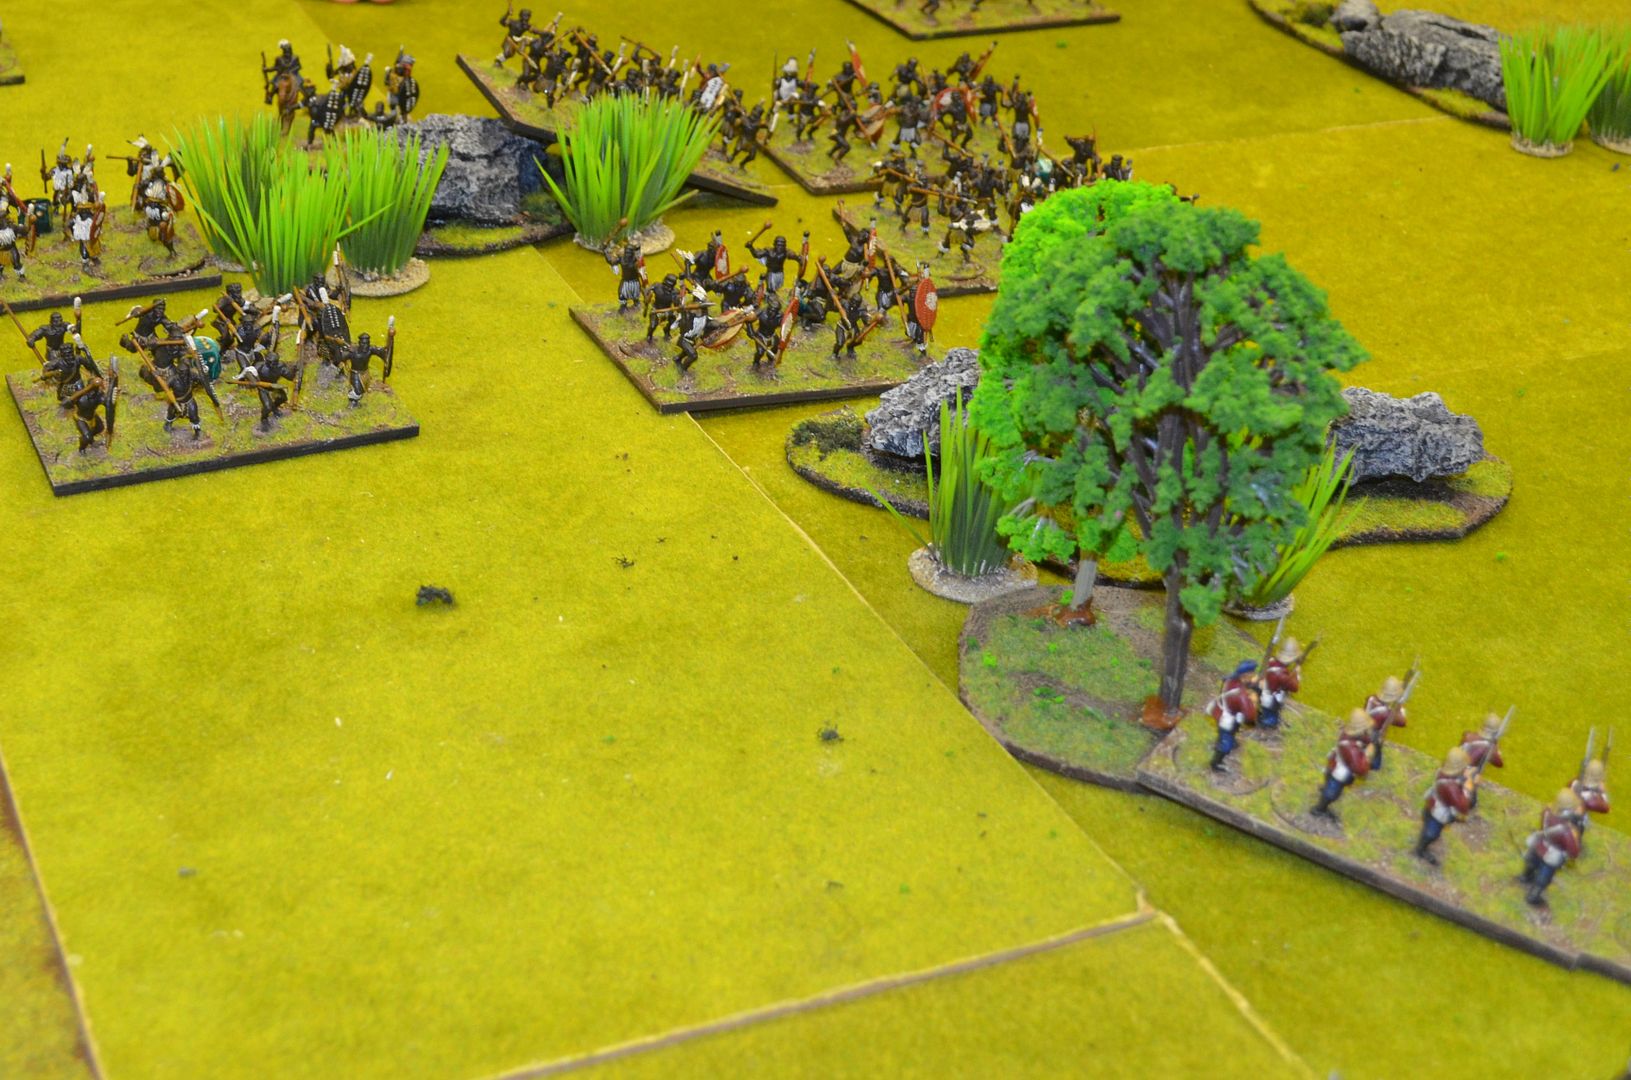
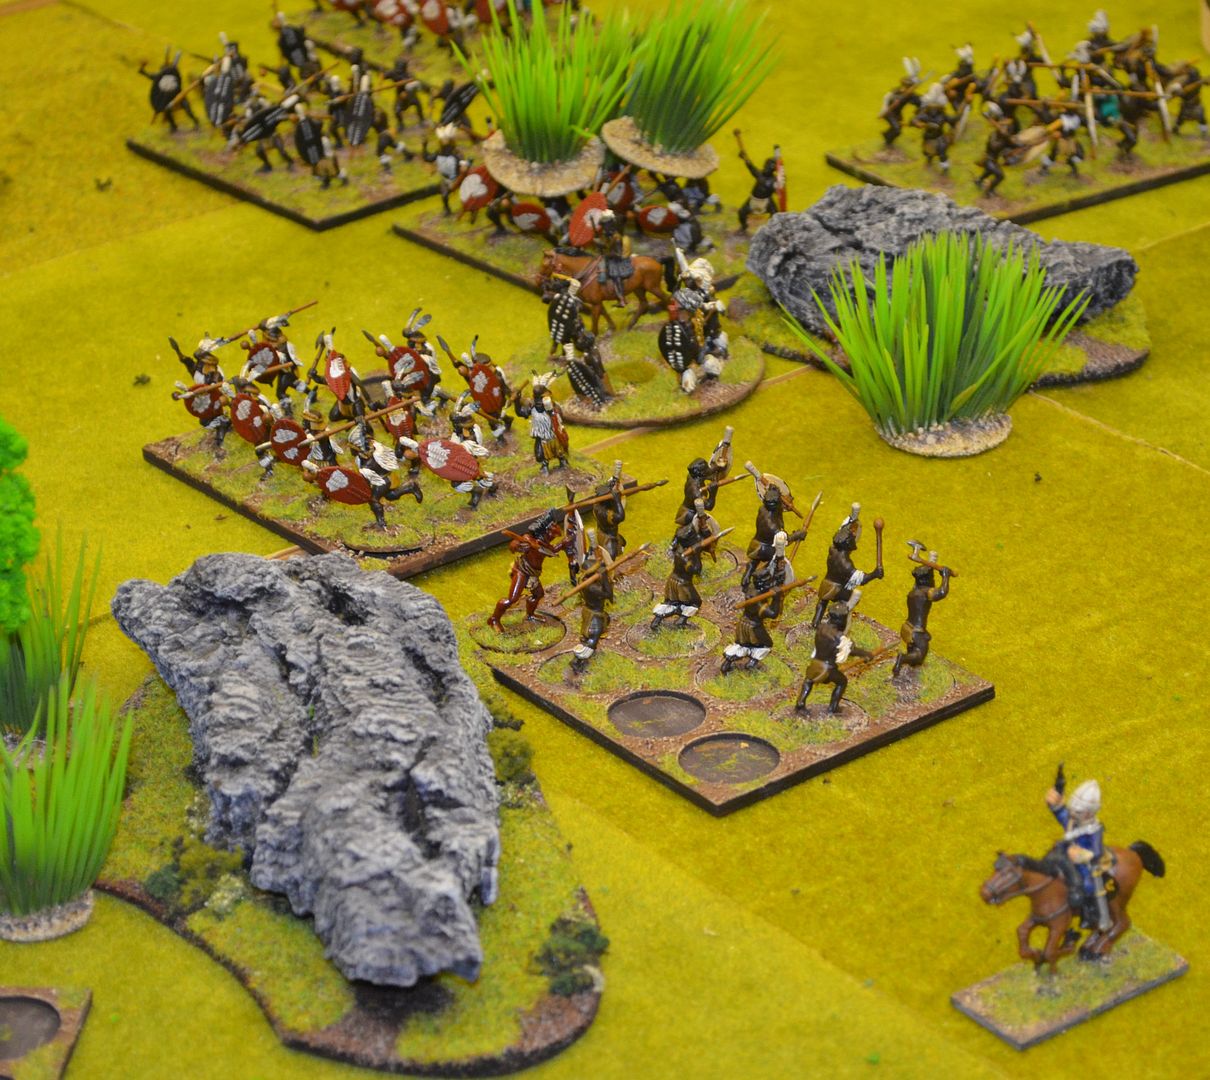
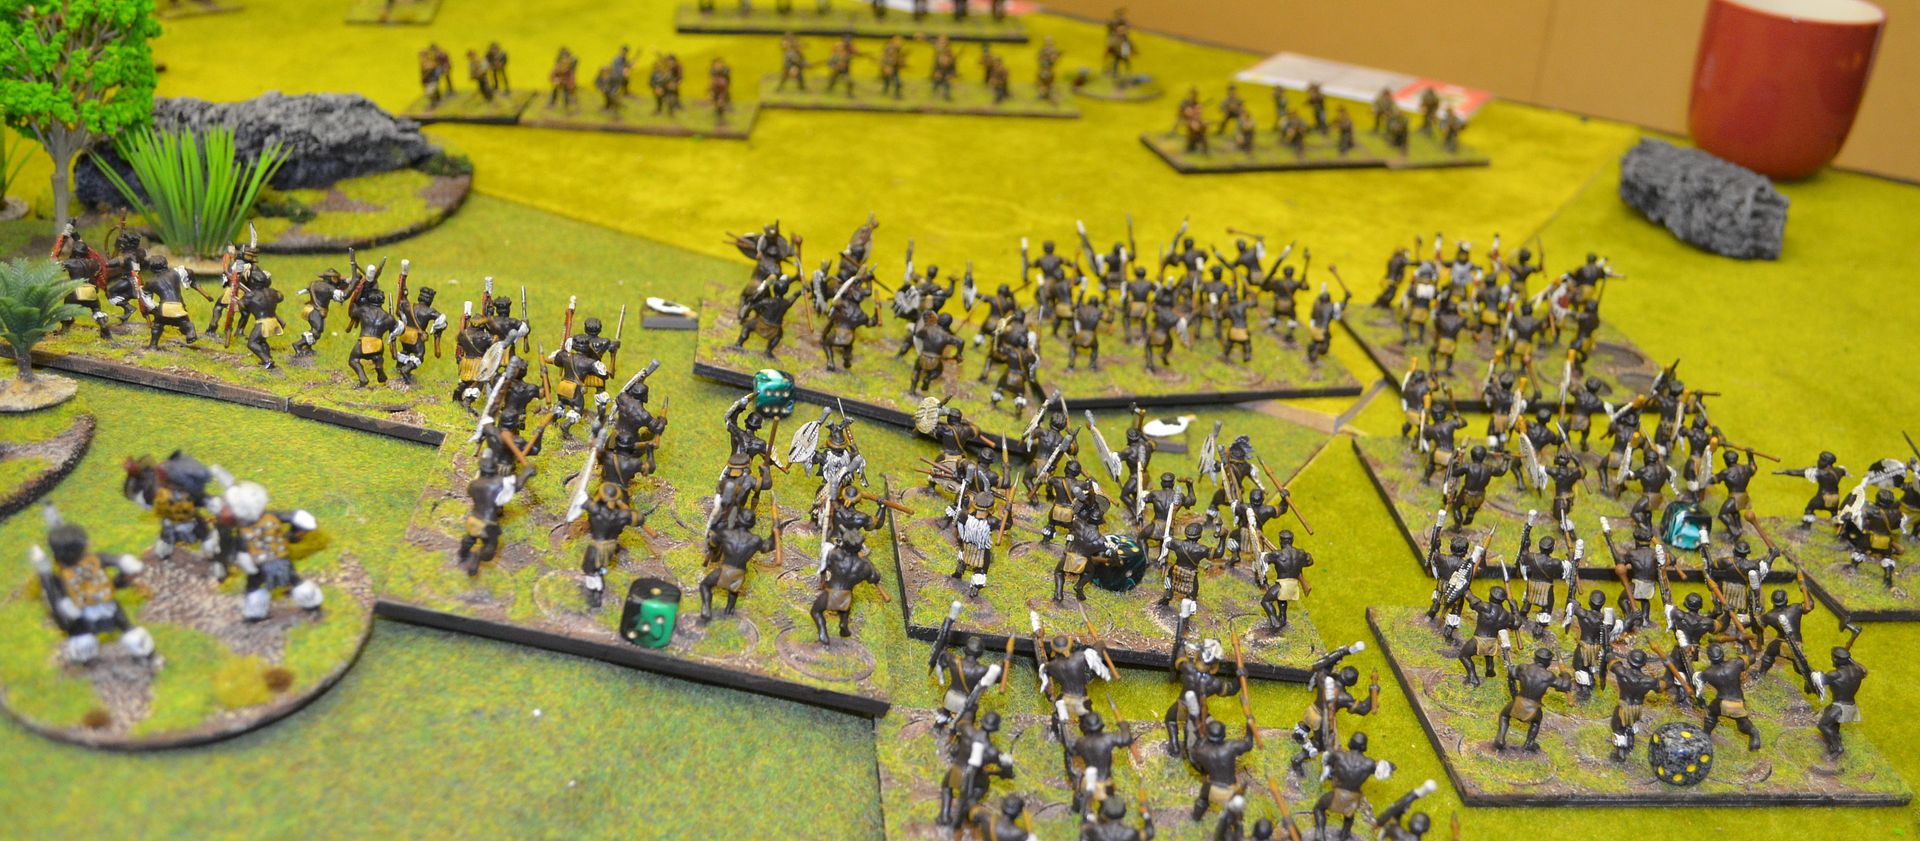
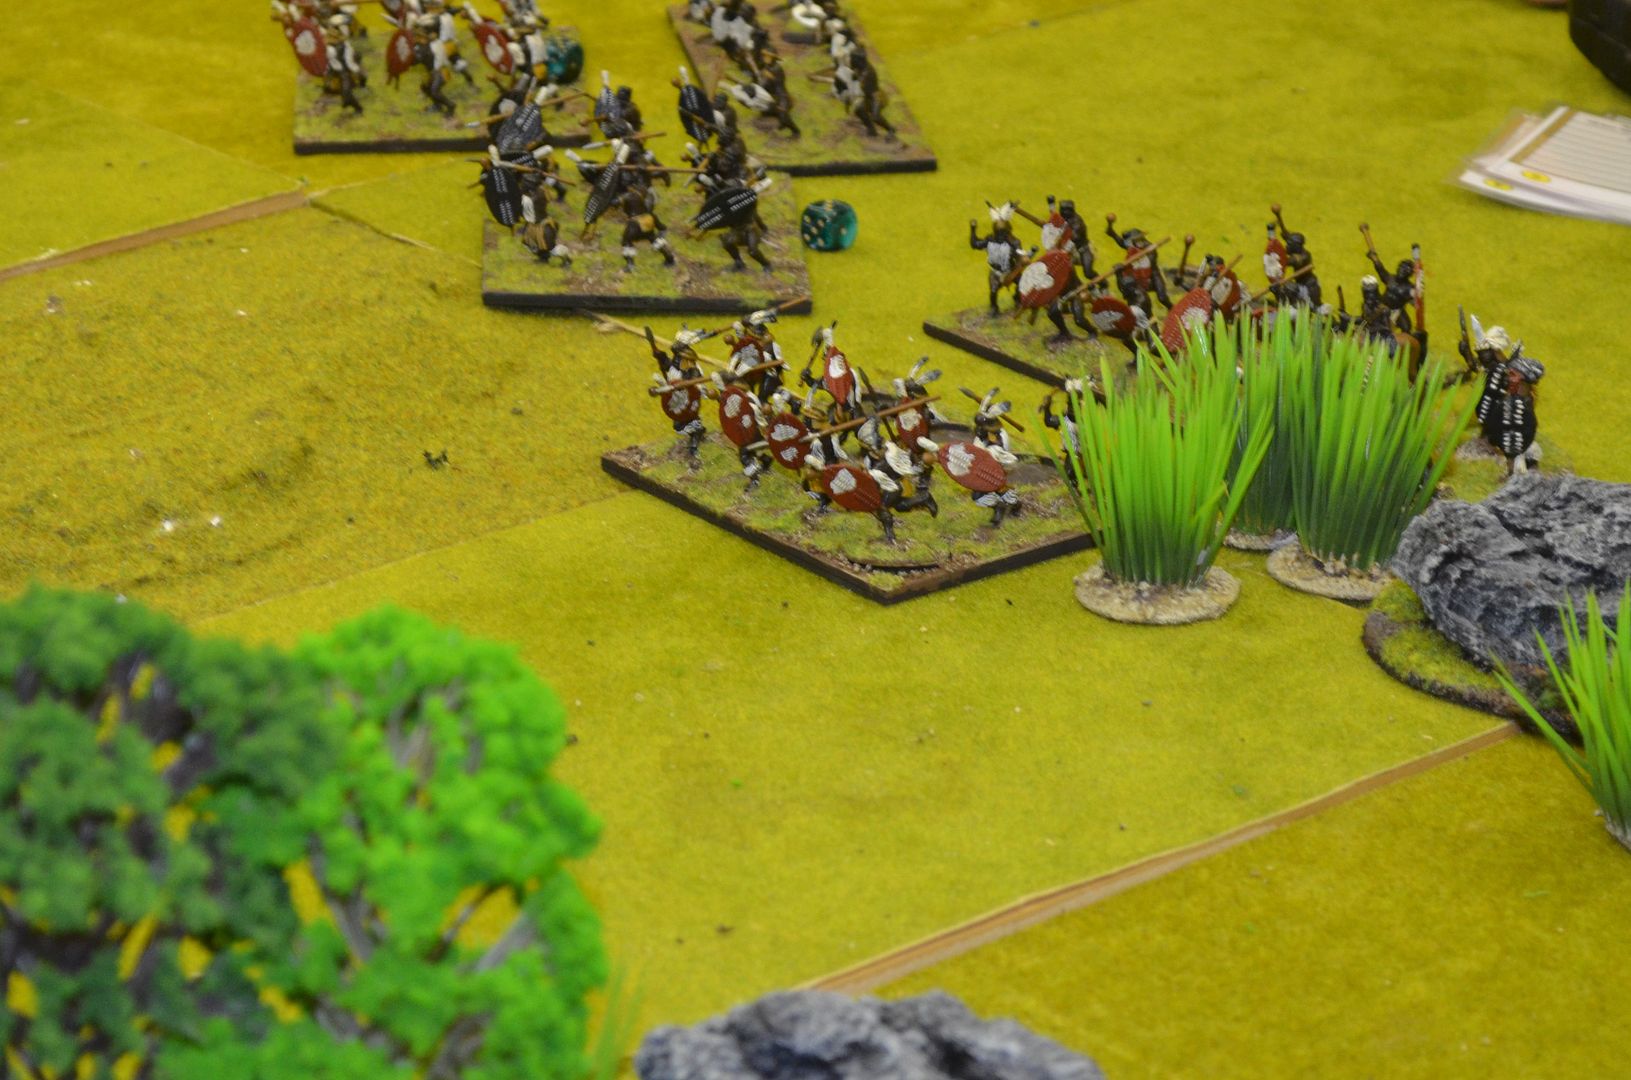
The Zulus would have three impis (left, right and head of the buffalo) each Zulu Impi has two units of Zulu Skirmishers
The Zulu units are based in 12's and should be 16 strong. So rather than reduce the size of each force the Zulus all have a small dice which will denote the first four casualties taken.
Each brigade has a commander who can influence a unit within 6"
The battlefield is deliberately open and rather than have forces move onto the table I elected to start with the forces deployed. This should speed things up (he says !)
The winner will be the first player to eliminate 50% of the opposing units - for the British this means 9 units, for the Zulus a massive 16
We were somewhat surprised that no rules for rockets were
given in the book so we developed our own. Rockets have a max range of 36” and
a minimum range of 9”. Each rocket troop has six die for firing needing sixes
to hit. Any six that hits is a casualty and automatically disorders.


A second victory for the Zulus - they did have 50% more points and probably needed it. Had the forces of been matched they would not have won.
Casualties amongst the Zulus were extremely high but in the end it was their numbers that counted
Casualties amongst the Zulus were extremely high but in the end it was their numbers that counted
So how did the rules play…..
First up it is probably worth mentioning that with five
players I decided to break each force into a series of commands (two on the
British and three for the Zulus) – each player had an activation card which
were revealed as the turn progressed. This inevitably had some influence on the
proceedings and it may well of been possible for one unit to activate twice
before the other opponent took their turn.
Example Turn 1 – Player Order 1, 2, 3, 4 ,5 in turn 2 the
order was 3, 5, 4, 2, 1 – this illustrates that player one would have had his
turn then waited for every player to have had two turns before his second
activation.
The idea of these ‘random’ turn orders was drawn from the
ruleset for multiplayers.
Personally I am not sure that this works for this period and had we adopted a simple IGOUGO Approach the game might hasve been very different.
Personally I am not sure that this works for this period and had we adopted a simple IGOUGO Approach the game might hasve been very different.
Let me explain further. TMWWBK is a very basic ruleset – a
unit can only do one thing in a turn (unless it is skirmishing) and does not
react to the enemy moves unlike other rulesets for this period.
For example cavalry are unable to evade charges and regular
line infantry get no fire on incoming charging troops. If we take the turn
order as described above and assume player 1 controls the British Line and
player 5 is a zulu impi, the number five player might have traversed the
ground before the British line has even fired. There is no provision in the
ruleset for even holding your action to be used as a reaction.
Furthermore there appears to be no penalty for choosing certain actions - whether you order to fire, move or move at the double they all require the same score on the dice. Inevitably all the players moved their troops at the double when they needed the movement as this order also gives you an attack option.
A number of the cavalry units in our game were given
skirmish capabilities as their free action (Sikhali and frontier light horse) –
this felt appropriate for the troops in question.
They had the speed and the limited firing capability but on at least two occasions these horse were unable to retreat from the massed ranks of Zulus. Indeed failed orders meant they could not even move. One suggestion might be to give ALL units the free action of retreat away from the nearest enemy. This would allow cavalry in part to escape hordes of unrushing tribals.
They had the speed and the limited firing capability but on at least two occasions these horse were unable to retreat from the massed ranks of Zulus. Indeed failed orders meant they could not even move. One suggestion might be to give ALL units the free action of retreat away from the nearest enemy. This would allow cavalry in part to escape hordes of unrushing tribals.
I need to go back to lion rampant to see how evades are
treated in that rule set because this is a crucial element of the game.
Something else was discussed but did not actually
occur was the issue of counter charges – like evades there are no counter charge rules.
I mentioned above that there is no provision for closing
fire (unless of course I have missed this) – again this appears to be a big
omission. Regular infantry (indeed all firearm troops) should be able to
deliver closing fire before a charge ploughs in. Perhaps this is best served
with a leadership check and /or maybe only half the units fire.
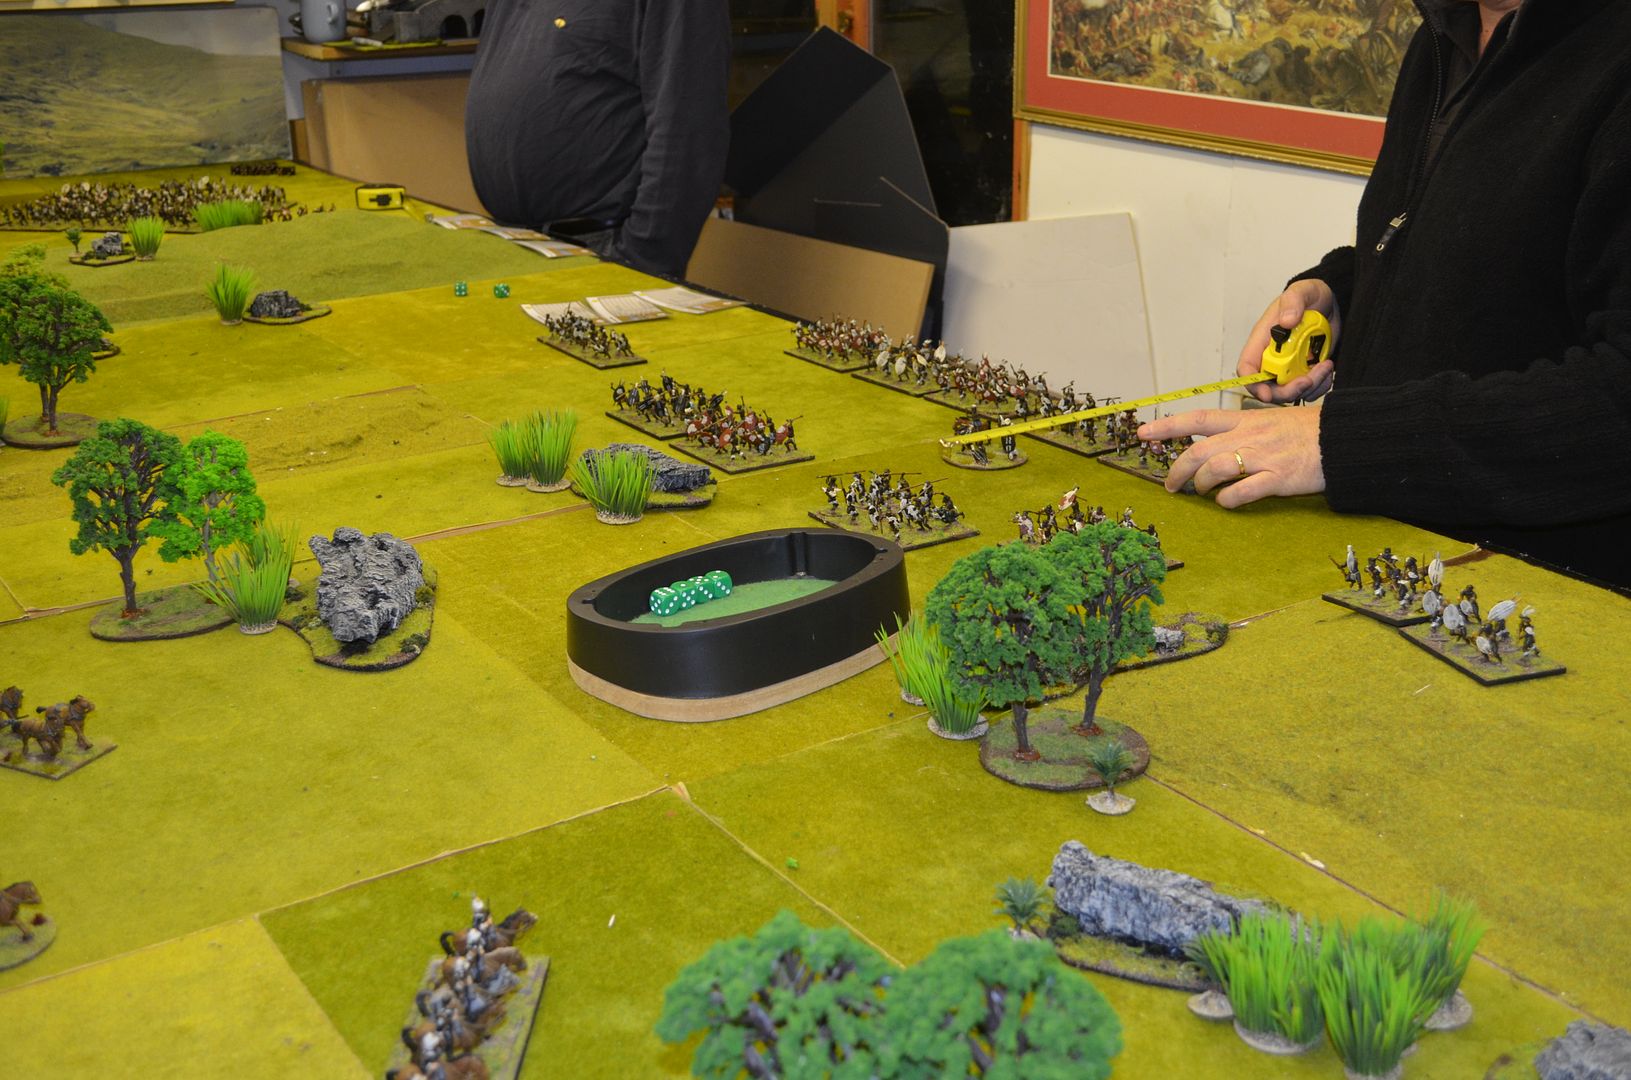
This leads neatly onto the impact of shooting/hits in melee.
At present when a unit suffers casualties they must take a pinning test. This
is completed by rolling 2d6 and from this total subtracting the number of
casualities. The result is then compared against the units leadership value.
For example a Zulu unit suffers 3 casualties from incoming
fire. The unit rolls 2d6 and scores an 8 – subtracts 3 (for the casualties)
leaving a score of five. Because this score is lower than his leadership value
(7+) the unit is pinned and forfeits any actions until rallied. In principle
this works well. Let us assume the same unit suffered 9 casualties from the
same fire and rolled the same dice – the result is the same despite the
deadlier fire.
In the following turn the Zulu player tries to rally the
unit – regardless of how many casualties suffered the rally result is driven by
the number of pins. Rallying works similar to pinning except the only minus is
the number of pins NOT the total casualties suffered. I think a trick was
missed here in the rules. Firstly pins perhaps should be accumulated according
to the % troops killed in the first round of fire – eg 1 pin for up to 1/3rd
of figures in unit (remaining) and two or more pins thereafter. This would make
rallying badly shot up units far harder and more likely to rout.
Our problem last night was that we had a number of units
left on the table rallied but with less than 25% original strength. I
appreciate the game is based on small skirmish actions and not the vast numbers
we had in play.
Melee is handled in much the same way as shooting for
casualties (but using the units melee fighting skill) with only the loser
taking potential pins. In one melee we had 12 regular line confronting a
zulu unit. Both sides suffered over 50% casualties and neither side ending up
pinned.
However the big missing point in the rule set is attacks to
the flank or rear. In evitable when you have formed troops, cavalry charges
etc. We introduced a simple houserule by saying that only half the units could
fight if attacked from these quarters.
In summary the following will be adopted by the shed with
immediate effect:
·
All units can perform the retreat order (full
move back) away from nearest enemy
·
Cavalry units may countercharge (leadership roll
required)
·
Attacks to flank and rear face give defender
only half number of dice in attack
The following need further discussion
·
Cavalry being allowed to evade infantry
·
Closing fire on charges (one option could be to
allow closing fire at close range but unit then loses half its melee dice)
·
Pinning and Rallying – needs to be reviewed
based on number of casualties suffered
If the above sounds like a poor review of the system I
apologise to the author. This is not the case. We had a great game, it flowed
quickly, delivered a result that most players felt was in-keeping with the
period and was perhaps most importantly incredibly easy to pick up for those
unfamiliar with the other games in the stable.
There are issues that need to be resolved not least of which
is the ability for a unit to react to events and the impact of these events. We
will almost certainly revisit this period using these rules with our own
tailored version. Afterall Mr Dan Mersey has created a great canvas on which we
can paint…
Whats up next – well given the table is set up and the
forces can be rearranged we are going to fight the same battle using Black
Powder. It will be interesting to see how this plays out.
We found similar issues. Additionally if the Britsh are not given a reason to move they form a square and the fire power is devastating. As long as a unit is pinned you can shoot through it as well so Human shields were not terribly effective on Open terrain.
ReplyDeleteBut on the positive the rules do work and do flow and to my mind at least are better than "Black Powder". You m well come away with a different feeling.
So I shall wait for the Blackpowder aar.
A good read and well thought through critique.
Thanks for your thoughts Clint...
DeleteWe completely forgot the shooting through pinned units
The Blackpowder game is scheduled for next Monday after that I'll a comparison
I am working on my own rules - called Assegai and of course I could use the Sword and the Flame as well
Nice AAR. We had some of the same concerns.
ReplyDeleteWe've used Black Powder for the Zulu War and while the game was entertaining, it felt nothing like a Zulu War battle.
The 'Victorian Steel' rules are the best we've found for massed battles.
Paul Ward's 'Horns of the Bull' are also quite fun but we found the cards domintaed play a bit too much.
A lovely spectacle - it captured the feel of Zulu hordes descending!
ReplyDeleteGreat looking game Eric......a "proper" wargame 😀
ReplyDeleteIf they would not have won with matched forces then the game is wrong
ReplyDeleteI was hoping to do an Old West Apache wars game. Now I am not to sure after reading a few reports. It seems you need an awful lot of figures for a so called skirmish game. Apache war bands were actually quite small. Geronimo's had thirty eight warriors and held out against five thousand US troops for months.
ReplyDeleteYou don't need many figures, and you can play with half-sized units as described in the rules (6 figures for regulars, or 8 for tribal units instead of 12 and 16).
ReplyDeleteBut then as I understand it units are destroyed rather than pinned?
DeleteLooked really good and frightening for those poor soldiers of the Queen.
ReplyDeleteYou can accumulate pins on a unit and each pin accumulated reduces the dice roll by one, thereby making rallying harder. Of course, in a 'target-rich environment' like your table, that's harder to do! Only tribal infantry can convert a double pace move into an attack, if memory serves - not all unit types.
ReplyDeleteI think the issue over matched forces was probably because the game was being played 4 times larger than intended AND your scenario was also very 'pitched battle', rather than having objectives aside from killing stuff (that's not a criticism, by the way...) With our NW Frontier and Sudan show games, we used 50pt forces but worked really hard to give players objectives that didn't just involve killing stuff (important though that is!)
Your game looks AWESOME!! Good to know you still had fun despite your issues with some mechanisms. Looking forward to seeing more!
Great looking game and an excellent report, which I must read in more detail. Just a couple of immediate observations;
ReplyDeleteIn addition to the Free Moves, we've experimented with giving modifiers to the Leadership roll depending on the order being given, based on the preferred action of the troop types. For example, +1 when Unmarried warriors are testing to Attack or Move towards the enemy, or -1 for Irregular Horse not inclined to get stuck in.
Like you, we also tweaked the available Free Moves to better represent historical tactics: removing Stand To as an option for some Tribal Infantry can lead to all sorts of impetuous advances. We also replaced Attack with Skirmish for the NMP, NNH etc.
There ARE penalties for Tribal Infantry choosing 'At The Double' instead of 'Move' orders: the latter is a Free Action but the unit must test for the former and do not move at all if they fail - so the player must choose between a steady advance or a potentially faster but less reliable one, until the final charge into contact.
Reading the rules for 'Choosing a Target' , I'm not sure that a Pinned unit cannot shield another unit coming up behind it: the pinned unit may be ignored as a potential target (bullet 3) but that does not mean they do not block LOS (bullet 7), although I'd accept a unit that had Gone to Ground does not block it.
There are rules for Rockets, and limbered artillery, in the play test drafts of the rules: the former can only fire at Long Range and, instead of causing casualties, force the target unit to take one pinned test for each crew figure firing - these worked well in our games.
As Andy says, the rules work really well in scenario-driven games with anything up to 36-40 points per side, and an appropriately sized table. We've played the 'Seek & Destroy' scenario 3 times with 36 points per side (28mm figures, 8'x4' table). In the first, a mixed Force of Irregular Horse with a single field gun struggled to achieve its objective because there was no room to manoeuvre, second time around, the same force did much better, largely because we re-interpreted the victory conditions. In the final game, an infantry force did much better with sustained volley fire producing a hard-fought victory.
It's a rule system that's well worth persisting with: it's got me painting German Marines and Schutztruppen, Zanzibari slavers, Pathans and Highlanders for the NWF, and allowed me to dig a load of toys out of the box. I'm very tempted to put together a field force for the Boxer Rebellion: every unit of the International force can be a different nationality and be no more than 50-60 figures.
On TSATF: cannot criticise a rule set that did so much to popularise colonial gaming but I think you'll find it a product of its time: very clunky, not much period feel and the interminable matched dice rolls for melee will drive you mad - but that's only my opinion!
Correction: just spotted (p.25) that a Pinned unit does NOT block LOS, we've missed that so far, probably because it wasn't in the play test draft version and we're still unlearning those bits that have changed. I suspect that this will remain 'unlearned' though it would make life easier for the British.
ReplyDeleteVery good report I have the same problems with the rules. When a unit is pined we played with the idea of not rallying but you could op to move this turn and rally in the next turn. It seemed to work but I hate to add too many new rules.
ReplyDelete