Thursday, 17 November 2016

Jason & the Argonauts part 3

So as I suggested in my first post on this subject I have been ordering a few bits for this project and if by magic postie arrived with a few gifts...

Part 2 can be found here
http://shedwars.blogspot.co.uk/2016/11/jason-and-argonauts-part-2.html

First up from Grand Manner the Argo...

http://www.grandmanner.co.uk/Jasons_Argo--product--619.html

This is a resin cast Bireme perfect for the genre. It comes with resin mast, sails (furled) and steering oar. In addition the Stern post is a nicely carved curvy bit. Shame really as I wanted a goddess figure head. Maybe I can customise something here.

The package was so secure it took several cuts to open. Not surprised really because the ramming horn on the bow looks really fragile. I think I am going to have to mount the whole boat on its own base lest this gets broken. Painting this little model will get its own post in the future.


This is what it looks lioke painted on the Grand Manner Site


In addition I received another parcel of Reaper Minatures - these include all sorts of enemies for my Greek Heroes - Medusae, Harpies, Giant Scorpions etc. As these get painted I'll post up progress.


I bought these from this vendor on ebay - good price and swift delivery

http://www.ebay.co.uk/usr/miniaturegamercouk?_trksid=p2057872.m2749.l2754


Of course the pride of this purchase was the £16 Hydra - and what a nice beasty he turned out to be


Off to warfare in Reading this weekend so no doubt more stuff will get added to the pile

Part 4 can be found here
http://shedwars.blogspot.co.uk/2016/11/jason-and-argonauts-part-4.html

Sunday, 13 November 2016

Jason and the Argonauts part 2

A fairly busy day kicking off this project...

What a new project you say well if you want to read the intro head here
http://shedwars.blogspot.co.uk/2016/11/the-next-big-project-isjason-argonauts.html

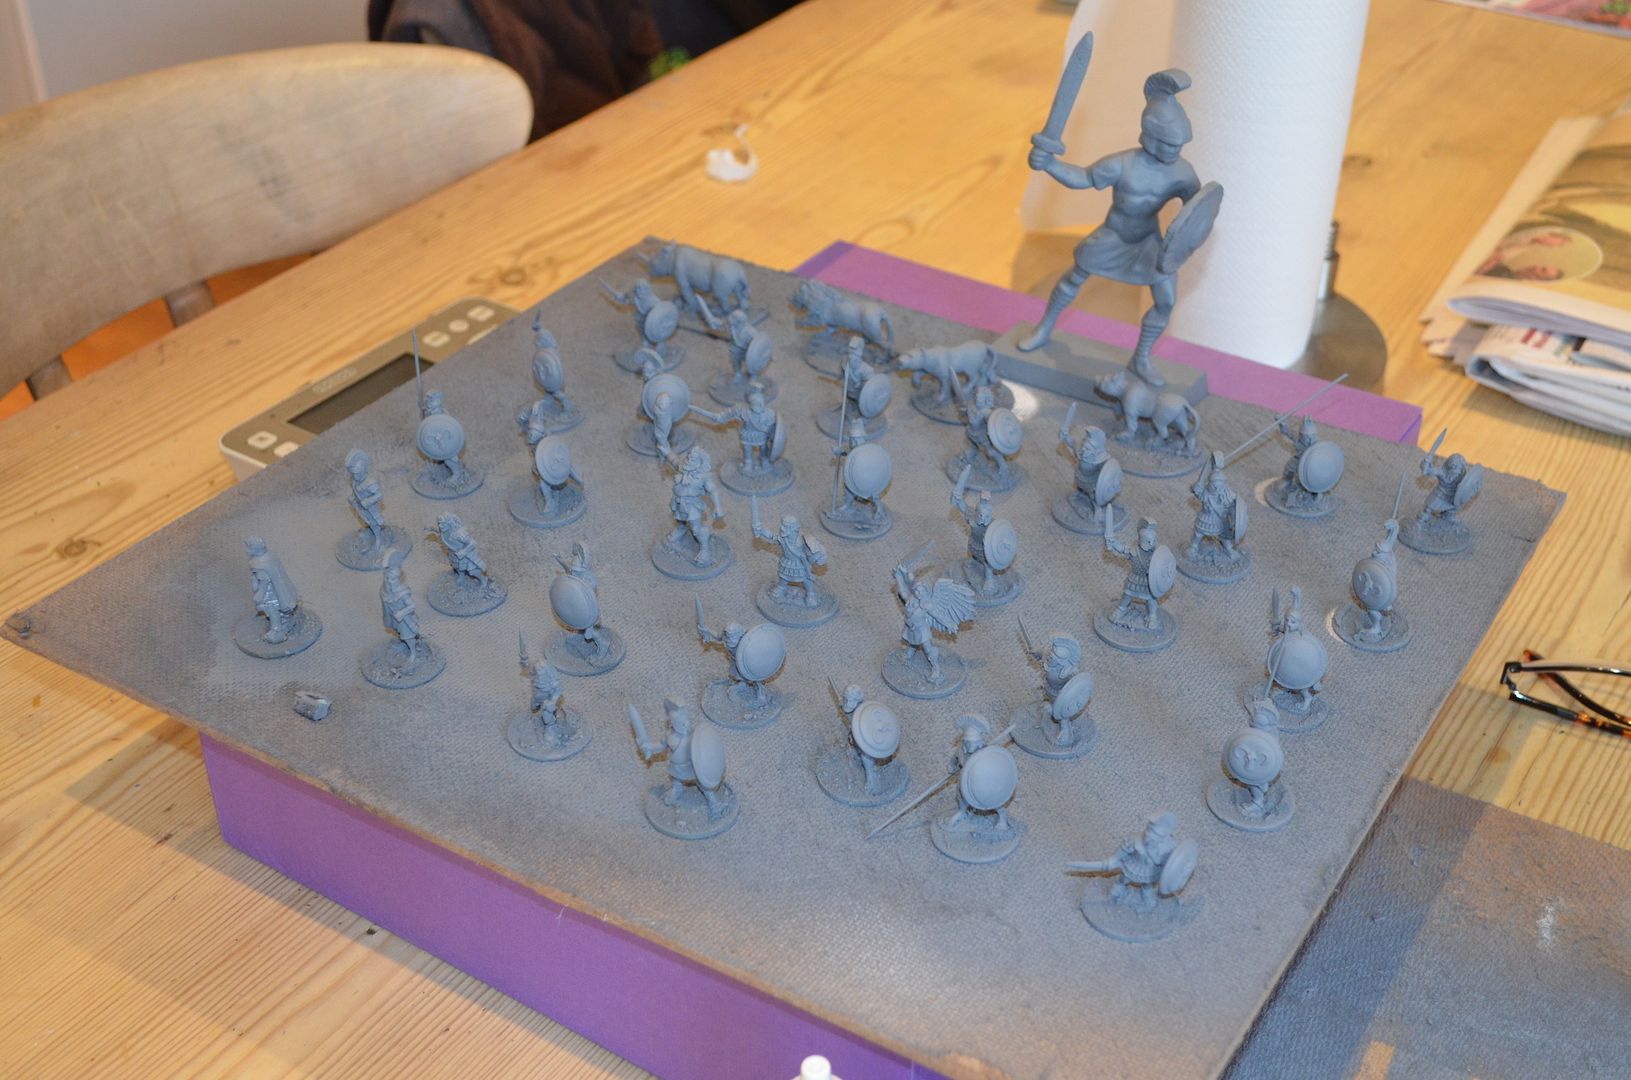
OK - so what happened today. Well first up I based and primed all the Greek Warrior figures - these are a mix of Black Tree Greeks and Foundry's Argonaut range.I reckon I have around 36 of these to paint. The monsters are other figures should arrive later this week.


all primed and ready to paint


Secondly I primed and then put on the first coat of my Talos figure - really happy with the base bronze achieved. If interested its just a GW bronze paint mixed with black and brown paint. I'll begin the highlighting later on this week. Of course Talos is going to need a plinth so that will need to be custom built


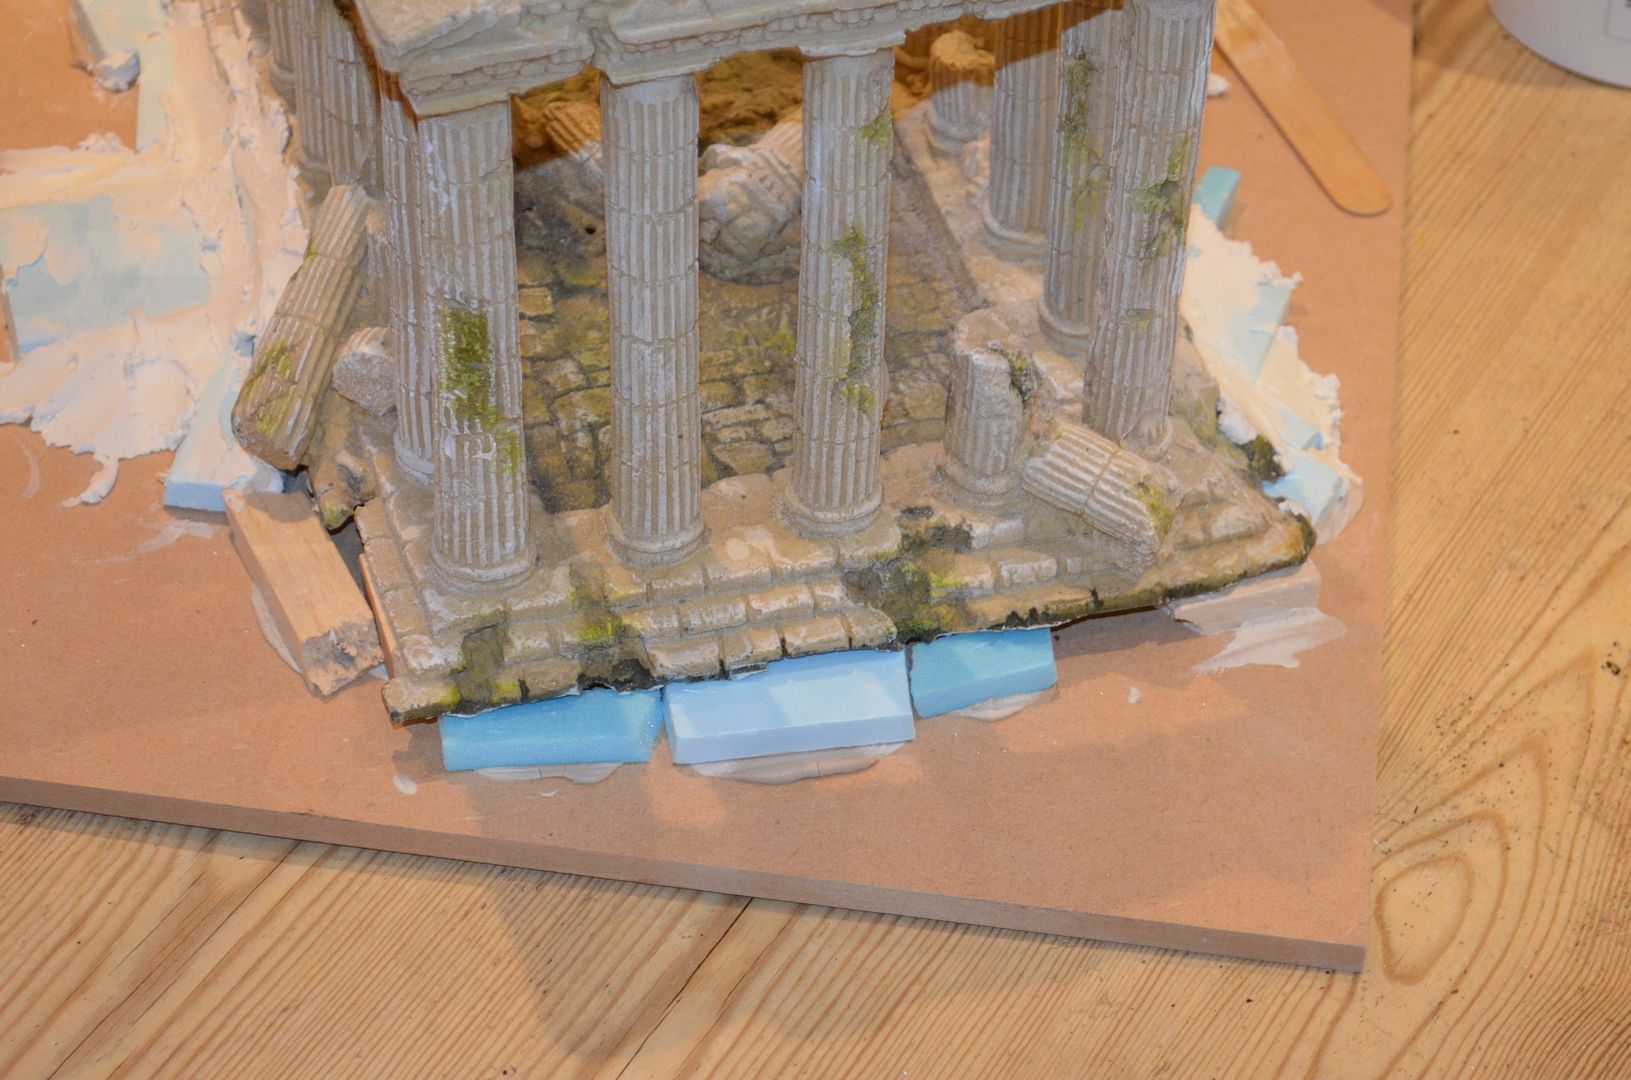
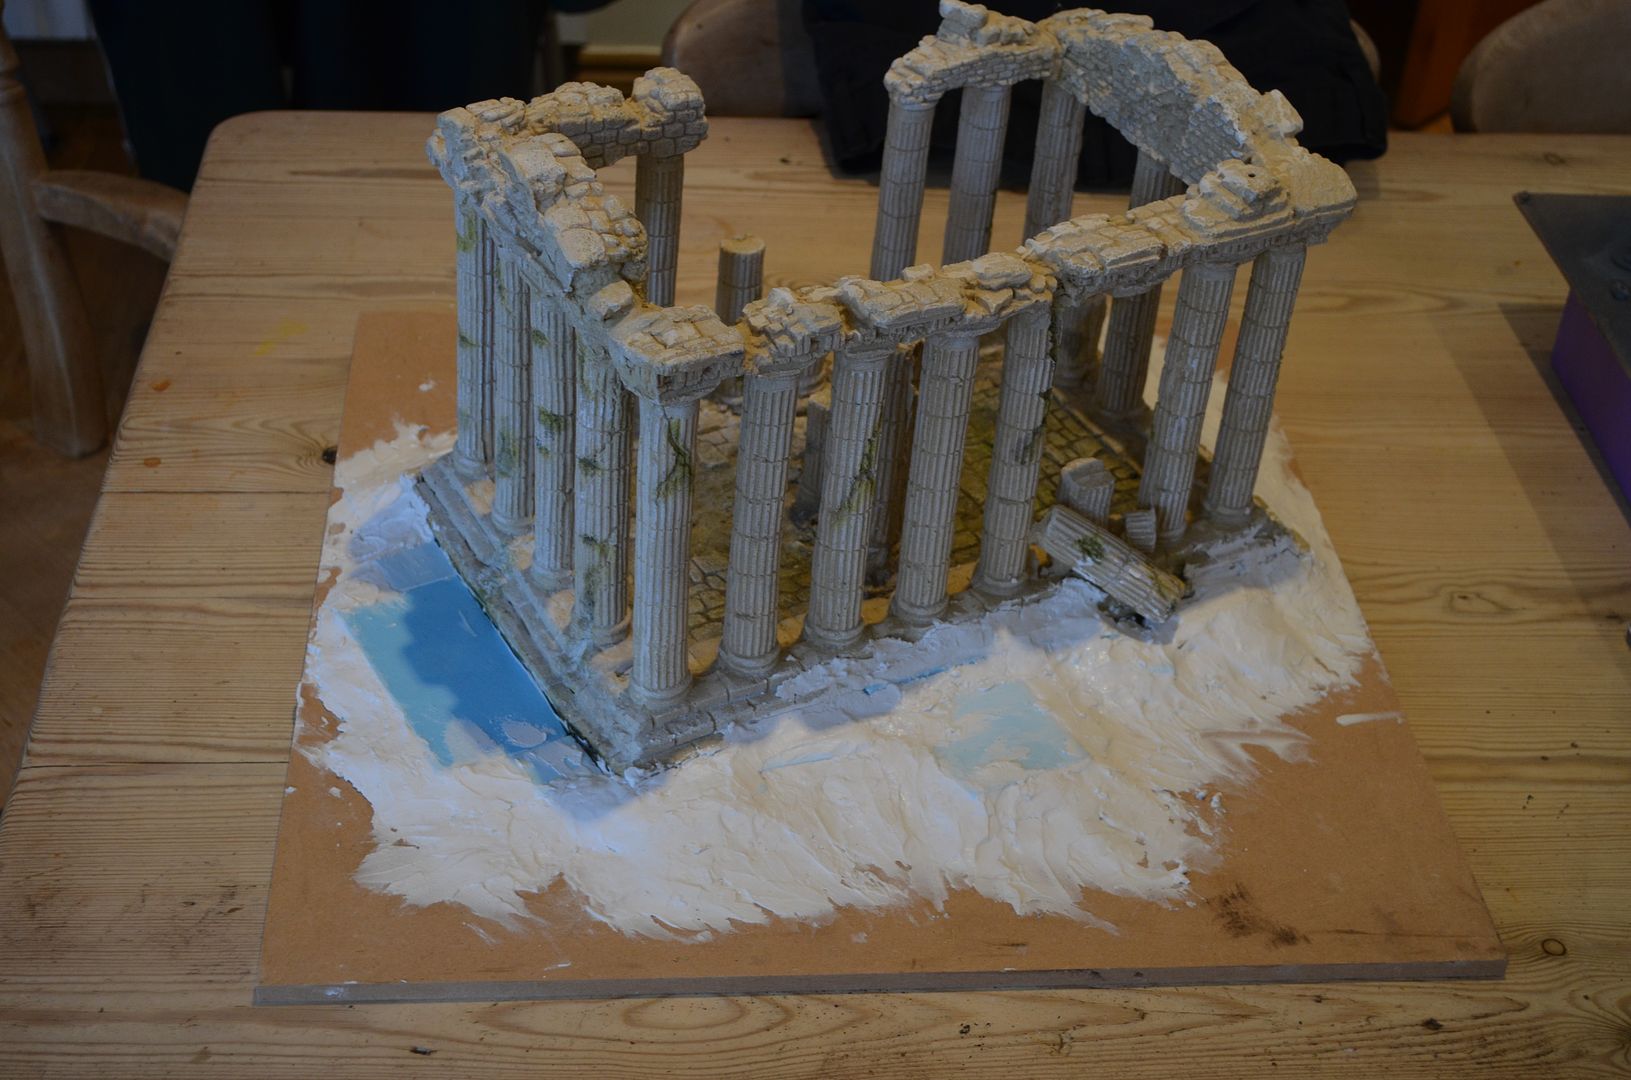
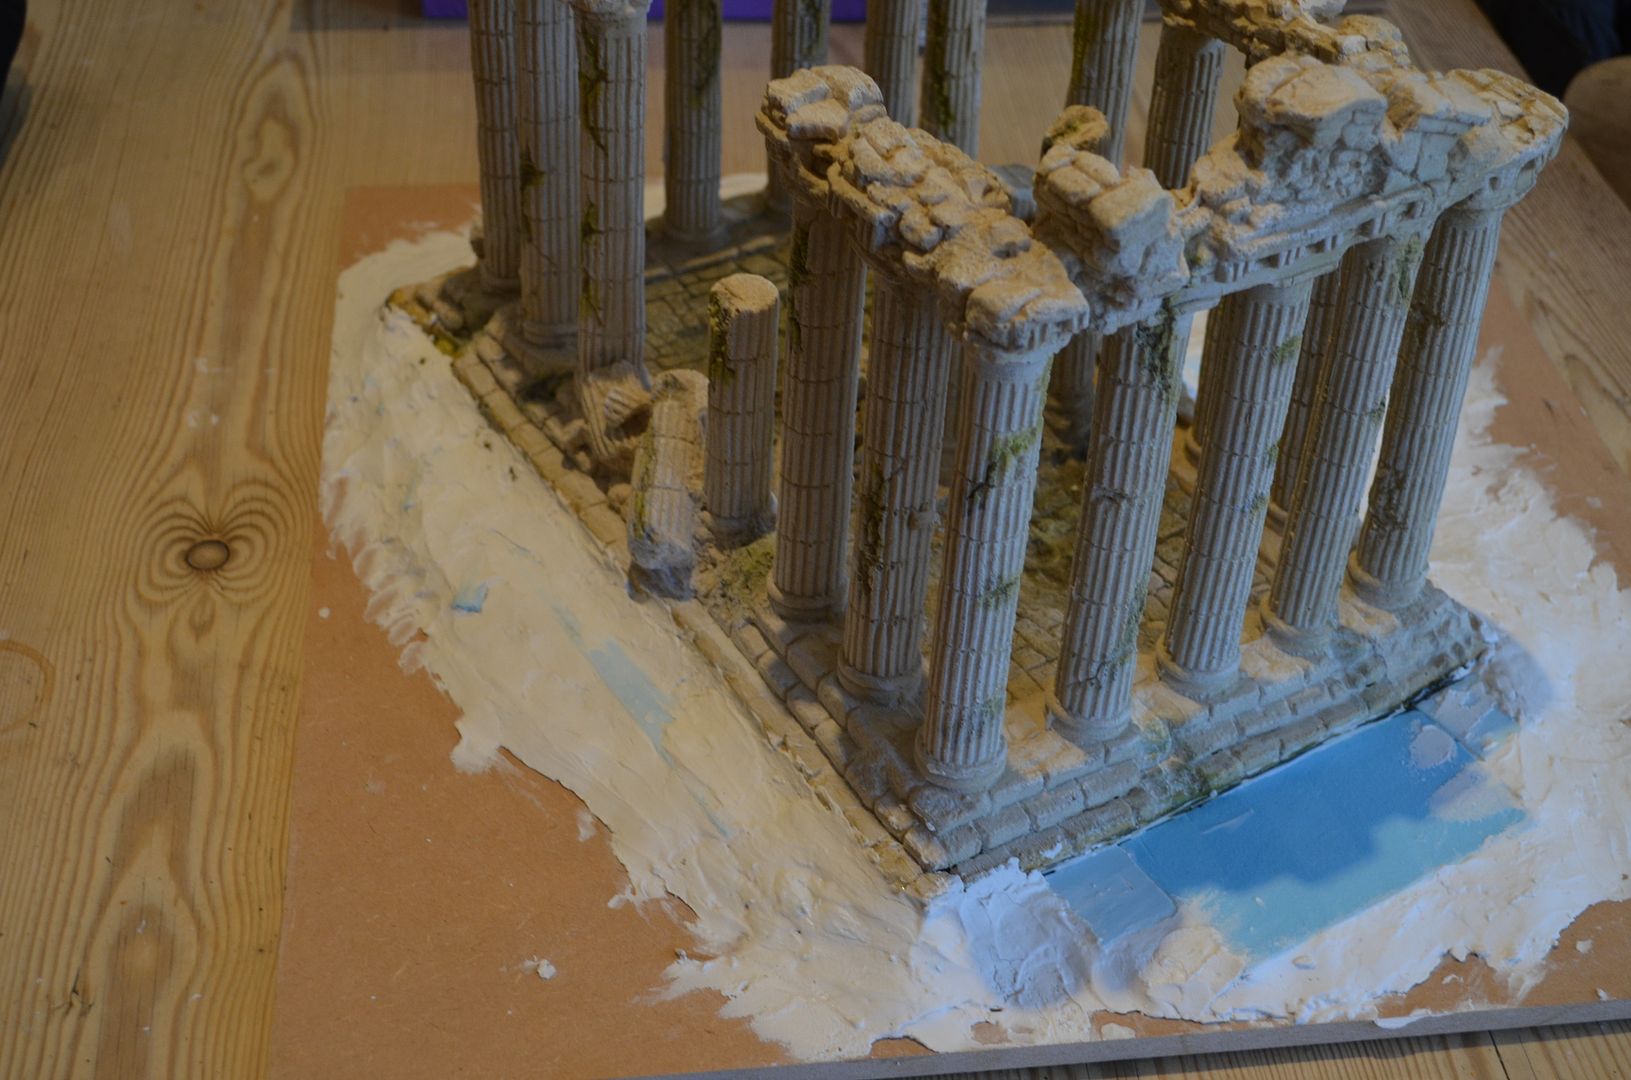
Finally I turned my attention to the first terrain piece of the project the temple ruins. Firstly I cut down the resin base so it could sit almost flush on a 50 x 50cm mdf board. This was then levelled off with some bluestyrene blocks

The temple is sitting on a 4cm high rocky base - I had to cut this away to lower the height - that a 28mm in the forefground for scale purposes

Once all dry the area around the temple was smoothed off using filler. This dried quite quickly and then got coated with PVA.

block work to level off


filler added to create smooth finish


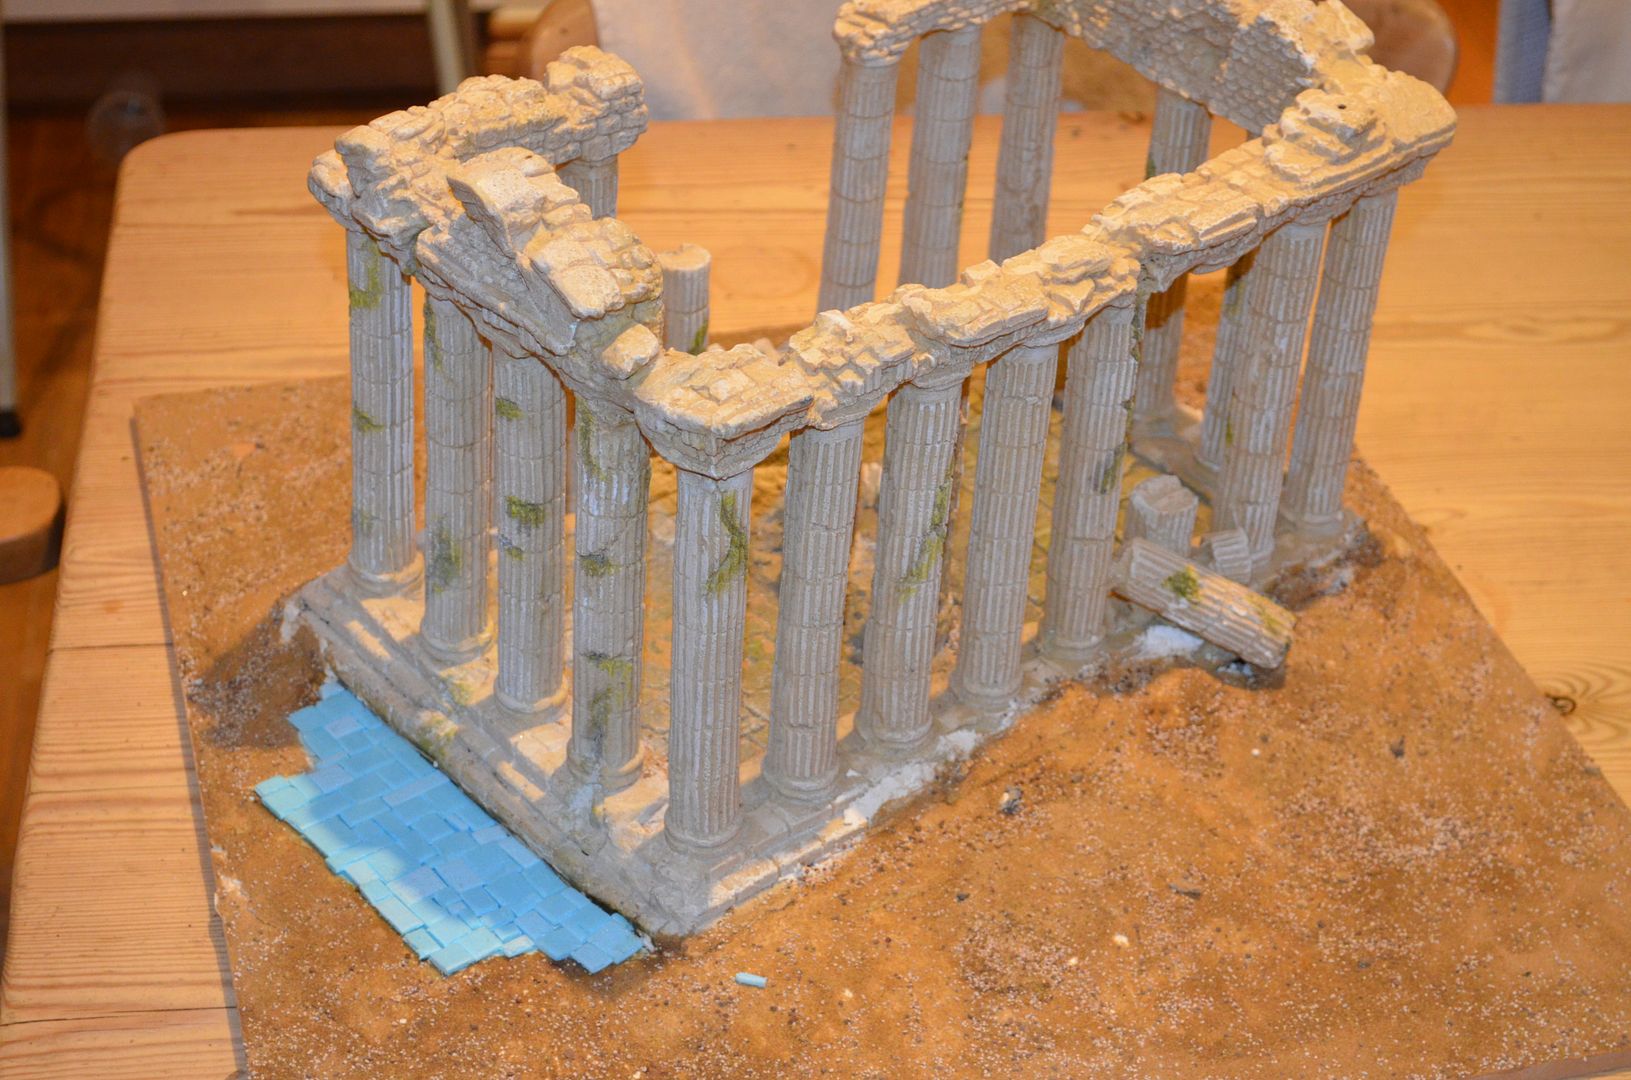
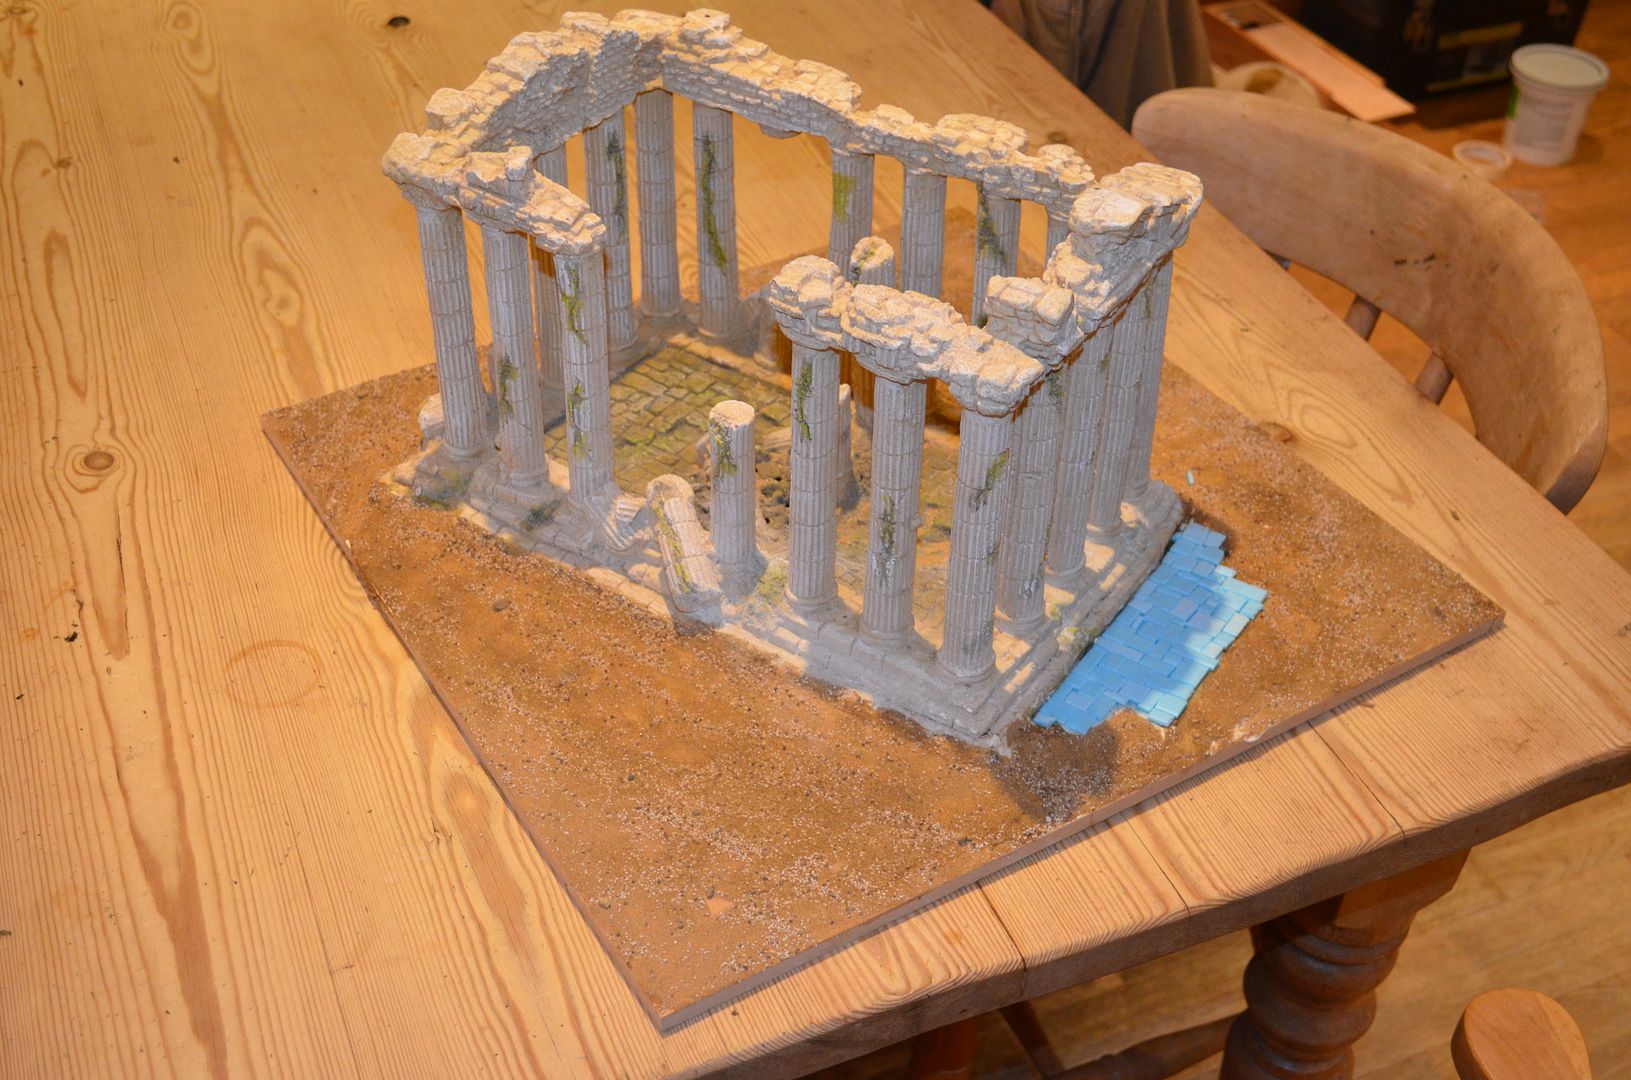
Once the pva was dry I added the first coat of sand. I left an area near one end of the temple clear onto which I cut and place some blue foam flagstones. These look very similar to the stone flooring inside the temple. Ill leave all this to dry over the next 48 hours before moving onto the next stage

sand added and tiles placed at entrance


Until next time
part 3 can be found here
http://shedwars.blogspot.co.uk/2016/11/jason-argonauts-part-3.html


Saturday, 12 November 2016

The Next Big Project is...Jason & the Argonauts

Hi Folks

Now that I have completed my Zulu Wars project its time to talk about my next project that I'll be working on over the the winter months.

This was a relatively easy task given I have never done anything in this genre before - it opens up new opportunities for terrain builds, different figures, monsters and fits with the current passion for skirmish games....oh and did I say it contains monsters?

Ever since I was a little boy I have always loved the movie Jason and the Argonauts...for me it epitomises this fantasy period and I think its probably a favourite of most gamers. I say most becaiuse my friend John came round earlier today and cl;aimed he'd never seen the movie.

The Movie itself came out in 1963 (two years before I was born) and as a cinematic story I don't think they get any better. A group of heroes sail across the Aegean sea facing various trials whilst trying to obtain a fabled artefact. It has all the right ingredients for a wonderful table top game.

In fact the whole Greek Fantasy period seems to be having a bit of a renaissance at the moment - check out the Mythic Battles Pantheon Kickstarter an no doubt there will be a Frostgrave does Greece and Olympus Rampant.

So without further ado let me tell you whats going to happen...


Of course the stars of the film are the various mythological creatures that are bought to life by Ray Harryhausen, the pioneer of stop go motion filming.At its time it was cutting edge and even today we can only marvel at the patience and imagination that was used to bring these models to life on the silver screen. 


So over the last few weeks I have started accumulating the various pieces I need to bring this adventure to life on the games table...

Of course I need a Talos -the large bronze Titan statue (can't help thinking that my bark cliffs look uncannily like those in the picture below)


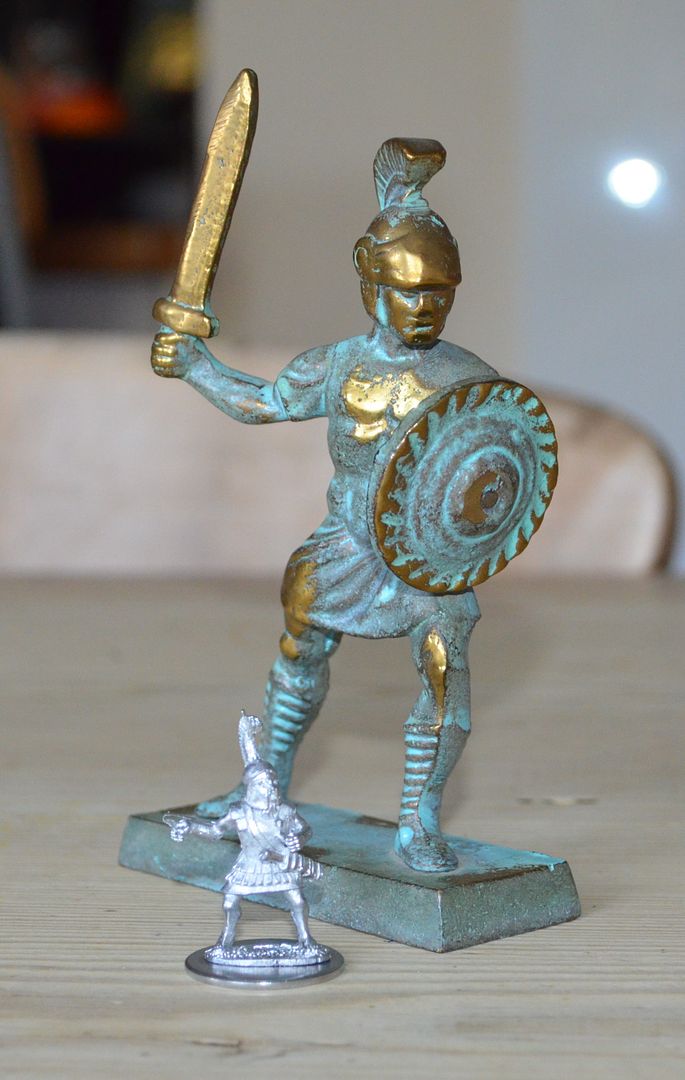
So a quick hunt on ebay found this brass figure for £5 inc postage - ok so he's holding a shield and is a little small compared to the movie version but I reckon with a new paint job he'll do just fine


I'll need the Hydra guarding the Golden Fleece...
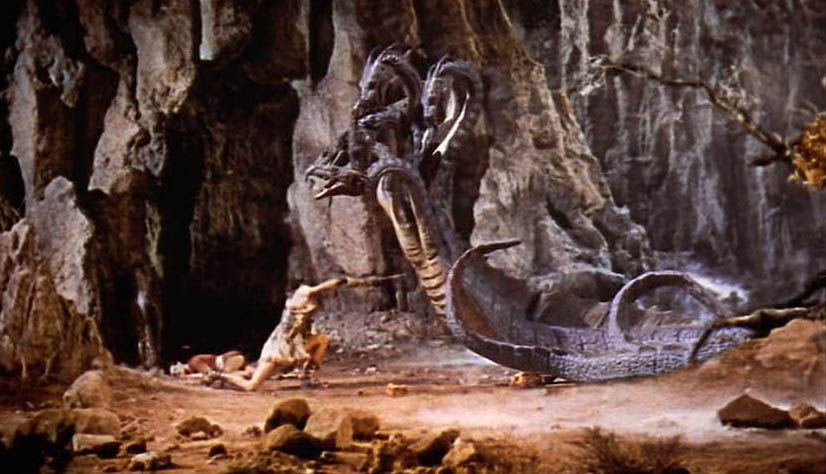


Again ebay was my friend here and I managed to pick up a Reaper bones Hydra for £16


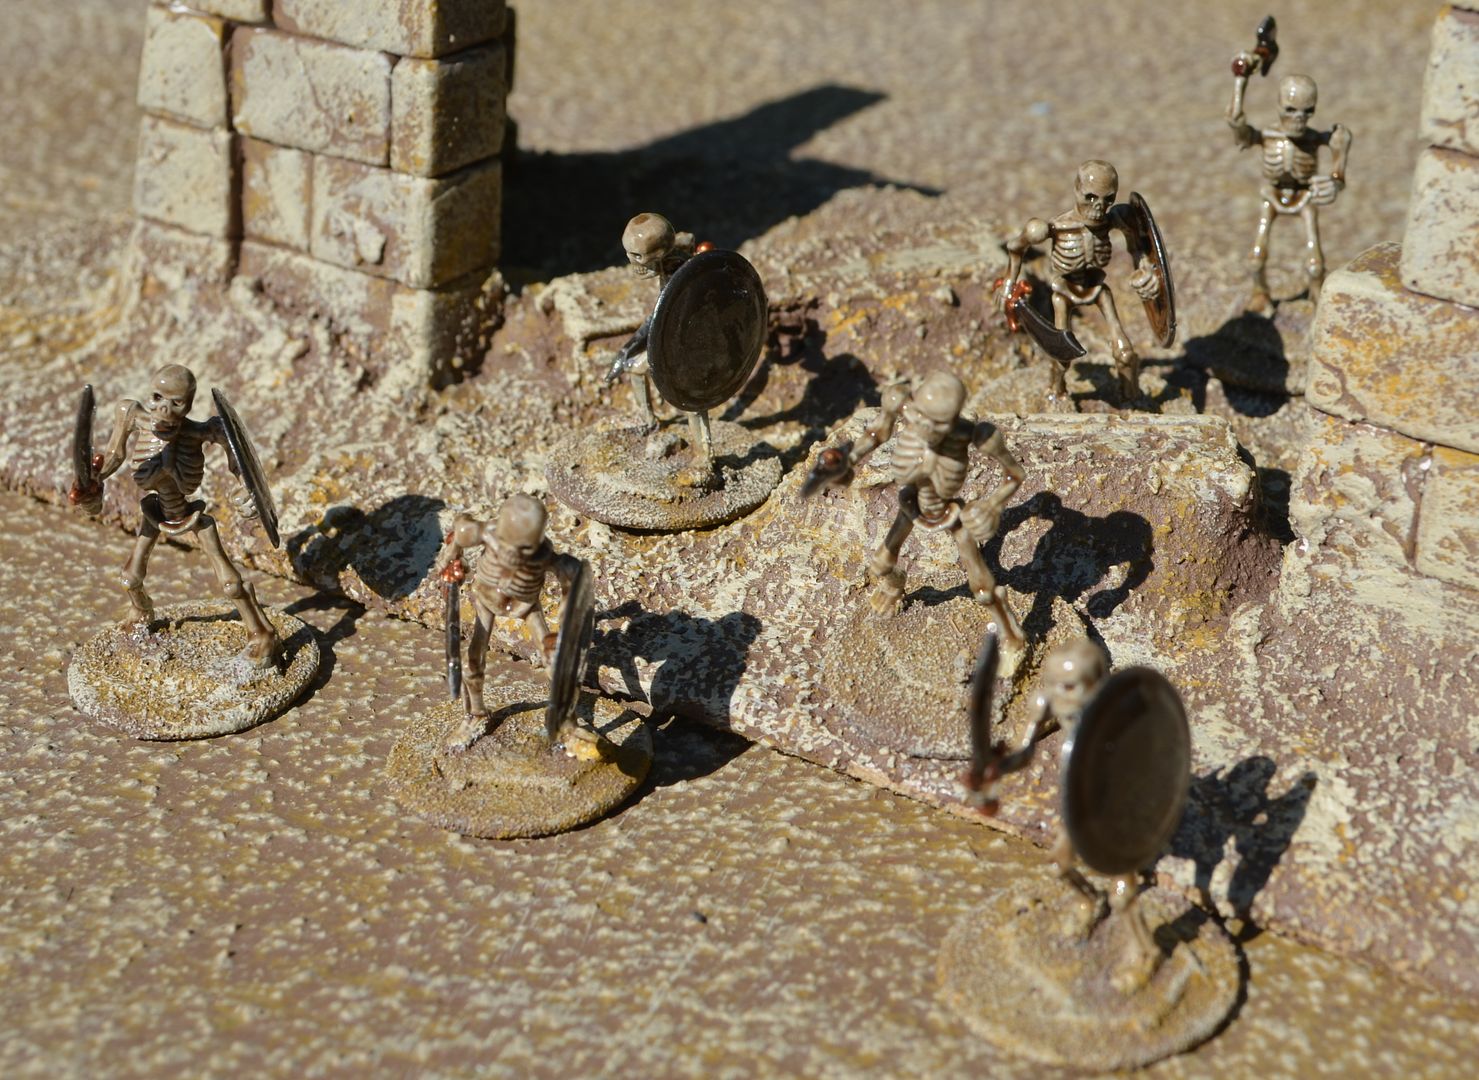
I'll need the skeletons that fight Jason and his Argonauts at the end of the film


Hang on - I have these already...


I am going to need the Argo - The Bireme that carried them all across the sea...


A quick google search revealed that Grand Manner produce onme for a very reasonable £40 - so an order has been placed and should arrive on Monday


Of course I am going to need the Harpies and the temple where they are defeated....


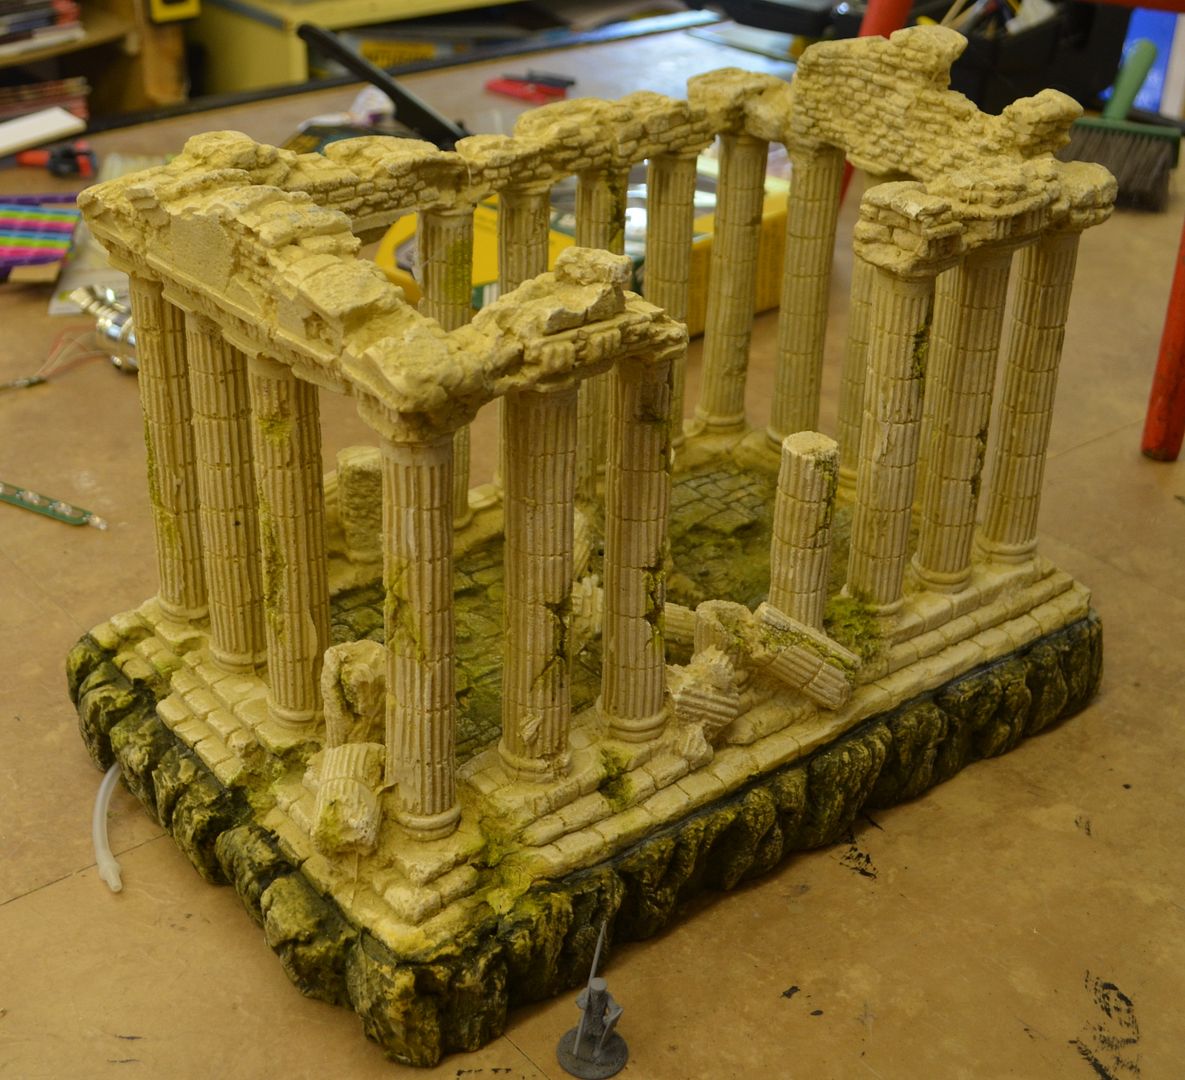
Actually  I already have the temple...this is a very large fish tank piece I bought in the states last year


The Harpies have been ordered from the same vendor as the Hydra. I also decided to buy some other beasties that do not feature in this fil but are of the same mythos eg minotaur, medusa etc 

Of course I'll need the crew and other personalities. Having bought some Black Tree Greeks I discovered that Foundry produce a range of Argonauts so these duly went into the basket. These arrived today so a post will be forthcoming

My checklist also has a note saying terrain - the base of which will be my desert boards but I'll need to add some custom pieces (eg a beach and cove). I have actually started the first piece which will feature in another post.

Finally there are the rules...I already have some ideas fore these and as they get fleshed out I'll post up some thoughts...

Wish me luck

For part 2 head here

http://shedwars.blogspot.co.uk/2016/11/jason-and-argonauts-part-2.html

edit...

I was able to pick up this 12 inch tall model of Athena on ebay for a fiver - Ill break this up as a fallen statue for scatter terrain


Thursday, 10 November 2016

Zulu Wars - Rorkes Drift - Project Finished


Of course when I decided to build my Zulu War project I would at sometime have to feature Rorkes Drift and so I busily started looking at the various options.

I quickly realised that there were three ....

1. Build it myself
2. Purchase the resin models from Redoubt
3. Purchase the 4ground models

Fortunately my decision was made easier when I picked up the latter models for a good price along with all the barricades from the Warlord Games Rorkes Drift box set from a fellow gamer, Hu Rhu, at BLAM.

These were part of a long dormant project of his and part of the deal was to invite him down to the shed once they were all built. No problem !

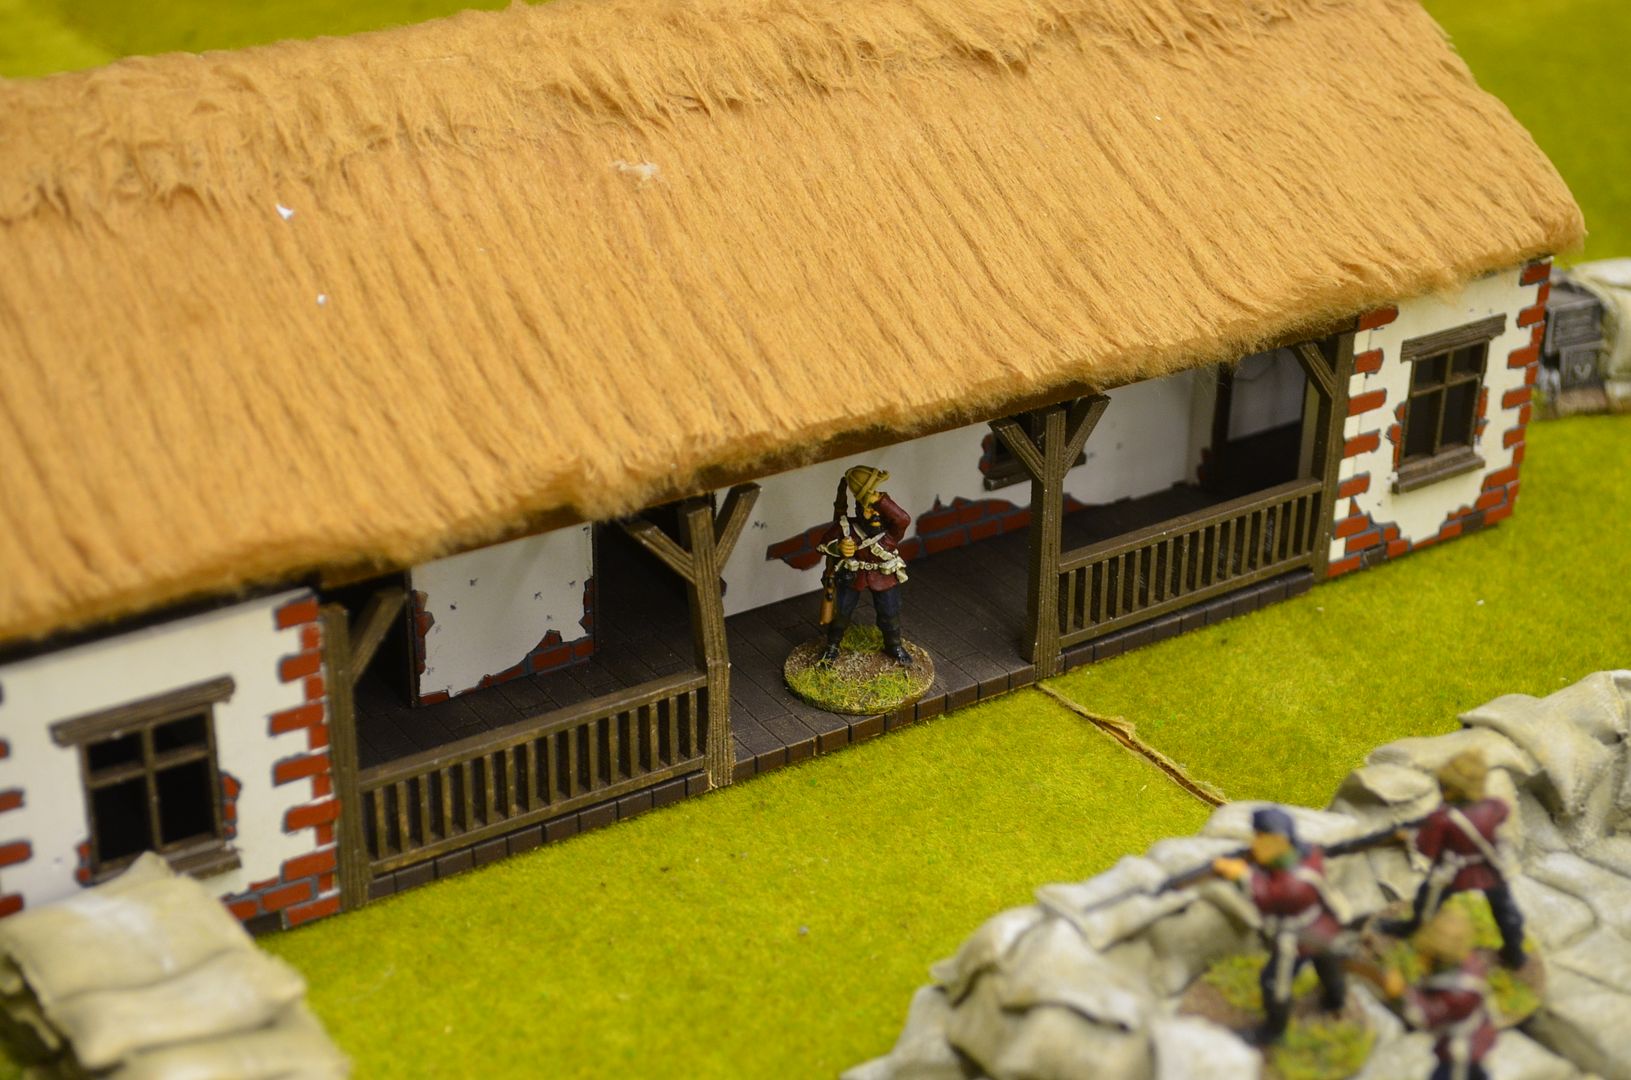
The buildings themselves are all MDF and it became quickly obvious that it would be much better to paint the pieces before assembly. All the walls were sprayed matt white before I turned my attention to the wooden door frames, windows and lintels.

The exposed brick work was painted basalt gray and then each brick picked out in a deep red brown.

At present the roofs are unpainted teddy bear fur soaked in PVA - can't help thinking they would not look out of place on the President Elects head

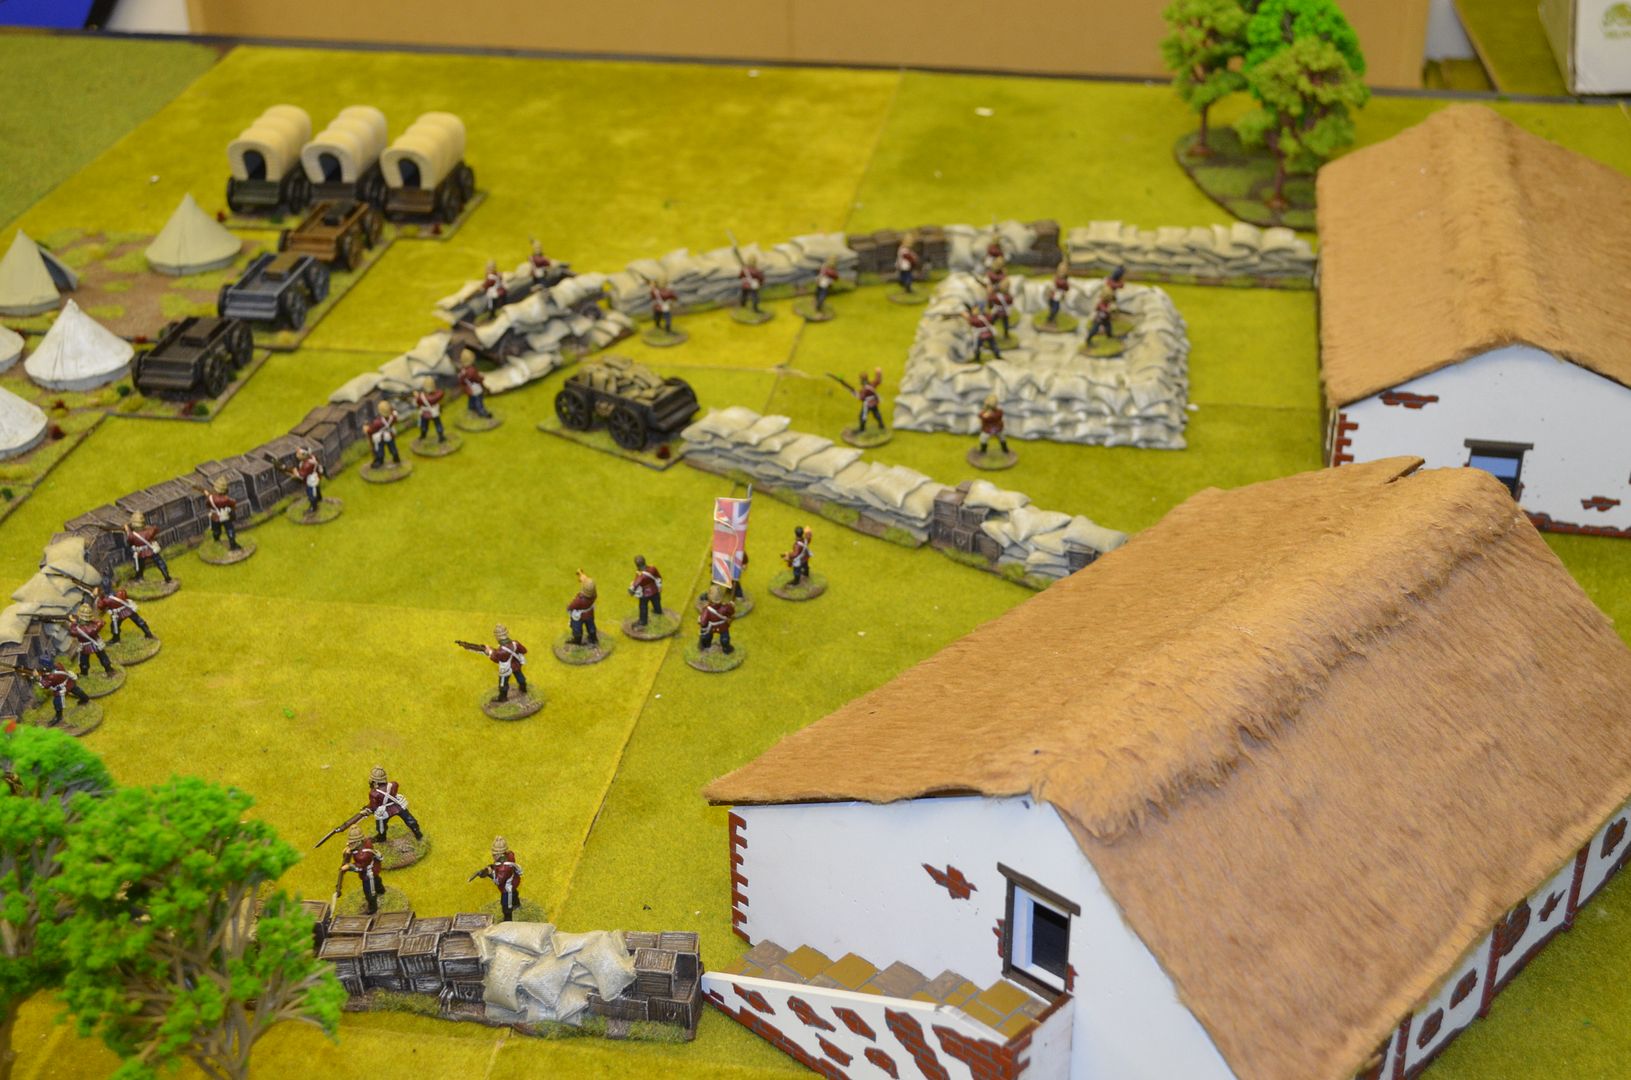
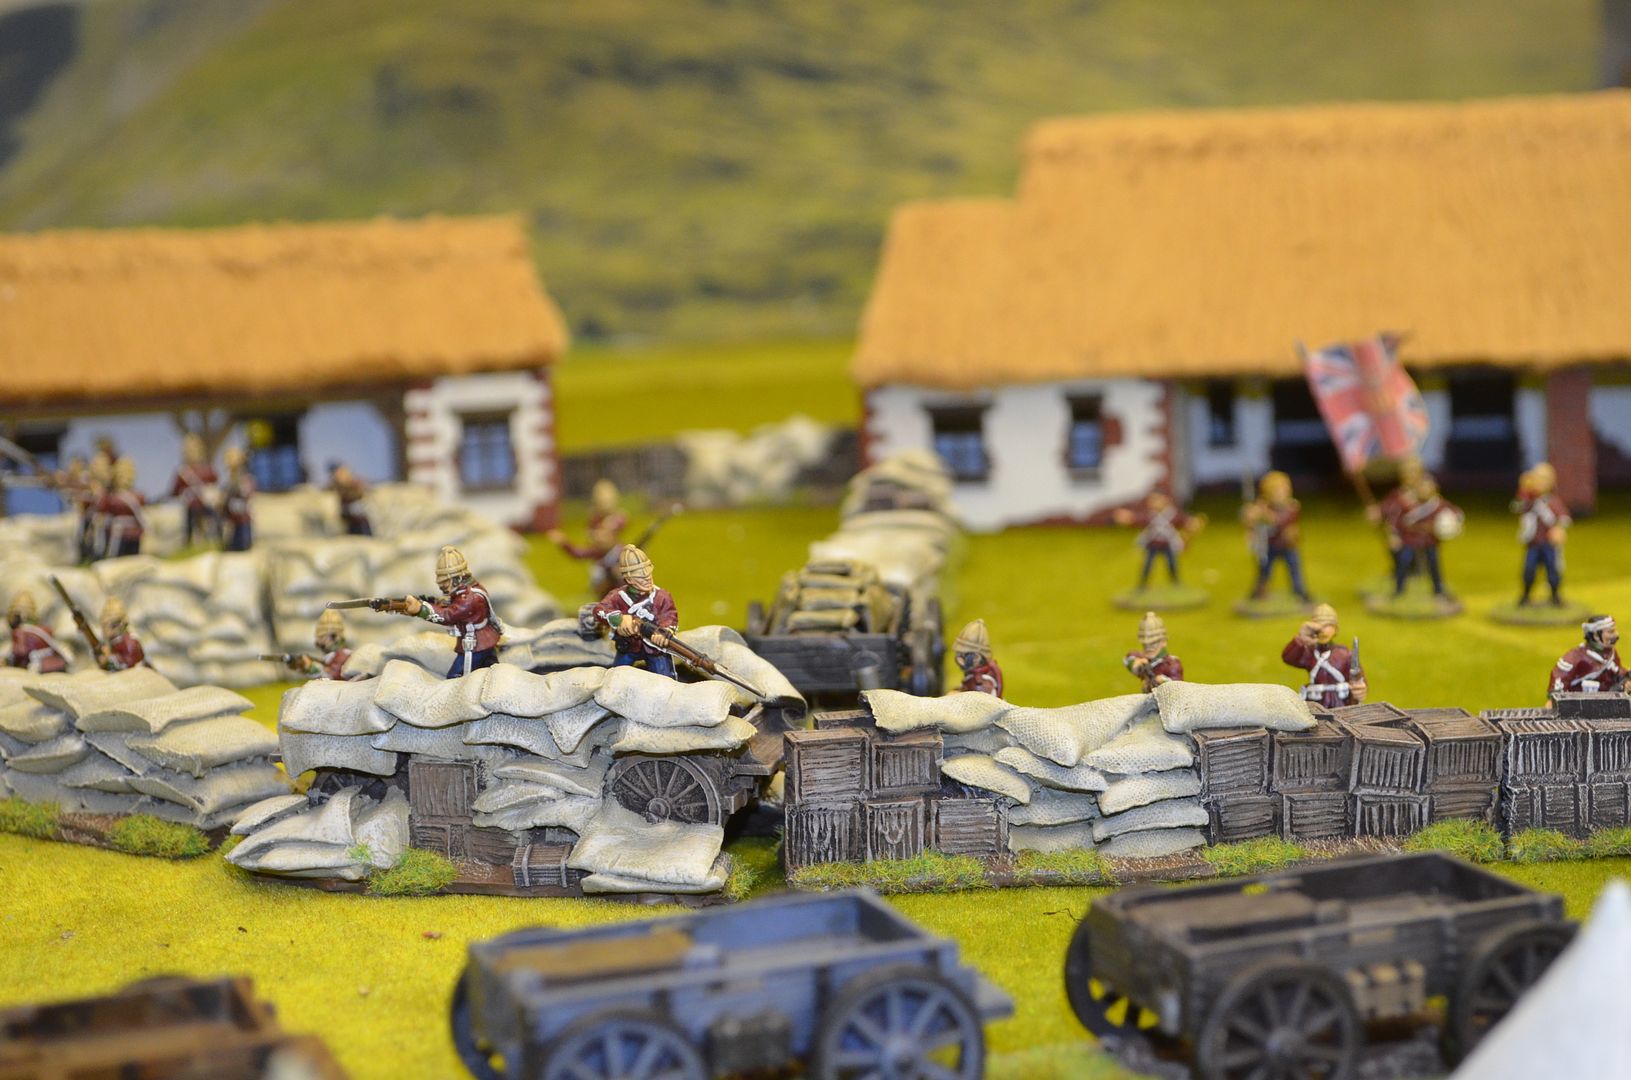
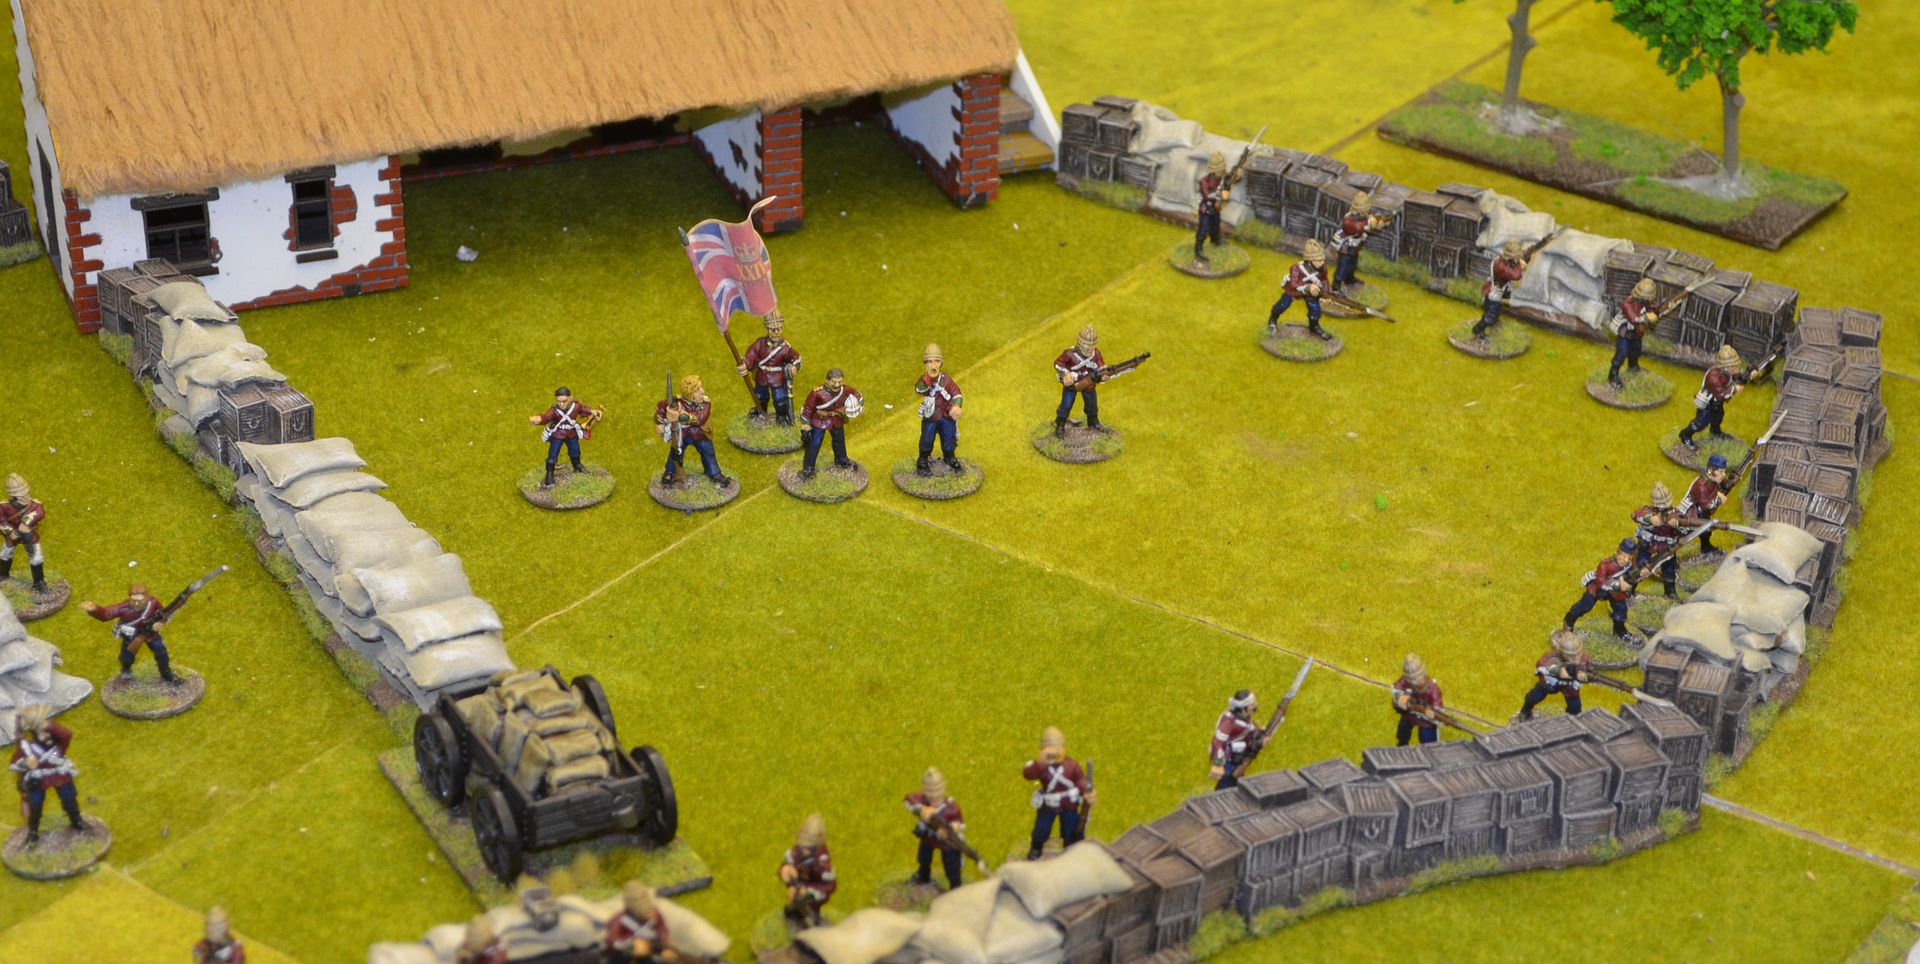
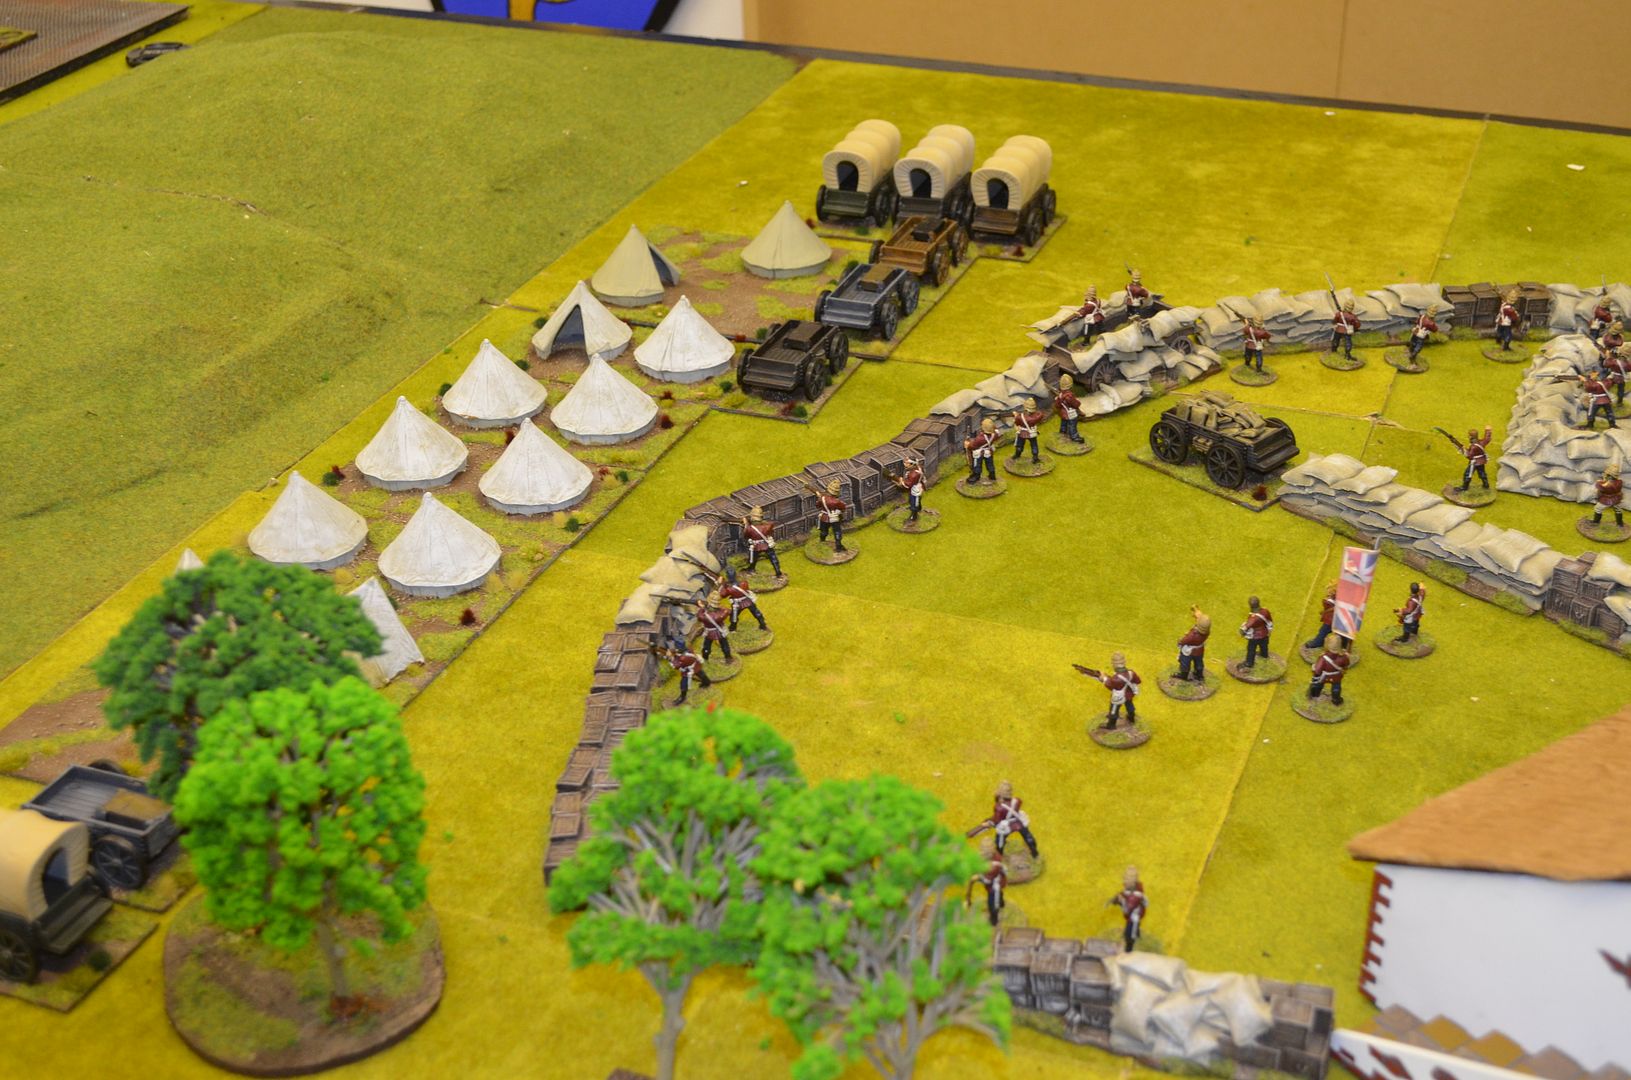
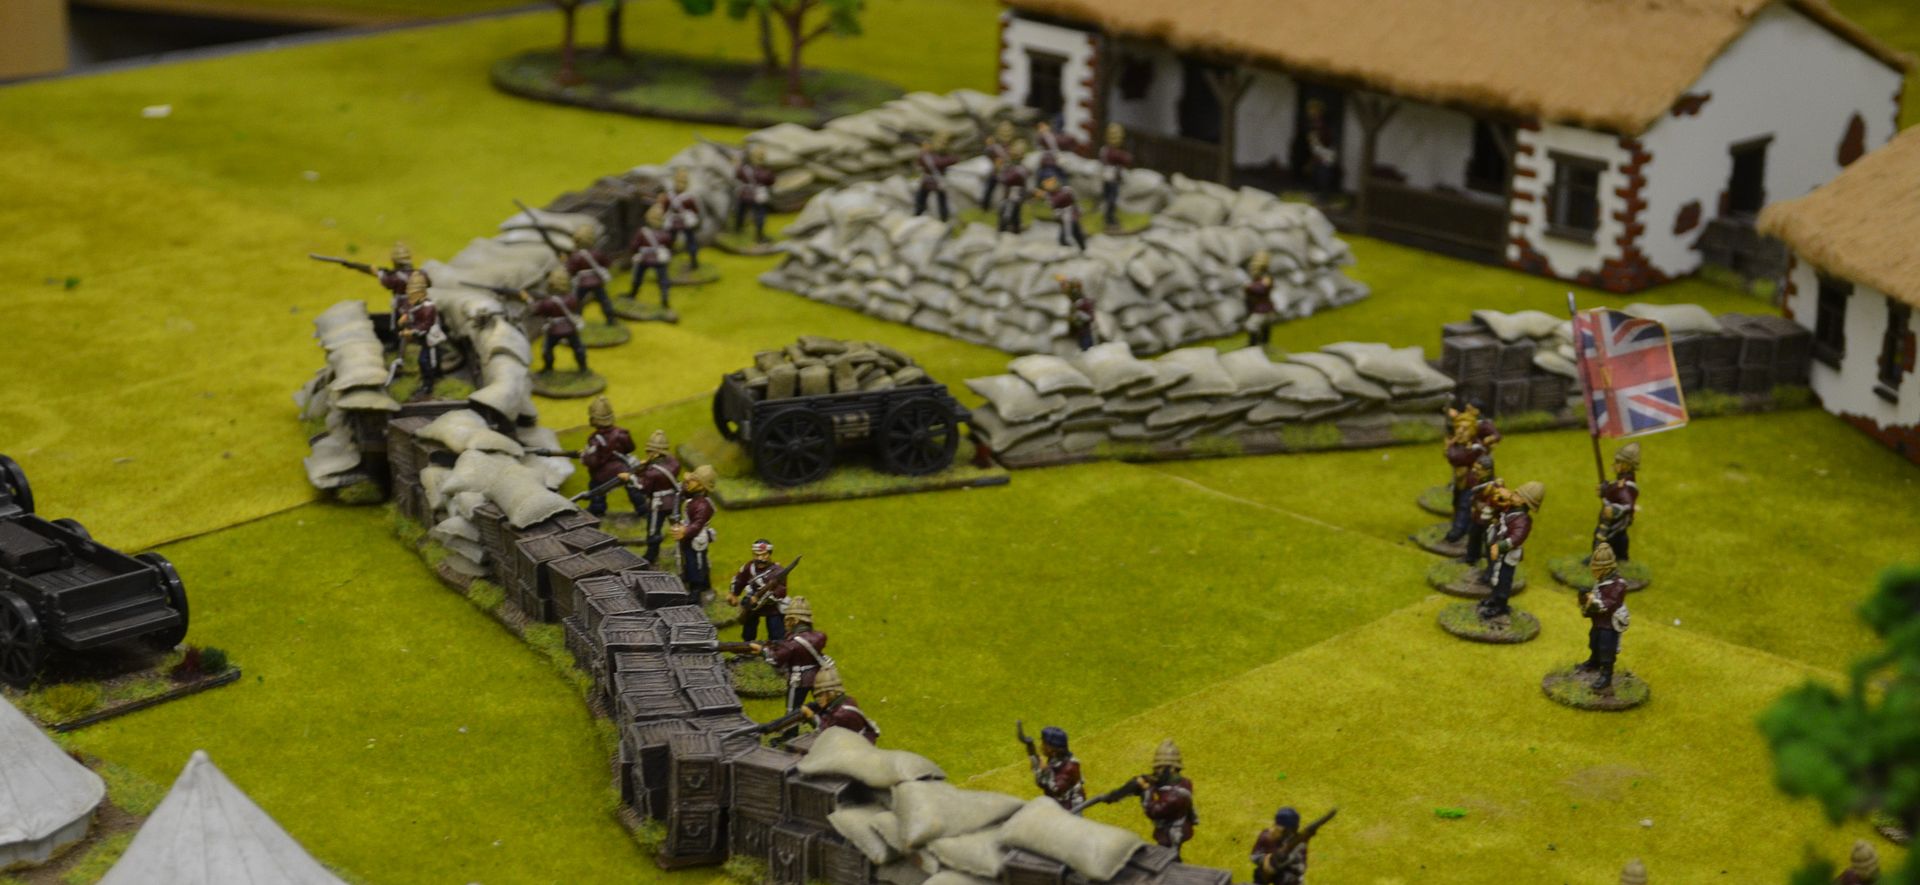
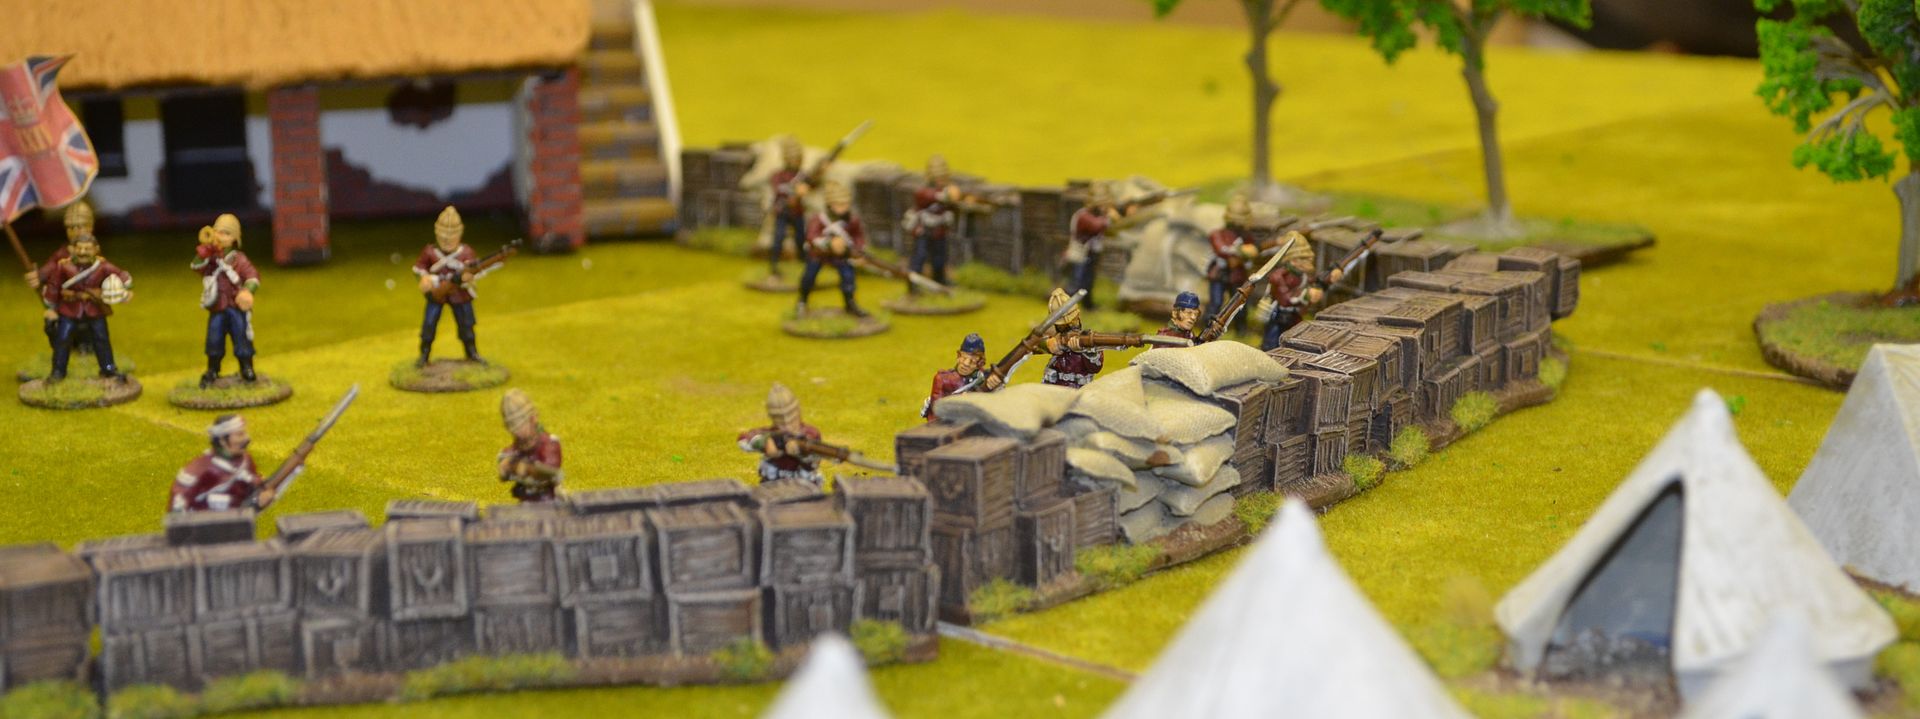
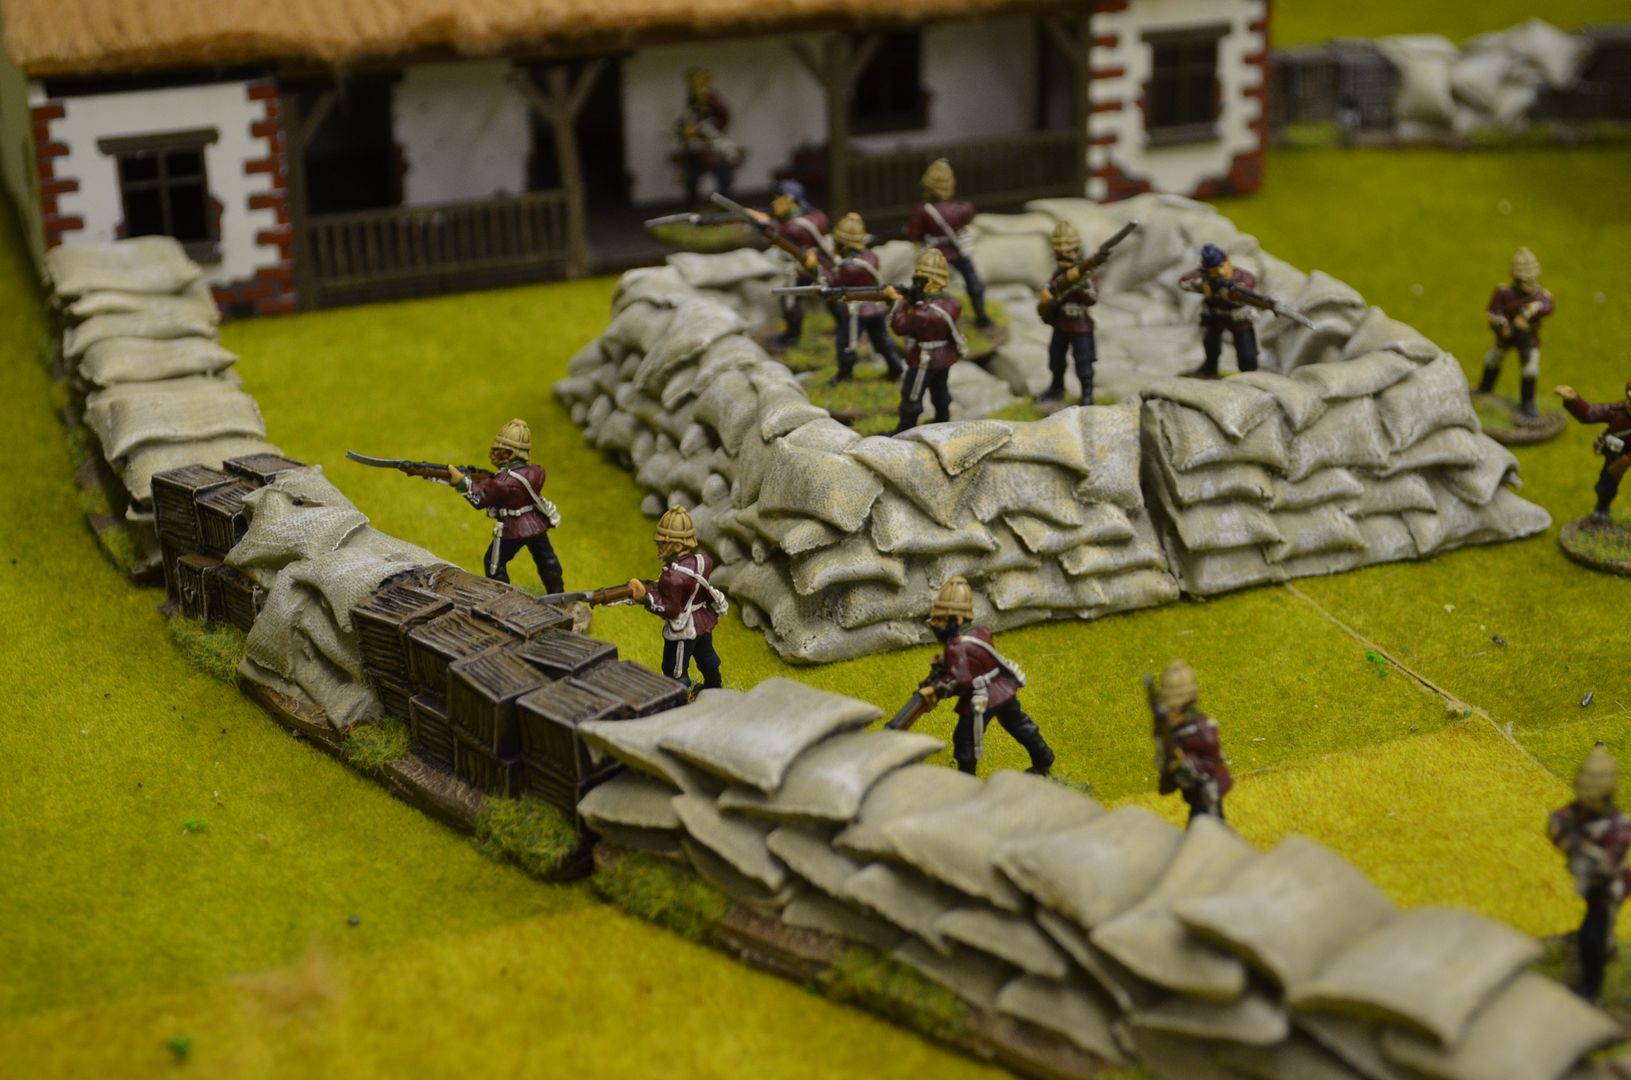
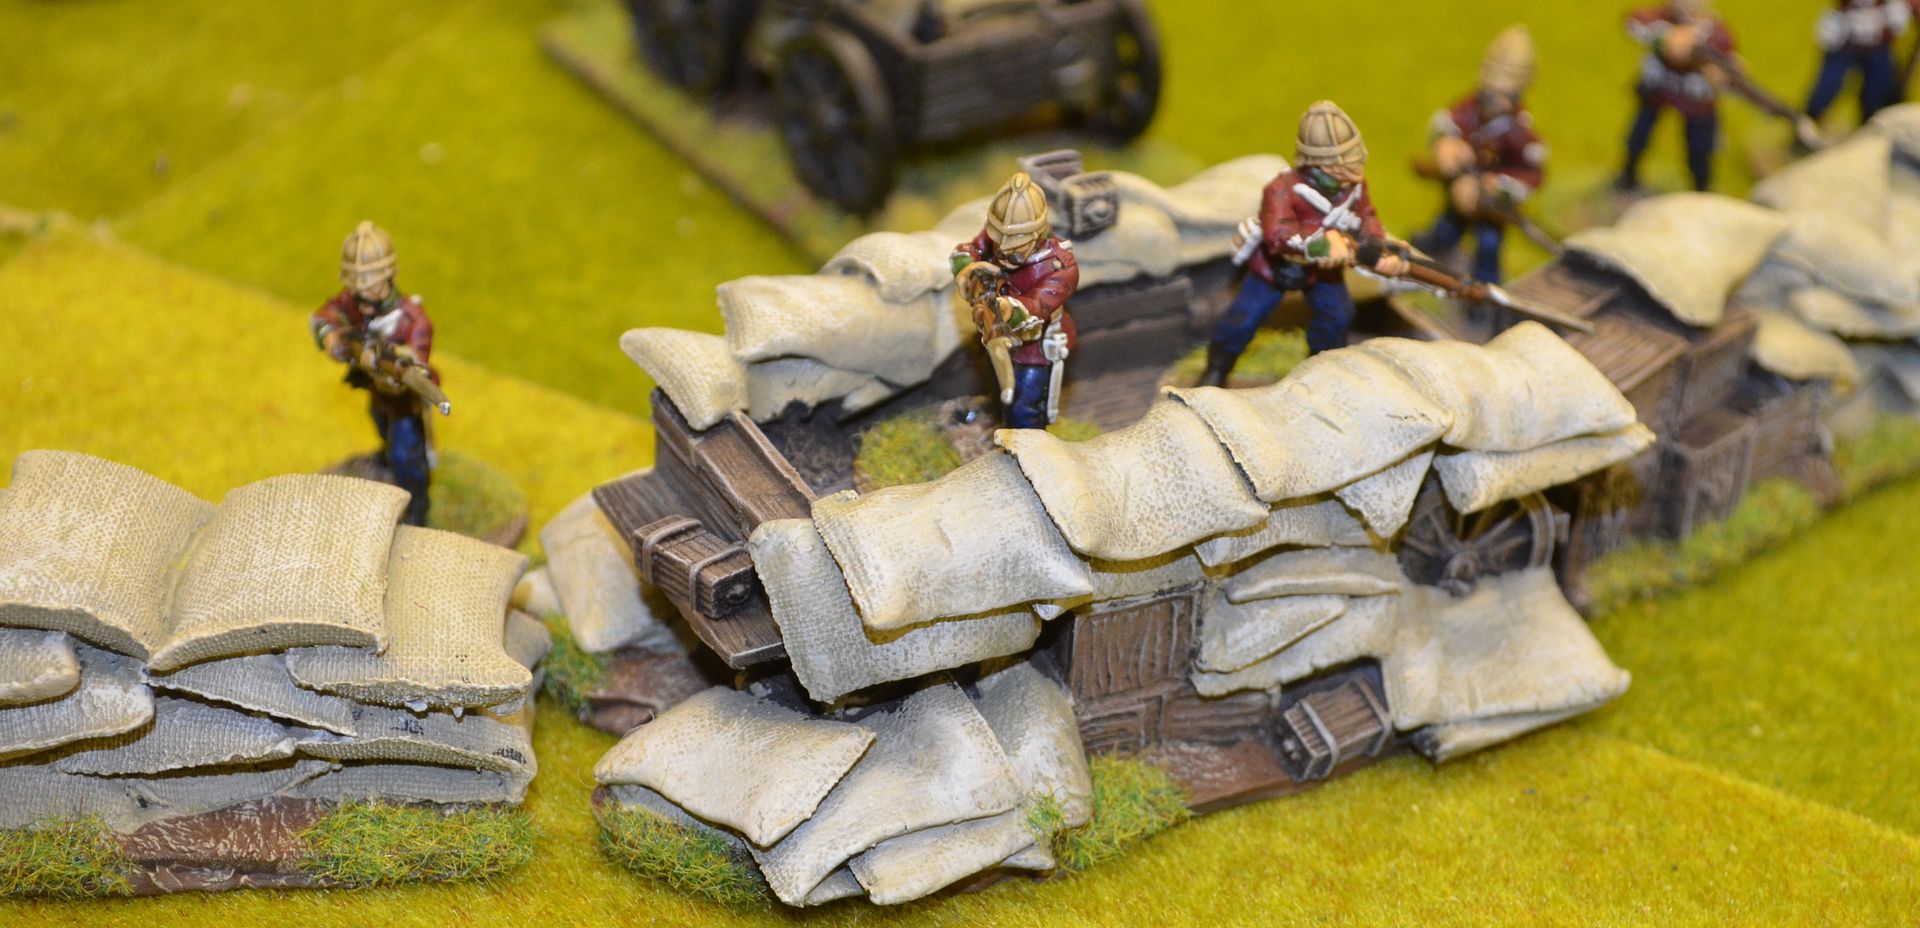
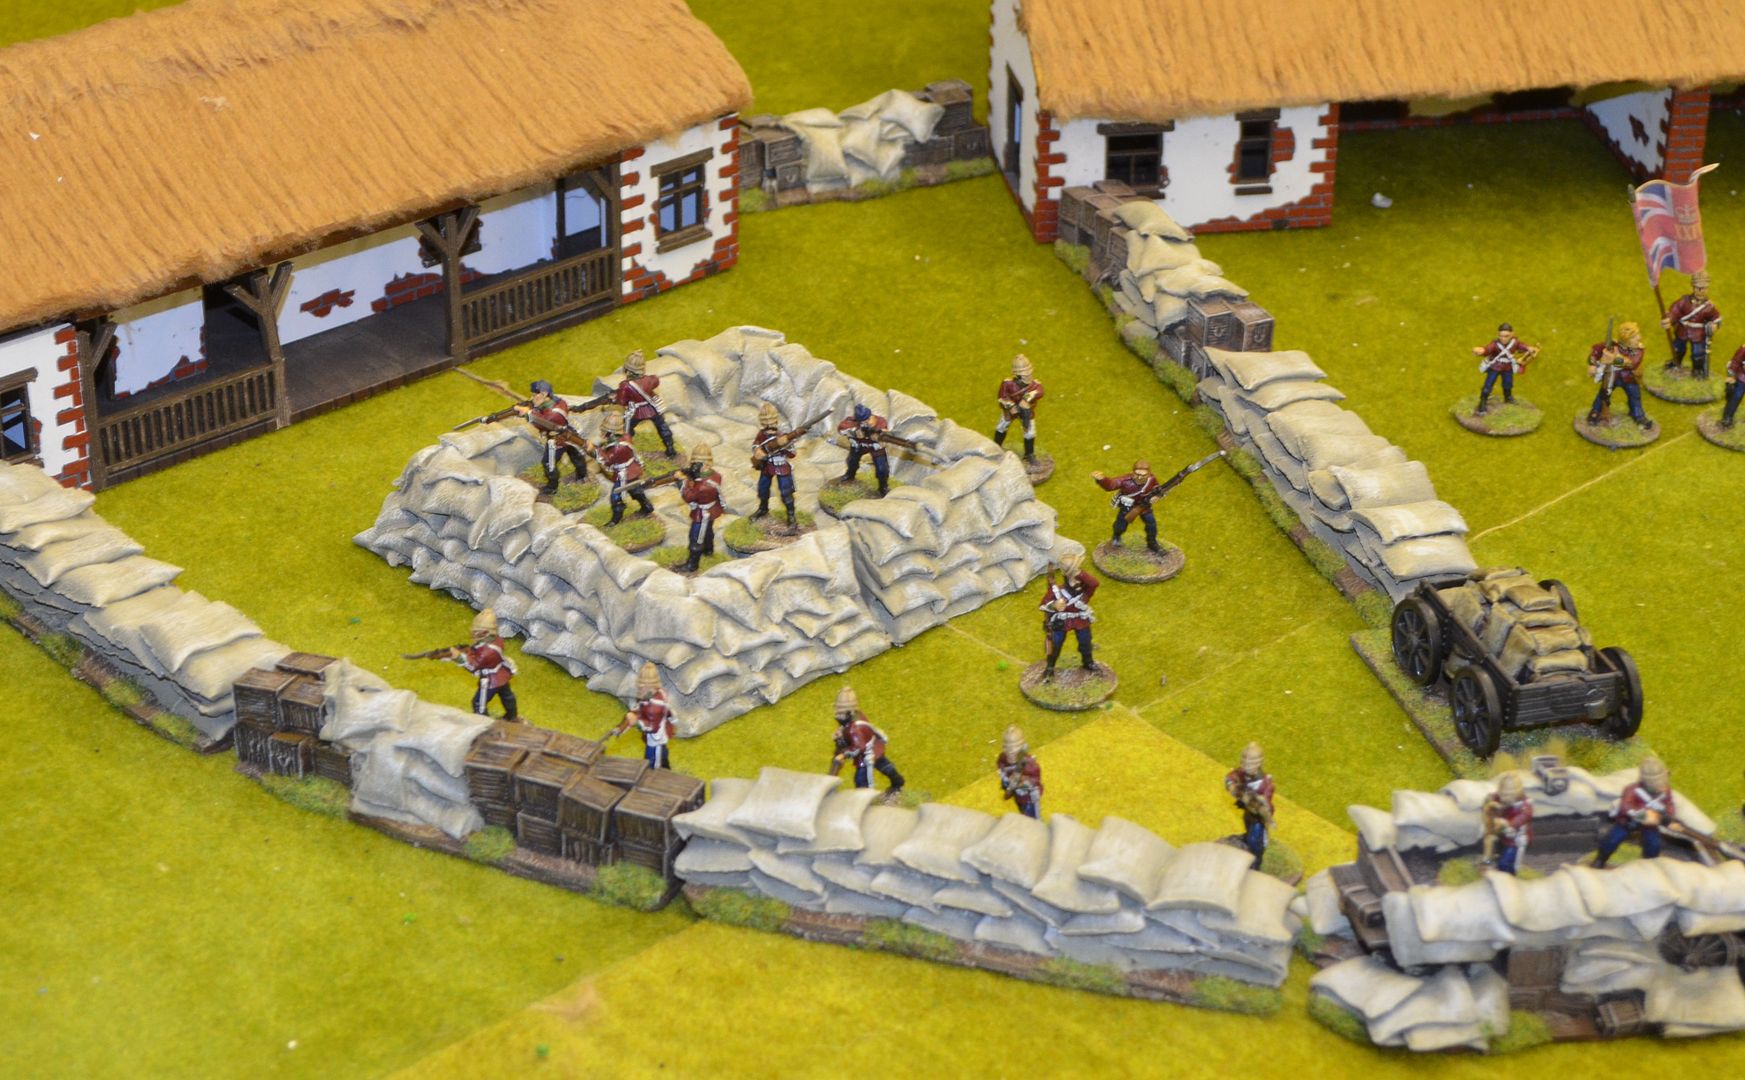
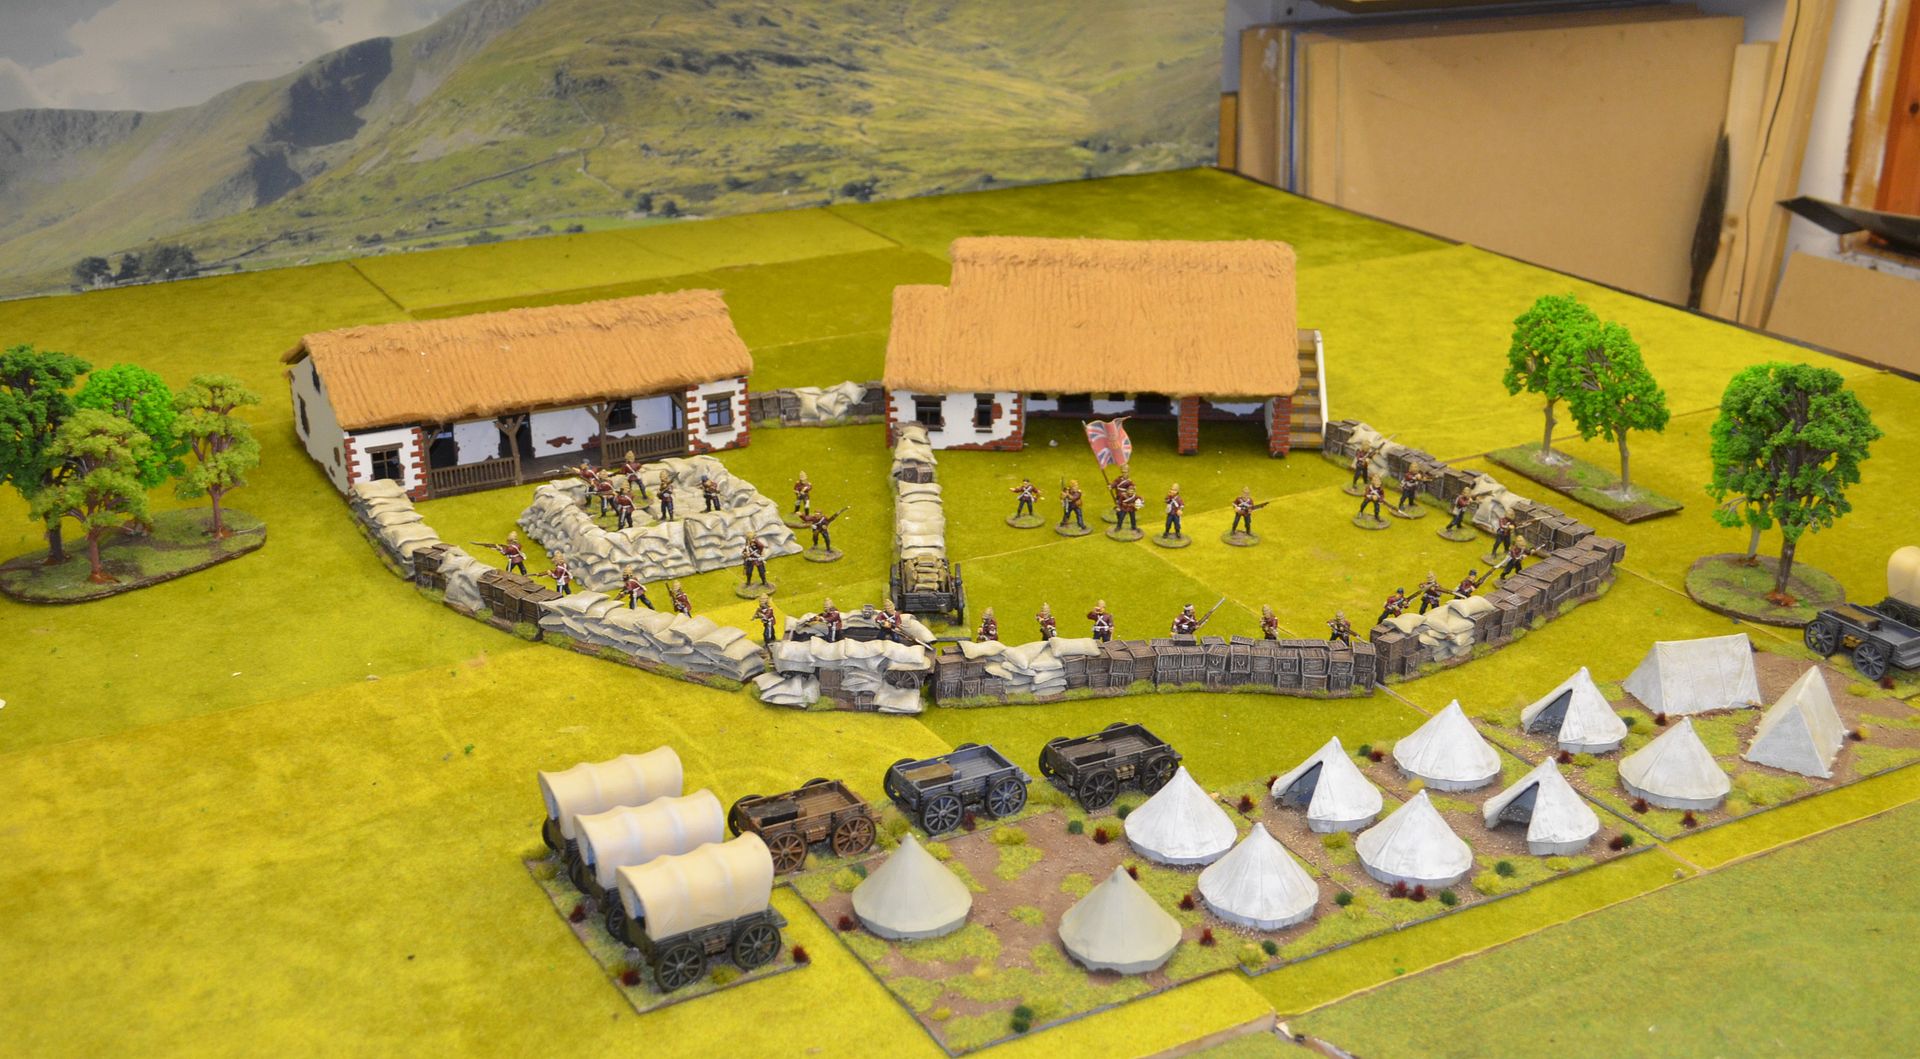
The set I bought came with some mealie bag defences and the resin wagon. These I augmented with a few extra purchases from Warlord Games themselves - chiefly some more barricades and the redoubt. I have to say these resin pieces are gorgeous and the cart covered in bags is so evocative of the movie....

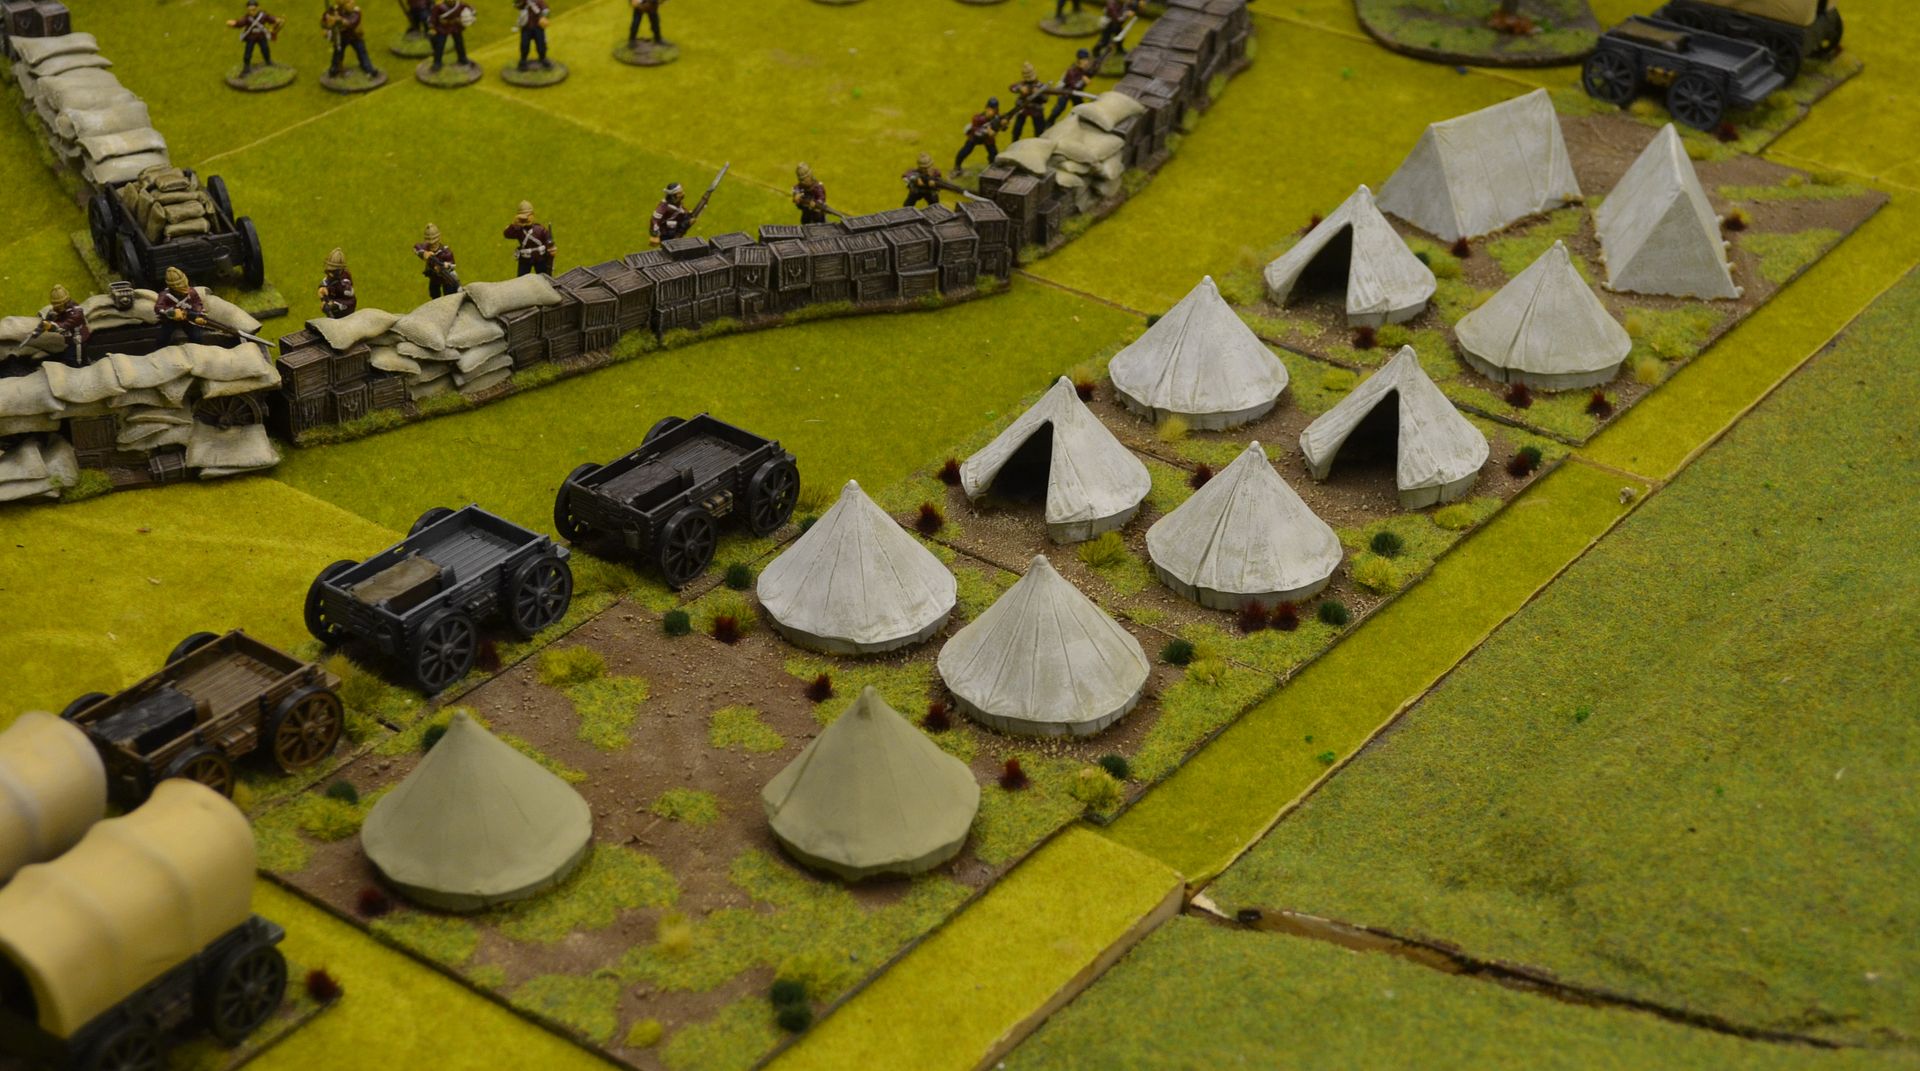
On top of the buildings I acquired some bell tents from Renedra and based these on plasticard. Rorkes Drift is almost complete. Although the layout shown is not accurate it does convey the affect I was looking to achieve. Just had to add some defenders...;-)

The only think left to paint is the stone Kraal and the Cattle


Thanks to everybody for following the progress on this project - it has been a labour love and as mentioned in previous posts it is dedicated to the memory of my father.

Of course we now have to refight this engagement and what better than to do this on its 138th anniversary  - Sunday 23rd January - I'll keep you all posted.

Wednesday, 9 November 2016

Mythic Battles - Pantheon - A new Kickstarter

Hi Folks

Just in case you have not seen this but there another Kickstarter in town that I have decided to back. Its called Mythic battle Pantheon.

The figures look fabulous and have watched the videos it looks like a fun game...

link to the kickstarter..


https://www.kickstarter.com/projects/806316071/mythic-battles-pantheon/description


So far a $99 dollar pledge will give you...


There are a number of add ons already...


Tuesday, 8 November 2016

Once more unto the breach - part 2

Following on from my previous post I am delighted to report that the Breach project is complete...

for the first part head here...

http://shedwars.blogspot.co.uk/2016/11/once-more-unto-breach.html

When I left you last I had cut the walls and placed polystyrene in fillers into the holes.  The next step was / should be relatively easy - I coated the in polyfilla and allowed this to harden,

Once dry I liberally pasted on pva and then covered the breaches in gravel. It didn't stick. Either the glue wasn't strong enough or the gravel was too heavy. I tried the same thing with cat litter - same problem.

In the end I coasted the breaches in hard as nails adhesive a pushed in off cuts of blue foam. These stuck. Apologies no photos at this stage.

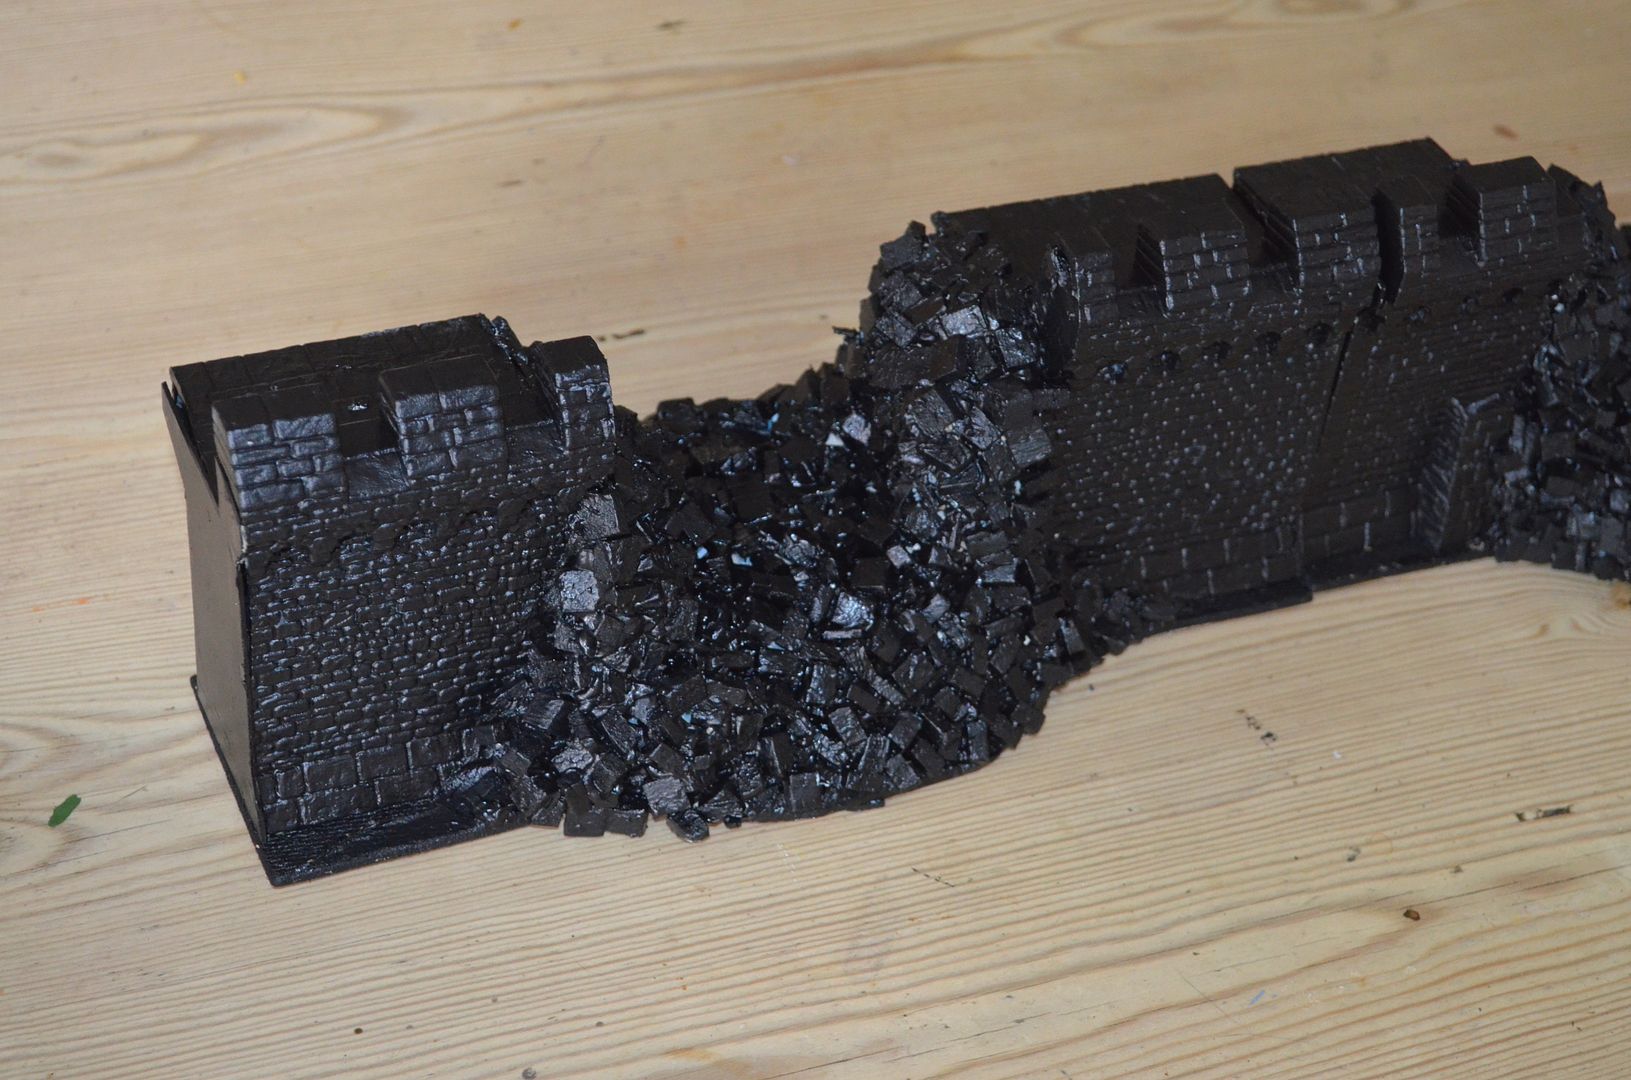
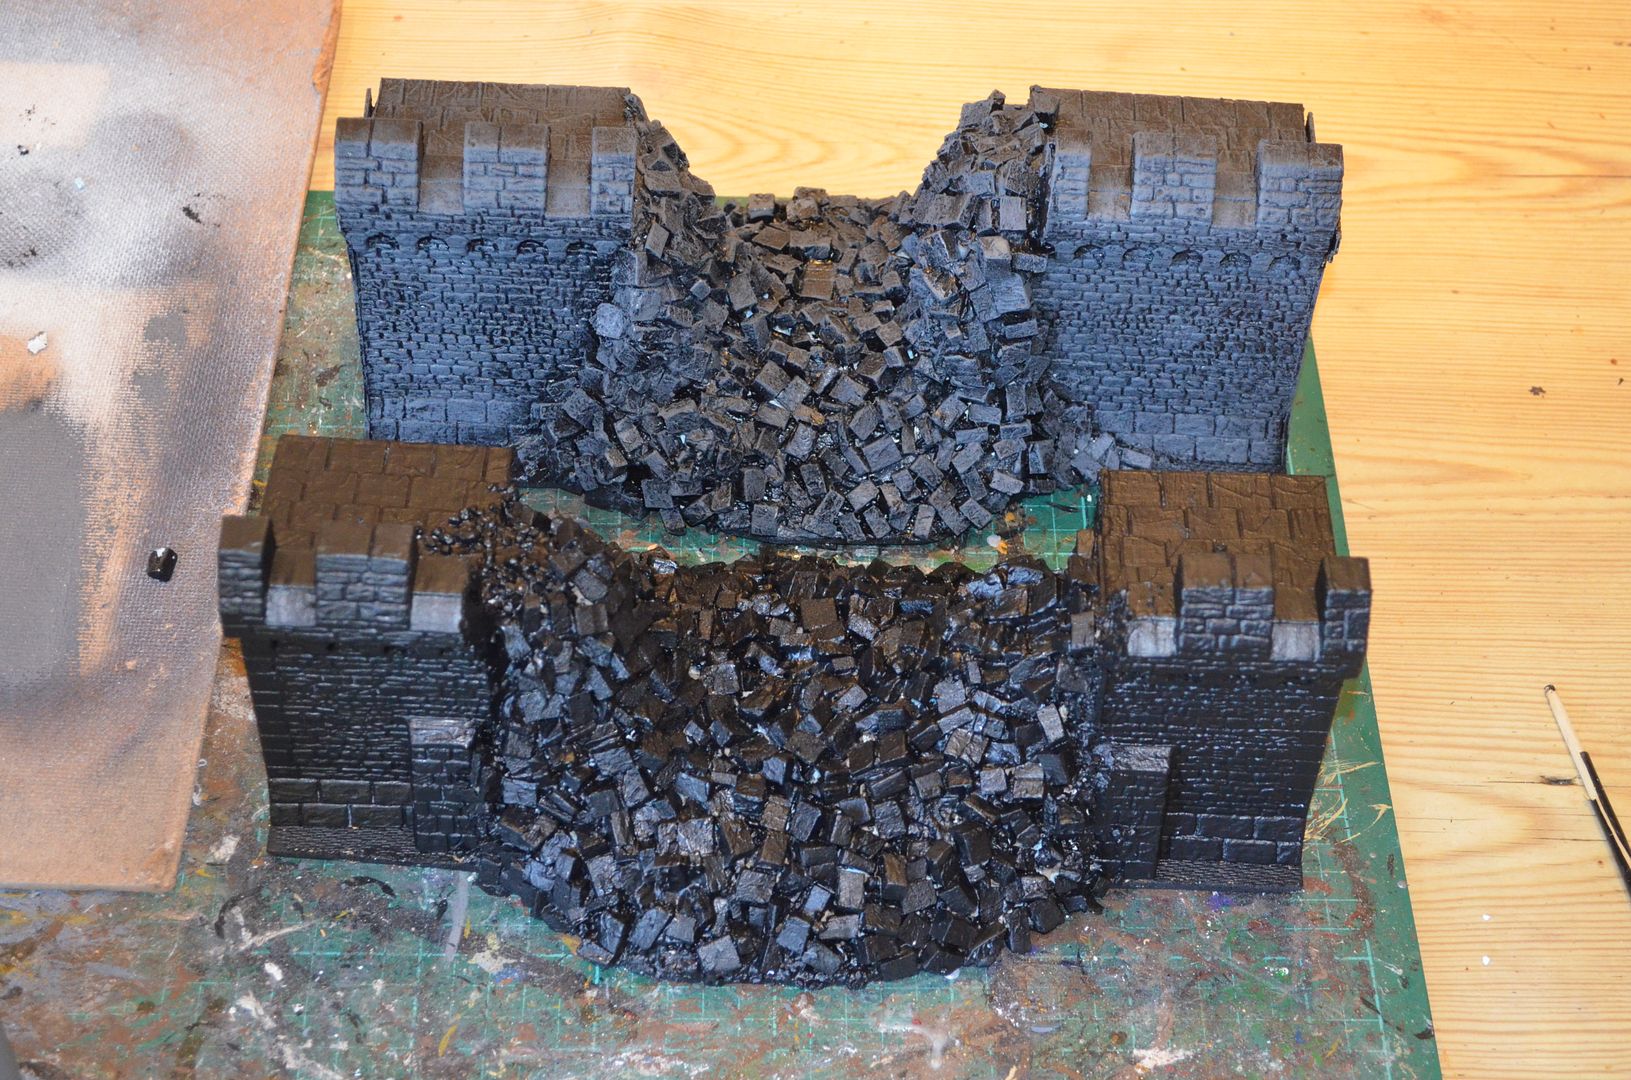
Once this was all dry (24 hours) both sets were painted black. Again I left these for 24 hours to dry.


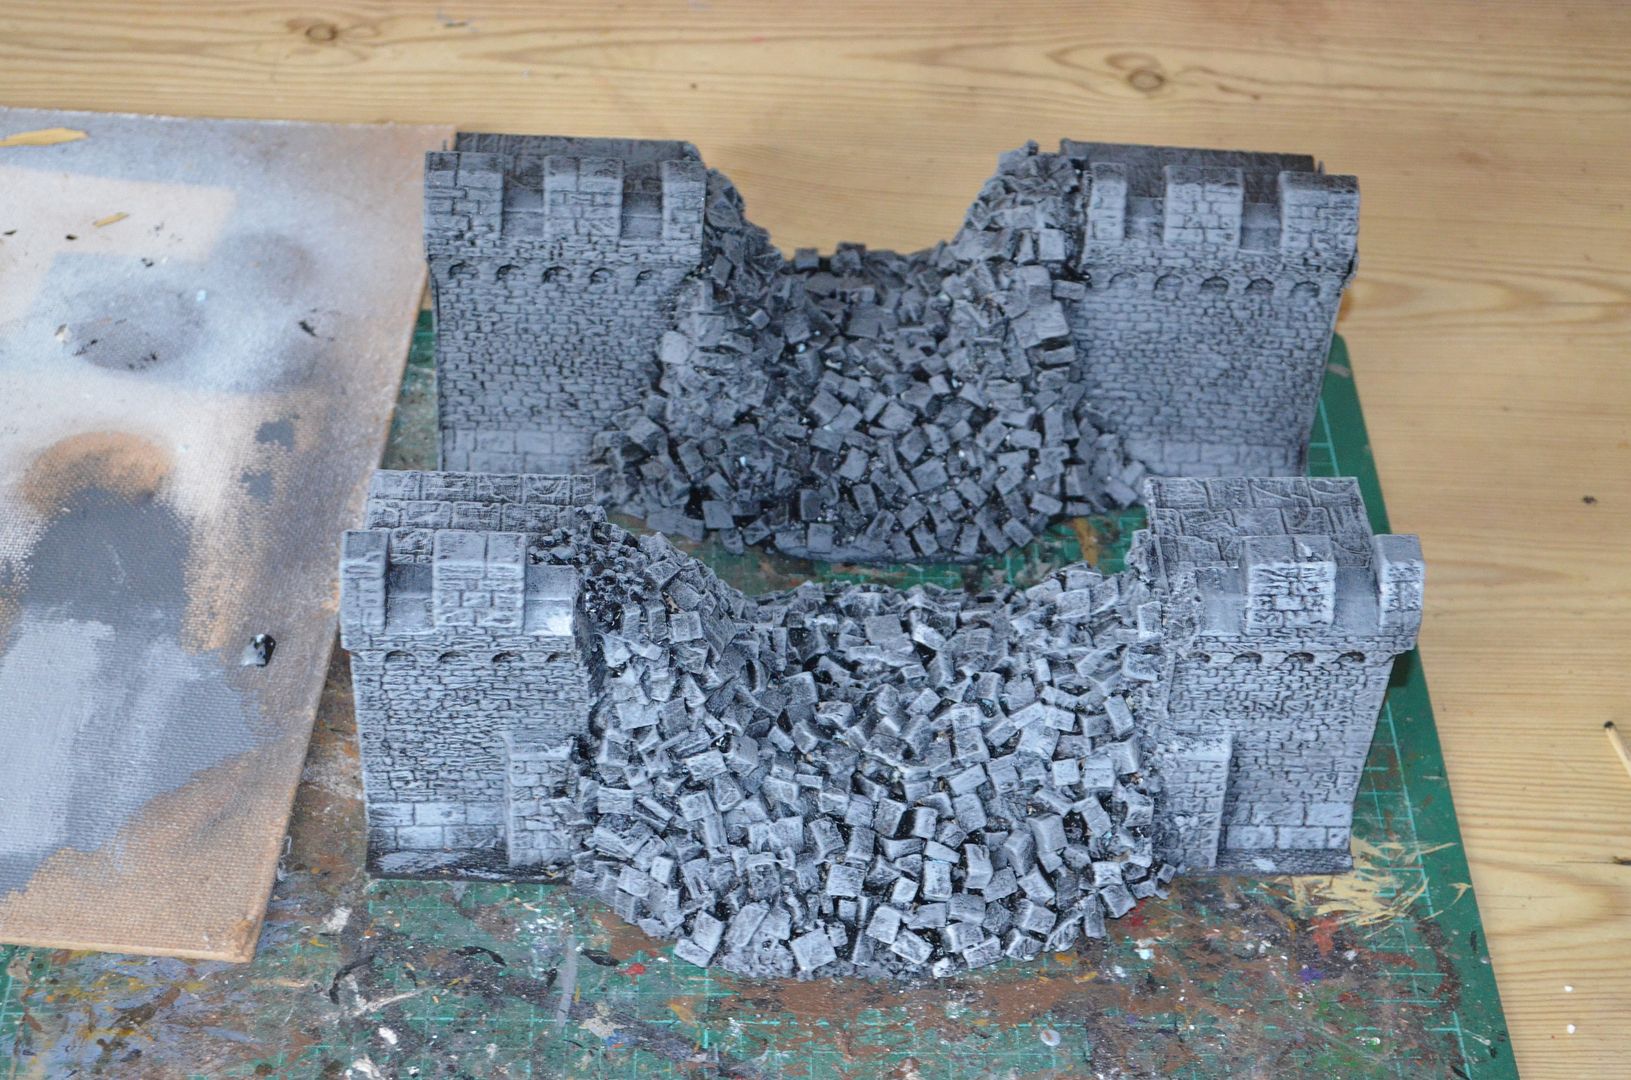
It was then just a case of drybrushing on various layers of grey.....4 coats in total


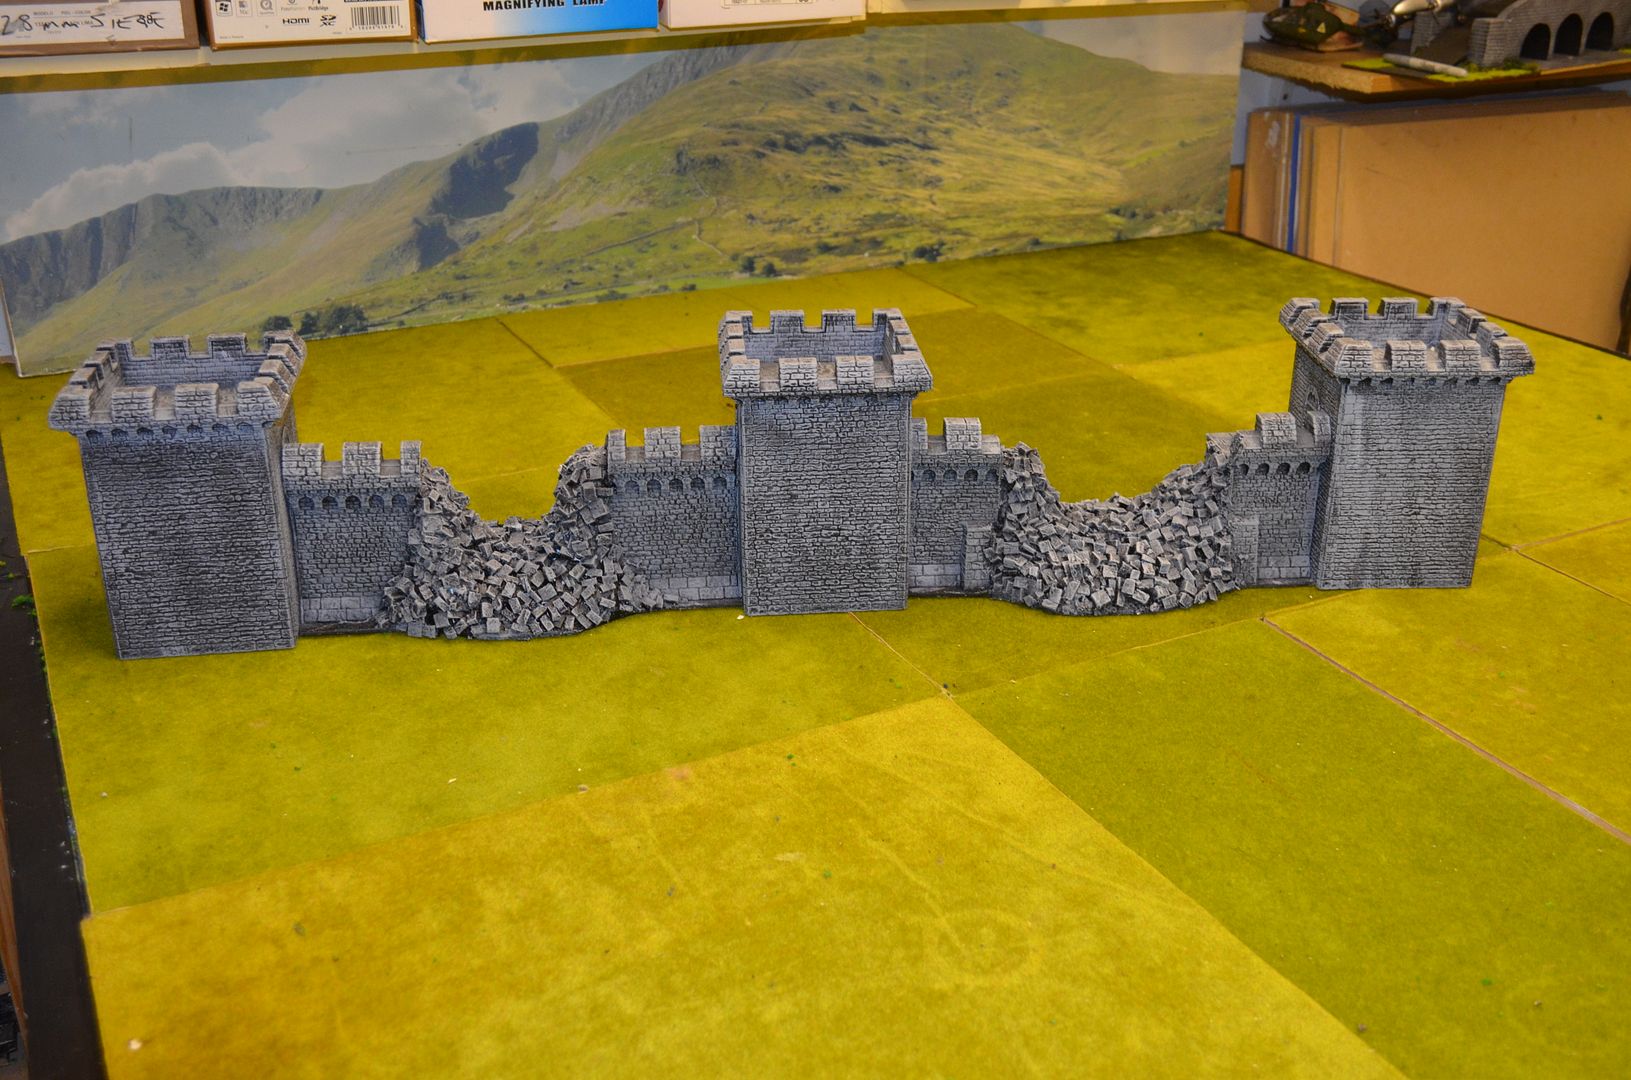
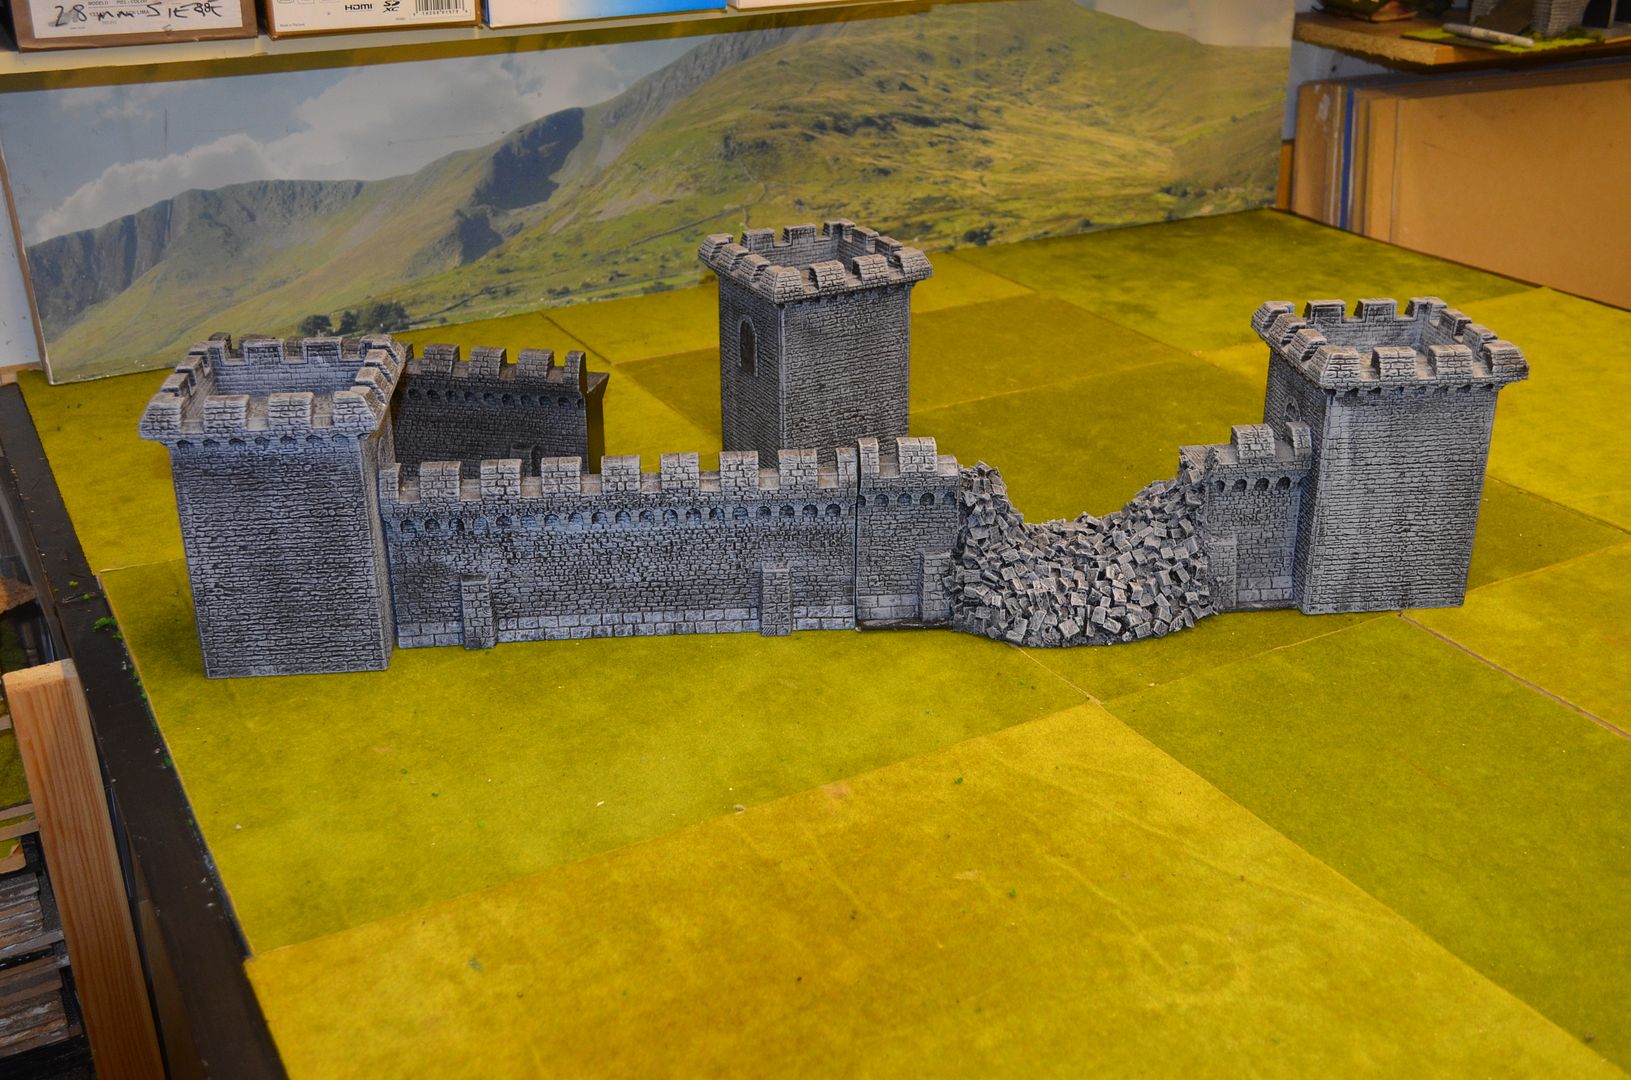
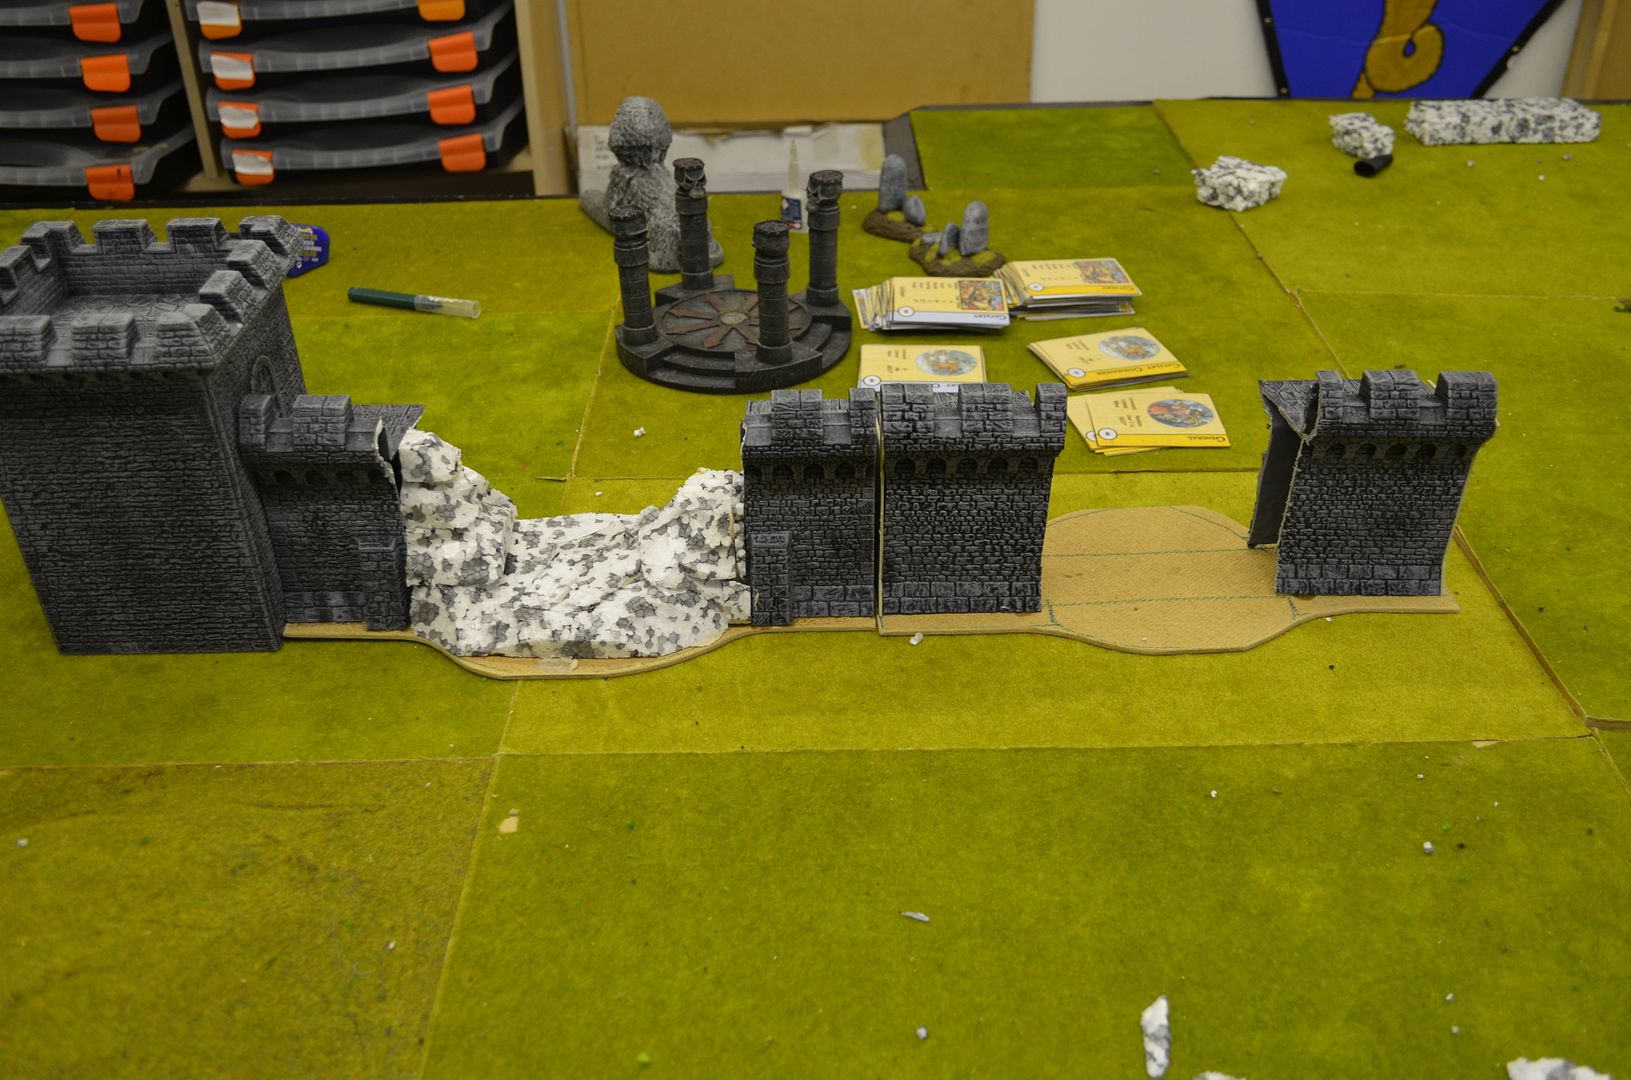
Not my best builds but they'll serve a purpose in the future.. as you can see two breaches added to the castle wall

The breaches almost marry up onto an existing wall - the height difference is the base


just had a thought...maybe I should breach one of the towers...

Monday, 7 November 2016

Once more unto the Breach....

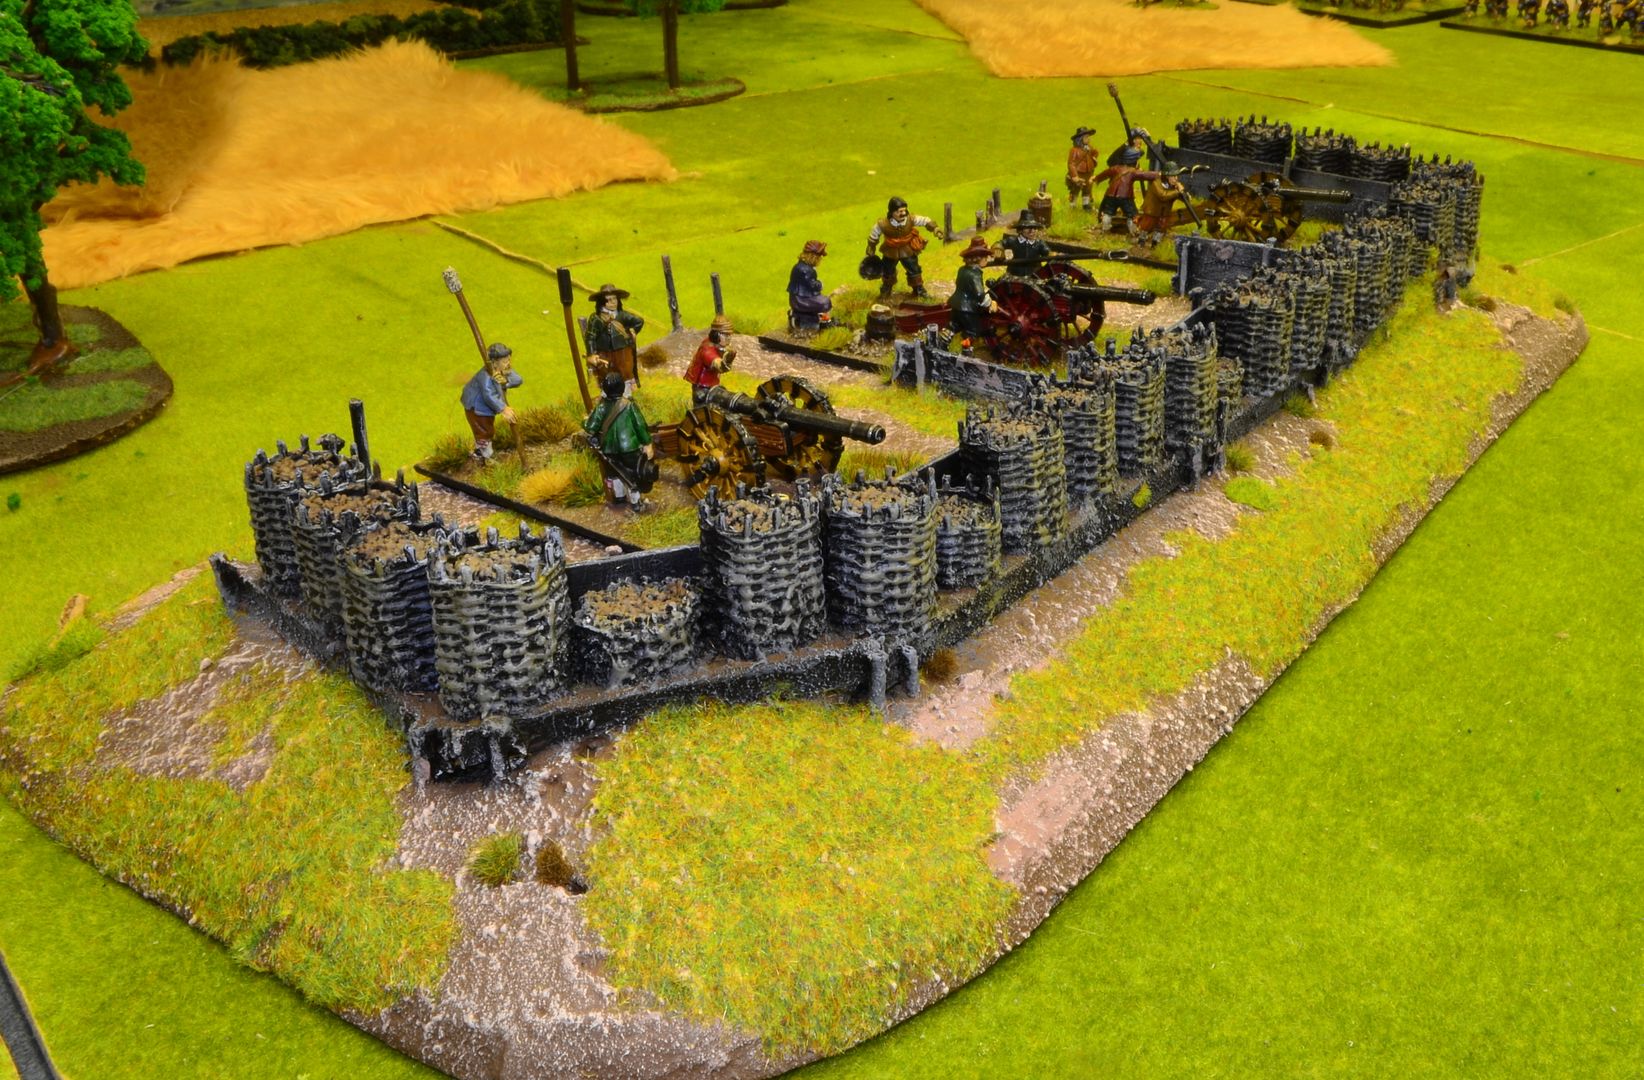
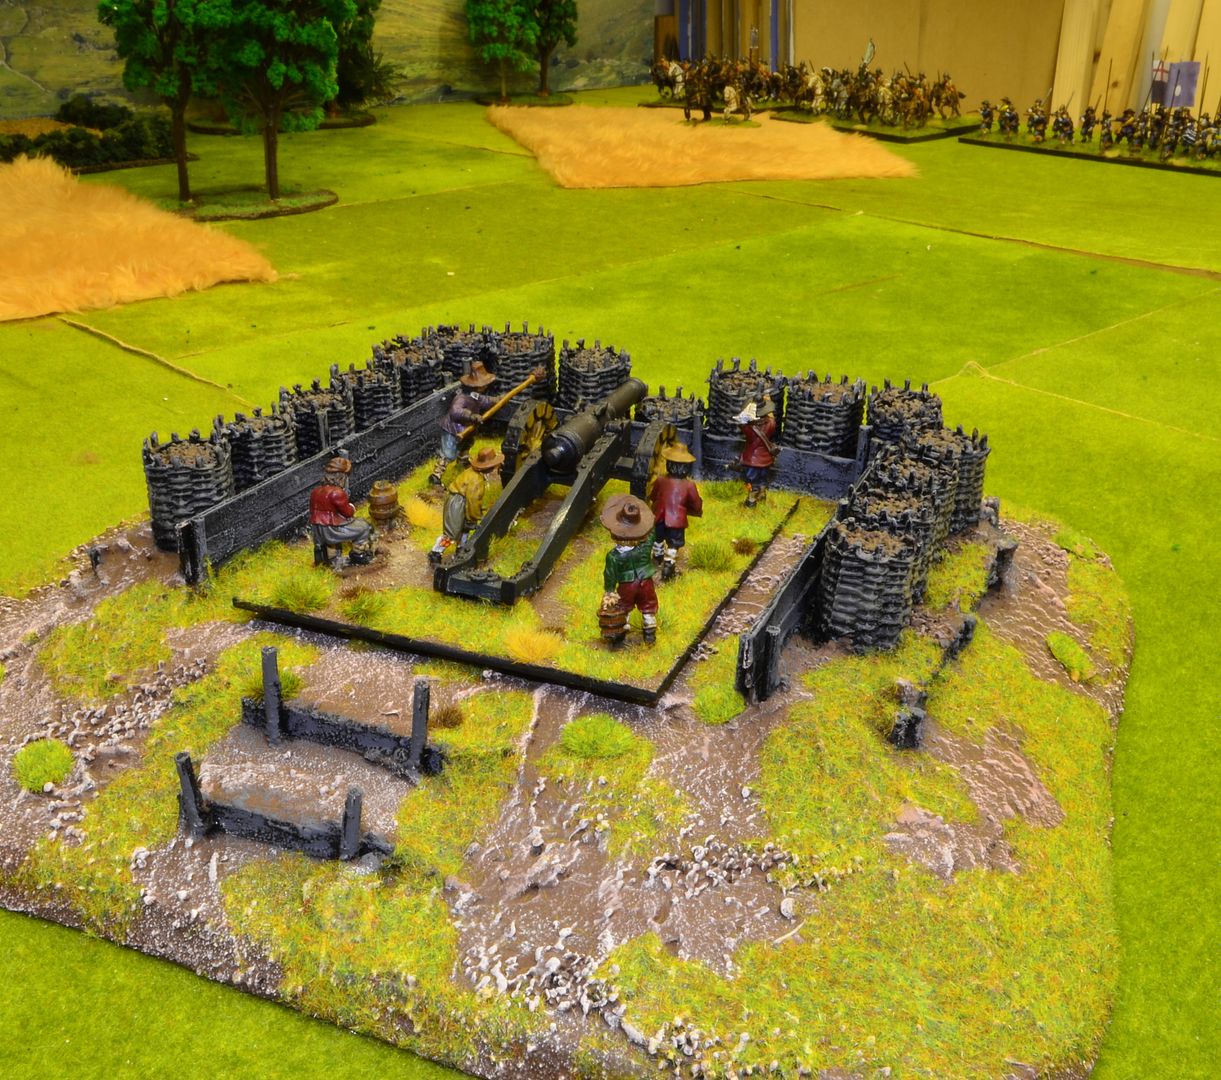
A few weeks back whilst playing Pike & Shotte we decided it might be a bit of fun to play an ECW siege game afterall I built these a few months back and up til now they have been sitting idly around


More on the gun emplacements can be found here...

http://shedwars.blogspot.co.uk/2016/05/ecw-gun-emplacements.html

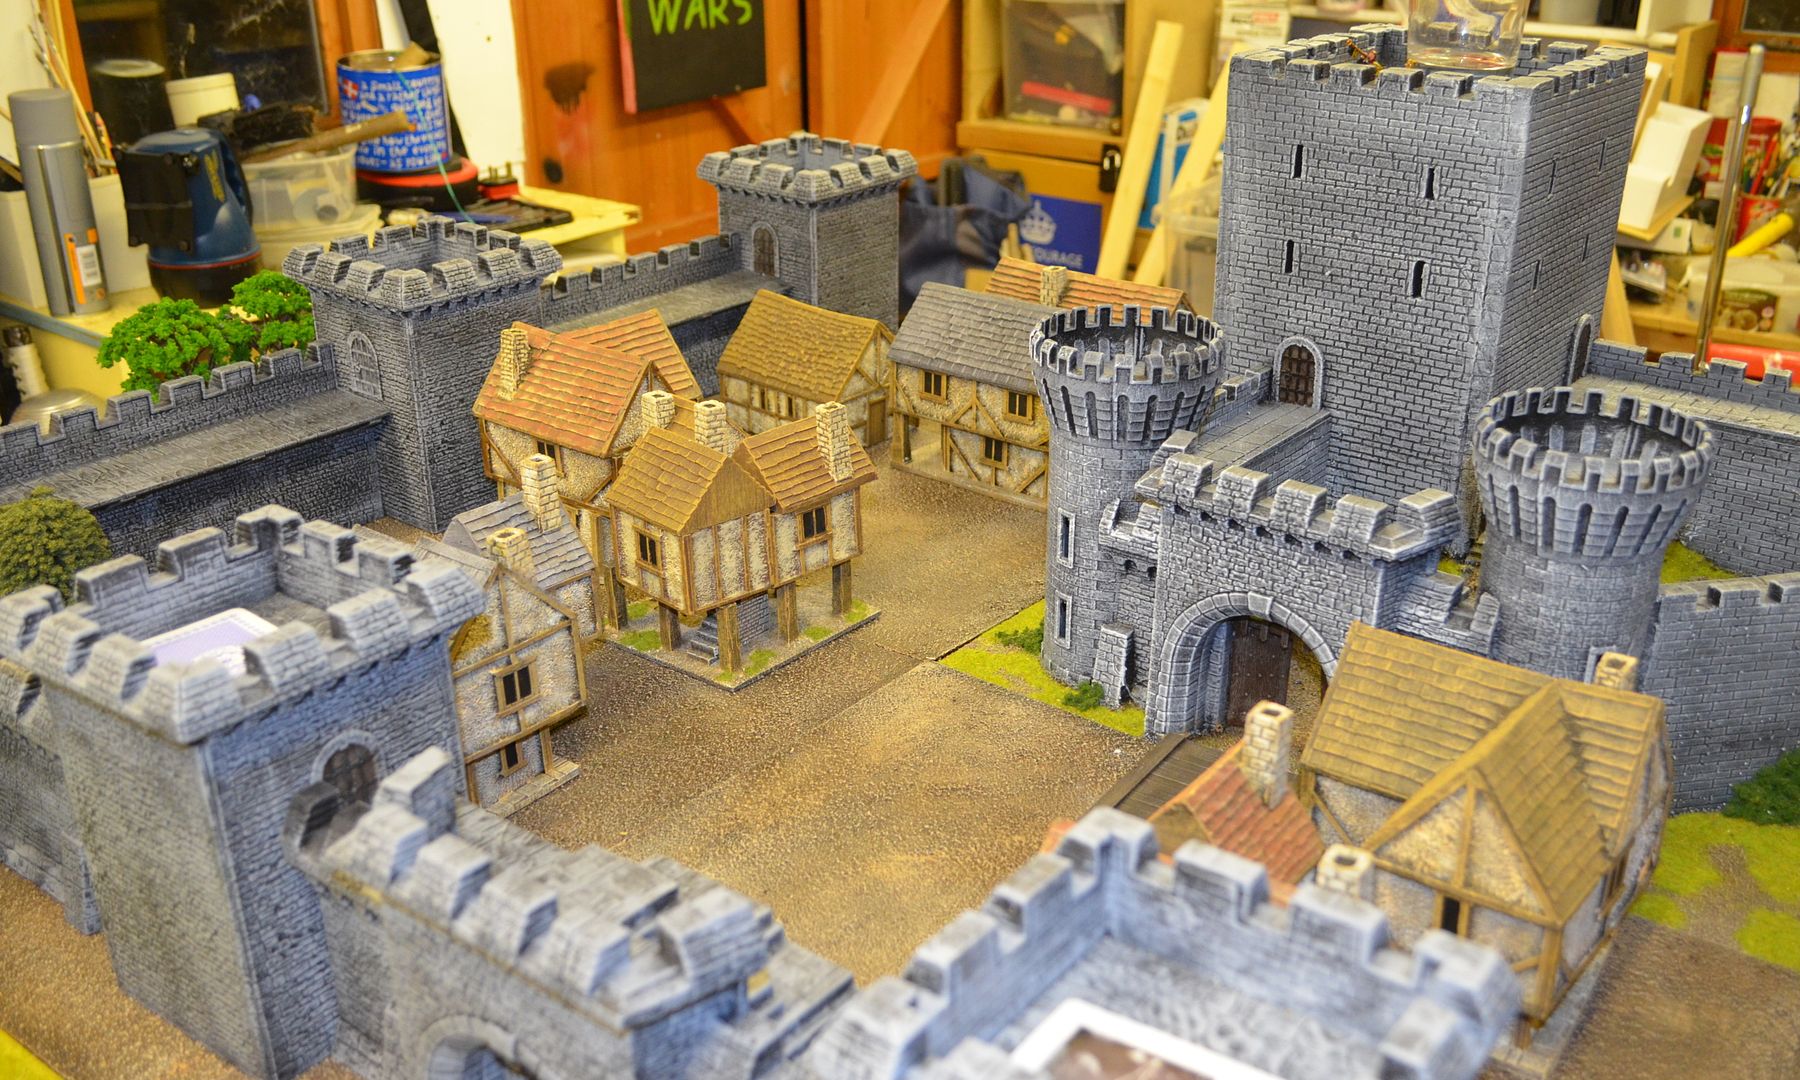
As far as shed standards are concerned I have been very lazy with regards to town and castle walls as I have been using the Games Workshop set. Over the years I have three of these and have during my time used them for all genres...

GW Castle set as Nottingham Castle in Robin Hood (and my own Norman Keep)


The ECW period would be no different but I would need some sections in the walls that are breached - so one of the walls would get cut up to create two breach sections.

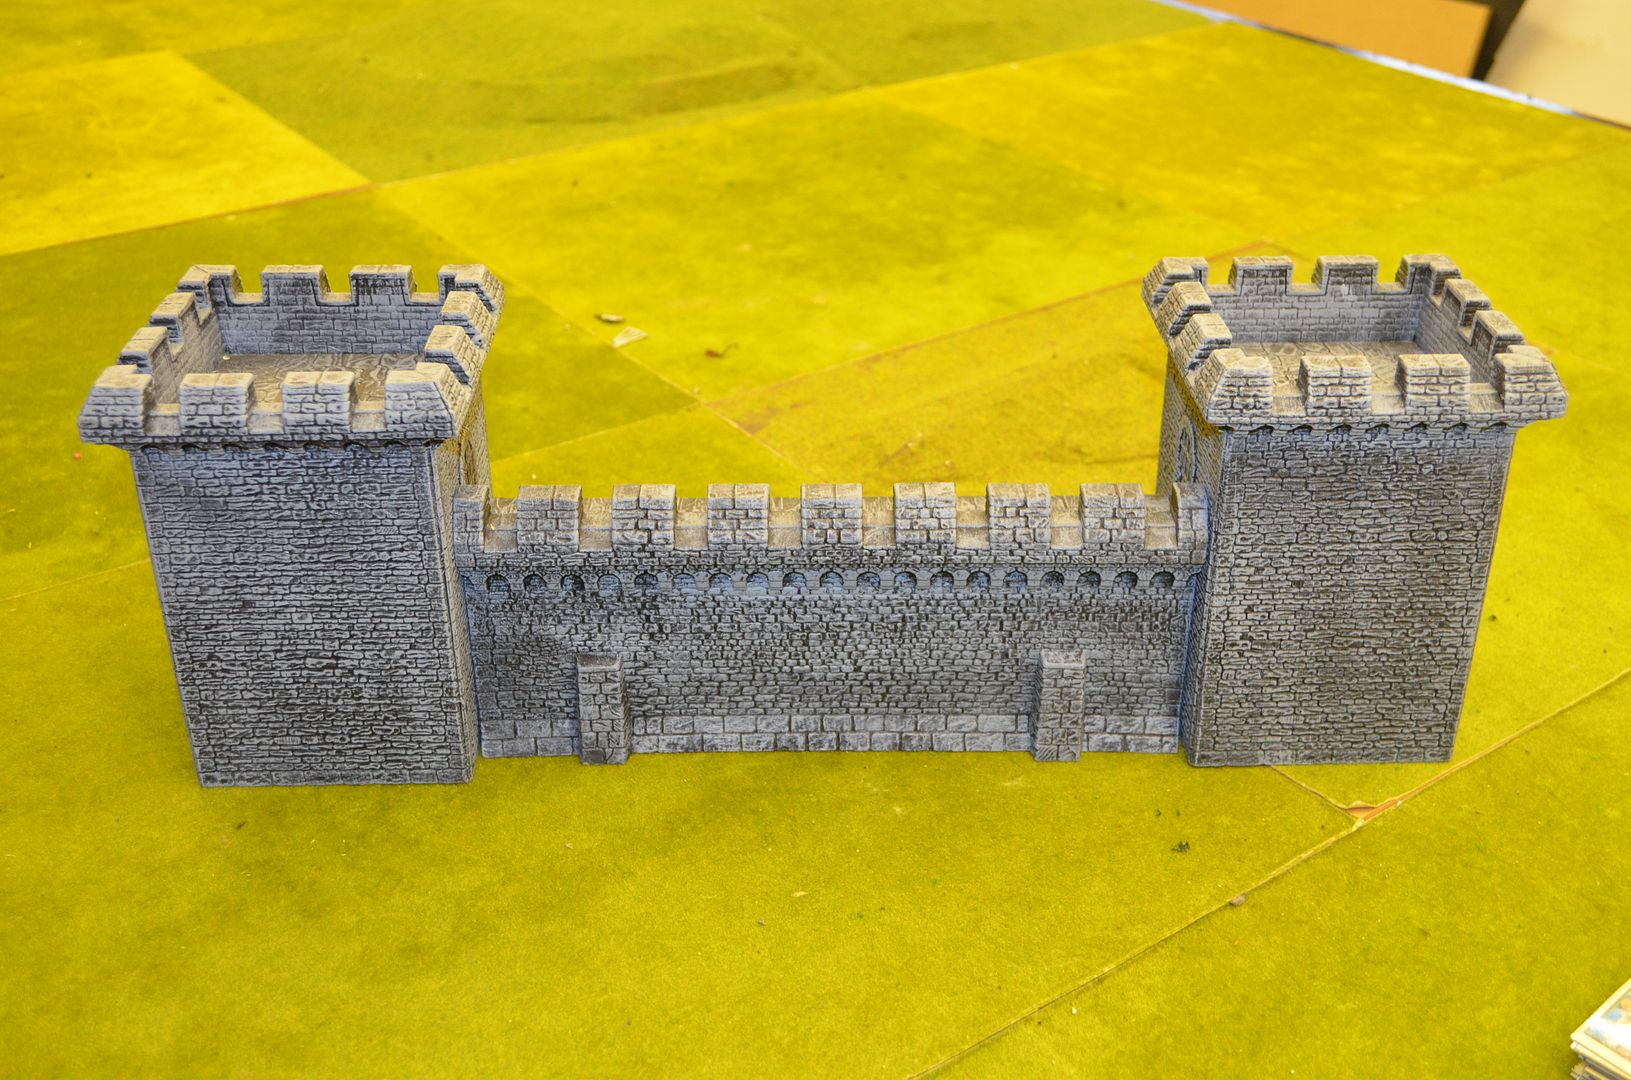
Here we have one standard wall section sitting between two towers...


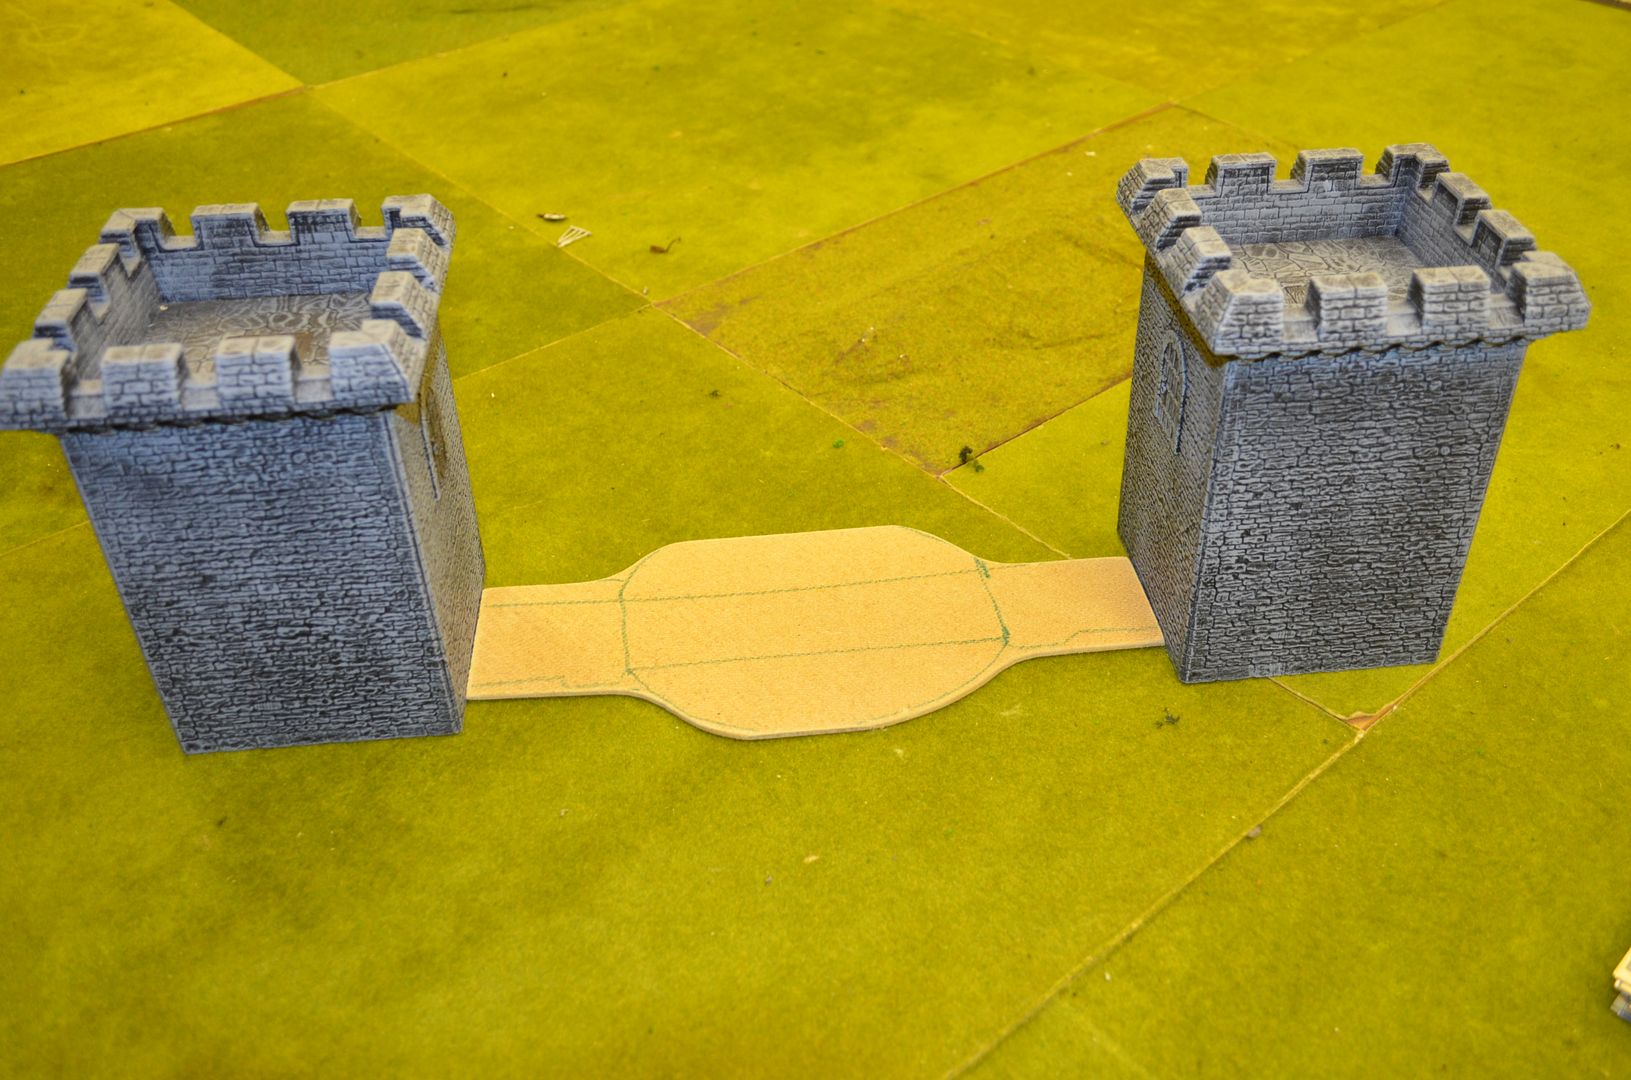
The Walls are splits apart and then cut (combination of hack saw and heavy duty stanley knife) into two sections ....and then cut again - creating four small wall sections


A base of hardboard was then measured and cut on which to sit the breach


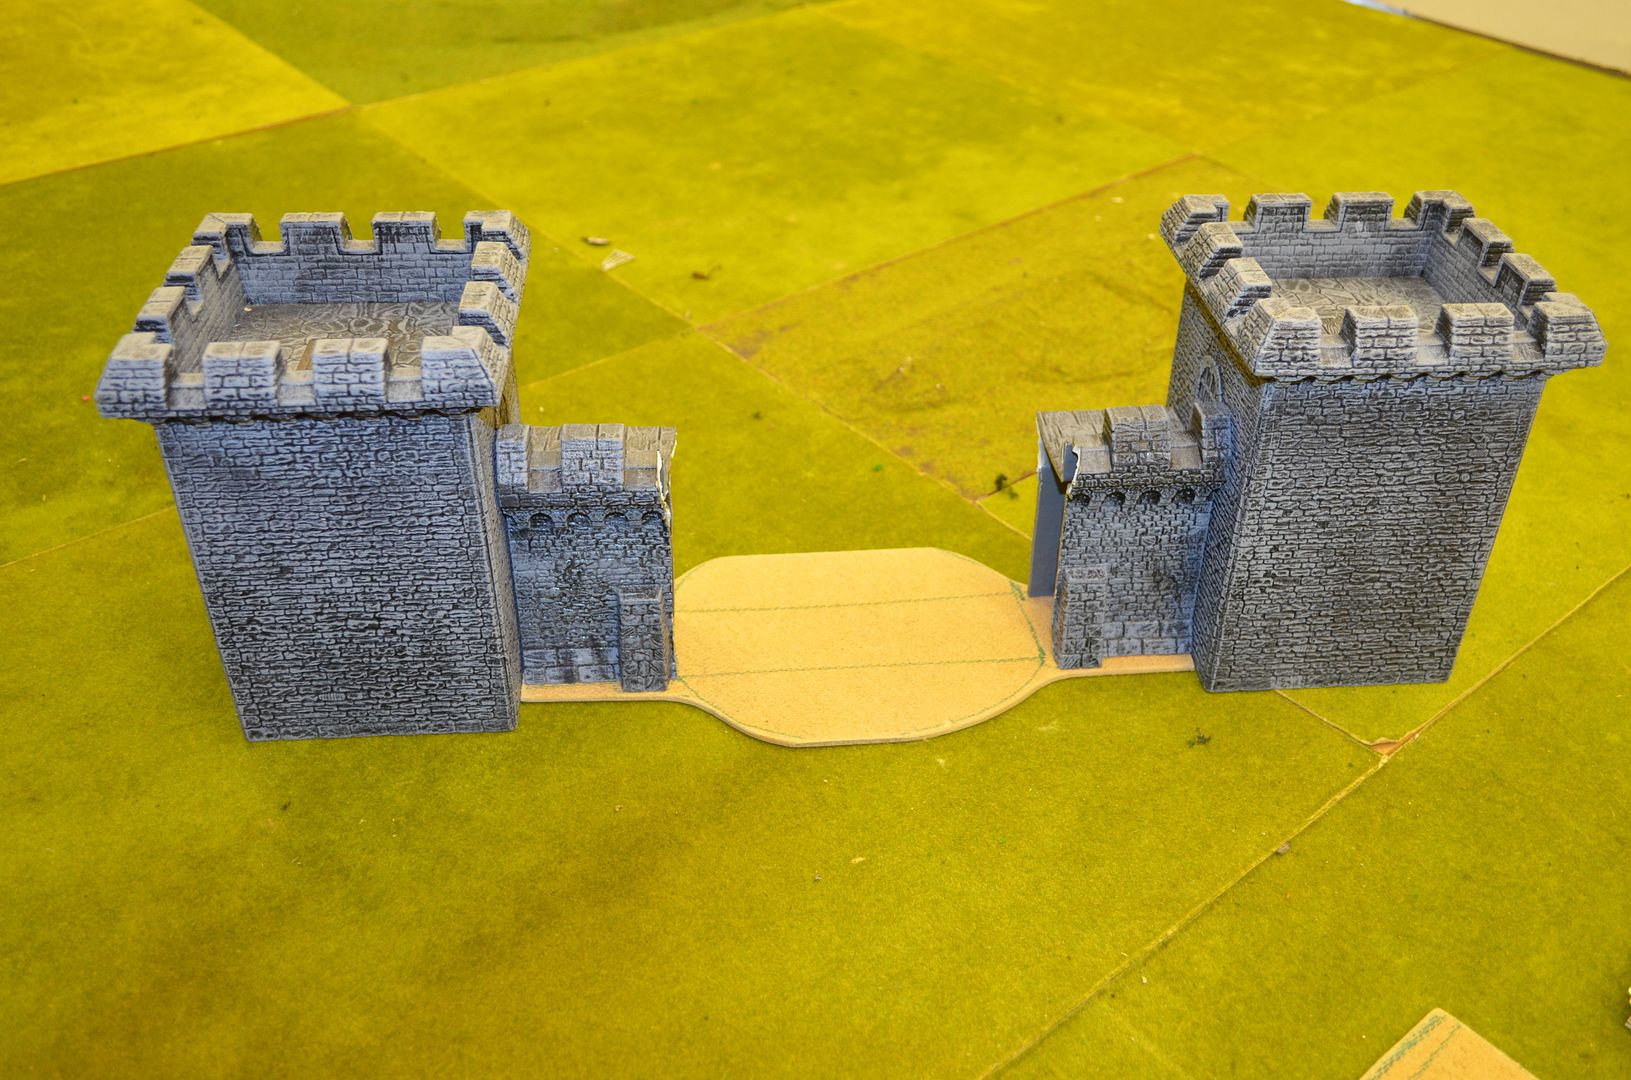
The wall sections then glued to the hardboard...


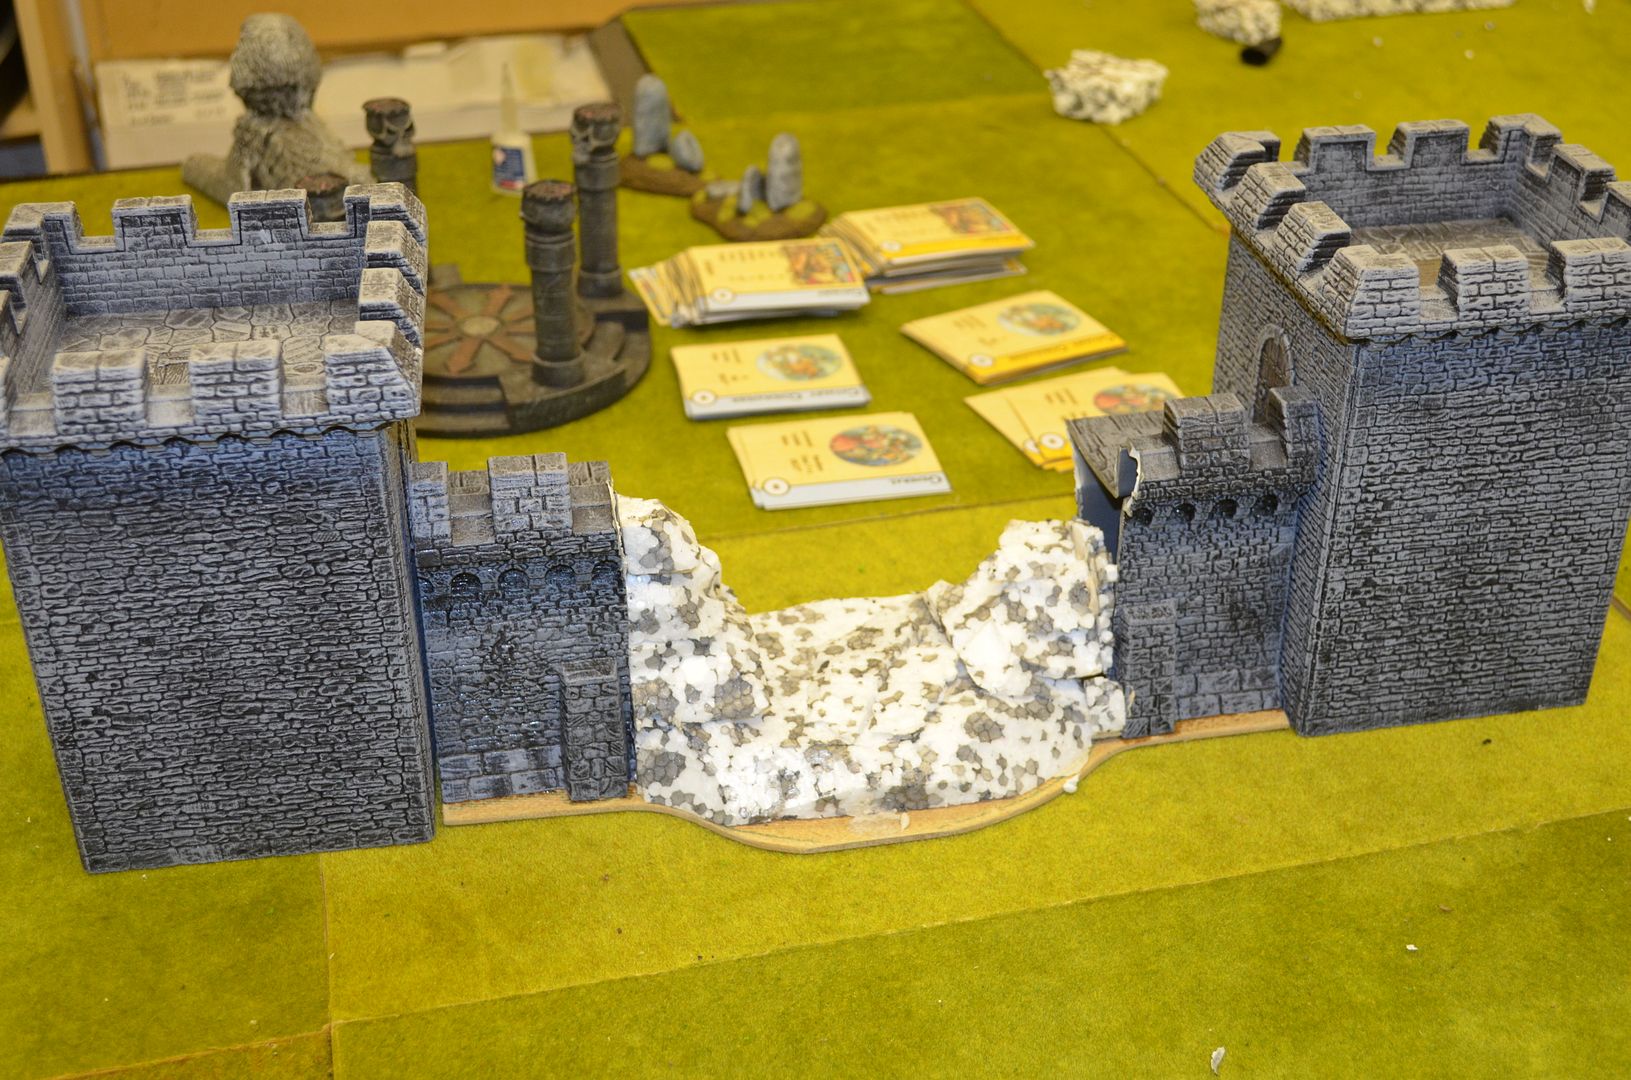
Using polystyrene the breached walls are then built up...


and you can see below that the there will be two breaches from one wall section


Once the polystrene was fixed in place with adhesive I covered it with polyfilla creating a solid exterior in each breach. This also had the additional benefit of strengthening the plastic walls to the bases.

I'll be adding the broken masonry next...

come back soon


part two can be found here

http://shedwars.blogspot.co.uk/2016/11/once-more-unto-breach-part-2.html