Wednesday, 6 March 2019

1066 - The Battle of Fulford in 28mm


Following the success of our Battle of Stamford Bridge game last week Mark & I decided to refight the lesser known battle of 1066 – The Battle of Fulford (also known as the Battle of York) . This was actually fought a few days earlier than Stamford Bridge so in theory we should have started with this one first.

Our battle of Stamford Bridge can be seen here


As per my previous post I have set out the background to this battle in my blog post, then added the specific rules we have added to this engagement and the orders of battle and then finally the all action report (AAR).

The core rules used are Hail Caesar


1066 Battle of Fulford

The Battle of Fulford was fought on the outskirts of the village of Fulford near York in England, on 20 September 1066, when Harald Hardrada and Tostig Godwinson, his English ally (the King of England's brother), fought and defeated the Northern Earls Edwin and Morcar.

Tostig was Harold Godwinson's banished brother. He had allied with King Harald of Norway and possibly Duke William of Normandy.

The English Earls could have hidden behind the walls of York but instead they met the Viking army outside the city. All day the English desperately tried to break the Viking shield wall but to no avail. 

The battle started with the English meeting the advancing Northmen. On their right flank was the River Ouse, and on the left was the Fordland, a swampy area, too swampy for an army to march through.

The Saxons also had a formidable obstacle to their front: a stream (known as Germany Beck) three metres wide and one metre deep. The Vikings would need to cross this if they were to reach York.
Harald's Viking army approached from the south.

Initially only Harald and a small portion of his army arrived at the battlefield facing Morcar and Edwin’s army as most of the Viking force men were still some distance away.Thus for a time the Anglo-Saxon army outnumbered their foe.

Harald lined his army up to oppose the Anglo-Saxons, but he knew it would take hours for all of his troops to arrive. His least experienced troops were sent to the right and his best troops hidden in the marsh and trees lining the riverbank.

Morcar and Edwin believed that this was a golden opportunity to attack but the River Ouse’s tide was then at its highest and the stream in front of them was flooded.

Unable to advance, Morcar and Edwin were forced to delay their attack, watching with frustration as more and more of Harald’s troops began to assemble on the far side of the stream.

Eventually the waters fell and the English struck first, advancing on the Norwegian army before it could fully deploy.
Morcar's troops pushed the Viking right flank back into the marshlands, making progress against the weaker section of the Norwegian line. However, this initial success proved insufficient for victory to the English army, as the Norwegians brought their better troops to bear upon them, still fresh against the weakened Anglo-Saxons.

Harald brought more of his troops out from his far left flank to attack the centre, and sent more men to attack across the marsh by the river. The invaders were outnumbered, but they kept pushing and shoving the defenders back. 

Eventually the Anglo-Saxons were forced to give ground and were beginning to become enveloped. Within another hour, the men on the beck were forced off by the Norwegians. Other invading Norwegians, who were still arriving, found a way to get around the thick fighting and opened a third front against the Anglo-Saxons on their far left. Outnumbered and outmaneuvered, the Saxons were defeated. Edwin and Morcar however, managed to survive the fight.

York surrendered to the Norwegians under the promise that the victors would not force entry to their city, perhaps because Tostig would not want his capital looted. It was arranged that the various hostages should be brought in and the Norwegian army retired to Stamford Bridge, 7 miles (11 km) east of York, to await their arrival.

It has been estimated that at Fulford the Norwegians had about 10,000 troops of which 8,000 were deployed in the battle, and the defenders 6,000. During the battle, casualties were heavy on both sides. Some estimates claim 15% dead. From all accounts, it is clear that the mobilised power of Mercia and Northumbria was cut to pieces at Fulford.


As you have read from the background this battle was very much one of two halves. The initial phase belonging to the Saxons with the Vikings finally coming into their own once the tidal waters of the Ouse had receded and Hardradas forces were able to perform their flanking attacks. 

Historical records are few and far between for this battle and estimates of the size of forces differ considerably. We can be pretty certain that the Vikings outnumber the local Saxons and given their fleet size records suggest that they might have numbered 10,000 warriors. We can be pretty certain that part of this force was guarding the fleet moored at Ricall so I have decided the Viking Force will number 8000 men. The Saxon force will be 75% of this force representing 6000 troops. This would have made this battle equal in size to Hastings.

The Game Setting

In gaming terms the Vikings will have 16 Warbands at their disposal split into four divisions with the Saxons having 12 warbands split into three Divisions.

Given the Saxons caught the Vikings by surprise outside York the full Saxon force will be on the table at the start of the game. 

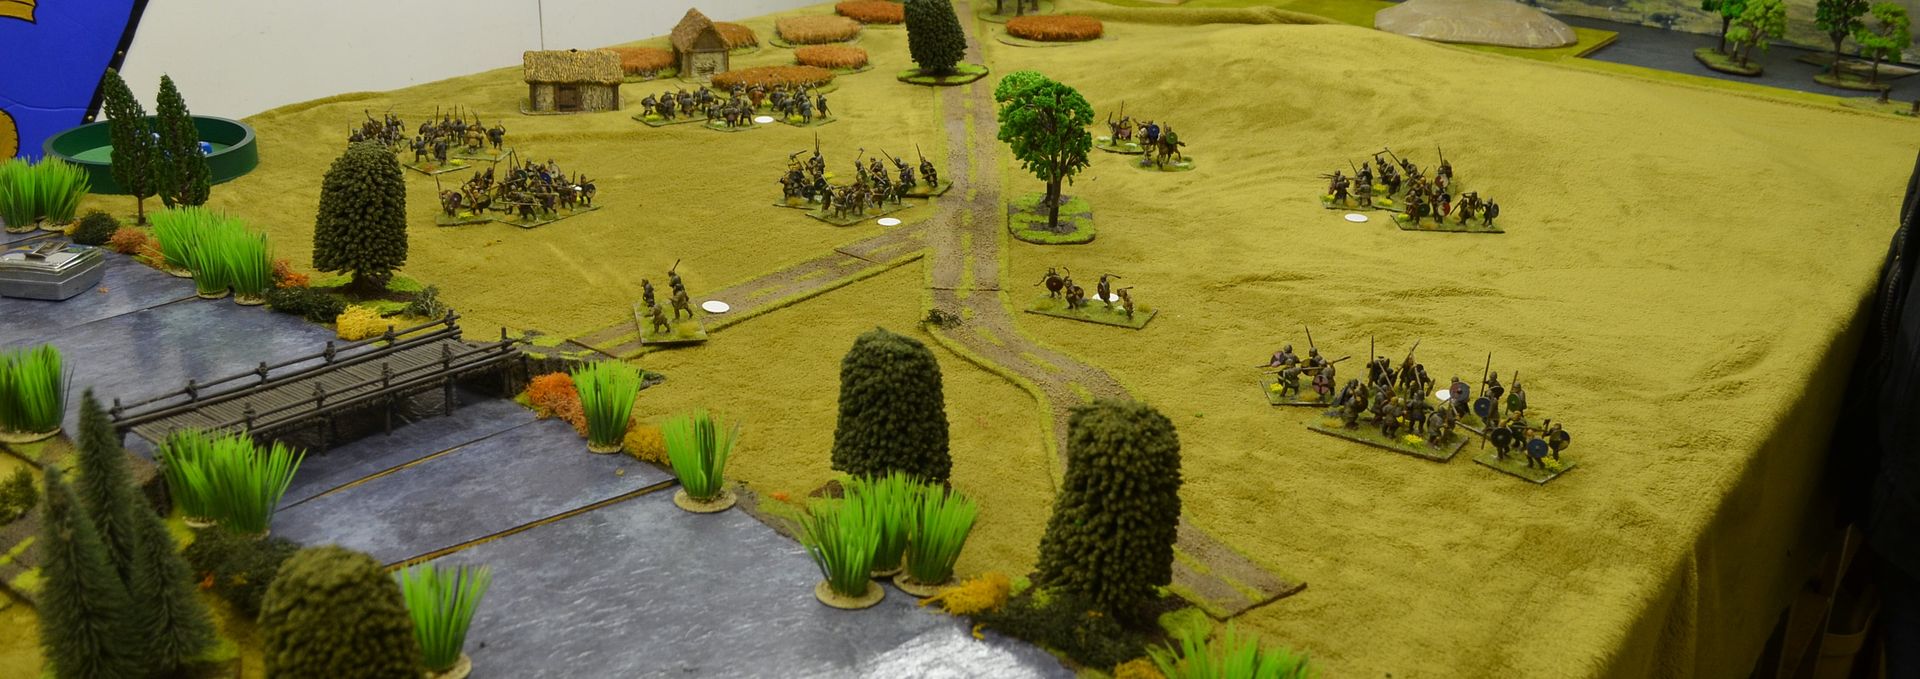
The Vikings on the other hand will start with two Divisions in the centre of the field, Hardrada's division ‘hidden’ behind the marshland where the beck joins the Ouse and the final 4th Division off table. This is making its way along the east side of the table and will appear randomly at some point in time during the game.

Playing under usual army break rules the Saxon will need to lose(or have shaken 7 units) and the Vikings 9 units.

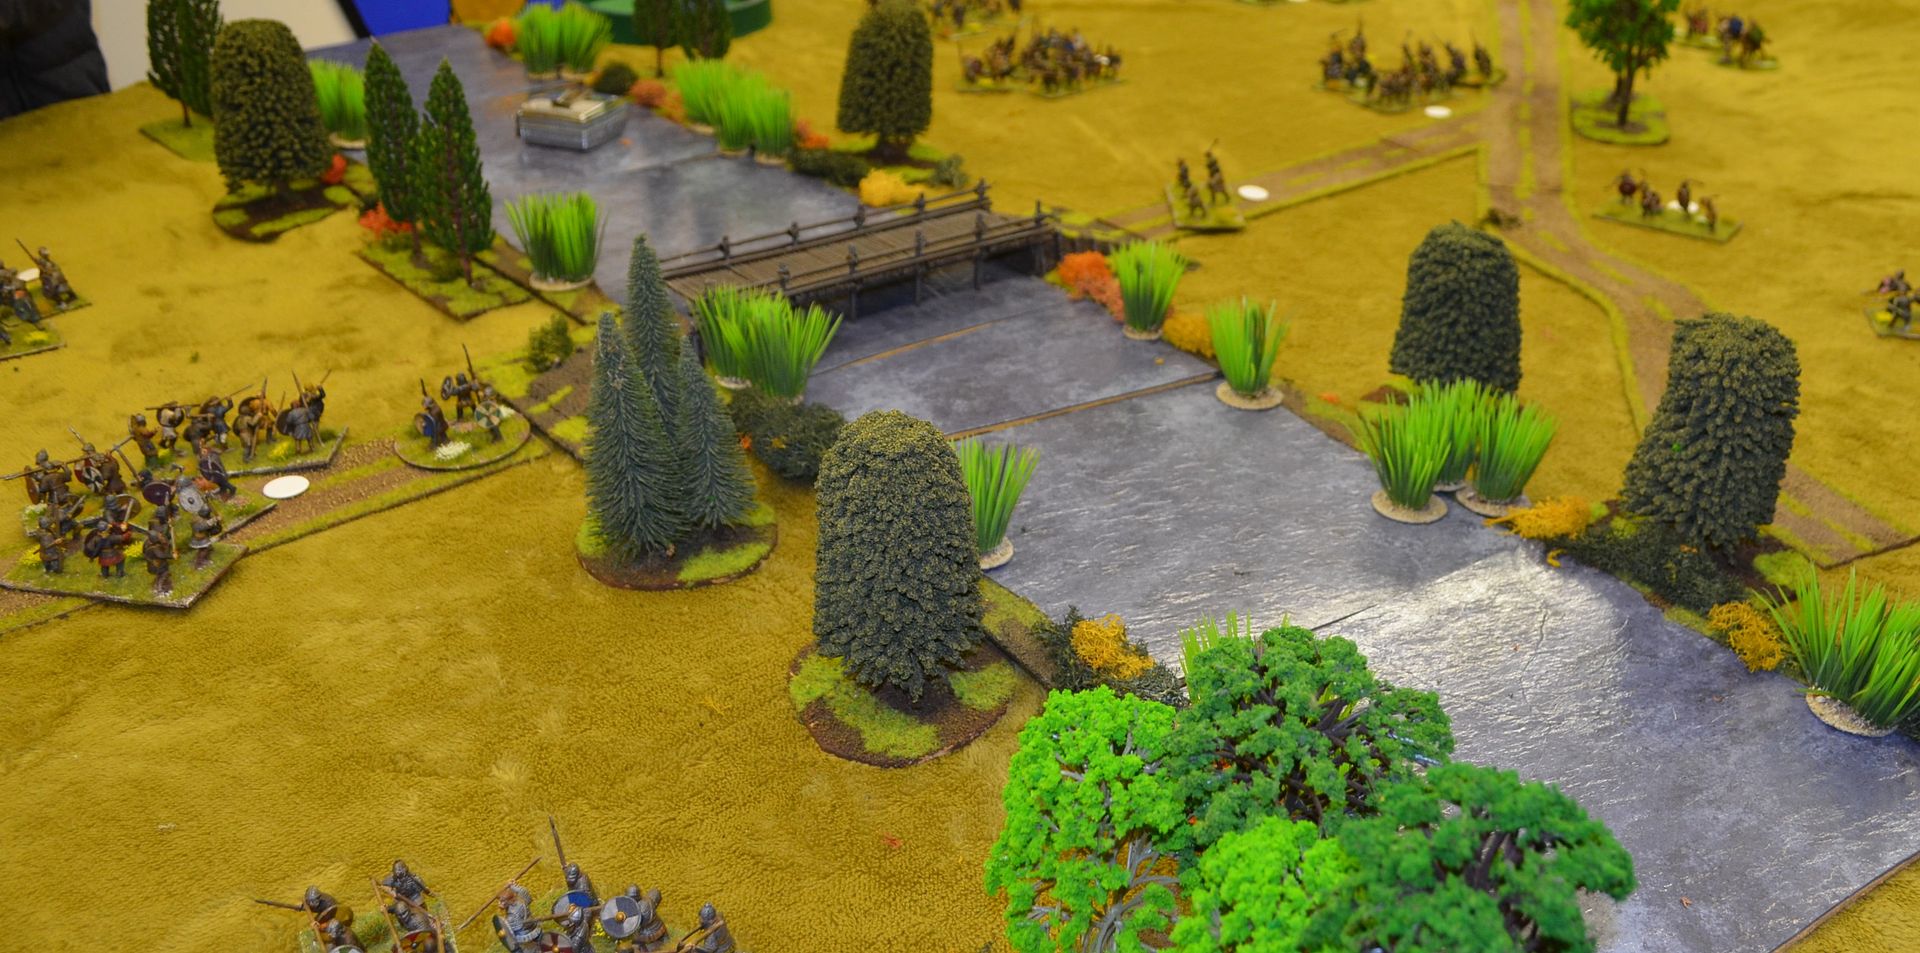
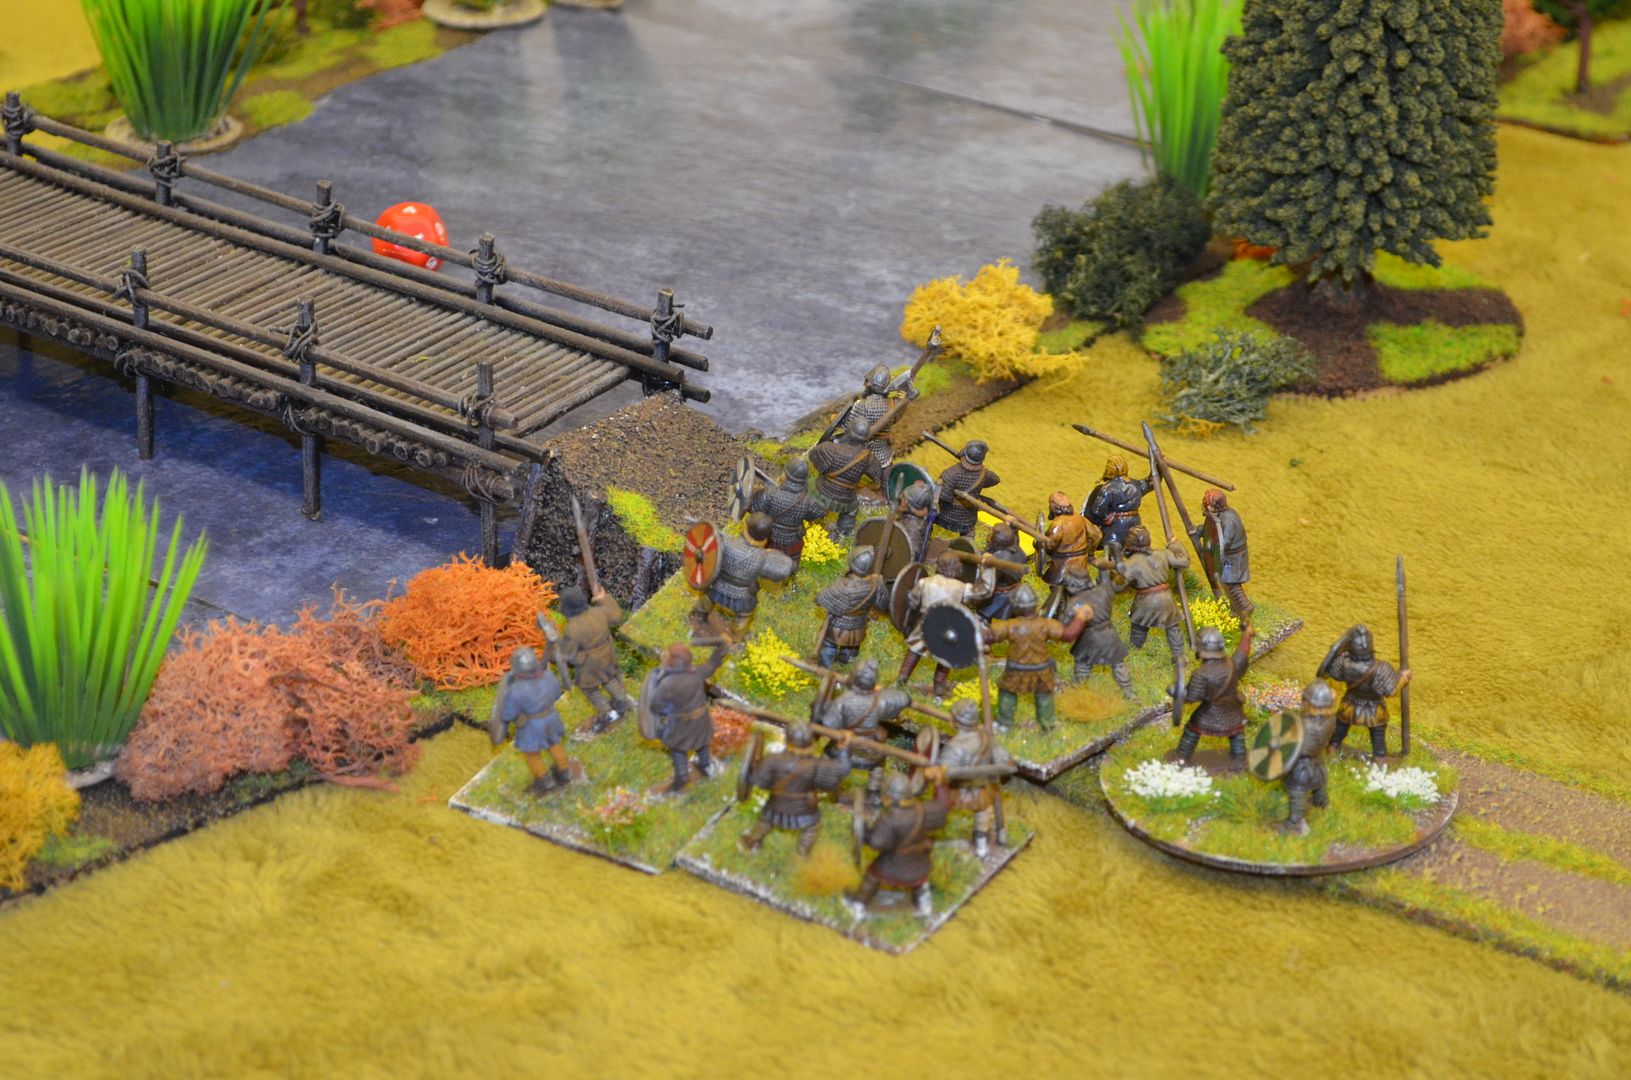
The key feature of the battlefield is the stretch of water known as Germany Beck. This runs across the battlefield joining the Ouse in the West. Both the main river and the Beck are tidal preventing troops from crossing when at high tide. The high tide will also affects the marshland to the East and West. 

We decided that for the first three turns the Beck would remain uncrossable and the Marsh adjoining the Ouse not fordable until turn 5.

The following table illustrates this. As you can see the final 4th Viking Division appears on a random die roll. There is the possibility that this may not turn up to affect the game. We also agreed that any forces driven off the table could not return to the fray at a later point in time.


Time/Turn
Beck Crossable
Marsh Crossable
Arrival of Troops (Viking 4th Division)
0900hrs
No
No
No
09.30hrs

No
No
No
10.00hrs

Yes
No
No
10.30hrs
Yes
No
No
11.00hrs
Yes
Yes
No
11.30hrs
Yes
Yes
No
12.00hrs
Yes
Yes
No
12.30hrs
Yes
Yes
6+
13.00hrs
Yes
Yes
6+
13.30hrs
Yes
Yes
5+
14.00hrs
Yes
Yes
5+
14.30hrs
Yes
Yes
4+
15.00hrs
Yes
Yes
4+
15.30hrs
Yes
No
3+
16.00hrs
Yes
No
3+
16.30hrs
No
No
3+
17.00hrs
No
No
3+
17.30hrs
High Tide
No
No
Dark


If no side has won by 17.30 when it gets dark the battle is assumed to be a draw


Battle of Fulford (Units)

Saxons

Earl’s Morcar & Edwin (2 x commanders (8)
1 x subcommanders (8)

5 x regular units of Thegns
7 X regular units of Ceorls
6 x Bow Armed Skirmish units

Grouped into three divisions

Break Test 7 units

Deployment – All Saxon Units on the table deployed  behind the Germany beck

Vikings

Hardrada & Tostig (8)
2 sub commanders (8)

1 units of Huscarls
8 units Thegns
7 units of Bondi
8 units of bow armed skirmishers

Break Test – 9 units

Grouped into 4 divisions

Deployment
Two Divisions (inc Tostig on the table opposite Saxons)

The other two Divisions are off table at the beginning of the game 

One of these is made up exclusively of Hirdmen & Huscarls) – This is Hardradas division. Hardrada division is sitting behind the Marsh – he may opt to send these troops away from their starting location and head to centre of line from turn five (otherwise they sit and wait)

The fourth division is trying to work it way around the Marsh to the East – use the following table to denote what happens each turn. Two units of this division may opt to stay with the main force but will start from base line


Units (using Hail Caesar)

Unit
Clash
Sustained
Short Range
Long Range
Morale
Stamina
Special
Huscarls
7
7
3
0
4+
6
Stubborn
Elite
Tough Fighters
Valiant
Heavy Infantry Thegns/Hirdmen
7
7
3
0
4+
6

Medium Infantry Ceorls/Bondi
6
6
3
0
5+
6

Light Infantry Geburs
5
5
3
0
6+
6

Medium Cavalry Thegns
(small unit)
6
3
2
0
5+
4

Skirmishers/Thralls with javelins(small unit)
3
2
2
0
0
4

Skirmishers with Bows(small unit)
2
2
2
2
0
4

Skirmishers with Slings(small unit)
2
2
2
2
0
4

Light Infantry Bondi with Bows
(small units)
3
3
2
2
6+
4


Stubborn:  Reroll one failed morale save

Elite;  Recover from disorder on 4+

Tough Fighters:  Reroll one missed HTH combat roll

Valiant: Breaktest reroll once per battle

Our Game

We diced for sides given that this a new game and had no idea how it would play out. 

Had there of been an uneven number of players I would have umpired and not disclosed when the waters might fall and informed the Saxon commander that more Vikings could be expected to appear (but not from where)

In the end I commanded the Saxons, Mark the Vikings.
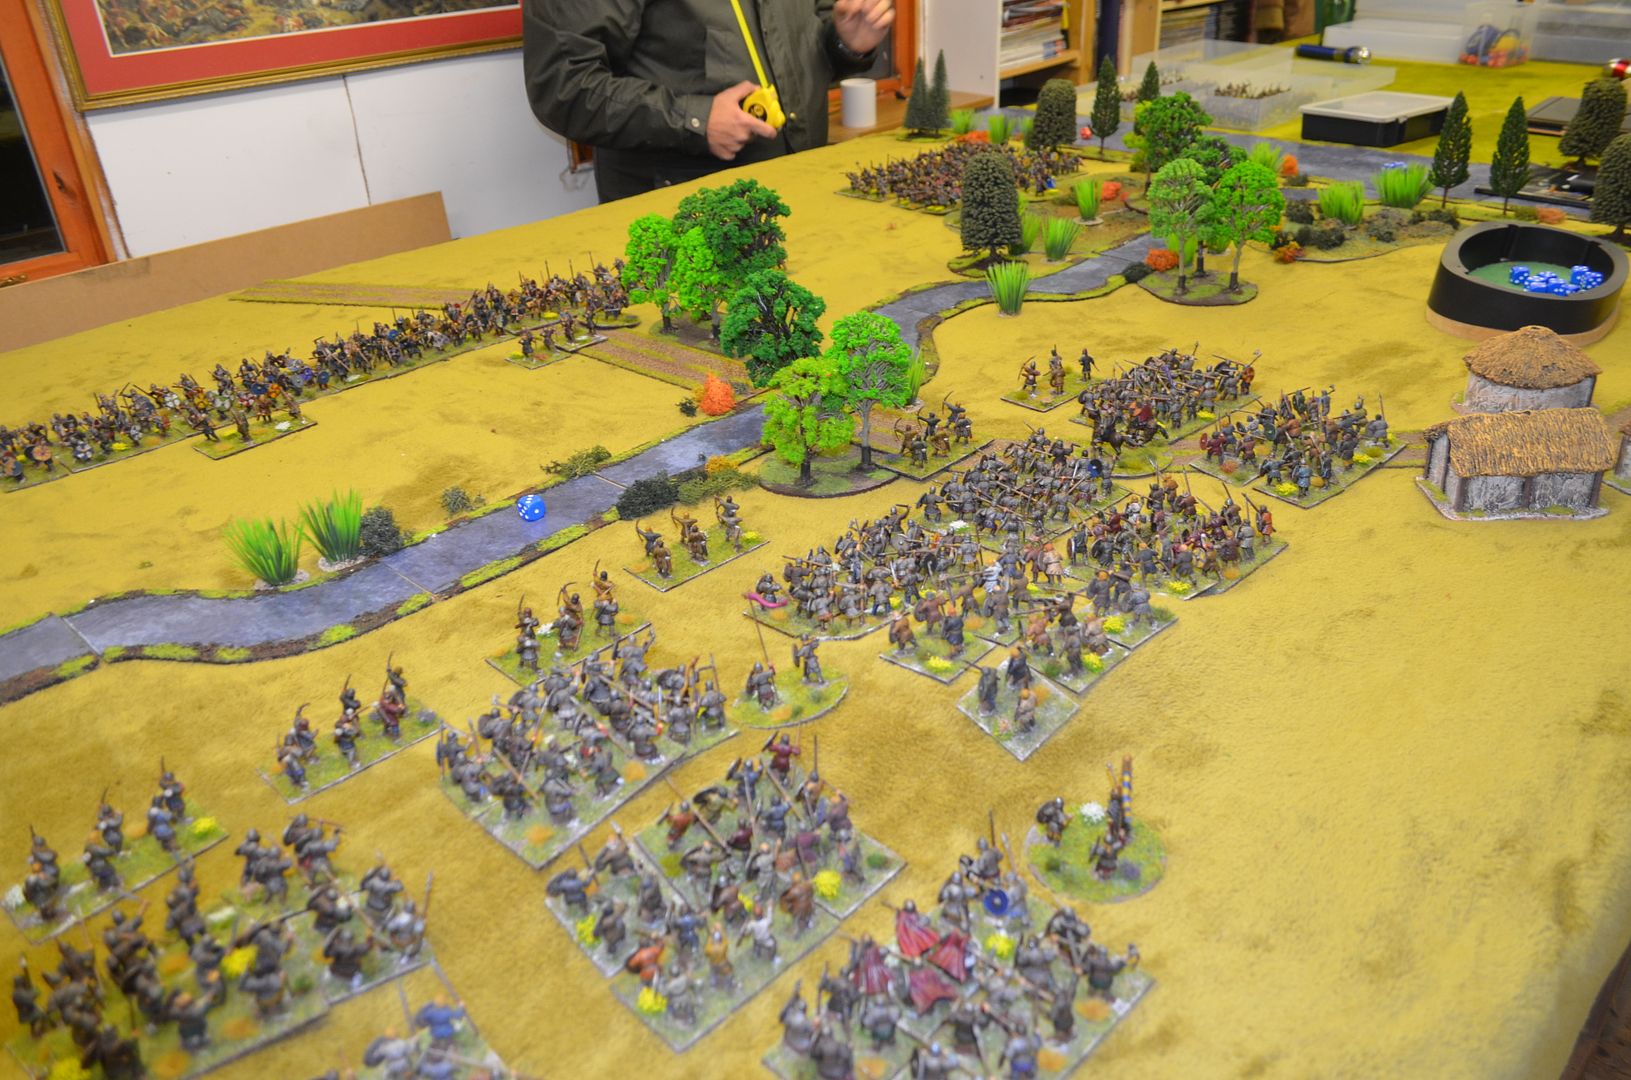


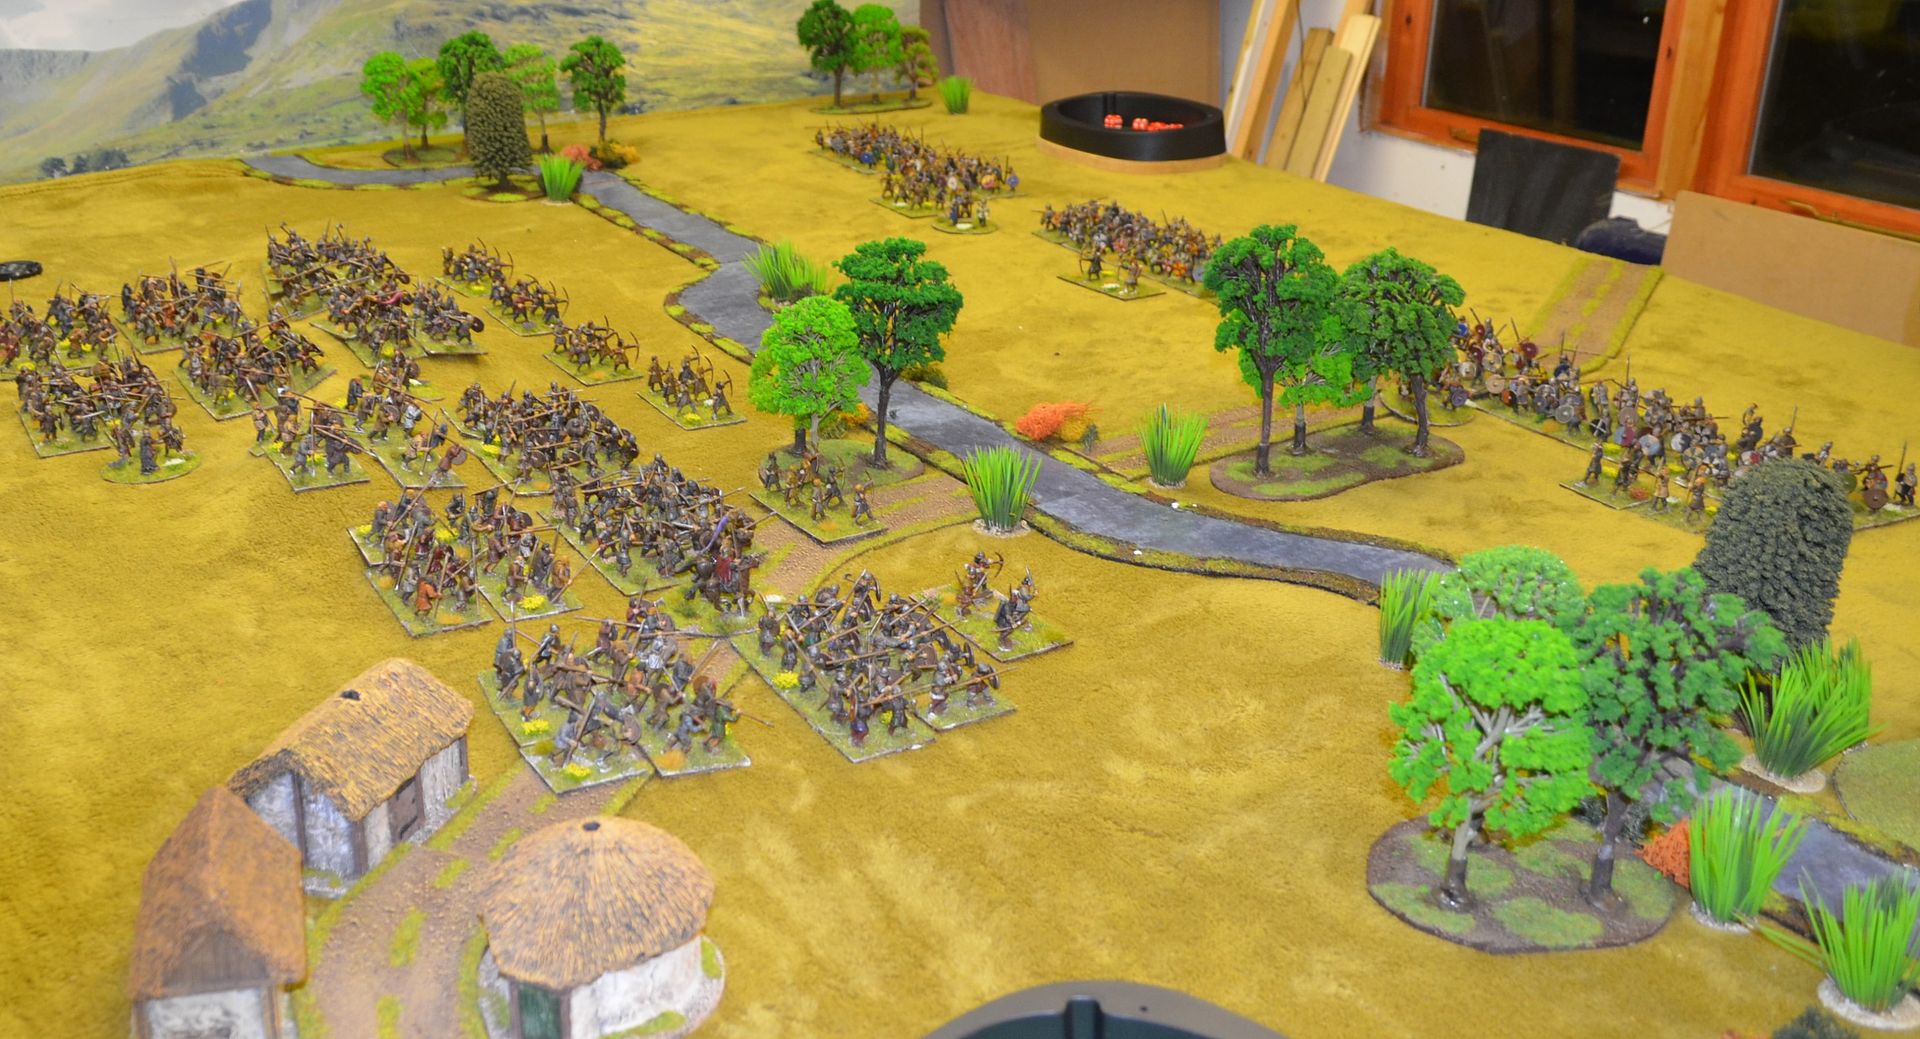
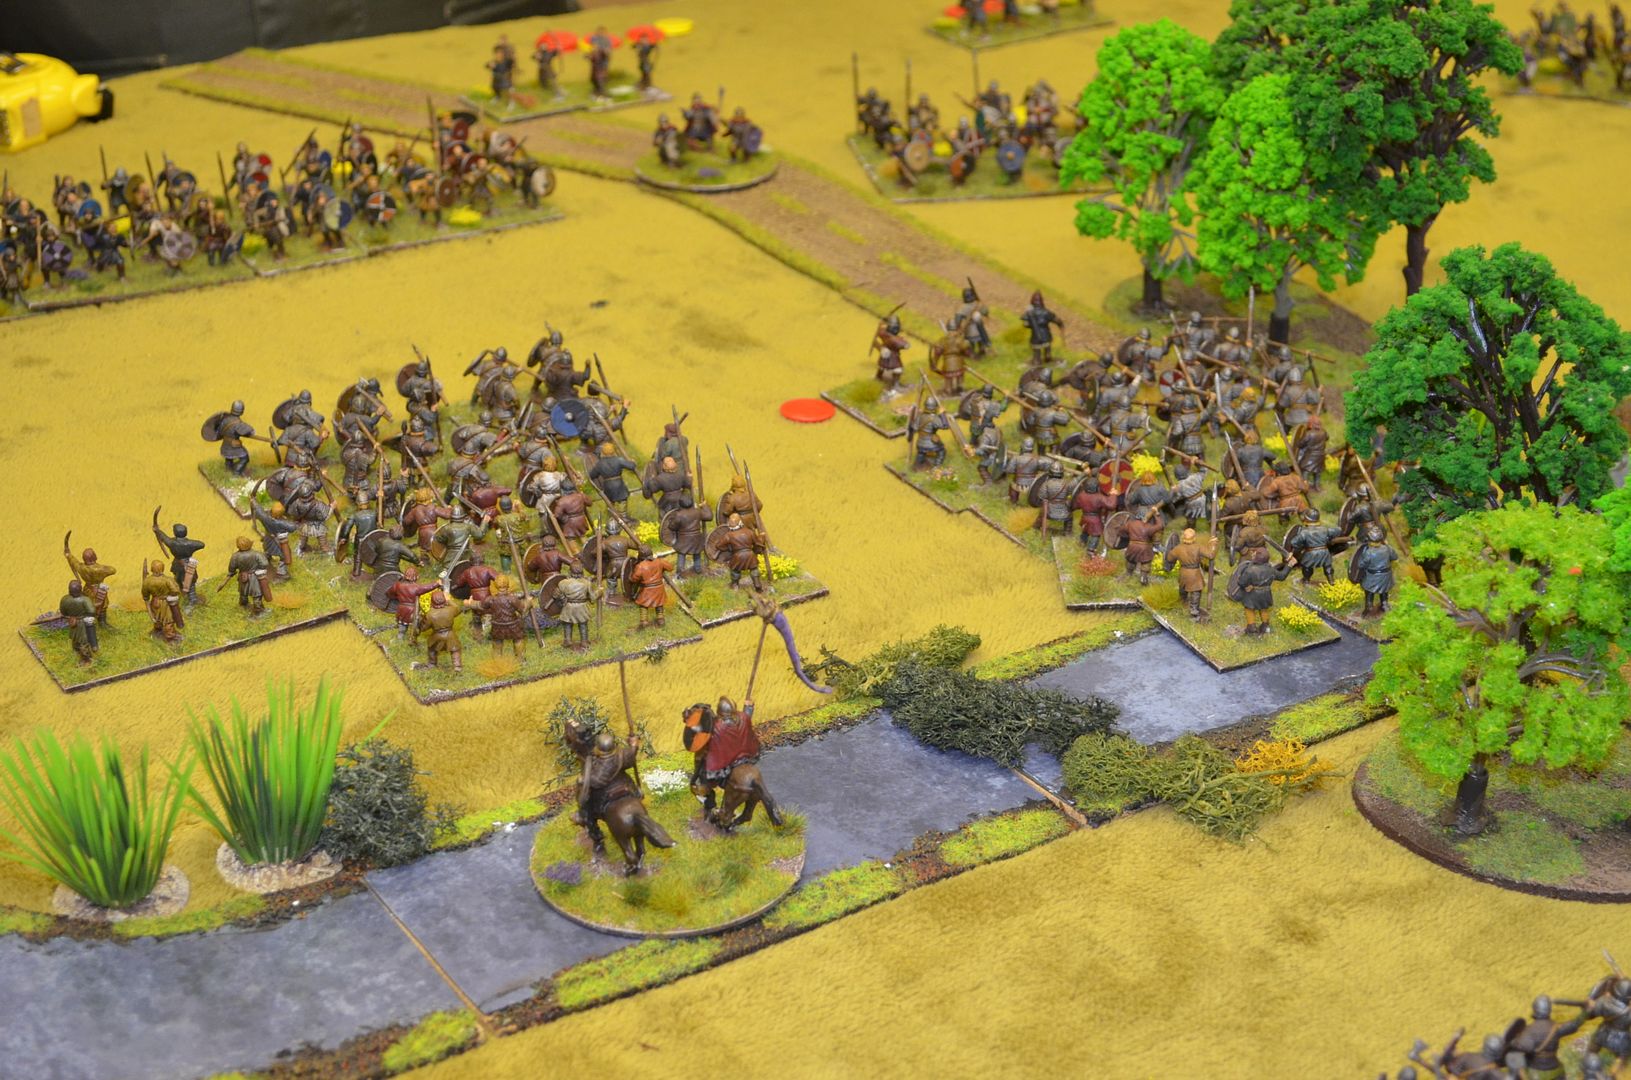
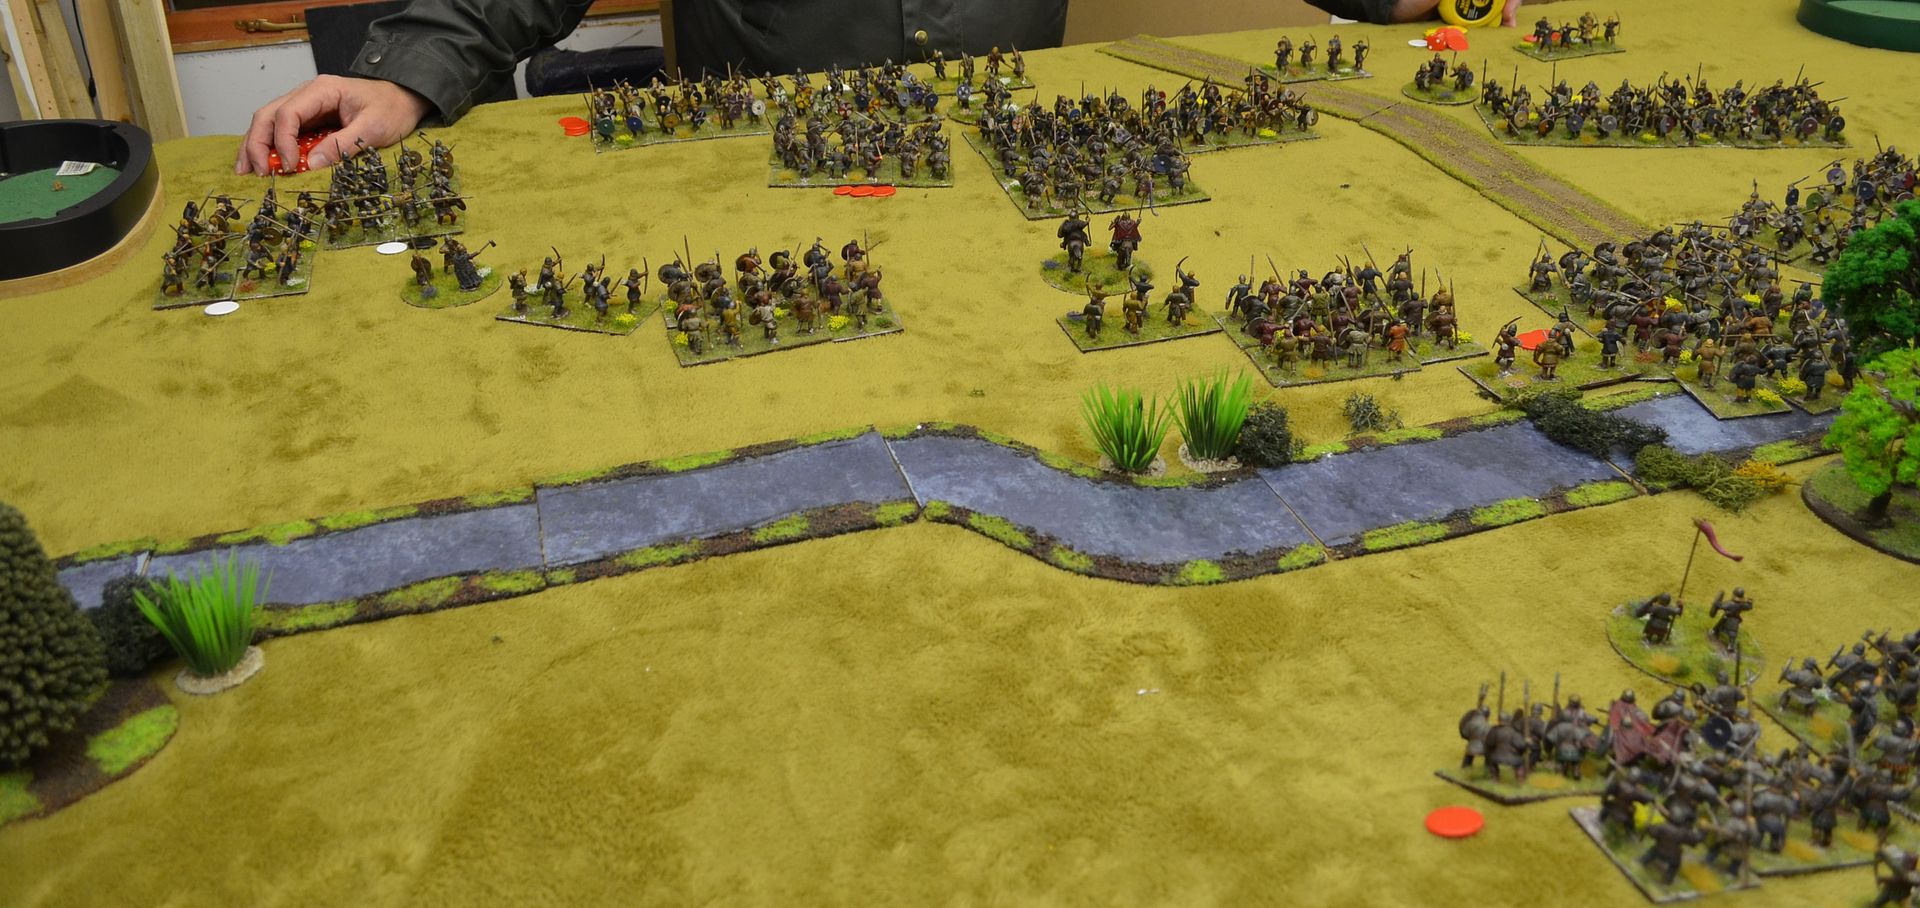
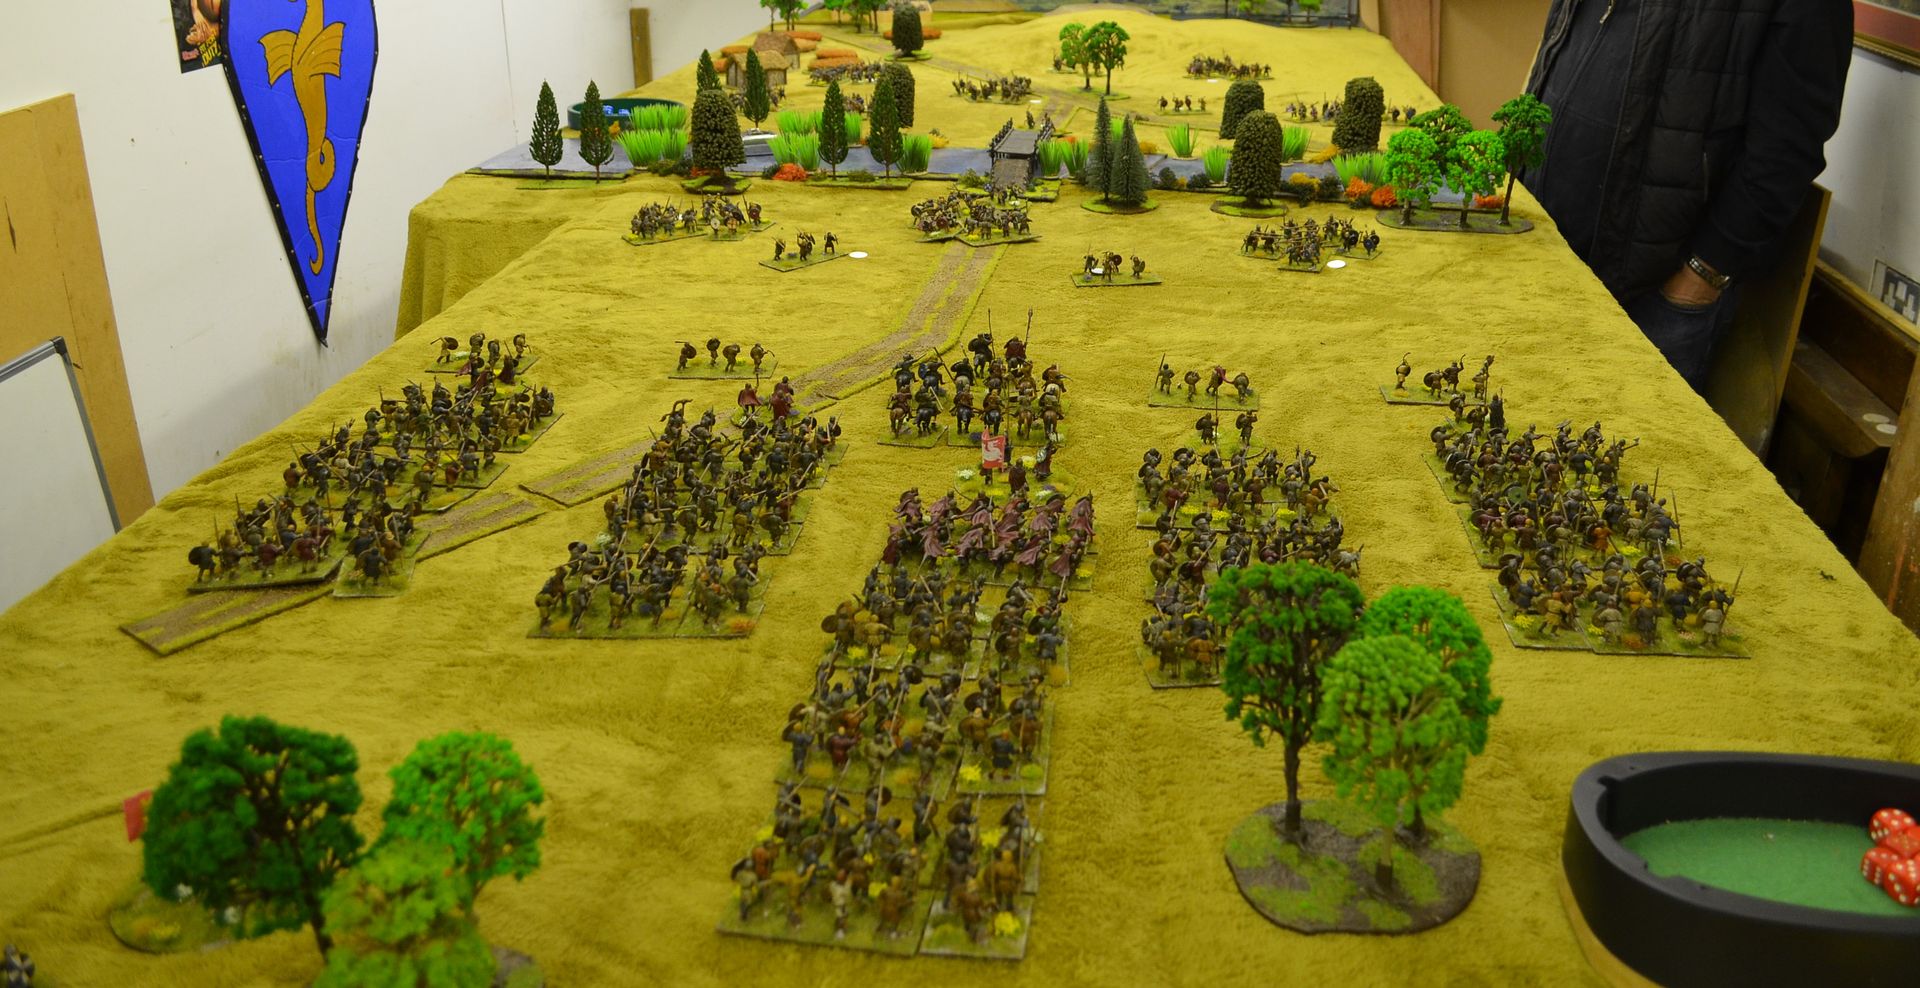
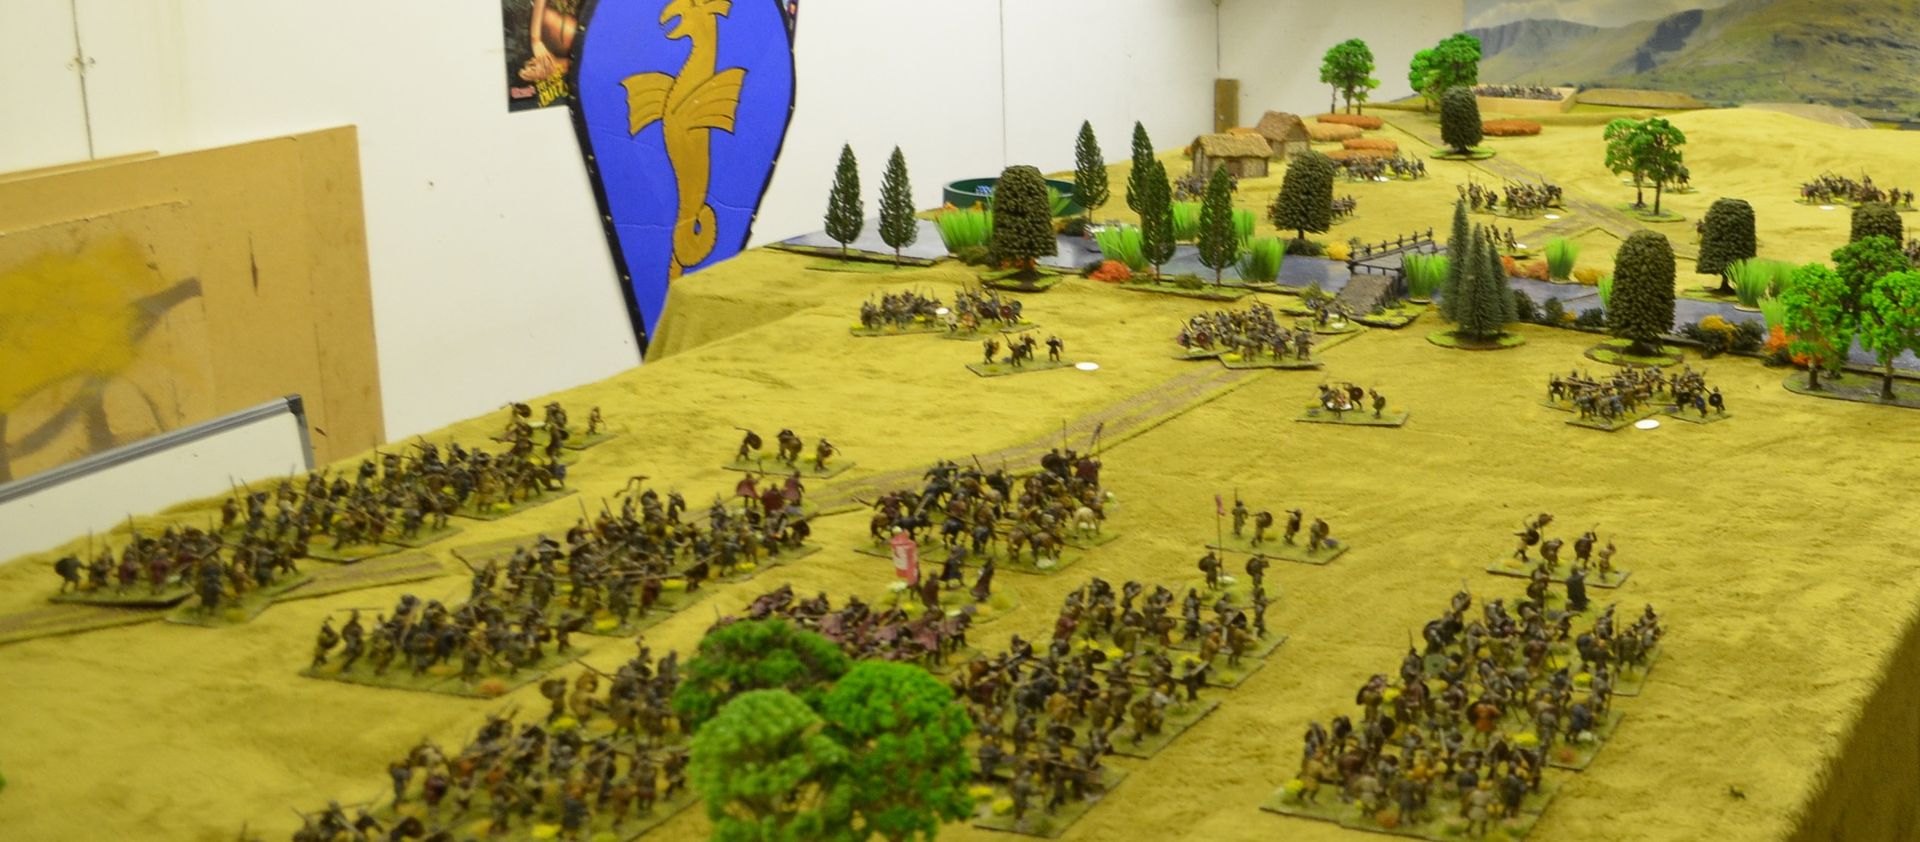
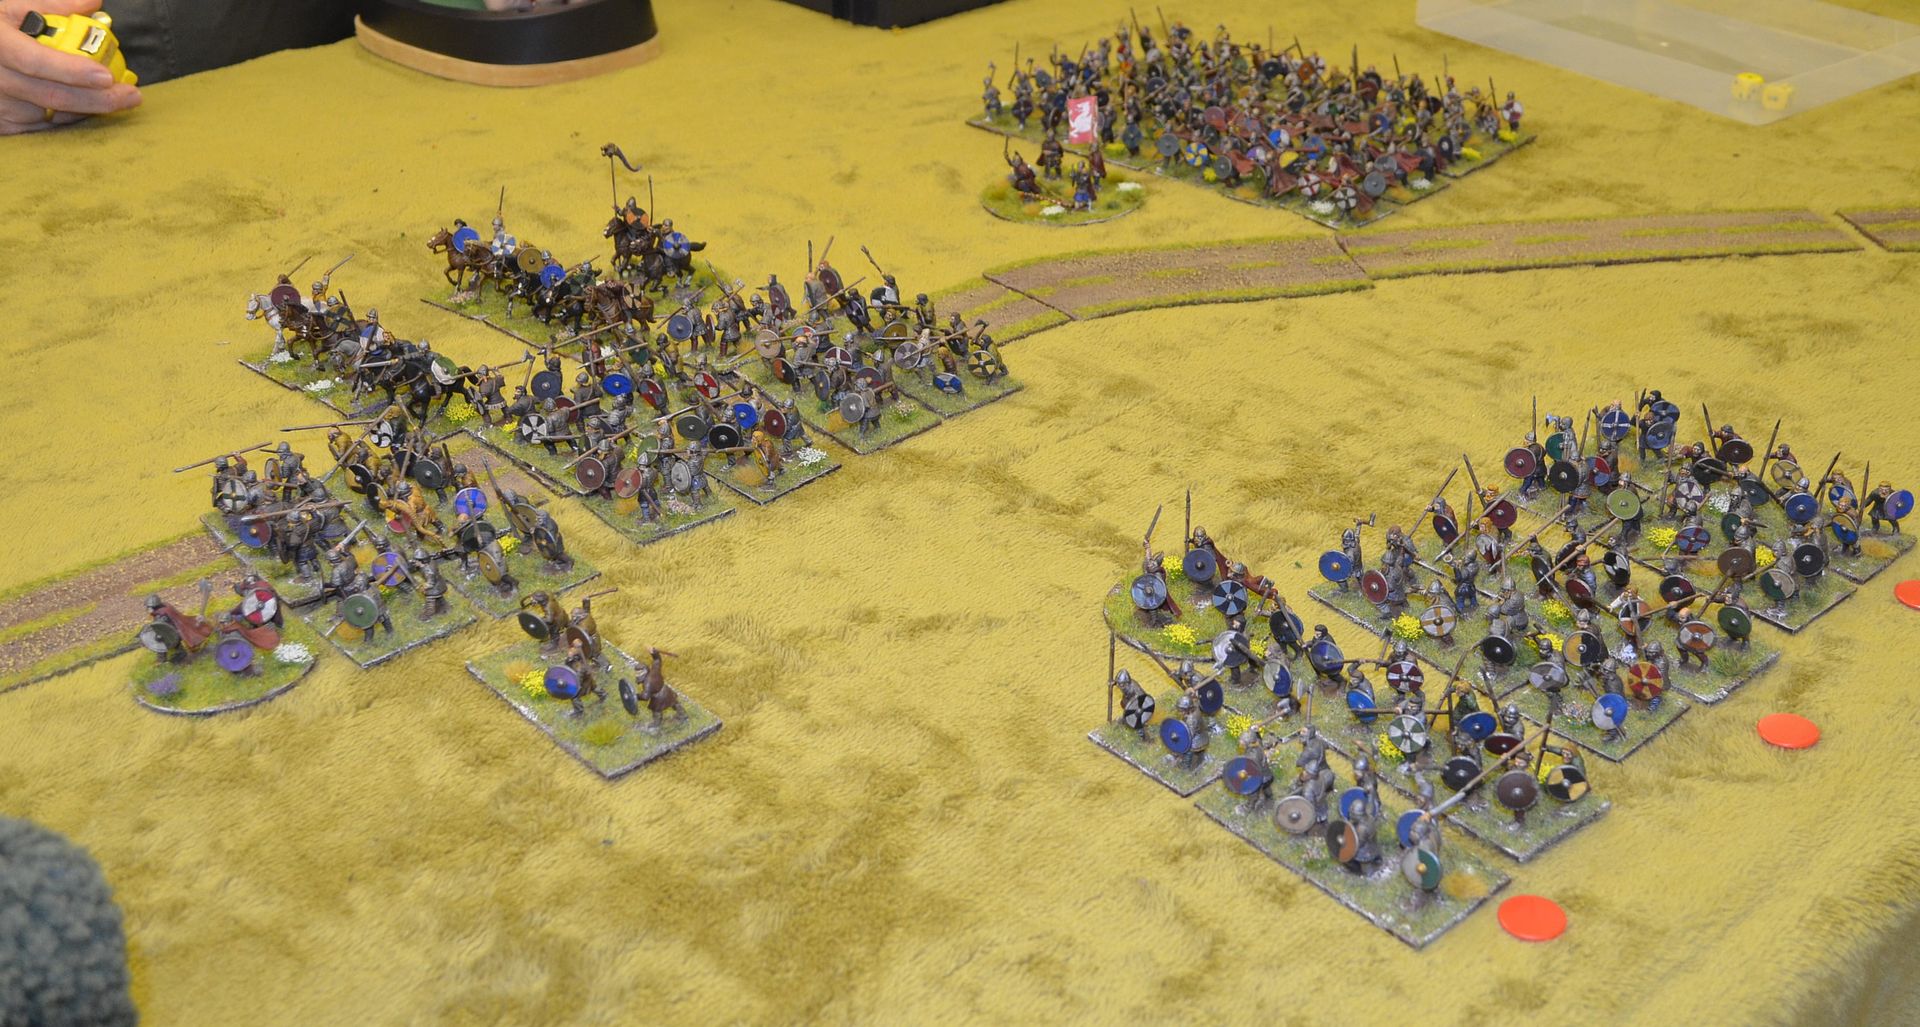
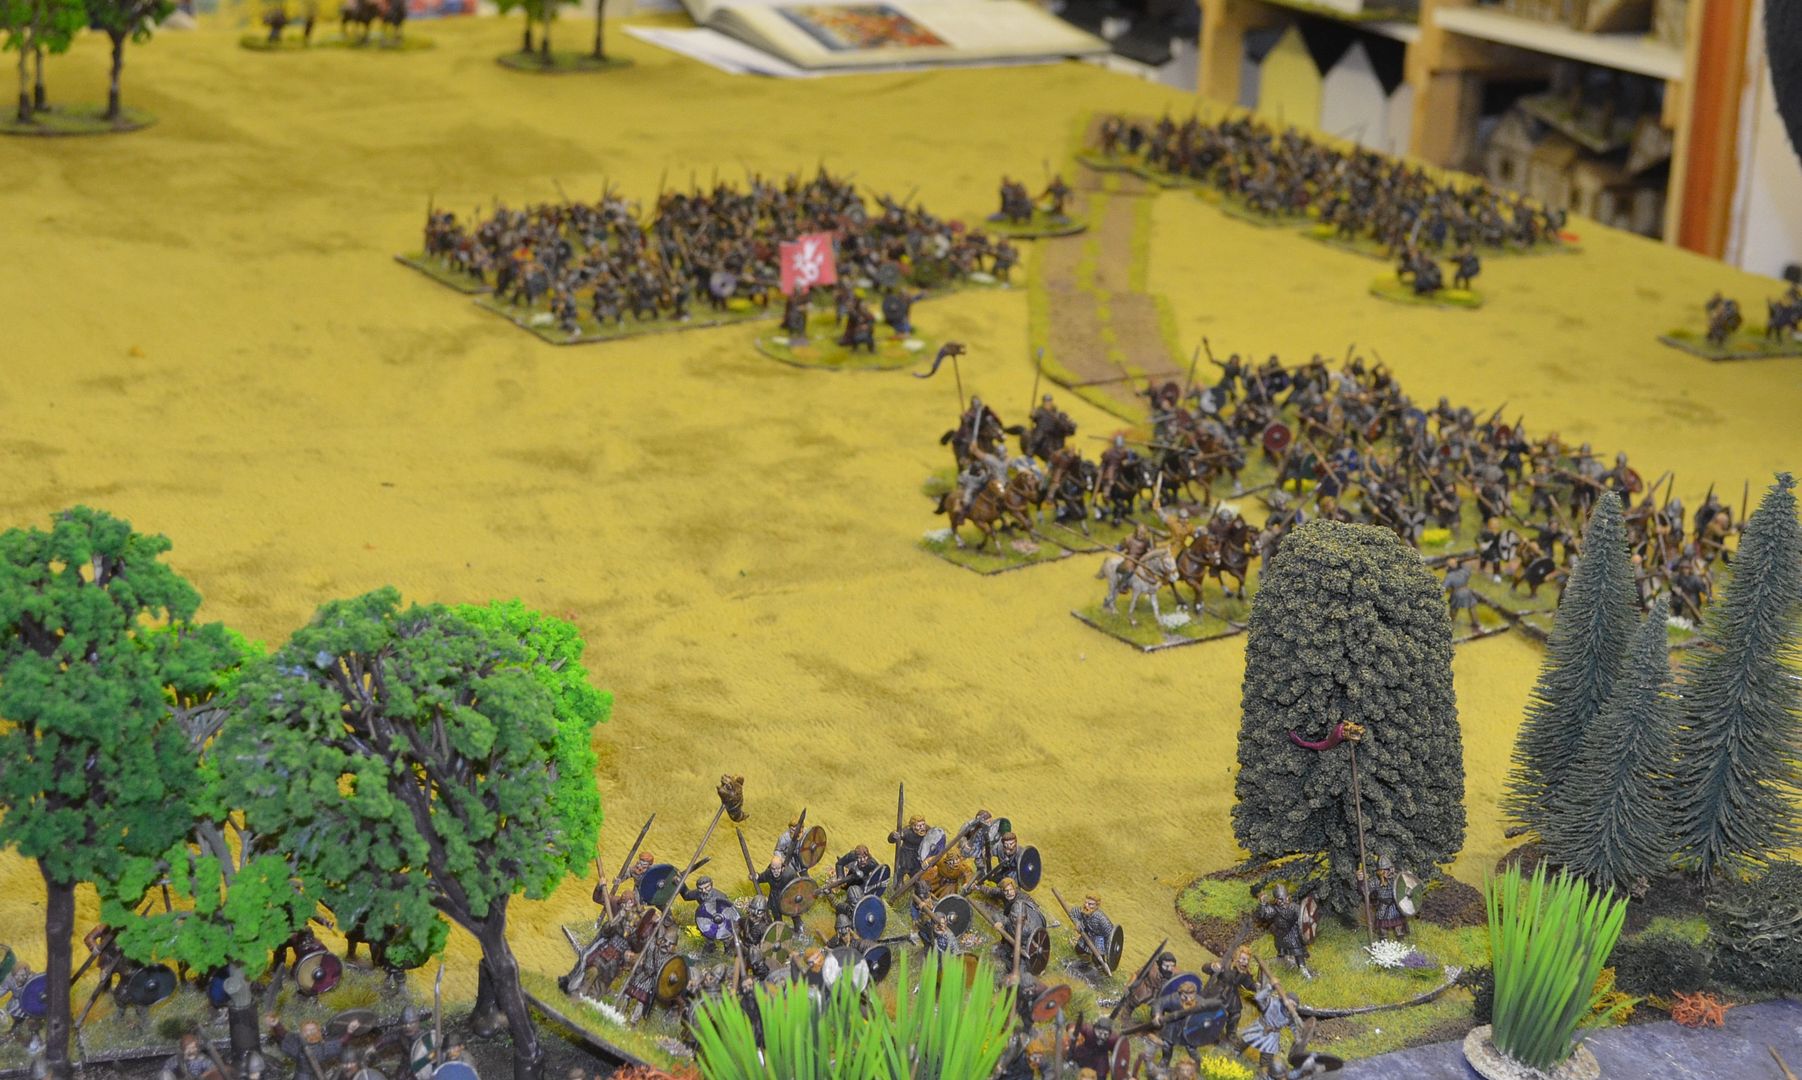
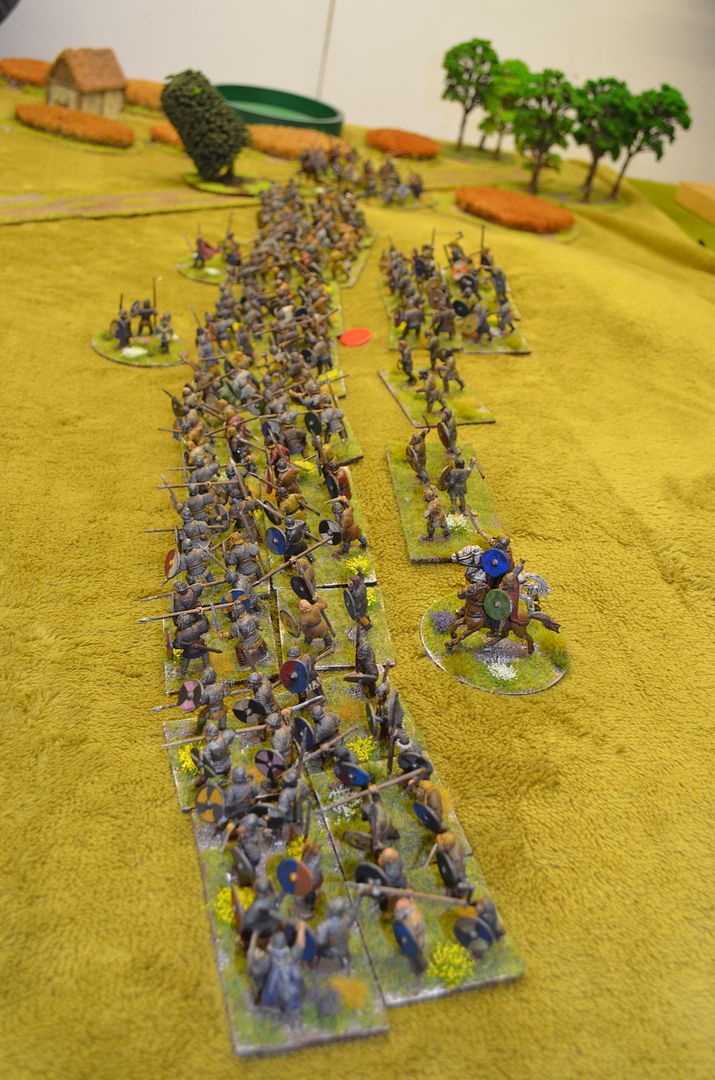
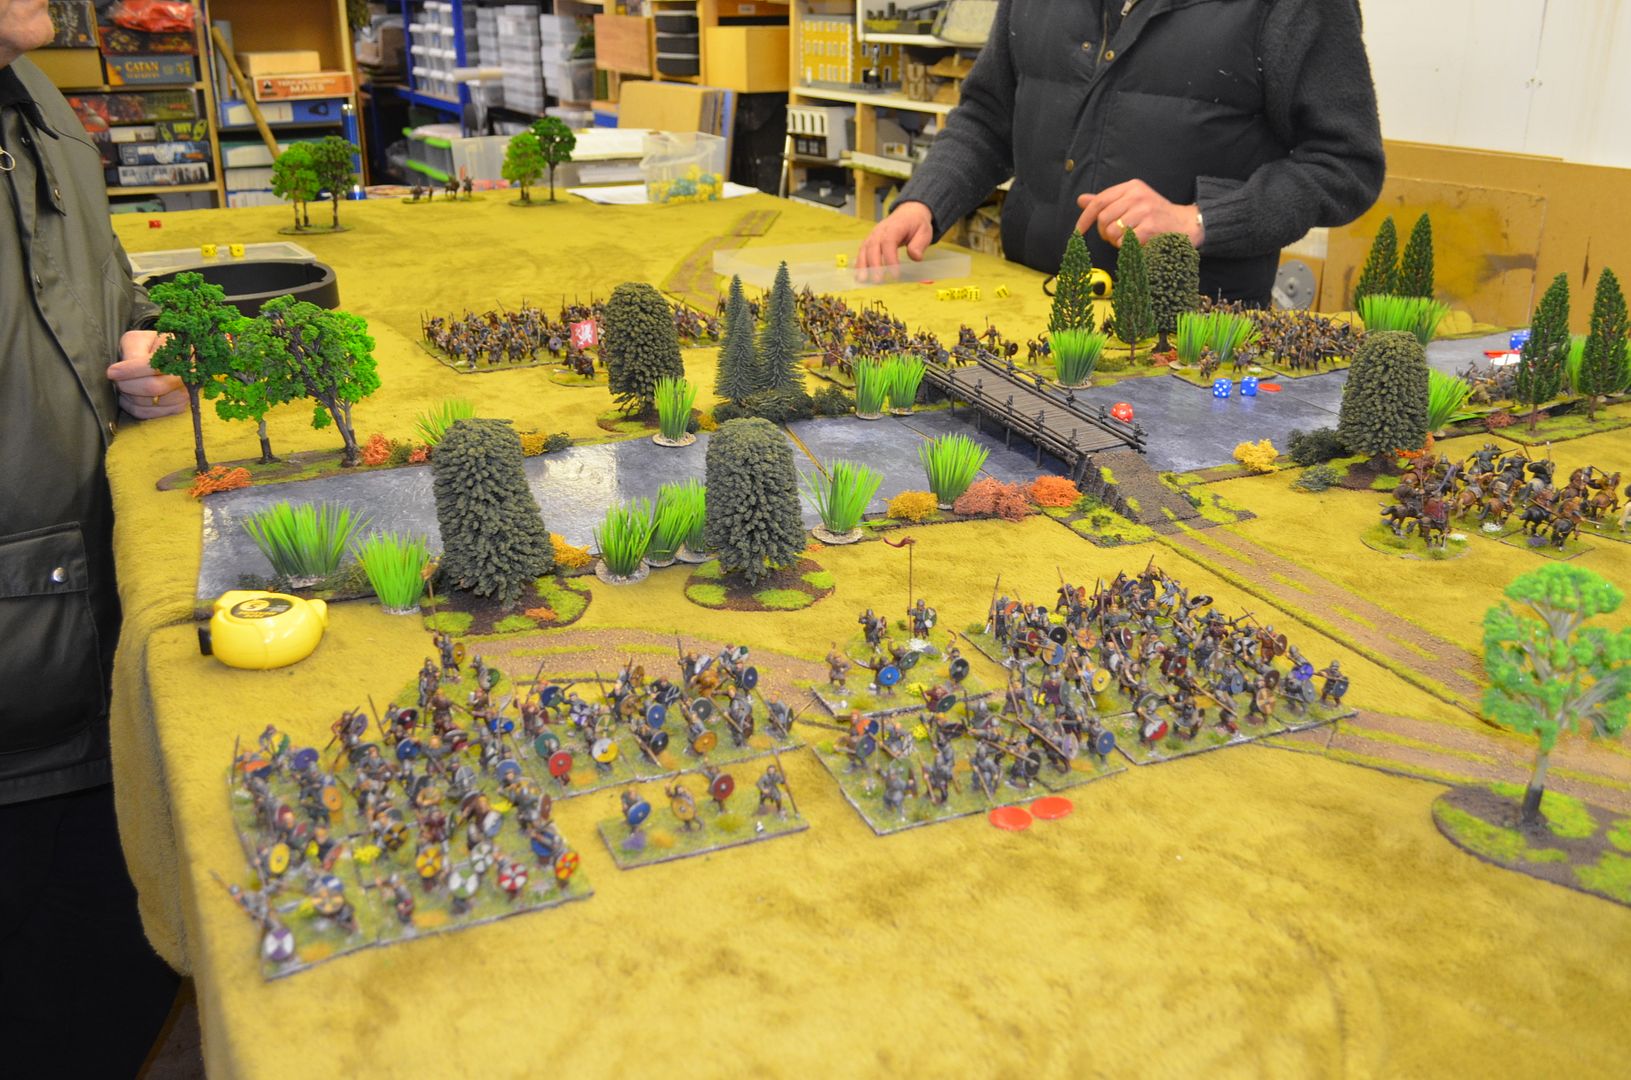
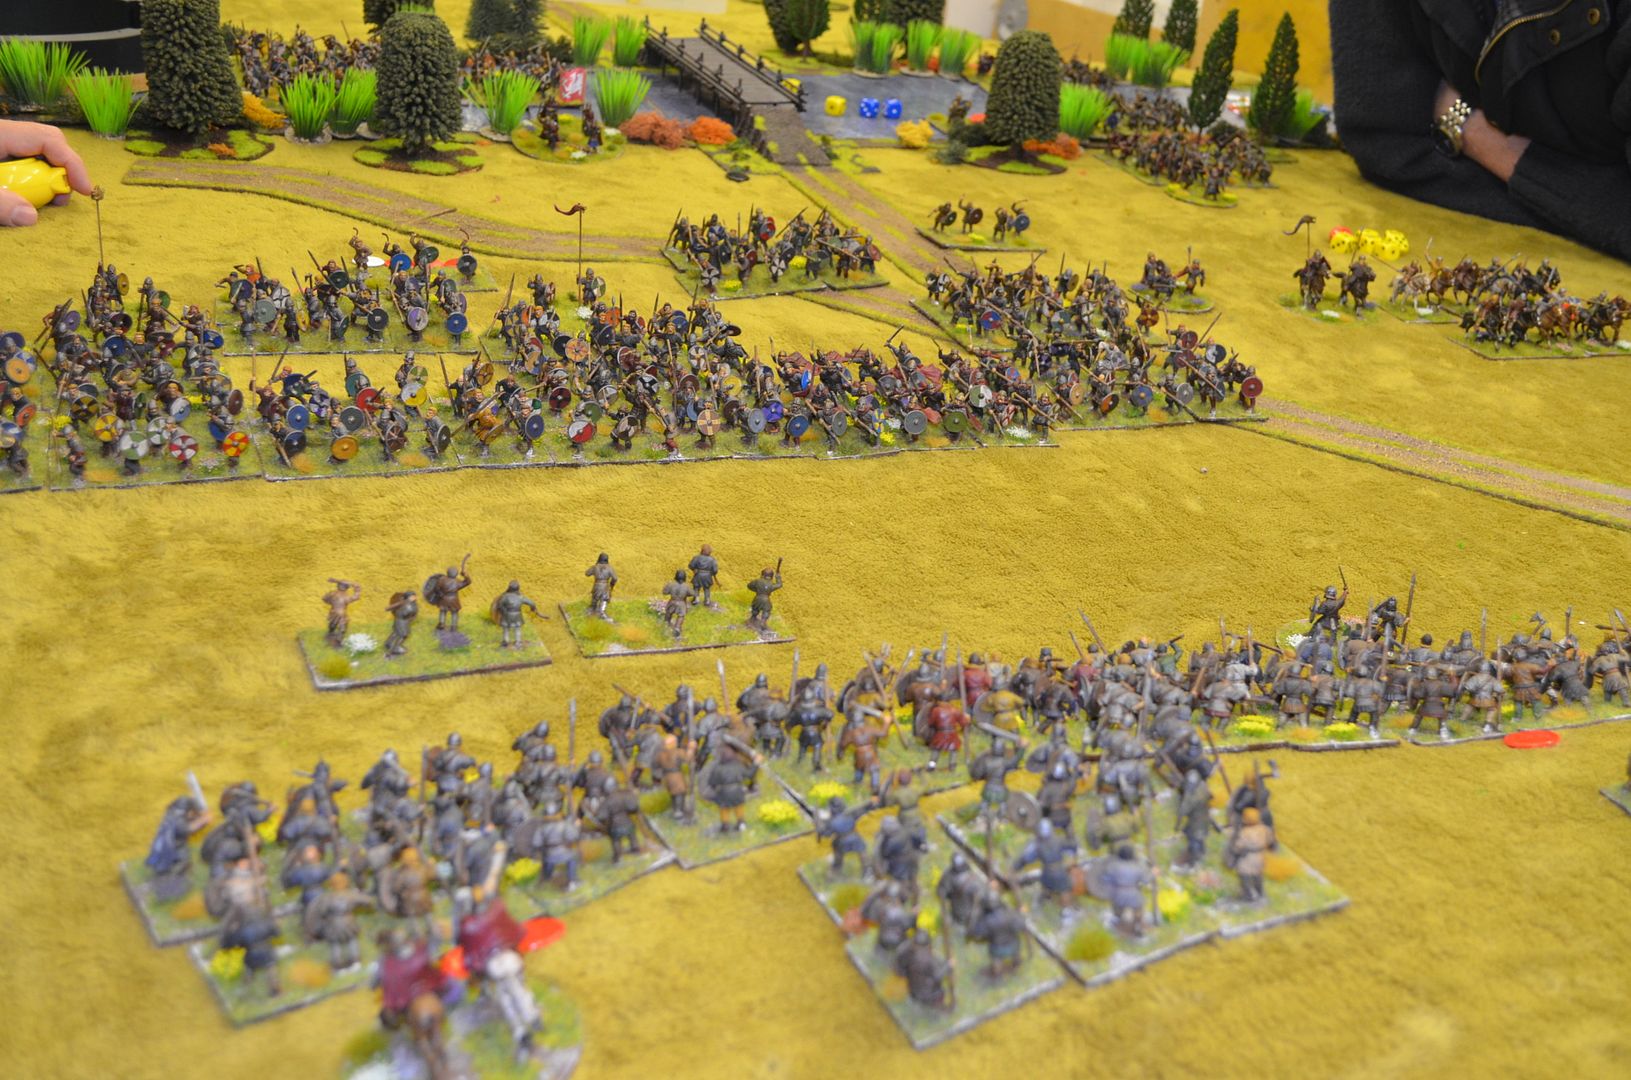
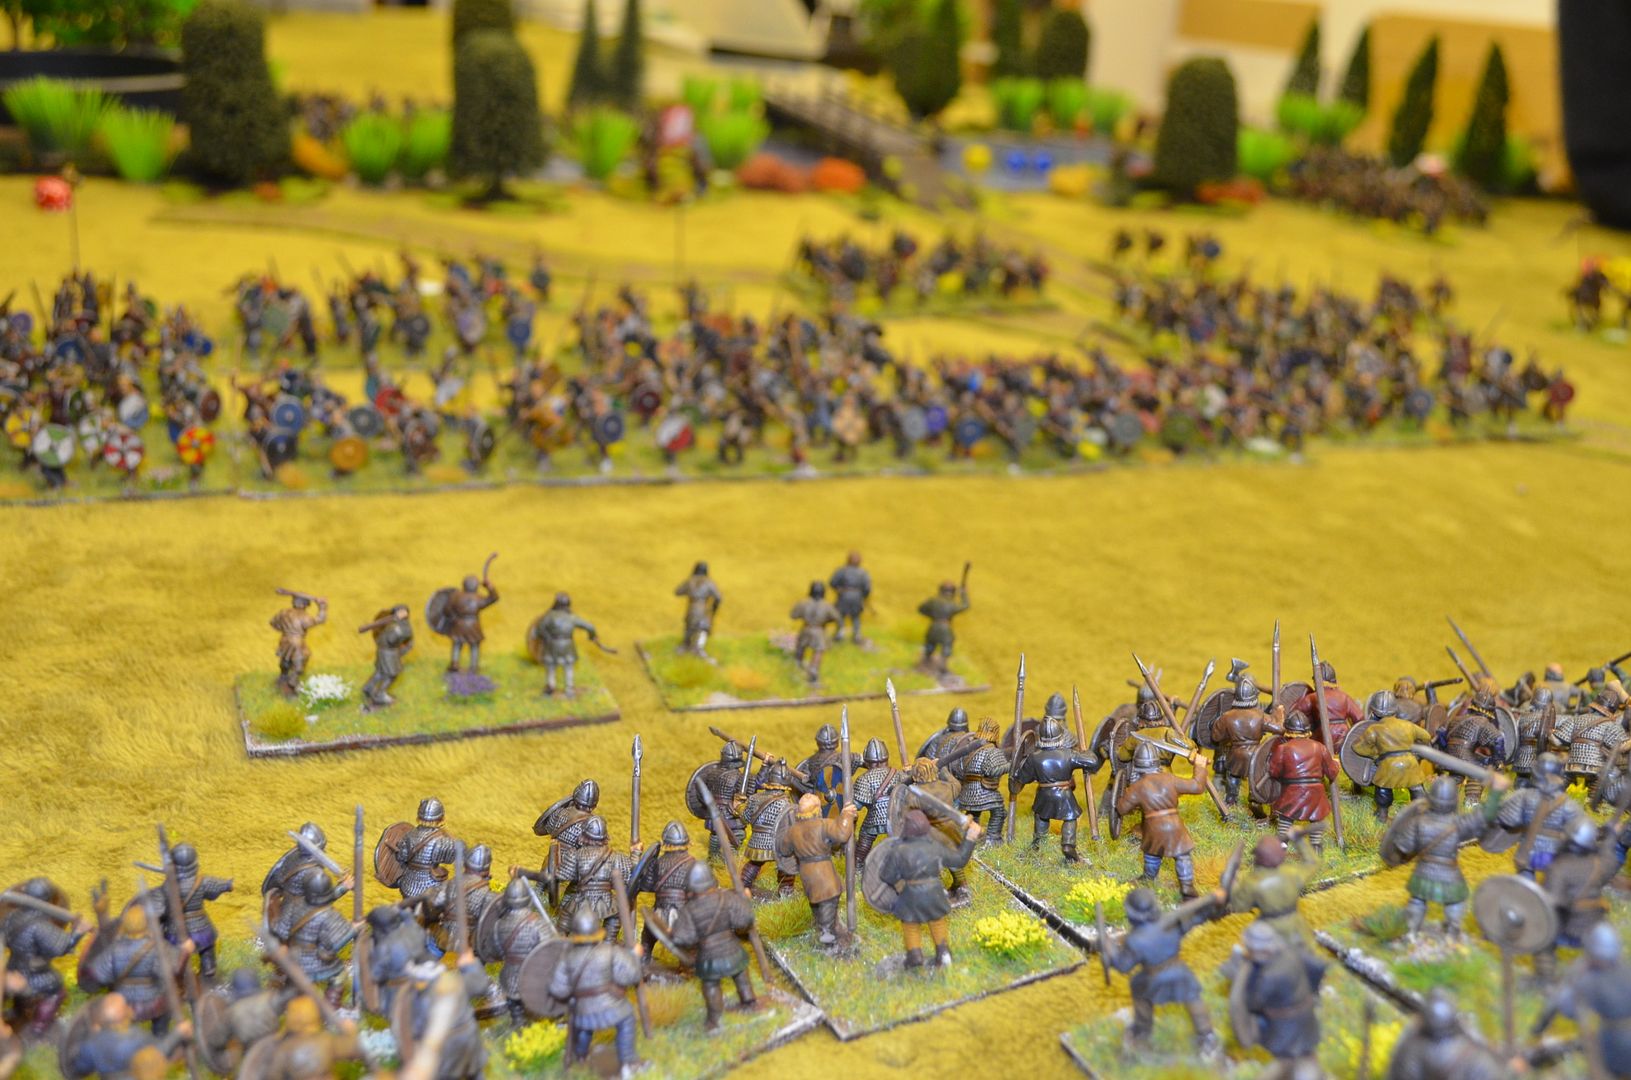
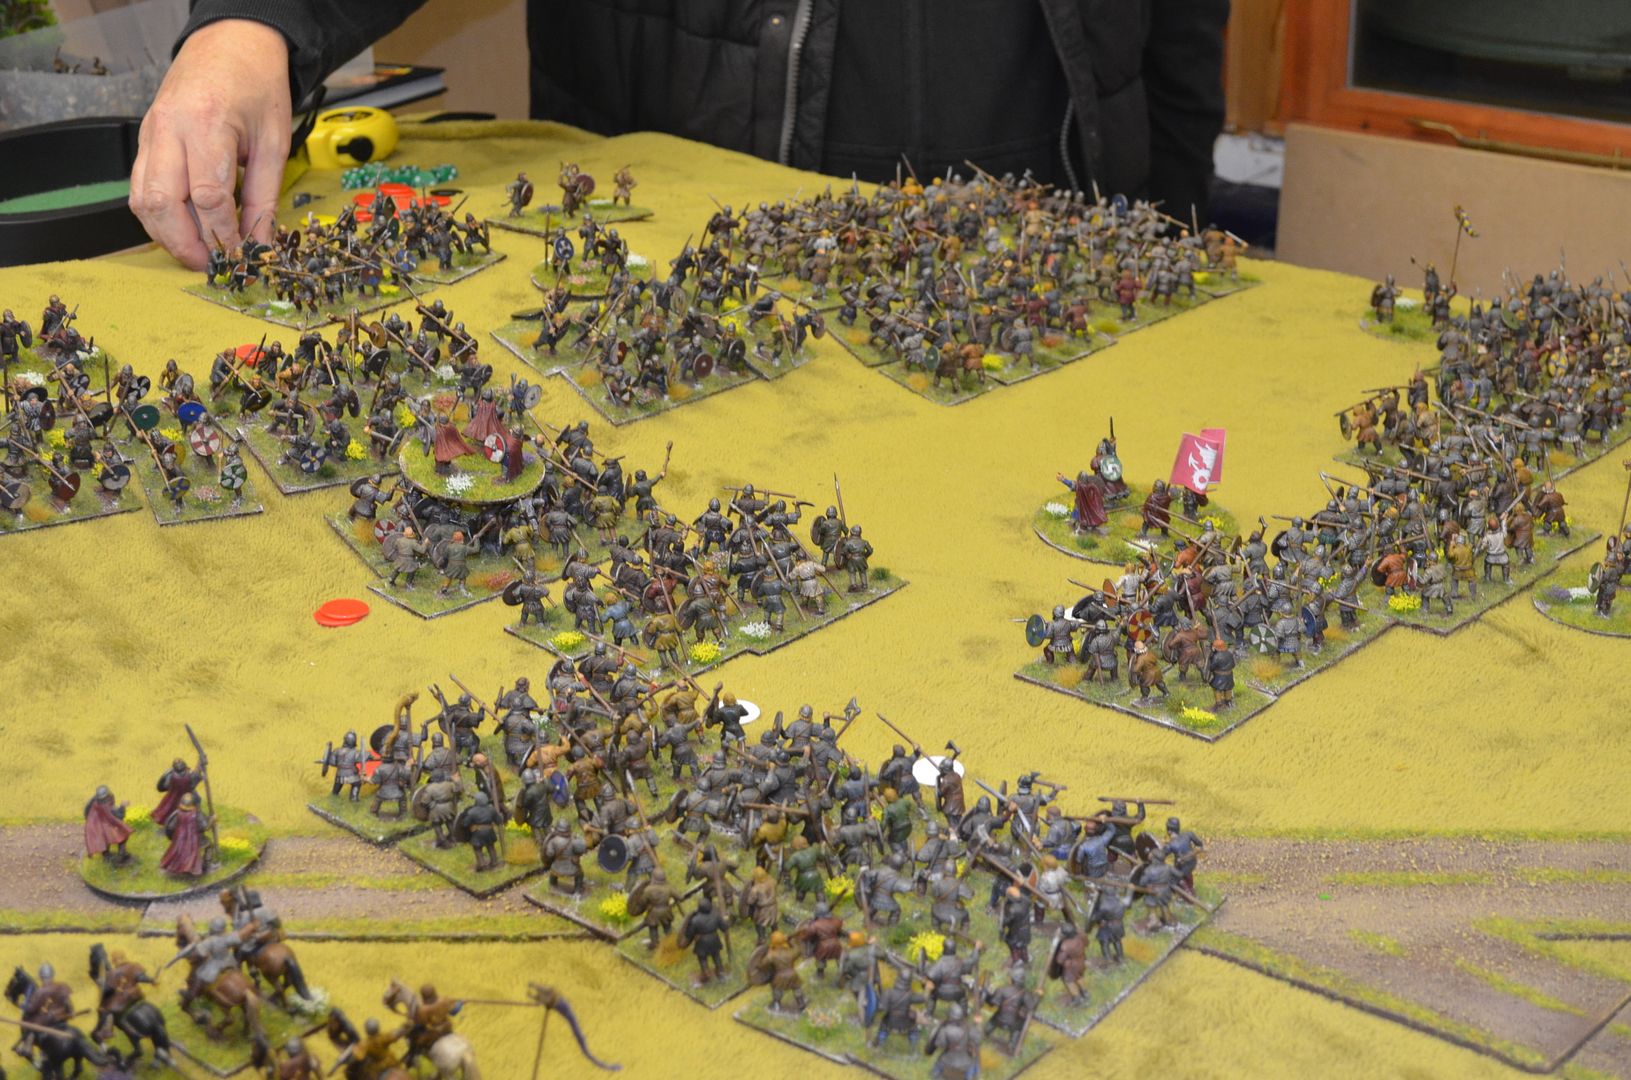
The Saxons (foreground facing a few Vikings over the Beck) - the river is in the distance on the right
It was apparent from the Saxon perspective that to win this game I had to take on the Vikings quickly before their reinforcements arrived and enveloped my flanks. 

My left division pushed forward upto the beck.
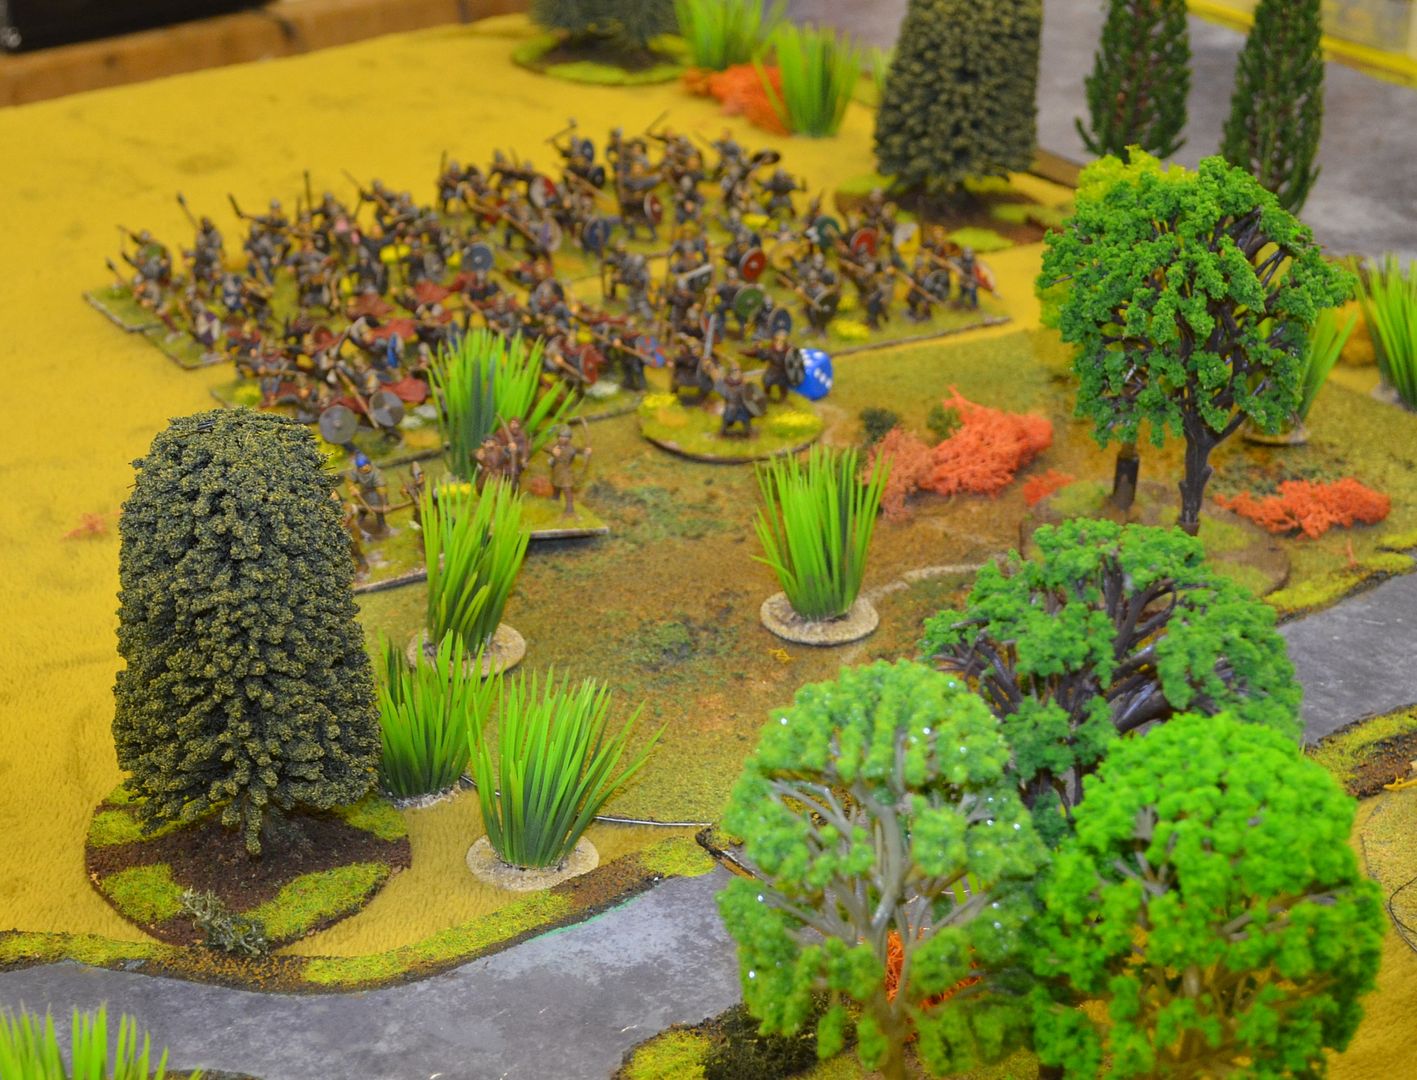


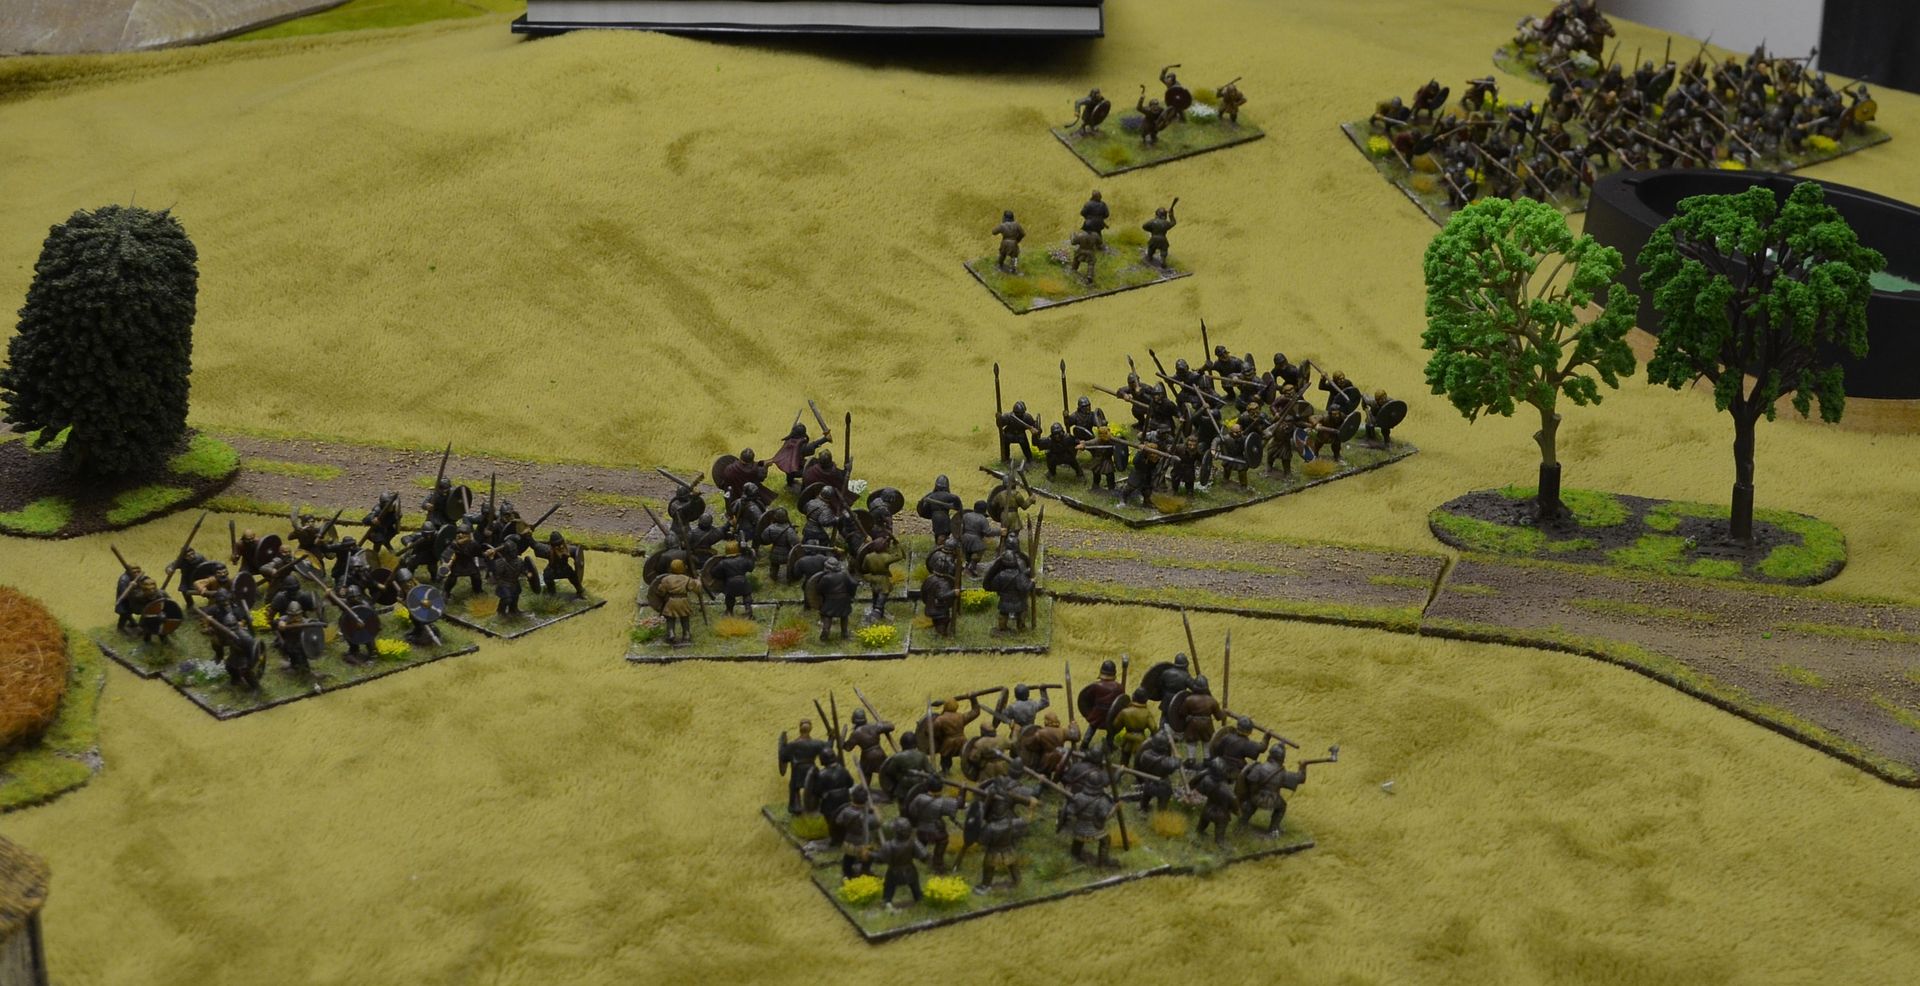
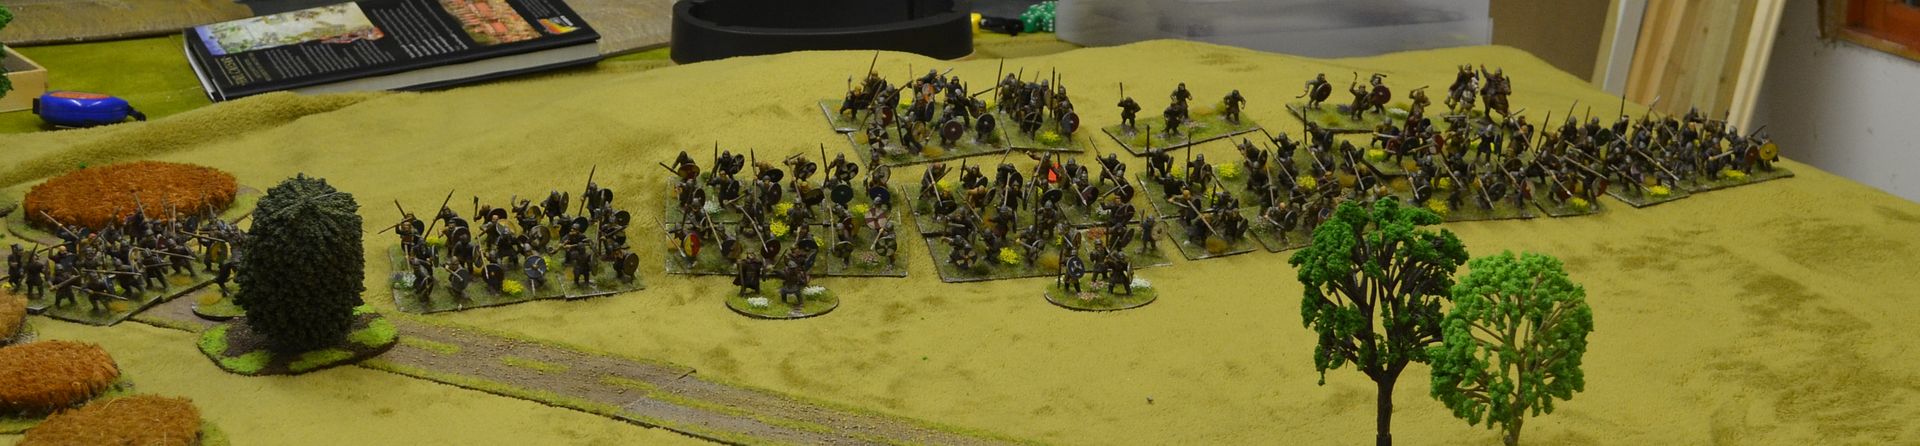
Hardrada's hidden troops

The Saxons push forward

Once at the Beck I had to wait for the waters to fall (another turn at least)

Now in range my skirmish units opened fire at long range successfully driving back their opposite number.

army.
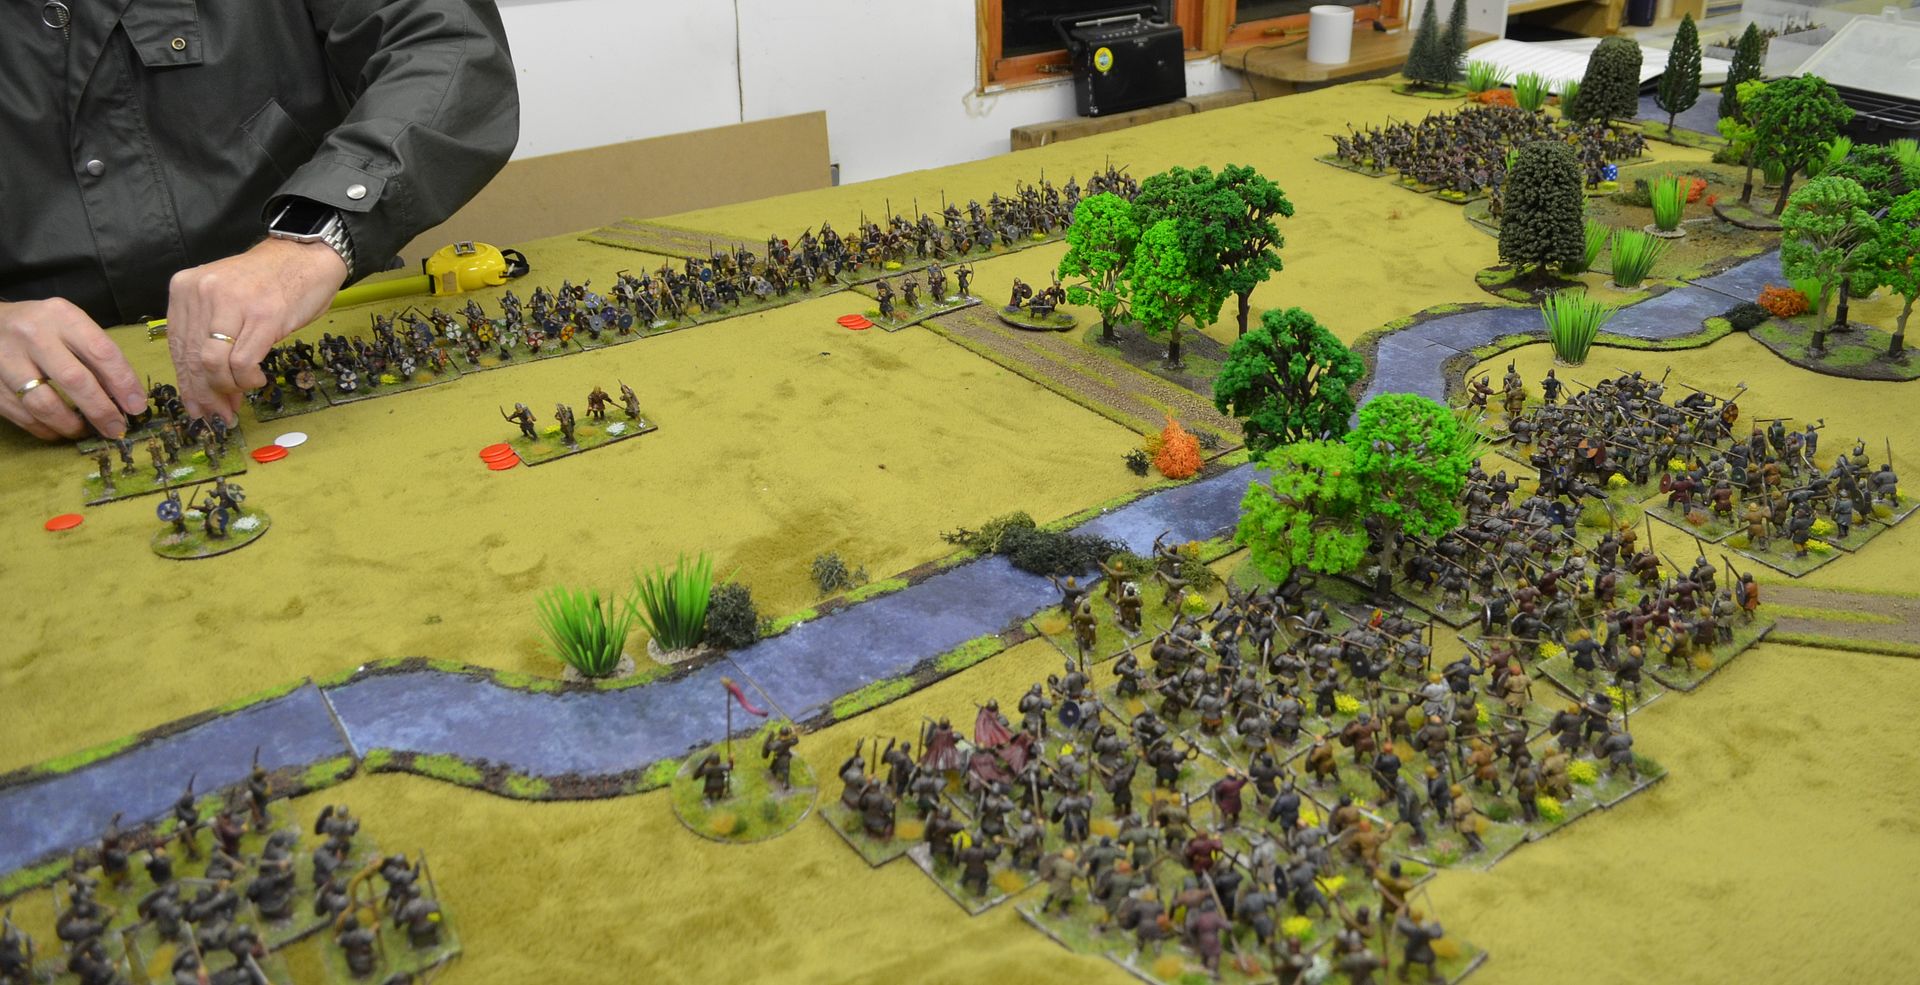
Fearing that his on table divisions were going to get peppered full of arrows the Viking forces stepped backwards and formed up in shield wall.

With the Waters falling my forces were set to surge forward.

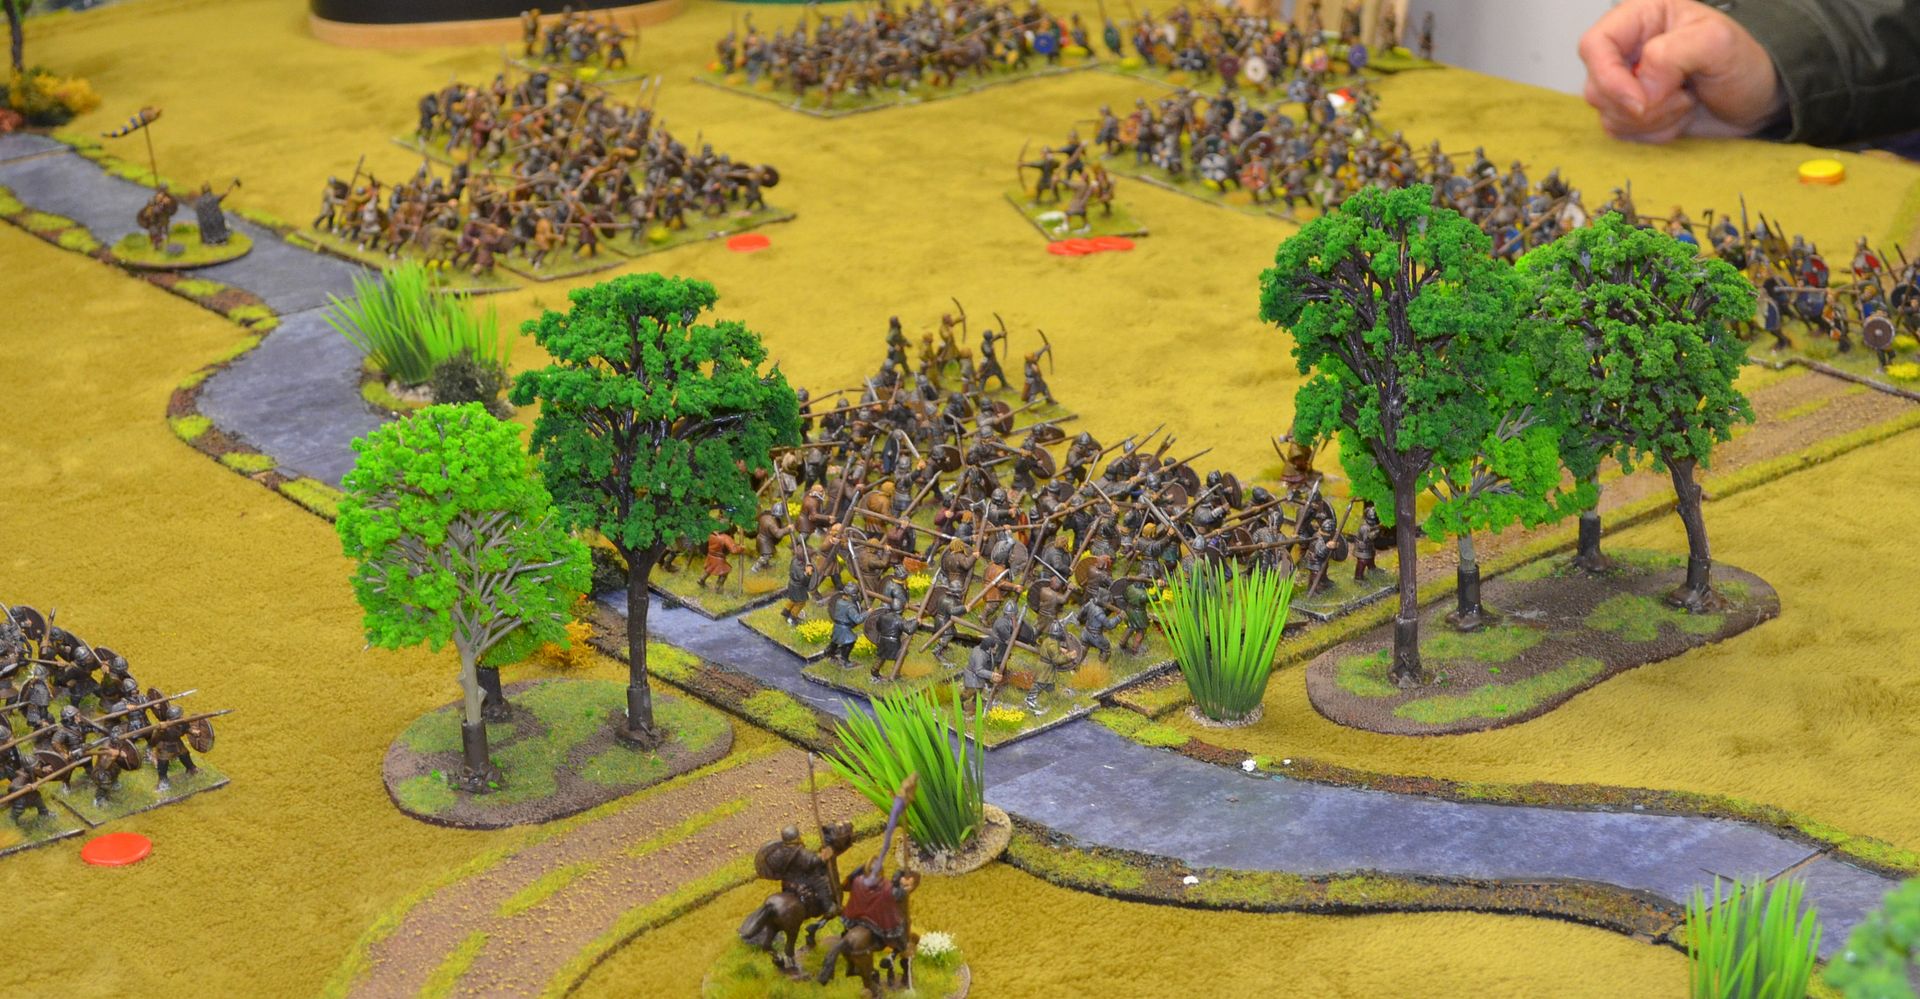
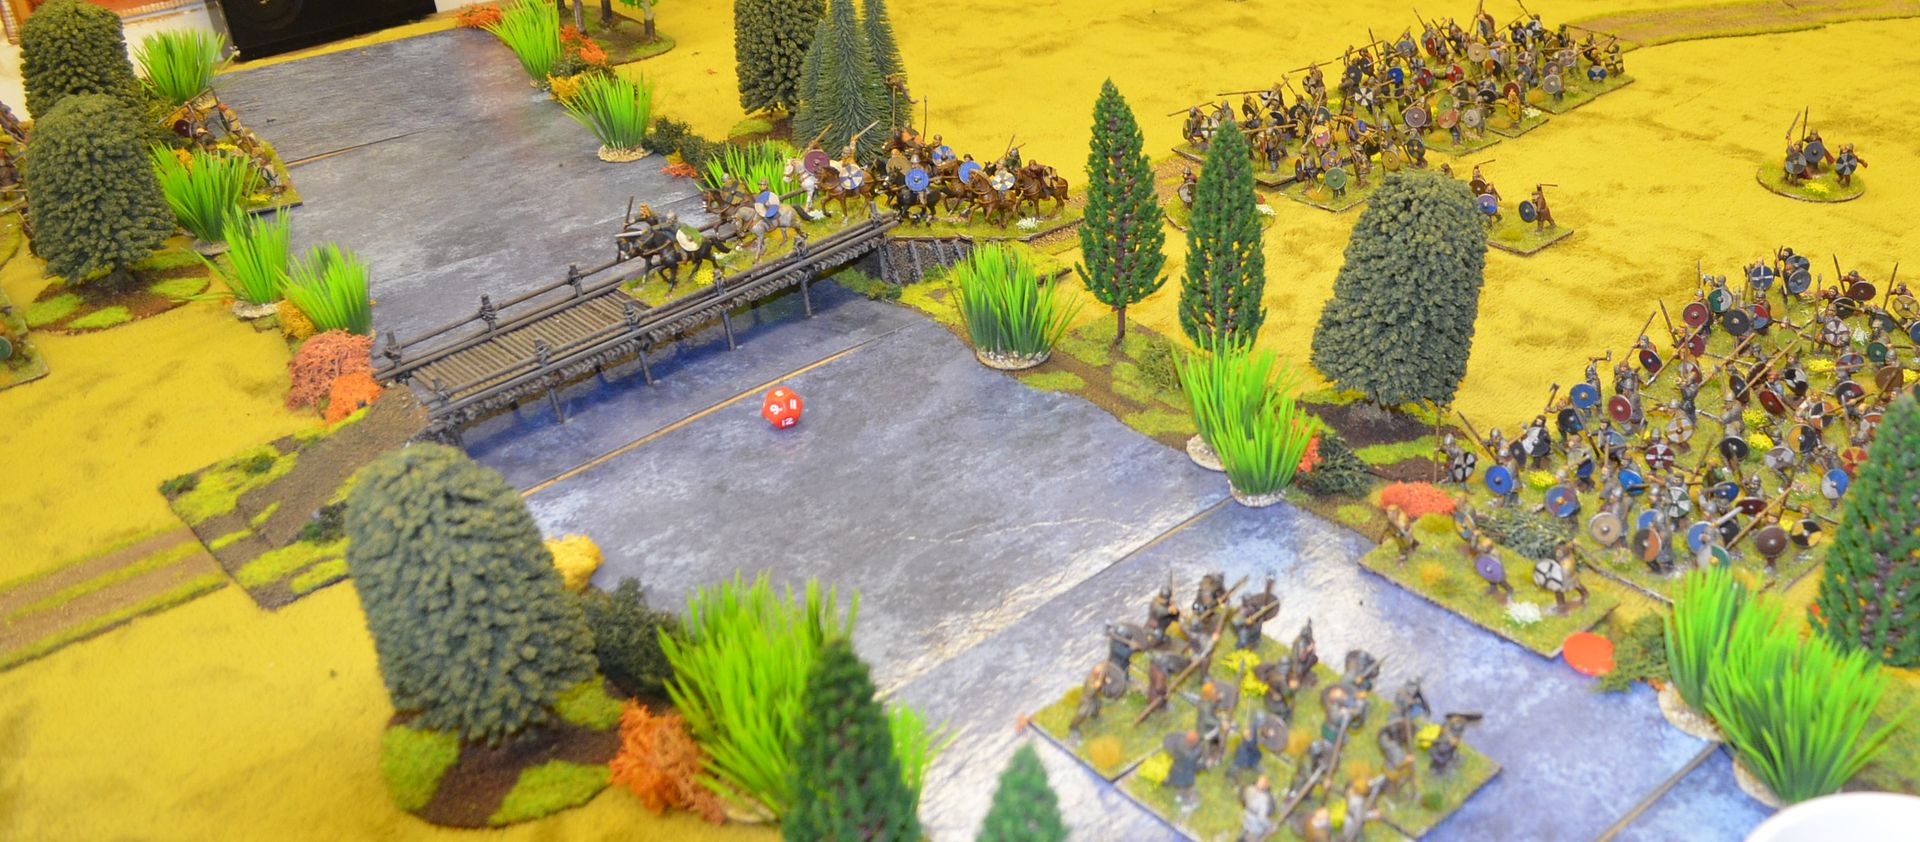
Morcar's left Division crossed the Beck and advanced onto the Viking far right flank.

Morcar's other division (in the Saxon centre then blundered, retreating a full two moves. This Division then ceased to roll any successful commands for the whole game. Effectively a third of the Saxon force had just decided they didn't want to play ball.
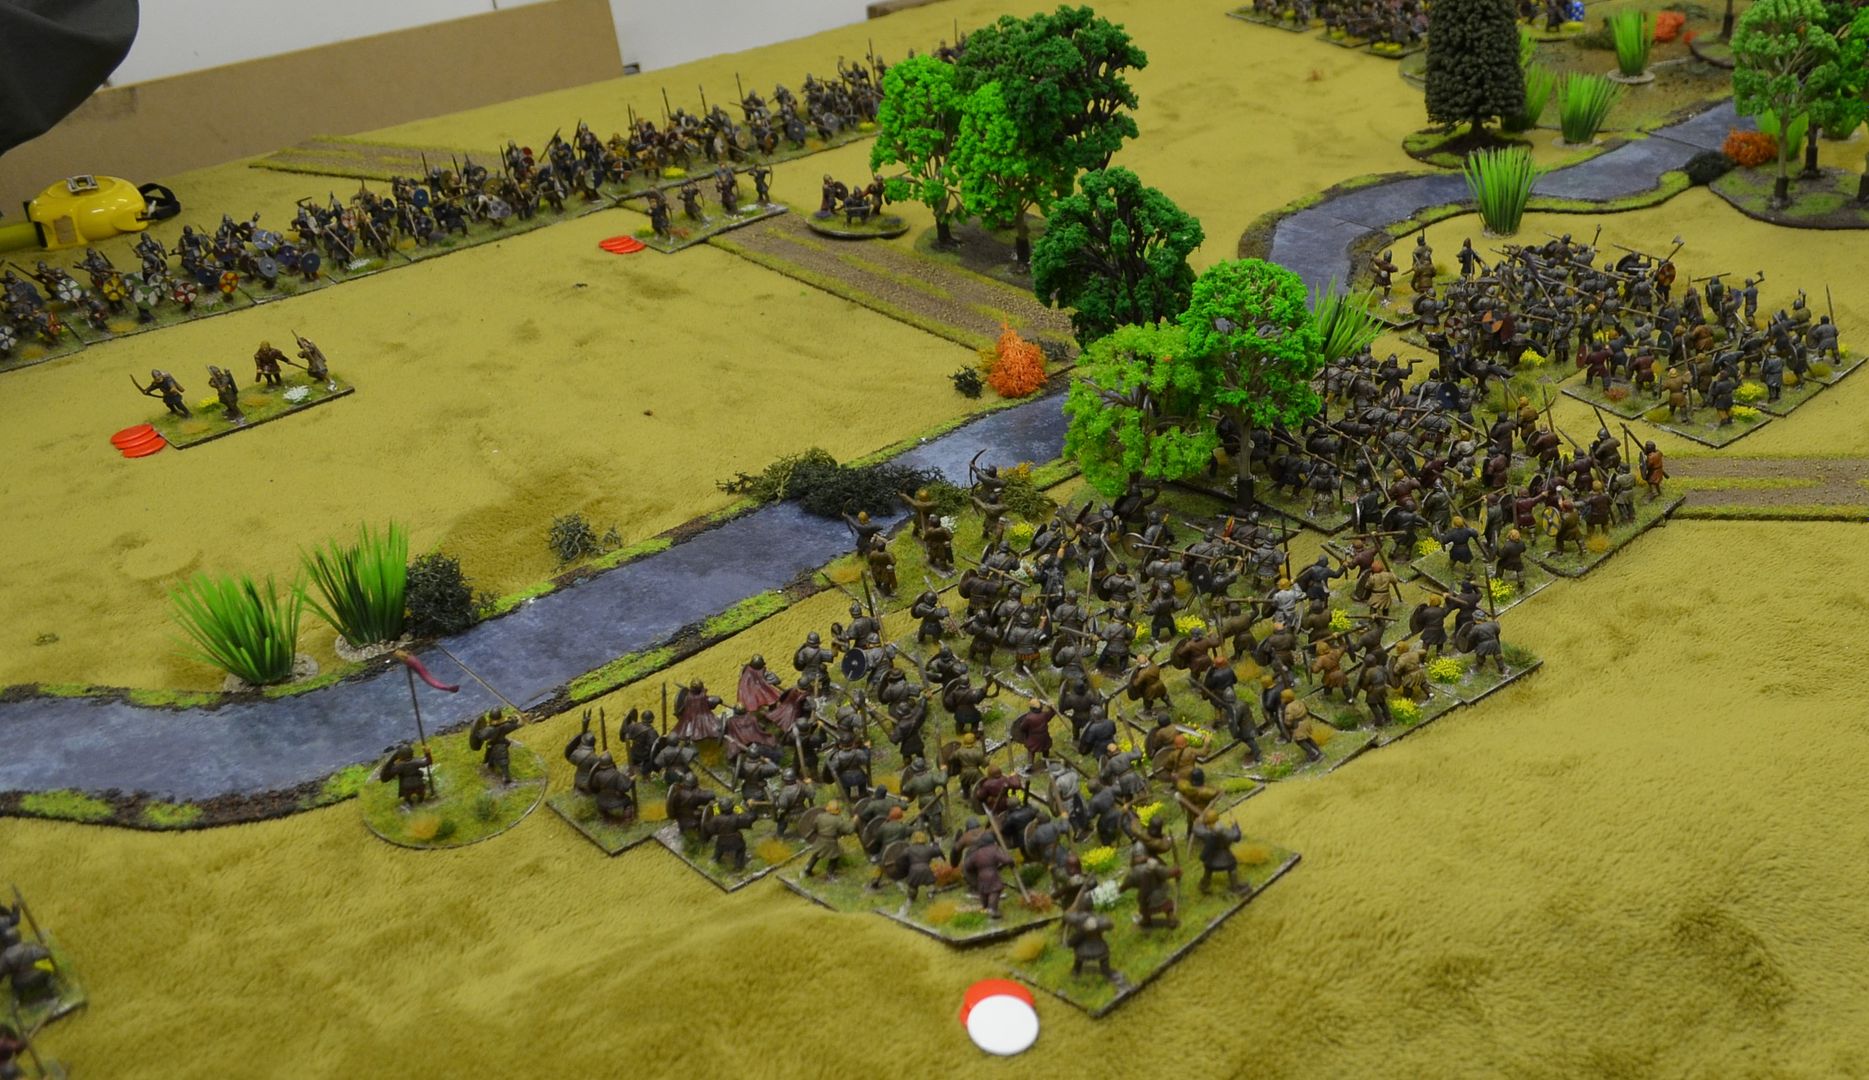
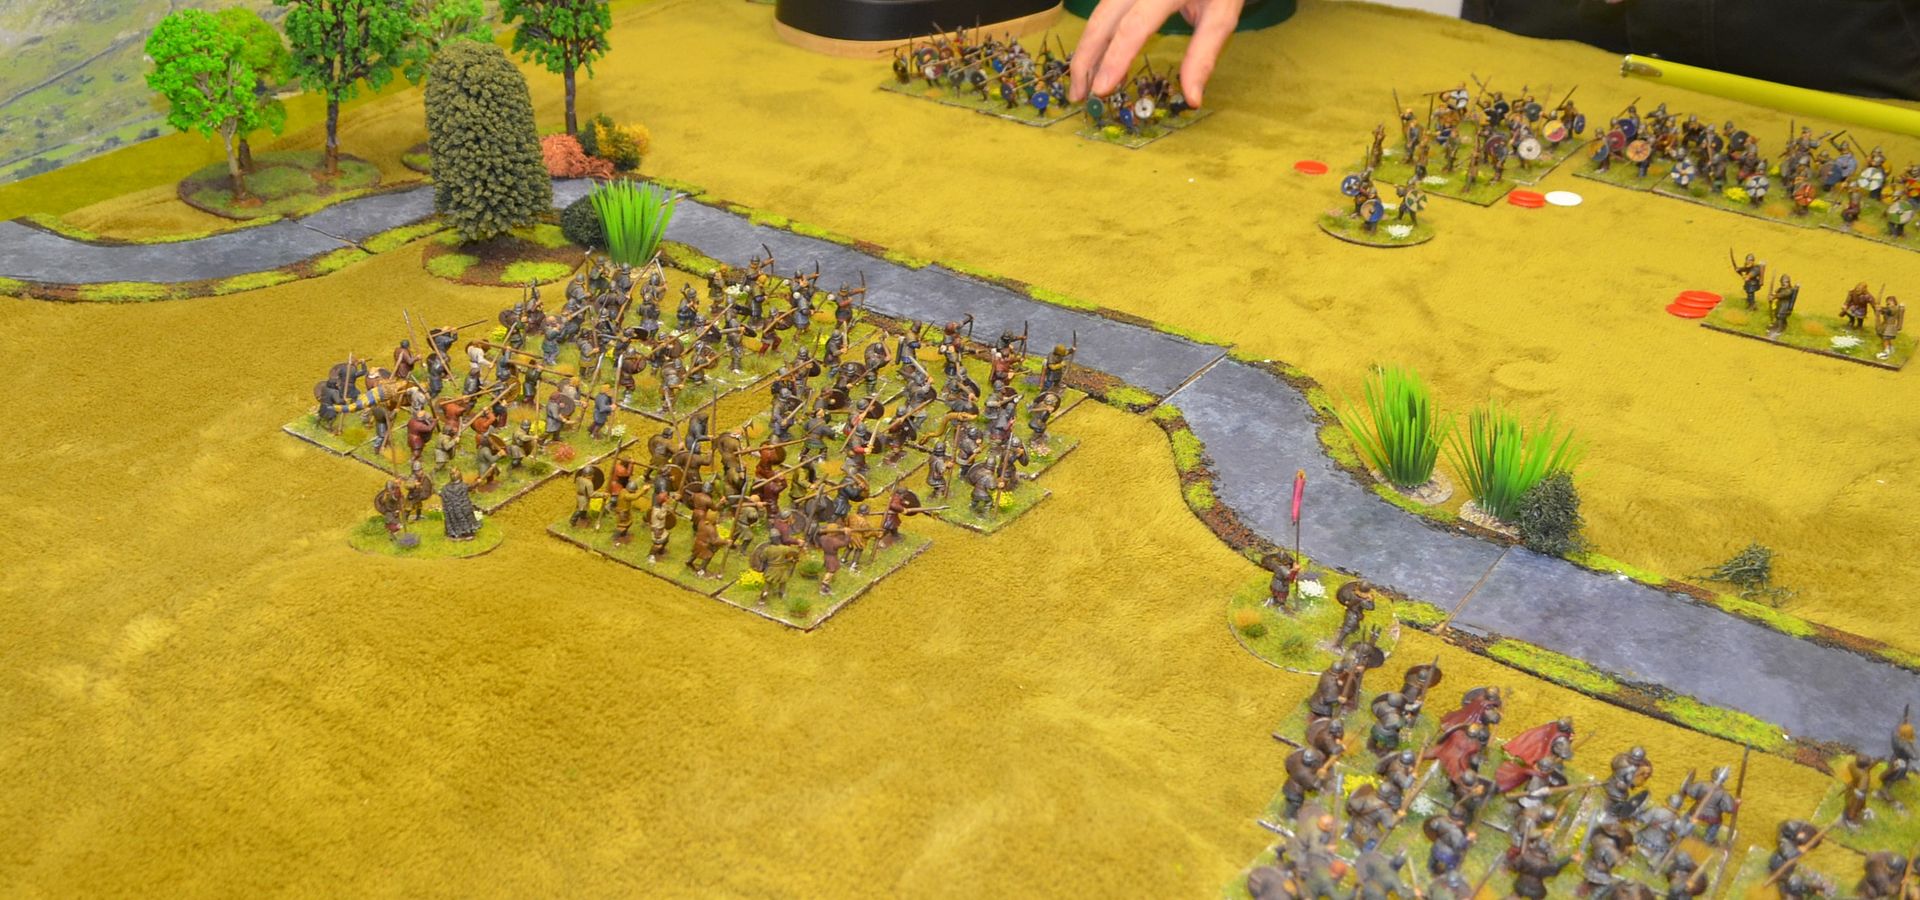
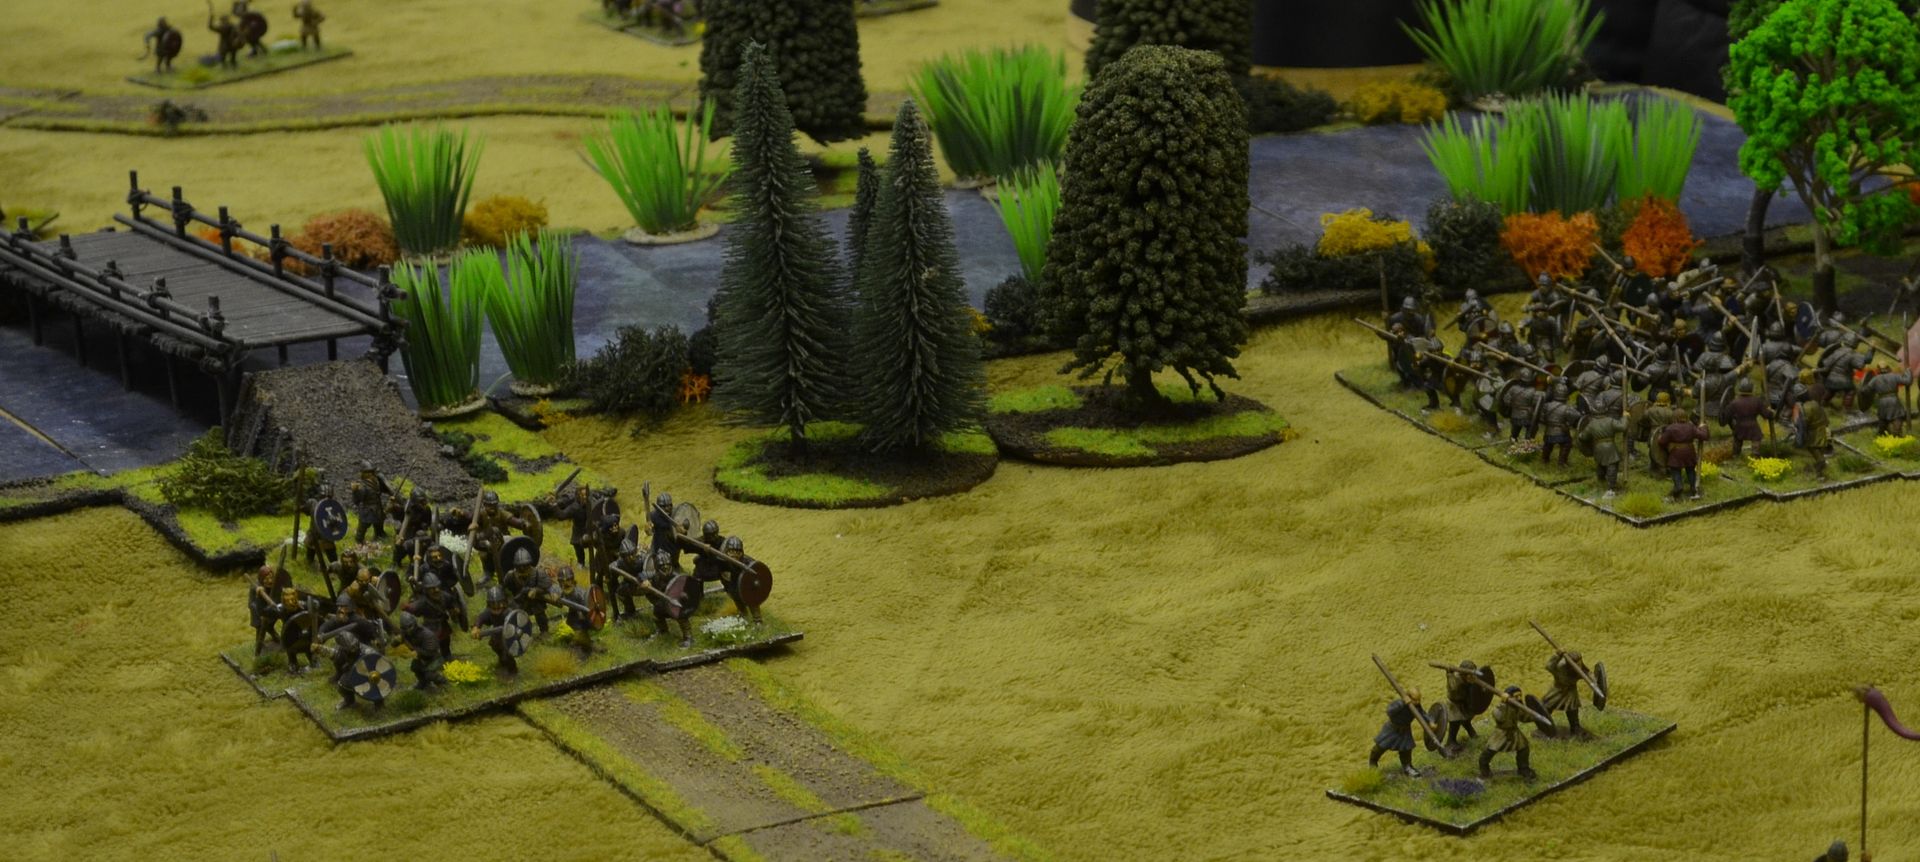
About to cross the Beck (saxon left flank)


The 'blundered' - a lot of forces

By turn 4 the left flank of the Saxons had crashed into the Viking line and inflicted some serrious casualties for little cost of their own.

Within a turn one Viking division had been driven from the table. Their own troops blundering a causing disorder in the ranks helped.


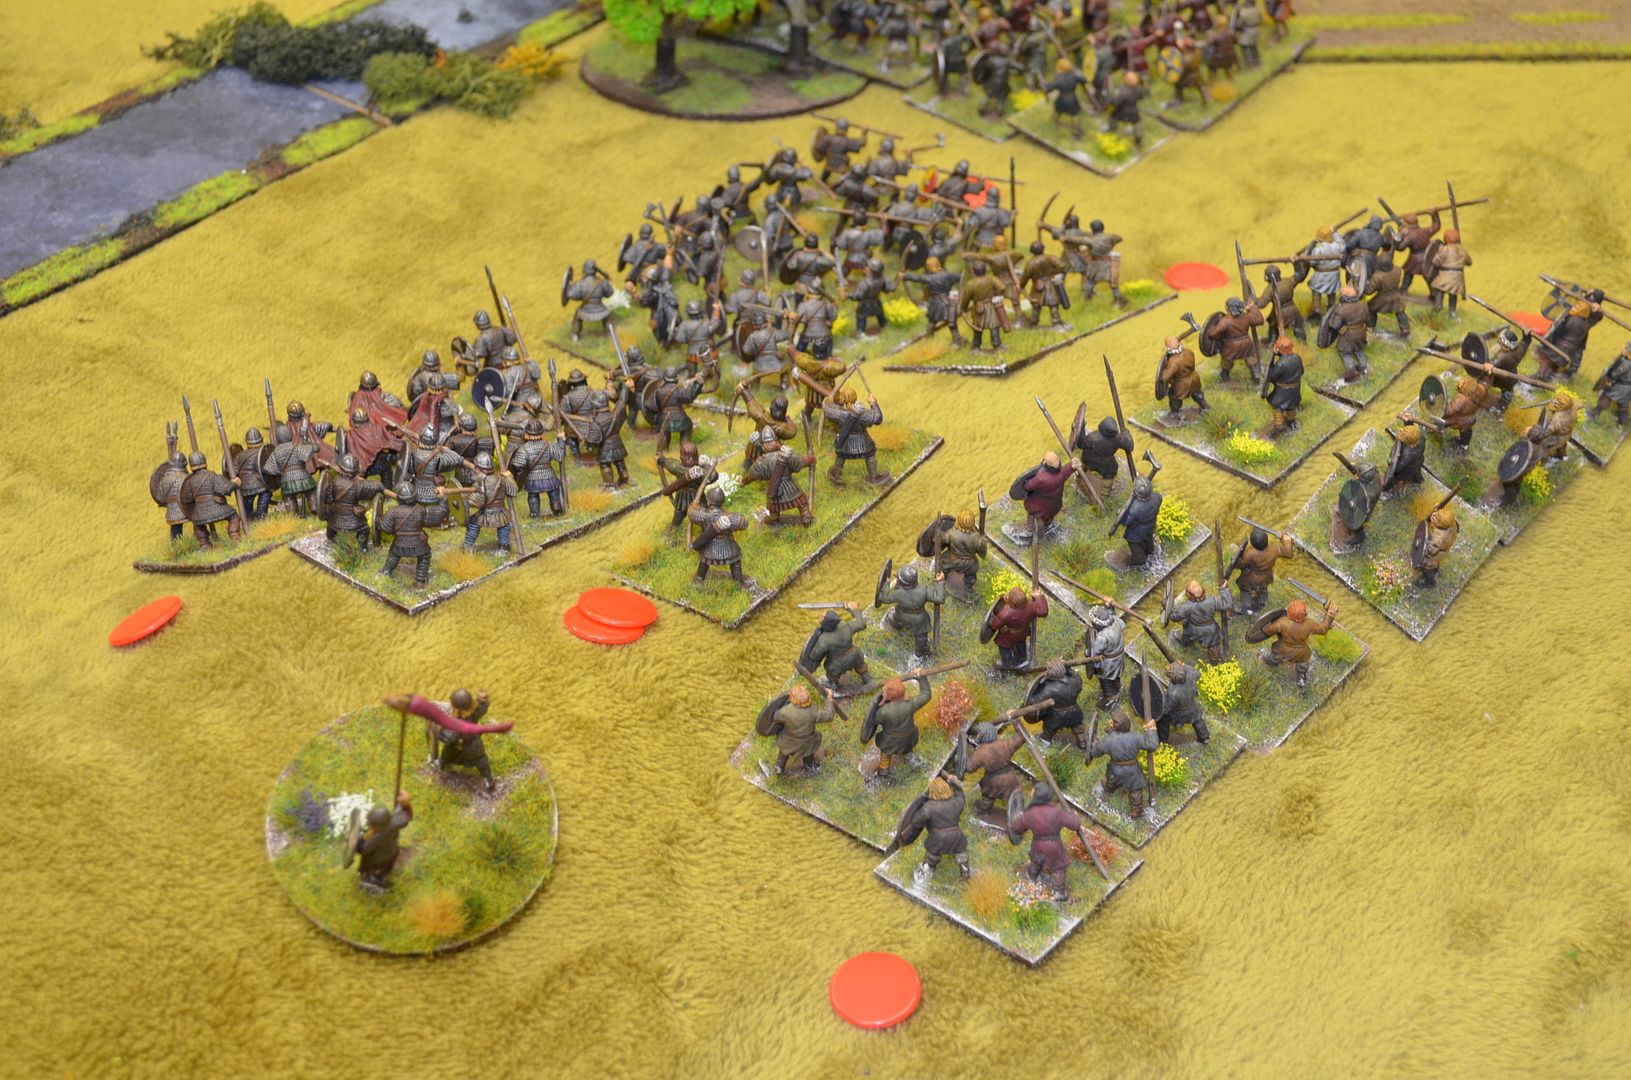
By the time we reached turn five the Saxons were still inflicting serious casualties on the Viking right flank but my attack had stalled elsewhere with little or no movement happening in the rest of the army. It was at this point that Hardrada's own troops entered the fray
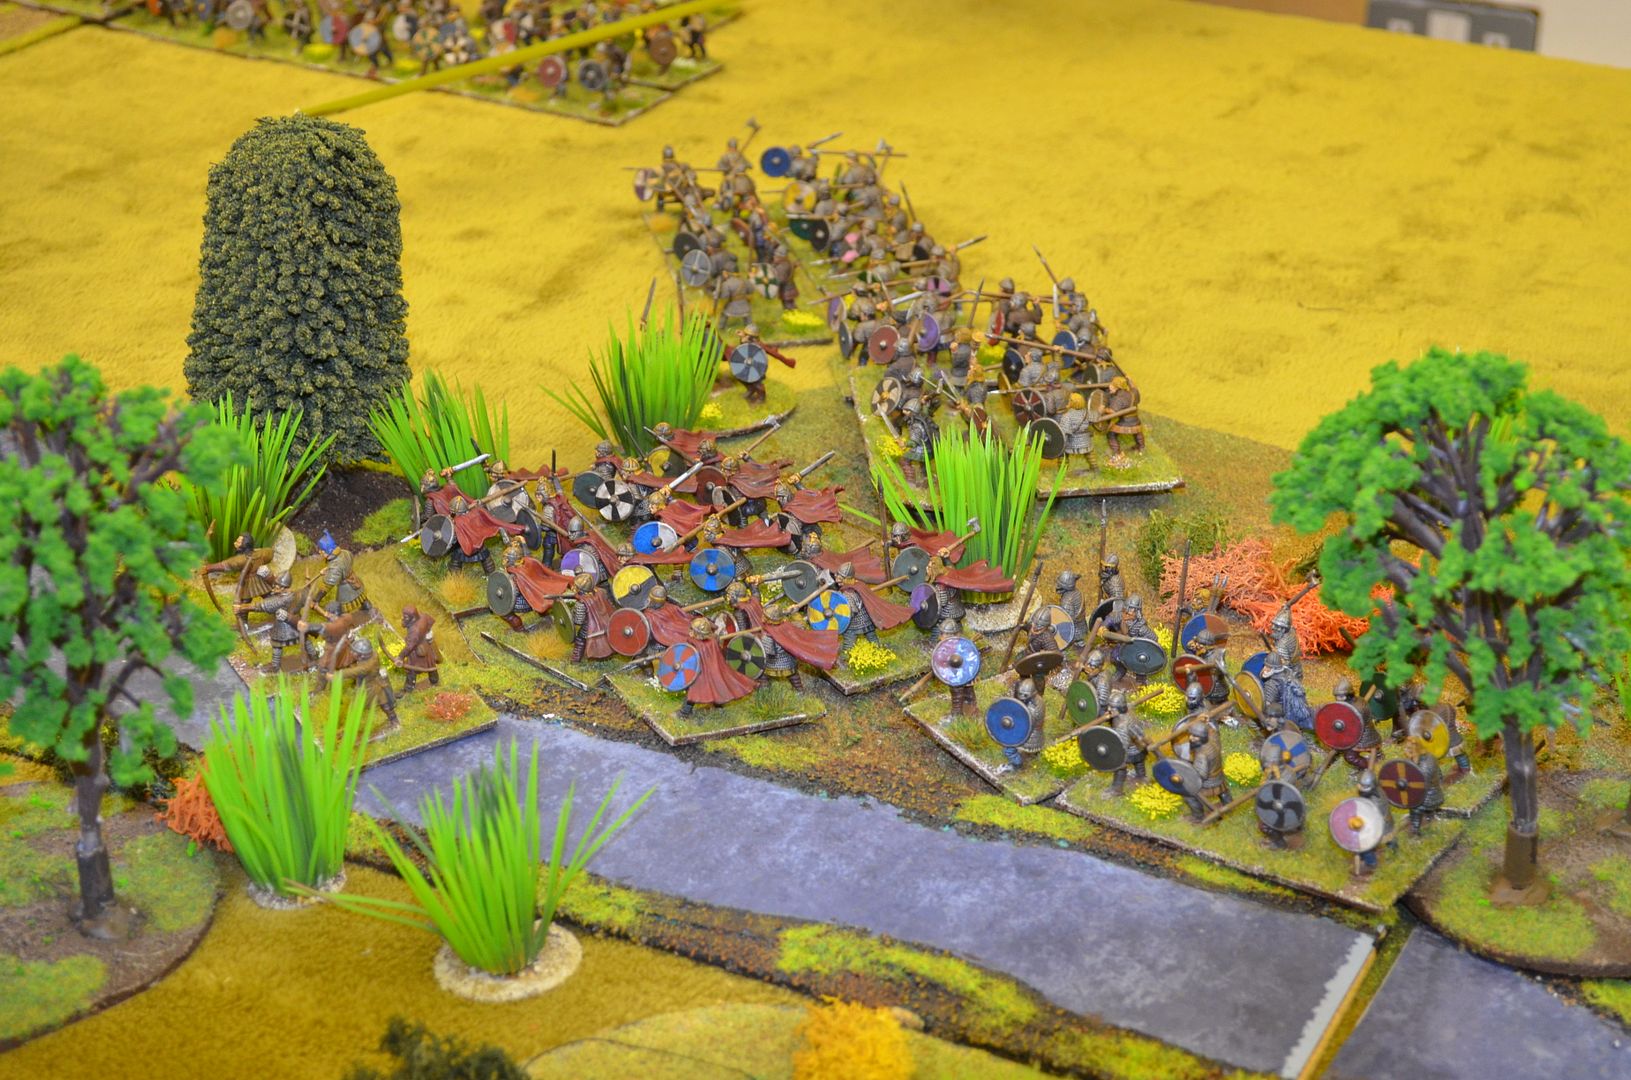
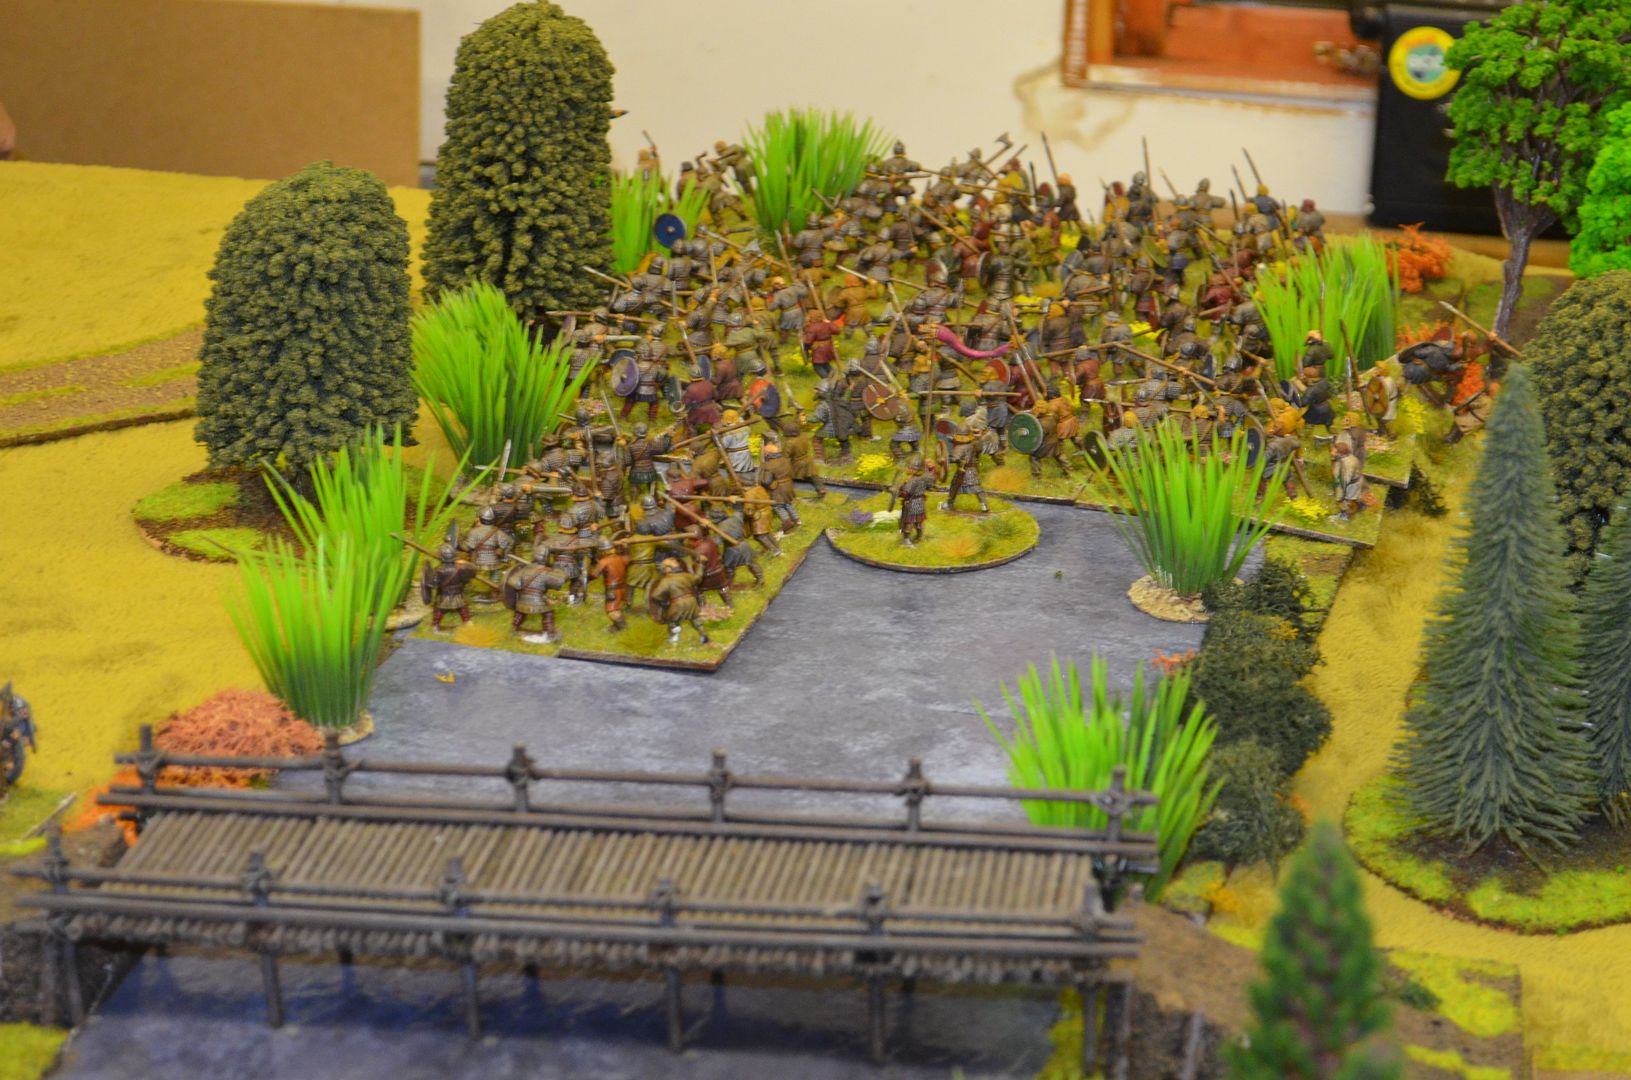
Hardrada's men crossing the marsh

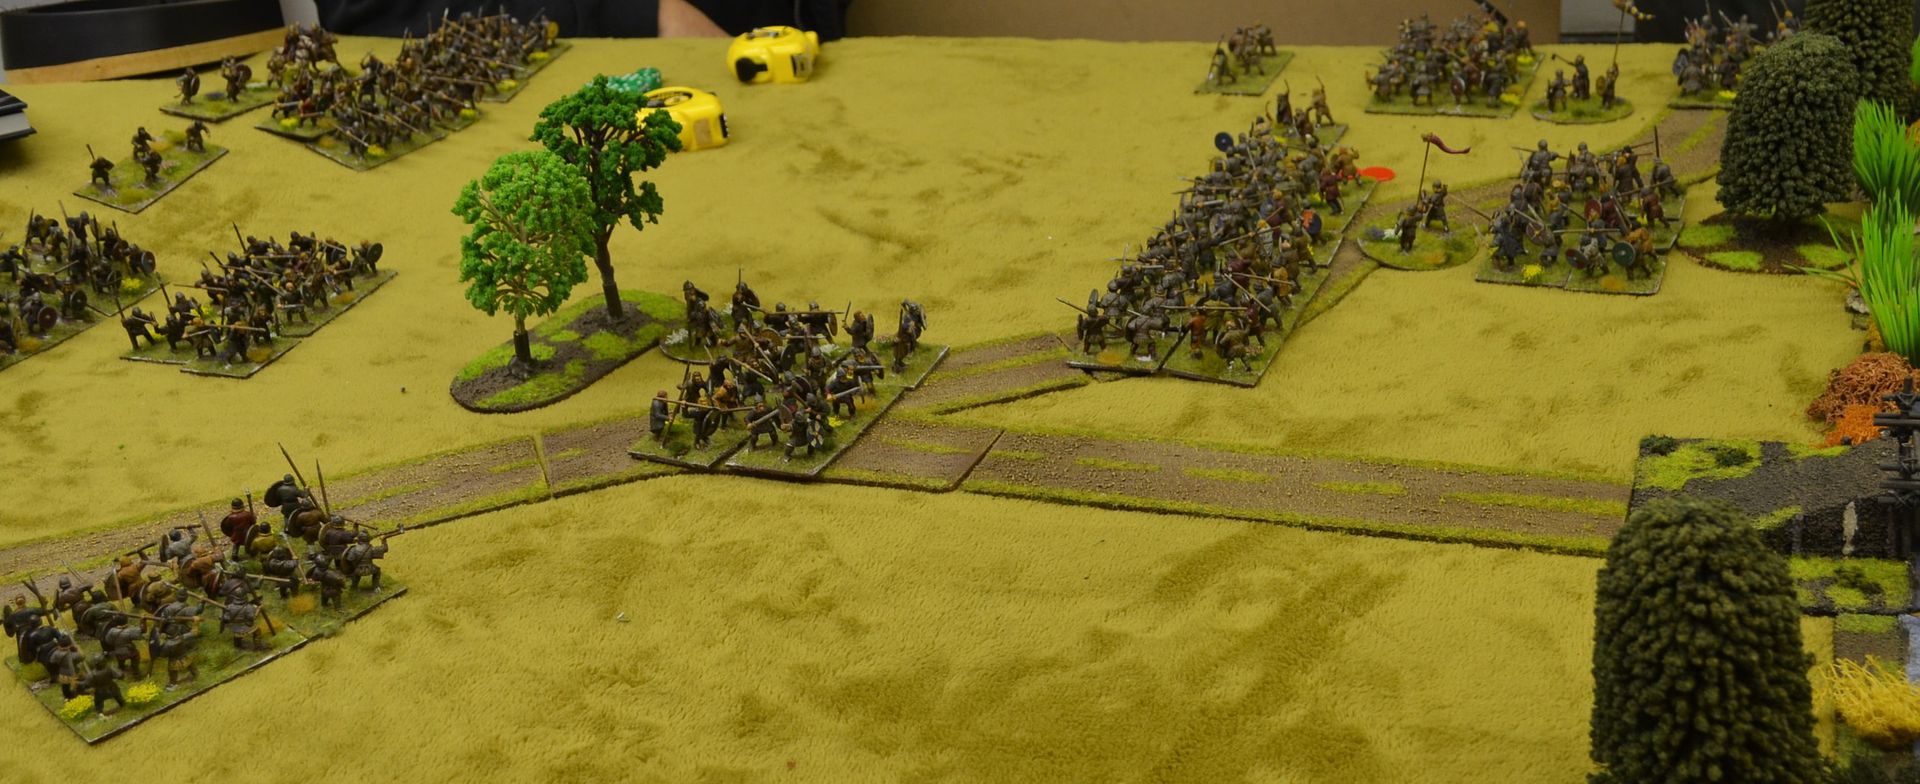
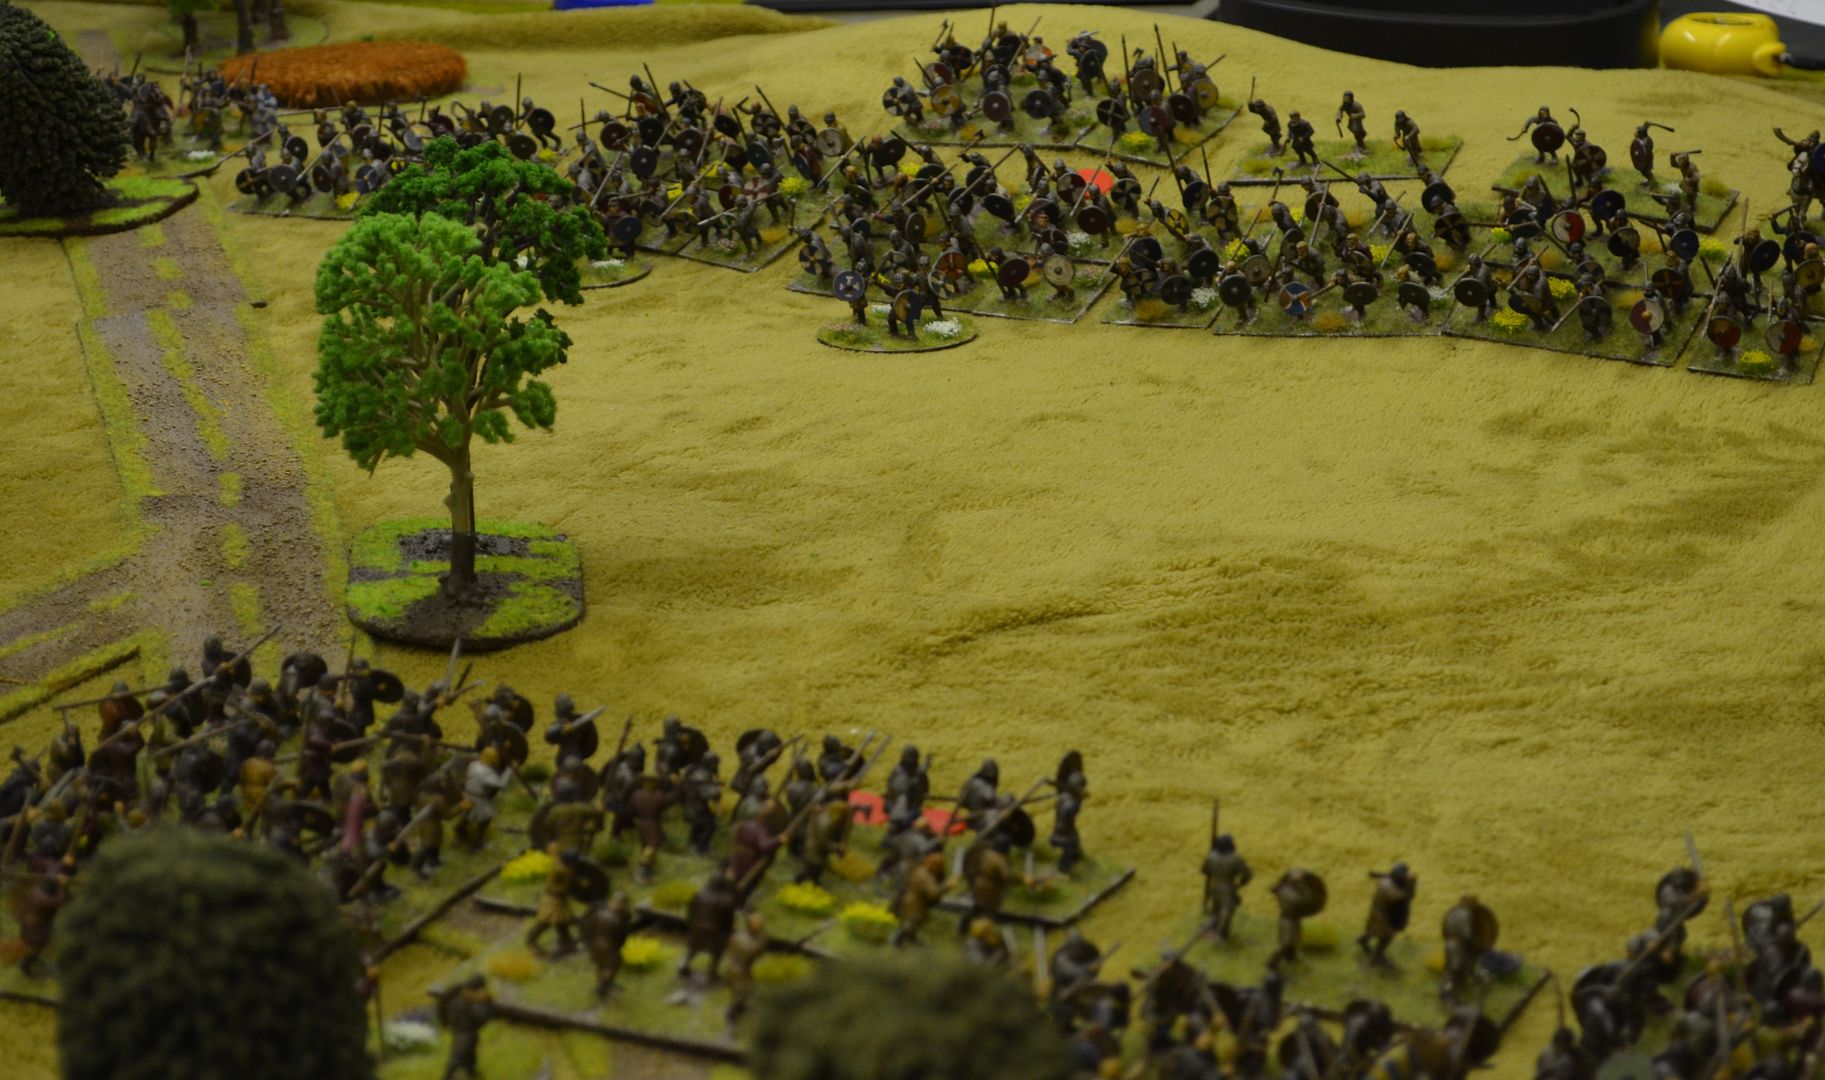
The Stalled Saxon Centre

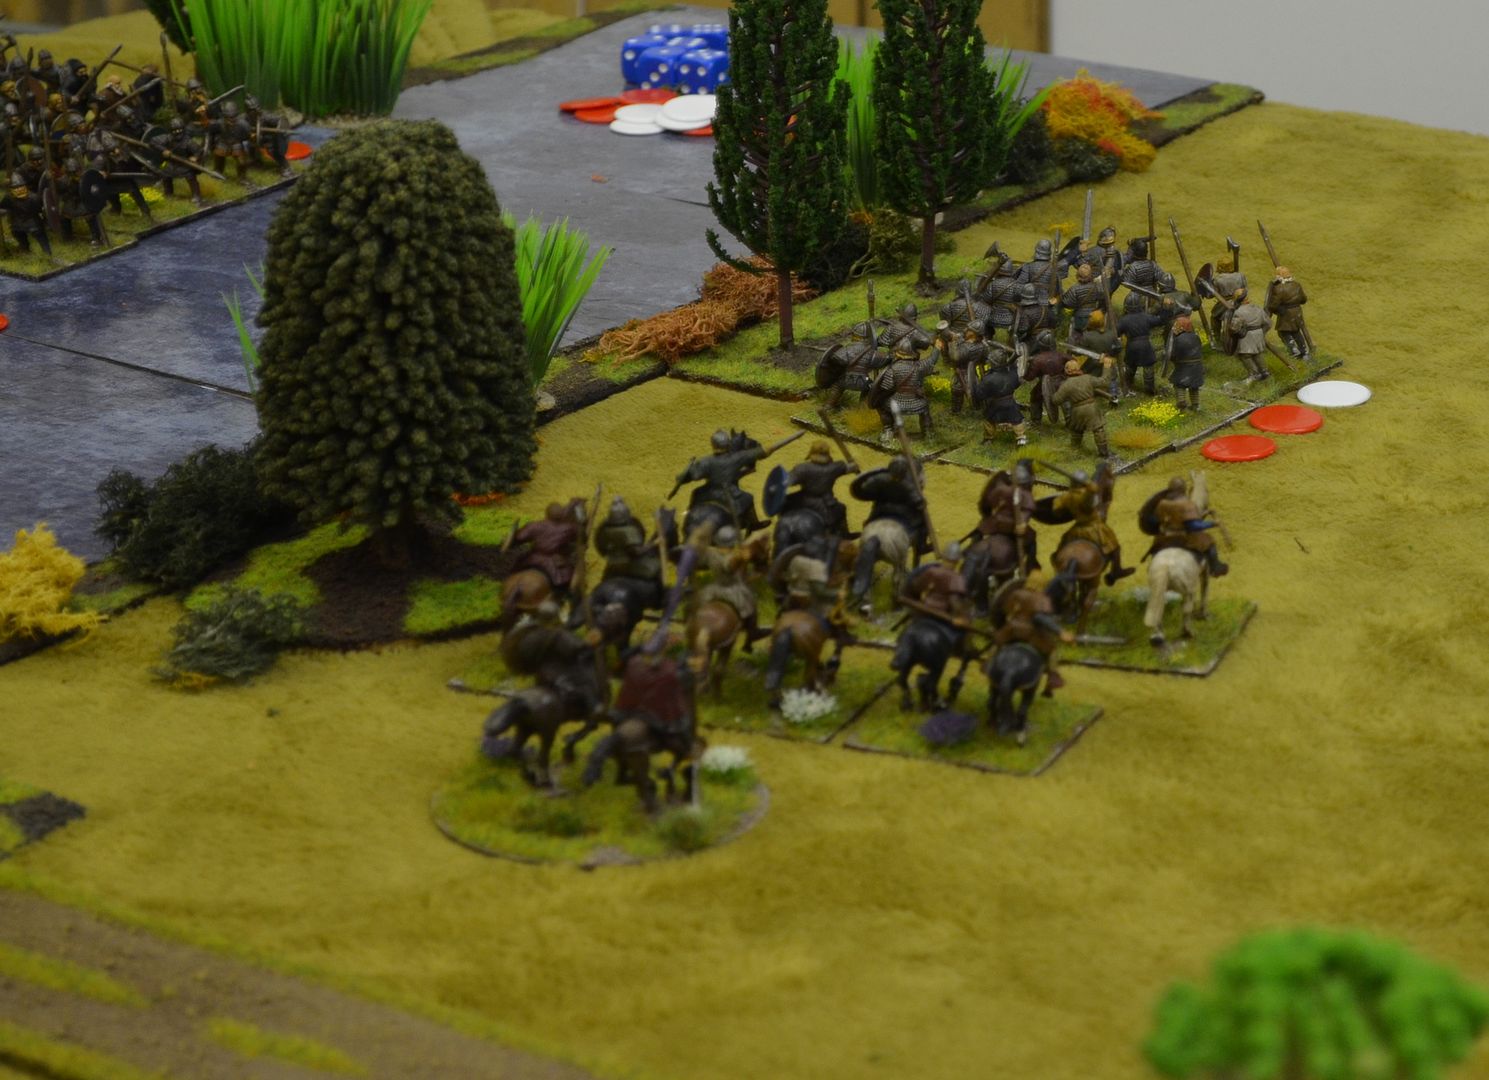
The Saxons rolling up the Viking flank
It was at this pioint in the game I made a fatal flaw. I forgot to use my initiative to get the Saxons in the centre to face up to Hardradas advancing forces. Although we are very gentlemanly in our games we neverr go back retrospectively on order of play. If you forget you suffer the consequences.


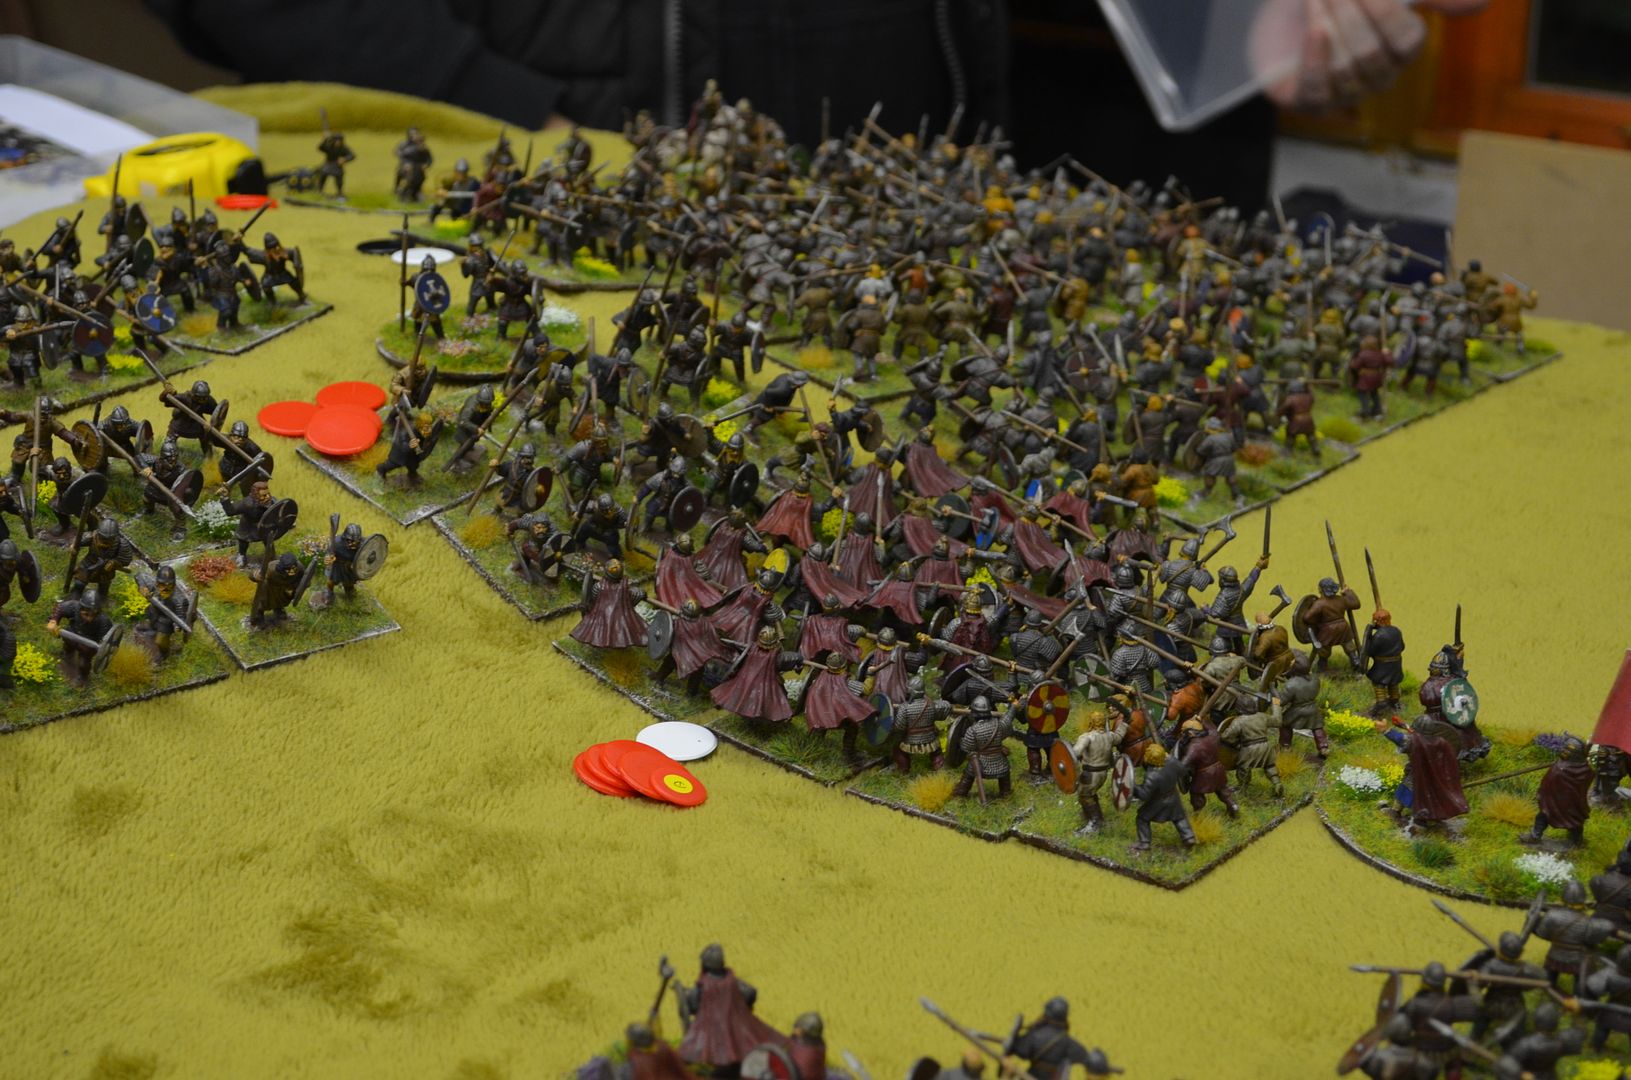
Watched by my division sitting on the hill (still hadn't moved) Hardradas forces crashed into my centre - wiping out two units in quick succession
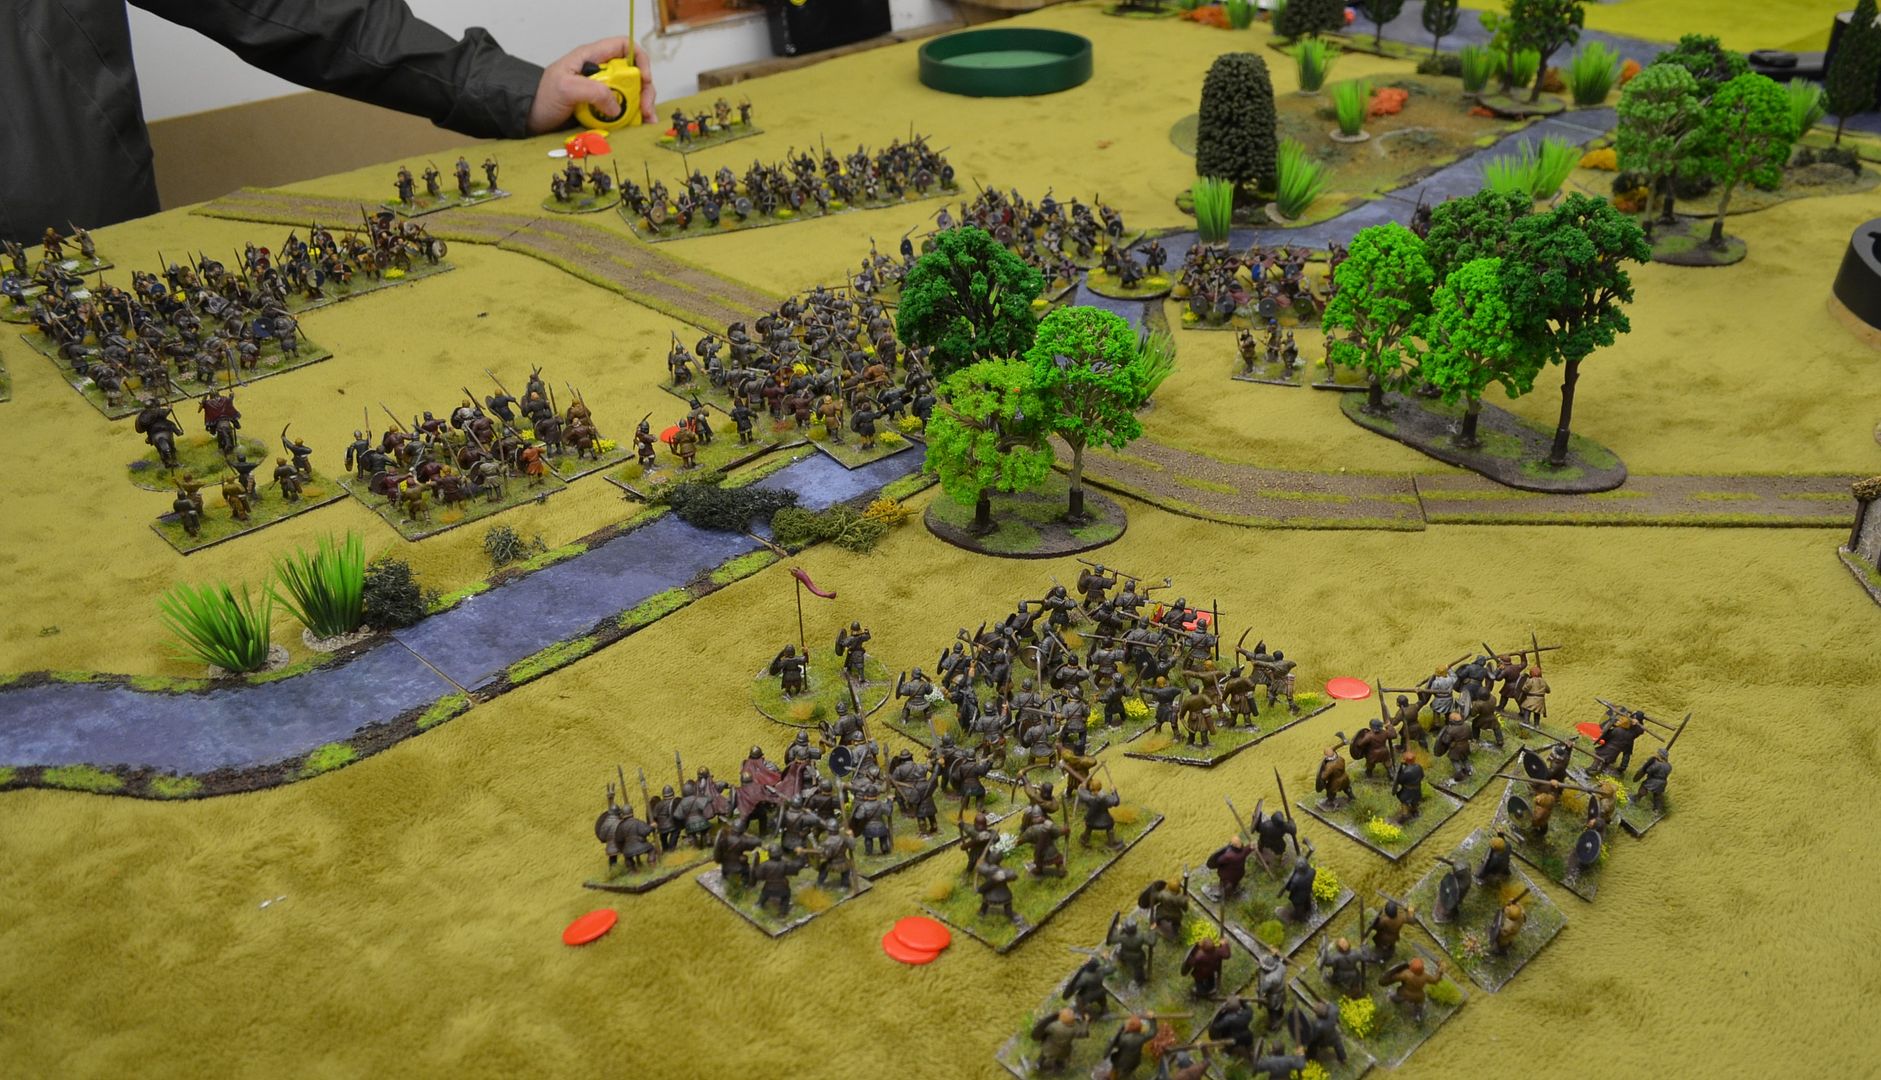

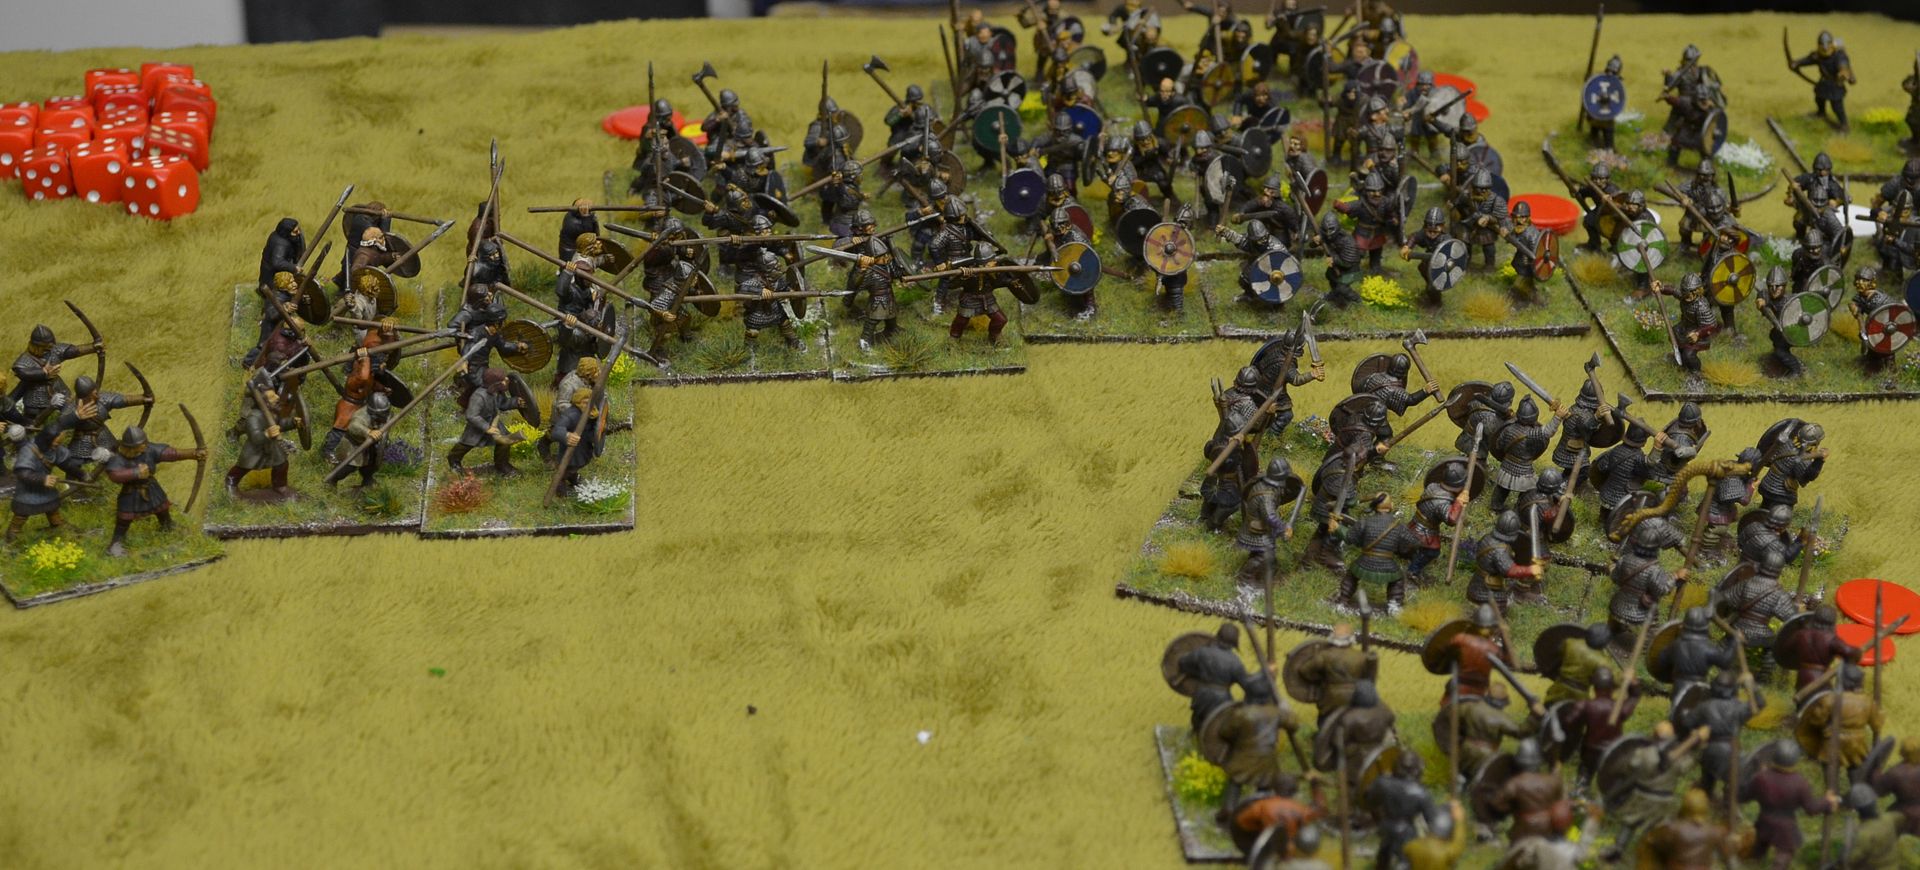
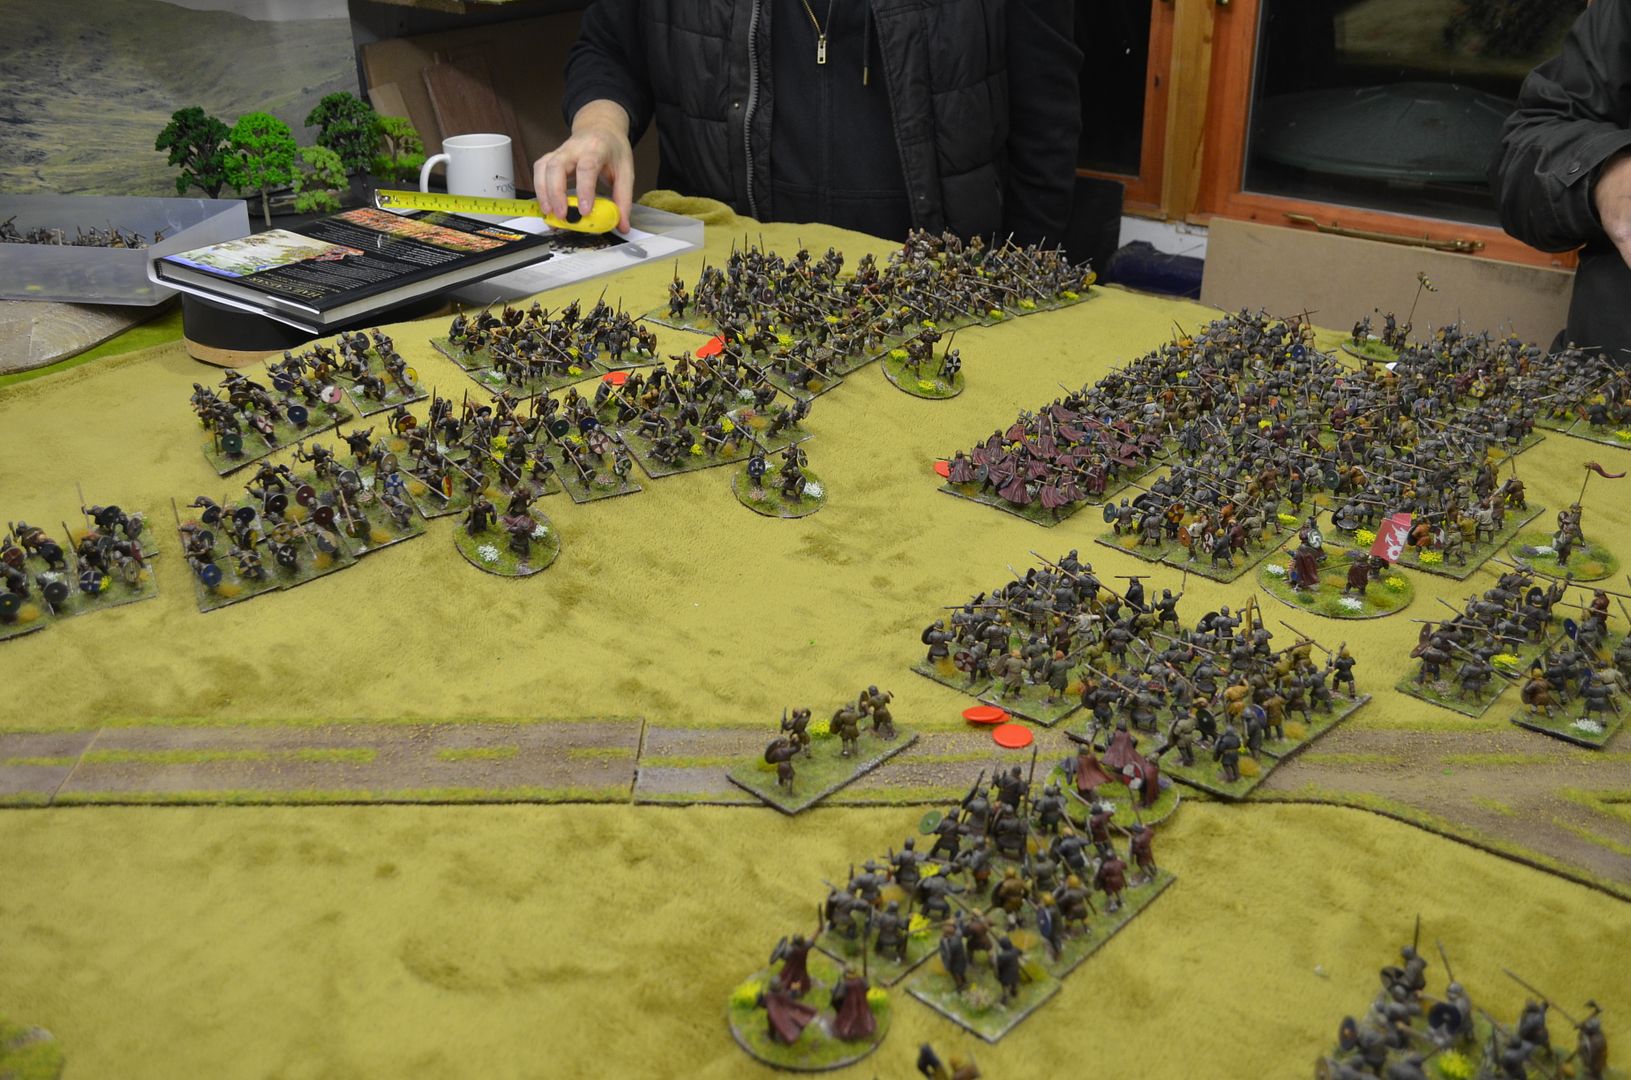
The battle in full flow - a fierce melee across the field


The Saxon assault on the left was now running out of steam (and troops) and the Vikings were slowly taking back the initiative. Both sides had lost five units but the better break values of the Northmen was likely to tell. Especially given that they had another fresh division still to enter the fray.
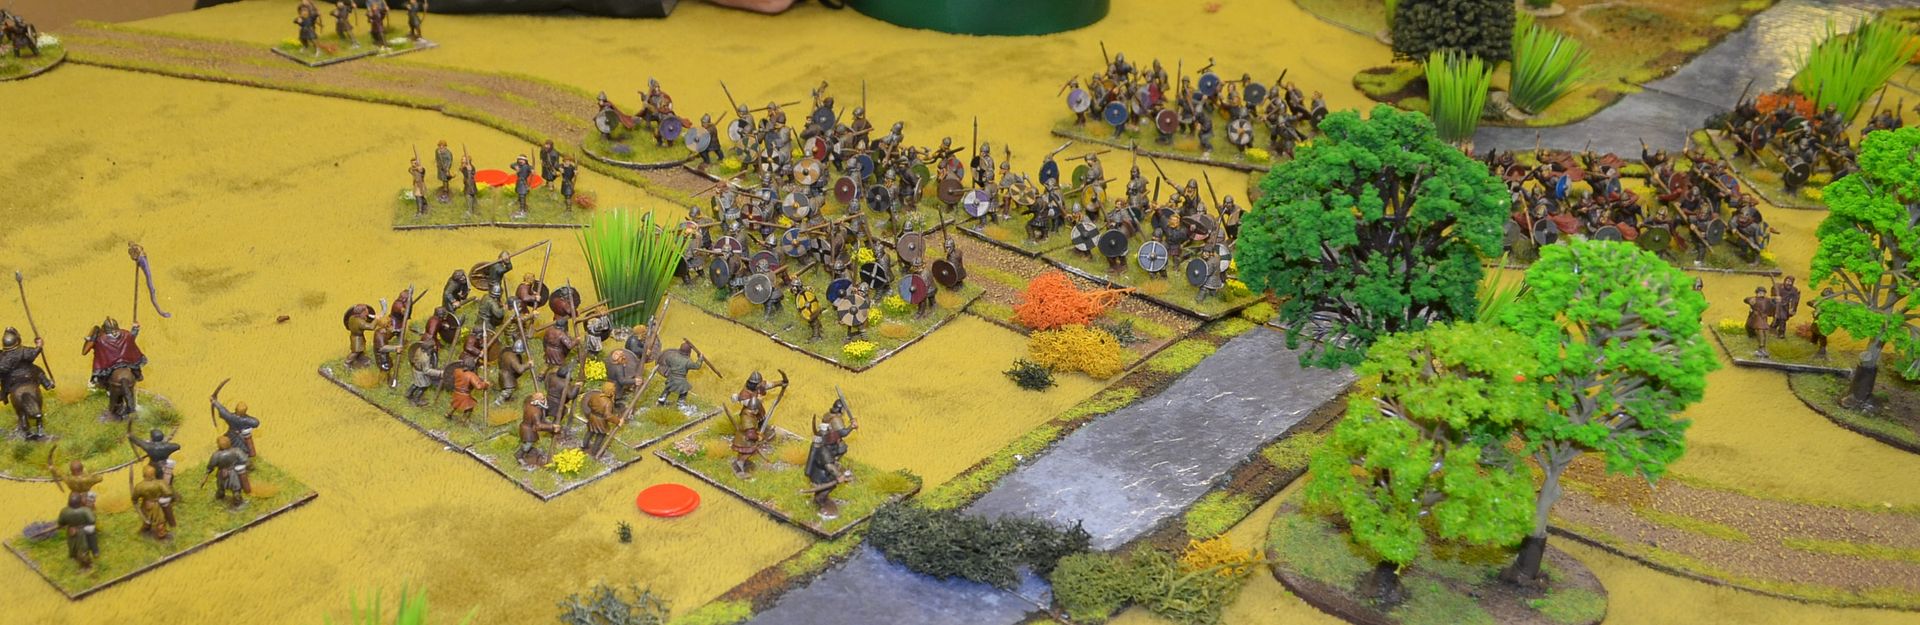


A turn l;ater Mark had all but achieved his objectives and the Vikings could be crowned winners.

Despite the fact that the Saxons had a third of the forces out of the whole game they had acquited themselves well. Had the third division been involved and if I had not forgotten to use my initiative there was a reasonable chance the Saxons might have pulled off an unexpected victory.

This was an interesting game and one we might revisit in the future

thank you...

up next the big one - Hastings !!

Tuesday, 26 February 2019

1066 - Battle of Stamford Bridge - a wargame in 28mm


Ok - Here we go folks the first of my Dark Age battles using Hail Caesar - about half the painted figures are being used in this engagement 


Battle of Stamford Bridge, 25th September 1066.


The battle of Stamford Bridge was the second of three great battles fought in 1066. The first being the Battle of Fulford in which Harald Hardrada, the Viking invader beat the Northern Saxon Earls of Edwin and Morcar in a rather one-sided affair west of York. The third of course was the Battle of Hastings, the result of which completely changed English history.

Stamford Bridge was fought shortly after Fulford. Hardrada’s Vikings were caught completely unprepared by a Saxon army under King Harold Godwinson who had marched north from London in rapid time.

Following the events after Fulford, Hardrada demanded the capitulation of York. To safeguard the city from rape and pillage the city elders agreed to provide hostages. Hardrada, whilst waiting on these hostages to be delivered retired his forces to the east of the city. It was here at Stamford Bridge on the river Derwent two thirds of his troops waited. The remaining third, commanded by his brother in law, Eystein Moorcock, retired to defend the fleet some eight miles await further east at Ricall on the river Ouse. On a warm late summer’s morning Hardrada’s pickets spotted riders coming towards the resting Viking army. The army itself was dispersed across both banks of the river.

These riders were not the hostages they had been expecting but King Harold’s army, by the time the alarm was raised the Saxon host were almost upon the invaders.


There are very few accounts of this battle, but most seem to suggest that


                    the Saxons outnumbered the Vikings present at Stamford Bridge by some considerable number
                    that Viking reinforcements did arrive during the battle from Ricall but arrived too late to prevent the destruction of the army.
                    that the Vikings were completely taken by surprise and many men were unarmoured and unprepared.
                    The Vikings were spread across both banks and a panic arose amongst those on the same bank with the Saxons. These forces did their best to cross the river and join the other part of the Viking army.
                    The Saxons were delayed by a Viking hero who stood firm on the bridge until such time that a Saxon warrior went under the bridge and stabbed upwards through the planks taking him down
                    The Vikings deployed on a low hill east of the bridge (now known as Battleflats) to defend in shield wall against the Saxon army.


Wargaming Stamford Bridge

As per the description of the battle the Vikings will be outnumbered by almost two to one in the early stages of the game. They will however receive reinforcements during the game. More on this in a minute.

Stamford Bridge (table 5ft x 16ft)


The Vikings

The Viking forces will be split in two camps straddling the river in a state of disorder. To reflect this all the Viking units will start the game disorganized. Thereafter each unit will need to rally to remove this disorder - the unit will be able to do this on a 2d6 roll of 8 or less (as per a command roll) – this will be modified by a further -1 if enemy forces are within 12”.

Units may automatically remove their disorder if joined by a commander using the follow me rule. Units disordered may not form into shield wall and may not move towards the enemy. Units that are disordered may retreat away from the enemy one move as per initiative.

Given the Vikings were unprepared and that the chronicles state they had left their armour with the fleet (why? it was over nine miles away) all the Viking units will suffer a -1 morale save for the game apart from the reinforcements.

The Viking reinforcements may appear from turn 4 – each unit rolls a d6 and on a 6 it appears (each subsequent turn add a cumulative +1 to this die roll. The first unit to arrive will be accompanied by Moorcock.

Resting Vikings on East Bank


Viking Forces:

At Stamford Bridge
8 units of Viking warbands (3 on the eastern side facing the Vikings)
4 units of skirmishers (2 on each side of river)

At Ricall (reinforcements)

3 Viking warbands

King Harald Hardrada (8 command /+2 combat) – west side of bridge
Earl Tostig (8 command /+2 combat) – west side of bridge
Eystein Moorcock (8 command /+2 combat) - reinforcements
Viking Hero (7 command/+3 combat) – east side of bridge


The Saxons

The Saxons will start 18” away from the closest Viking unit on the western side of the bridge.

The Saxons are made up of five divisions commanded by the following
King Harold (8)
Earl Morcar (8)
Earl Edwin (8)
Earl Leofric (8)
Earl Gyrth (8)

All Saxon commanders add +2 combat dice to any unit they are attached to

Saxon Forces

2 x units of Saxon horse (its own division)
15 units of Saxon combined arms warbands (3 divisions of four, 1 division of three plus…Housecarls)
1 unit of Housecarls
4 units of missile armed skirmishers (one per division)

All warbands (both Saxons and Vikings are combined units of Thegns/Ceorls or Hirdmen/Bondi) are per army lists in Hail Caesar

The advance of the Saxons


Objectives

Both sides had to deliver a knock out blow to the enemy so three quarters of all units (except skirmishers) had to be broken or shaken to gain victory.


The Battlefield

The Battlefield was set up length ways with the river running across the middle of the table. The Saxons are approaching from the west. To the east of the bridge lies the place now known as Battleflats – a small low rising hill set back from the river.

The River is fordable or can be crossed at the bridge. Movement across the river is at half speed. (it is quite wide on the table)
Troops driven back by missile fire or in melee whilst crossing or on the banks of the river are deemed to have been broken (e routed)


Stop Press: I have since discovered that the average depth of the river at Stamford Bridge is around 7 metres! There is no way that this could have been forded by Harold and his men.

This would have fundamentally changed our game, but it makes you wonder why the Vikings did not put up a sterner resistance at the crossing over 900 years ago.


The Game

This was a game of many firsts….

The first game of 2019 in the shed
The first game using Hail Caesar rules
My first game with my Dark Age forces (approx. half of the painted forces were on the table)
And a welcome to a new gamer in the Shed – Glenn – welcome!

Despite the temperatures dropping outside the shed remained relatively toasty for the evening so all the players were happy.

Mark & I would lead the Saxon Attack, Alastair and Glenn the Viking Invaders.

Moving Forward


The Saxons with initiative started the game and it was quite apparent that we needed to advance as quick as possible to towards the bridge to catch the stunned Vikings. The division on our far left rolled its first command dice. A double six – BLUNDER – followed by a 1 these guys decided that they didn’t want to be first in to battle and retreated two moves. The rest of the Saxon forces didn’t do much better and the army crept forward. The sheer volume of troops preventing units from advancing if they were stuck behind others. Passing through troops gives a very big chance (50%) of disorder which was not something the Saxons really wanted.

The snail’s pace of the Saxon army gave the sunbathing Vikings on the east and west side a chance to rally and before we knew it every unit was ready for battle.


Could the Saxons prevent the flight of the ready troops on the west side of the river. Once again, my troops crept forward very slowly but fortunately the Saxon right flank crashed into the first Viking unit on the riverbank. A swift brutal flight ensued with the Saxons driving the Vikings into the river and routing them. Supports & better armour values for the Saxons making all the difference. First blood to Godwinson.

The first clash - top right of picture


The Vikings swiftly regrouped and under cover of their meagre skirmish units managed to cross the river with one of the warbands. The second too far from the bridge started the long crossing over the river by foot. As per history a Viking hero stood on the bridge taunting the advancing Anglo Saxons. Mean whilst the Vikings under Hardrada and Tostig were beginning to retreat towards the hills to form up their battle lines.

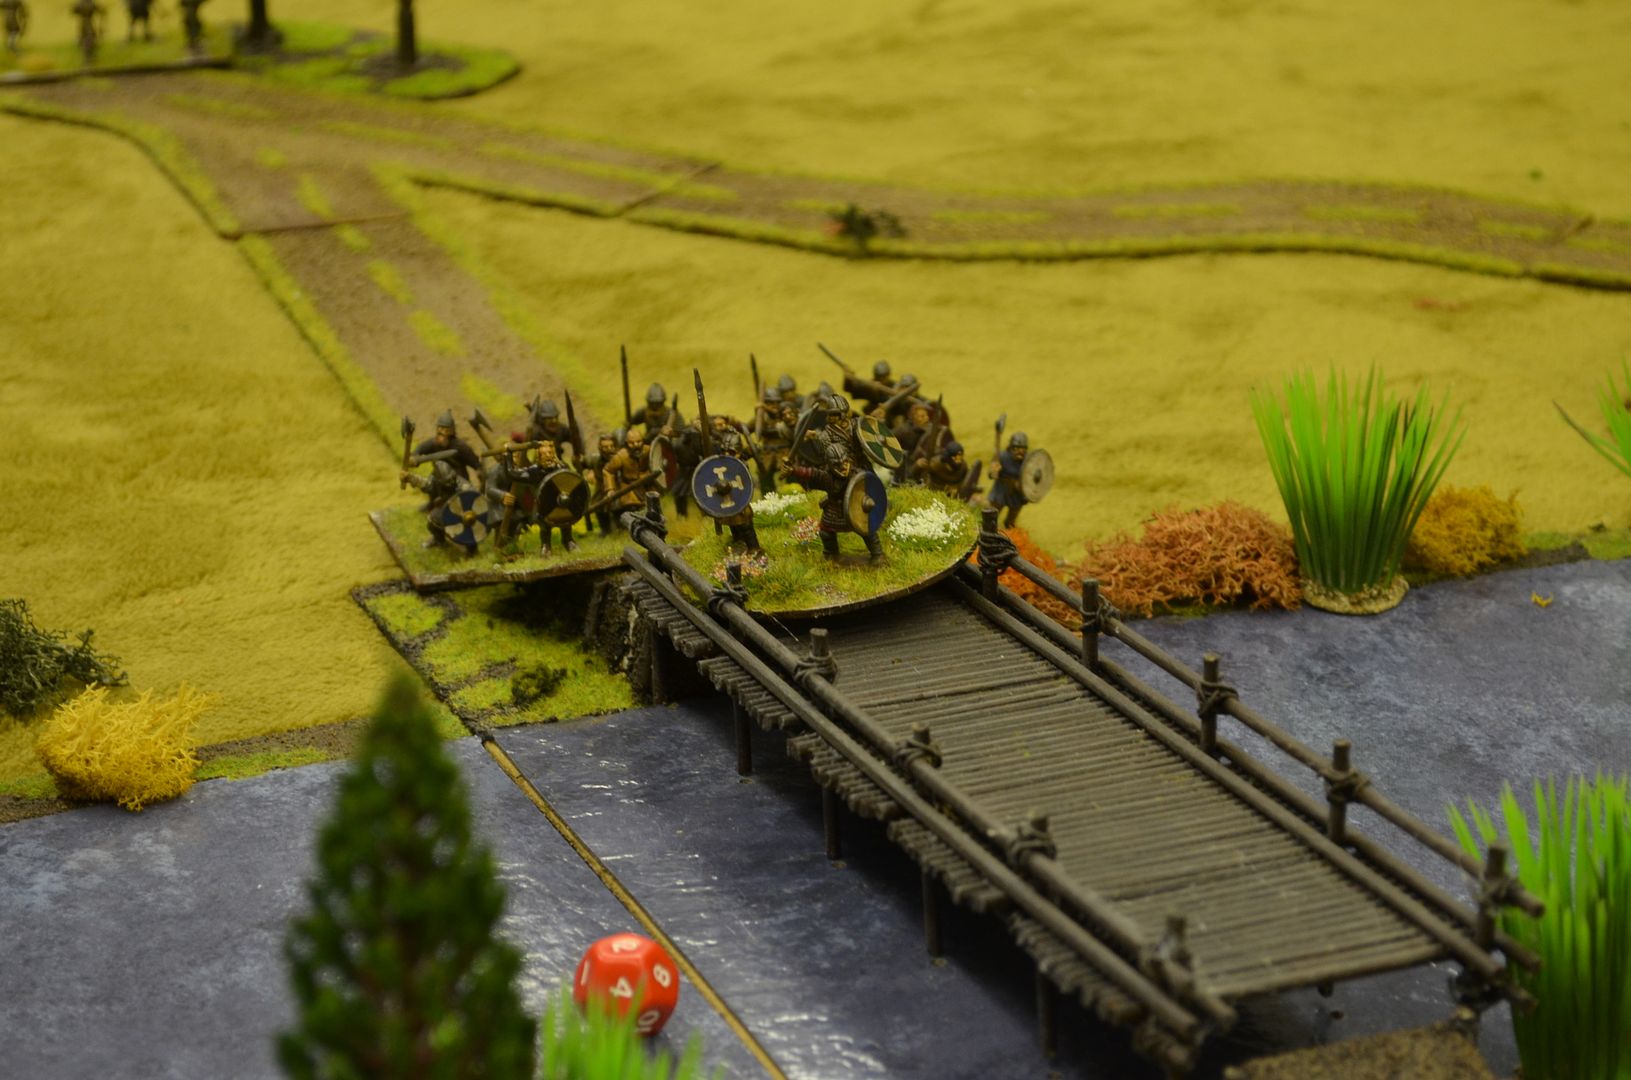
Defending the Bridge


The decision to defend the river bank was dismissed. Would this prove telling?

Deciding the bridge wasn't worth defending


By now the Saxon right wing was beginning to cross the river en masse, the centre was creeping forward towards the bridge and the left wing stubbornly refused to move. A few mounted Thegns attempted to reach the bridge but command rolls prevented them from charging forward.


Fording the river

These boys are not moving


It became apparent very quickly the Vikings were going to make their stand on the hill and await their reinforcements.
The Vikings retreat back to the hill


 These slowly started to arrive from turn 4. A rewrite of this scenario would probably push this back to turn 8.

They are still crawling forward


The lone Viking unit crossing the river finally reached the far bank only to come under the hail of slingshot driving it into disorder. Fearing the massing Saxon hordes now wading across the river on the southern edge our lone bridge defending Viking unit broke for the safety of his own lines leaving the crossing unguarded. This gave the chance for mounted Thegns to cross and slam into the helpless bedraggled unit left behind. Second blood to the Saxons.


Finally we get to cross - horse on the bridge

Gotcha ! 


The first part of the battle could be said to be concluded the Saxons were clear to cross the river and face up to the Viking shield wall on the eastern hill. From my observation point on the left-hand side of the field my troops had yet to cross the river, yet the right Saxon flank had and were edging forward. It was at this point that the Vikings might well have seized initiative. They outnumbered the Saxons on their side of the river but rather than launch an all out assault they chose to defend the hill.

Steady men - advancing slowly

The Viking Shieldwall on the hill


With a steady determination Mark arranged his forces into battle lines and adopted the Shield wall. These were soon joined by the elite Housecarls and a few warbands from the right.

The Saxons ready the left flank for the attack

Face off


Skirmishers caught in the open


Just before the big push

Time was pressing, and the big battle was about to erupt. Across the line the warbands slung rocks, spears and javelins. The Saxons edged forward and crashed into the Viking lines. Once again, the numerous supports and batter armour won the battle for the Saxons. In two very brief and bloody rounds Hardrada and Tostig were felled. Units routed and disordered. This wasn’t going to take long.

Crunch !!
In a final show of defiance the Vikings massed a final charge on Harold’s Housecarls destroying them completely but it was all over – although the target of three quarters was not reached it became apparent the Vikings would get hammered in the following rounds

The Viking wall collapses (and the Saxon Huscarls die)


.

Harold Godwinson can now turn his attention to the events in the south of England


What would we do different:

1.       The river is clearly not fordable (see above) and as such all the Saxons would have had to cross the bridge. In which case the Vikings on the safe side of the bridge should either be further away to prevent then swamping  this area or we make them less likely to rally in the early stages of the game.
2.       To speed things along we gave every unit  a free move if they were not commanded. This allowed the scattered units of Vikings to rally very quickly and set up their defence. Likewise it meant that the Saxons could continue to dress lines and position themselves in neat little boxes for the final push. More command rolls (with chances of failure & blunders) would have been better.
3.       Skirmishers are a real pain and with hindsight we should have put a few more on the table to disrupt shield walls and disorder troops.
4.       The Viking reinforcements would have arrived later


This was a great playtest of the game, it looked fabulous and delivered an historical result. Sets us iup nicely for the big Hastings game on the 10th March.

Actually we have managed to squeeze in another battle from 1066 - The Battle of Fulford
head here


Tuesday, 19 February 2019

Dark Ages Project Finally Finished

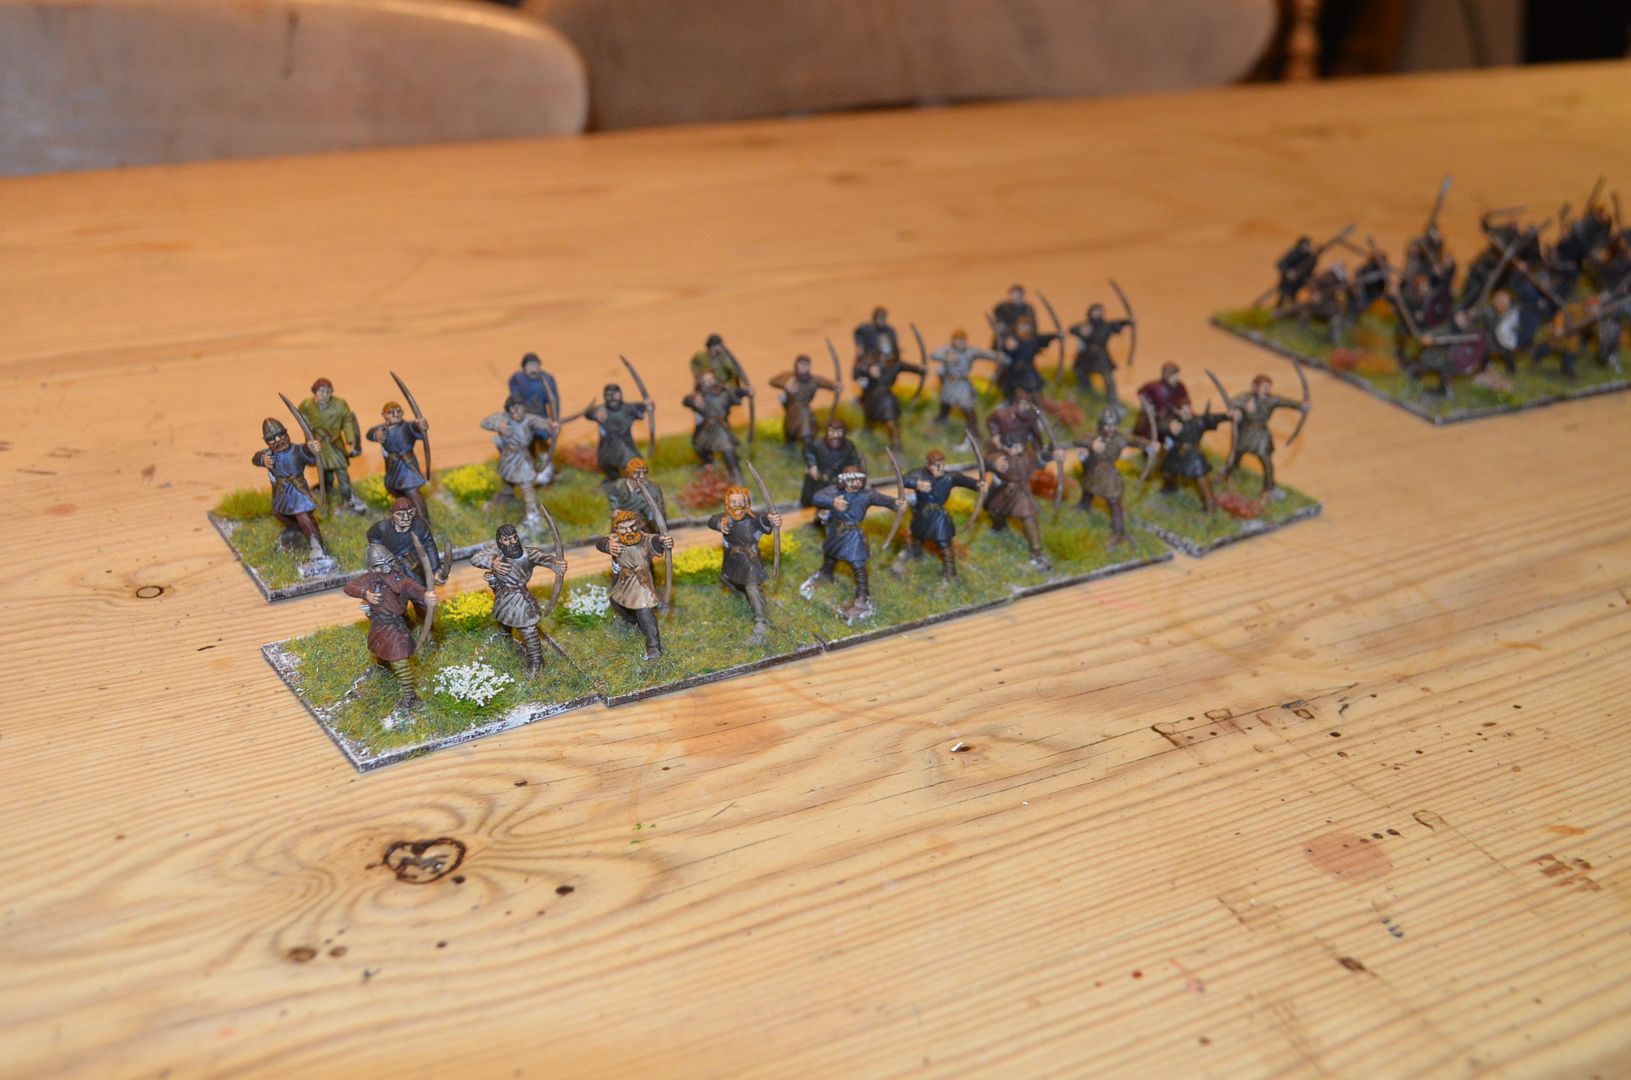
I think I failed to mention in my last post that I hadn't quite finished the Dark Ages project - having laid out all my troops which you can see here I realised very quickly that I was light on archers and unarmoured saxons.

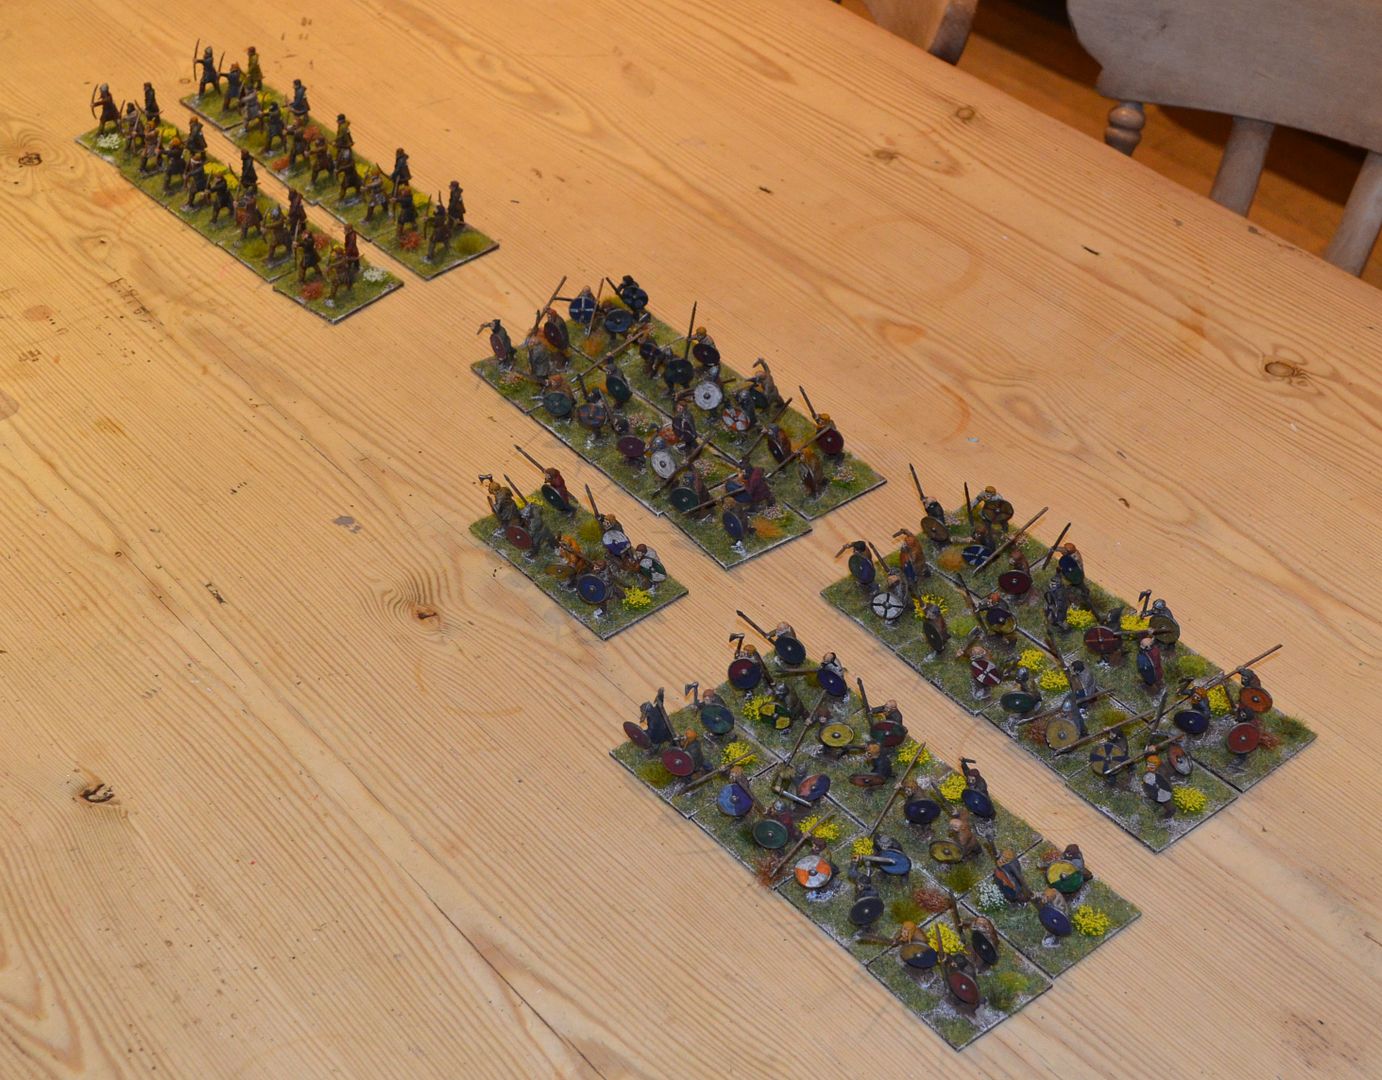
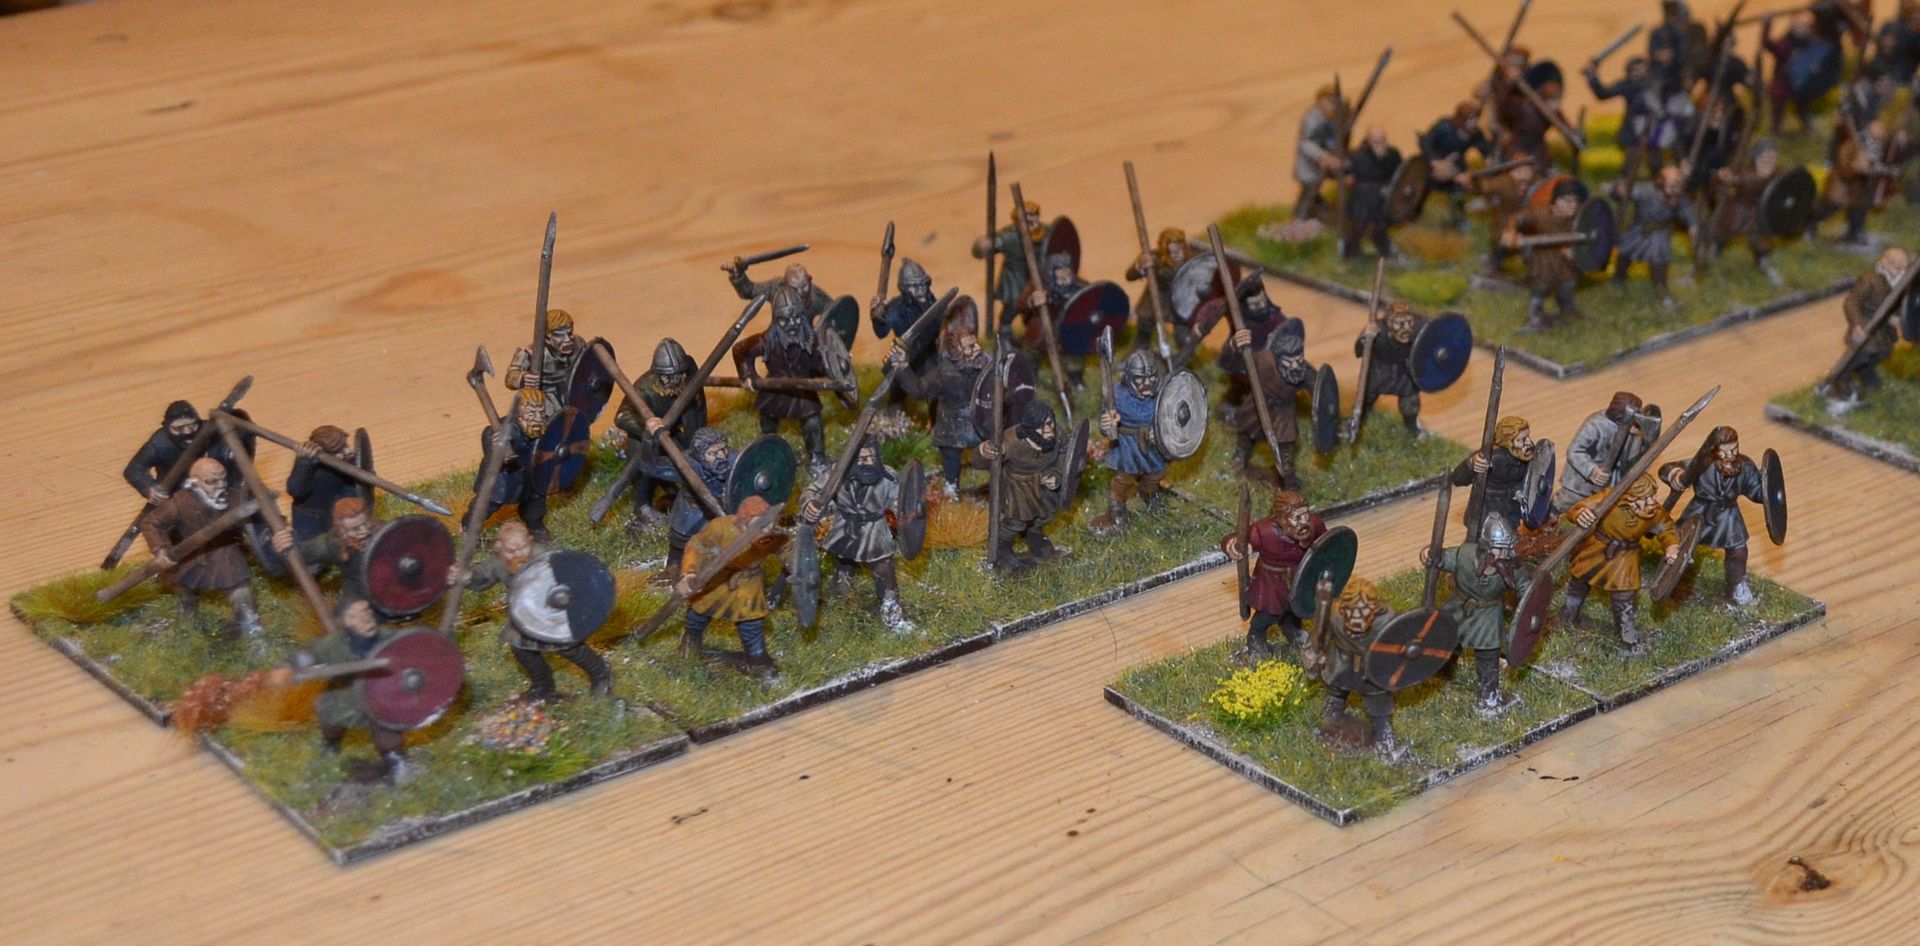
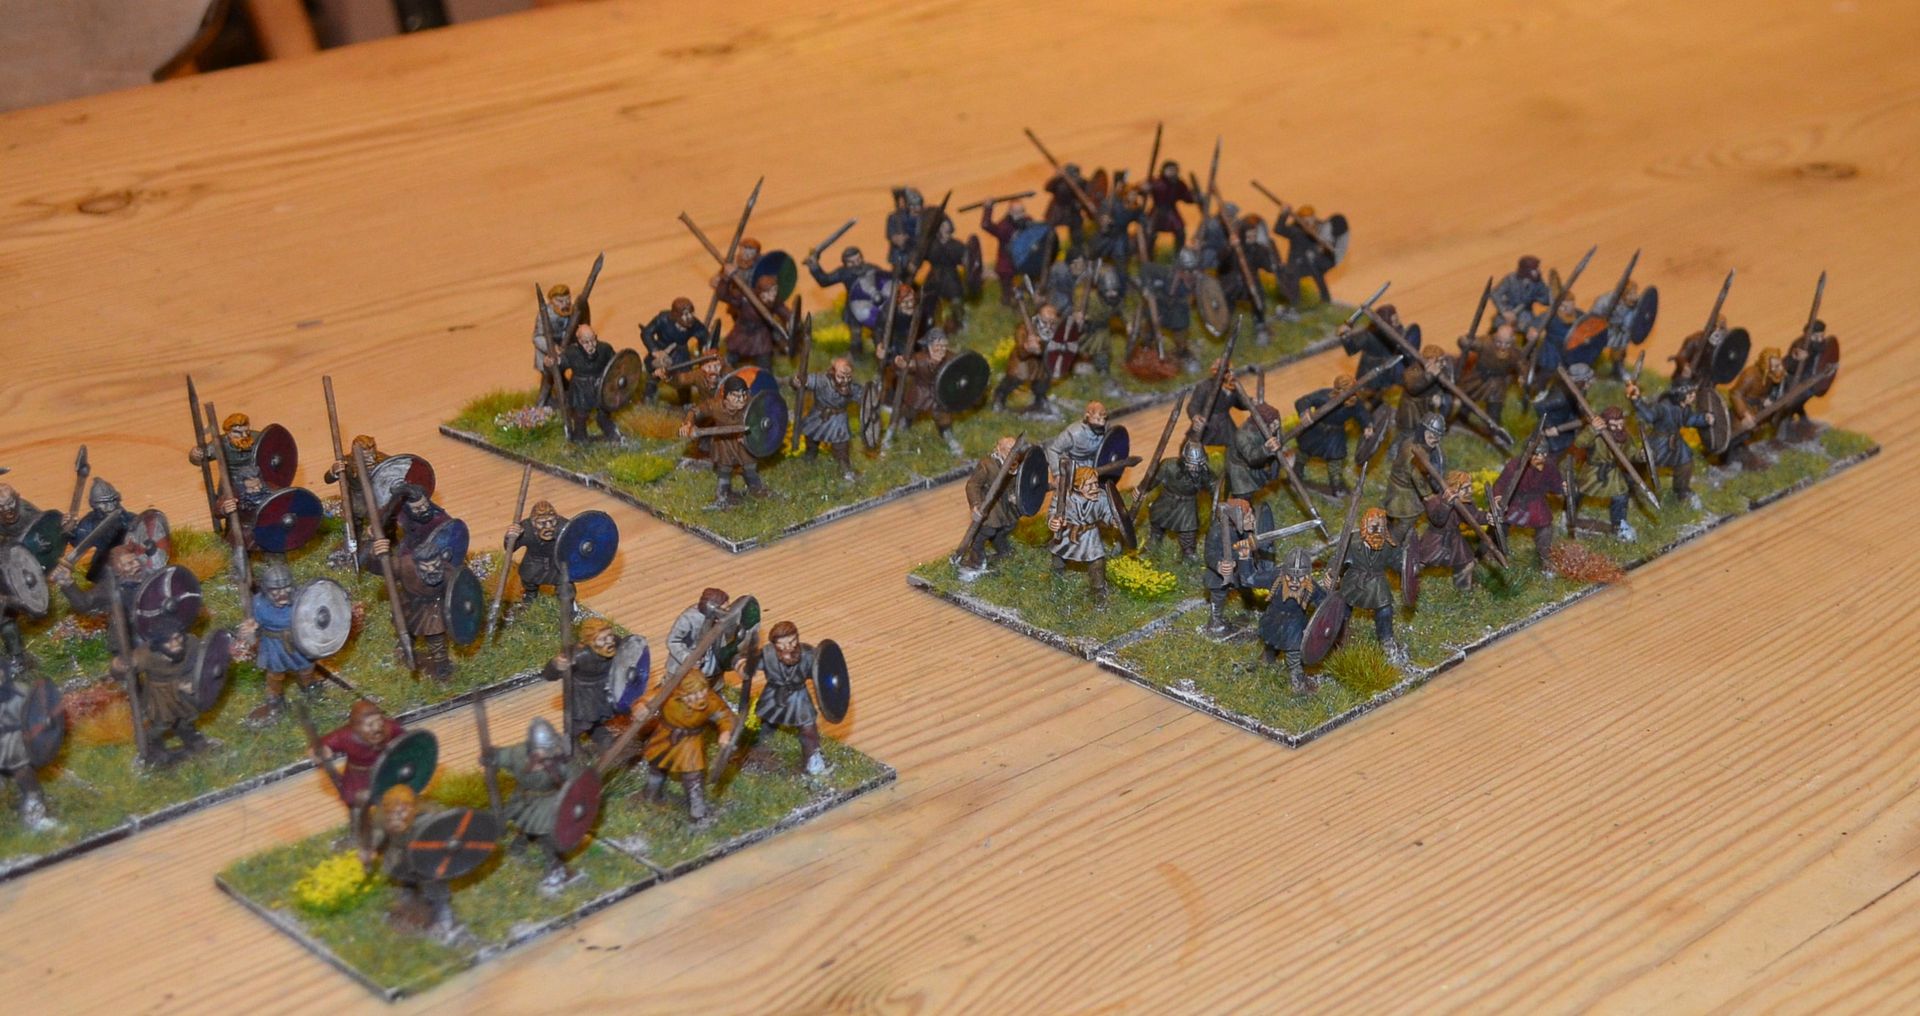
A quick scan on ebay revealed some decent priced gripping boxes and in a few days 110 more troops awaited their call up papers to join the army - 30 more archers and 80 more spearmen. These have all been based 3 men to a 5cm square mdf base.


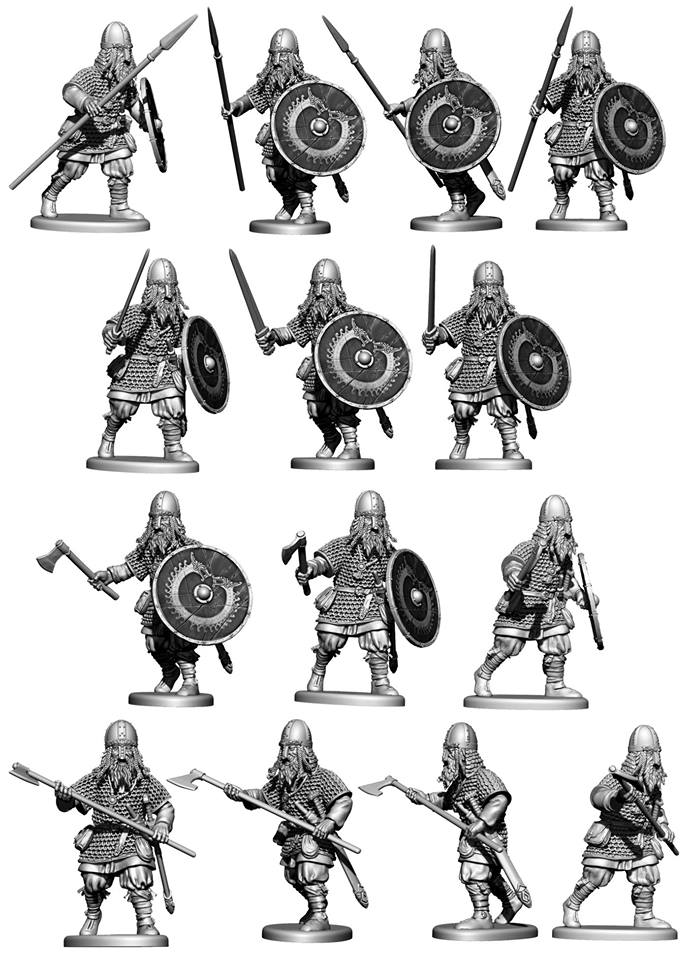
I can now safely say that I have finished painting dark ages for the moment - mind you the Victrix Vikings do look quite nice and if I can find some at Salute I might create a couple of Viking units.

Here are some of the final renders


So now it is all about preparing the games - the big one Hastings is planned on Sunday 10th March and I have been busy preparing the order of battle, players aids and background material over the past two months. In much the same way that I set up my Isandlwhana and Rorkes Drift games a couple of years back I'll publish all of this in the blog in the next few weeks.

I have now settled on using Hail Caesar for the big game - principally because it comes from a ruleset most of the players are familiar with and we do know that these rules lend themselves to some inhouse tweaks. More on this in the Hastings post.

So as I have said I have been busy reading up on Hastings and pouring over several books relating to the events of 1066. I have discovered a couple of excellent reads if you are interested in this period and would highly recommend them.

First up is a paperback I found in Waterstones called Harold, the King who fell at Hastings by Peter Rex - a great account of the man and the run up to his untimely death.


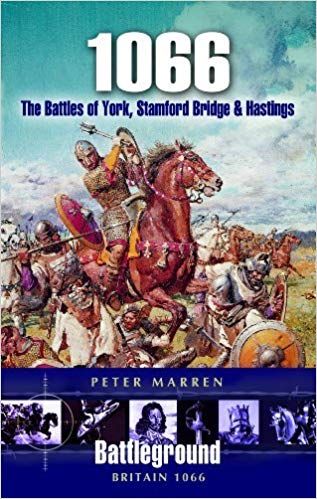
Next up is a great little book by Peter Marren on all three battles of 1066


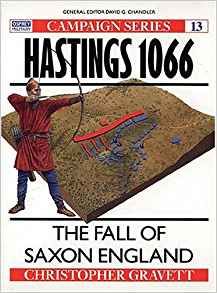
Can't forget the Osprey book - plus it has a section on wargaming Hastings although this does seem to be a bit dated


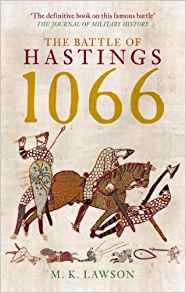
Perhaps the definitive history by MK Lawson - it is also a good read


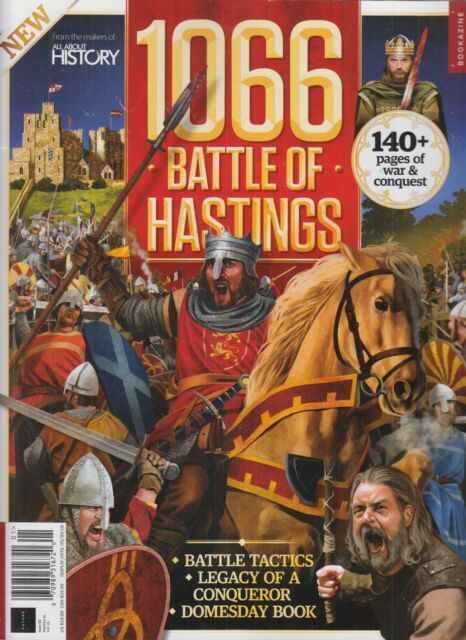
Now whilst I was doing all this research I discovered that WH Smiths were selling a magazine style book called not surprisingly 1066 Battle of Hastings - it wasn't cheap at #9.99 but it had lots of pretty pictures and in a moment of madness I bought a copy.


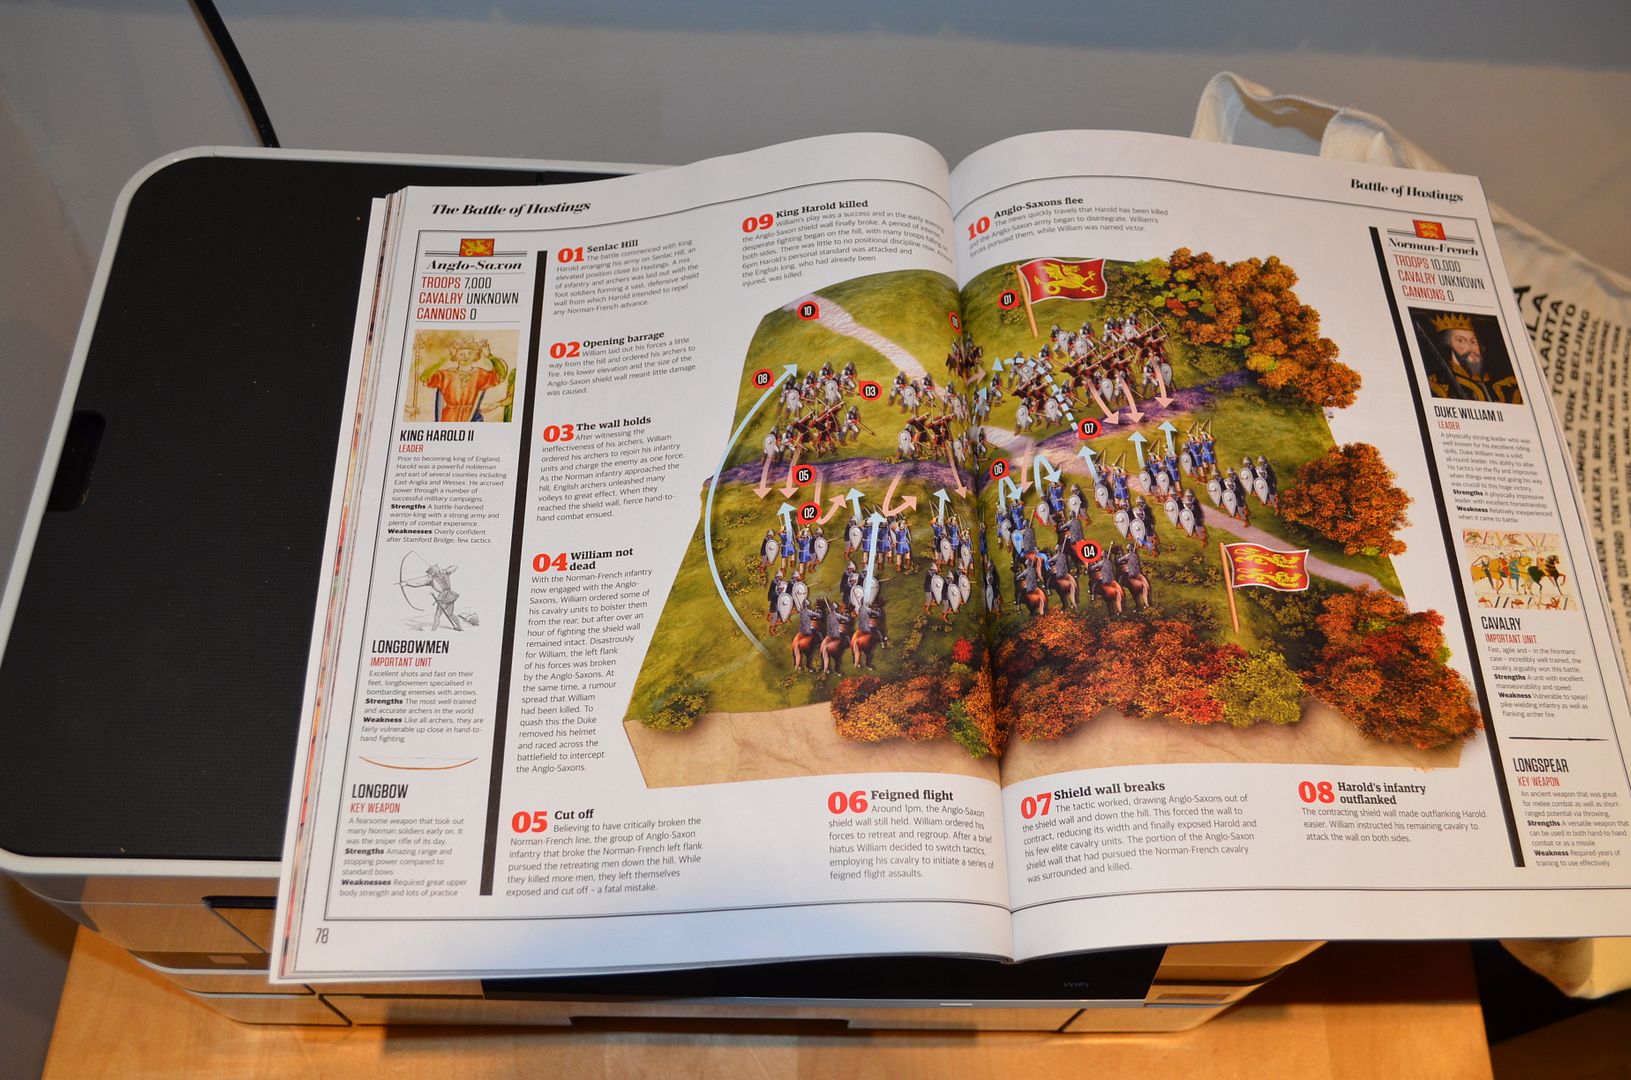
That night I settled down with a cup of cocoa for a good read (actually a glass of red but don't tell Mrs Shed). I got the distinct impression that this was aimed at a younger audience - perhaps 16 year olds studying history. It was reasonably well written and looks great BUT...a massive BUT coming up. The first pages I turned to was the battle of Hastings and imagine to my surprise the authors of this history have suggested that the English Bowmen in the Saxon Army were his elite troops...and the longbow his key weapon. Oh my god I despair these poor kids...it then dawned on my that the editors of this rubbish must have got the battle mixed up with Agincourt.

Nice picture - but whats that  in the left lower corner


This just makes me angry !!
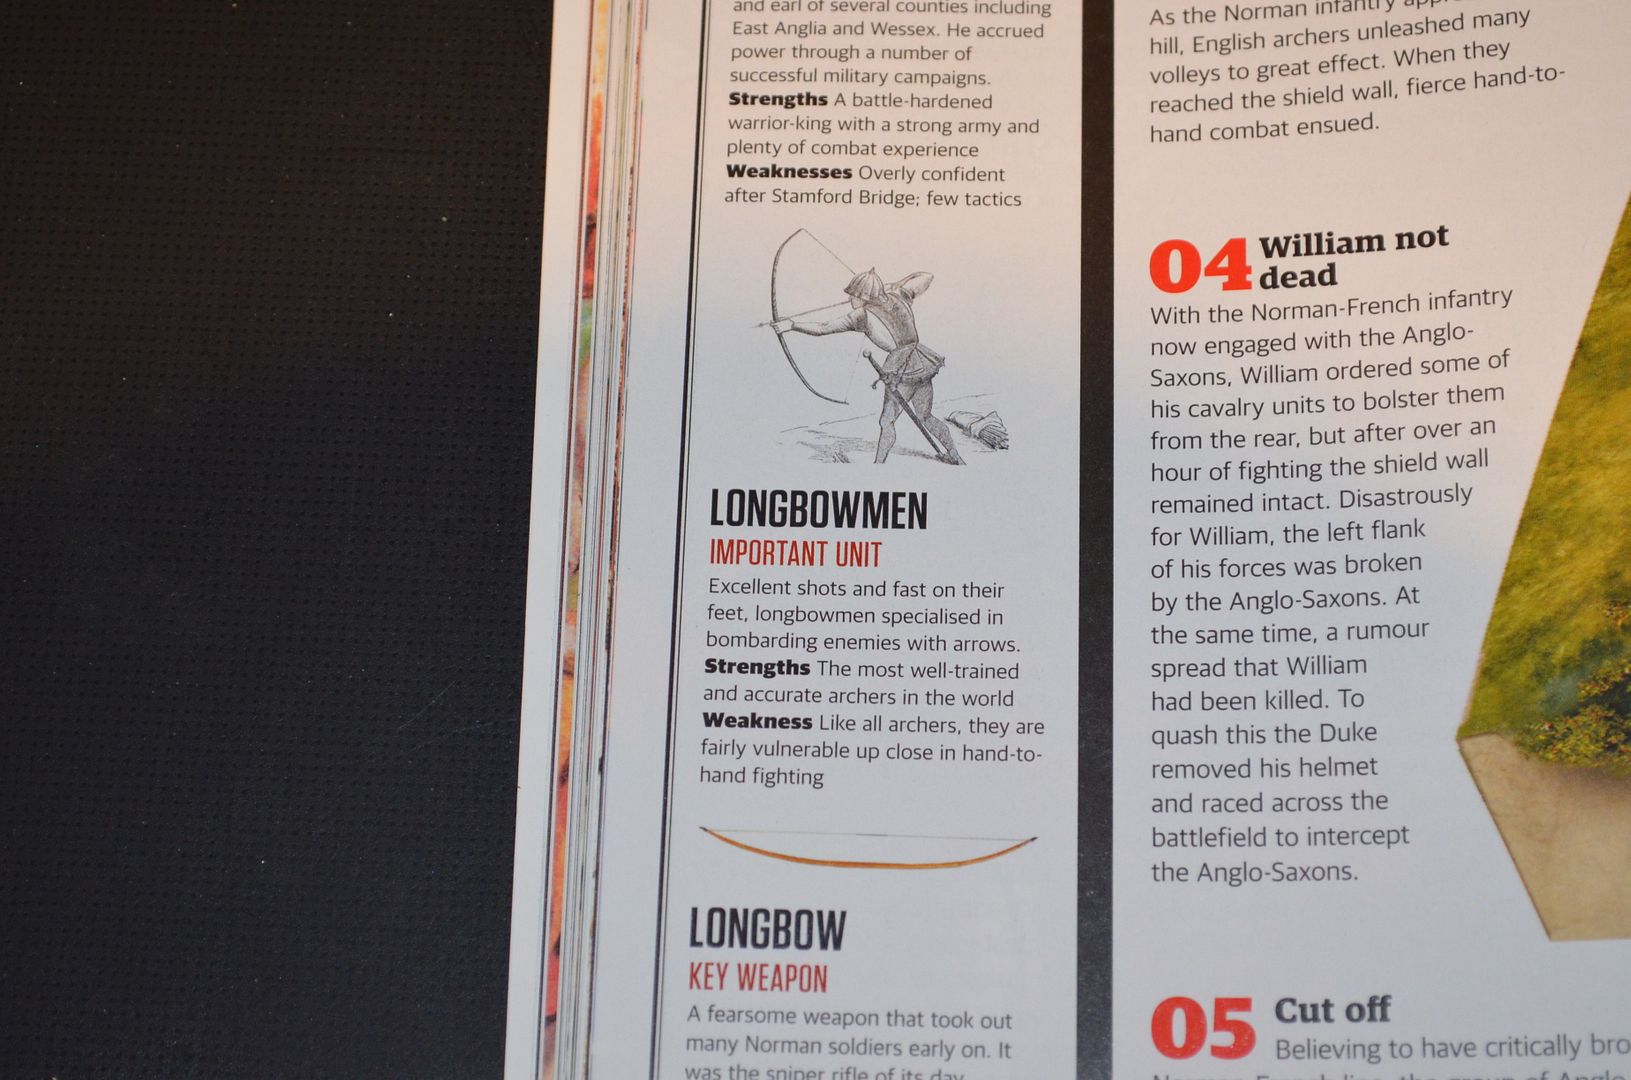


They talk about the Longbow as the sniper rifle of its day taking out Norman soldiers....Not good..very sad.

As a final foot note I found this website the other day - Battlefields of Britain. It was the first time I had come across this and it is full of useful information. In particular I like the objectives of each commander and the maps of each stage of the battle...

Highly recommended

http://www.battlefieldsofbritain.co.uk/


So now after all that reading I have to put together the first game of the year in the Shed...the Dark Age forces are going to get their first warm up in the Battle of Stamford Bridge.

The battle takes place next Monday night (25th Feb)

More soon plus the start of the next shed project ;-)


Wednesday, 16 January 2019

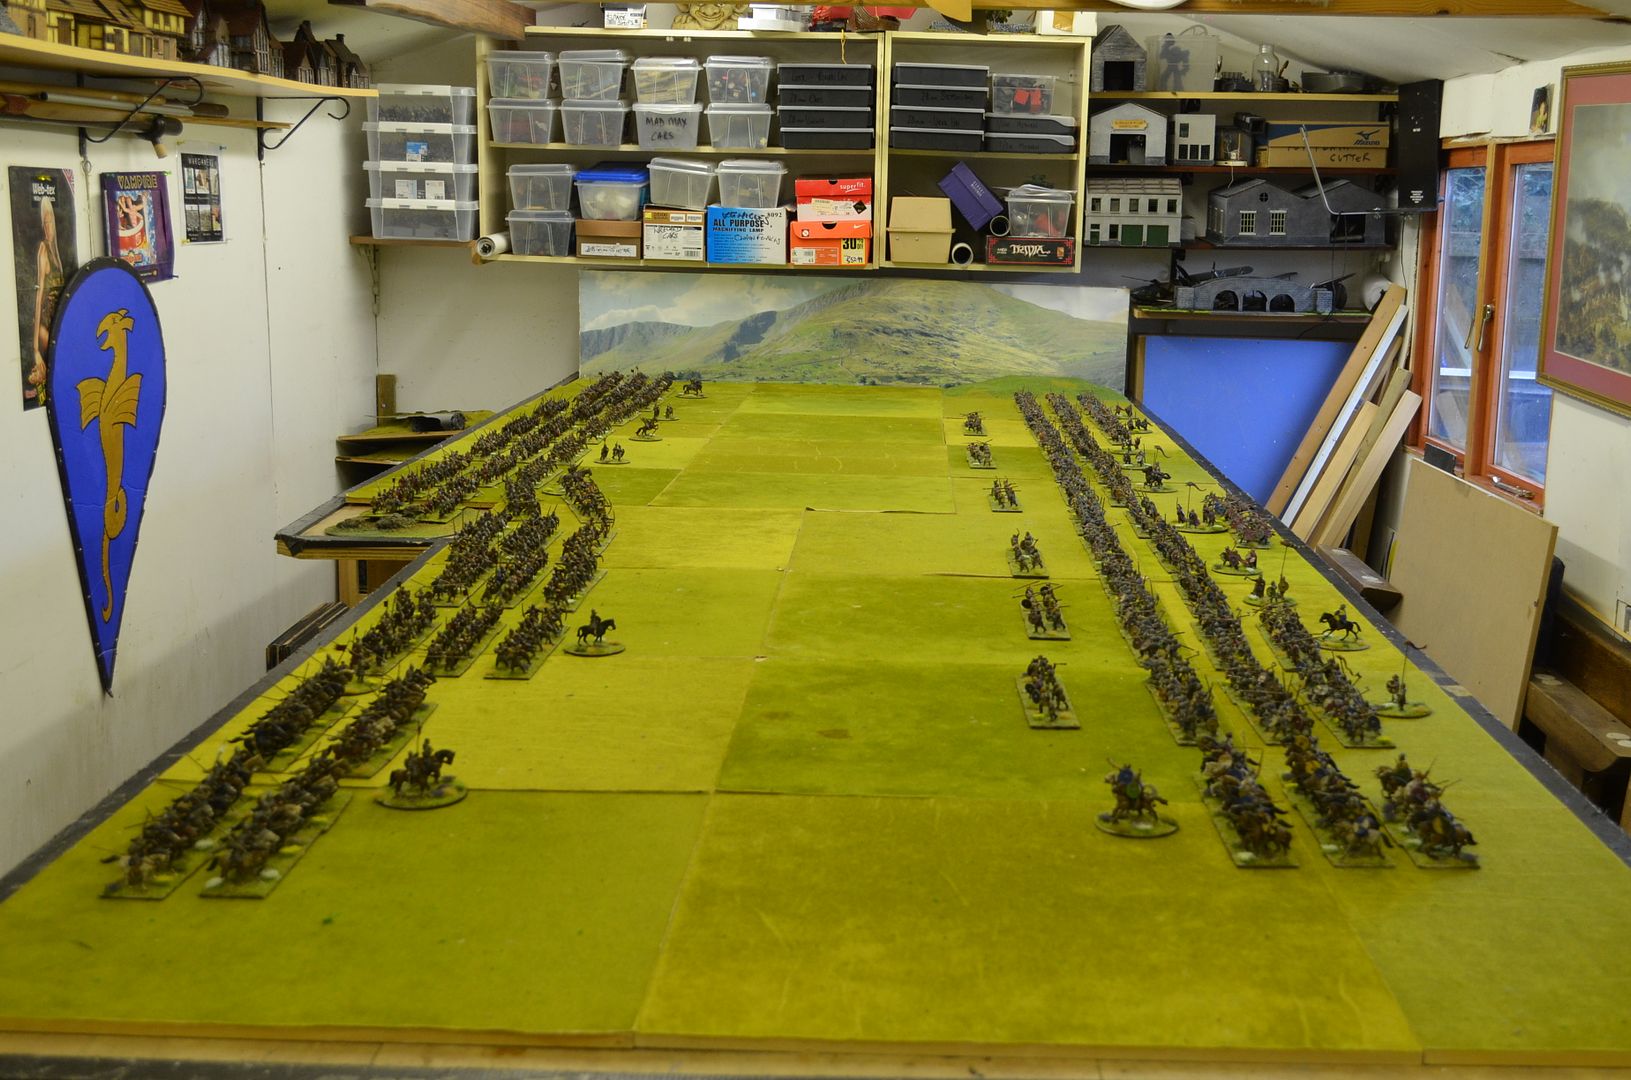
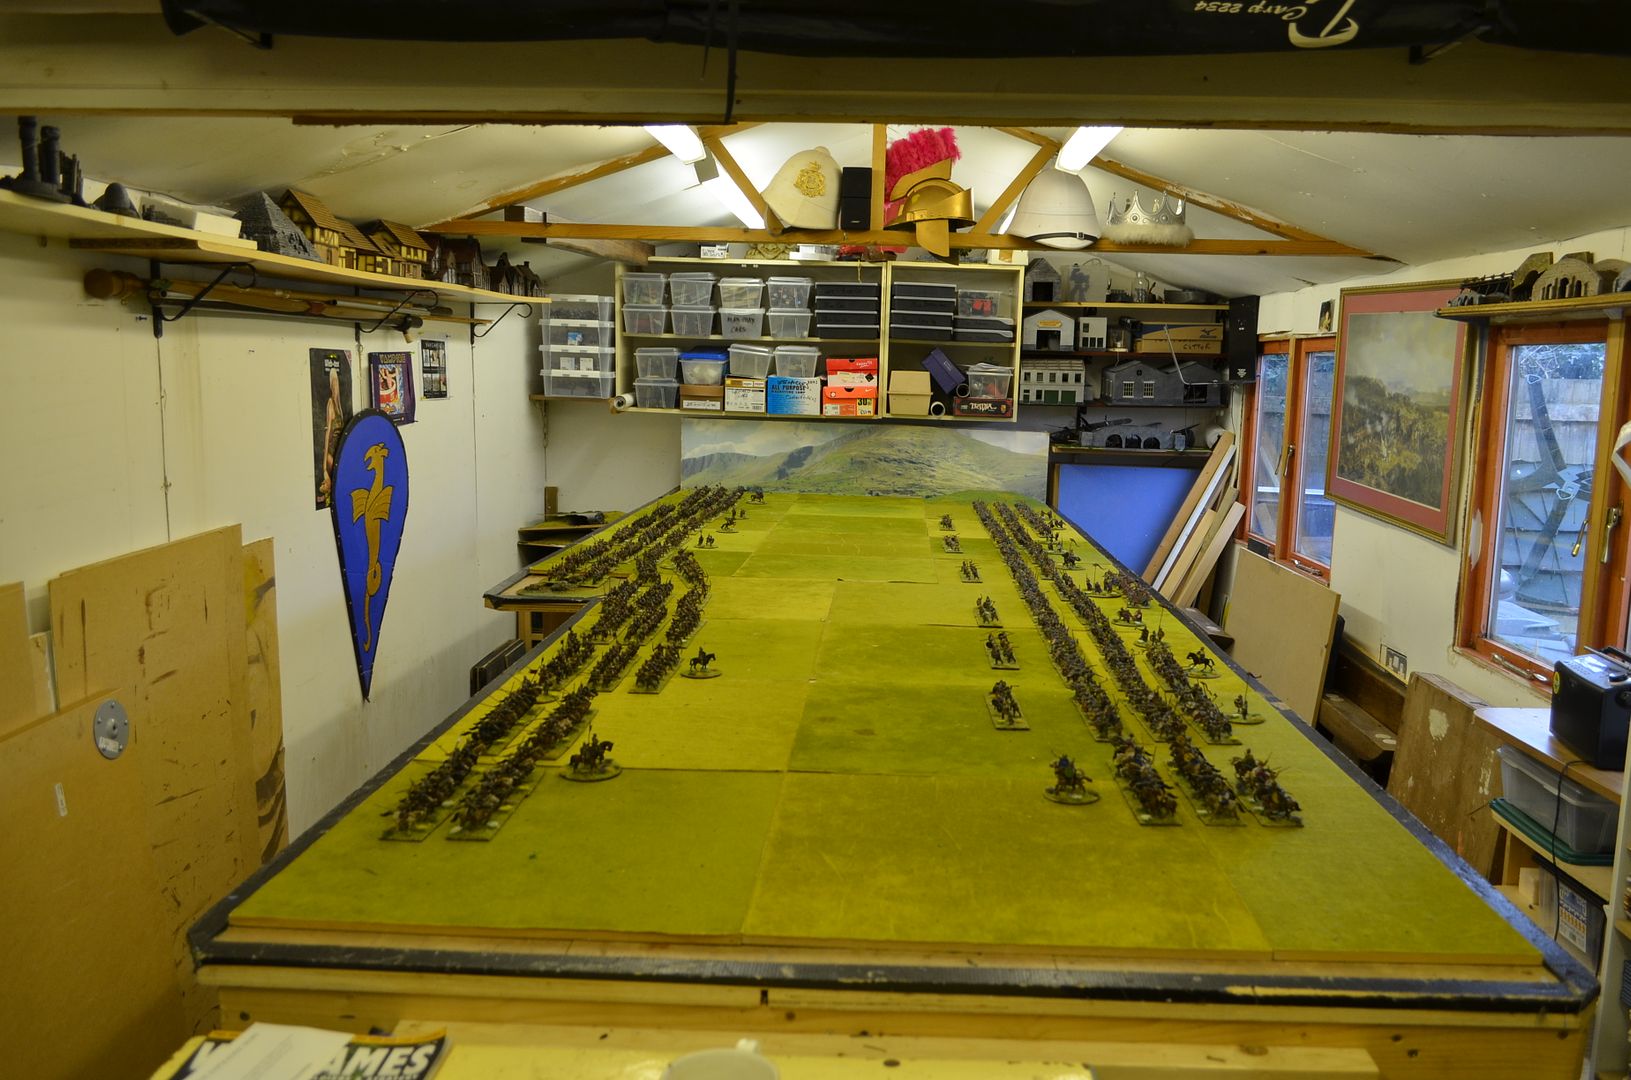
The Armies assemble

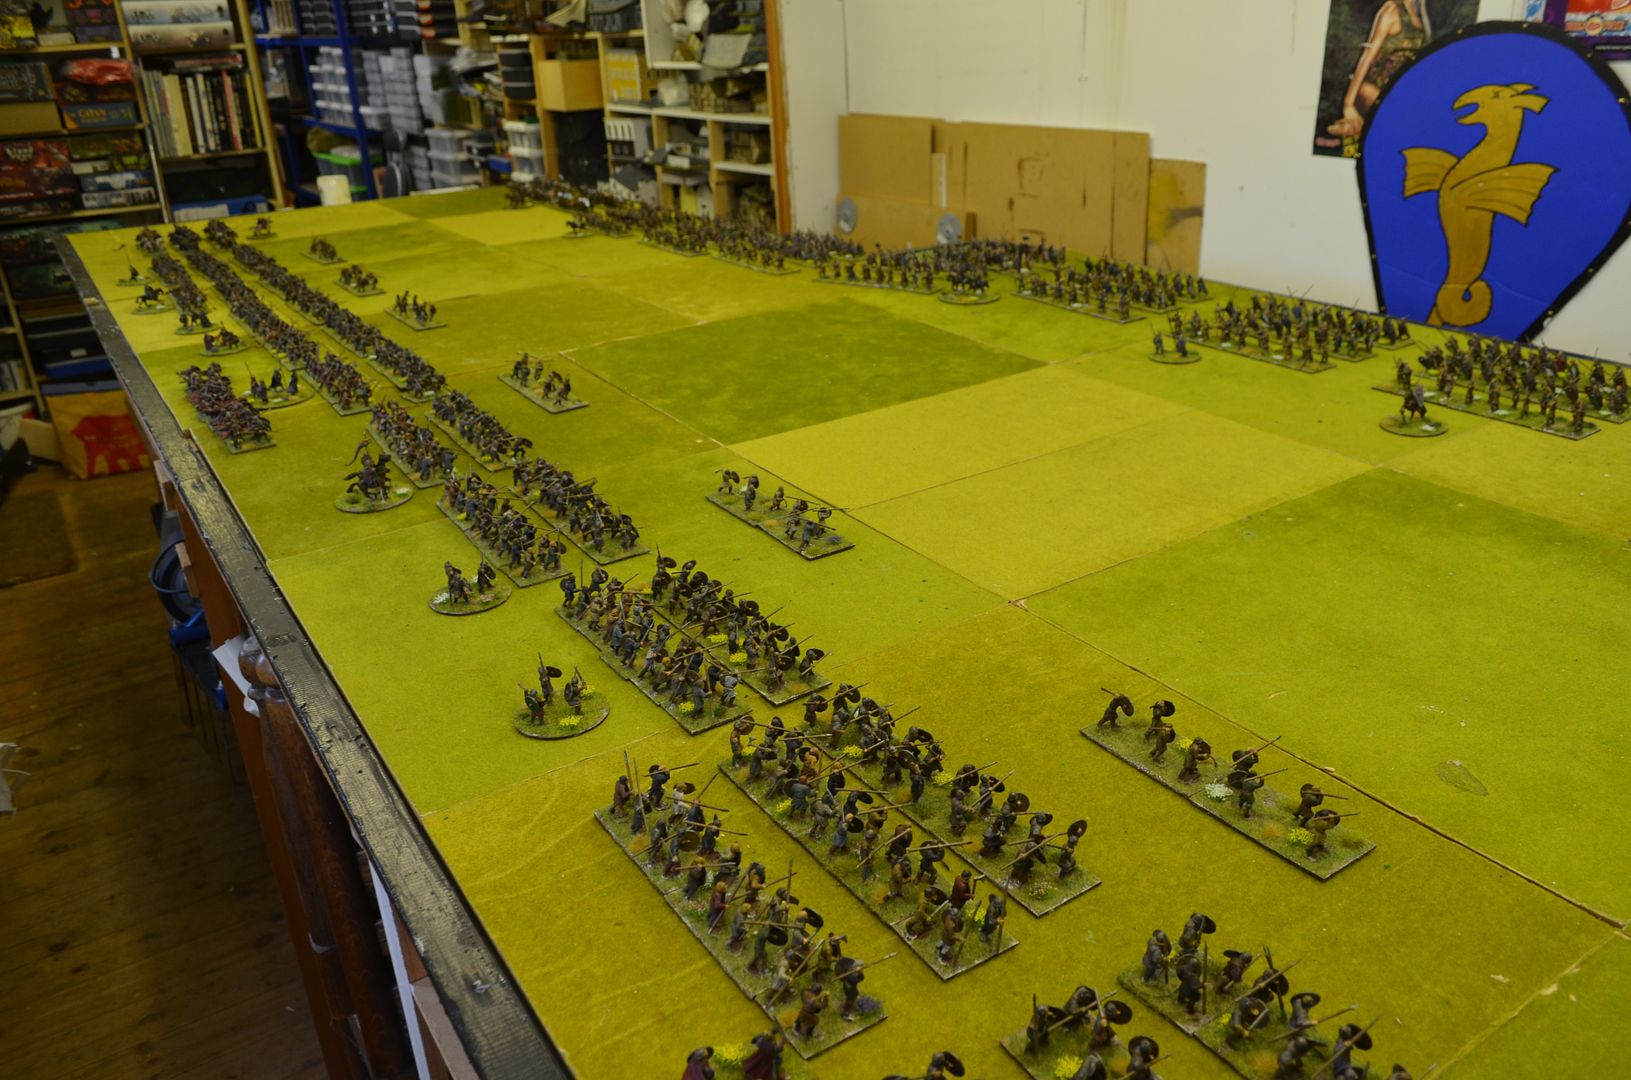
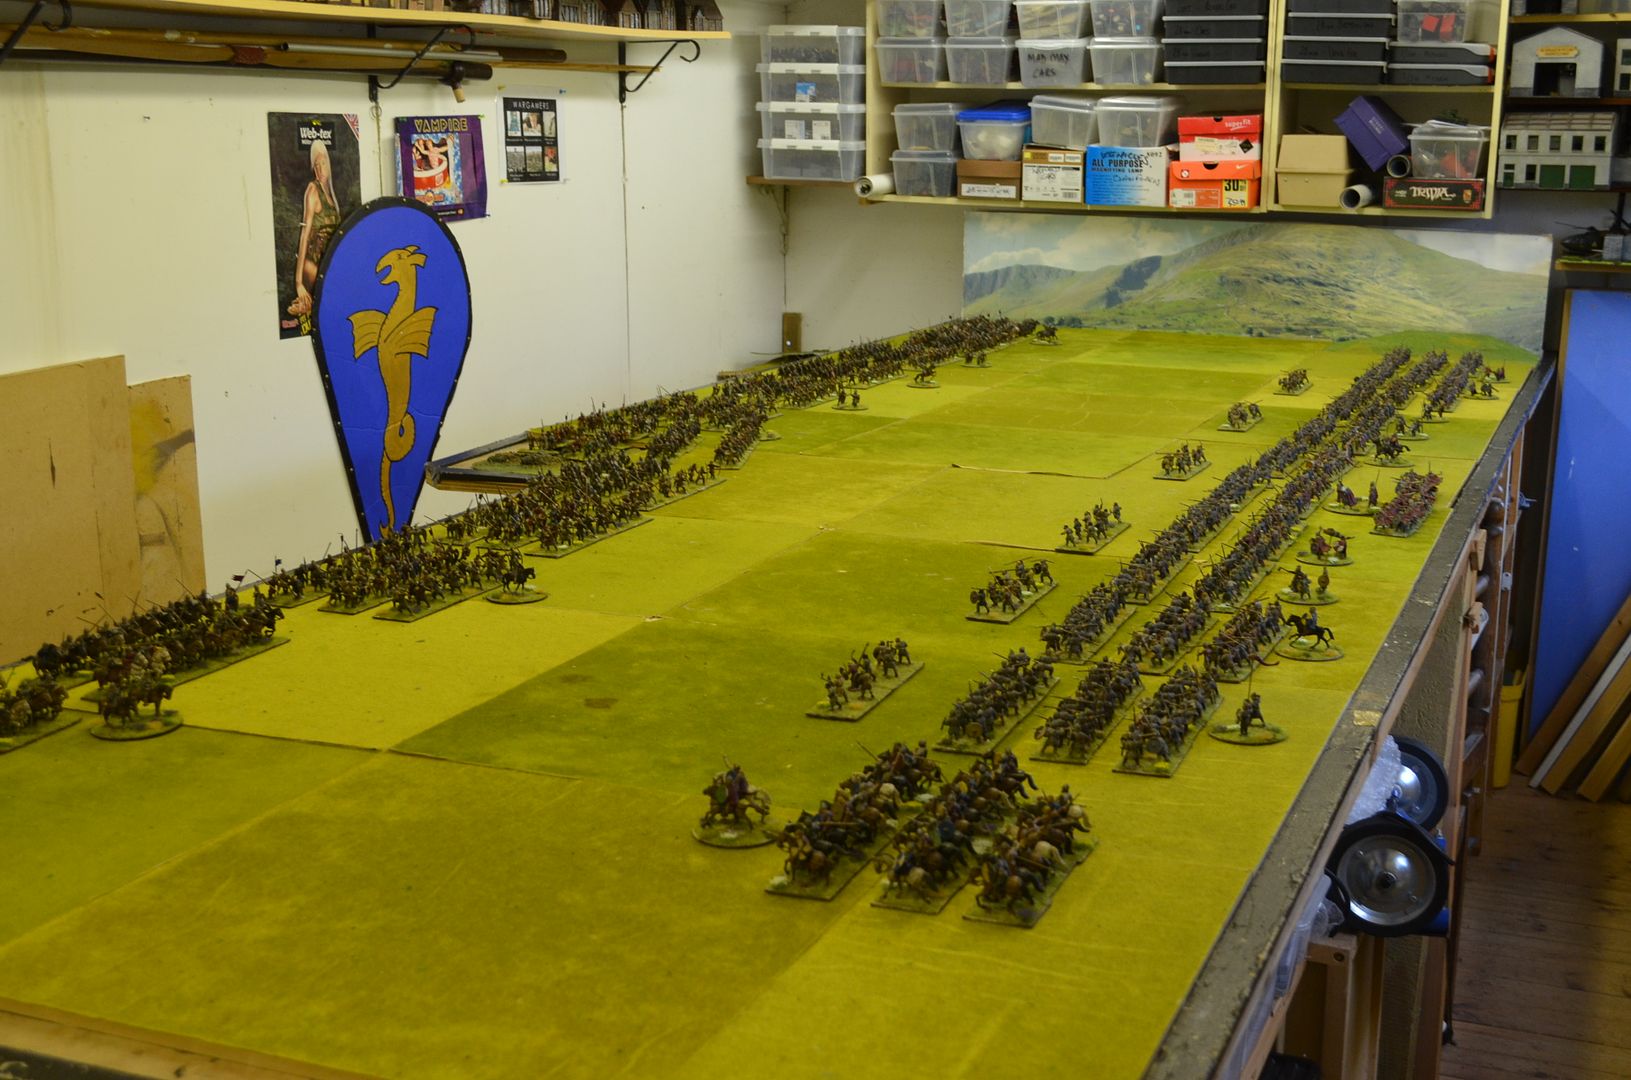
It seemed a shame to set out the Saxons and not the Normans so yesterday both sides took to the field.

Previous post here

Obviously my table is not big enough and I haven't even added the hill, woods etc

Even so there is a lot of plastic ranked up and ready to rumble.... 


Normans on the left - Saxons on the right


Off to focus on how I can bring this battle to the table...