As mentioned earlier it was my intention to re-fight this pivotal ECW battle using every regiment listed on a table that best reflected the terrain of the day. Given the cold temperatures outside it was impractical to fight this in the shed so with the blessing of Mrs Shed I was able to transport the engagement into our kitchen/dining room. Mrs Shed and daughter were packed off for the weekend and so on Saturday morning I could start setting up.
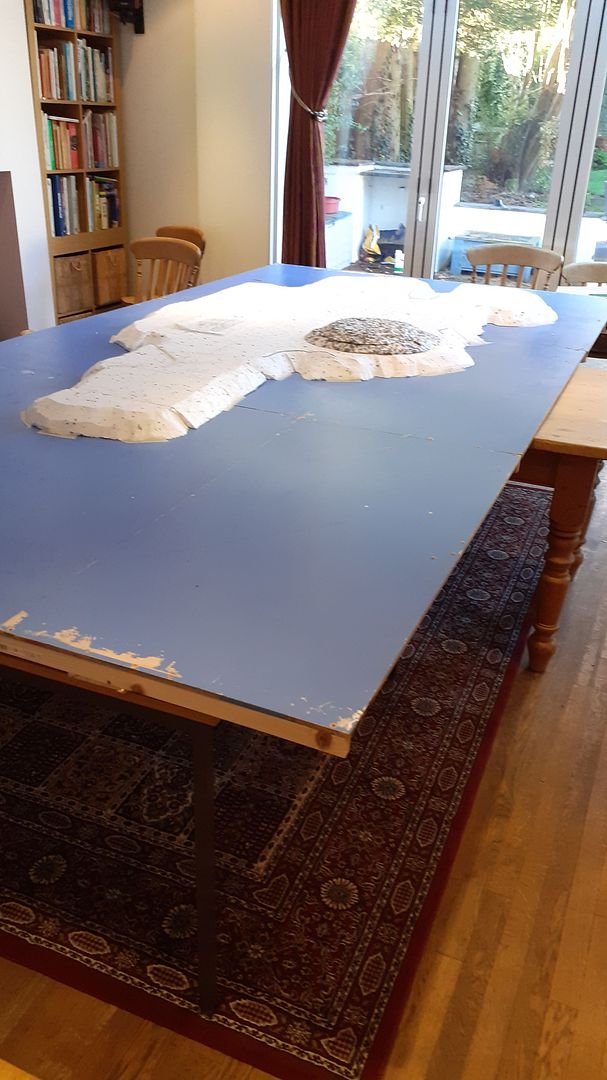
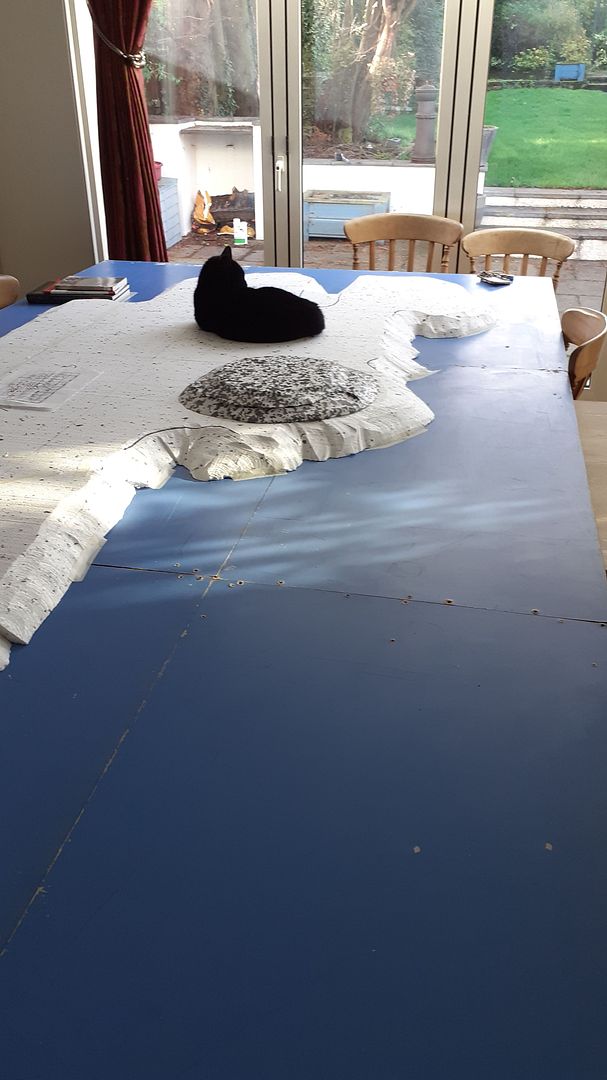
Using a variety of tables a base board of 12ft by 6ft took position in the new gaming room. The boards are the ones we use for BLAM each year and these get stored in the shed when not in use. On top of the table I fixed down the preformed polystyrene hills. This was fixed down using masking tape to avoid slippage.
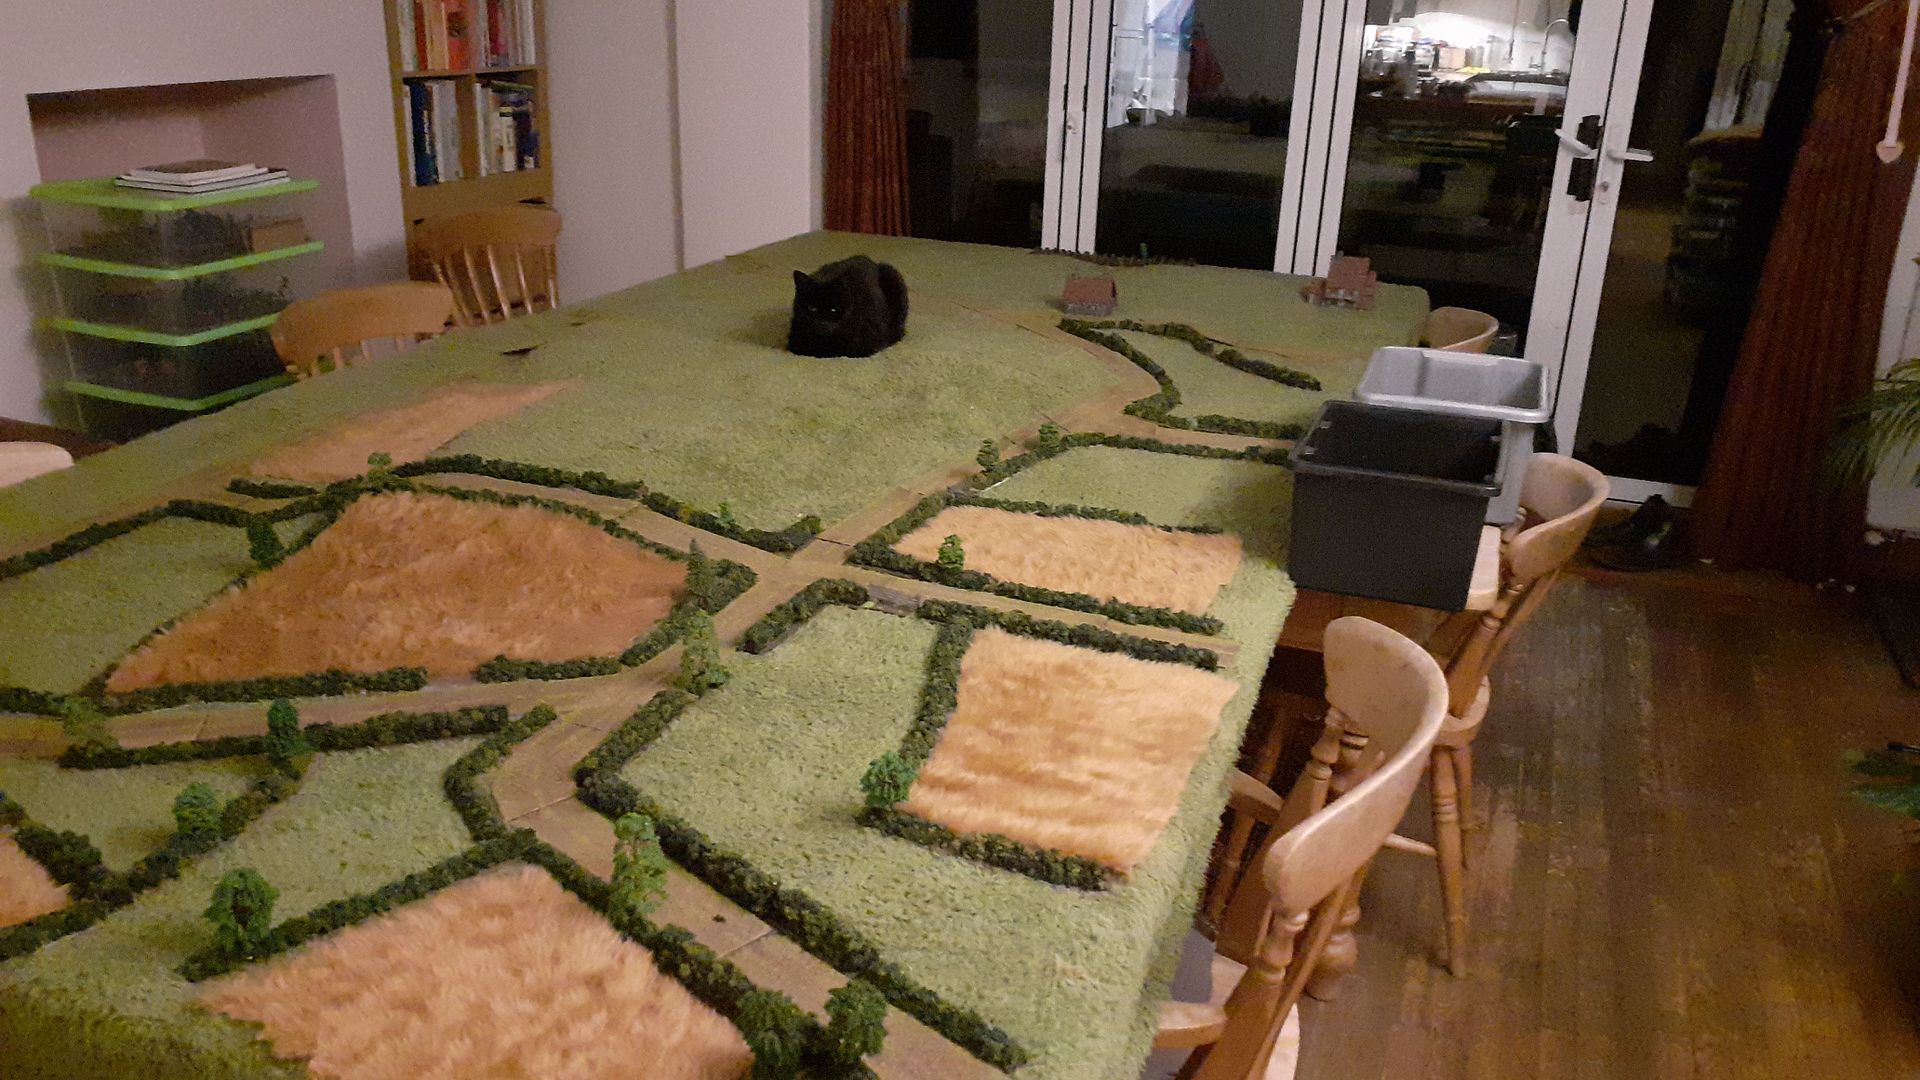
It soon became apparent that the cold outside and insulating properties of the hills were of interest to our rather inquisitive cat.
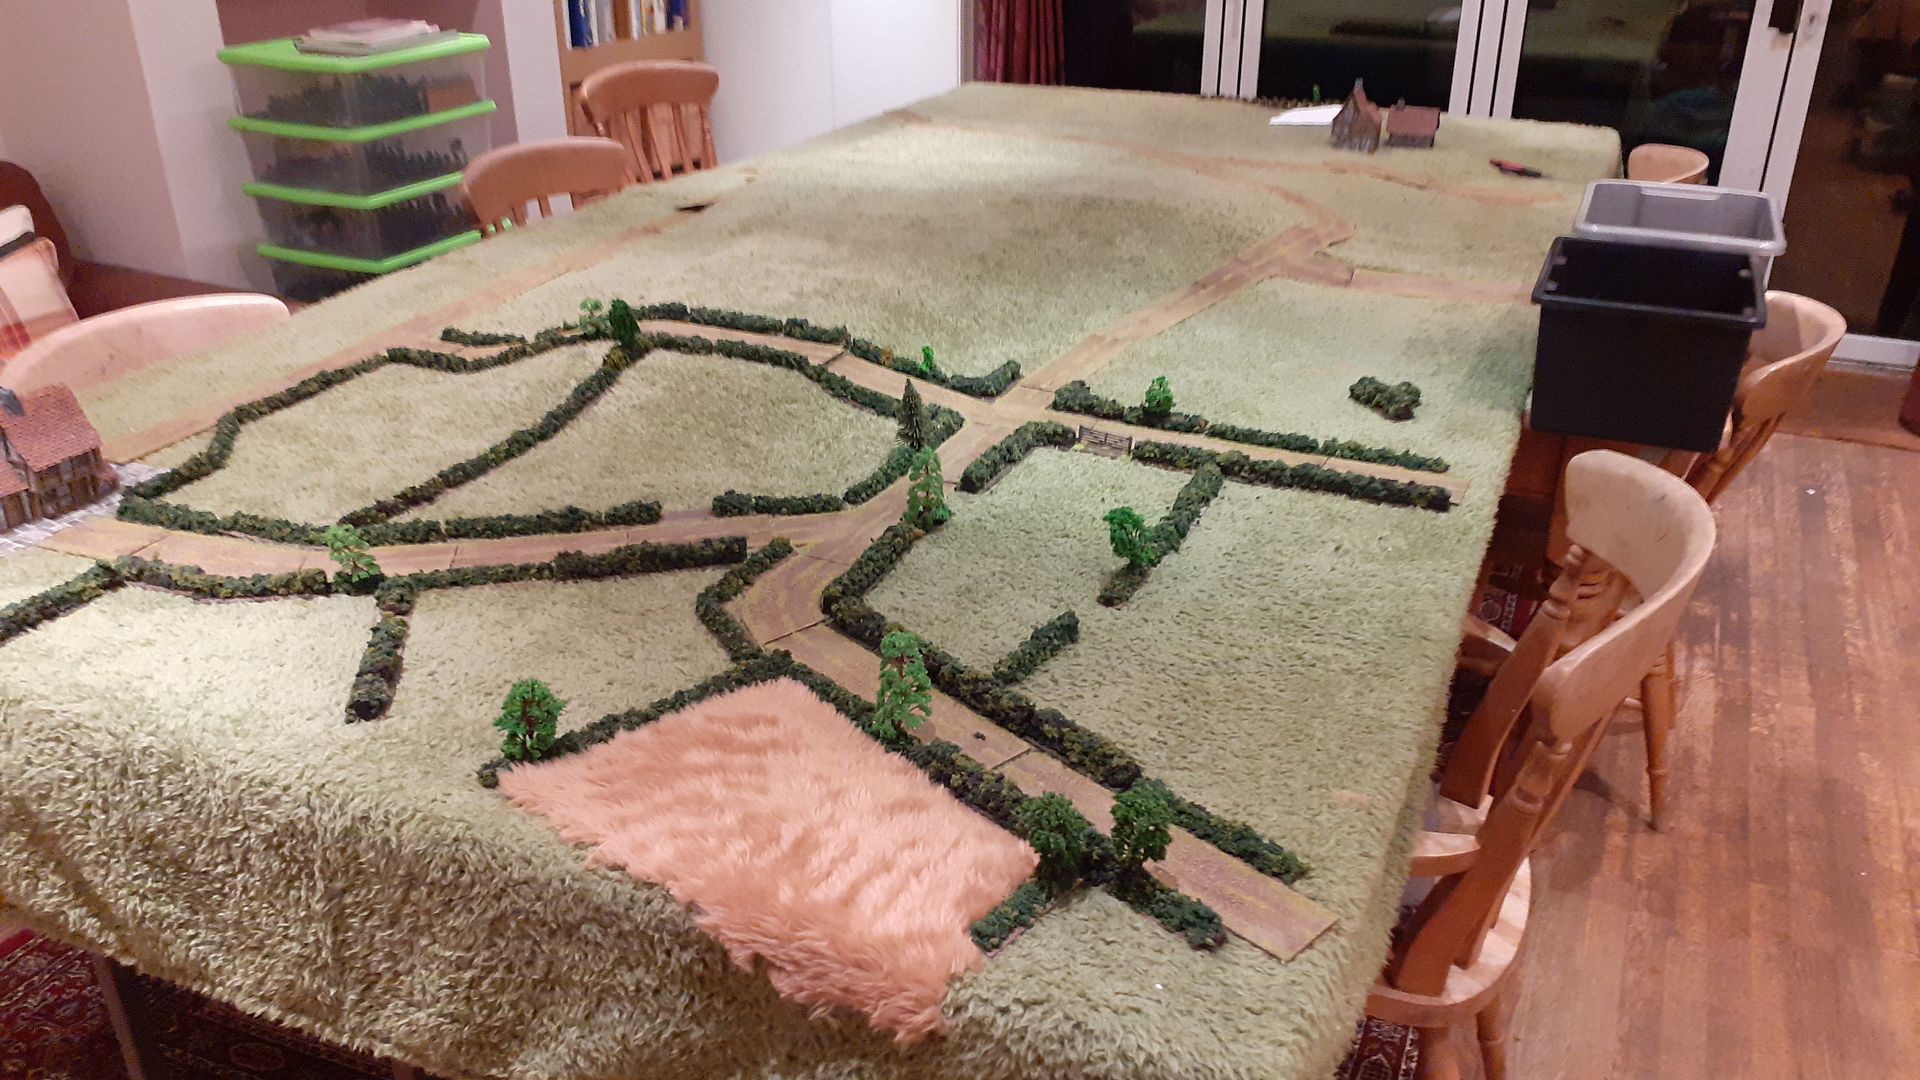
Having completed all my chores, including the purchase of provisions for the Sunday game I began to set up the table. As you can see below my two Dunelm green throws (stitched together) perfectly cover the table. On top of these I began to lay out the terrain. First down went the roads.
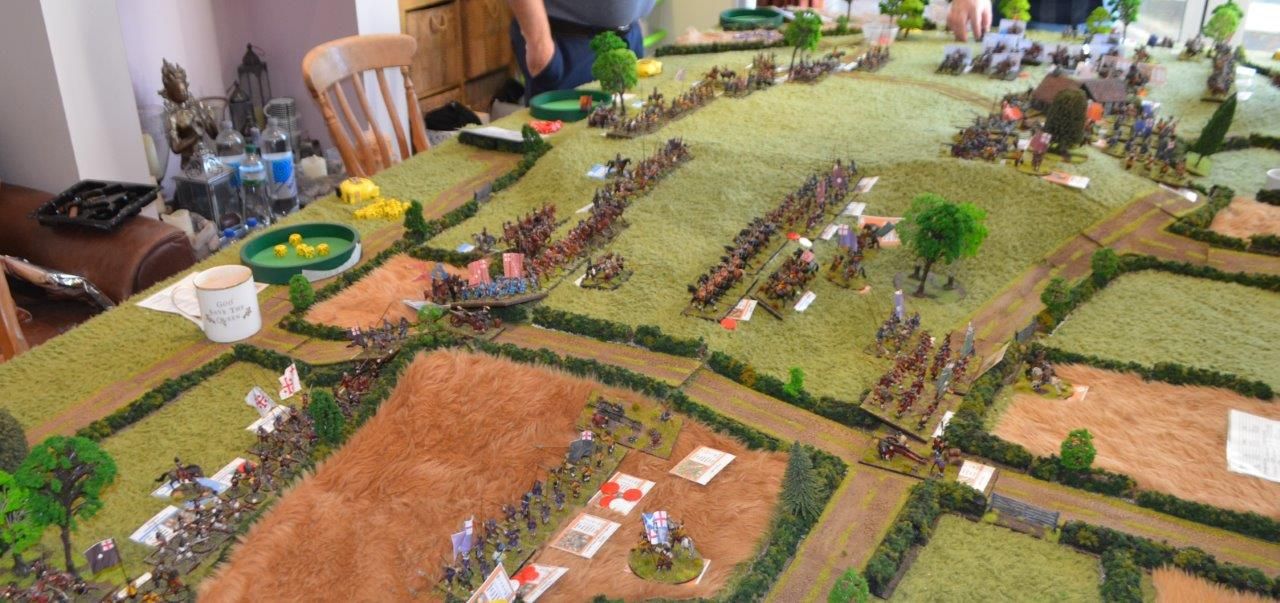
The northern side of the battlefield was characterised by enclosed fields. Newbury was to be found in the bottom left (North East side of the table).
Fortunately I have been busy building more hedges and a further 40ft of hedging was available if required. Given the battle was fought in August it seemed appropriate to give some of these field some additional cover in the form of wheatfields. This is simple teddy bear fur but very effective.
My plans to set up the entire field were then put on hold by the return of the cat !!. Realising I was going to lose this battle I decided that the remainder of the set up should take place in the morning. With a curry ordered and a good bottle of plonk on the go I retired to the lounge for the rest of the evening.
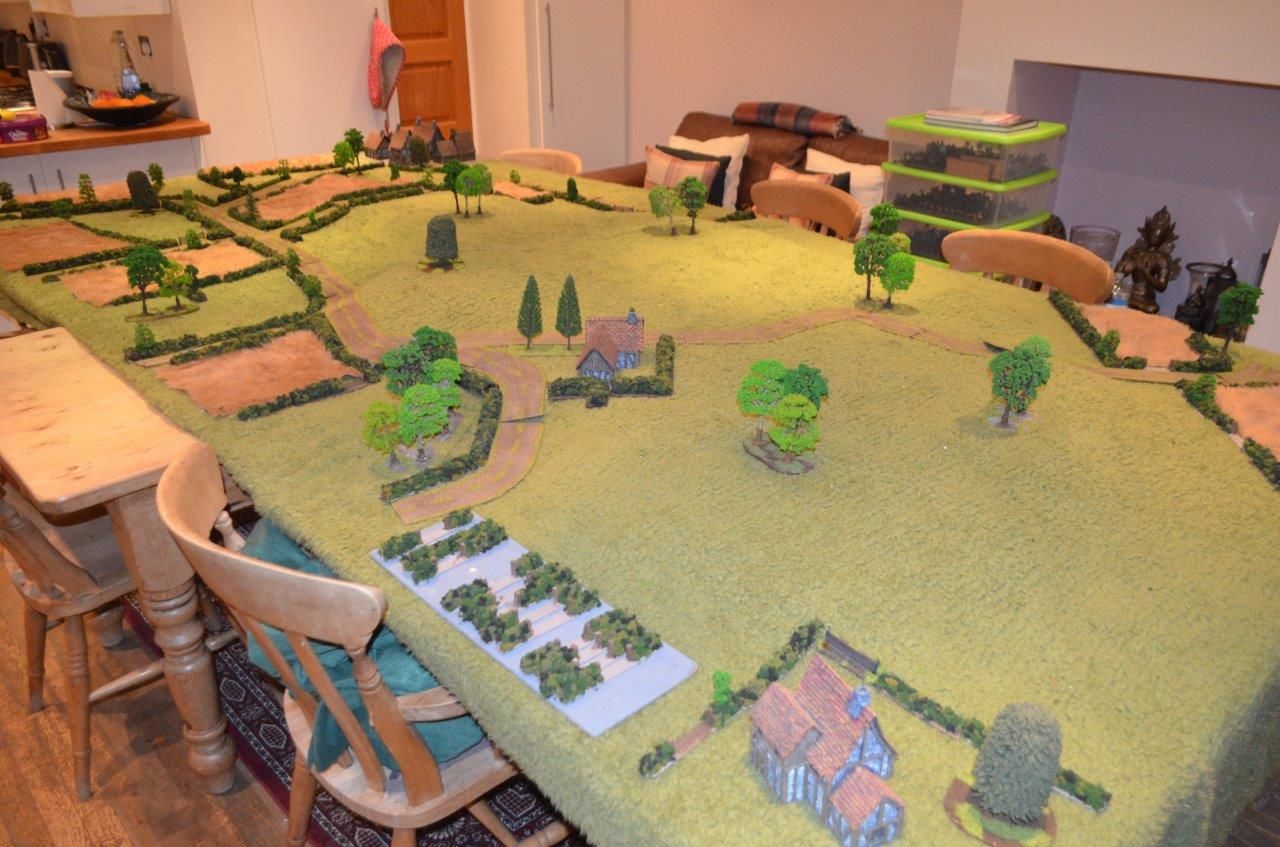
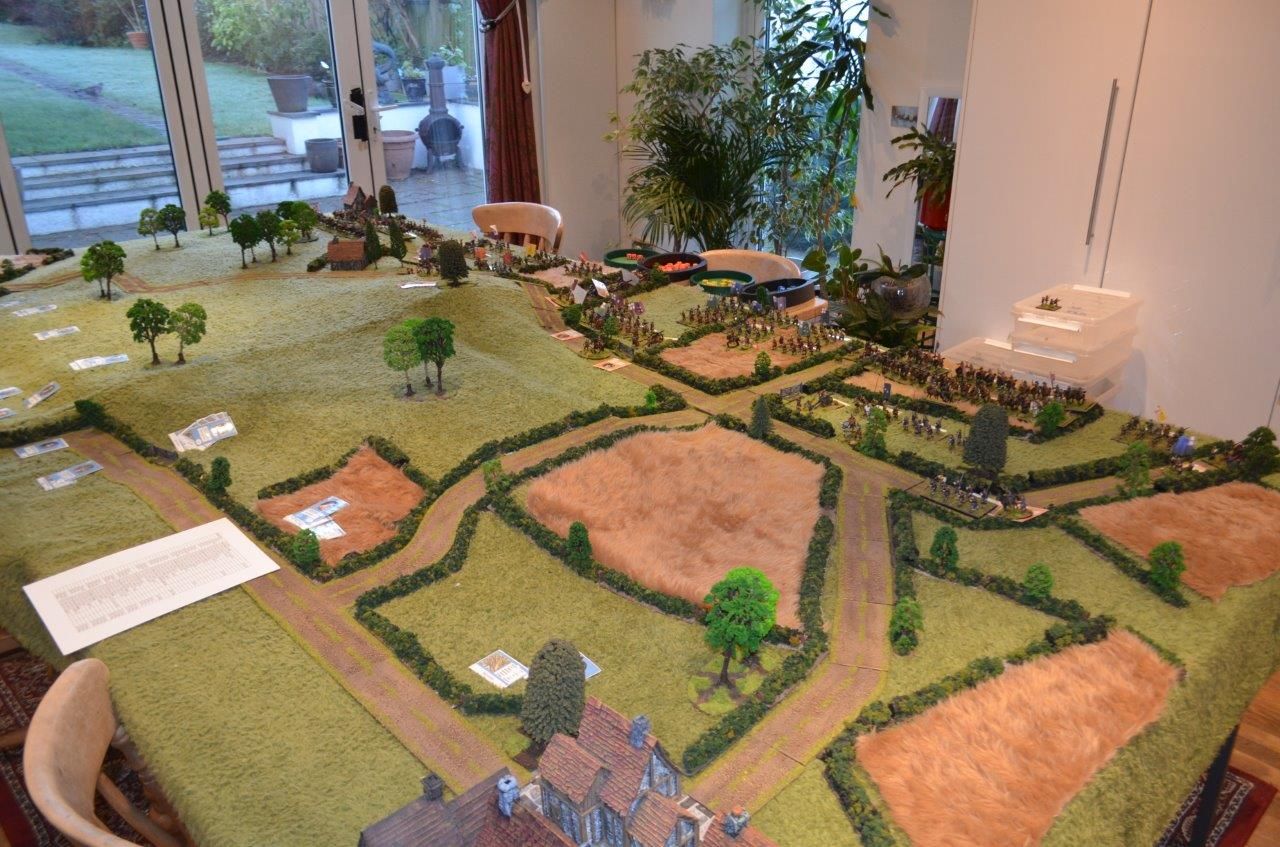
Sunday morning - not particularly bright outside (it was 7.00 am) saw the rest of the table set up. The outskirts of Newbury can be seen to the left of the picture.
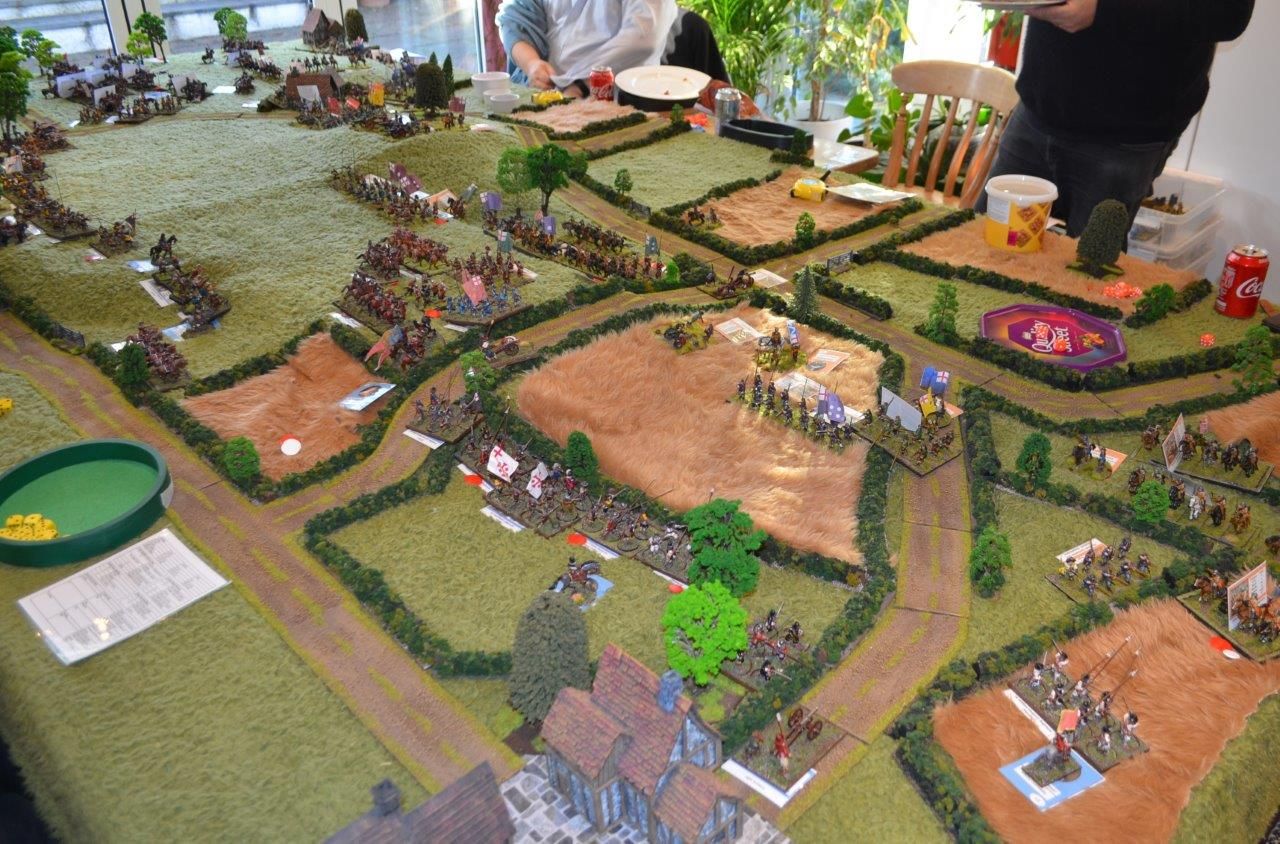
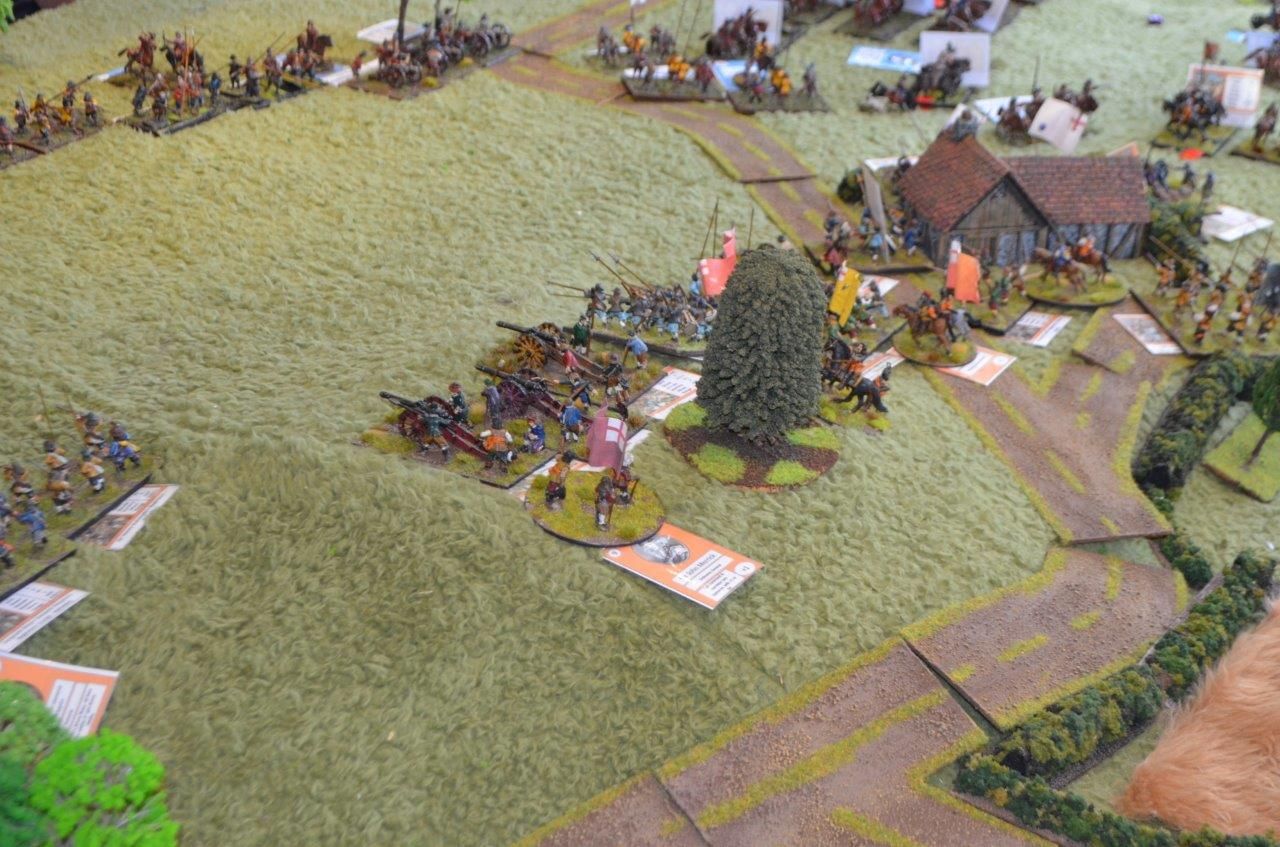
Here is a shot from the other end of the table - the big open area is Wash common, and the two buildings are Wash Farm in the centre and Biggs Farm (bottom right). Apparently the Earl of Essex spent the night before the battle in this farm house, which makes sense given the distance from the Royalist forces in Newbury.
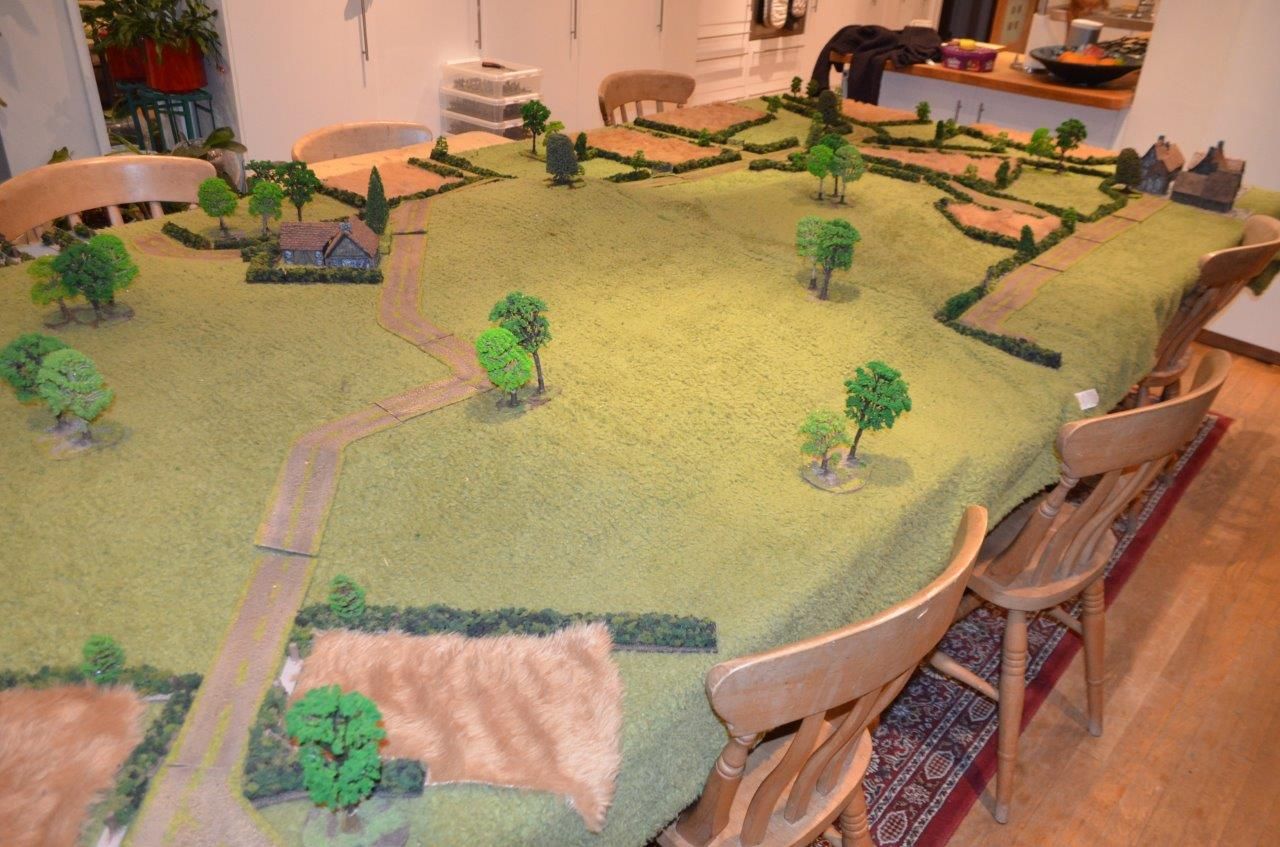
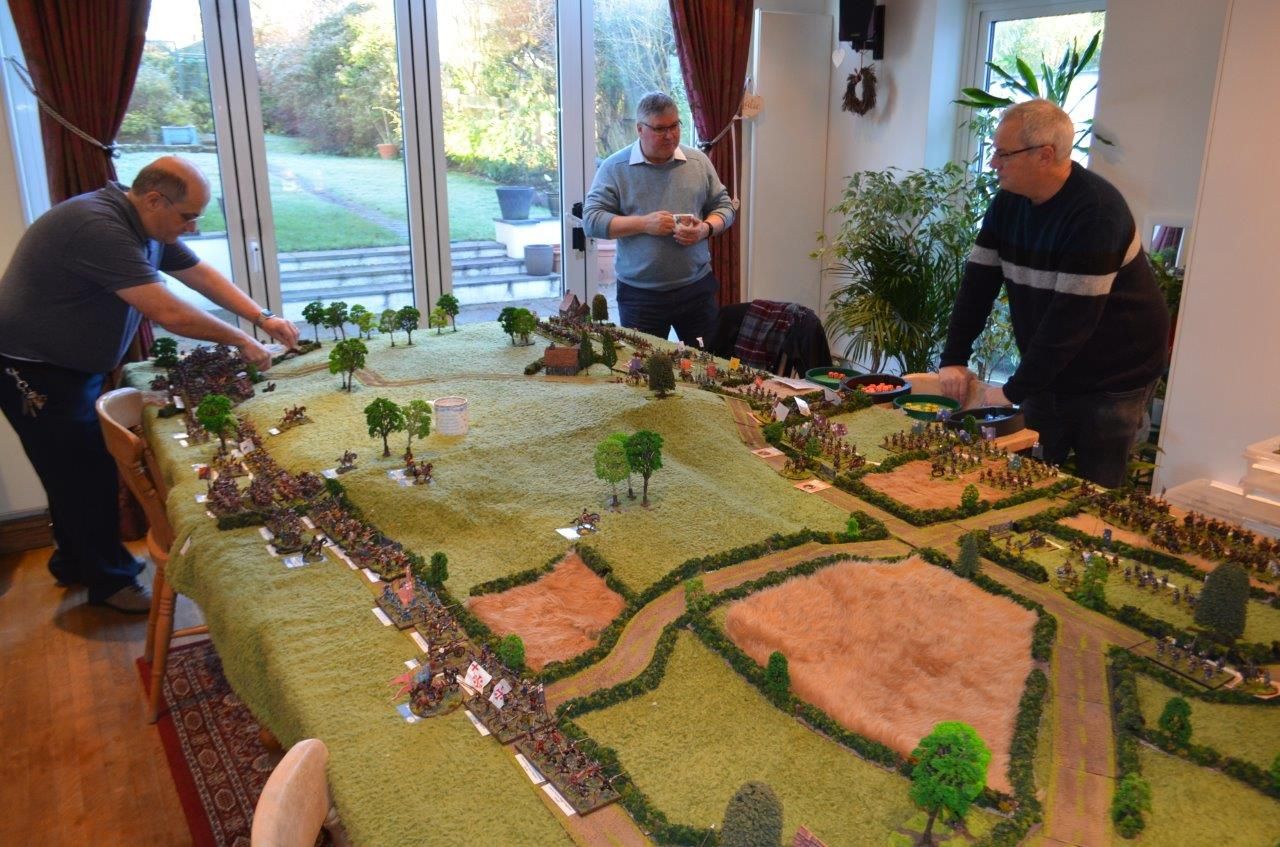
View from the Eastern side (Royalist forces will start here)
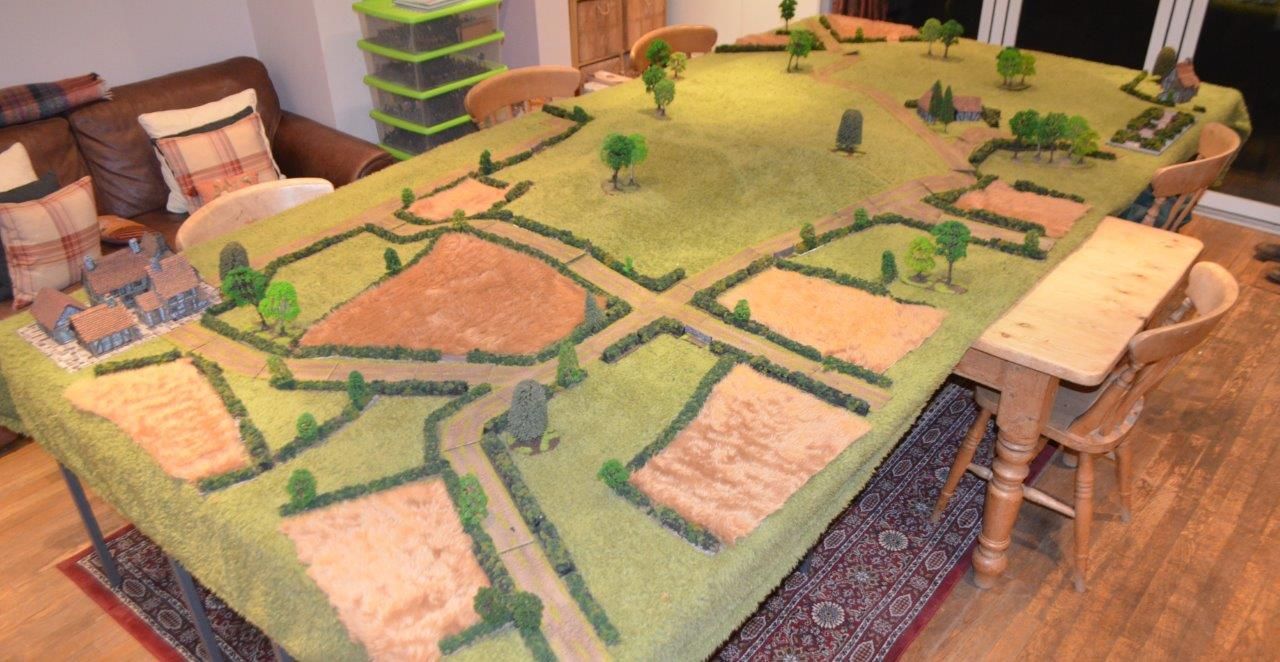
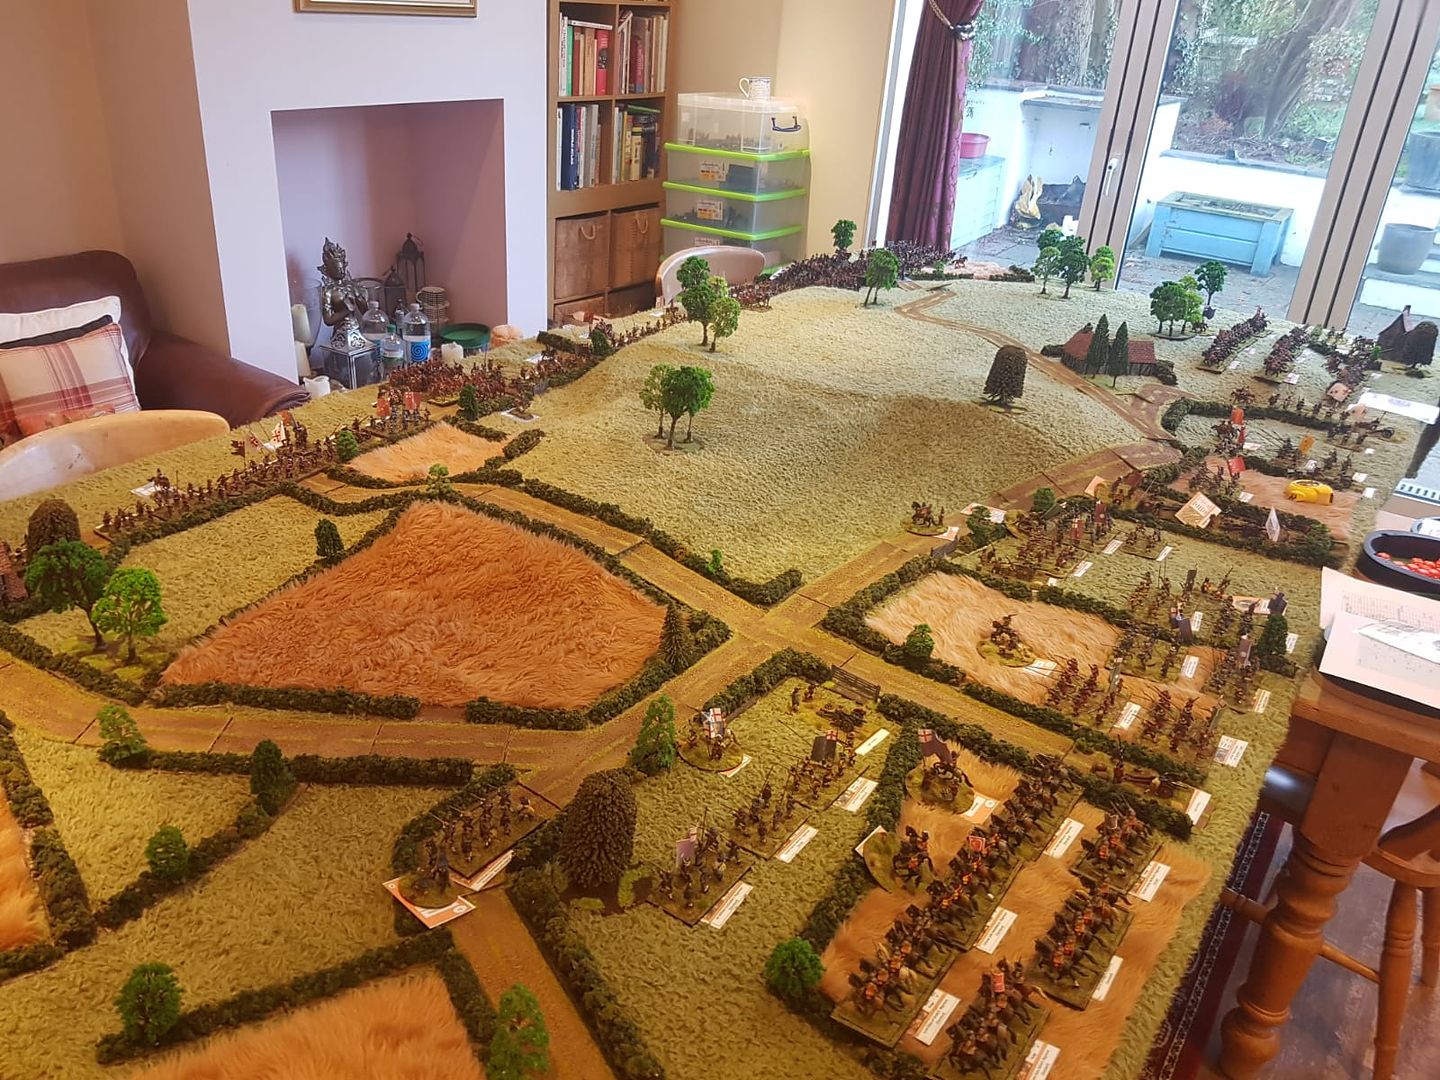
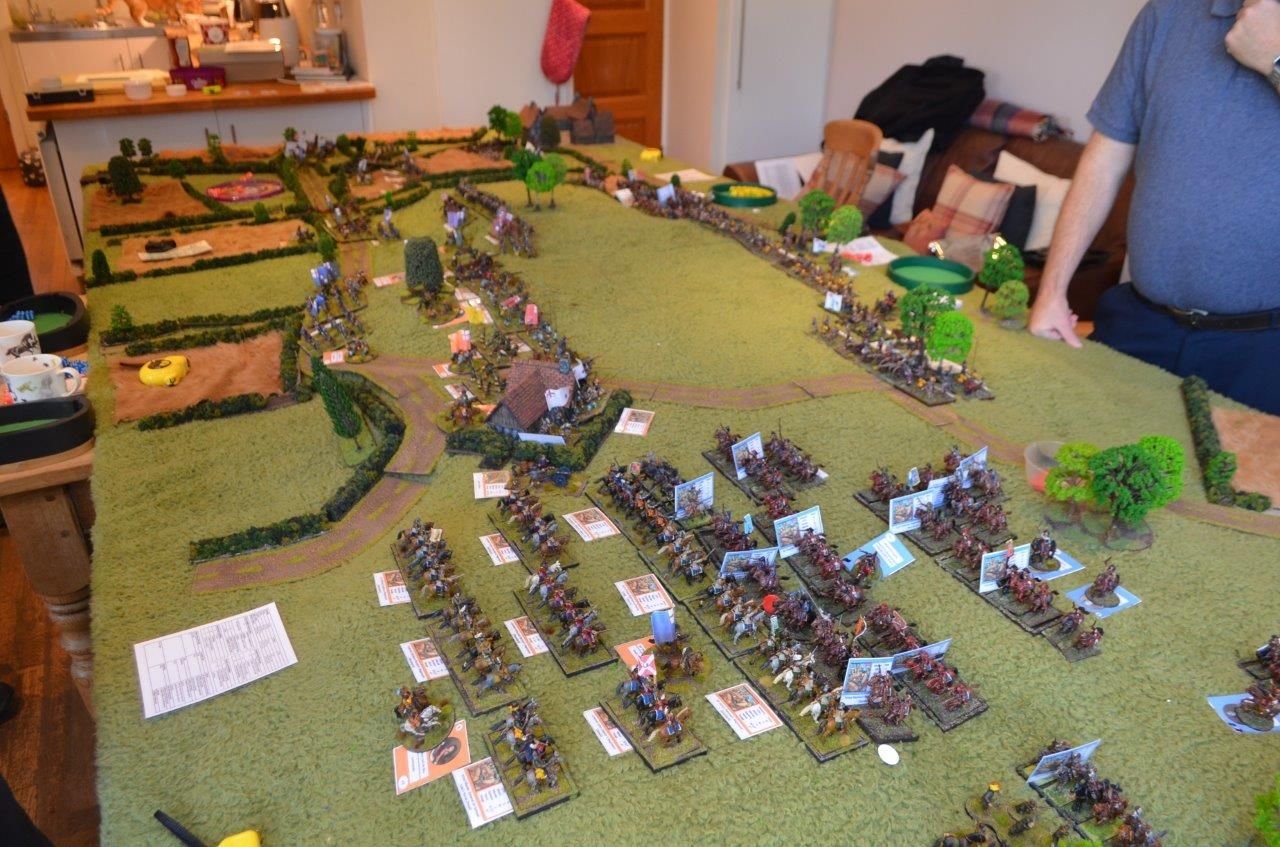
A final birds eye view
It was at this point I started to layout the Parliamentarian forces and it began to dawn on me that my plan to field every regiment on the table might be problematic. The planned footprint of the units would prevent them all from taking the field. Specifically, we were planning that a large infantry unit would consist of approx 30 figures and a small unit 16 figures. Had we stuck with this plan there was no way all the units could occupy the ground.
A compromise had to be found fast. Fortunately both my troops and Mark's are based individually and then placed in movement trays. It then became a race to to find the best unit size to fit the table. In the end we plumped for the following.
Small Cavalry regiments would consist of four figures, Standard size six and large regiments 8 figures. Infantry regiments (using the combined Pike & Shotte rules) would follow the following sizes, Small units six figures, standard would have eight and large 12.
Ransacking movement trays from my Zulu Was collection we were soon able to position the correct troops. Every unit represented at Newbury took the field.
As a final adjustment every player was given an additional commander named after them selves. These commanders would be able to take to the field as a battalia commander by taking units from an existing battalia.
The teams were agreed in advance. I would fight on the Parliamentarian side (left wing), Gary (better known as Hu Rhu on the LAF) would lead the Parliamentarian Right Wing. With overall control of the Government forces was Alastair (a Wargaming Gallimaufray blogger).
The Royalists were lead by Mark (it was his army) in the centre. Steve would play Prince Rupert and John would fight from the Royalist left wing. Mark was particularly concerned that were he to give John the command of the Royalist cavalry they might have all disappeared by lunchtime. John appears to have earned a reputation of being slightly rash when it comes to cavalry engagements - I would have thought that would have made him perfect for the role of Rupert !
 |
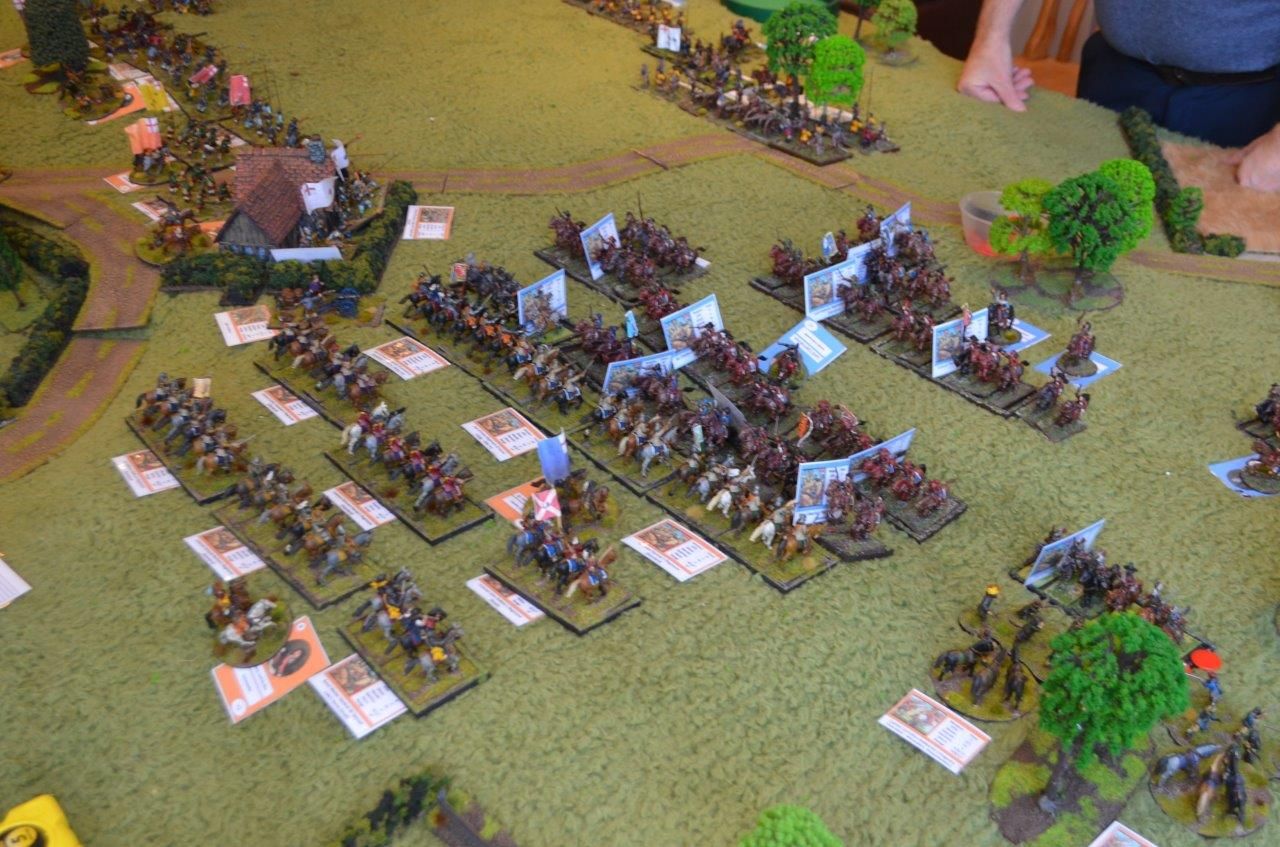
| The Parliamentarians take to the field |
As the players arrived we held a short briefing session supported with bacon rolls and cups of tea. With the last of the troops deployed the game kicked off in earnest at the prescribed time of 10.00 am.
We had agreed in advance to play continuously through to 4.00 pm. At which point in time the game would end. However if either side hit their break point before hand the game would be halted. The Royalists could afford to lose 21 units (either broken or shaken) and The Parliamentarian 19 units.
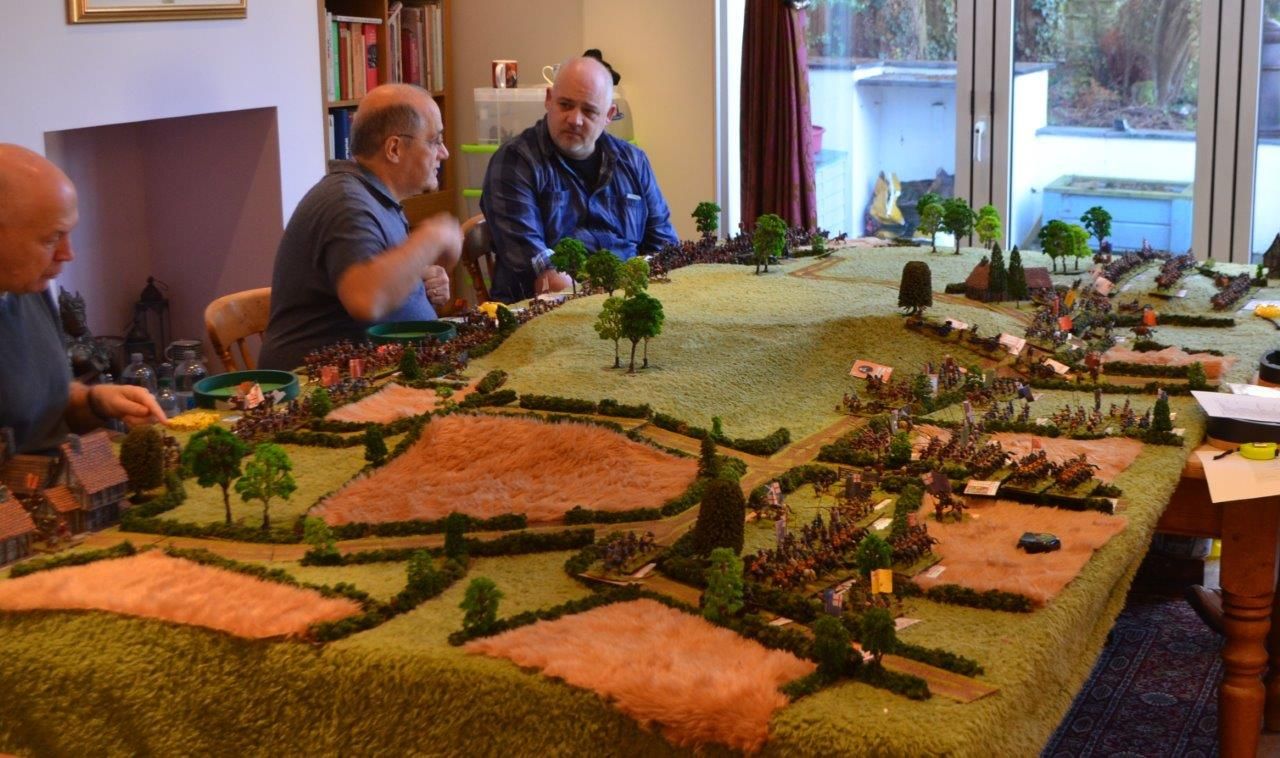
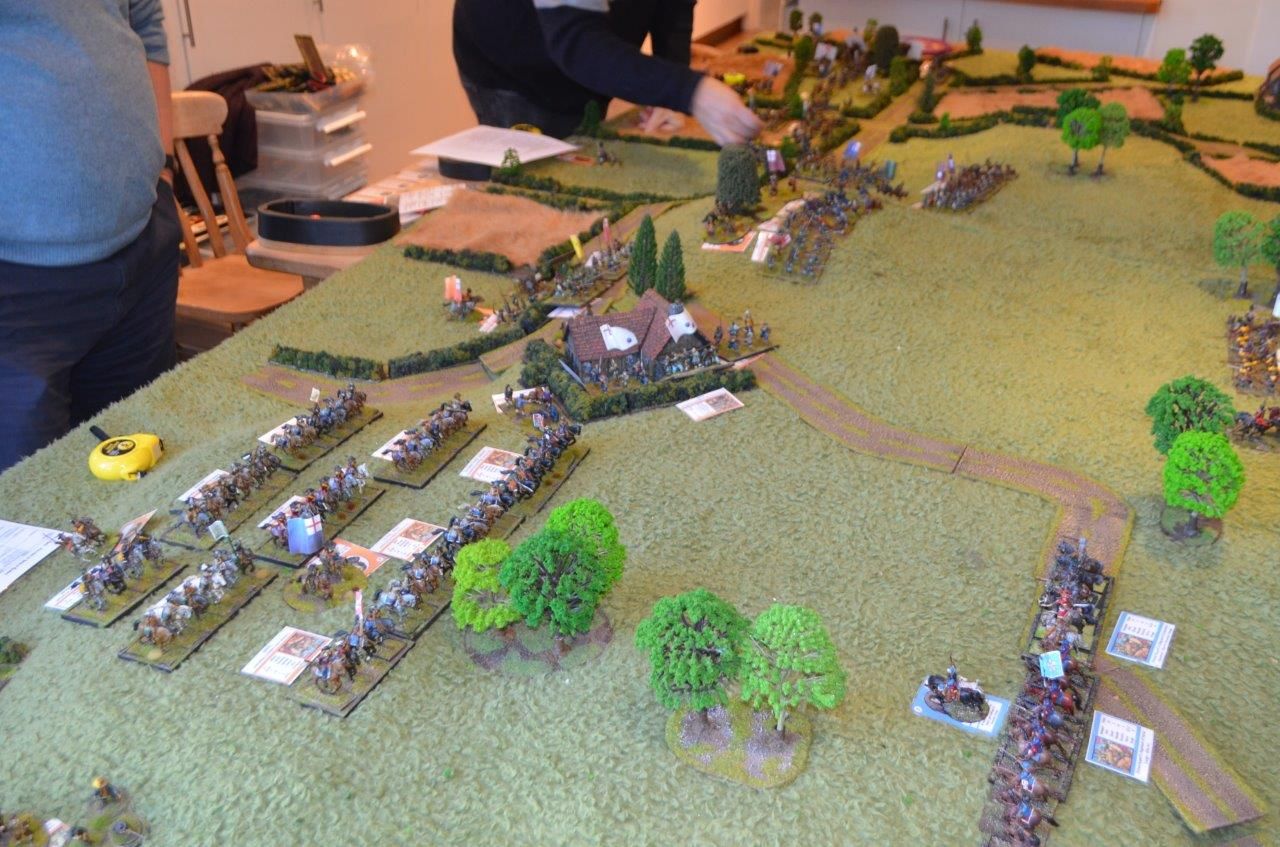
The moment before battle commenced. Every unit and commander has their designated card sitting below. At this point I'd like to apologise for some of the photos you are going to see, these are action shots taken from the game and as such their is significant amounts of clutter on the table. Not only will you see the unit cards but also casualty markers (tiddly wink counters), table measures, coffee cups etc.
The game started with the Parliamentarian being given a free move, after which the game would start proper. The royalists won this and initiated the first proper moves of the battle.
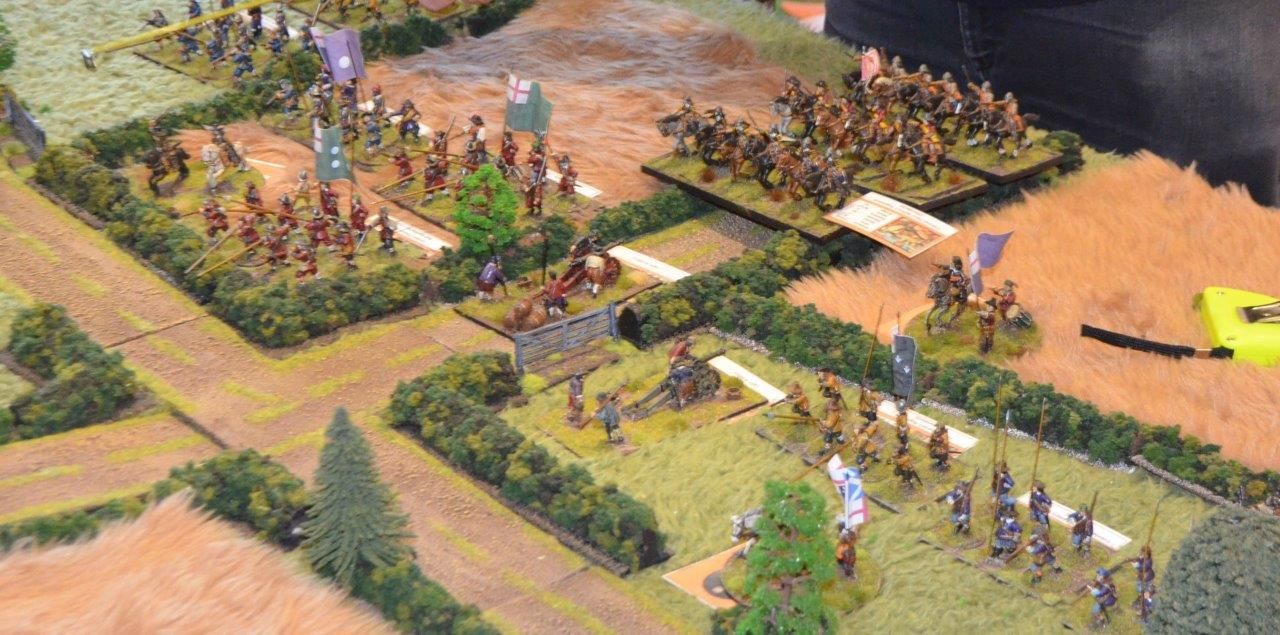
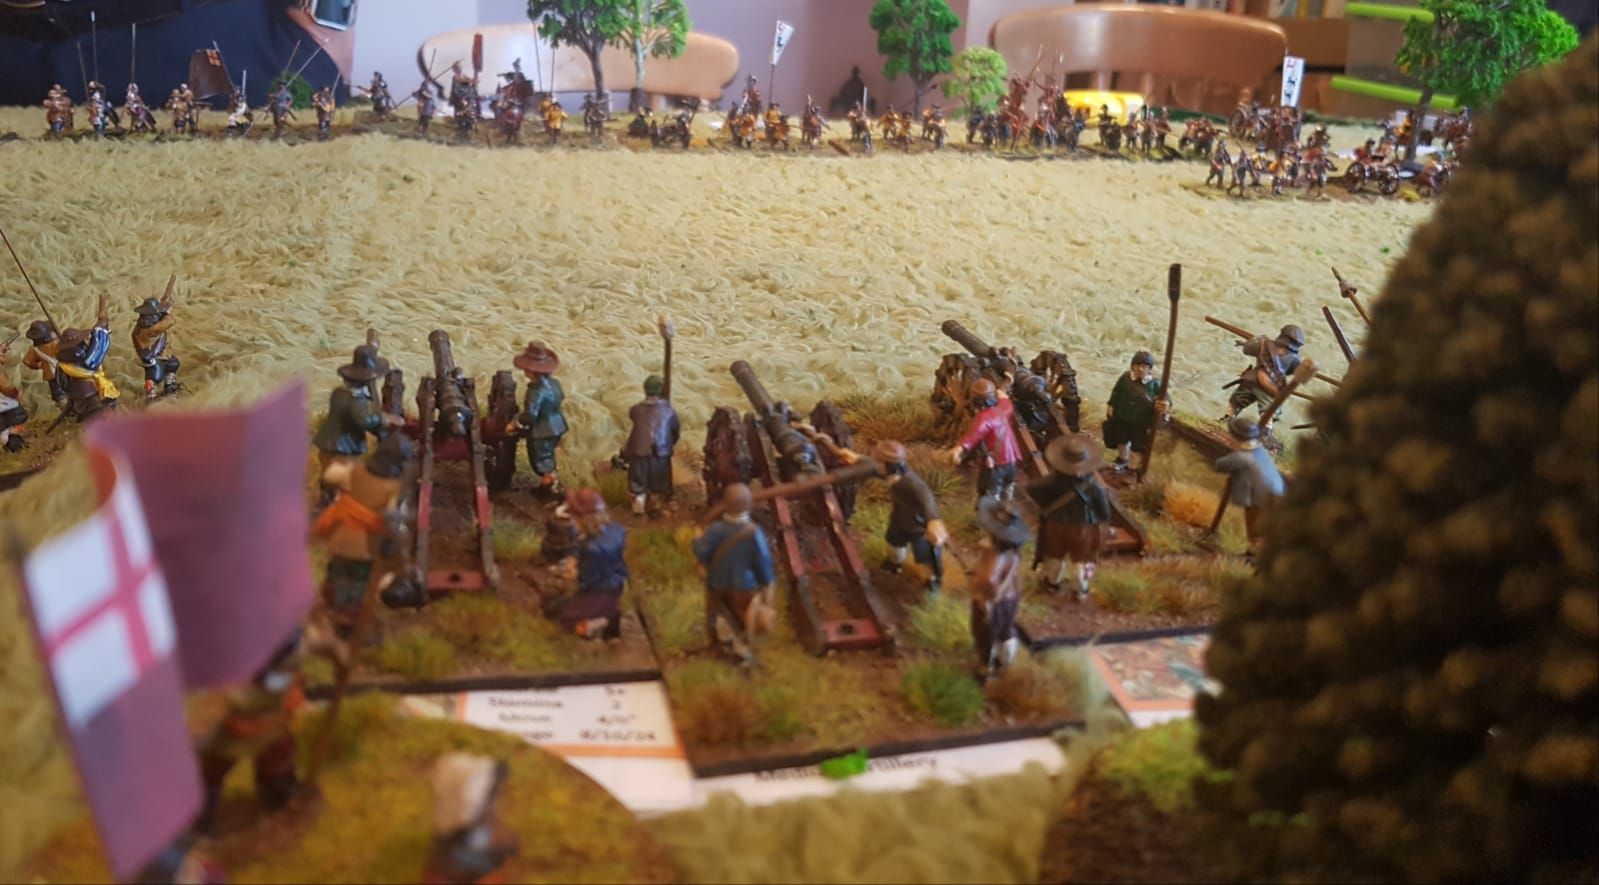
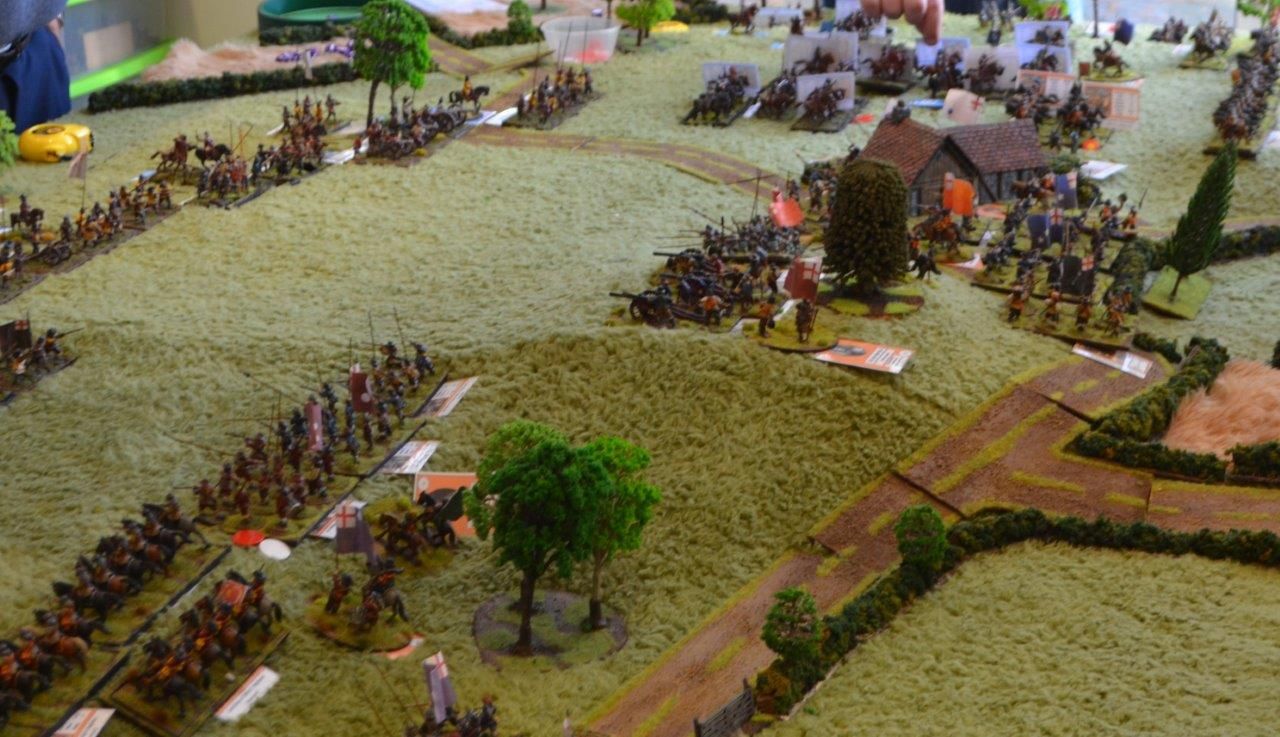
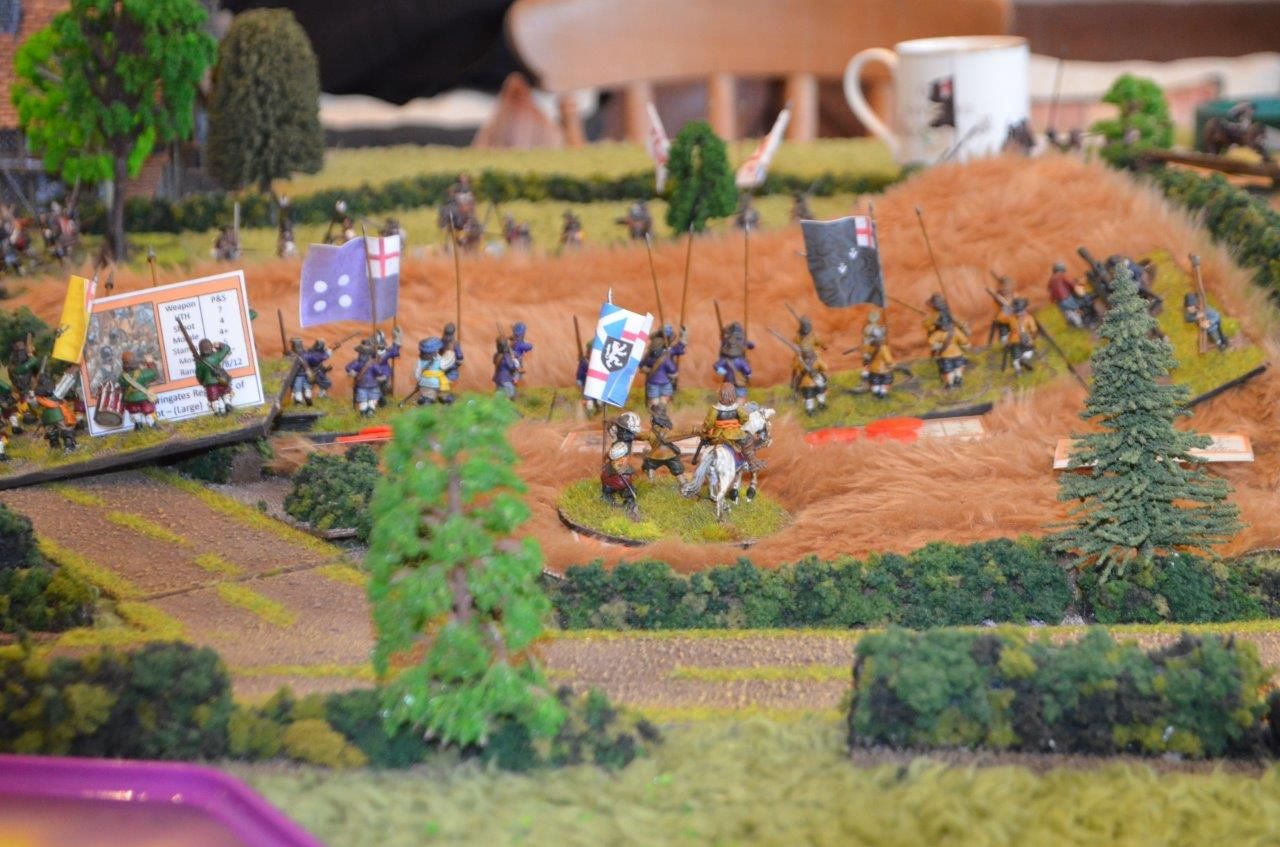
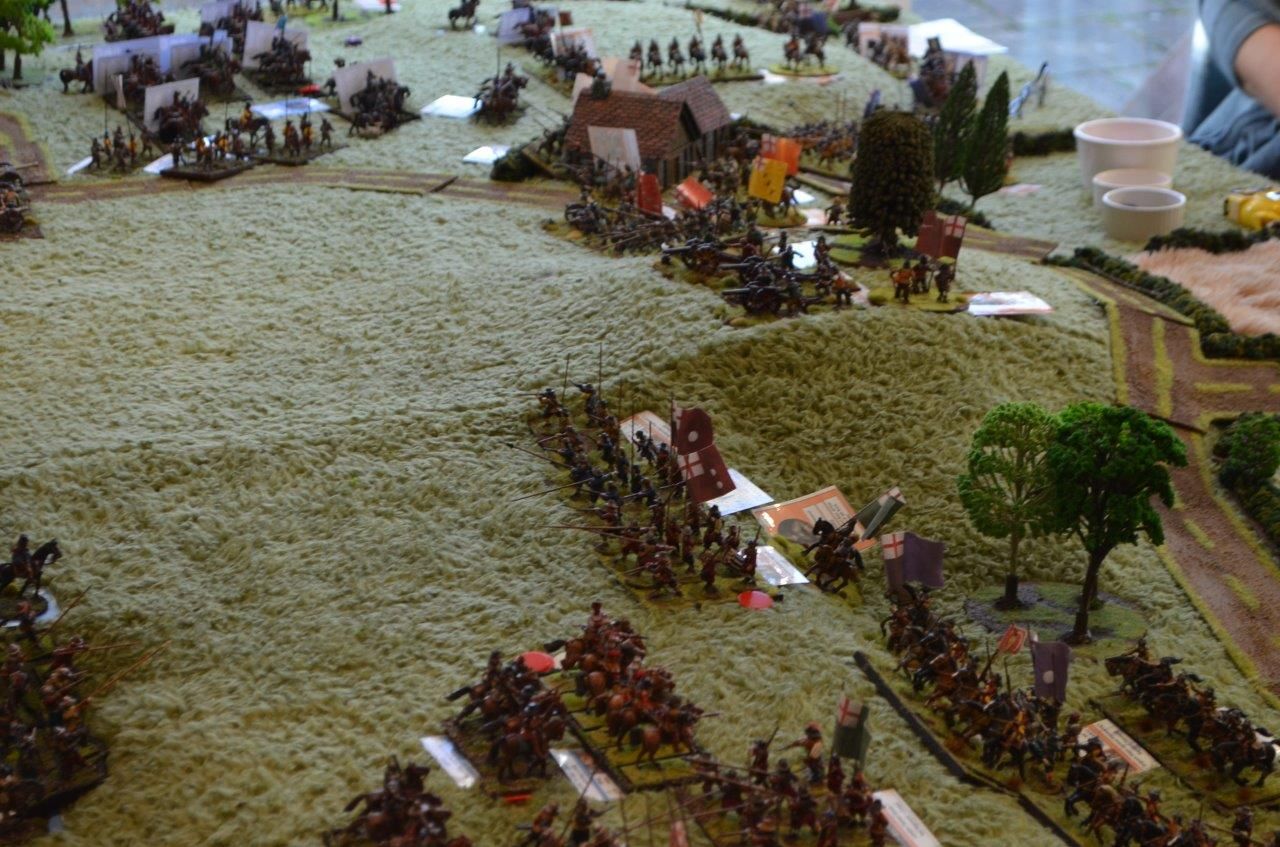
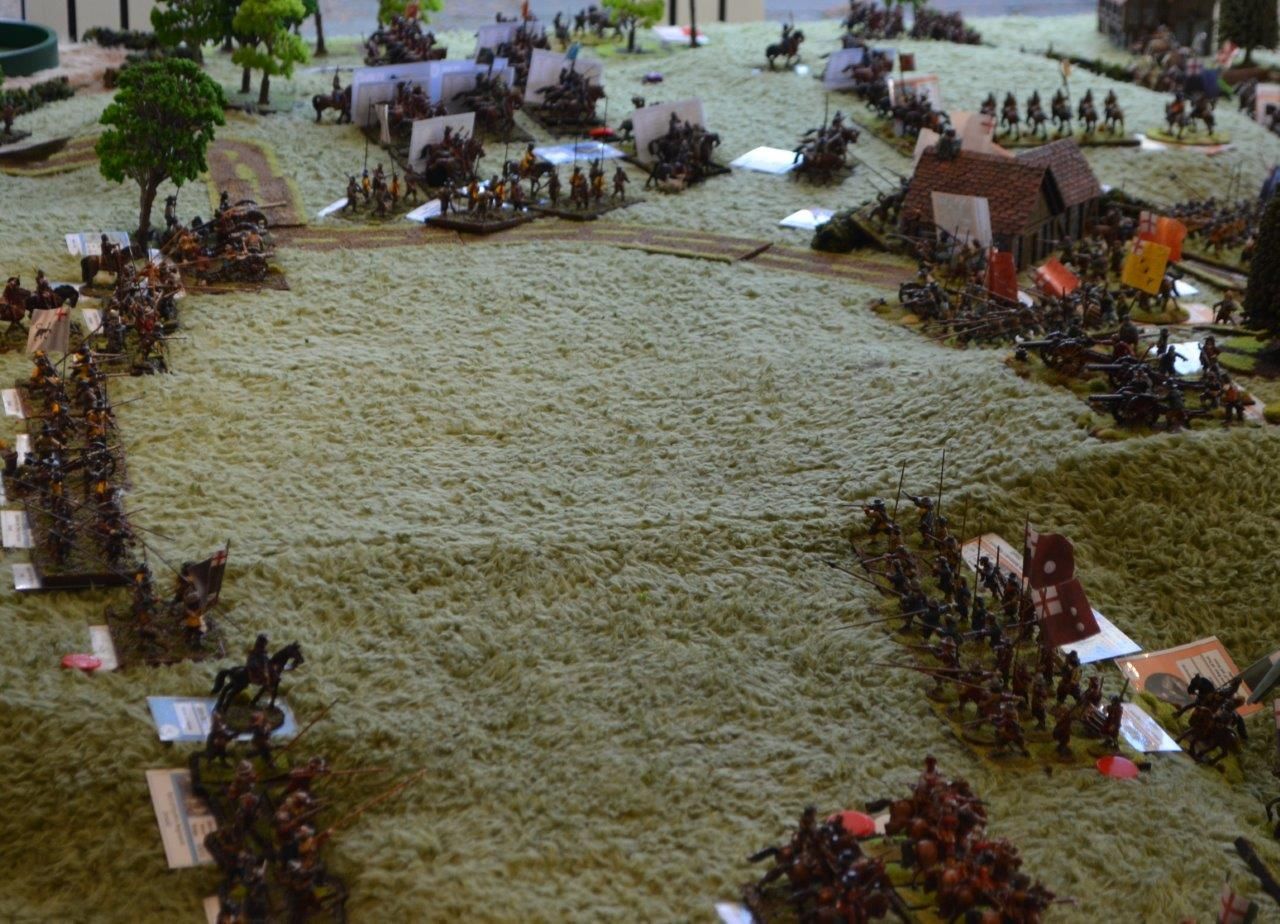
As per the real battle the dominating terrain feature was Round Hill (top Centre right in picture above) and fortunately for the Government forces they were able to get their battery of medium guns up onto the hill under the command of Merrick in the first couple of turns. These were supported by the battalia troops of Skippon.
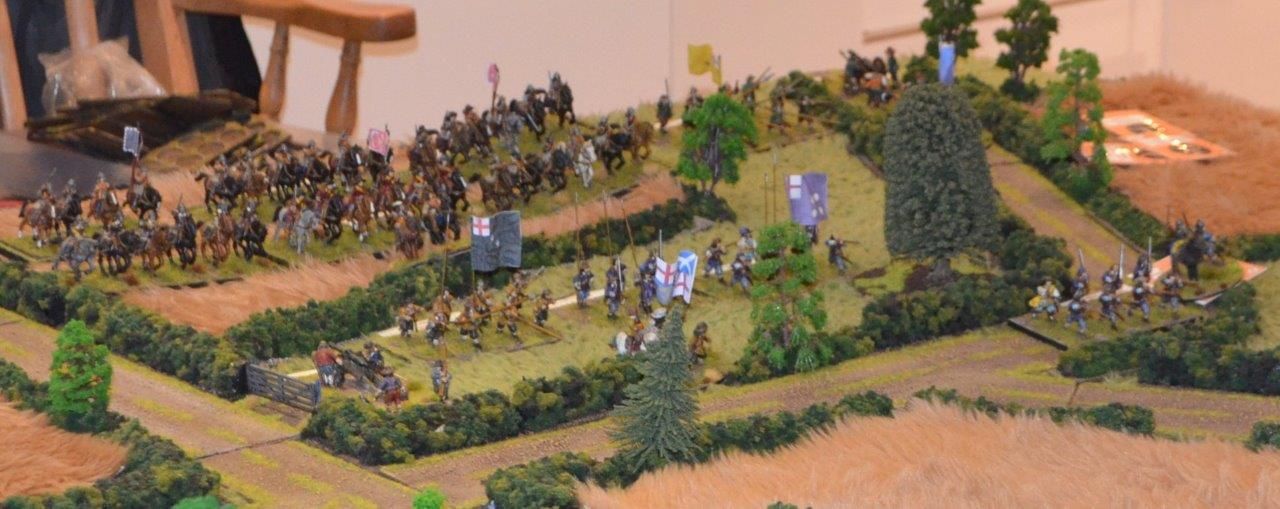
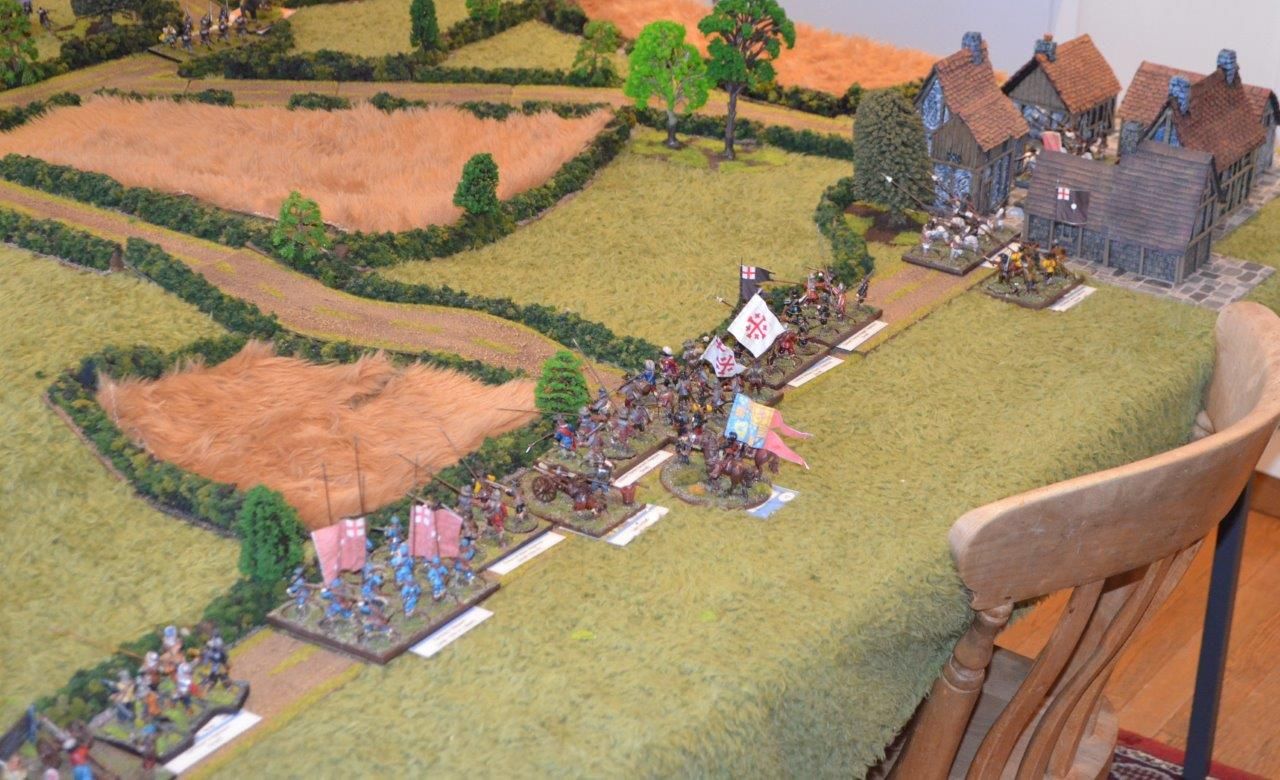
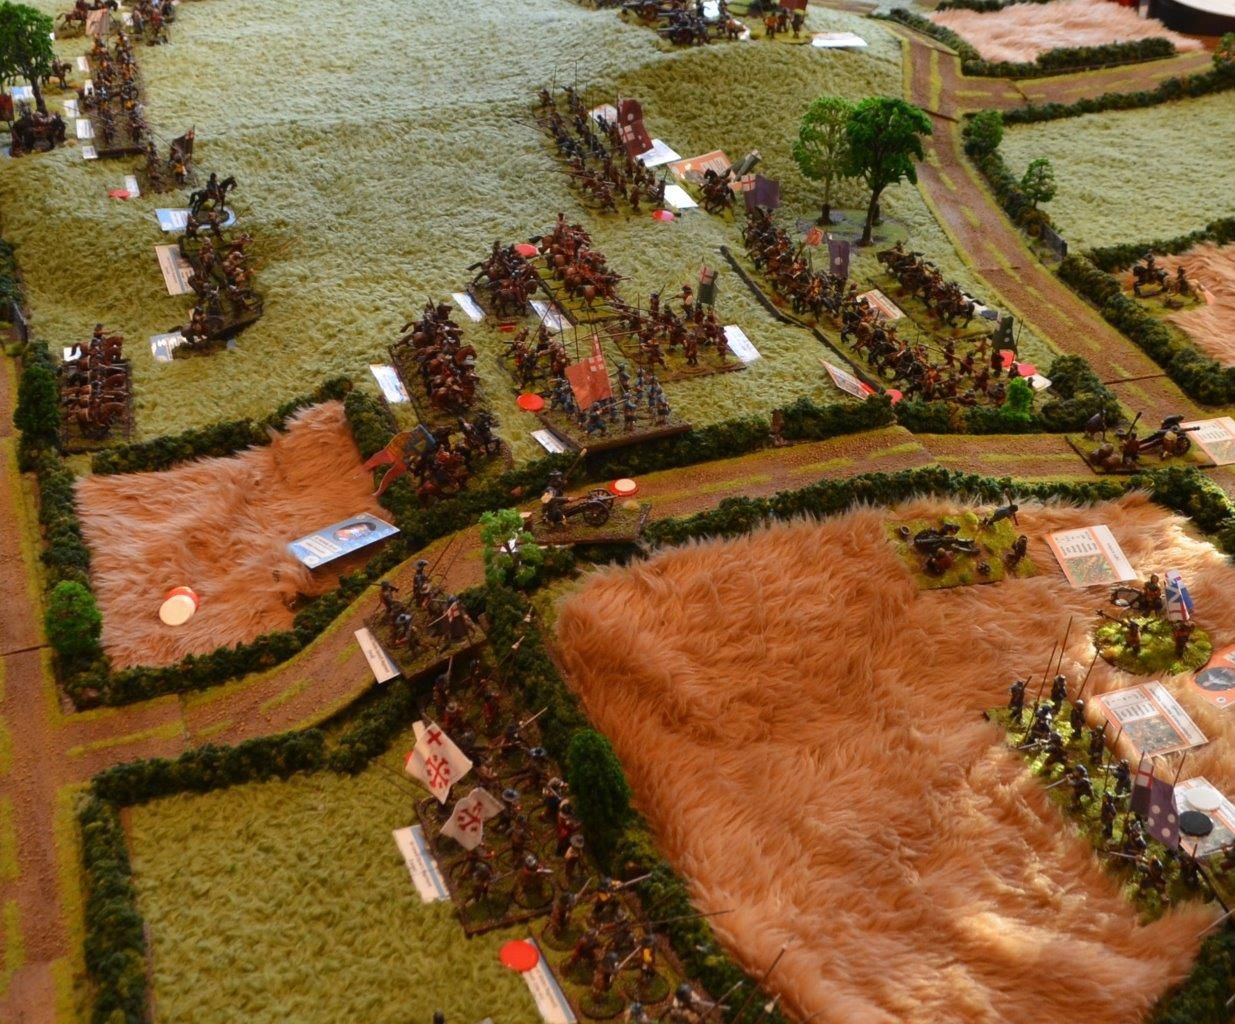
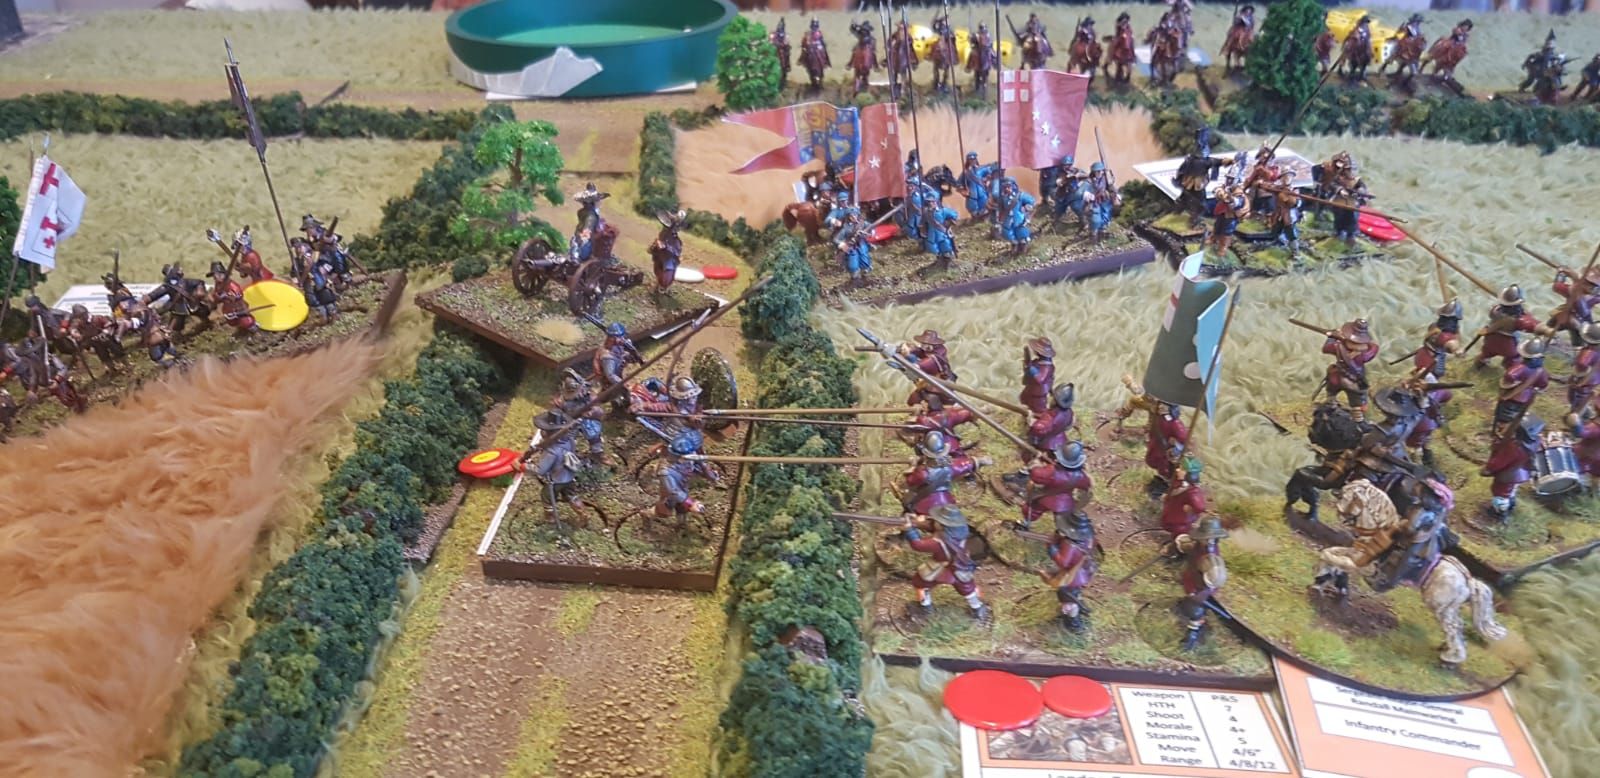
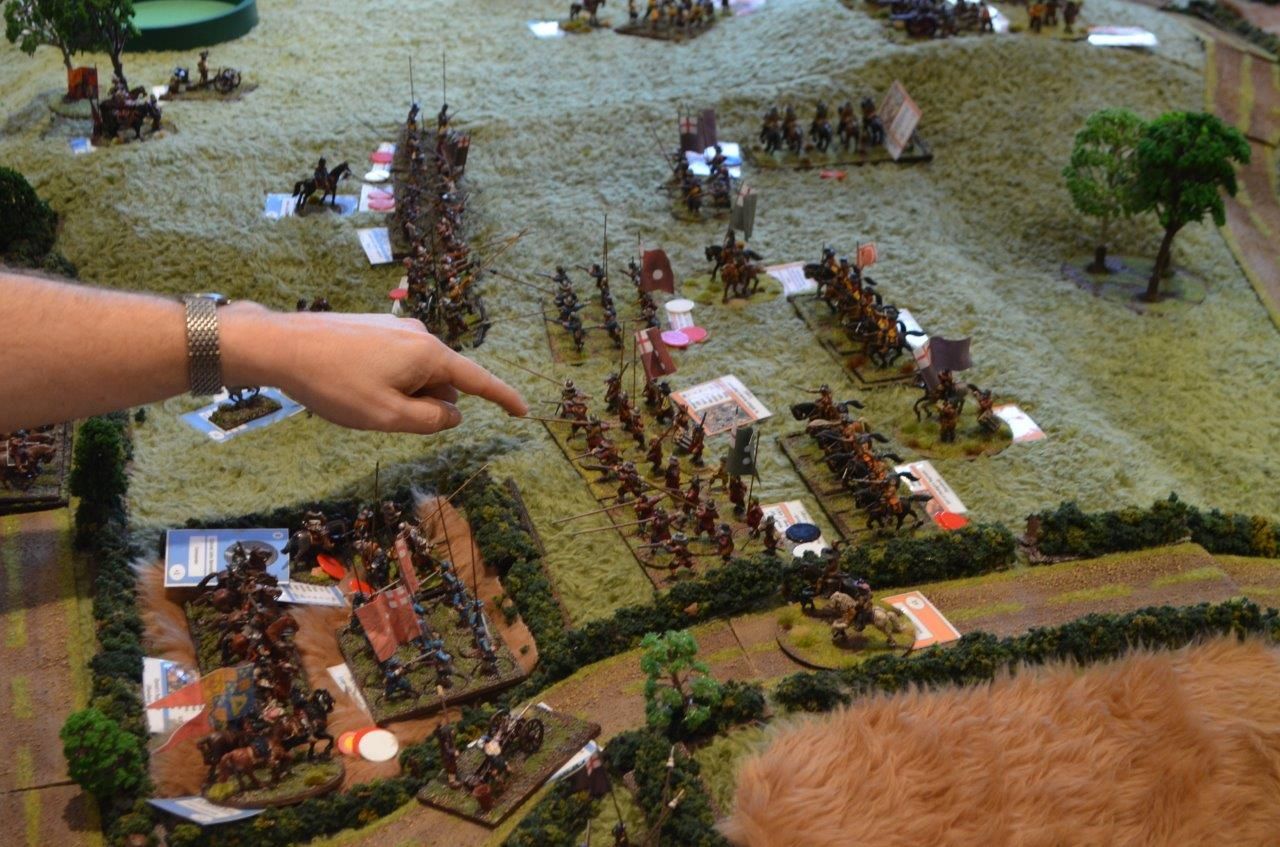
My troops (bottom picture) under Middleton were to force their way up through the enclosures to take the fight to the Royalist right.
These Royalist forces (see below, under Vavasour amongst others) pushed up out of Newbury to the first line of hedges
It became evident that the big cavalry engagement to the south on the common would determine how the initial part of the battle might play out. The Roundhead cavalry, commanded by Stapleton, would almost certainly see the heaviest fighting and depending on how they held out (they were outnumbered 3/2) would probably shape the rest of the battle.
With the Rebel forces holding the hill with artillery the Kings forces sat outside gunnery range.
As mentioned within two turns the guns reached the top of Roundhill and were ready to deploy. The rebel cavalry can be seen advancing in the top of the above picture.
As mentioned in my previous post each side had access to a number of chance cards. A total of five could be held in hand with one new fresh cards drawn each turn. The General could secure another with a successful command roll.
With the Roundhead Cavalry deploying a solitary Royalist sniper (chance card) took aim on General Stapleton. A dice was rolled - a six. Stapleton toppled from his horse quite dead.
Fortunately Lord Hu Rhu was on hand to take command of the division and in the circumstances did rather well.

By now the Roundhead left flank had started its advance through the dense terrain.
This was very heavy going with each hedgerow sapping commands and causing the forces to inch their way forward.
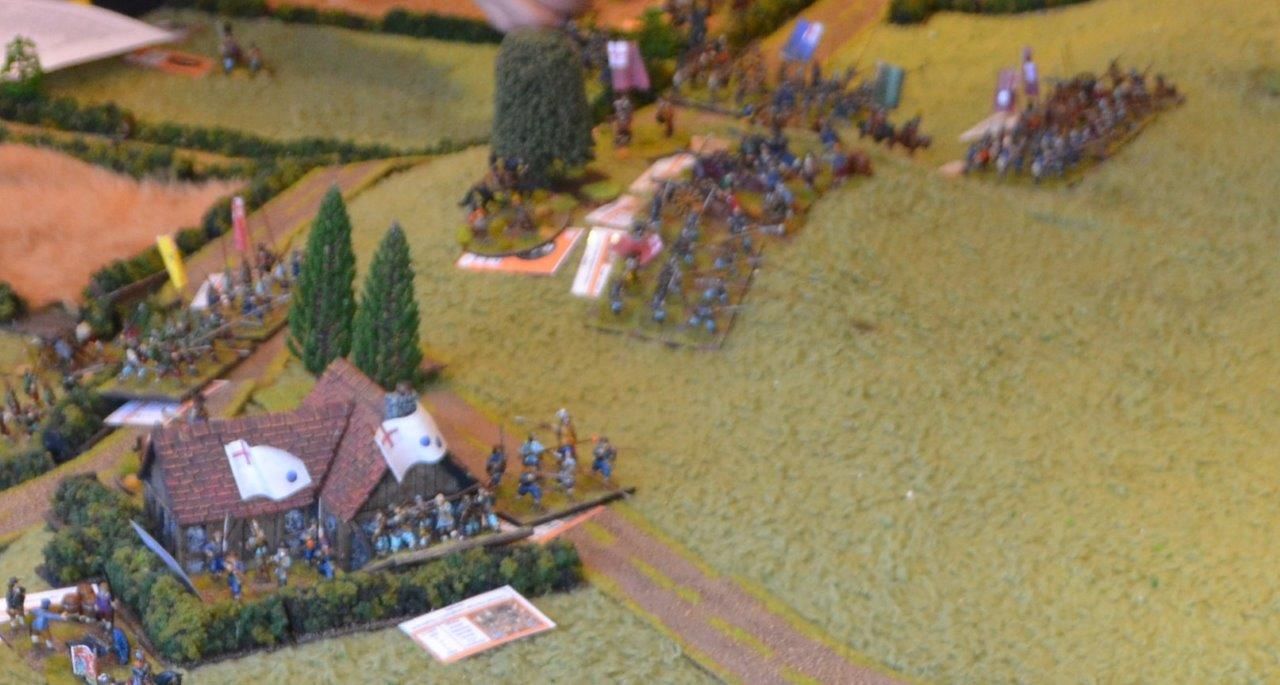
Elsewhere Lord Hu Rhu's infantry battalia had occupied Wash Farm and our defensive line was forming up waiting on the King to make his move.
Despite the loss of their commander, the horse of the Government formed up on the wash readying themselves for what was going to be a serious cavalry battle. Indeed this was virtually fought all day to a very bloody end.
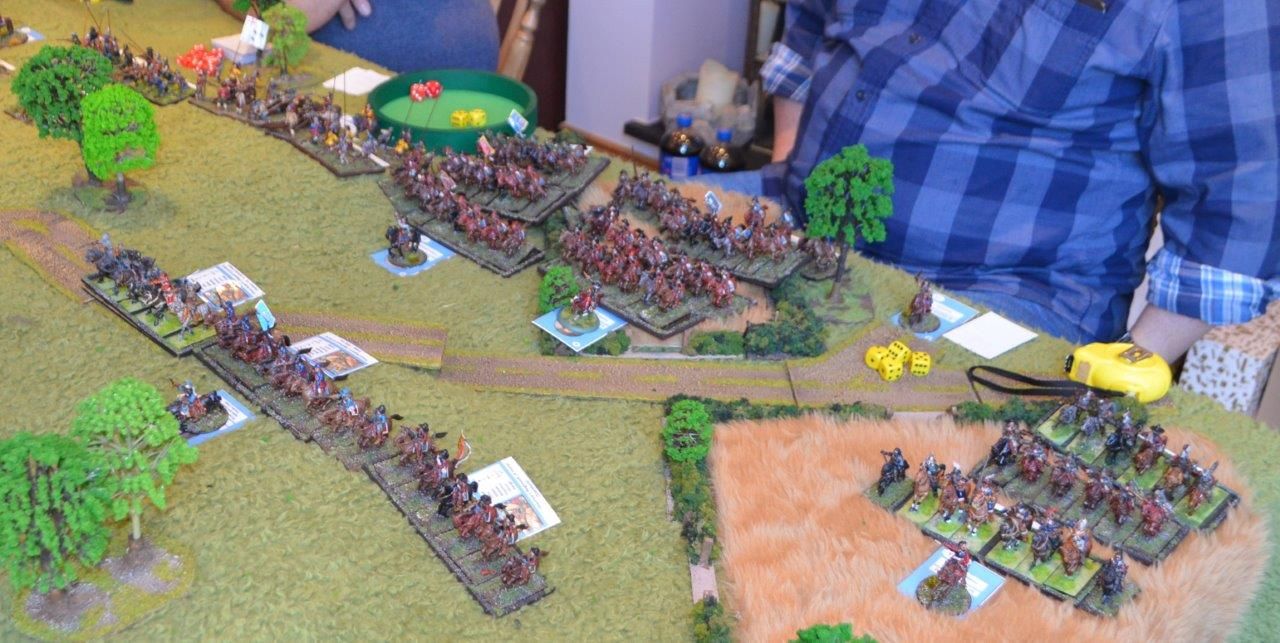
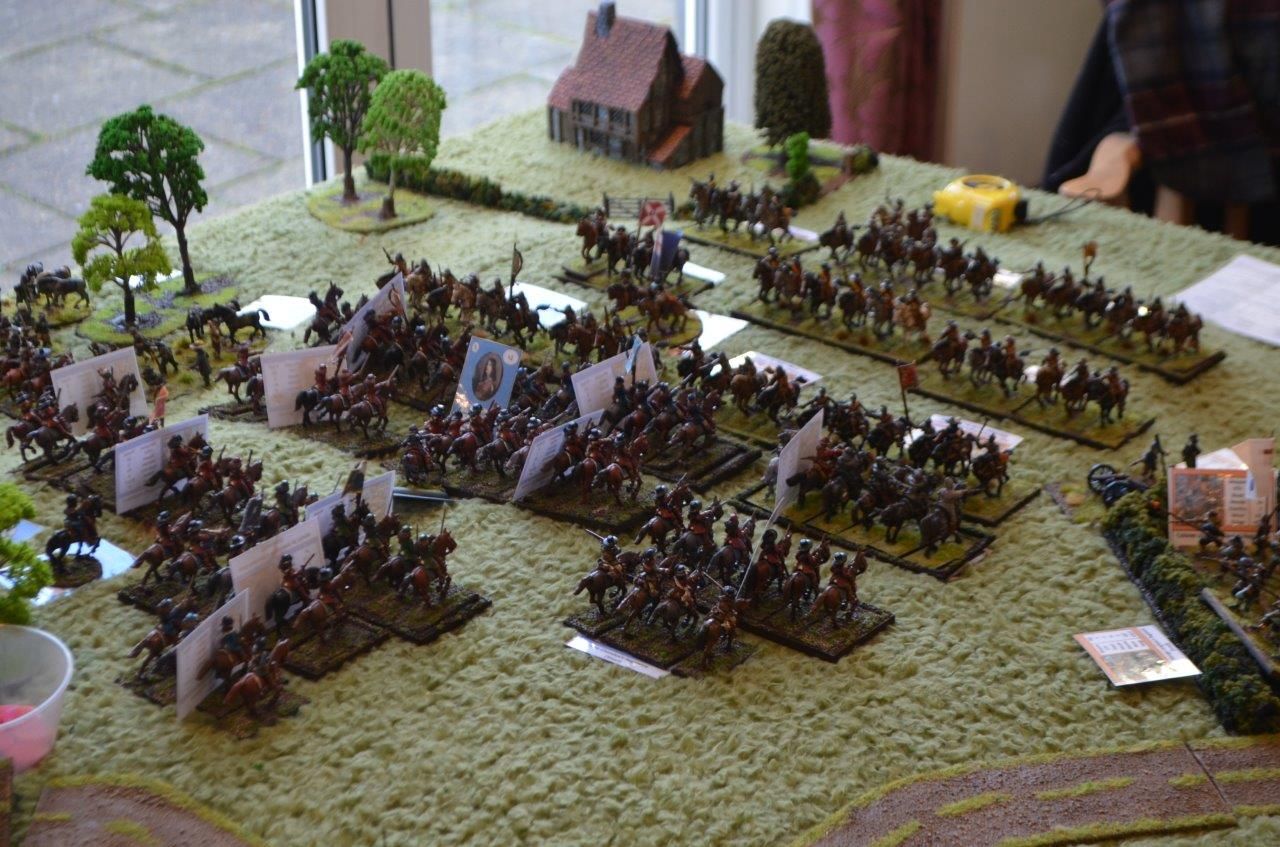
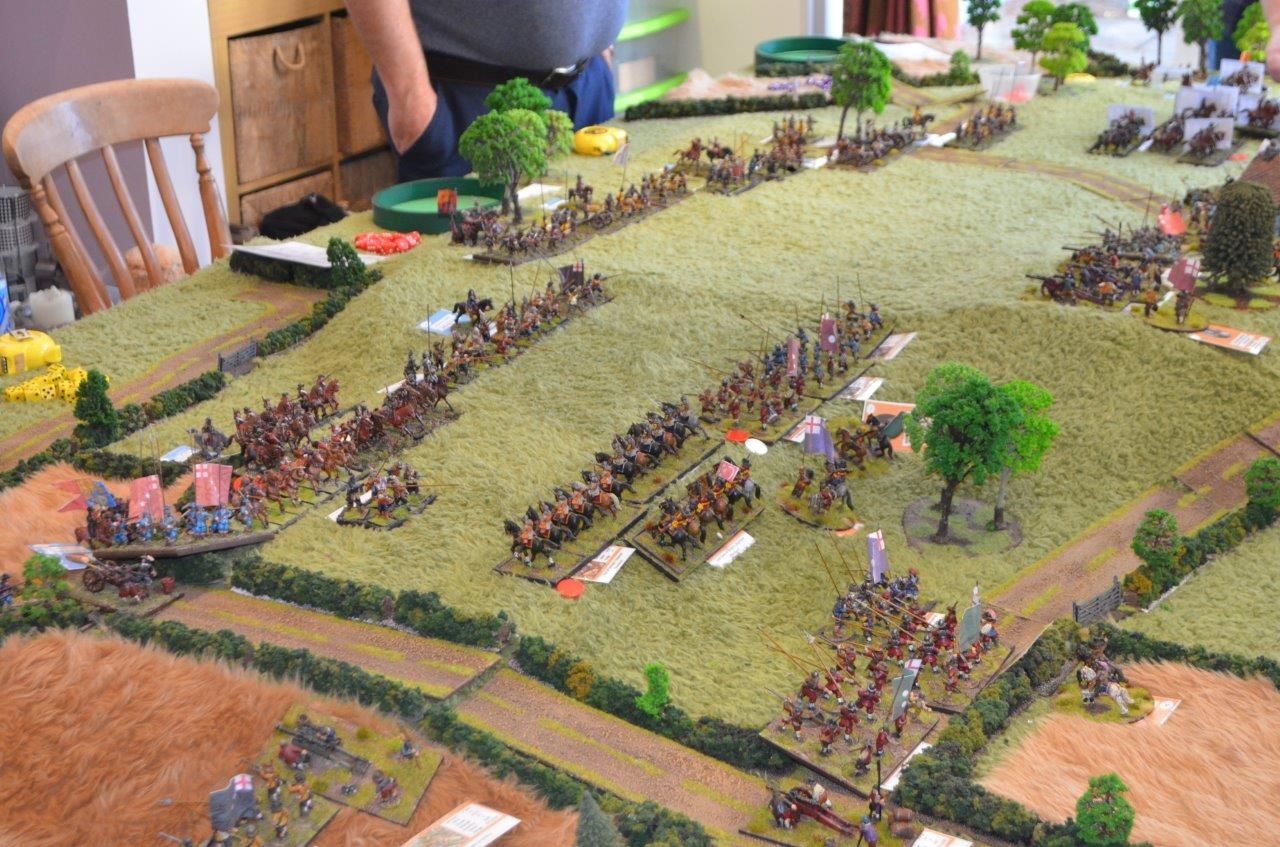
The Royalist Horse began to mass (below) lead by the talented and impetuous Prince Rupert.
A quick note : positioned to the far right o Essex lines were two lone dragoon regiments. These fought the entire battle dismounted but used their musketry fire to disrupt and shake twice their number of Royalist cavalry regiments. This thorn in Rupert's side became more than itch and actually developed into an obsession. It wasn't until the end of the afternoon that the Royalist finally managed to eliminate their threat but they paid a heavy price.
With cavalry massing for a big attack the Roundhead gunners could only star down the barrels of their guns waiting for the Cavaliers to advance.
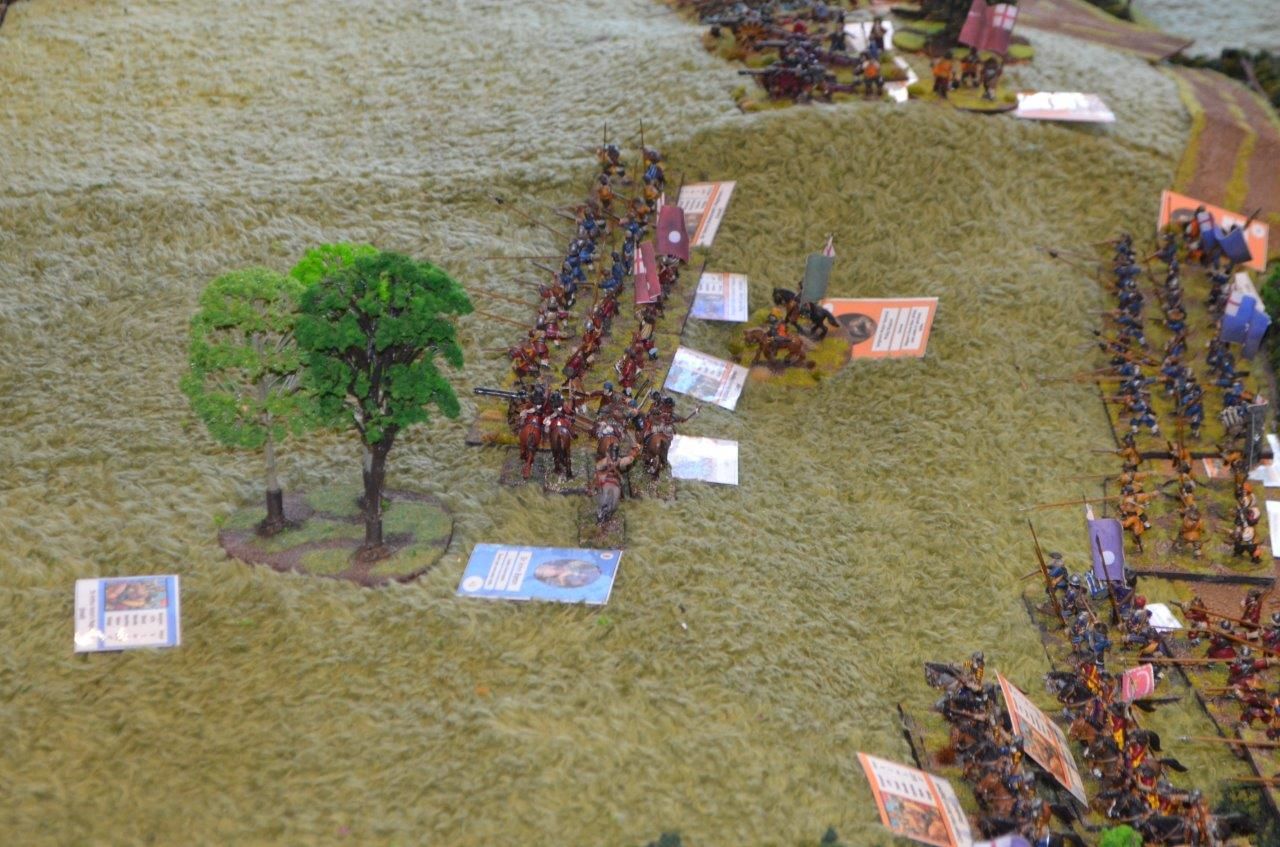
To the North of Roundhill the Parliamentarians started to advance believing that their weight of numbers in infantry could be a deciding factor in the battle.
A lone Cavalier regiment charged the end battery in the flank using a follow me order and subsequently routed the unit. Retiring unhurt caused caution to develop in Essex's plans. (see below)
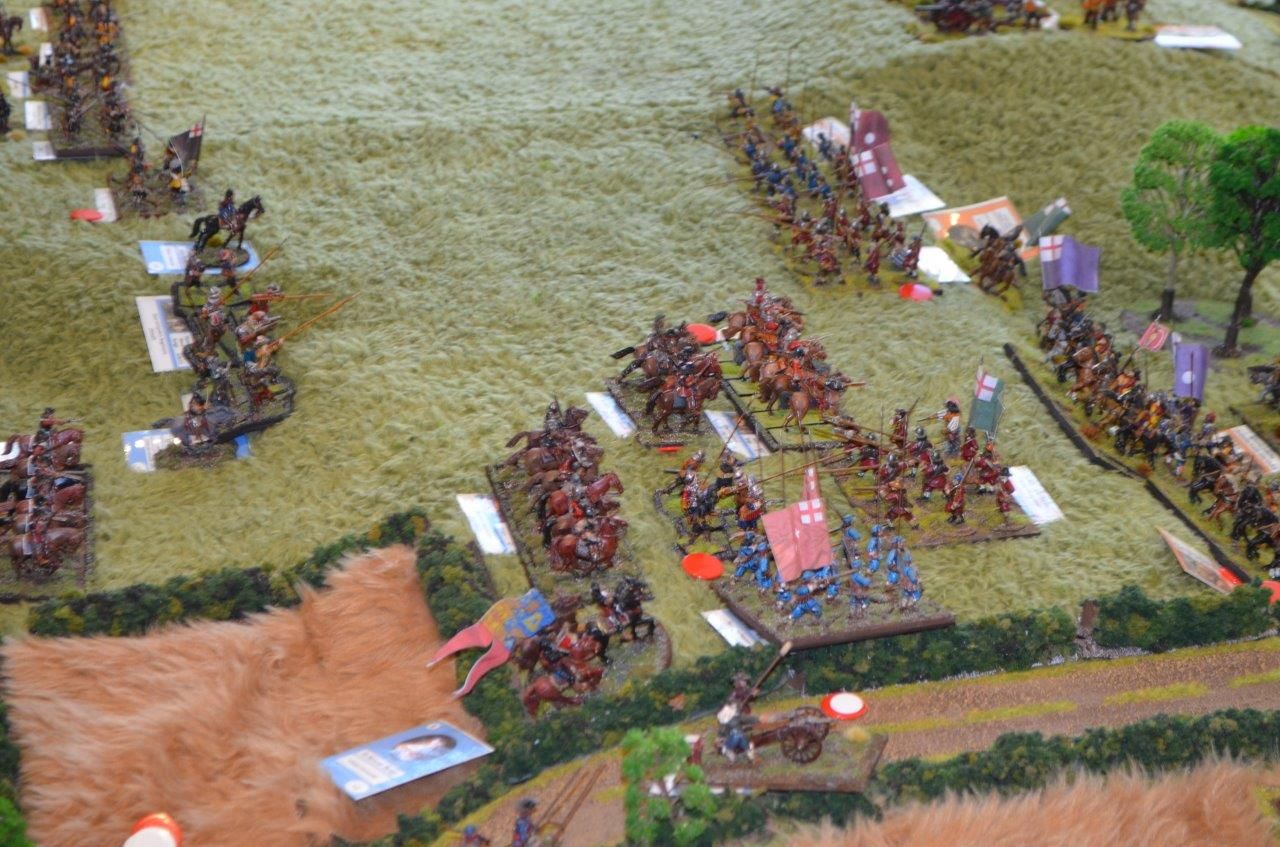
The big cavalry battle started and both sides enjoyed success and disaster in equal measure. Lord Hu Rhu's forces held out on the initial charge and it soon became a battle of attrition as new units were thrown into the fray. Units would retire, rally and then throw themselves back in.
By the end of the day the Parliamentarian Cavalry was shattered but they had done their job, inflicting comparable casualties and avoiding a Royalist break through.
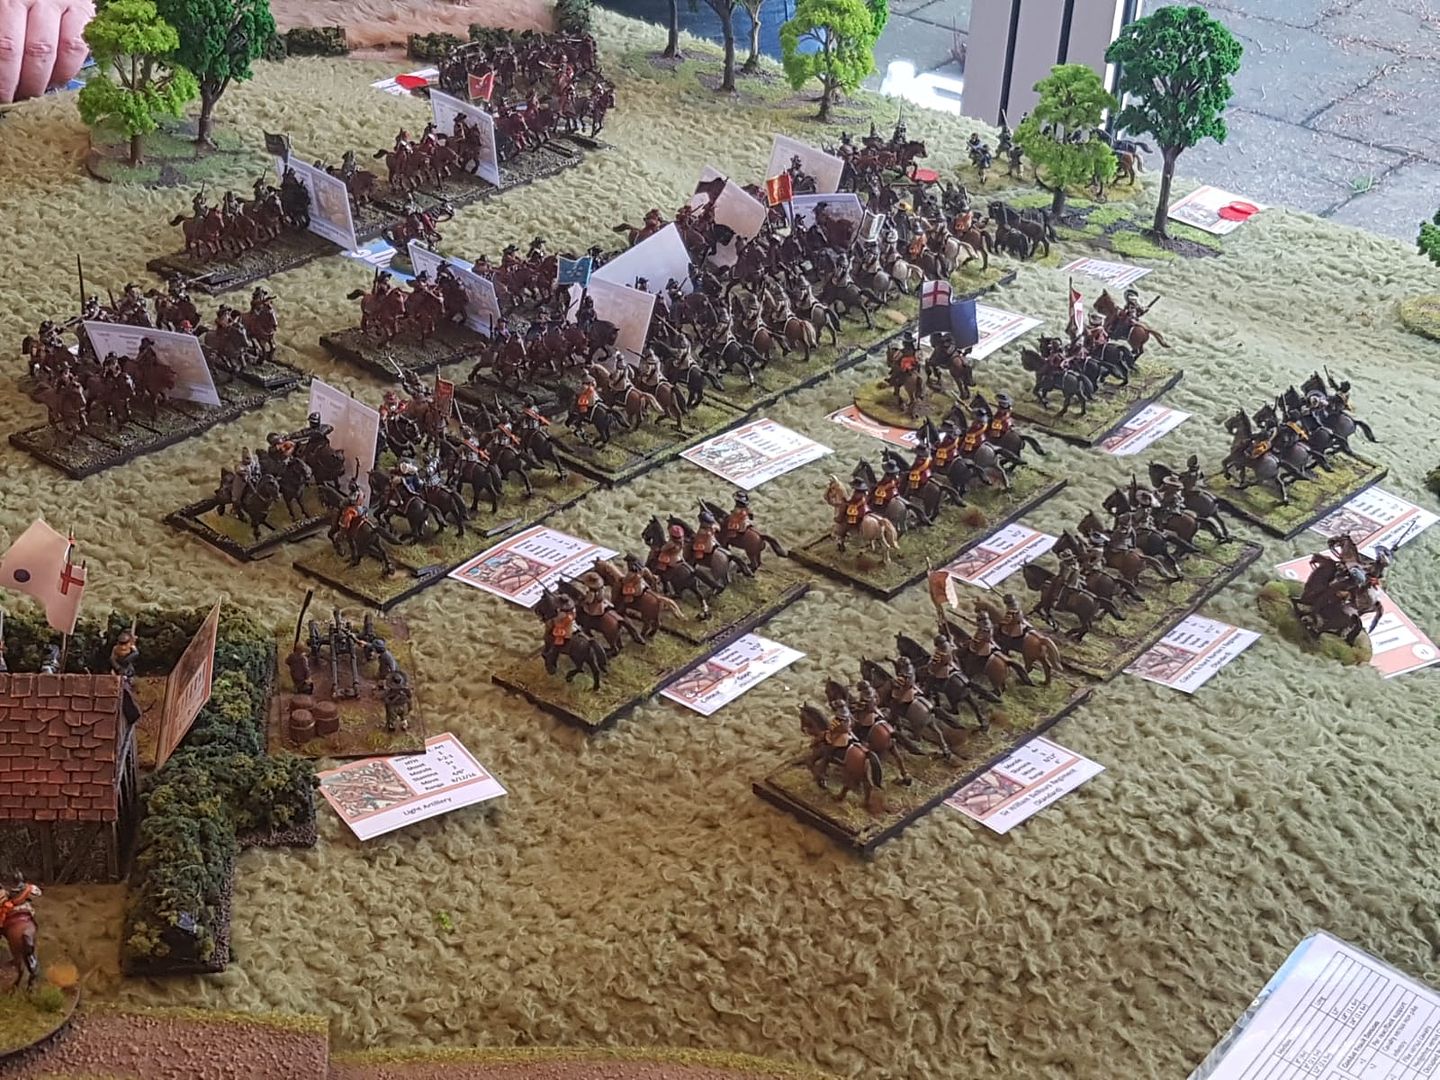
The next few pictures illustrate the early stages of this fight
Meanwhilst the Roundhead forces in the North were advancing towards the enemy and within a few turns a fire fight had erupted across the line of battle. Secure behind their hedge lines the Royalist musketry was finding and advantage.
The battery on the hill still had no targets and when forces did close in they could make no real impression.
With the Cavalry raging on in the South events in the North were now starting to get heated. With no way through the enclosures the Rebels moved up their large units of trained bands to take on the Kings Forces.
AS the Governments forces pressed home their advantage great news was spread across the line. Prince Rupert, the dashing cavalier had fallen in battle.
With renewed vigor the roundheads in the far north outside Newbury mustered forward for one last push.
A crescendo of muskets uttered from the defenders, driving this force back with significant casualties. The far left flank of the Parliamentarian force was spent.
The battle was now raging across the table - casualties were at this point comparable on both sides.
Fearing a break through by Rupert's cavalry Lord Essex (Alastair) had moved the remainder of his infantry reserves to bolster the right flank. Taking up position outside Wash Farm they were able to offer support to the weary cavalry.
It was then that the King fearing collapse in his centre right, moved his troops forward towards Wash Farm.
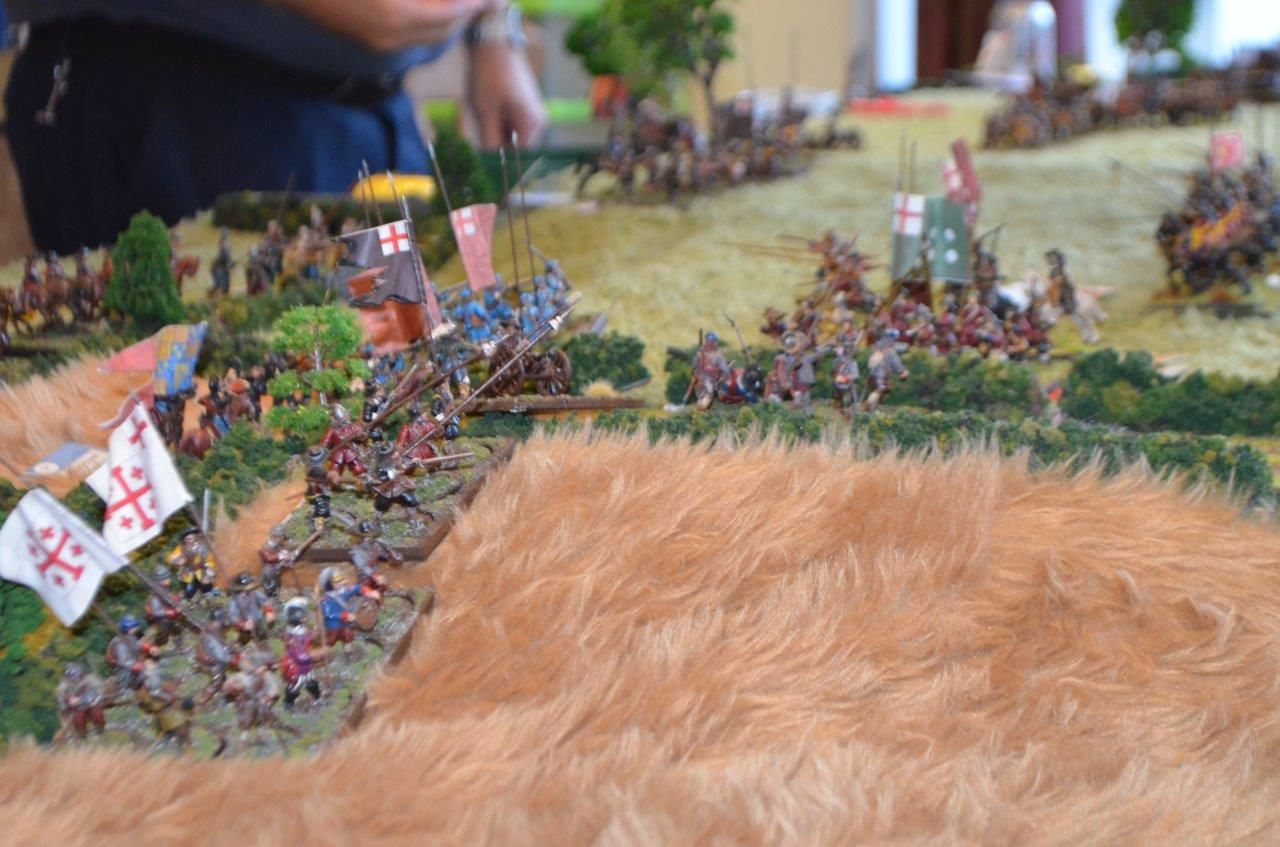
Fierce battles and the push of pike through the lanes...The Kings Lifeguard of infantry was battered into submission and things started to look up for Essex.
Royalist Cavalry push up to hold the line - only to be driven back by concerted fire
The Parliamentarians surge forward - keen to get the break through
With the Royalist forces (their centre right) in imminent danger of collapse) the clock towards the end of the day was ticking
Outside Wash Farm a furious firefight had erupted between the Kings advancing troops and the defending Roundheads. The Royalists were pushing forward hard.
All around Wash Farm scattered units were in turmoil, melee and disorder. This was a chaotic battlefield. Each turn more units were routed from the field.
By now the far left Parliamentarian flank were in full retreat, in sight of their friends counter attacking up onto the wash.
The retreat on Essex's left was the signal for the Cavalier advance out of Newbury.
Across the line each side pushed forward where troops were available.
#
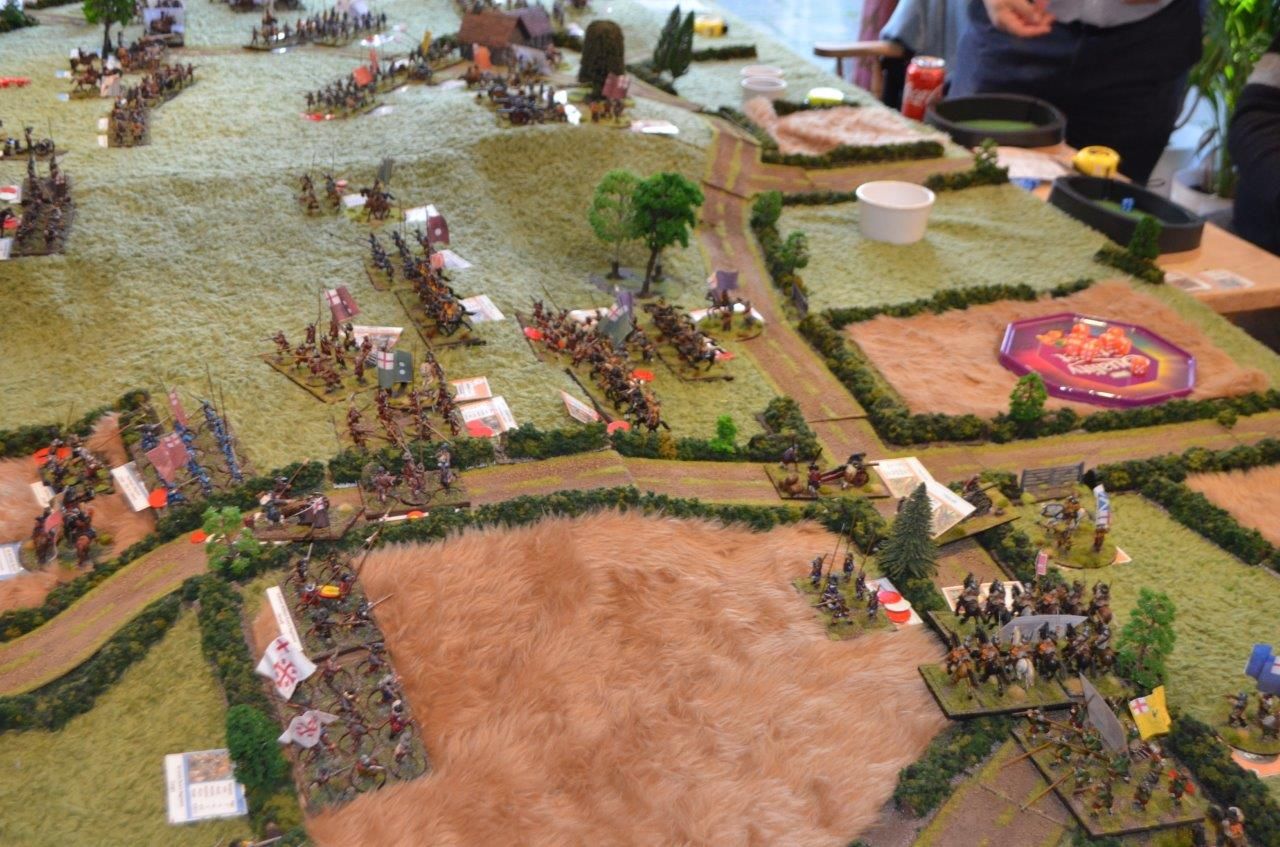
For the last hour we began to add up the lost and shaken units - in our penultimate turn the Royalist were one unit from Army Break, the Parliamentarian side 3 units. This was going to be tight.
The last turn saw caution prevail over the field with many units rallying to the colours and avoiding a shaken status in the final count. Ultimately virtually every unit on the table had been committed and had suffered casualties - both sides had battered each other into submission and neither side could truly claim victory. The royalists were three units from break, the Parliamentarians 2 units. It was that close !
What a fantastic day, great company, a great game that could have gone either way
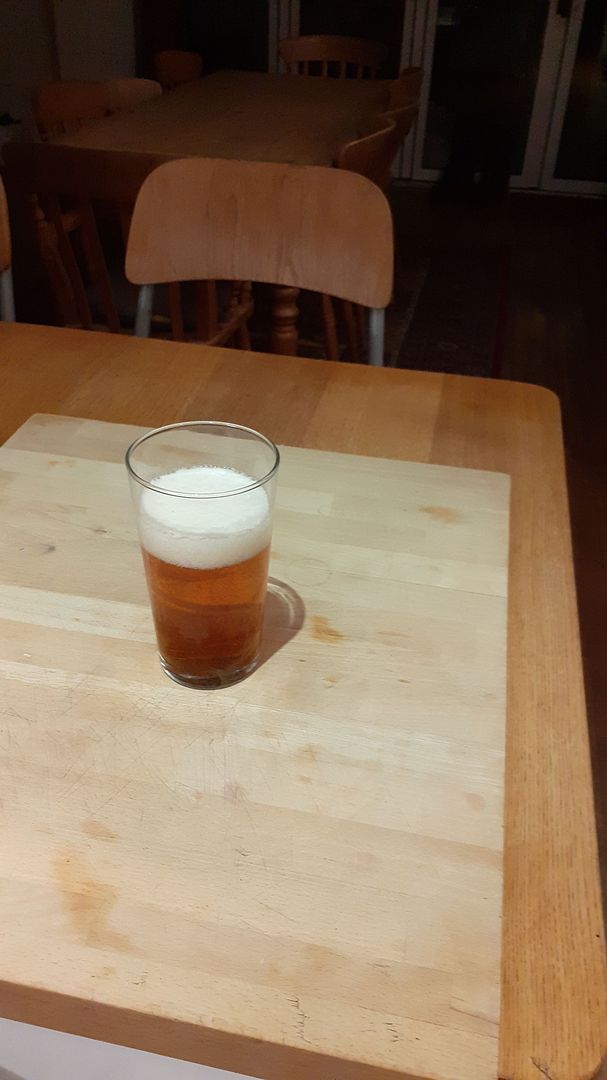
It took a couple of hours to break down and tidy up before Mrs Shed got back home - so I thought I deserved a beer (or two)
I am going to a follow up post for those that are interested on what worked and what didn't work. Otherwise our big foray into this ECW battle is now finished.
Now got to decide on the next big game....
Thank you for reading and I hope that this was of interest.










Amazing game Eric. I love the pictures from your table preparations and how much time it could take if you want great looking scenery. Well deserved beer (or two), mate!
ReplyDeleteThank you Bartek - if you ever down London way please give me a shout
DeleteSpectacular and gorgeous, worth a good beer!
ReplyDeleteThank you Phil - I think it was three beers before I headed off to bed
DeleteGreat looking game.
ReplyDeleteKnew I was right about the units not fitting your groundscale!
Yes you were right ;-) ....I had a sneaky feeling that this would have happened - fortunately we were able to rectify it quickly
DeletePhenomenal! Great layout and figures.
ReplyDeleteThanks AJ
DeleteWhat an incredible sight!
ReplyDeleteCheers
DeleteA fine spectacle!
ReplyDeleteThank you
DeleteSplendid! :-)
ReplyDeleteTHank you Sir
DeleteWhat a cracking looking game.. well done...
ReplyDeleteCheers Steve
DeleteEpic stuff Eric looked like a great game. 👍
ReplyDeleteThank you Matt
DeleteLovely refight, and great terrain. Just to say thank you again for the cards, Ive sent them to my local printer to produce a proper set for me to use. Lovely graphics etc, well done.
ReplyDeleteThank you Sir - please to know the cards arrived.
DeleteWow, really impressive looking game.
ReplyDeleteCheers Daniel
DeleteReally wonderful, both to look at and to read. As we are using Pike and Shotte for some of our games this year I look forward to your upcoming follow up post.
ReplyDeleteOUTSTANDING!
ReplyDeleteI really like your fur table covering. (apparently so does the cat!)
The single-basing and move trays is one way to resolve the re-basing challenge quickly. It also permits different game systems to be used without as much time lost to the need to re-base everything with glue, flock, etc, etc.
BRAVO!
Great looking game and marvellous effort.
ReplyDeleteThis comment has been removed by a blog administrator.
ReplyDeleteA fantastic battle spread , and an exciting report. 👍🏻
ReplyDeleteThis comment has been removed by a blog administrator.
ReplyDeleteThis comment has been removed by a blog administrator.
ReplyDeleteThis comment has been removed by a blog administrator.
ReplyDeleteThis comment has been removed by a blog administrator.
ReplyDelete