As mentioned in a previous post I bought the rather excellent Cemetery set from Ainsty Castings at Salute. For £40 you get an awful lot of resin including walls, pathways, gates a small mausoleum and of course tombs and gravestones. The first photo shows the kit as it came out of the box.
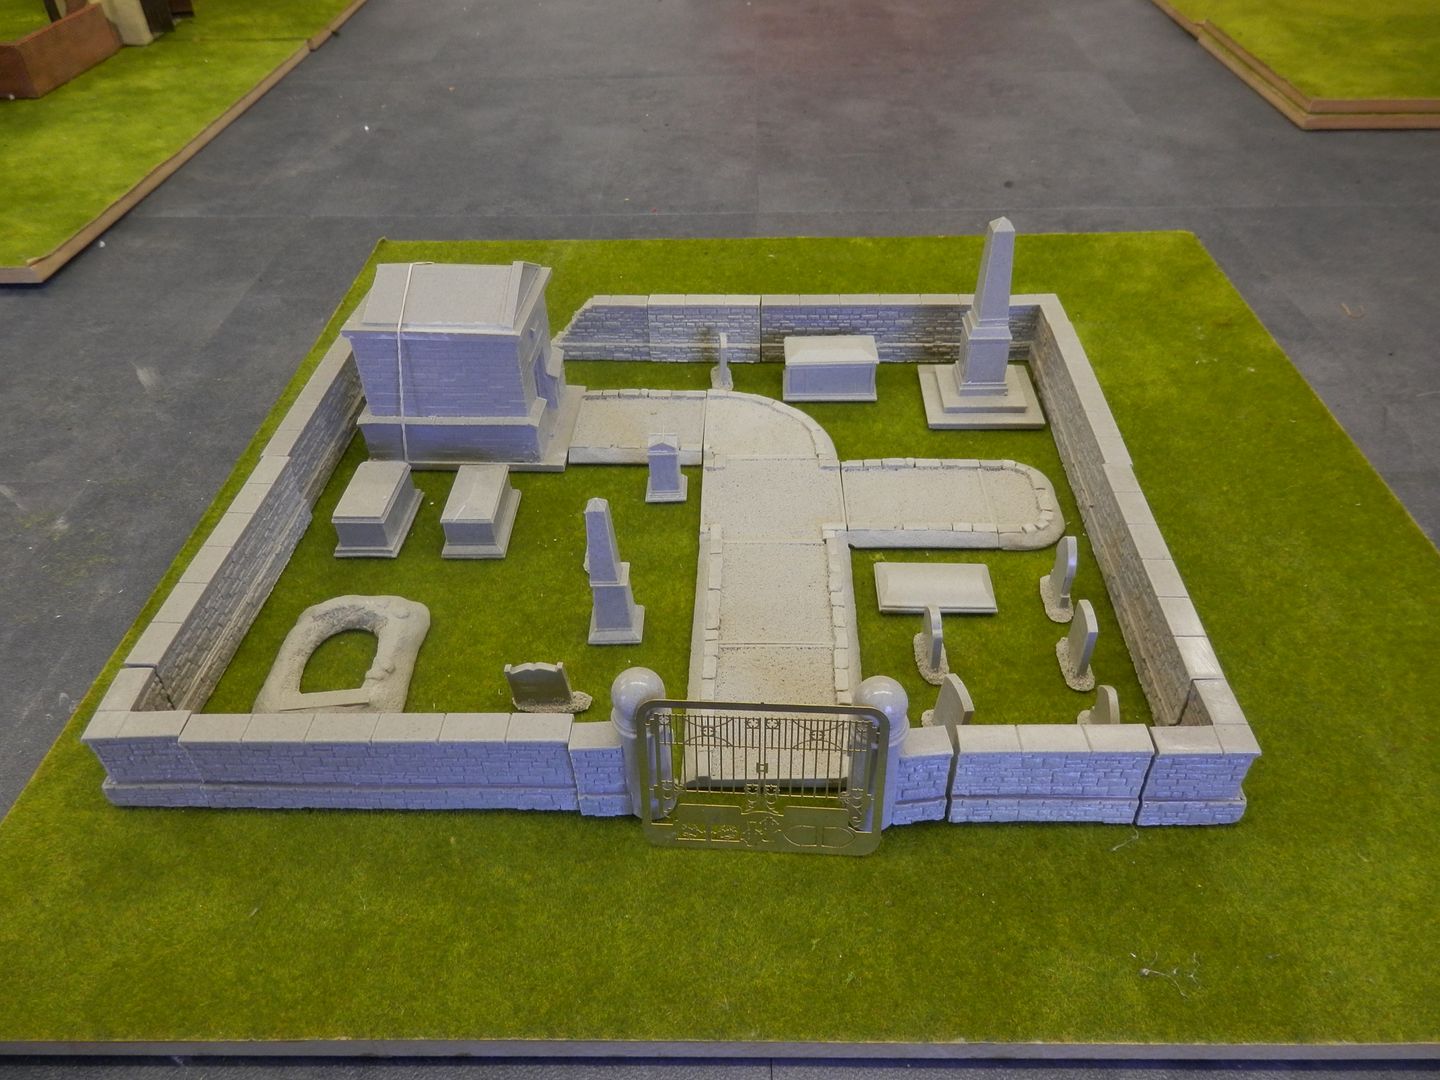
Because I wanted this as a static piece of terrain I decided to mount the whole lot on a single board. With a 2cm border from the walls the total layout is circa 40cm x 35cm.
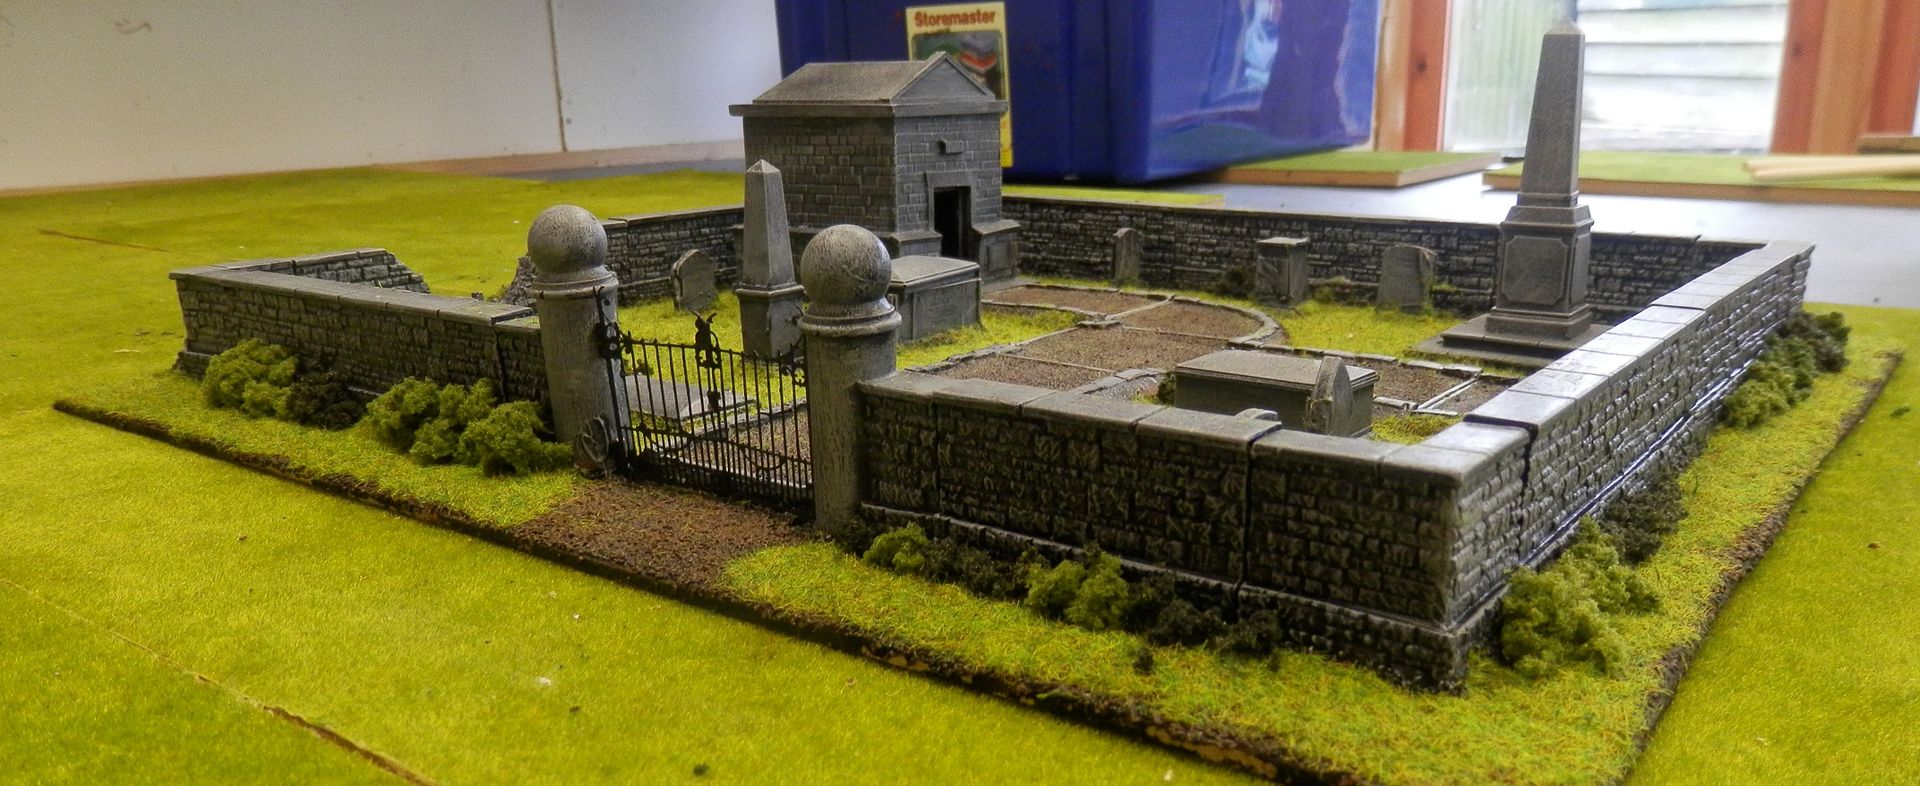
Unfortunately the camera wasn’t around when I started this project so I’ll my best to explain how I got up to the second photo. Having measured up the dimensions of the outer walls I cut out a board from some off cuts of hardboard. I personally find this material extremely versatile and it is very cheap. Provided you paint both the top and bottom in a decent acrylic warping is kept to a minimum. I then washed all the acrylic pieces in warm, soapy water before spraying them in a black or brown primer.
Once dry the all of the items were glued onto the board using ‘Hard as Nails glue’ and left to dry for 24 hours. This stuff glues anything and ends up rock hard. For some folks this might seem foolhardy but I couldn’t be bothered in placing the gravestones each battle and this way they are less likely to be lost. The only pieces not to be glued in place were the mausoleum and a plinth. I intend to use the latter for a statue in my town. By not gluing in the mausoleum I can use this in alternative settings and it keeps the height profiler of the overall piece down to under 5cm.
Next up I painted white glue on the whole board carefully avoiding the resin features. Then placing the board on a large sheet of newspaper I liberally covered the whole thing in medium grain ballast. Again this was left to dry.
Shaking off the loose ballast I then scraped off any debris that had stuck itself to the resins features. This ground cover was then painted black to both hold the ballast in place and to form the base colour before dry brushing.
Here you can see the affect so far....

Next up I started to dry brush the ground in browns – working from dark to light. Much of the ground will be covered in static grass but this forms a great under base where it pokes through.

With the ground painted I turned my attention to the walls, buildings and other stonework. Again these were drybrushed in greys. Dark through to light.

Nearly there...
I wanted the area to be very green - so a liberal dose of white glue on top of the brown earth followed by copious amounts of static grass.

A few extra bits of clump foliage adds a useful contrast to the bright green grass.
With the gates glued on were done.

I am delighted with this terrain feature and I am sure that it will work across most of my genres....in the meantime a couple of photos
Firstly some sad folks in the 18th century
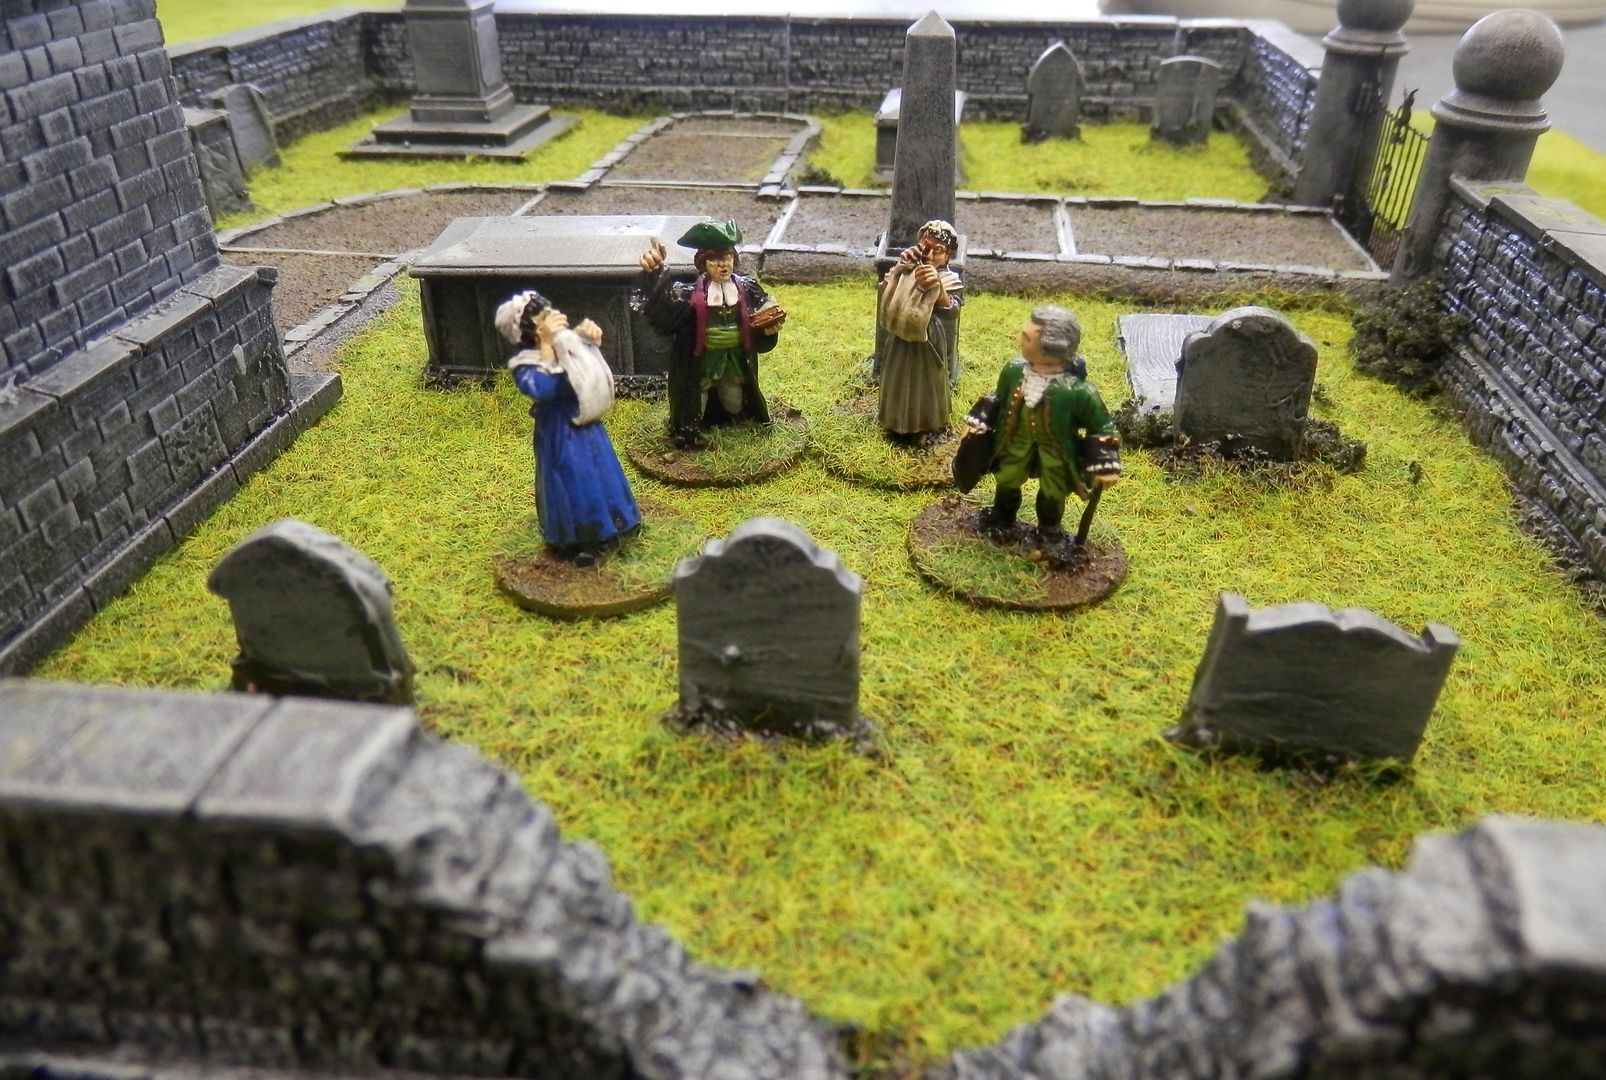 |
| Last Respects |
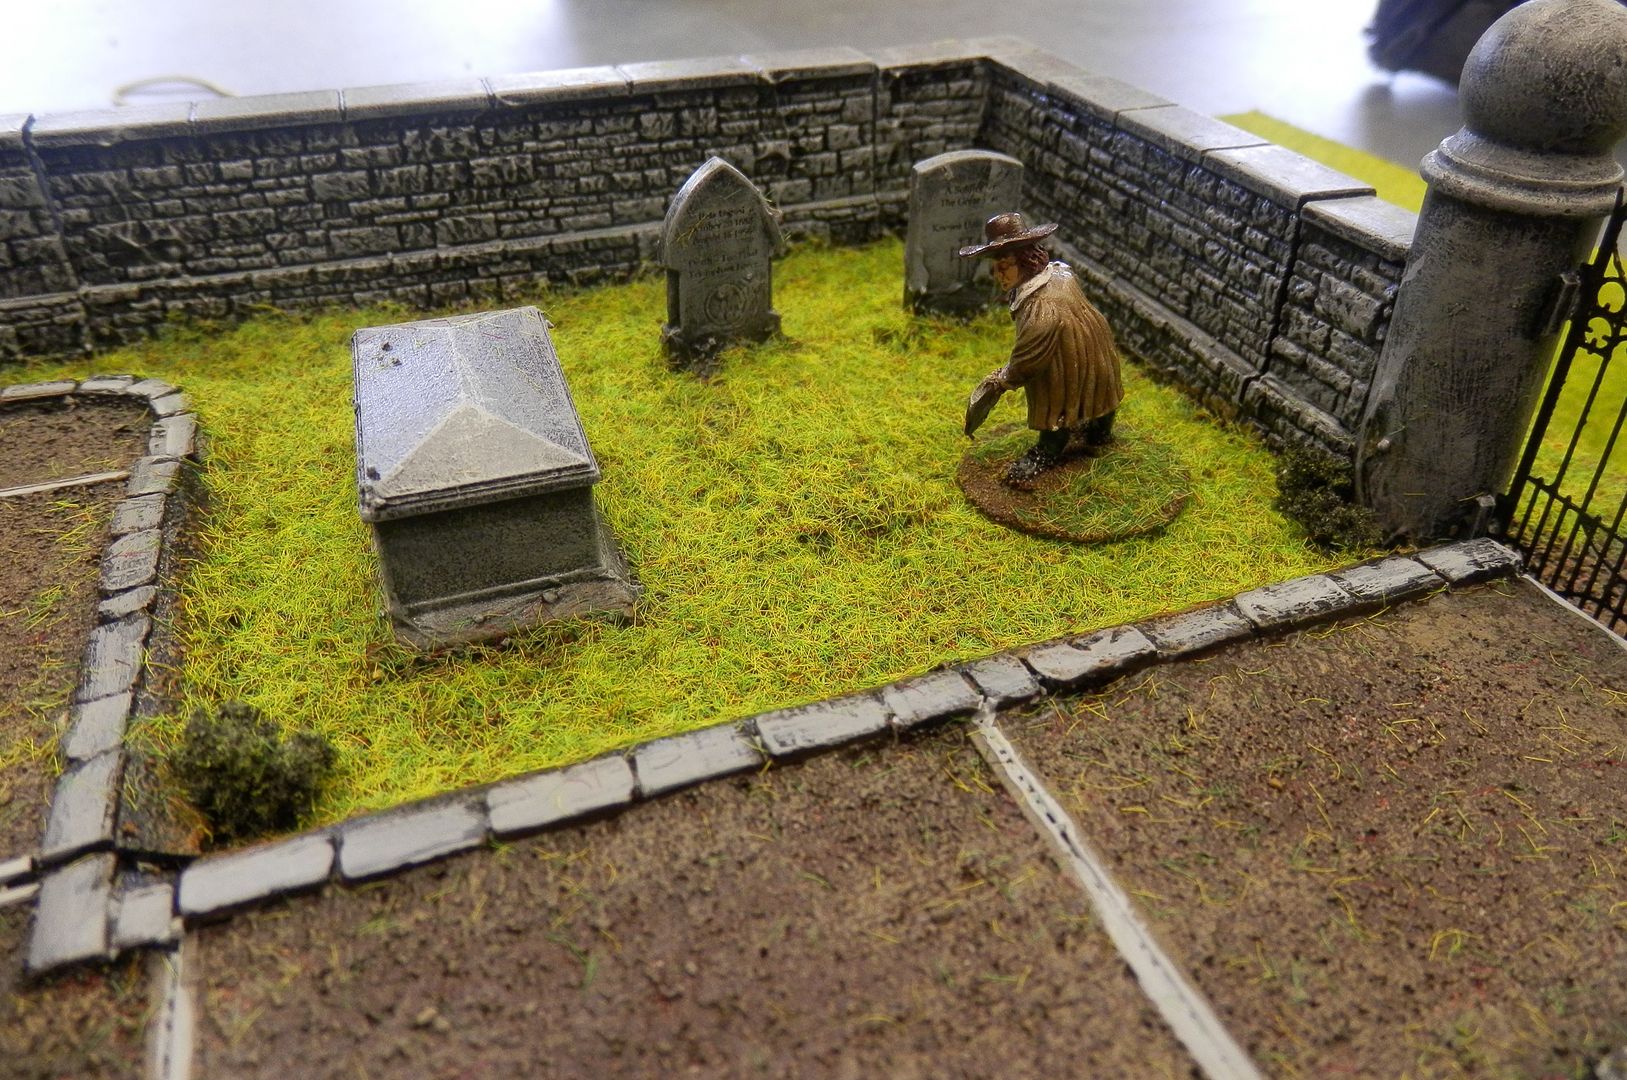 |
| Bert the Grave Digger |
and it can even be a 'pet cemetary'

featuring - Basil the wargaming Hamster !!
(no animals were hurt in these shots !)
Pets allowed on the lawn? Great ideas here, and wonderful work...love the figures too!
ReplyDeleteVery nice modeling. Thanks for taking us through the steps of this project. Excellent result.
ReplyDeleteNice job it looks marvellous!
ReplyDeleteVery ice...and good to see Basil approves!
ReplyDeleteThat looks really nice, and as you say, it is very versatile.
ReplyDeleteGreat work that all looks very well finished, looks like a really good value bit of kit as well.
ReplyDeleteNice work , useful bit of scenery
ReplyDelete-- Allan
Very nice! My kid's pet Mr Fluffybottoms forced me to repair Repair work on a spaceship! Too damn curious for a cat! ;)
ReplyDelete