Monday, 16 February 2015

Building a Volcano - part 4

So quite a big update on the Volcano.
The previous post for this build can be found here

http://shedwars.blogspot.co.uk/2015/02/building-volcano-part-3.html

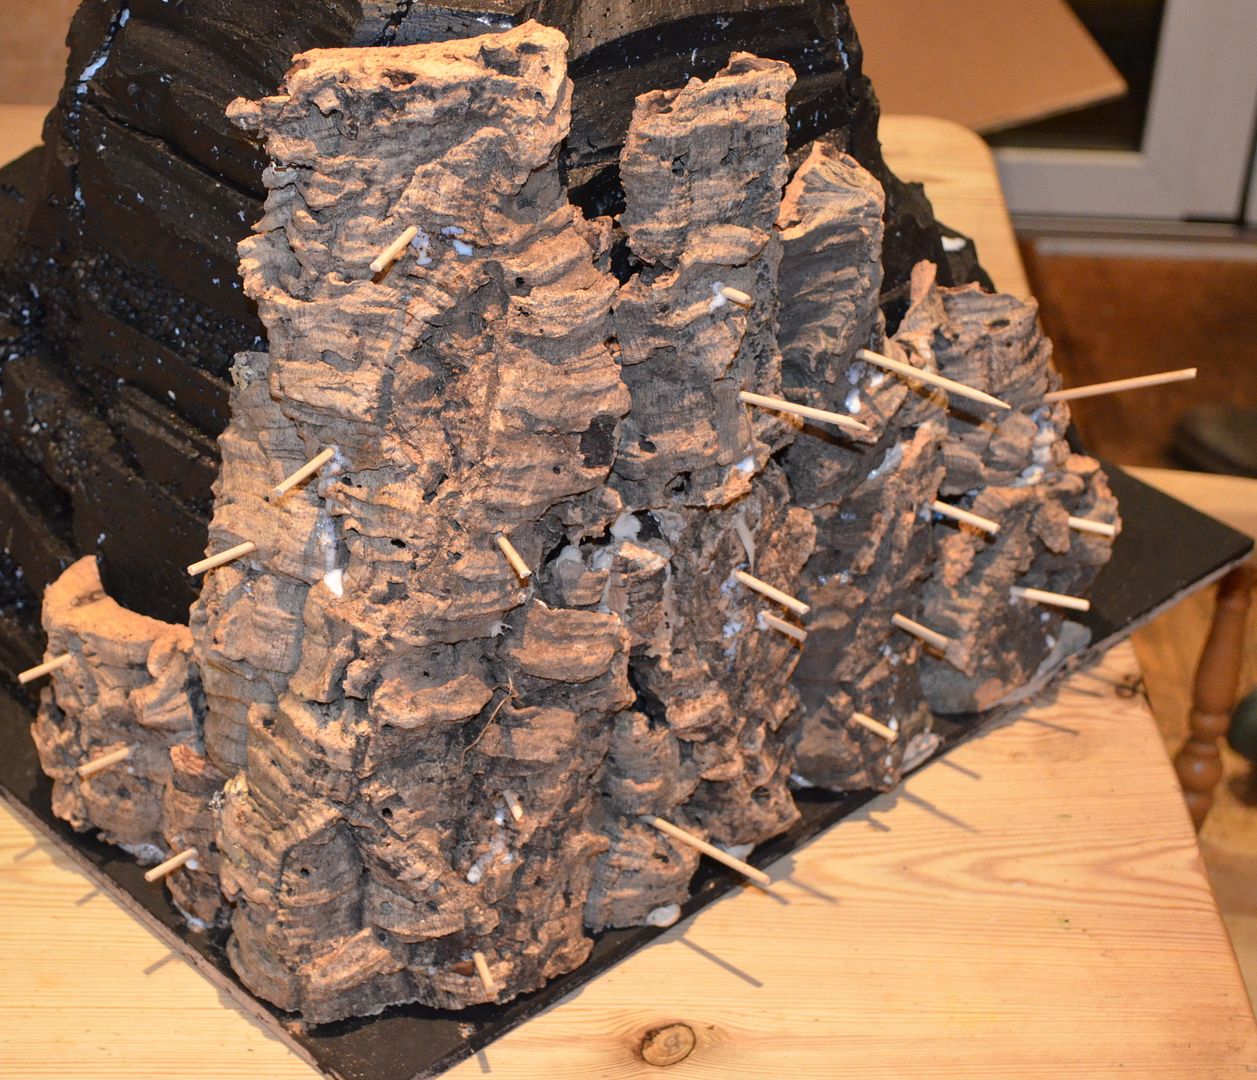
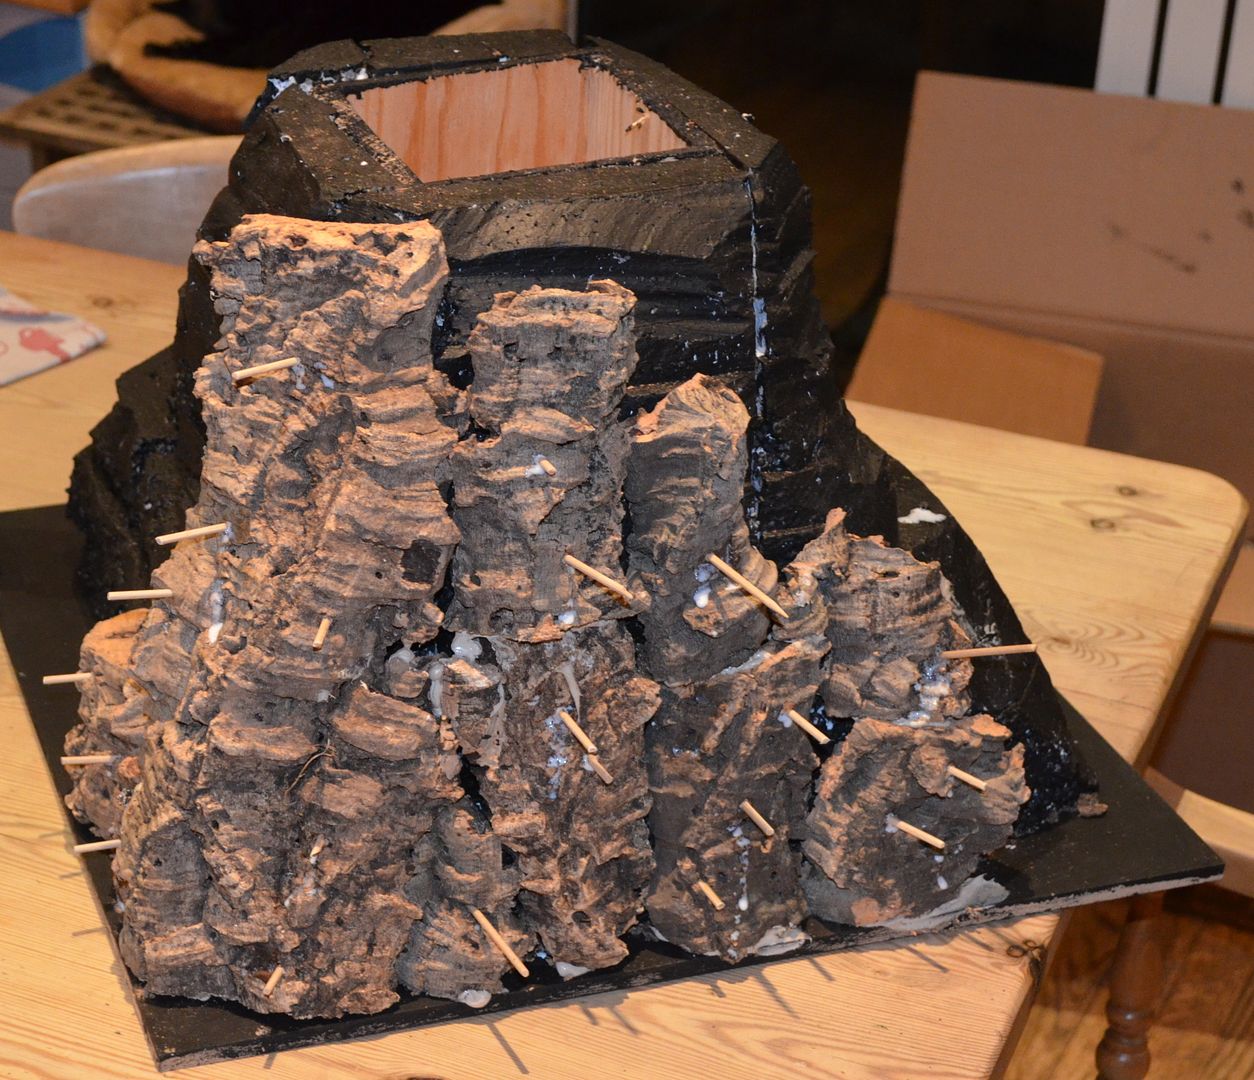
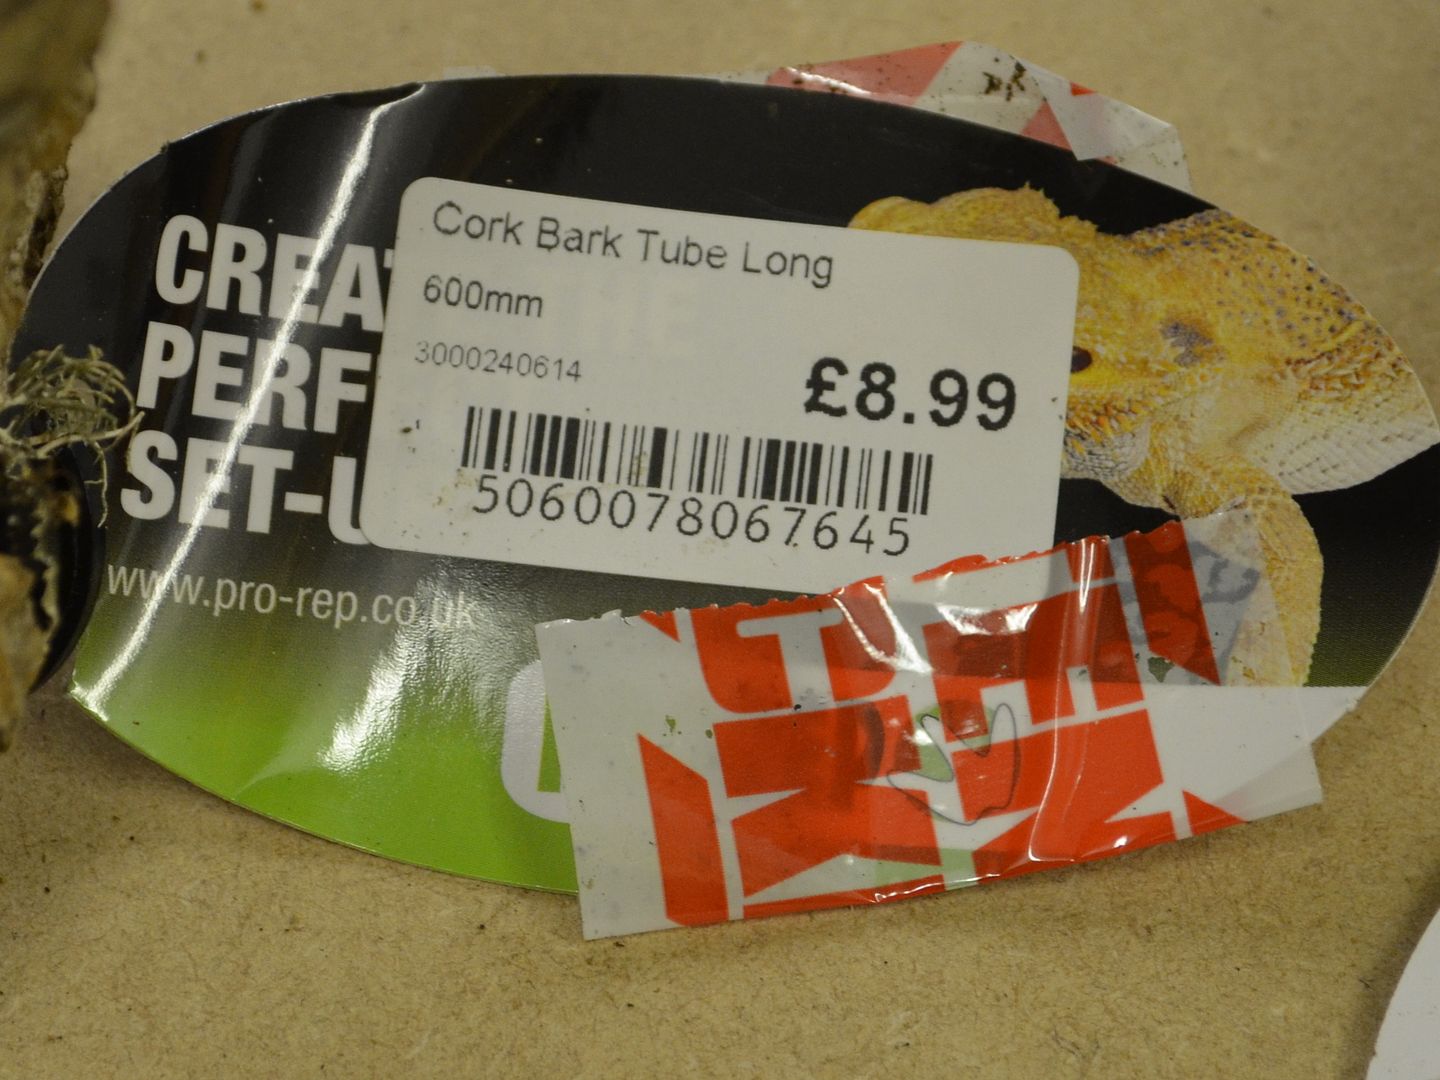
So first up I had to finish cladding this beast. In the end I used two whole tubes of cork bark. Total cost about £18.


You can see in the picture below I am trying to step the volcano to allow for at least some playability
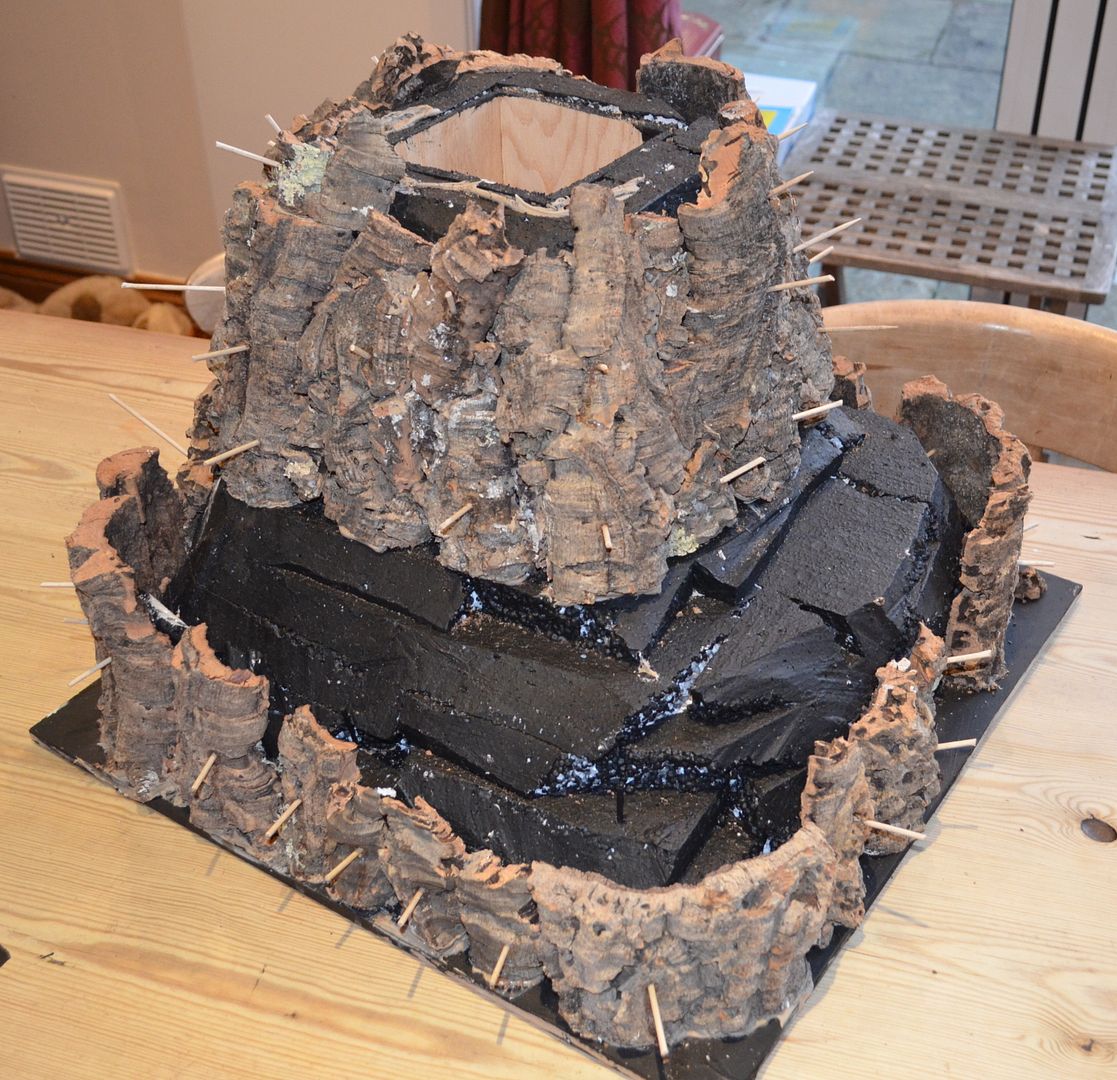


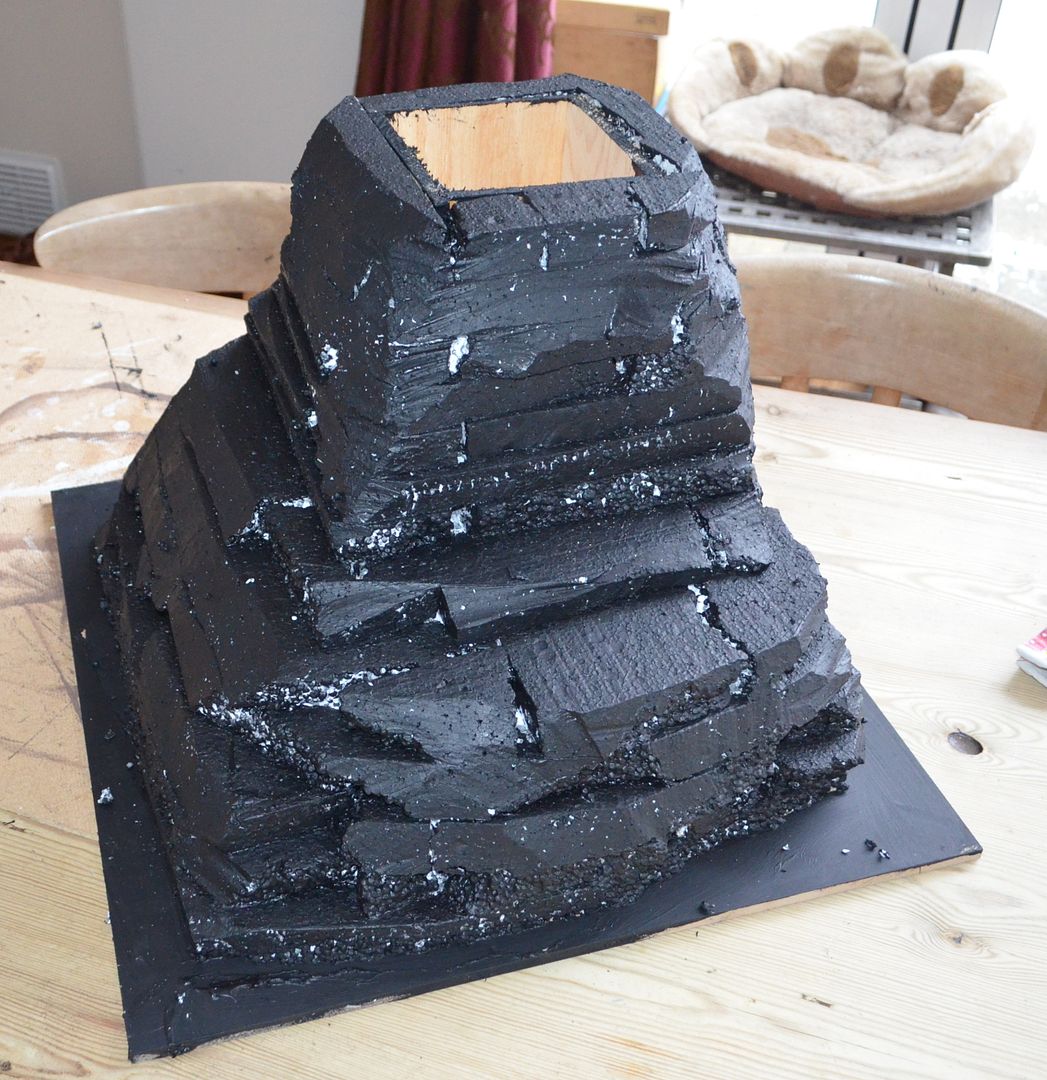
Eventually with all the cork bark fixed I could fill and cover the exposed polystyrene areas. I added black acrylic paint to the filler to give it a grey colour.
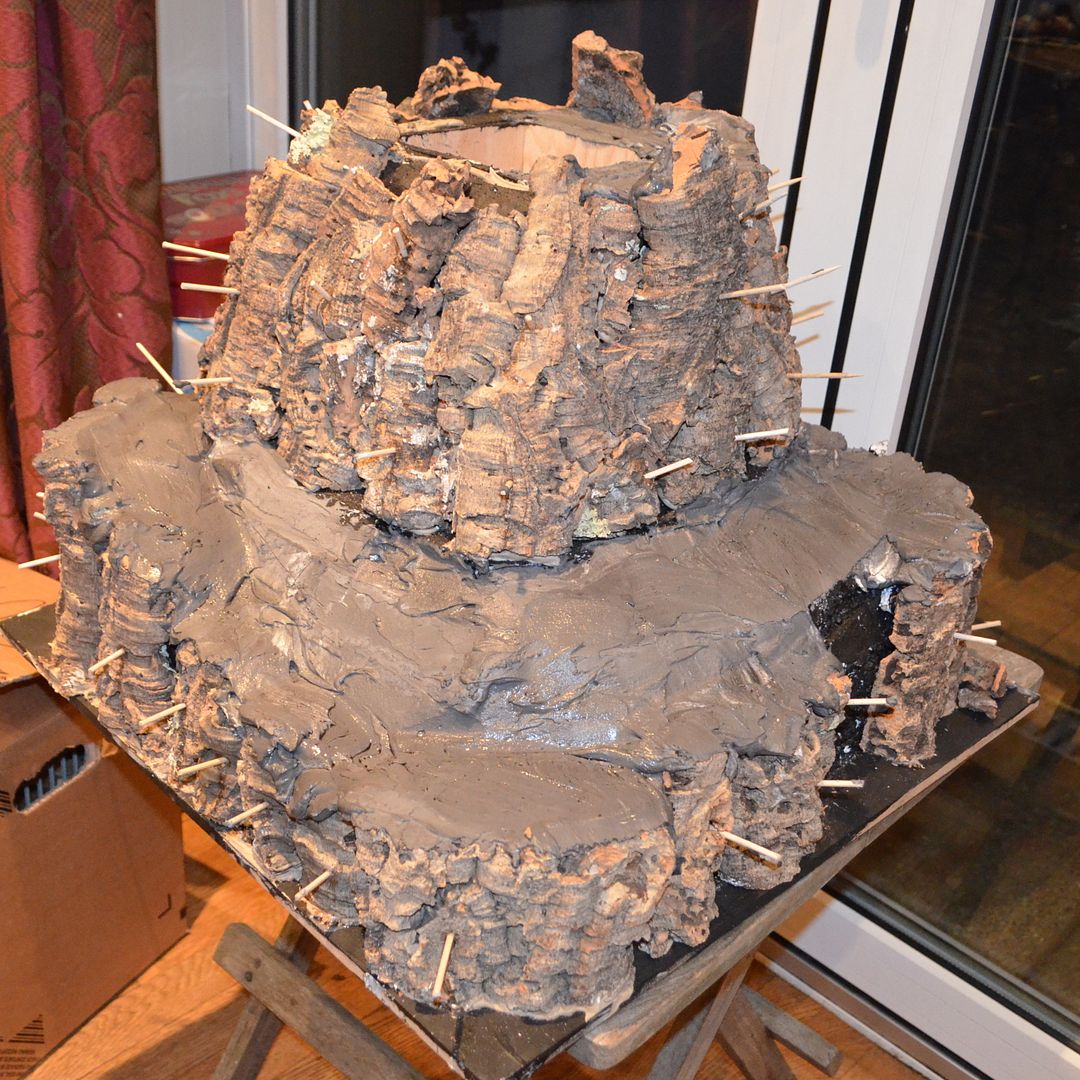


I left one small area of the base exposed for a temple entrance...


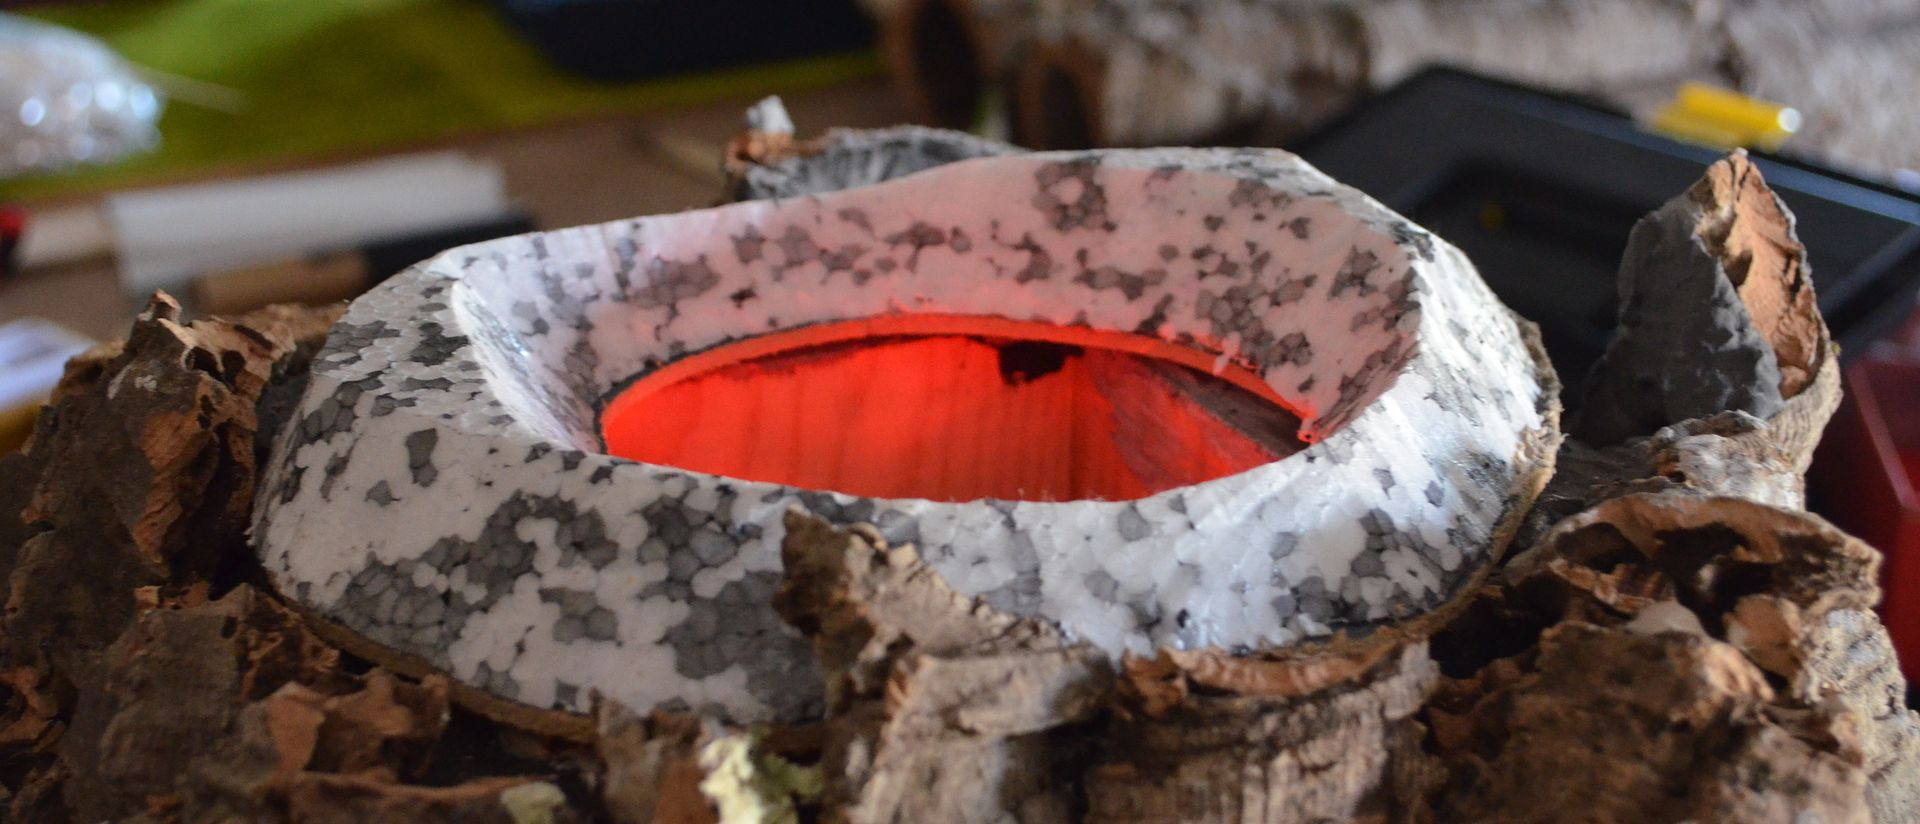
I needed to build the crown of the volcano, scratching my head for ideas I game up with this option.

A circle of hardboard (roughly the size of the summit)...


then I fixed a piece of polystyrene on top with adhesive and one dry used the trusty foam cutting jig to make the crown.


This was then glued to the summit. I began playing around with some lighting affects


Whilst waiting for the frown to dry I glued in the temple entrance at the bottom of the mountain. This is an Egyptian tomb entrance sourced from Scotia Grendel - link below

http://www.scotiagrendel.com/Products/index.php?main_page=product_info&cPath=227_40&products_id=2649


The entrance was then built up using filler and odd pieces of cork.
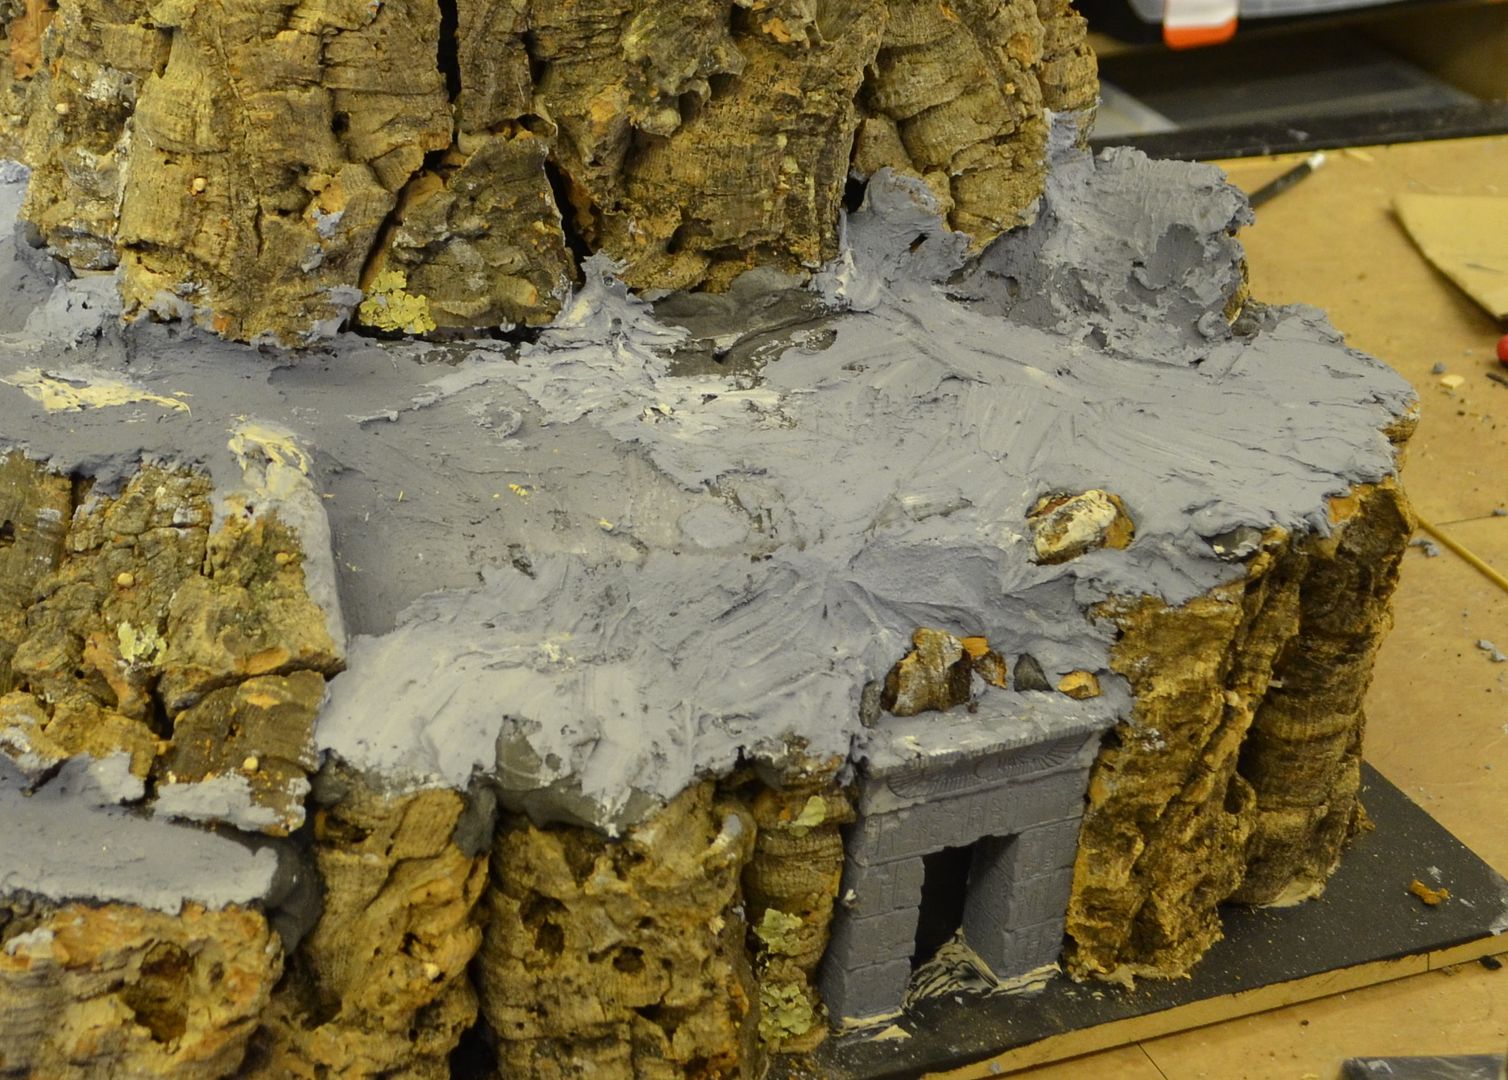

Elsewhere I finished off the filling around the rest of the mountain. Black paint was added to the white filler hence the grey effect.


I then turned my attention to the summit and built this up with filler.
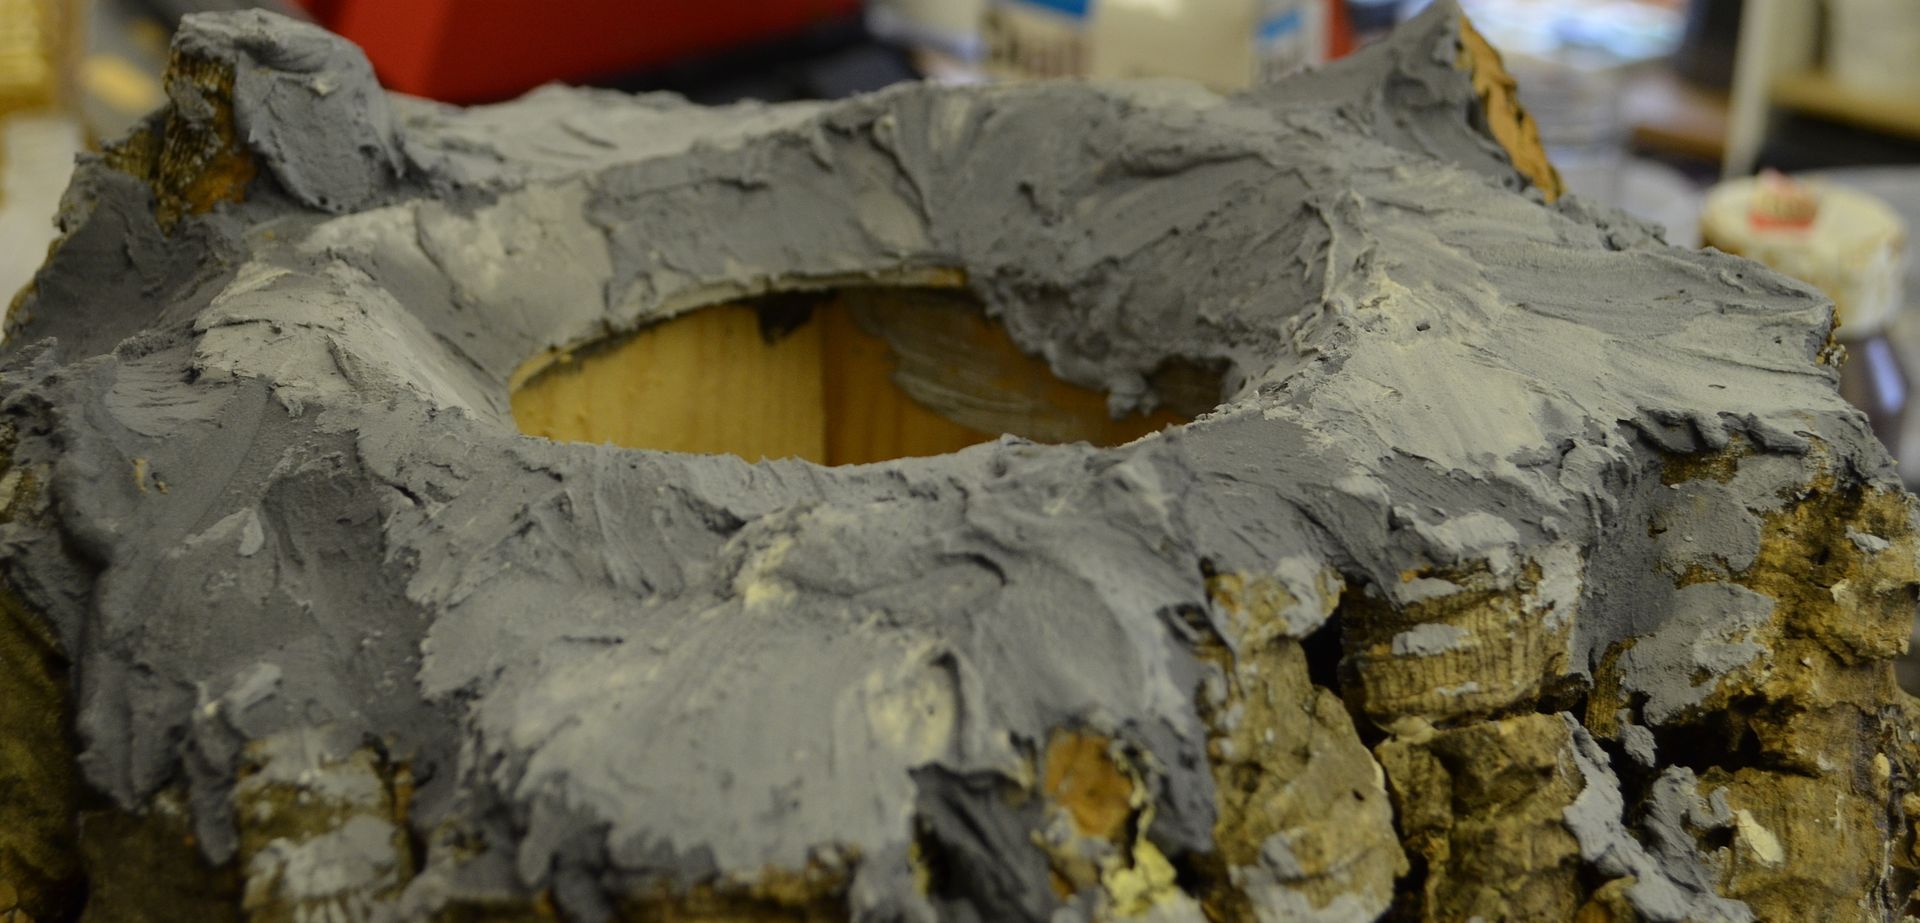


Still loads more to go ...

Part 5 can be found here

http://shedwars.blogspot.co.uk/2015/02/building-volcano-part-5.html


Wednesday, 11 February 2015

Conan Kickstarter - Last few hours

Last few hours -pledge total running at over $2.8m


Sunday, 8 February 2015

Pulp Tramp Steamer - On the Home Stretch...

Hi Folks

The first part to this build starts here...there is a link at the end of each post taking you to the next.

http://shedwars.blogspot.co.uk/2015/01/pulp-tramp-steamer-starting-to-look.html

What with the rapid build going on with the volcano I decided I had enough of cork and filler so decided that this afternoon would be spent working on the Tramp Steamer...yippee I hear you cry...

When I left you last I had just finished off the decks and bought some doors, well progress has been swift..

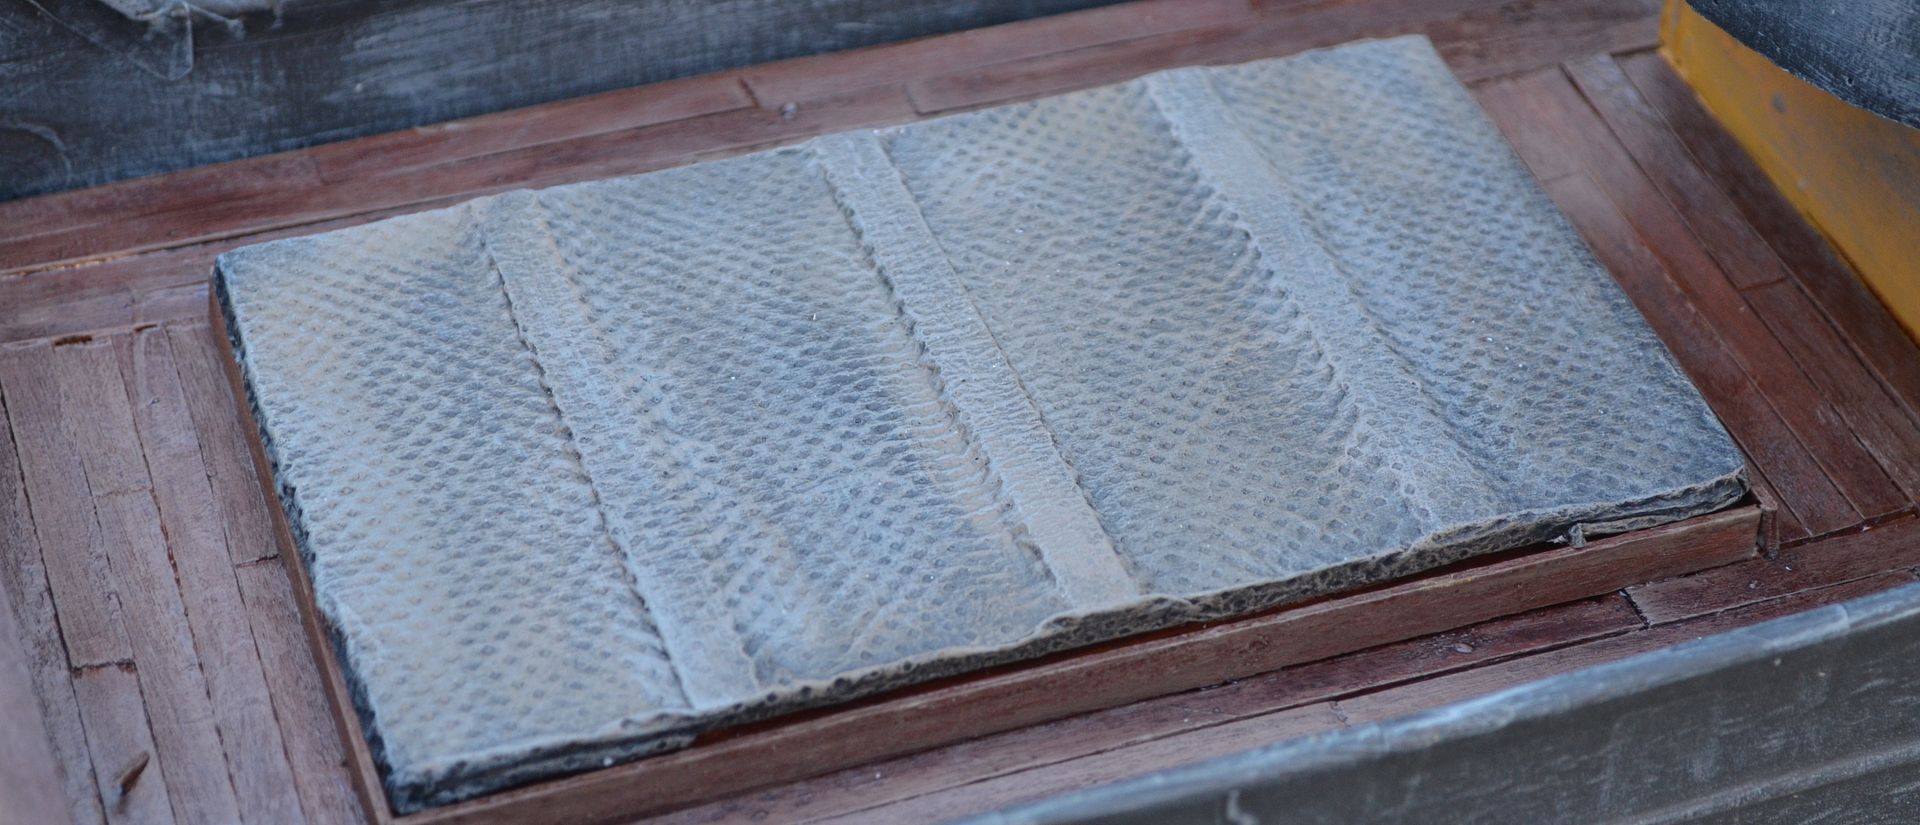
First up I had to cover the cargo hold...I wanted to give this the impression of stretched canvas/tarpaulin. Initially cut up a piece of foam core to fit the hole and then laid over some coffee stirrer struts this was then liberally covered in pva and over the top I laid some kitchen paper towel


This was then painted black and subsequently drybrushed up in greys and browns..


Mean whilst I gave the superstructure a couple of coats of yellow ochre and then turned my attention to the final roof section. You can see the doors have now been added and don't they look super !


The roof section has been planked like the rest of the decks and will be given the same treatment.
You can see in the above picture that my painting was a bit clumsy so a quick touch up on the decks was required.


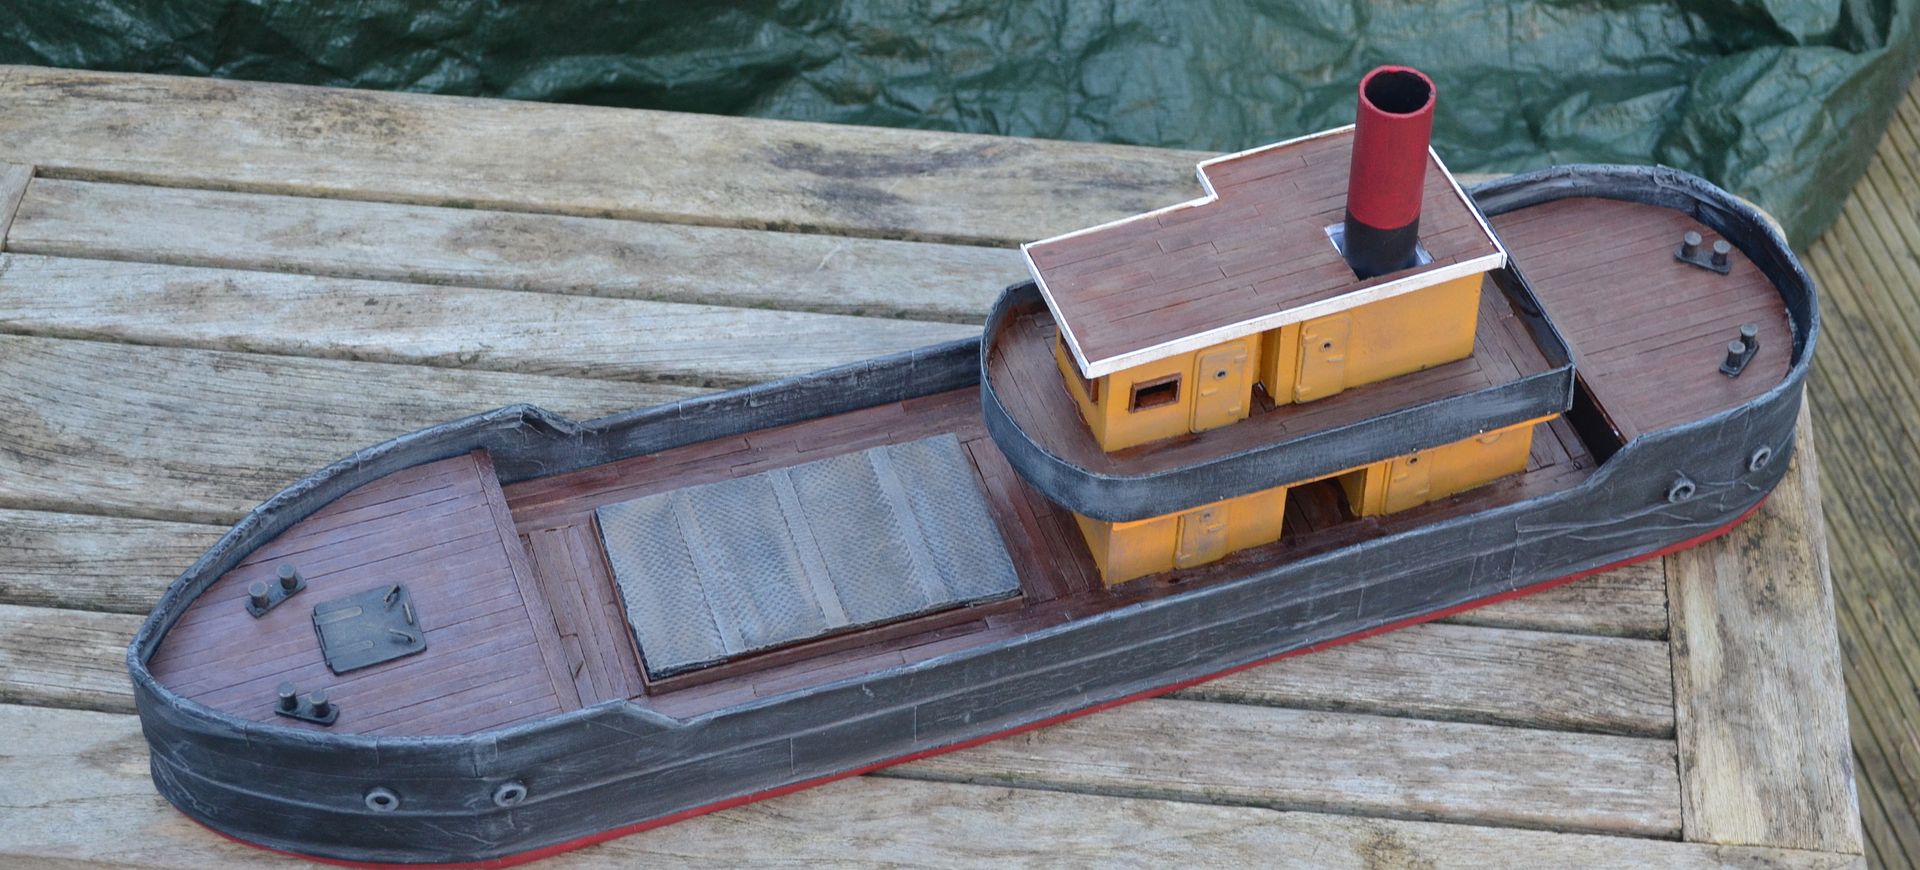
The top deck was then edged in white paint to provide a suitable contrast. You can also see the first coat of red on the funnel.

Now was as good a time to start distressing the boat - lets face it is a tramp steamer. So the whole boat has been dry brushed grey first - its going to get dirtier !!


Another photo down the starboard side. The portholes have had the insides painted black so far. I might still paint the surrounds copper..

But what's that on the bow of the ship...


Well the place I bought the doors from also sold other ships bits...a couple of bollards for tying up the ship on port and a hatch. These are yet to be fixed in their final positions. A similar arrangement will work on the stern

You can also see the dry brushing has picked out the paper on the bow...giving the boat a rather crumpled affect.


And here she is starting to look like the boat she was intended to be...

Up next - stairs, lifeboat, rigging and of course the boom & crane

Plus a bit more dirt...

Until next time

Link to Last Part


Wednesday, 4 February 2015

Building a Volcano - part 3

Hi Folks

If you are reading this you will be aware that I am entering this rather large build into a competition being held on the Lead Adventure Forum and should you be starting this thread cold you can find part 1 here.

http://shedwars.blogspot.co.uk/2015/02/a-new-challenge-building-volcano-part-1.html

As the build progresses I'll be adding the links to the next stage onto the end of each post.

When I left you last I'd built up the base of the volcano in polystyrene and so I'll pick up from here. The intention in this build was always to clad the volcano in cork bark much in the same way I had manufactured my desert escarpments.

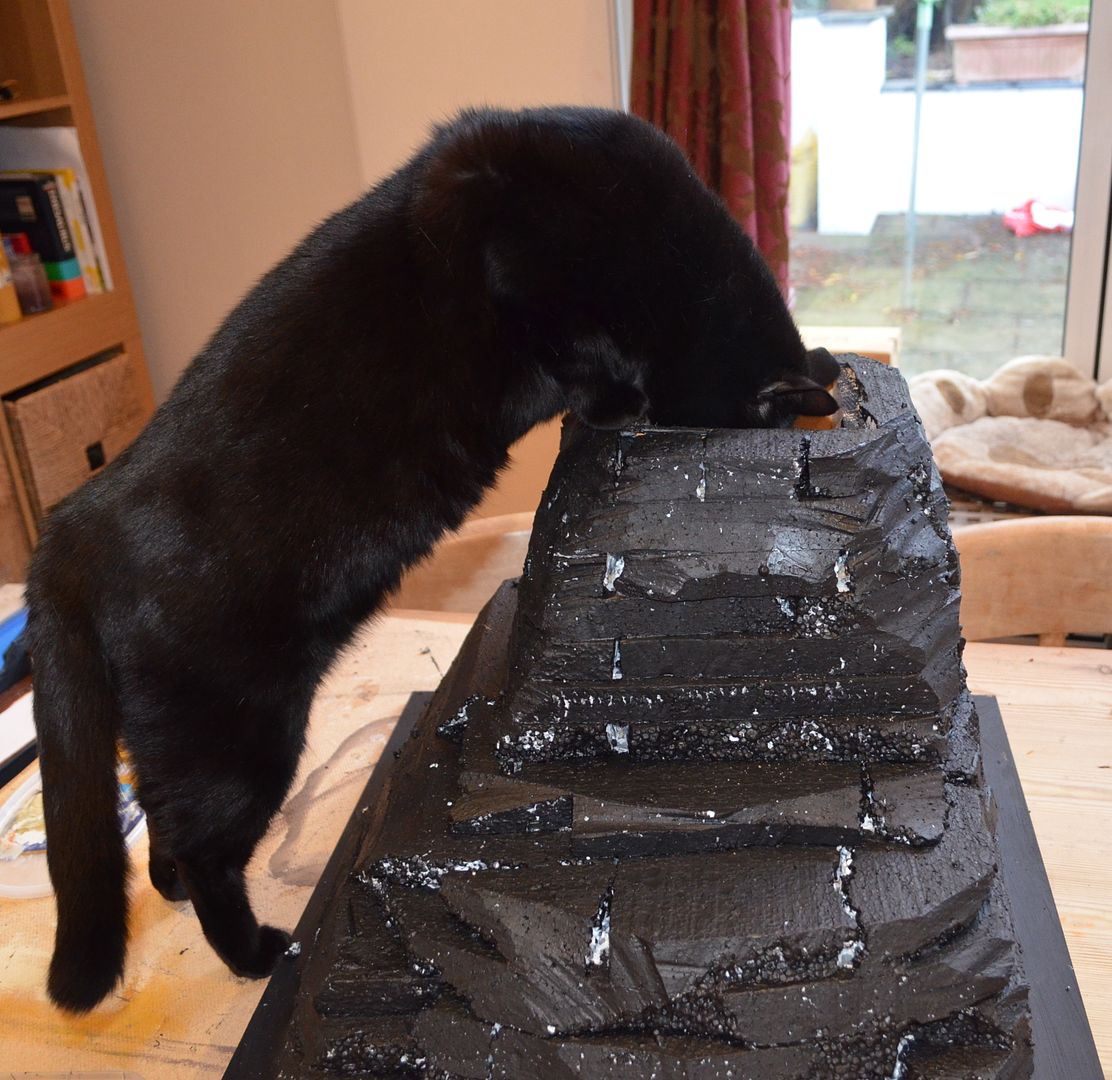
One of the problems I encountered in this earlier project was that when the cork got applied it was a nightmare to paint the cracks so to avoid this issue I have painted the whole thing black. It took two coats !!


As you can see I drafted in some help at this point.


So onto the cladding. Really simple stuff, break up the cork and then fix to the base and sides using super strong adhesive. These are then held in place by bbq skewers.


Then start working up the cliff face...


The plan is to complete this phase by the end of the week


Until next time folks....

http://shedwars.blogspot.co.uk/2015/02/building-volcano-part-4.html


Tuesday, 3 February 2015

Pulp Terrain - Dragons, Statues, Bridges and a Balloon

Postie has been busy.....

A few days ago one of the guys on the Lead Adventure Forum posted that he had bought some Balinese Dragons which were perfect for his pulp temple.

So a quick search on ebay revealed these  =- at the time I thought I was buying two for £7.00 so wanting four I ordered two sets. Unfortunately I didn't actually read the small print as this stated that they were £7.00 each and not for the pair. Not too worry these aquarium ornaments will no doubt feature in one of my many planned pulp games.


Now whilst on ebay I found this statue on auction for 99p and guess what I won ! Add in £2.80 for postage I think I got a bargain.


The figure shown is 28mm scale so this makes a great jungle monument.Whats better is that it doesn't even need a paint job.


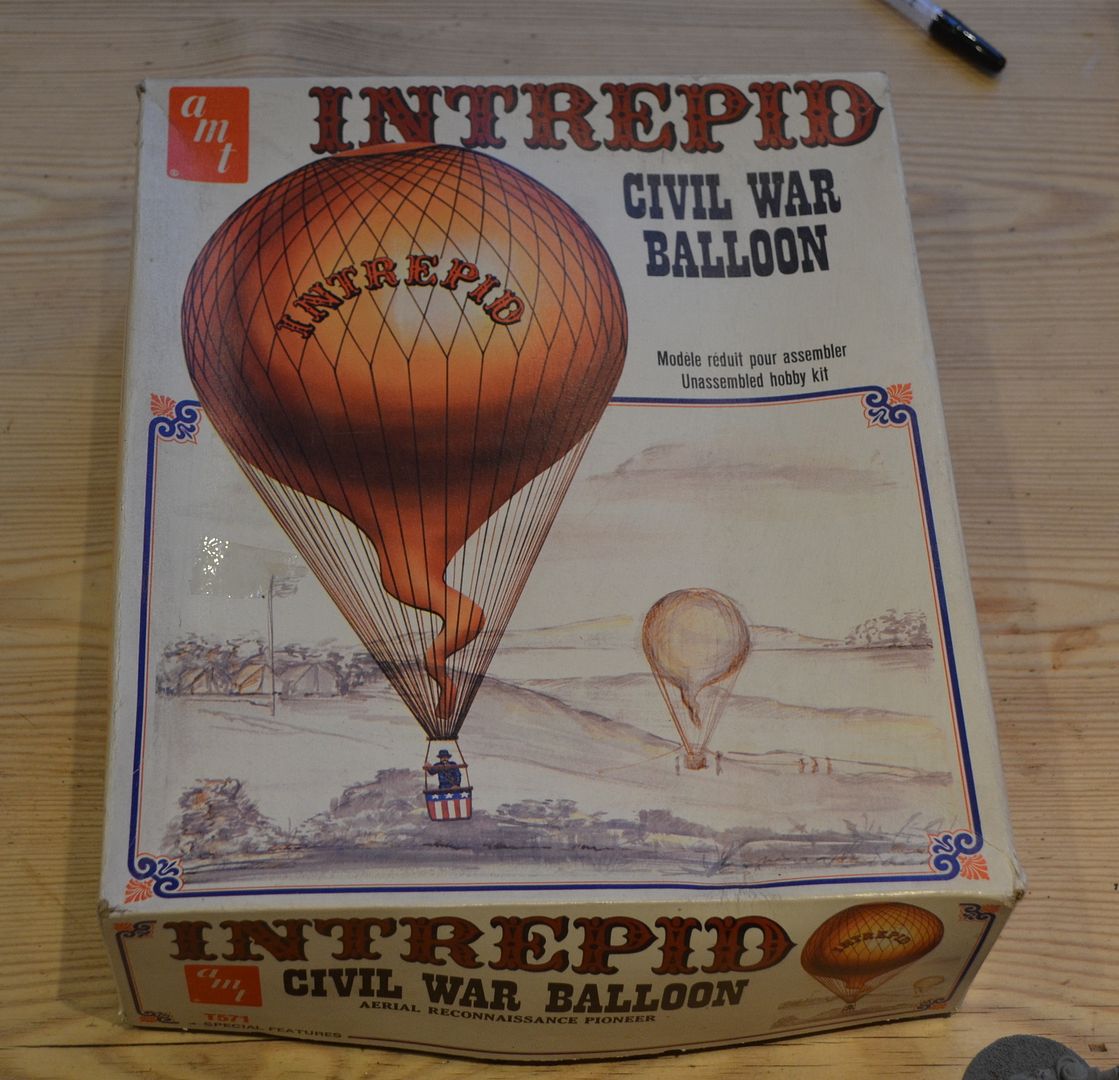
Finally, and talking about bargains my wife and I were browsing some of the junk shops near Hampton Court and this box caught her eye (I am clearly training her well). Unbeknownst to me she paid the tenner asked for and popped it into her bag. Later in the afternoon she presented me with this gift.

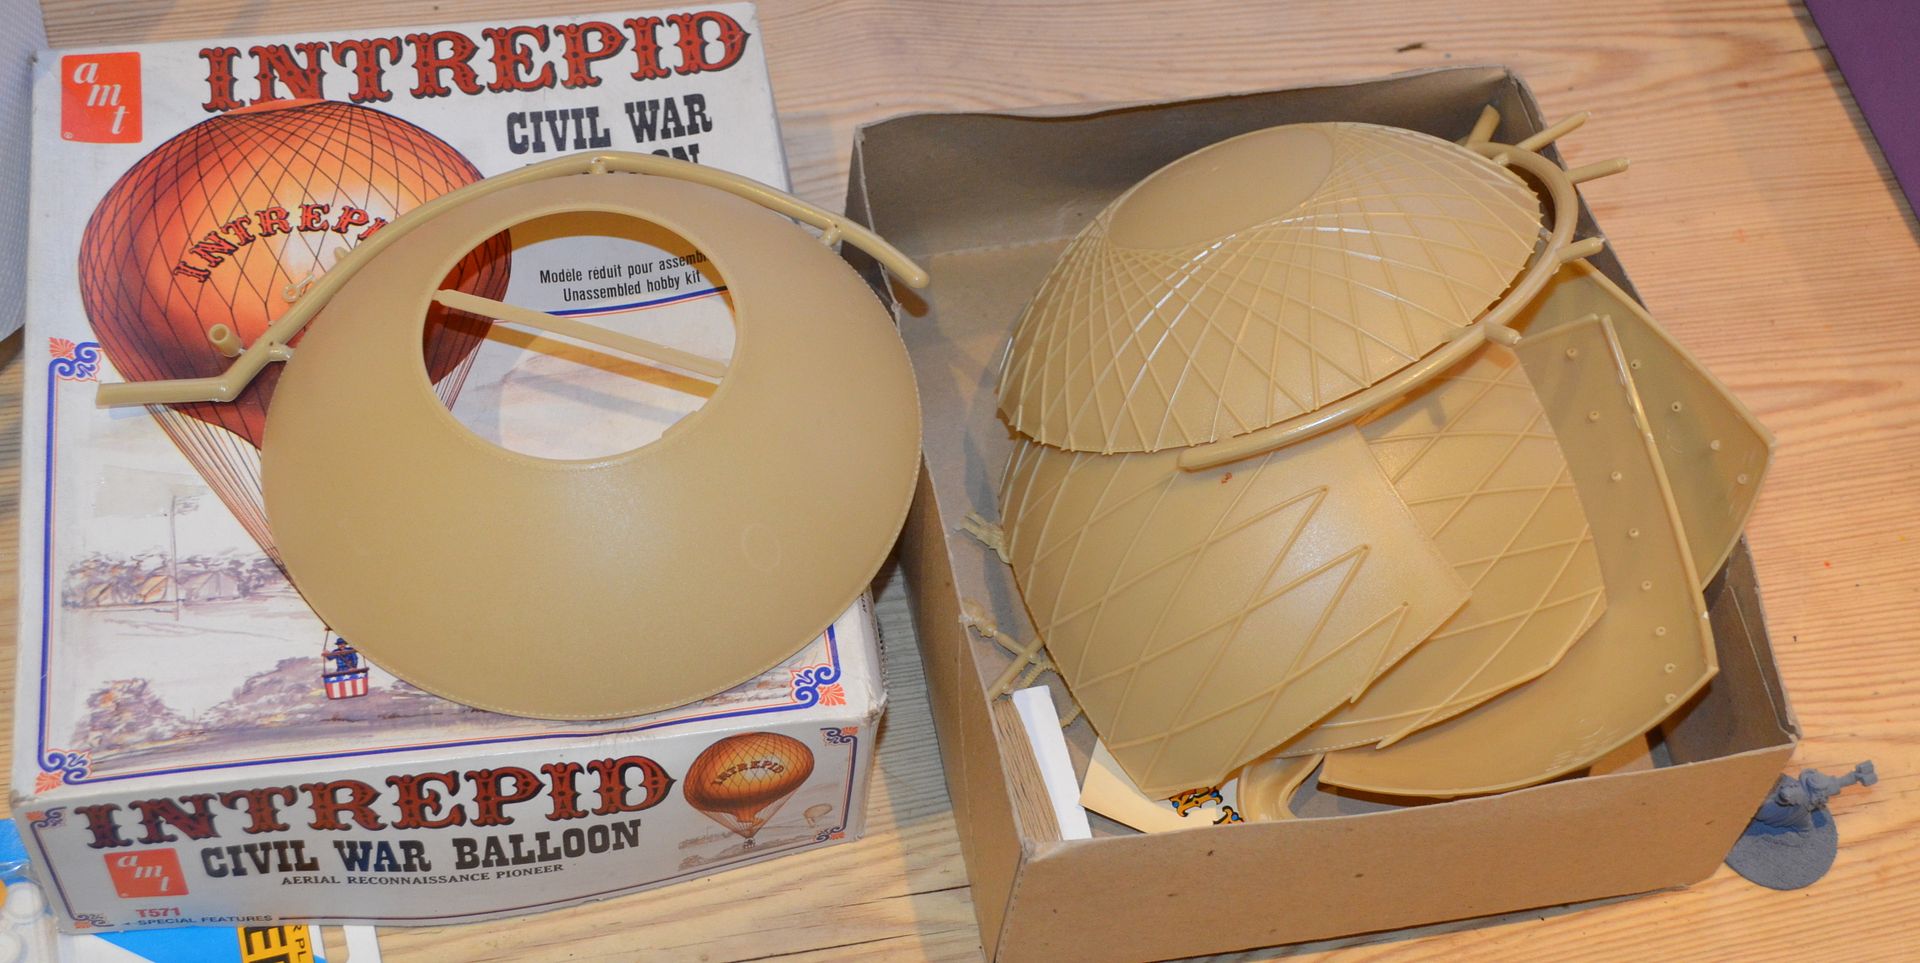
As far as I can tell this is an American manufactured model by a company called AMT in the 1970's. The scale is 1/50.


All the pieces are in the box including the cords for the basket


I mentioned bridges in the post title....well look what I also found on ebay for a few pounds (£7 if I recall)...

An Airfix Pontoon Bridge...I have absolutely no idea what I am going to use this for but I am sure it will get pressed into action at some point in time.


Finally you may recall I bought a rope bridge...well as things turn out I discovered that thee were two models and the second was bigger...quite a lot longer. Net result I now have two bridges to traverse the chasms.


until next time....


Sunday, 1 February 2015

Building a Volcano - part 2


Part 1 can be found here...

http://shedwars.blogspot.co.uk/2015/02/a-new-challenge-building-volcano-part-1.html

09.00hrs and the project is a go !!

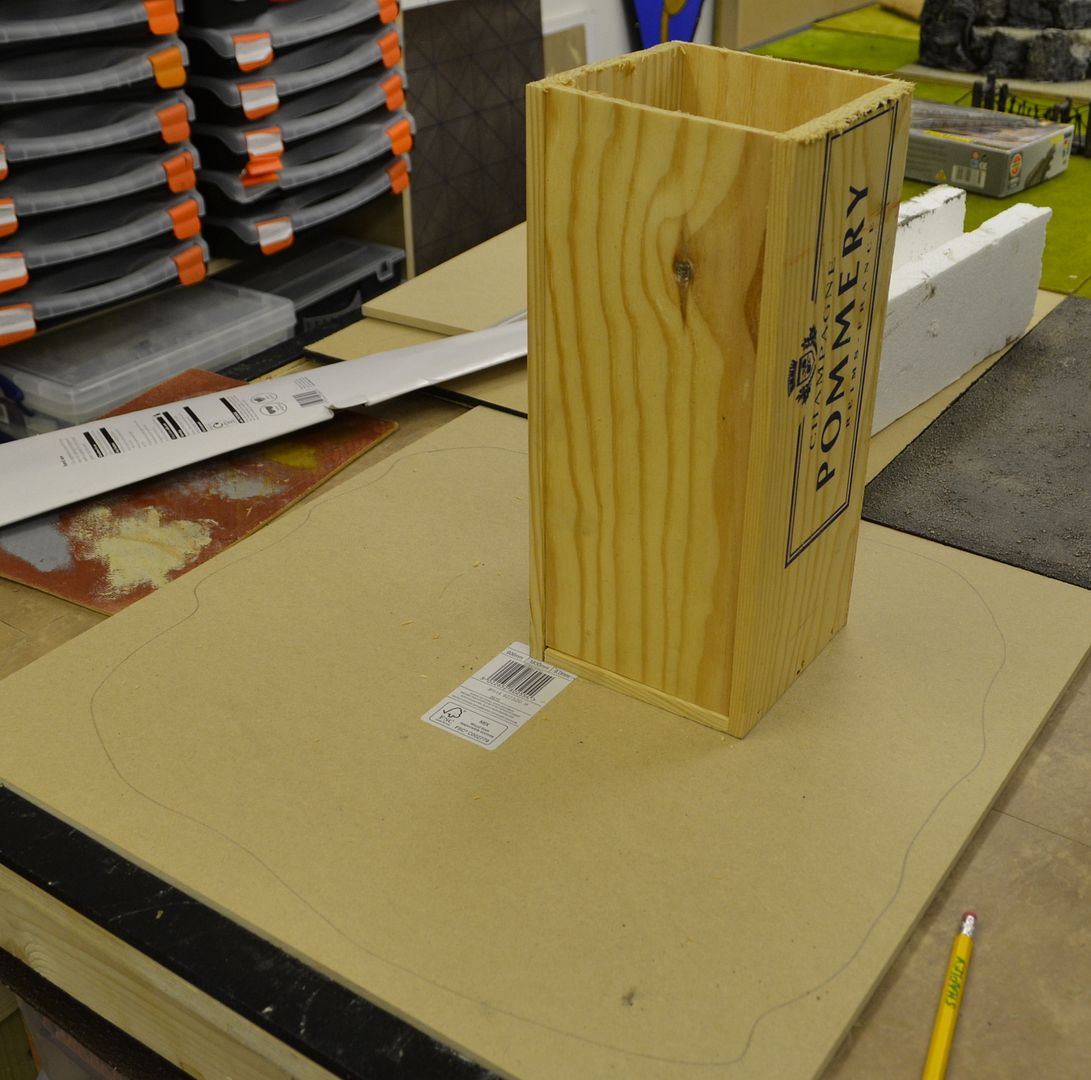
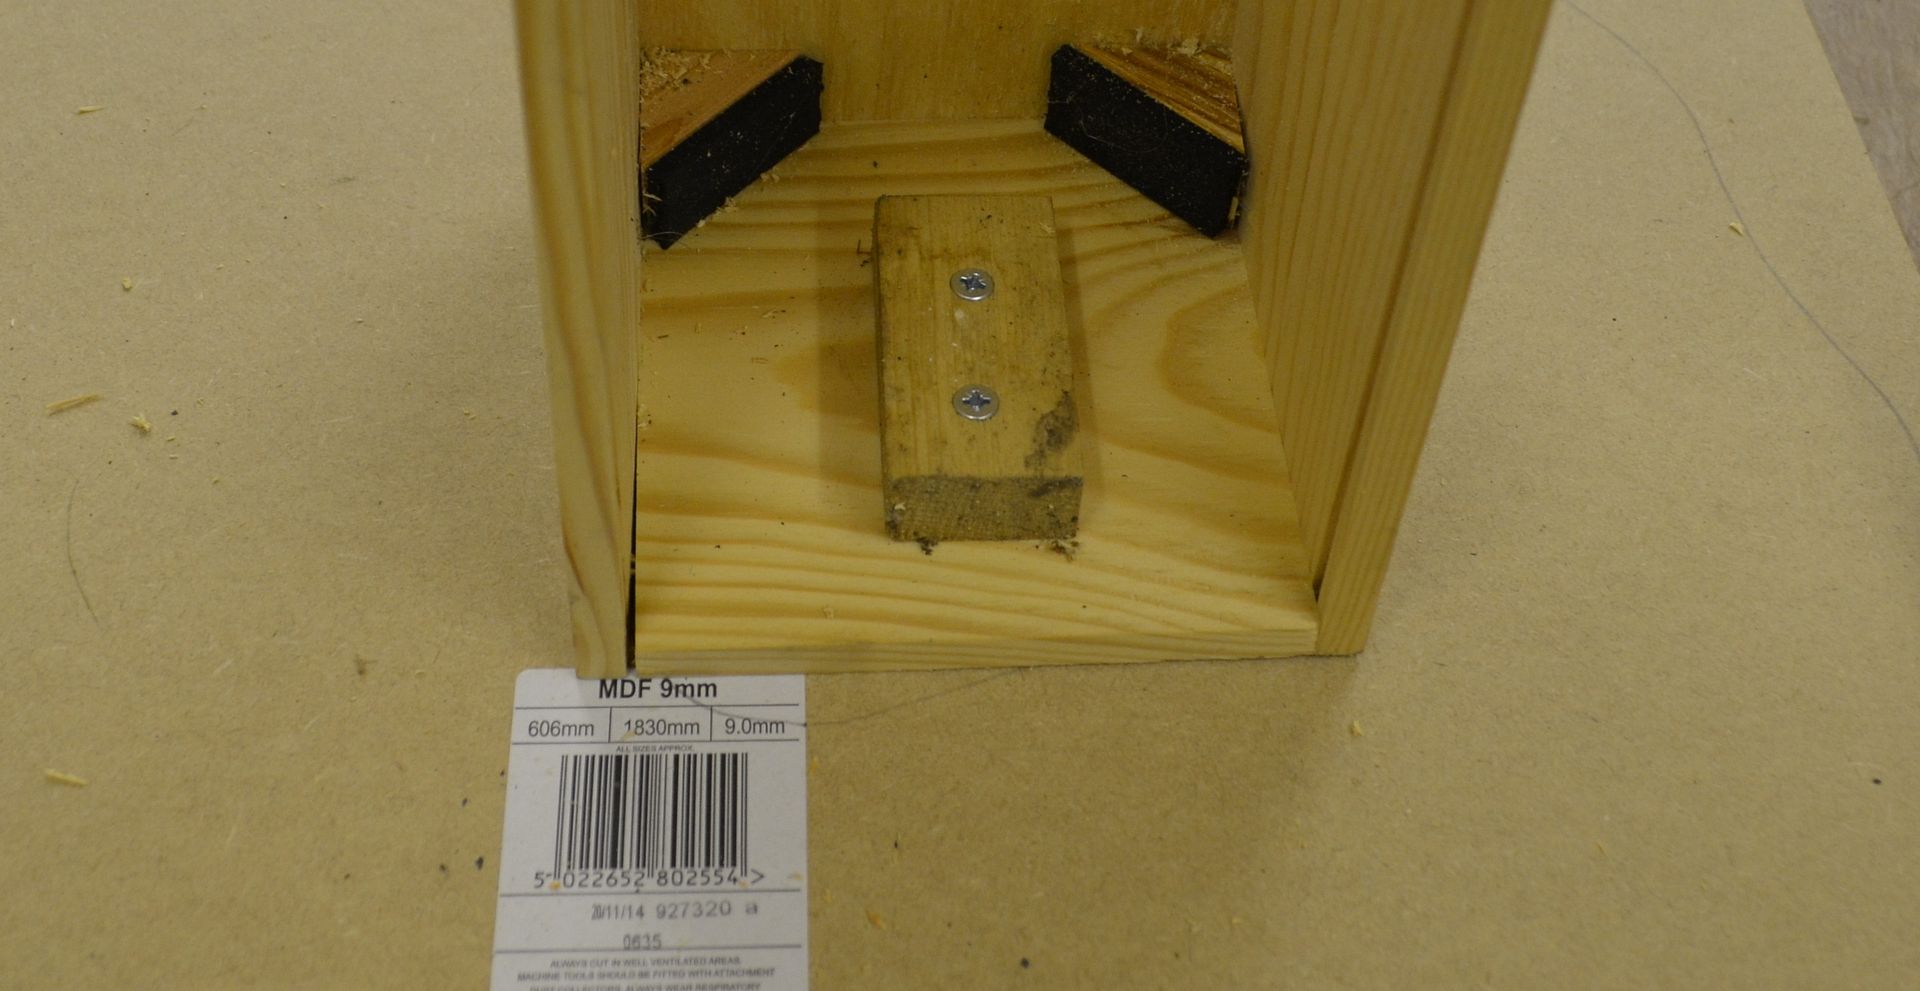
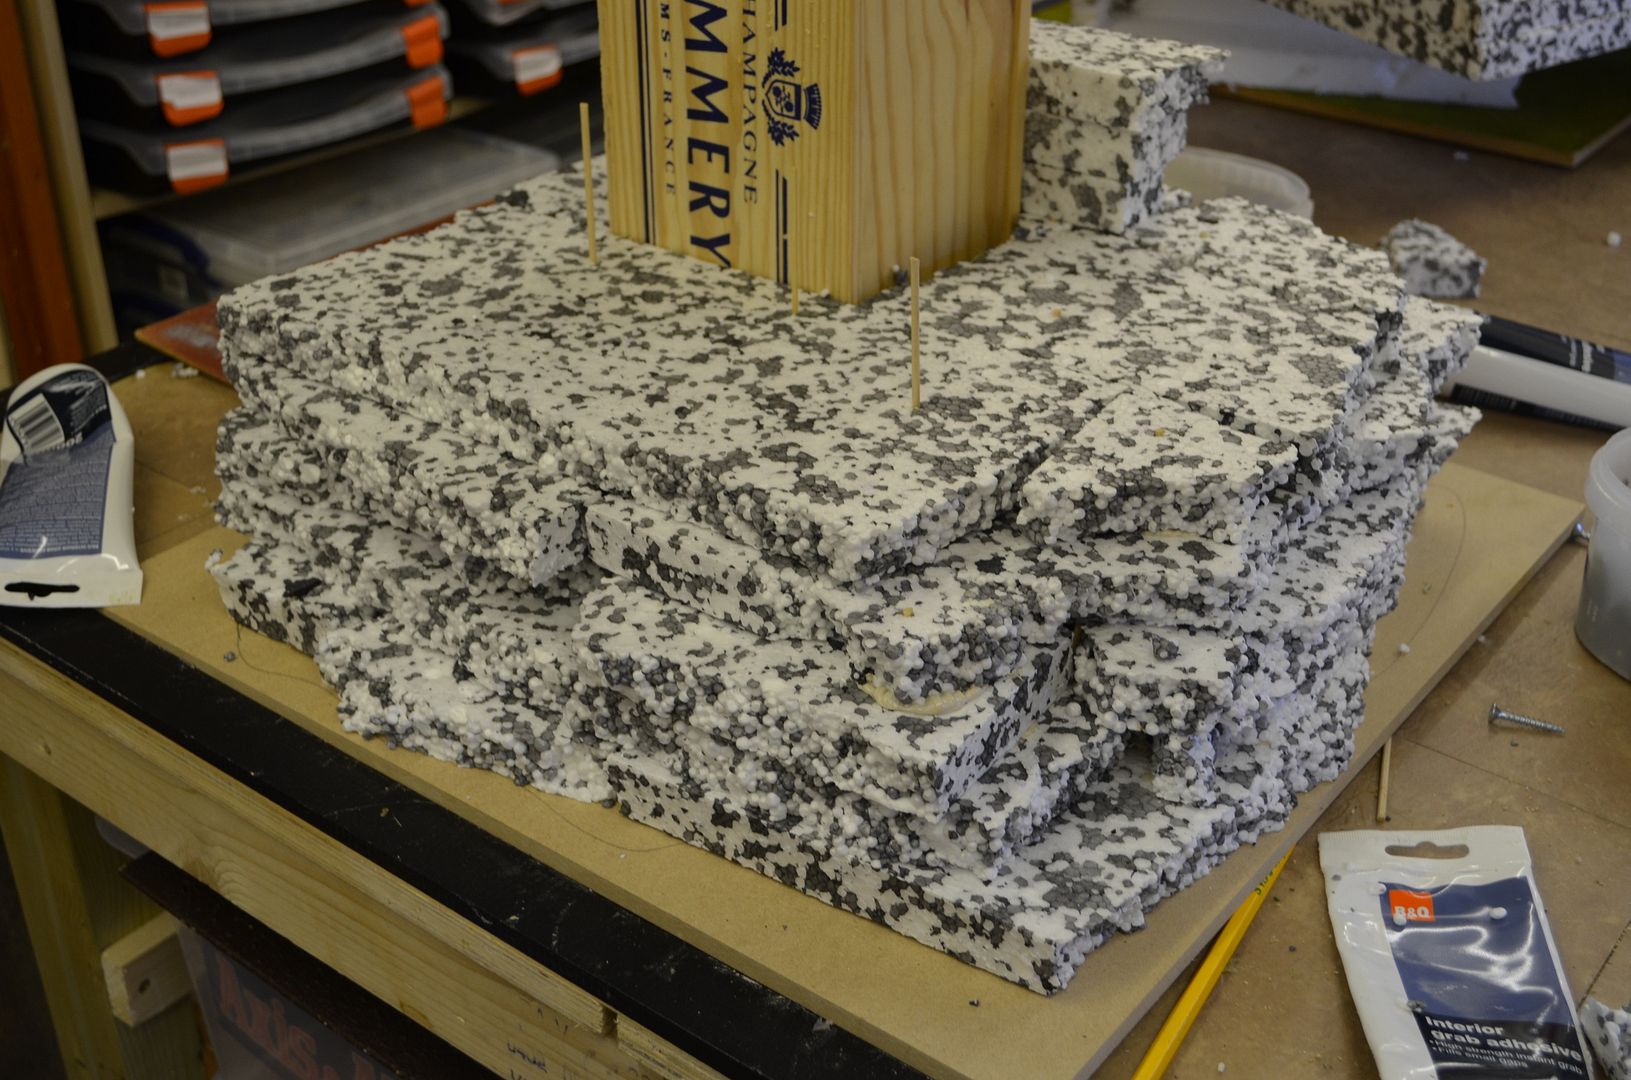
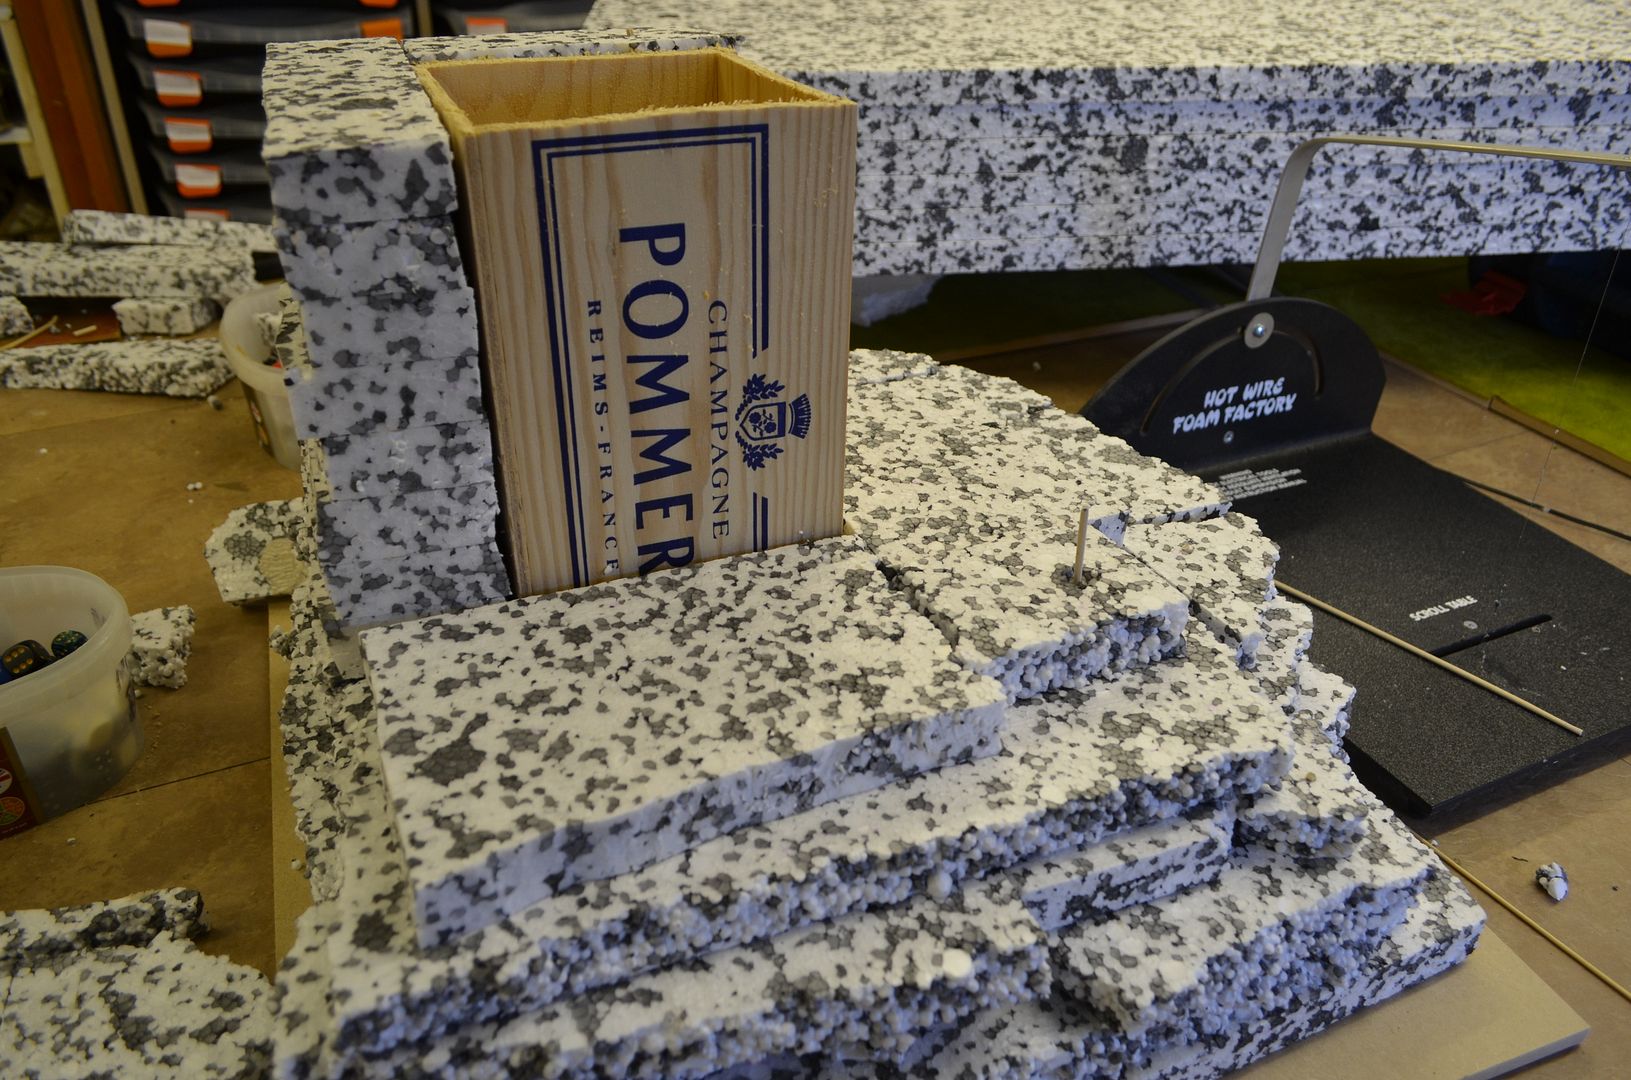
First up fix an old Champagne box to base board. This has had one end chopped off and stands 36cm tall. The box will create a sturdy centre for the volcano plus creates an inside for something I have planned later on.

Cut roughly to 36cm high


Glued and screwed to baseboard.


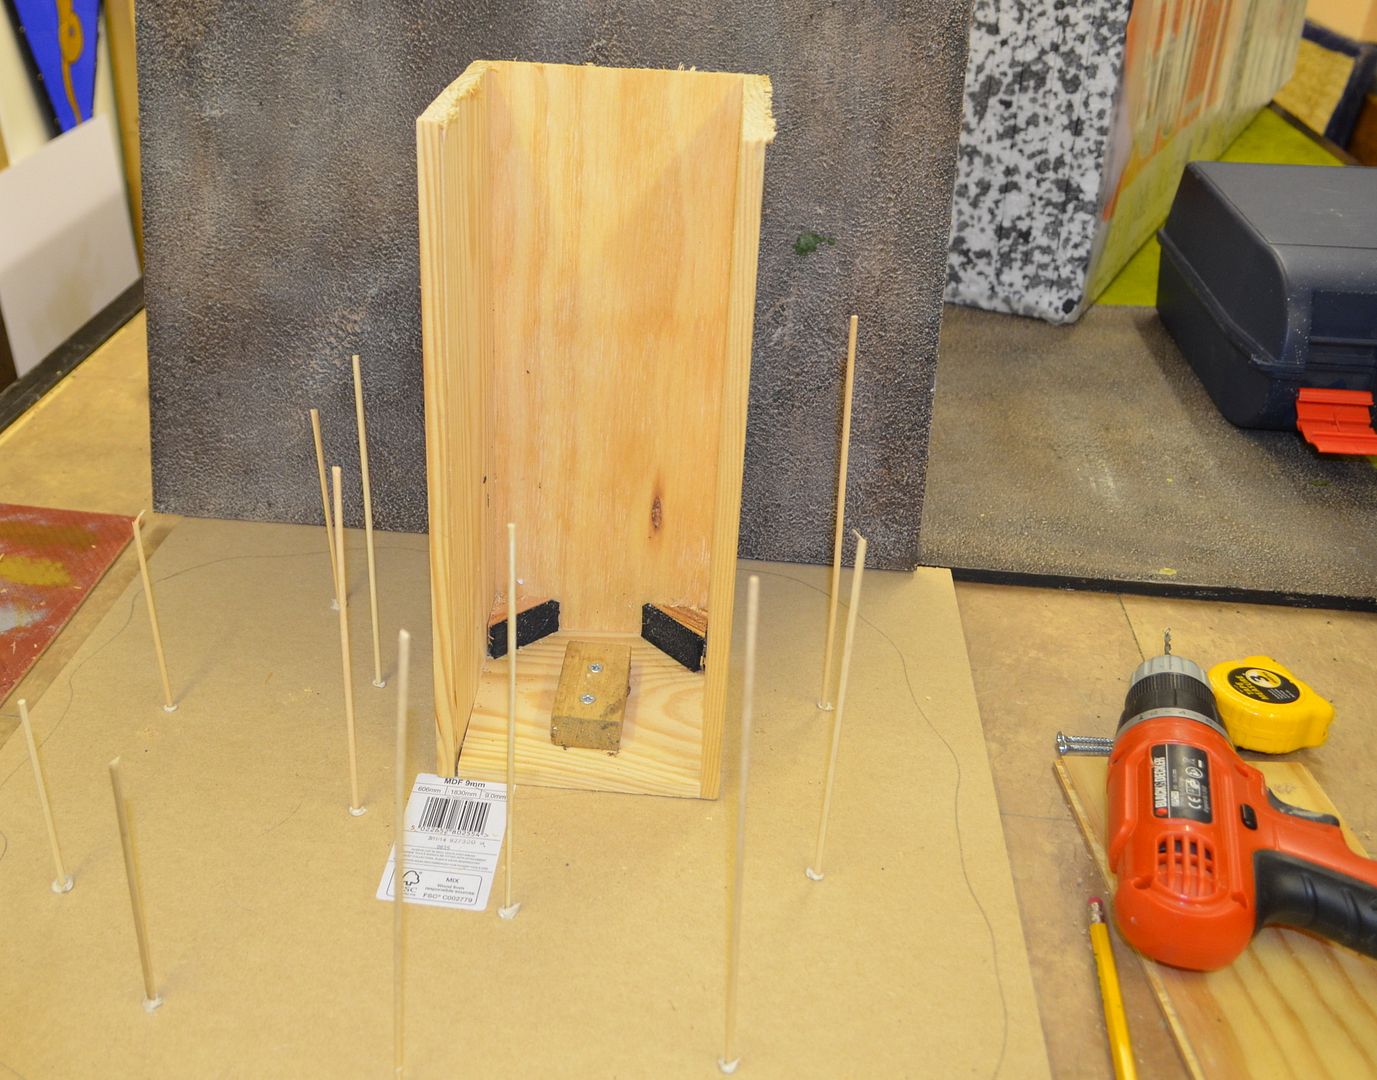
Step two glue in skewers around the base to hold the polystyrene heart of the volcano.

Simple bbq skewers hold the polystyrene in place


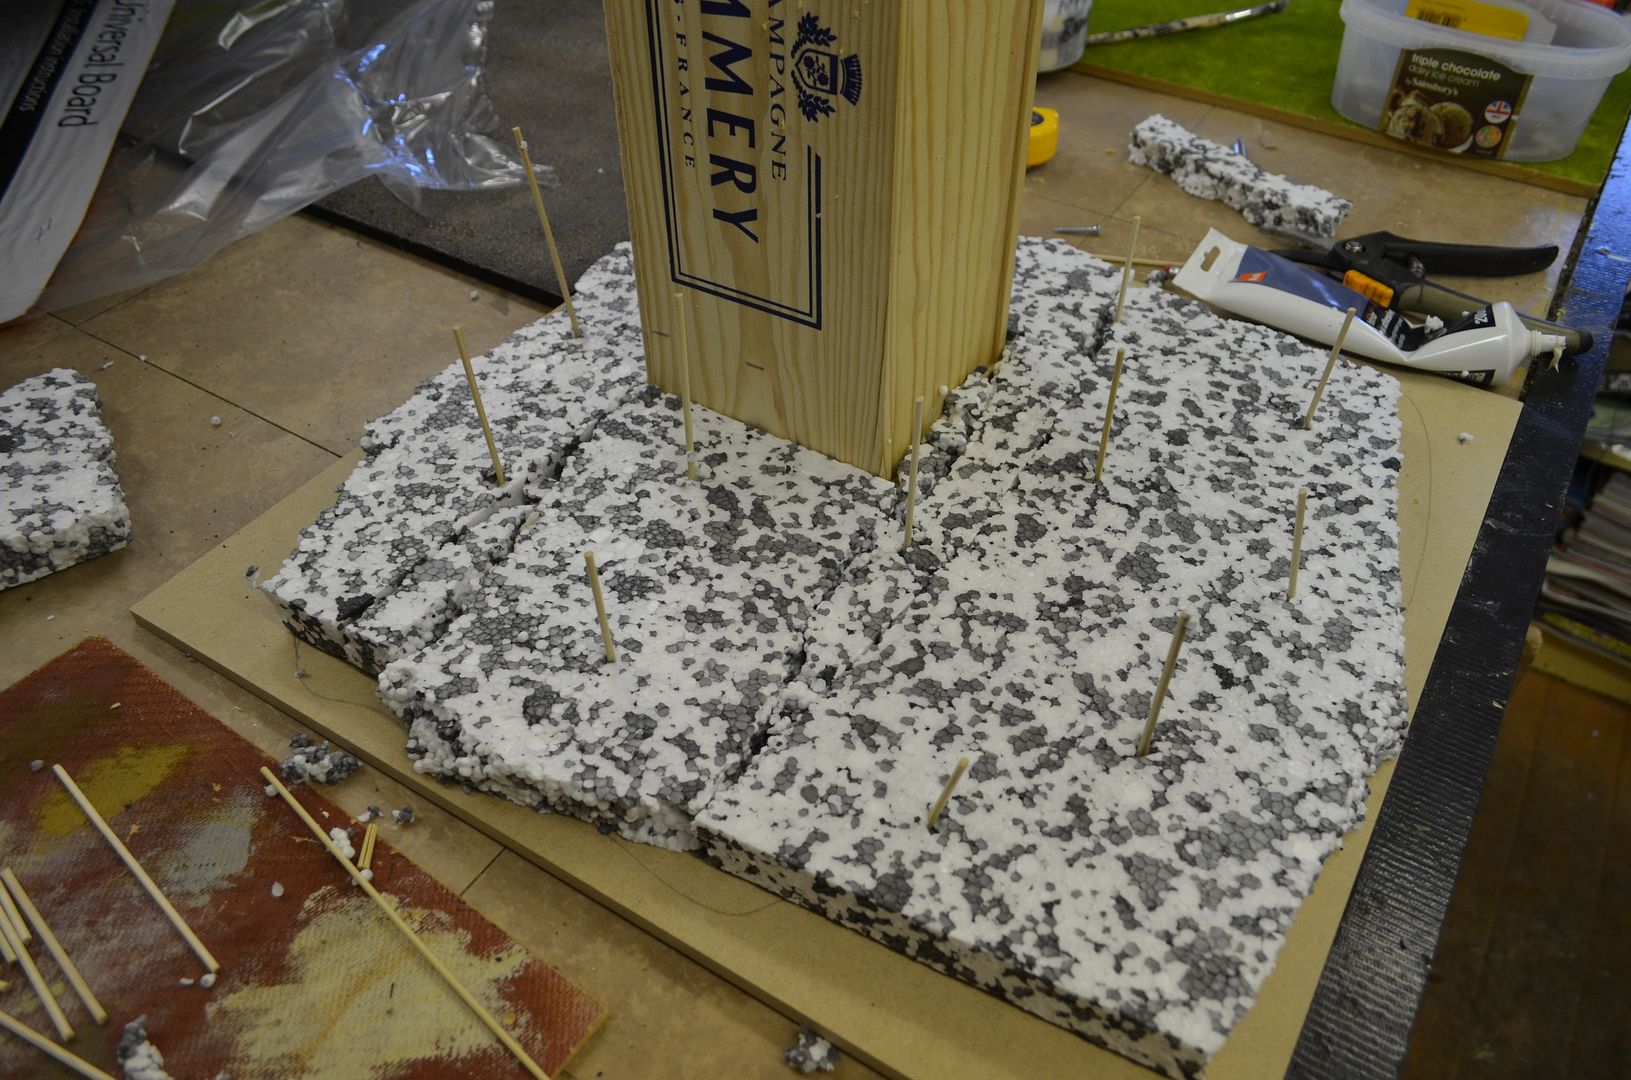
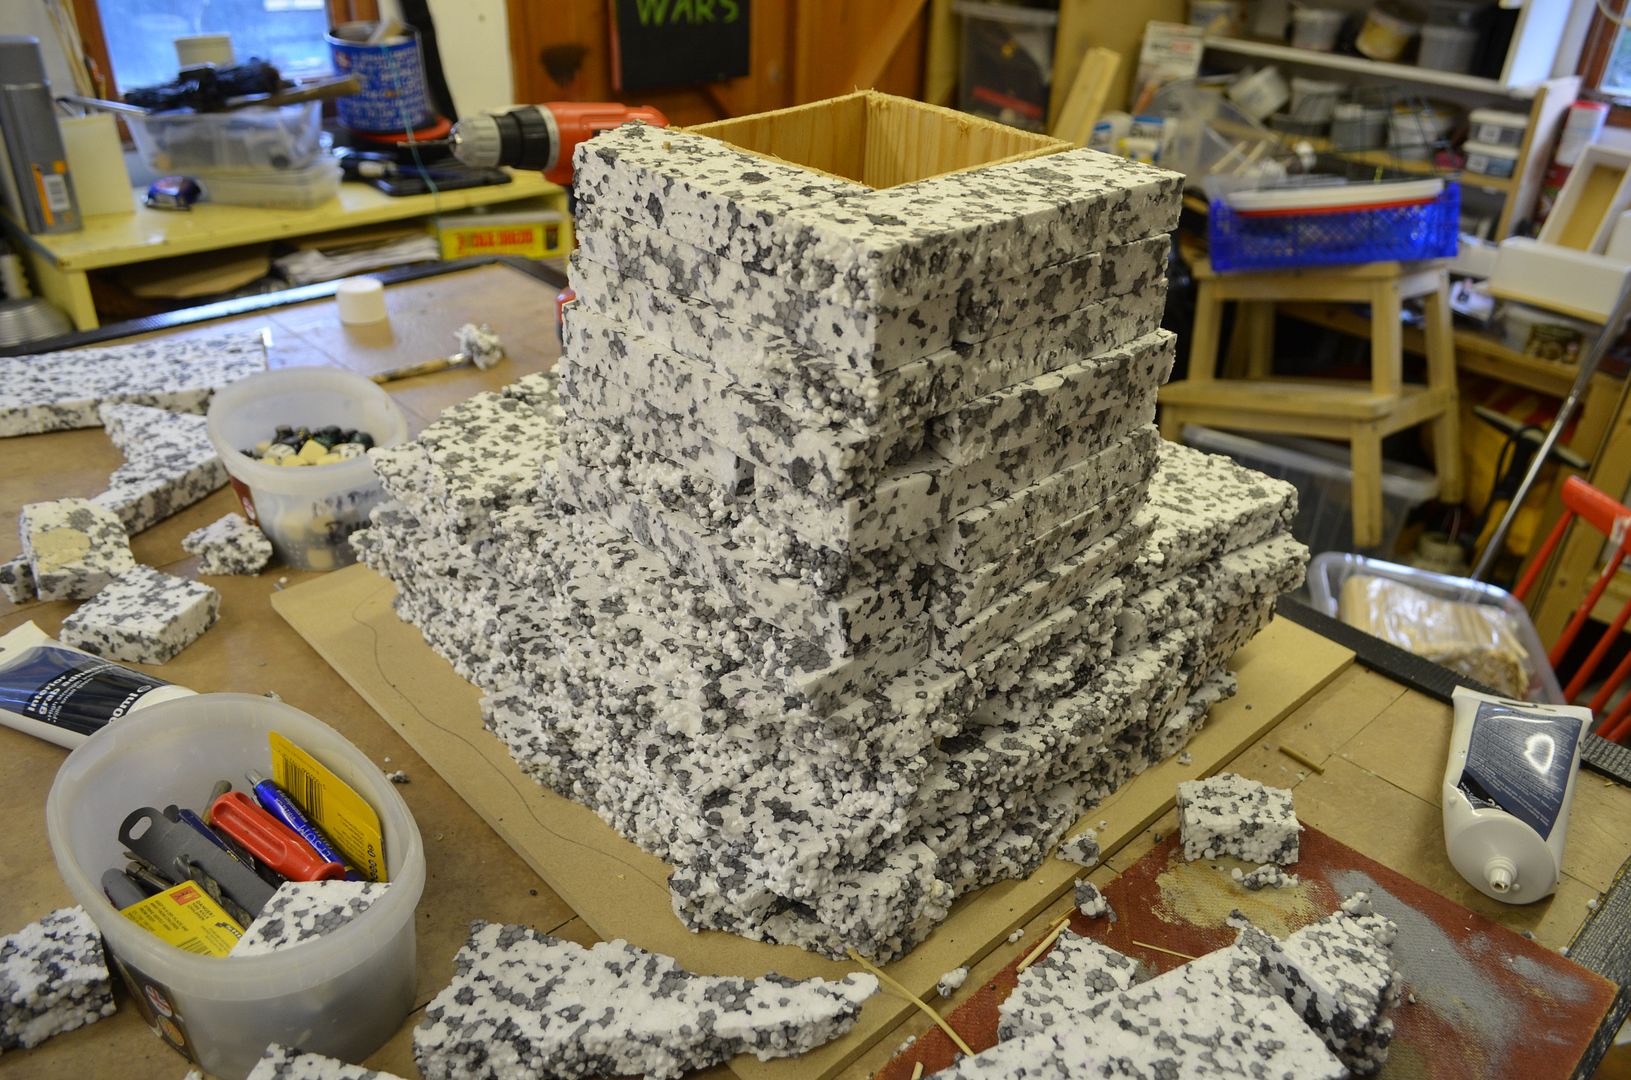
As you can see in the following pictures as the volcano takes shape I have not been particularly careful in measuring pieces. Afterall you are not going to see this in the final pictures.

Layer 1


Working around the heart of the volcano I start building up the sides. As you can see this in not going to be even all the way round.

5 layers

The build is happening
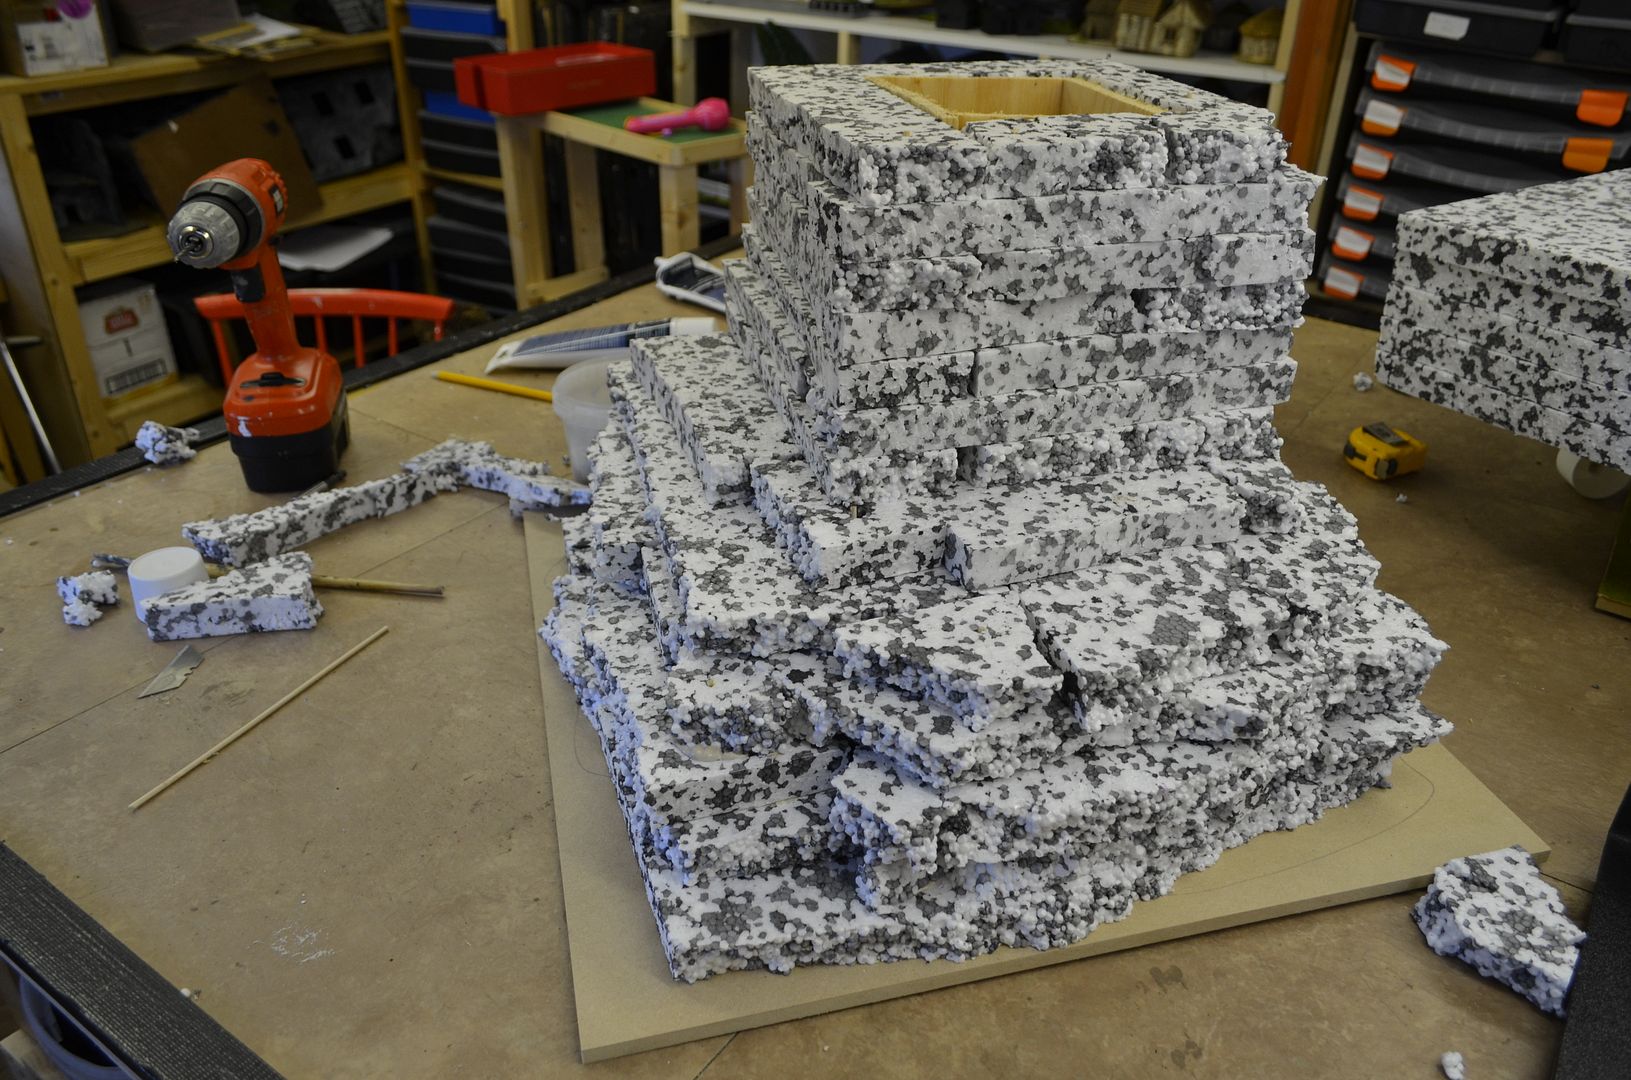
All the way to the top,...


 So my final picture of the day...a polystyrene clad box...
 

More soon.....

part 3 can be found here

http://shedwars.blogspot.co.uk/2015/02/building-volcano-part-3.html

A new Challenge ! - Building a Volcano part 1

Once a year the good folks on the Lead Adventure Forum hold a competition called 'Build Something', now over the last couple of years since I have been frequenting this excellent site I have marvelled at the talent being showcased. So this year I decided to try and pit myself against the best of them.

God only knows how I will fare but its worth a shout to see what can be achieved.

If you want to read more head here...

http://www.lead-adventure.de/index.php?board=48.0

The rules are quite simple you have to build a terrain piece (no smaller than 5cm square) that is connected to the competitions theme.

The competition kicks off today 1st February and must be completed five weeks later. During the competition we must post up progress on the LAF site - link below.

If I have understood things correctly the projects are then paired up and voted on by the community. The winner of each pairing then goes through to the next round.

So what's the theme and what am I going to build....

The theme is Fire & Ice, or one of the above.

I have decided to build a Volcano !!

Why...well for a start it going to be big and I do like big projects, secondly I'll design it in such a way that it will work with the rocky escarpments already built, and thirdly its just the thing for my forthcoming pulp adventures.

Over the next few weeks I'll be posting the progress shots here and on the LAF.

However this morning I will share the materials I have purchased for this project...

First up the base board - 50cm x 50cm of 9mm MDF (as per all my terrain builds)


Three tubes of glue...i'll need these!


A big pack of jablite (polystyrene) - 2.5cm thick - 8 sheets for £12. Would have preferred pink foam but can't find any.


Cork Bark - Two 60cm tubes (about 20cm in diameter)


Now everybody says cork bark is expensive...I would challenge this assertion and look again. These two tubes which will be more than enough for my project cost £9.00 each. They were bought from the local garden centre in their pet store.


Over the next few weeks I'll be furiously building this beast...

part 2 is here..

http://shedwars.blogspot.co.uk/2015/02/building-volcano-part-2.html