Saturday, 15 November 2014

A Forest for Under Forty Quid

Hi Folks

Do you want to save yourself money and build great forests?

Ok quick question - how much does this cost?


its about $35 or shall we say £25 for five trees, a base and some scatter. Not particularly good value in my honest opinion. What would say if I told you that the following could be bought and made for less than forty pounds.
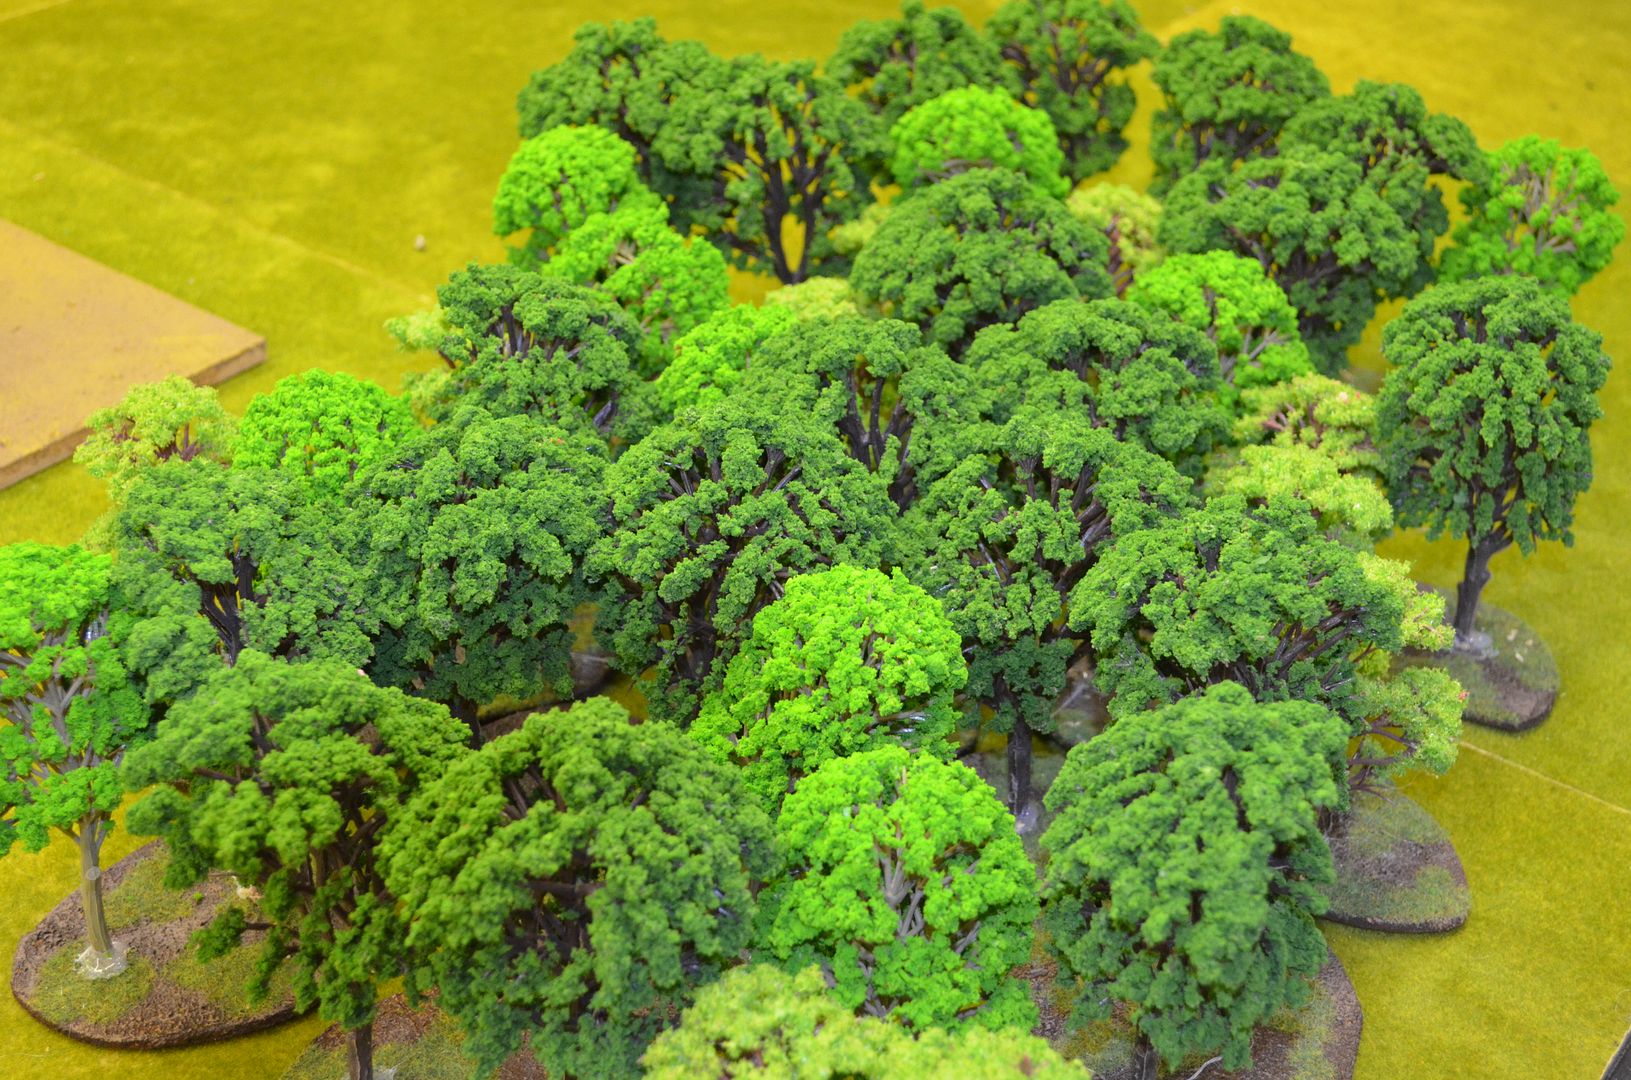


Yes that's right 16 bases of trees with approximately 35 trees all for forty quid...


I have spread them out in this picture to give you a sense of the area covered.


Still looks like a dense wood to me..


Ok - interested - where do we start.

Well firstly the trees need to be sourced off ebay. I have discovered this wonderful seller called ethersell see link below

http://www.ebay.co.uk/usr/ethersell88?_trksid=p2059210.m2749.l2754

These guys sell a great deal of stuff so you might need to hunt down your product. You can find their trees in Collectables, Model Railways.

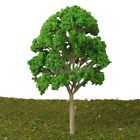
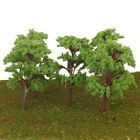
Now you are looking for the deciduous trees that stand over 12cm tall that have plastic armatures. There is another type made from twisted wire and these are a real pain.

The following pictures illustrate what you are looking for


These trees typically come in packs of five for around £3.99 - postage is more often than not free.,

So decide what you want - order and pay. Sit back and wait...my big order took 6 weeks to arrive.

The big day has arrived the parcel is here.

The following build was all achieved in three hours so again this project is both kind on your wallet and easy on time.

Step 1.

Cut out your bases from hardboard (cheap offcuts - no cost), sand edges and then cover in sand using pva.

Step 2

Paint bases dark brown and then dry brush light brown
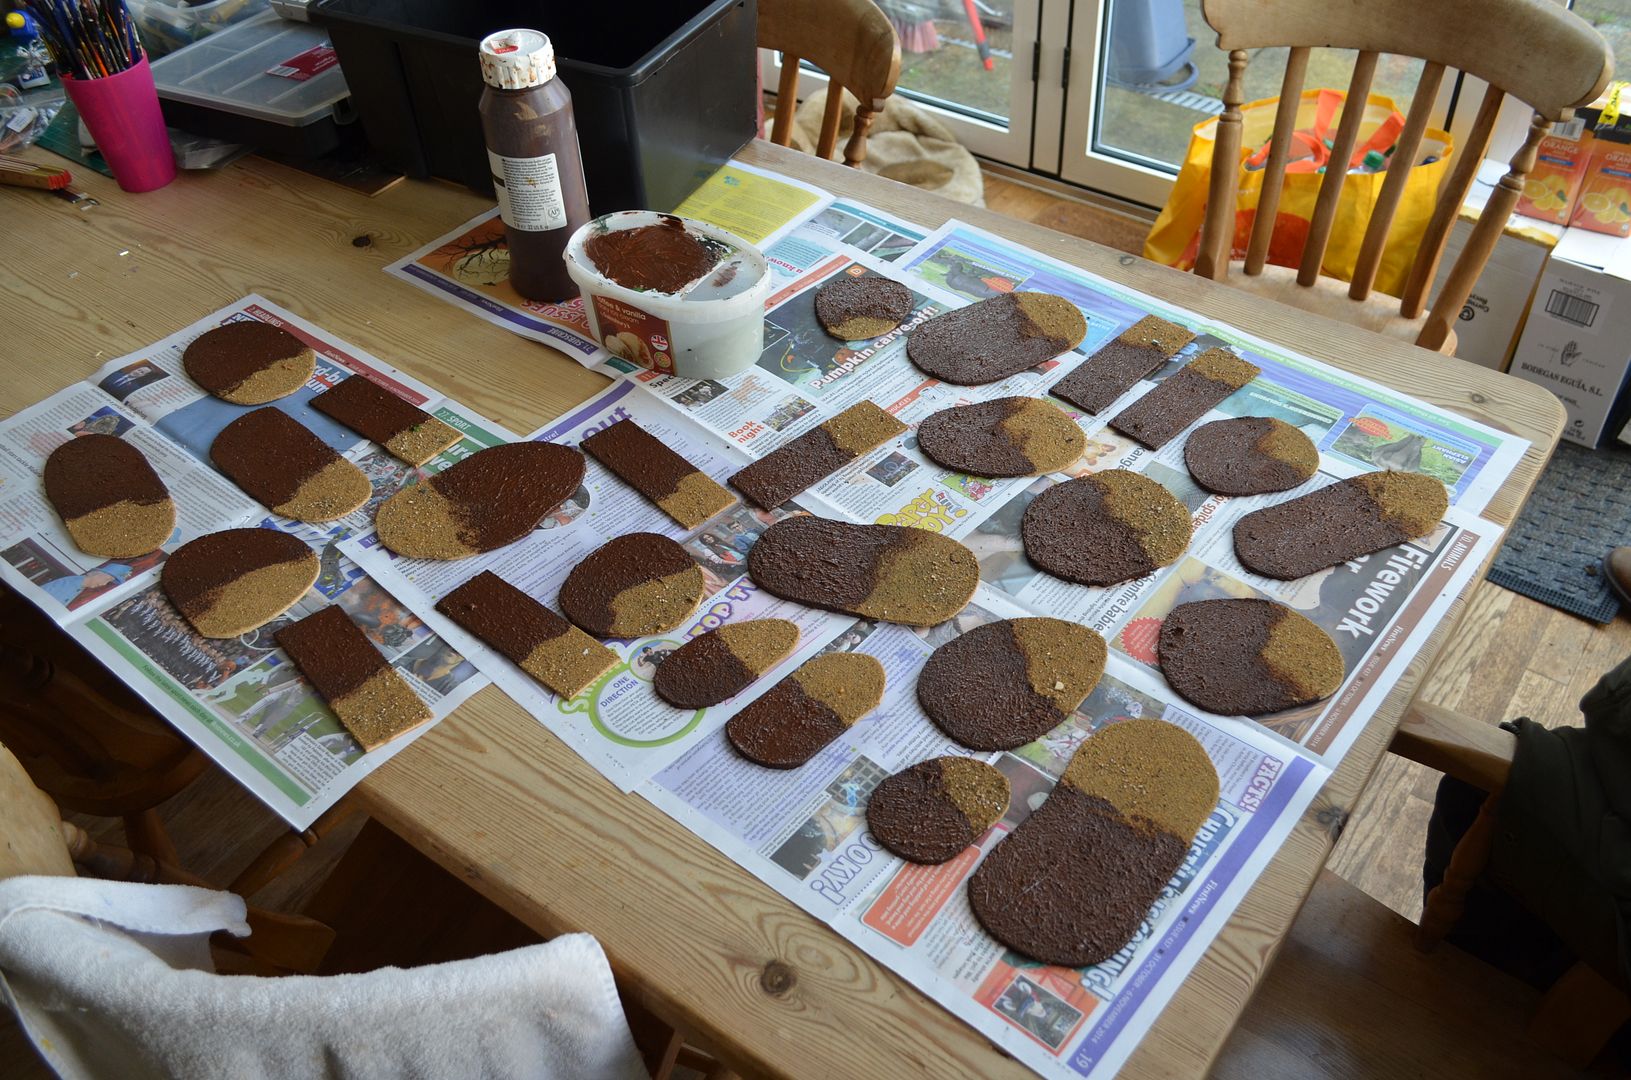
No I am not making biscuits !


Step 3

Once dry scatter and static grass added - cost £2.99 for bags off ebay
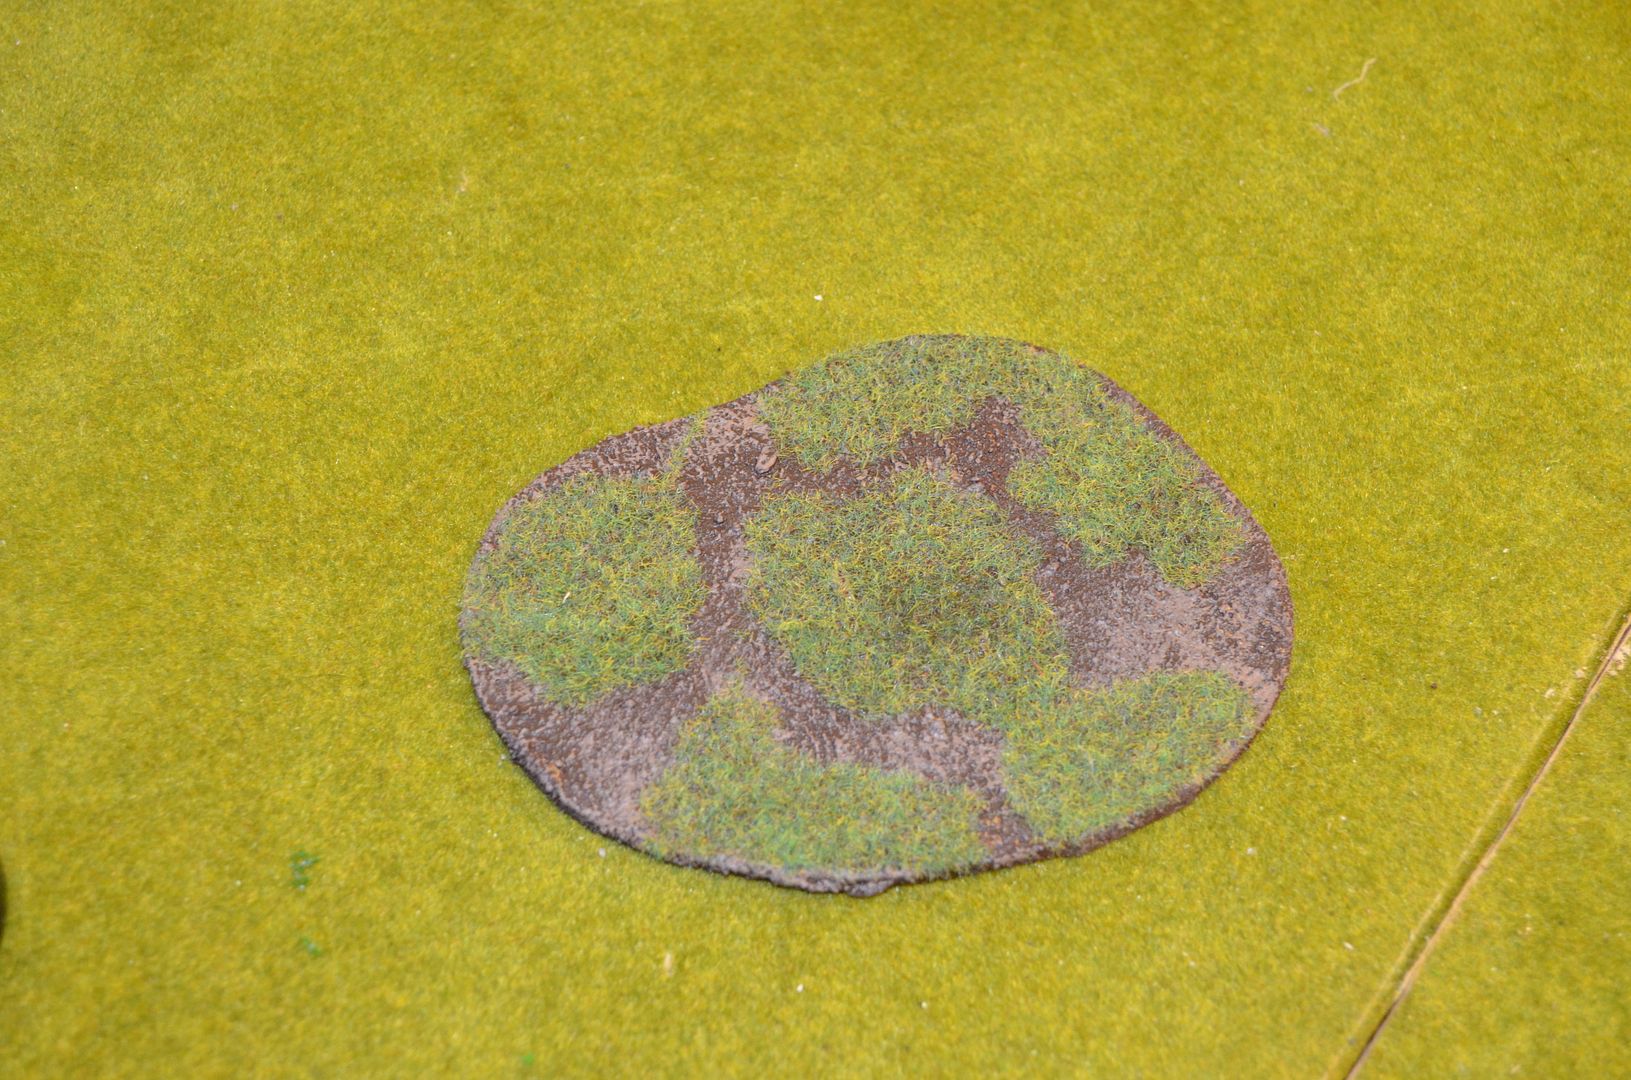
really exciting photo...

Step 4

Turn over base board and using drill heads to match thickness of tree trunks make holes


Step 5

Push through tree trunks (must be tight) and hot glue into place


Step 6

Clip off protruding ends once dry

And that is it...a fabulous deciduous forest for less than £40 - Bargain


Thursday, 13 November 2014

Apologies & Cats Eyes

Hi Folks

This is just a brief message to let you all know that things are still happening in the Shed...but are not being reported as frequently as the in the past..

Why...I hear you shout across digital space?

Well a couple of things are happening..

firstly I have got myself a new job which has meant I have had little time to put finger to keyboard and write up the various projects I am working on.

Secondly I needed a break from painting and building. The good news is that my mojo has returned an a whole load of new stuff is on its way.

Despite all that I continue to get games in every Monday night and over the last few weeks we have been playing everything from Warmaster to Saga, from a Lord Of the Rings Black Powder game to X Wing. The bad news is that I singularly failed to take any pictures. ;-(

Apologies...

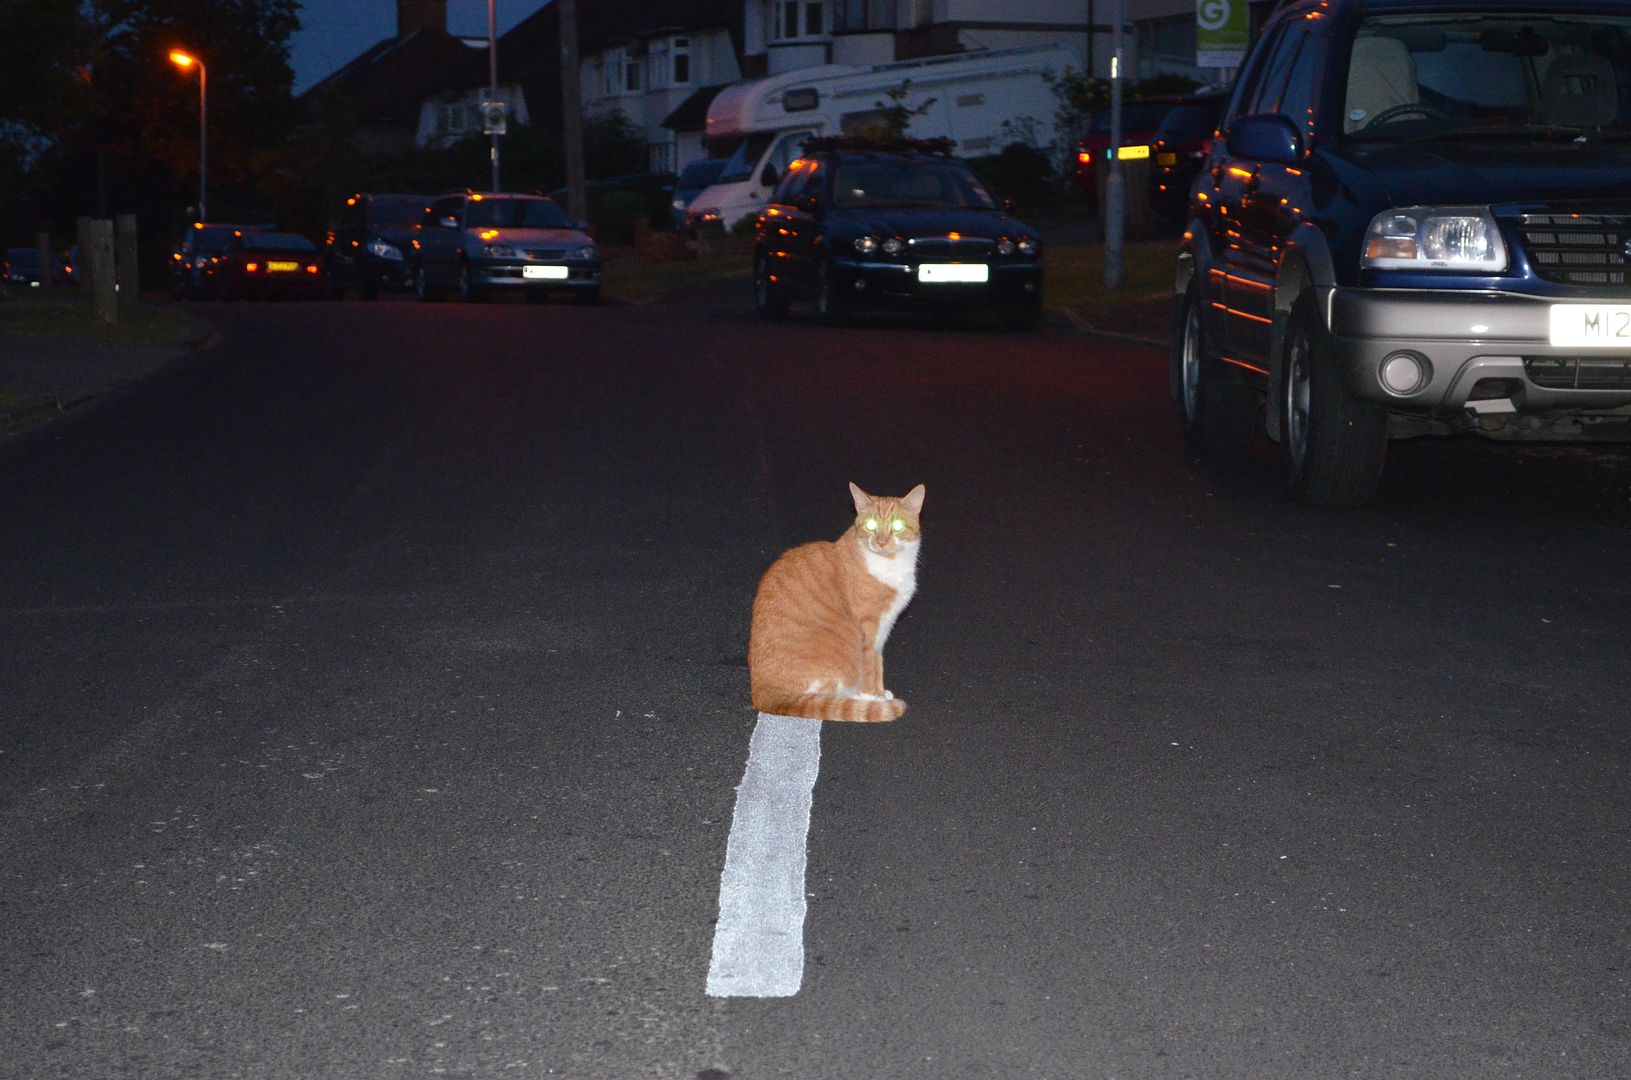
But here is a picture of my cat to satisfy those image junkeys


This of course brings out a whole new way of looking at Cats Eyes in the road..

Coming up soon I promise will be the continuing build of my arid/desert landscape, the start of my major painting programme of a huge Saracen army, more trees from china, a VBCW game called Uprising (set in the walled city of Southchester) and of course a
 photo report from Reading this weekend....I'll be there on Saturday morning. If I am feeling brave Ill wear my Eric the Shed T Shirt

until next time

Sunday, 2 November 2014

Rocky Escarpments & Pyramid Finished!!

So with a new month I headed down to the shed for some serious painting. Up to now I had painted all the rock pieces, the temple, the pyramid and the board that dirty old brown colour. Today was the day when I would get these painted.

Part 4 of this project can be found here

http://shedwars.blogspot.co.uk/2014/10/rocky-escarpments-part-4.html

If you want to start from the beginning head here

http://shedwars.blogspot.co.uk/2014/09/egyptian-adventures-rocky-escarpments.html

Sadly I took few photos of the pre stage but to give you a feel for the work involved I firstly dry-brushed every piece with a yellow ochre, on top of this was a dry brush of off white.

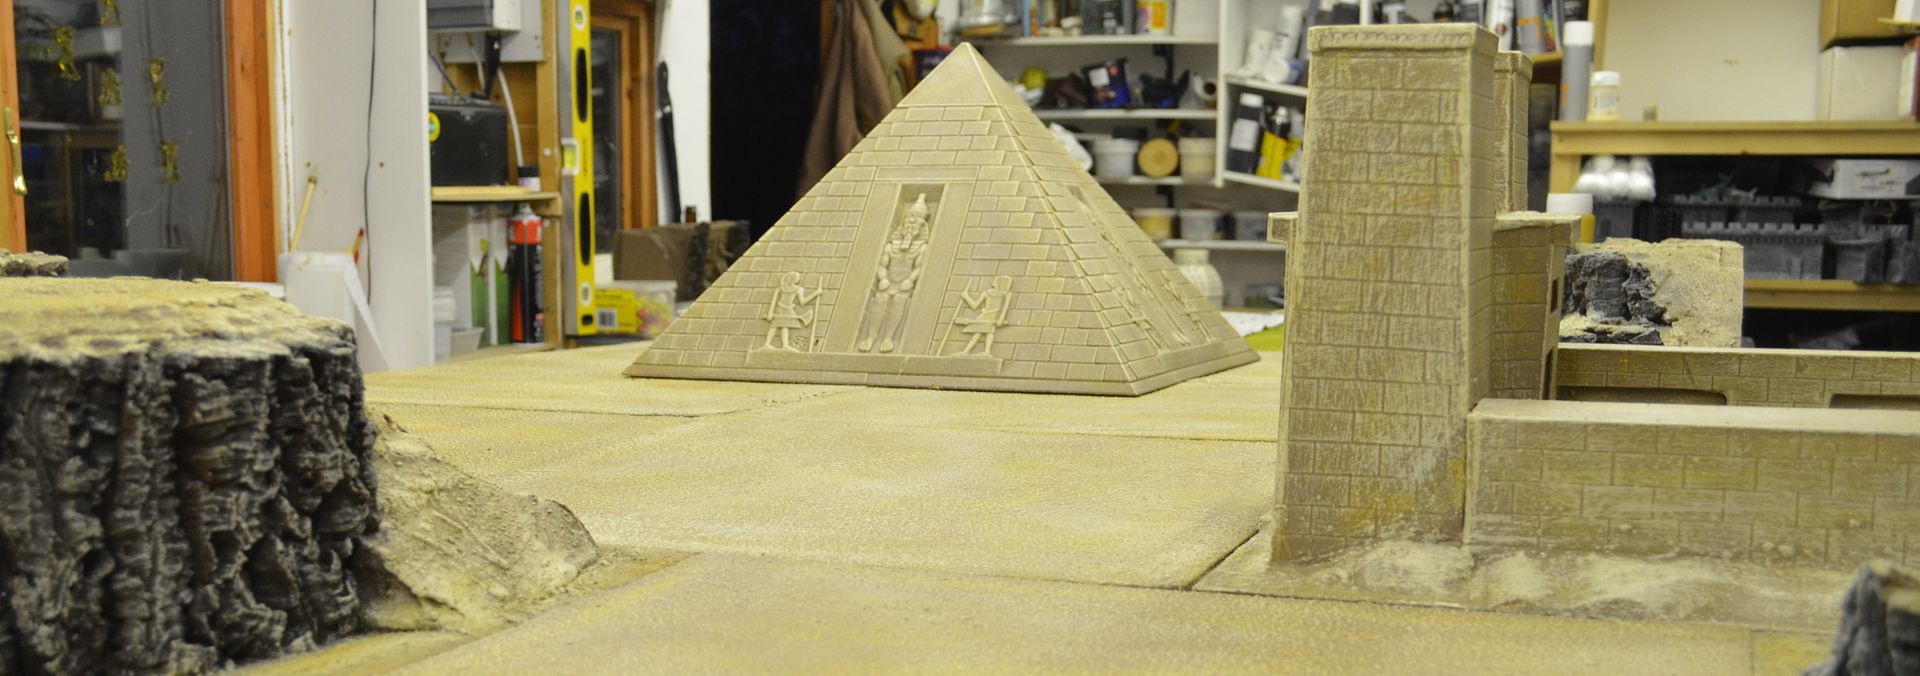
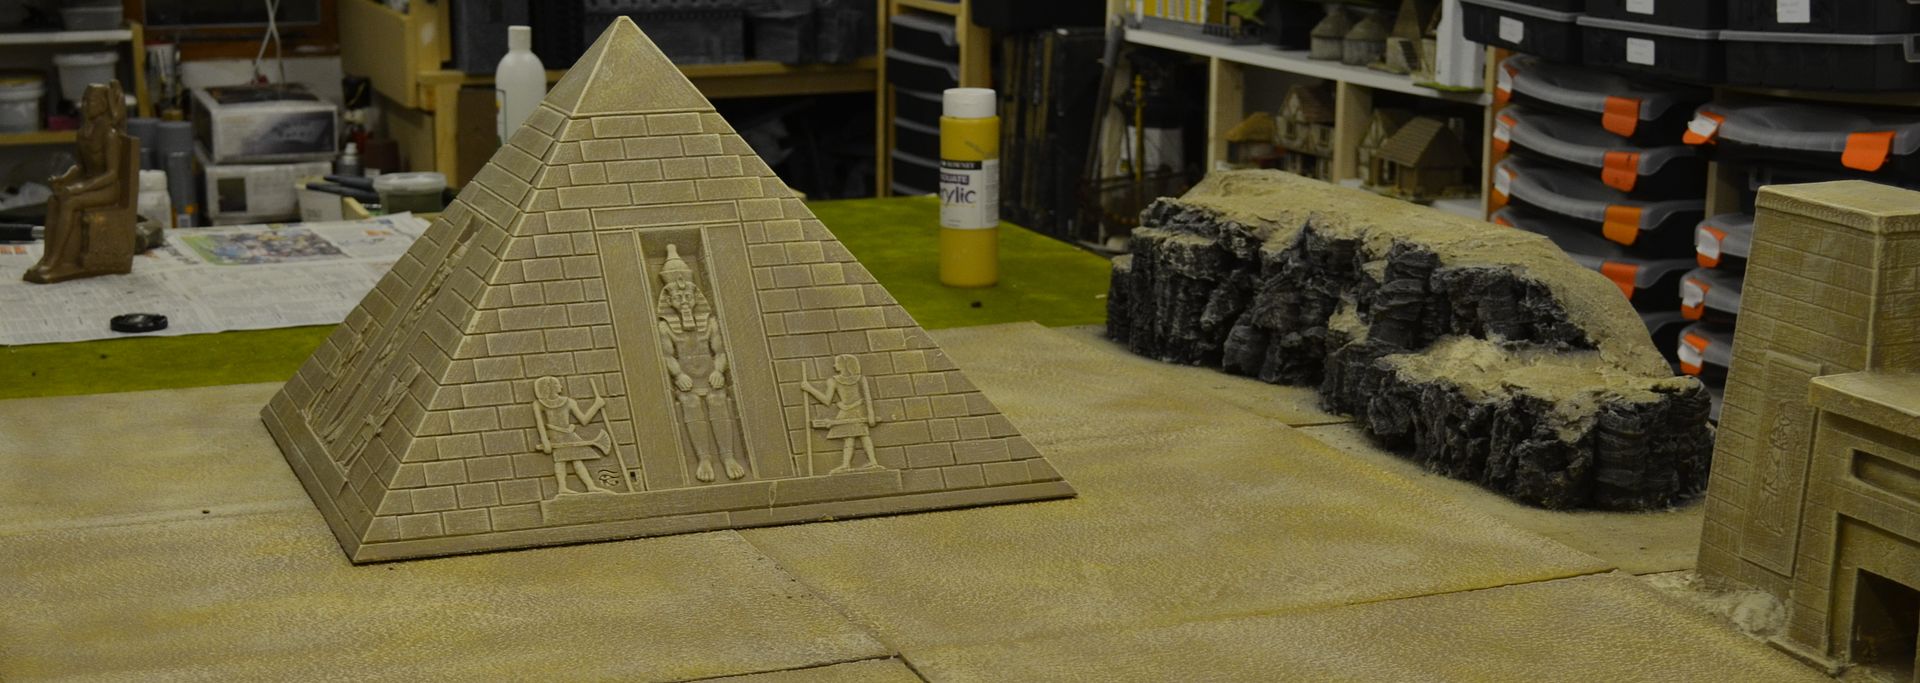
The following two pictures give the stages done on the pyramids


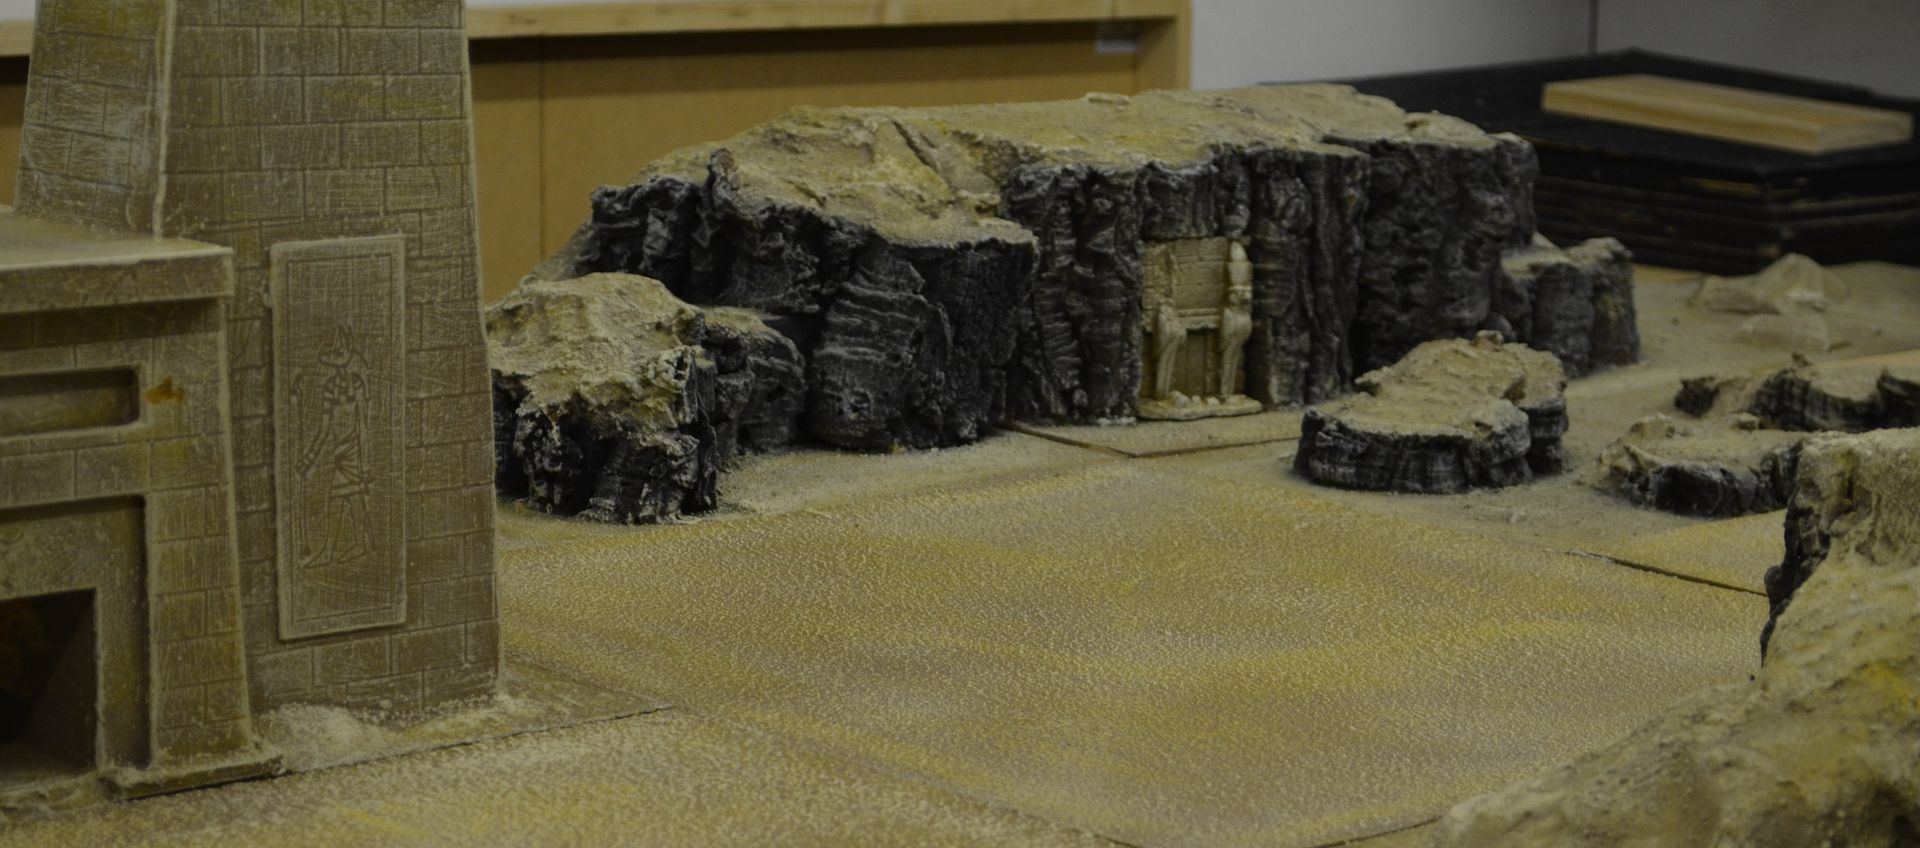
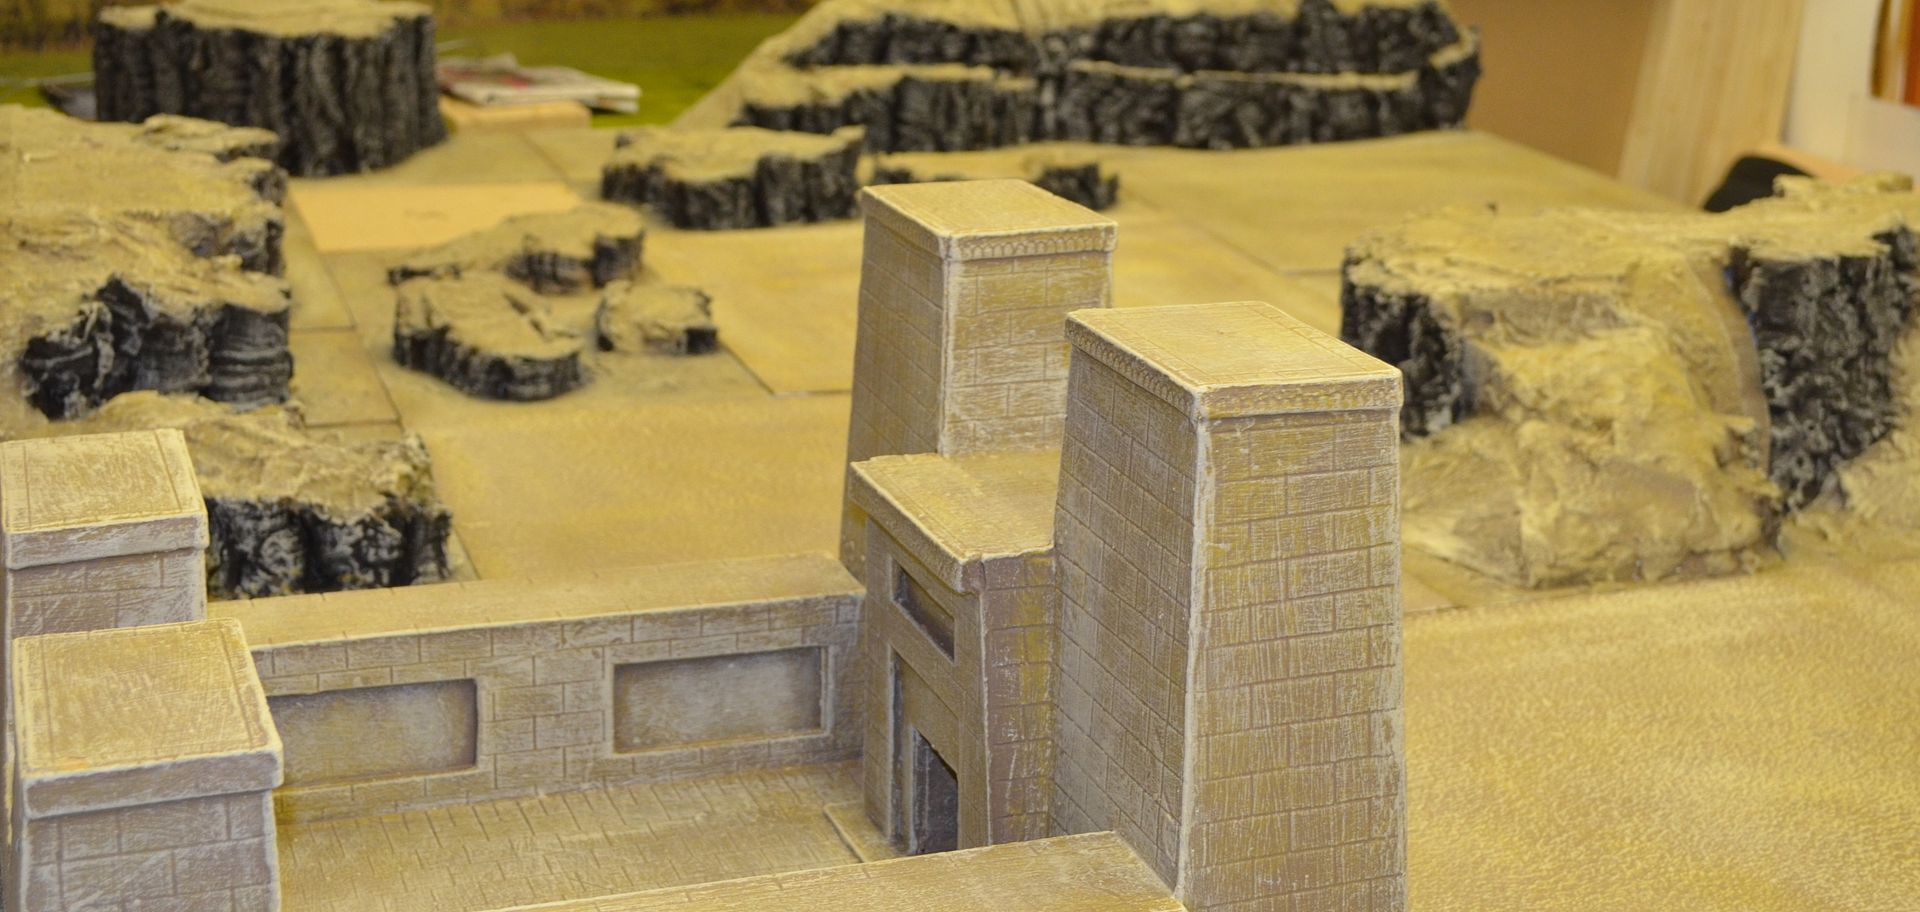
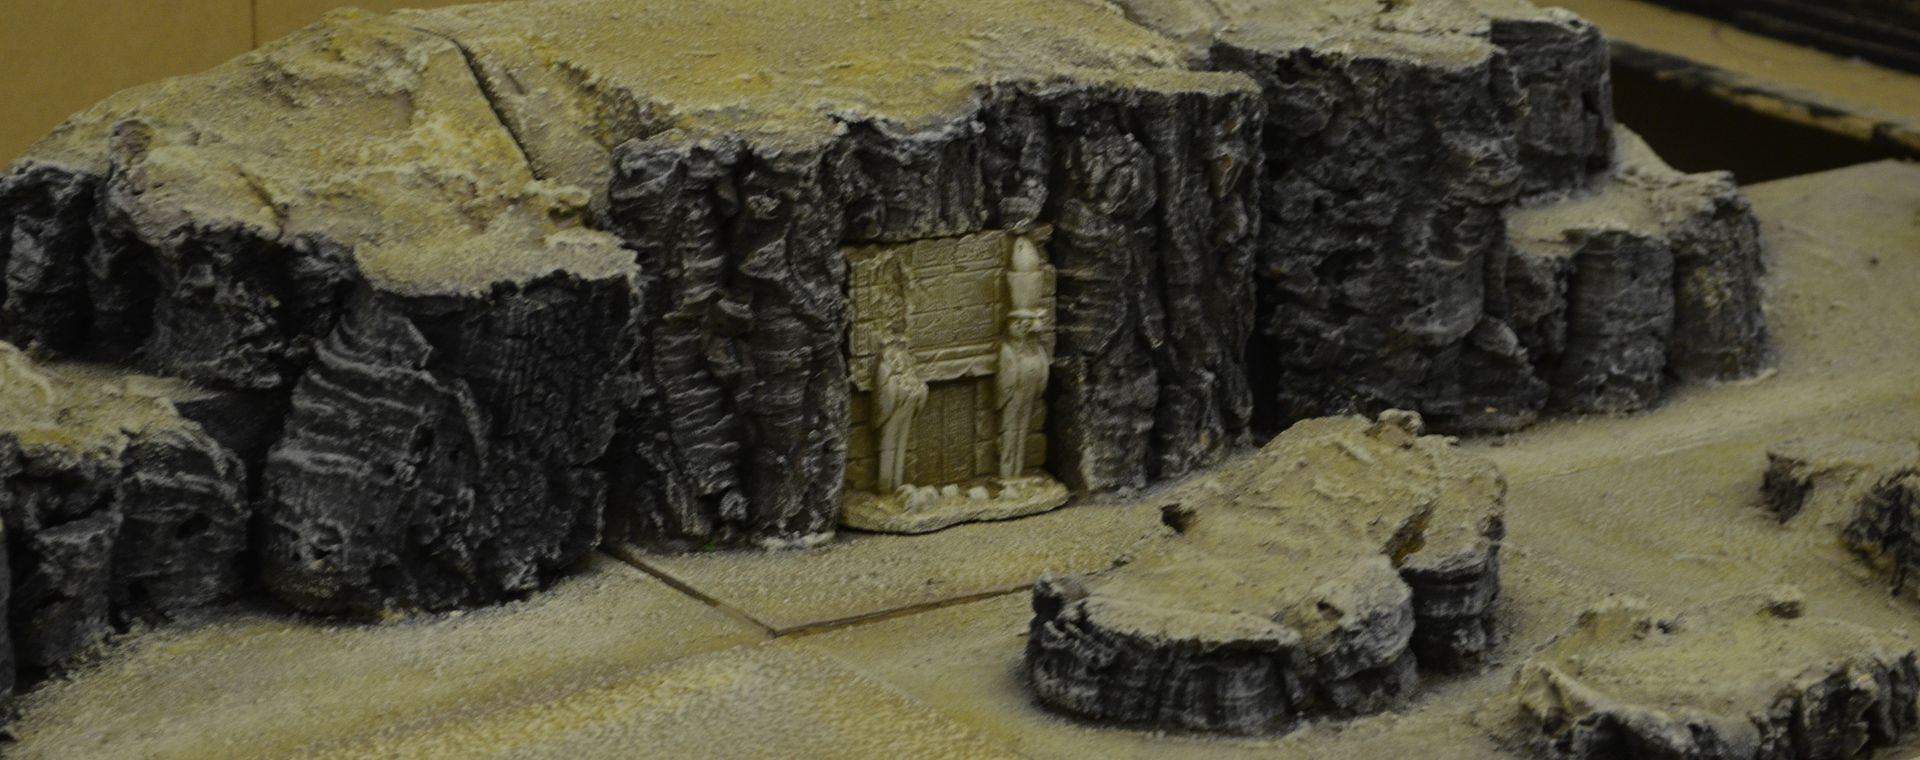
I also fixed the temple entrances into the cliff faces. The first you can see in the pictures below. The second and larger of the two has more work to be done.


And finally I finished !

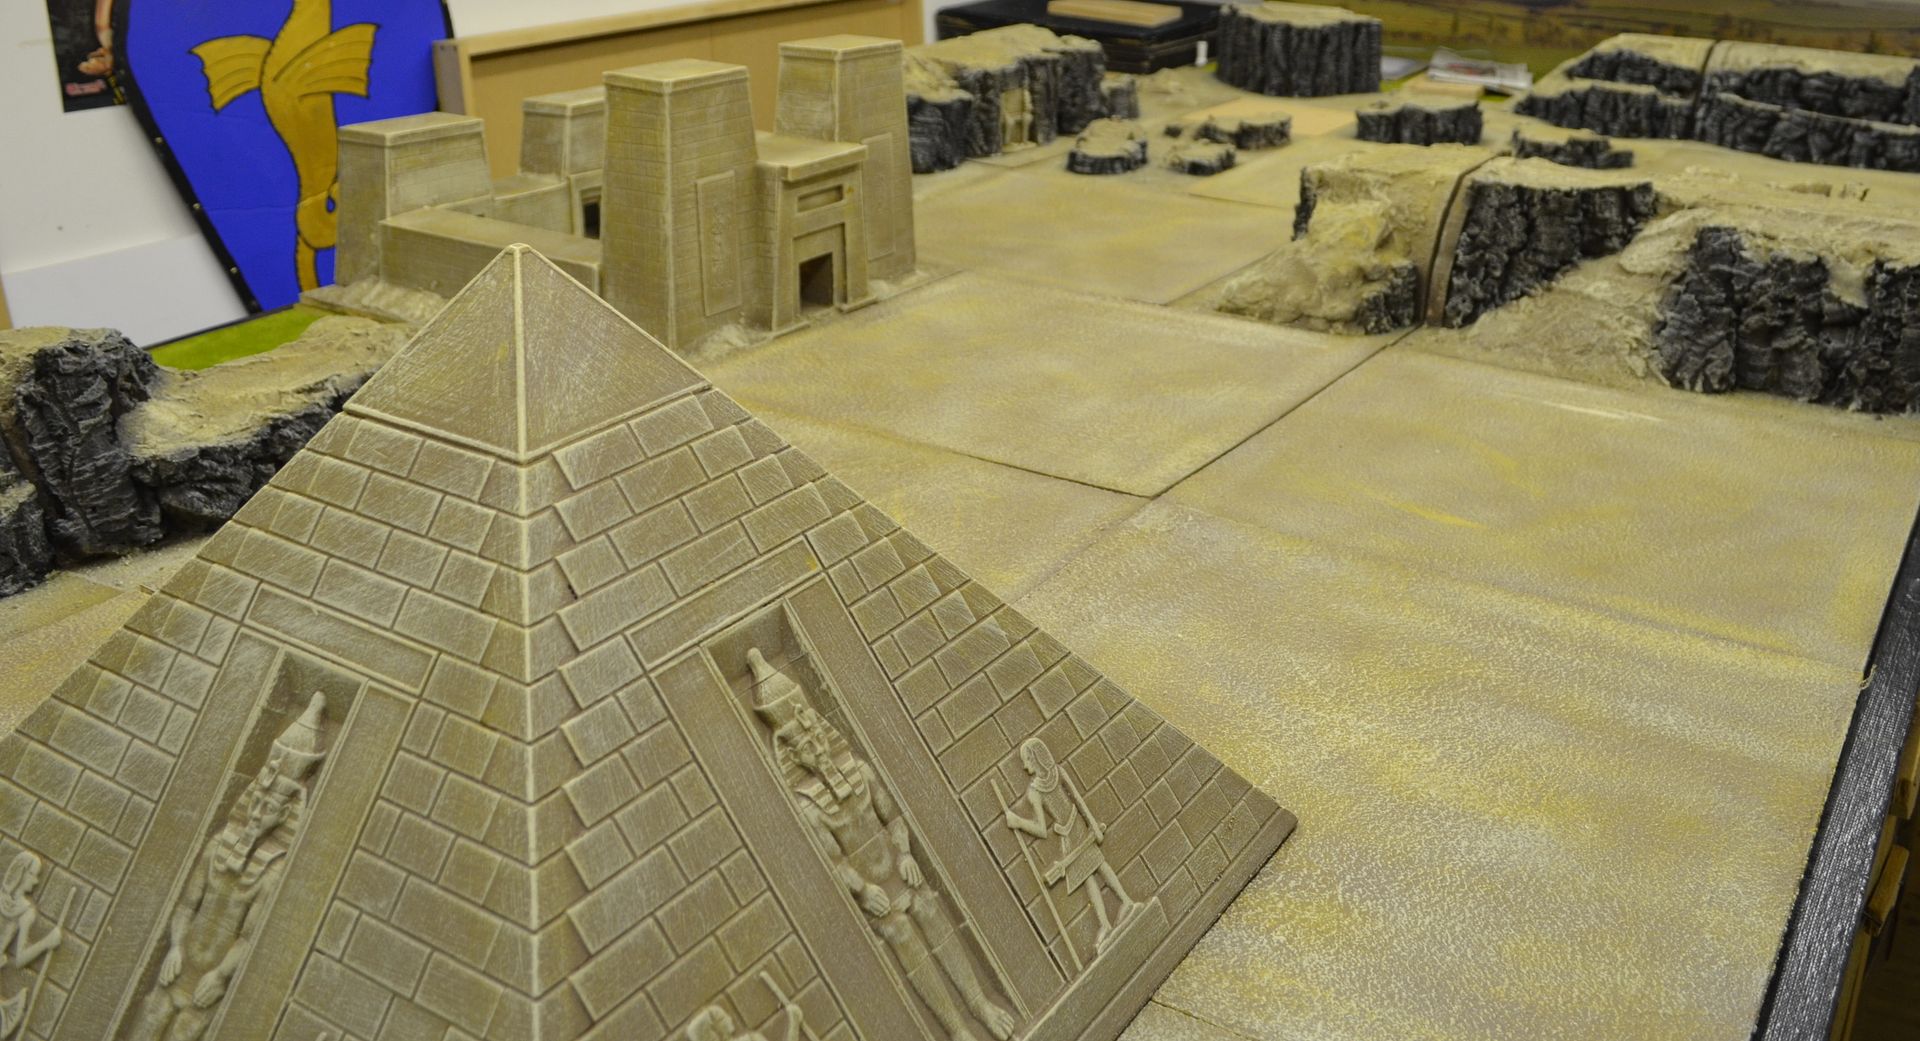
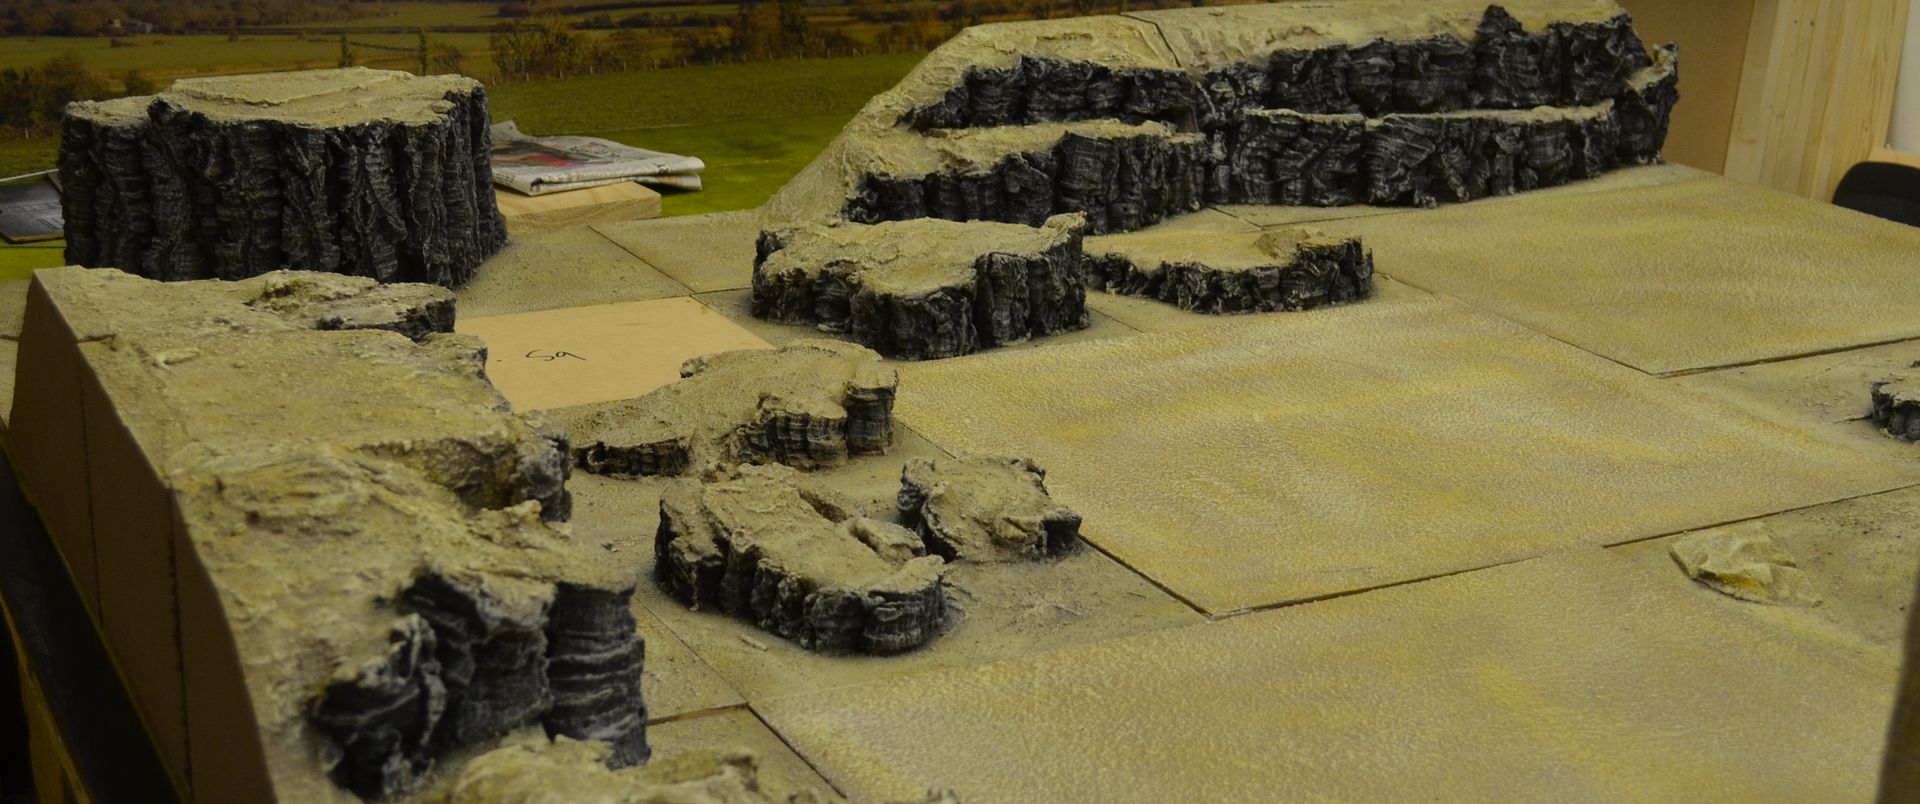
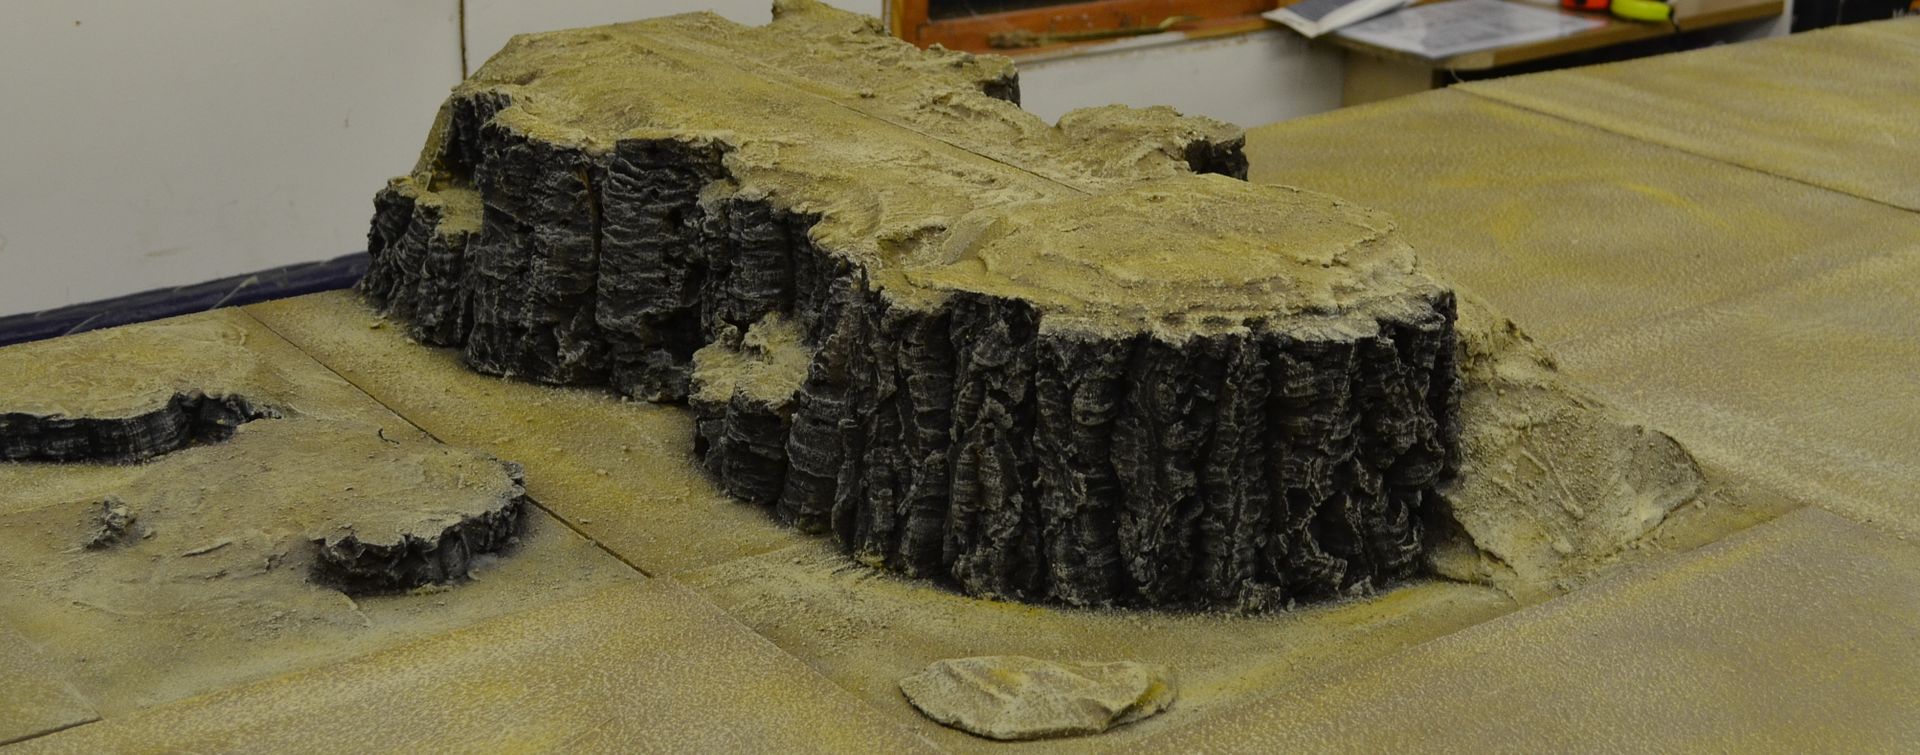
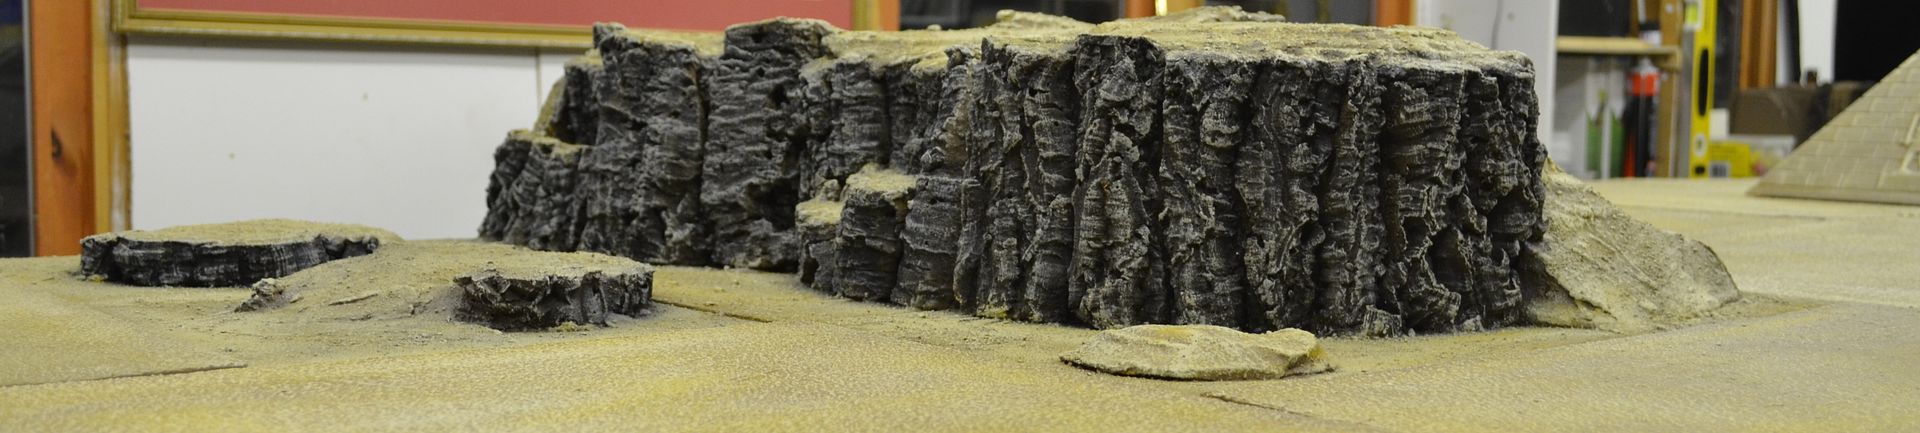
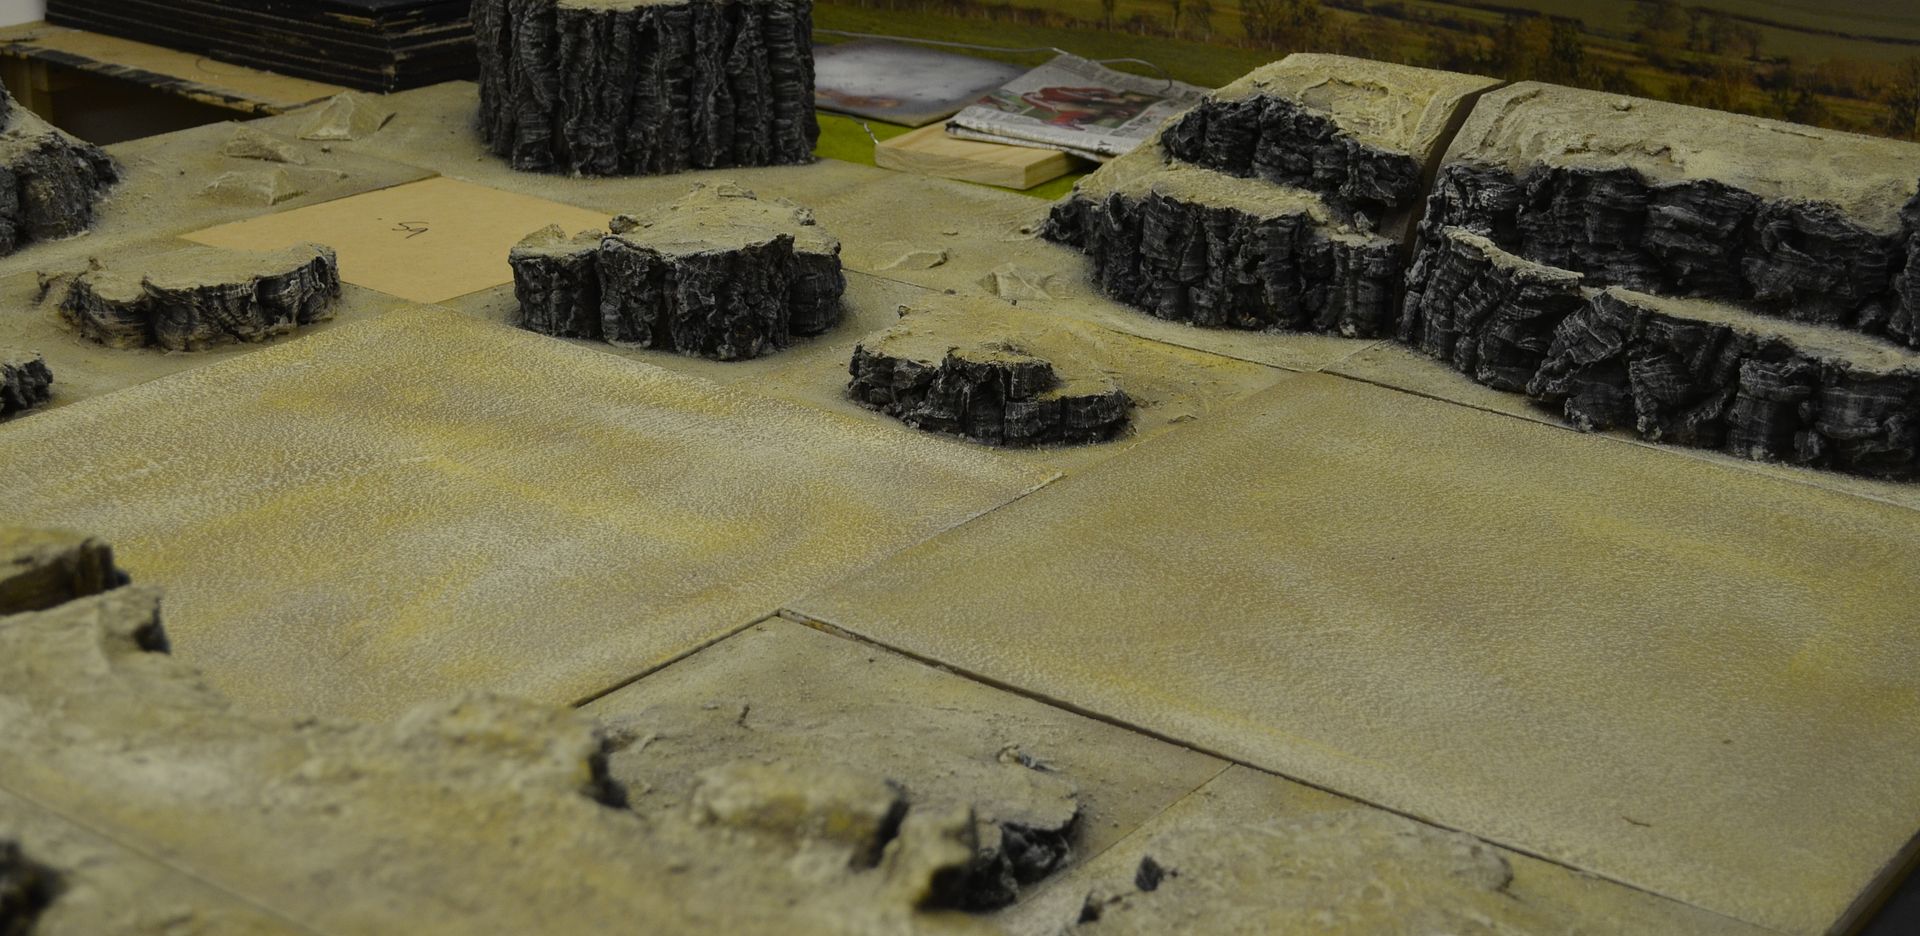
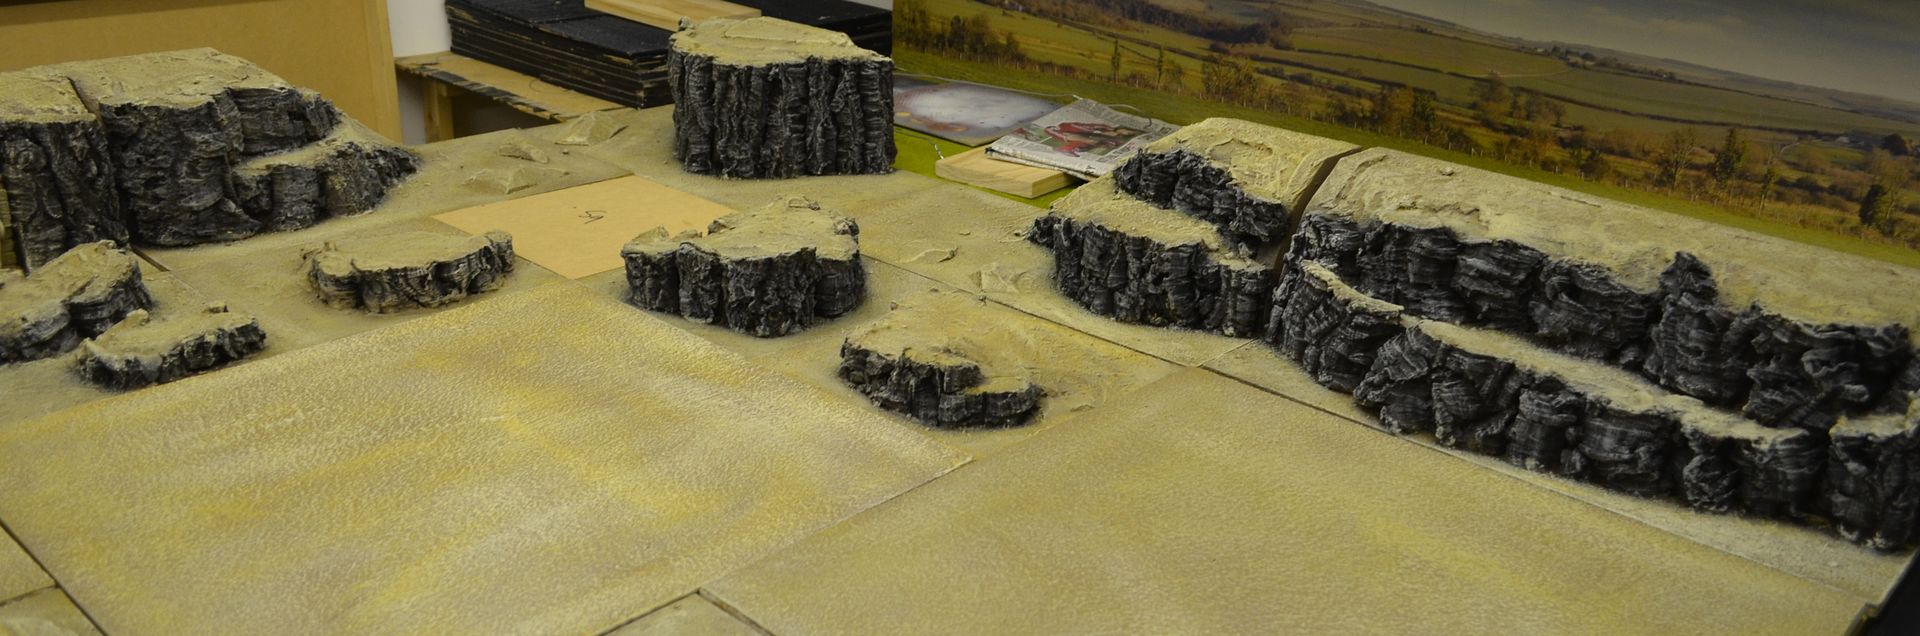
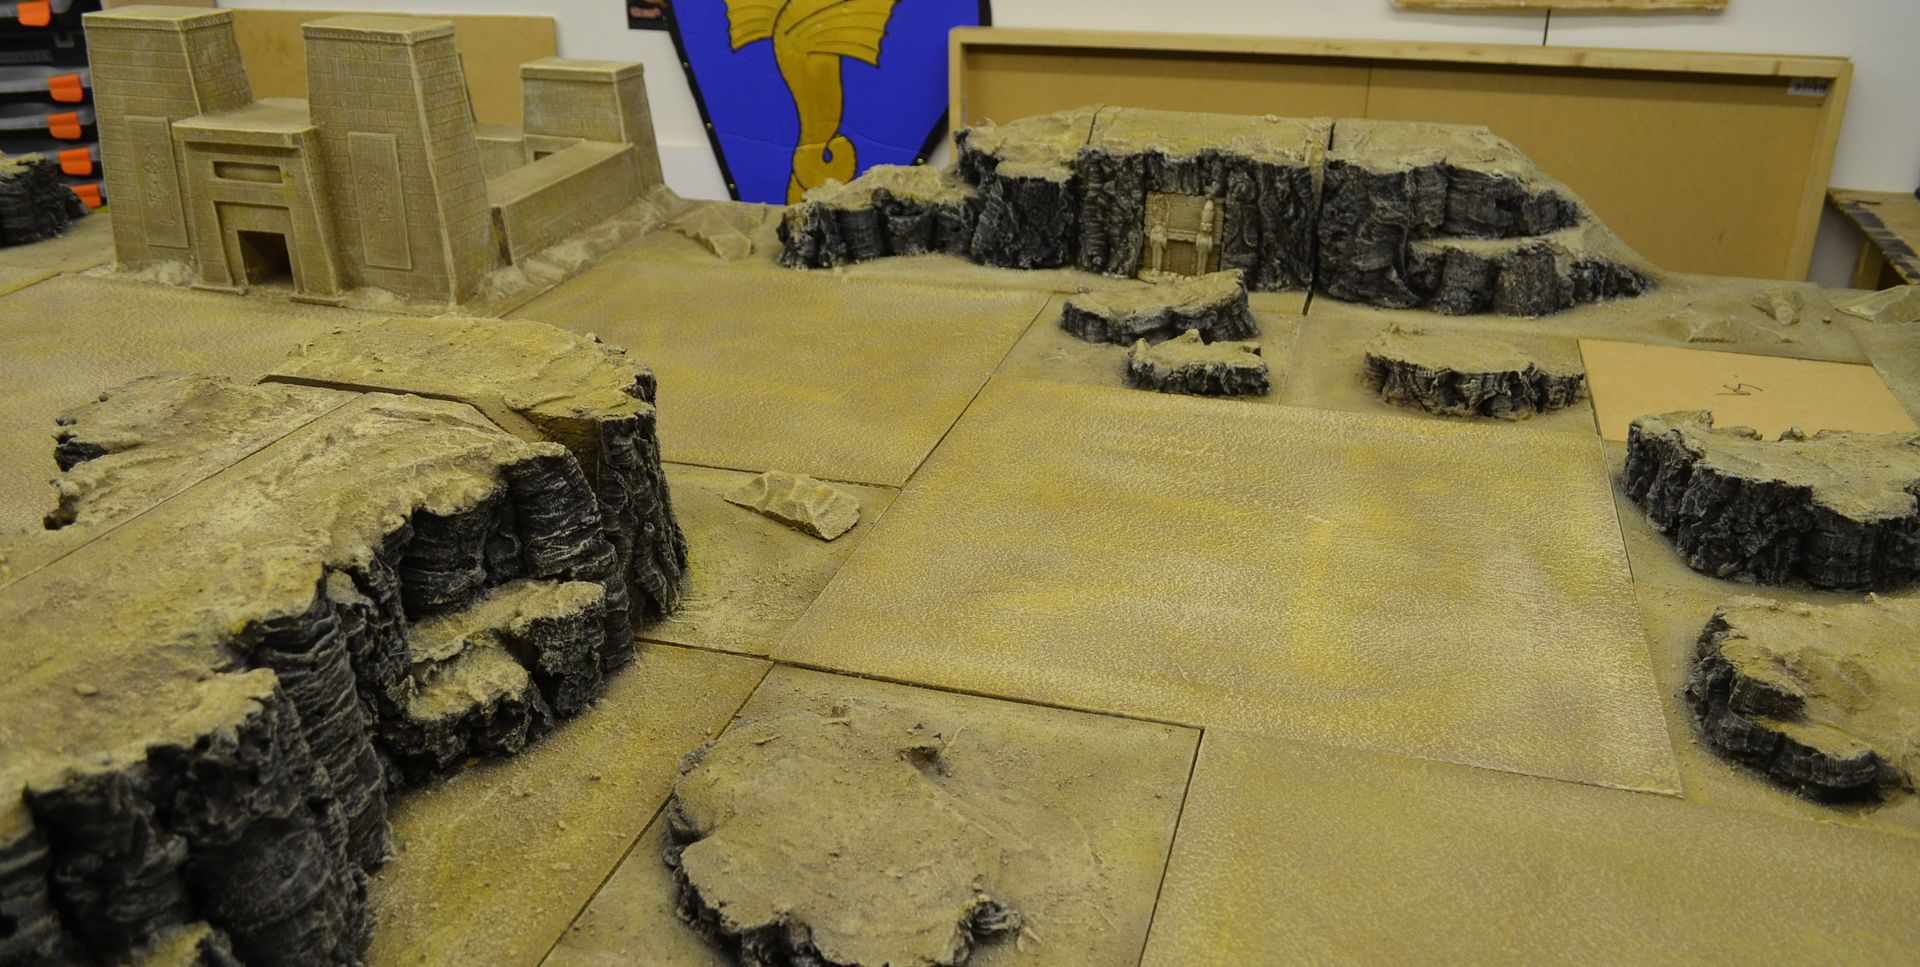
So lets get it all laid out. Before you scan the following pictures Ill point out that I still need to add the scrub and dry grass and paint up all the egyptian paraphernalia. But I am getting there.

When I set out to start this project my ambition was to build an arid landscape that could satisfy a number of genres - ancient Egypt, Indiana Jones, and the Crusades to name a few.

To date there are over 6 metres of rock faces, 6 small mesas, and 9 50x50cm square boards. They are all interchangeable.

 I think I am getting there. Palm trees and oasis next.

Thanks for following

the last part is here

http://shedwars.blogspot.co.uk/2014/11/desert-boards-finally-complete.html


Friday, 31 October 2014

A simple little Orchard


Following BLAM last month I promised myself that I would take a break from building and painting for at least four weeks. I so nearly did it but the craving to construct something new and slap some paint on it was just too strong.

This enforced absence was cut short when a large parcel from China arrived on my doorstep. What could this be? Id completely forgotten that I had bought several flocked trees from china. Indeed over 60 of them retailing in at a total cost of around £35. Most of mine are at the larger end of size 12cm+

I’d bought tall poplars, oaks, willows and other deciduous varieties. I also bought some fruit trees.
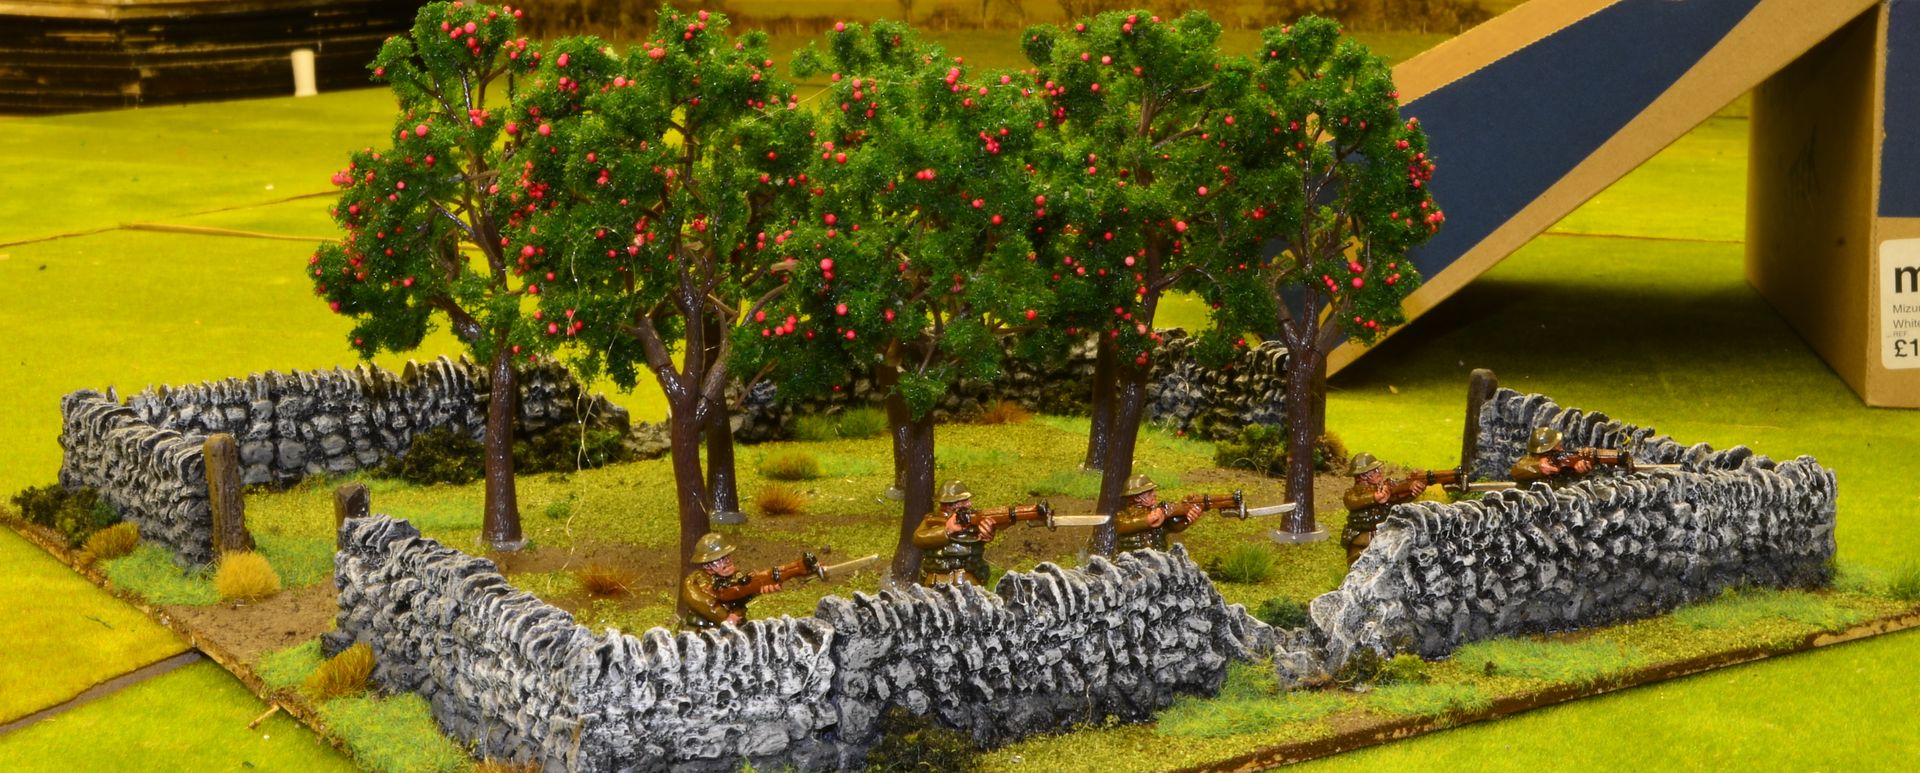
And it’s the last lot I am going to start with first for my Orchard.

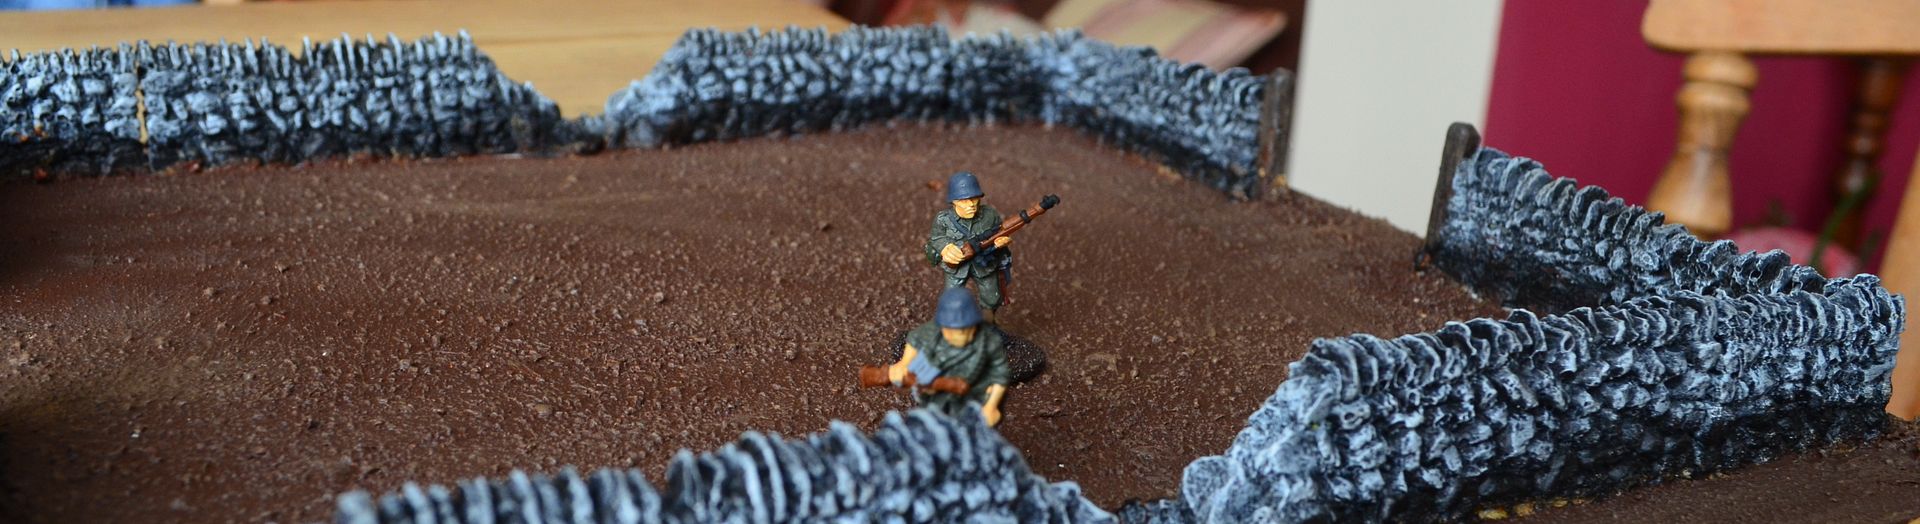
A couple of years back I bought some resin stone walls including corner sections. Apologies I can’t remember the vendor but these were painted up black and dry brushed greys. It was then a simple job of laying these out on a piece of ply I had knocking around to form the perimeter of the orchard. These were fixed to the base using a new purchase – a hot glue gun.


The glue set immediately so I could start on the next stage putting down the basing material. In this case a mix of builders sand and railway model ballast. This was glued to the base surface using PVA. Once dry after a couple of hours the base was painted dark brown and then highlighted.


Over the last few weeks I have been buying off ebay several bags of static grass and flock. I have now got a stock that will last me a life time. Seriously folks there is so much cheap stuff being knocked out on the ebay site I don’t think I have paid full price for any foliage or basing terrain stuff in the past two years. A suitable mix of these was then glued to the painted base and left to dry.


Once all this was dry I could turn my attention to the trees. Orchard’s are typically laid out in a grid pattern and mine would be no different. With 10 trees purchased I decided on two rows of four thereby giving loads of room around the edges and a couple spare. These were fixed to the board by drilling holes in the baseboard and then the trees fixed in these holes using both superglue and the hot glue gun.


A word of caution the flock on some of these chinese sourced trees is lose so a good spray of either wet scenic cement of cheap hairspray will help to keep them happy. The stuff that had fallen off in the bag I used as additional scatter around the base of the trees to signify fallen leaves and fruit.
 WW1 Troopers take position in a French Orchard


So there we have it – a small Apple Orchard fit to grace many a table of countless historical periods


Until next time

Monday, 27 October 2014

Poppies, Popguns and Publications


Hi Folks

Its all been a bit quiet in the Shed over the last few weeks...I decided to have a break from all things Wargaming (bar a couple of Warmaster games) and do some other stuff.

Two weekends ago  I took Shedson down to Eversley Gun Man for his first air soft battle and he had a great time running around the woods with his mp5.

I on the other hand am not as fit so a steady stalk was more to my liking.

Eric (Me) & Shedson


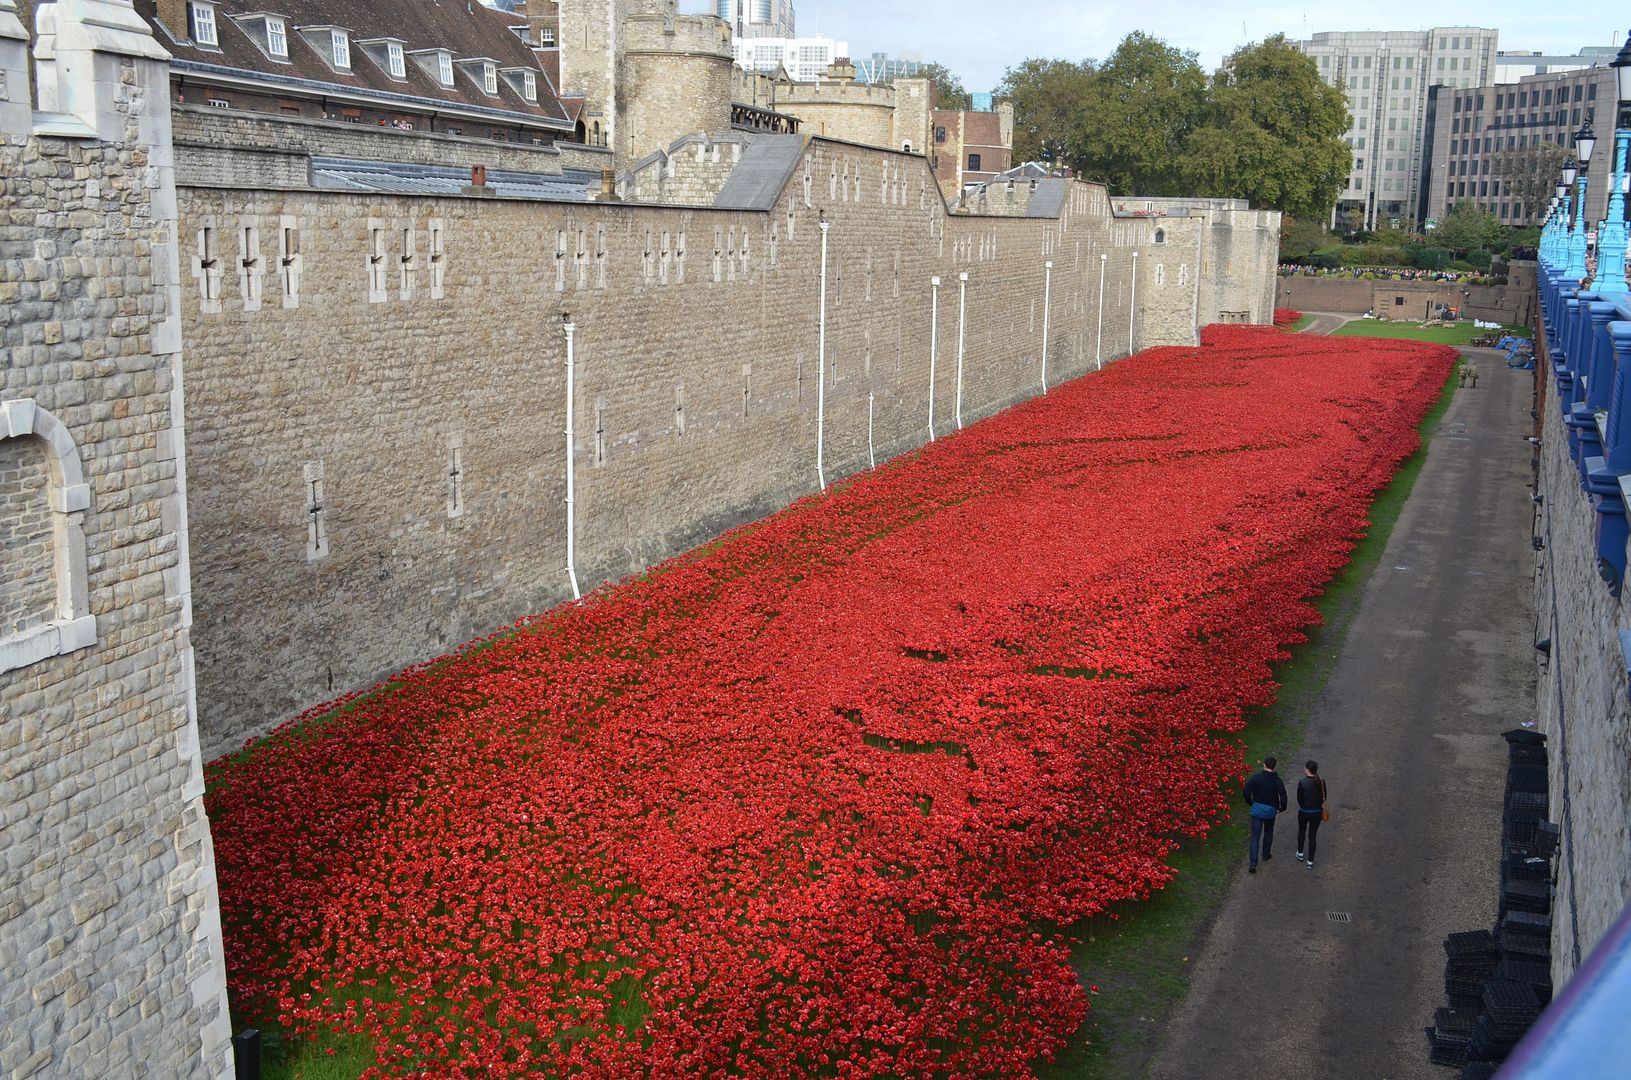
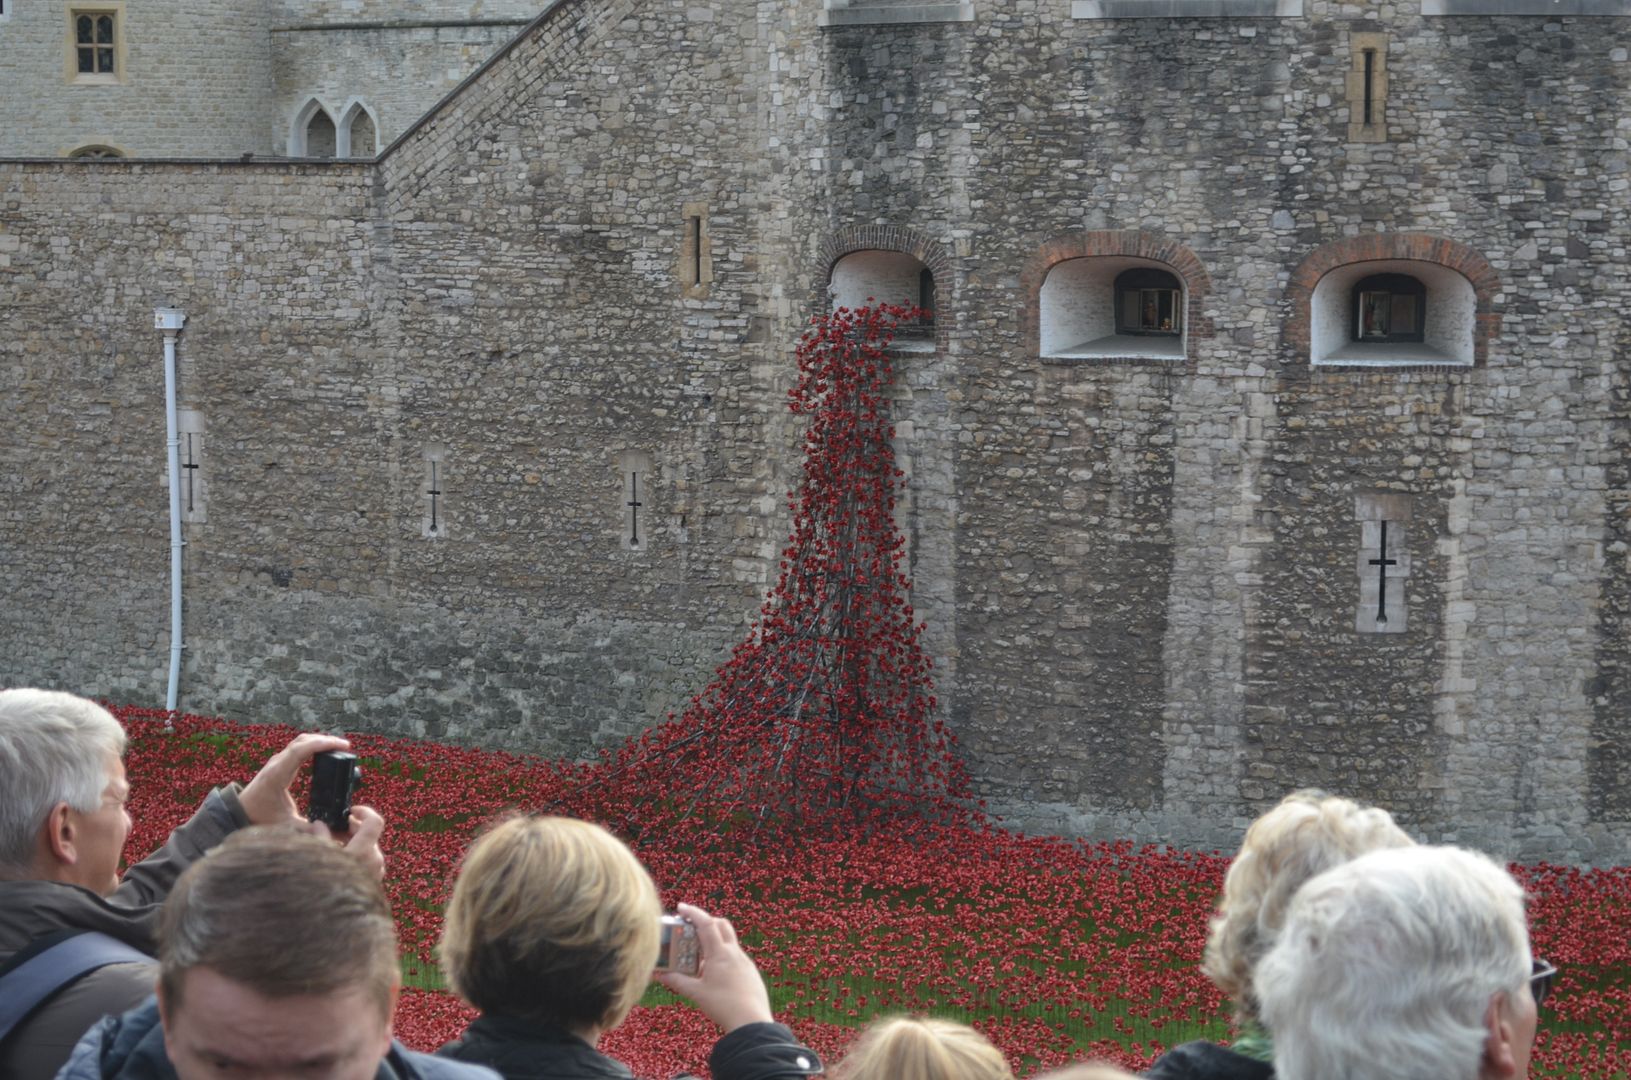
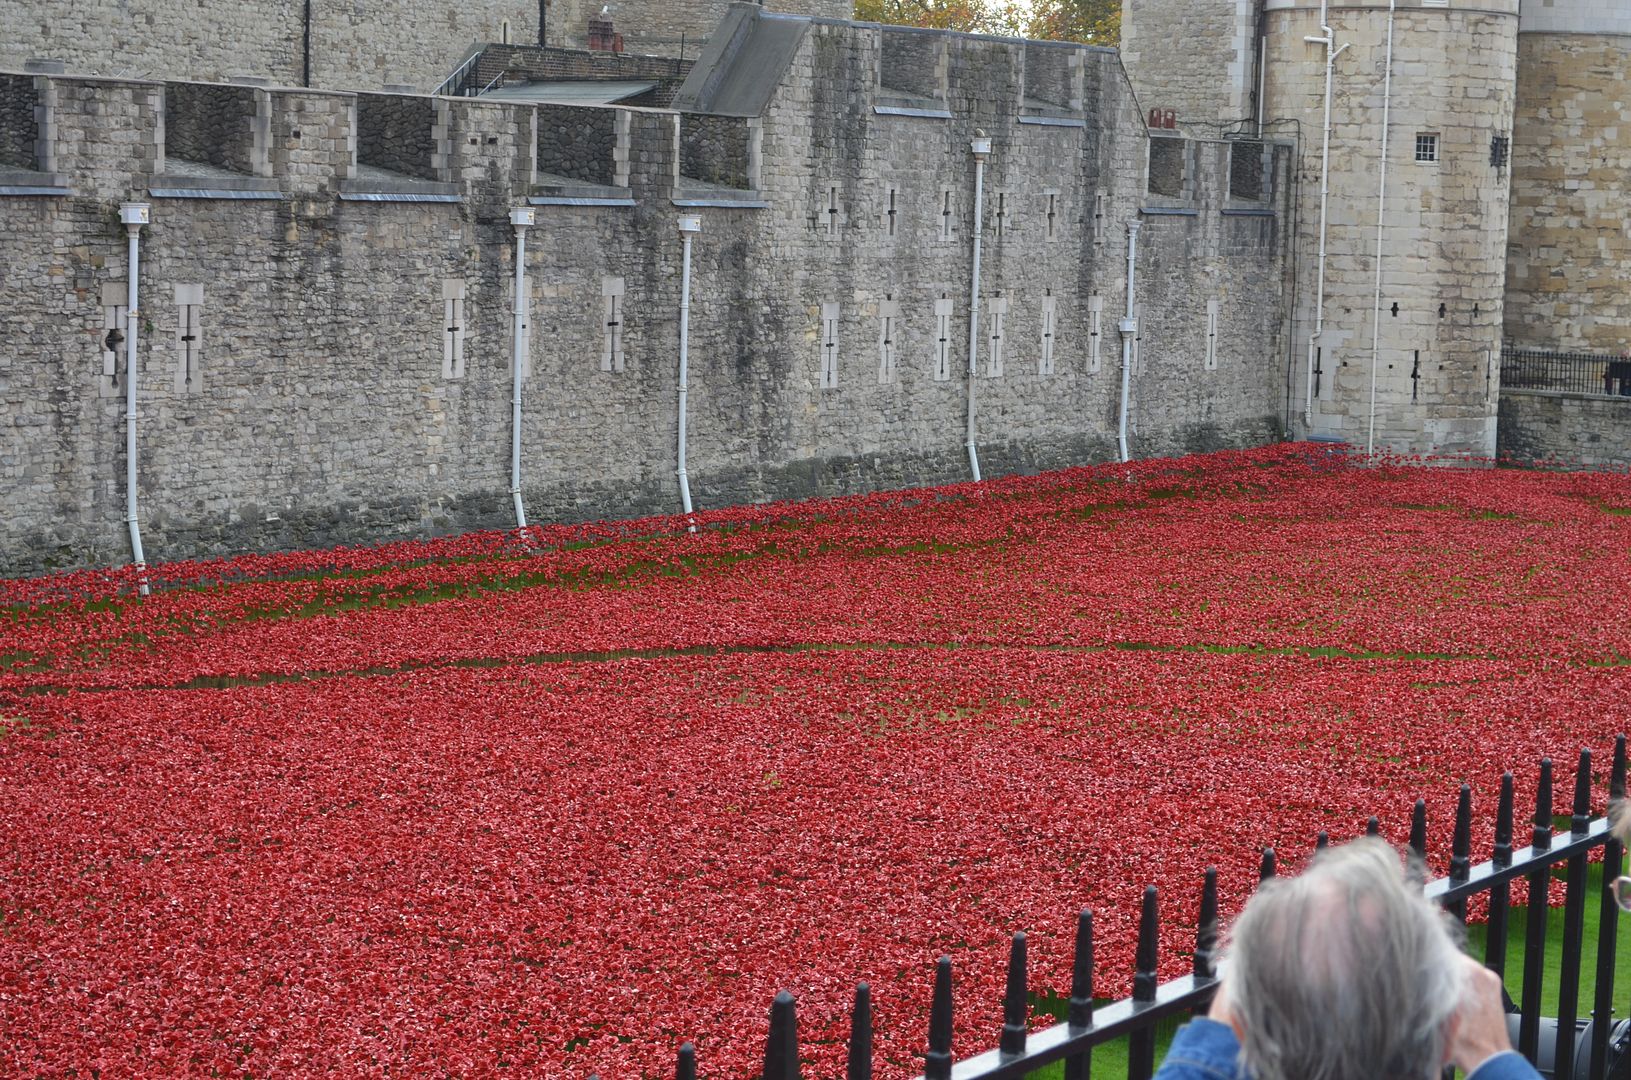
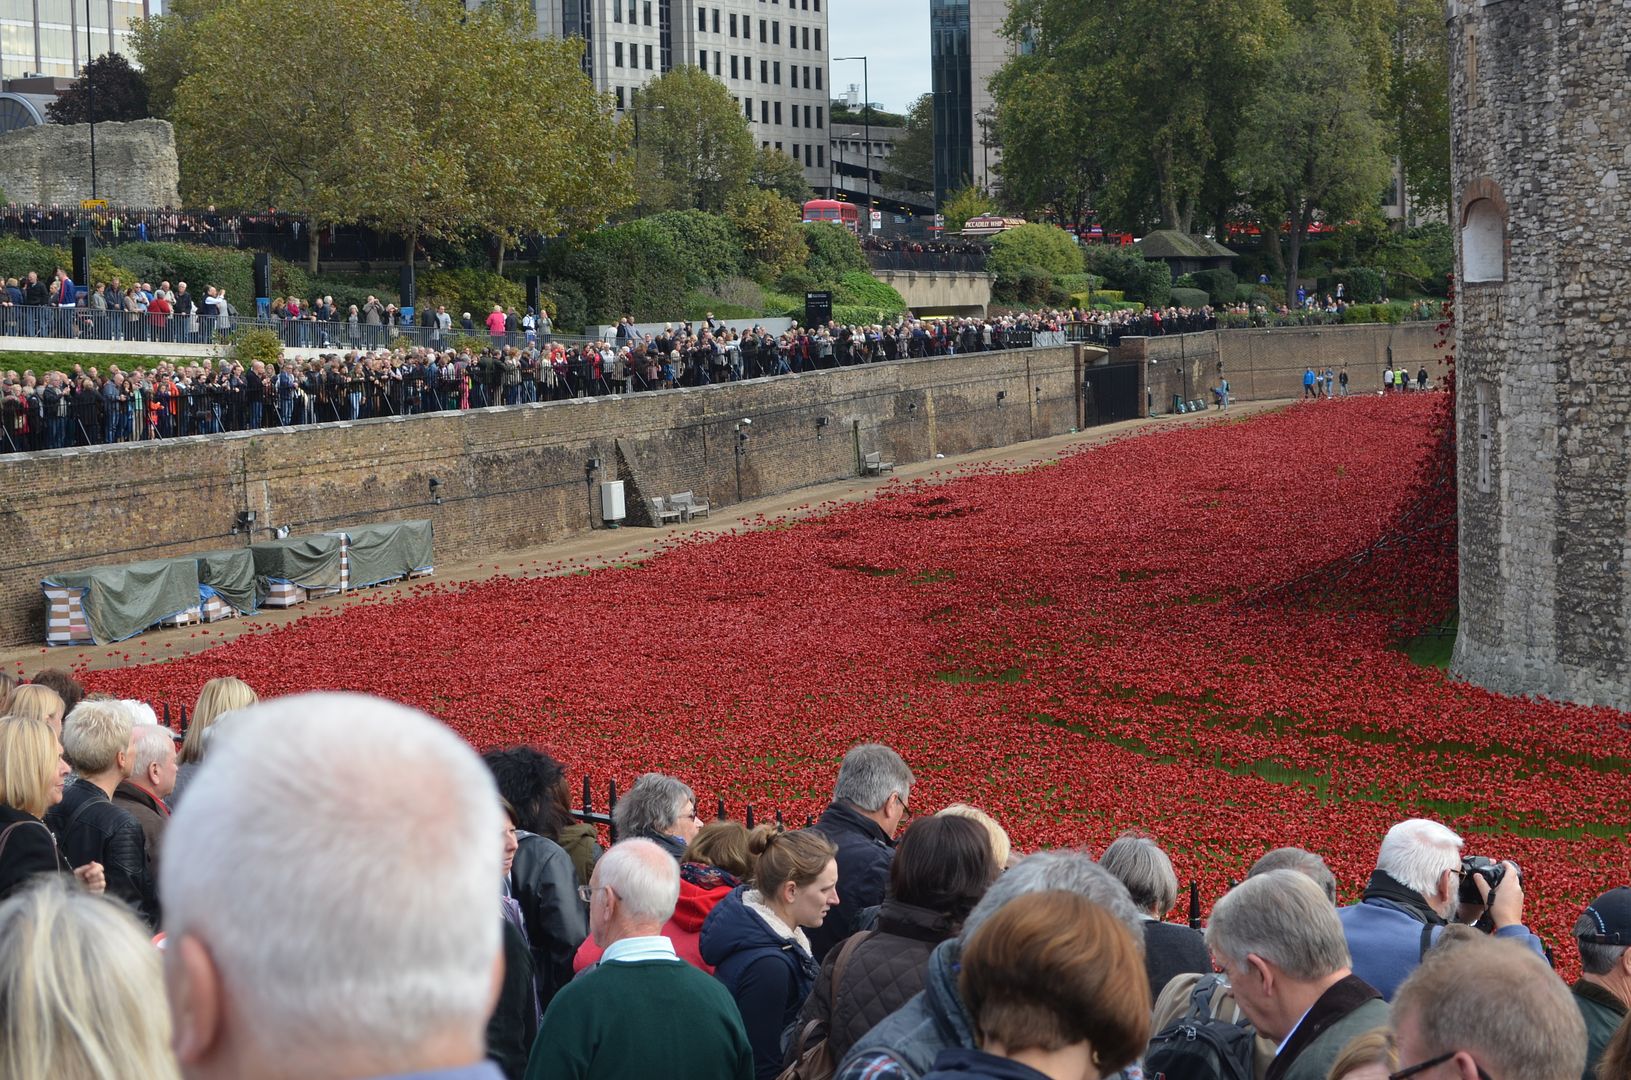
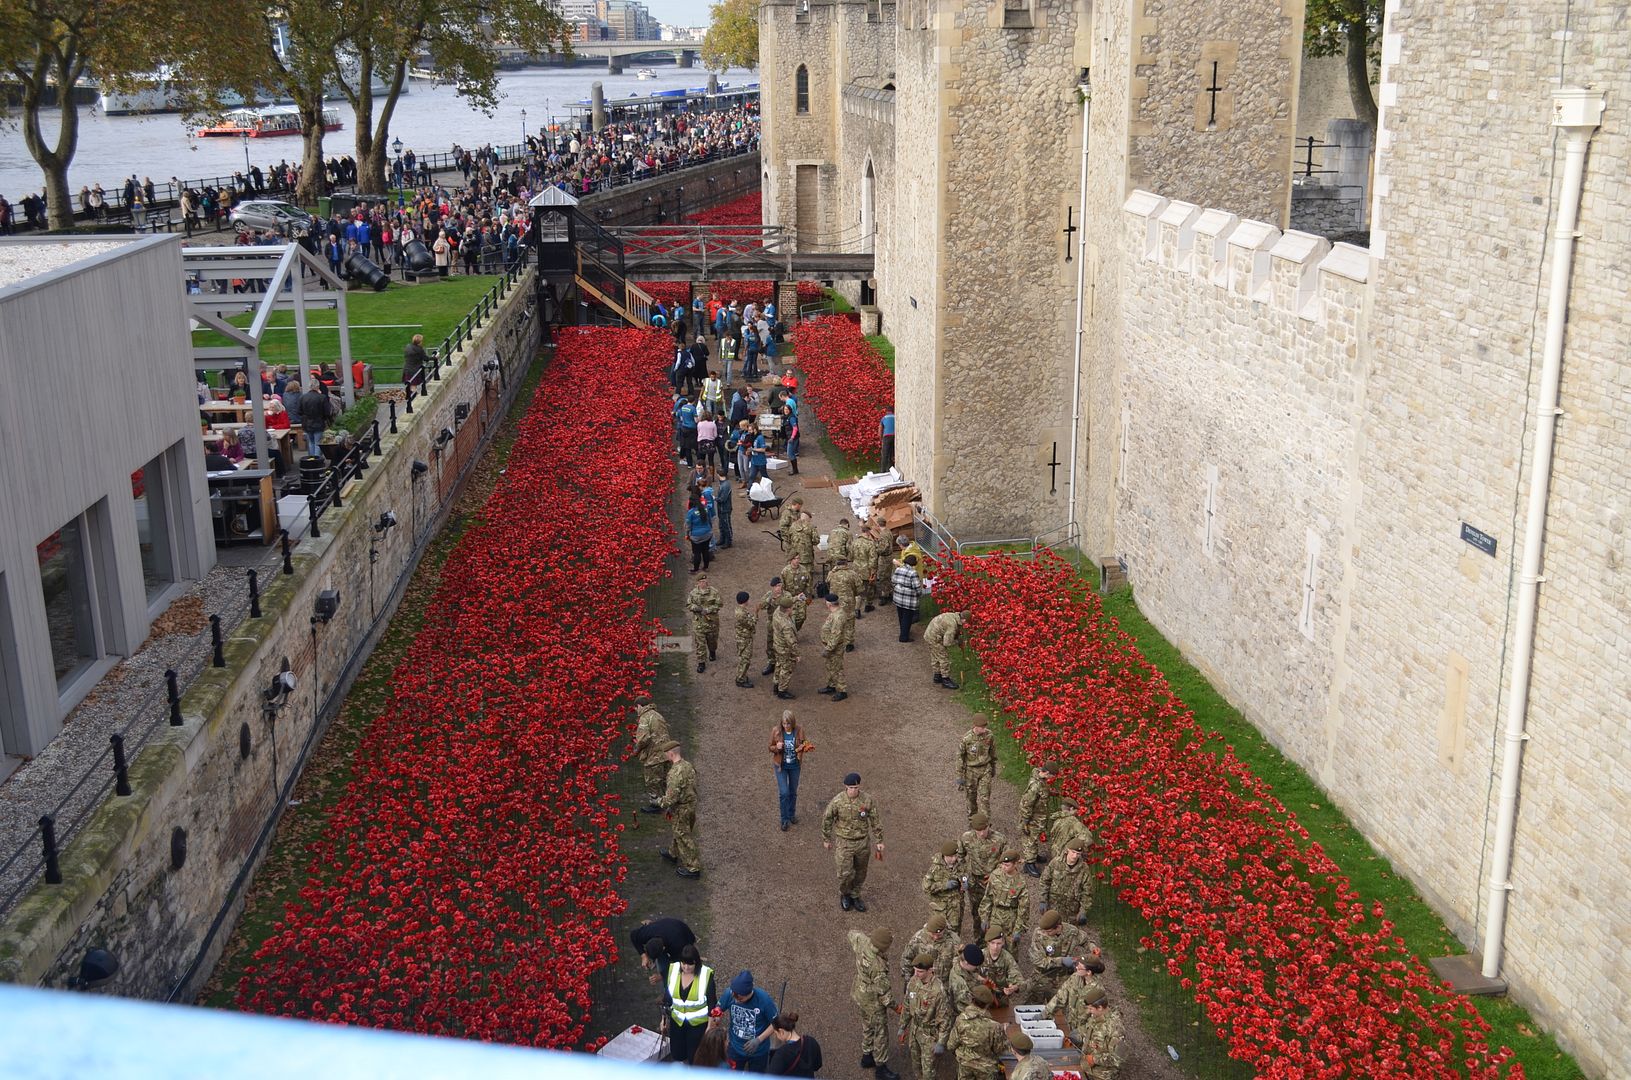
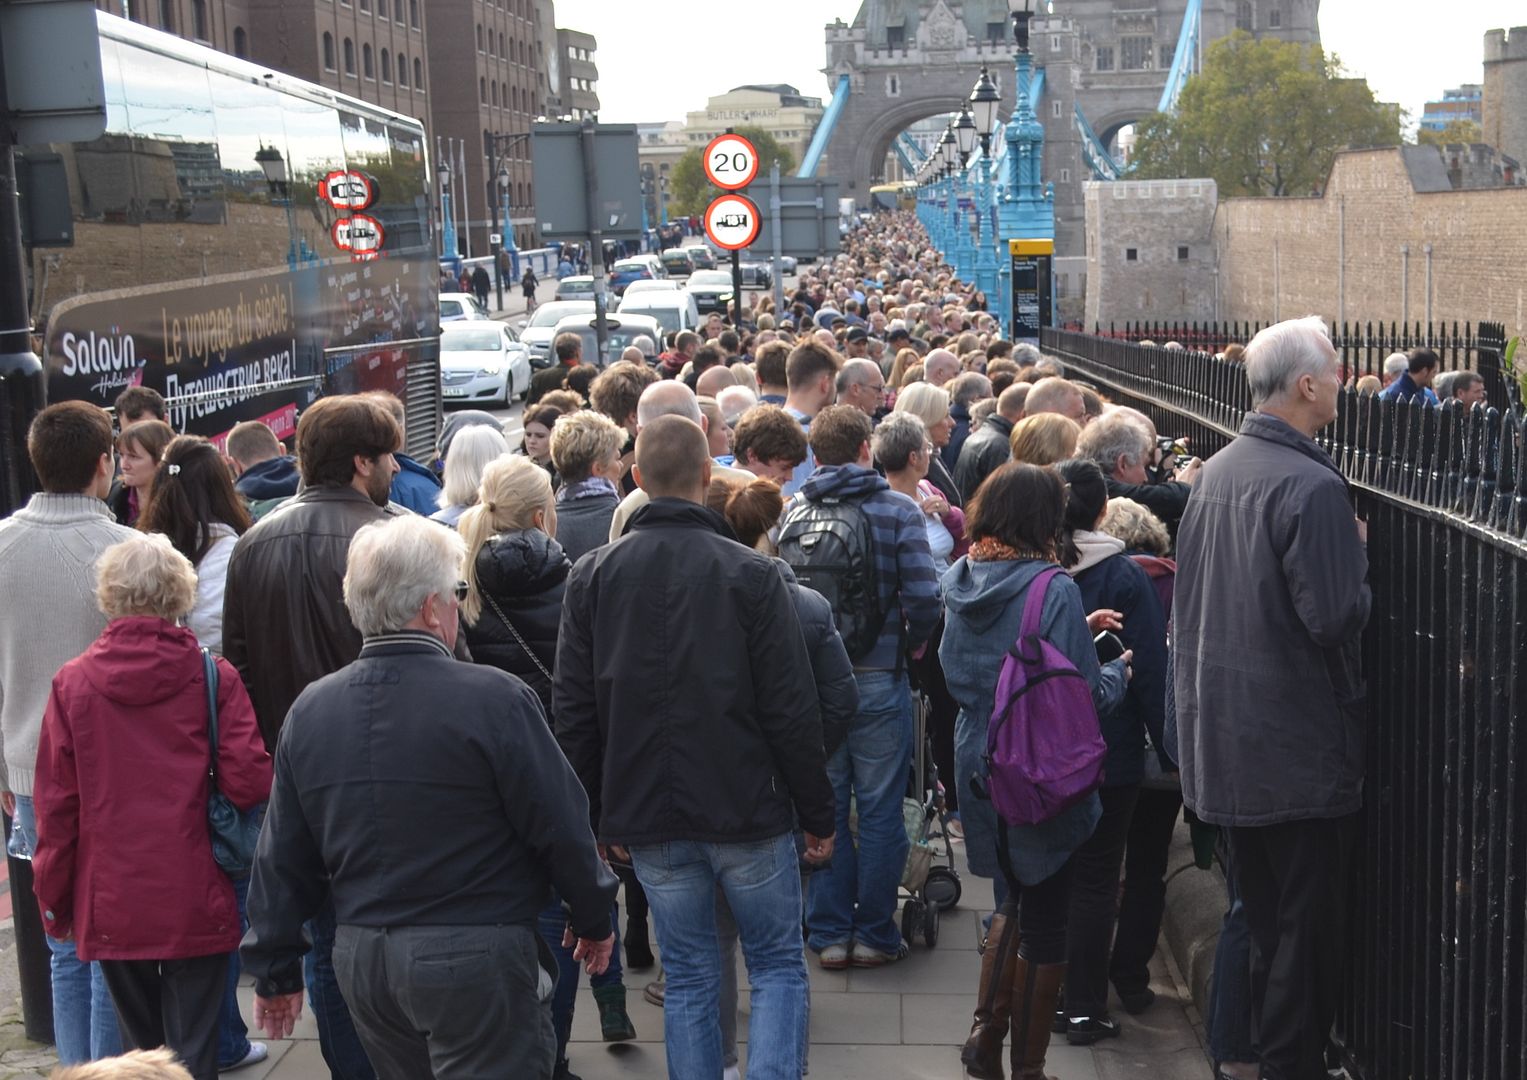
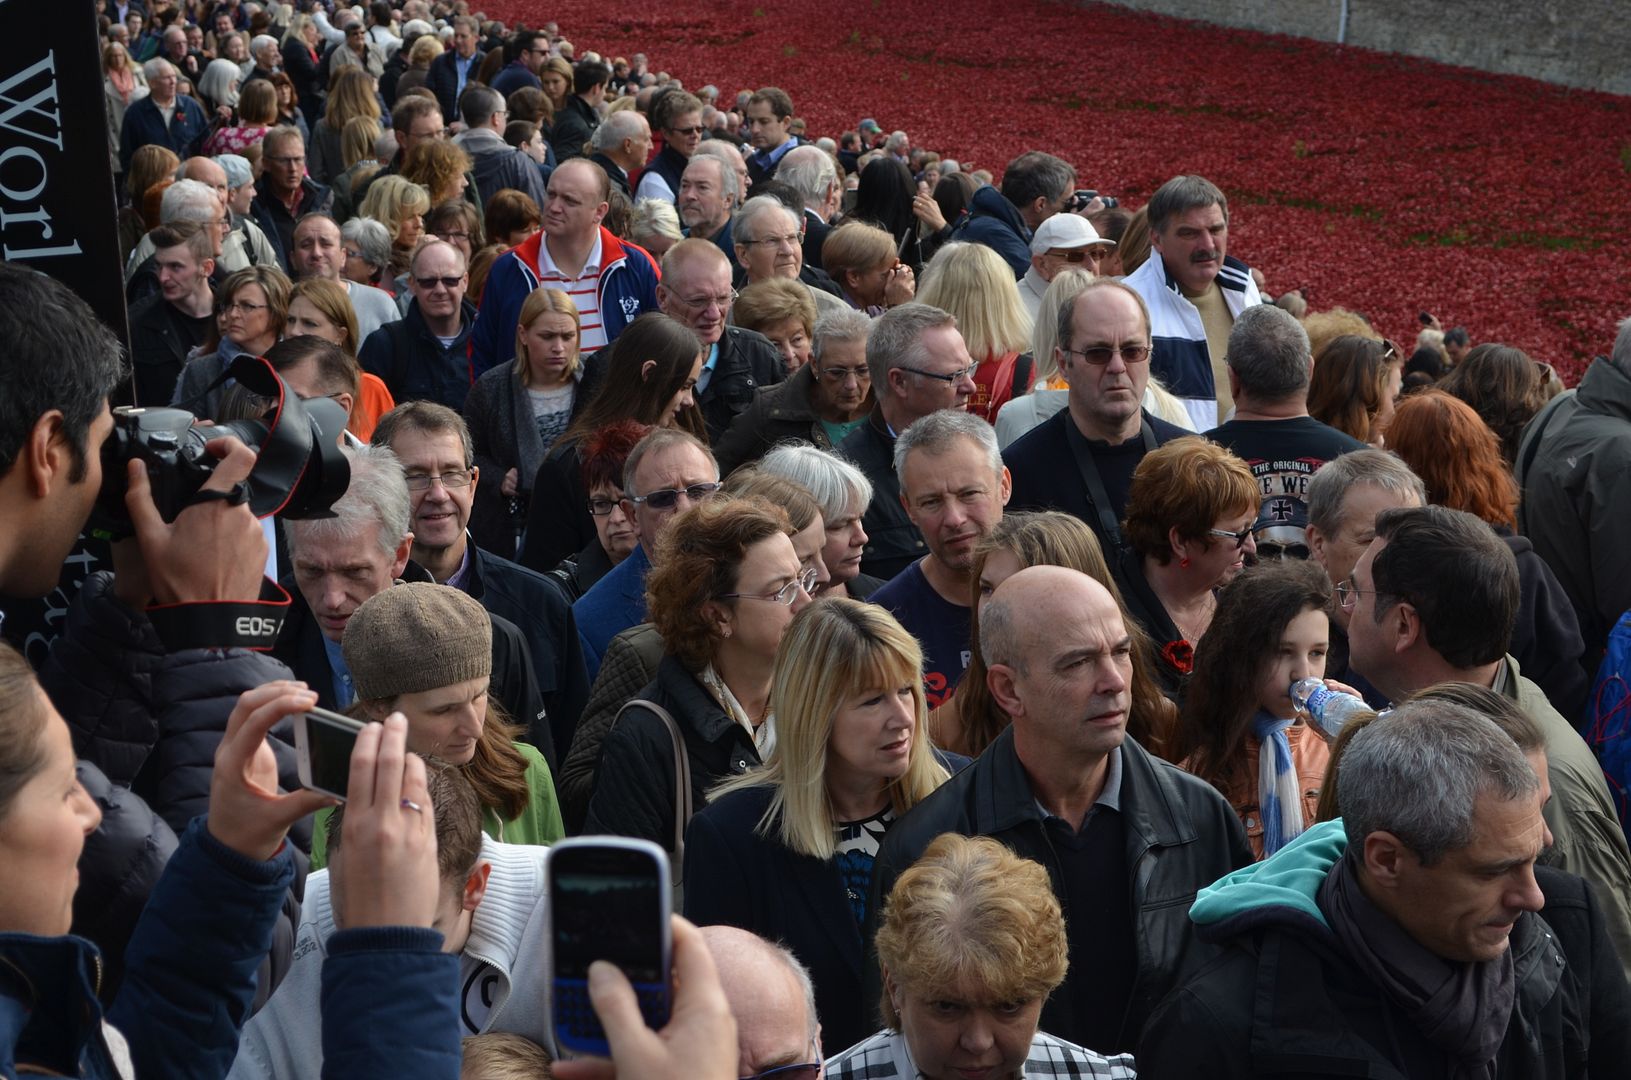
Last weekend I took the family up to see the poppies planted around the tower of London. The setting is fantastic but whoa the crowds were gigantic. I understand the ceramic poppies will all be there til the middle of November so if you are in London and haven't seen this display do so. Its both beautiful and thought provoking.

The colour was fantastic !


The cascade


The planters

The queues were all round the tower


On the way back I purchased a copy of Miniature Wargames to read on the train. Whilst reading an article by Jonathan Jones called 'Lets fight Oporto' I see my blog is mentioned...he writes...


The final stage was to make the river. The idea, amongst others, came from a great blog, hosted by Eric the Shed (link) where I first saw the use of floor tiles to model large expanses of water....

Who would have thought reference to my blog would get published in a magazine?

So once again apologies for no further progress on the Cliffs & Desert scape but I promise that ill be cracking on with this soon.

Until next time


Monday, 20 October 2014

Rocky Escarpments part 4

Hi Folks

Part 3 can be found here - a link at the end takes you to part 5

http://shedwars.blogspot.co.uk/2014/10/rocky-escarpments-part-3.html


Thanks for following this post. Its been a week now since BLAM finished and what with work, a new regime of fitness training the posts have been a bit thin on the ground.

On the good side..well we did  manage one game last week (Warmaster) and I am running another tonight. Its been great fun playing the old games and if I remember ill take some pictures tonight.

My build on the escarpments has taken a bit of a hit this month so only a small amount of progress to report.

With lots of small bits of cork left over from the big builds I decided that I could use these to build some small outcrops. These are all based on 25cm square boards so will fit with overall base effect I am looking for.


As you can see from the above picture they are all based on a pink foam or polystyrene core with the cork pieces stuck around the edge.


 These are just higher than a 28mm mini.


These small units will allow me to create wadi's and small rises in the ground


 I used these two products in this build. Once the cork pieces were dry I packed the infills with small bits of foam then fille3d and covered using this filler. I allowed three days of drying before liberally covering the units with pva and sand.


I was still dithering on the base colour for all these when I read somewhere about the paint matching service at B&Q. Happy with the way I based my Afrika Korps I decided to see if they could match up the brown GW drab. £49 later a large tin of paint appeared.

So on when the paint - firstly on the flat desert boards


These will all of course get drybrushed and washed down to create the arid landscape I am looking for.

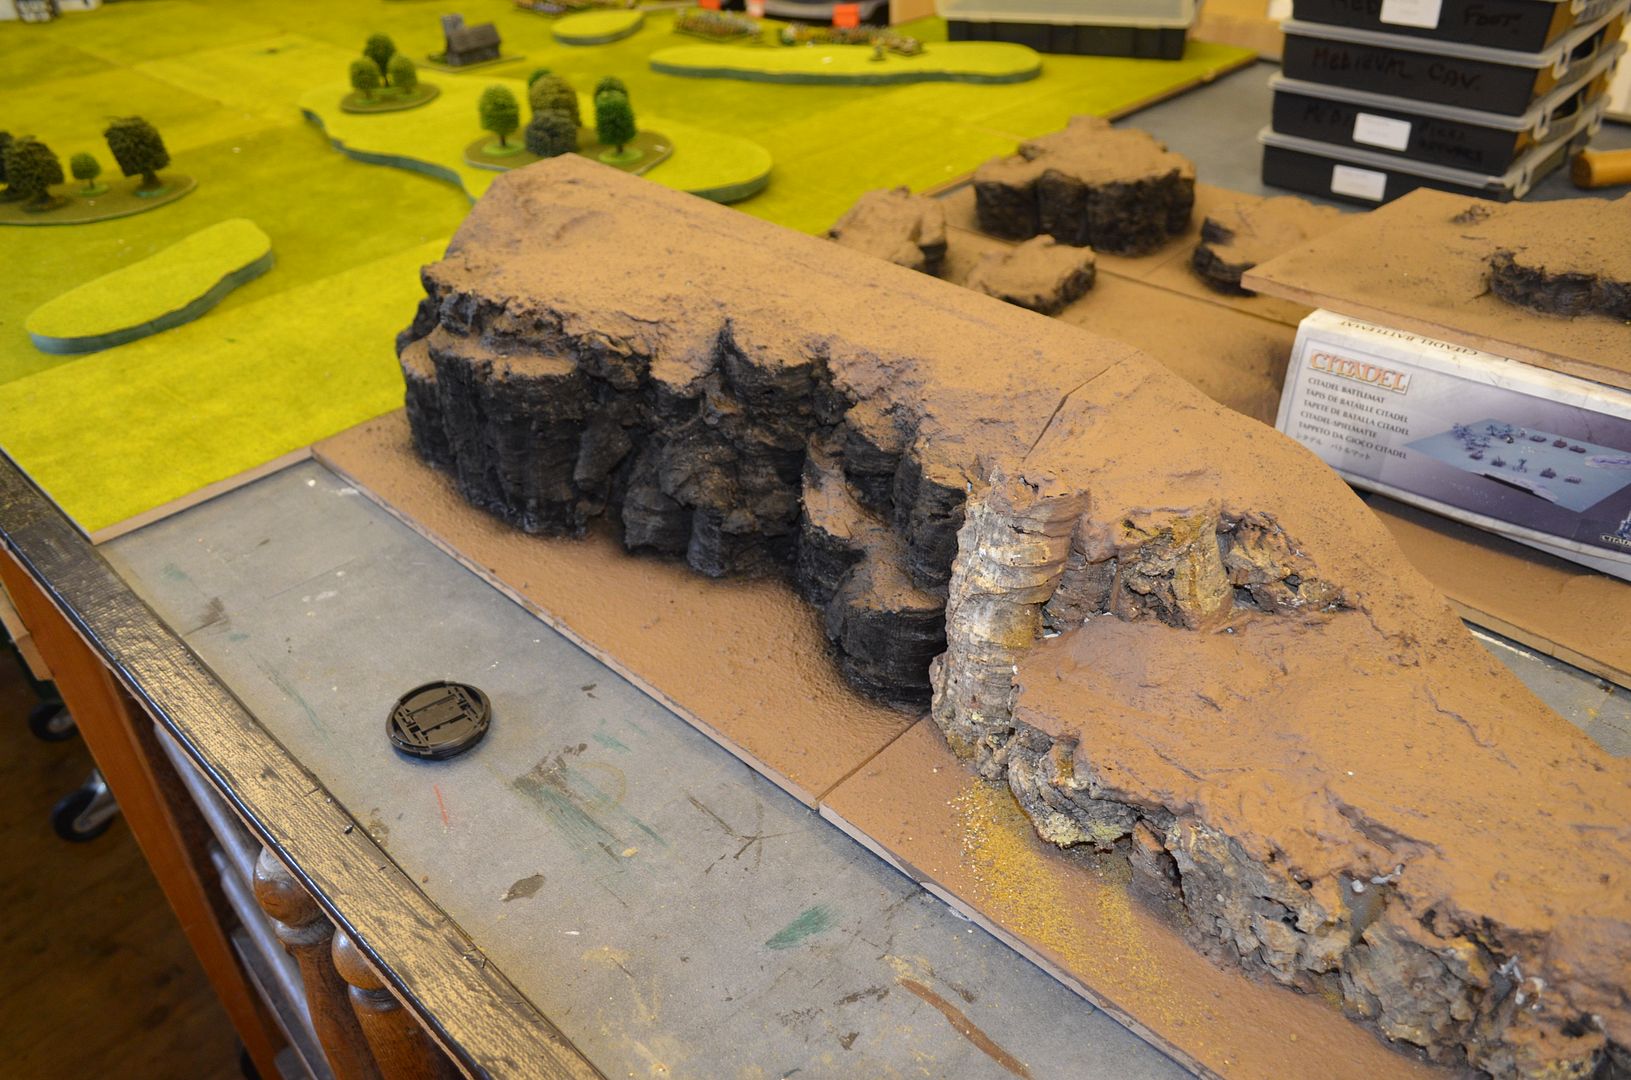
I then started on the cliffs and small outcrops. With these all painted I broke out my new toy - an airbrush and compressor. I used this to give the cliffs there first coat of black primer.


The cliffs on the left have been primed whereas the ones on the right have been untouched. Both boards have had the emulsion base coat.

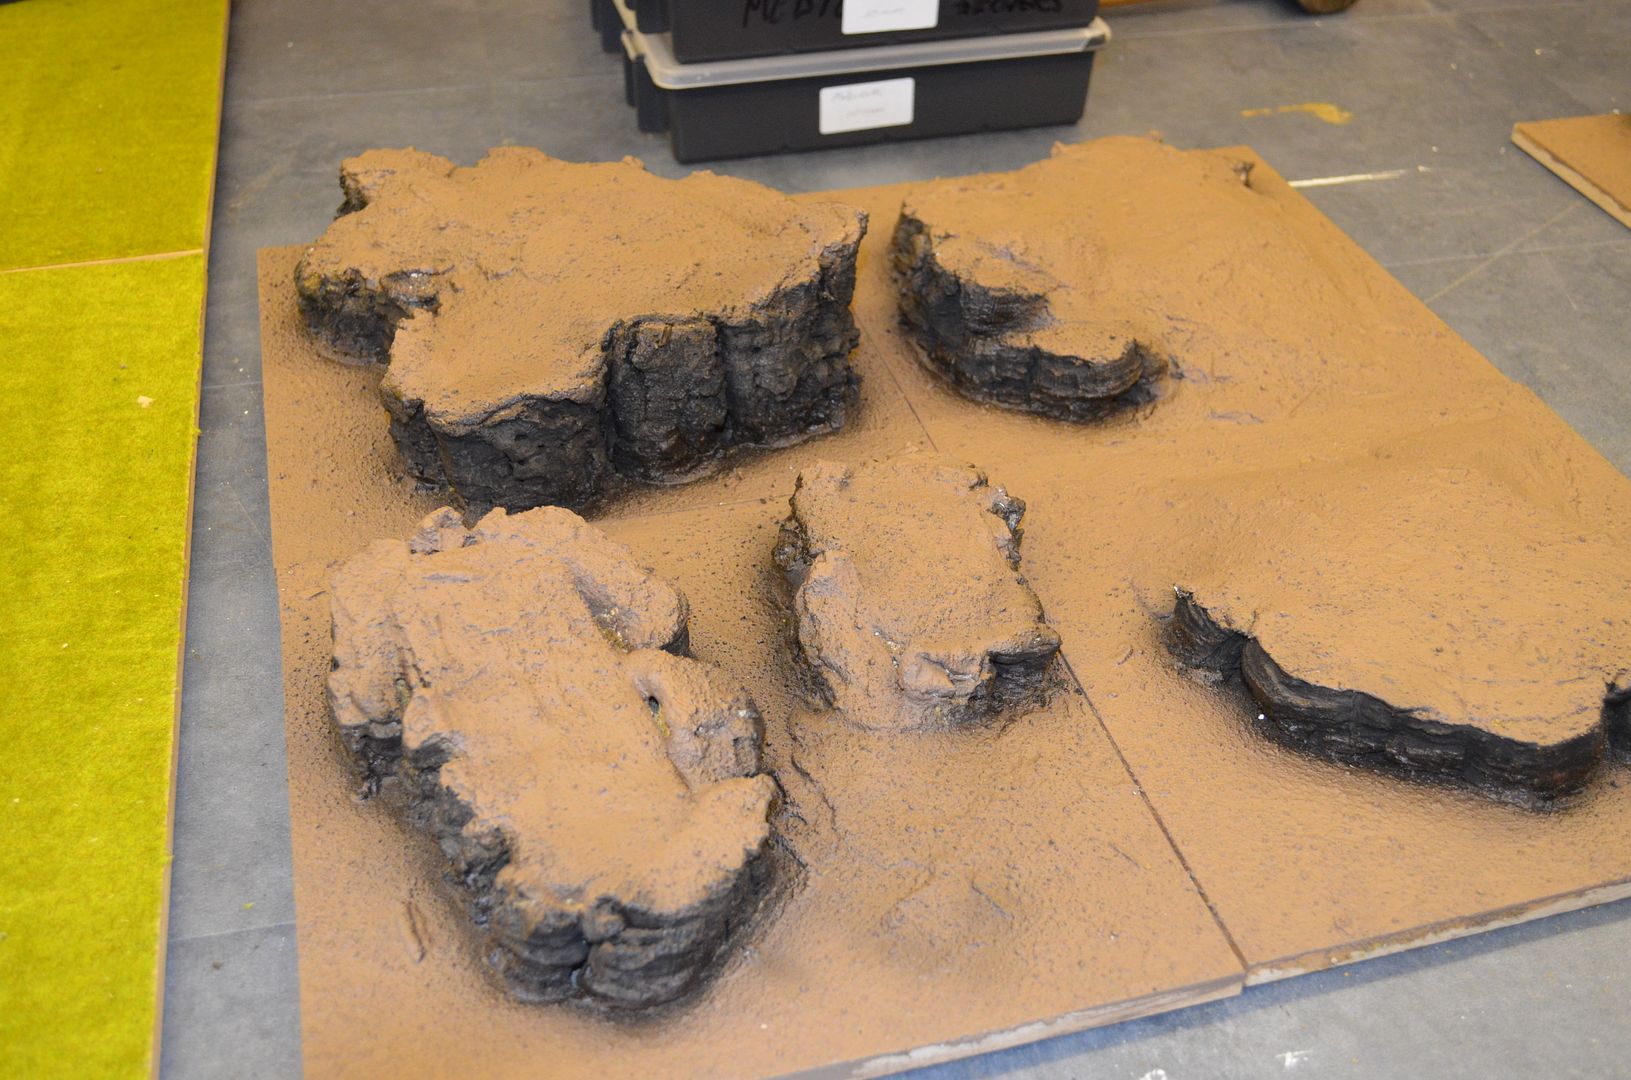
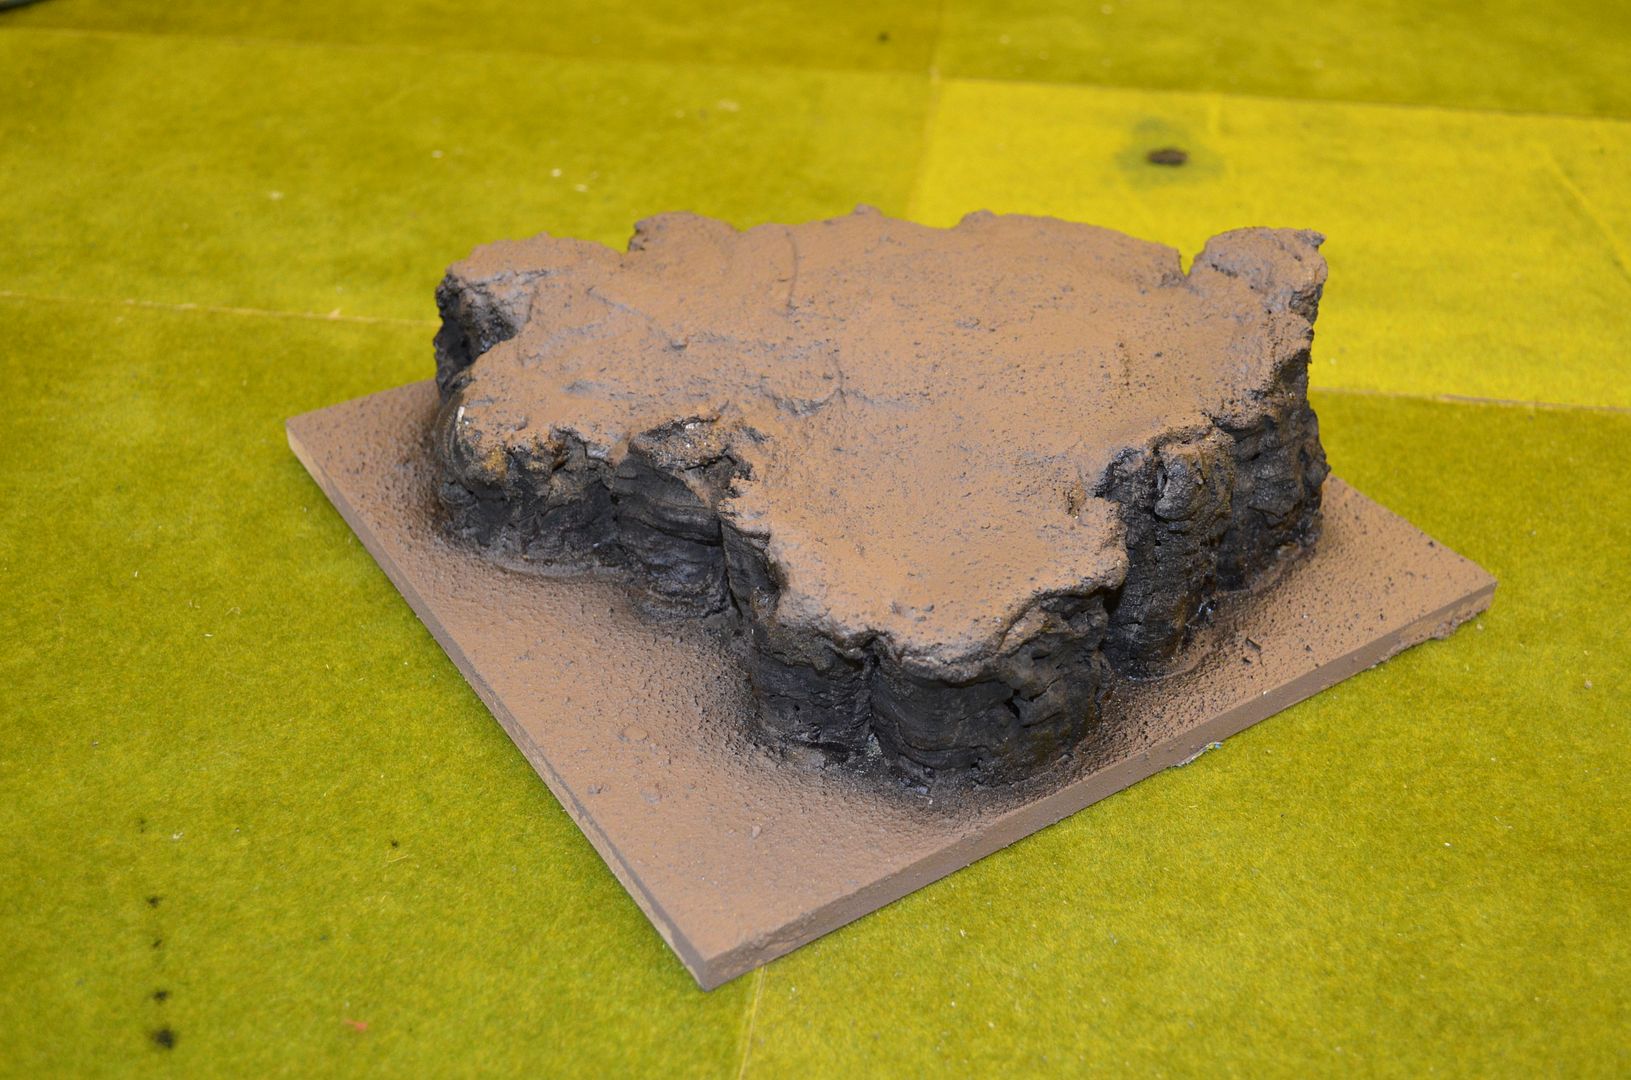
Here are a few more shots of the small rocks with base paint and cliff primer


I love the way the air brush has tied to together the cliff faces in a uniform way. This will become the favoured implement for painting the cliff faces. Ill work up the face in brown and sand tones and then finish with a quick drybrush.

With over 6 metres of cliff faces to paint this is going to take time so bear with me.

I have also decided that the pyramid and temple will also get the same base treatment so there is still a  long way to go...

until next time

Part 5 can be found here

http://shedwars.blogspot.co.uk/2014/11/rocky-escarpments-pyramid-finished.html