I've done the tracks and they can be seen in a couple of tutorials here on the blog. But what of the trains themselves? Well in this two part article I'll show you how I built a scratchbuilt armoured train for my VBCW project.
Please note that what you might see in the following pages may offend professional modellers. This is scratchbuilding without plans, few measurements and some interesting red wine.
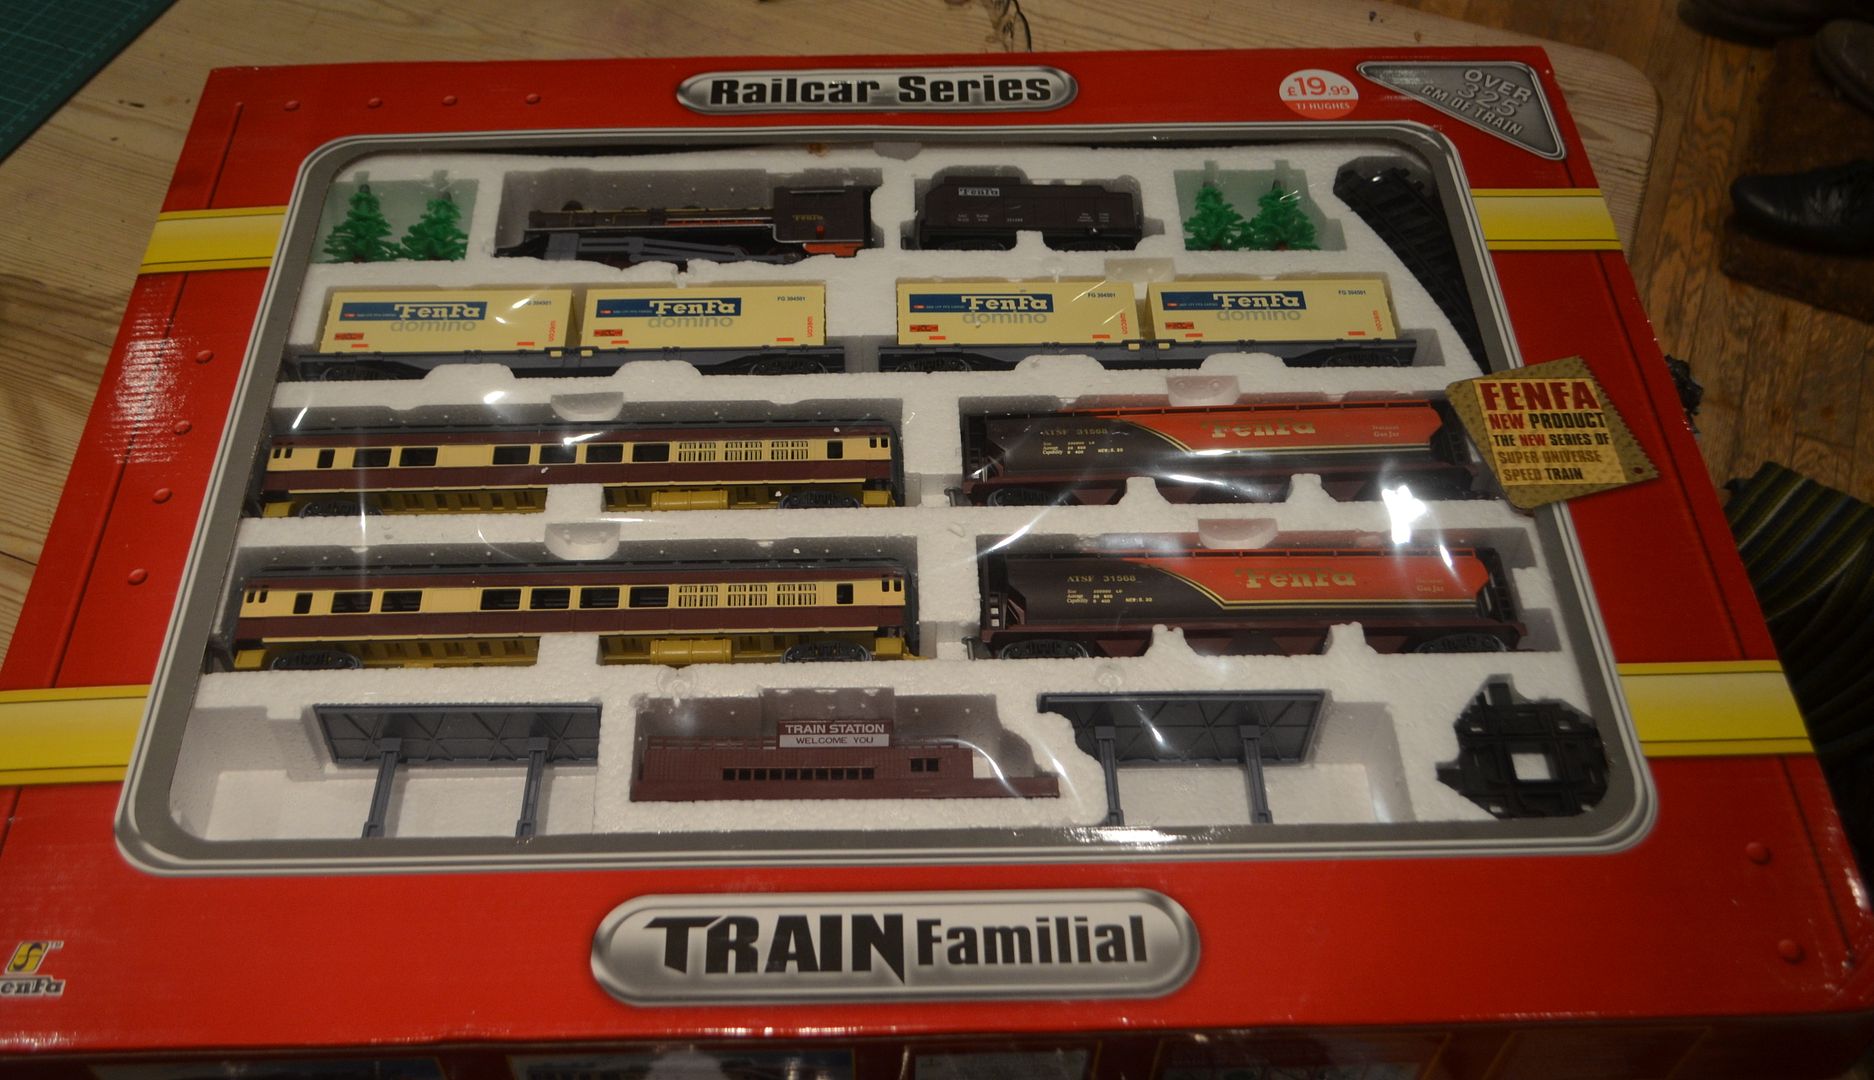
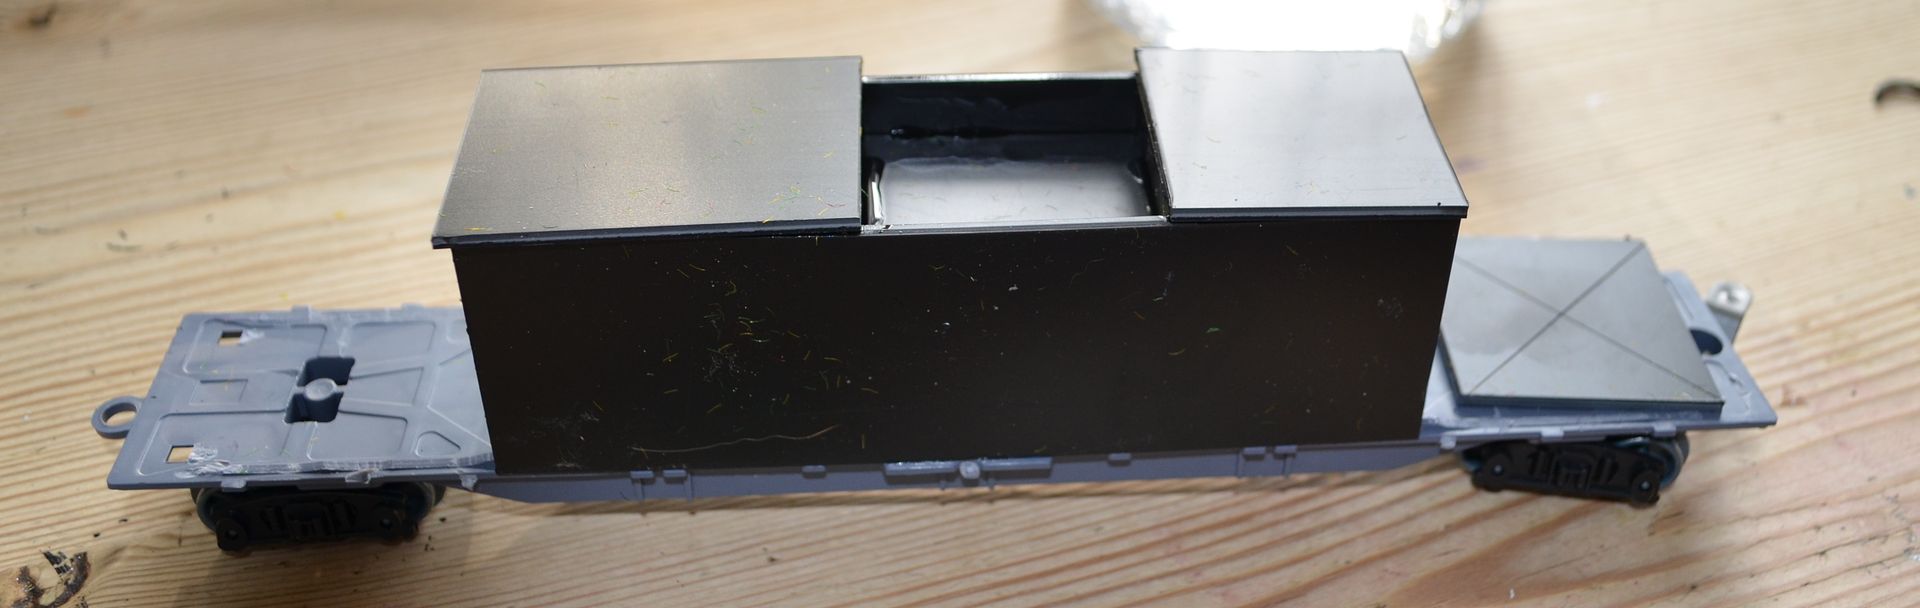
I decided that the armoured section of the train would be based on this two container box section.
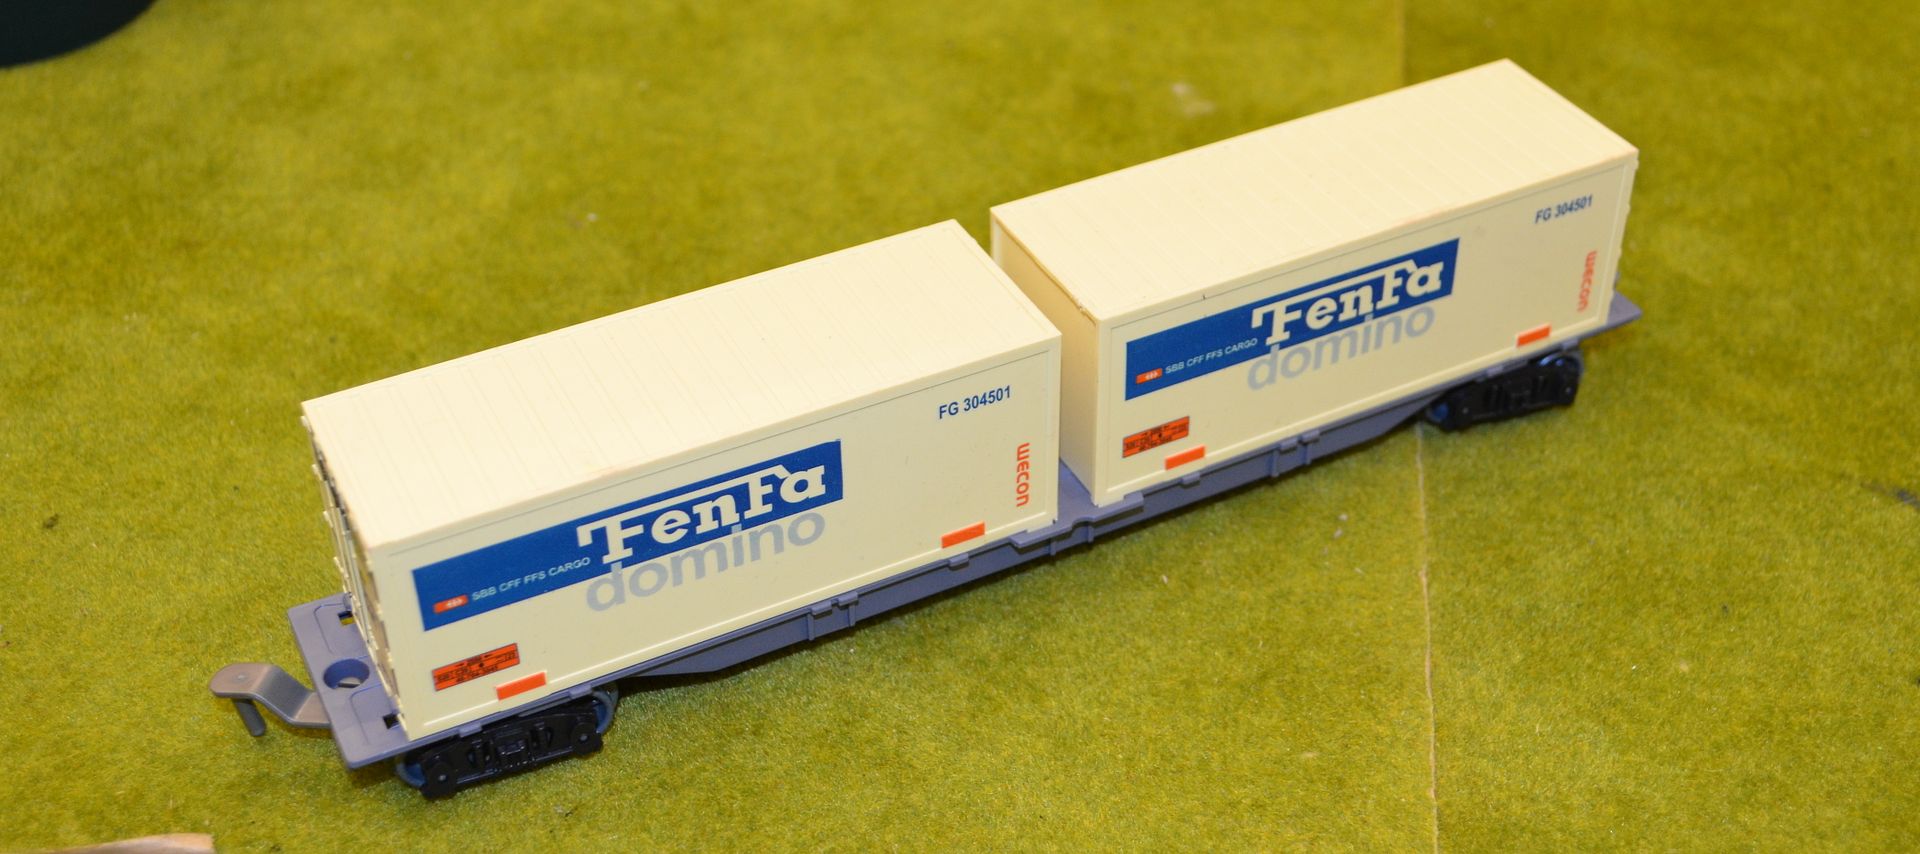
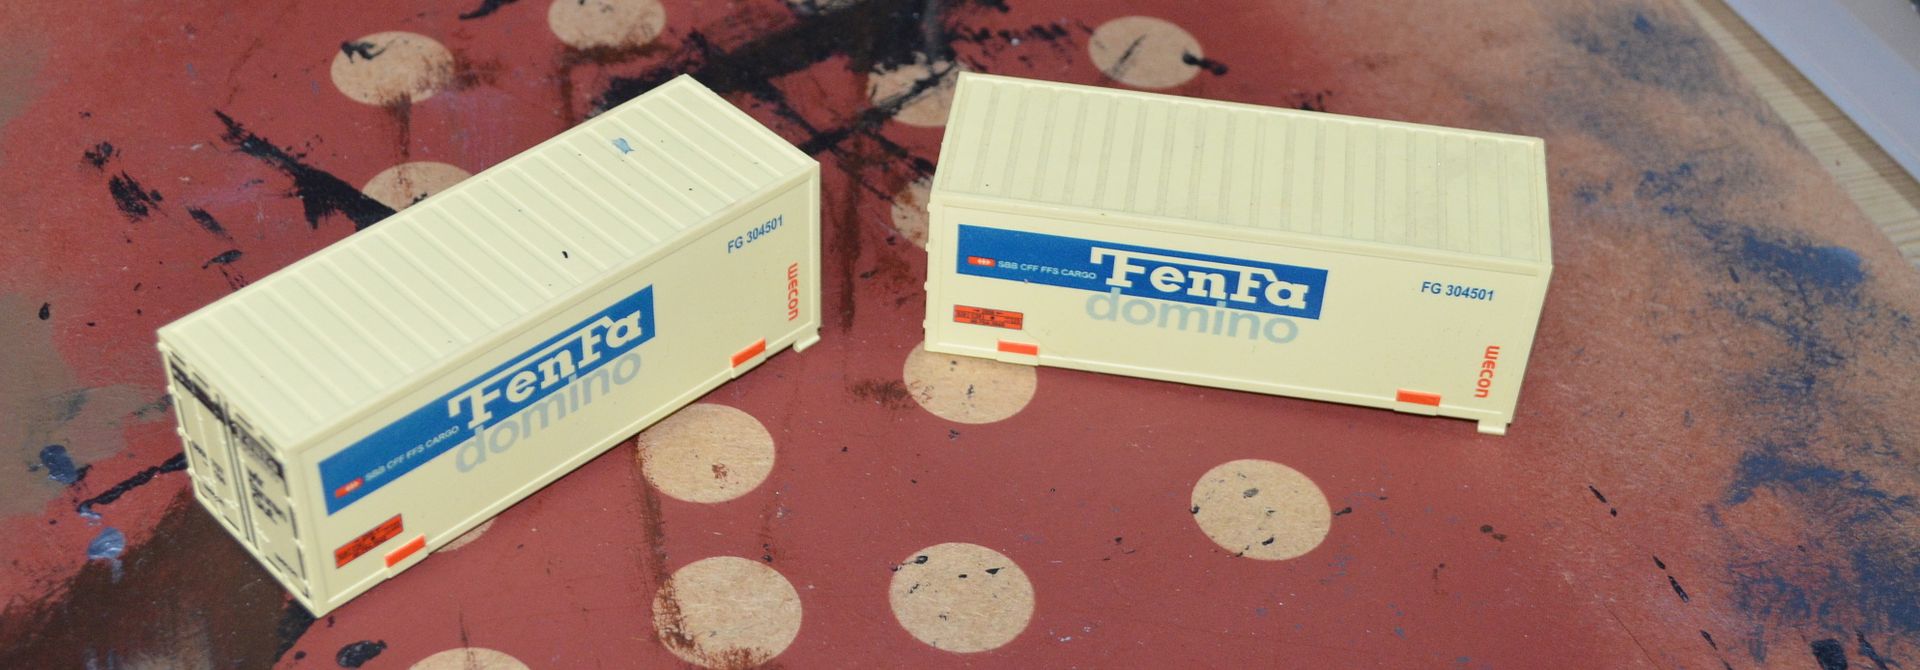
The containers popped off easily and these will be saved for some future project involving...containers
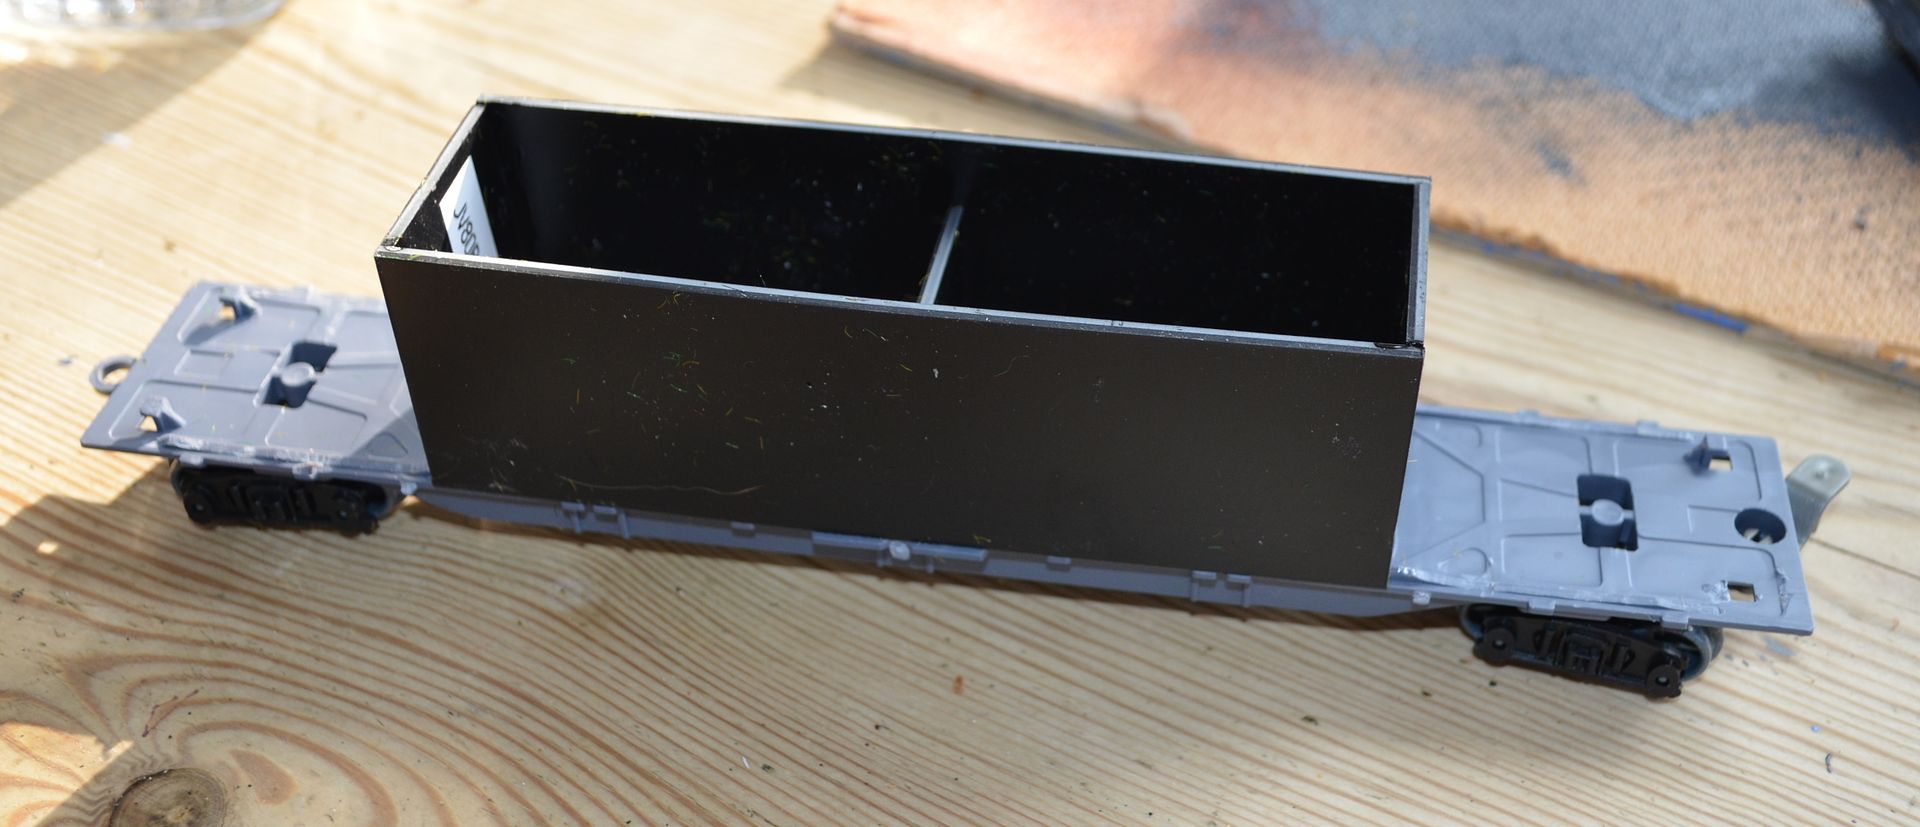
This left me if with a nice flat section - I trimmed off the raised edges on either ends to support the gun platforms

The superstructure of the section was built up using plasticard.
This was topped off with a sunken section - will be used for a flak position.
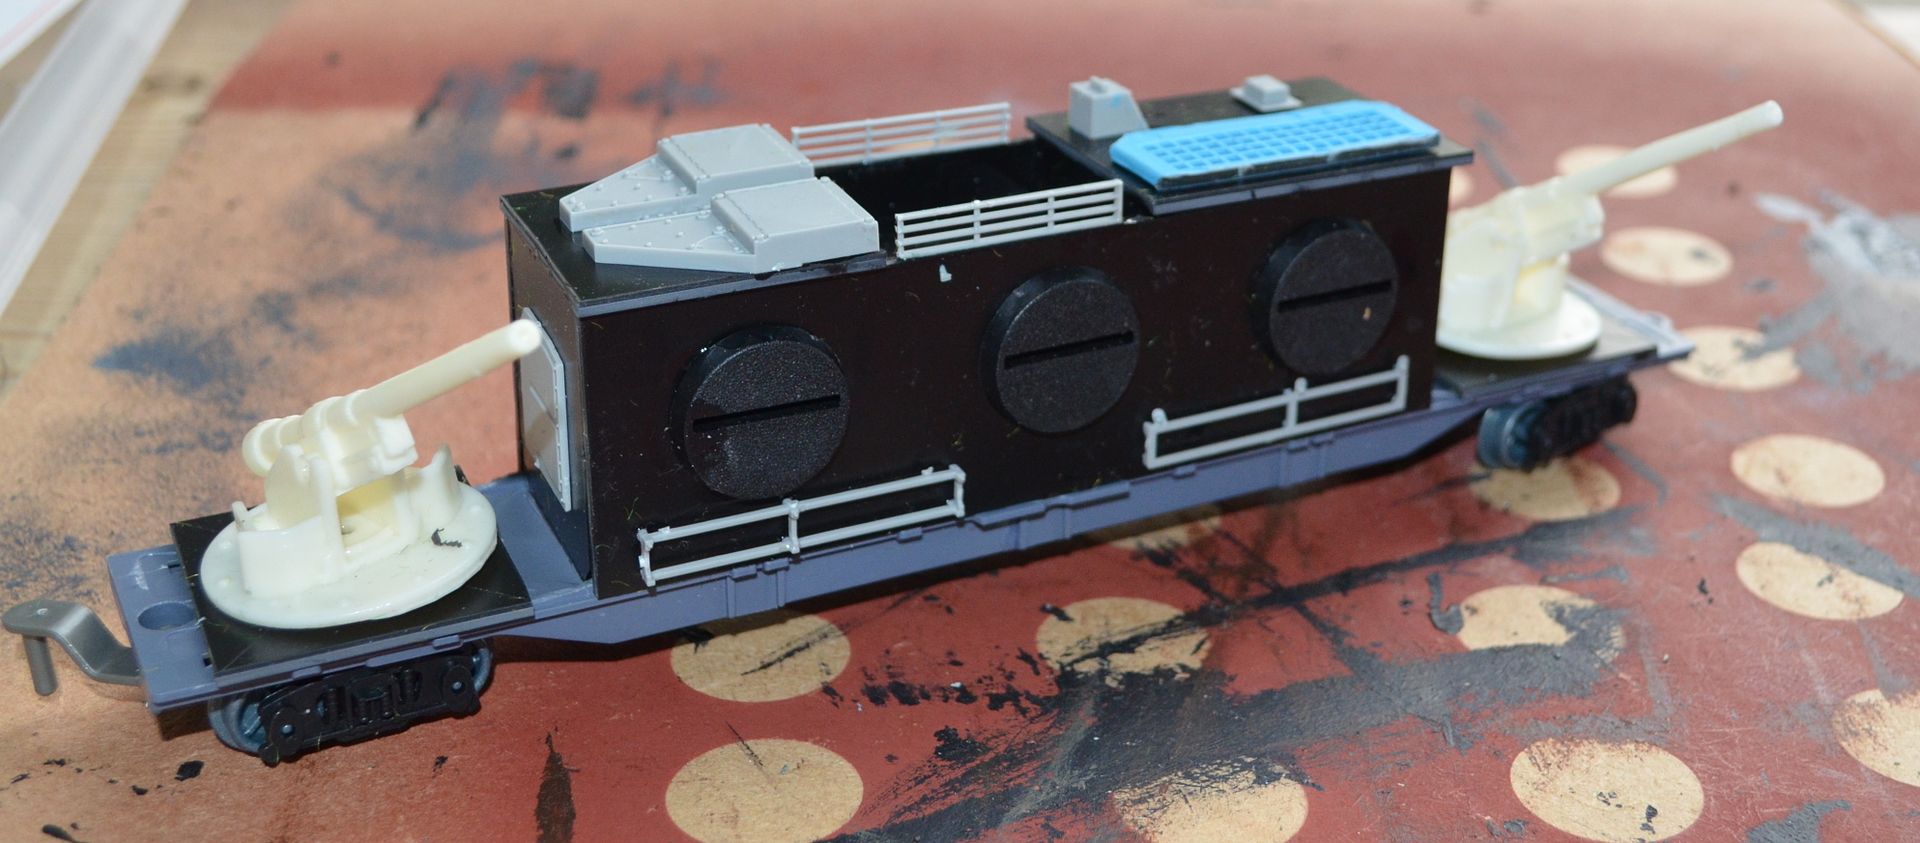
Firing slits using slotta bases added to the sides of the train.

other paraphernalia then added from spare old model kits - rails, vents etc

You can see in the above picture I have mounted the gun platforms and drilled in holes.
The guns themselves have had a pintle added using plastic rod

The guns were picked up from Caliver Books - they are part of the old PMC range (Picture courtesy of their website - hope they don't mind) - Listed within the Forgotten Front Range
http://miniaturefigurines.co.uk/Home.aspx
Now when I ordered my gun it turned up all bent out of shape. I contacted Caliver and mentioned that I was not happy - with no fuss they reissued me with a new gun. Customer service was second to none - brilliant !
They also make great tanks for this period.
As I was putting together the train last night the thought occurred to me that if I heated the original bent resin gun over a candle would I be able to bend it back into shape? The answer was yes - so I guess I owe Caliver for another gun.

And here you can see the finished wagon. I'll be buying a flak piece at Salute and then hopefully getting this pointed up in the coming weeks.
cheers
for part 2 go here
Part 2
"This is scratchbuilding without plans, few measurements and some interesting red wine." Is there any other type? Bravo Sir, a fabulous start.
ReplyDeleteTremendous, very VBCW, and thats the best use of the dreadful slotta's I've seen :-)
ReplyDeleteGreat work! I especially like the idea of using slotta bases for firing slits… consider it stolen ;-)
ReplyDeleteExcellent idea and splendid execution!
ReplyDeleteI like your philosophy sir - and your modelling!
ReplyDeleteWow, great work, very ambitious!
ReplyDeleteVery nice. Looking forward to seeing it painted.
ReplyDeleteLove it
ReplyDeleteWonderful project!
ReplyDeleteNicely done!
ReplyDeleteNow if you can just get a bit of an old hairdryer on it your modelling credentials will be up there with the BBC special effects department! Seriously, impressive stuff!
ReplyDelete