Monday 25 August 2014

The Crescent & Cross - A simple review

On return from holiday I picked up the news that the long awaited sequel to Saga - the Crescent & Cross had been finally released.

So a quick click to visit the Gripping Beast site was in order. I purchased the rulebook and the dice Christian & Islam for the princely sum of £54 (inc p&p)

Two days later the parcel ARRIVED. Great service.

First impressions were wow this is hardback book - hence the high price tag. But it looks and feels like a real quality production. The pictures are great, both photography and art, and the layout looks straightforward.


A nice short intro to the period.


Some great pictures and loads of rule explanations.


The rules introduce a number of new units including priests etc


The battleboards do look different to the old style - can't help feeling that the layout of the original game was easier to read and play.


A nice touch- they added a playing reference sheet.


So how do they play...dont know and probably will not find out until 2015 once I have got together some forces. This project does however neatly tie in with my Pulp Egyptian themed project from a terrain perspective so once that's complete I just need the figures.

In summary a really well presented ruleset, a bit pricey but if they play as well as the Dark Age version Studio Tomahawk will have another winner on their hands.

Until next time


Friday 22 August 2014

Egyptian Adventures - Temple Build part 3

Hi Folks

With my extended holiday coming to an end I thought I'd better crack on with the Egyptian temple build. I have a sneaky suspicion that the new job is going to be rather busy for the first few weeks so this weekend is my best chance to put a dent into this project.

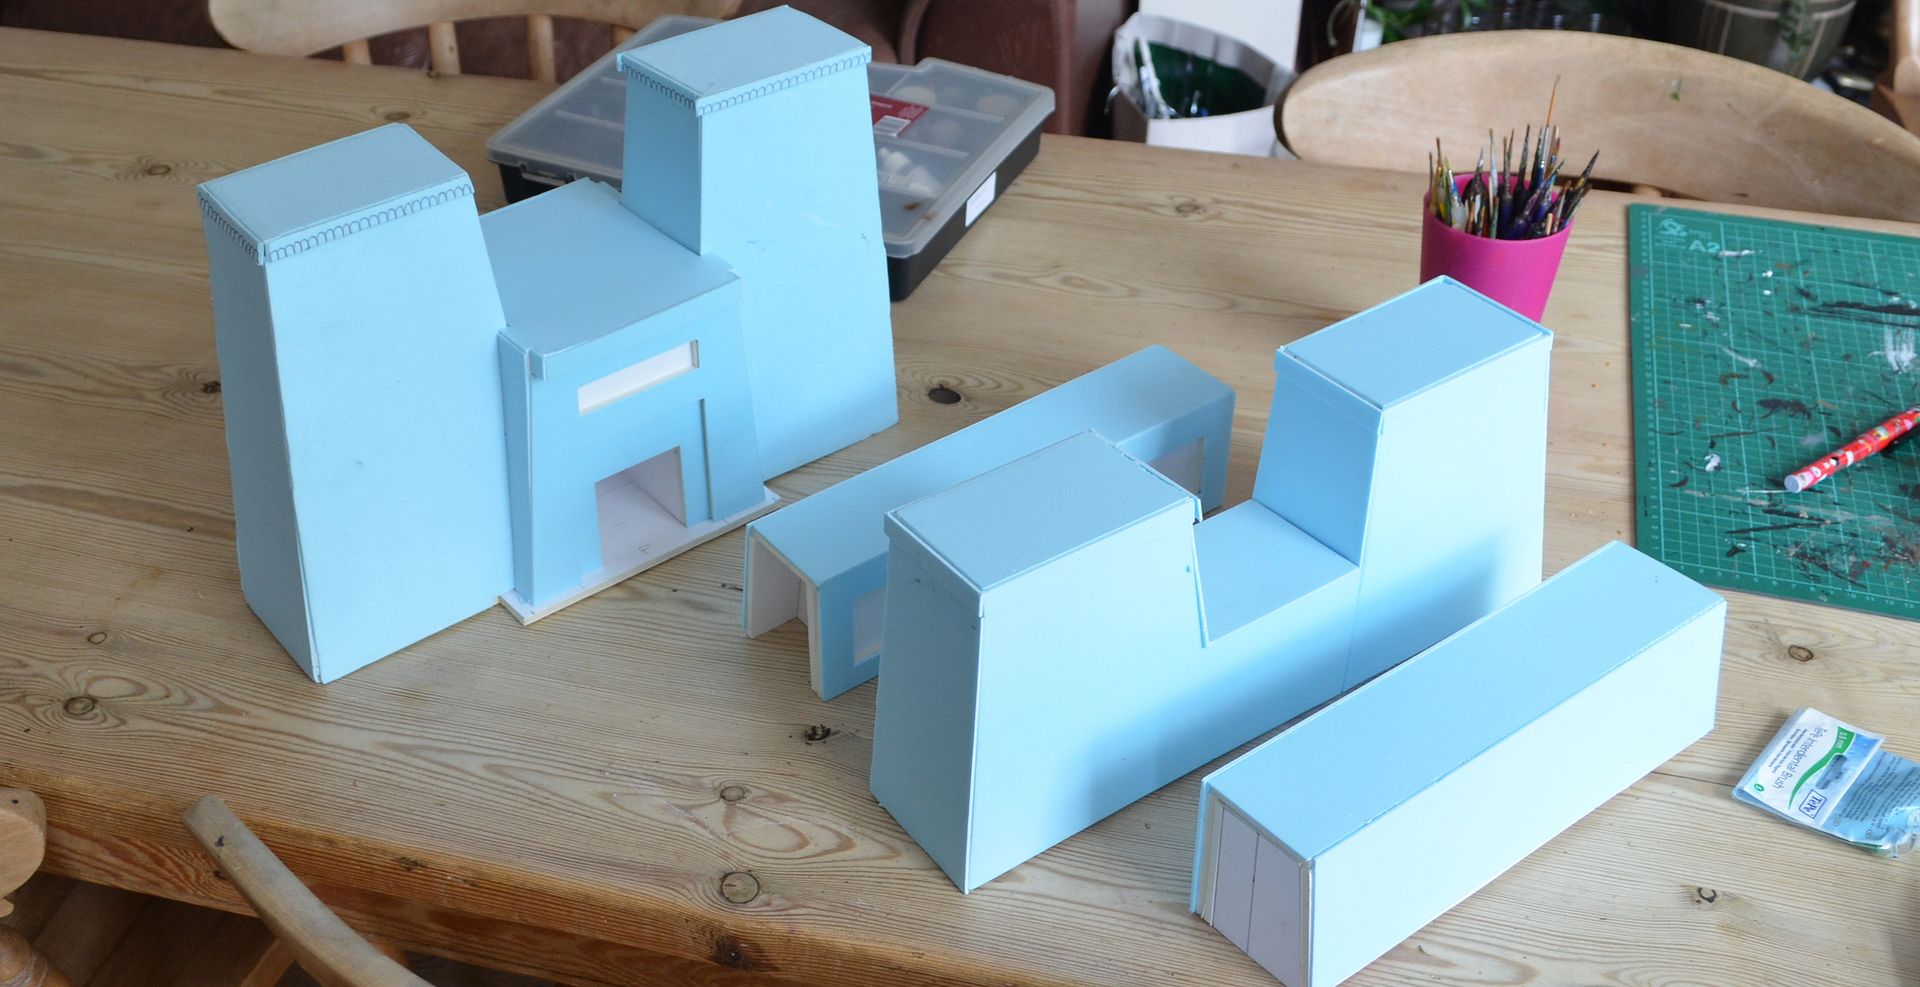
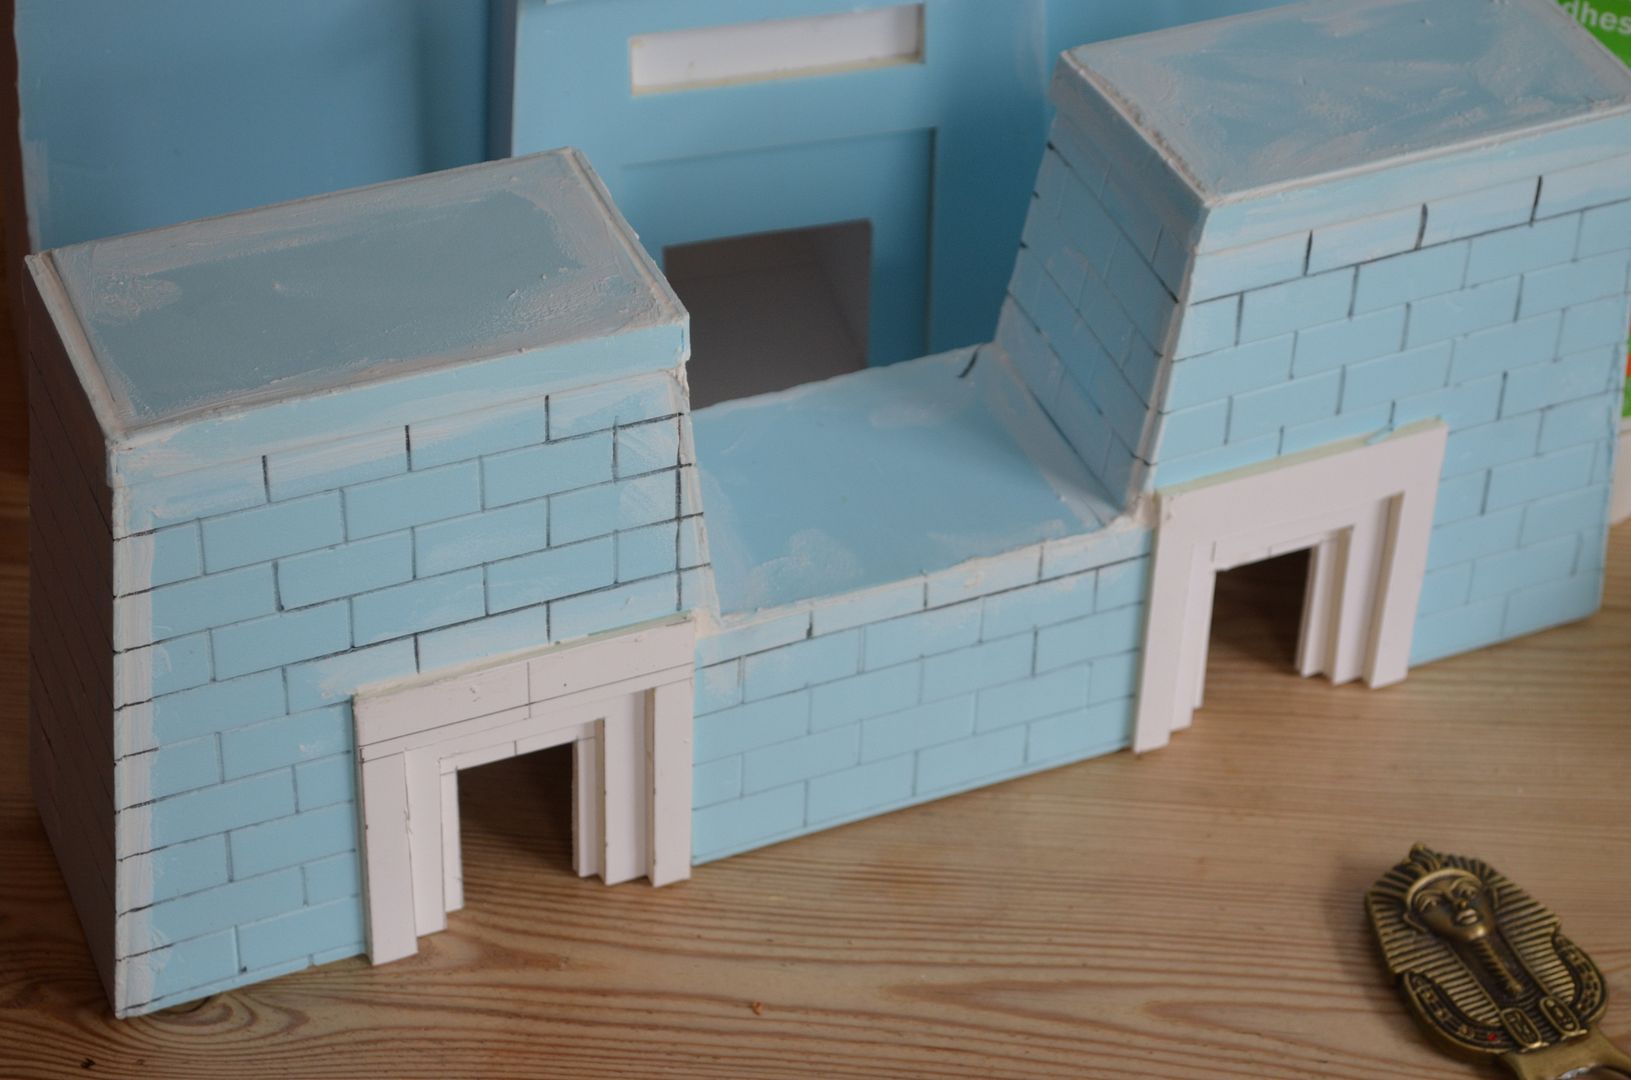
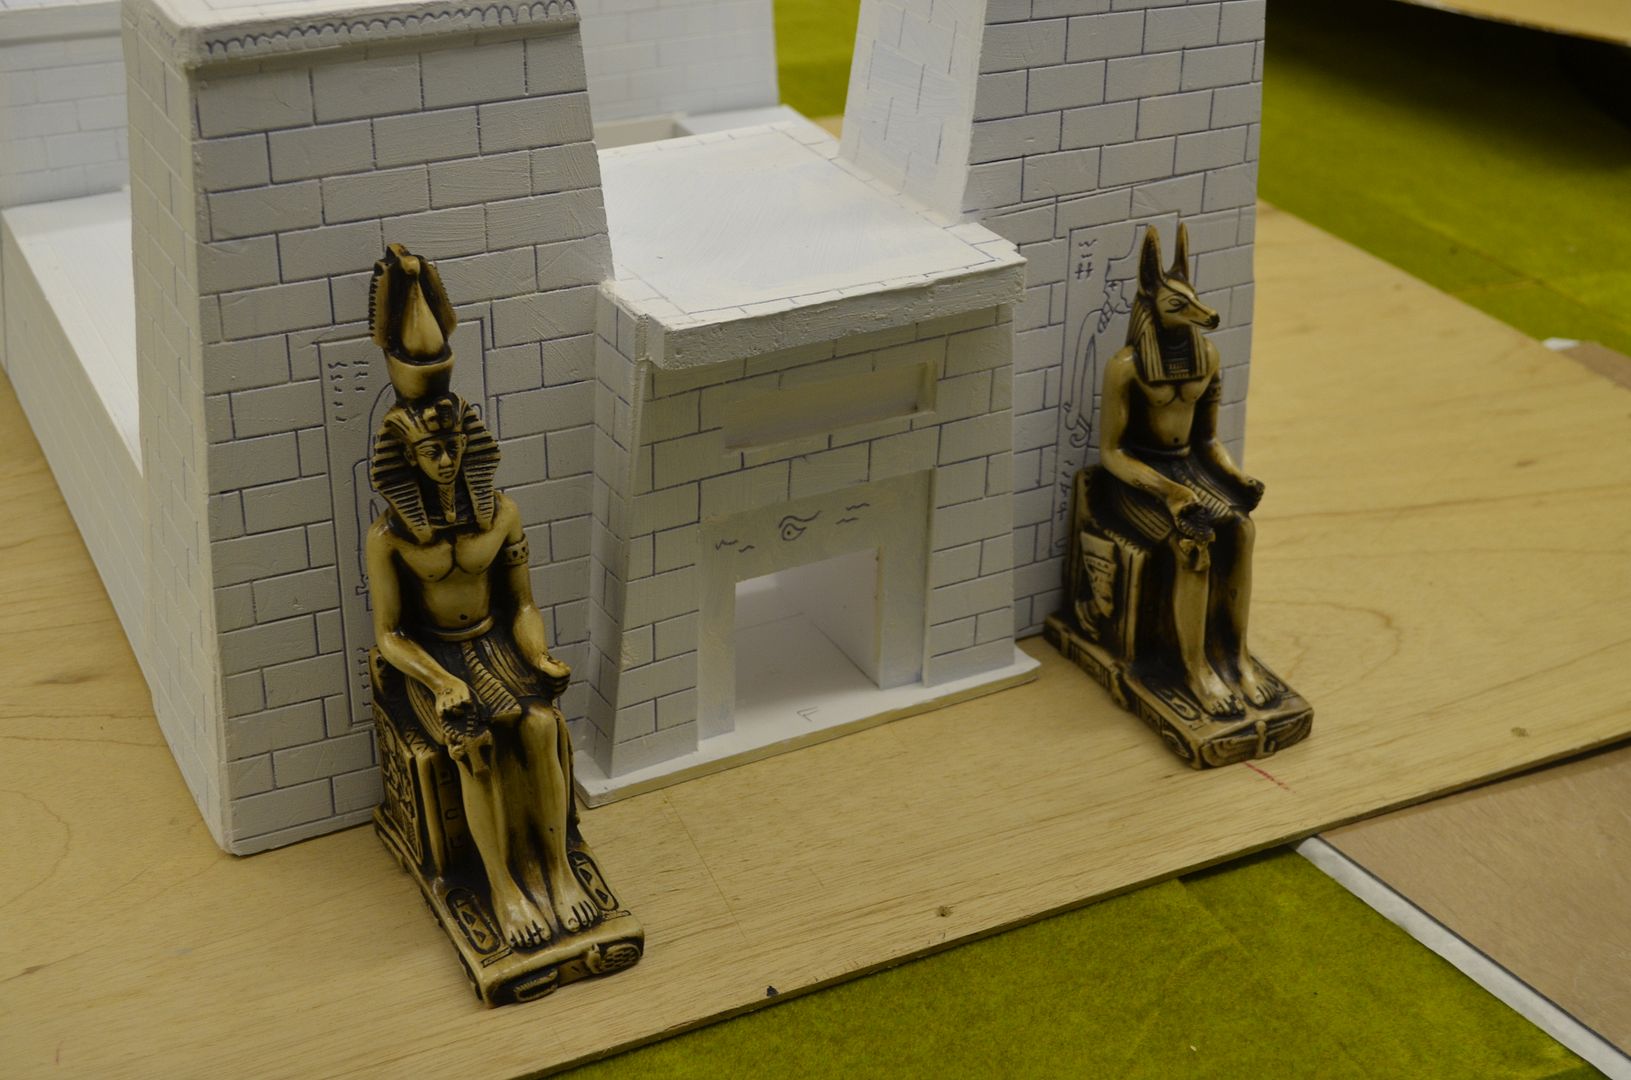
When I left you last Id built the basic structure and adorned this with some rather childish images.

If you want to read this build from the beginning head here or to part 2 and links at the end of each post take you to the next.

Part 1

Part 2

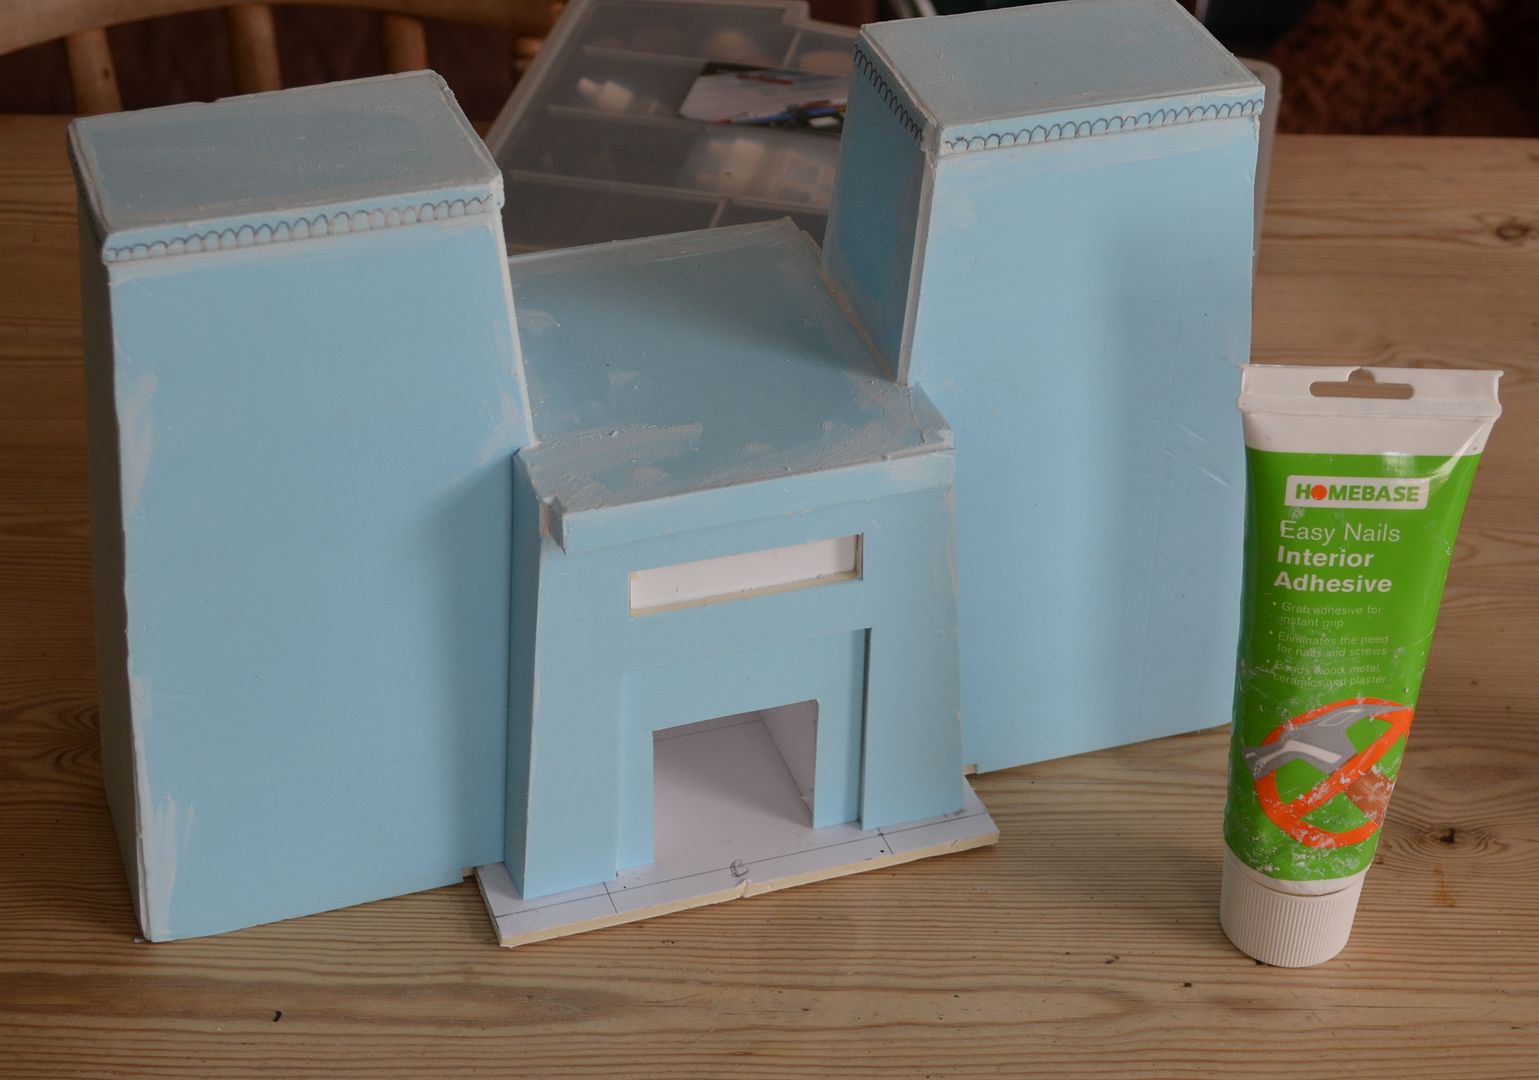
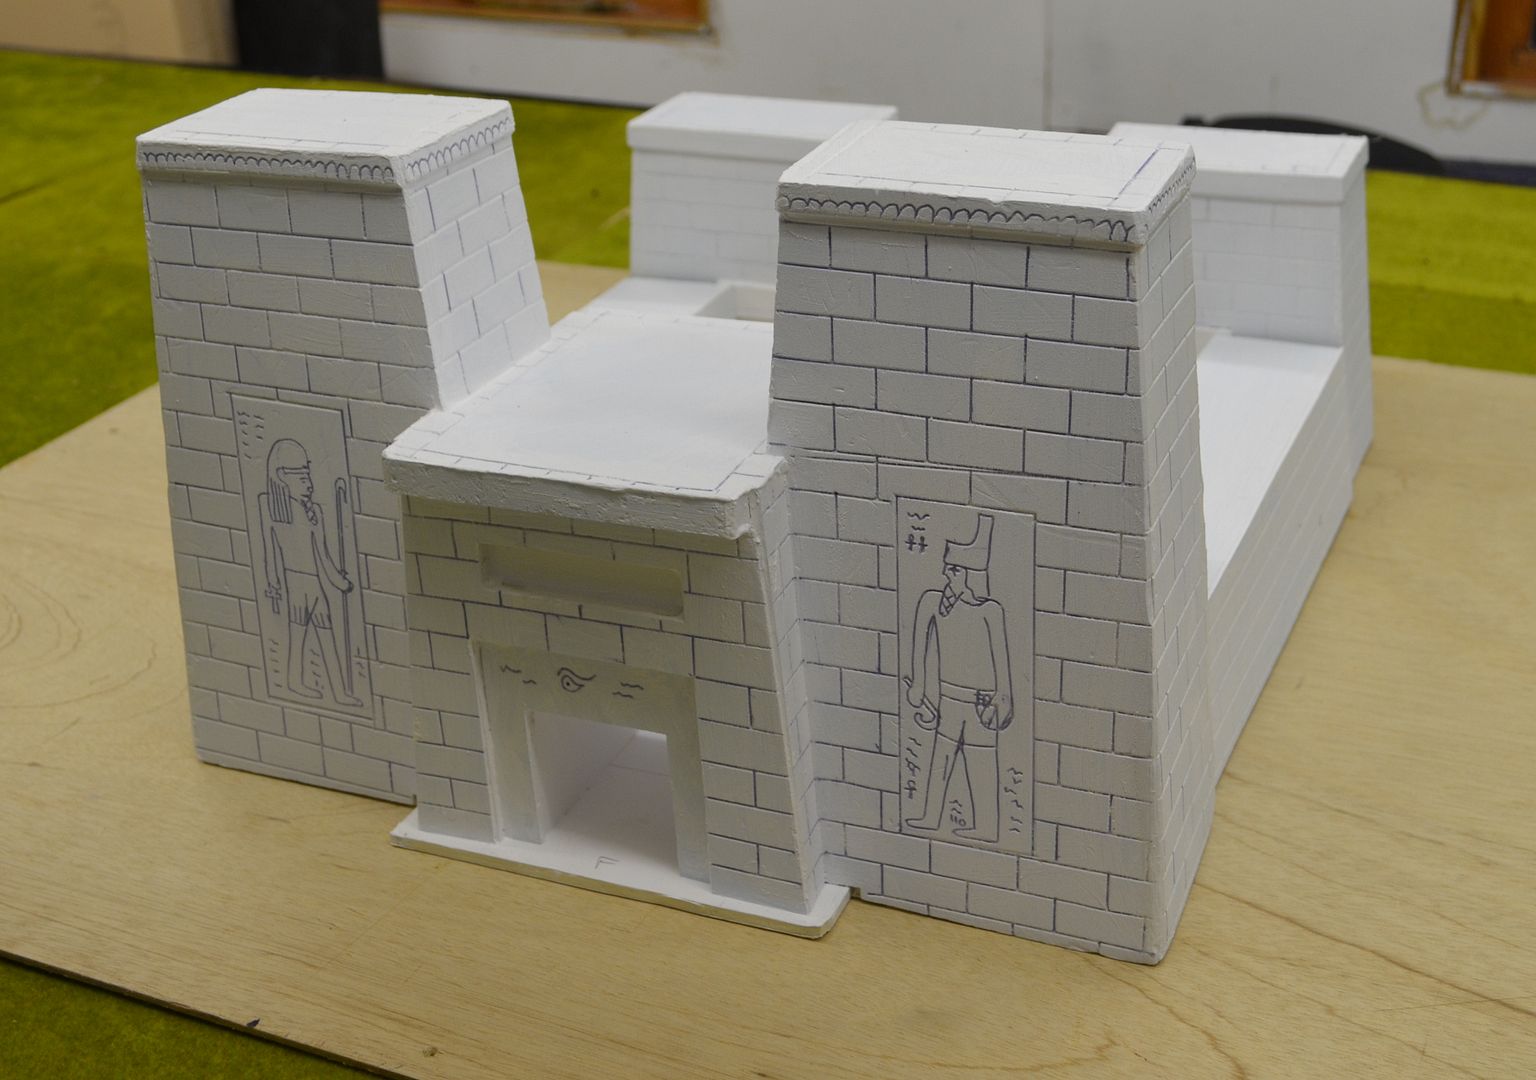
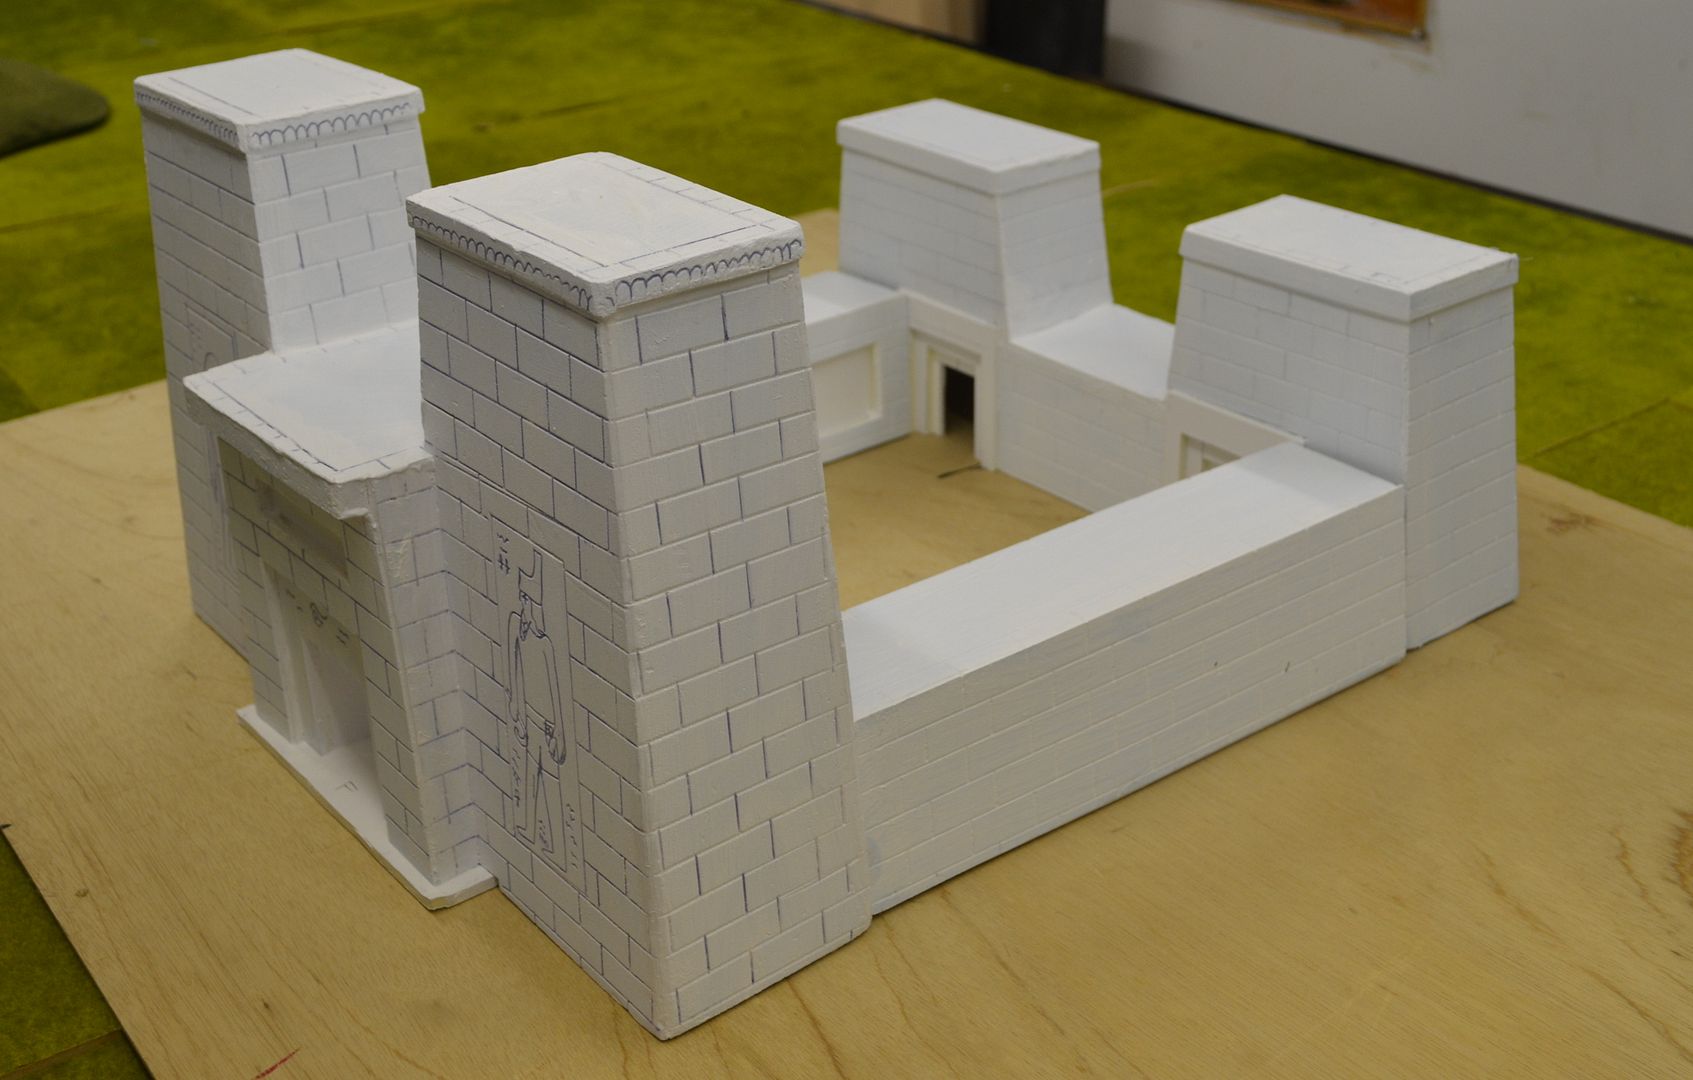
The first job was to mount the temple onto one of my standard 50cm x 50cm boards. The walls were fixed using skewers glued into the base.


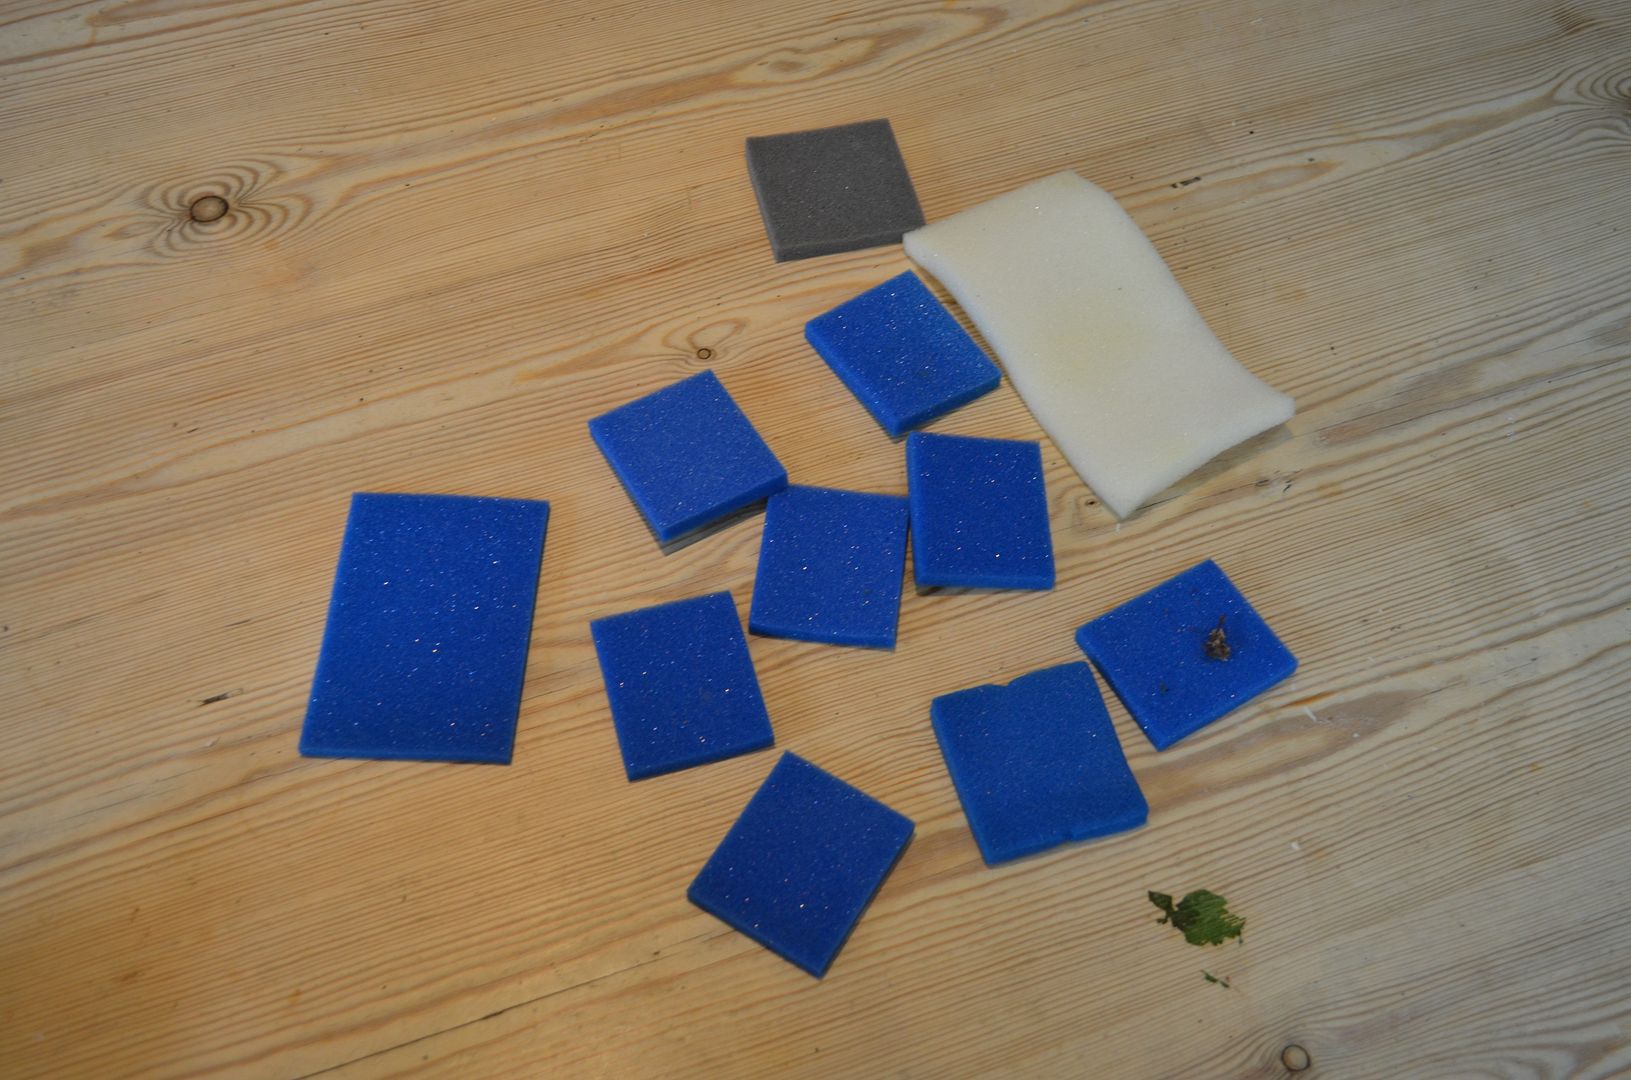
Once I had filled all the gaps I turned my attention to the inner courtyard. This would be paved using embossed blue foam.


I cut a sheet to fit the inside and then using a ruler and biro embossed the stones. This was then glued into place.


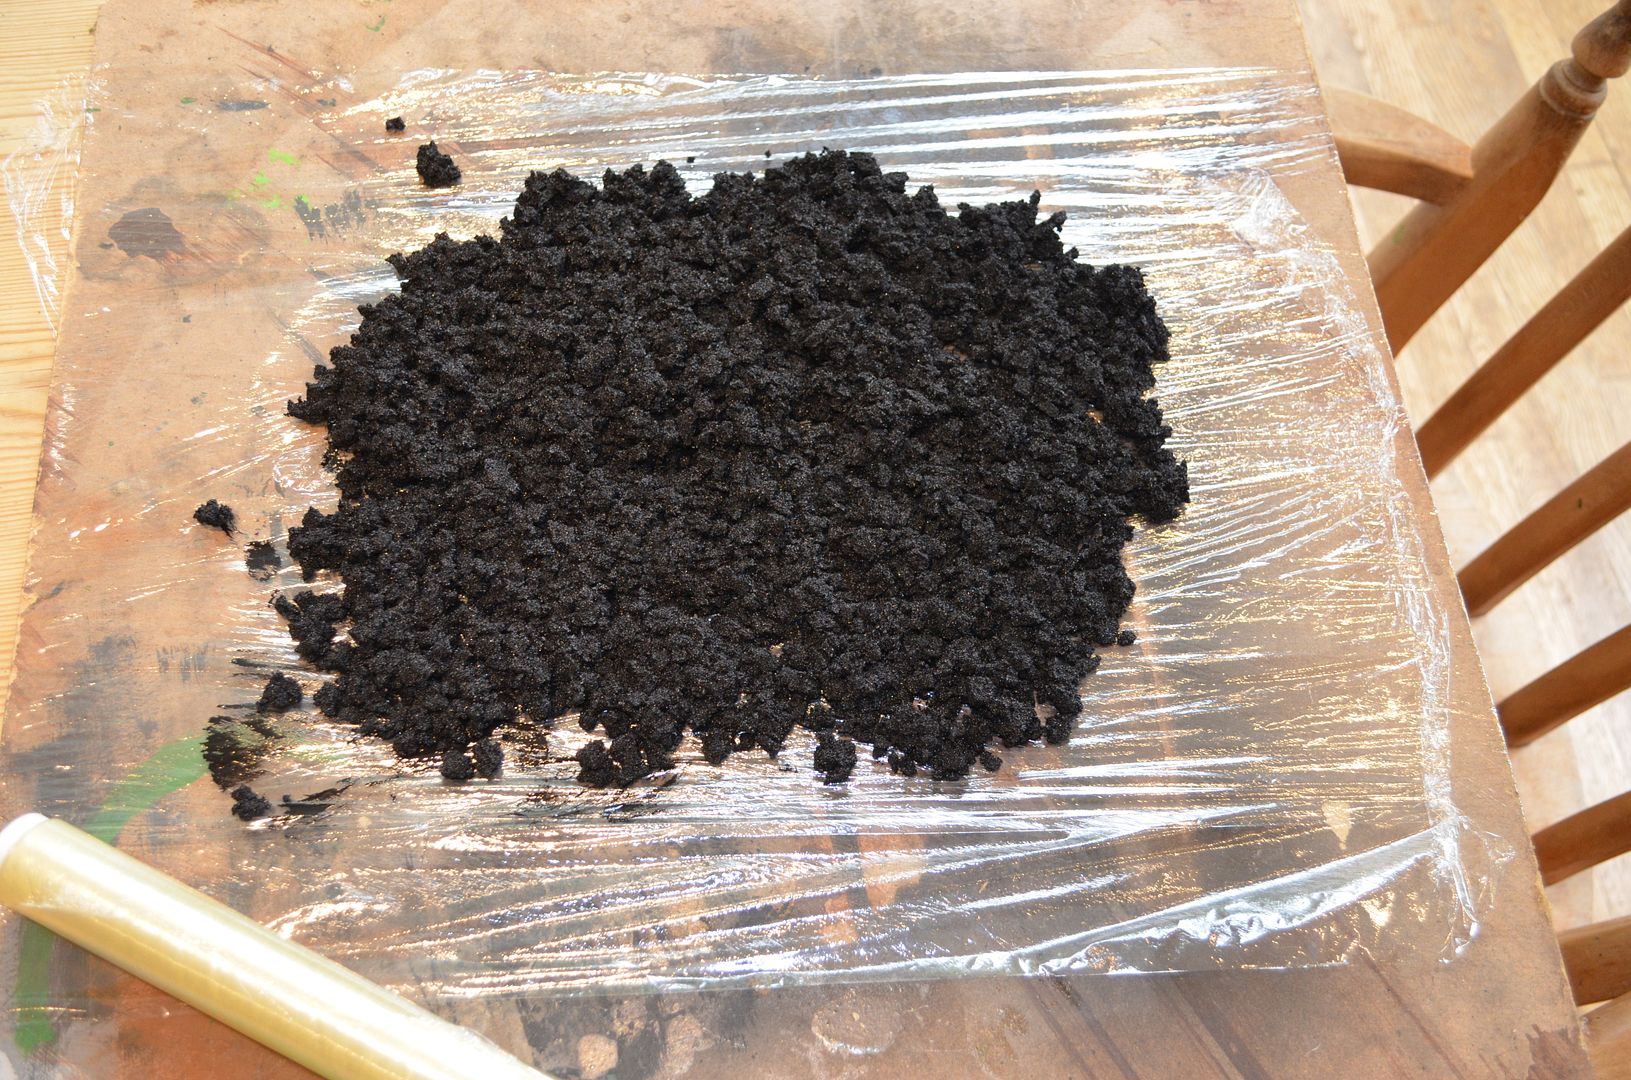
I wanted the outside of the walls to have a sloped bank of sand. Using some off cuts of polystyrene these were glued along the edge of the walls and then covered in filler. The brown stuff is filler with some paint mixed in - trying to kill two birds with one stone but it diodnt work.


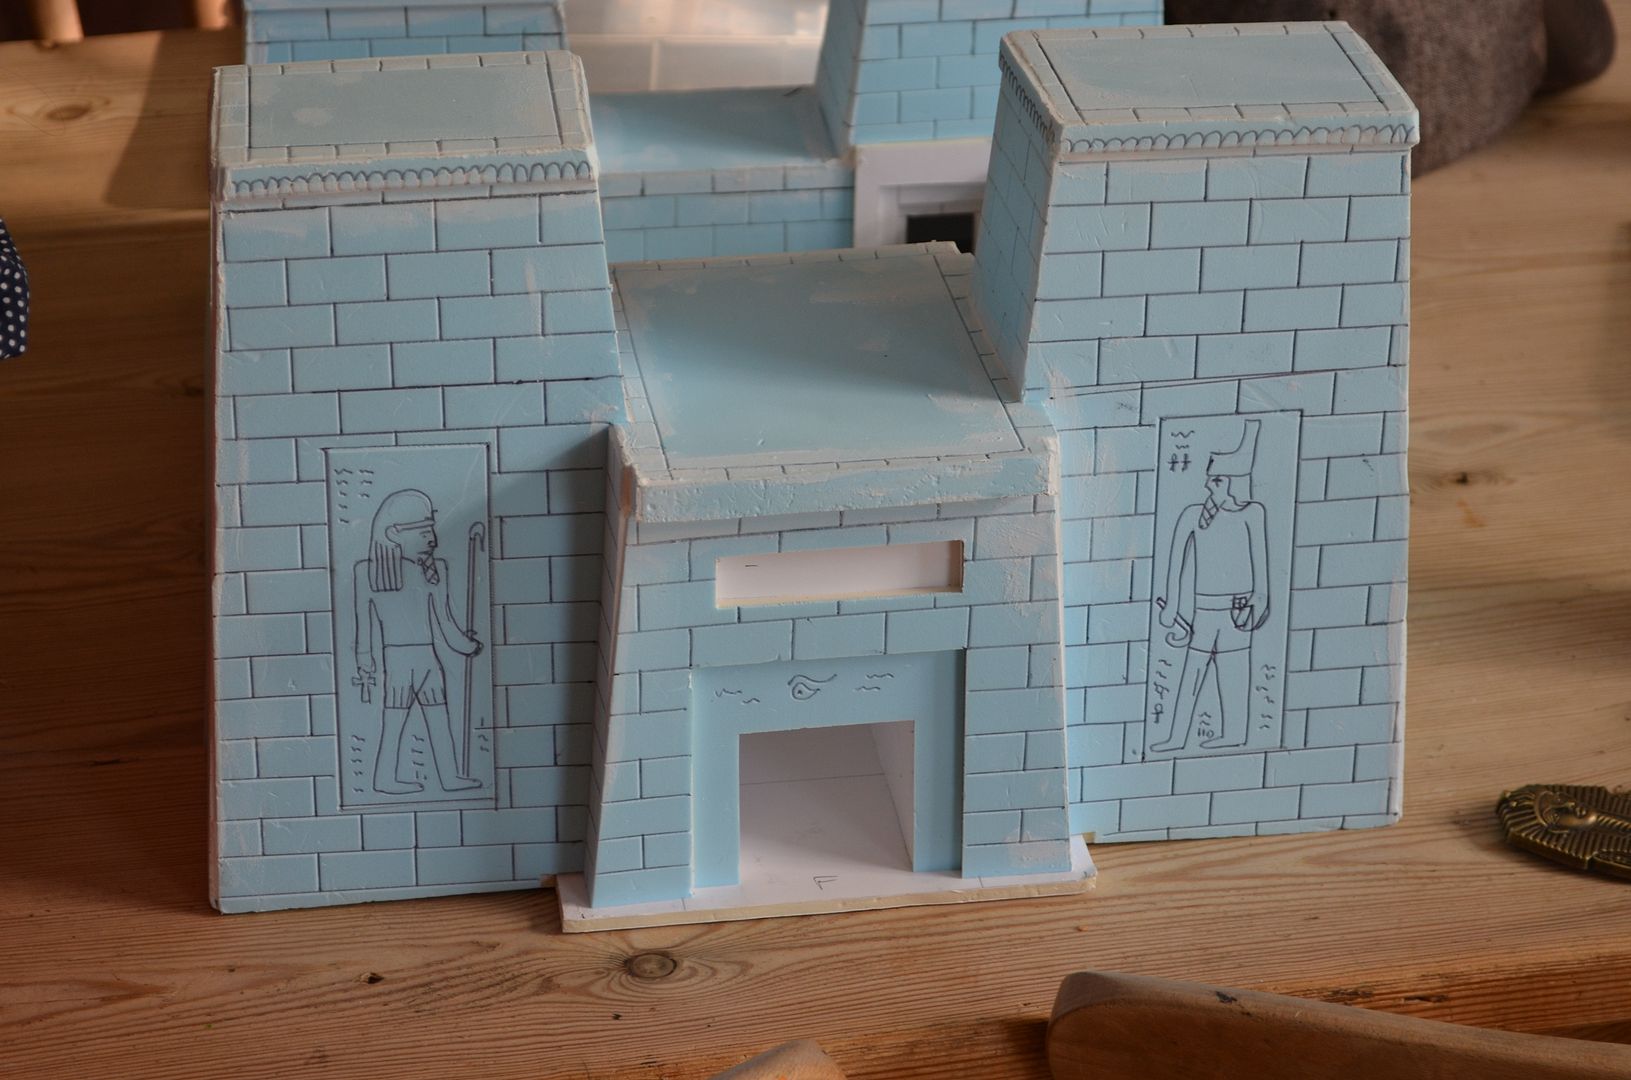
So to get rid of these awful drawings of pharaohs. Simple really Id cover them up with new ones. A google search of Egyptian line drawings revealed a rather nice Anubis. I copied this into power point and reversed the image to create a mirror copy. It was then a straight forward job of tracing these using a sharp pencil onto the blue foam. I thin embossed these drawings with a ball point pen.

The net result is much more effective.


Once the panels were created they were glued onto the walls of the temple


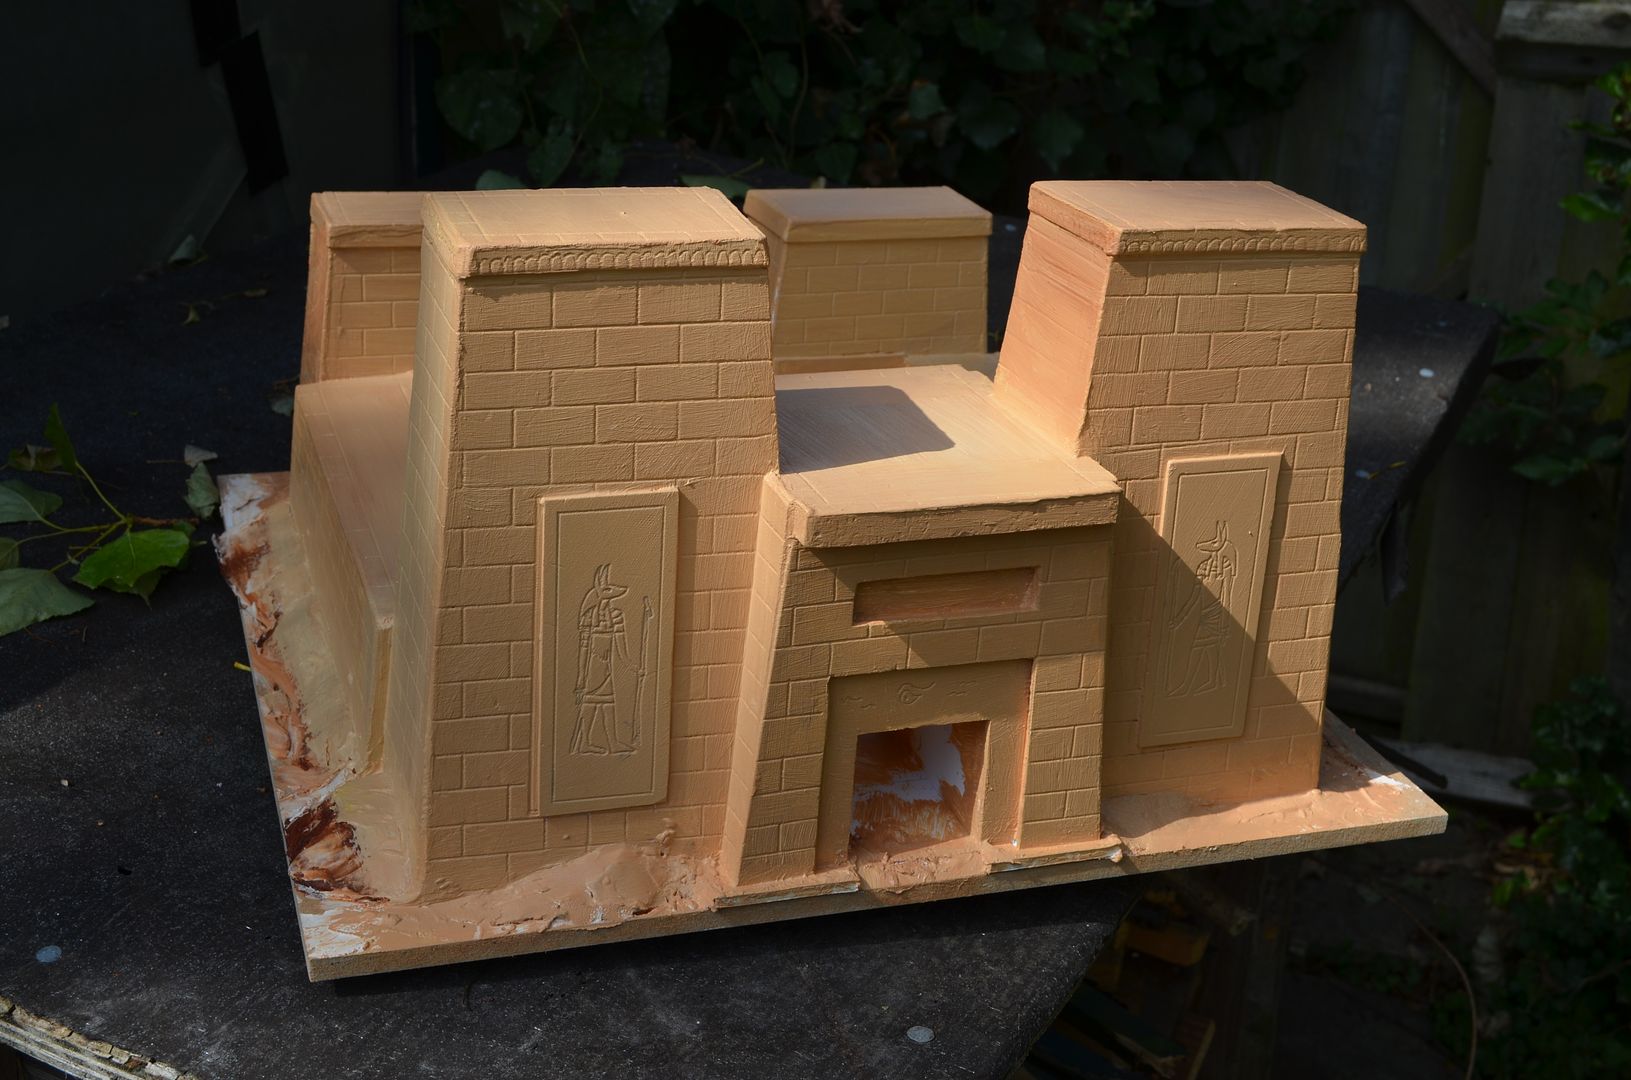
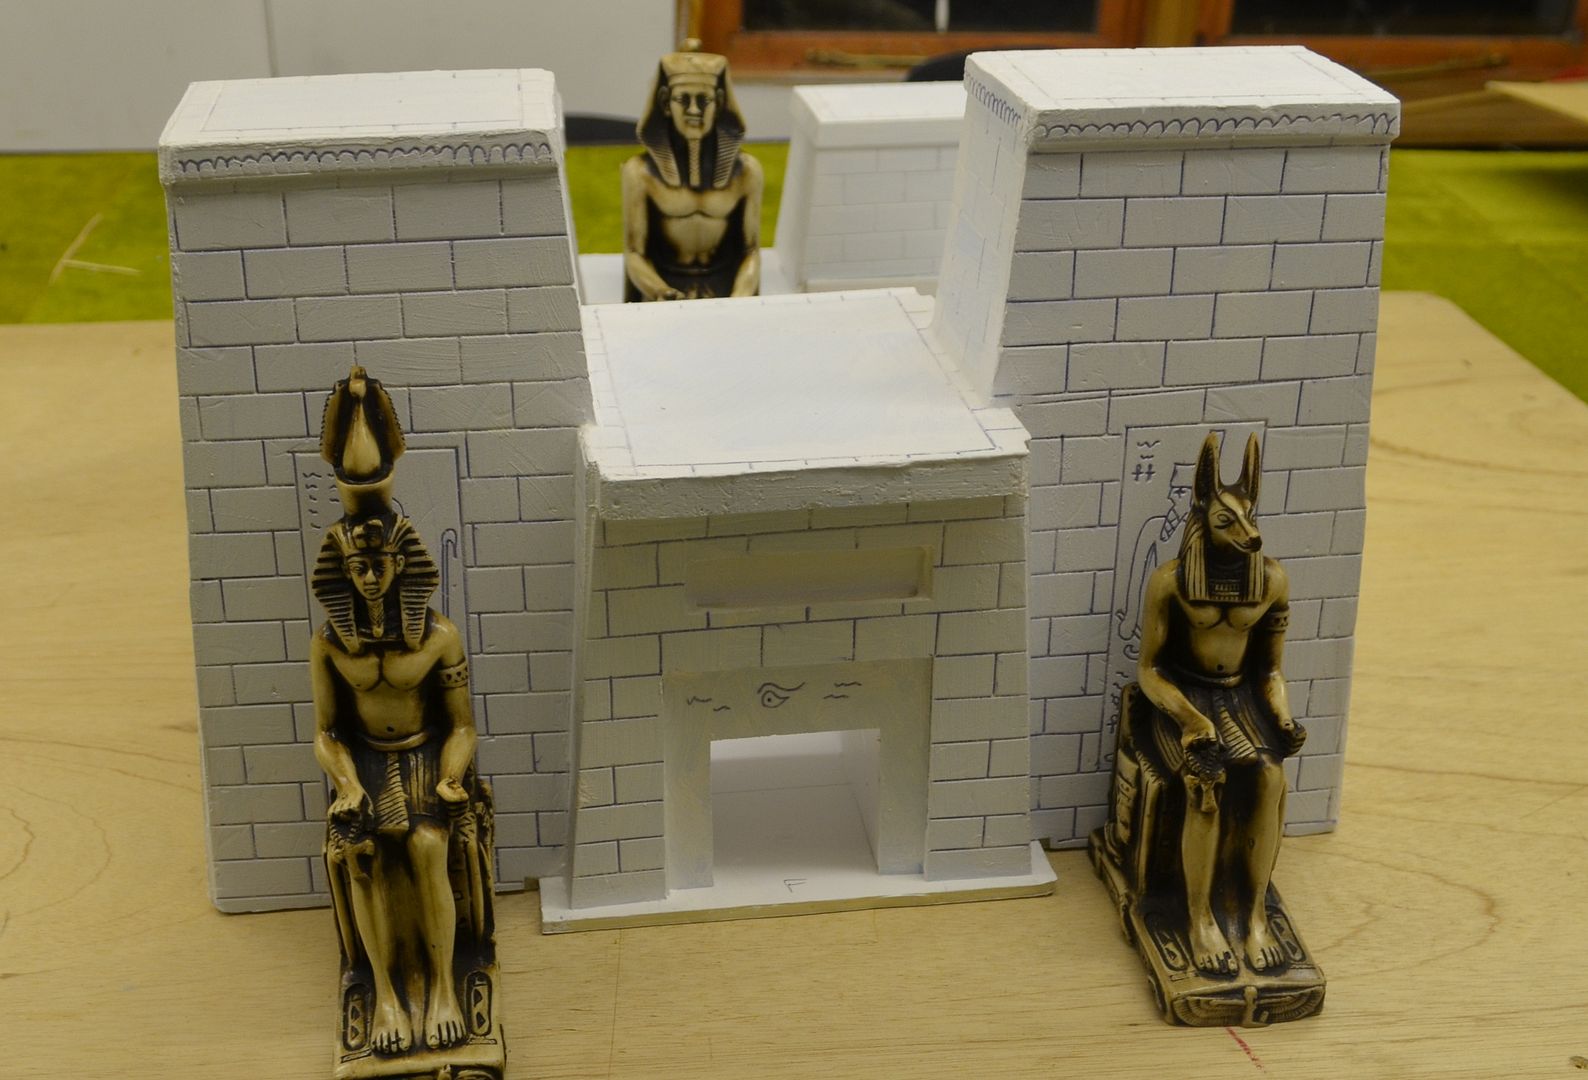
And onto the painting...and as you can see from the picture above and below the temple has taken on various shades of yellows and browns.

Just not happy.


Finding the right colour in acrylic has been a nightmare and in the end I have mixed my own using white, yellow ochre and burnt umber. I just hope I can get the same shade again for the pyramid and statues.

This is a shot with the first coat. I think the colour works really well - not too yellow. Its going to be lighter than this once drybrushed


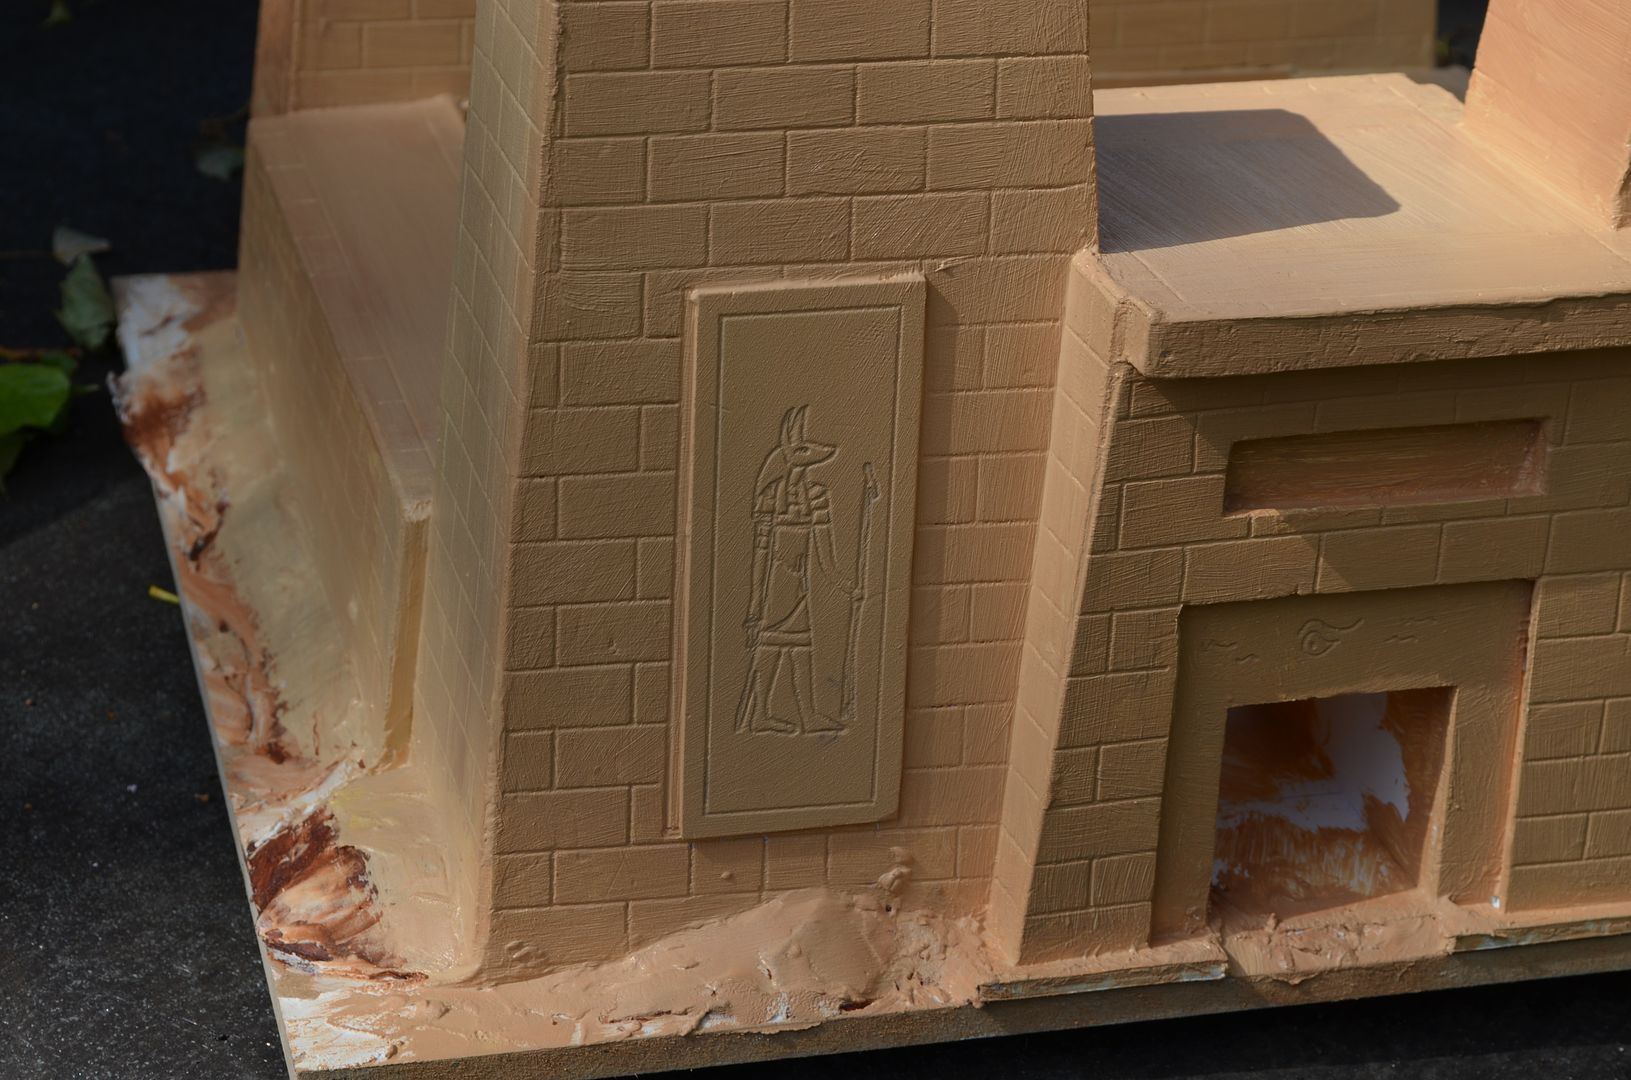
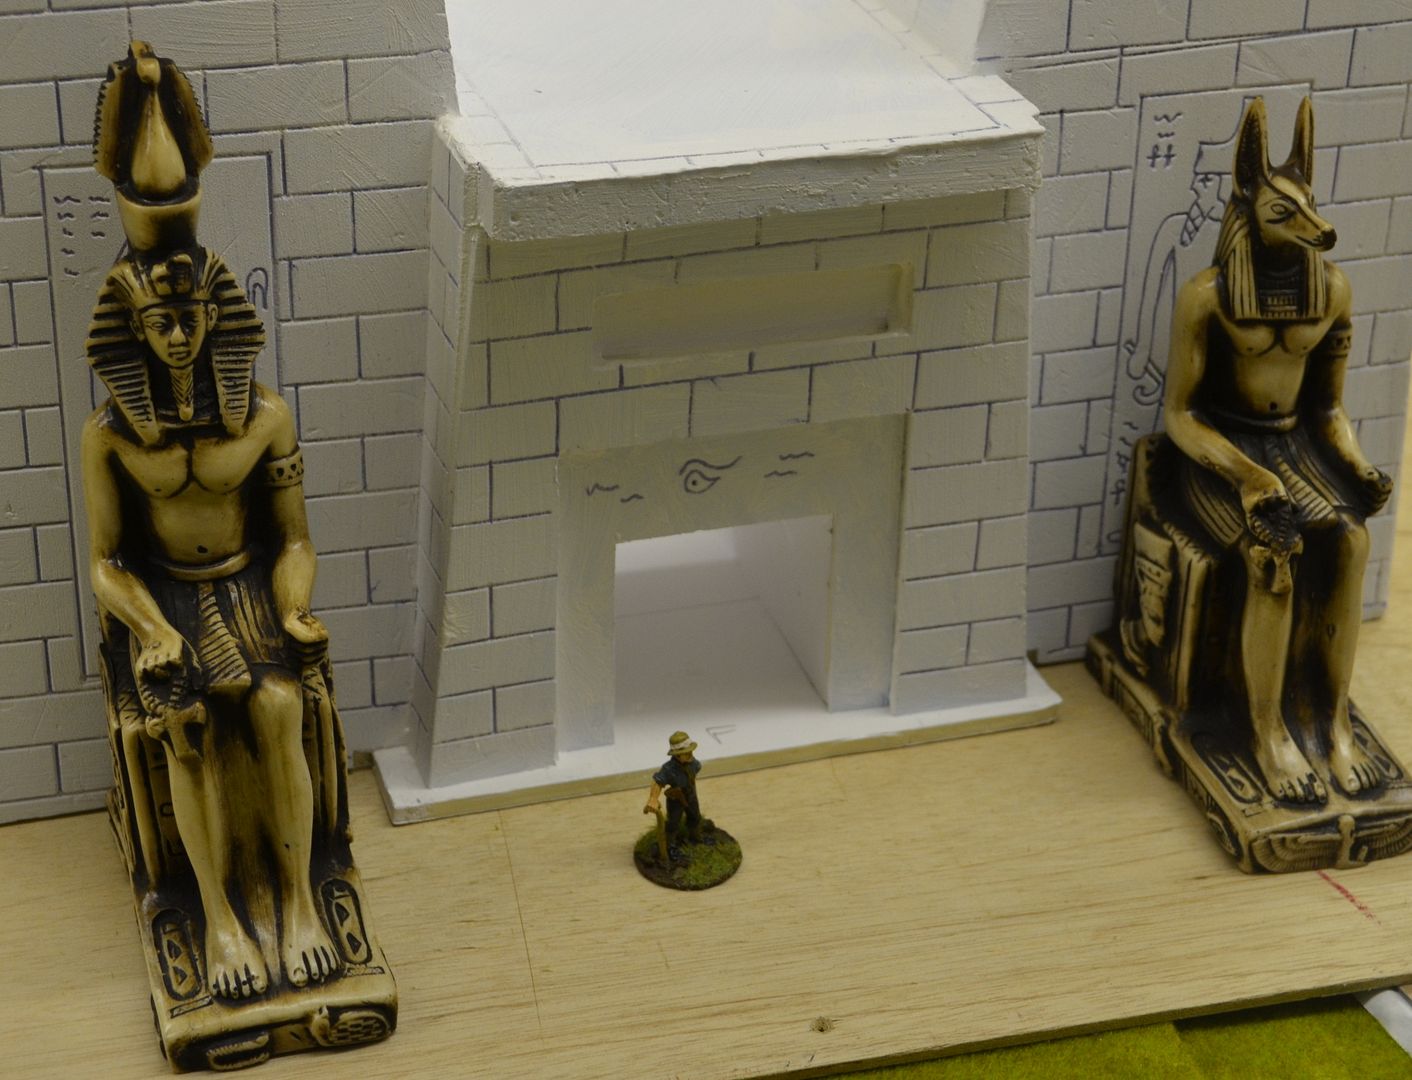
The relief has come out really well and ill use the same technique for the hieroglyphics inside the courtyard

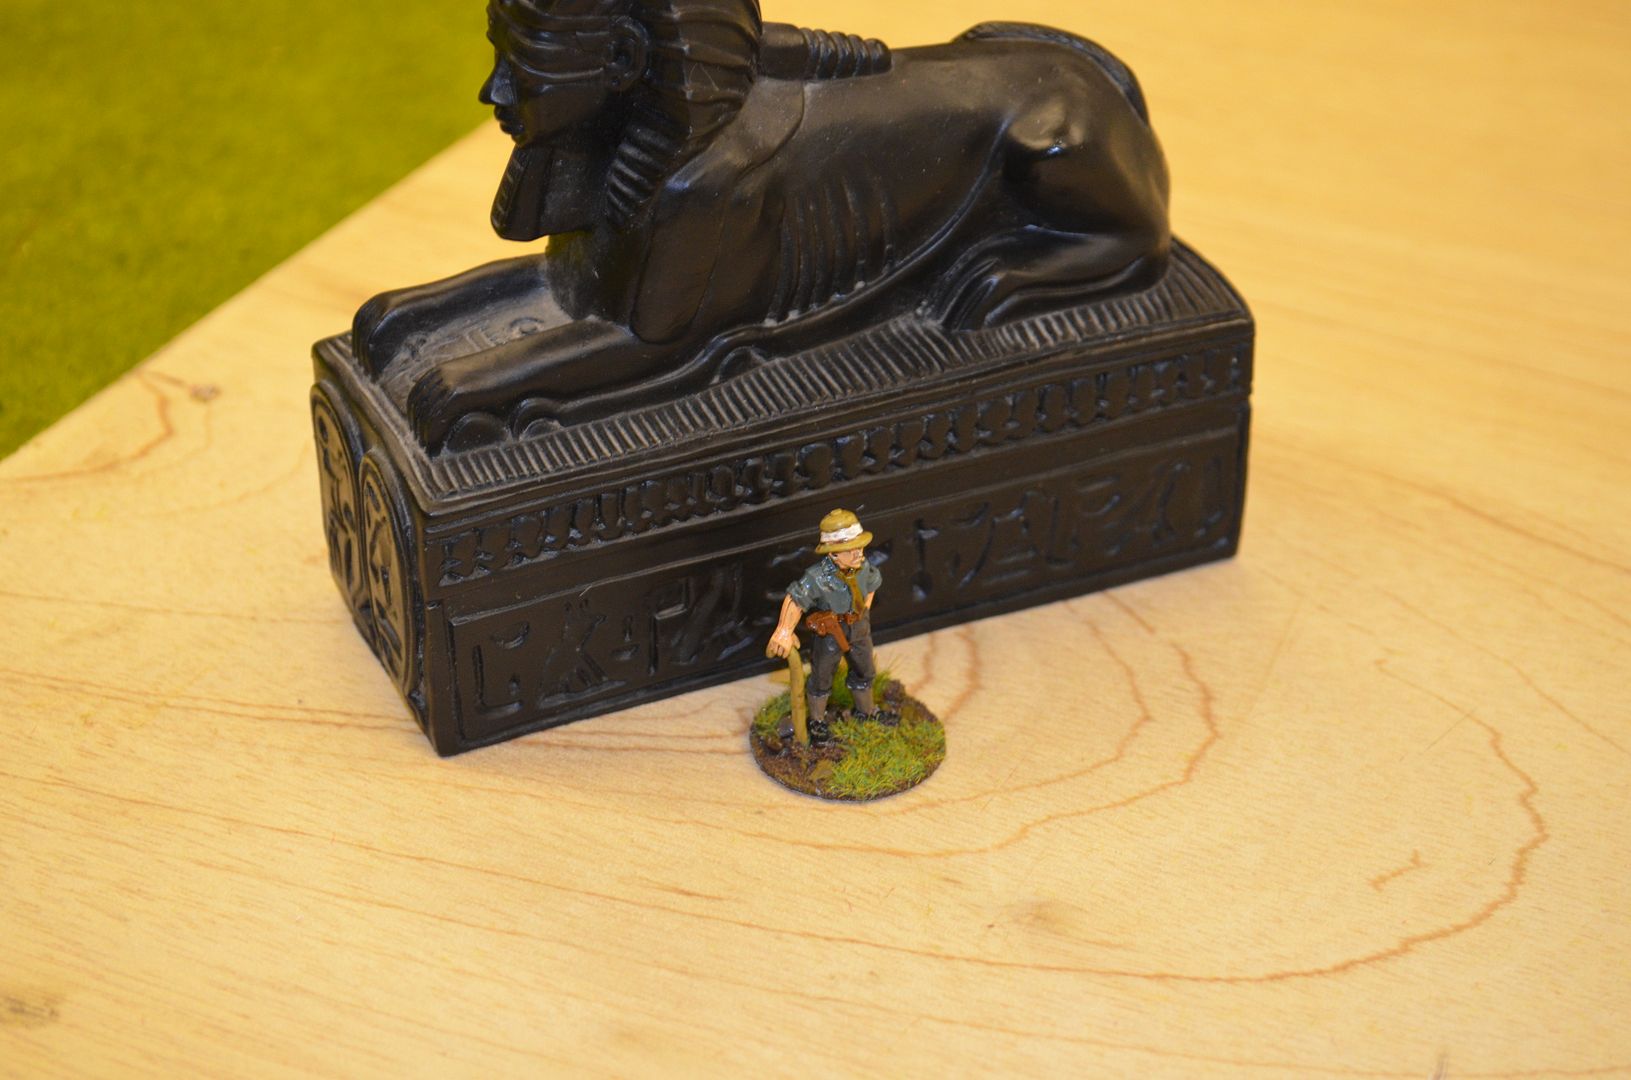
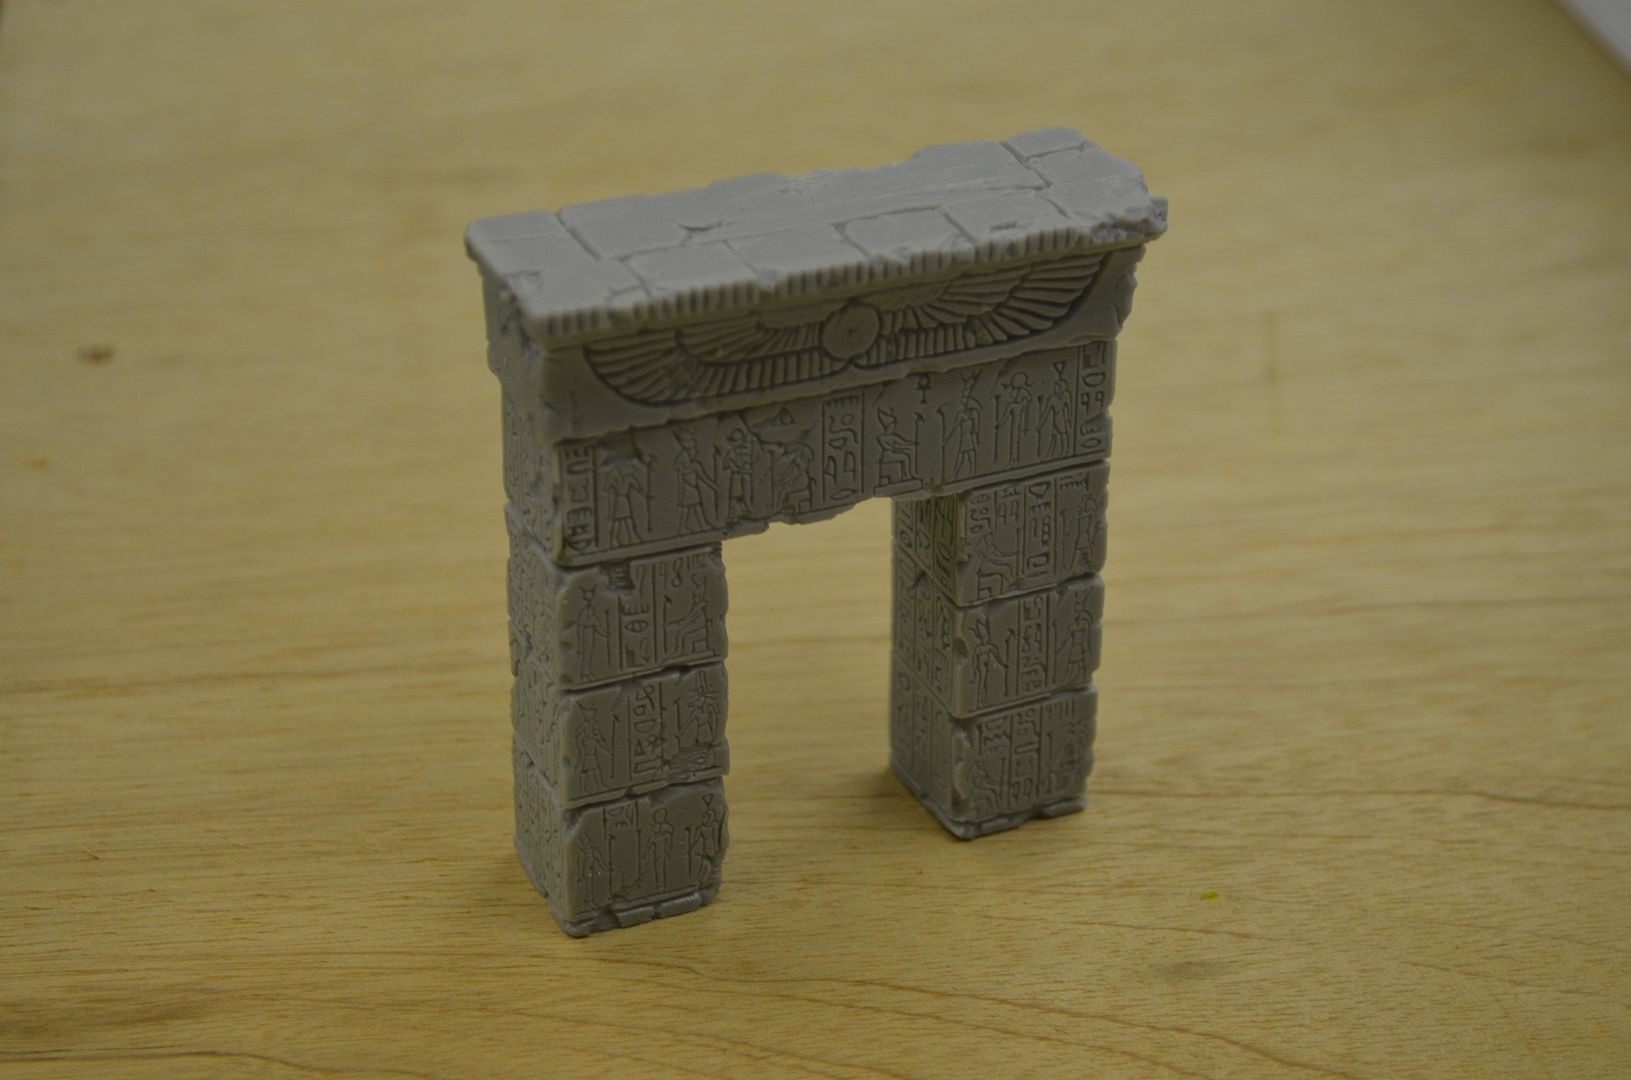
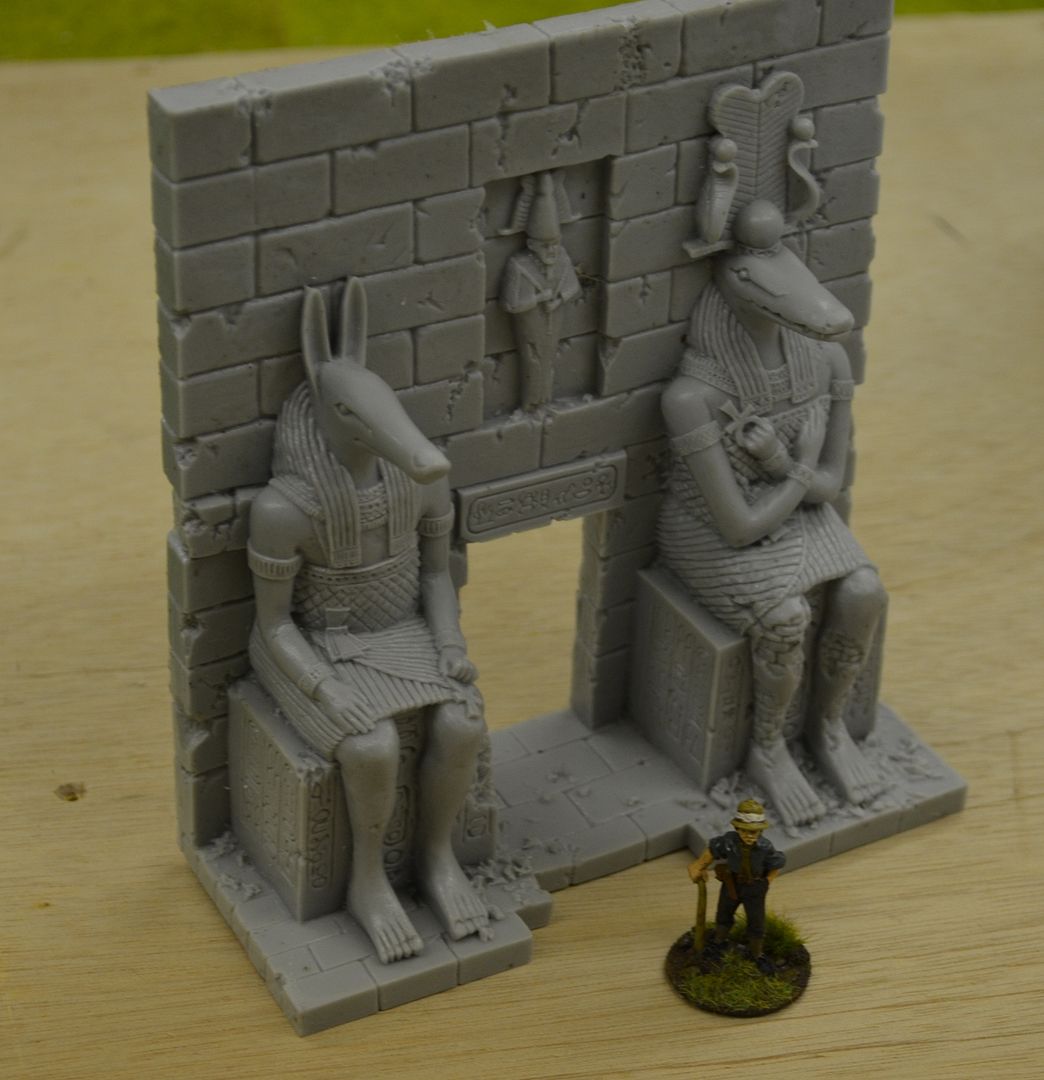
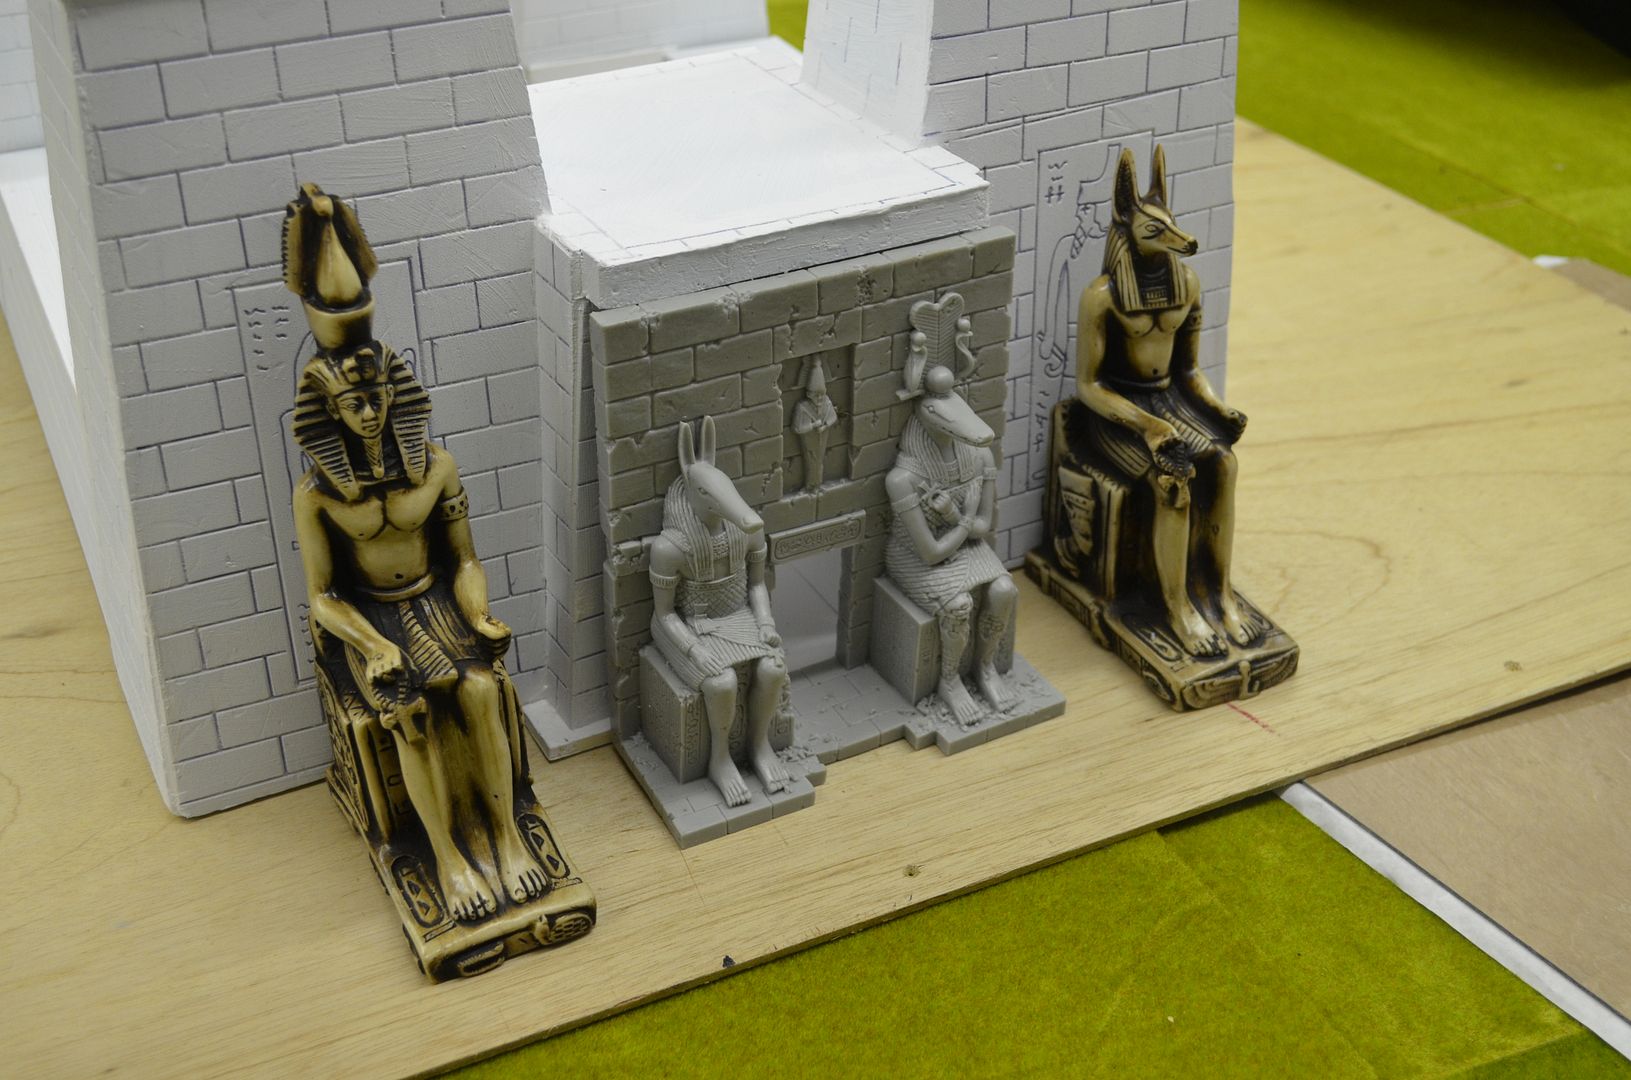
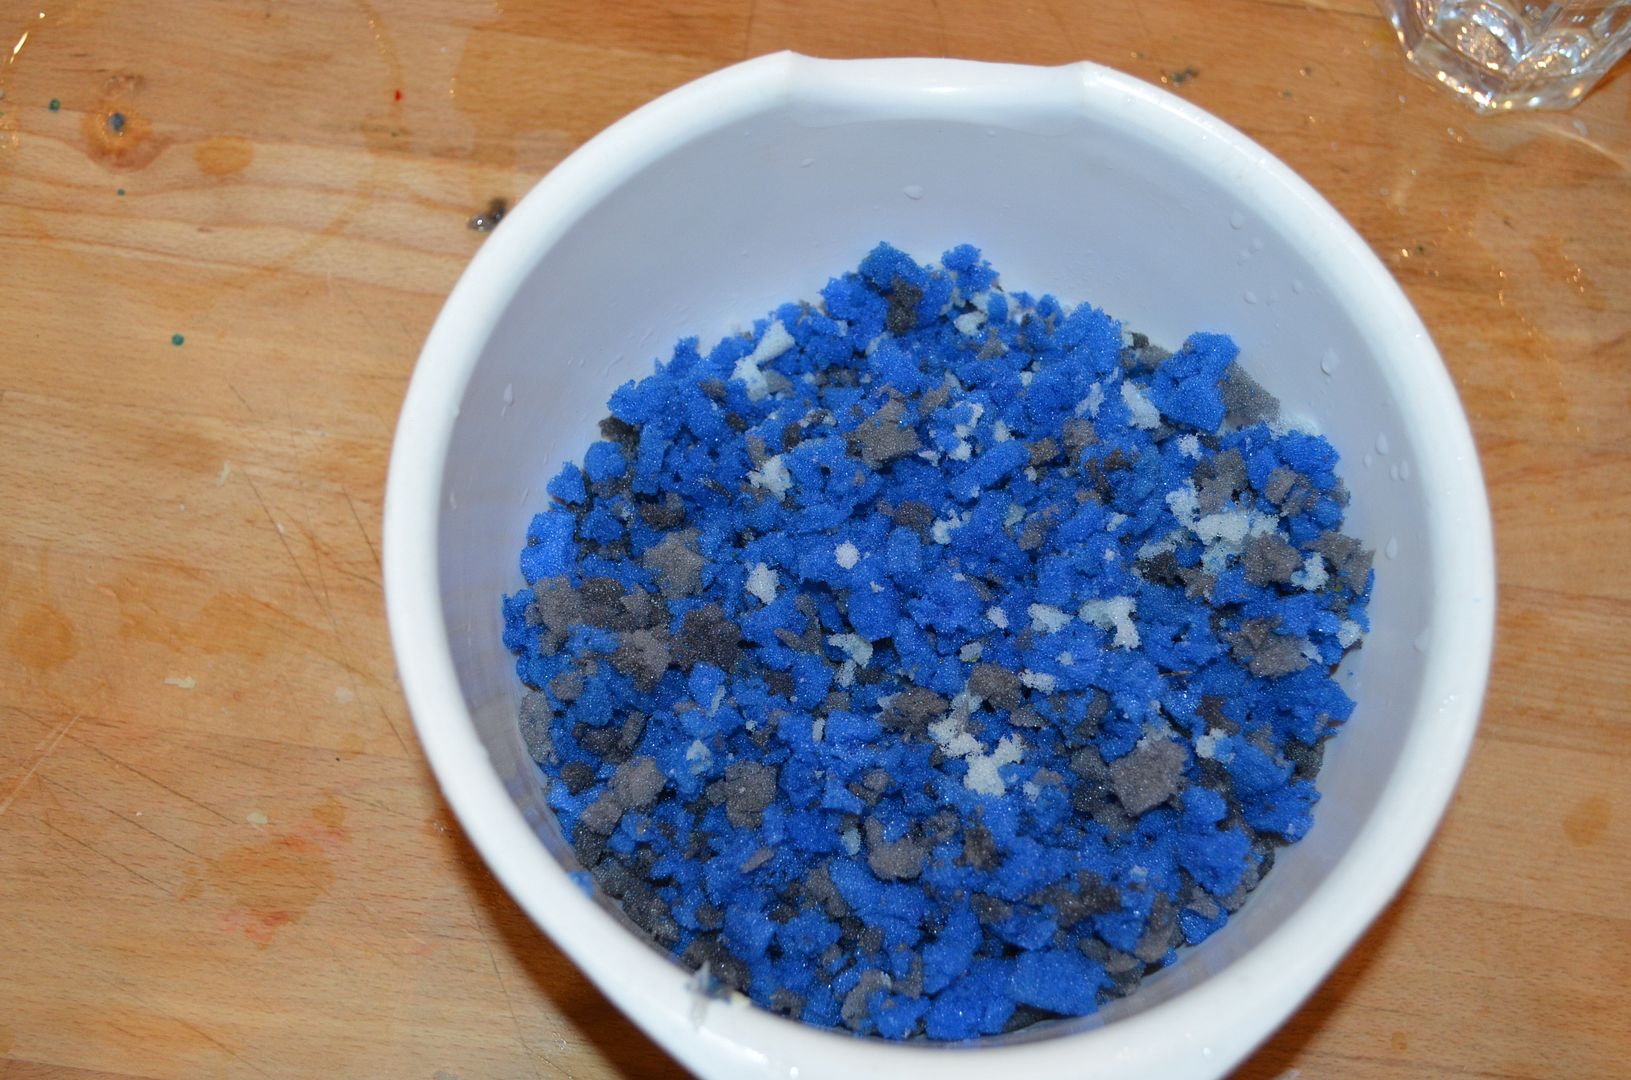
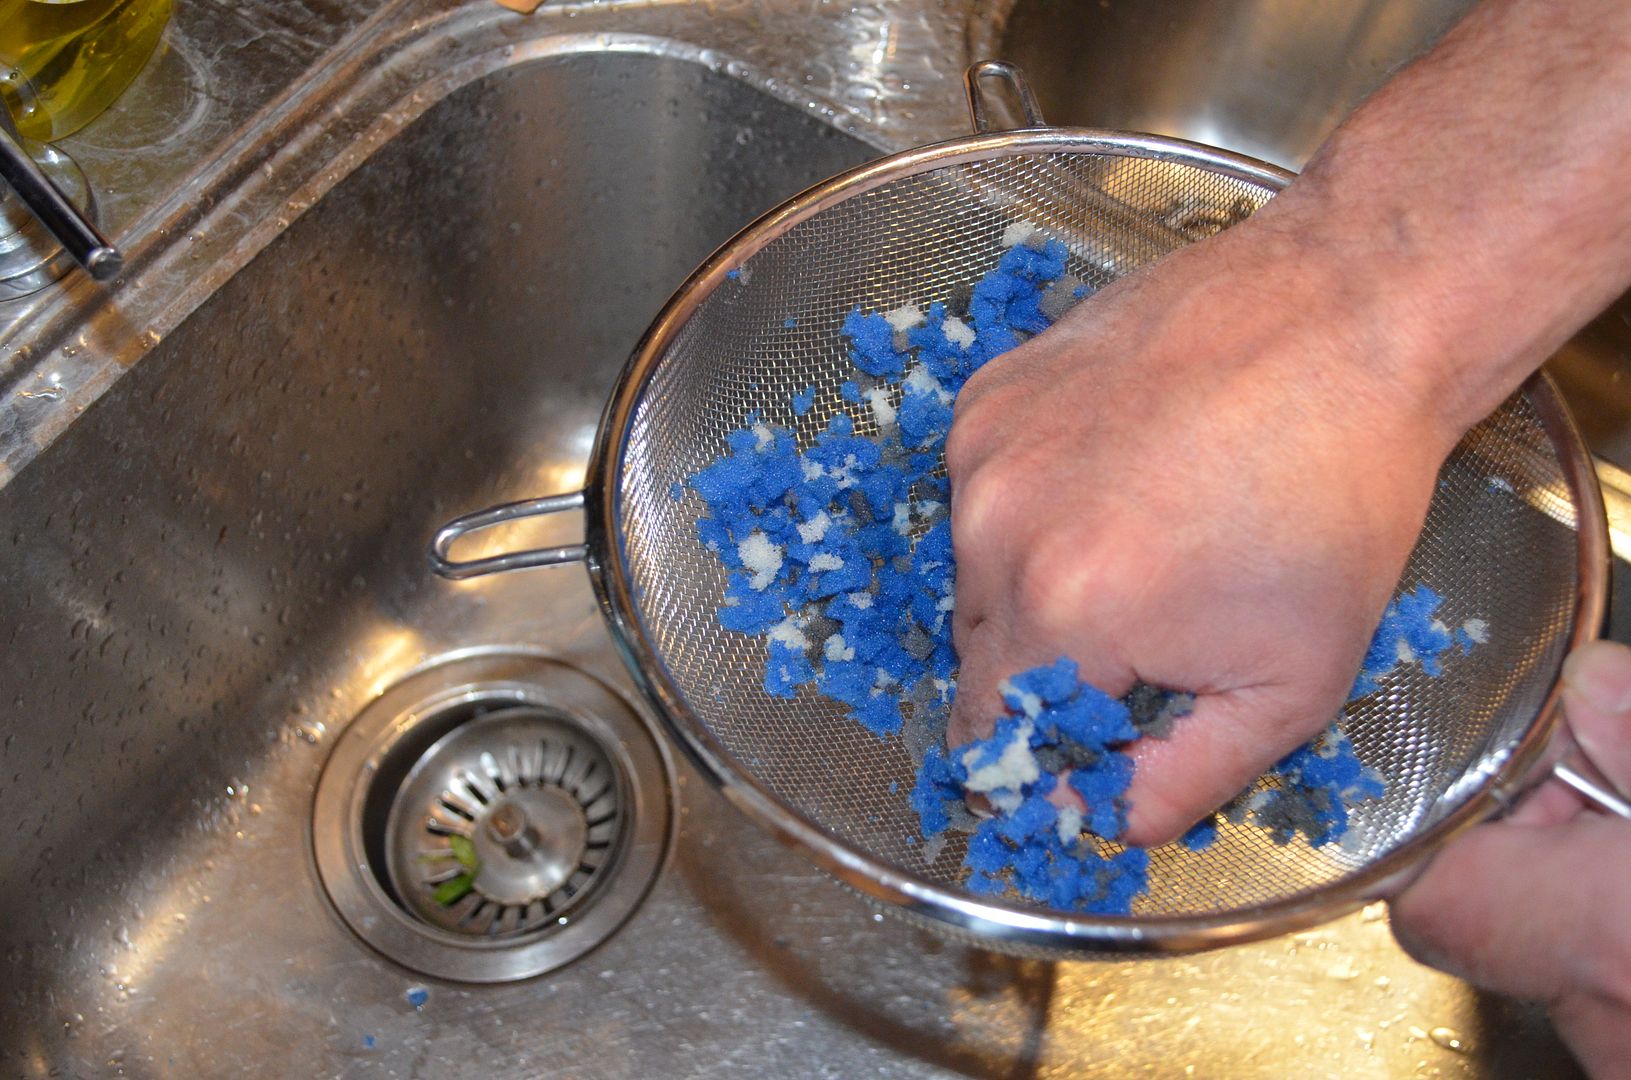
With the sun out I thought it would be a good opportunity to prime all the Egyptian ornaments I have acquired. These have been given a spray using Halfords Grey metal primer - best value and great product on the market. All thanks to the folks on the LAF for this recommendation.


Next job to finish the features on the temple, sand the base edges, and to give it a second coat. Once this is finished it will get some weathering in the foam of drybrushing and inks.

Until next time

Egyptian Adventures - Holidays & The Afrika Korps

Apologies folks for the lack of posts over the last few weeks but even Eric the Shed needs to get some downtime away from the hobby.

For the past three weeks I have been sunnying myself in Portugal and Spain and having a rather splendid time.

Like all holidays we did manage to pick up a few stories worth telling these included the time that my daughter managed to lose her passport on arrival in Portgual  - so off we went on an impromptu 180 mile trip in a hire car resembling a roller skate to the British consulate only to arrive there and receive a call from the Airport to state that the  passport had been handed in...guess what the Airport was in the other direction !!

Message to myself never ever hire the cheapest car (economy) - they are too slow and small. Perfect in fact for same said daughter who will be learning to drive next year.

On the subject of hire cars we managed to avoid using ours for a few days thanks to a very kind and gracious Portuguese local. He decided to park his bloody great big green truck in our villa drive - our cars were in the yard thereby unable to get out.

The local bobbies arrived in their very tight combat trousers and little berets and were more interested to know if my daughter and nephew's had drugs on them...not too sure if they were buying or selling ...such is life


Where did this come from...Dad?


The Gun toting Portuguese coppers in nice blue polo shirts - clearly fans of Guns and Roses 


The offending car finally being towed away - the first tow truck was not big enough


From Portugal we headed off to Spain for a few quiet days in hills above Malaga - discovering that the villa we were staying in had some fishing rods the highlight of my trip was being able to go out every night and cast a few lines. The fish were plenty and so were the terrapins !


Can merely for size comparisons...hiccc


I digress..I rather sneakily packed some lead and paint for the trip and what better than painting up my Afrika Korps in the sun.

Some thirty minis already to confront Indiana Jones !  Combination of Black Tree Design and Artisan figures


More coming very soon

Saturday 9 August 2014

Egyptian Adventures - The Temple Build part 2

What with Sunnying myself in Portugal for the last week and a short break to Spain in the offing I had a couple of days back at home to crack on with the garden AND more importantly some time to crack on with the terrain building.

A few weeks back I started my Temple project but then got waylaid with other things. This afternoon I returned to the project.

If you want to read part 1 head here...

http://shedwars.blogspot.co.uk/2014/07/egyptian-adventures-temple-build-part-1.html

To begin with the whole temple needed cladding in 2mm blue foam...expensive at £5 per sheet

the temple costs around £12 but the results are worth it.


Then the walls etc needed filling. With no filler to hand I ended up using adhesive - the hard as nails type stuff. Works really well if a little messy.


These two jobs took at least 4 hours to complete...but with some good coffee and a bit of music the afternoon ebbed away.

Next up the task of embossing the stone work. I used a rough guide of 1.5cm x 3m long blocks.

The Egyptian bottle opener was for inspiration - the beer for perseverance!

I decided that I wanted some pictures on the front of the temple...sadly my rather crude drawings are slightly comical so these will need to be redone - I'll stick a new panel of foam over the poor pictures.


Next up a coat of white acrylic to prime the bits...when I get back from sp[ain this will get the sand stone treatment


Believe me when I say that the embossing of the blockwork took ages...

As if by magic, actually some rather nifty purchases from ebay turned up this morning and these work really well with the temple

These new statues cover my rather poor drawings well !
The two statues in front cost around £5 each - the bookend inside the temple had already been sourced earlier


Add caption
To give a sense of scale a rather curious 28mm archaeologist surveys the entrance...


This rather nice sphinx was picked up on ebay for 99p plus postage

And finally I received the parcel from Scotia Grendel - see link below

http://www.scotiagrendel.com/Products/index.php?main_page=index&cPath=227_40

These temple and tomb entrances are not cheap but certainly look the business


and by luck the last piece fits inside the temple entrance like a glove


Next up the base and the ground work...

Until next time


Part 3 can now be found here
Part 3


Tuesday 5 August 2014

Sometimes I get it wrong...

Ok Folks...admission to make. Every so often my terrain builds go wrong and I thought I would share with you my latest misfortune so others don't make the same mistake.

everybody these days seems to be raging about teddy bear fur for fields, thatch roofs etc so I thought I would get in on the act.

I headed off to my local fabric store in Kingston and bought a metres worth (just under actually for a couple of quid) - the colour I chose was called honey.

This is half of the purchase about 3ft square


I then headed into Wilkinsons an bought some dye. Green dye to bye precise for £2.99


I got home and soaked the teddy fur in water (as per instructions)...I then mixed up the dye with water and salt in an old bucket.


I then dumped the cloth into the bucket and left for an hour.

Rather stupidly I did not follow all the instructions...I had to stir continuously for an hour. Bugger that for a game of soldiers and with no tiddly peeps on hand to pay to do the hard work I left it to stand.

Result...not much dyeing...as you can see its gone a darker shade but not the green I was hoping for.


Net result....it might have been the fabrics resistance to dye or I should have just stirred !

Until next time

Sunday 3 August 2014

Making your own Clump Foliage...Messy but Fun

Hi Folks

I pictorial tutorial to show you how I made a vast amount of clump foliage for some smoke explosions in the planning phase. Please note I take no responsibility for any damage or mess you make to your kitchens in this process ;-)

The following took less than hour...it was so exciting I roped my daughter into make this wonderful recipe !

Take all those foam inserts from the figure packs you have horded always thinking they have a purpose


Chop with scissors into large irregular pieces


Place the sponge pieces into a mixer with a glass of water (essential)...I bought my mixer on ebay for £5


Whisk up the water and pieces of foam for a minute


Place the pieces from the mixer into a bowl...and carry on


A full bowl !


Strain the water from the sponge over the sink...best to get out as much as you can


Lots of dry pierces of foam


These are the ingredients you will use next...black acrylic paint...green if you want foliage & cheap white liquid pva. Buy this in poundstores


Add dollops of both to the foam...you will need quite a lot


Mix by hand...never realised how many of those bands my daughter wears!


Don't let the mixer touch anything...good thing she is wearing rubber gloves...strongly recommended


Prepare a wooden base covered in cling film...this way the mixture wont stick to the surface


Spread mixture over tray

Bake this in the Sun, warm room etc for about three days


In a future post Ill show how these black clumps will become smoke explosions....

Until next time