Saturday 31 March 2018

New Forces for my Sudan Project part 15

Hi Folks

The Sudan Project is going strong with more forces now making their way to the battlefield - if you want to see the previous post the First Battle head here part 14)


First yp we have some Colonial Reinforcement a - Sikh Brigade all the way from India.

These are all Perry Miniatures


and of course we need some Bengal Lancers (again Perry)


Next up we have some Bashi Bazooks in the employ of the Egyptians - these were given a rather colourful colour scheme - 16 foot and 12 mounted troops (once again they are all Perry)


More soon - including the Nile and the Gunboats

Tuesday 27 March 2018

Battle of Cheriton

So on Monday night Mark, Alastair and myself gathered to fight a re-enactment of the Battle of Cheriton - The English Civil War. The actual battle was fought on the 29th March 1644 so we almost marked the battles 374th anniversary.

more here
https://en.wikipedia.org/wiki/Battle_of_Cheriton

and here
http://www.battlefieldstrust.com/resource-centre/civil-war/battleview.asp?BattleFieldId=11

Before I kick off with the usual orders, history and battle report its worth mentioning for this game I swapped my usual vivid green battle coloured boards for a rather muted and touch sensitive teddy bear fleecy blanket from Dunelm. In fact there are two on the table. These cost £20 each and I can highly recommend them...

link here
Dunelm Moss Green Throw


First up these cloths are a great colour( i will be experimenting with some spray paints in near future) and secondly you can place hills under them. They also provide a nice cushion for the figures to fall into if dropped.

They do NOT however aid dice throwing and trays become an absolute must

Back to the battle....

Cheriton is a small village near Petersfield in Hampshire which is incidentally very close to where my brother lives...and in March 1644 the two forces oif the English Civil War came together for a rather large engagement. Significantly the parliamentarian forces were much greater in number but perhaps the quality of command and the number of elite units lay with the Royalist cause.

Our Army lists and battlefield deployments all came from the rather excellent Pike & Shotte supplement to Kill a King - if you haven't got a copy yet do so as this really is a supplement worth having.


Basically the Parliamentarians get lots of troops but only four leaders (3 battalia commanders and one general) All had the standard 8+ command roll bar Haselrigg on the Parliamentarian left flank - he gets a seven rating (bad). By contrast the Royalist cause gets about 25% less troops and twice as many commanders. In effect they will end up dictating the choice of commands and where the battle is going to be fought...or so we thought.

Mark & Alastair would command the Kings forces whilst I would lead the cause of Parliament


The battle is fought in a valley with a wood at one end and the small village at the other. This valley is traversed by a hedge lined lane. Given we like to play our games in a single sitting the terrain, deployment etc was all set up in advance. Breakdown and clearing up will happen some time later this week


With the forces arrayed the battle kicked off...

Royalists to the left and Parliament on the right


The Kings forces decided that we would go for an all out assault across the table - they would try to seize the town and the woods and confront the numerically stronger Rebel forces in the centre - it was a brave plan


Parliament had other ideas - they would try to sieze the lane fist and refuse their flanks not wisjhing to get embroiled in action on the flanks


With the stage set the Parliamentary forces advanced on the lane - their right flankk under the useless Haselrigg refused to move


Parliament quickly captured the defensive ground in the centre and began to pour fire into the Royalist infantry


Parliamentarian cavalry under Haselrigg finally moved to protect the lane outside the village


By now the Royalists were forcing their way through the lightly defended Cheriton Woods


Sensing that the Cavaliers might come pouring out of the woods the Rebel Right Wing Horse  steeled themselves


The centre was proving too tough - several Royalist units were taking a battering and under heavy fire withdrew from the range of the muskets


Seeing that the Kings forces were having more success on their left wing (village) they moved up their cavalry in a flanking attack on the left end of the parliamentarian line - the infantry held on against the Cavalier charge


Across the centre the Royalist forces could do nothing - the weight of guns and artillery proving too strong


In Cheriton Woods things were grinding to a halt with little progress


Over on the right a cavalry melee ensured with both battalias coming close to break


It was at this point the Royalists conceded the a game - they had lost two battalias  (both Horse) and their infantry had suffered a pounding. Although the village now lay in Royalist hands the Parliamentarian forces had won the day.

A combination of larger forces in a defensive position coupled with some lucky dice rolls had secured their victory

A great game - more soon from the Shed

Tuesday 13 March 2018

Sharpe's Hazard


"Major Hogan, please tell Mister Sharpe what he can do for us next" instructed the Commander of his Britannic Majesties Army in the Peninsular

The portly exploratory officer turned to the tall green clad man in front of him. Both men carried no signals of rank but the very fact that they were standing in the Generals office clearly stood then in high regard.

"Richard my dear boy" opened Hogan "your successful attempts to retrieve the orders of battle from Marshal Soult has given us valuable insight into the Frenchman's plans and for that we are extremely grateful. However these plans have revealed an option to the French we had not considered. There is a bridge not far from Rosalejo that could prove a vantage to their forces in the their approach to our defences.

Tonight you and your chosen men will go to this bridge and blow it up!"

Sharpe looked at Hogan "is the bridge guarded sir?"

"As far as we know there is a small sentry detail but nothing you and your men can't resolve with a bit of daring do" responded the exploring officer " oh...and Richarde whilst you are out on your troubles watch out for certain French Agent - Monsieur Ducos. A rather nasty piece of work that seems to be one of the Emperors favourites down here in Spain..."

If you are interested in the first part of the Shed's adventures of Sharpe and his chosen men head here

Sharpes Pursuit


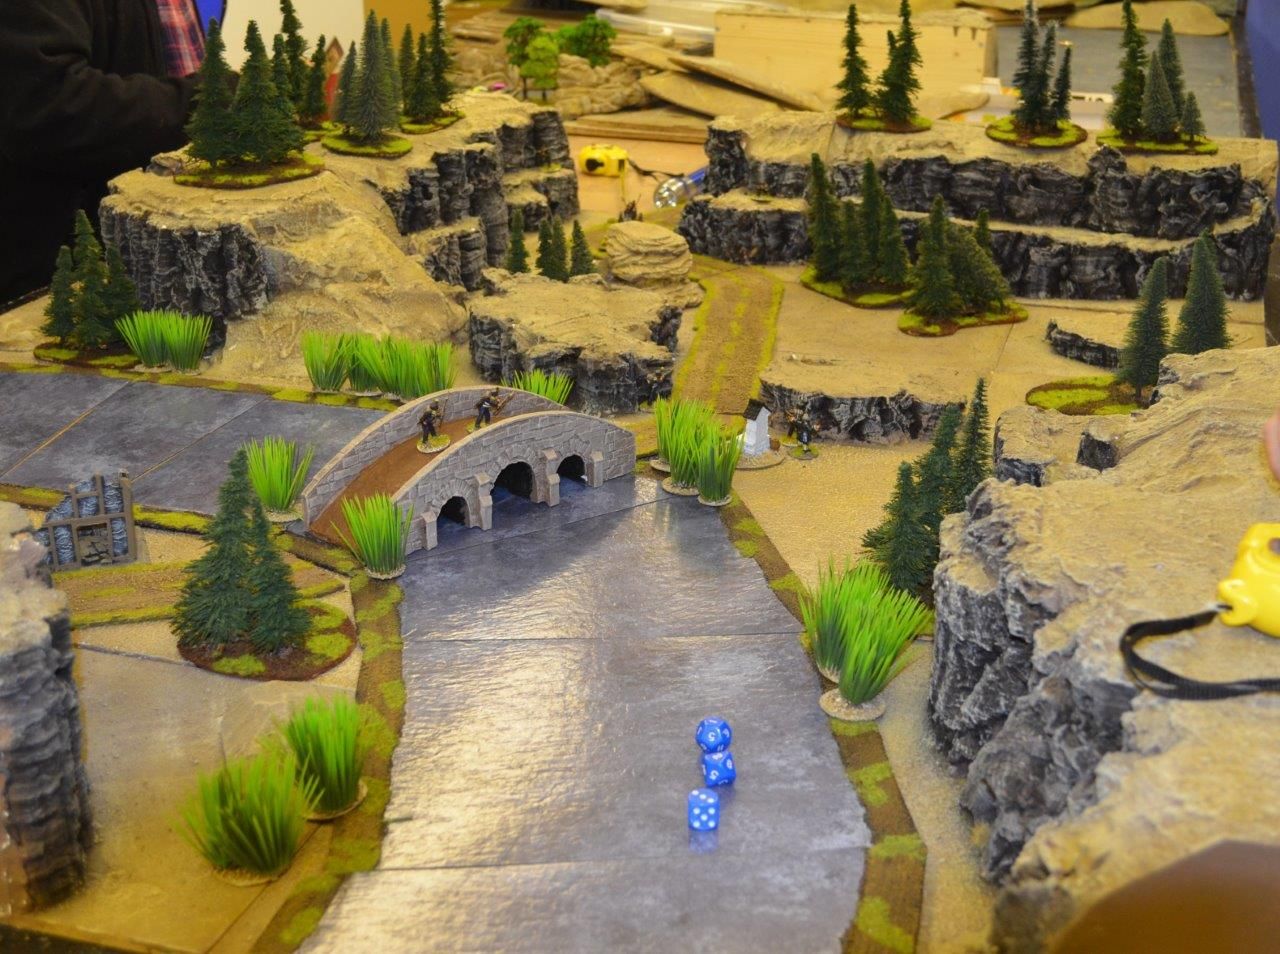
As the intro explains Sharpe and his chosen men have been tasked with blowing up a certain bridge near the village of Rosalejo.


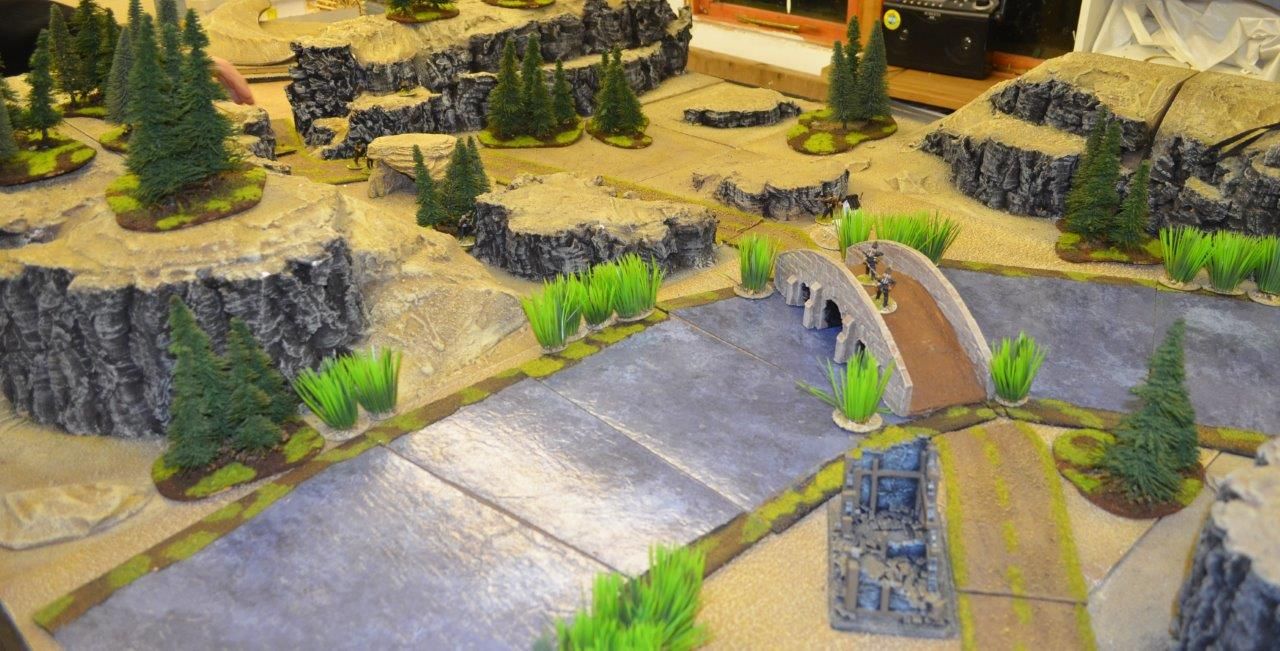
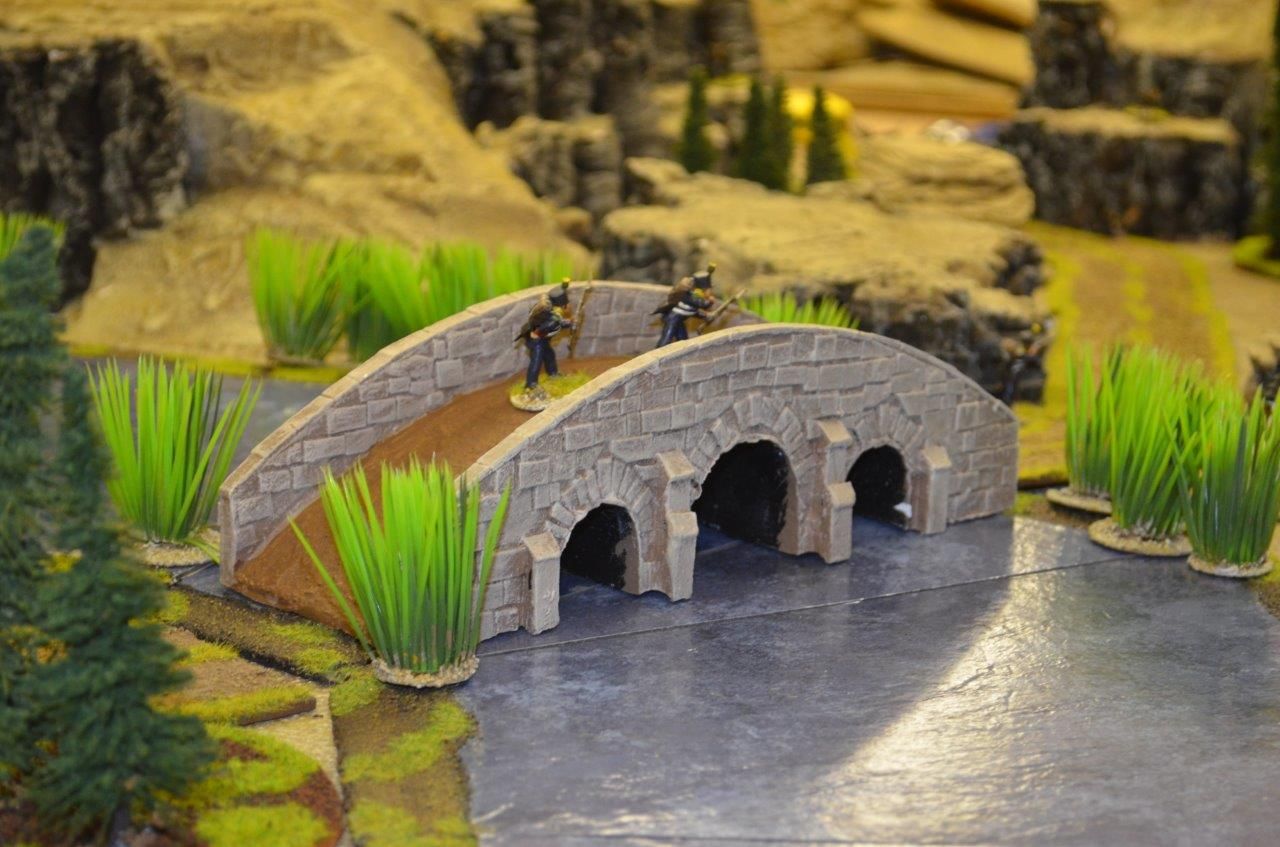
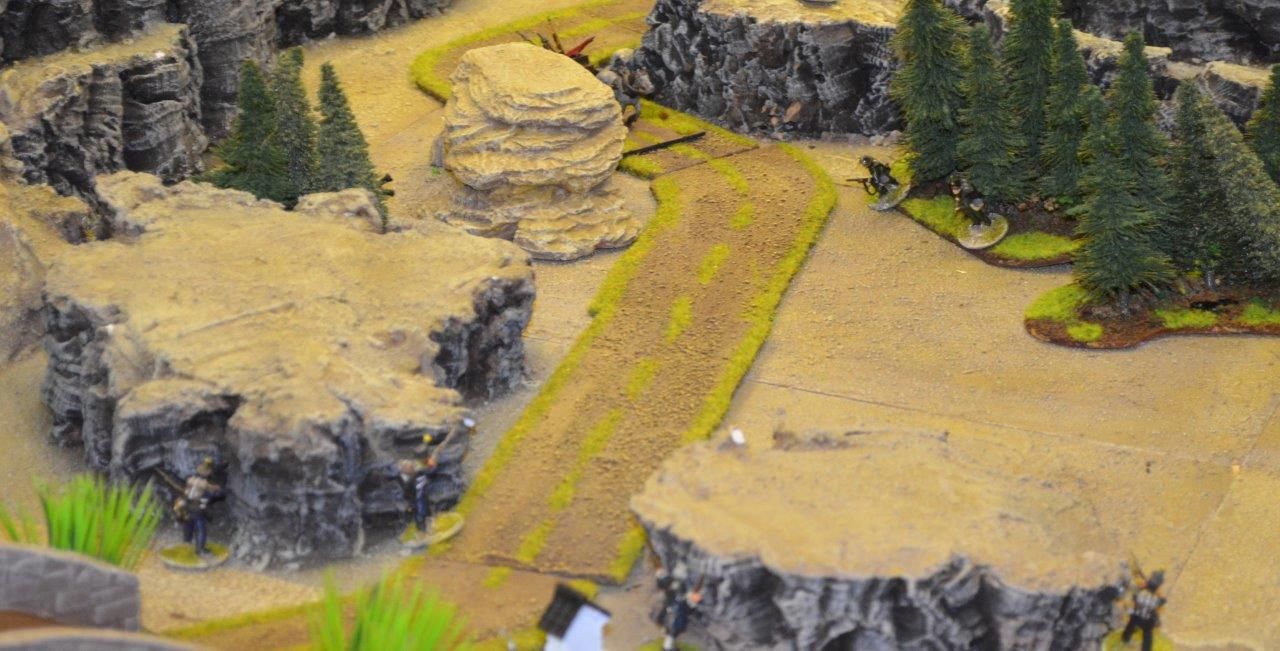
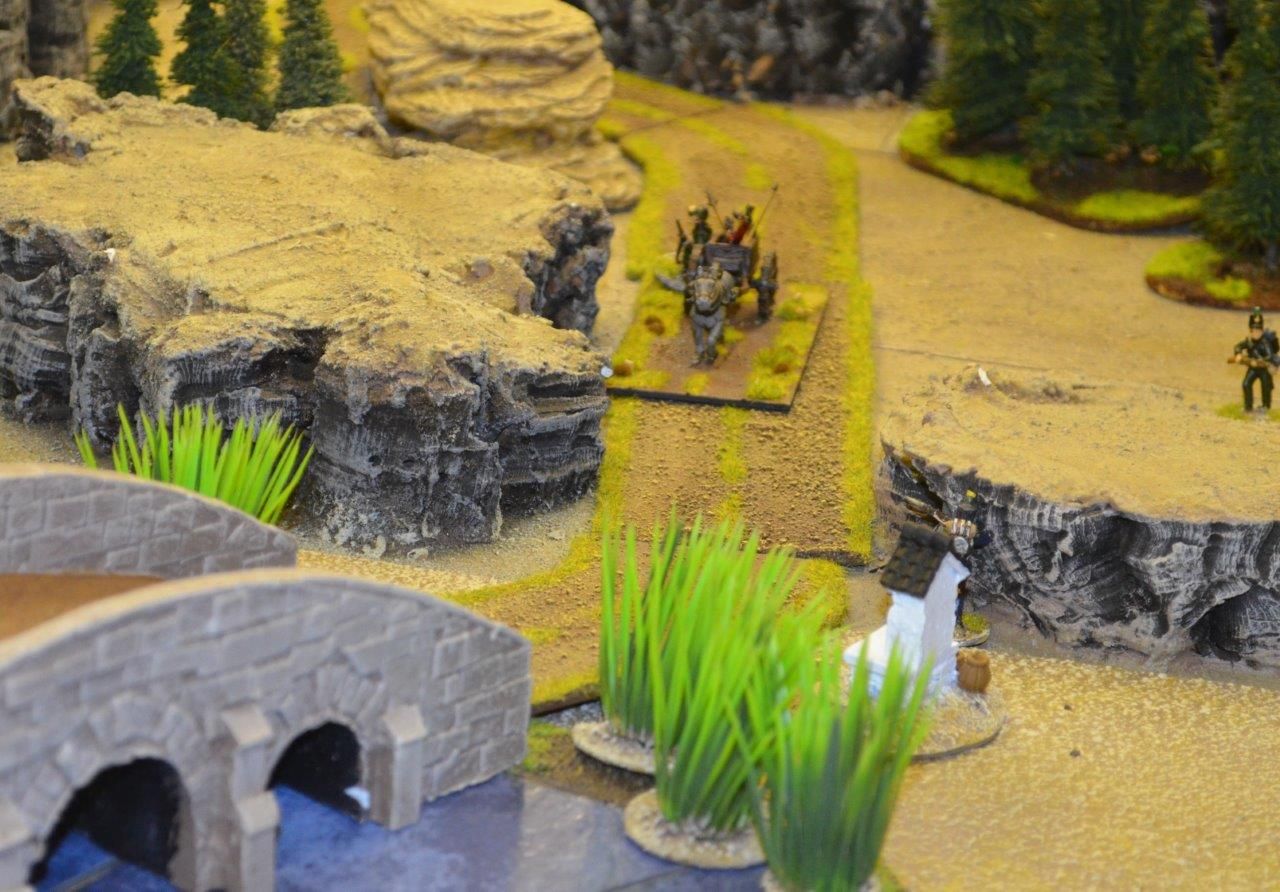
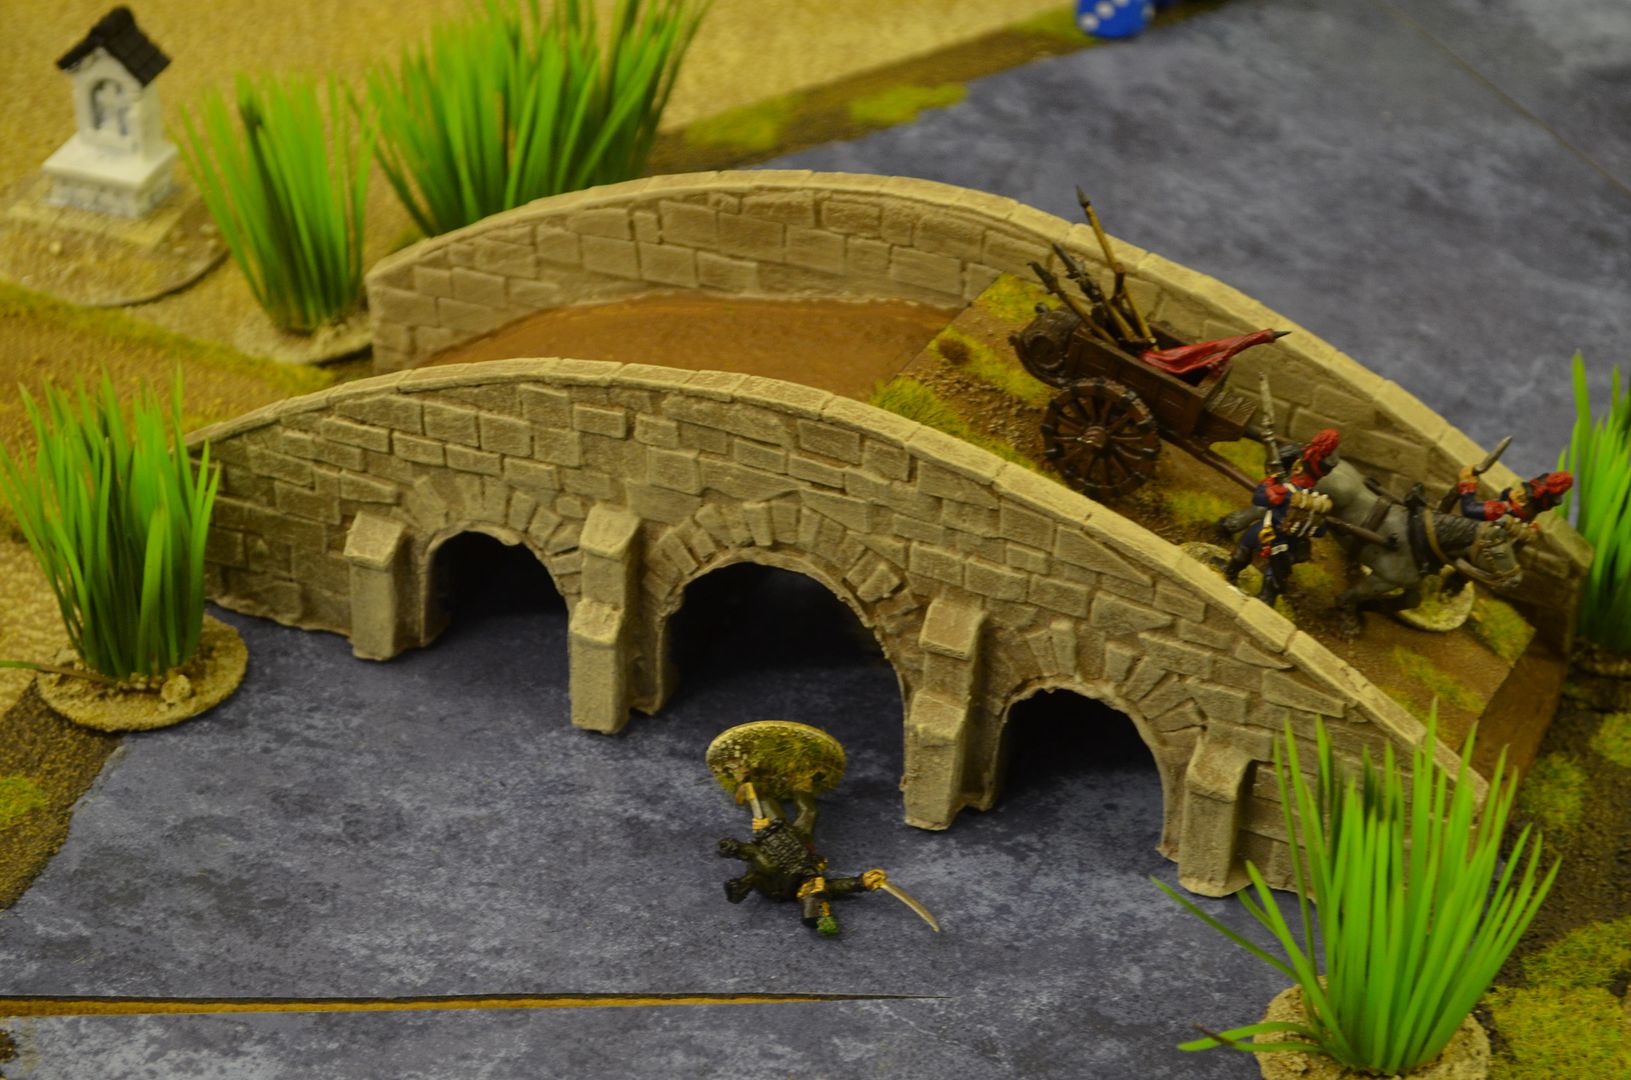
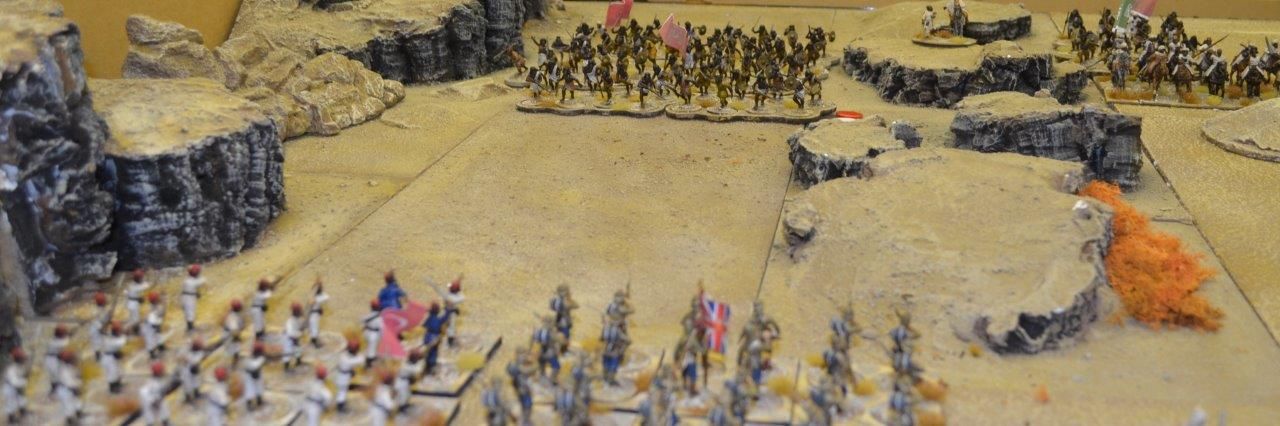
The table 4 x 4 has been set up using my desert boards to create the canyon - this river runs through this with of course the target bridge. A simple track bisects the landscape.

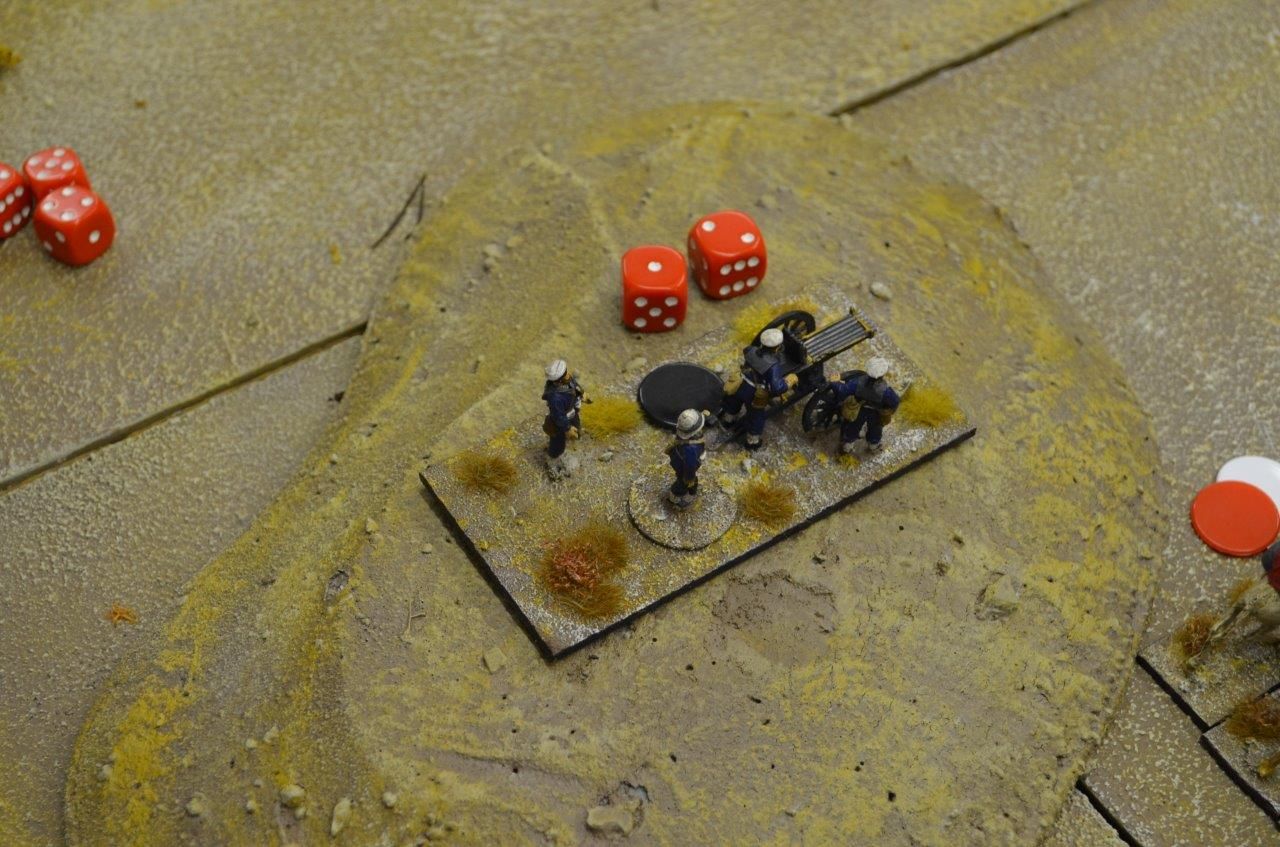
Not surprisingly the bridge is guarded by 5 regular French Soldiers and is being inspected by Monsiour Ducos.

Monsieur Ducos is also an extraordinary chap so he gets some talents and rolls a d12. Furthermore he is armed with two pistols. Sadly my figure does not look like the TV character (yet)


The French will be reinforced during the game with three foot troops and three mounted dragoons. We diced at the beginning of the game and these would arrive turn 6.

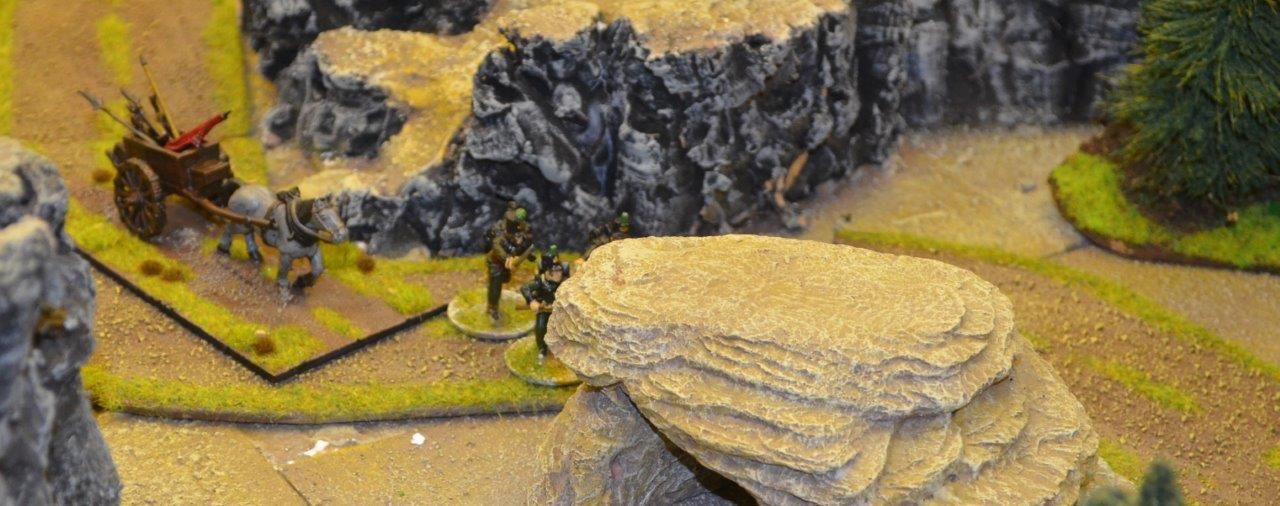
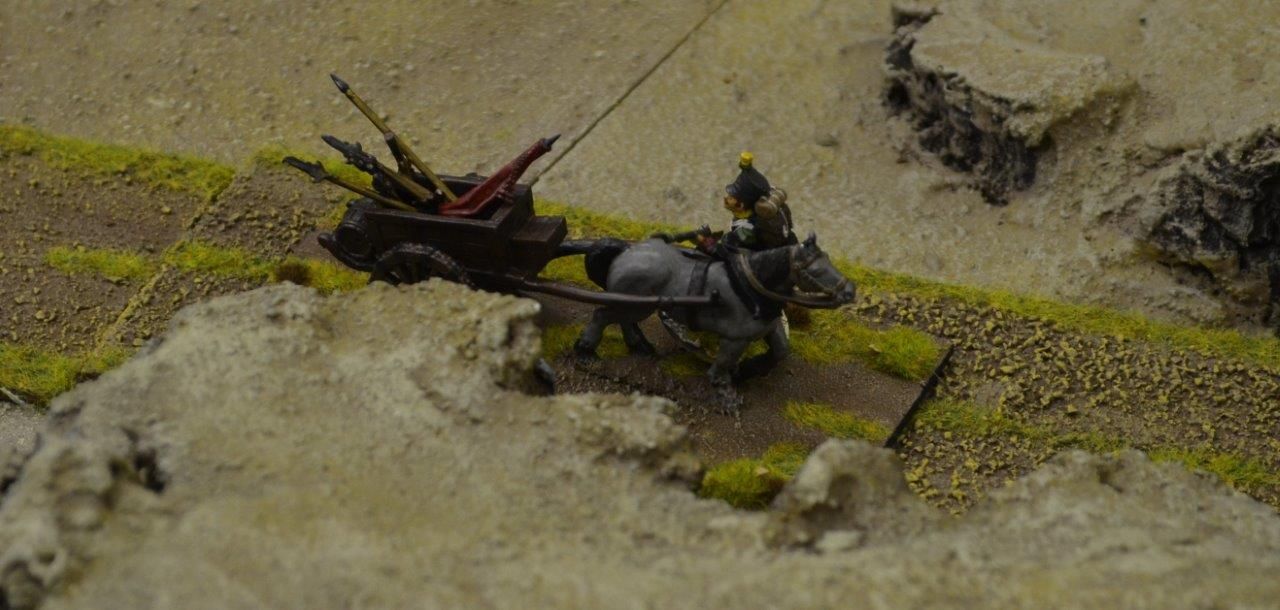
The Cart (driven by a local peasant - a legitimate target for the French) would enter the board and be driven onto the bridge. The cart's contents would then be ignited by fuse and subsequently blown up. The fuse would take 0-5 turns to fire its contents (during which time the cart could be moved/or the fuse extinguished) The cart can be shot at (+2 to hit) and any hit has a 1/10 chance to ignite the contents. Anyone or thing within 6" of the exploding cart is toast.

Mark would play the French, Alastair the Greenjackets and I was coordinating, being the umpire, making it up as I went along and making the tea.


So as the evening was setting the French sentries were feeling quite relaxed and relieved they had had a quiet day....


All of a sudden they could here the incessant squeak of a badly oiled cart trundling up the valley towards the bridge...Merde they cried dismayed that their light supper of mussels and frogs legs was about to be delayed


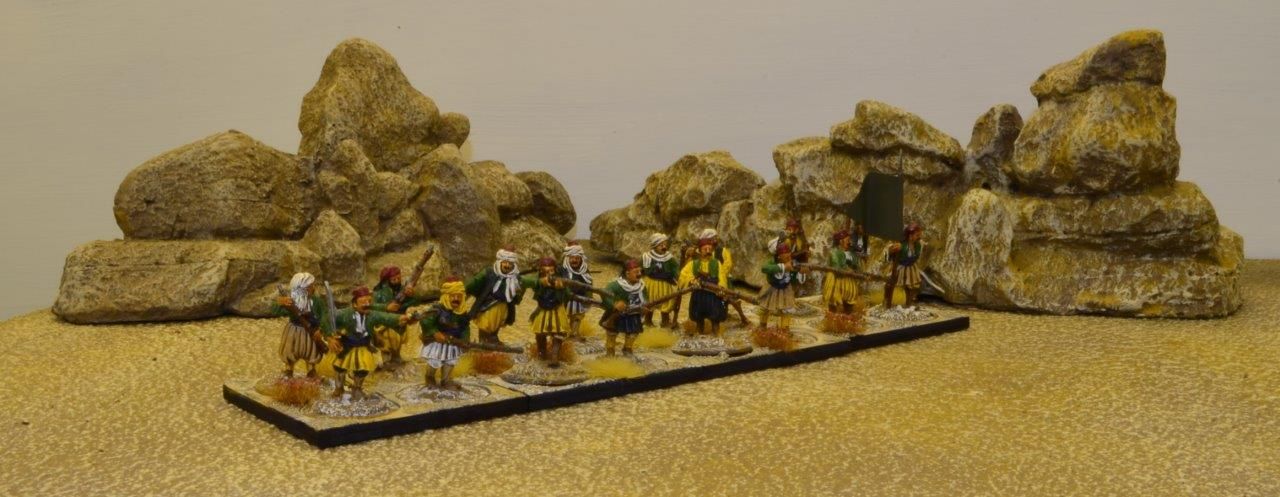
Under the guidance of Monsieur Ducos (why he was in the valley nobody knows) the French soldiers quickly took up their positions. 


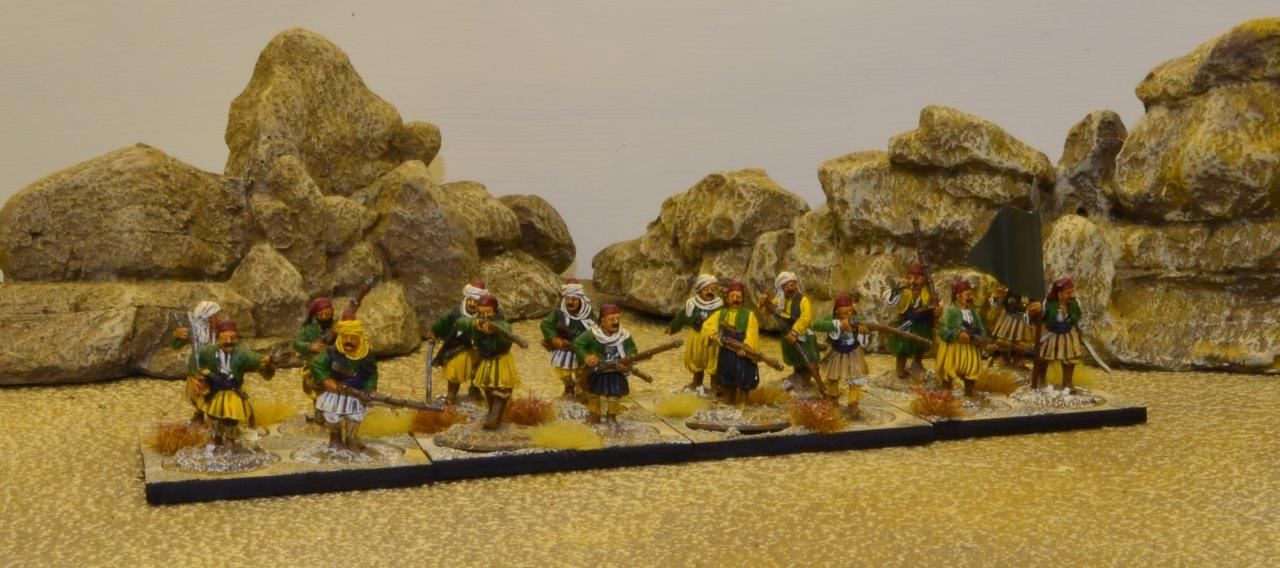
The riflemen quickly scattered and started to take advantage of their longer range rifles - the first Frenchmen (a native of Normandy we decided) were dropped quite quickly. Daniel Hagman bagging his first of many kills on that warm evening


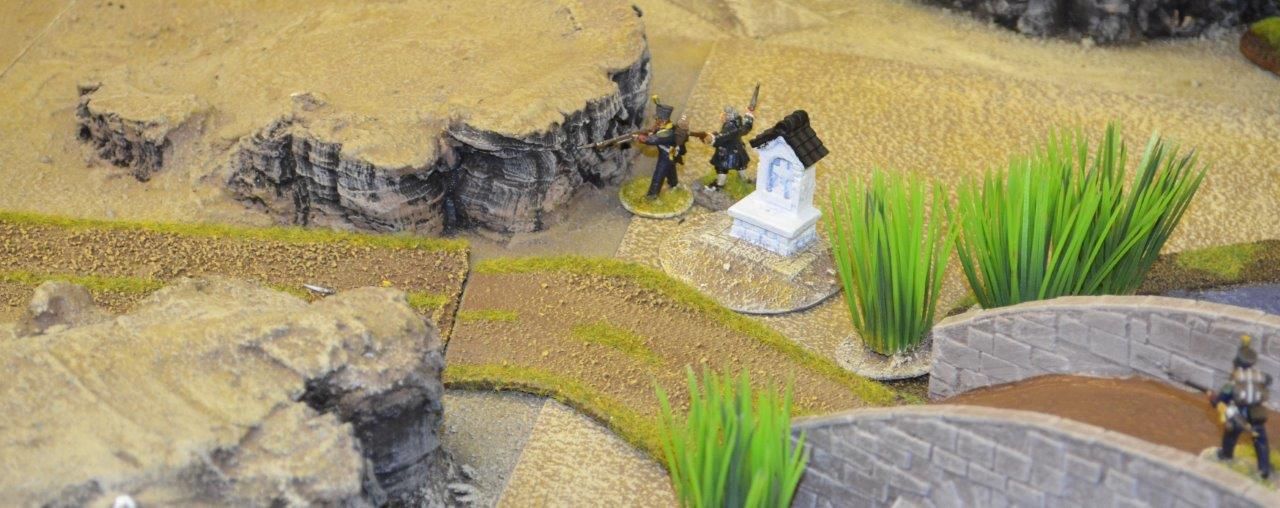
Realising their predicament was quite bad Ducos instructed one of his troops to hide behind the small Shrine next to the bridge - didn't do him much good as he caught a lead bullet in his head a couple of turns later.


By now Sharpe and Harper had moved forward and were closing on the bridge - Sharpe had already run through one poor french soldier with his heavy blade and Harper's seven barreled monstrosity had yet to be fired in anger.

Harper was poised to take the bridge (sorry no pics as Camera was forgotten) - Ducos put on a stiff lip and charged forward firing hone of his flintlocks into Harper's general direction.This moment of sheer french insanity was enough for Harper to fumble in the ensuing combat. The French spies bullet hit the Irishmen's thick skull and Harper for the second time in as many weeks hit the dirt out cold.

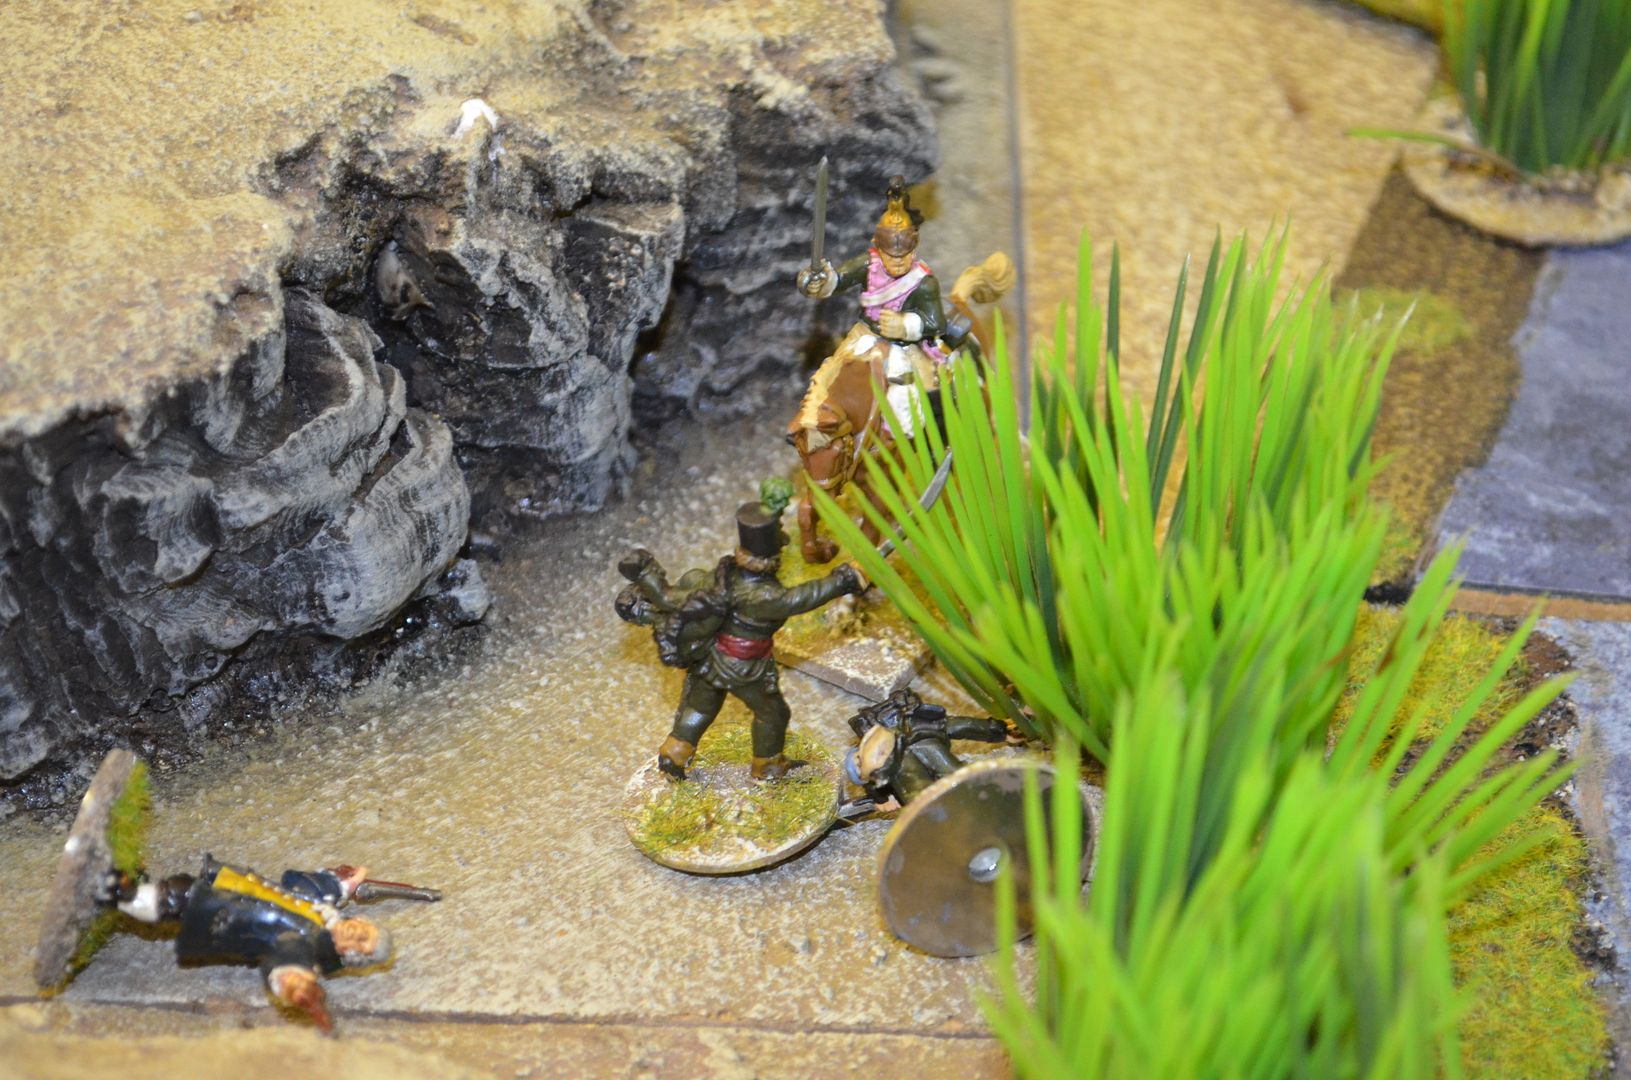
Realising that his soon to be arch enemy Richard Sharpe was just round the corner Ducos grabbed the initiative in the next turn and managed to charge Sharpe (so much for his cowardly trait) - A bitter struggle erupted and Sharpe was driven back wounded by the sneaky Parisian....

Was Sharpe to be denied his victory...NO ! Alastair played an Ace using this a Queen to not only shake off his wound but also allow him to lunge back at Ducos. With a savage glint in his eye Sharpe thrust his heavy cavalry blade into the bemused Frenchman. Sharpe has dismissed his foe

(later Ducos's body could not be found and the British suspect he feigned his death to ensure he could escape)


With the majority of the French sentries out the way Giuseppe the cart driver moved forward. Sadly this was his last action as a rather sneaky Frenchman ran up and ran him through with a bayonet.


This Frenchman's victory was short lived as Hagman potted his second of the day - the wise old poacher had found a nice spot covering the bridge in the rocks


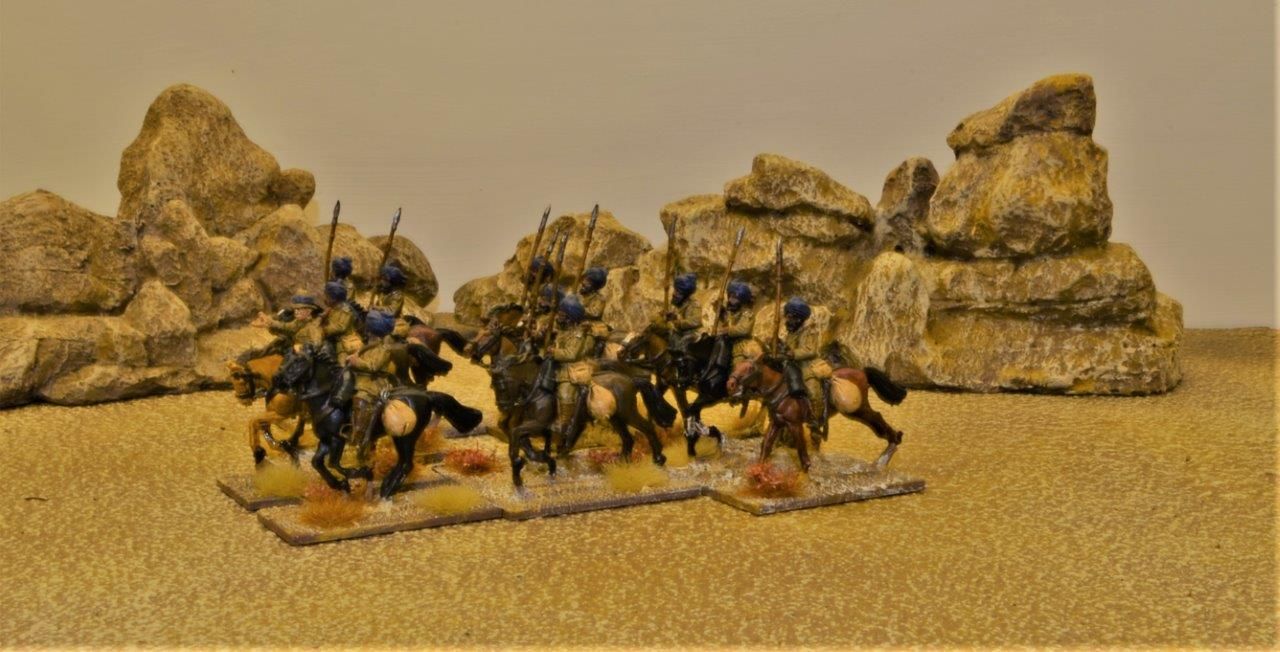
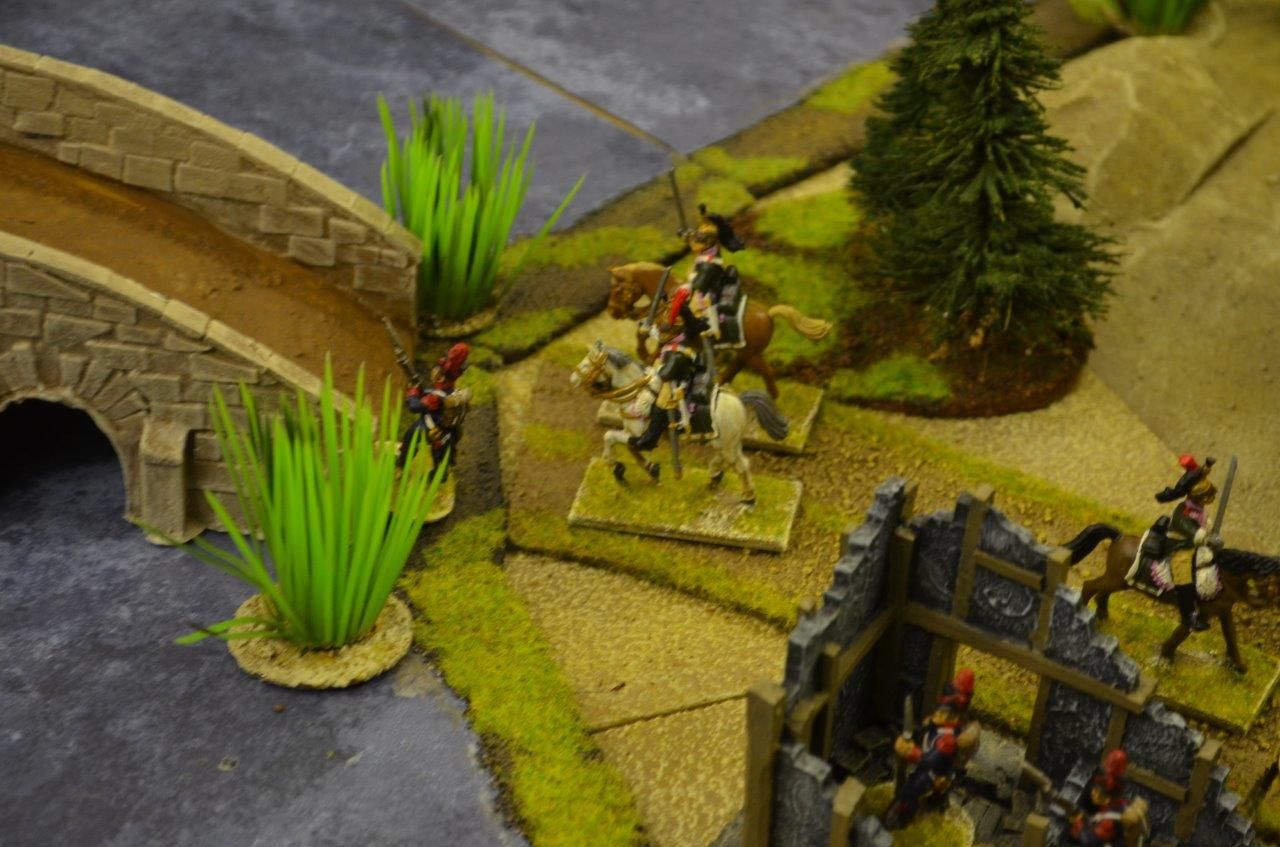
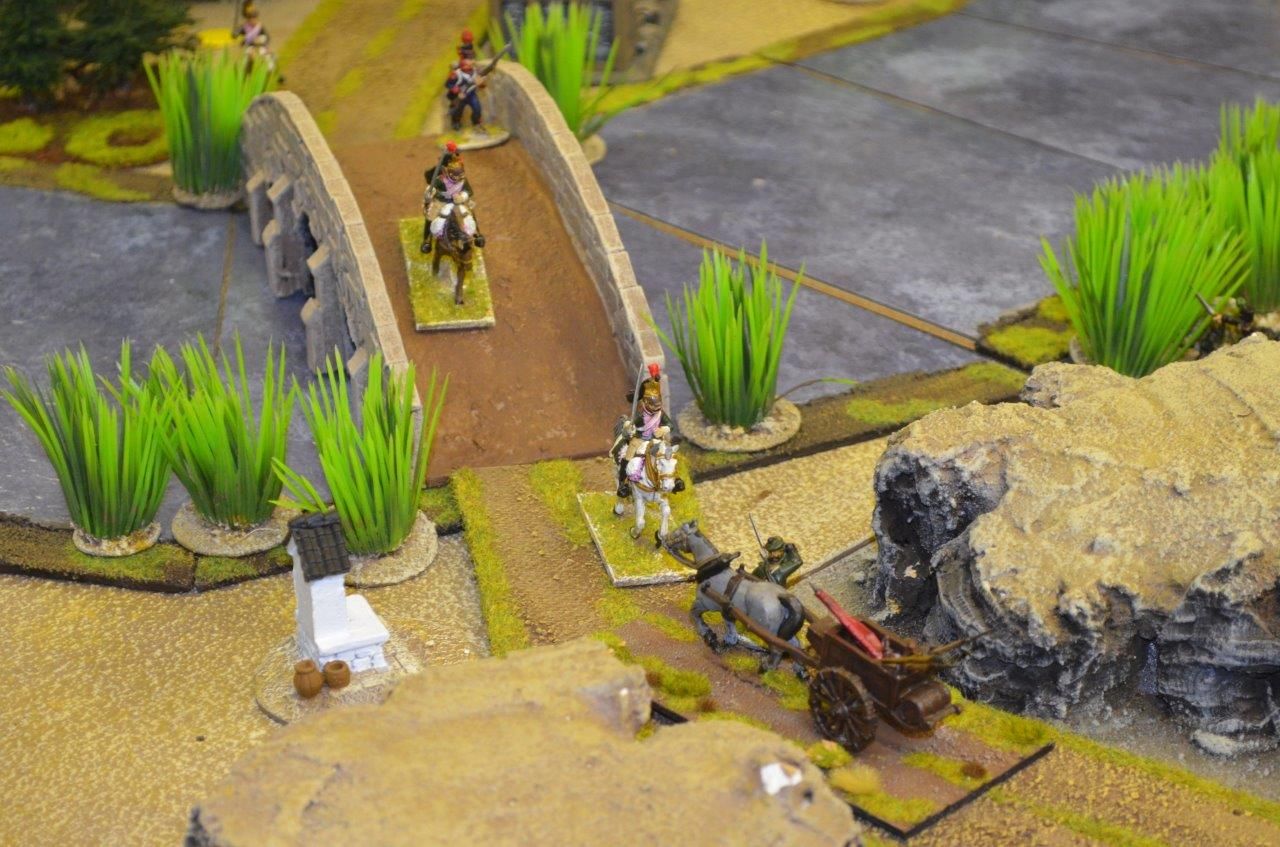
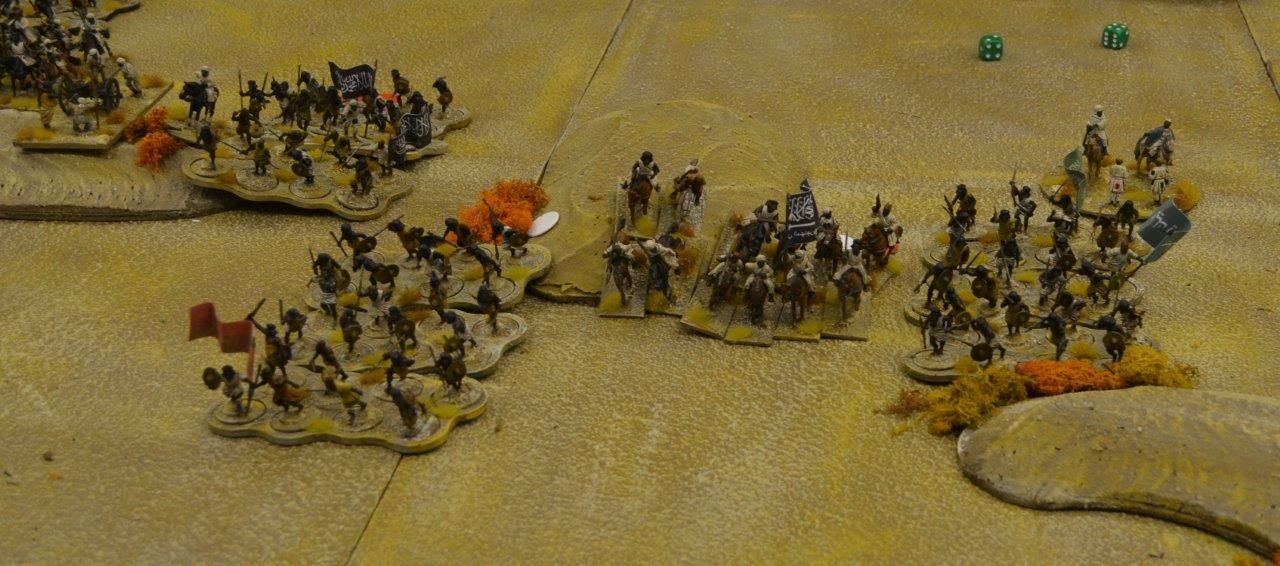
With the original french sentries down and out it was a good job their reinforcements arrived - and it wasn't long until the dragoon were thundering over the bridge.


The cart was slowly heading towards it destination


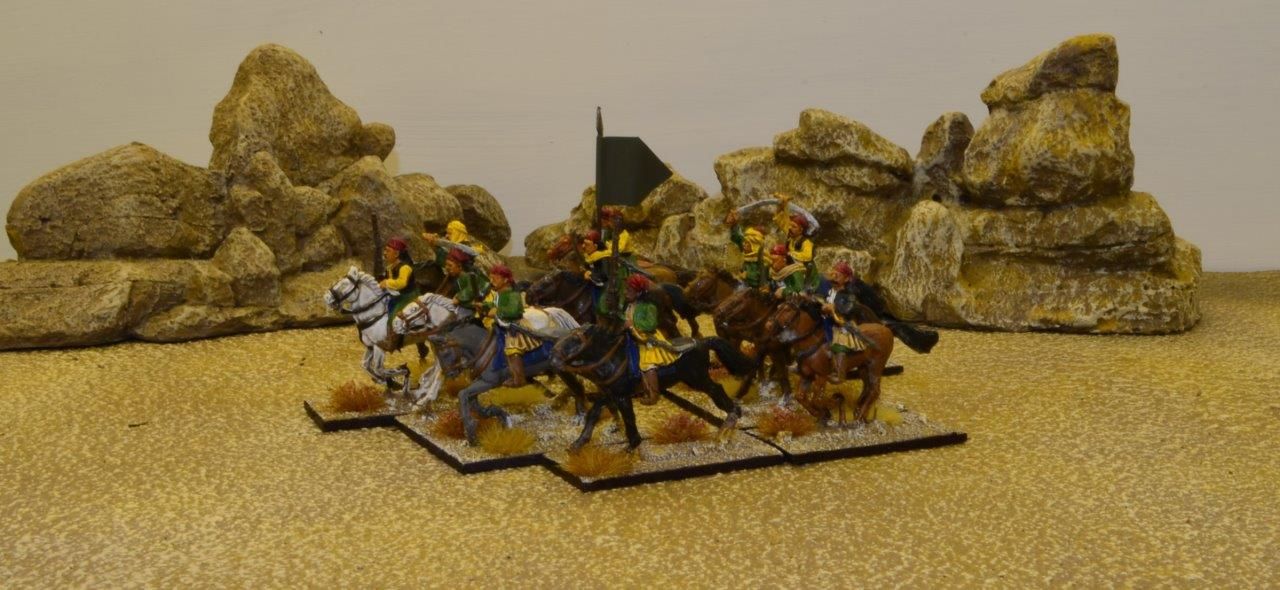
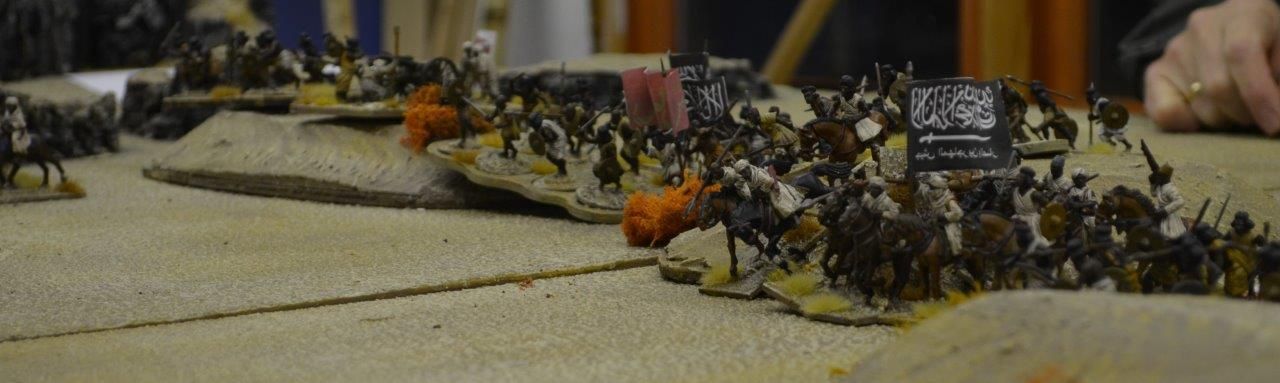
The French Dragoons charged the cart (now being driven by chosen man Harris)


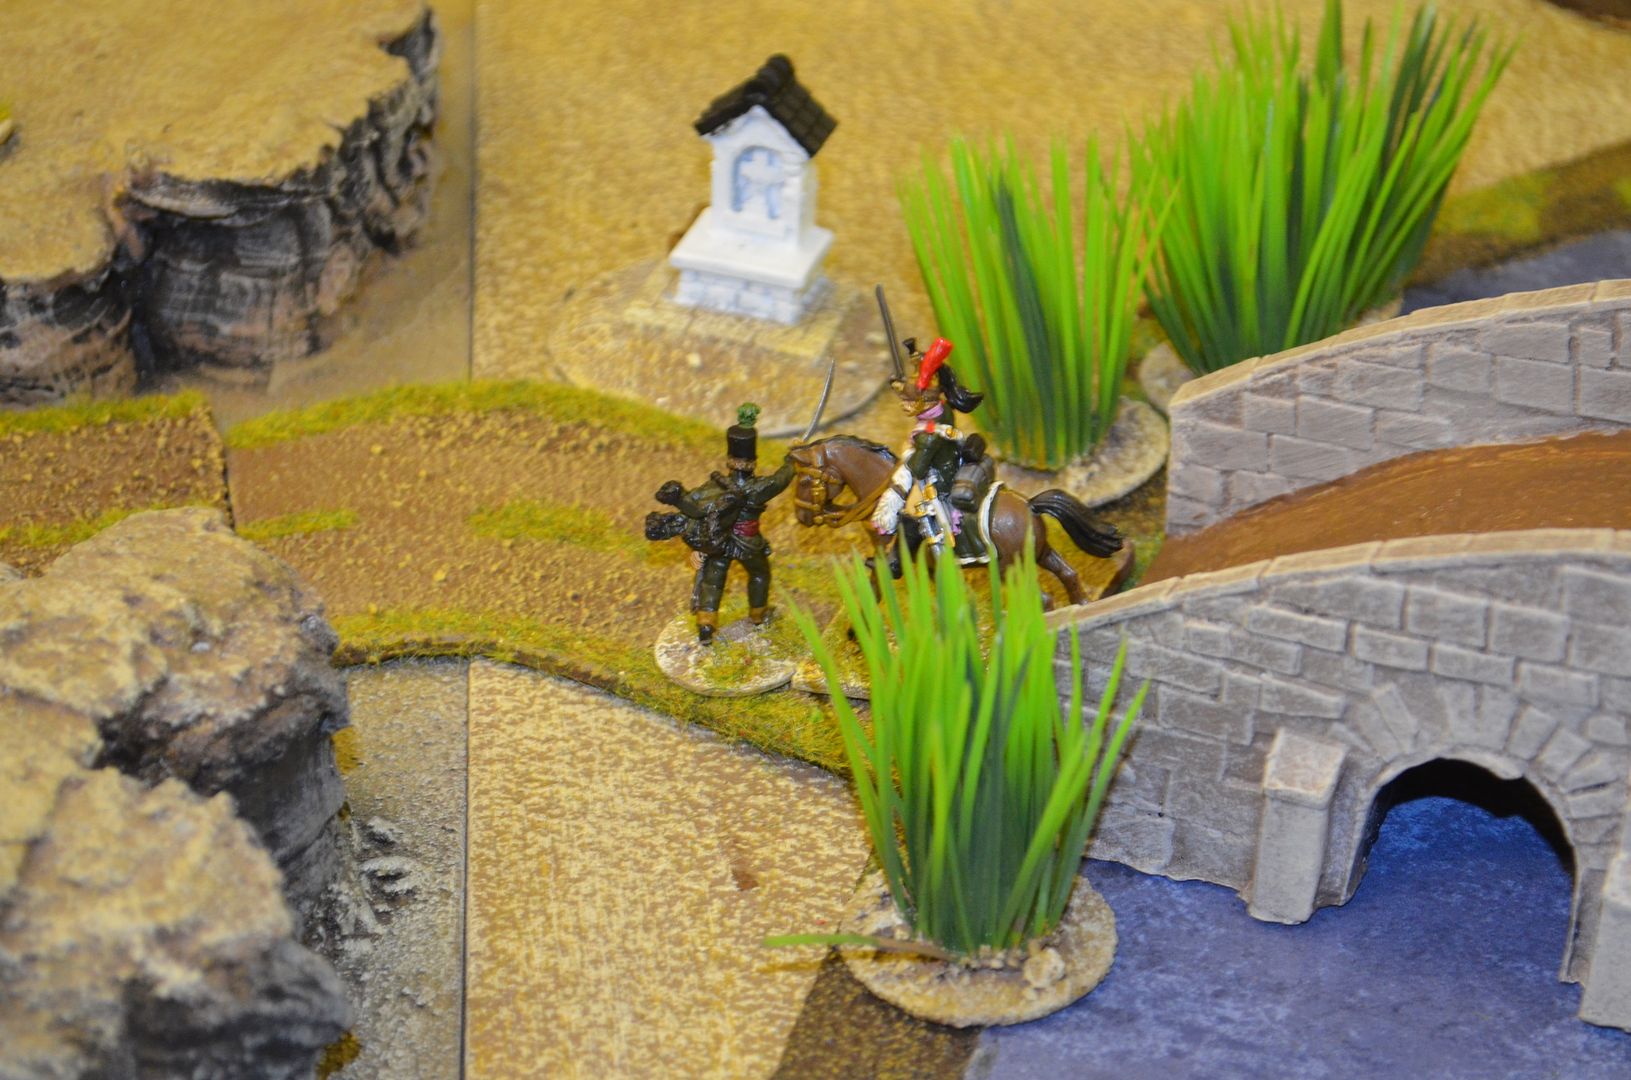
The first dragoon swung left off the bridge and charged Sharpe - bad move. Sharpe grabbed the horses bridle and pulled the froggie off his horse. A quick flick of his wrist (in a thuggish kind of way) sent another French trooper off on his final journey


Harris didn't fare quite so well as he he received a new haircut from the sabre swinging Dragoon charging him. fortunately Cooper was on hand to rescue him and take over the cart driving duties. Hagman shot the second dragoon from very long range.


Filled with Blood lust Sharpe charged down the third mounted Frenchman and once again his prowess with a sword was pretty impressive...

I can assure all the readers here that this was how the game was playing out...


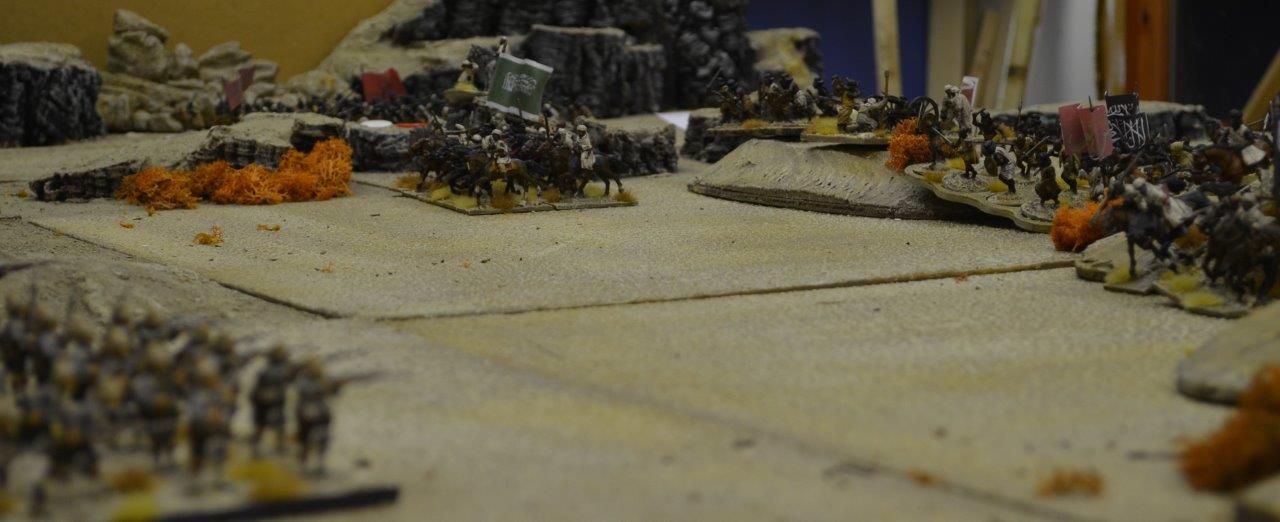
By now Cooper had got the cart onto the bridge BUT he had been overcome by the final French guards. These guys realising the cart contained enough explosives to send the bridge into orbit knew it had to be moved. 


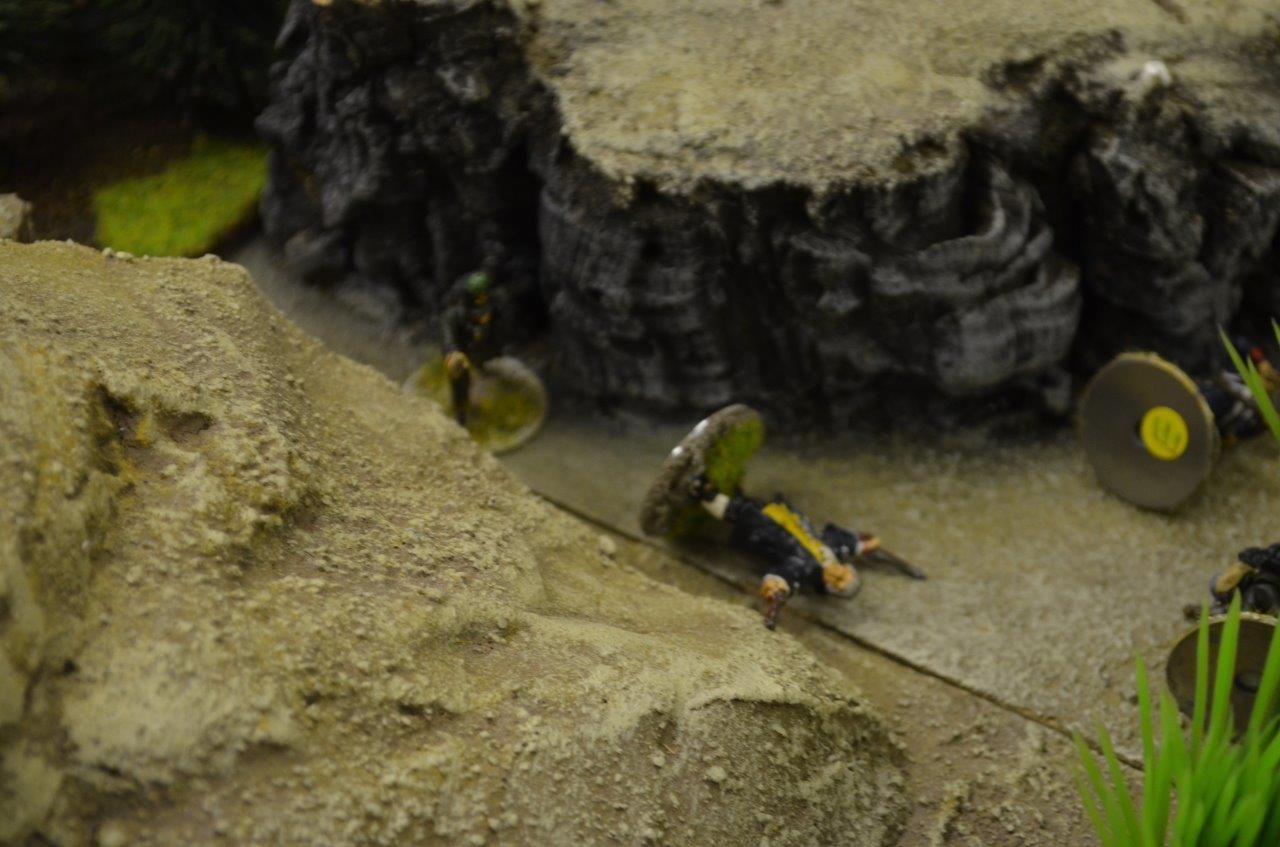
The only man who could physically stop[ this from happening was our hero Richard Sharpe - he bounded onto the bridge to confront the carts new owners. He swung his blade ....and missed. The Frenchman stabbed him with his bayonet - potentially a lethal wound. We will never know (at least not until the next adventure) as Sharpe fell from the bridge into the icy water.


The French guards quickly drive the cart off the bridge and back towards their lines - both Hagman and Perkins hit the cart but their rifle fire was insufficient to stop the cart and its contents reaching French lines.


Sharpe has failed - what will happen next...

Come back soon

Postscript. This was such a fun game to umpire - all credit to my players for playing the characters.

The story played out so well and could have easily swung the other way...

Tuesday 6 March 2018

The First Sudan Battle - In the Balance part 14

Morning All

Previous post part 13 can be found here
http://shedwars.blogspot.co.uk/2018/02/sudan-project-part-13-nile-gunboat-pt1.html

If you have been following this blog you have probably noticed that I have been spending an inordinate amount of time concentrating on my 28mm Colonial Sudanese project. With the majority of the figures painted it was time to get them on the table.

Some 700+ 28mm figures marched onto my desert terrain. This was going to be a straightforward engagement using virtually every painted figure. We used the Black Powder rule set supported by the army lists from the Blood in the Sand Campaign book.

This was a purely ficticious battle and I was keen to see whether the forces I had amassed on both sides would deliver a balanced game. I think it is fair to say that the early reports from the battlefield suggested the Allied forces of British troops supported by their Egyptian allies would make short work of the tribals. As you will see from the reports this somewhat changed during the game.


Both forces were spread across the table with the following orders of battle.

Allies on the left and Dervishes on the right

The Mahdists had four brigades with each command controlling a unit of rifle armed skirmishers, a cavalry or camel unit and three units of fanatic spear men. A couple of guns were thrown into the mix giving the Dervishes about 23 units in play. Effectively each command had to lose three units before it was broken. The Dervish commanders were all given command scores of 8.


The Allied forces were comprised of two brigades with each force either having 3 or 4 regular infantry. two artillery pieces (including one Gardner Gun), and a cavalry unit. The force that had only three infantry battalions was augmented with the Mounted Camel Corps. Again the break point for each Allied Brigade was three. We don't count artillery towards breakpoints


The Mahdists approach the field...


Myself and Alastair would command the British forces with Mark and Rolf the Local tribesmen

Action began on the Allied Left flank (we were waiting on Rolf to join us) with Mark pushing his forces forward using the low hills to screen his troops.

Unlike our Zulu wars games the options open to the Dervish are much more varied, their mix of skirmishers, cavalry and foot giving a number of options that are not reflected in the games set in the south african veldt.


With the Dervish rapidly advancing Alastair's British command marched forward to deliver some well timed volleys. These quickly took the steam out of the warbands advancing


To the far left the Mahdists were funneled into the Wadi of death - a lack of orders on their behalf and well aimed rifle fire saw very little progress on this front


By now the Mahdists decided they had had enough and charged forward - spear waving foot and cavalry pouring over the hills.


Fearing this onslaught the Hussars were let lose quickly riding down a units of Beja skirmishes and crashing into the advancing Dervish columns


By now the right flank had come into play and the field of fire for my Gardner gun was full of rich targets. I rolled the dice and missed - I rolled again a 1 - the gun was jammed ! and effectively out of the game.

The first time I have ever used a machine gun in a colonial game and I failed


This opened the door for the Beja cavalry to charge into my Mounted Camel unit. Fortunately the dice gods favoured the defenders and the Beja were sent packing. Recognising an opportunity to press home my advantage IO commanded the Camels to advance, dismount and give fire to the fleeing horse.

I rolled a blunder. Deciding that they had done their bit the British Camel Commander retreated from the board never to be seen again.

The tide potentially turned


By now the British were fighting a desperate game of survival - their stubborness only preventing a collapse across the front


More Dervishes kept pouring forward


And eventually they crashed into the British Lines


But this advance was having an impact on the Dervish morale - their left flank brigade in the Wadi of death finally broke on the bayonets of the Allied right flank.


But things weren't going so well for my British Command - the Egyptian troops were quickly routed by Rolfs tribals


and I was in distinct danger of the rest folding...


Did I mention that at this point Alastair (being a Scot) was fighting a desperate action with his Black Watch. They lost ! The first British Infantry unit to go down fighting.


By now the British had lost two units in each of their brigades - if wither lost one more that unit could not advance. The Dervishes had already committed three of their four brigades and two were now broken. This was going to be tight


In a final flurry of attacks from the Dervish fourth brigade (that had effectively been un-engaged all battle thanks to some very poor command rolls) the delivered the killing blow to the Allied intentions - just. Both Allied brigades were broken and three of the four Dervishes.

Units across the table were shattered and virtually every unit had suffered casualties.

This was a telling victory for the Mahdi.

In Summary

The battle using Black Powder and these forces was fought in two hours and was a pretty tight affair. Both sides had a modicum of both good and bad luck with some crazy die rolls at crucial poinbts in the game. These results may well have changed events if different but it was agreed that the game was not only balanced but also great fun and a great intro into this period.

Personally I was delighted with the overall impact of the game and by guests all thought that it looked great.

Historical Note

As part of my reading into this period I purchased Mike Snook's - Go Strong into the Desert. This book can be found onsale via the Perry Website and is worth every penny as an intro into this period. Interestingly it has all the orders of battle for virtually every engagement in the various Sudan campaign. A quick study of these reveals that the the vast majority of battles saw the Mahdist either outnumbered or at best equal in size to the British expeditionary forces. So our engagement with a numerically stringer Mahdi force was very unlikely but where is the fun in having a game and knowing the result before you have even started.

part 15 can be found here

http://shedwars.blogspot.co.uk/2018/03/new-forces-for-my-sudan-project-part-15.html