Last
Tuesday night Mark and I got together to play another scenario from the
excellent Pike & Shotte supplement - to Defy a King. If you are into
this period I can wholeheartedly recommend this book – it has a number of
excellent scenarios, rules on sieges and many more army lists to cover the
period.
This time
we elected to fight a rather one sided affair called the Battle of Adwalton
Moor…
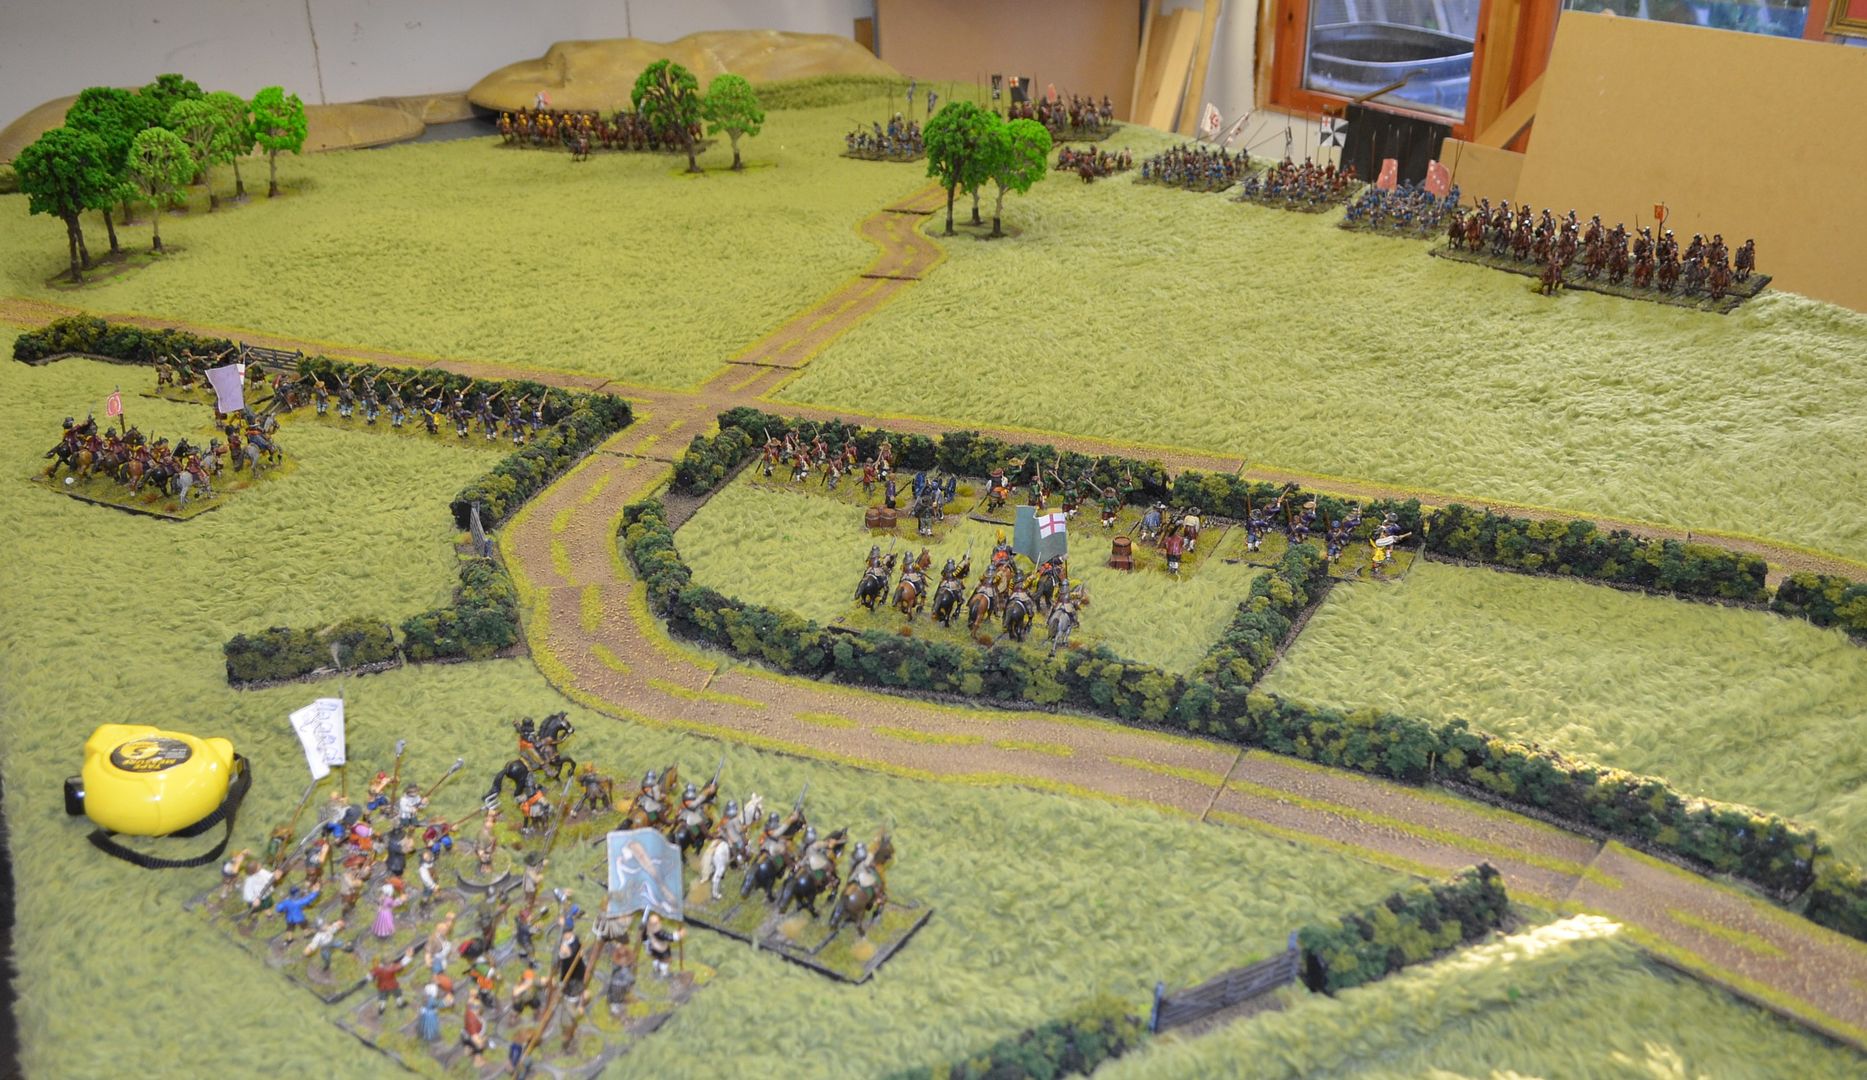 |
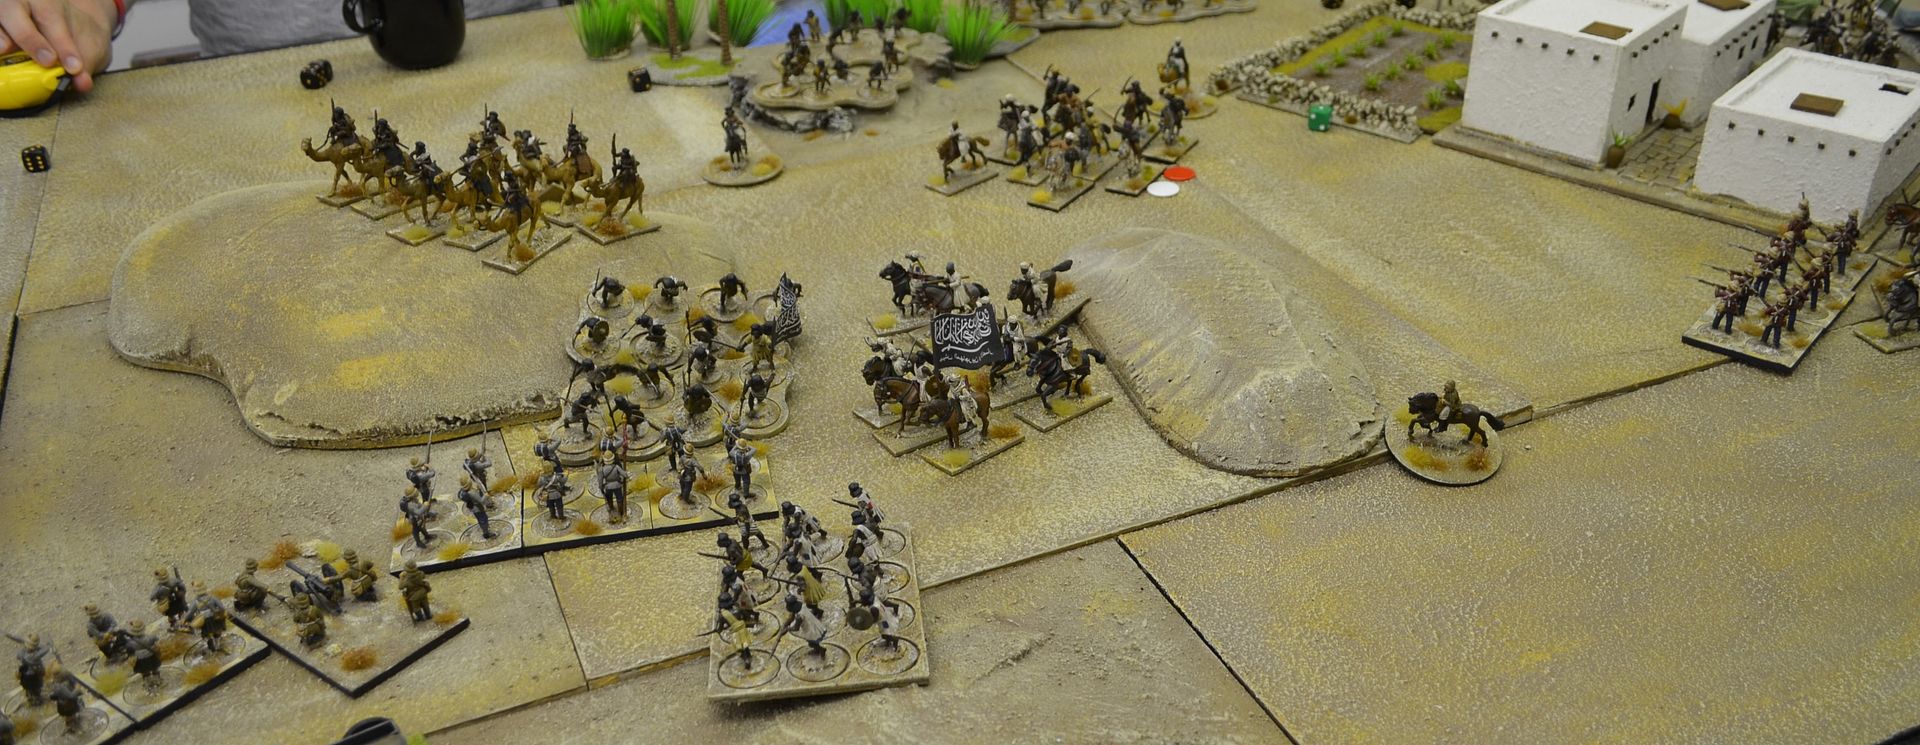
| The Forces arranged for Battle |
In terms of
background the real battle was fought on the 30th June 1643
Things
kicked off when c10,000 Royalist troops marched on the Parliamentarian
stronghold of Bradford. In defence of the town, Lord Fairfax advanced with 3,500
men and the two armies met on Adwalton Moor. The two to one advantage was to
prove decisive.
William
Cavendish Earl of Newcastle commanded the Royalist Army of the North. His
deputy was General James King (later Lord Eythin). General George Goring
the lieutenant-general of the Horse was absent from the battle having been
captured by Sir Thomas Fairfax at the Battle of Wakefield on 24th May 1643.
Ferdinando
Lord Fairfax commanded the Parliamentary Army with his son Sir Thomas Fairfax
and Sergeant-Major-General John Gifford as his subordinate commanders.
According
to British Battles.com The Royalist army comprised some 6,000 Foot and
3,000 Horse and Dragoons. The Royalist army brought to the battle a powerful
train of artillery including two demi-cannon nick-named ‘Gog and Magog’.
The
Parliamentary army comprised some 4,000 Foot and 1,500 Horse and
Dragoons. In addition the Parliamentary army was accompanied by a large
crowd of local countrymen, termed ‘clubmen’ and armed largely with agricultural
implements.
The
Royalist Foot was short on firearms with a large proportion of pikemen.
The
Parliamentary Foot comprised mainly musketeers.
The
overwhelming number of Royalist pikemen eventually forced the Parliamentarians
back and when their lines broke, the Royalist cavalry completed the victory.
The victory
ensured Royalist control over most of northern England for the rest of that
year.
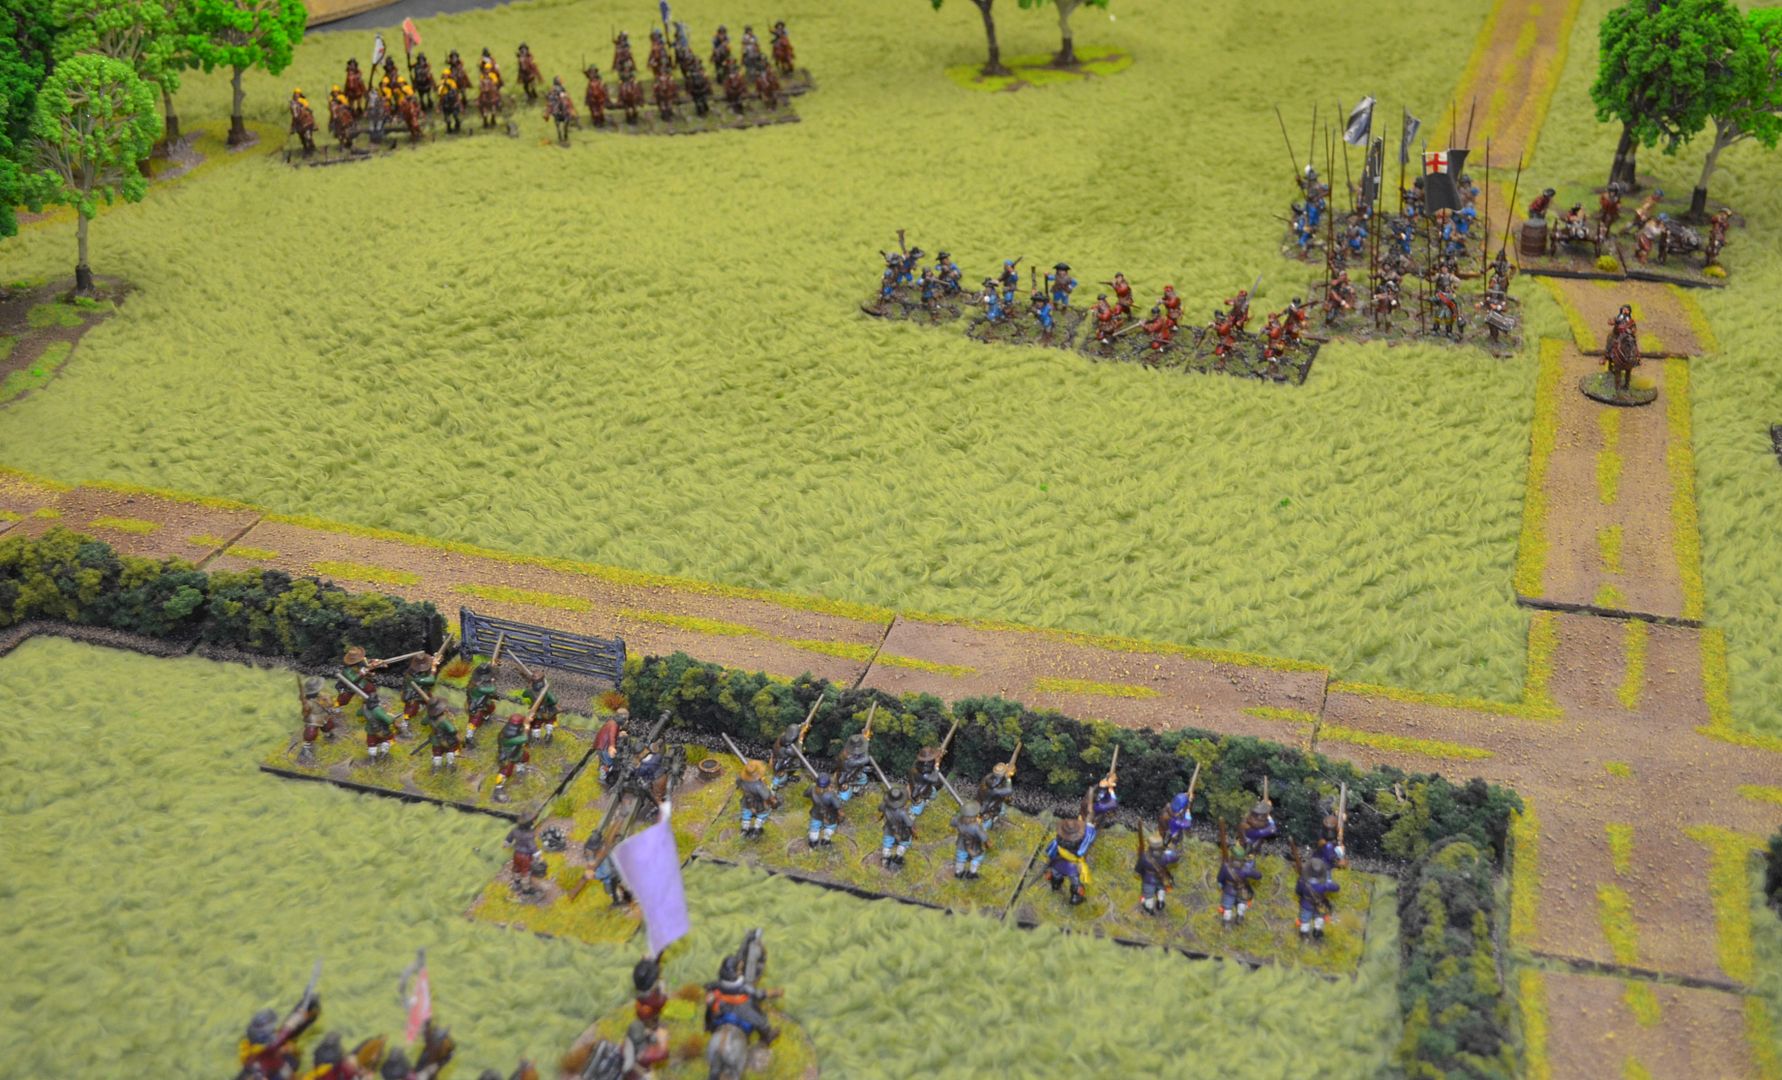
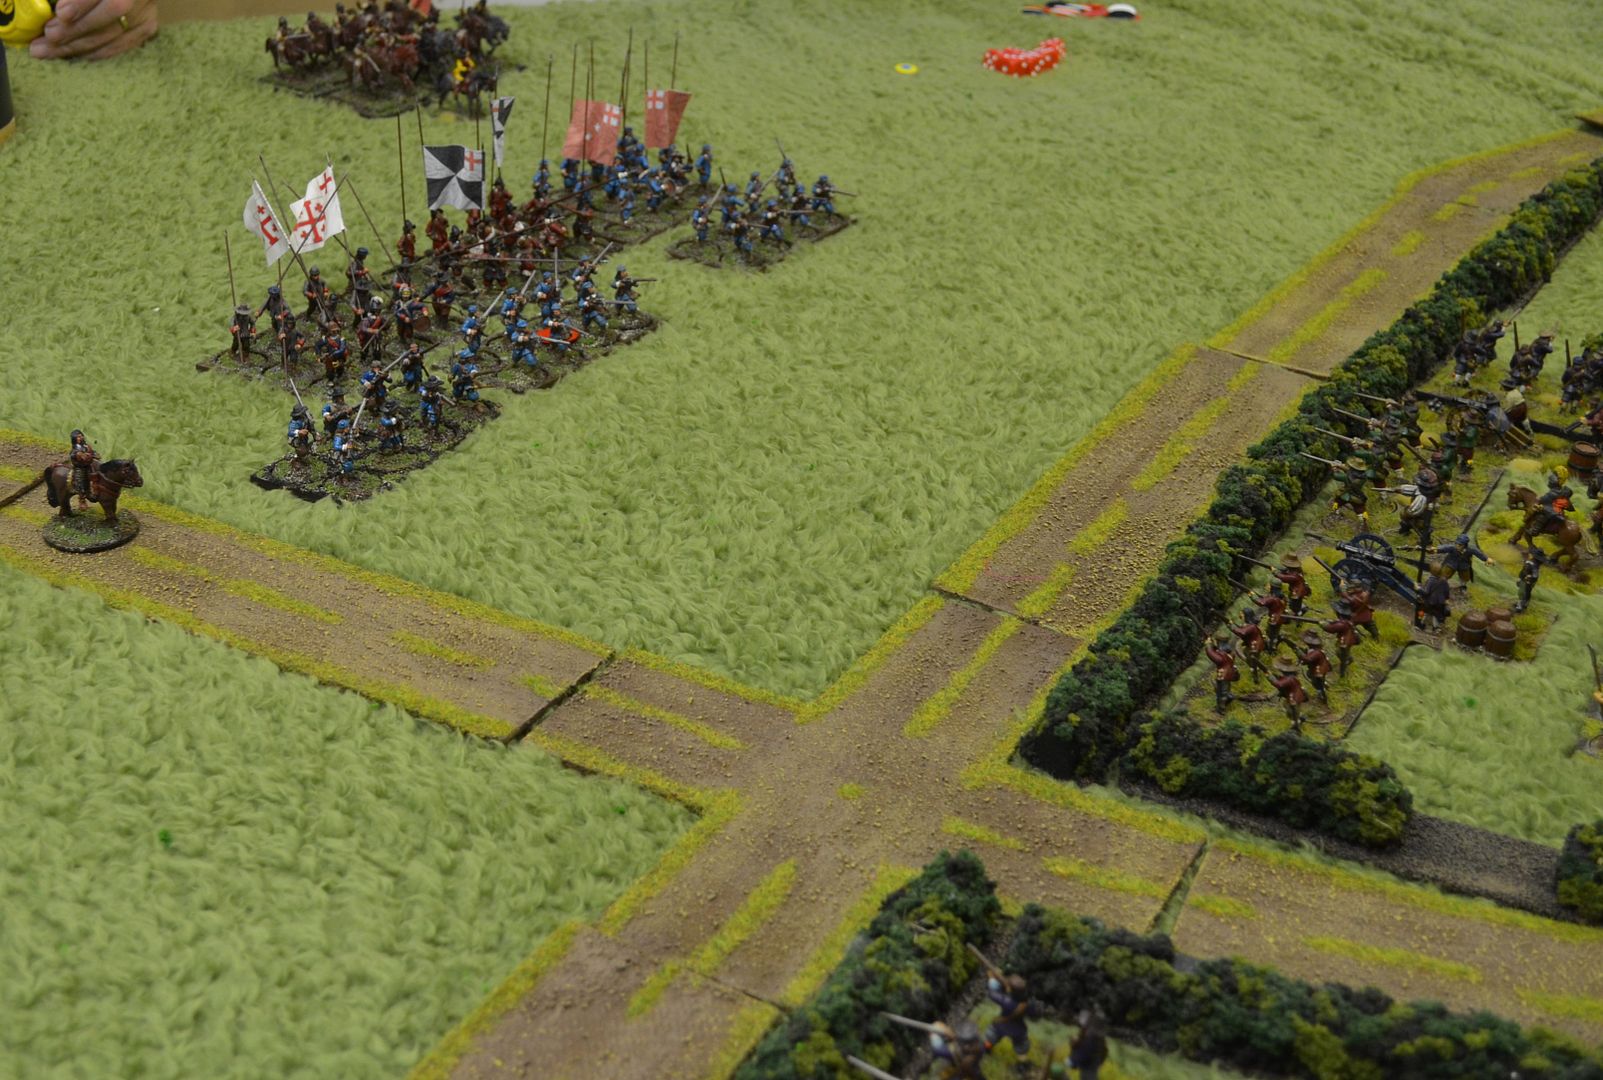
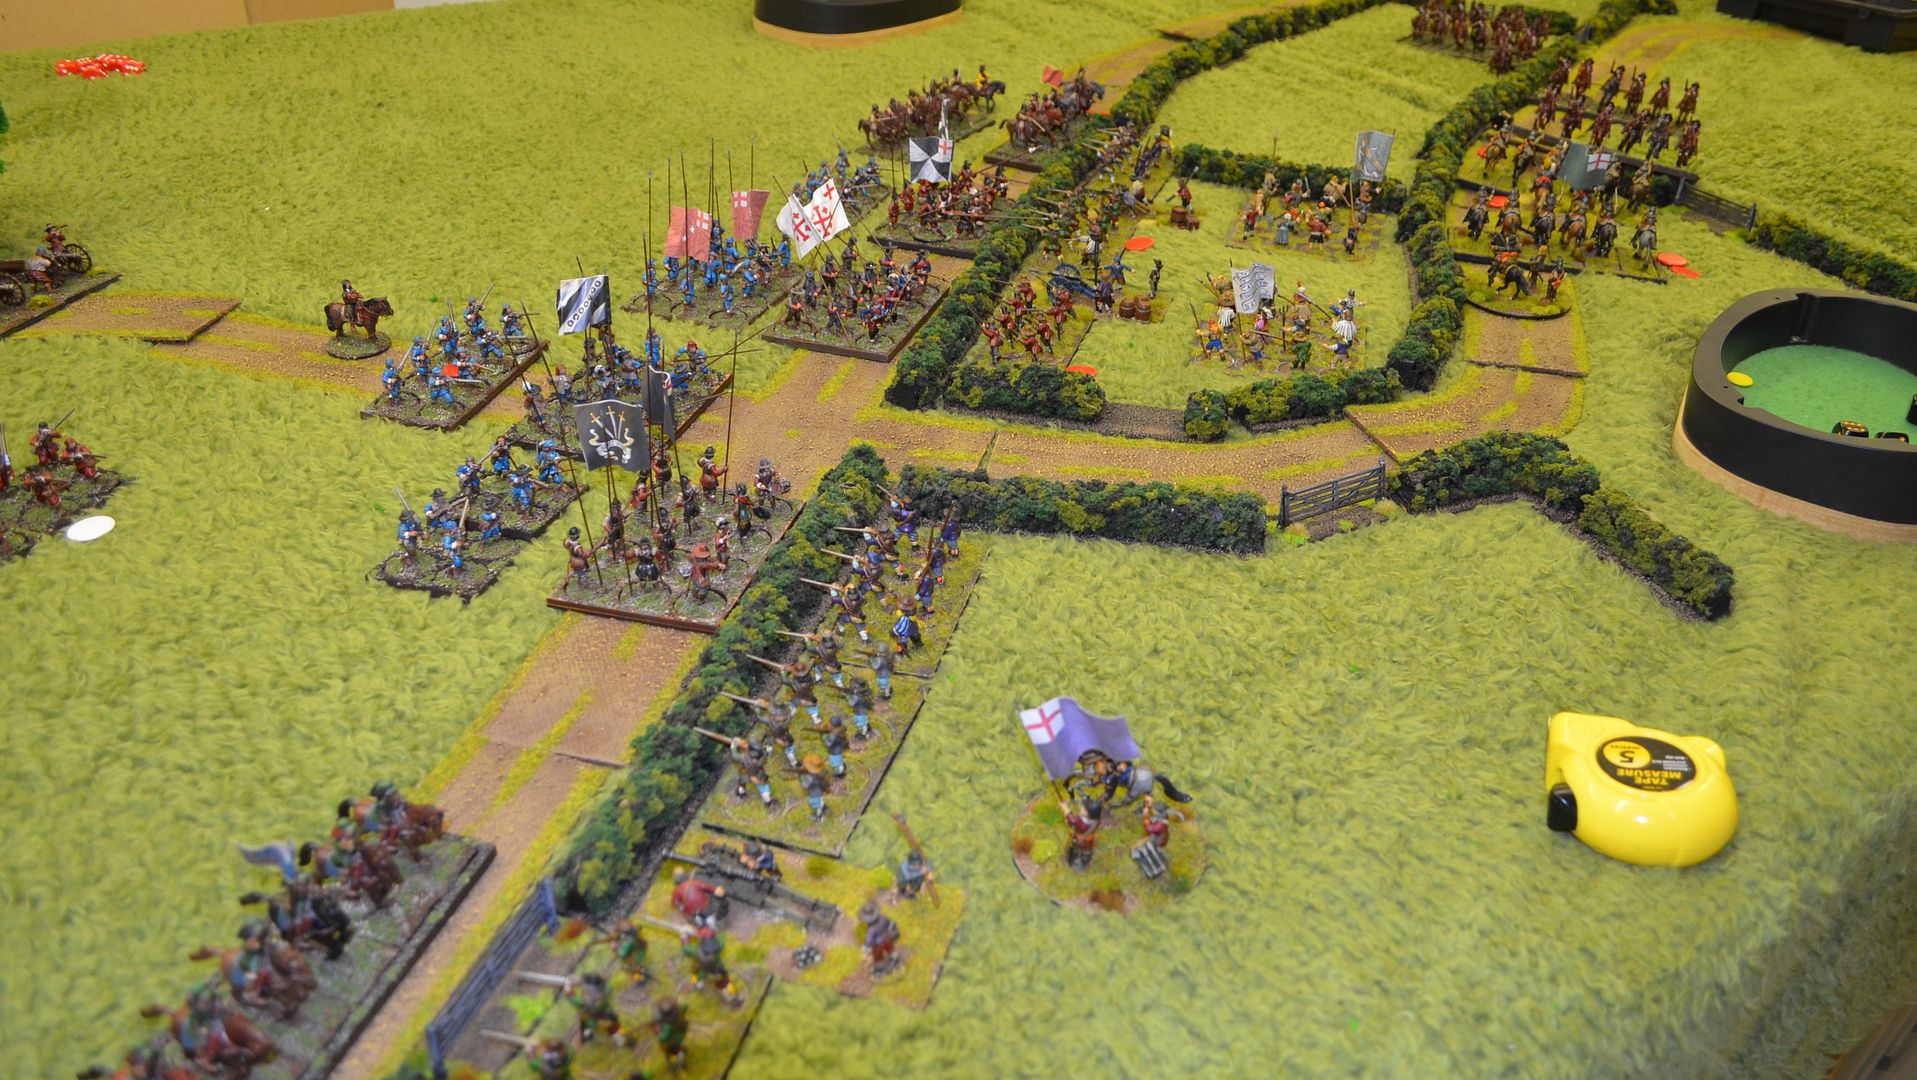
As far as
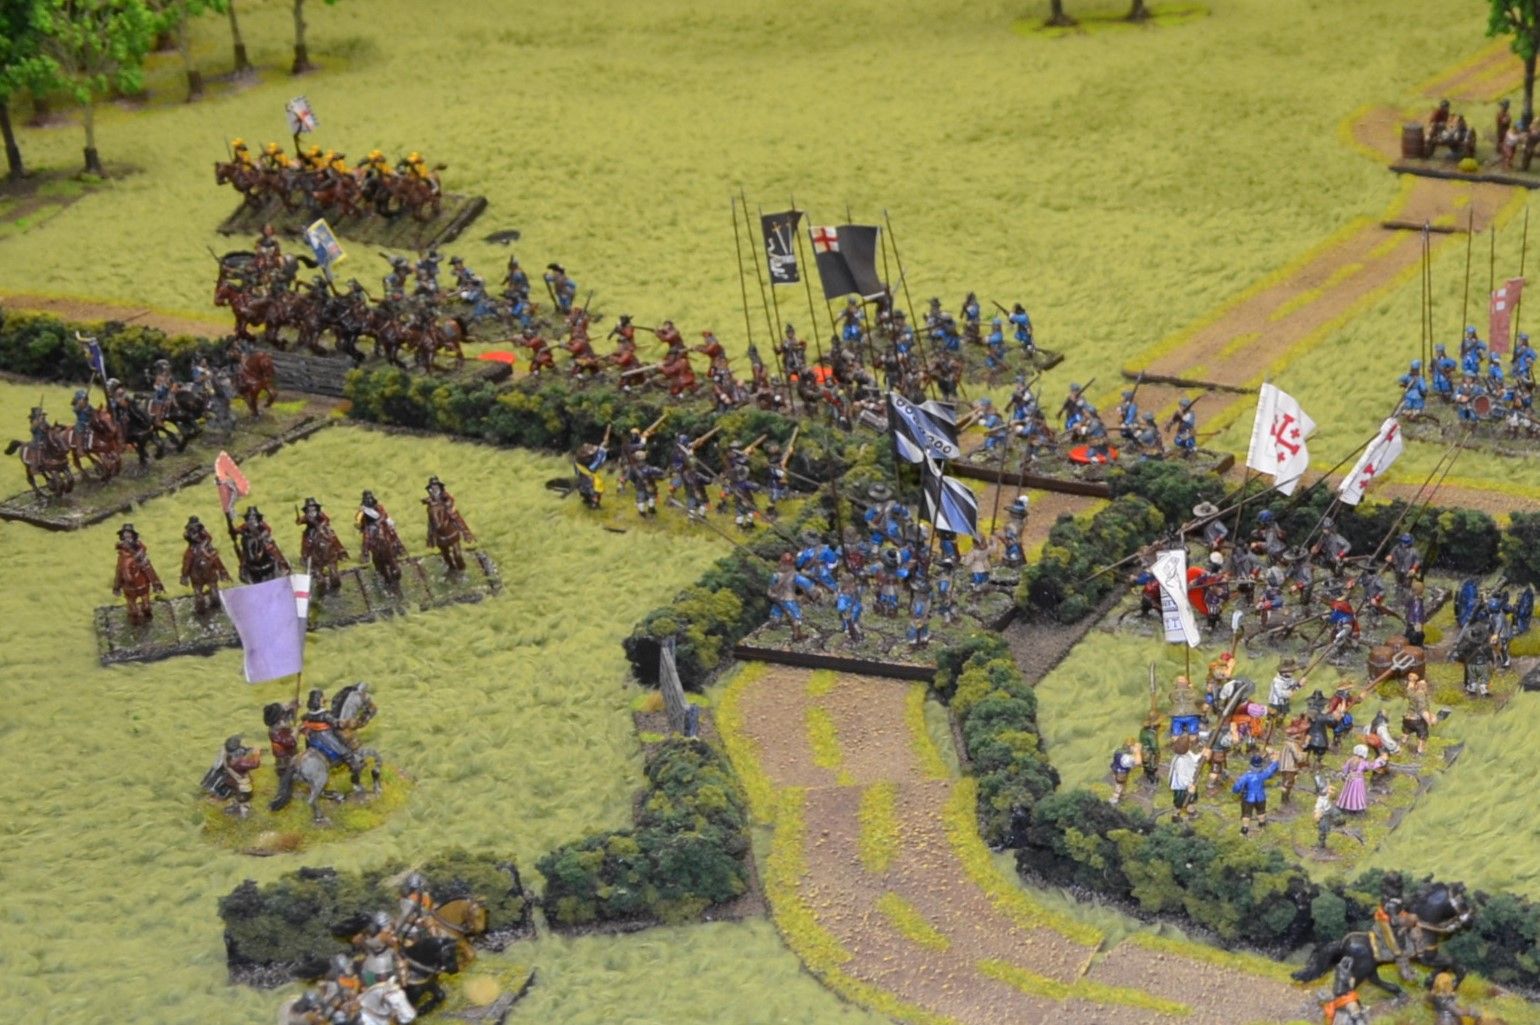
the terrain was concerned we took the map from the book – the distinguishing
feature were the rows of hedgelines that the Parliamentarians defended.
Again in
terms of forces these were taken straight from the book with the same
dispostions
The
Royalist Army mustered with 10 Regiments of Horse
Six units
of Pike
Six units
of Musketeers
And two
medium pieces of artillery
Facing them
were
3 units of
horse
6 units of
musketeers
3 small
field guns
And two
units of clubmen
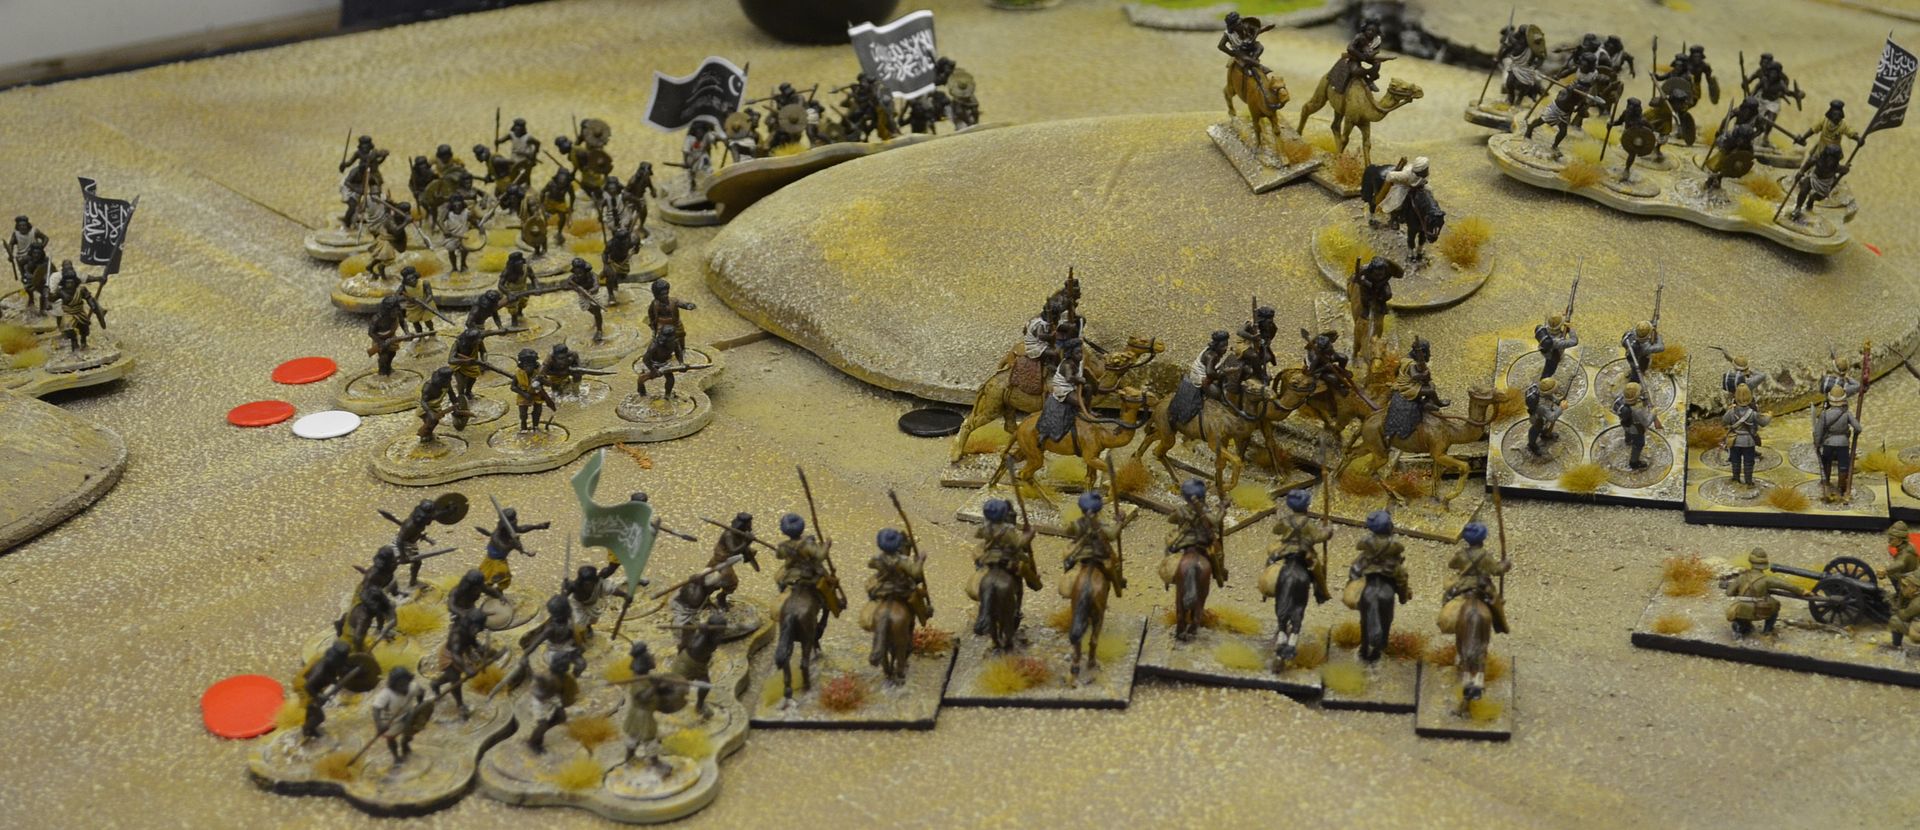
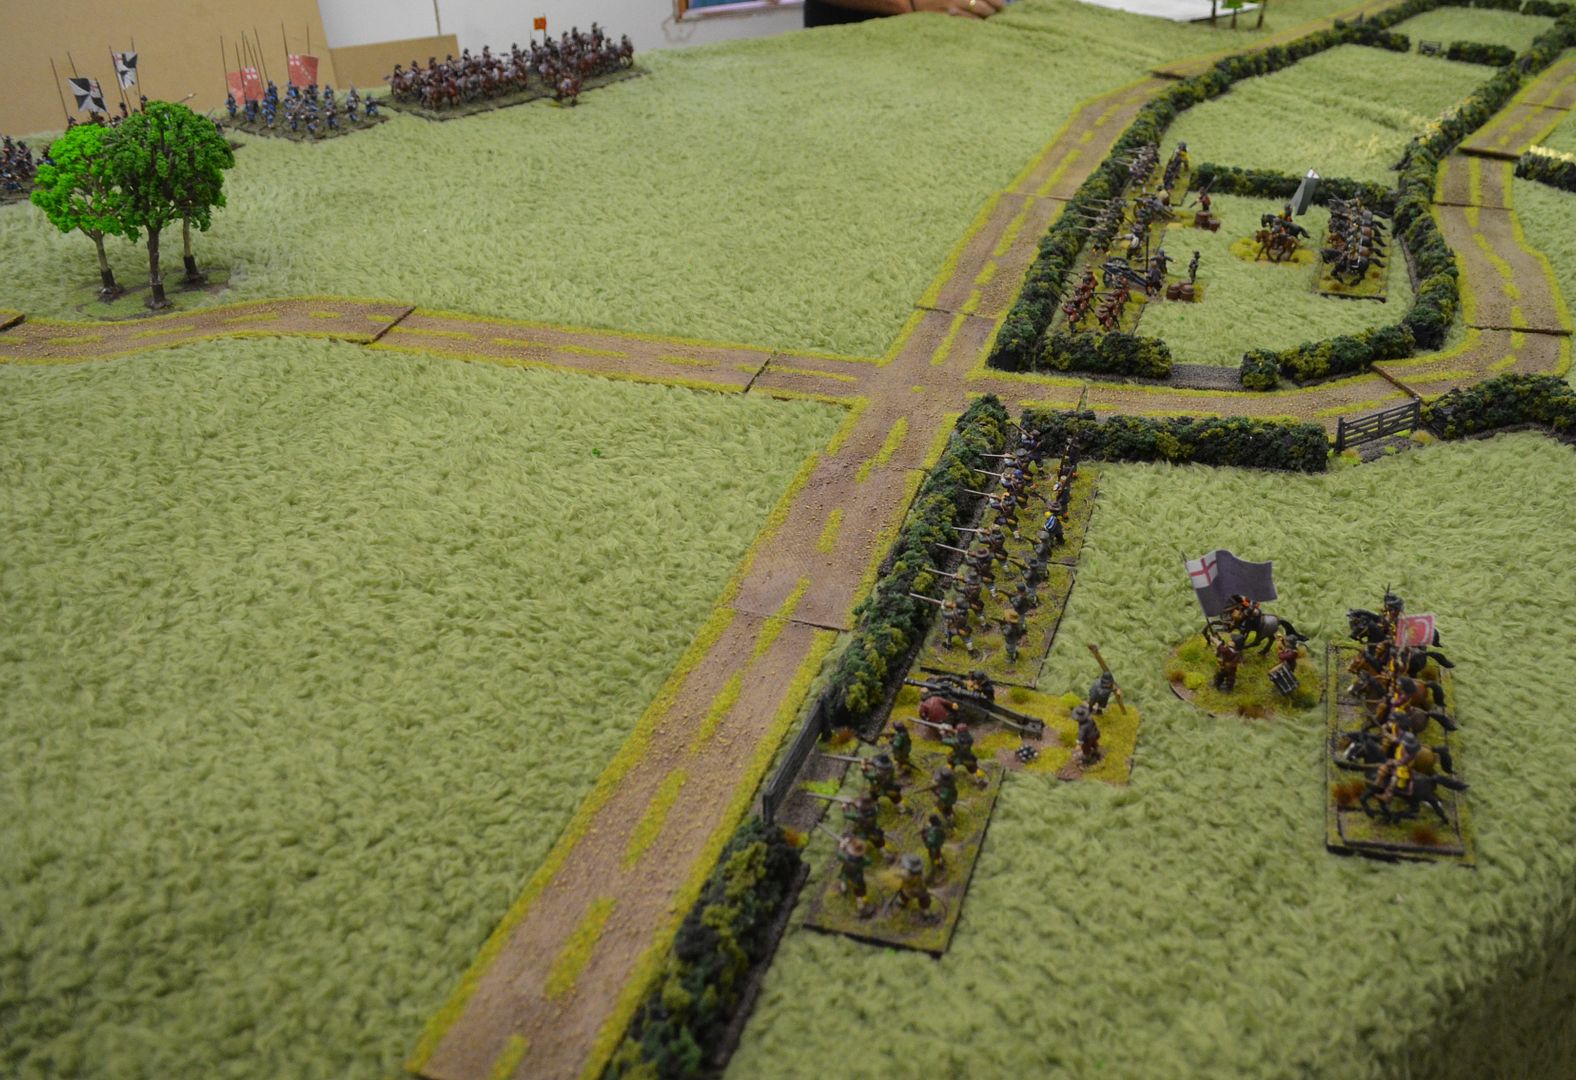 |
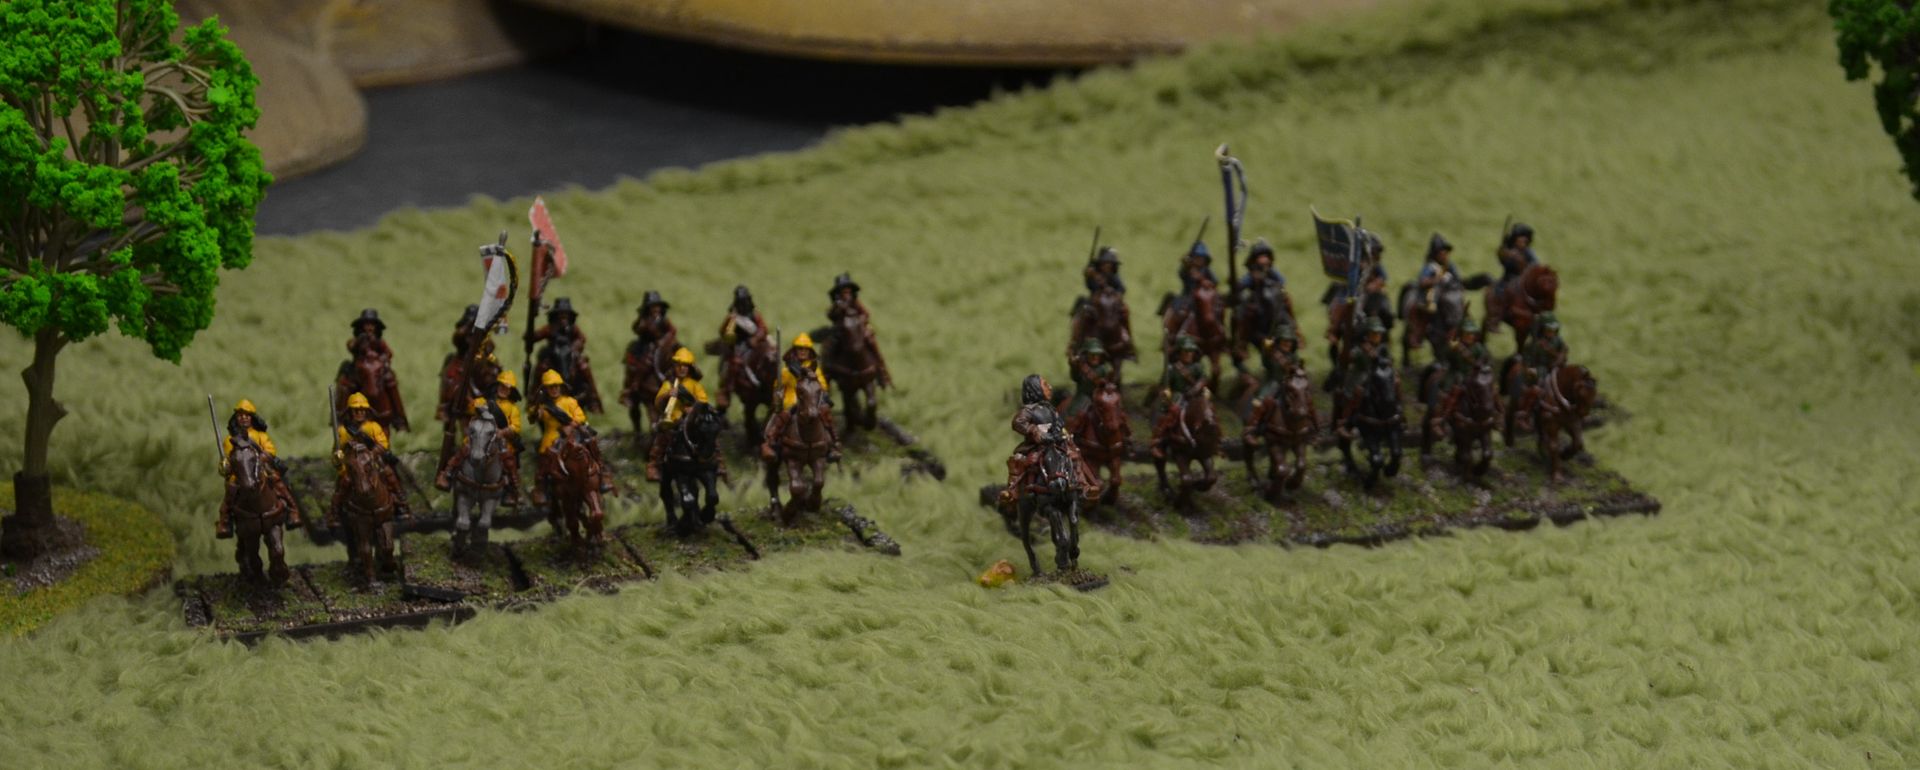
| The Parliamentarian Forces watch the enemy approach |
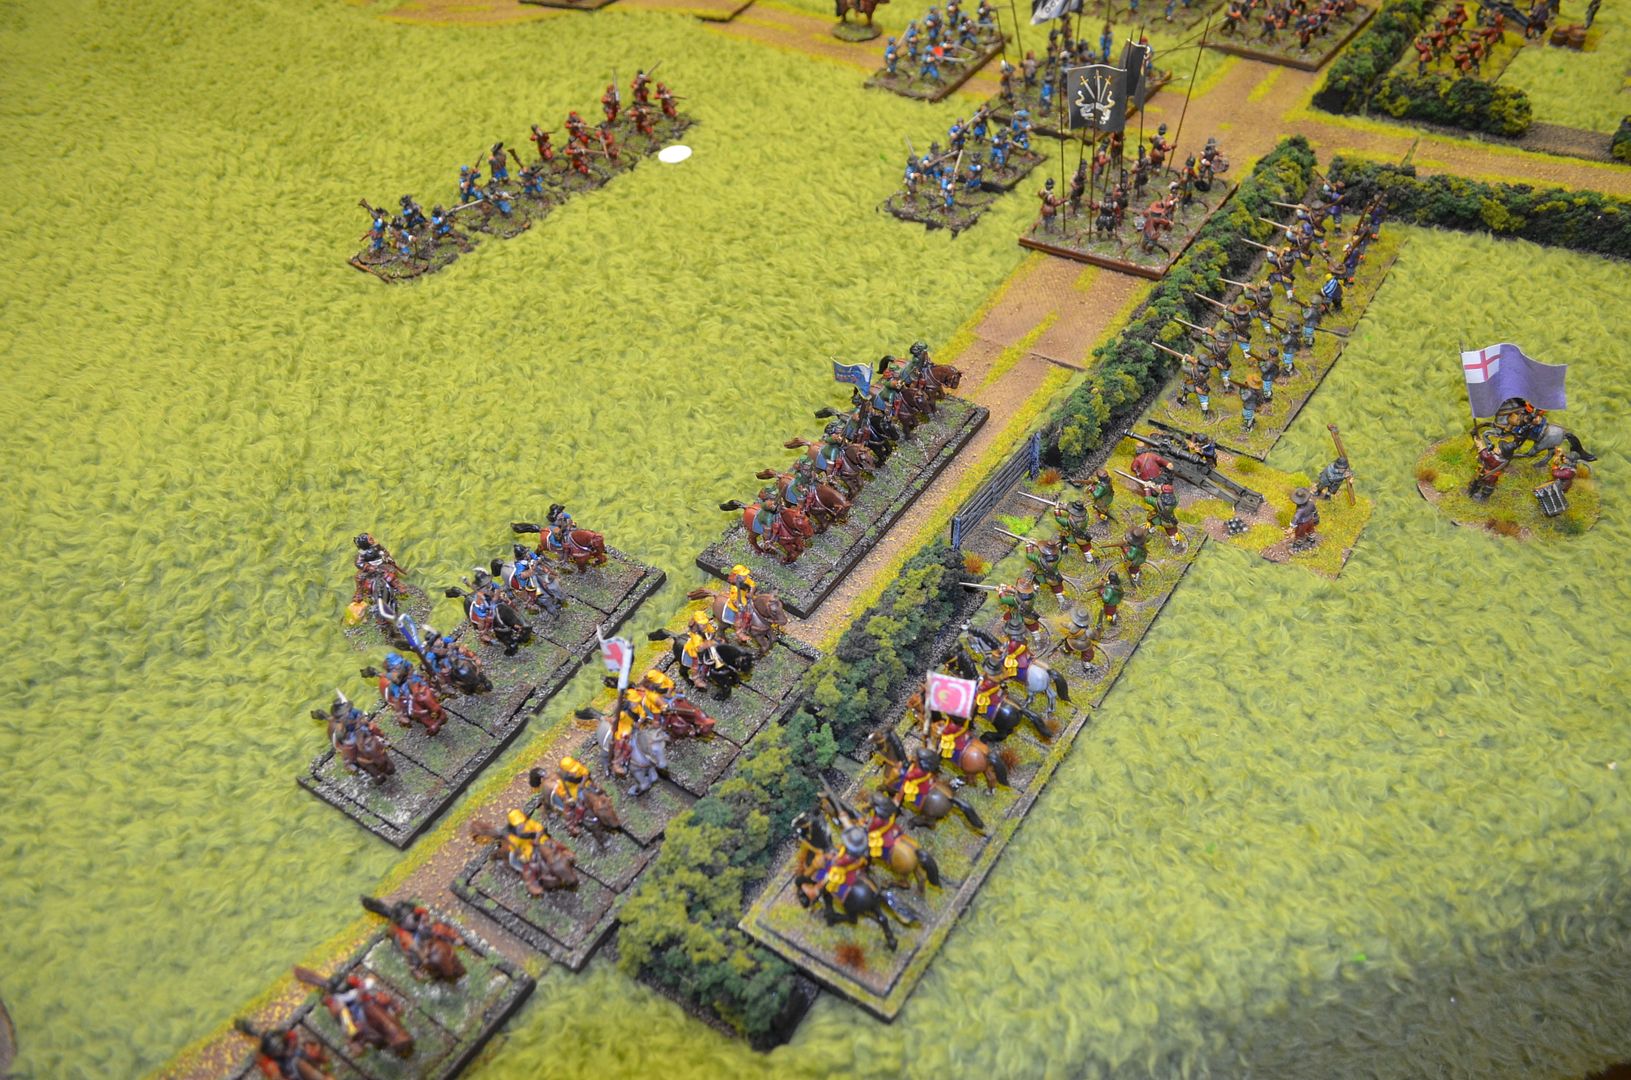
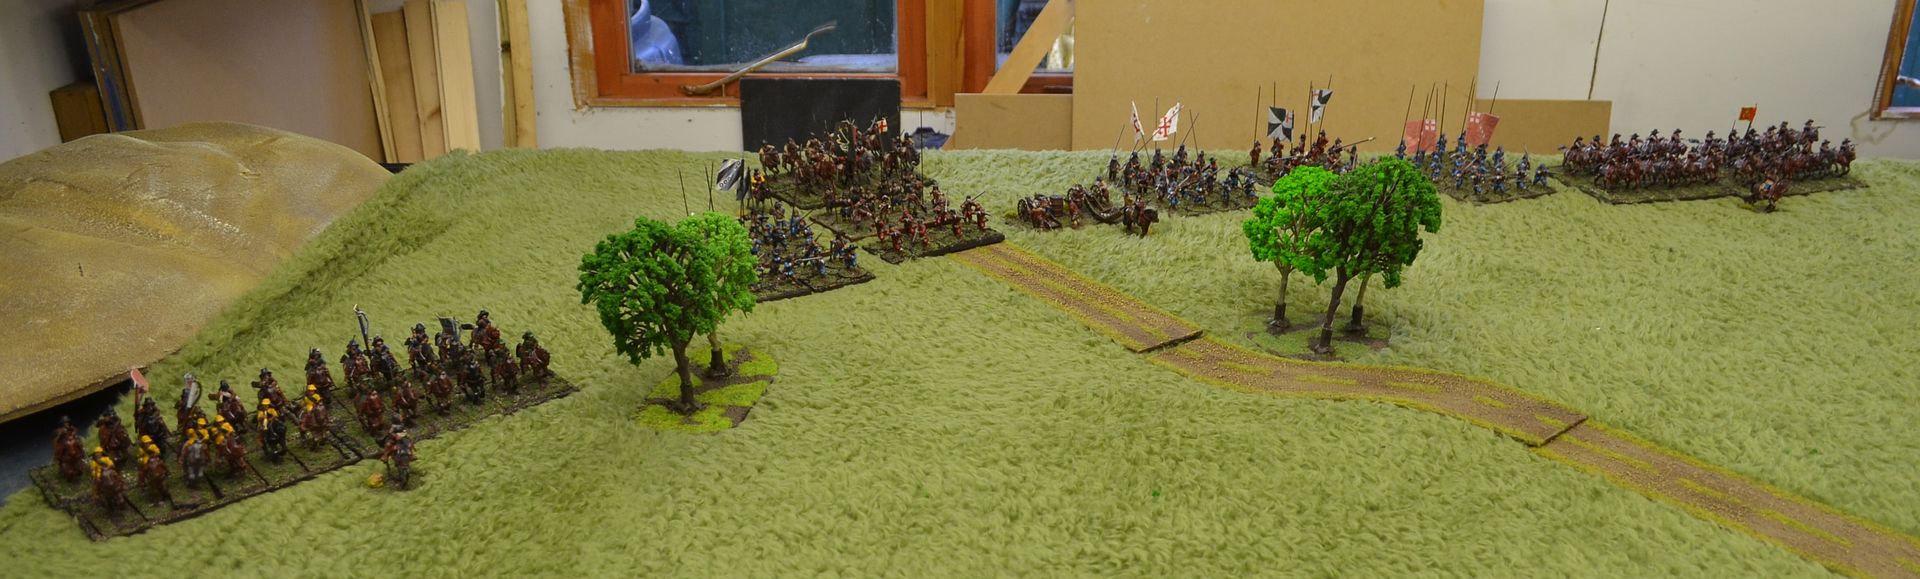 |
| Clearly the stronger the side the Royalist march forward - their cavalry wings spurring forward |
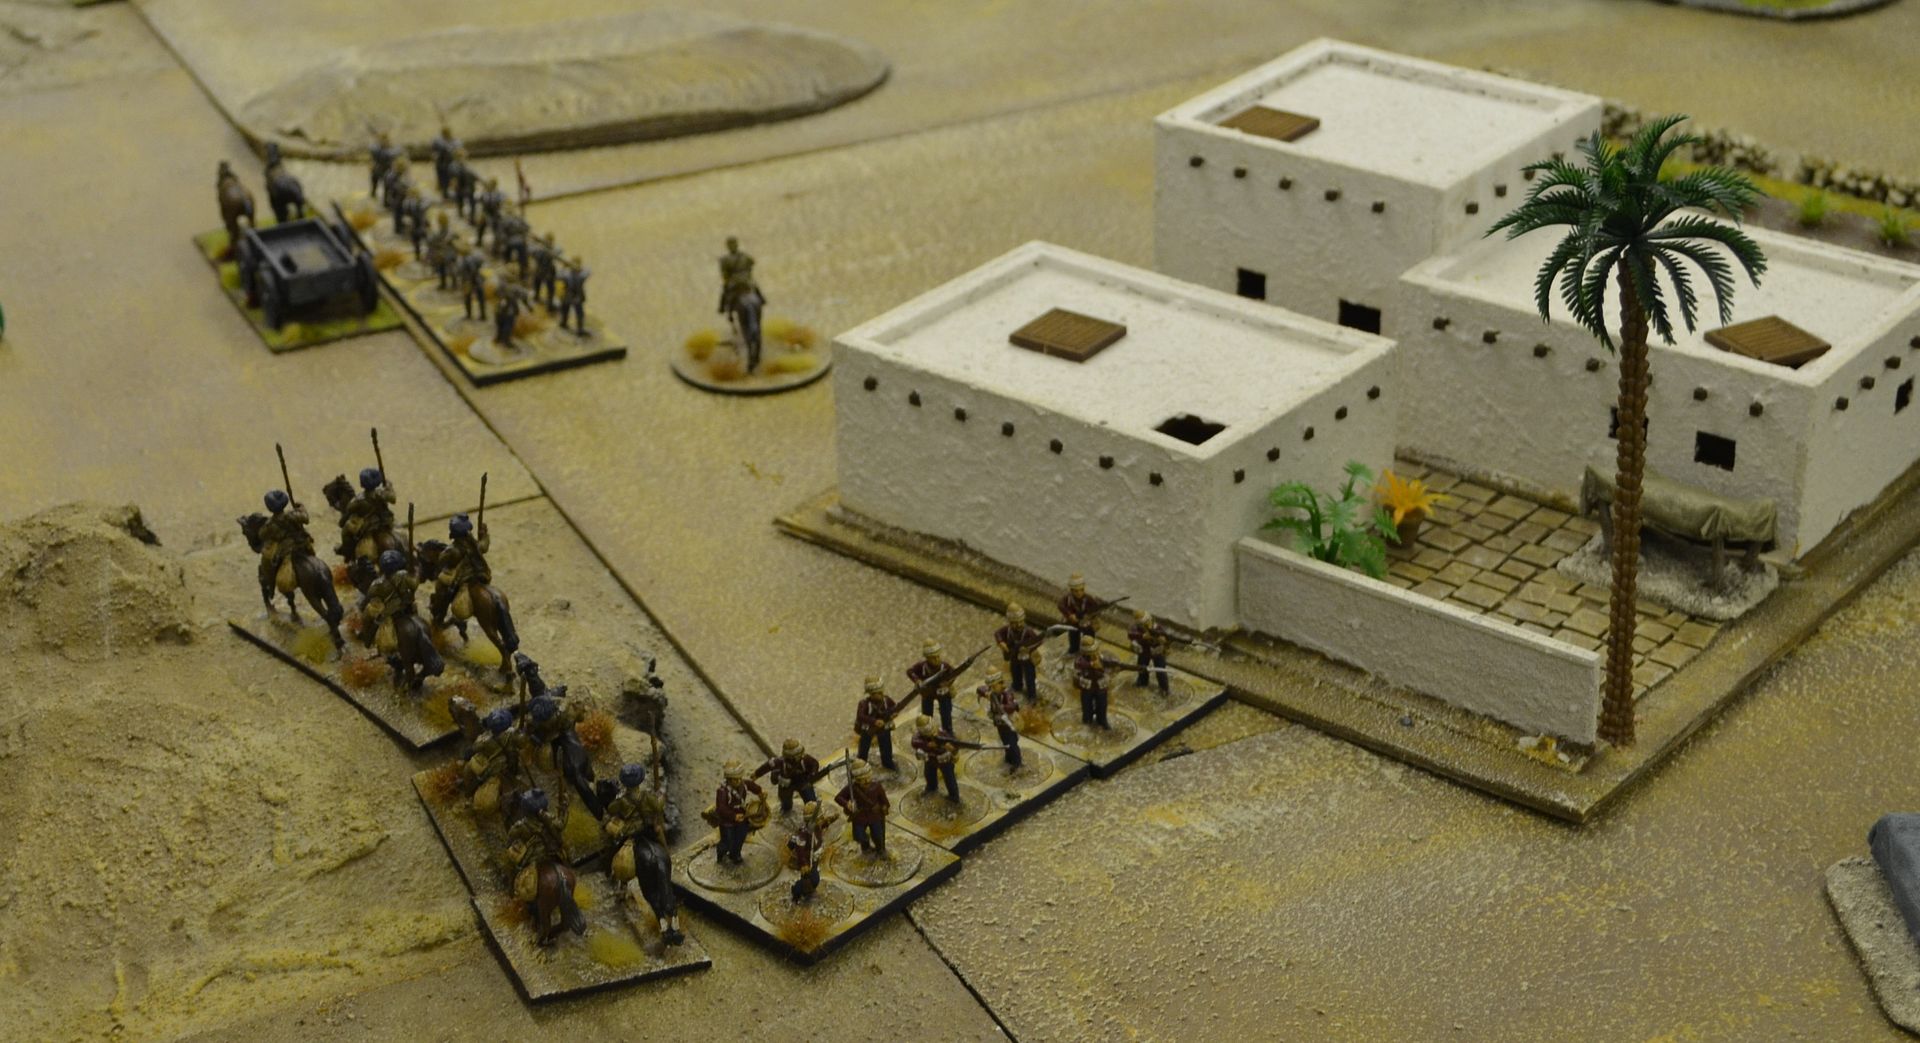
 |
| The Right Wing edges forward |
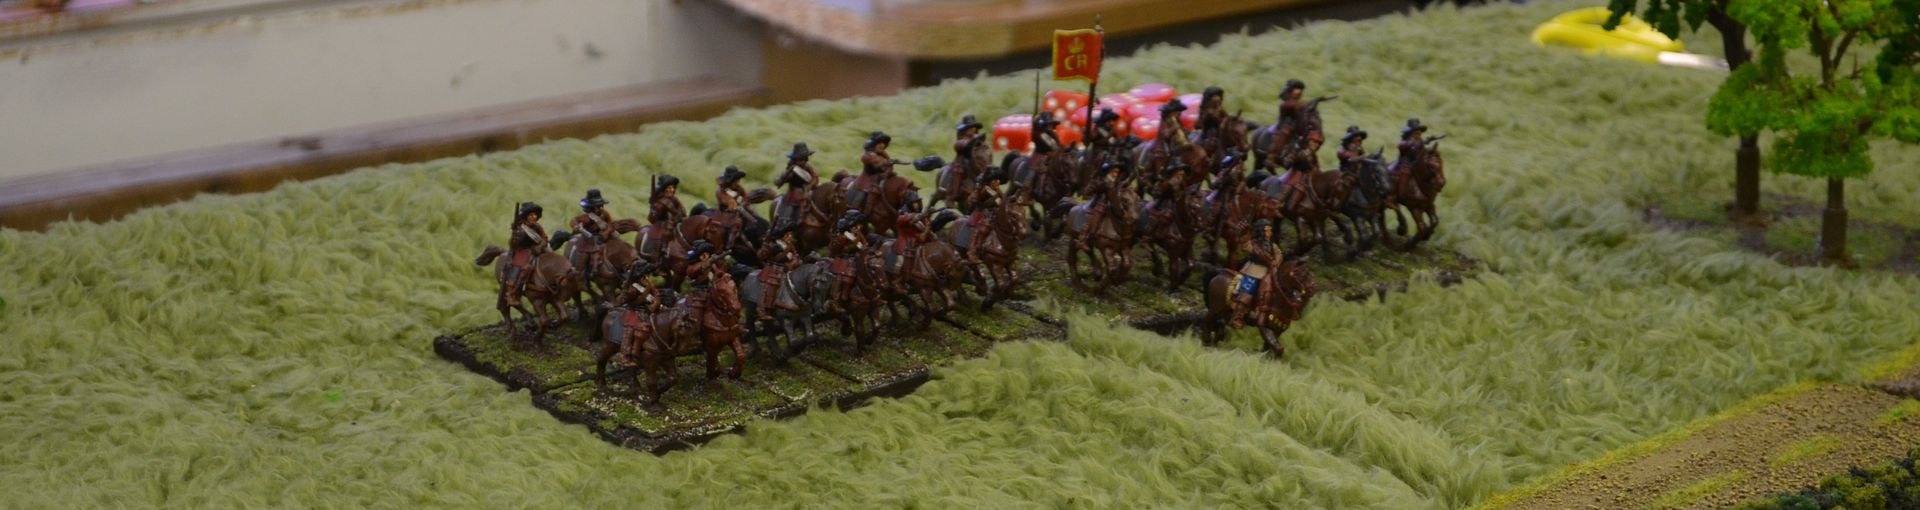 |
| Whilst the Left tries to sweep round |
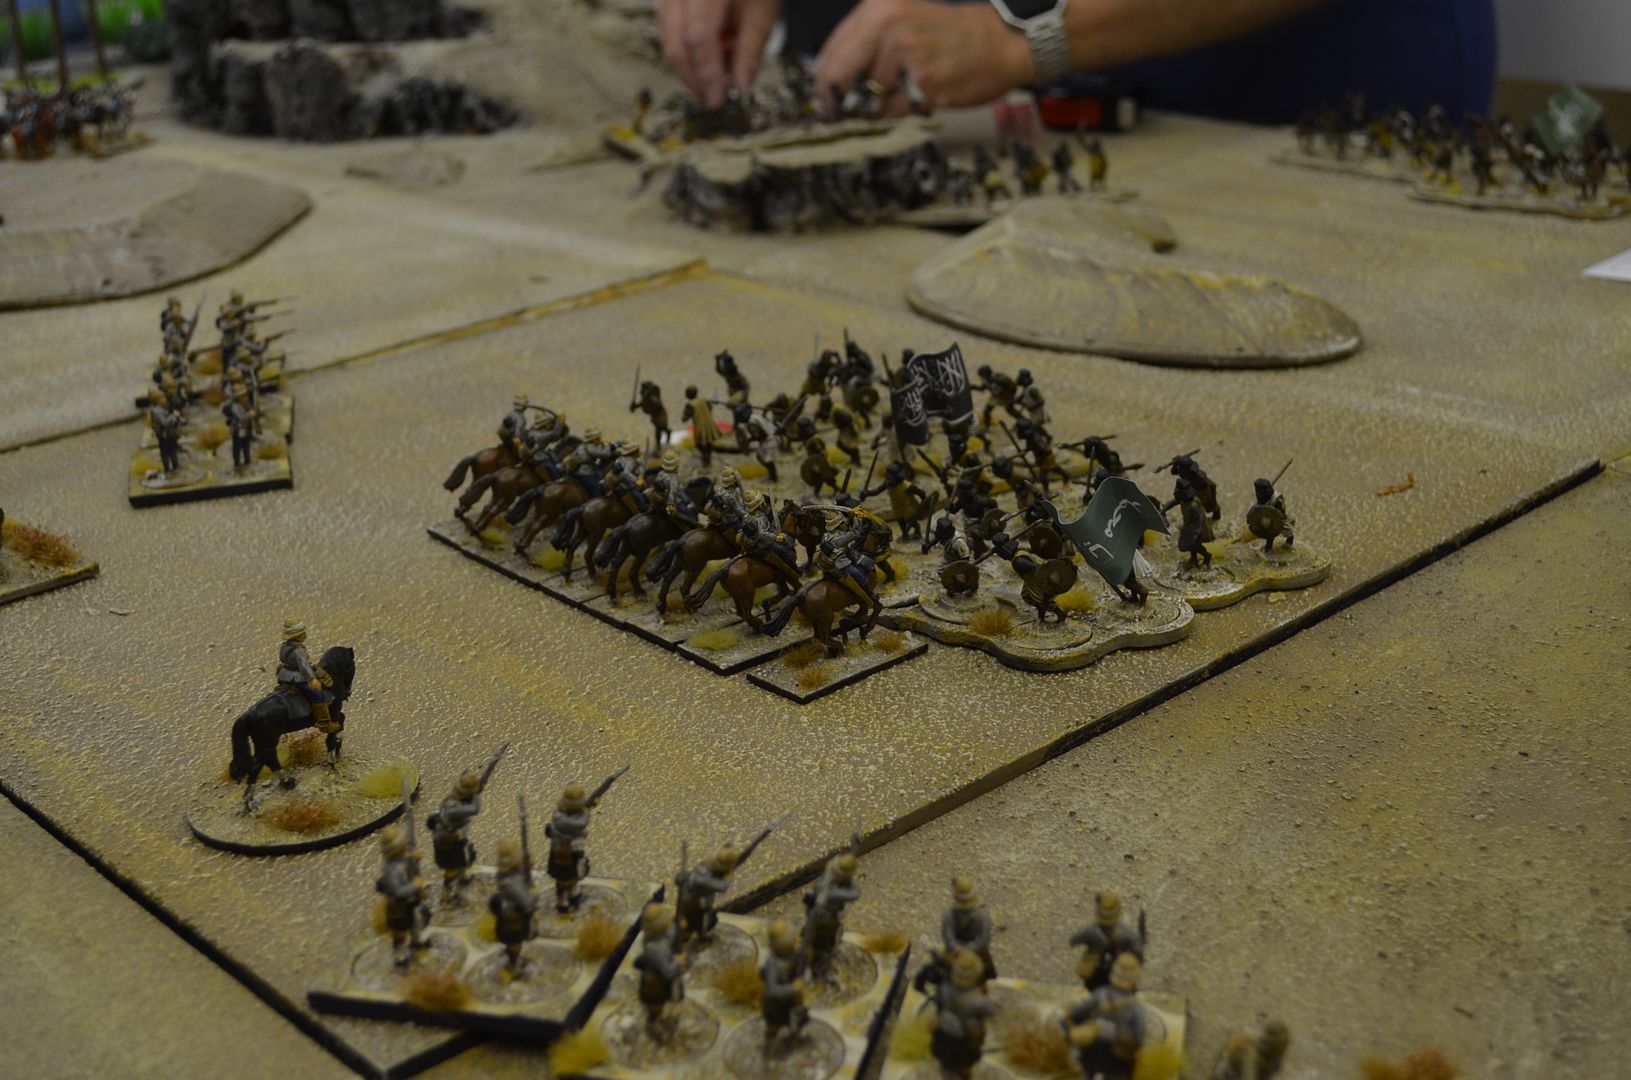
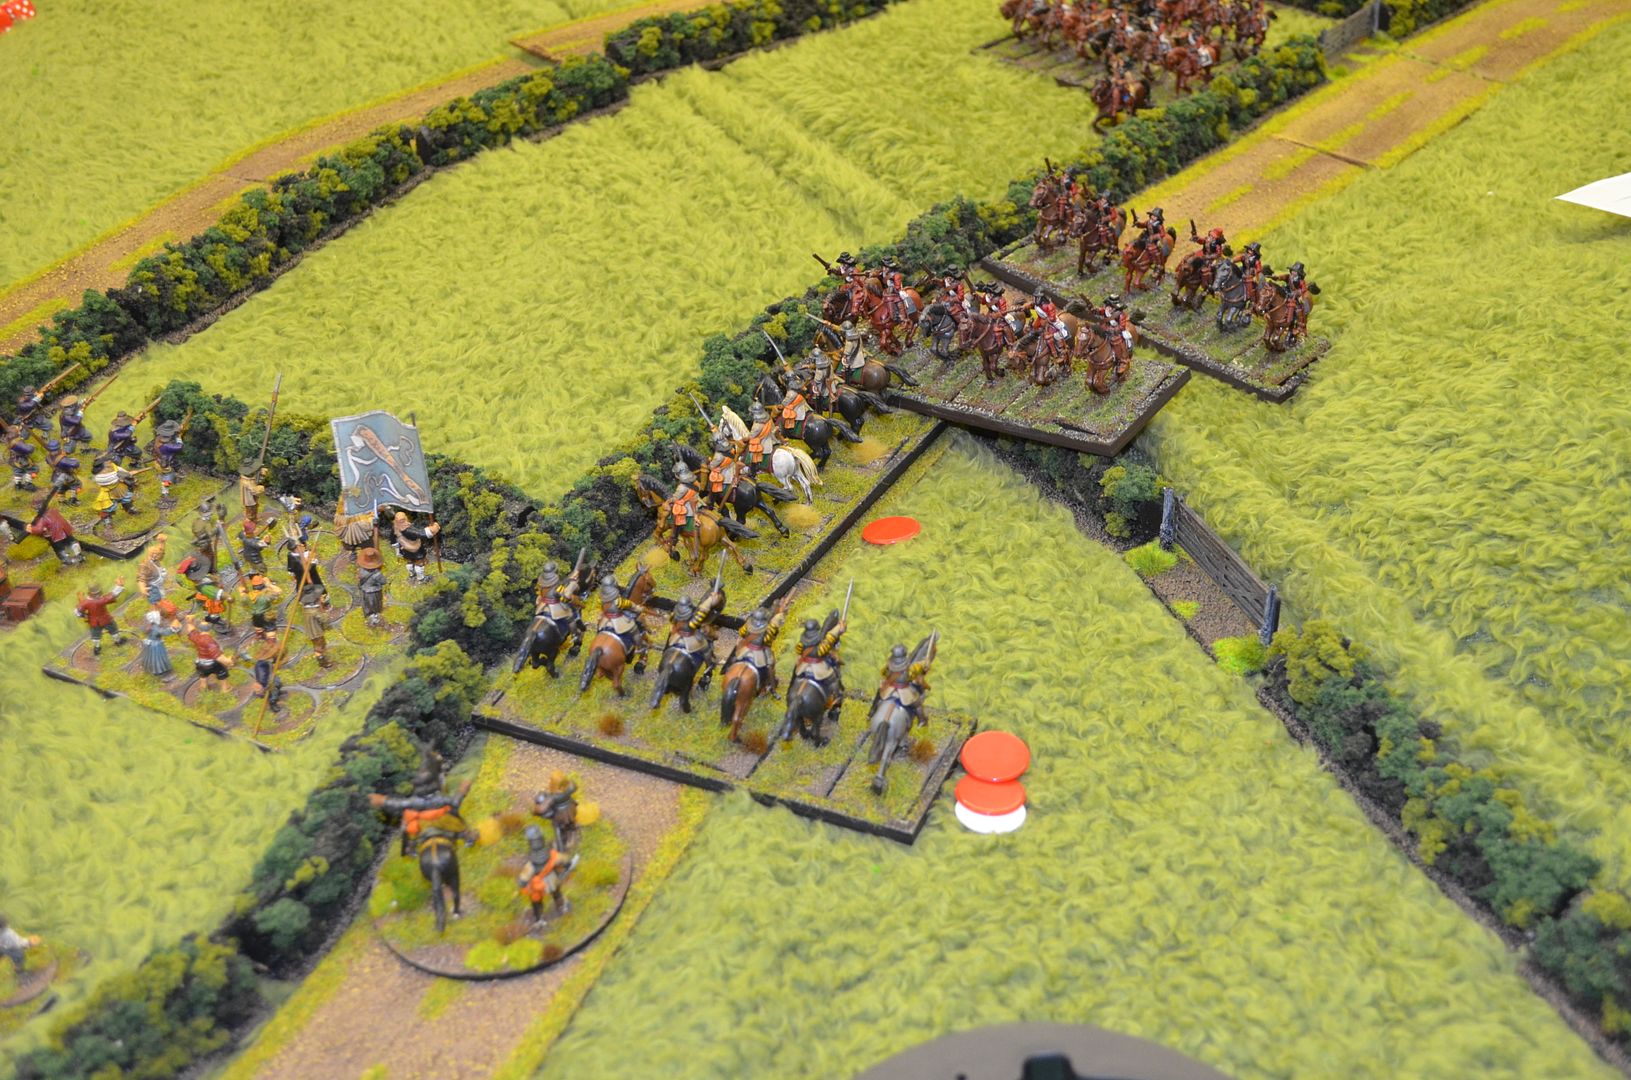 |
| The Left Cavalry wing swiftly engages with the rebels on their rear right flank |
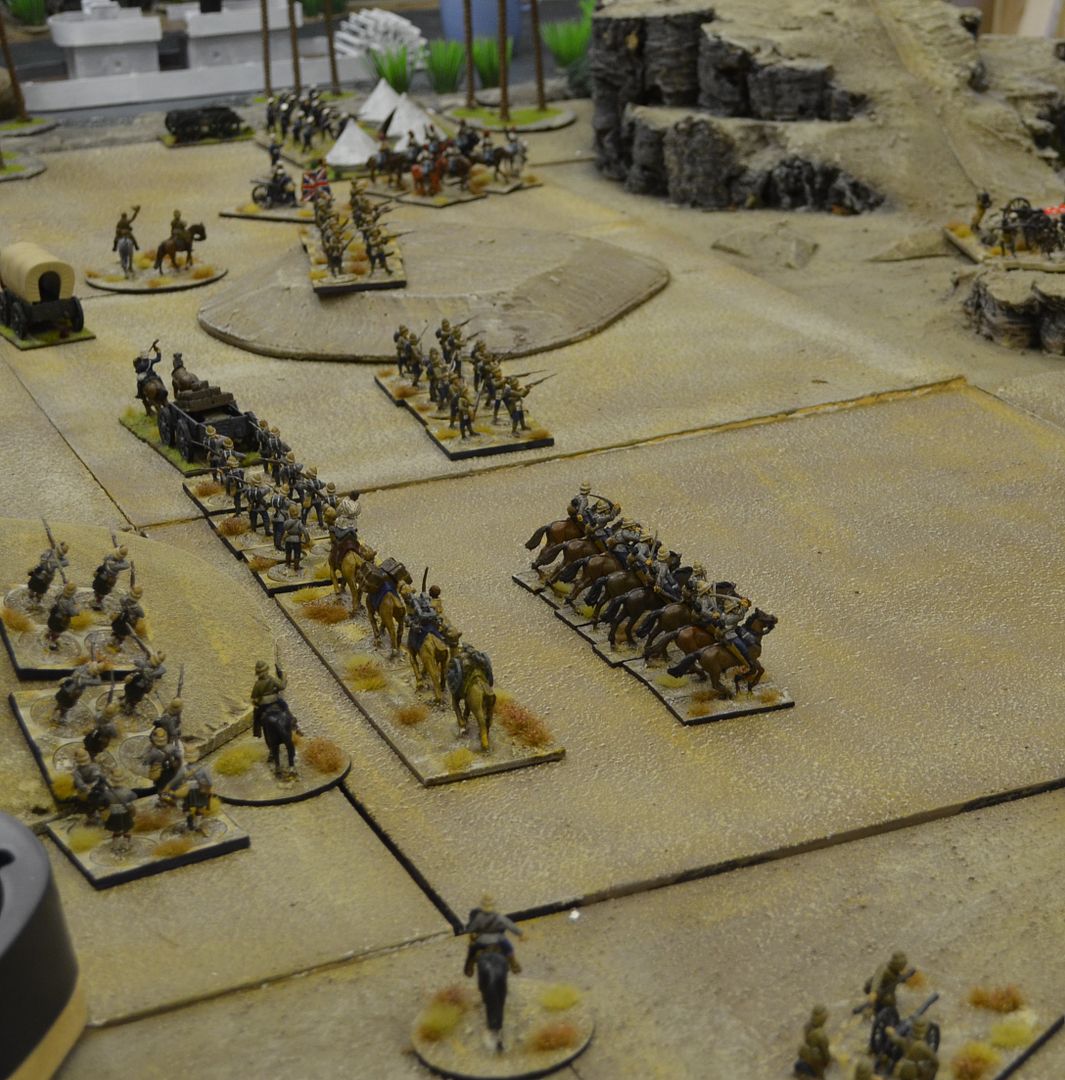
 |
| Its timer for the plodders to do their work... |
 |
| Desultory fire from the Rebel ranks has no impact on the advancing pikes |
 |
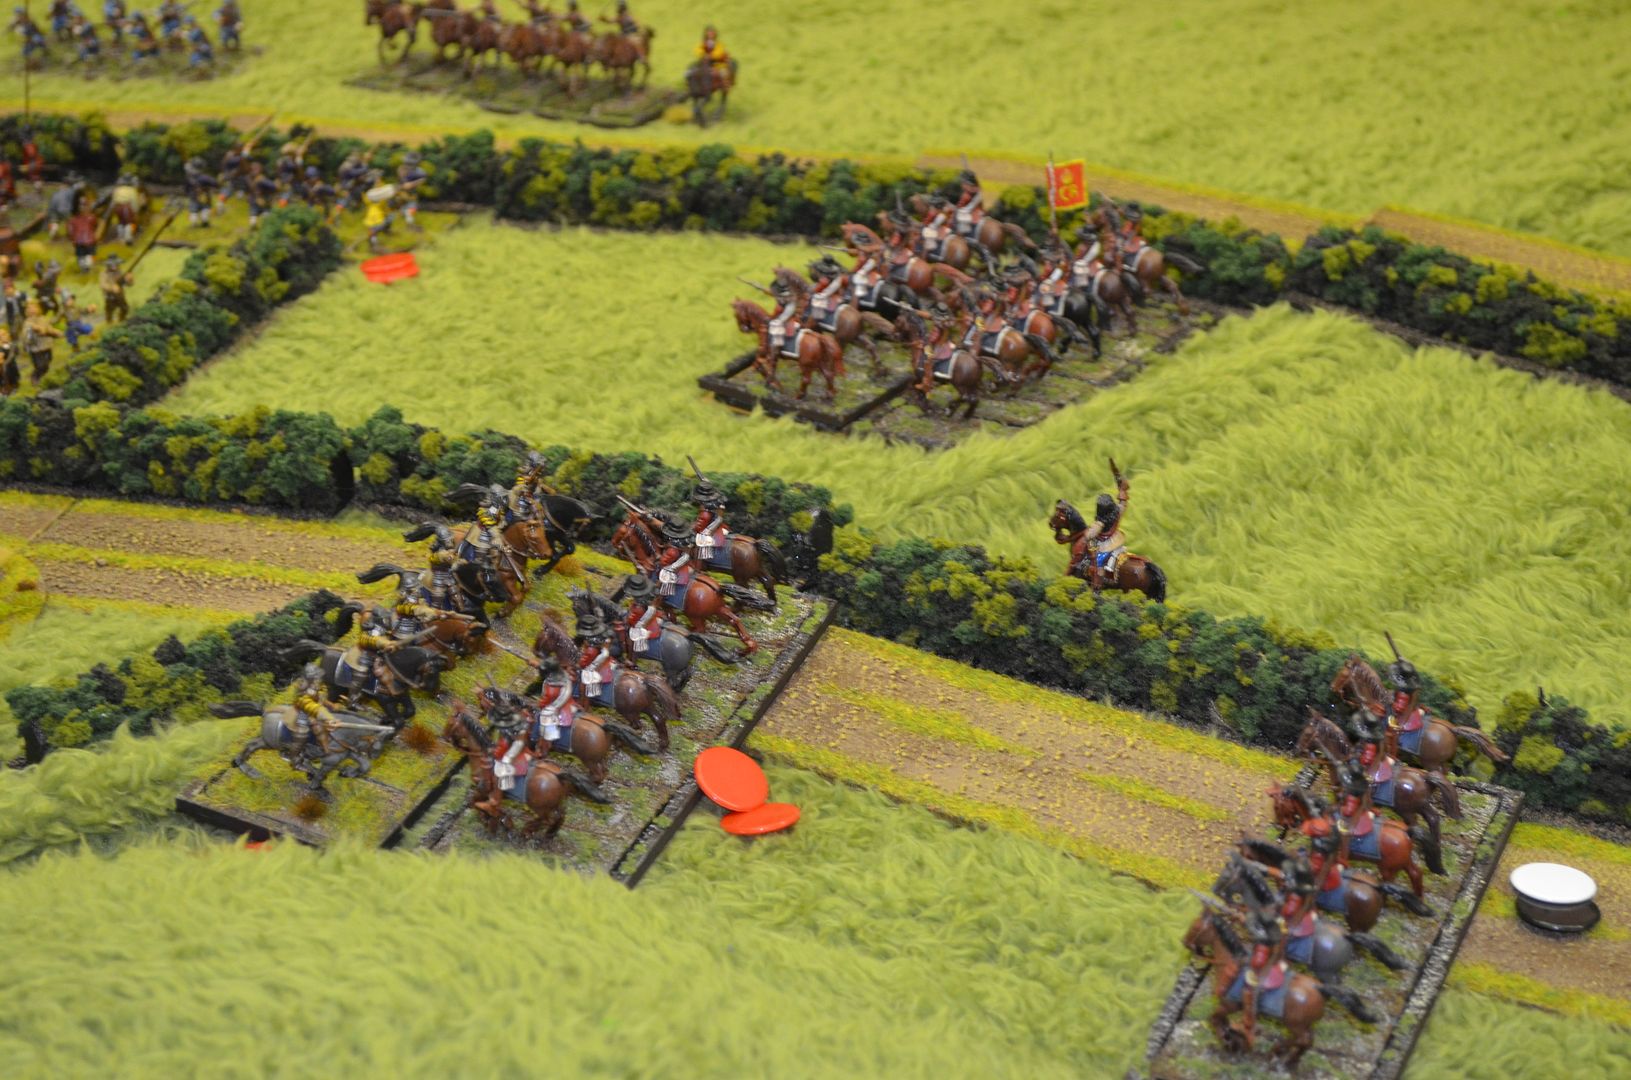
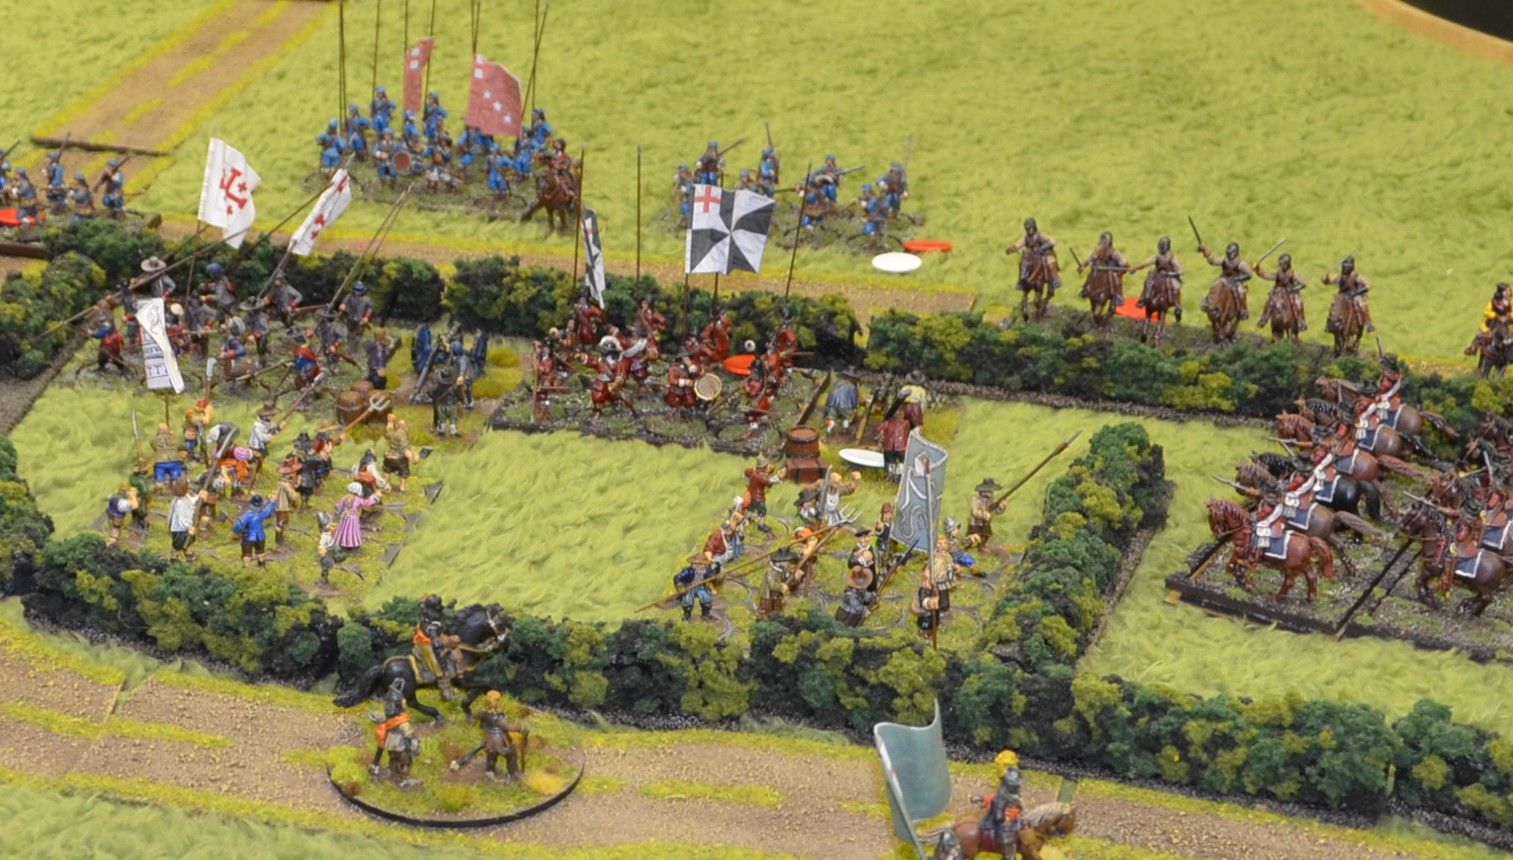
| The Royalist right wing cavalry ride up to the hedgeline and exchange fire |
 |
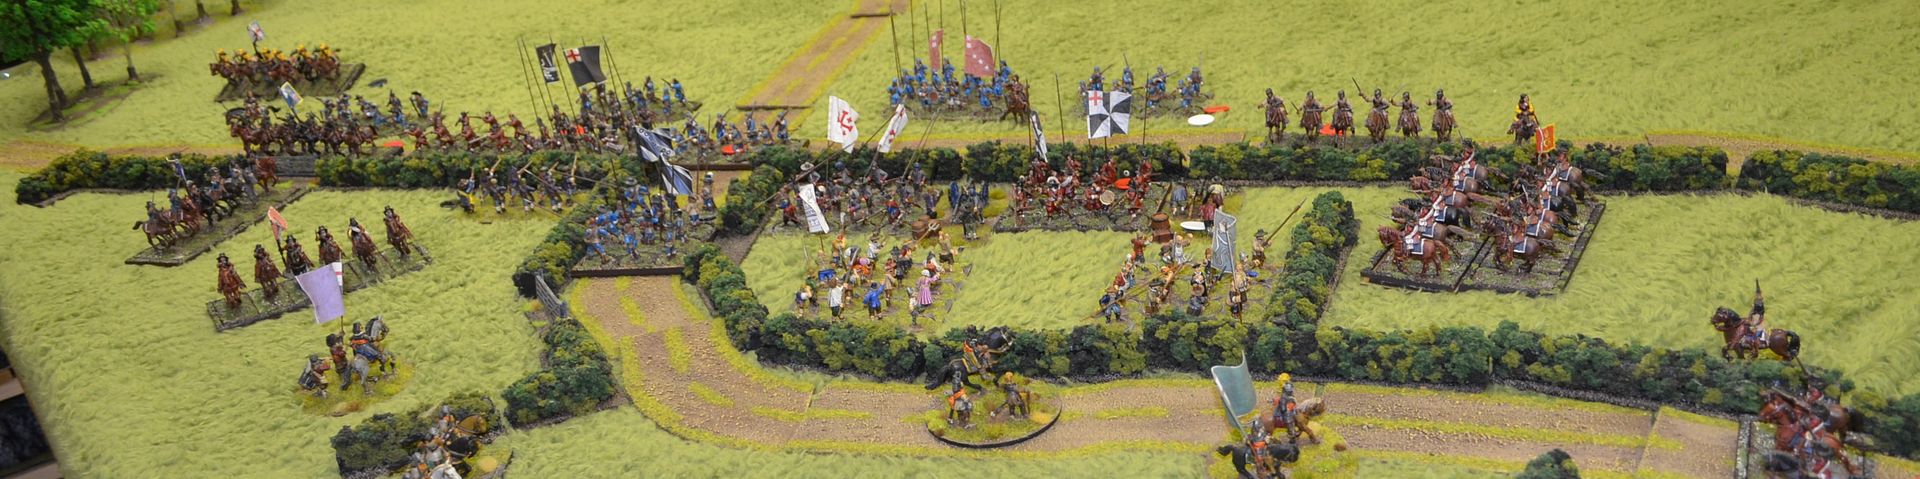
| The Governments forces are now taking a beating across the line |
 |
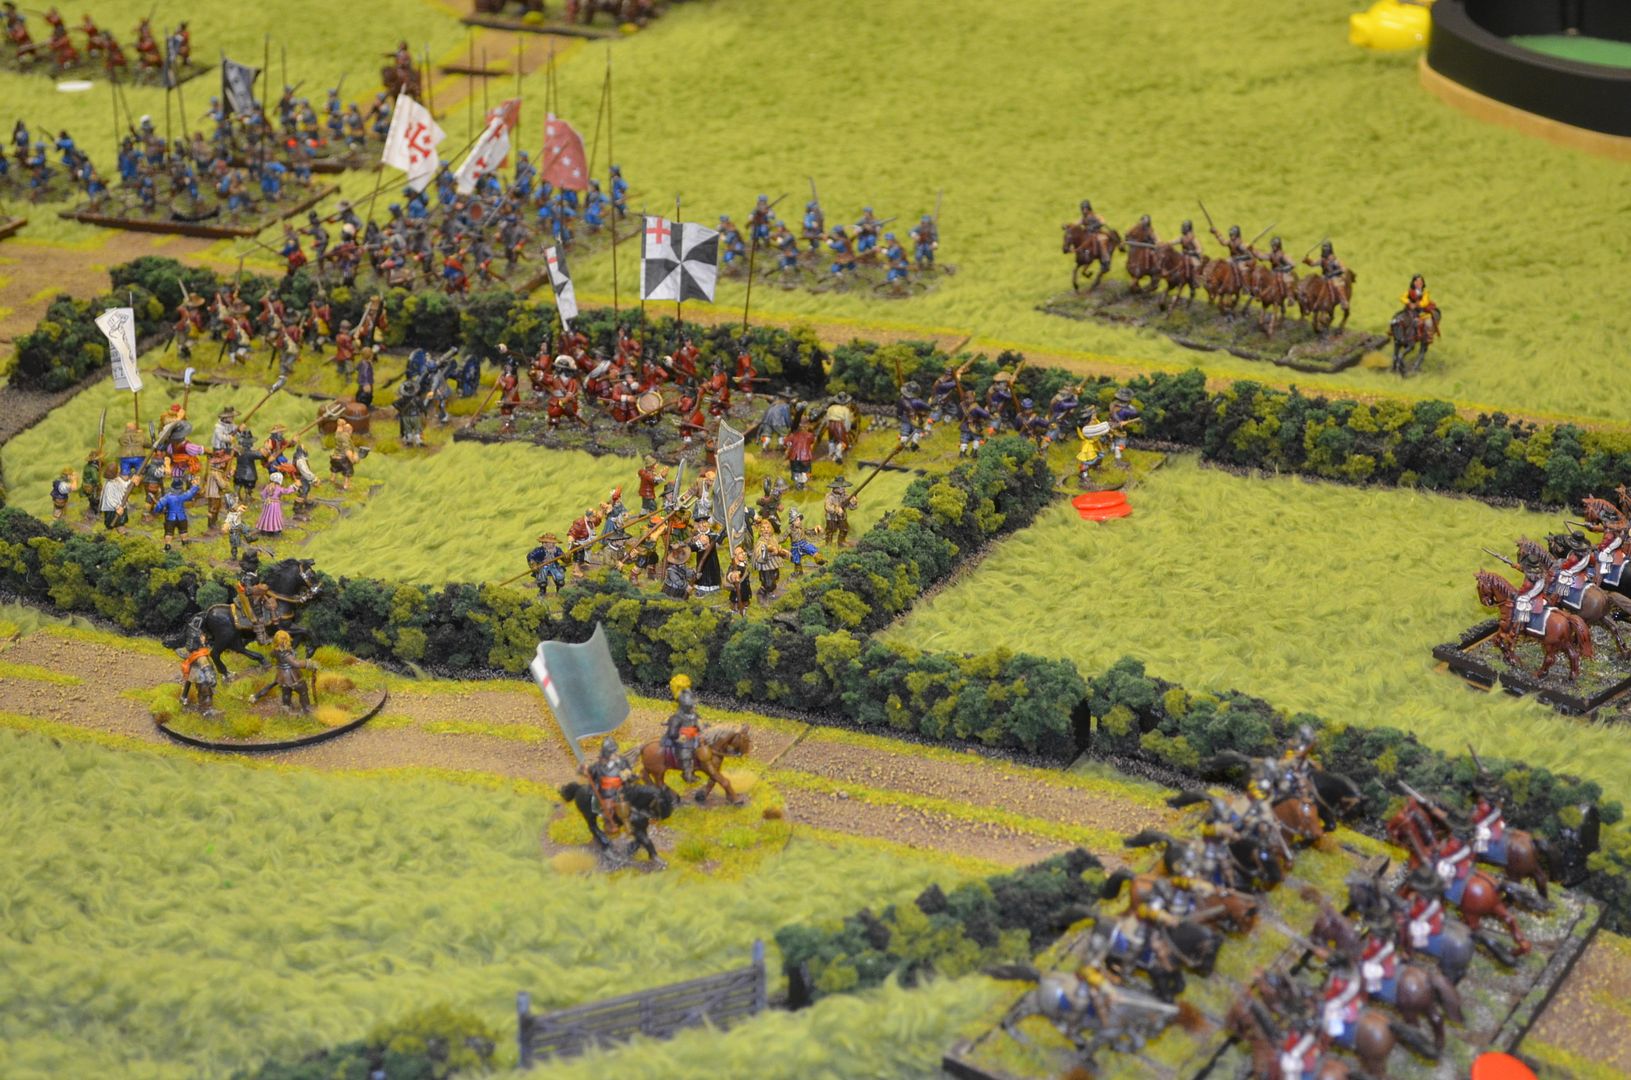
| Breakthrough - the first pike block forces a line break - the cavalry swift to sieze the iniative |
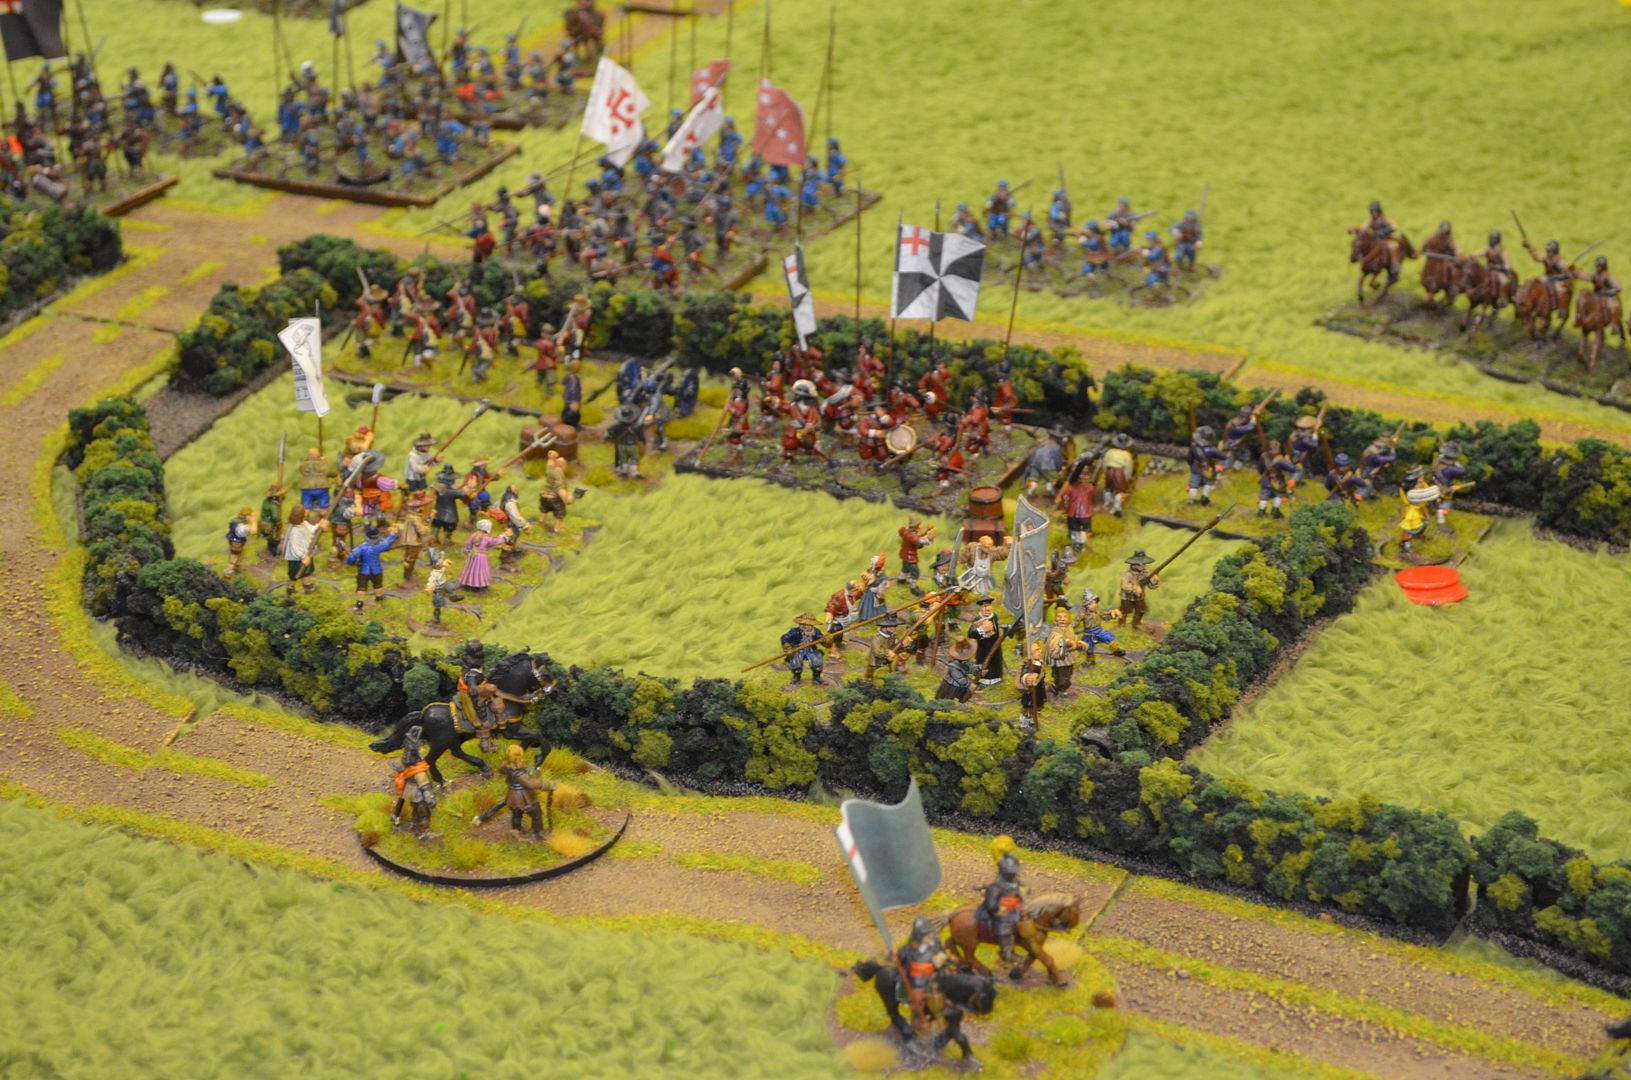 |
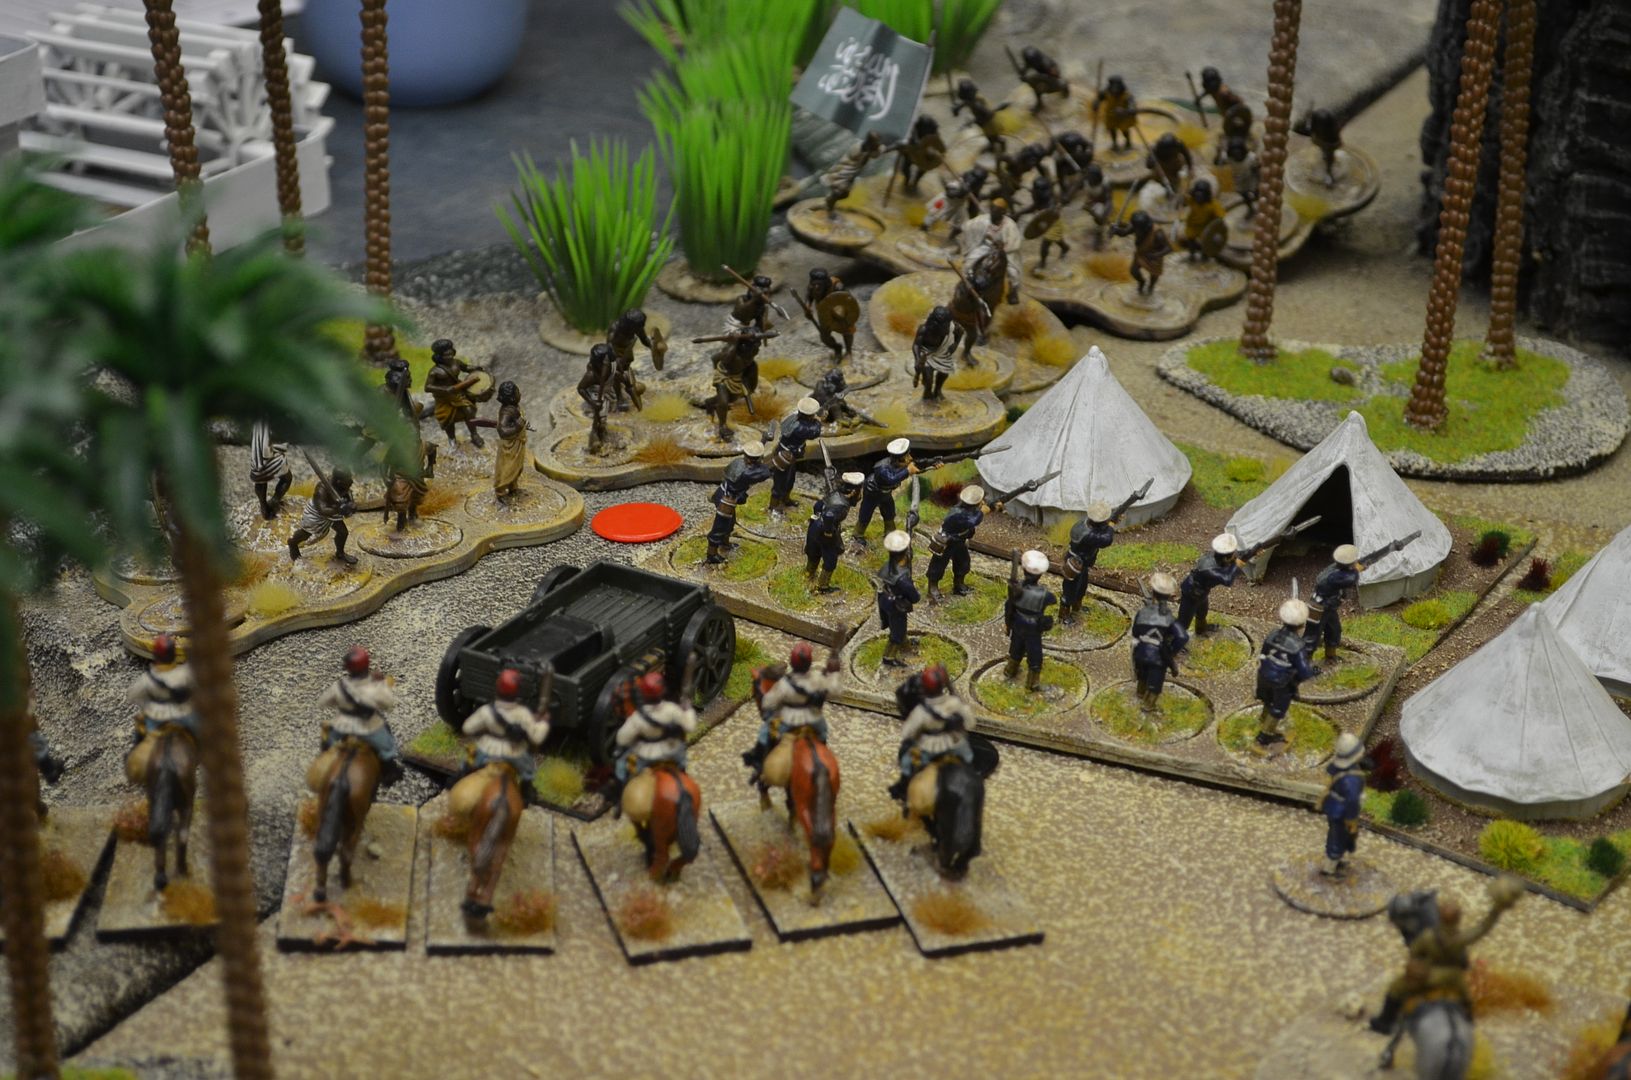
| The local clubmen are no match for trained troops |
 |
| The Royalist cavalry finally win in the rear |
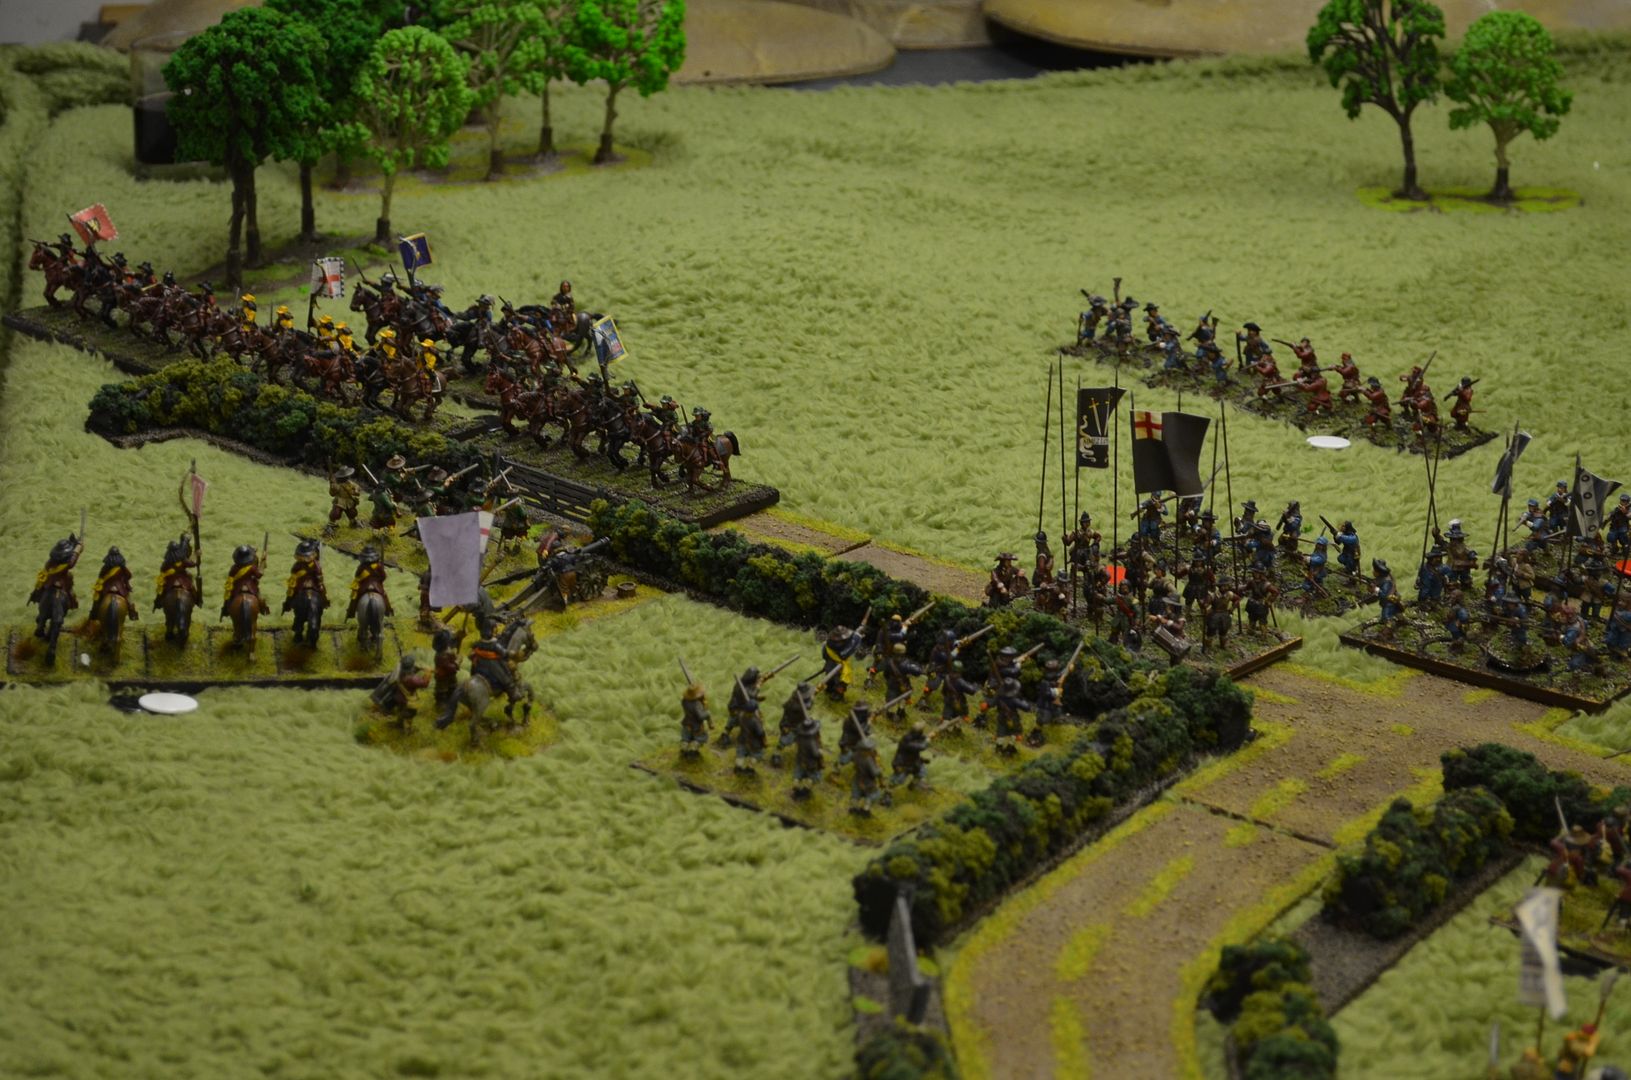 |
| The Parliamentarian left wing crumbles - infantry guns and horse all charged down |
 |
| A Kings Pike forces their way up the road |
 |
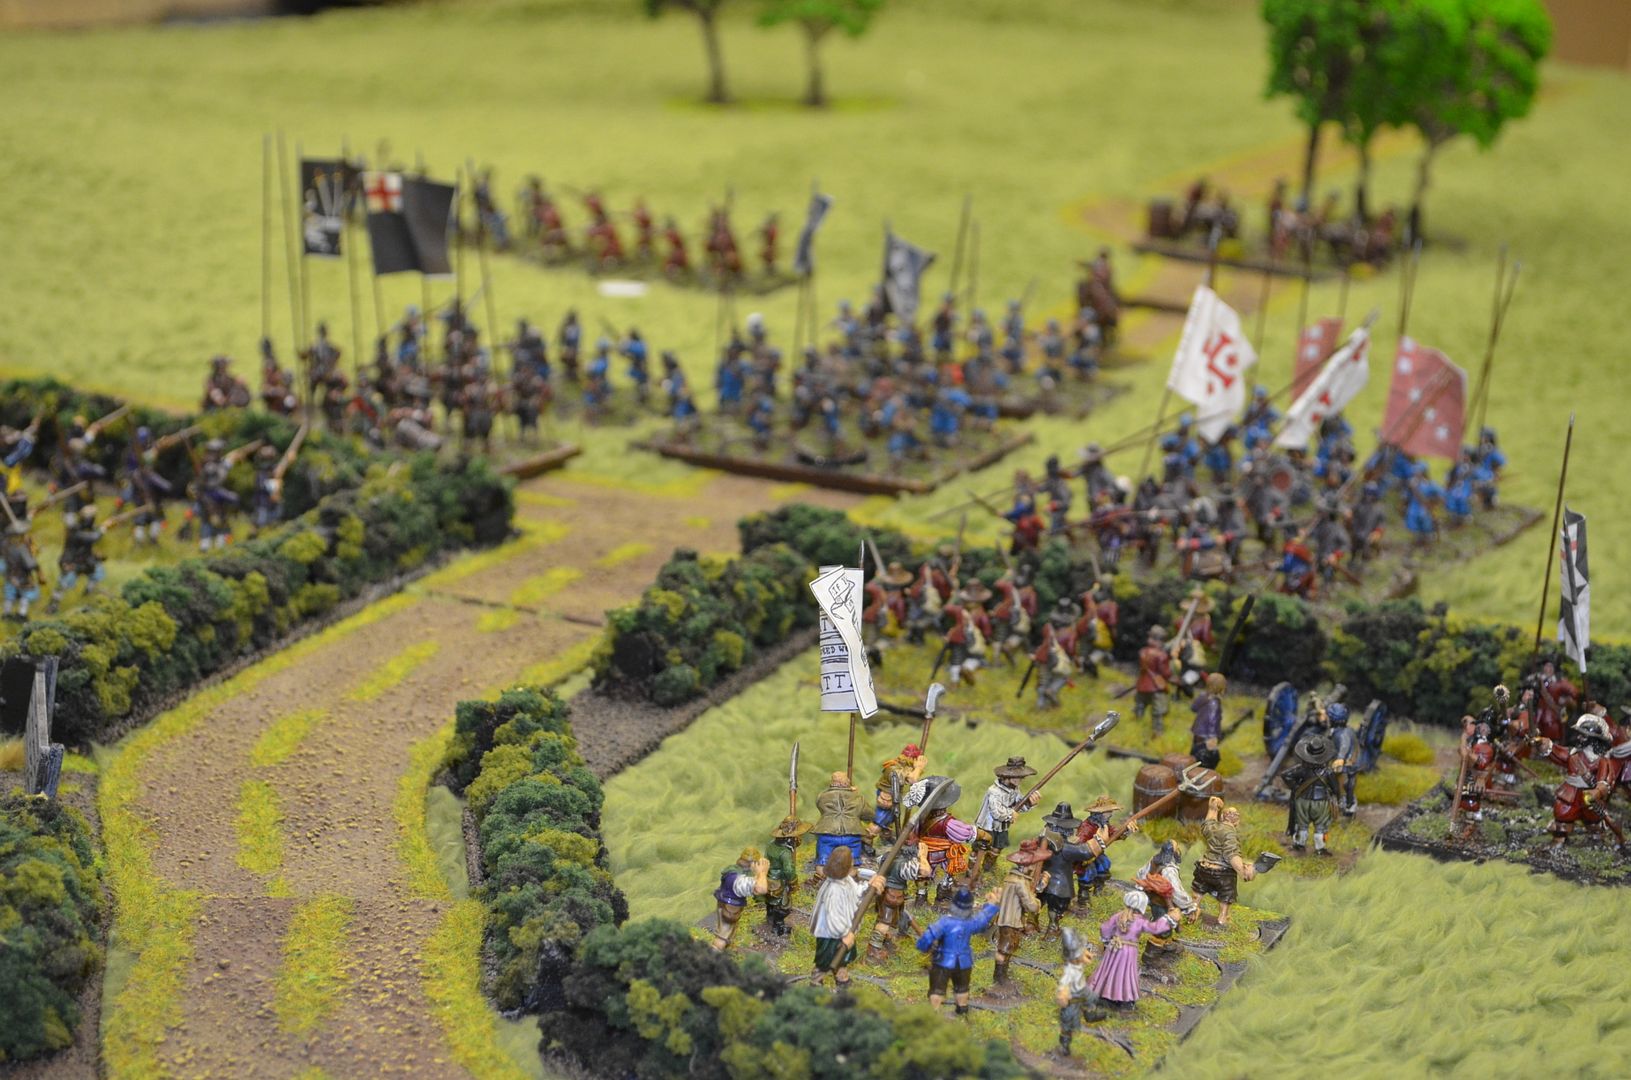
| The Parliamentarians are now in full rout |
 |
| A complete victory for the King |
A great little game - there was always going to be one winner but fun all the less...
More soon