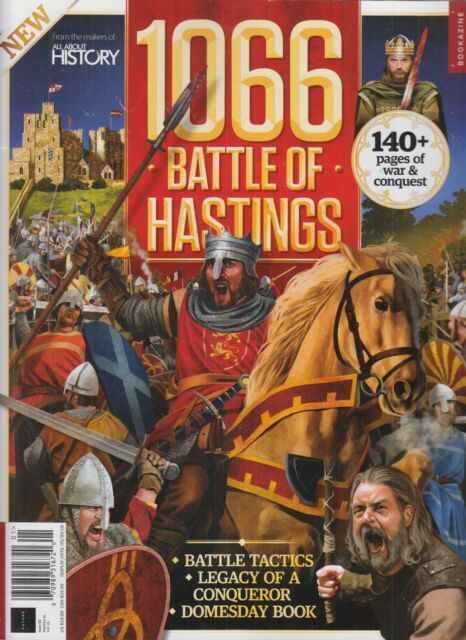
Battle of Stamford
Bridge, 25th September 1066.

The battle of Stamford Bridge was the second of three great
battles fought in 1066. The first being the Battle of Fulford in which Harald
Hardrada, the Viking invader beat the Northern Saxon Earls of Edwin and Morcar
in a rather one-sided affair west of York. The third of course was the Battle
of Hastings, the result of which completely changed English history.
Stamford Bridge was fought shortly after Fulford. Hardrada’s
Vikings were caught completely unprepared by a Saxon army under King Harold
Godwinson who had marched north from London in rapid time.
Following the events after Fulford, Hardrada demanded the
capitulation of York. To safeguard the city from rape and pillage the city
elders agreed to provide hostages. Hardrada, whilst waiting on these hostages
to be delivered retired his forces to the east of the city. It was here at
Stamford Bridge on the river Derwent two thirds of his troops waited. The
remaining third, commanded by his brother in law, Eystein Moorcock, retired to
defend the fleet some eight miles await further east at Ricall on the river
Ouse. On a warm late summer’s morning Hardrada’s pickets spotted riders coming
towards the resting Viking army. The army itself was dispersed across both
banks of the river.
These riders were not the hostages they had been expecting
but King Harold’s army, by the time the alarm was raised the Saxon host were
almost upon the invaders.
There are very few accounts of this battle, but most seem to
suggest that
•
the Saxons outnumbered the Vikings present at
Stamford Bridge by some considerable number
•
that Viking reinforcements did arrive during the
battle from Ricall but arrived too late to prevent the destruction of the army.
•
that the Vikings were completely taken by
surprise and many men were unarmoured and unprepared.
•
The Vikings were spread across both banks and a
panic arose amongst those on the same bank with the Saxons. These forces did
their best to cross the river and join the other part of the Viking army.
•
The Saxons were delayed by a Viking hero who
stood firm on the bridge until such time that a Saxon warrior went under the
bridge and stabbed upwards through the planks taking him down
•
The Vikings deployed on a low hill east of the
bridge (now known as Battleflats) to defend in shield wall against the Saxon
army.
Wargaming Stamford
Bridge
As per the description of the battle the Vikings will be
outnumbered by almost two to one in the early stages of the game. They will
however receive reinforcements during the game. More on this in a minute.
 |
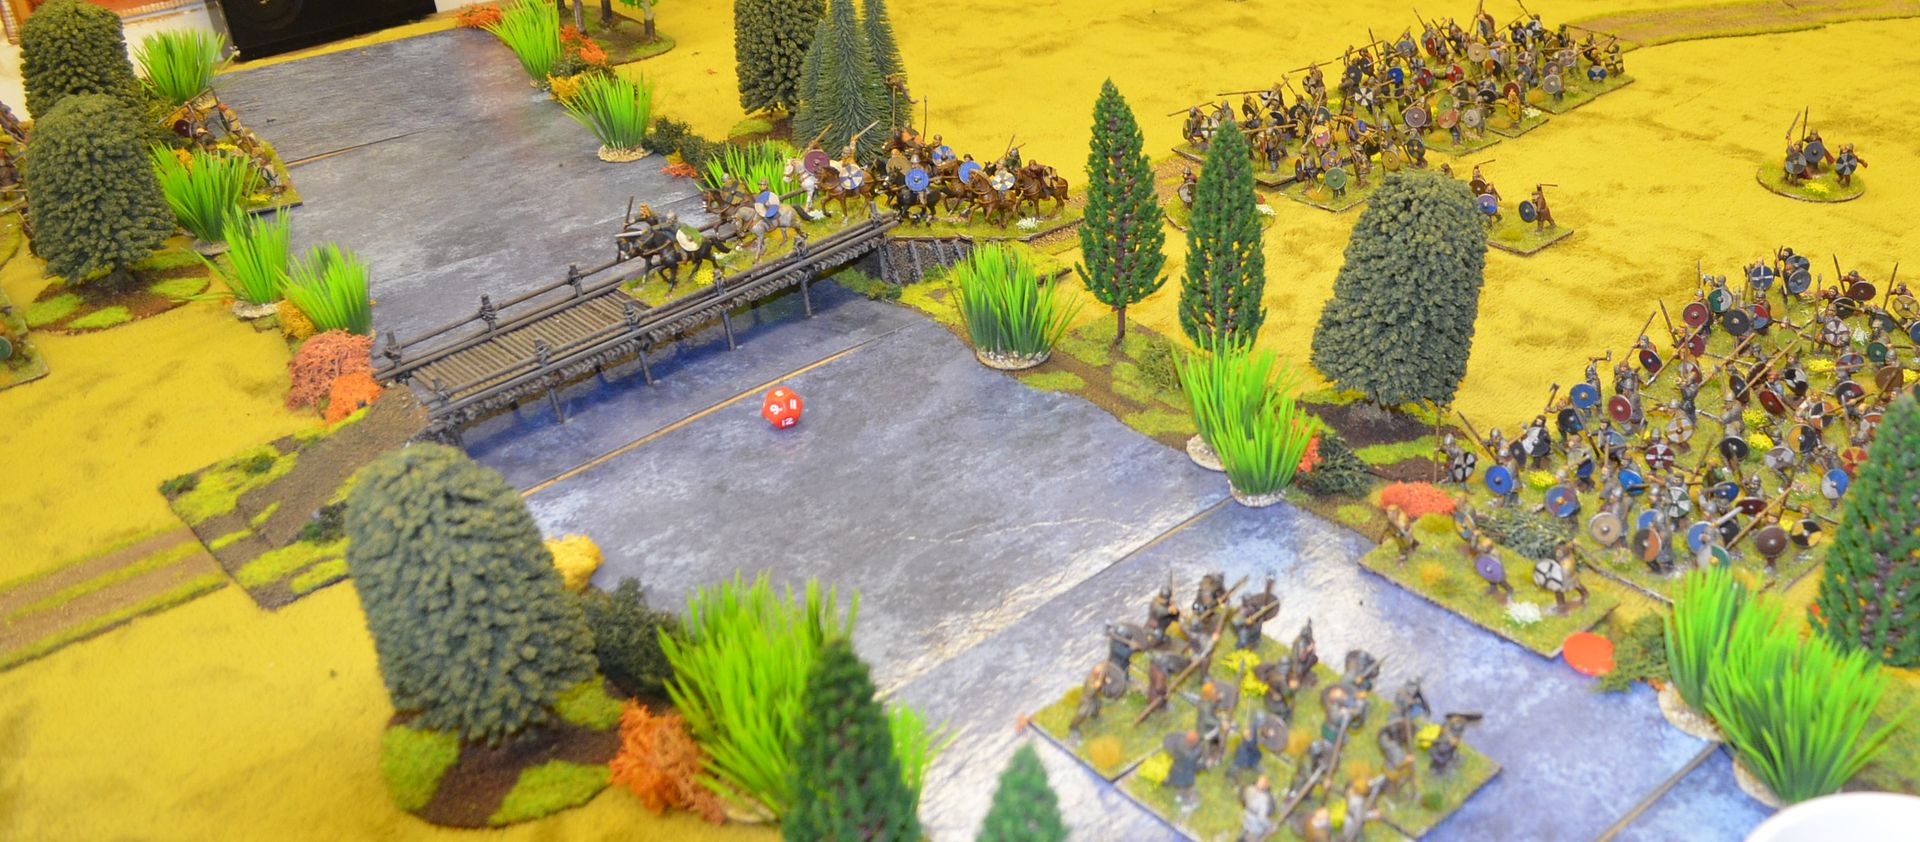
| Stamford Bridge (table 5ft x 16ft) |
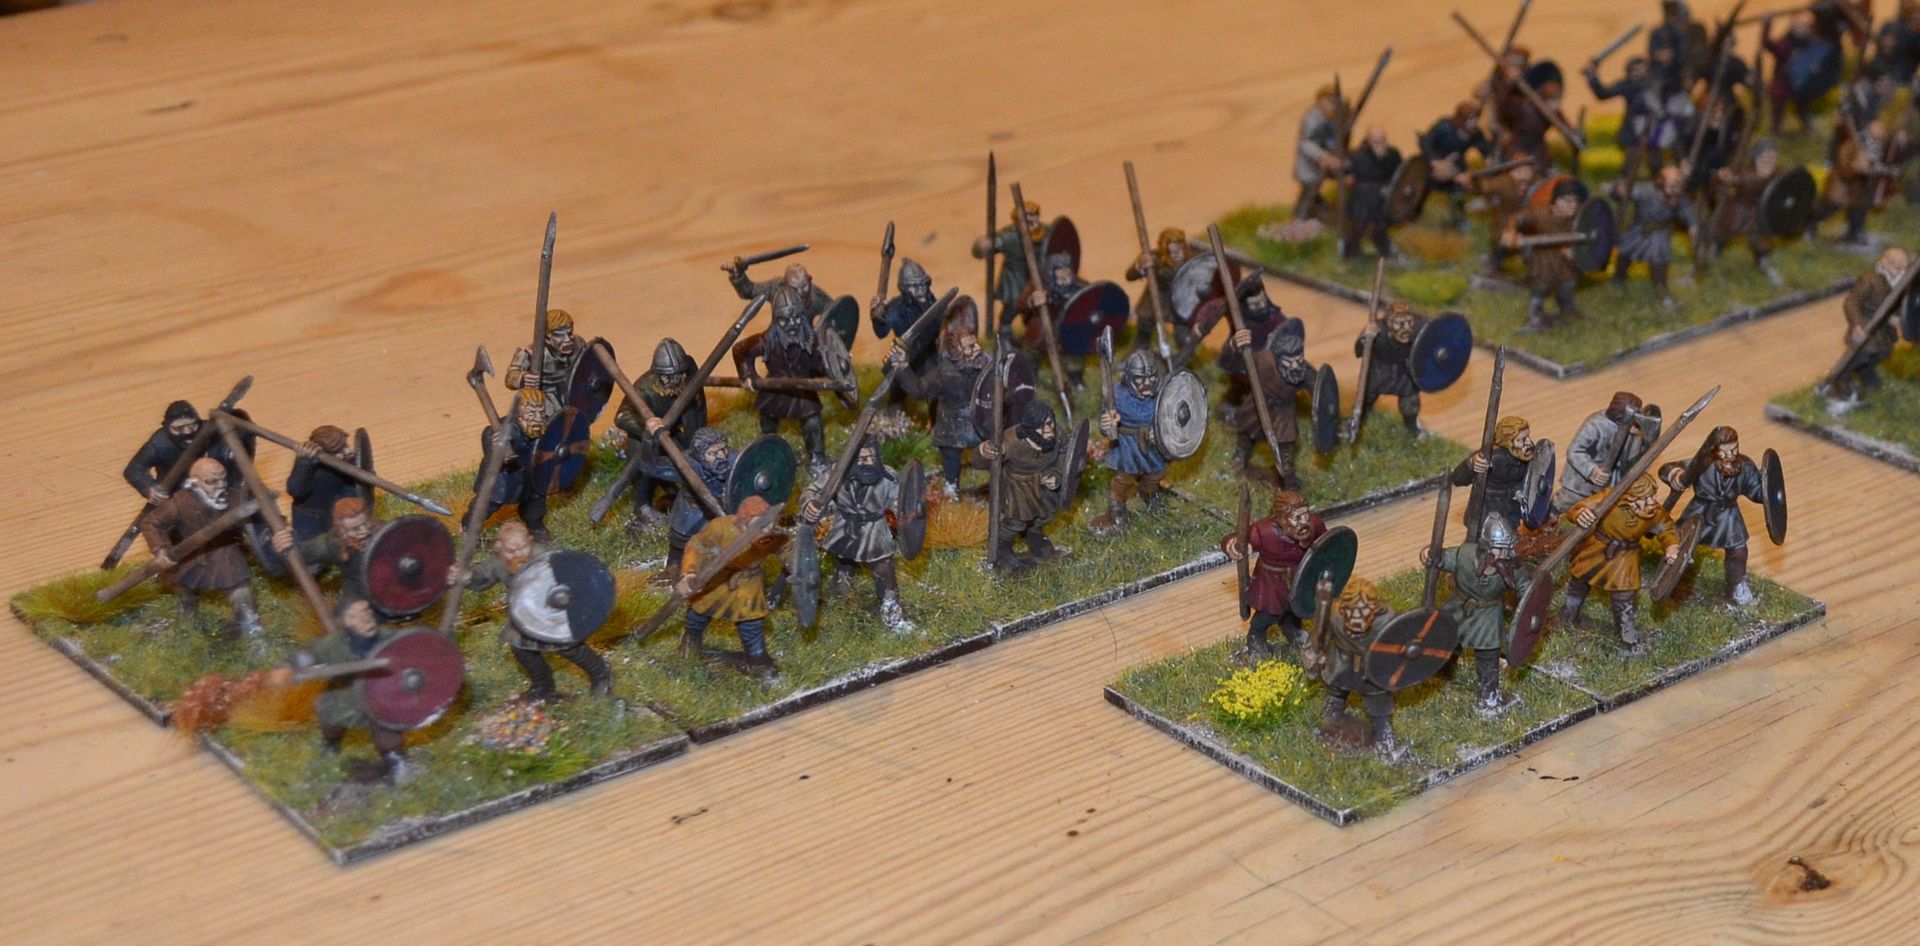
The Vikings
The Viking forces will be split in two camps straddling the
river in a state of disorder. To reflect this all the Viking units will start
the game disorganized. Thereafter each unit will need to rally to remove this
disorder - the unit will be able to do this on a 2d6 roll of 8 or less (as per
a command roll) – this will be modified by a further -1 if enemy forces are
within 12”.
Units may automatically remove their disorder if joined by a
commander using the follow me rule. Units disordered may not form into shield
wall and may not move towards the enemy. Units that are disordered may retreat
away from the enemy one move as per initiative.
Given the Vikings were unprepared and that the chronicles
state they had left their armour with the fleet (why? it was over nine miles
away) all the Viking units will suffer a -1 morale save for the game apart from
the reinforcements.
The Viking reinforcements may appear from turn 4 – each unit
rolls a d6 and on a 6 it appears (each subsequent turn add a cumulative +1 to
this die roll. The first unit to arrive will be accompanied by Moorcock.
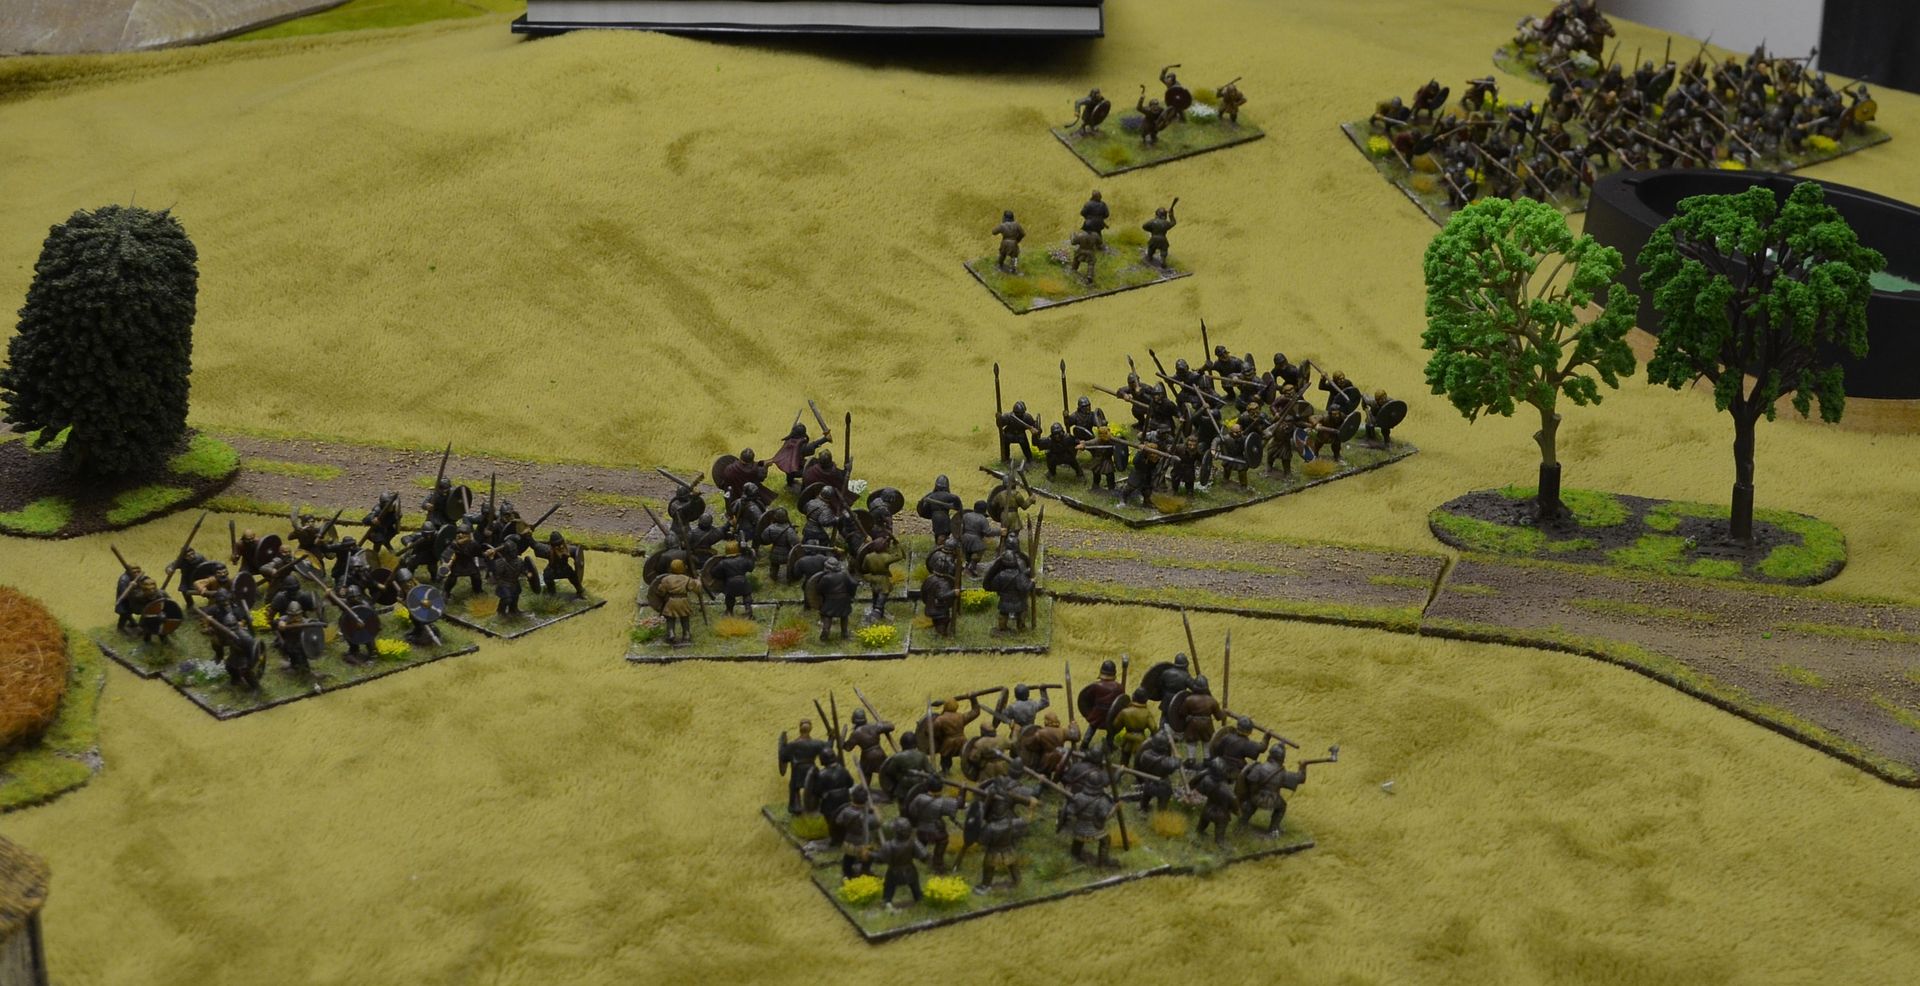
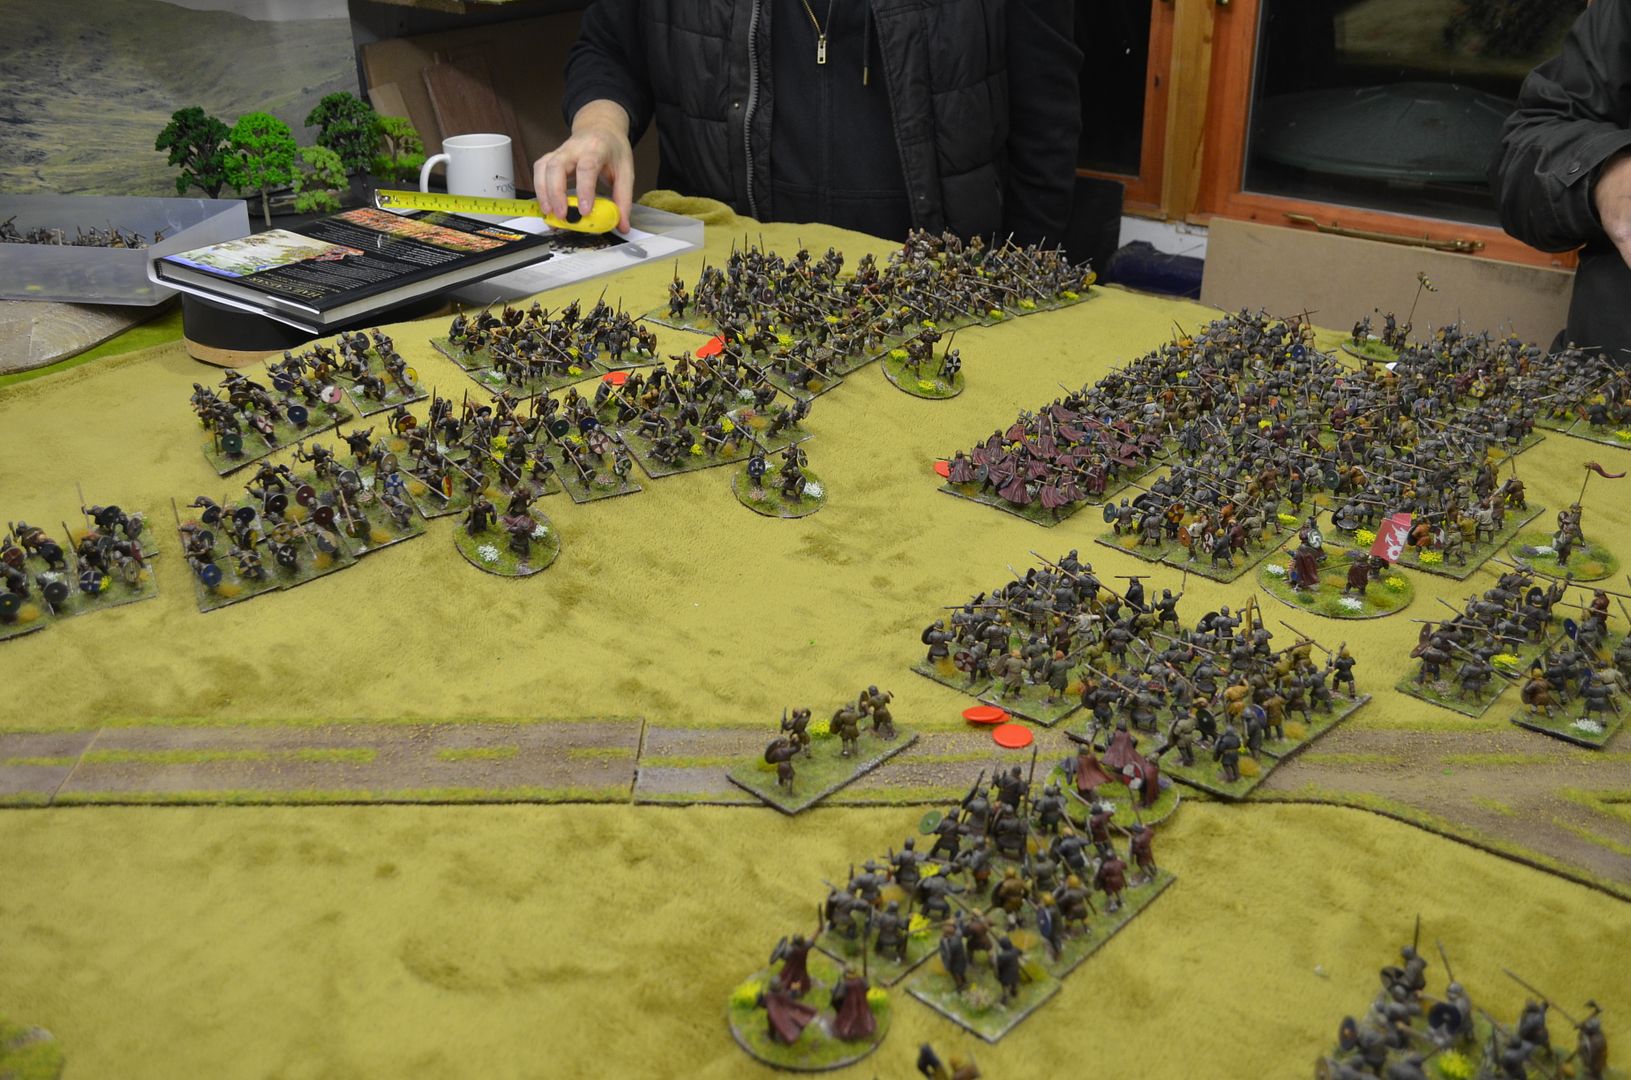
 |
| Resting Vikings on East Bank |
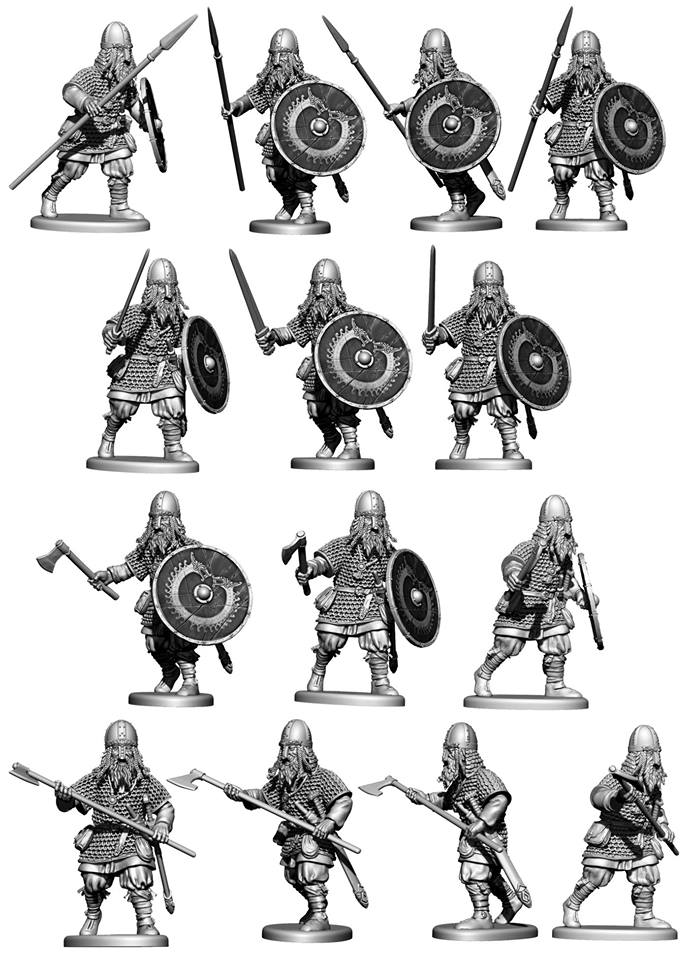
Viking Forces:
At Stamford Bridge
8 units of Viking warbands (3 on the eastern side facing the
Vikings)
4 units of skirmishers (2 on each side of river)
At Ricall (reinforcements)
3 Viking warbands
King Harald Hardrada (8 command /+2 combat) – west side of
bridge
Earl Tostig (8 command /+2 combat) – west side of bridge
Eystein Moorcock (8 command /+2 combat) - reinforcements
Viking Hero (7 command/+3 combat) – east side of bridge
The Saxons
The Saxons will start 18” away from the closest Viking unit
on the western side of the bridge.
The Saxons are made up of five divisions commanded by the
following
King Harold (8)
Earl Morcar (8)
Earl Edwin (8)
Earl Leofric (8)
Earl Gyrth (8)
All Saxon commanders add +2 combat dice to any unit they are
attached to
Saxon Forces
2 x units of Saxon horse (its own division)
15 units of Saxon combined arms warbands (3 divisions of
four, 1 division of three plus…Housecarls)
1 unit of Housecarls
4 units of missile armed skirmishers (one per division)
All warbands (both Saxons and Vikings are combined units of
Thegns/Ceorls or Hirdmen/Bondi) are per army lists in Hail Caesar
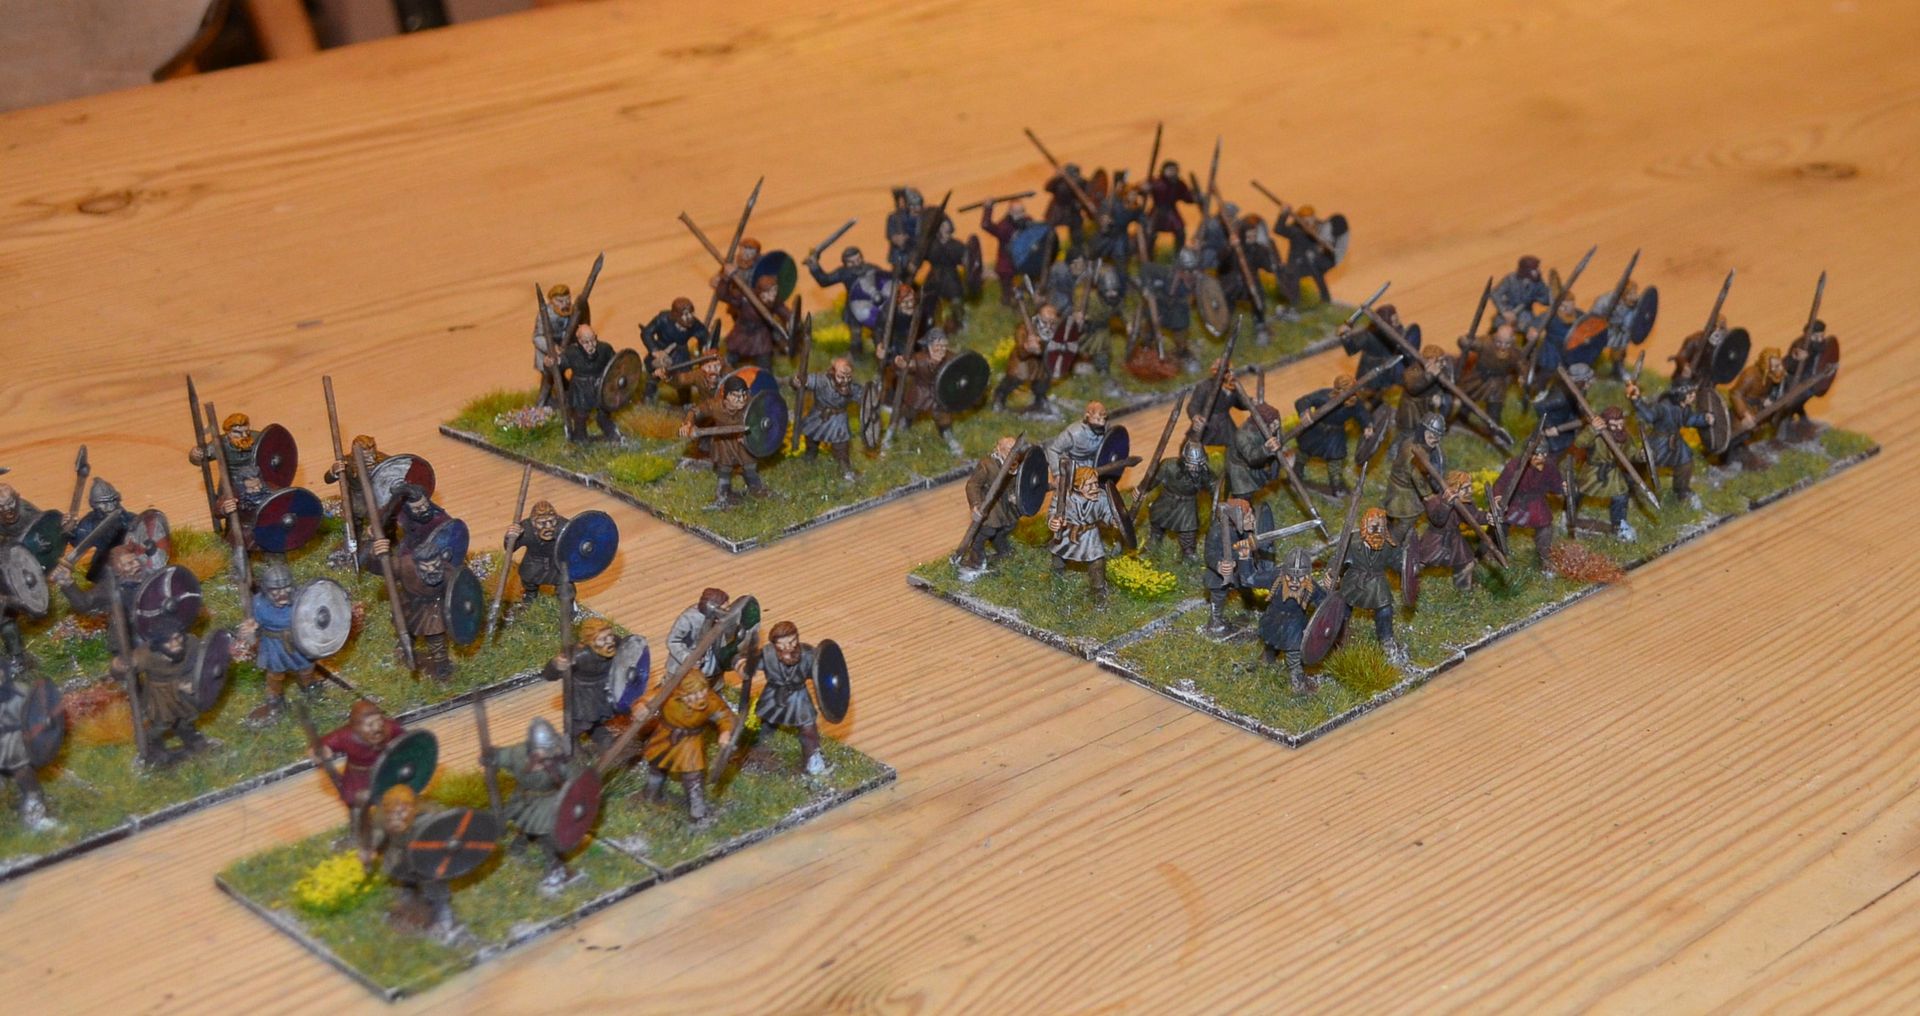
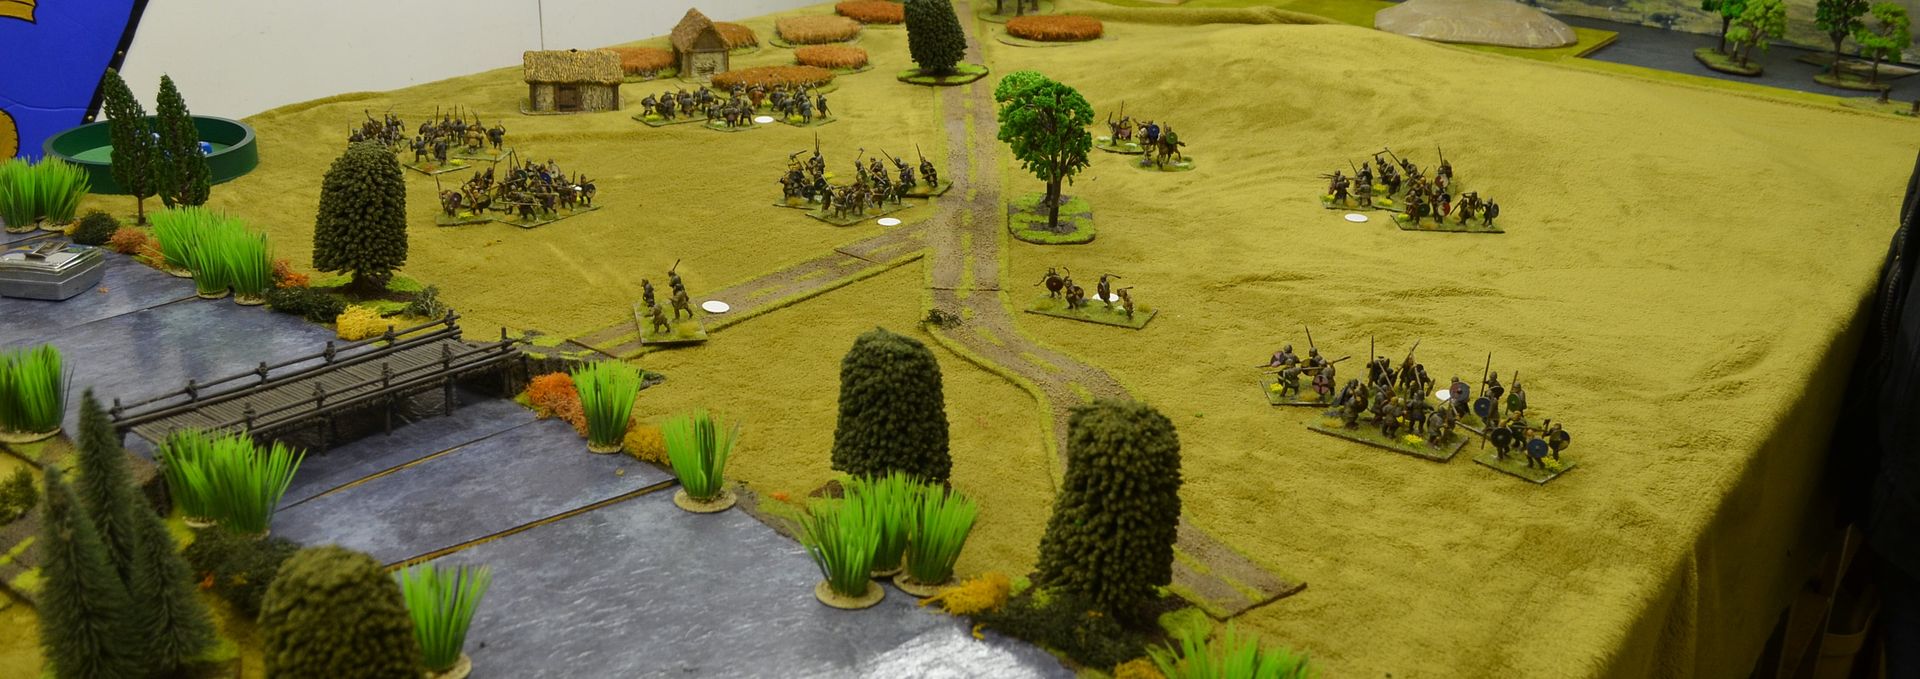
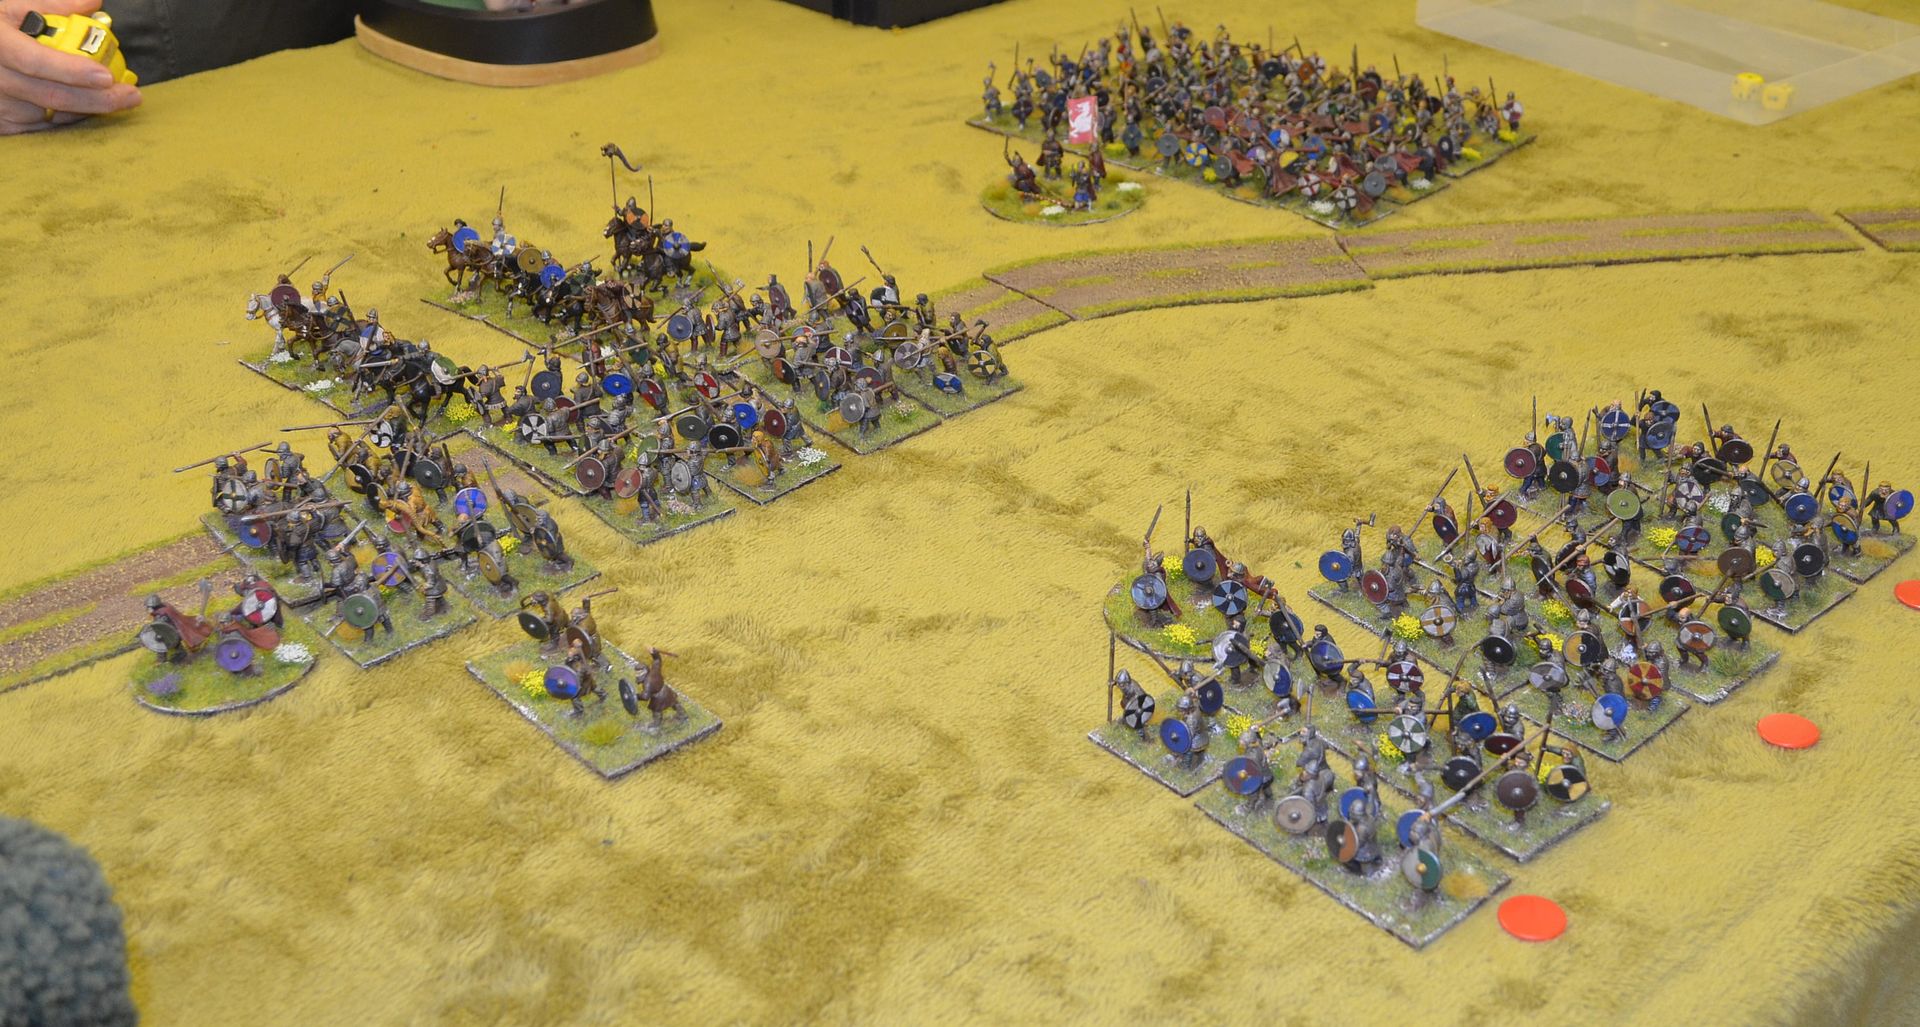
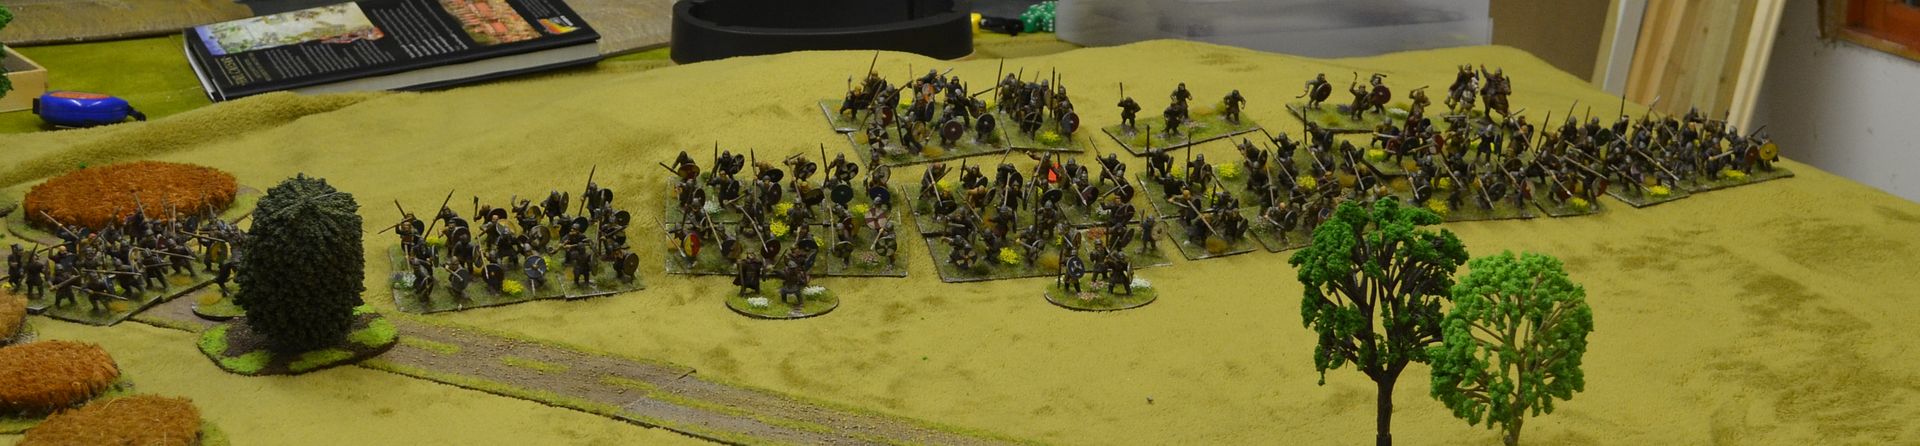
 |
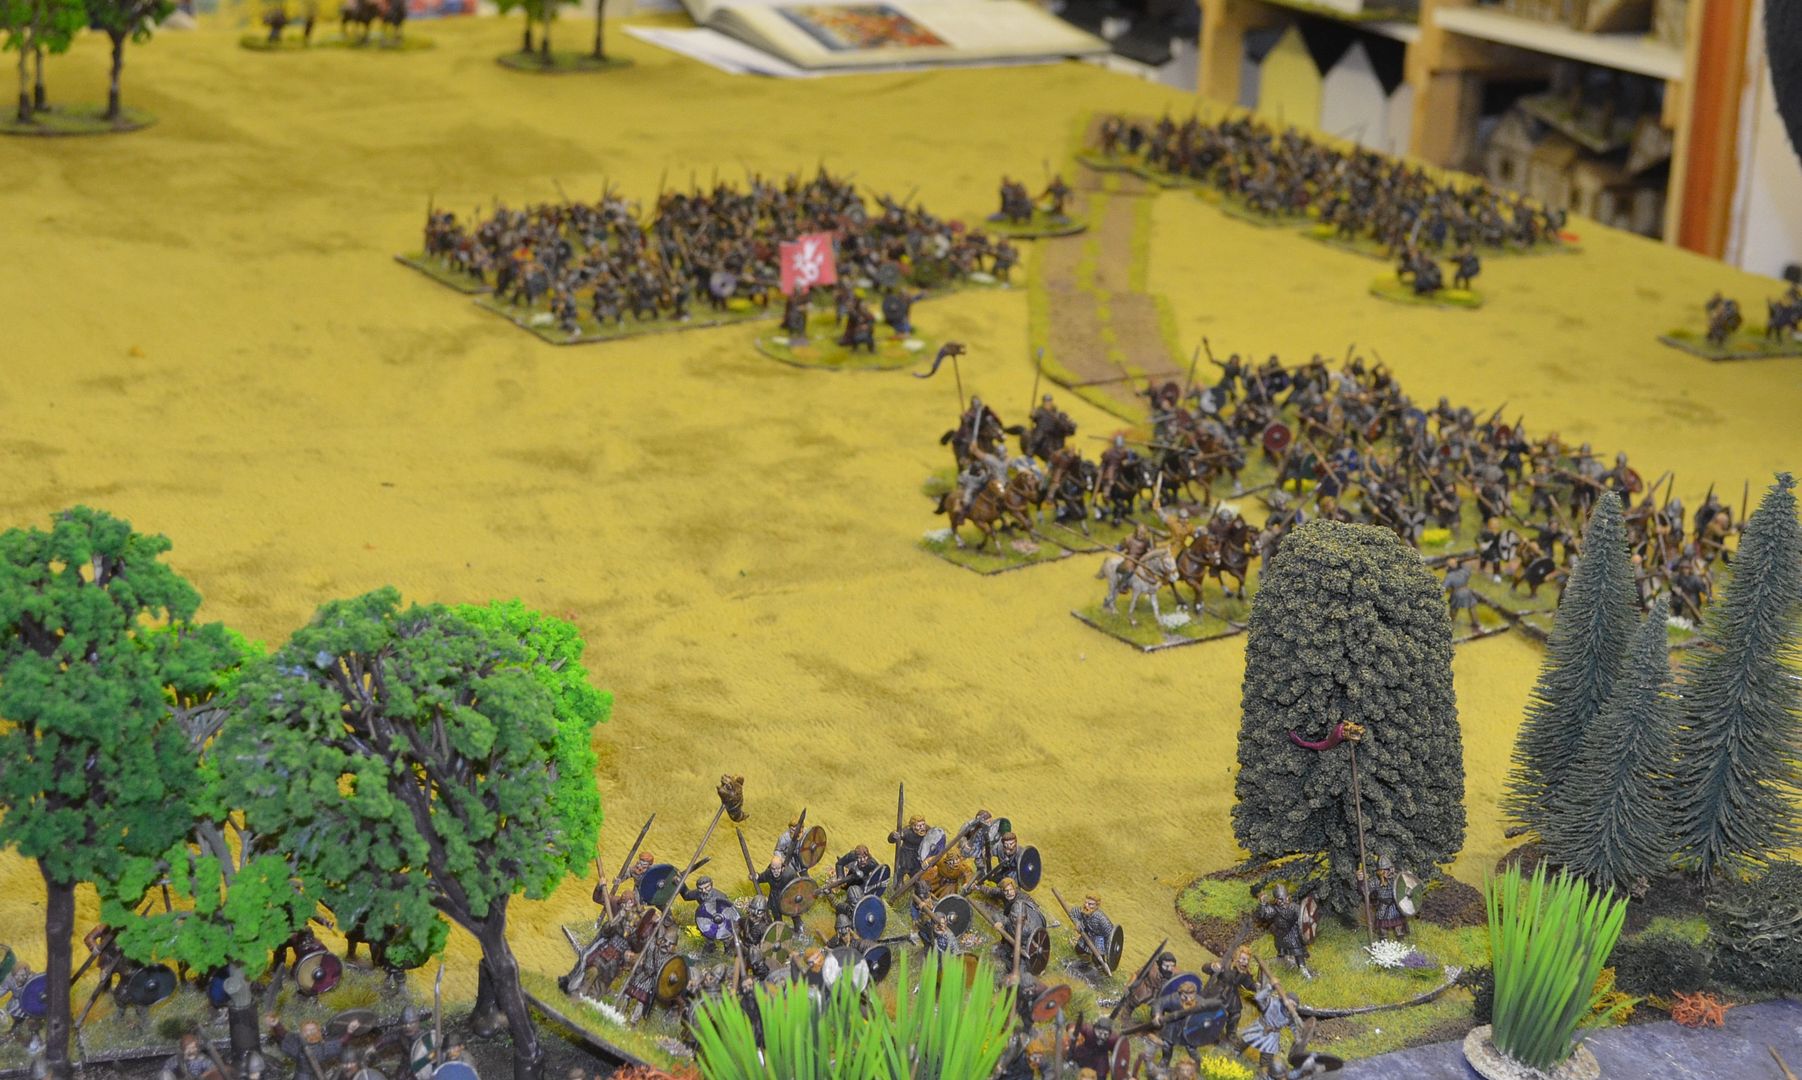
| The advance of the Saxons |
Objectives
Both sides had to deliver a knock out blow to the enemy so
three quarters of all units (except skirmishers) had to be broken or shaken to
gain victory.
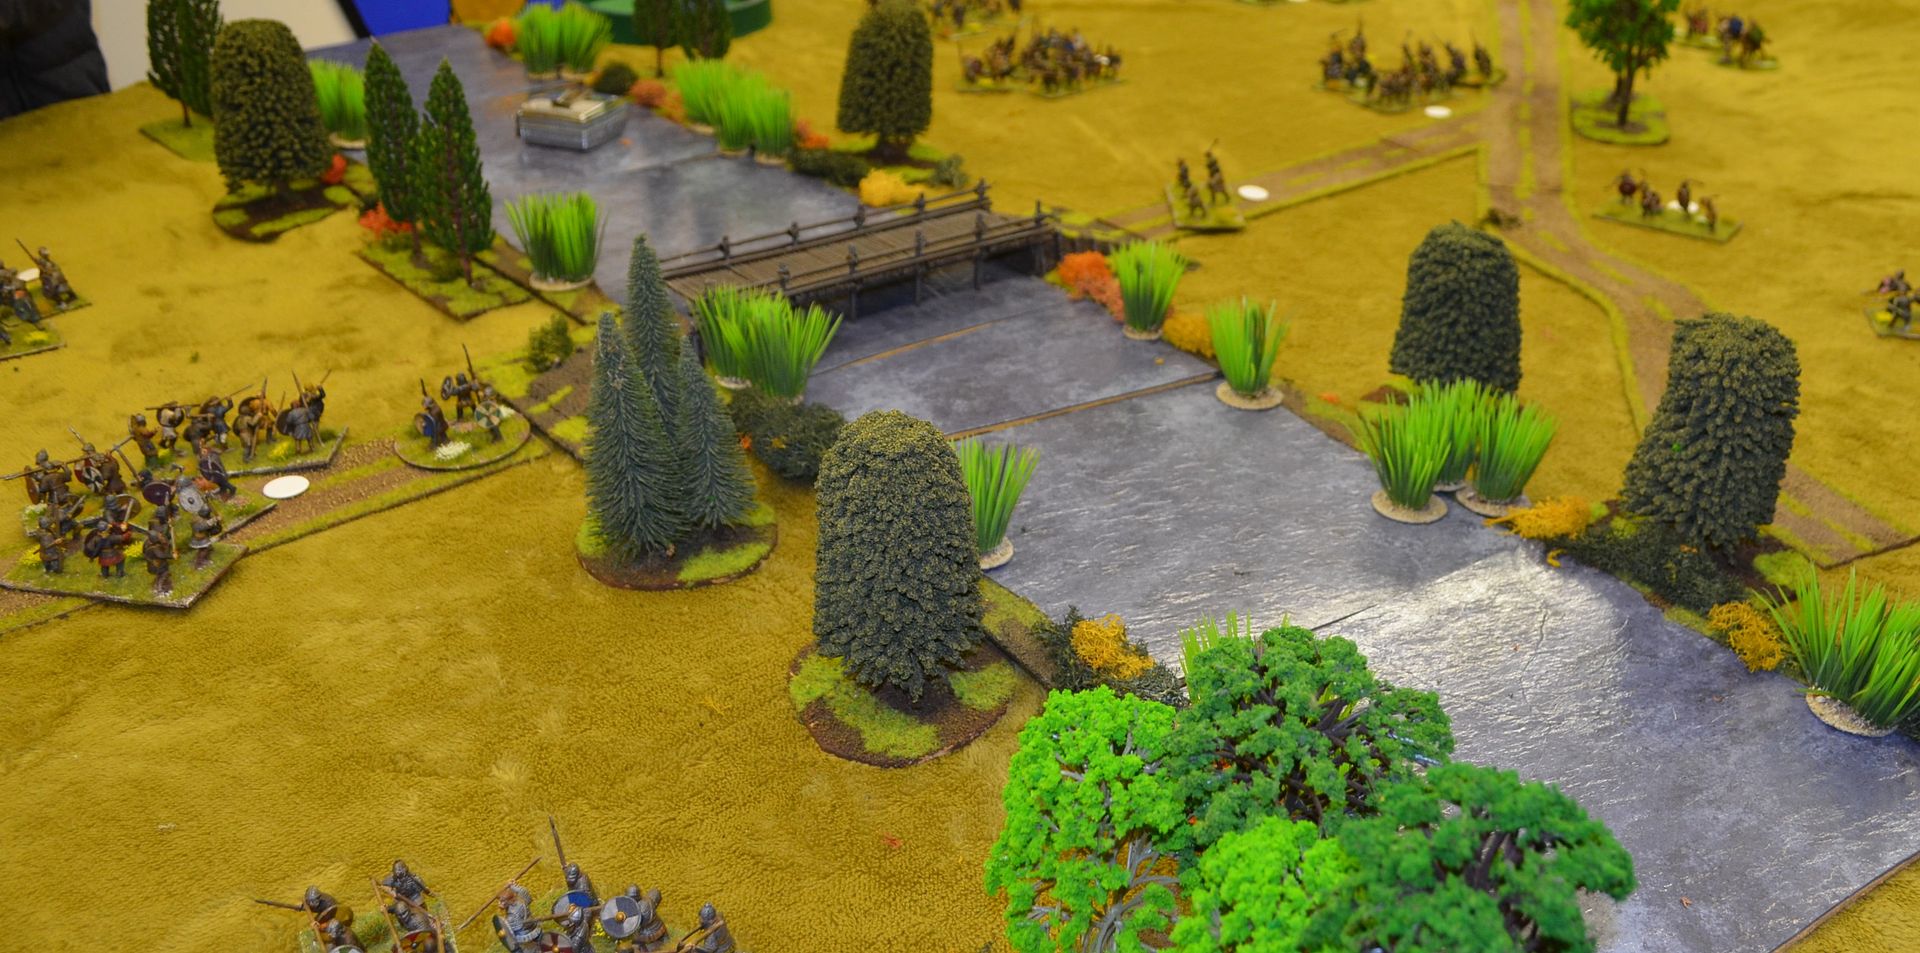
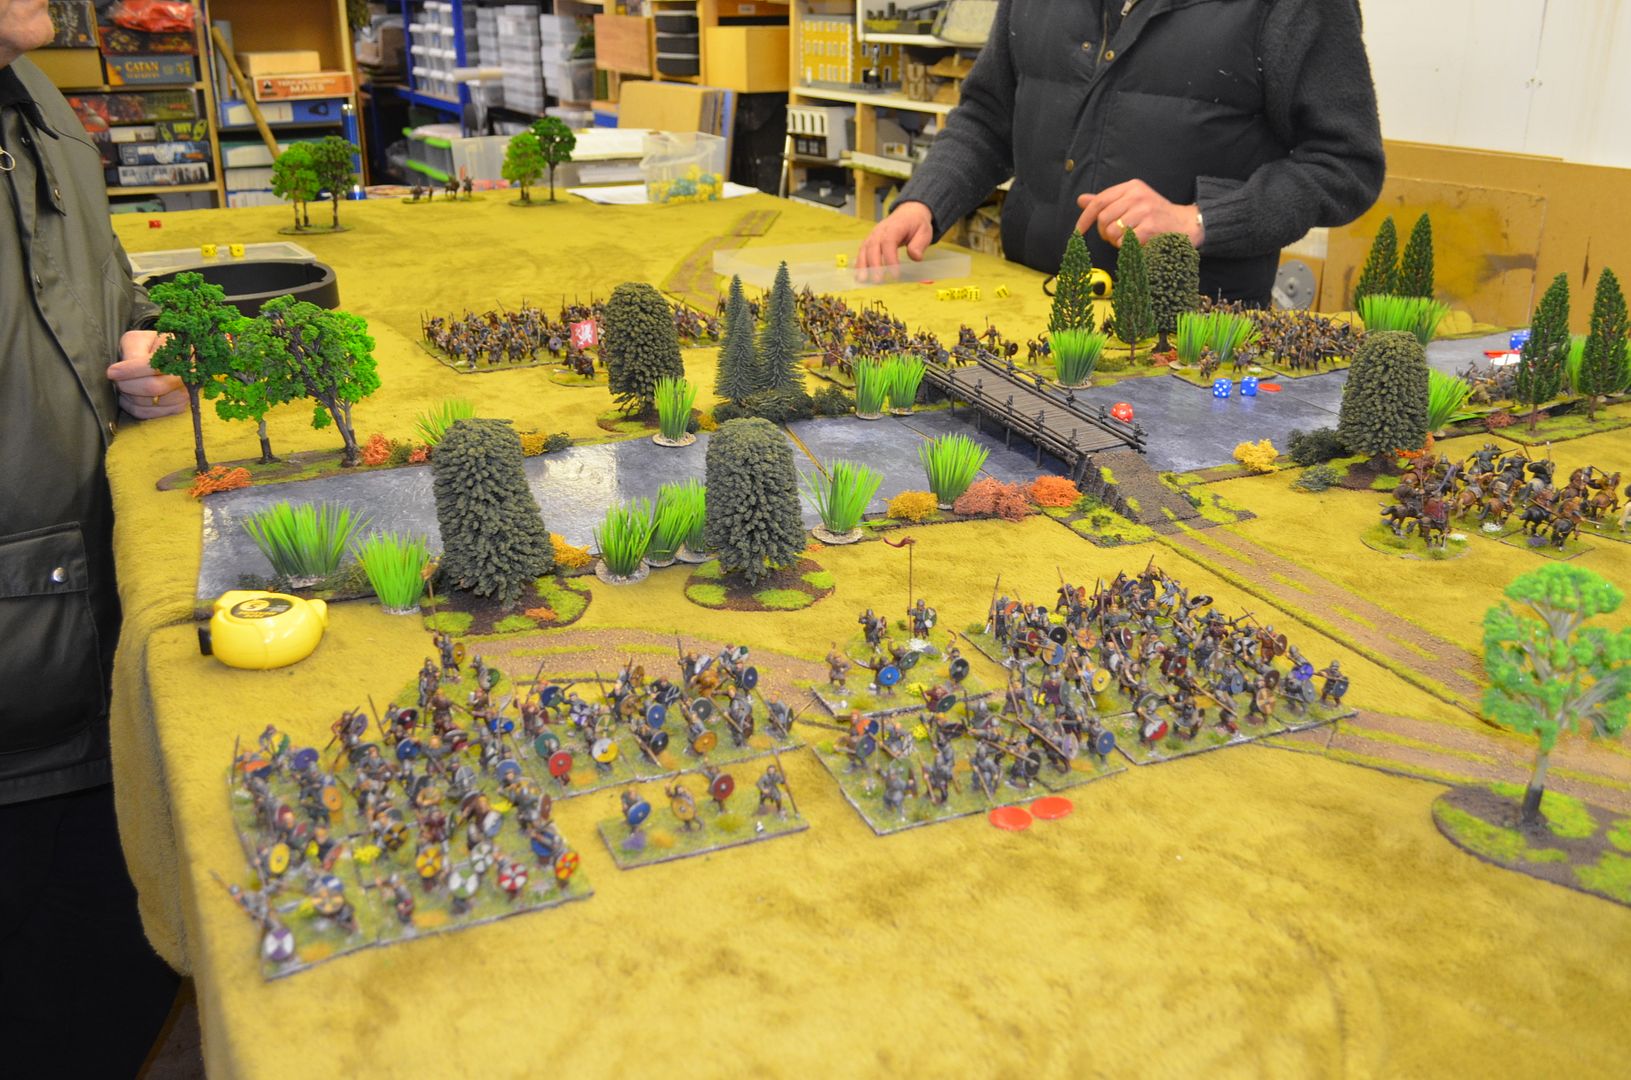
The Battlefield
The Battlefield was set up length ways with the river
running across the middle of the table. The Saxons are approaching from the
west. To the east of the bridge lies the place now known as Battleflats – a
small low rising hill set back from the river.
The River is fordable or can be crossed at the bridge.
Movement across the river is at half speed. (it is quite wide on the table)
Troops driven back by missile fire or in melee whilst
crossing or on the banks of the river are deemed to have been broken (e routed)
Stop Press: I
have since discovered that the average depth of the river at Stamford Bridge is
around 7 metres! There is no way that this could have been forded by Harold and
his men.
This would have fundamentally changed our game, but it makes
you wonder why the Vikings did not put up a sterner resistance at the crossing
over 900 years ago.
The Game
This was a game of many firsts….
The first game of 2019 in the shed
The first game using Hail Caesar rules
My first game with my Dark Age forces (approx. half of the
painted forces were on the table)
And a welcome to a new gamer in the Shed – Glenn – welcome!
Despite the temperatures dropping outside the shed remained
relatively toasty for the evening so all the players were happy.
Mark & I would lead the Saxon Attack, Alastair and Glenn
the Viking Invaders.
 |
| Moving Forward |
The Saxons with initiative started the game and it was quite
apparent that we needed to advance as quick as possible to towards the bridge
to catch the stunned Vikings. The division on our far left rolled its first
command dice. A double six – BLUNDER – followed by a 1 these guys decided that
they didn’t want to be first in to battle and retreated two moves. The rest of
the Saxon forces didn’t do much better and the army crept forward. The sheer
volume of troops preventing units from advancing if they were stuck behind
others. Passing through troops gives a very big chance (50%) of disorder which
was not something the Saxons really wanted.
The snail’s pace of the Saxon army gave the sunbathing
Vikings on the east and west side a chance to rally and before we knew it every
unit was ready for battle.
Could the Saxons prevent the flight of the ready troops on
the west side of the river. Once again, my troops crept forward very slowly but
fortunately the Saxon right flank crashed into the first Viking unit on the
riverbank. A swift brutal flight ensued with the Saxons driving the Vikings
into the river and routing them. Supports & better armour values for the
Saxons making all the difference. First blood to Godwinson.
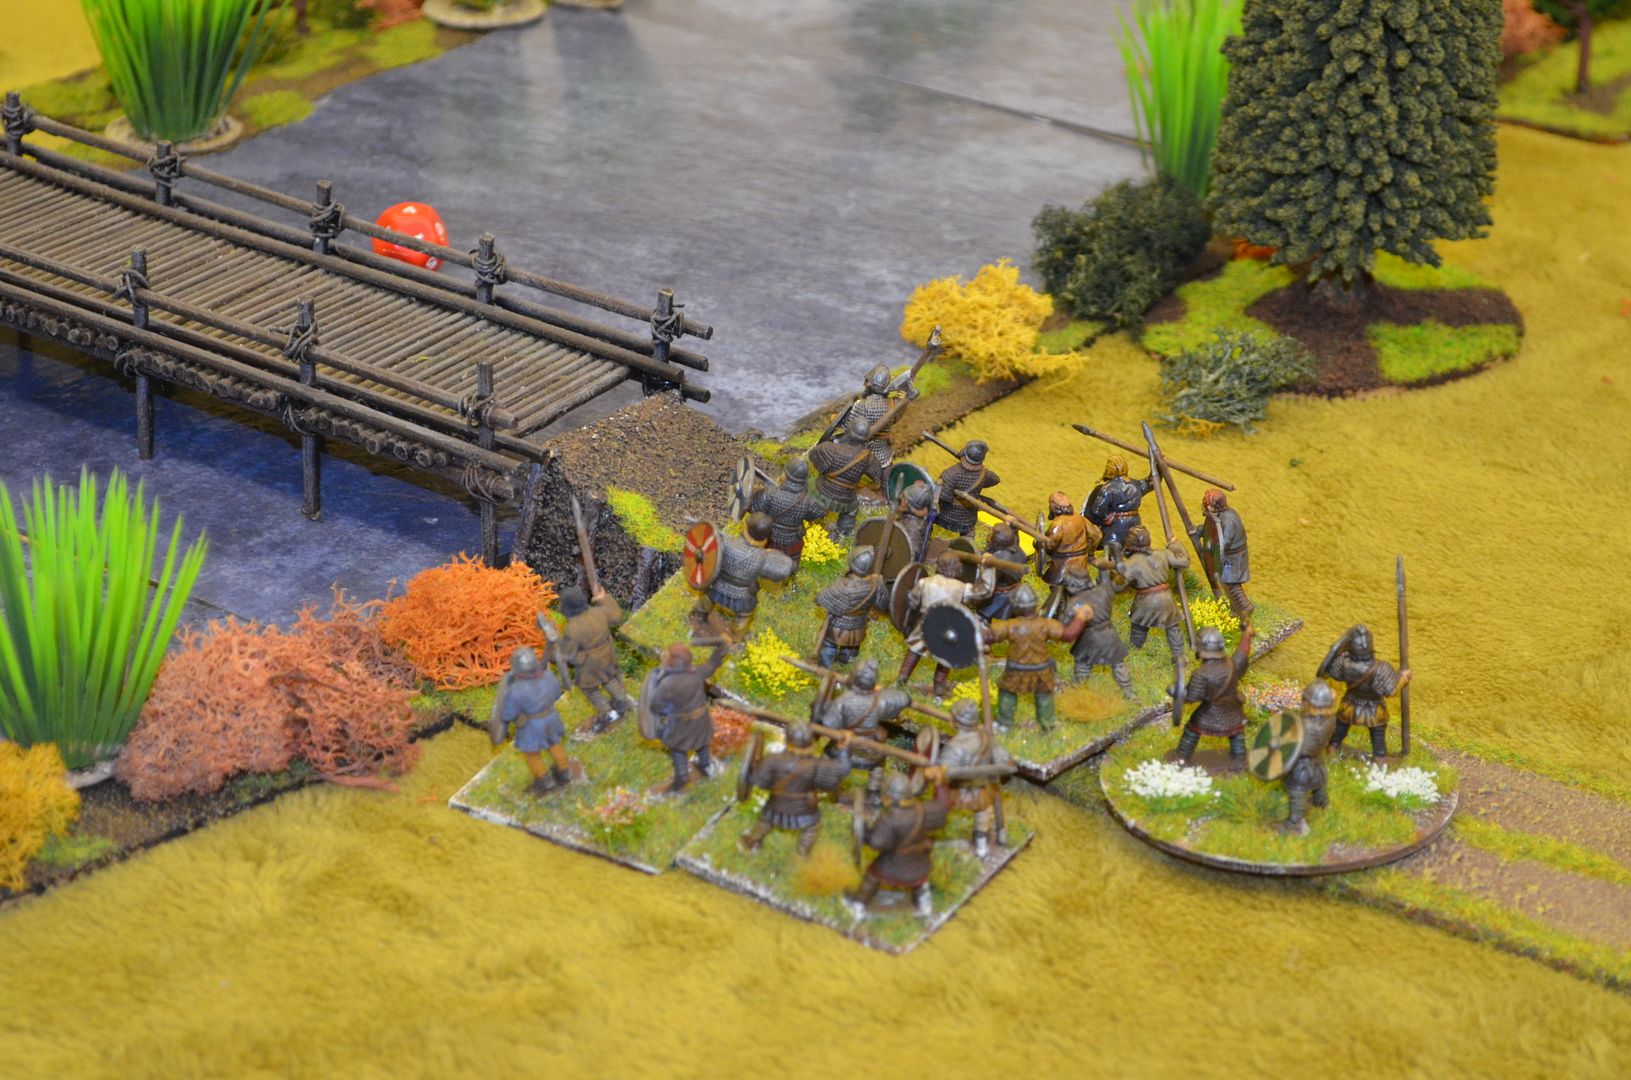
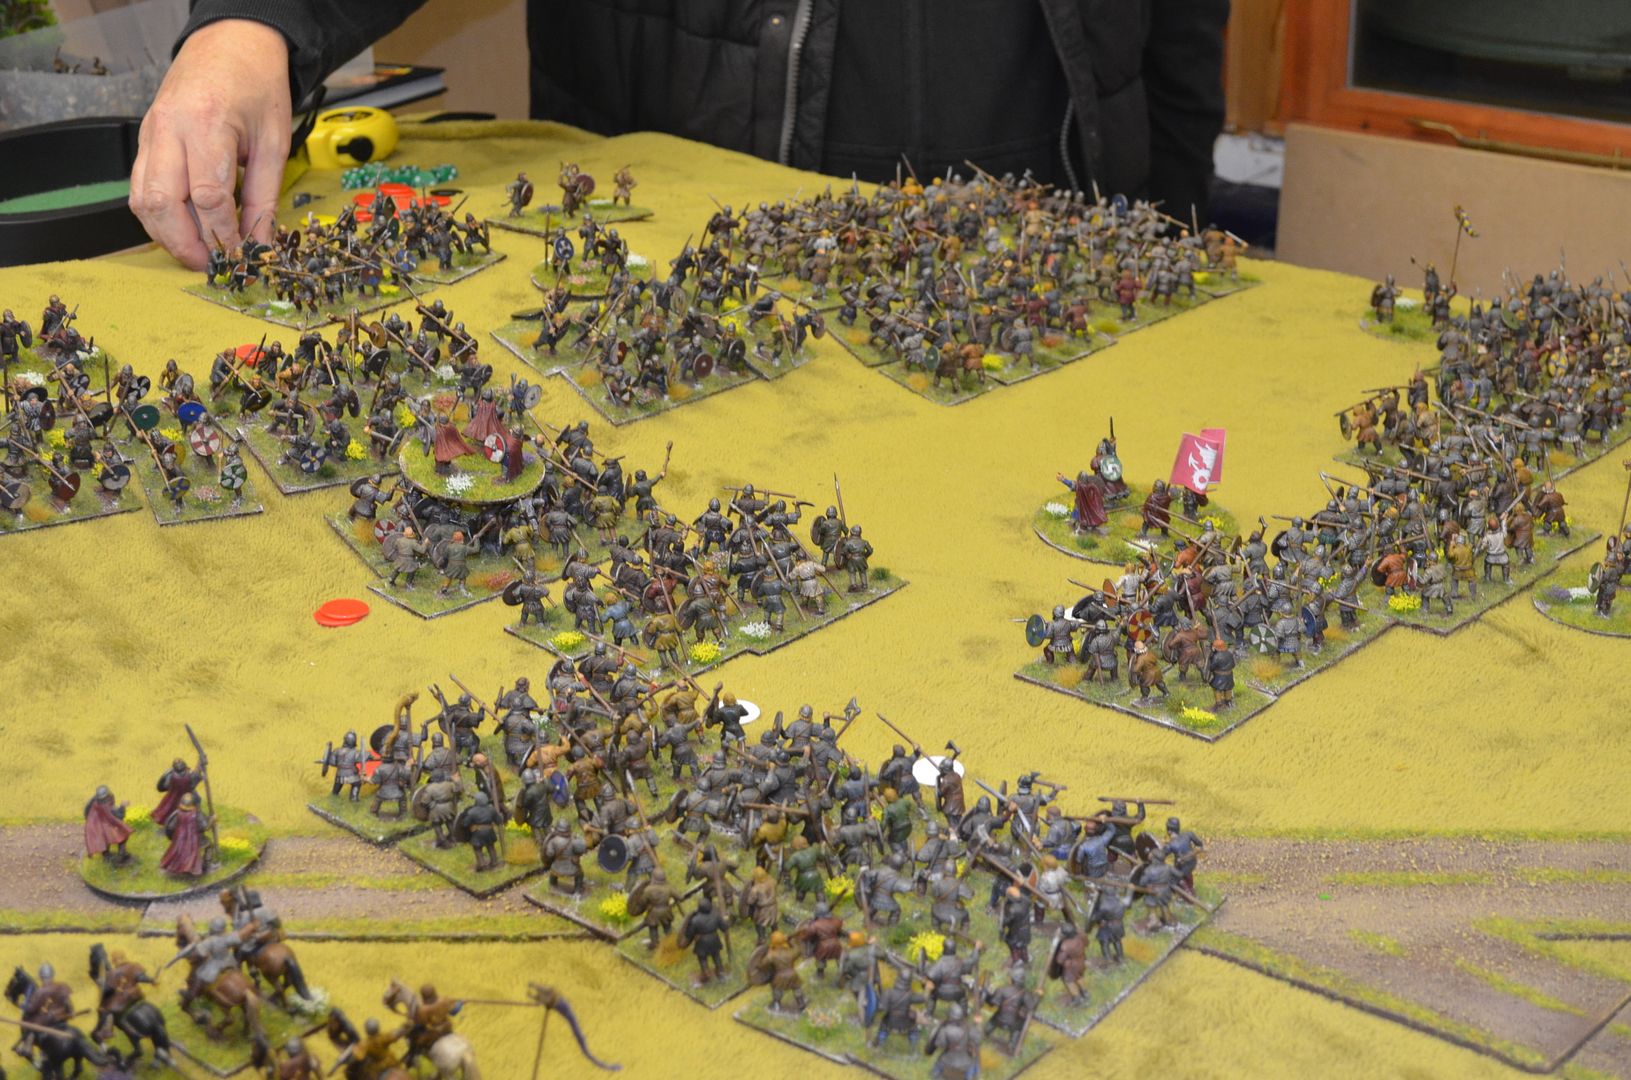
 |
| The first clash - top right of picture |
The Vikings swiftly regrouped and under cover of their
meagre skirmish units managed to cross the river with one of the warbands. The
second too far from the bridge started the long crossing over the river by
foot. As per history a Viking hero stood on the bridge taunting the advancing Anglo
Saxons. Mean whilst the Vikings under Hardrada and Tostig were beginning to
retreat towards the hills to form up their battle lines.
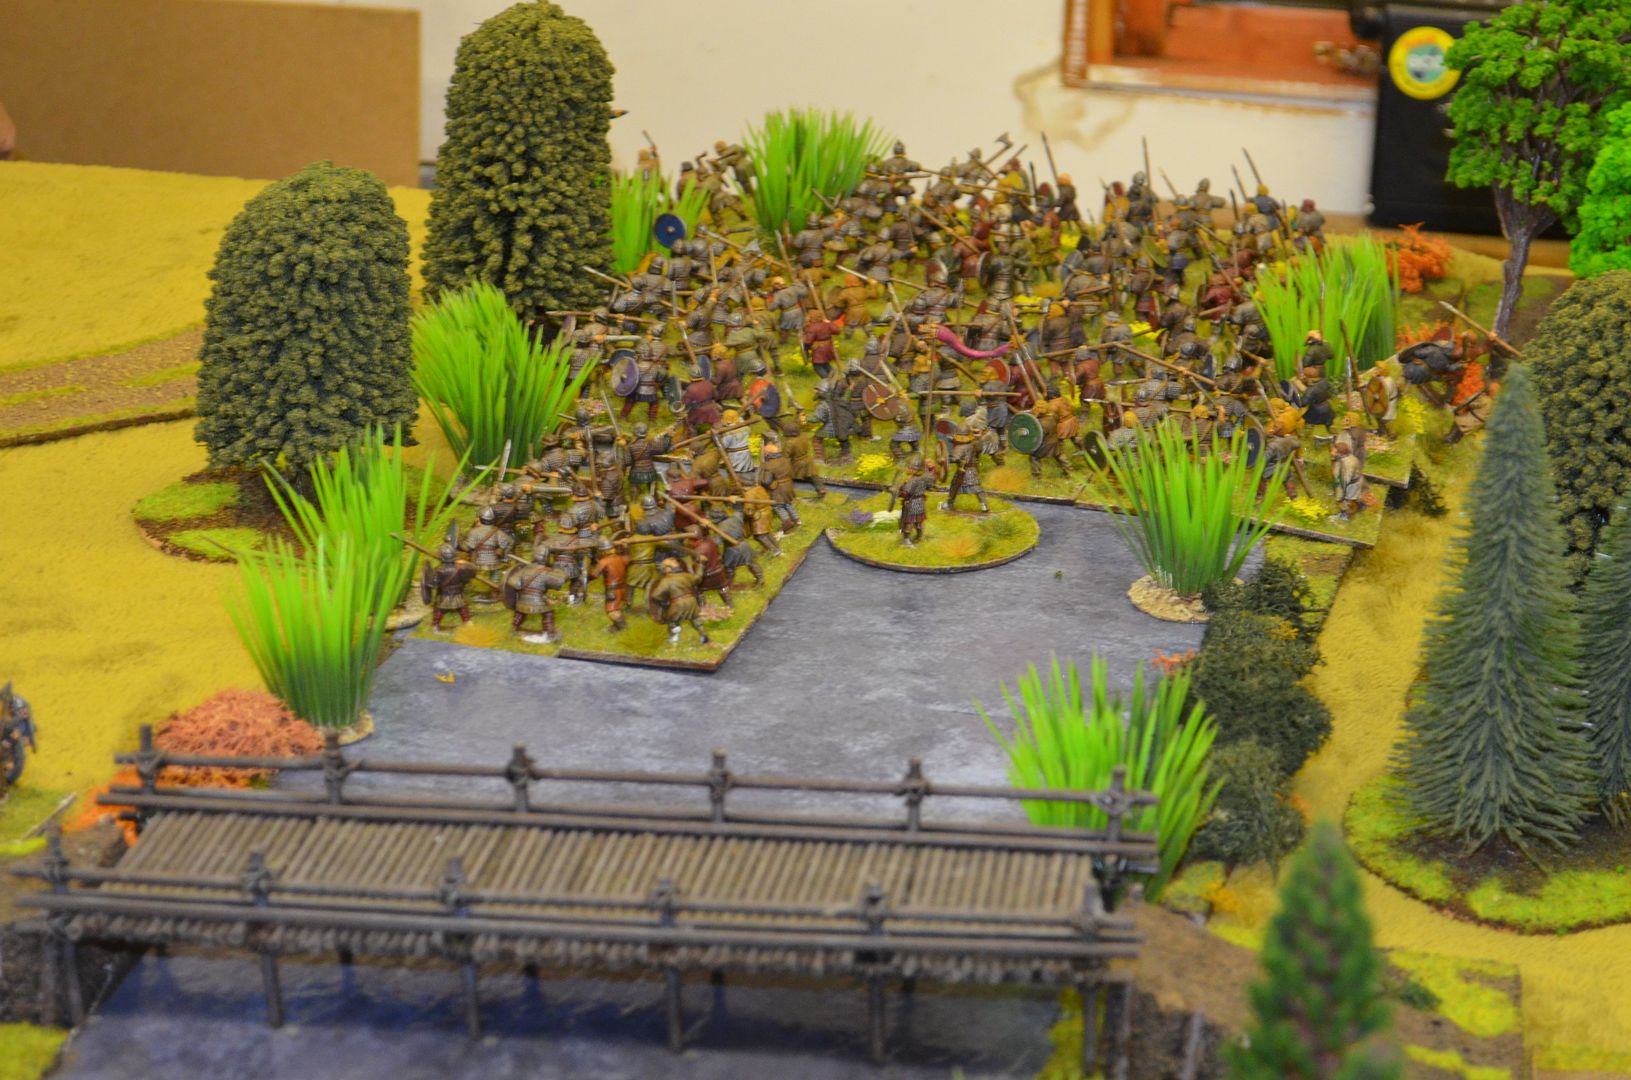
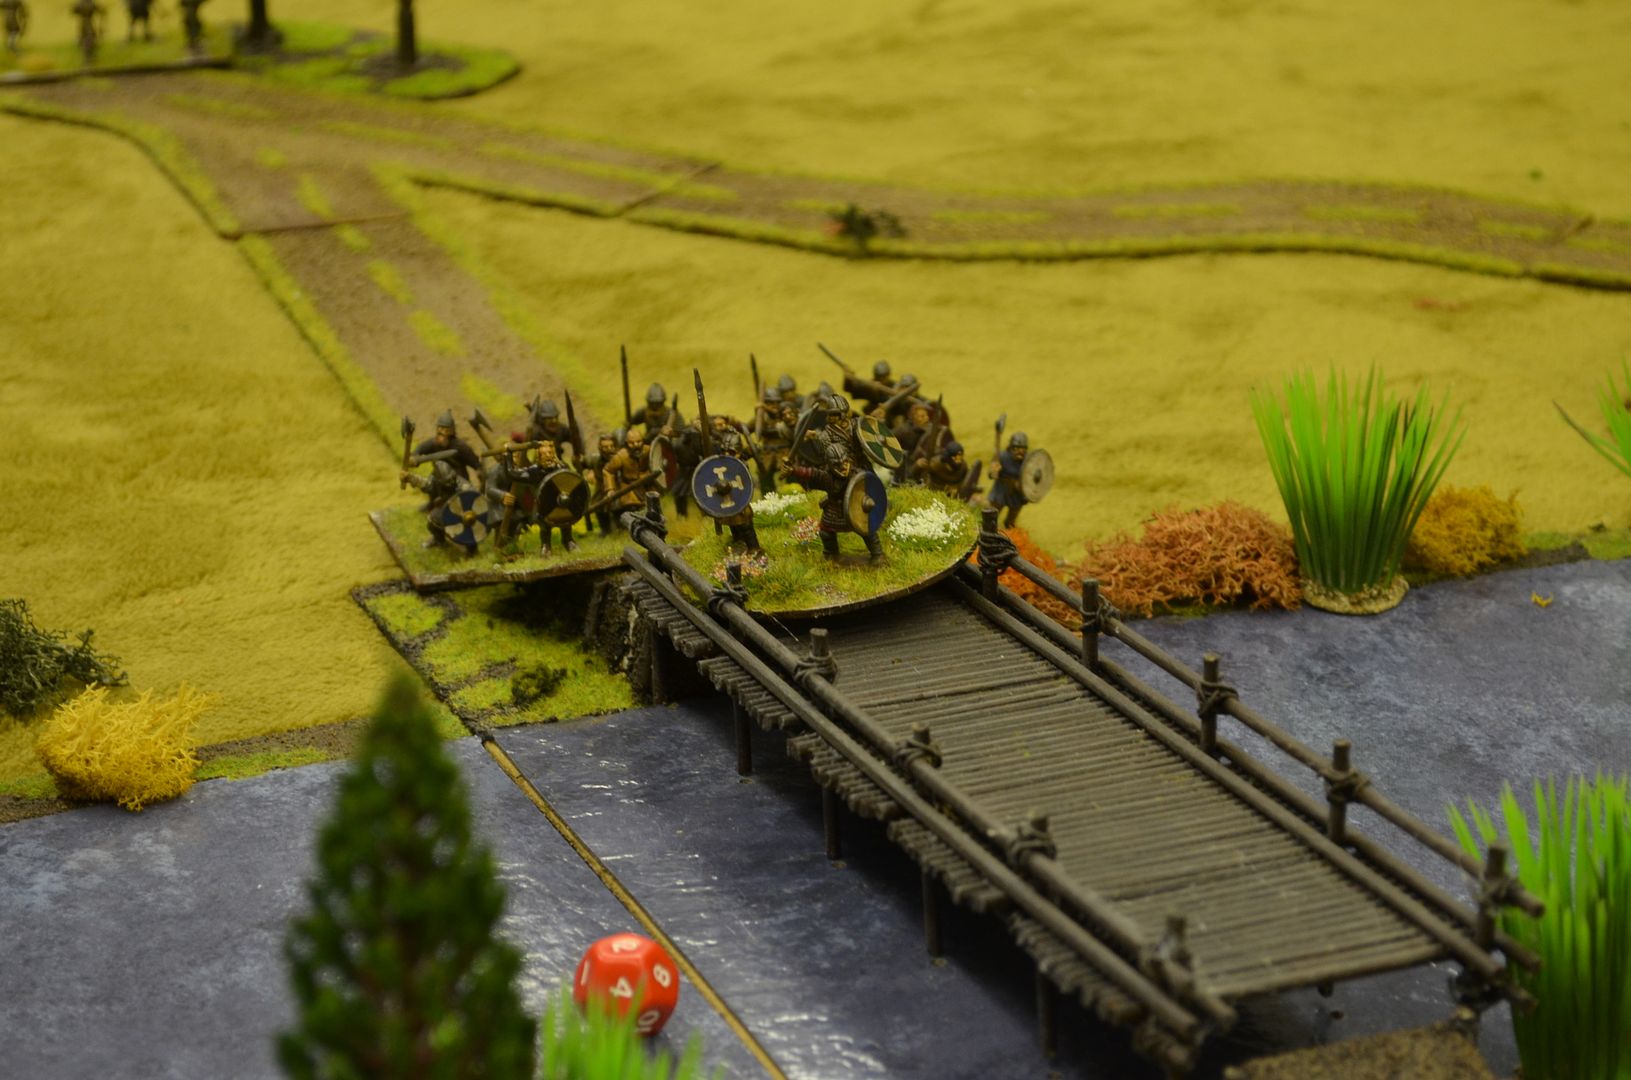 |
| Defending the Bridge |
The decision to defend the river bank was dismissed. Would
this prove telling?
 |
| Deciding the bridge wasn't worth defending |
By now the Saxon right wing was beginning to cross the river
en masse, the centre was creeping forward towards the bridge and the left wing
stubbornly refused to move. A few mounted Thegns attempted to reach the bridge
but command rolls prevented them from charging forward.
 |
| Fording the river |
 |
| These boys are not moving |
It became apparent very quickly the Vikings were going to
make their stand on the hill and await their reinforcements.
These slowly started to arrive from turn 4. A rewrite of this scenario would probably push this back to turn 8.
 |
| The Vikings retreat back to the hill |
These slowly started to arrive from turn 4. A rewrite of this scenario would probably push this back to turn 8.
 |
| They are still crawling forward |
The lone Viking unit crossing the river finally reached the
far bank only to come under the hail of slingshot driving it into disorder.
Fearing the massing Saxon hordes now wading across the river on the southern
edge our lone bridge defending Viking unit broke for the safety of his own
lines leaving the crossing unguarded. This gave the chance for mounted Thegns
to cross and slam into the helpless bedraggled unit left behind. Second blood
to the Saxons.
 |
| Finally we get to cross - horse on the bridge |
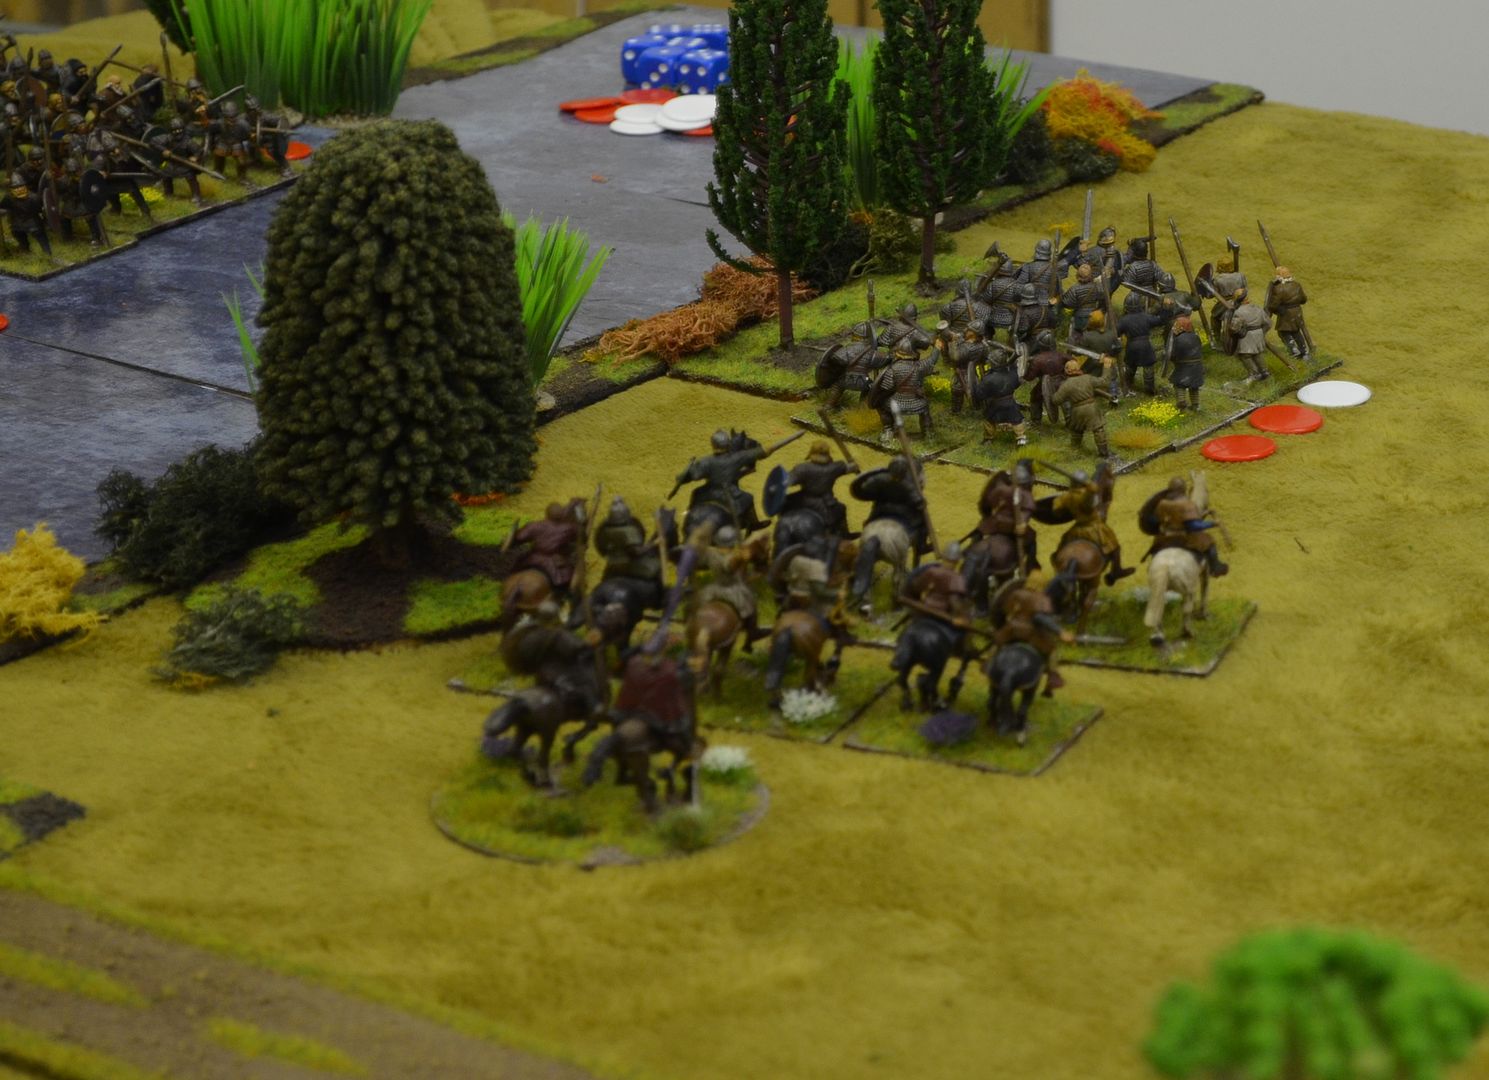 |
| Gotcha ! |
The first part of the battle could be said to be concluded
the Saxons were clear to cross the river and face up to the Viking shield wall
on the eastern hill. From my observation point on the left-hand side of the
field my troops had yet to cross the river, yet the right Saxon flank had and
were edging forward. It was at this point that the Vikings might well have
seized initiative. They outnumbered the Saxons on their side of the river but
rather than launch an all out assault they chose to defend the hill.
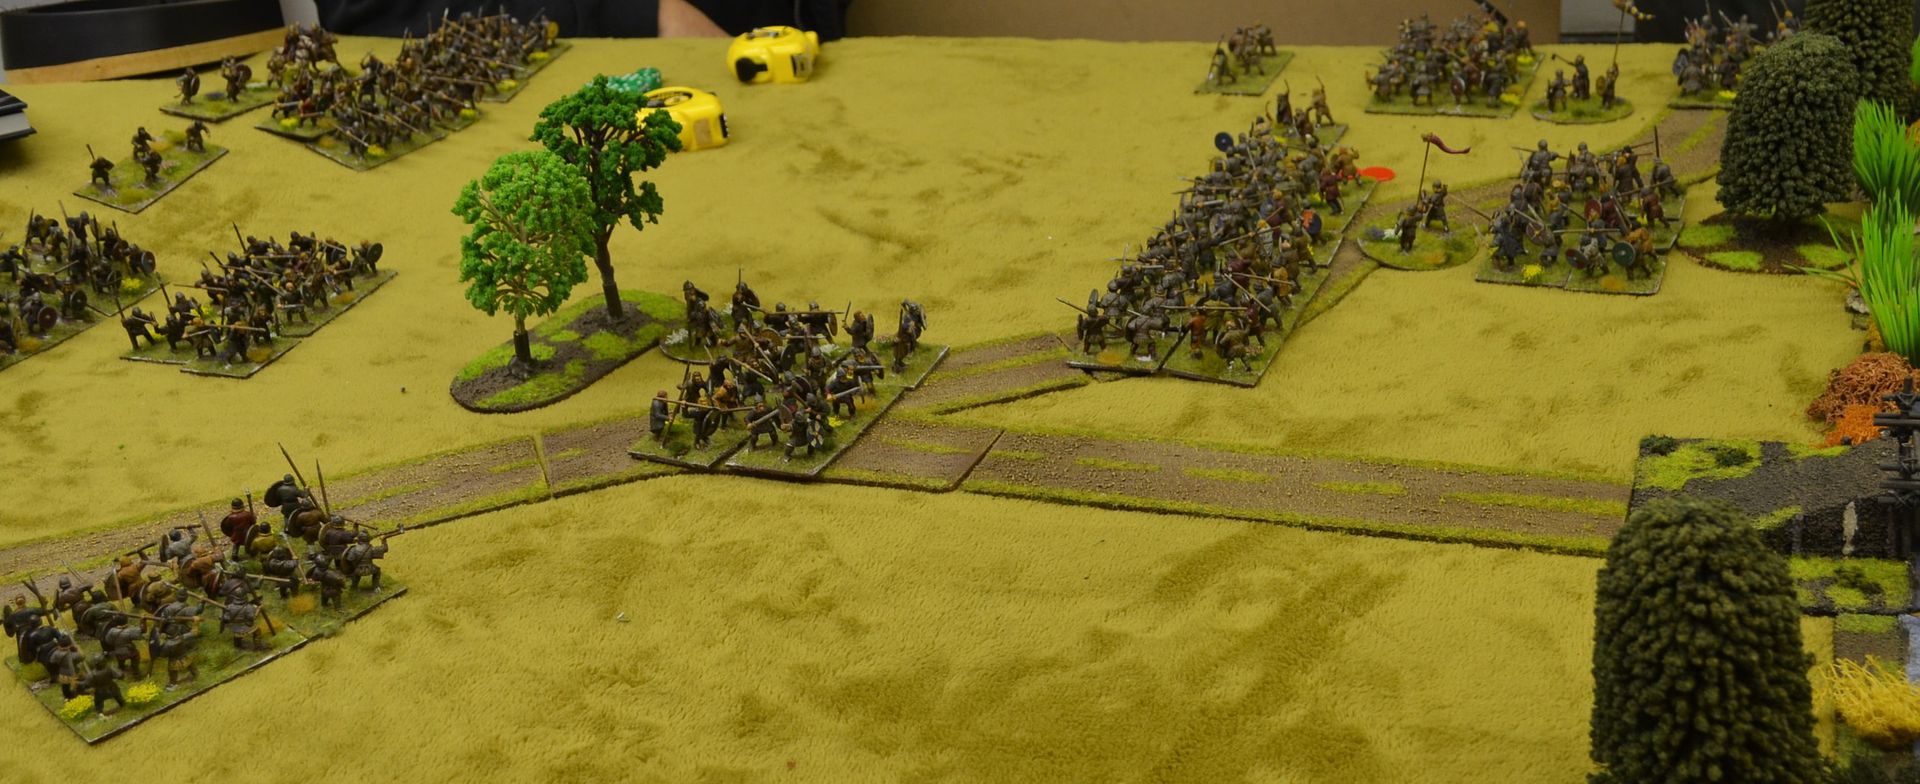 |
| Steady men - advancing slowly |
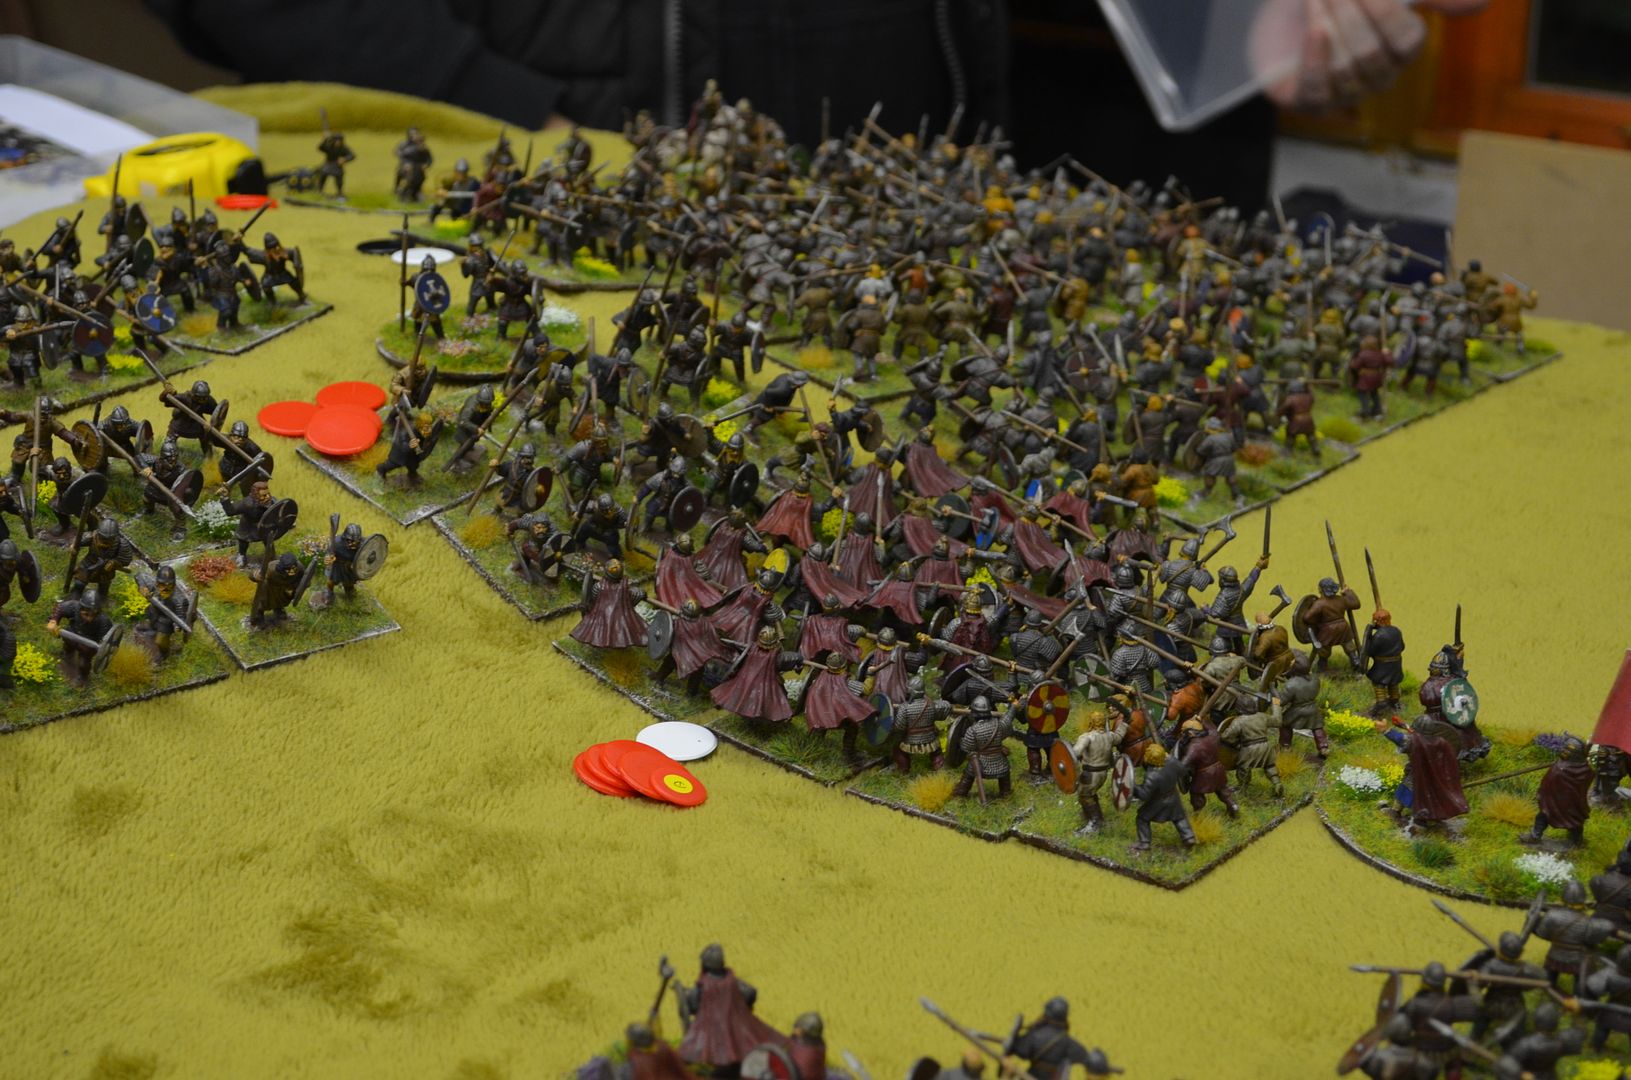
 |
| The Viking Shieldwall on the hill |

With a steady determination Mark arranged his forces into
battle lines and adopted the Shield wall. These were soon joined by the elite Housecarls
and a few warbands from the right.
 |
| The Saxons ready the left flank for the attack |
 |
| Face off |
 |
| Skirmishers caught in the open |

 |
| Just before the big push |
 |
| Crunch !! |
In a final show of defiance the Vikings massed a final charge on Harold’s Housecarls destroying them completely but it was all over – although the target of three quarters was not reached it became apparent the Vikings would get hammered in the following rounds
 |
| The Viking wall collapses (and the Saxon Huscarls die) |
.
Harold Godwinson can now turn his attention to the events in
the south of England
What would we do
different:
1. The
river is clearly not fordable (see above) and as such all the Saxons would have
had to cross the bridge. In which case the Vikings on the safe side of the
bridge should either be further away to prevent then swamping this area or we make them less likely to
rally in the early stages of the game.
2. To
speed things along we gave every unit a
free move if they were not commanded. This allowed the scattered units of
Vikings to rally very quickly and set up their defence. Likewise it meant that
the Saxons could continue to dress lines and position themselves in neat little
boxes for the final push. More command rolls (with chances of failure &
blunders) would have been better.
3. Skirmishers
are a real pain and with hindsight we should have put a few more on the table
to disrupt shield walls and disorder troops.
4. The
Viking reinforcements would have arrived later
This was a great playtest of the game, it looked fabulous
and delivered an historical result. Sets us iup nicely for the big Hastings
game on the 10th March.
Actually we have managed to squeeze in another battle from 1066 - The Battle of Fulford
head here
Actually we have managed to squeeze in another battle from 1066 - The Battle of Fulford
head here