Thursday 29 May 2014

Tickets arrived Today !!

The tickets for the 50th Anniversary showing of Zulu at Leicester square arrived today...

how excited am I...VERY !!!

this was the last post...http://shedwars.blogspot.co.uk/2014/03/zulu-back-on-big-screen.html

Its all happening on the 10th - special report on this blog on the 11th

Big Question: Will Michael Caine make an appearance?

Monday 26 May 2014

28mm Church - part 3


If you are joining this post now and want to read from the beginning head here. Links will take you through all the posts on this topic.


Part 1 - the beginning

When I left you last I was faced with the daunting task of tiling the roof. Separate card tiles - 1cm square...and it took ages! But I think the affect looks quite good.


The whole thing was given a another black undercoat - this time with an aerosol. I then put on the first dry brush coat on the walls. With the weather nice outside I took the church outside for a couple of photos.


Later that night I drybrushed up the roof sections and put another lighter grey coat on the walls.


Early this morning I put together the windows (stain glass images on acetate) and glued these onto the building.


It still needs a couple more drybrushes and some dirt added but its nearly finished.

Part 4 can now be found here

Part 4

Sunday 25 May 2014

28mm Norman Church part 2


So following on from my first post about the 28mm Norman church I thought I would share the progress of the build in this post.


If you want to go back to the beginning head here – don’t worry there is a link on that post that then brings you back to this point.


In my first post I mentioned that I had dry built the model to begin with, this I would suggest is a must. I discovered for example, and by accident that the floor sections for the tower although look square they aren’t and that there are two length of roof trusses. I know these are minor things but had I have glued these first time round undoing the job could have been problematic.

 
A conflix building next to the new church - this is big
 

Given this was my first build in mdf I decided to use super strong grab wood adhesive – similar to ‘hard as nails glue’ but the home base brand (much cheaper). The total build was really very simple and took about an hour to get the basic construct of the building done. It helped enormously that the pieces were all individually labelled and the instructions clear and concise. All the fiddly bits such as the window frames took a little longer.


With the basic construct completed I gave the whole thing a good grey coat primer. Its now starting to look the business.


The pictures below show the details you get on these models. The stone mullion windows look fabulous


The raised windows are all over the building. These were just glued on with pva


The instruction set illustrates how to get a variety of finishes on the church. I decided that I would go for a flint grey finish so this means giving all the walls a good liberal coat of pva and then coating in coarse and medium ballast….care had to be taken to NOT get glue on the window frames.


This was a really mucky job but hey somebody had to do it.


very happy with above result....and then I went and painted it all black


Now starting on the roof - slow and very boring all those hand cut tiles. (an old cereal box)


Going to try and get this baby finished this week.

Part 3 can be found here

Part 3

Tuesday 20 May 2014

28mm Church - part 1

Hi Folks

I am very excited about this post. A few months ago whilst planning out my game for this years forthcoming BLAM I decided I needed a church - up to now all the churches in 28mm scale were just too small and unfortunately the laser cut wares at Salute just weren't right.

I really did think this was going to be scratch build job until I found this site

http://www.petitepropertiesltd.com/onlineshop/index.php

This was a revelation. I should say thanks to the guys on the Very British Civil War site for alerting me to the site and since then I have put out a couple of notes on the various forums.

The site is full of wonderful 1/48 English style buildings -perfect for those English style games. Ill be definitely buying the Post Office, Village Store and Station Master House. There is even one building that will work as a pub.

These are tiny dolls houses but they are great for 28mm figures..

Onto the church

Please note that this review is based on what comes in the box and a simple lean to build - no glue yet. But it still looks great.

First up scale. Does this work with a 28mm figure...

Well as you can see in the picture below a 28mm figure works next to the door frame..


This church is huge  almost 60cm in length, I haven't tried putting the roof on but  it is there. 


The inside of the church has pillars and arches. The company even sells altars pews and an organ !


There are full instructions with each piece individually marked. Construction looks very simple.


You even get to build the inside of the bell tower. Ill probably create a flat tower for mine so figures can take advantage of the height.


Individually cut roof trusses !


and all the window frames are laser cut


To the right you can see the stain glass images on acetate.


The church cost £49.99

Come back soon for part 2 the build.

part 2 can be found here

http://shedwars.blogspot.co.uk/2014/05/28mm-norman-church-part-2.html


Wednesday 14 May 2014

A new mountain backdrop


It was my birthday a few months ago and my Mother in Law bought me a fabulous present - a number of new backdrops for my gaming table. What can I say other than thank you !


Here's the first - a great mountain scene. Perfect for those windswept Northumbrian coasts and a Viking incursion...which is incidentally what we are playing this Thursday night..


- I also have a snowy backdrop[ and a woodland forest...I'll get round to mounting these soon

Sunday 11 May 2014

The Shed Wars Air Force


Since I turned my attention to 28mm gaming in the 1930’s (VBCW and Pulp) I decided that it might be an opportunity to branch out on my modelling and go back to building some model aircraft.
 
Having read on a number of posts that 1/48 scale is the closest fit with 28mm miniatures I was pleasantly surprised to find a number of kits in this scale on ebay. In addition to the kits there are a number of diecast model available that fit the scale. Theres a really good post on the Lead Adventure Forum that got me thinking about these purchases. See link

Link:
http://www.lead-adventure.de/index.php?topic=58045.0 

There are of course the usual protagonists Spitfires, Hurricanes, Kittyhawks, Stukas and BF109’s on ebay but also a range of eclectic airplanes that will work really well with my period of choice. Purchasing some aircraft also opens up a range of new terrain features that can be built – control towers, early radar stations, air raid shelters, hangars – I am getting quite excited now just writing this.
 
Sometime ago I built a couple of flight stands for some futuristic landers. These are just simple telescopic aerials fixed to a heavy MDF base. I still need to redo the bases but they will work perfectly for my aircraft. Fixing the plane to the aerial is really simple. Establish the centre of gravity on the model and drill a hole in the underside. The aerial can then be pushed into the hole. By having such a loose fitting the planes banking, and direction of altitude can be easily created by merely tilting the model on the aerial. Of course the altitude of the plane can be created using the telescopic function of the aerial.
 
Use of flight stand in a futuristic setting
  

One word of caution when employing this method. Make sure the aerial is strong enough to avoid bending and the base is heavy enough to stop the craft from toppling over. Of course the higher your aircraft ‘flies’ the greater the risk of wobble. Given that I will want the planes to also be static terrain features in their own right I will be modelling them all where possible with undercarriage down.

 So without further ado I went ahead and bought some models…I used my usual practice of fixing a price in my head and despite some actions going for crazy prices I stuck to my guns. None of the models you are about to see were bought for more than £20 including postage.

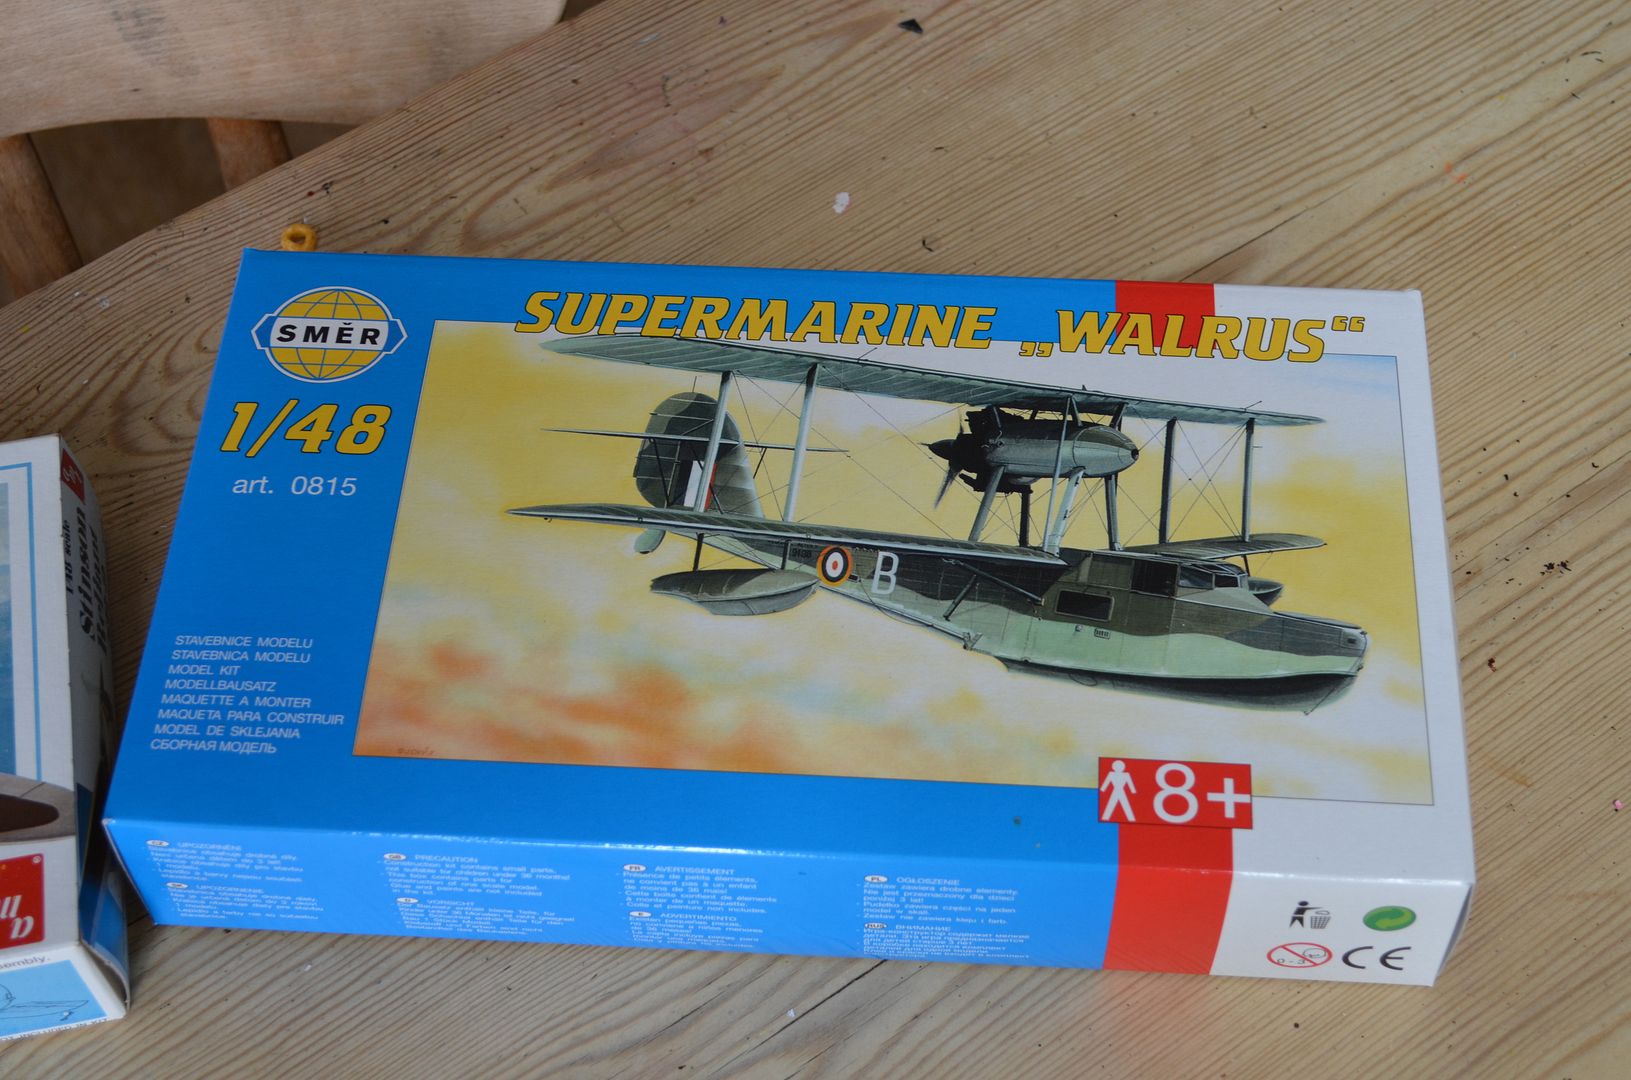
 The first of which is a Supermarine Walrus Seaplane – I was drawn to this by both the price (about £14 total) and it does look quite pulpy. The plane first flew in 1933 so its perfect for this period.

 I had the good intentions of cutting the waterline and then re-attach the boat part with magnets. But this proved too problematic. This is a nice model - straight forward to build and just needs a coat of paint.


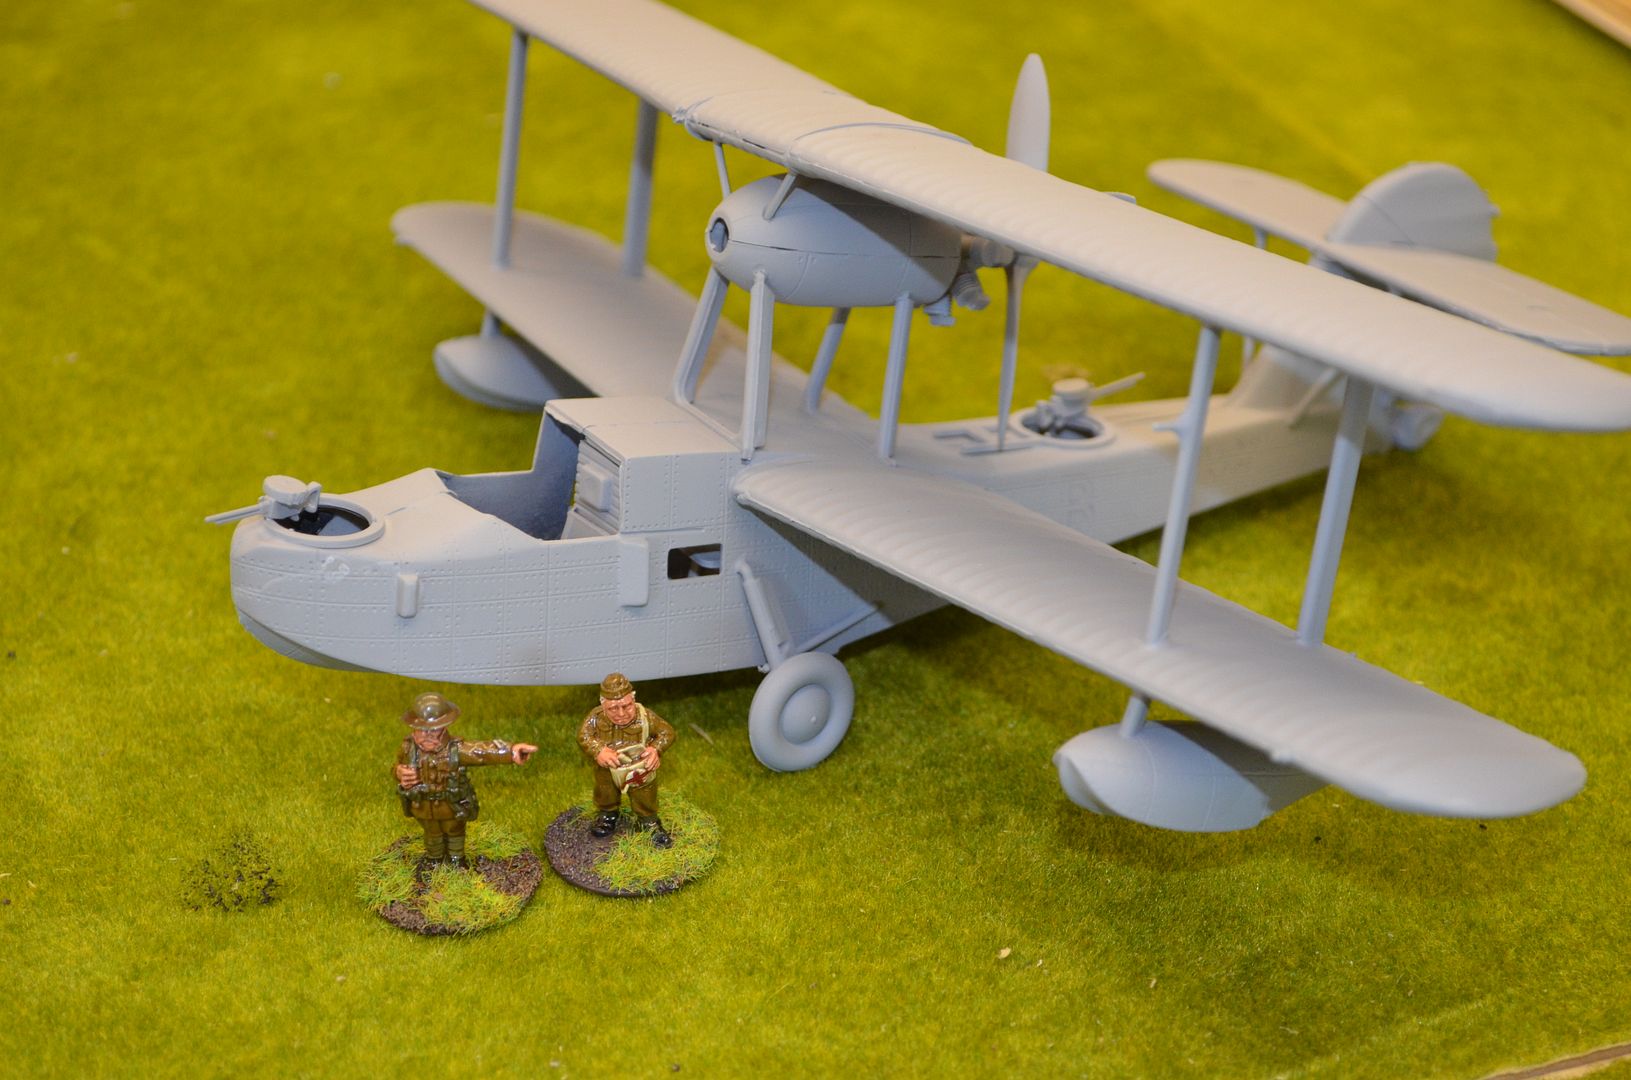
All primed - just needs paint


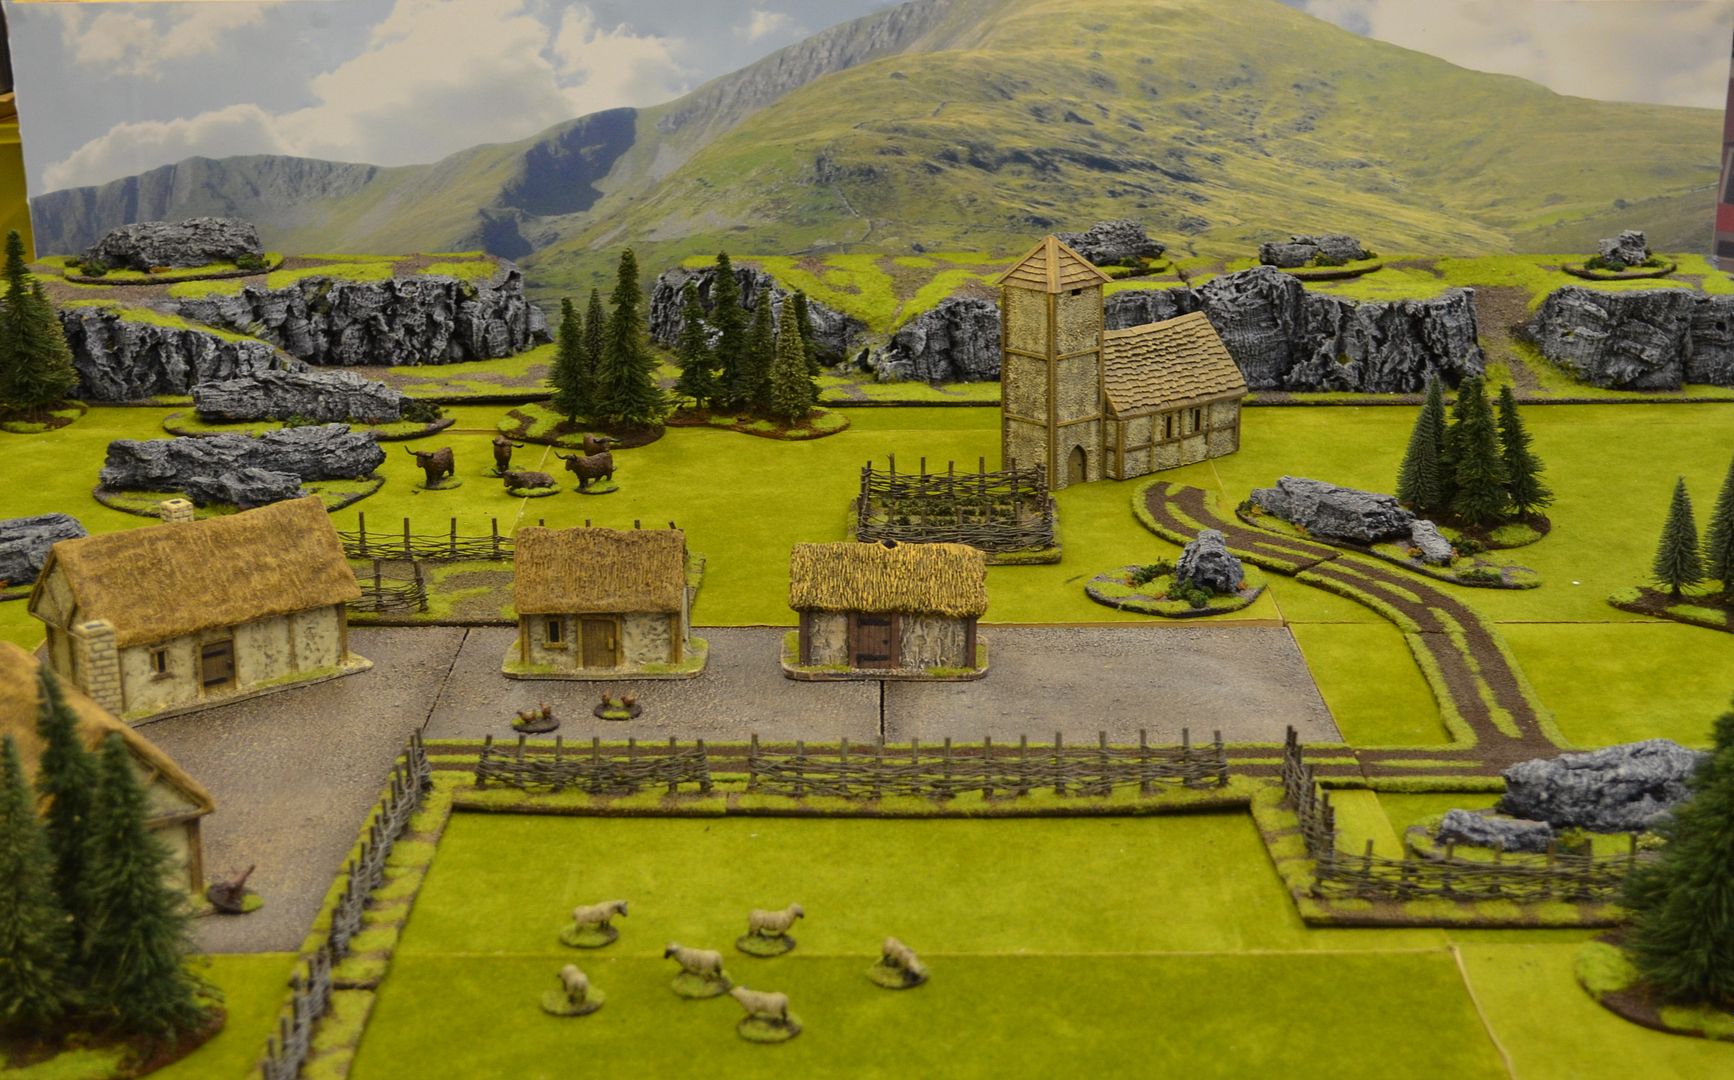
 All the figures shown in the photos are 28mm  - as you can see the 1/48 scale is a perfect fit


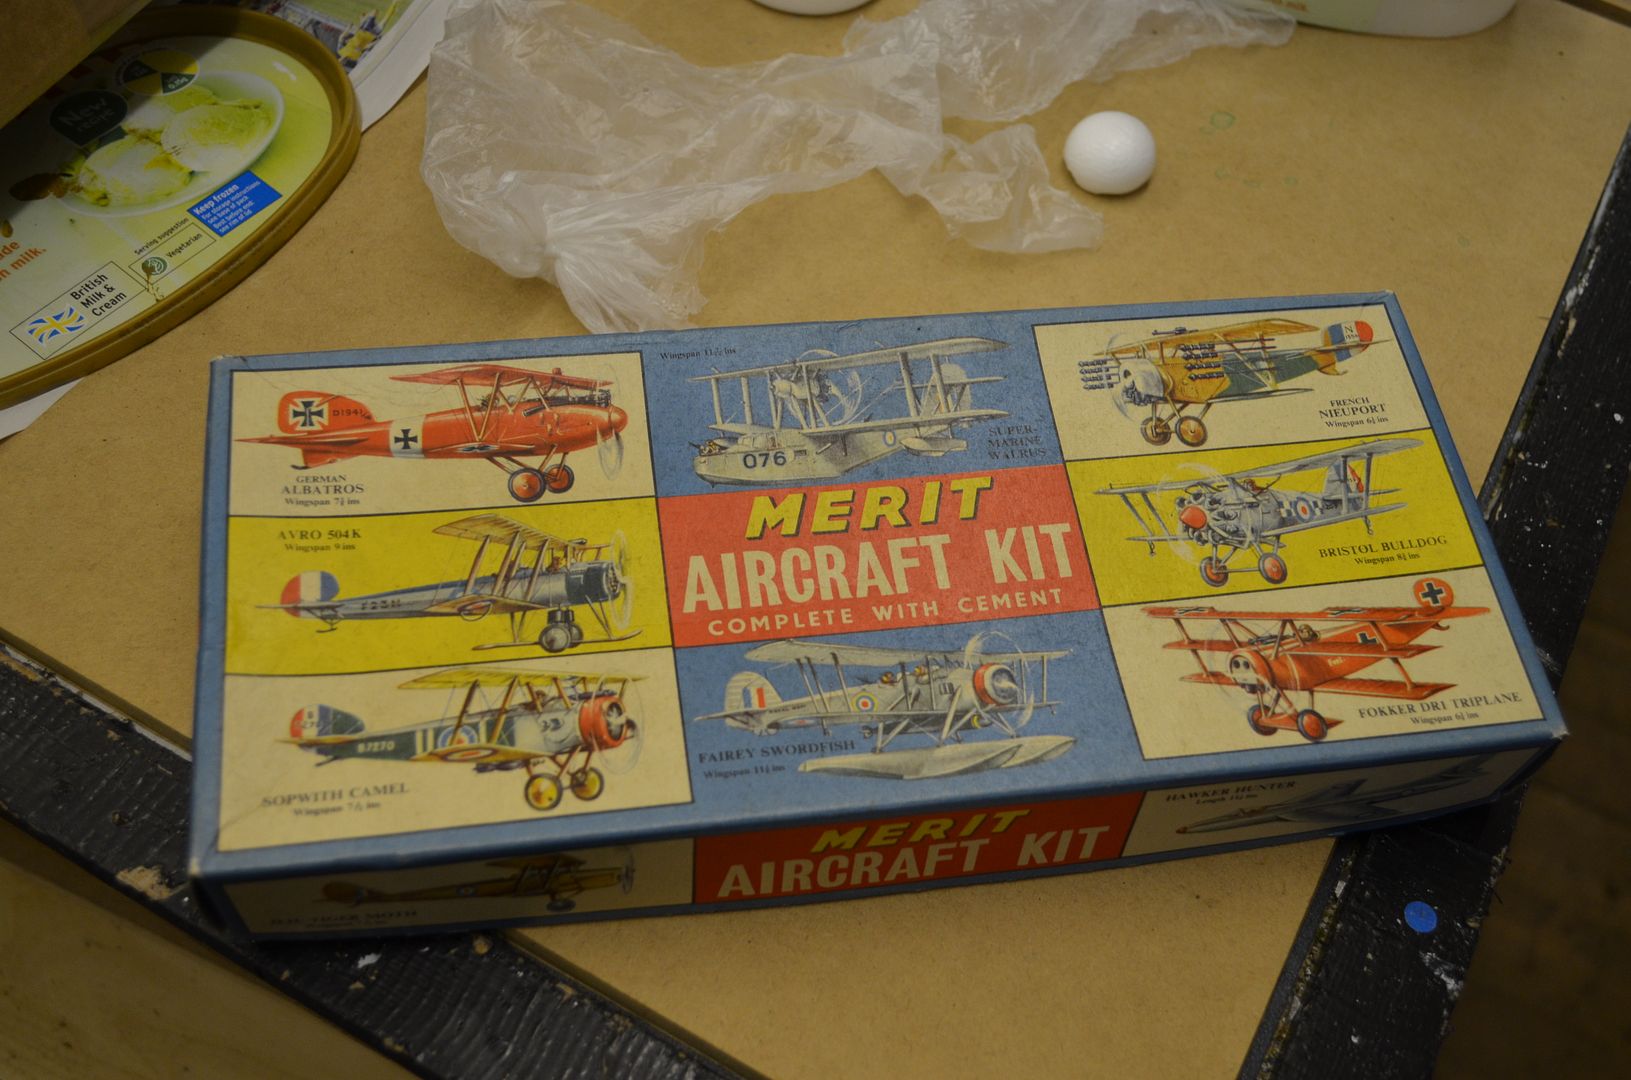
The second plane bought is an Avro 504K Bomber/Trainer – This was originally built in 1913 and continued in service right through to the second world war. Initially used as a bomber it then became a trainer. I was staggered to read that more aircraft of this model were built than any other WW1 plane (8500 in total). Again this looks like a pulp style plane but works equally well for my VBCW project.

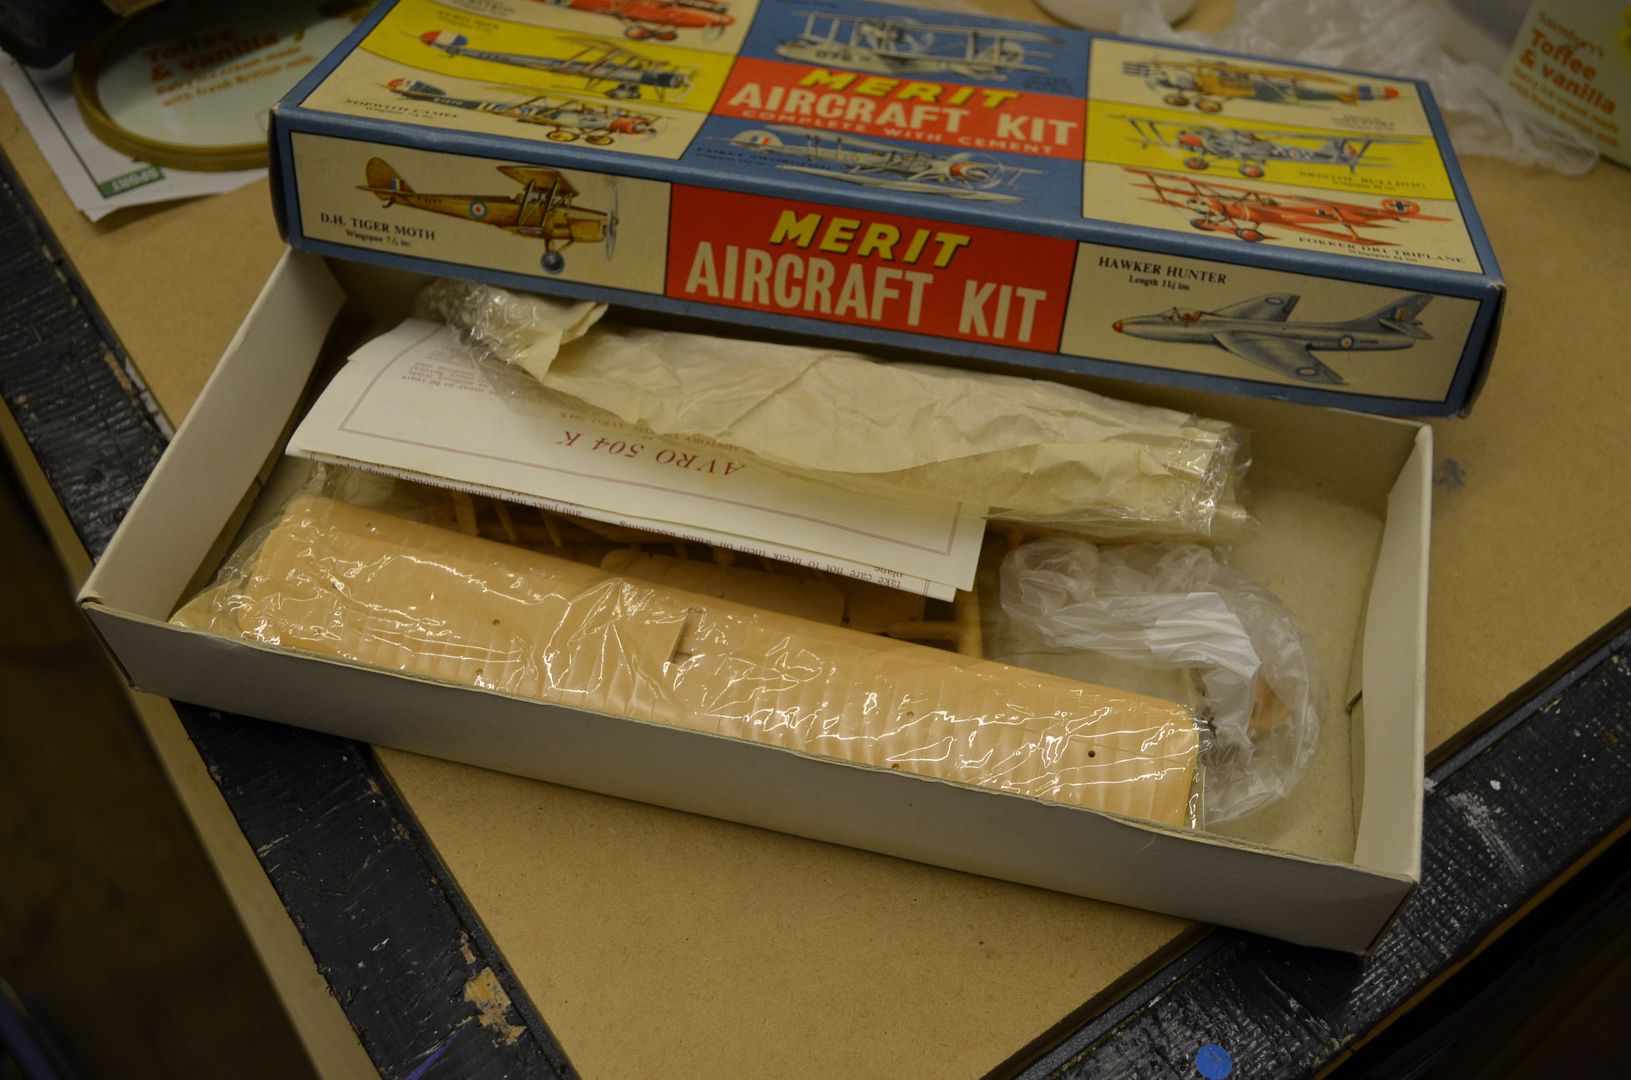
What you see at the moment is the box this model turned up in - I am still wondering whether the build here is right or whether I might get a better return by selling back on ebay?


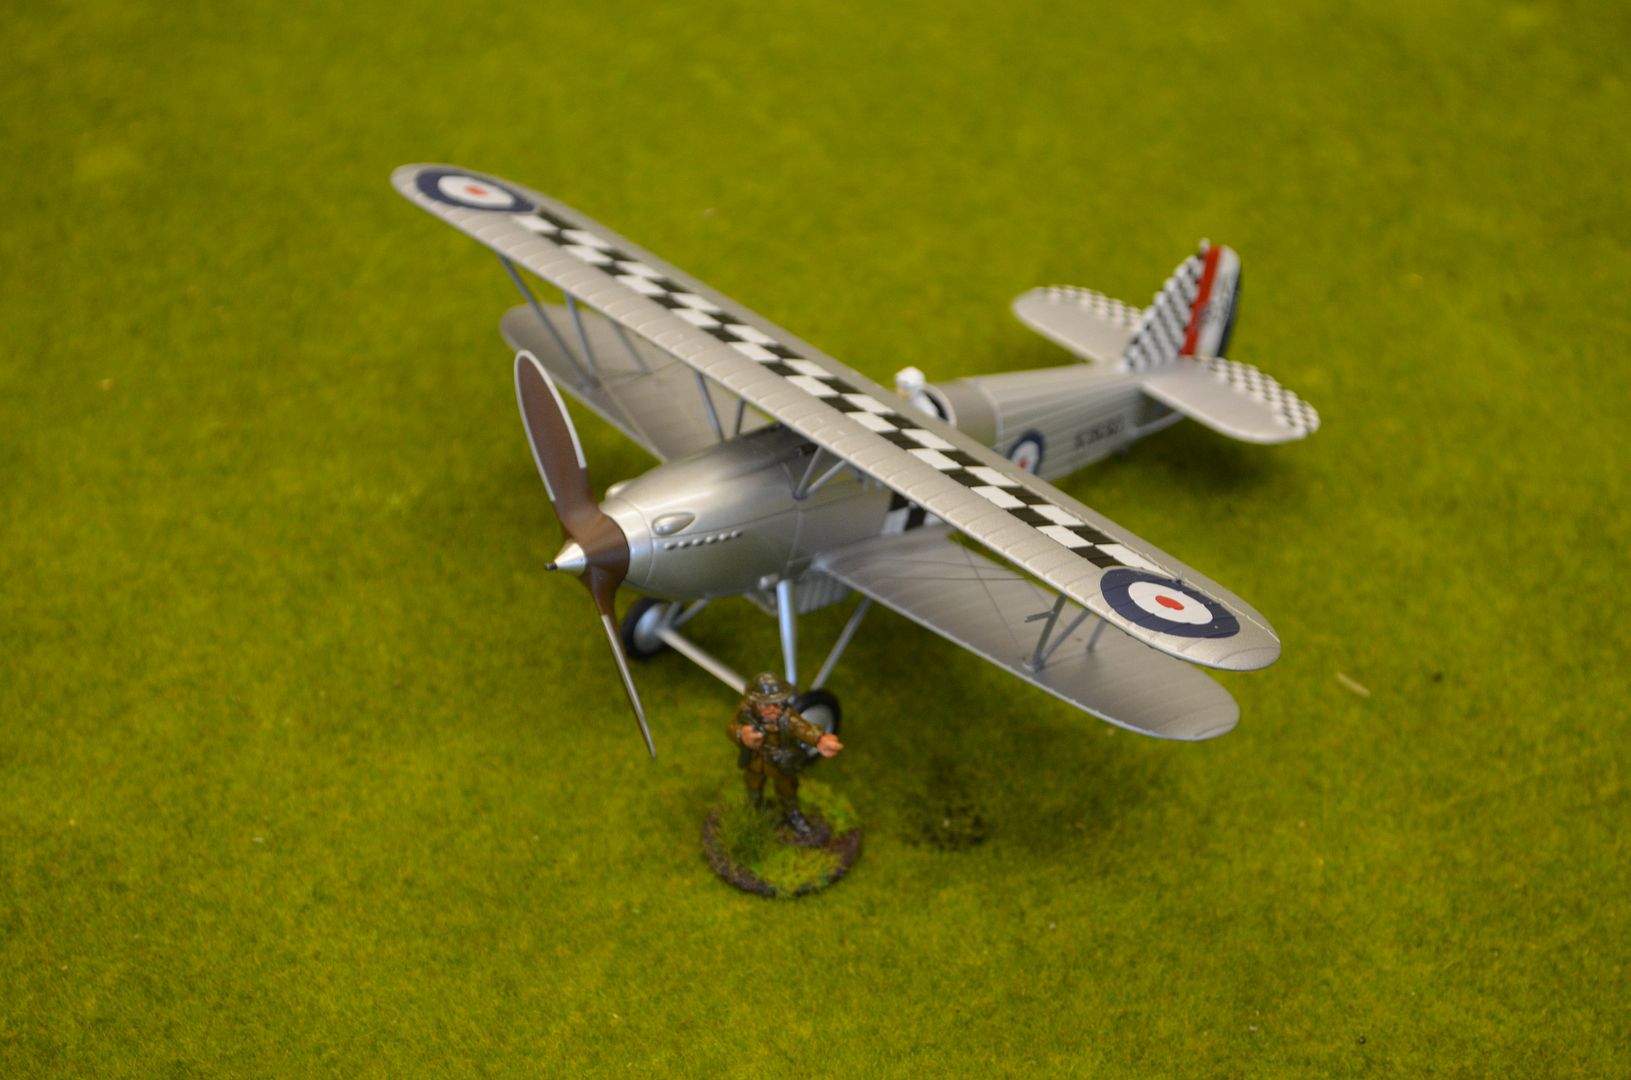
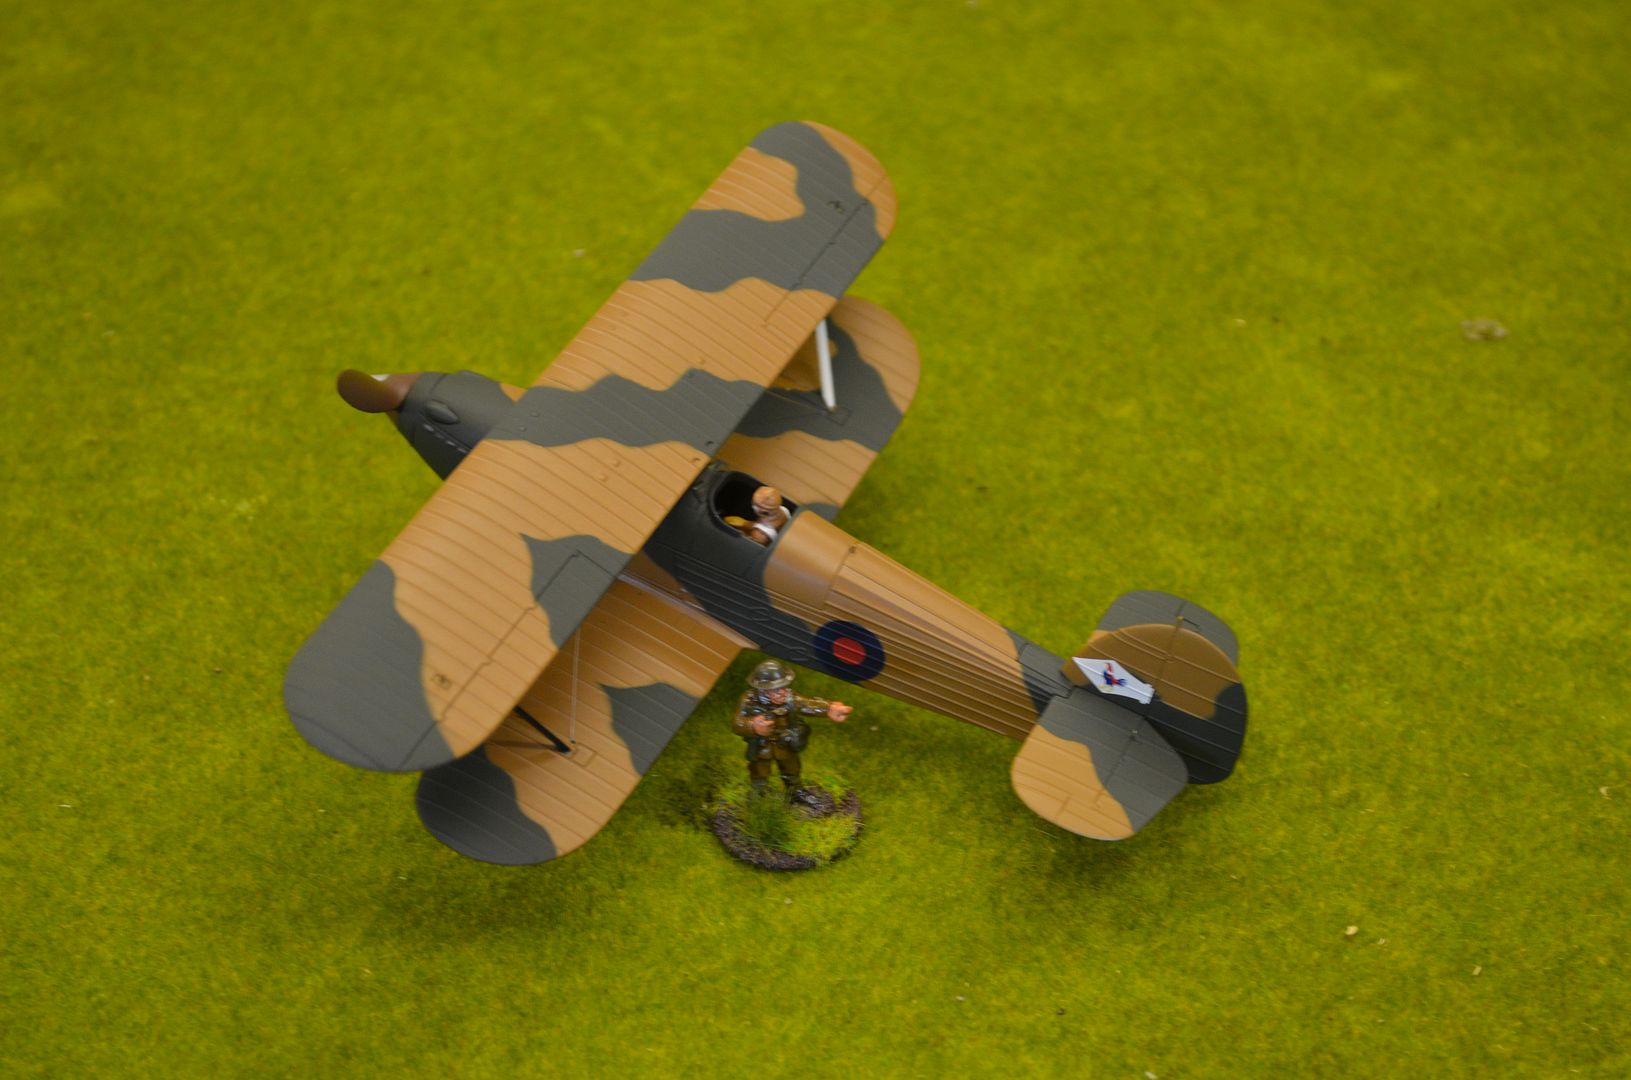
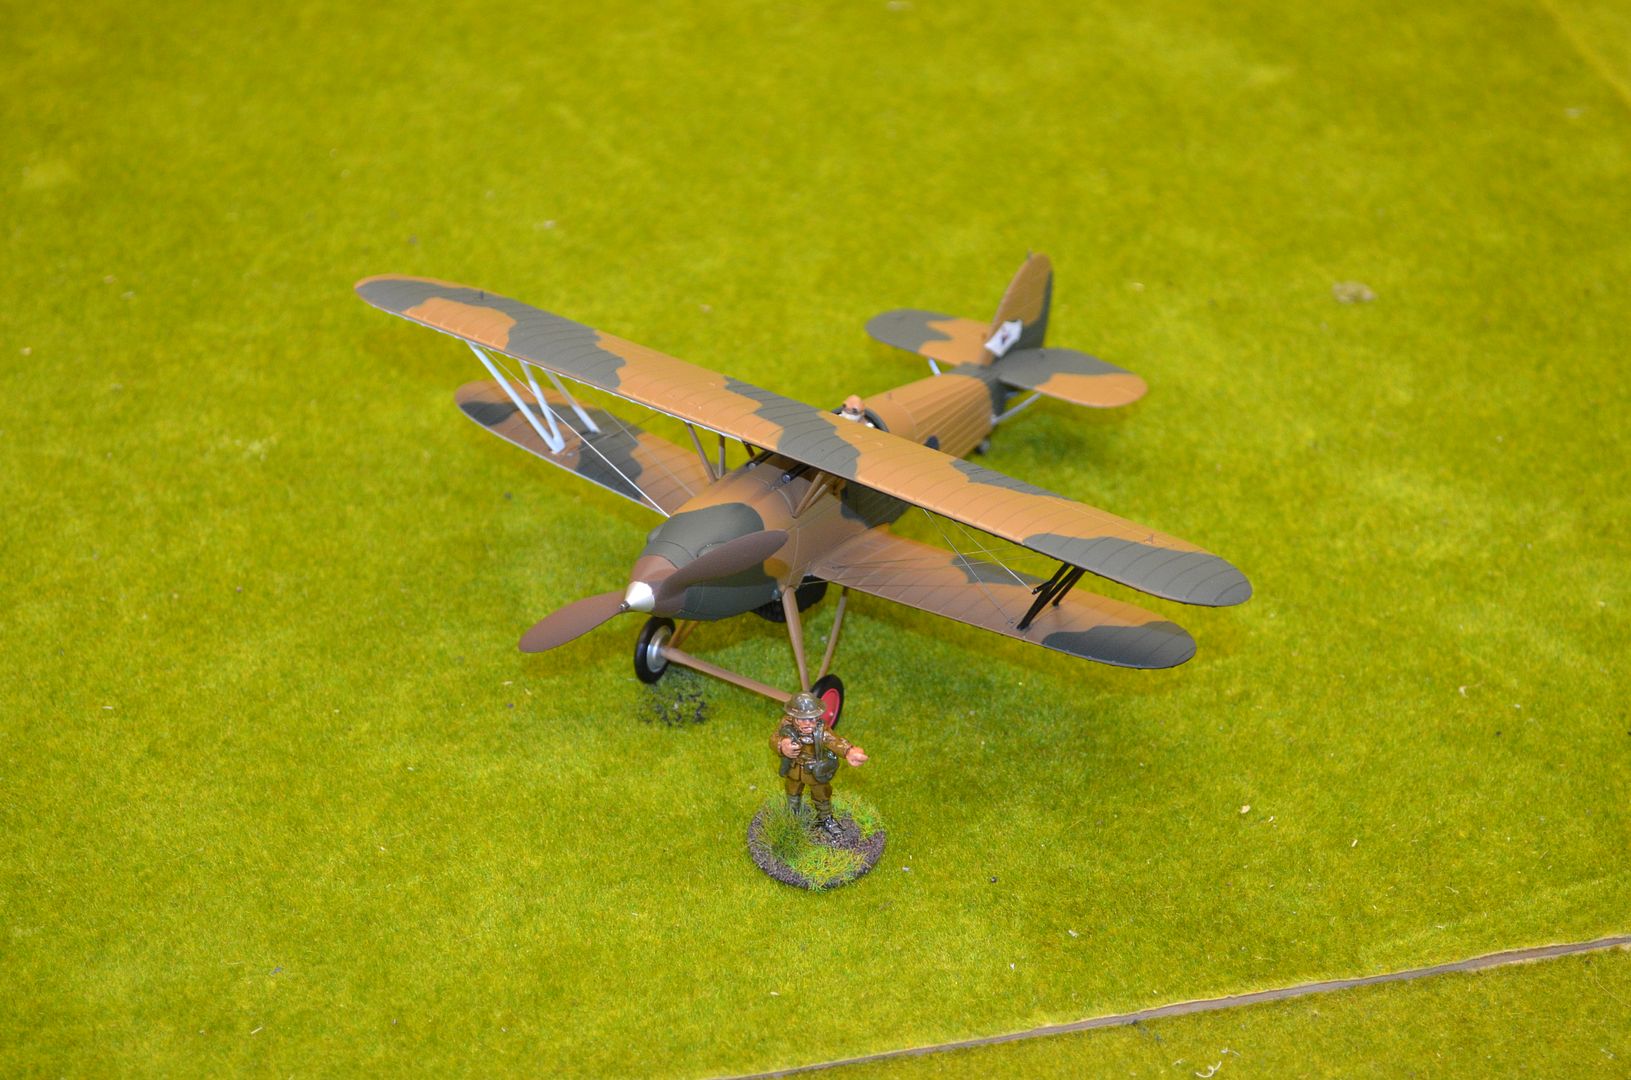
The third and fouth planes are not really kits but rather diecast models of the Hawker Fury – a biplane used by the RAF in the 1930s. These were used by the republican forces in the Spanish Civil War so are absolutely perfect for this period. These wre my most expensive purchases coming in just over £18 each but they looked great and I just wanted them.


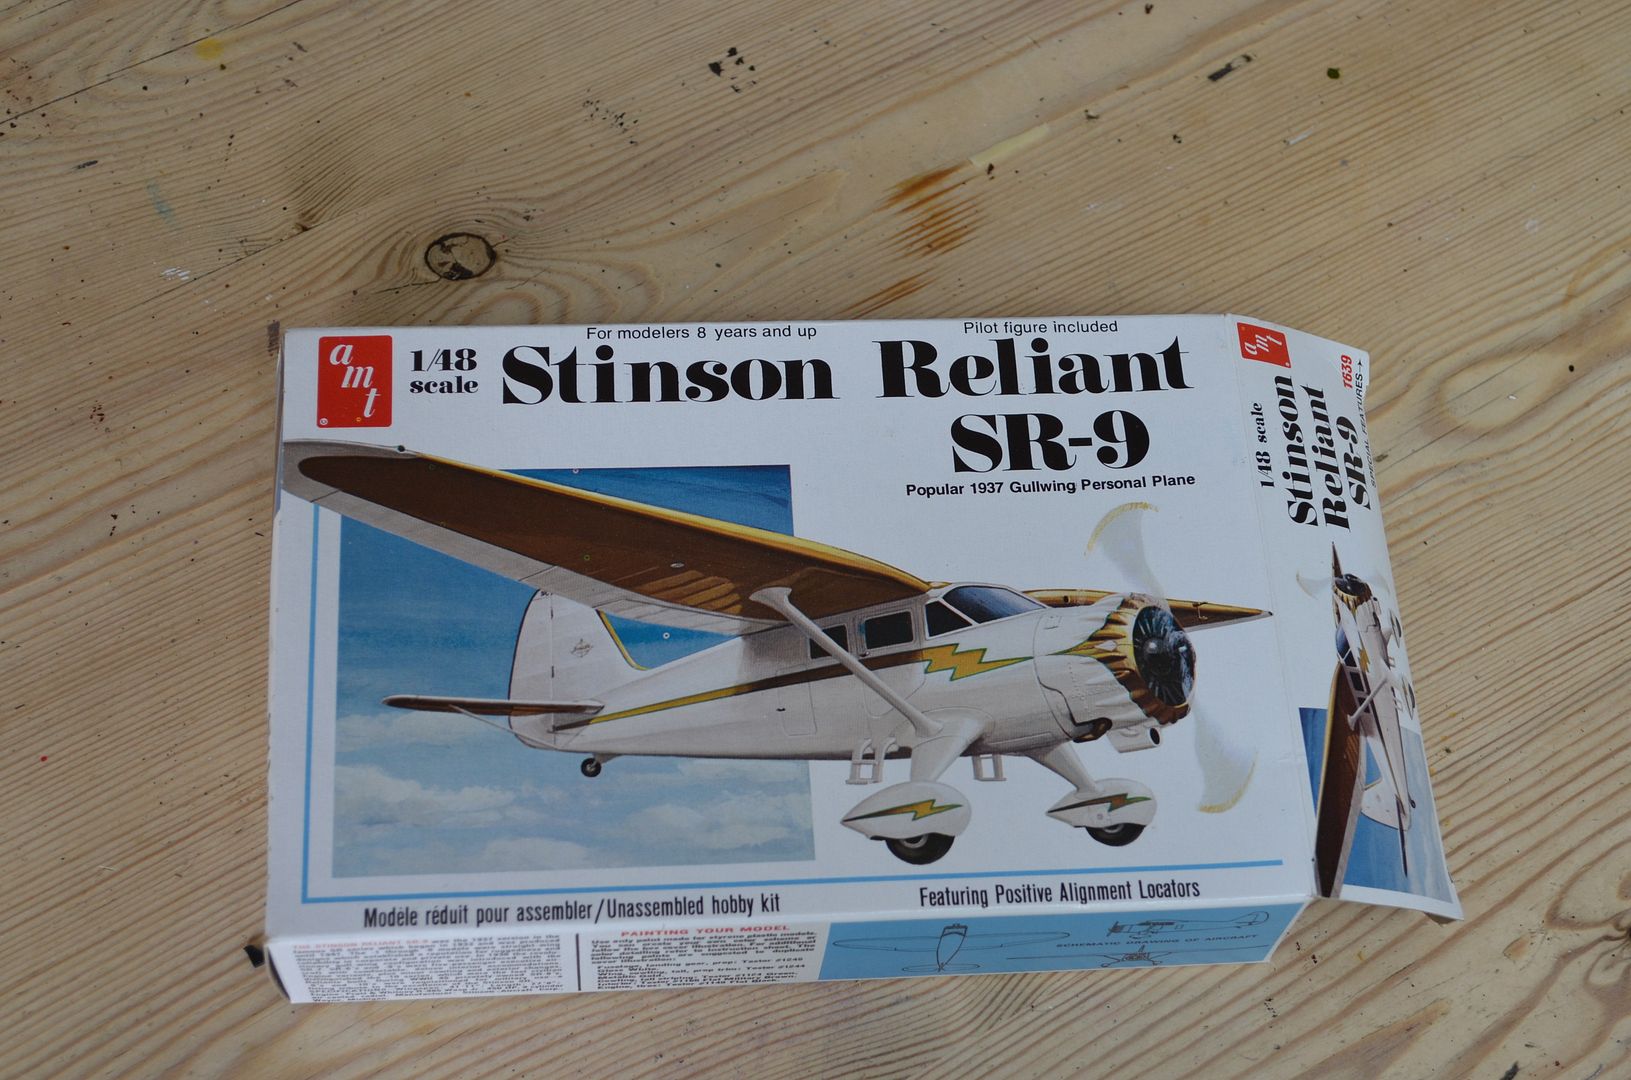
Next up is plane number 5 – a stinson reliant monoplane – first flown in 1933 by the USAF – it look very pulpy and again is the right period.


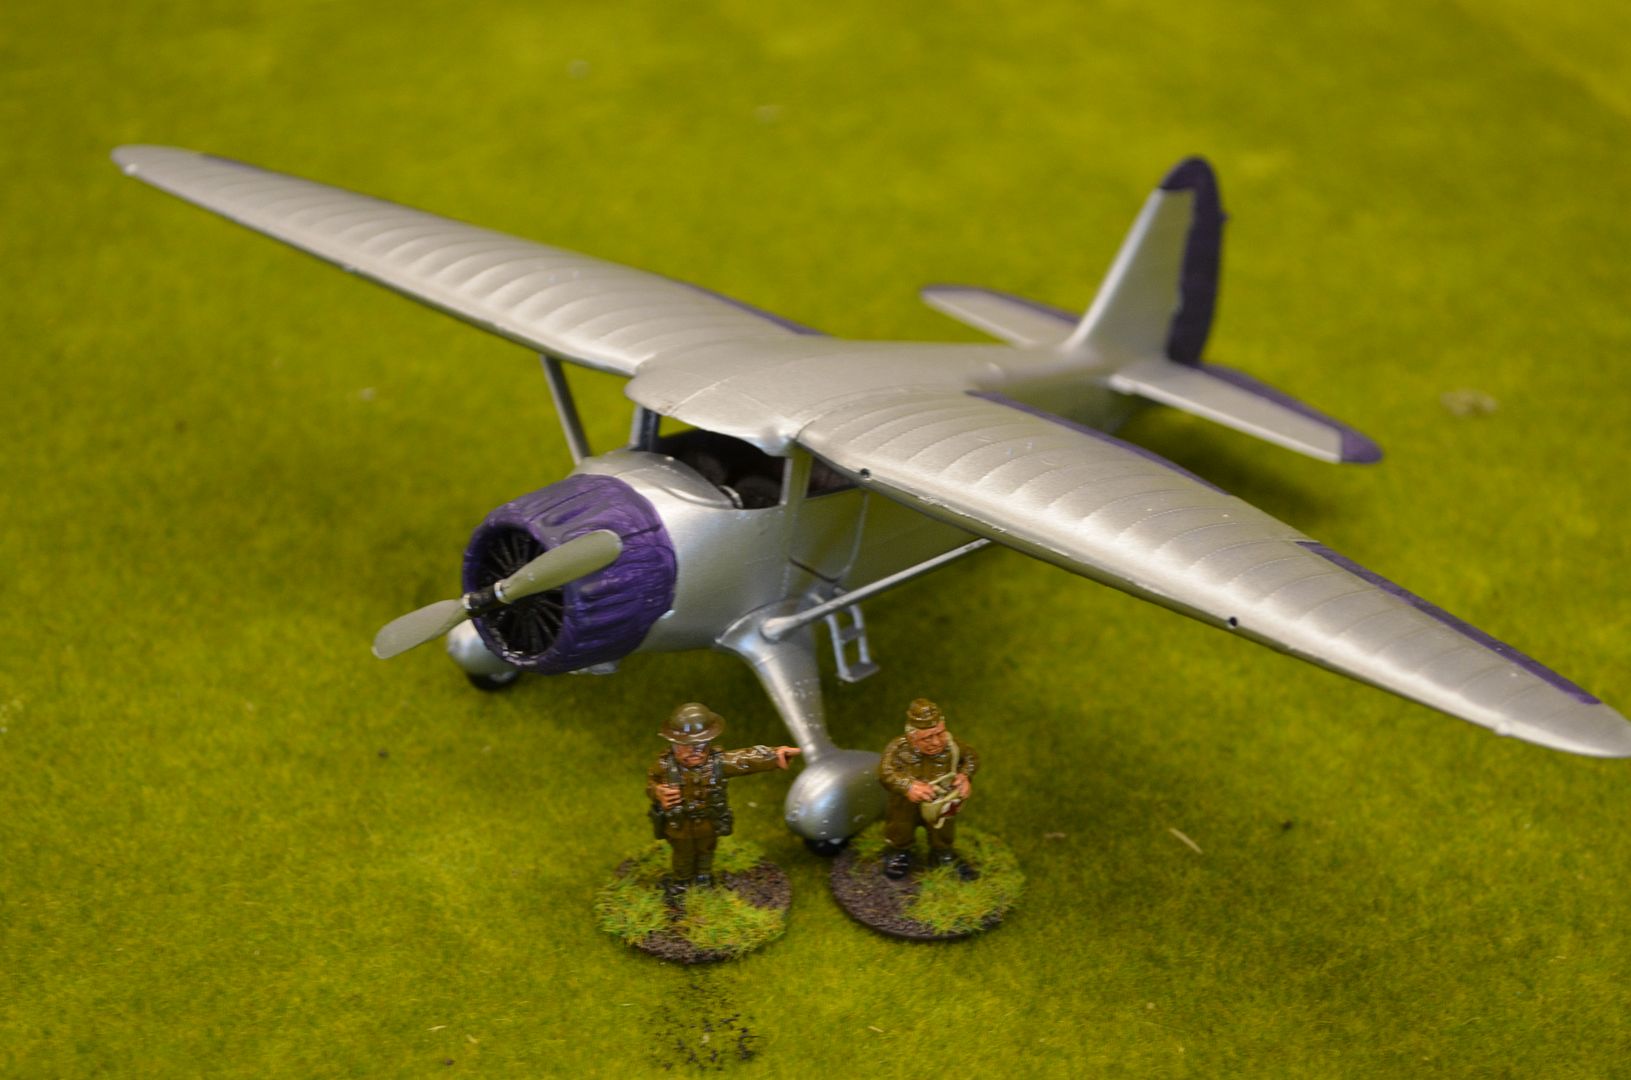
Paint job started - windscreen still to be added


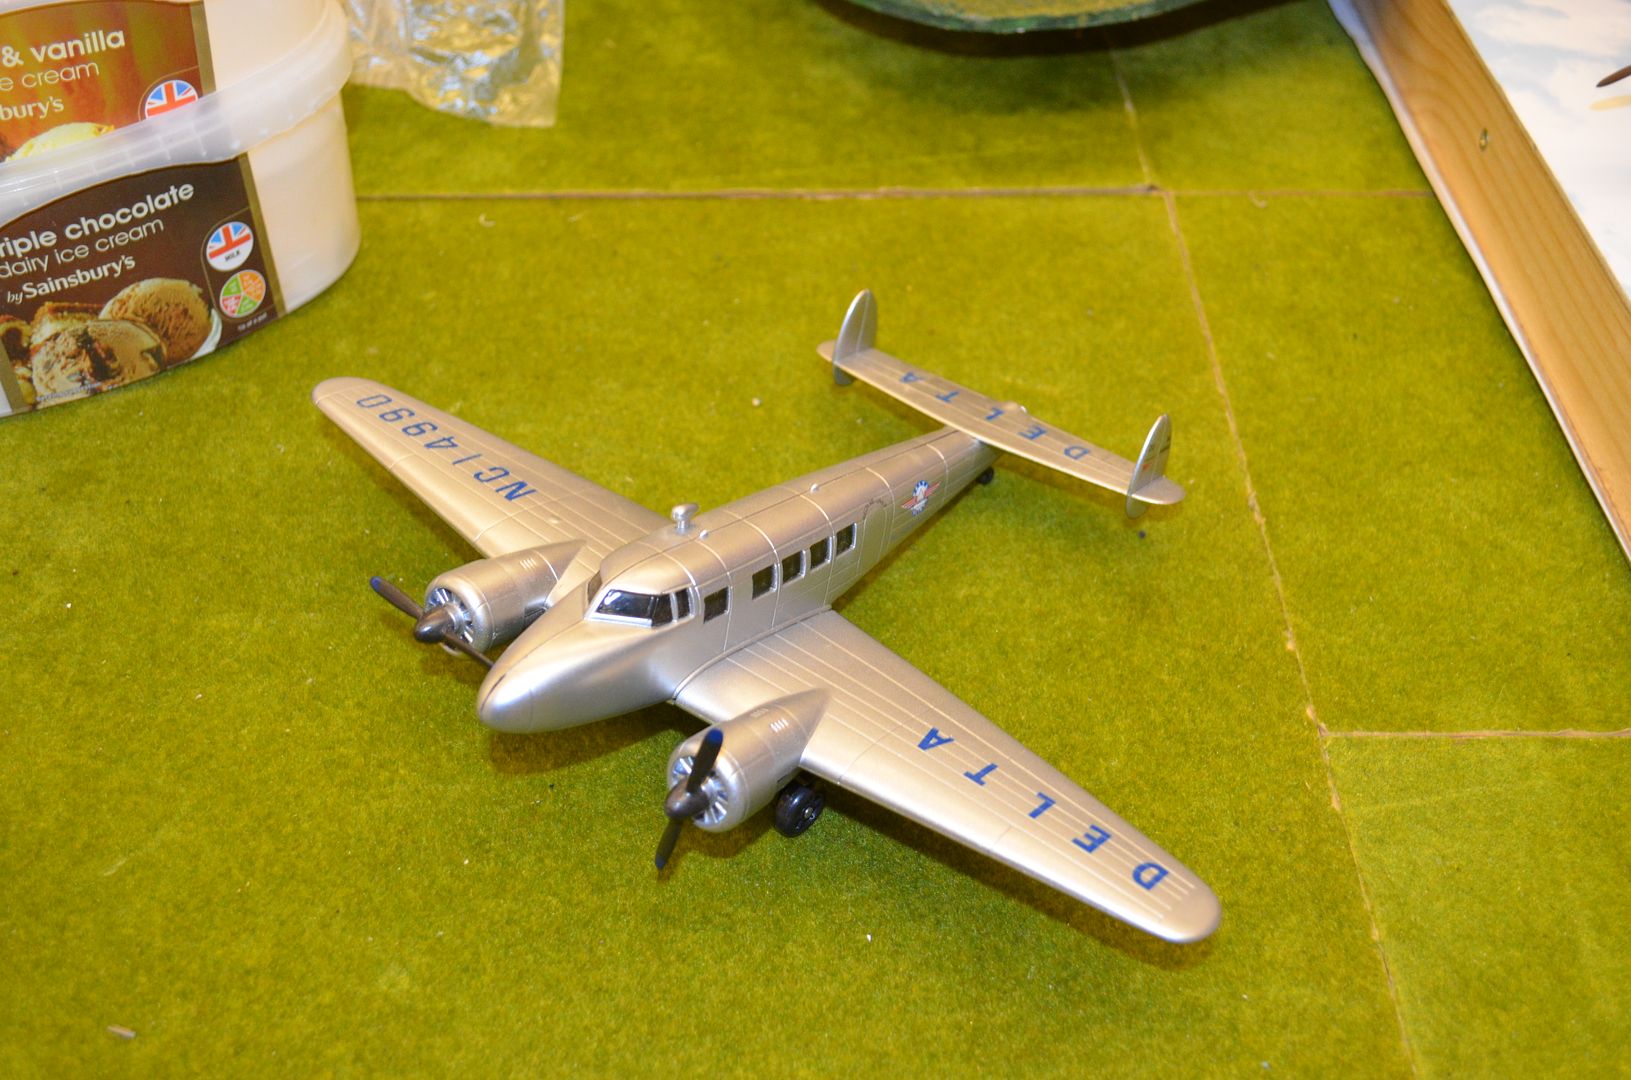
Plane number 6 was listed on Ebay as a Delta 777-200 but it clearly wasn’t based ion the picture. I took a bit of a punt on this one based on the fact that the description gave the dimensions as an 11 inch wingspan and 8 inch body. It looked like it would work for the period and fit with a 1/48 scale. Total price was £11 (inc postage) – not bad for a pre built model.


Finally I have been trying to procur a 1/48 scale Junker 52 – the famous German three engine transport plane used to drop paratroopers. These seem to go for a premium on ebay (around £25+) so fingers crossed one of these can be secured in the near future.


With these planes purchased the Shed Airforce has begun to take shape. Will have to turn my attention now to the Airfield….


Until next time


Tuesday 6 May 2014

Ice Wars - the first outing


Finally got round to posting the game held on Saturday last weekend. A few months back I posted a write up abnout my challenge to complete a snowy landscape. I even got as far as painting some excellent snow troopers and purchasing some suitable tracked vehicles.
When Matt mentioned to me that he had not only procured and painted up a series of buildings for an arctic landscape we put together a game with various bits cobbled together from various sources.
My first attempt at snowboards had failed so I returned to my original intention of using a cloth base. A quick trip to the local fabric shop saw purchases of 3 metres of white and 3 metres of black felt. (both are 1.5m wide). Obviously the white would be used for snowscapes and the black for interstellar warfare (another project another time). I have always found that the use of a single cloth is too light for battlefields wheres something double sided has much greater weight and works better.
Taking out my trusty sewing machine (yes I have one and know how to use it) I stitched the two cloths together. Job done.
You can just make out in the photos below the felt cloth. The undulations were created by placing some old hills I had manufactured under the cloth.
 
A word of warning about photographing minis on a white cloth. I found that turning the lights off in the shed and using the flash gave a much better image. Those that look great grey are with lights on.
 
As I said the game was cobbled together at the very last minute and after throwing on some extra cover, a few more minis etc we decided that a bolt action would be our preferred choice of rules. It also gave us the opportunity of bringing our good friend Paul up to speed.
 
Paul doesn't get to play games very often - he's always in Tokyo on business, however  we learned that he had just built a table in his garage ! Another convert to the dark side. 
 
 
I haven't bothered writing up an AAR for these games - they were too fast and quite frankly I as the defender got my backside kicked twice in succession. Thanks guys.
 
Life was going really well and then I discovered that my teenage daughter had locked me out the house - not realising I was in the shed.
 
And here come the photos - still a long way to go to bring everything up to scratch but we are getting there.


A good comparison between the above photo and below shot...


Its not as colourful as my other games....

Until next time