Thursday 31 January 2013

Pirate Ship - 'Cerberus'

Now that I have been finally able to climb off my death bed - feeling much much better I decided that I had better crack on with this Pirate adventure before I run out of steam.

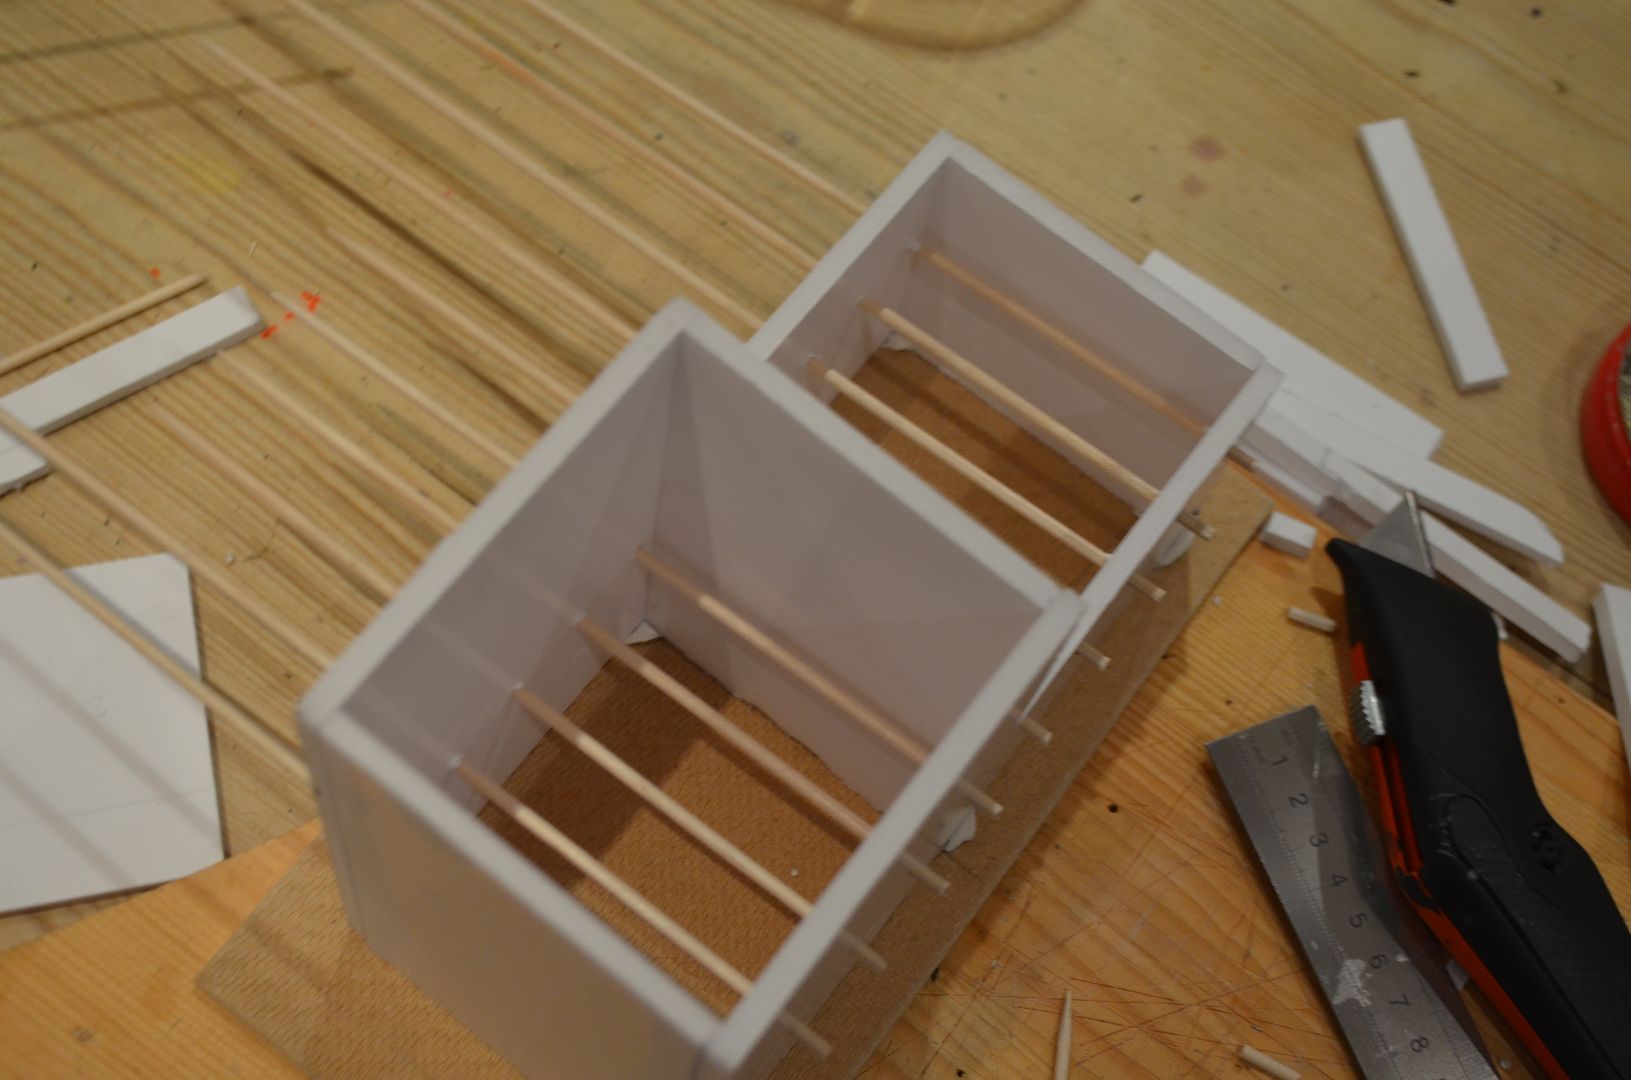
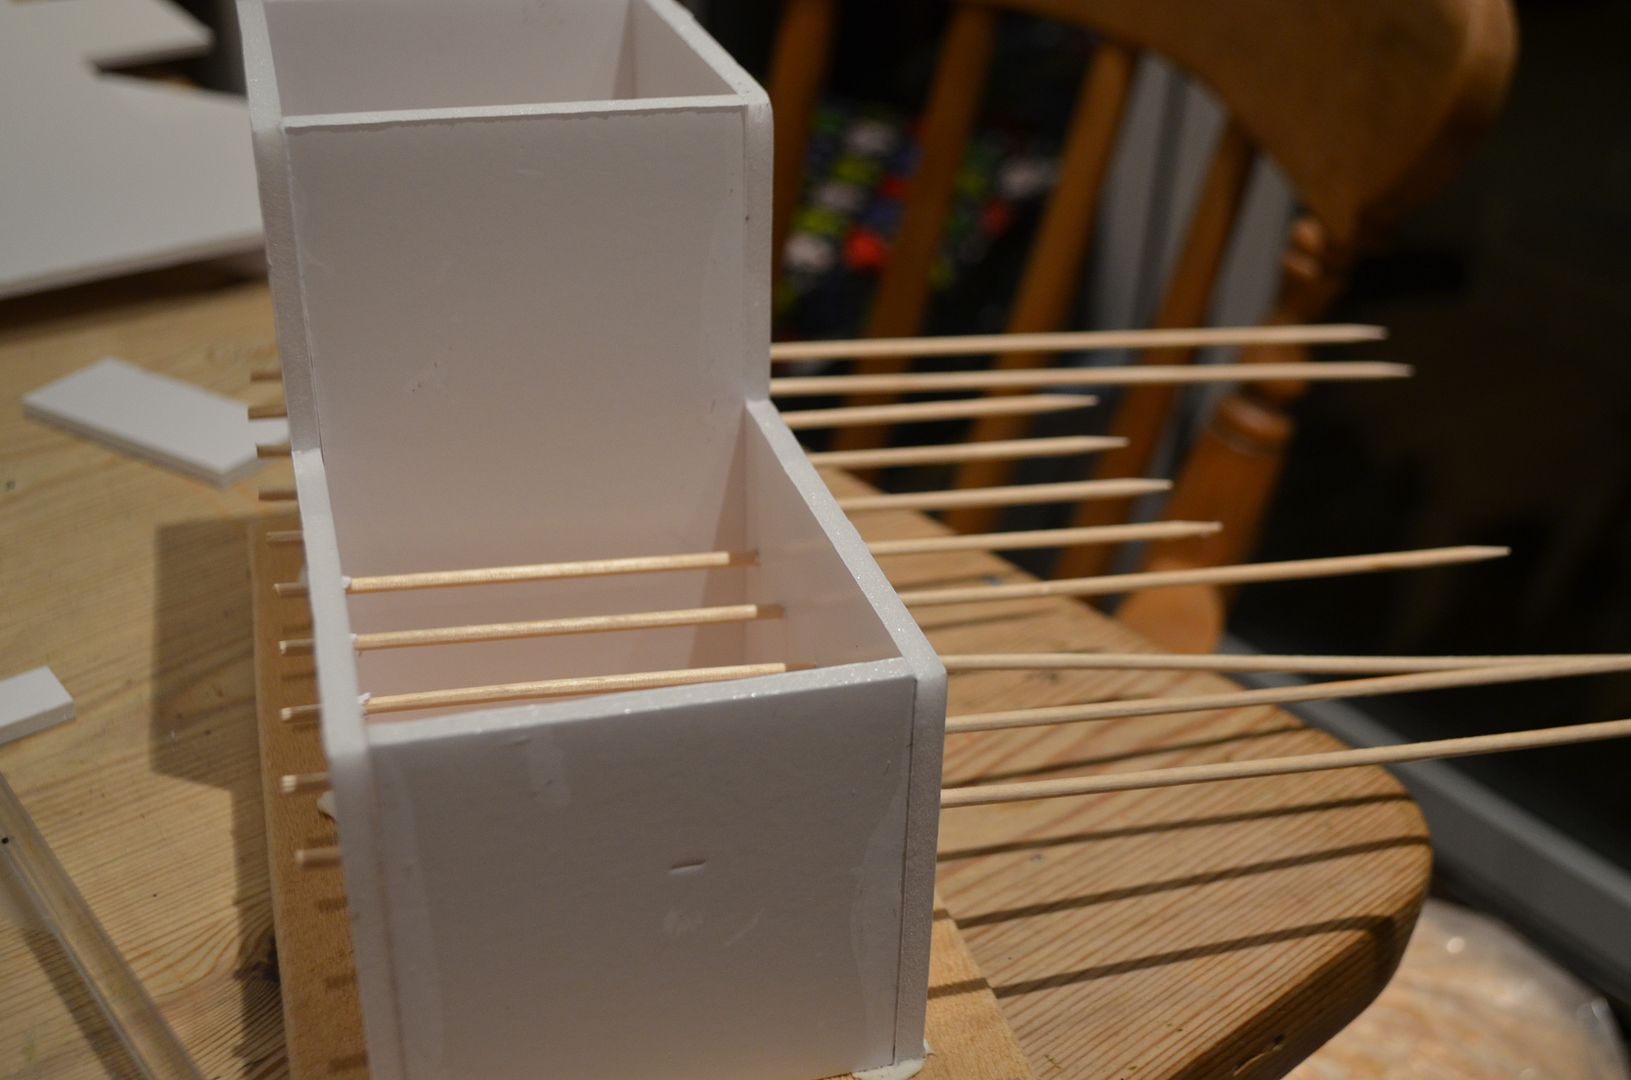
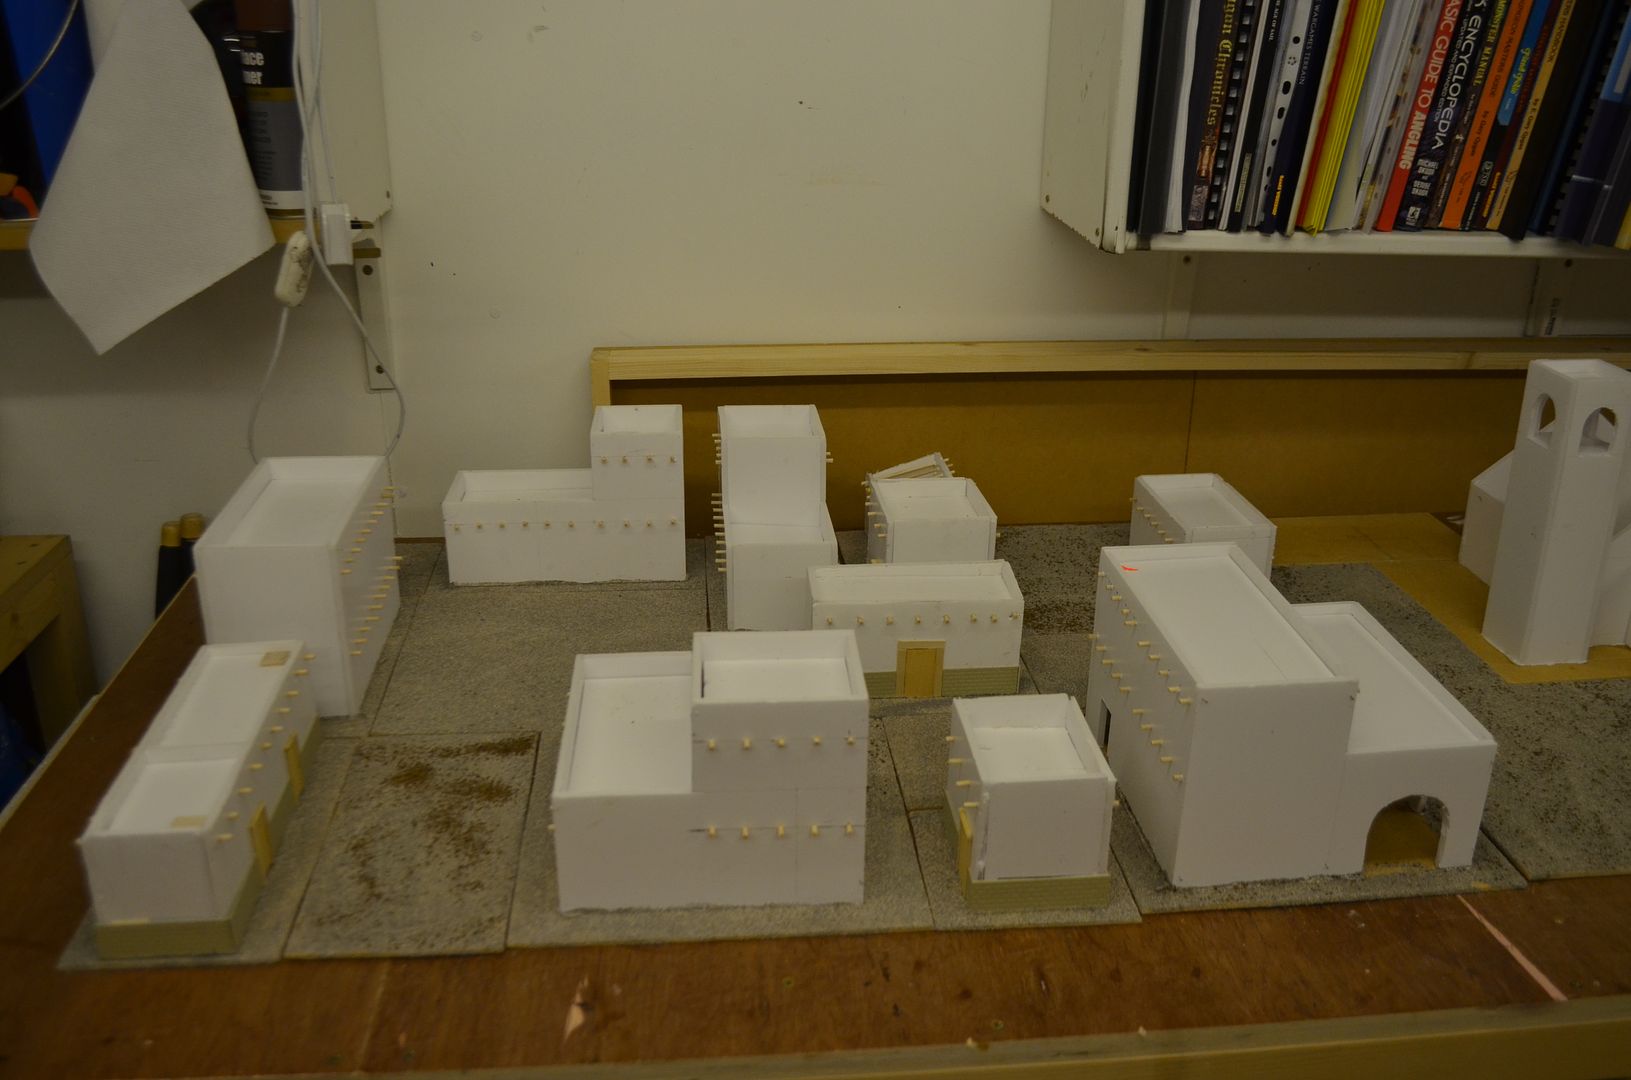
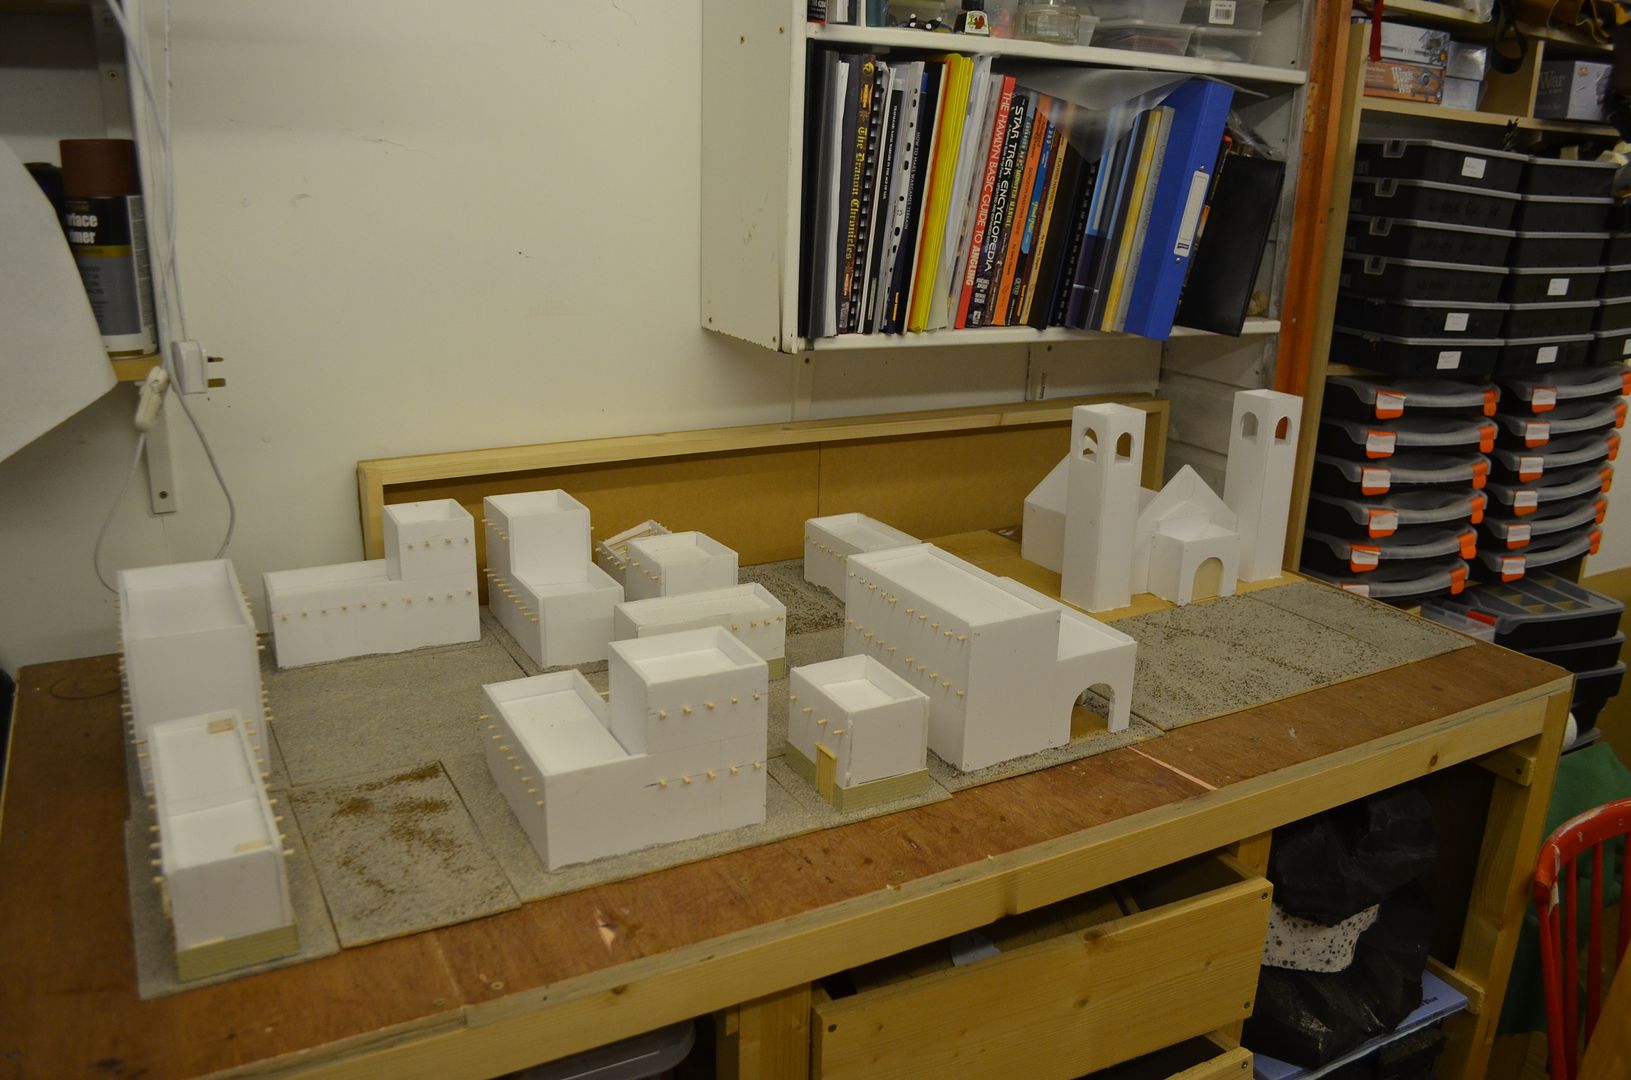
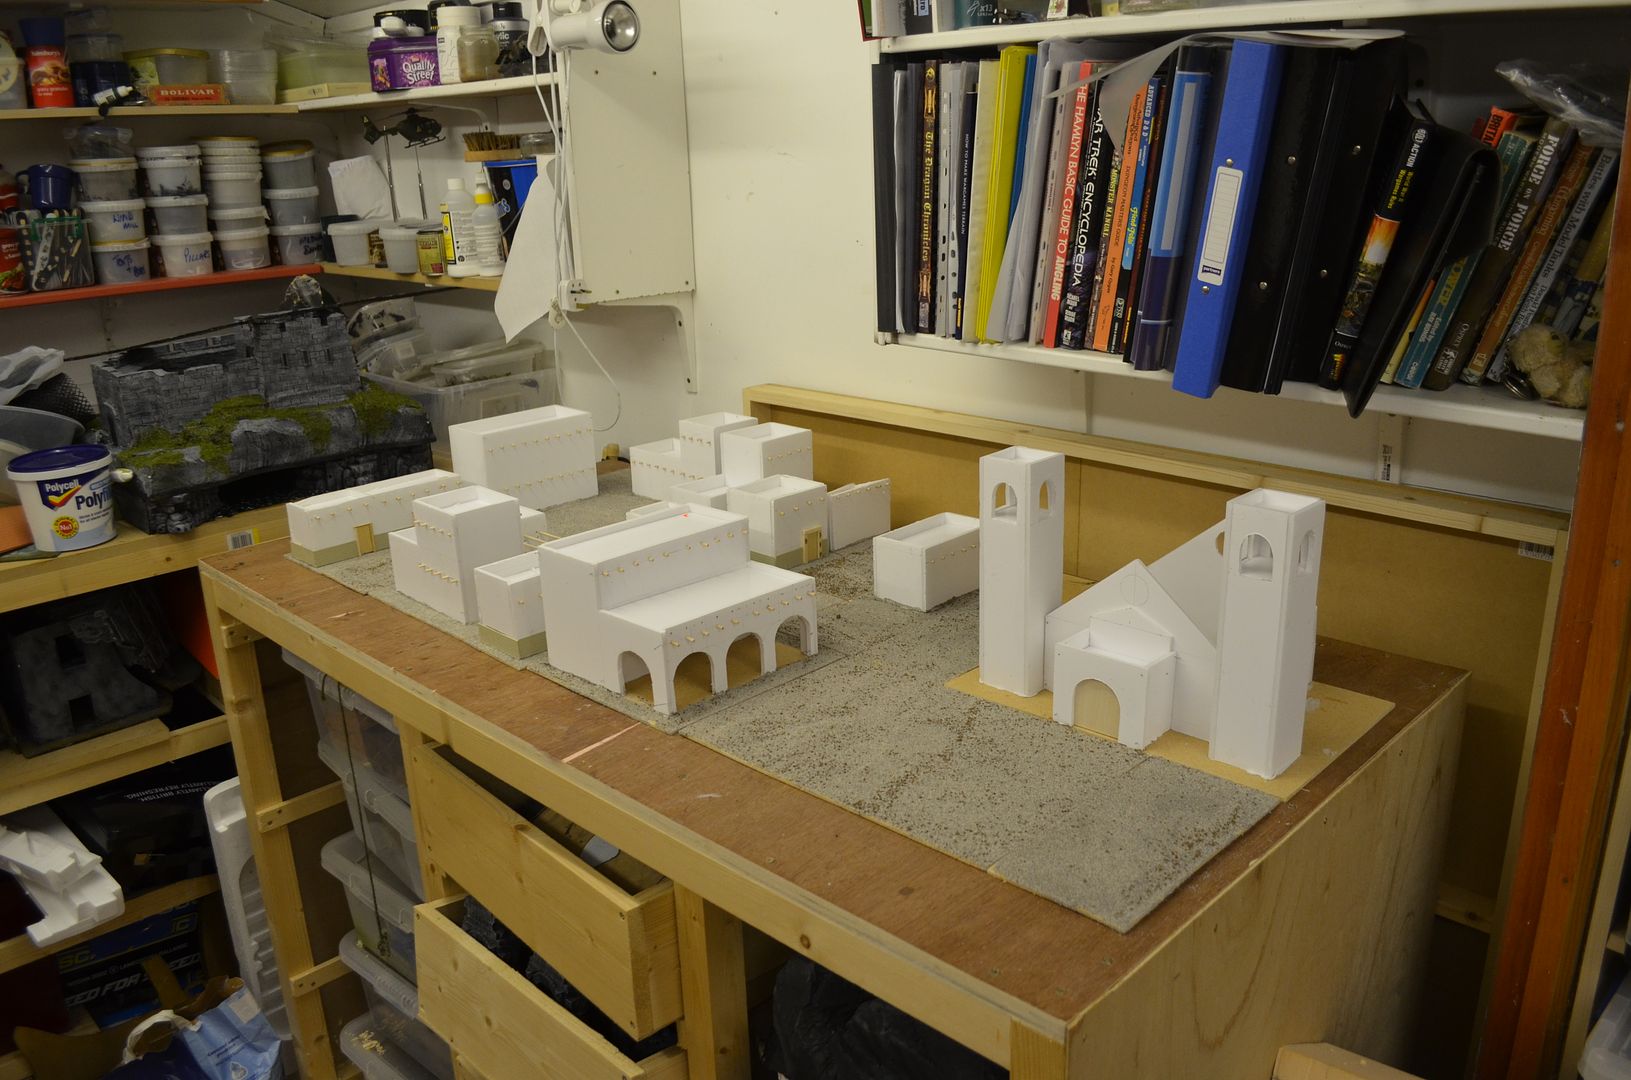
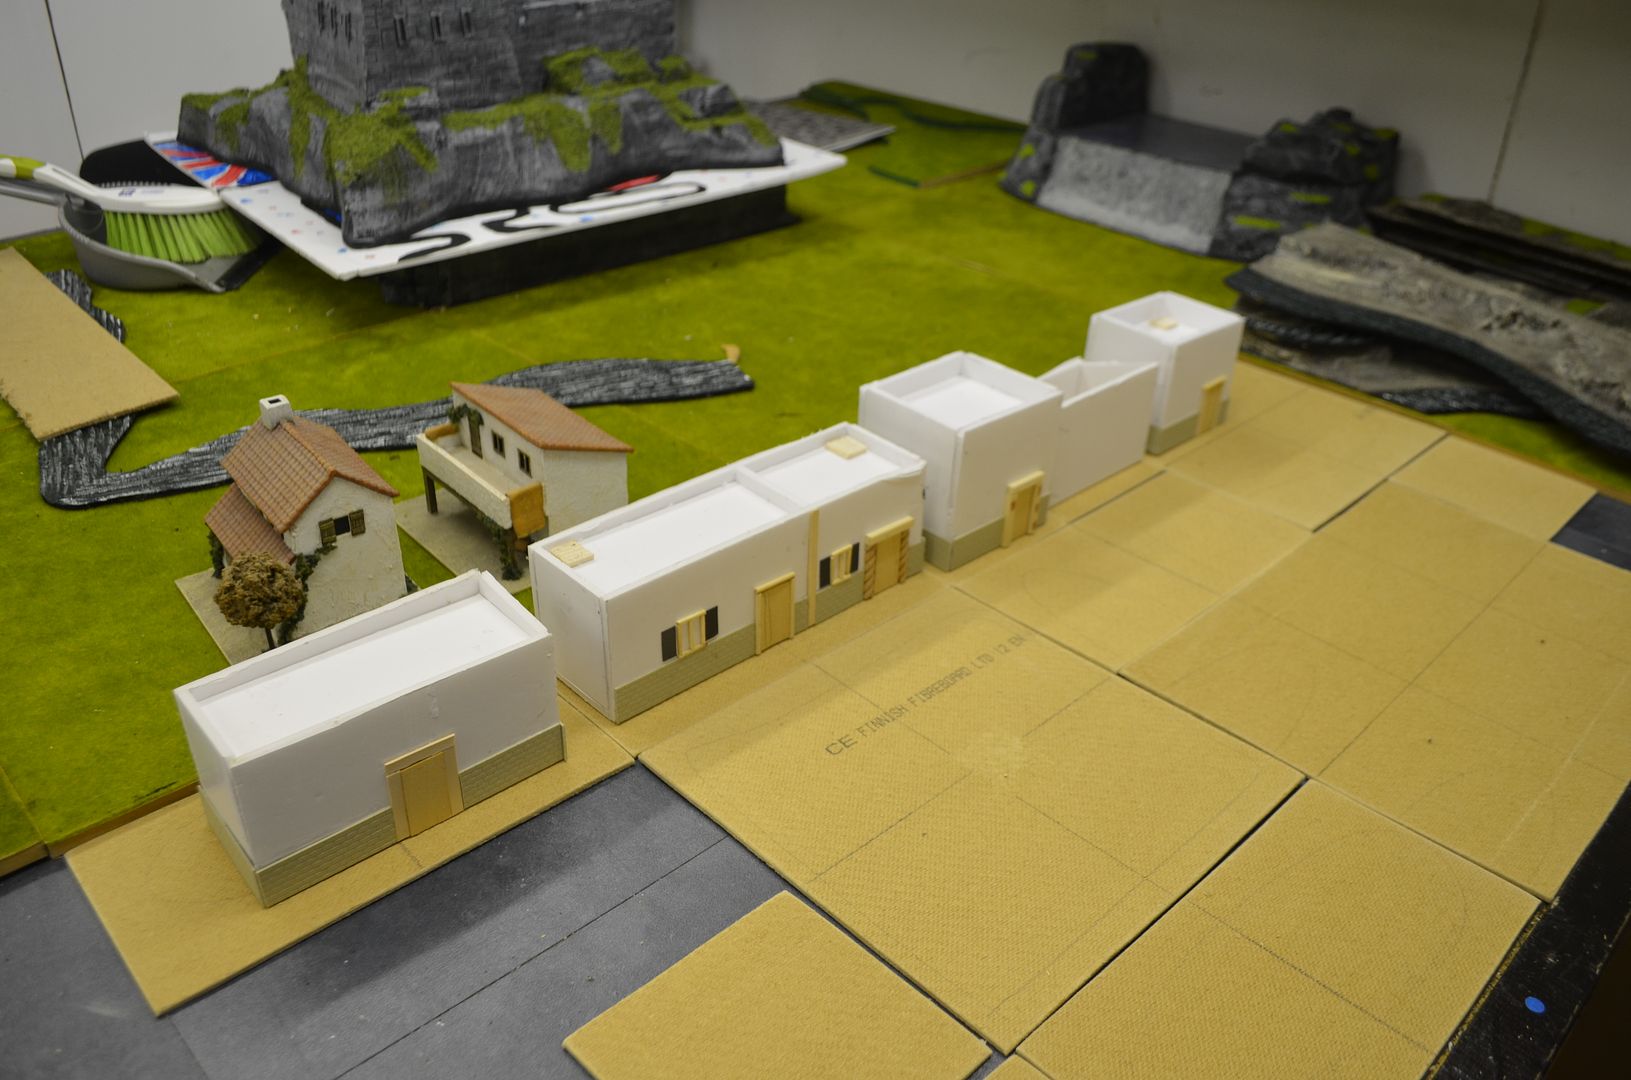
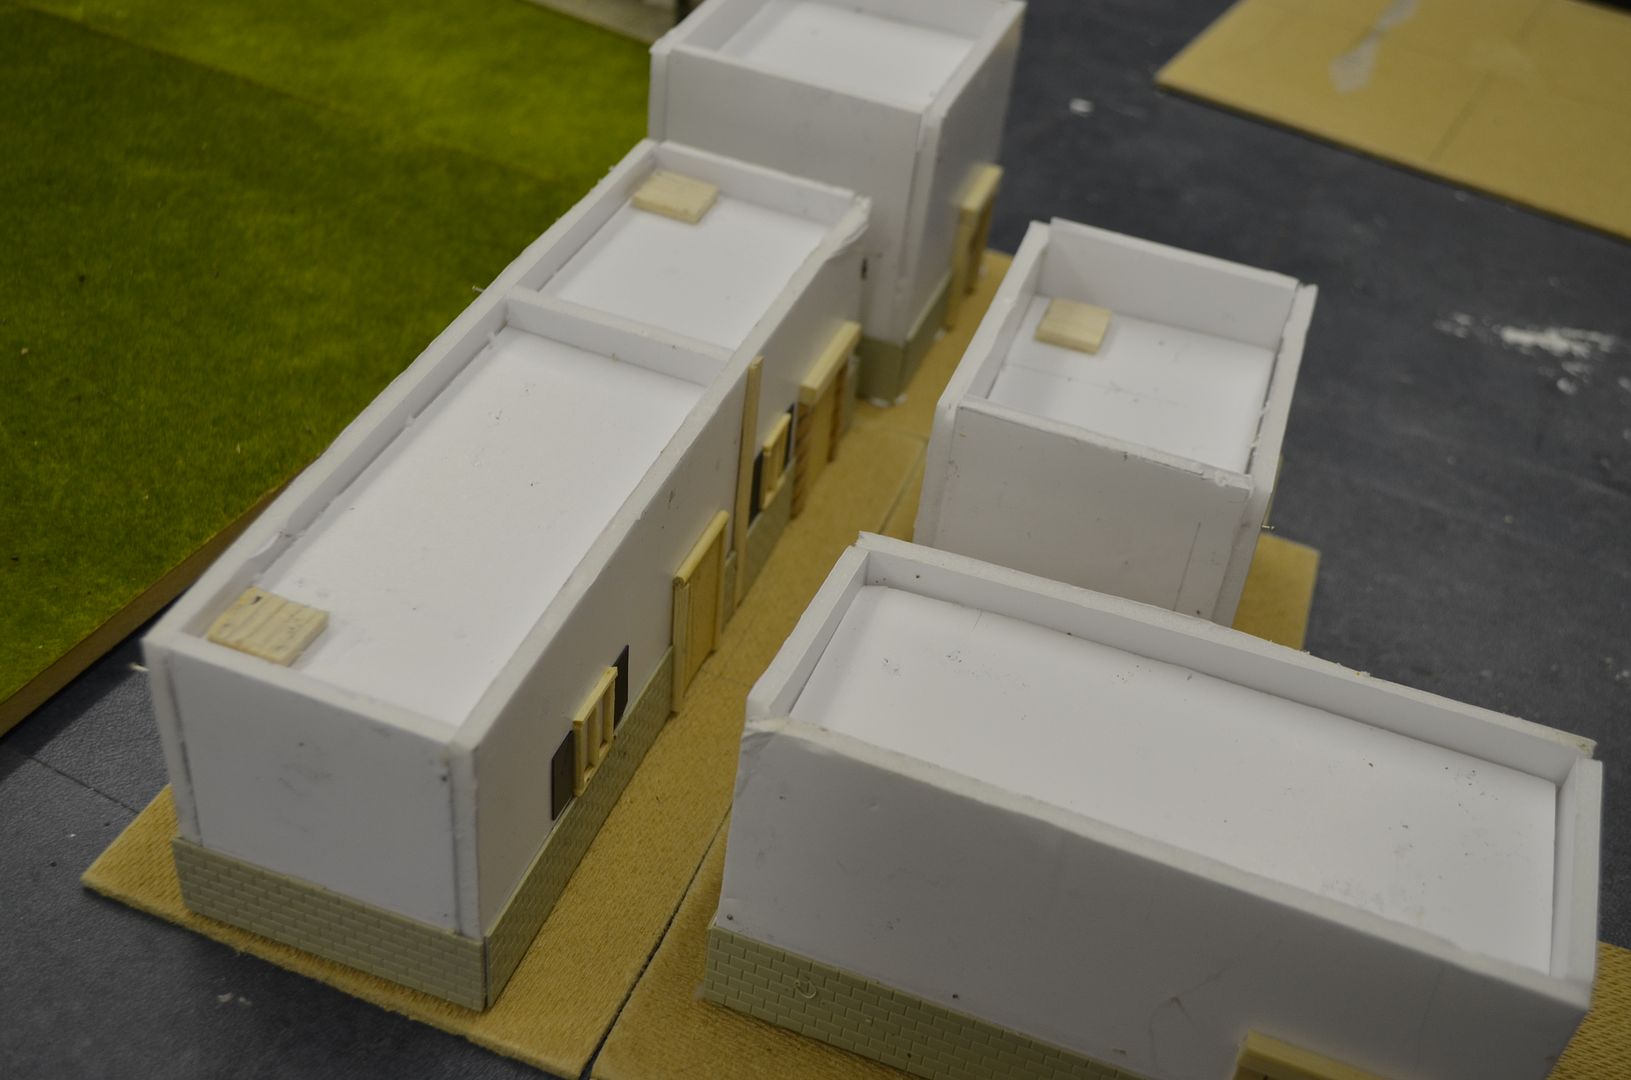
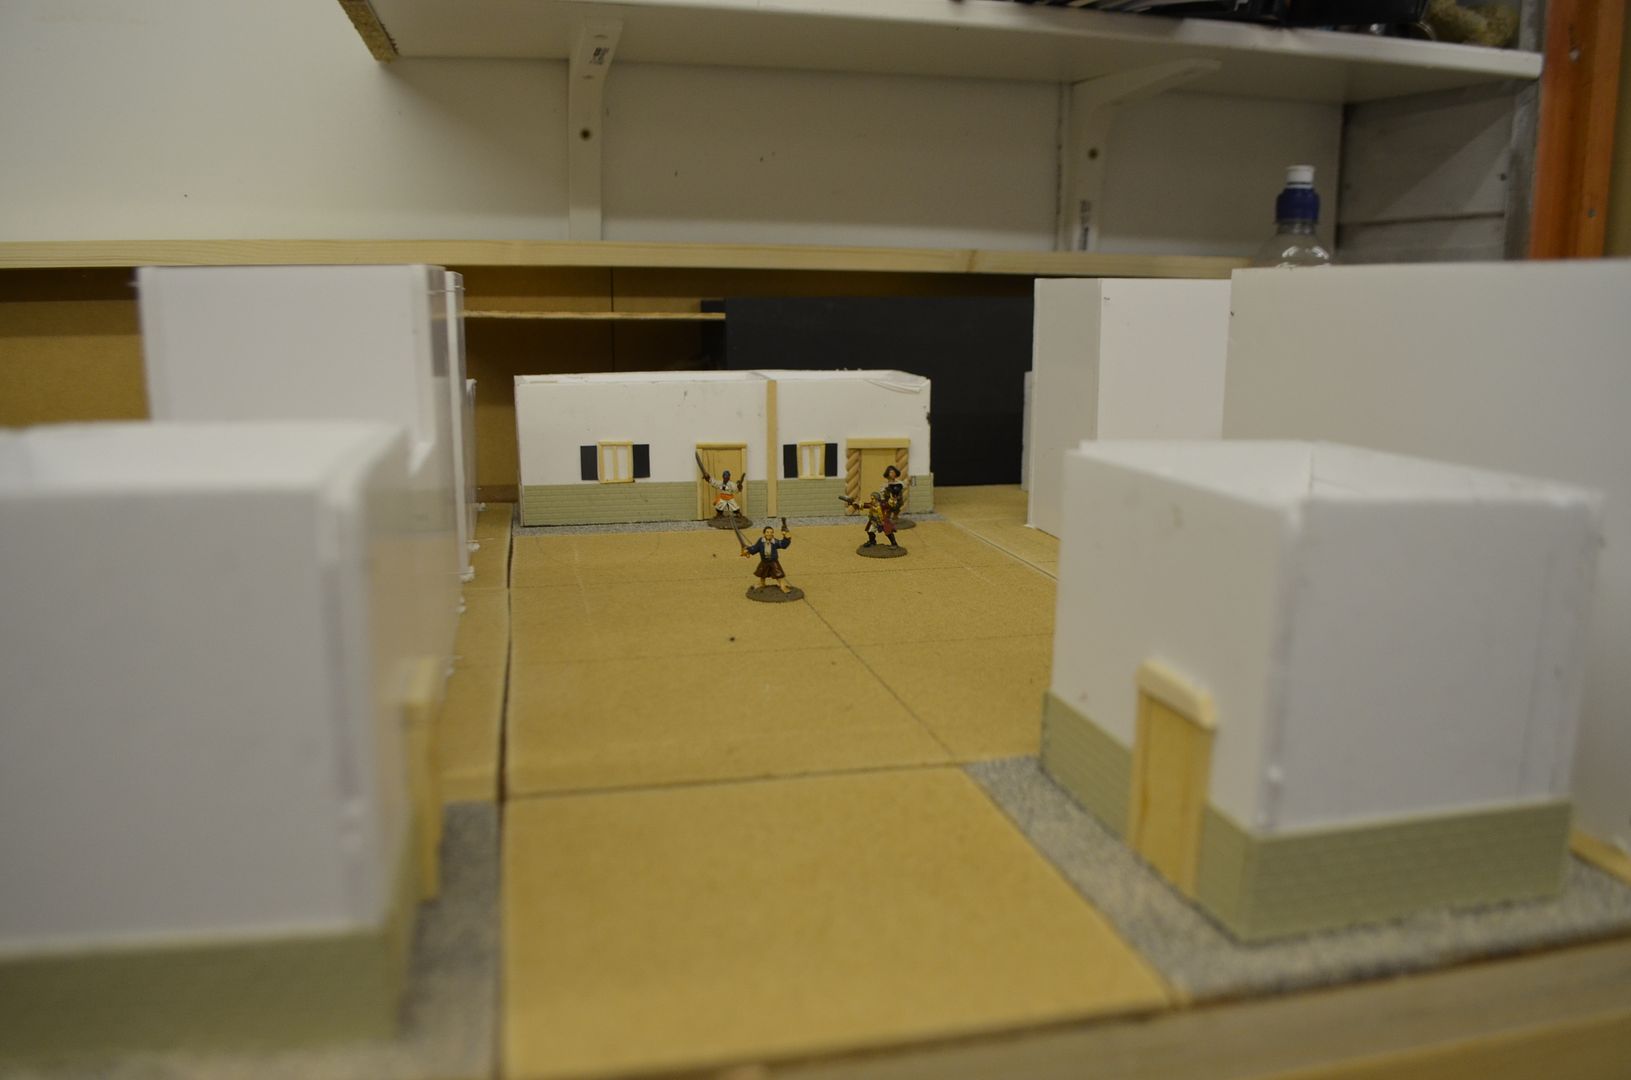
With Pirate Town nearly completed (more to follow)  I finally get to turn my attention to the ships !

At the moment I only have the Ainsty Man O war on the painting table but it is a fine beast and with this in mind it has been christened 'the Cerberus' after the three headed dog that guards hell.
The Ainsty boat can be sourced direct (http://ainstycastings.co.uk/index.php/cPath/63/osCsid/e798a694f680a83de0978d1d53be9958)

It doesn't come in cheap at £75 but you get a lot of resin and metal. It also looks fabulous.

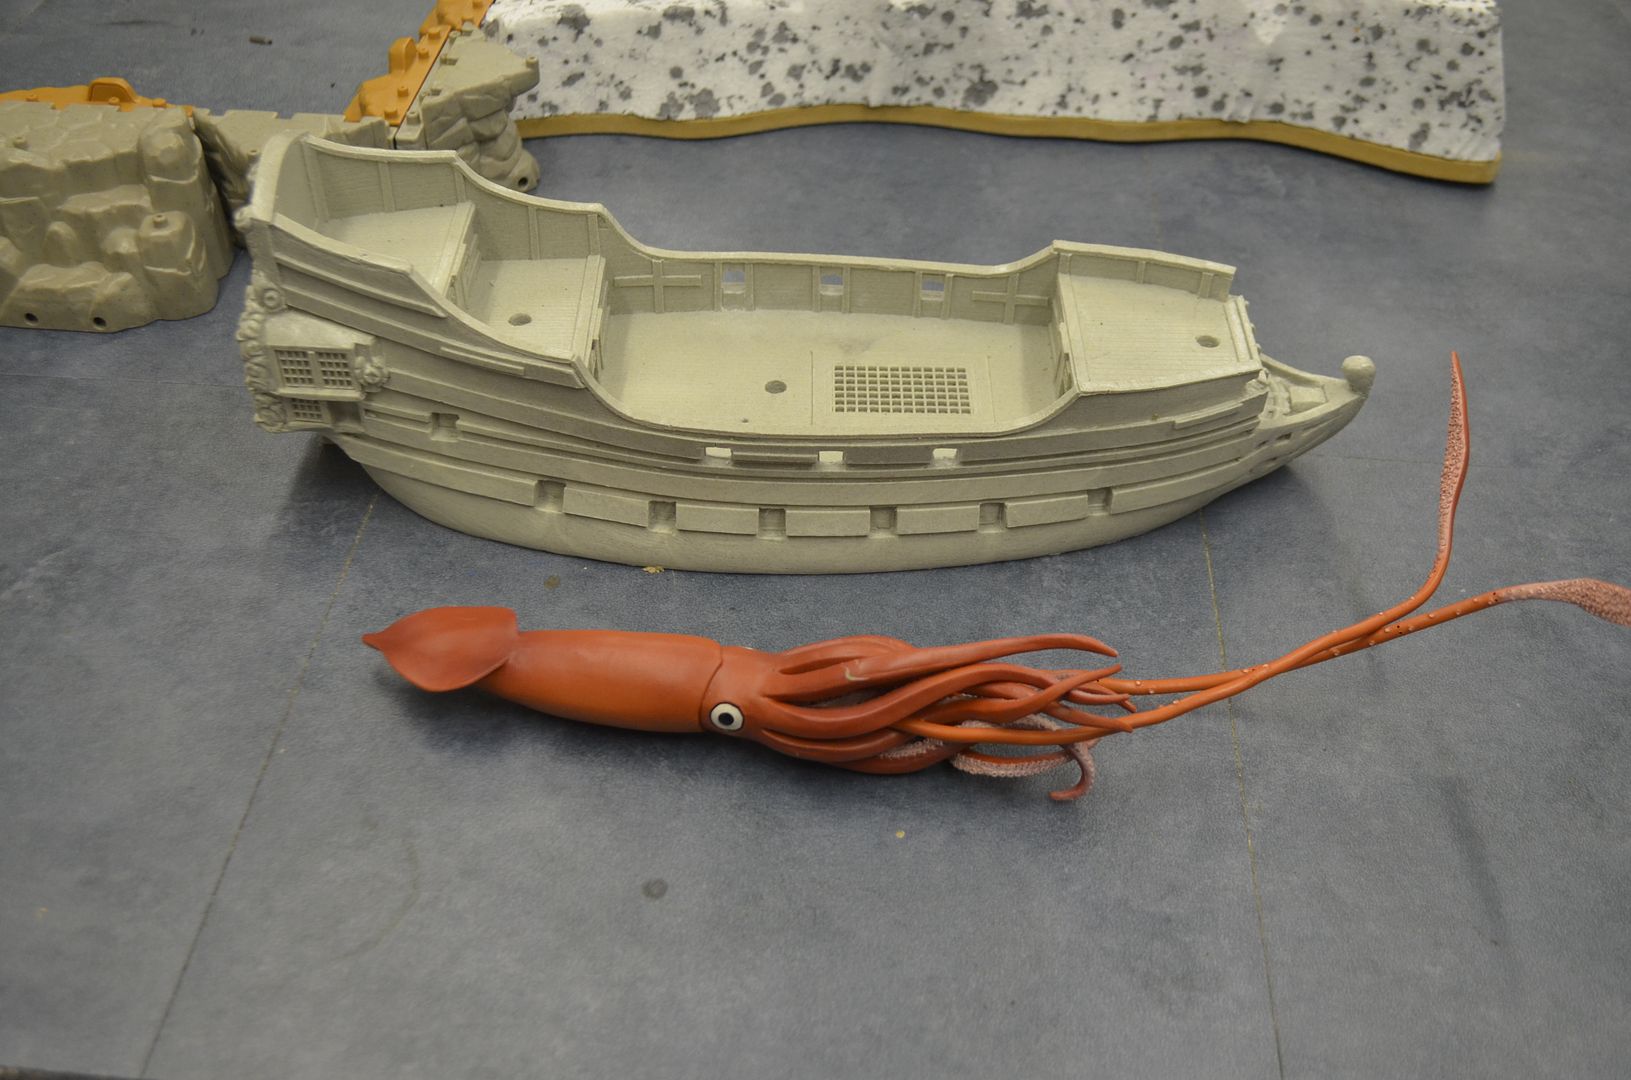
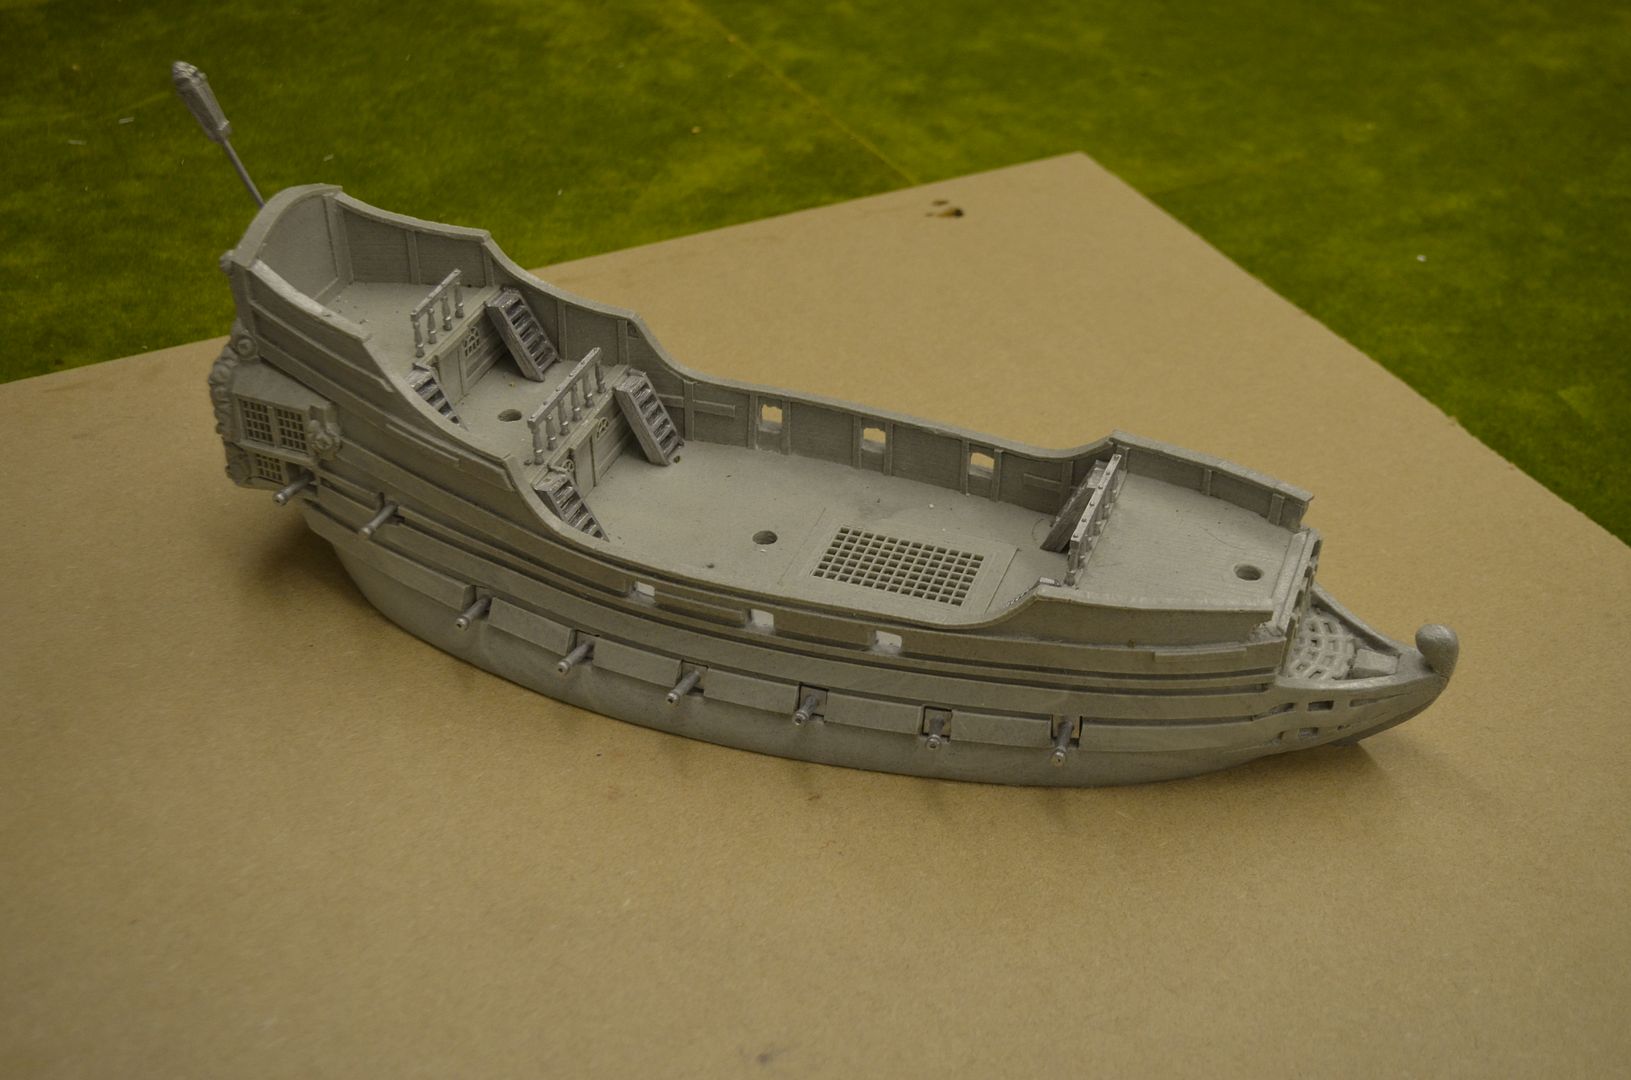
An earlier shot of when I first purchased the boat. Should add that the boat comes with three dowels as masts.


The squid will be adapted for game play...


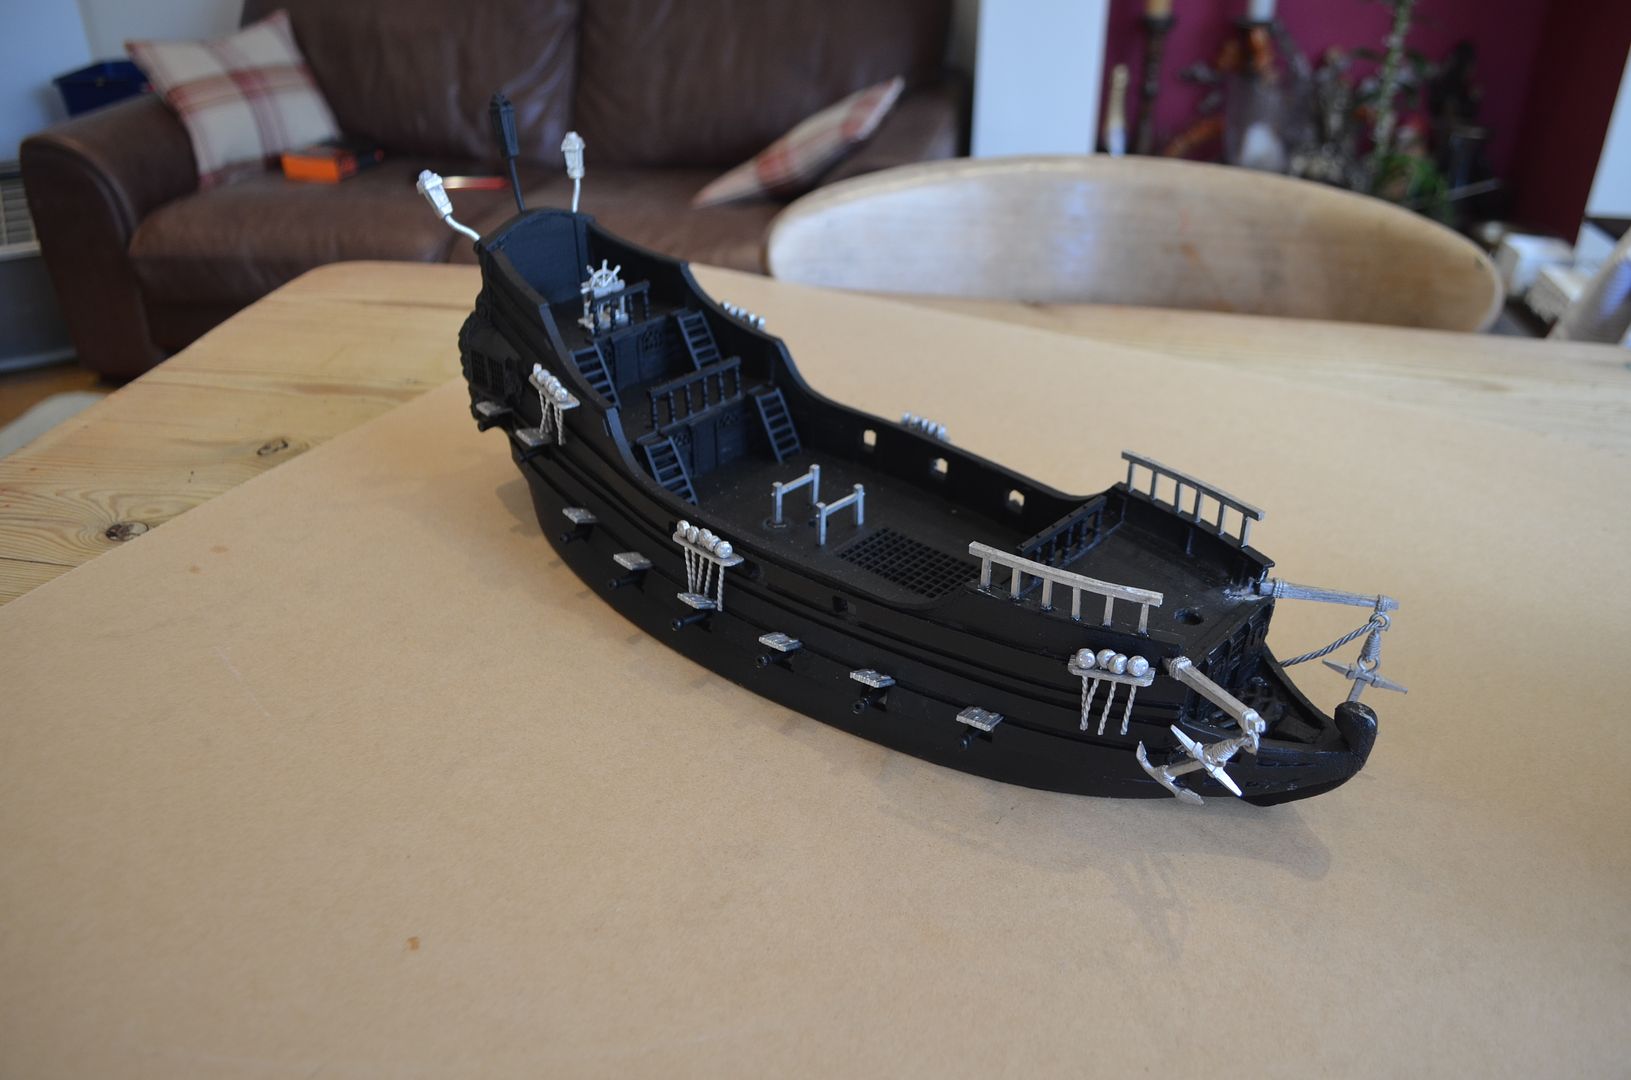
Unfortunately the pack I bought from those good folks at Ainsty did not come with any instructions so if I have stuck things in the wrong place, upside side etc please forgive me.

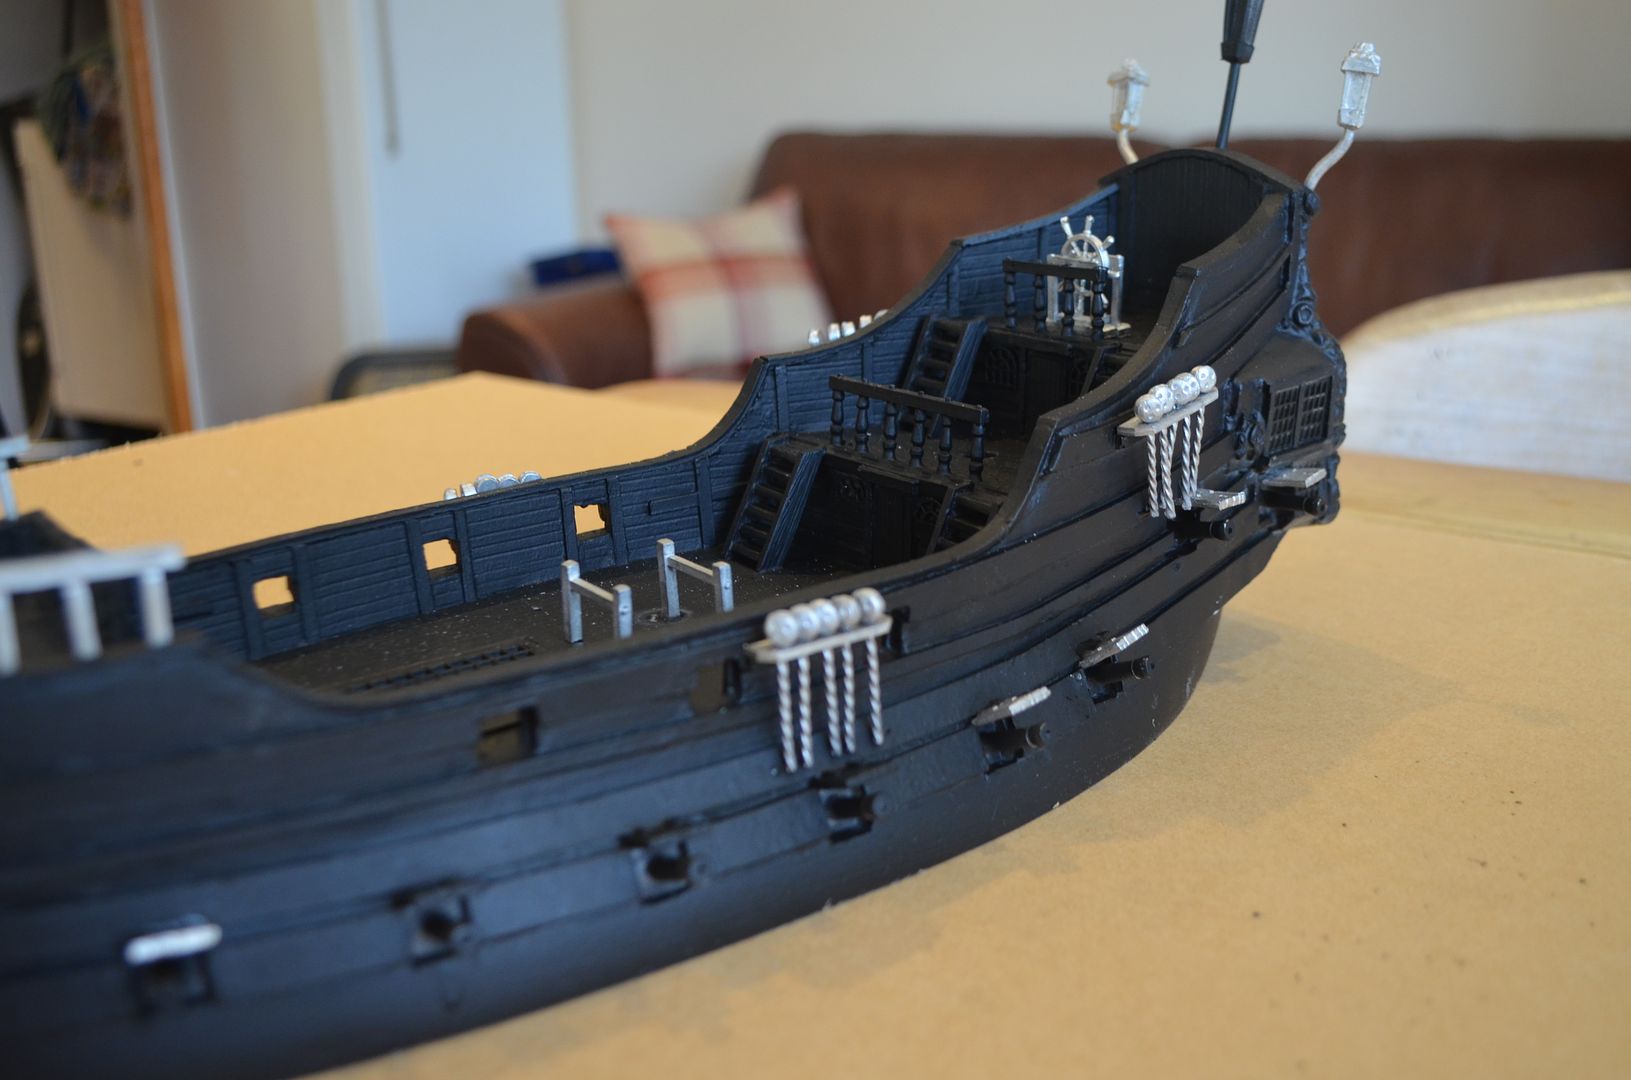
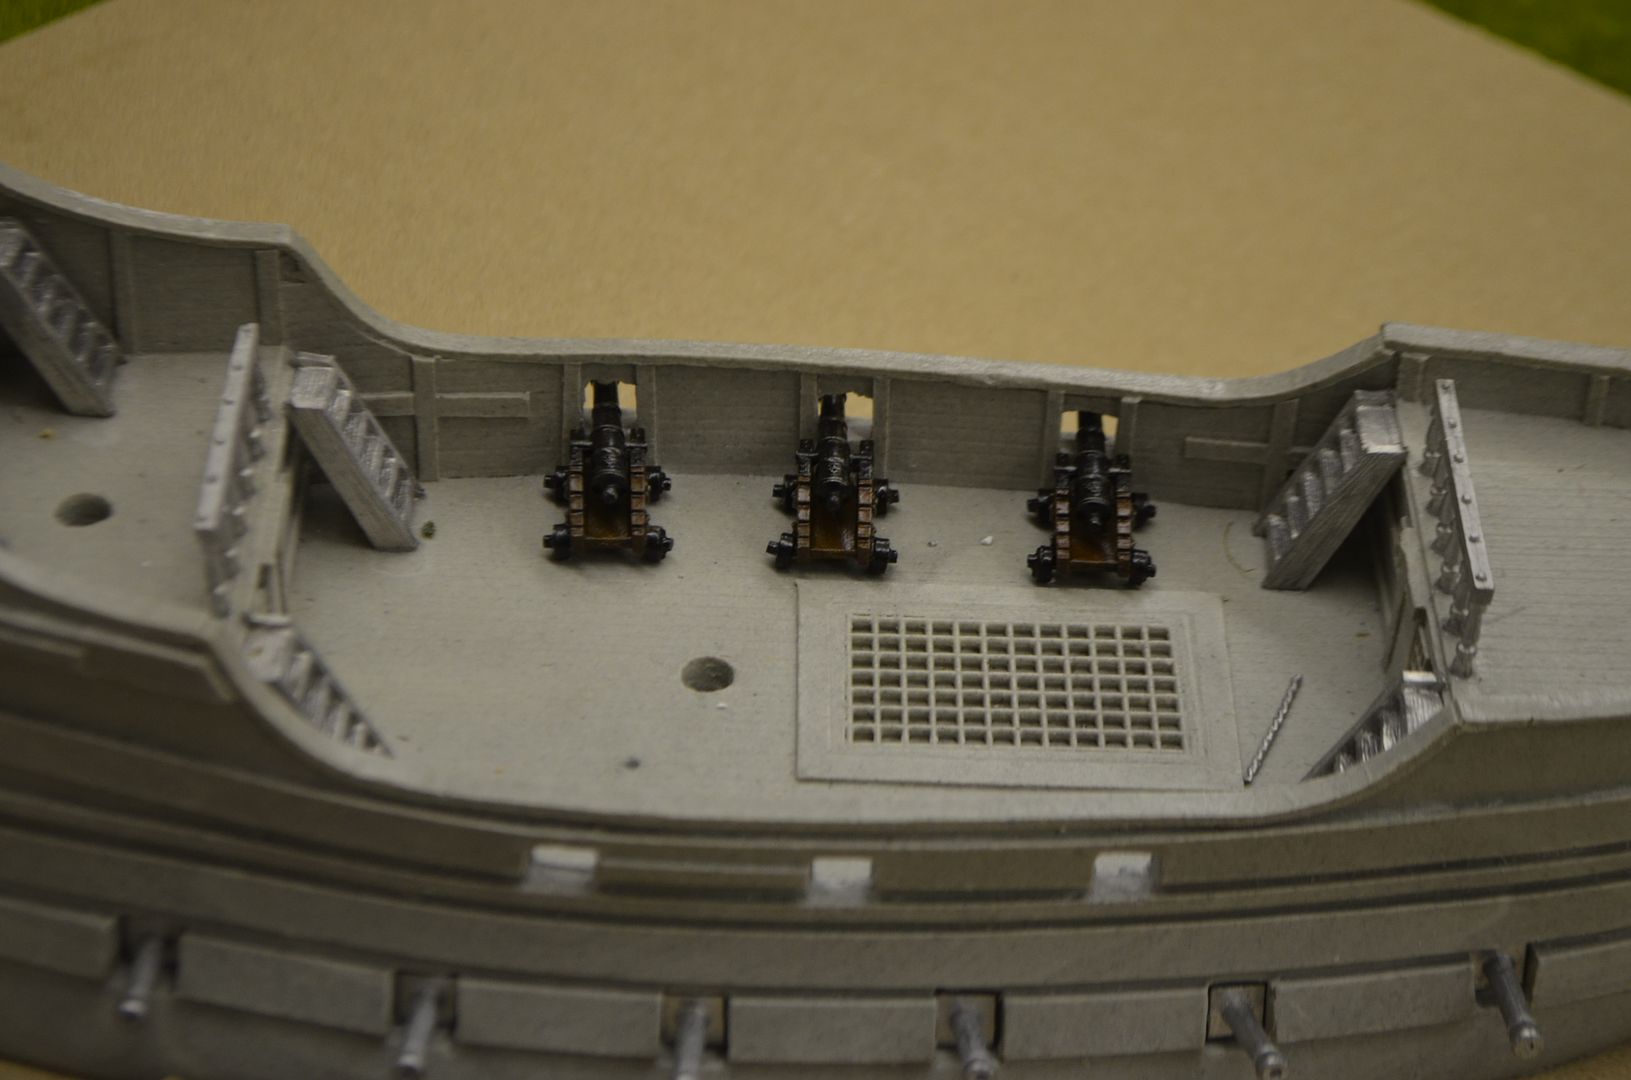
I first glued in, using superglue all the guns, stairs and railings - the easy bits.


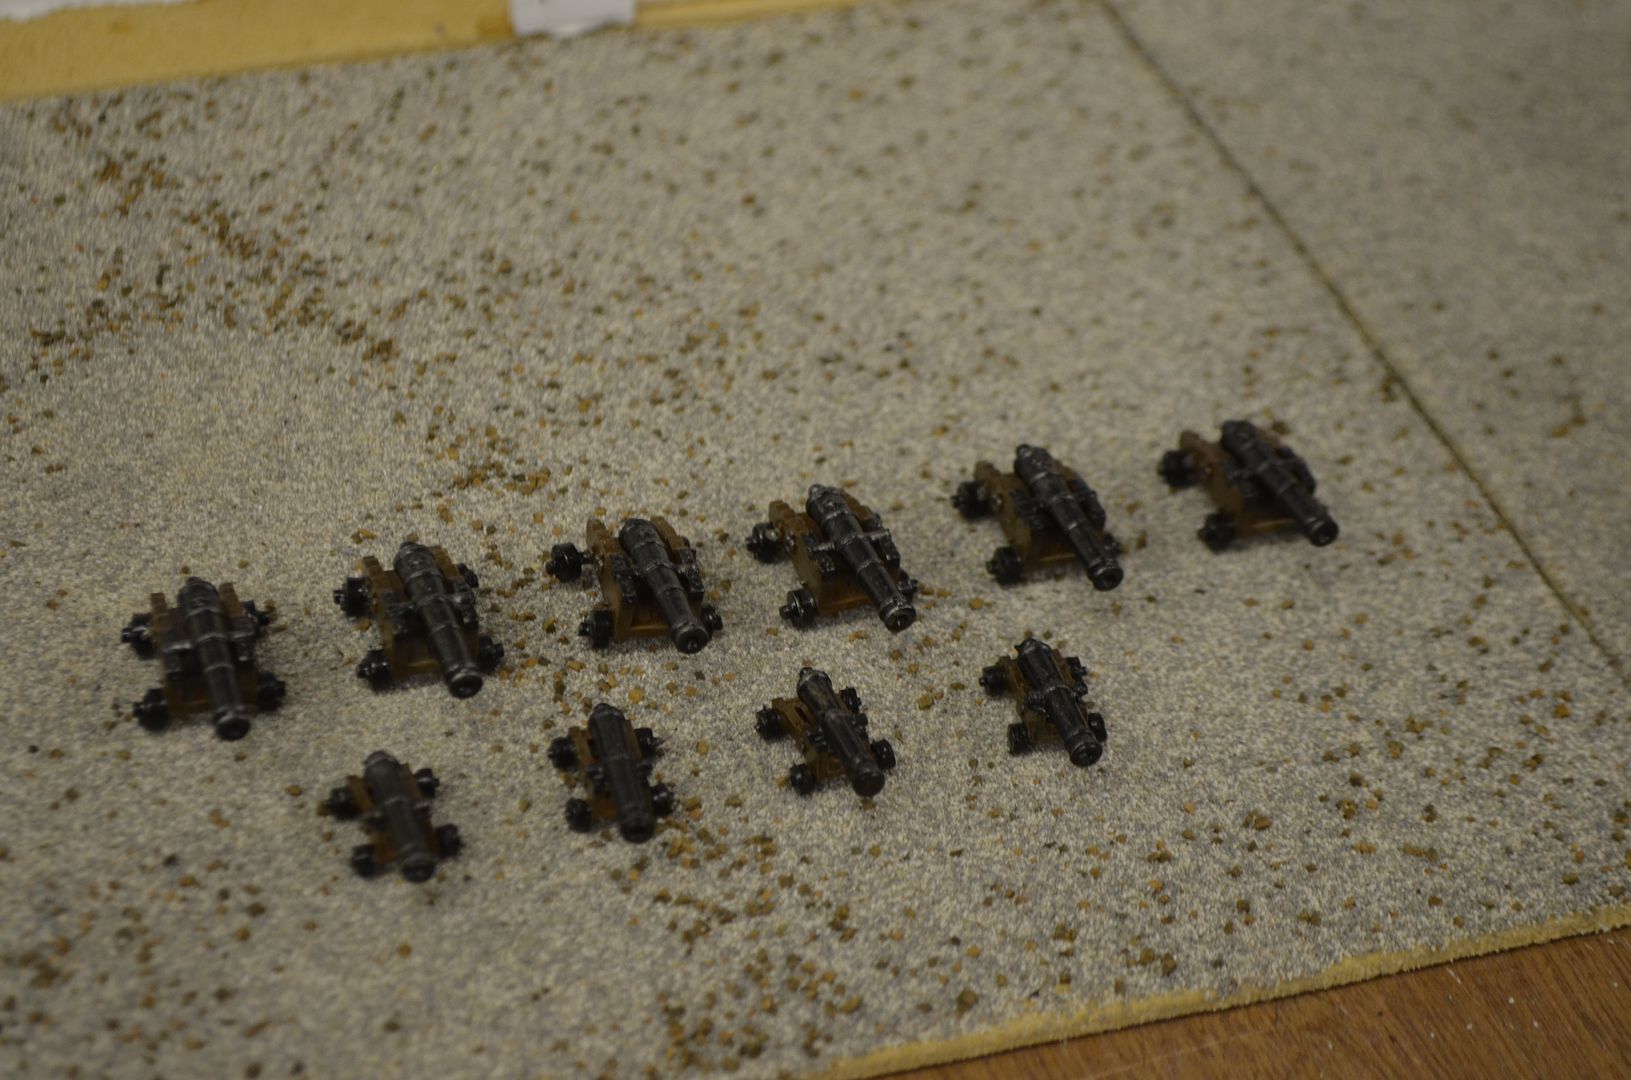
And those Ainsty Cannon look great on the top deck !


The photo below shows the majority of metal castings stuck on once I had given the hull and guns its first primer in black. It does help to show off the various bits and could help others in the future.


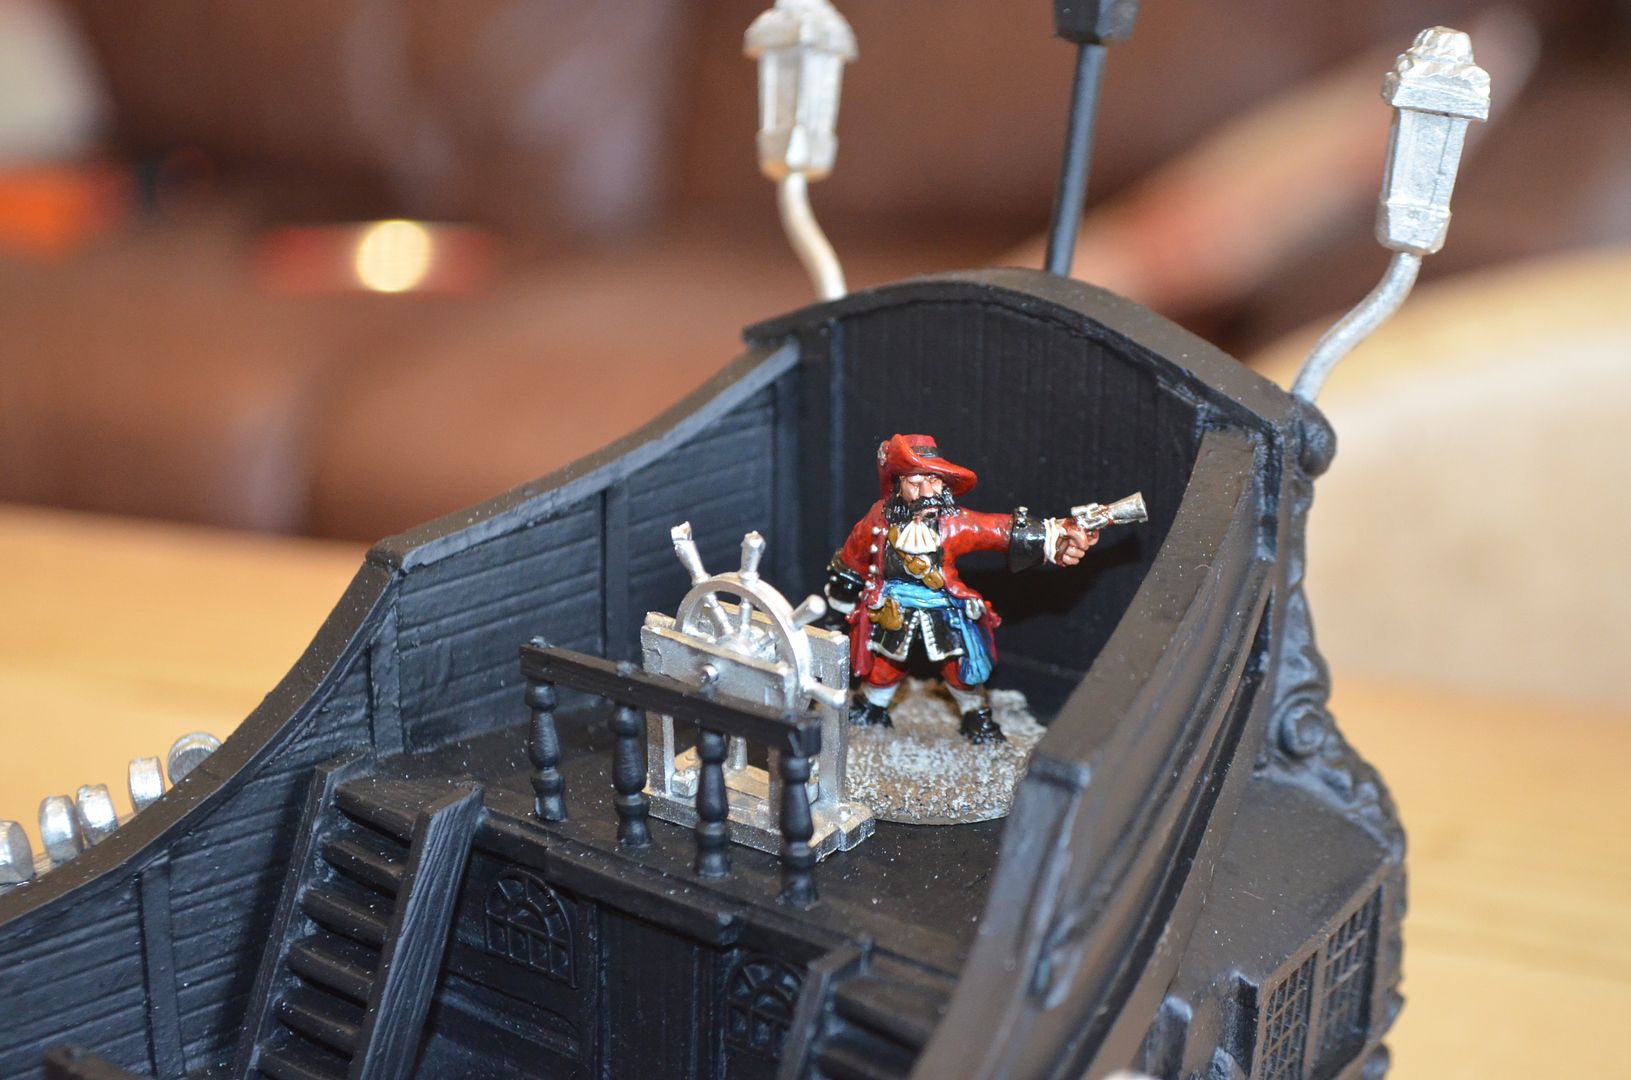
The only thing the ship was missing was a ships wheel. Not sure if the boat is supplied with one though, will check. This was easily rectified and a spare was ordered from games of war (http://gamesofwar.net/acatalog/Pirate_Supplies_Store.html). These guys also have a nice range of small boats etc so I will be returning.


The bow end and anchors caused no end of thinking and headaches, in the end I settled on this...the anchor on the right will be pulled back & lashed to the boat.


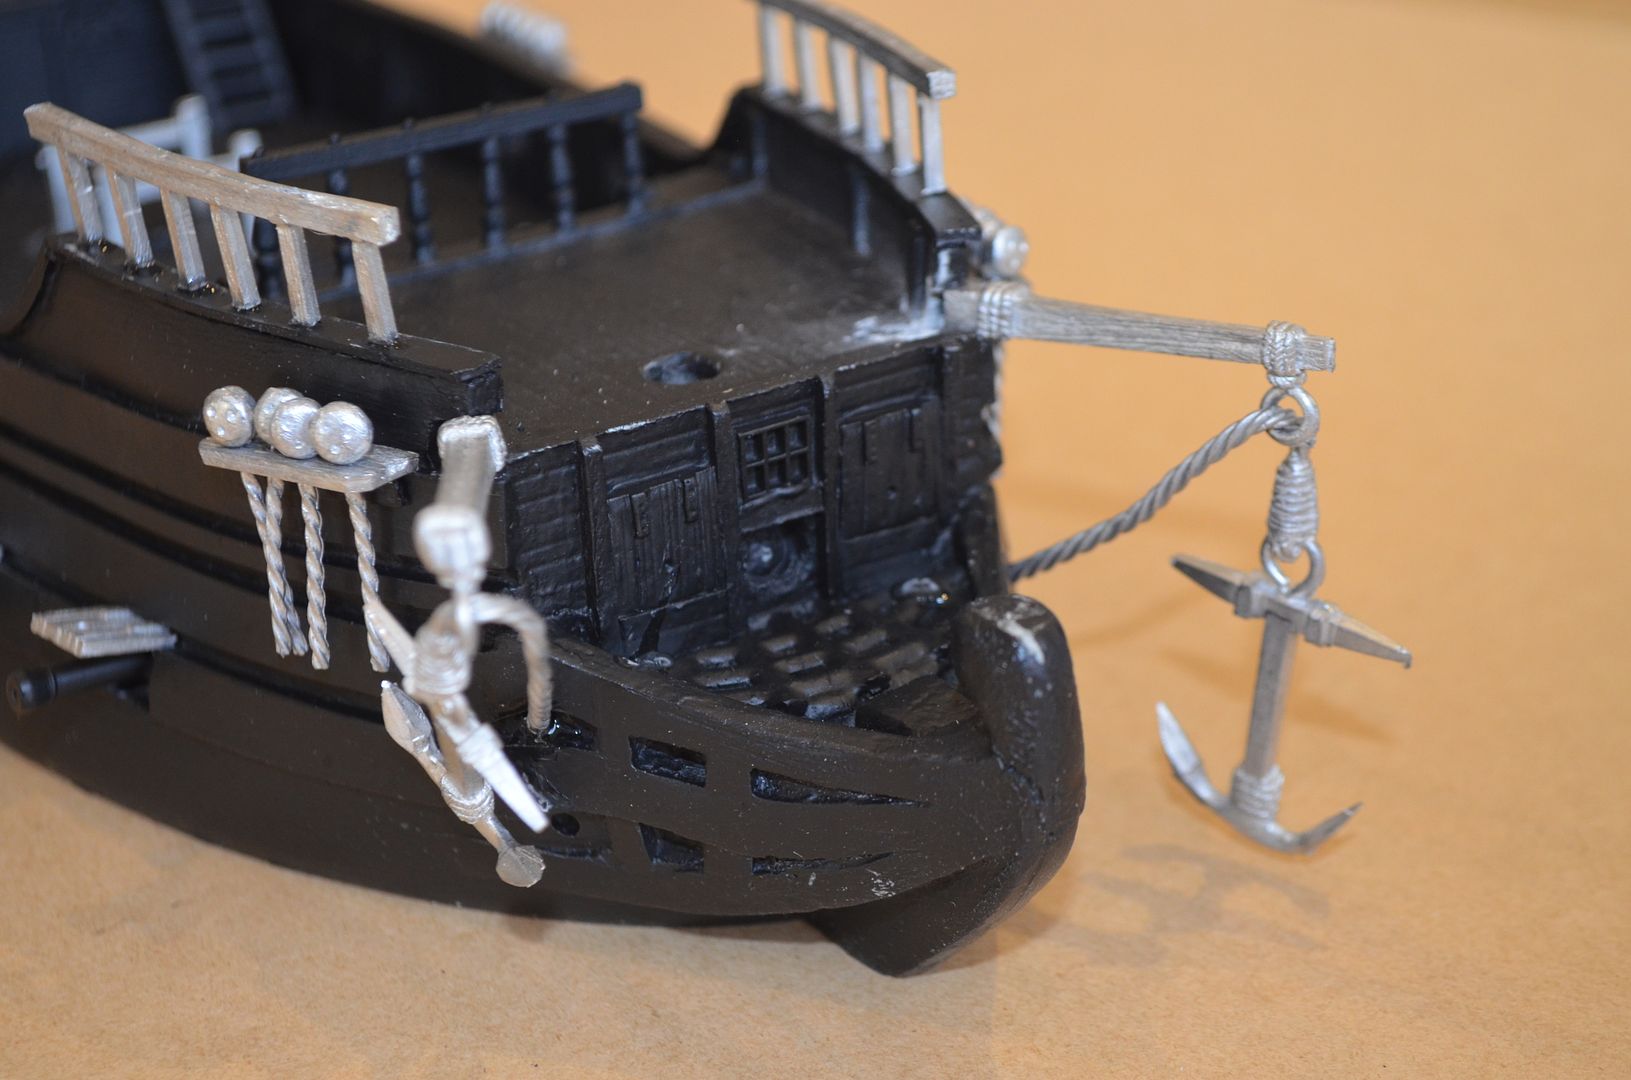
A side shot including rigging fixing points...


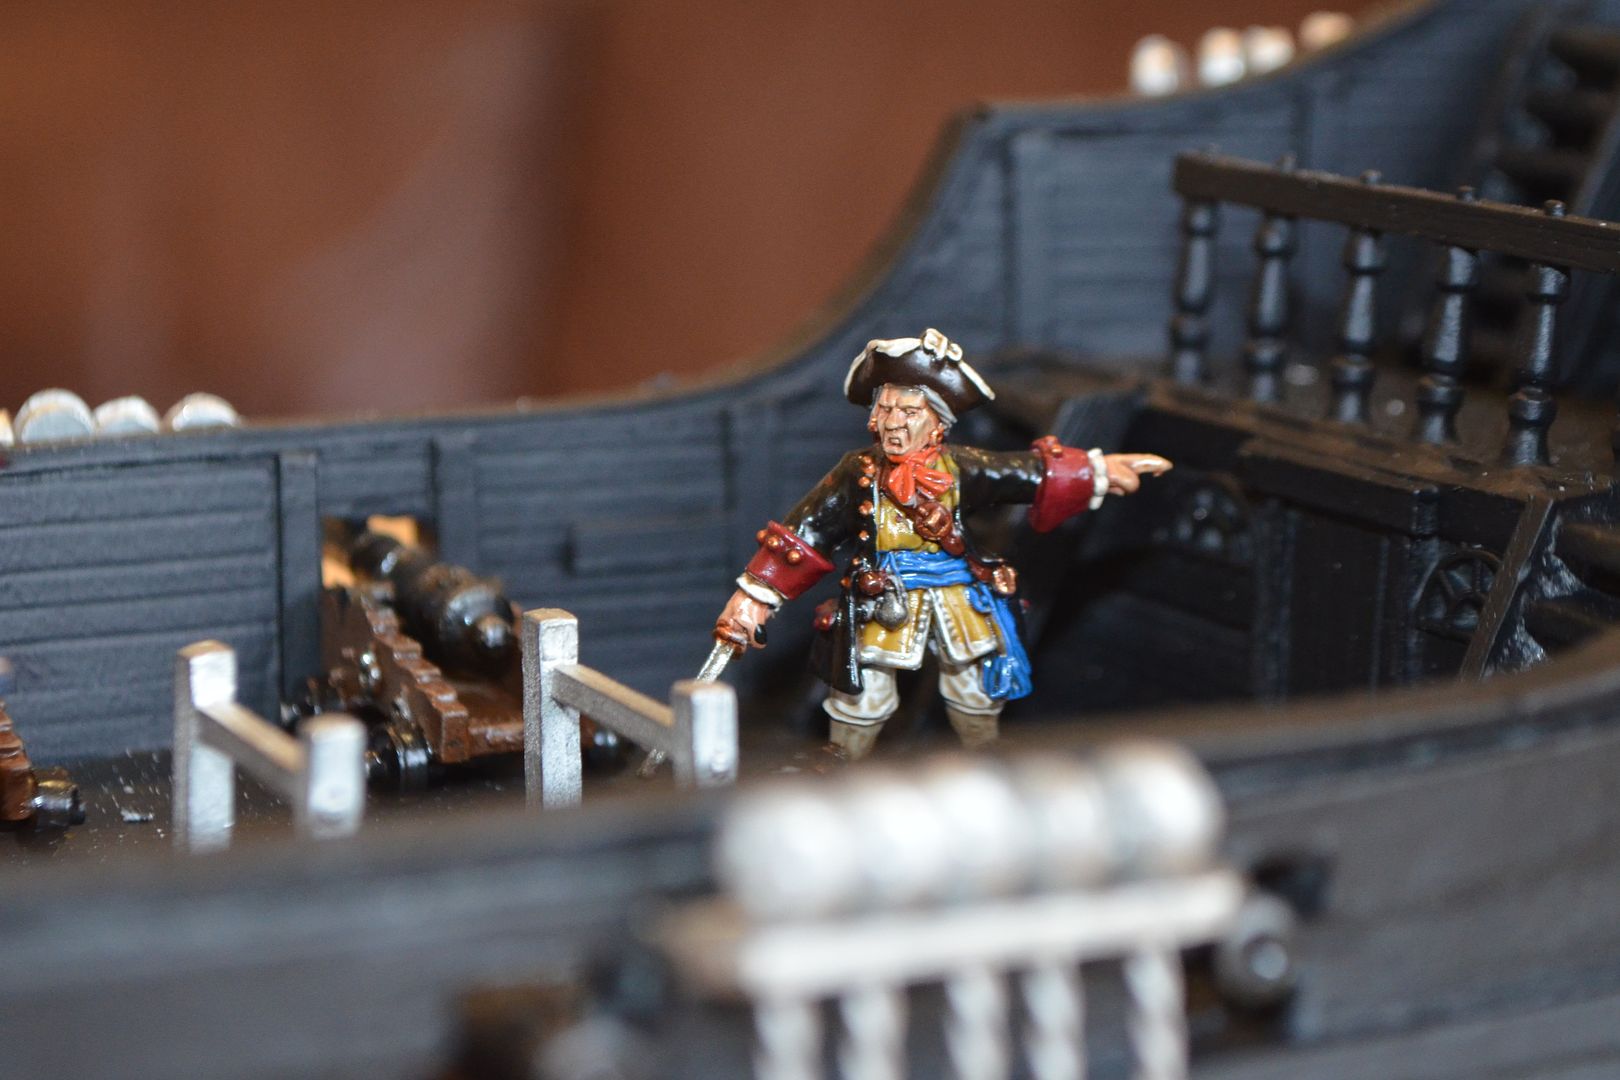
Lets see some Pirates on the boat...


More to come very soon...

Friday 25 January 2013

A painting useful tool

Now I base all my 28mm figures on steel washers, it adds weight to the unit and allows me to fix magnetic paper into the figure trays to stop them rolling around. If you dont use steel bases then this tool is not for you.

A few weeks back I was clearing out some cupboards and discovered this tool - its a telescopic pole with a magnet on the end. It has a comfortable grip and the top spins. I believe it is used in the motoring trade to recover metal objects that have fallen into an engine bay.


This has revelutionised my painting. A figure sticks by the base to the magnet - and I can hold the figure in comfort.

I have searched google and this is the thing I am talking about. Some of them seem to have pen style handles and others like the one below - like a golf club - I would recommend the latter.

http://www.lloydspharmacy.com/en/telescopic-magnetic-led-pick-up-tool-115125%3Futm_source%3DGoogle%26utm_medium%3DProduct%26utm_campaign%3DProduct?gclid=CLi5qse49rQCFSHHtAodtnoATg

For £4 you will not be disappointed

Eric

Wednesday 23 January 2013

Basil the Wargaming Hamster part 1.....

Given that Basil is a bit of a recluse but does seem to excite various folks on the blog I think it only fair that every so often he gets his own page - hes a bit old and grumpy and very arthritic but hey maybe we can turn him into a superstar...

Basil, the Wargaming Hamster his story so far....


Last seen opening the Chapel of St Basils (renamed)


NO Animals have been hurt in the production of this post...

Tuesday 22 January 2013

The Chapel of Santa Maria in Corbetiza


So with all the current buildings prepped for painting I thought I would start on the largest, the church, and see how things would go.

First up I had to create the roof. I recently purchased some tile embossed plasticard but given this was particularly thin it would need to be mounted on its own foam card base. By using foamcore I could insert several skewers to create the wooden supports as seen in all the other buildings.

The church itself has been painted white with a tint of the titanium buff acrylic. Fortunately one coat appears to have been sufficient. A wash of watery brown paint completed the main walls.

The roof was painted dark brown and then progressively drybrushed in browns and dark reds to create the teracotta affect. In an ideal world I would have liked to have sourced some heavier embossed plastic but needs must and all that.

The door was made from balsa and was scoured with a pencil to create the wood planking. Again a black coat followed by dry brushing created the simple affect.

With some flock added to create atmosphere its nearly there.

All this was completed in one evenings sitting.

The following pictures illustrate the three stages of construction


Cheers

Sunday 20 January 2013

Glazing & Plastering in Pirate Town

With temperatures sitting below freezing and snow lashing in from the East the weekend plans were abandoned allowing for some good terrain time ! If I am lucky Monday will be a day at home !
My Car after first snowfall


Rear Garden - the shed is under the tall  tree right at the end of the garden.


In the last post I illustrated the basic construct of the town. In this article I have tried to explain the next steps.

Originally I intended to make the windows from matchsticks. This proved very fiddly and did not give the impact I was looking for. An alternative was sort. Having searched hi & lo on the internet for model window frames
I settled on a range used by model railway enthusiasts. Three packs(60 windows) were ordered along with a few shutters and some larger arch windows.

This is where I sourced the windows - the range is called Dornaplas
http://www.ontracks.co.uk/index.php?page=search_results&string=windows&page_now=2

 
Seven days later they arrived and quite frankly I was very disappointed as they seemed to have no depth. Once the buildings have been covered in plaster they would just disappear. Every so often I get a flash of inspiration with regards to my terrain building and I was lucky to get one of those eureka moments. I’d build the windows up on plasticard. An hour later 60 windows were ‘based’.

With a quick calculation I determined how many windows could go on each building. I marked up in pencil a line of height for where these would go and a few minutes later they were all glued in place. The doors were finished off in balsa and the frames from various wooden odds and ends.

The first of these were glued onto the buildings and I was quite pleased with the results.


Onto the plaster, I was advise on the Lead Adventurer forum that watered down polyfilla was the way to go with my plastering - so here goes.


Its a bit of a mess but after some sanding and painting I reckon it will work. So a couple of hours later the town was plastered.

Next up - I decided to paiont the base boards. Settling on a sandy theme the first coat is an acrylic mix of buff titanium and yellow ochre. Once dry it will get drybushed. With temperatures still under 0 degress the kitchen has become my workshop.


Stacked and waiting to dry

Sunday morning - just had to lay the town out for a progress shot


Not too sure how much progress will be made today but the town is coming along....

The town also now has a name - 'Corbertizo' which means (according to google translate - Spanish) - 'Shed'

Eric

Monday 14 January 2013

Pirate Town - Weekend Progress

Hi Folks

A bit of a quick update on progress made over the weekend.

Not as much as I hoped as family commitments got in the way. Plus the temperature in the shed plummeted to 3 degrees – not a great place to be for a few hours. Looks like I will need to invest in a heater.

When I left you last time I had completed the basic construction of the town. In this post I will introduce the 'kerplunk' method for adding the roof beams (which actually end up supporting the roofs.  I think the pictures tell the story...


Next  up are a few photos of the town. The two most notable additions are the Church and the Cantina. Unless I think otherwise I think that this will be the extent of the town. I have also cut out a number of open areas for roads, squares and general space. All of the buildings (bar the church) and these open spaces have now been treated with ground ballast & sand.


The church will also have a conversion mode into an Islamic temple - the front and roof will differ. The minarets can be seen in the picture below.


Next up for the village will be the addition of all the doors and windows. Should be able to get these done this week and then I can ‘plaster’ the adobe buildings. I have been recommended to use watered down polyfilla so a suitable large tub was procured on saturday.

With the weather freezing my proverbials I headed for the kitchen and painted up 20 cannon. The photo shows half the armament painted - two types some big and some small. Hopefully enough for my needs.


Another 6 foundry pirates also left the painting line(leaves me with 10 to go from the original 100)


And finally I started the prep work on my Pirate Ship. Guns, steps and railings all glued in place. The last photo shows some of the new cannon on board.


With a busy work schedule planned for the remainder of the week not too sure how much will get done in the next few days.


Eric


Friday 11 January 2013

Pirate Town - foundations laid

With the harbour, fort and coastline virtually complete I turned my attention to the town that would feature on Pirate Island.

I had two choices to either build this in a 17th/18th century ‘Moonfleet/Smuggler style complete with taverns, alleys and wood buildings or go for the more equatorial feel of adobe styled buildings. I chose the latter as I think they would be more versatile in the long run. These buildings encompass so many regions of the world and look equally at home in ancient, modern and futuristic settings.

Construction of all the buildings would be in 5mm white foam core. At this moment in time I have not decided whether the buildings will be accessible inside. More on this later on.

The basic construct is a rectangular box. Foam core is great to work with as it is both light, strong and easy to cut (providing you have a sharp knife). Glueing is straightforward – white PVA and held with sewing pins.


The buildings are all based on hardboard. I pre-cut these in squares & rectangles – the standard square is 12.5cm (a rectangle would be 12.5cm x 25cm). There are some bigger squares (25cm X 25cm) and bigger rectangles etc. By having uniformity in the base sizes I can construct a number of different layouts and these measurements conform to my standard half metre (50cm) square configuration on my table. Some of the larger boards will be left clear to create plazas, squares. The intent is to complete an area that will cover 1metre x 1 metre. I estimate that this will be about a dozen buildings. The biggest of these will be a twinned towered church (typical of Latin America) but will be constructed in such a way that will allow the towers to take on minarets so that it can be converted to an Islamic temple. I have some ideas of how this may work and of course I will publish this when complete.

As with all my projects the paraphernalia of town life will be added separately, this way I can configure the towns to take on different themes.

The buildings themselves can be placed next to each other creating alley ways and narrow streets. I have typically left a 1.5 to 2cm gap between the building and the edge of the board- when joined together this creates an alley of between 3-4cm in width.


The first few buildings had the doors and windows glued onto the outside of the foam core. These were constructed from a mix of skewers, matches, balsa and as you can see in the picture chopsticks. Future buildings will have the door frames cut out and the doors recessed. I was being lazy first time round.


Whilst rummaging around in my box of terrain bits I found a number of small sheets of embossed brick work. I thought to give some of the buildings character I would create a lower tier of bricks ion the buildings – I am quite please with the way this has worked. The gaps between the brickwork and the upper structure will be filled with fine filler and it is my intention to give all the buildings a white/cream wash.


The windows on the first few buildings took longer than I wished so in the end I have purchased a number of premade windows and shutters from a railway modelling site. Hopefully they will turn up soon and can be fixed to the outside using superglue (fingers crossed).


So where am I now – about 50% of the town proper is now standing. A few more buildings are needed and then the finer detailed work can begin.  

Part two can be found here:

http://shedwars.blogspot.co.uk/2013/01/pirate-town-weekend-progress.html


The bases will all be covered in fine ballast and painted in a sand colour.

Pop back on Sunday for a progress report...

Off to paint some cannon before bed...

Eric