Wednesday 29 June 2016

The Colonial Wars - Zulu Part 1

Having recently completed my English Civil War project and loving the image of big battles with 28mm figures I am going to kick off another painting spree...this time I am going to focus on Victorian Colonial period.

The motivation to do this is threefold -

1. I have always had an enduring fascination with this period of history (thanks to my Father). Indeed the films Zulu, Khartoum, The Man who would be King, are some of my long lasting favourites. The idea of replicating some of the engagements of this period in 28mm fills me with real excitement.

2. I recently read that Dan  Mersey of :Lion Rampant fame is launching at the end of the summer a new ruleset for this period. You can get advanced copies from Amazon here

https://www.amazon.co.uk/Men-Who-Would-Kings-Wargaming/dp/1472815009/ref=sr_1_1?ie=UTF8&qid=1466168729&sr=8-1&keywords=The+Men+Who+would+be+kings

coupled with the release of Studio Tomahawks Congo ruleset I think Colonial Wargames will be coming to the fore in the months to come.

3. I surprised myself and actually really enjoyed painting the vast numbers of ECW figures - I now need to get my teeth stuck into something else ! What better than Zulus and Redcoats.

So which theatre should I start with - stupid question really - it has to be Zulu !!

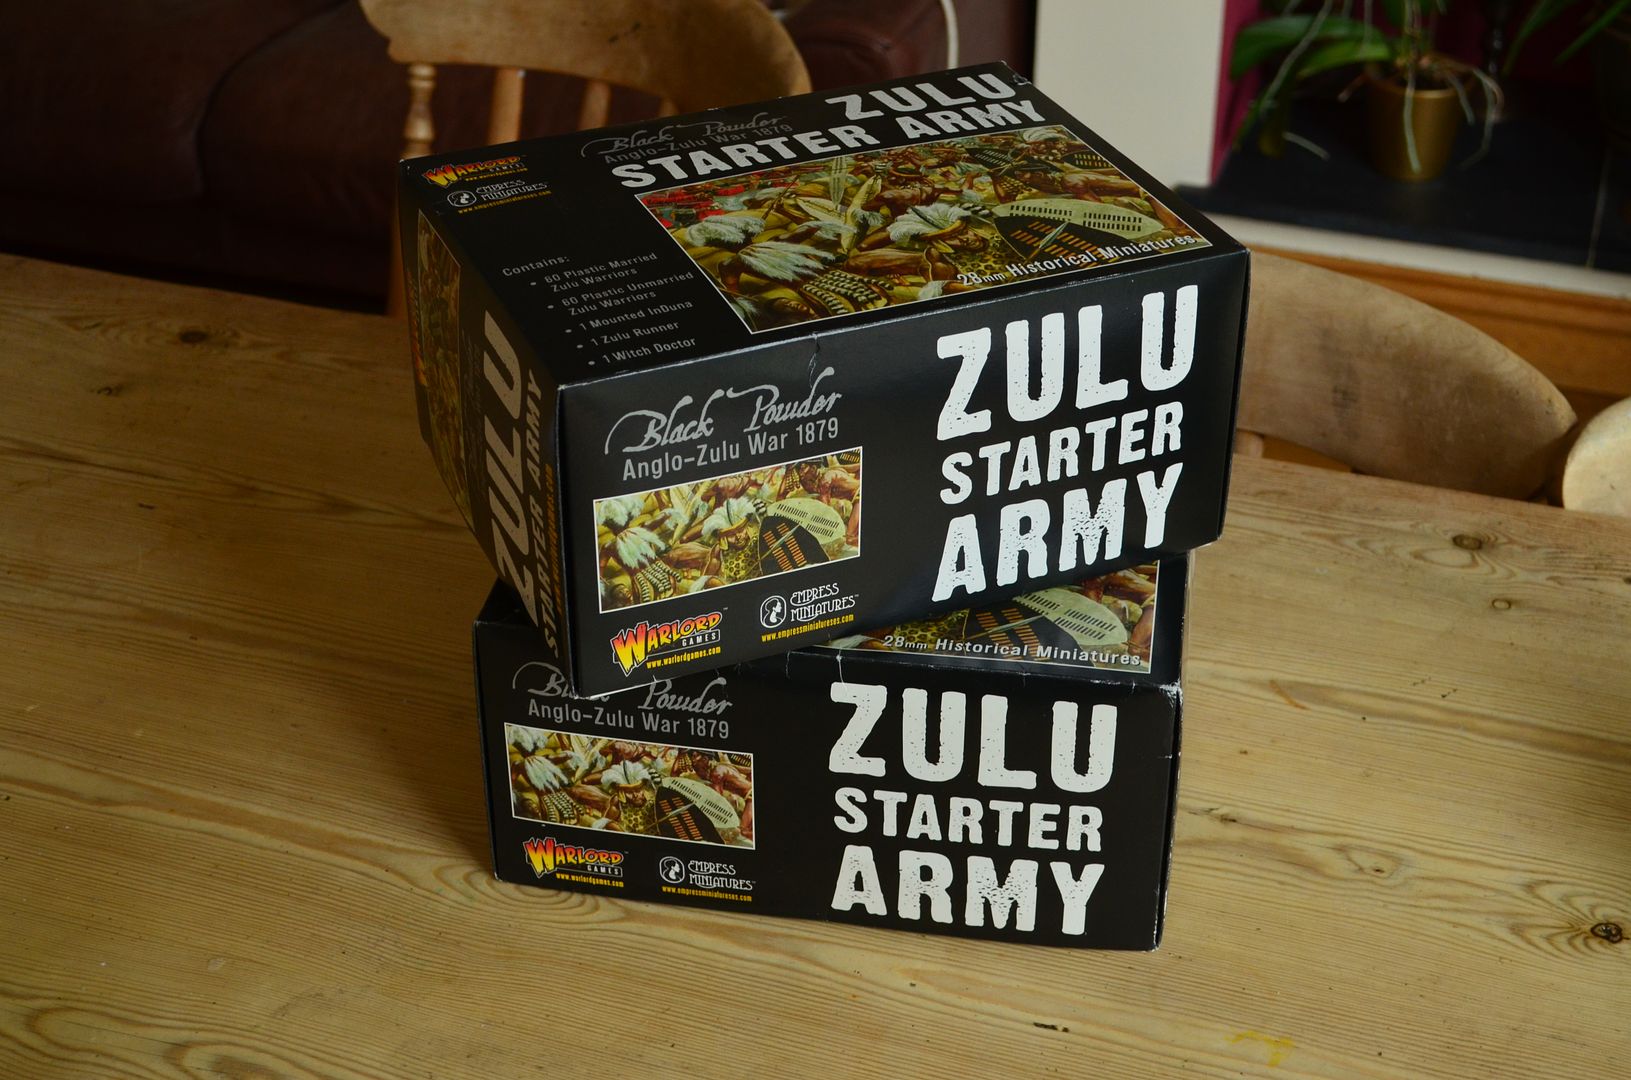
So with my heart and mind set I decided to kick off proceedings with the Army starter set of Zulus from Warlord Games - I managed to find a good priced set on ebay (£53) and 48 hours later 120 Zulus came through the post.

A quick request on the Lead Adventure Forum for Zulus revealed my good friend from BLAM  - HU Rhus was willing to part with a box for a similar price. This arrived on Weds. Thank you Sir.

240 Zulus awaiting construction - I'll need two more boxes to finish this force


These boxes each contain 120 Zulus  - 60 married and 60 unmarried men - but with the number of heads available its possible to increase the number of married men units and create a number of induna (bosses?). On top of the plastic each box also provides a mounted boss, a runner and a witchdoctor.

These figures are great, my only gripes being

1. Each sprue has a single large shield with no arms to attach it to*
2. Each sprue has two large and two small shields - I don't like the small shields rather would have had large ones only.

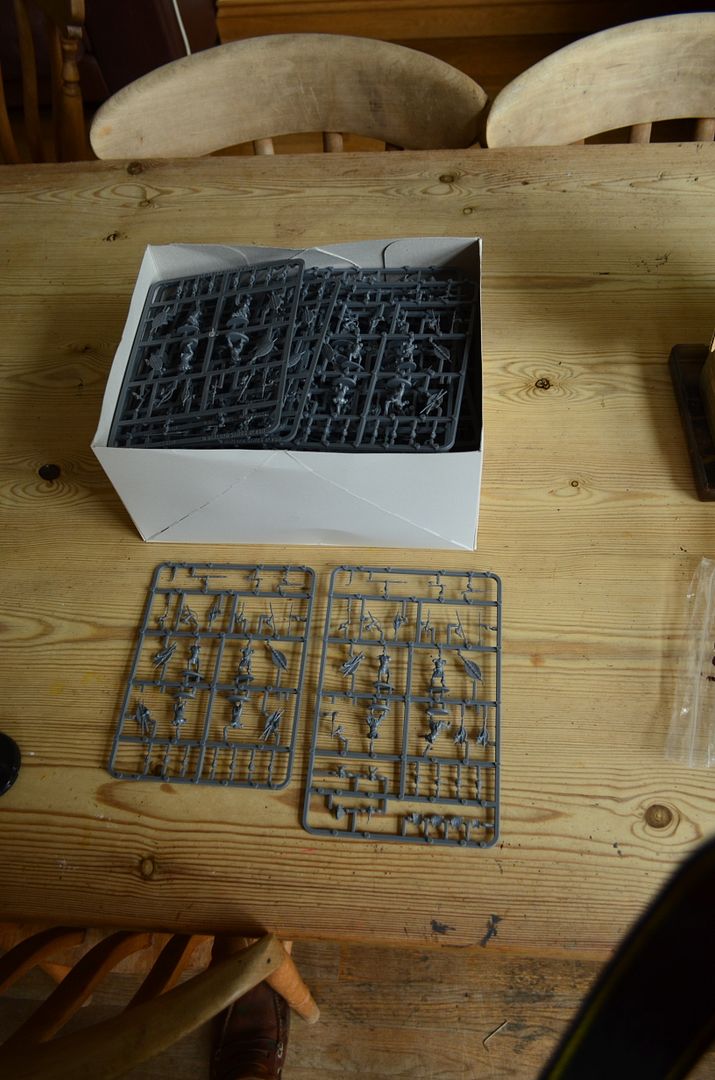
Lots of plastic - married sprue on left


* I am thinking that these are for scatter terrain - I'll use them for casualty markers with a number of spots denoting hits.


Whilst trawling for inspiration on this subject I also discovered that Wargames factory produced a plastic box of Zulus. Again ebay was my friend and a box procured for £15 inc postage.

I'll review this in my next post.

NOW then here is a first for this blog...

If there are any manufacturers out there involved in this period who want to send me some examples of their wares for review or want to offer me a good deal just send me a message. 
The Zulus should be complete by September and I'll be starting on the British in the Autumn months.

Hopefully this blog demonstrates that I do complete projects and can showcase this to an interested audience. 


At present I have spent £120 on 270 Zulus so my army is working out at about 44p per figure

The plan is to build the force to around 500 of these boys. These will in the main be based individually and then mounted on movement trays. This allows for for easy reconfiguration of different rule systems.

Back to the project....

Assembly of the plastics can be daunting - there are a large number of figures. Each body has to be cut from the sprue, along with the heads and arms. To speed things along I removed all the bodies from the sprues and superglued these to 25mm washers to add weight. Whilst these were drying I removved all the heads and arms I needed. So rather than building one at a time - I glued on all the heads in one sitting etc.

The first box took around 2 hours to assemble (1 minute/figure) after all the pieces were cut from the sprues.

Once the glue was dry I primed the steel wash base with standard acrylic paint and onto this I glued my basing material (sand & ballast). Only once all this was dry I primed the figures using Halfords Matt Brown Camouflage Paint.


This colour is in my mind suitable for the natives skin and allows a speedy paint process to follow immediately.

120 Zulus are now primed for painting - 150 to follow

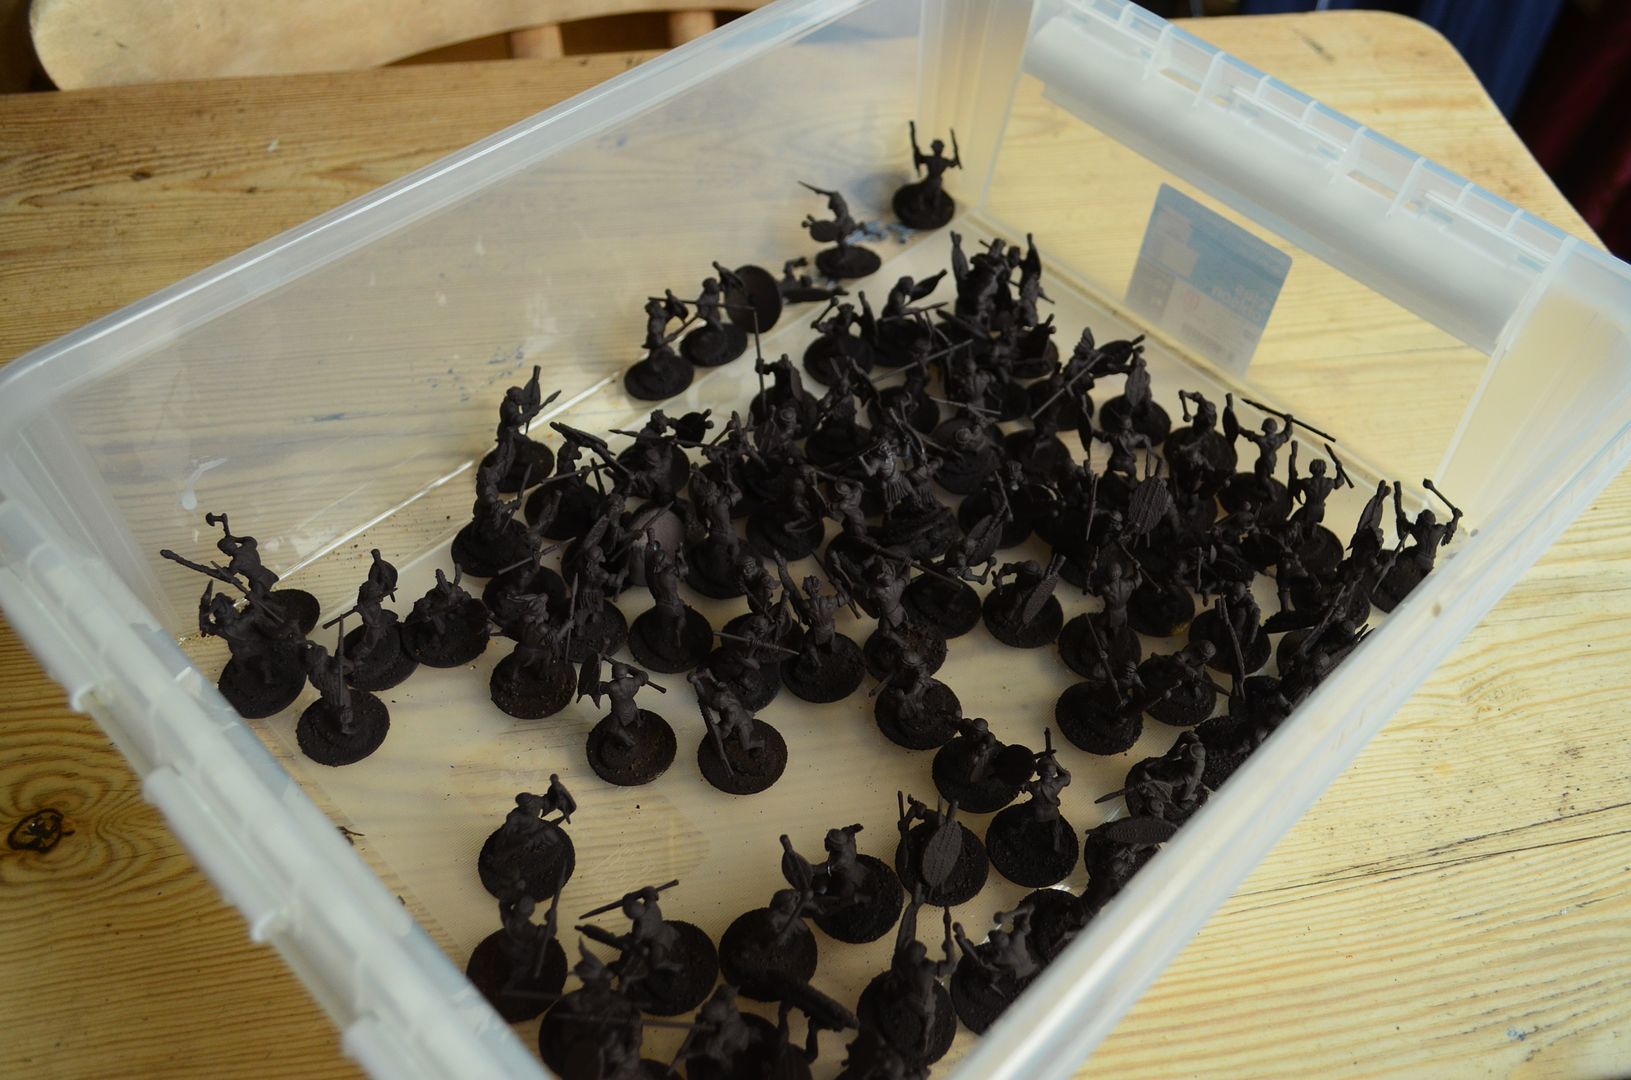
What do you call a tray of primed Zulus??


I have even started to paint some...

24 nearing completion

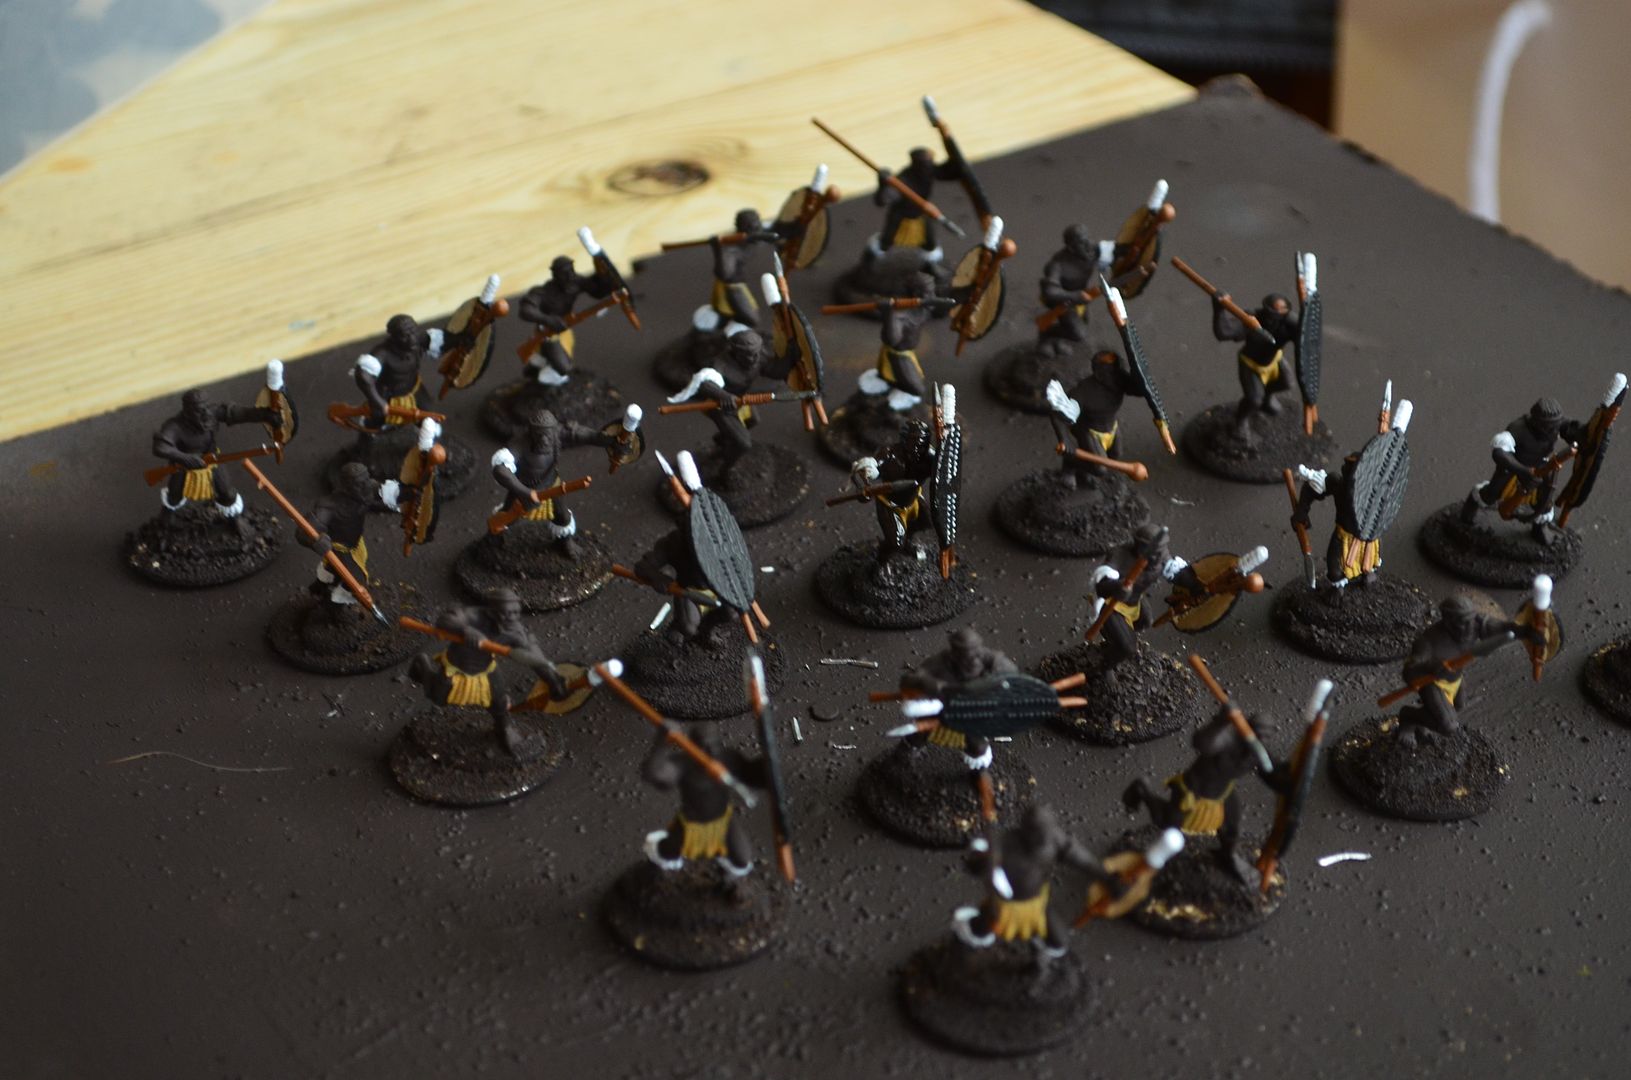
The start of a long journey


More soon...

part 2 can be found here

http://shedwars.blogspot.co.uk/2016/07/the-colonial-wars-zulu-part-2.html

Monday 27 June 2016

The Shed Extension part 5

Hi Folks

For the previous post on this build head here

http://shedwars.blogspot.co.uk/2016/06/the-shed-extension-part-4.html

The latest instalment of the Shed build has taken some time to arrive - chiefly because the weather and other activities however I am delighted to report that we are now back on schedule.

Yesterday I managed to not only complete the floor trusses but also managed to paint them all up green - I am hoping that the shed fence paint will help in their longevity.

These you can now see in the picture below have been initially laid out on the concrete base. I need to level them off, add the dampproof membrane and generally fix them so they don't move.


As of this morning I ordered the floorboards and the roof boards because this weekend kicks off the big erection ! I was going to use marine ply for the floor but I managed to get a cheaper price on some 22mm thick floorboards. These look the same as the ones in the existing shed


To celebrate the rise of this extension I am throwing a barbecue for some of my wargaming buddies to thank them for their continued support and the help some of them  are going to provide this coming saturday.

Whilst on the subject of help a big thank you to my chum John for coming round a couple of weeks ago and helping to paint up all the wall sections. One less job to do when it all gets assembled !


More to come very soon

part 6 the big erection is here

http://shedwars.blogspot.co.uk/2016/07/the-shed-extension-part-6.html


Thursday 16 June 2016

A new Kickstarter to get my teeth into - Massive Darkness


By chance I discovered Cool Mini or Not have just launched a new Kickstarter (end July 7th) called Massive Darkness.

https://www.kickstarter.com/projects/coolminiornot/massive-darkness/posts/1603090

This appears to be a classic Dungeon Hack game with loads of cool minis. With a pledge level of $120 there are a very large number of figures I want to get my hands on.

Cool Mini or Not recently delivered the excellent Blood Rage game and were responsible for Zombicide. I have also backed their 'THE OTHERS' game which I now understand to be shipping shortly. More on this when it arrives towards the end of the summer.

So if you are interested in fantasy style games it is probably worth a gander...remember the pledge is still going so the volume of stuff is likely to grow


More detailed pictures of the great minis coming...


Tuesday 7 June 2016

ECW - The Battle of the Three Bridges

Despite all the work going into the shed extension the rest of the building is still open for business and last night saw five of the Shed regulars playing out an exciting ECW Pike & Shotte game suitably titled as the battle of the three bridges.

Earlier that morning I received a small parcel - Oliver Cromwell's standard - this had to fly. Many years ago when the kids were young we used to go camping quite a bit and I bought a flagpole (telescopic carbon thingy) to add a bit of fun to our trips. It used to fly a pirate flag so our kids could always find us in the crowded campsites. I dug this out and raised the Parliamentarian standard...


Before I deliver the all action report its probably worth mentioning how the game was set up. You may recall I posted a couple of weeks back that I had created 'unit cards' for our Pike & Shotte games. I have now created enough of these for all the units Mark & I painted and we decided to use these as a random force generator.

link - http://shedwars.blogspot.co.uk/2016/05/ecw-unit-cards.html


Each of us has painted just over fifty units and based on the army lists in the rule book we created a deck for each force (excluding officers). Each side would get thirty units. this creates a degree of randomness that a true battle might deliver. Although they are not matched sides in terms of points they do deliver a balance in the number of forces present.

In advance we agreed that each side would get a general and six leaders (this could therefore provide a force of six or seven battalia depending on whether the General had his own units to command).

The Generals were selected from the personalities listed in the rule book (eg King Charles, Essex etc) - If the player drew either Rupert or Cromwell (we were playing early ECW) these personalities would become Cavalry commanders and random General (non named) would be used as the C in C.

If the personality came with his own troops, eg Cromwell allows the player to field two units of Ironsides these would replace the vanilla options in the card deck dealt.

Our Commanders in Chief then determine the composition of the battalias once the cards are dealt. They can select whether their leaders are cavalry or infantry commanders. Cavalry commanders can command any unit bar Pike and Musketeers and Infantry Commanders can lead any unit bar Cavalry. This allows for battalias to be be flexible - ie Dragoons, artillery and Commanded Shotte can be attached to either Cavalry or Infantry battalia.

The card decks are as follows

Unit
Royalist
Parliamentarian
Pike
7
7
Musketeers
14
14
Commanded Shotte
2
2
Storming Party
1
1
Dragoons
3
3
Light Artillery
2
3
Medium Artillery
2
3
Currassiers
1
2
Standard Cavalry
12
9
Harquebusiers
1
1


Total Cards
45
45


You can see from the above table that the Royalists have slight advantage in cavalry and the Parliamentarians have the edge in Artillery (as per the army lists).

As it happened in our game last night the Parliamentarians had a large Infantry force, virtually no artillery and a smallish number of Cavalry (albeit bolstered by the presence of Cromwell and his Ironsides).

The Royalist troops were lead by Lord Hopton and his tough Cornish Pike, they also enjoyed a sizable Cavalry force but again only a few guns.

Onto the battle....

The Field of play consisted of a fordable stream strung between two hamlets. There were three bridges across the stream. The objective was to control the majority of bridges (ie two) by the end of the evening (or break the opposition).

The Stream was fordable by any unit bar artillery however any unit crossing lost 3 inches of movement and any charge bonus if they were assaulting units on the opposite bank. The area was also lightly wooded and crisscrossed with hedgerows. All very English.

View from the Royalist left wing


The Parliamentarians were on the left of the above picture

View from the Royalist Right Wing (their is a hamlet and bridge to the upper left of this picture)

View up the centre...

Deployment was initially done by placing the cards onto the table.

With five of us playing I supported John by commanding the left flank of the Rebels with John commanding the right and centre. Opposing us was Mark (Royalist Right Flank), Charlie as Lord Hopton in the centre and Rolf commanding the vast Royalist cavalry brigade on the left.

The Royalists kicked off proceedings by moving their entire right flank into the fields opposite the middle bridge.

This effectively meant the Rebel cavalry on their left had no targets and that the hamlet on our left flank would play or no affect in the battle. It was obvious that the Royalists wanted to command the middle bridge and the one out on their left flank.  


The Royalists retreat on their right flank behind the hedgerows.


This left the Rebels to secure the first Bridge and the hamlet

Meanwhilst the centre started to get crowded - Royalist troops occupied the second hamlet and defended the streams banks.

The Forces of Parliament marched forwards.


By now General Rolf's cavalry wing started to move forward and threaten the rebels right wing. 'We were dreadfully outnumbered sir' as the parliamentarian cavalry retreated towards the centre.


With the Royalist right flank nice and secure behind the hedges Pikes moved up onto the central bridge. Only to come under withering fire from the opposing forces,. In two turns this unit was routed and destroyed.


Parliament siezing the middle bridge


Parliamentarian muskets pour fire into the pikes on the brifdge


A few turns in and general melee was breaking out in between the middle and third bridge. Much of the fight was going the way of the king.  Lord John, CinC of the Parliament forces threw his cavalry from the right wing into the fray to dent the Royalist advance.


Top & Bottom pictures show the frantic action in the centre...


Things were definitely heading the Lord Hopton's way (Charlie). With his forces victorious in the centre the Roundhead centre and right wings were in serious danger of collapse.


The Royalist Left Wing Cavalry smashed into the remnants of the Parliamentarian right wing forces - a brave infantry regiment and a hedge the only thing standing in their way.


It was getting late...remember the objectives of the battle - secure two bridges by the end of the night !
The Royalist left flank holding the middle bridge
Now was the time for the Parliament's left wing to galvanise itself. Troops otherwise unengaged pushed forward. In quick succession the Royalist right wing started to crumble.

Roundheads pushed up onto the bridge dispossessing the crossing from the Kings forces.


The Parliamentarian Ironsides pushed forward (top right of picture below) routing the defending troops and causing mayhem


The Ironsides charge....


By hook and by crook John's parliamentarian forces still held their own in the centre....


One last push boys cried Lord John...the Parliamentarian forces surged forward and took the bridge. The Royalist left wing smashed.

Victory for Parliament ! Albeit a technical one ;-)

Had the game gone on I doubt we would have been able to claim victory.


One final point. I had a Cavalry Battalia out on the left wing - this moved twice during the battle ! Never even saw the enemy.

Parliamentarian cavalry commanders suck with their command rating of seven !


The Boys that never moved !
So as our 28mm ECW games played out I can reveal that the Royalists have won two, there has been one draw and of course tonight's technical Parliamentarian victory.

I have agreed with Mark that for this year (2016) my Parliamentarians will all be fielded as early war - from next year I get to field the New Model Army !

  
Until next time   


Monday 6 June 2016

The Shed Extension part 4


Part 3 is here


So with the walls of the Shed extension built its time to turn my attention to the roof and floor. But before I start I’ll answer a question that was posed by my son last weekend…

‘Dad why are you not starting with the floor and building upwards? @ The answer is relatively straightforward – the weather and the build area !

The floor is probably going to be the fiddliest part of the construction and the only part that cannot be rectified once up. It has to be level before everything else goes on top and gets bolted down. My floor has to be built on brick pillars, then the floor joists then the floor itself. By prepping everything else first means that once the floor is down (it will be built in situ) the rest can be erected quickly afterwards.

So with fine weather this weekend I was able to crack on with the construction.

First up the roof tresses. These were relatively simple to build (thanks to my o level in maths). There are four in total angled at a 20 degrees slope (the same as the existing shed). Two will sit on the sends and two will sit midway along the buildings length. Once I get closer to the erection phase Ill determine if I need another to support the weight of the roof.


 With the Roof tresses complete I turned my attention to the floor deck...and over a few hours in the sun I was able to turn out this frame (its in four pieces). This clearly gives the best impression of the space I am going to have. Please note this is laid out on the lawn not where it will finally sit.

The top right frame shows the final floor deck. Onto this will sit marine ply.


As I was going through the floor frame exercise I realised that my walls were going to be slightly too long so off came 15cm to two of the panels. The picture below shows my working area and the finished wall sections.


Up next - finish the floor frames and then paint all the untreated timber. 

Thanks for looking & until next time

part 5 is now here

http://shedwars.blogspot.co.uk/2016/06/the-shed-extension-part-5.html

Wednesday 1 June 2016

The Shed Extension part 3

Since I last reported on the Shed build more progress has been definitely made...

previous link here

http://shedwars.blogspot.co.uk/2016/05/shed-extension-part2.html

First up I decided to extend the base extension. As you can see from the picture below a path runs along the side of the shed area. By extending the base out to this concrete path I could add a further 1/2 metres width to the new extension.

Before shot


After shot - not perfect but it is solid


The picture below is not drawn to scale but is a good indication of the new space ill have. I have also decided to add another door in the bottom right to compliment the double doors that exist in the first extension build.


With the base finally finished I turned my attention to the walls. I built timber frames and then clad them with tongue and groove ship lap boards. The total surface area of all the walls exceeds 24 square metres so that s a lot of timber.

All the wall frames completed and now under cover coz it is raining


Sadly I took no pictures of these during the construction phase but I can assure you that I was as stiff as a proverbial board when I finished up. Each wall consists of two panels. These will be bolted together once the floor has been constructed.

It may seem odd but my next job this weekend will be to construct the angled roof joists (ill need four of these to span the 4.2 metre long walls. Once these are done I'll get the roof boards cut to size and only then will I start on the floor. This needs to be raised on brick pillars to mirror the existing shed.

Funds, weather and time permitting I am on track to complete this by the end of July.


More to come soon...

part 4 is here

http://shedwars.blogspot.co.uk/2016/06/the-shed-extension-part-4.html