Hi Folks
If you are reading this you will be aware that I am entering this rather large build into a competition being held on the Lead Adventure Forum and should you be starting this thread cold you can find part 1 here.
http://shedwars.blogspot.co.uk/2015/02/a-new-challenge-building-volcano-part-1.html
As the build progresses I'll be adding the links to the next stage onto the end of each post.
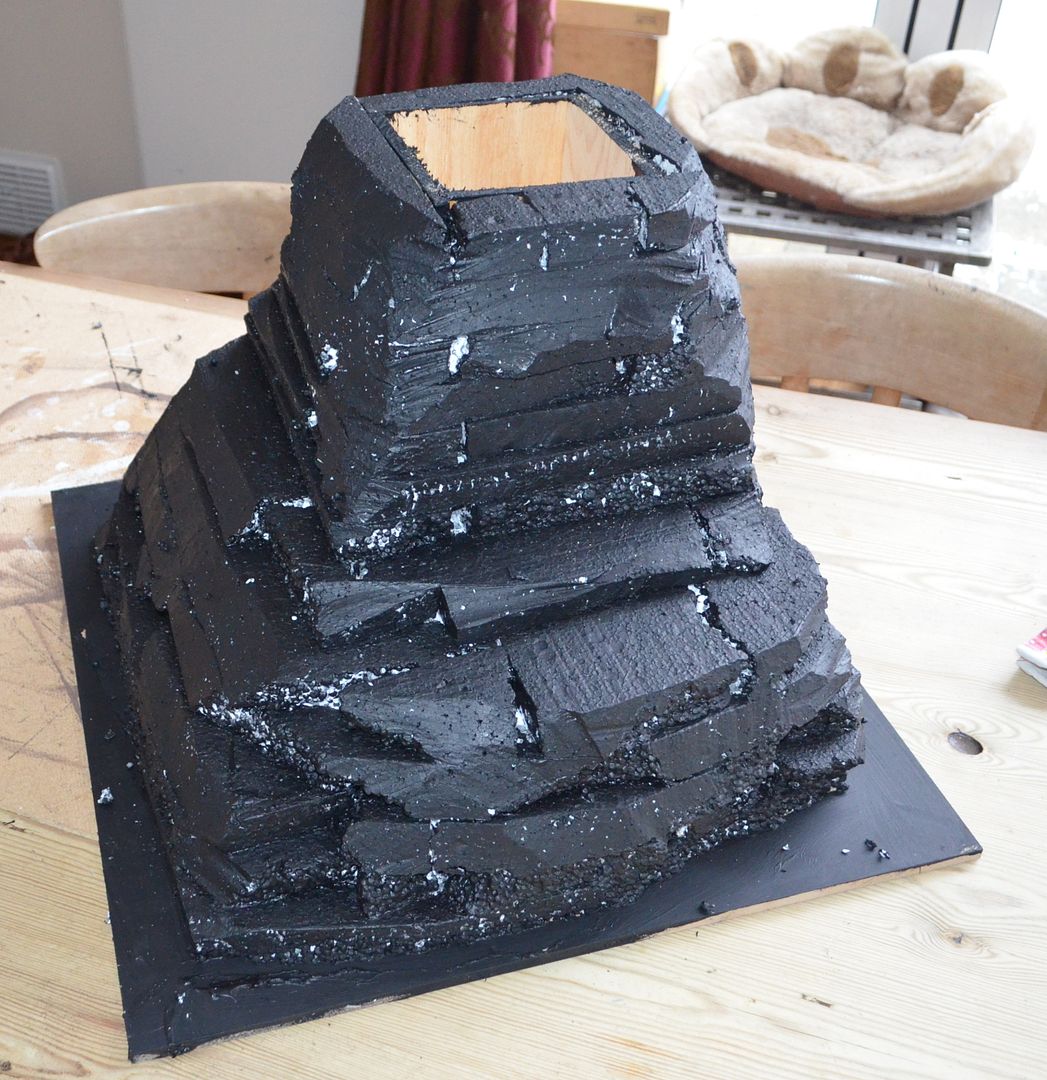
When I left you last I'd built up the base of the volcano in polystyrene and so I'll pick up from here. The intention in this build was always to clad the volcano in cork bark much in the same way I had manufactured my desert escarpments.
One of the problems I encountered in this earlier project was that when the cork got applied it was a nightmare to paint the cracks so to avoid this issue I have painted the whole thing black. It took two coats !!
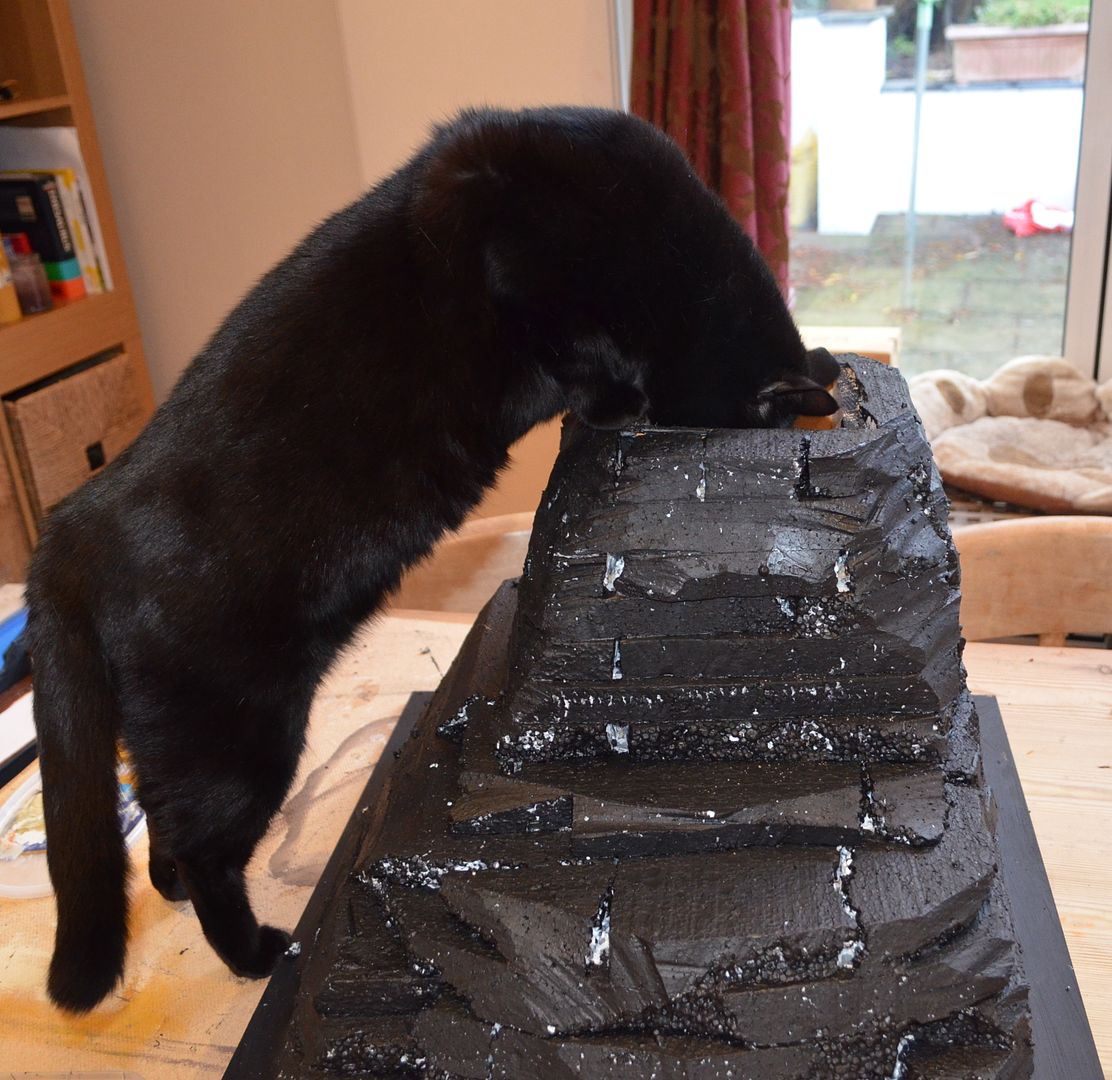
As you can see I drafted in some help at this point.
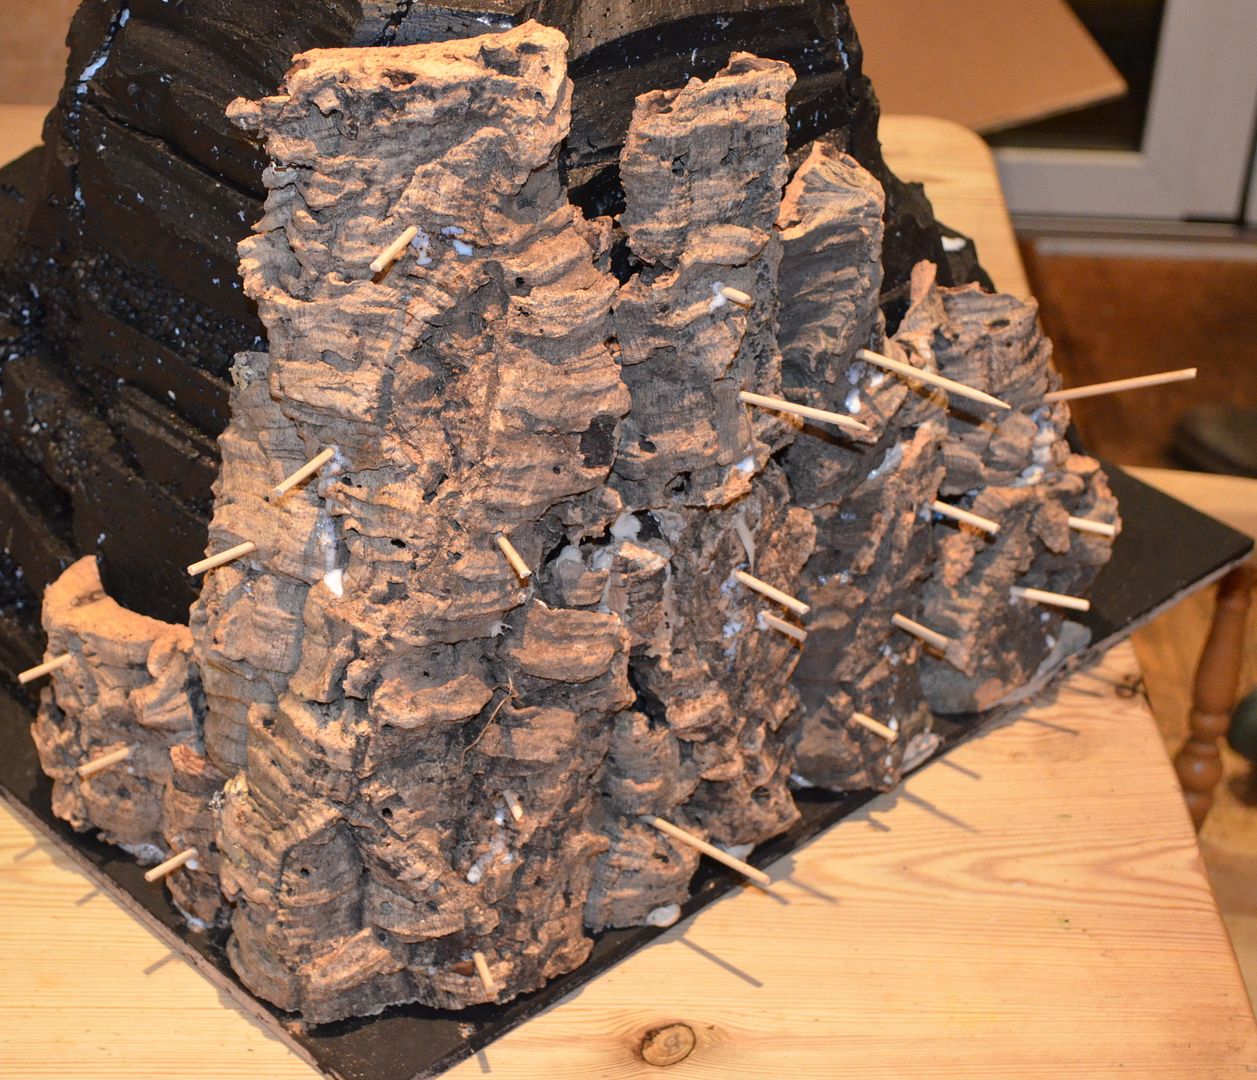
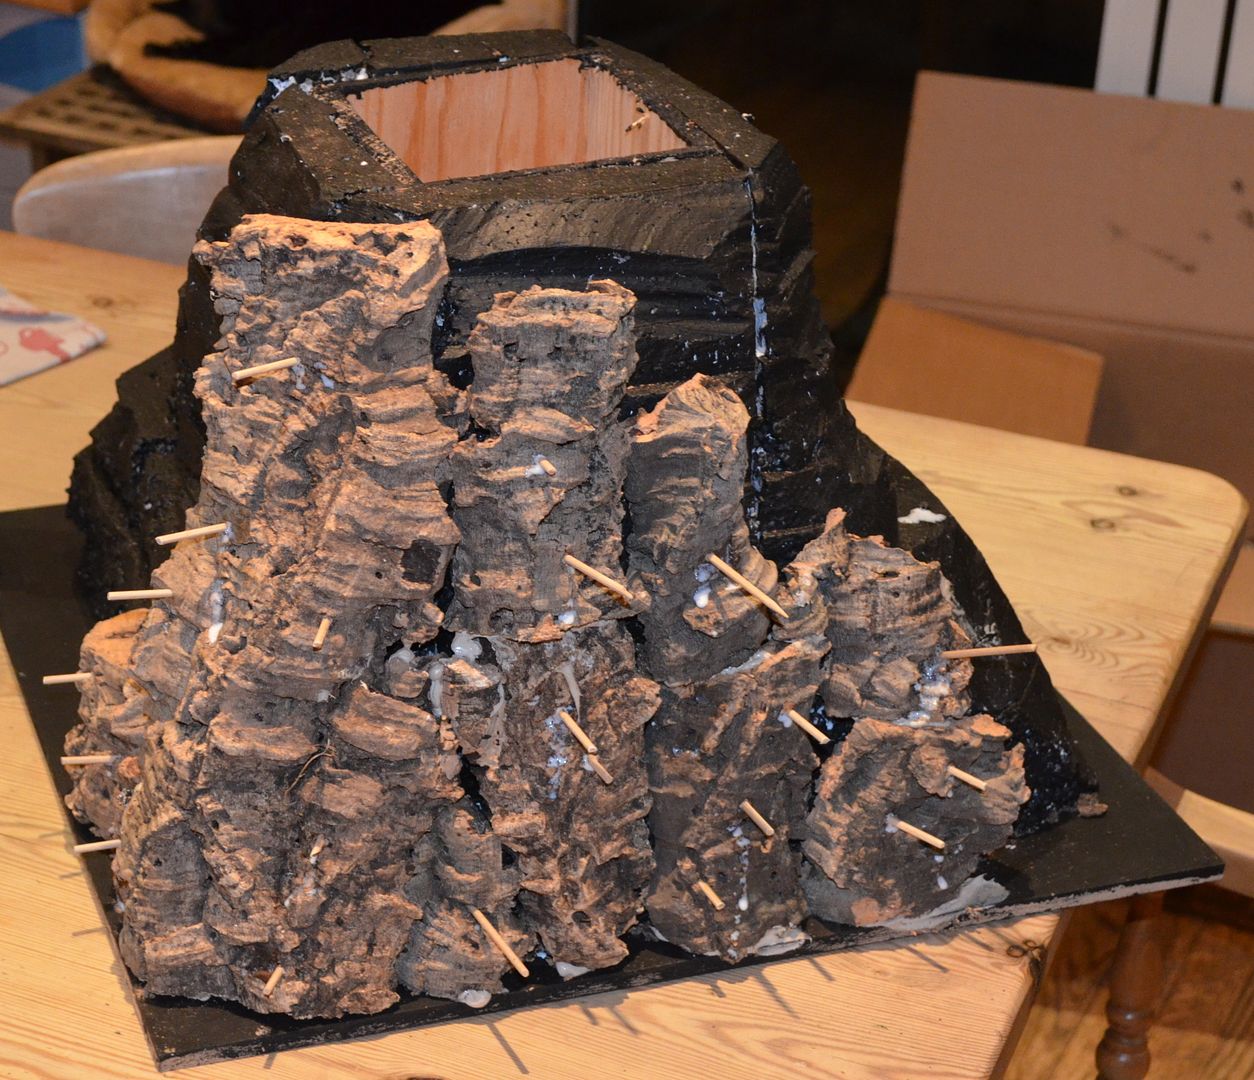
So onto the cladding. Really simple stuff, break up the cork and then fix to the base and sides using super strong adhesive. These are then held in place by bbq skewers.
Then start working up the cliff face...
The plan is to complete this phase by the end of the week
Until next time folks....
http://shedwars.blogspot.co.uk/2015/02/building-volcano-part-4.html


I like it. It's starting to look like Tracy Island!
ReplyDeleteThis is shaping up very nicely indeed!
ReplyDeleteNice scratchbuild progress and modeling supervisor-inspector at work checking the plumbing, I suppose..
ReplyDeleteCat Kong in action there...
ReplyDeleteI like the cork, where do you source this from?
ReplyDeleteHi Scott
DeleteI sourced this from my local Pet Supply place which is part of the local Garden Centre..
She's a corker!
ReplyDeleteLooking good so far!
ReplyDelete