The Shed Wars terrain factory keeps giving !
A couple of weeks back when we played our first VBCW game my
good friends Mark & Matt suggested that a couple of pill boxes might not go
amiss on the table for future games. How could I refuse and my mind began
whirring on how such items could be constructed.
Again the following outline is not meant to be an exhaustive
tutorial but does demonstrate how easy it is to build these defensive
structures. In the following photos you’ll see how these have come about and
will hopefully provide inspiration for others out there. Before I kick off I
should say that my builds are meant to be easy, anybody with a modicum of
artistic ability could do what I do, it just takes a bit of planning, the right
tools and materials and some patience. If you can rope in others to help even
better – despite offering to pay my 13 year old son to do some of the painting
I have yet to find a willing helper myself!
Virtually all my projects have something in common – they do
not start with a plan, I let the image of what I want to do ferment in my head
for a few days and then taking the materials I have to hand I start the build.
There’s no pre drawings, no sketches and no measurements !
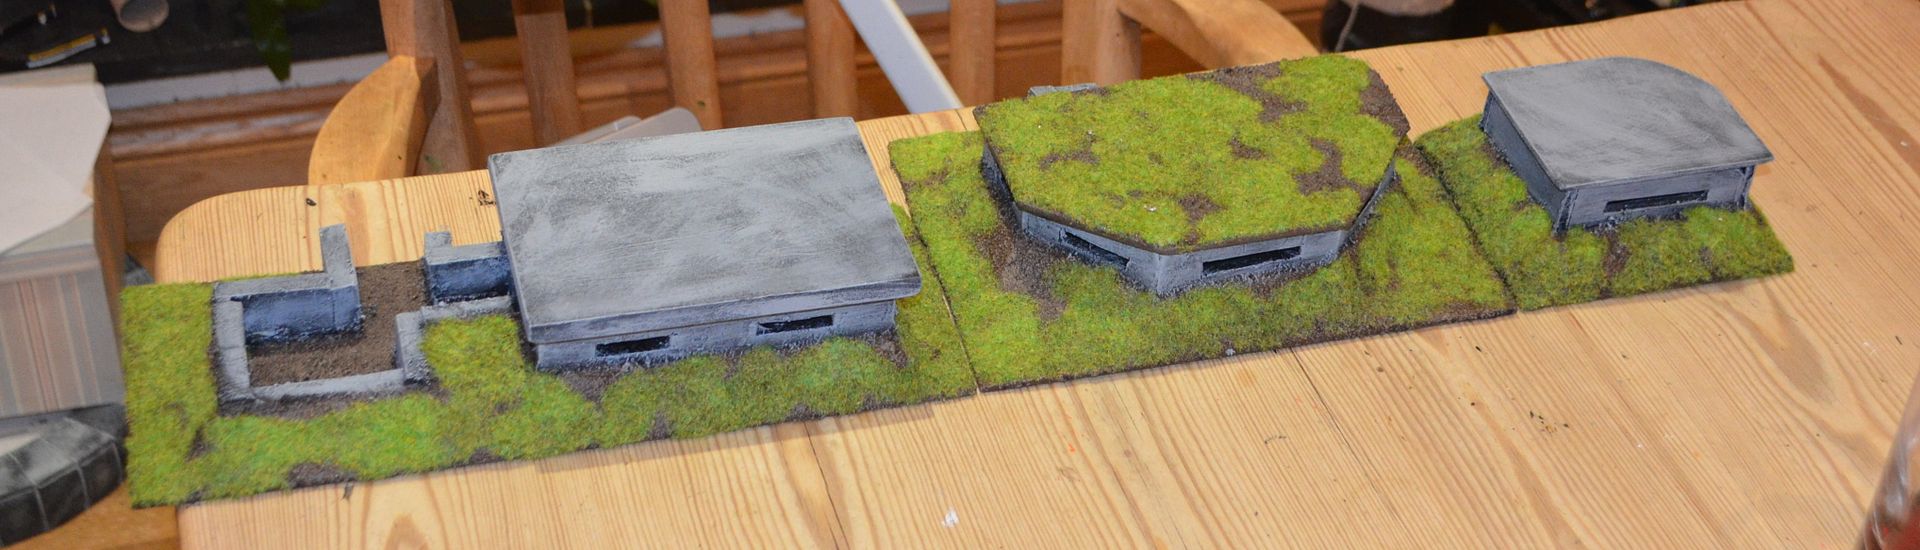
In this particular case I started with the view that I
wanted to build three units – each slightly different and ranging in size. To
begin with I was going to build all of the structures from foam core (5mm) but
when I discovered some off cuts of blue foam in the shed I switched two of the
units into this material.
Recalling from memory that pill boxes and block houses can
come in a variety of shapes – squares, rectangles and hex style shapes I began
to think about the design – again in my head. I settled on a height of 4cm,
thereby allowing a 28mm mini to stand upright in the finished structure..
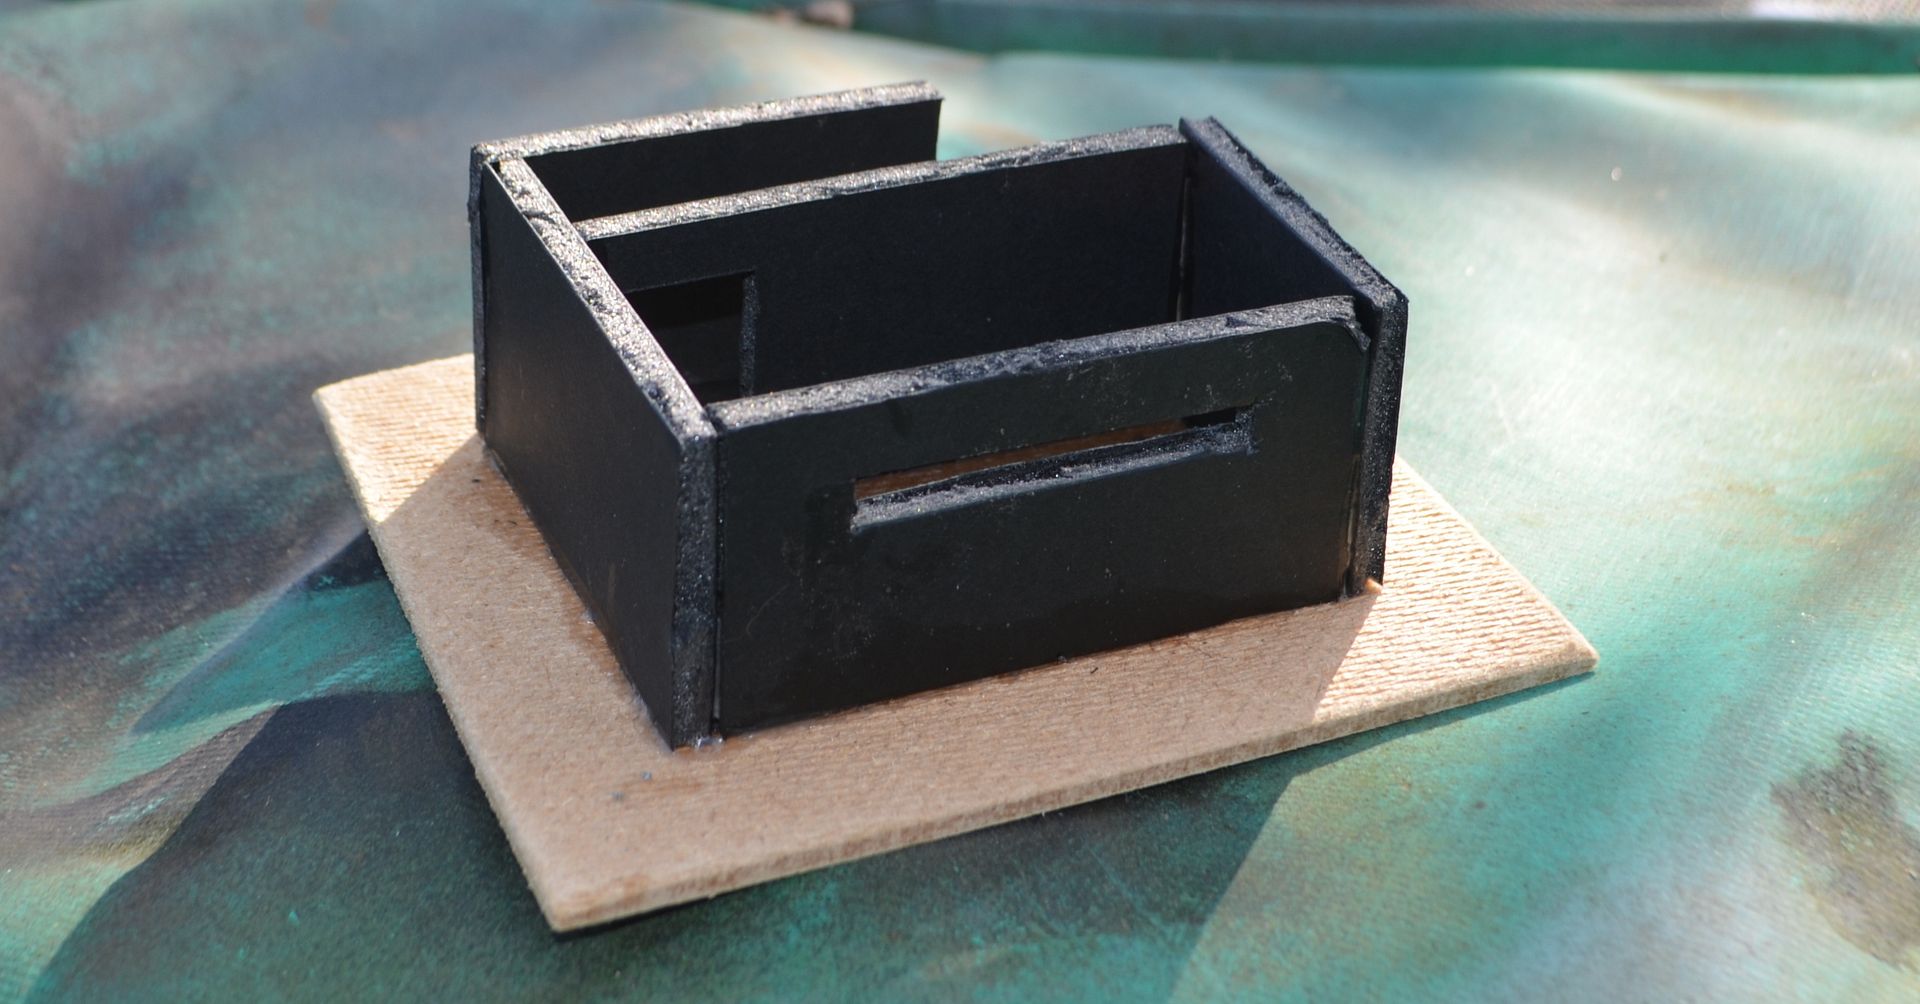 |
| Pill box #1 (foam core) |
Like all my constructs they are based on hardboard – rough
side up to give a better key fort the glue. Three bases of different
sizes were cut.
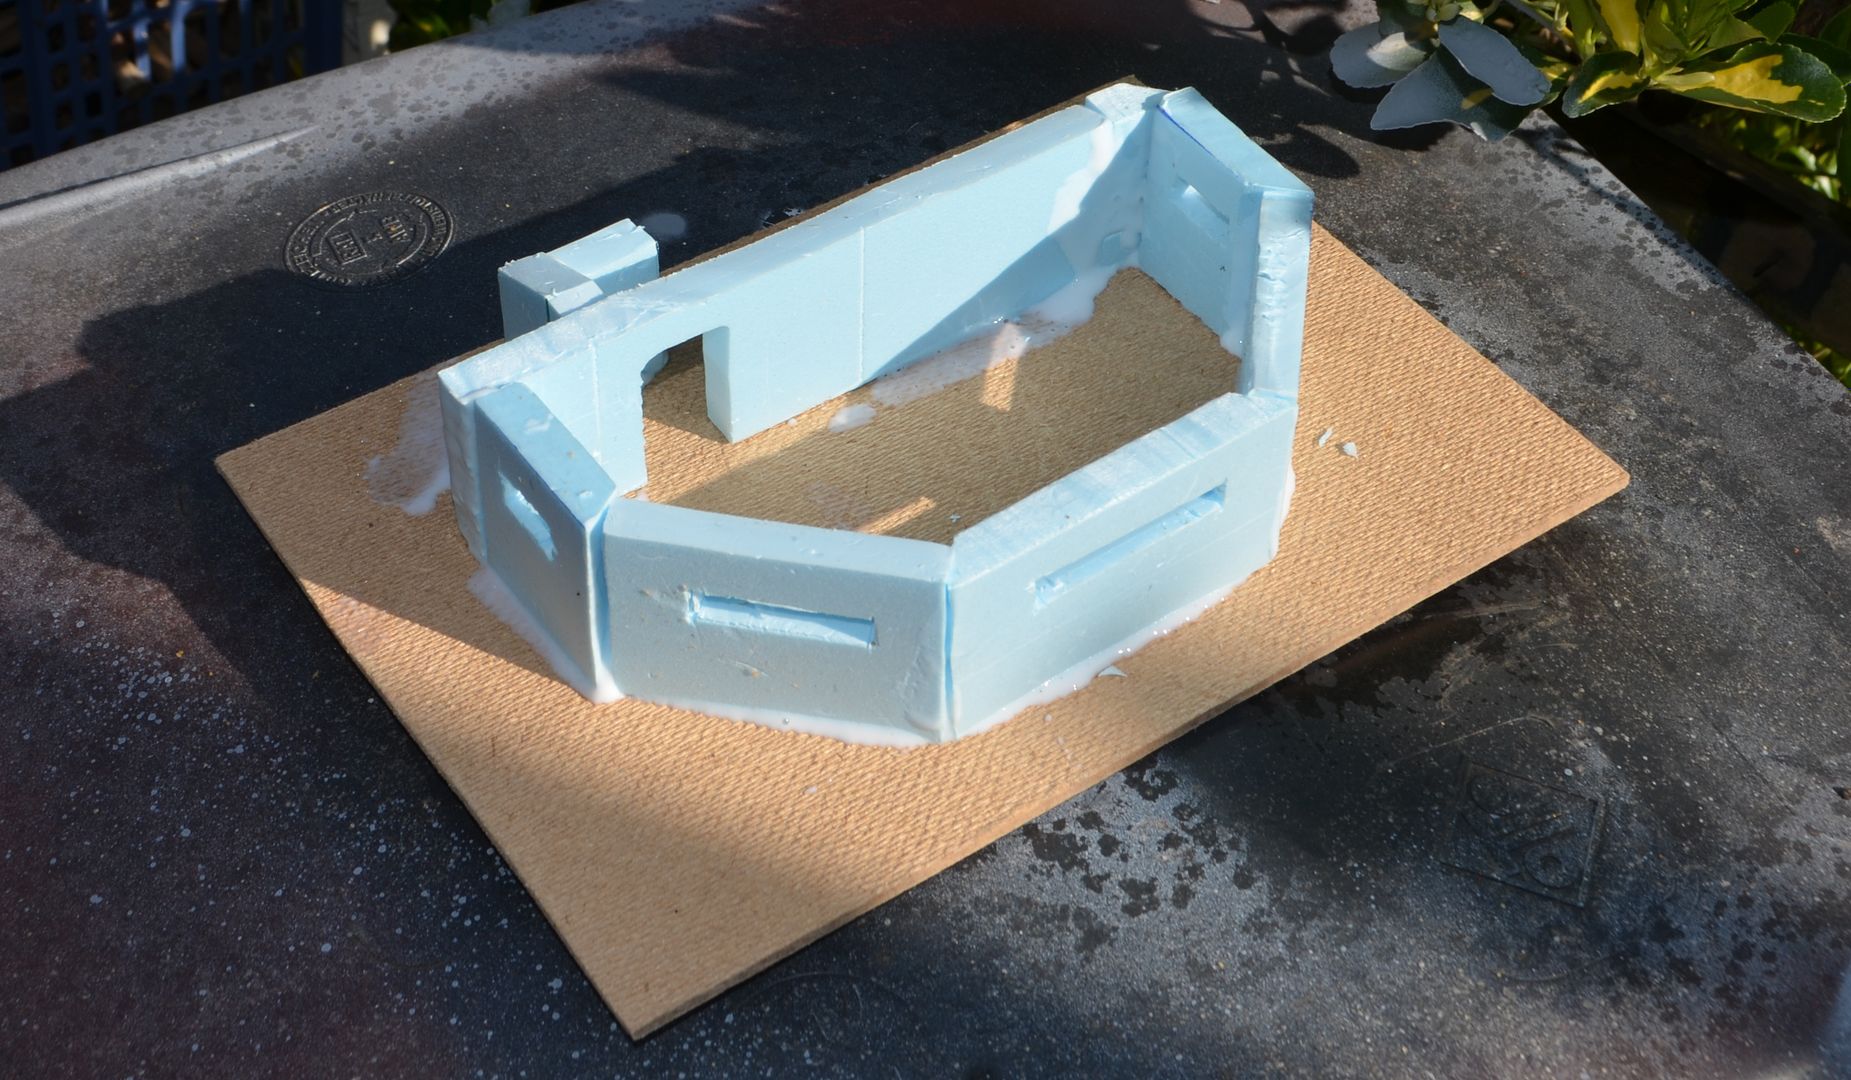 |
| Pill Box #2 (blue Foam) |
The shape of the pill boxes themselves were then roughly
drawn on the board using a permanent marker. Then taking the ‘wall’ material I
measured out the walls and the firing slits. The firing slits were cut out
first with a really sharp blade – it is much easier to do this n a larger sheet
than the smaller wall sections if they are already cut. Once the slits were
done the walls were cut out. These were then glued with pva to each other and
onto the base. One of the units would have a mortar pit attached. After a few
hours they were dry and I could move onto the next stage.
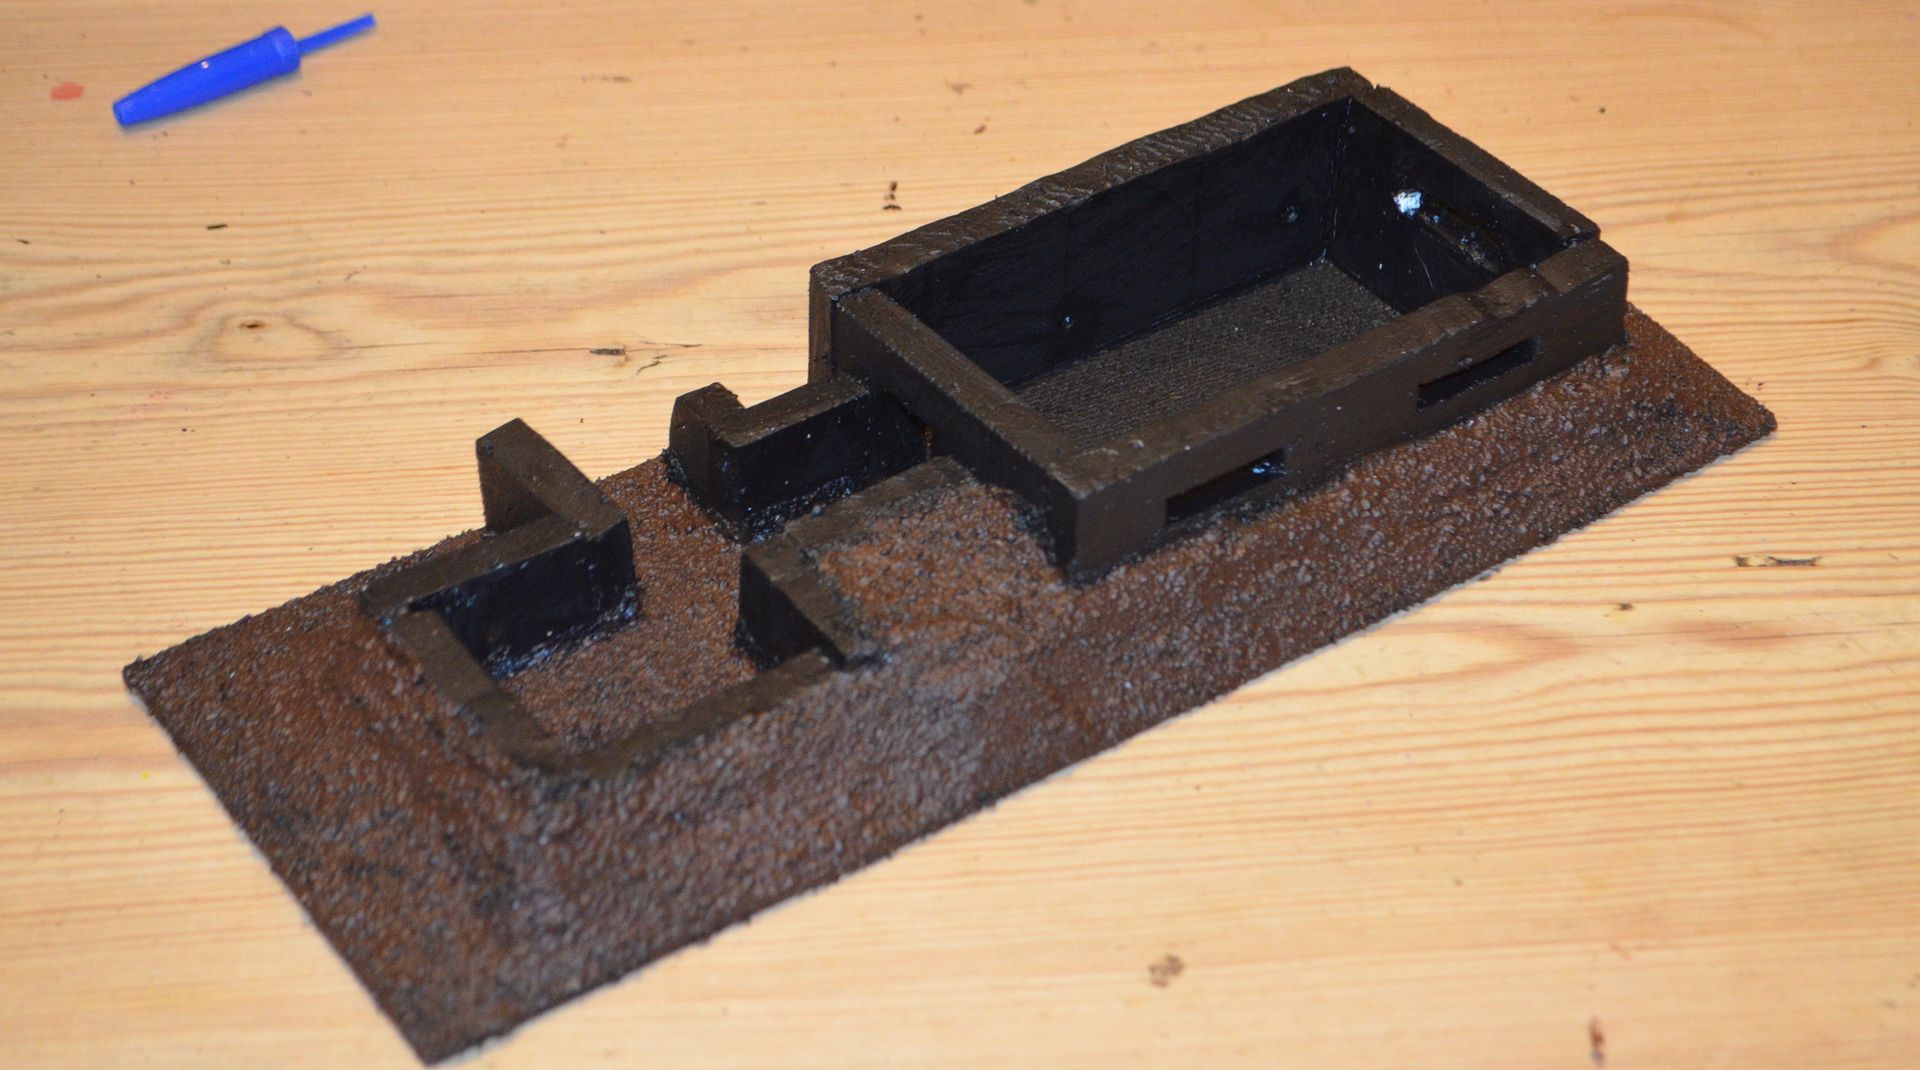
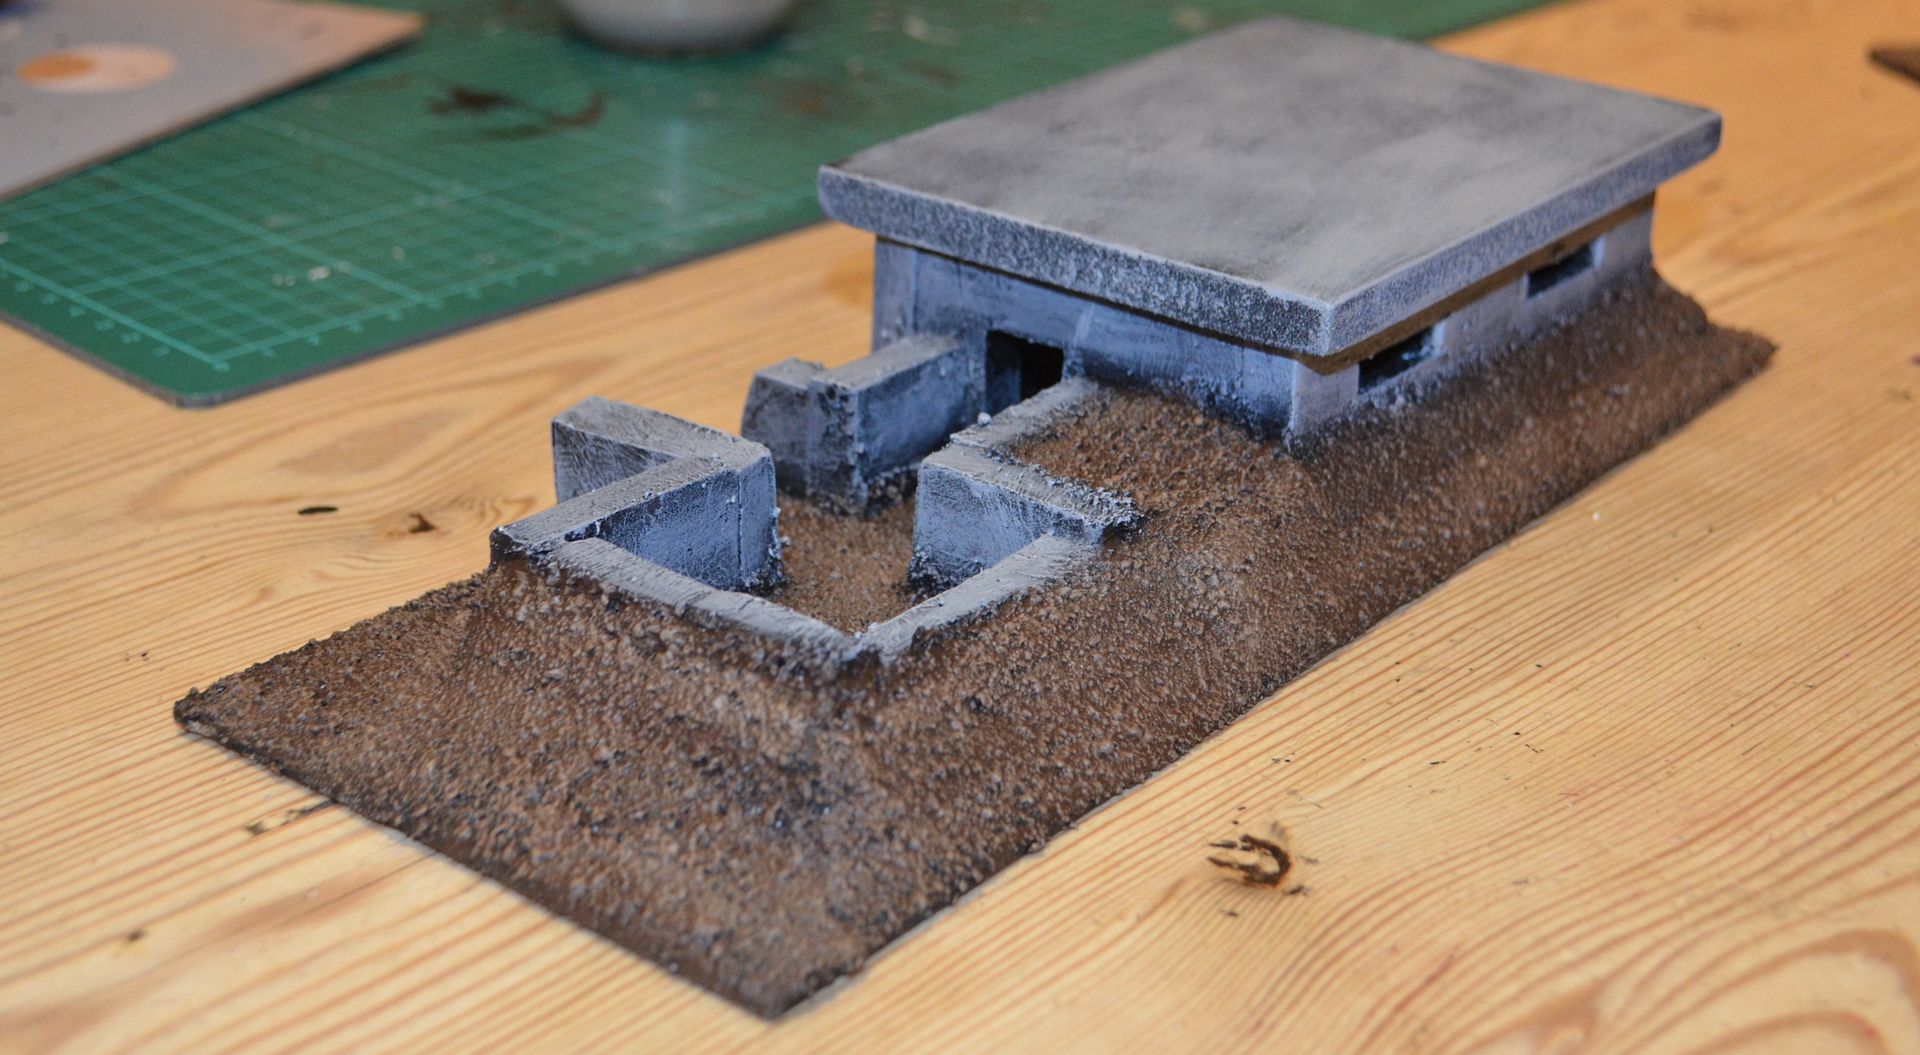
I wanted to give the impression that the positions
themselves were slightly buried so I needed a bank to run up half way round the
walls. This was achieved in two easy steps. I firstly cut triangular banks from
polystyrene (the cheap packing stuff to fit round the outside of the walls.
These were glued into position and once dry they were covered in filler to give
a hardened surface. Drying time for this stage was about 12 hours. Once dry I
didn’t bother sanding the filler as it was going to next be covered in ballast
and sand. This was fixed using pva – I use so much of this stuff!
 |
| Pill Box #3 (with raised embankment) |
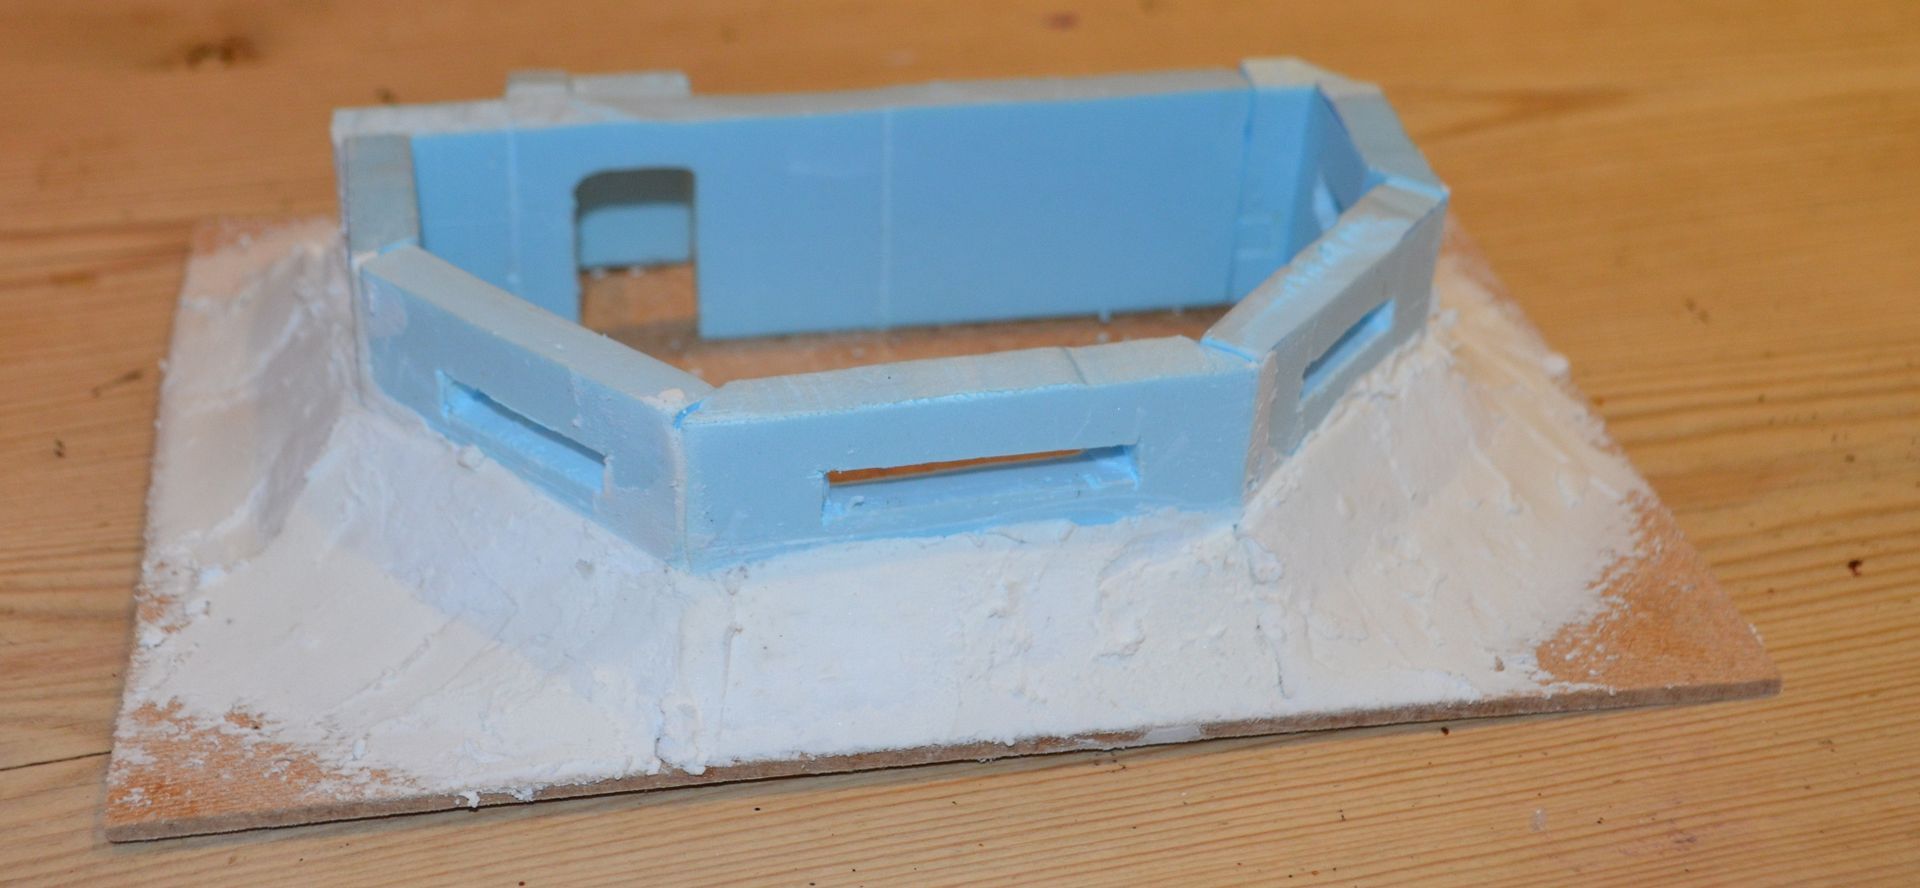 |
| Pill Box #2 (with raised embankment) |
Again this was left to dry for 12 hours. Each of the
following steps only takes a few minutes so I tend to do them just before I go
to work – getting up early can be so productive – as I then can proceed with
the next step that evening or the following morning. With the sand and ballast
fixed the units were then painted black using an acrylic paint.
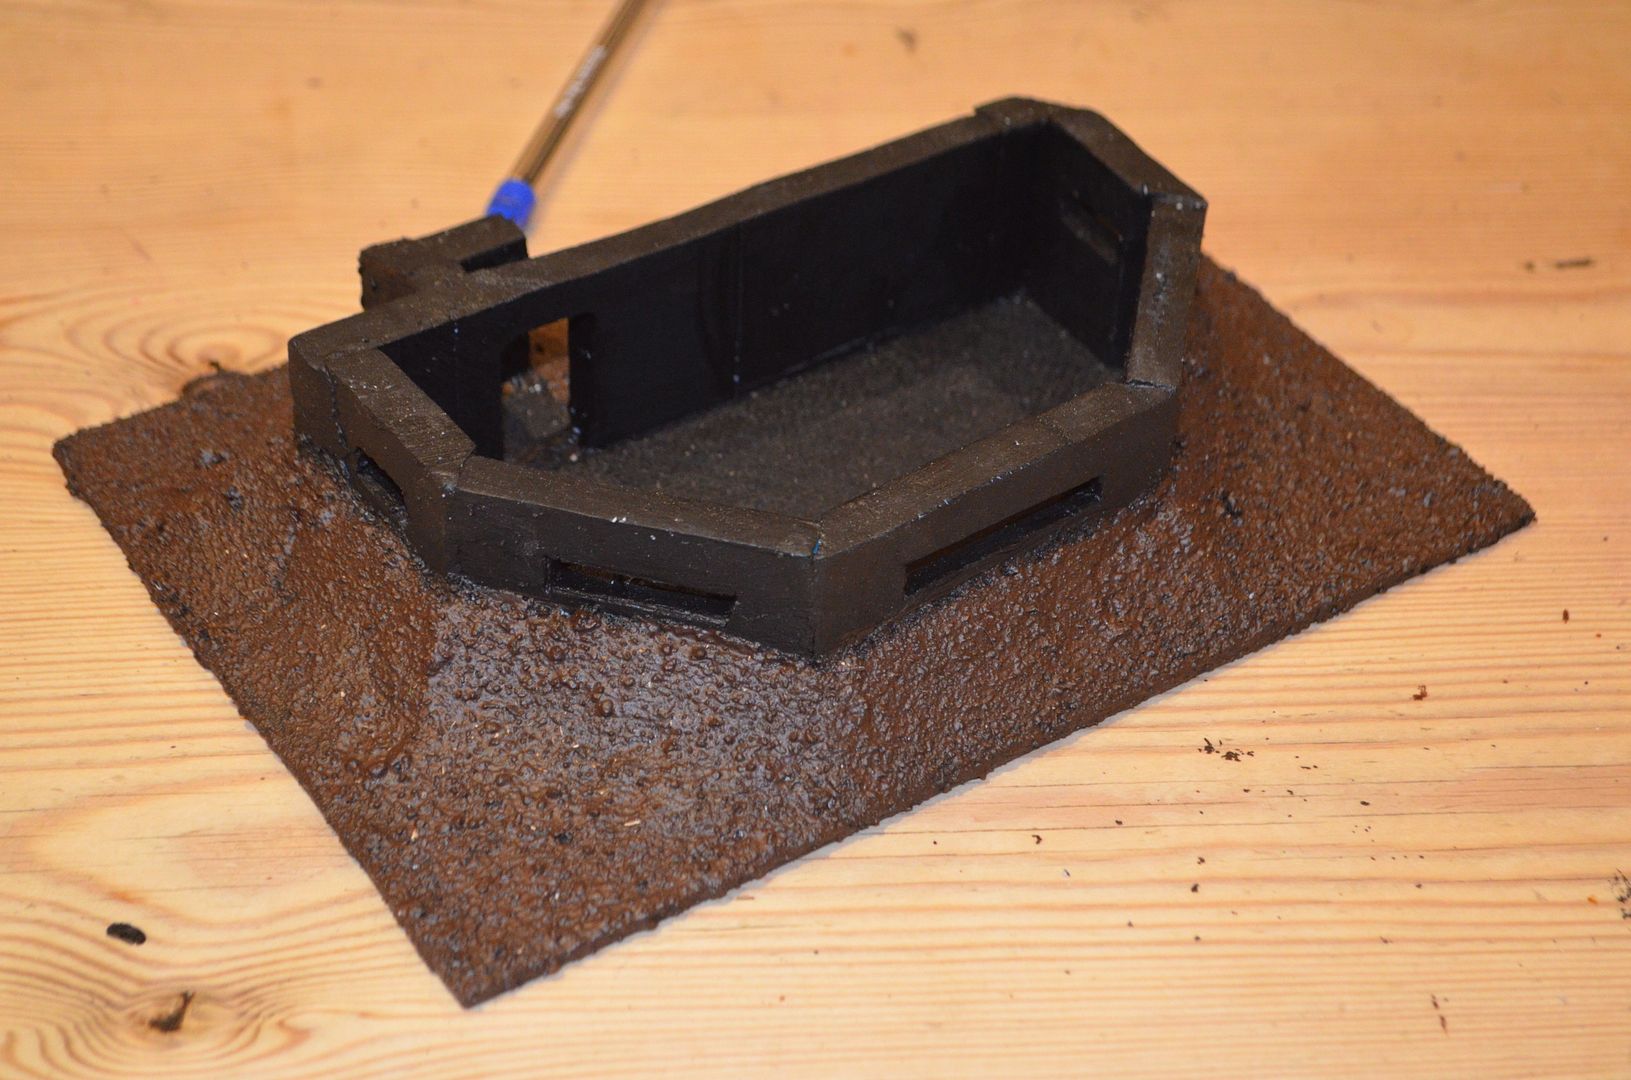 |
| Pillbox #2 (painted black/brown) |
 |
| Pill Box #3 (the mortar pit is closest) |
Before I moved onto the final painting I realised that the
roofs were yet to be manufactured. These would be constructed from hardboard.
Two units would have plain simple concrete surfaces and the final one would be
grassed. The measurements of the buildings plus a 5mm lip were drawn onto
hardboard and cut out. In the case of the concrete tops these would be shiny
side up whereas my grassed unit would have a roof rough side up. A piece of
foam core the dimensions of the inside of the building was then cut and glued
to the underside of the roof to give it a snug fit.
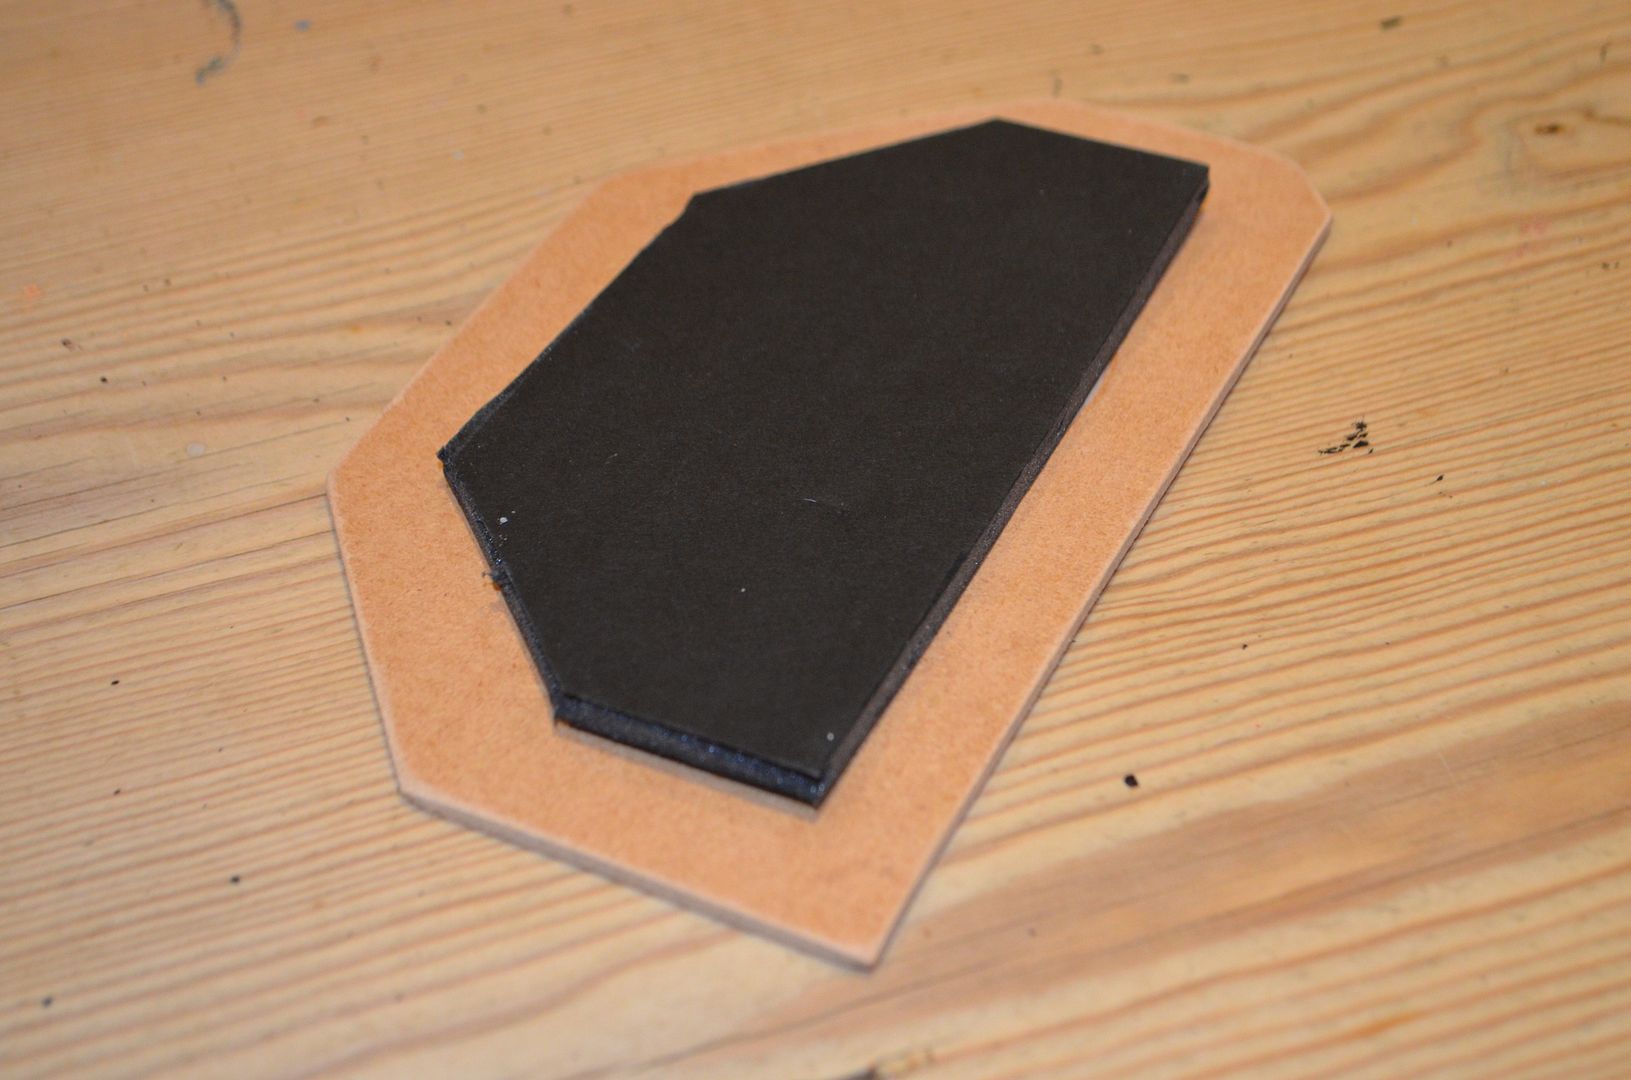 |
| Inside of roof |
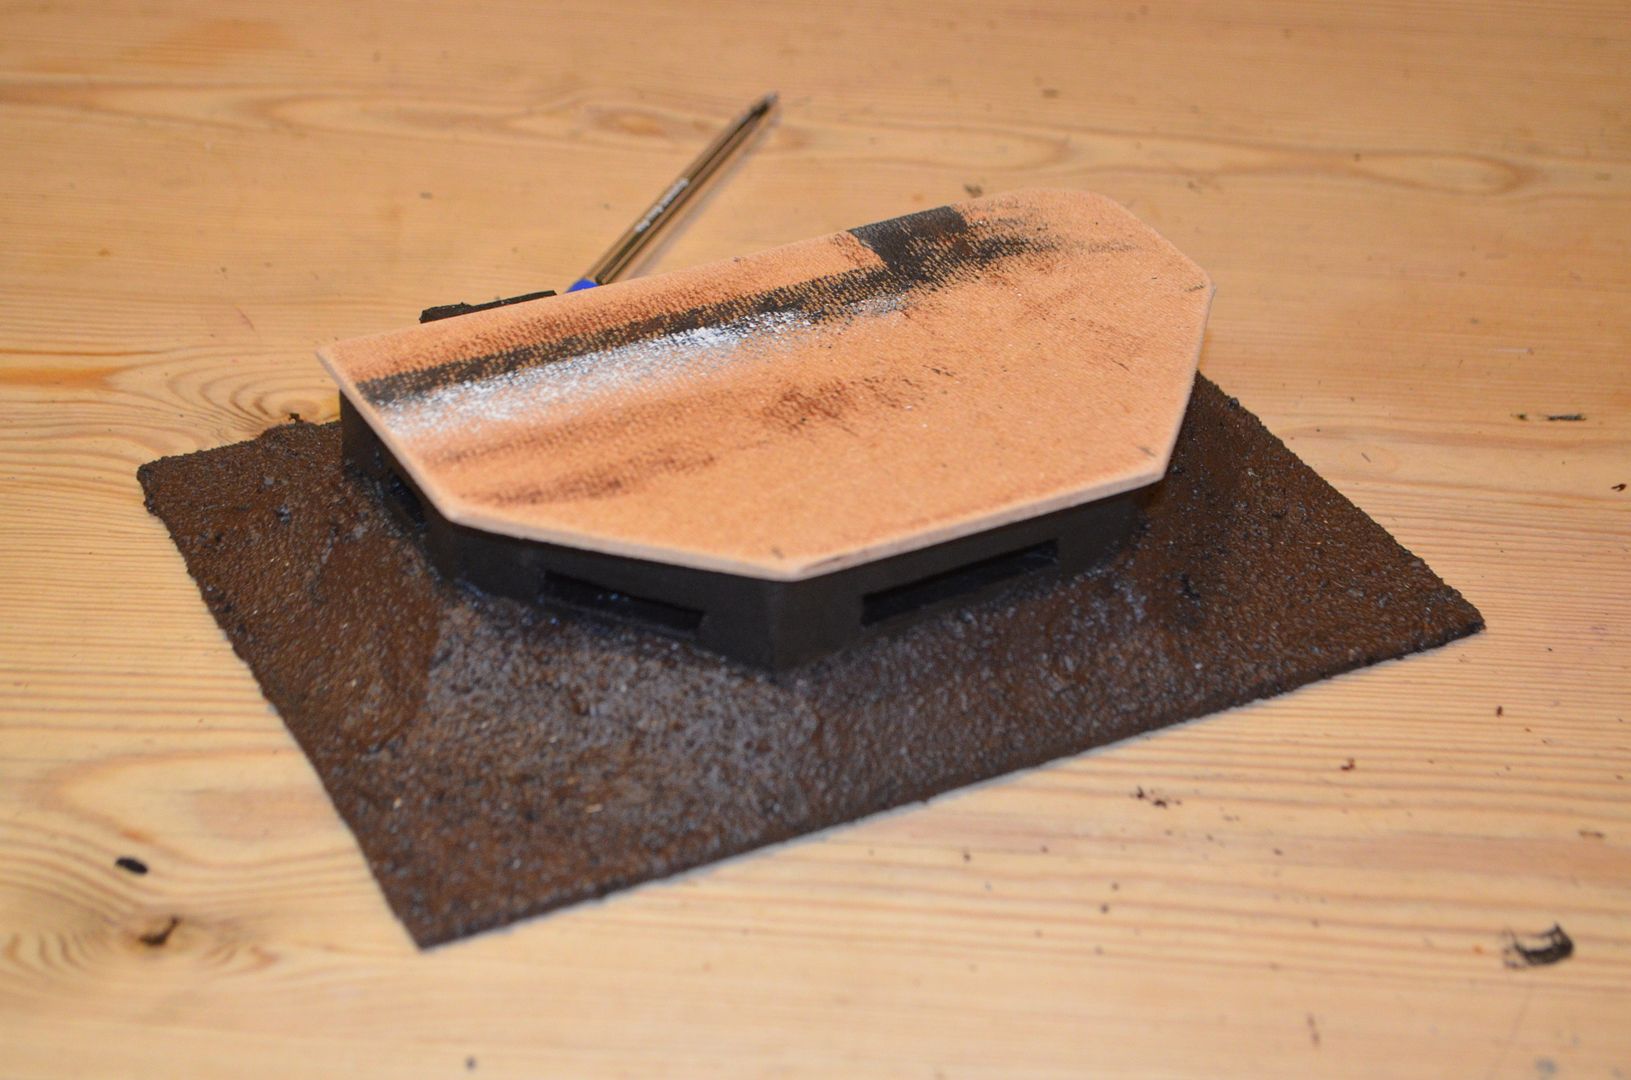 |
| Testing it fits |
For the grass topped unit I simply covered in ballast and treated this the same way as the base.
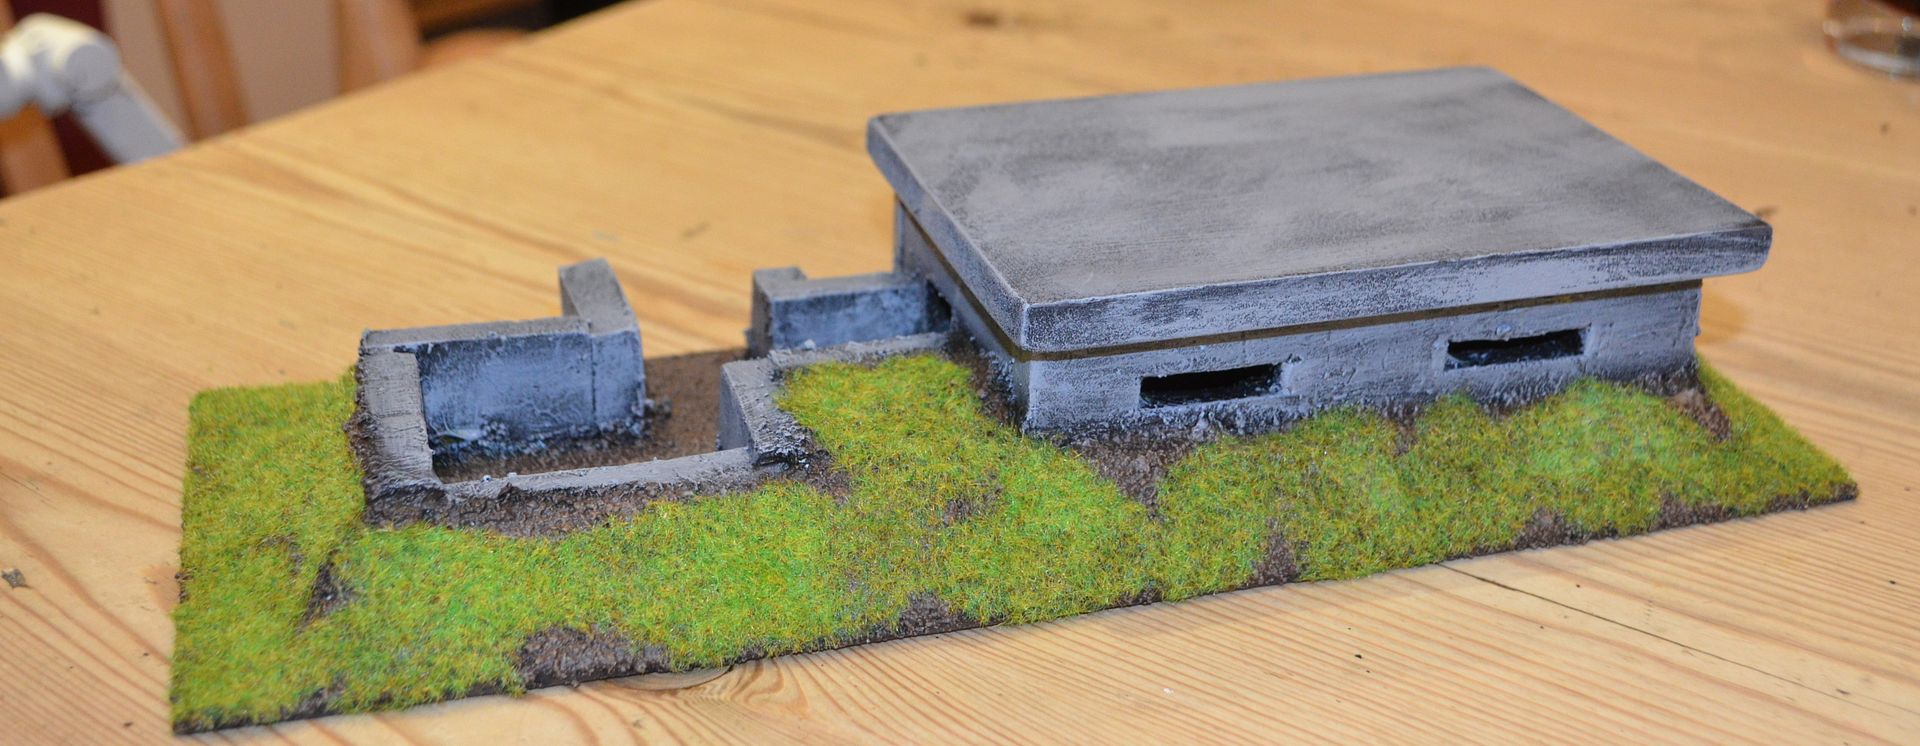
The bunker walls were painted dark grey then highlighted with light grey.
Onto the final stretch and the best bit. The ground areas were highlighted light brown.
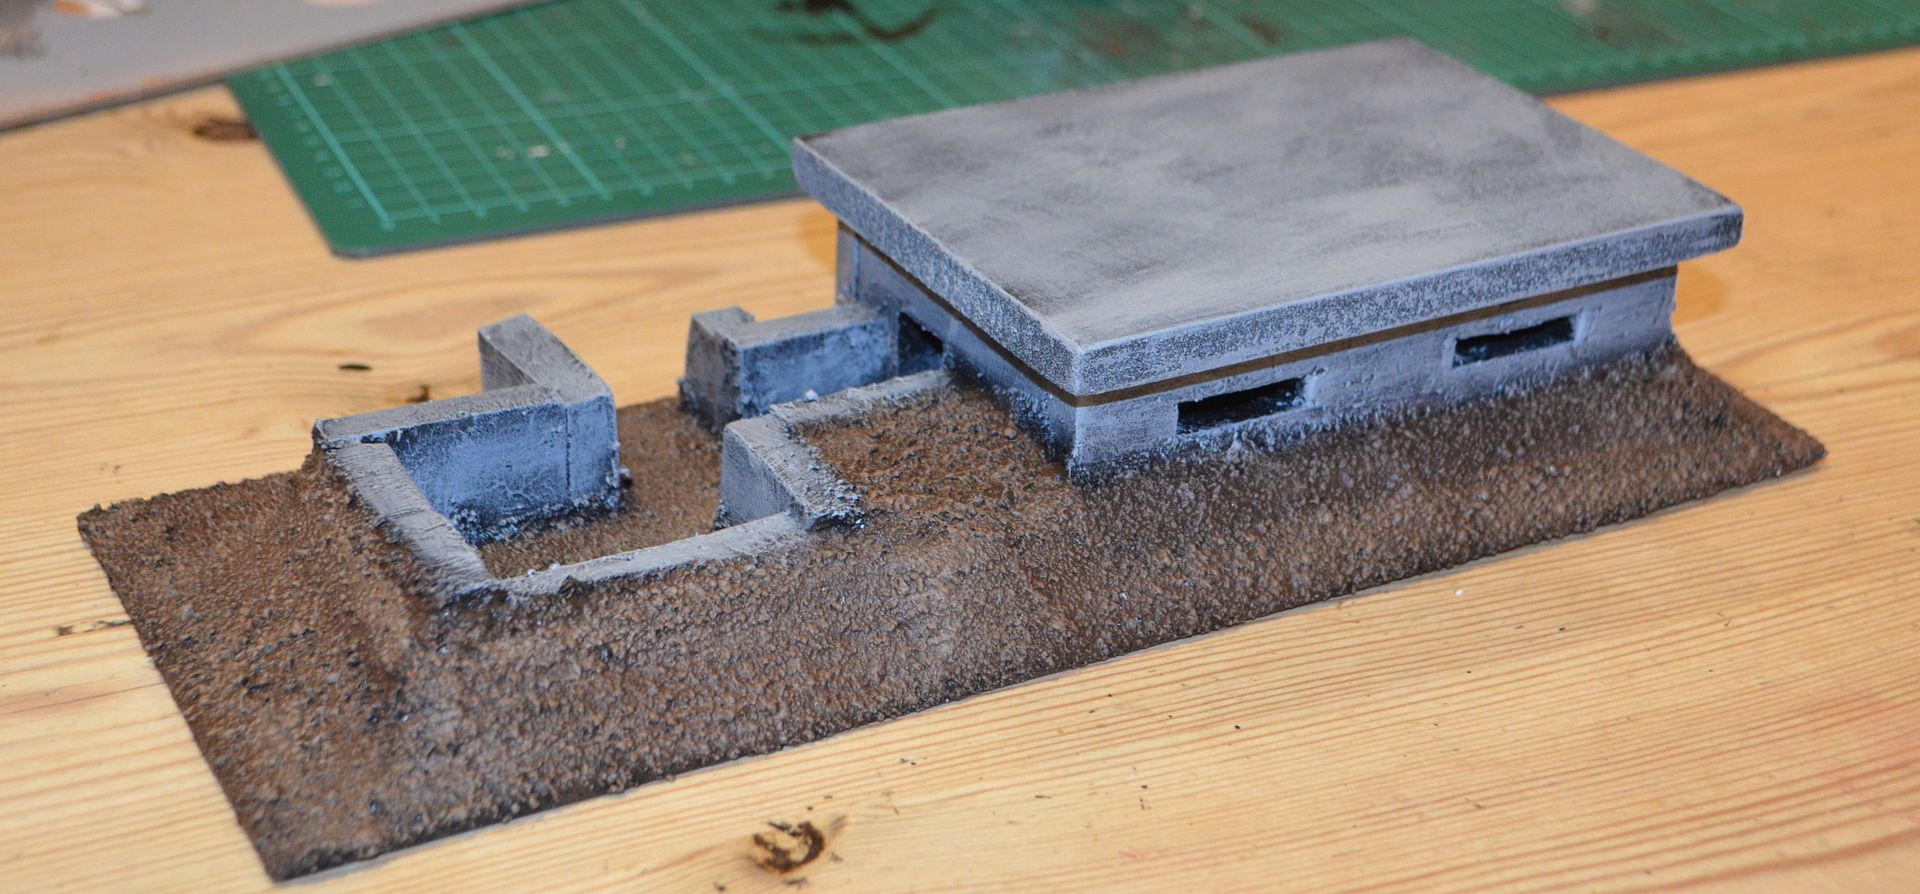
The final touches were some static grass patches - ill add some other detritus later
And here they are in all their glory


Ill be using these in Monday nights action so more photos on the way
Thanks for reading
Eric the Shed
Thanks for reading
Eric the Shed
Like all your terrain, simple methods produce really effective pieces, especially when viewed on the table in the games! Keep up the good work!
ReplyDeleteExcellant bunkers and great build report.
ReplyDeleteGreat looking stuff.
ReplyDeleteLove them.
ReplyDeleteGreat work as ever, your work is always inspiring.
ReplyDeleteWow, great work, I need to get with my friend and build a few of these for Bolt Action!
ReplyDeleteHi, I have been checking your painting and it is awesome!
ReplyDeleteI have started an online hobby magazine and would like your permission to use this tutorial for an article.
The magazine is called The Golden D6 http://www.spruegrey.com/thegoldend6/
Thanks in advance,
Adam (adam@spruegrey.com)