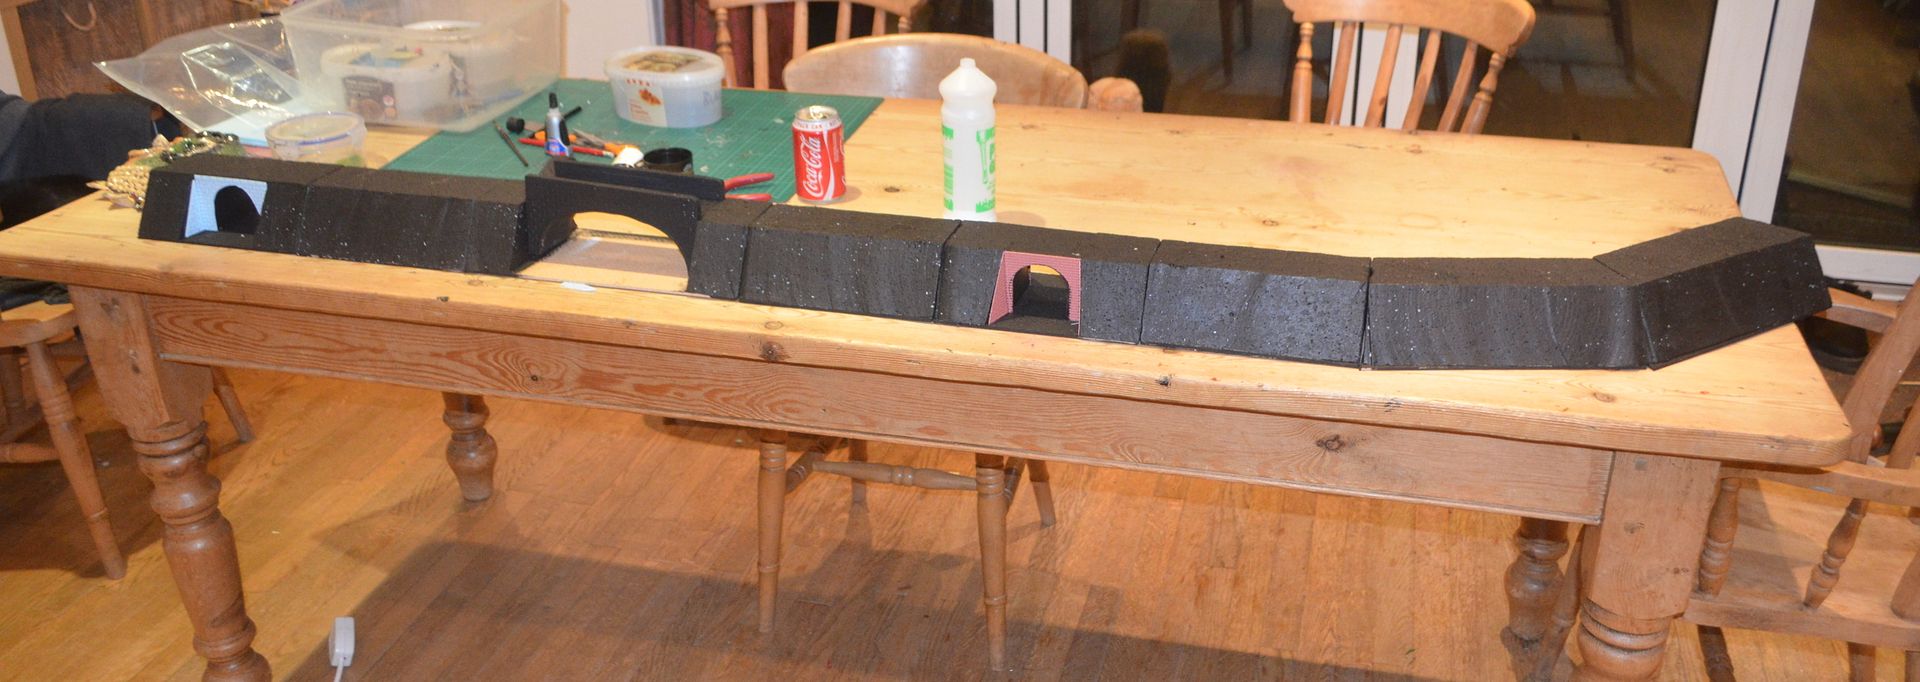
With the flat track sections of the track now completed I turned my attention to the raised track. I had two
considerations when putting this together, firstly the pieces should not
be so large that storage would become an issue and secondly the embankments had to
be sufficiently high enough to allow a vehicle to pass through (ie under a
bridge)
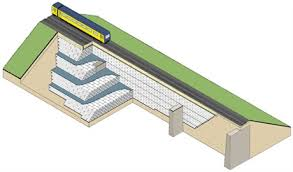
As an example of rail bridge on embankment

I settled on the base of the embankments to be 16cm wide and
the track top are to be 8cm wide. The height of the embankment would be 8cm
high. This would mean the embankment itself would enjoy an angle of 45 degrees ie a slope ratio of 1 to 1.
I did investigate the slope
angle before starting on this journey and discovered that embankments typically
have a slope ratio of 1 to 4 or 1 to 5 – had I of gone with the former my base
boards would have been close to 64 cm wide ! Not really an option.
 |
| Embankment Diagram |
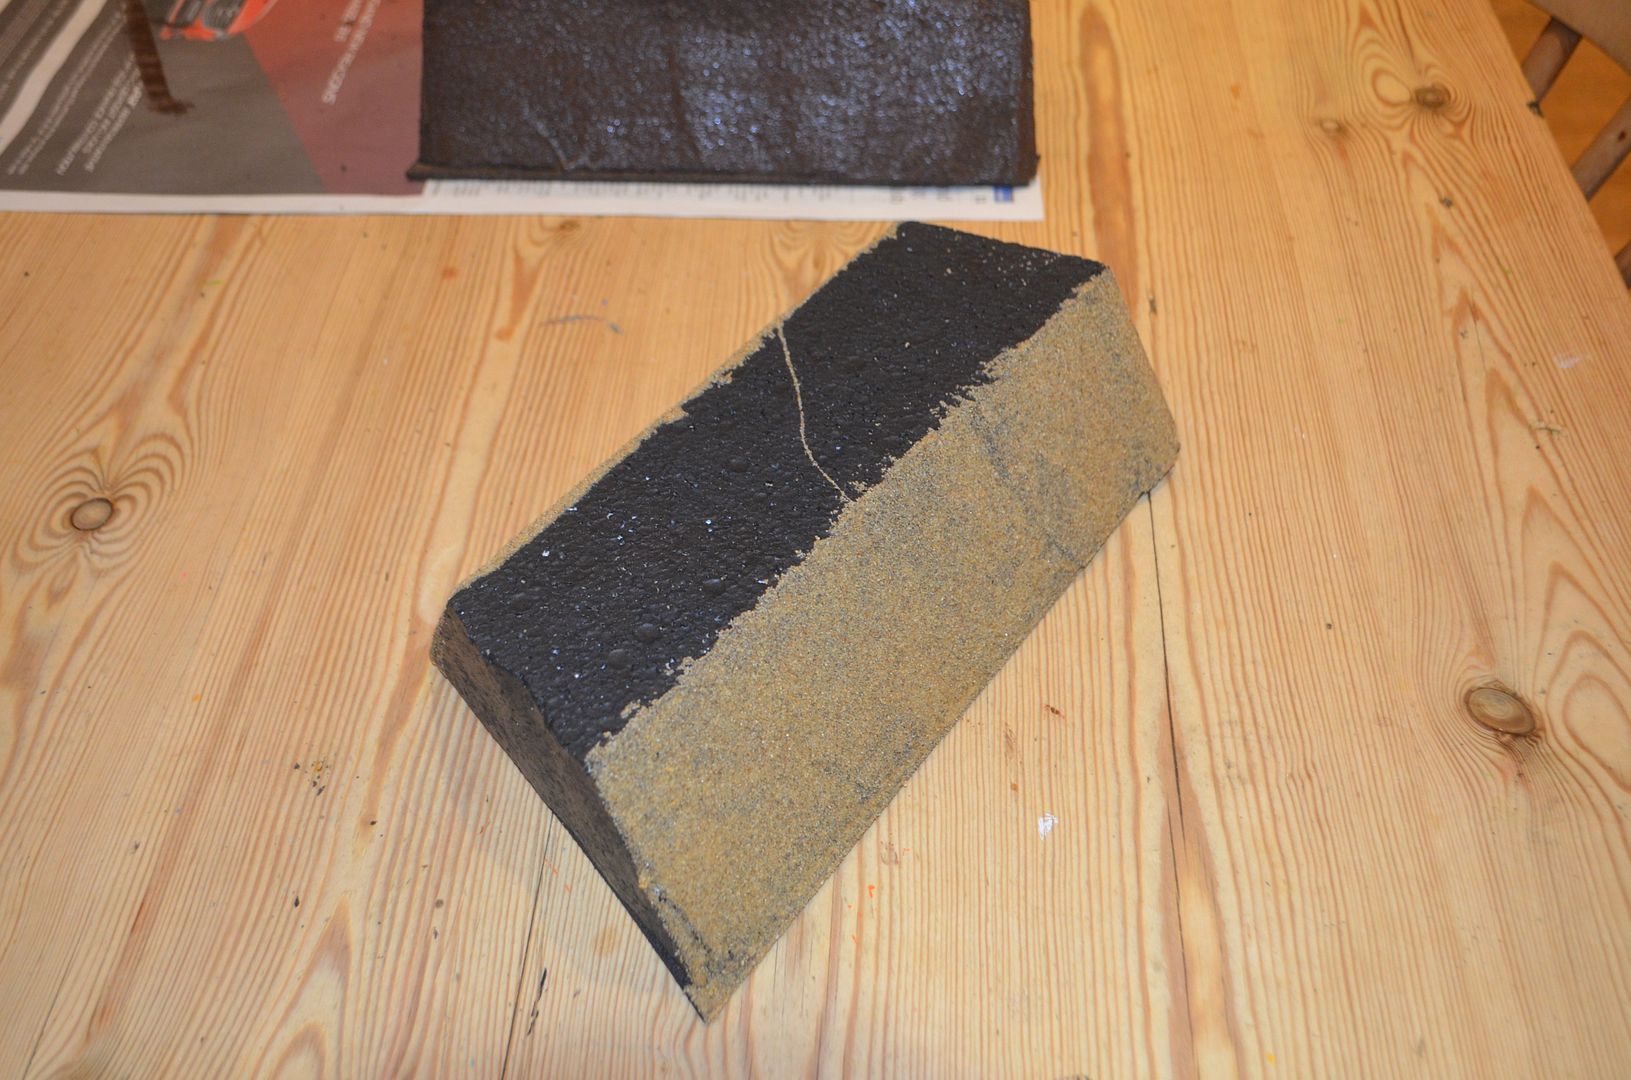
The embankments themselves were cut from polystyrene using
my trusty foam cutter. I quickly realised that by cutting out the right length
it bame very easy to angle the cutter at 45 degrees and then slice out the
various sections.
Once these were cut I glued them down onto hardboard bases.
The bond between the base and polystyrene
blocks was then strengthened with a hole being drilled in the reverse side and a bbq skewer driven
in.
These ‘embankments are quite
light and flimsy so strengthening was required. They were all given a good old
coat of black acrylic paint. This not only seals the unit but also gives it a
tough exterior coat.

The banks were then liberally coated in pva and then covered in sand. Once this was dry a second coat of acrylic paint was added – dark brown this time.
 |
| Sand cover banks |
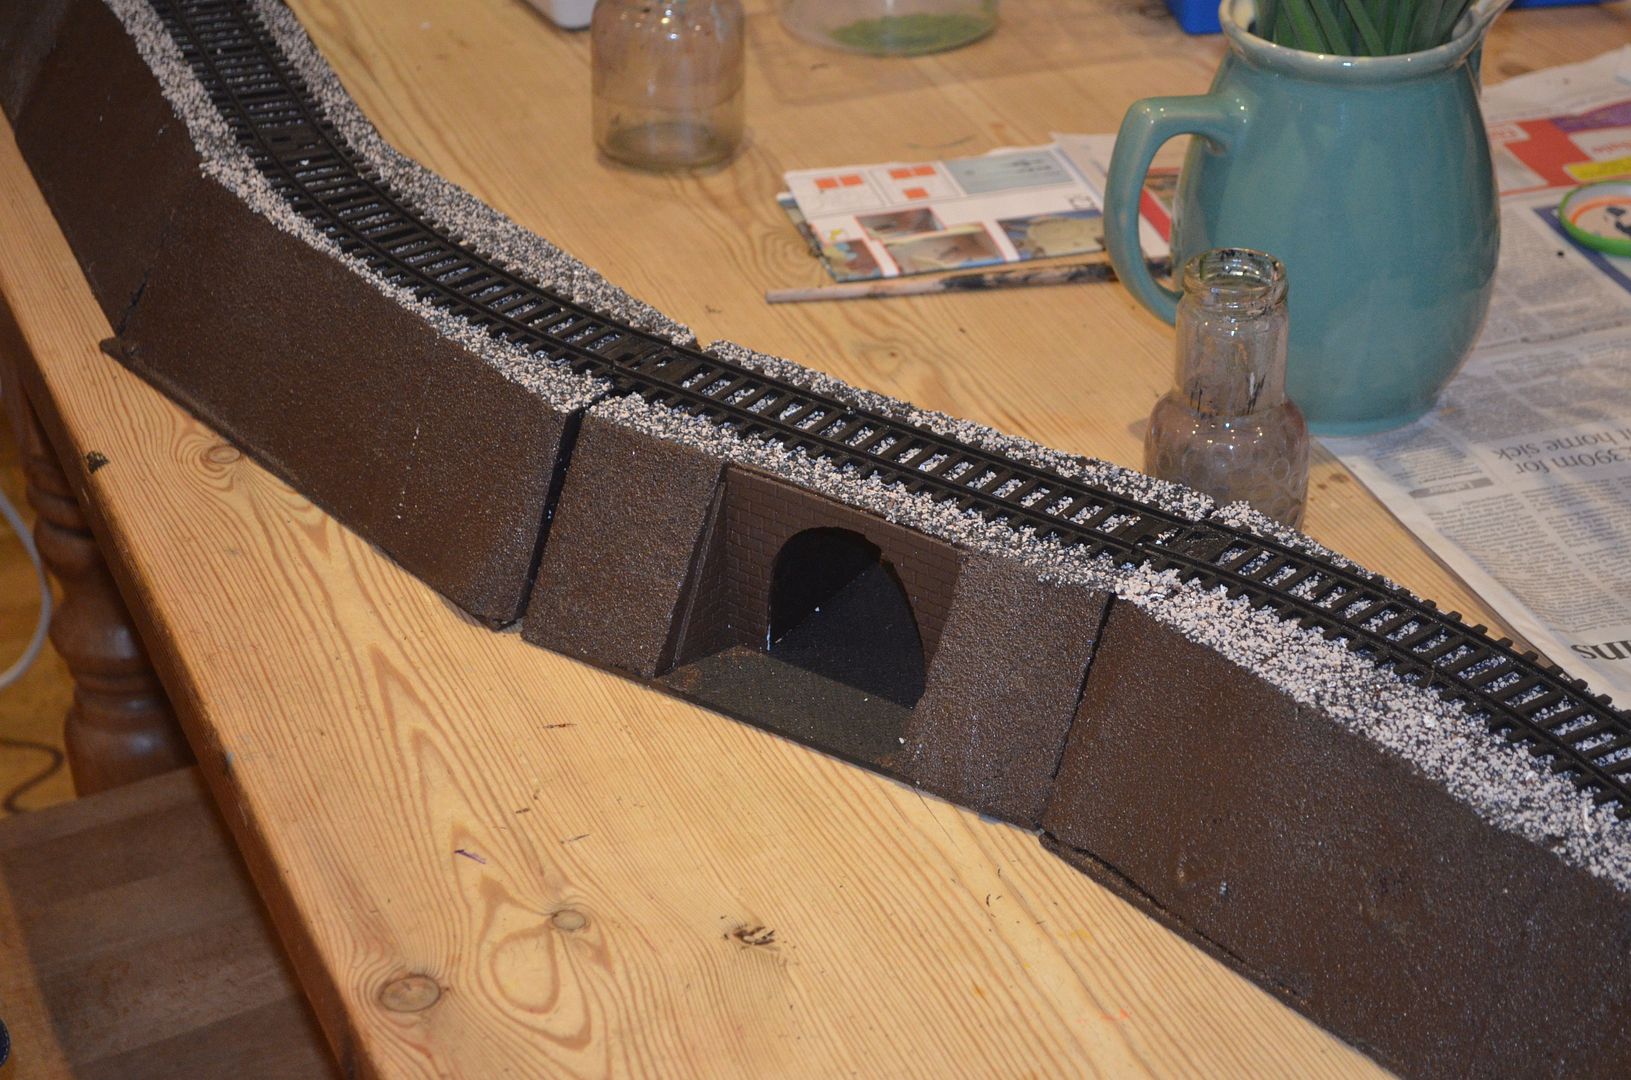 |
| Brown paint over sand and top track laid with ballast |
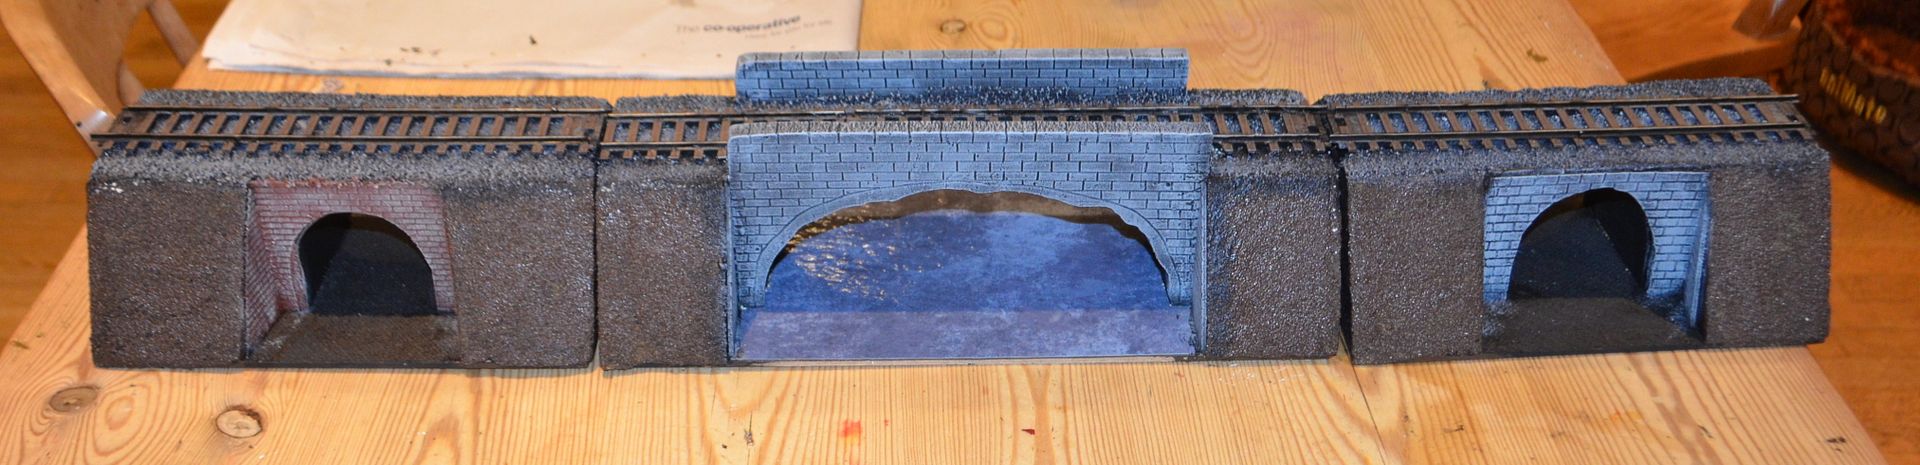
I built enough embankments to
stretch 2 metres including a couple of curved sections to give a bit of
variety. Given that they are going to dominate any landscape (an create a
natural fortification) I quickly realised that a number of cut-through’s would
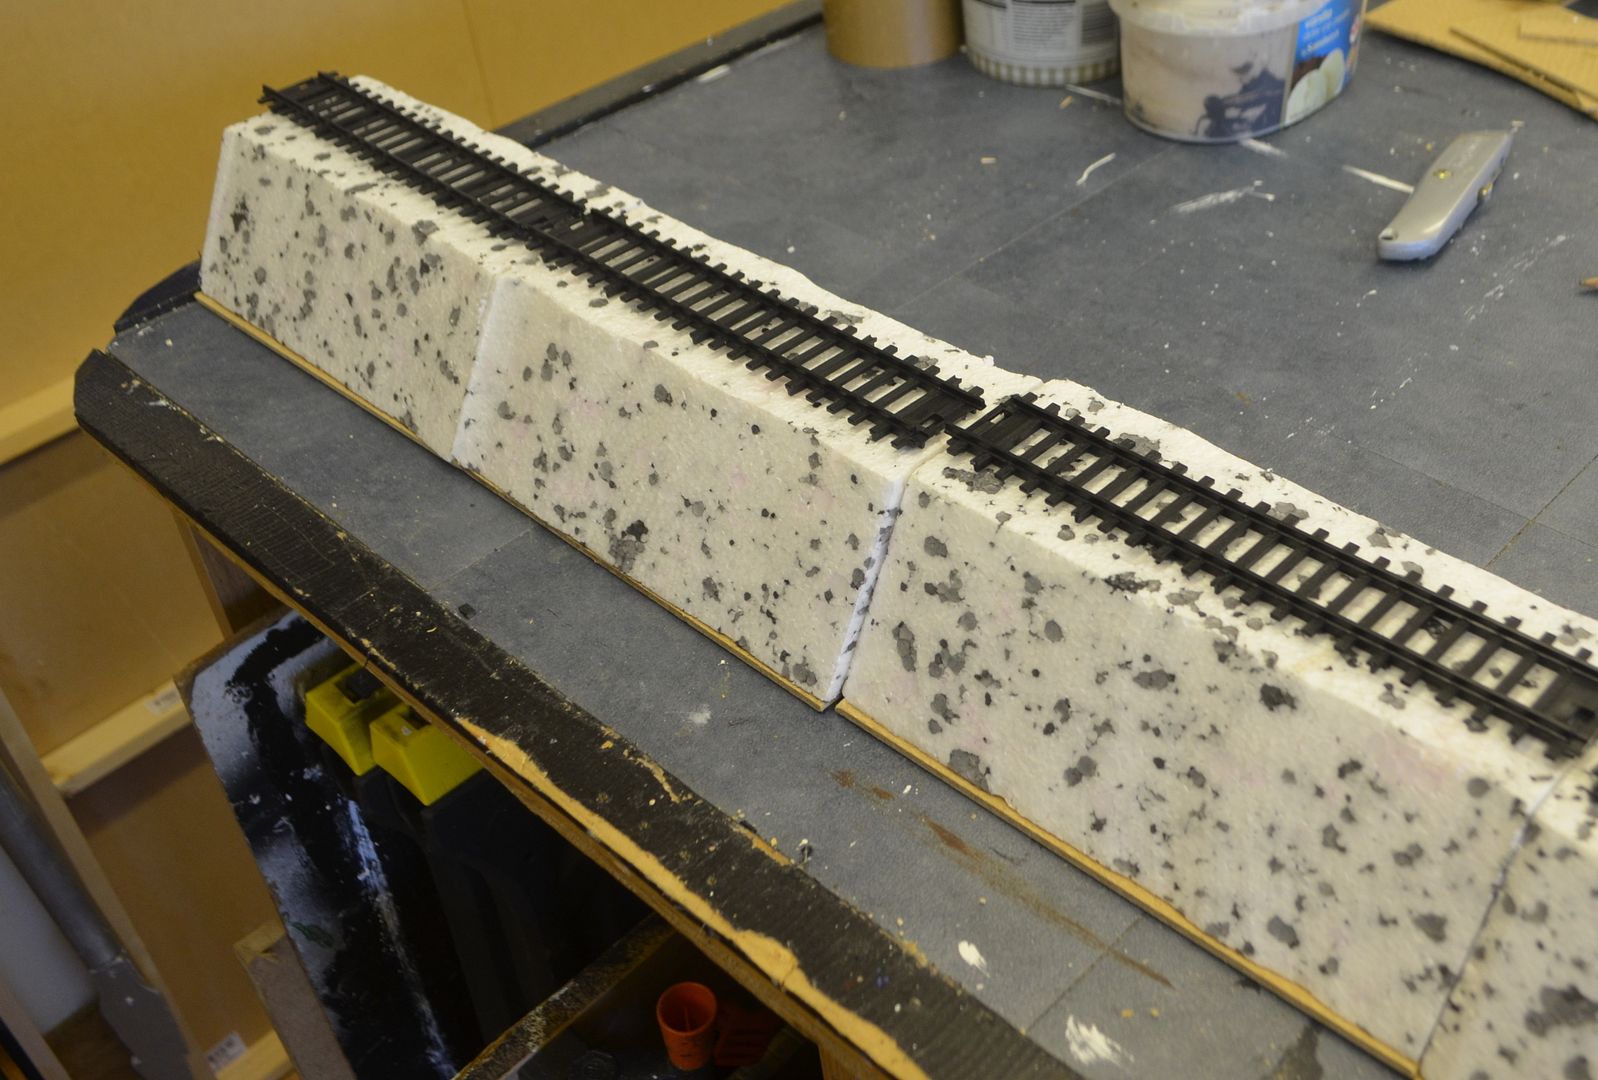
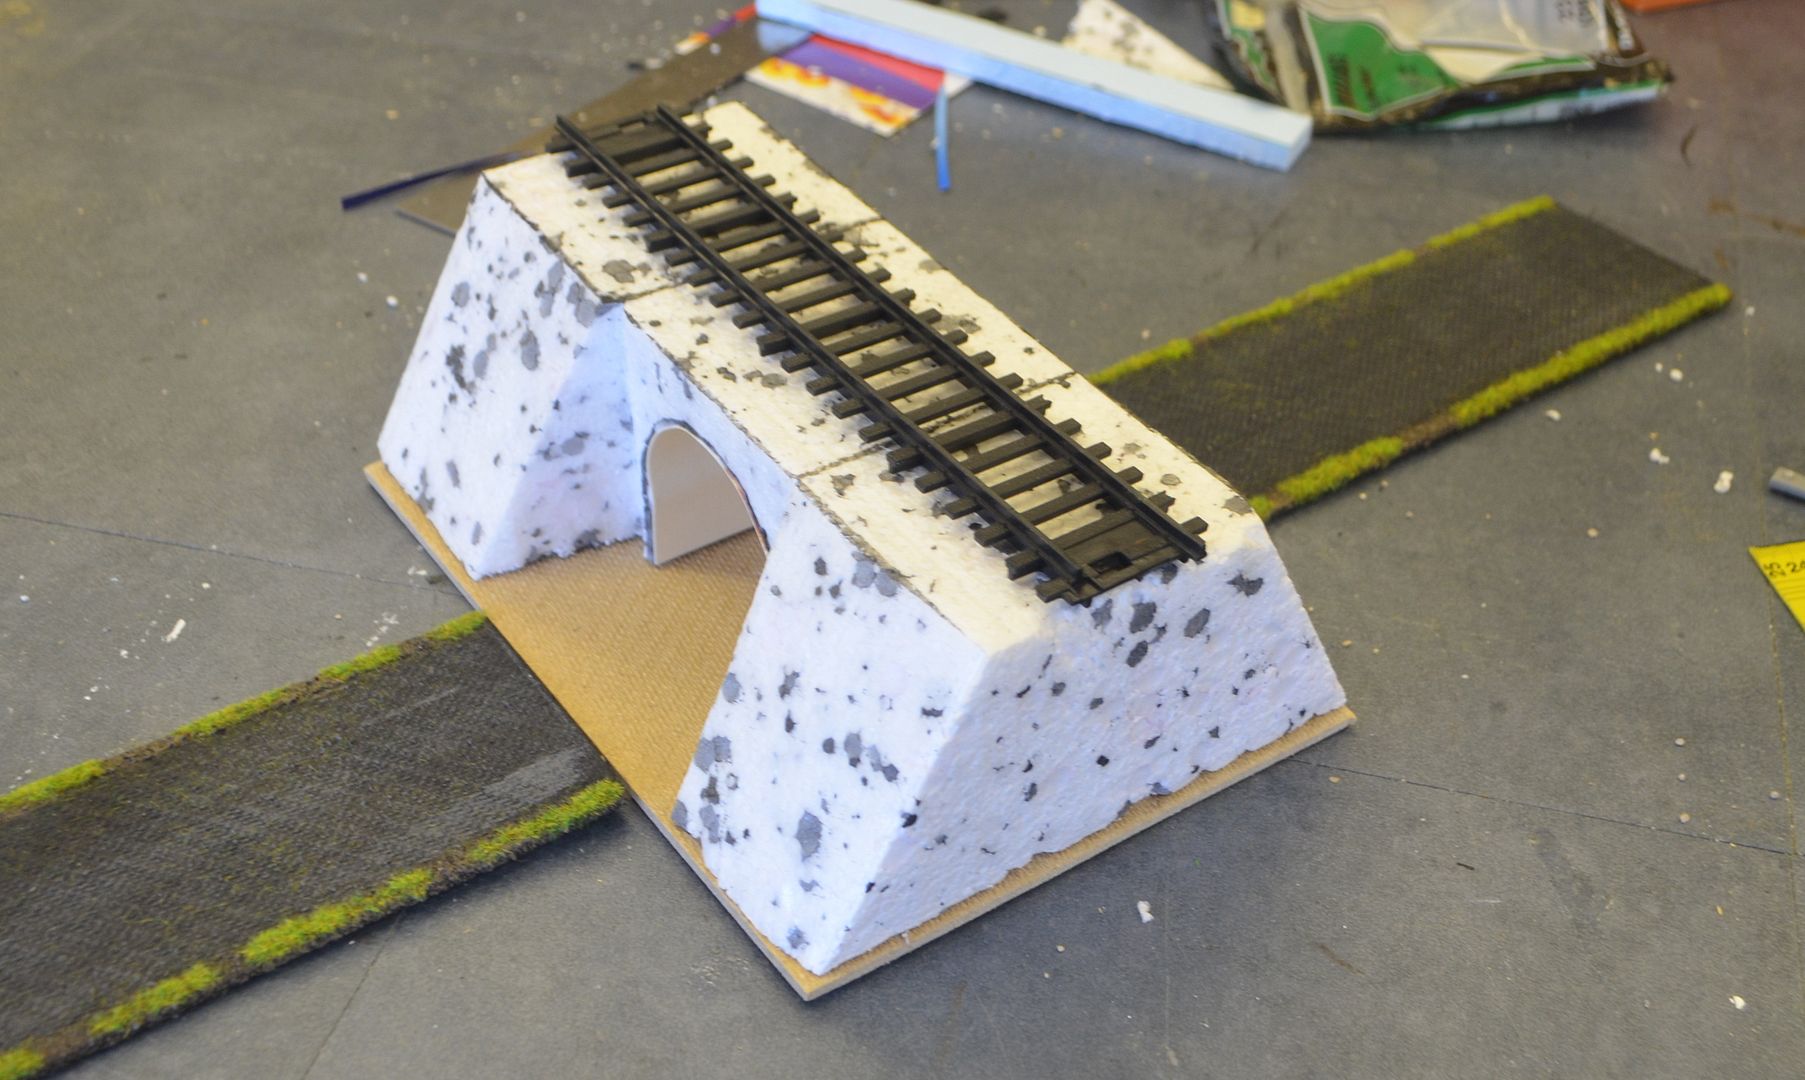
need to be made – namely tunnels. So again using the foam cutter I created two
of them. The inspiration for these is a nearby bridge to my home which also
illustrates the height and steepness of the embankment.
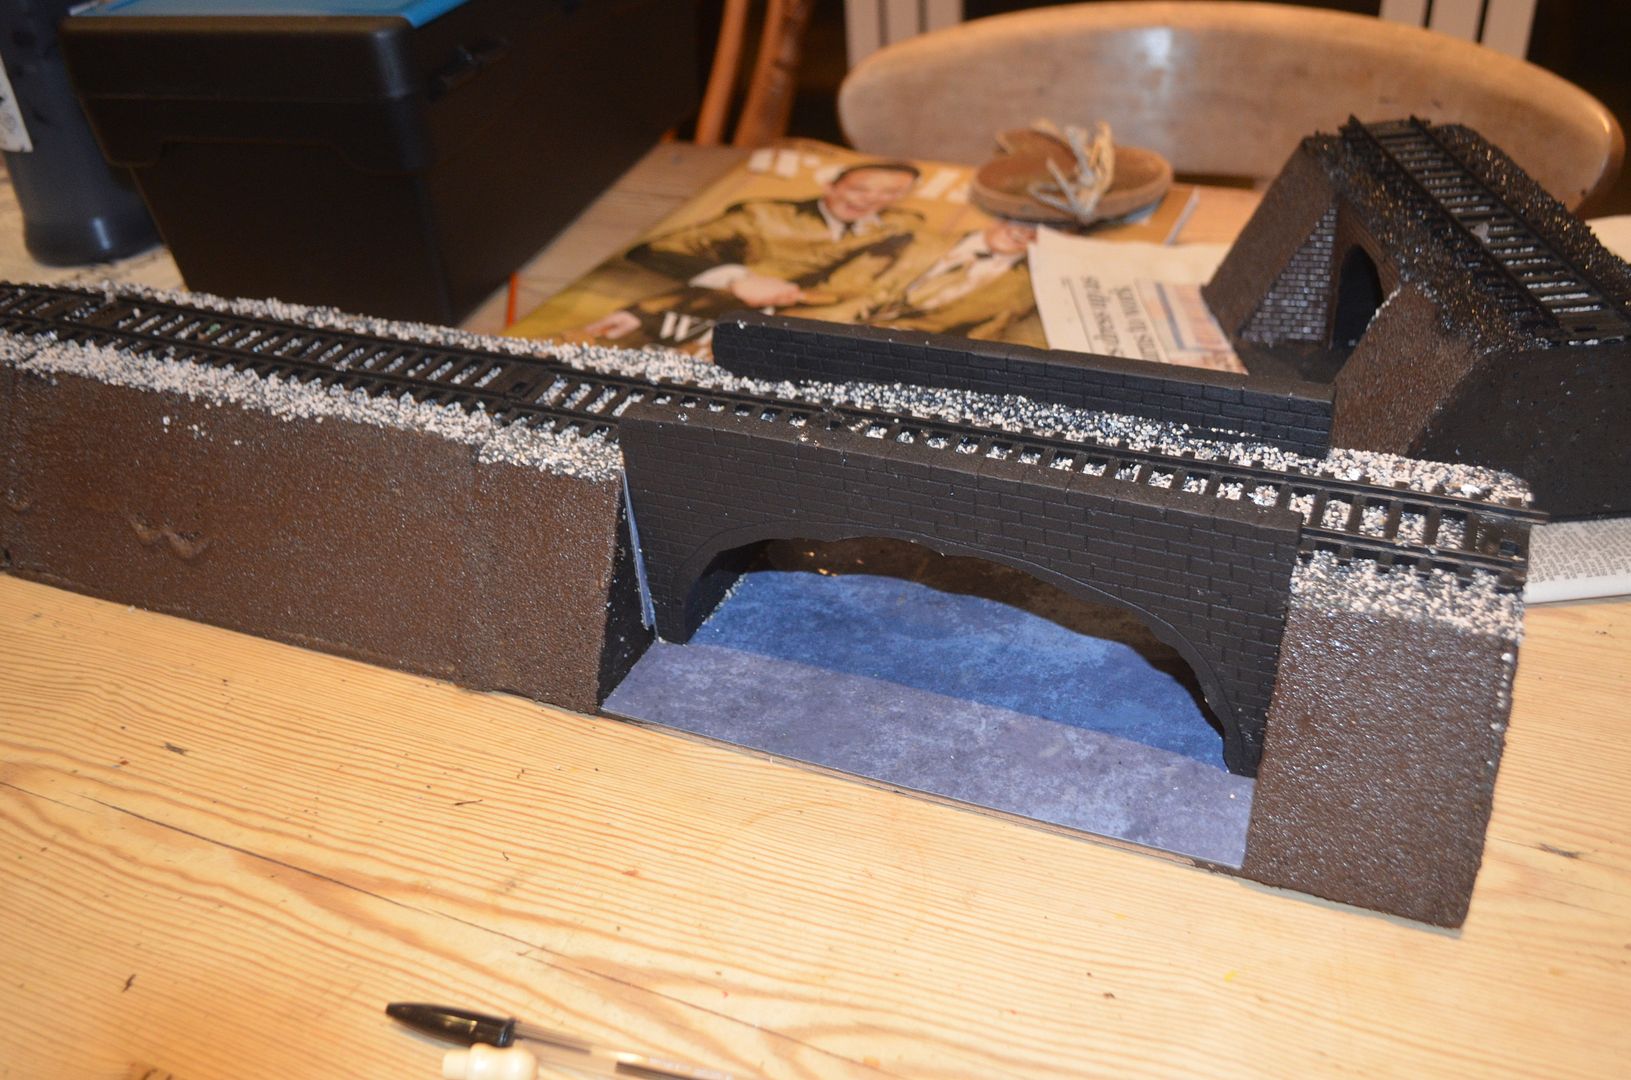
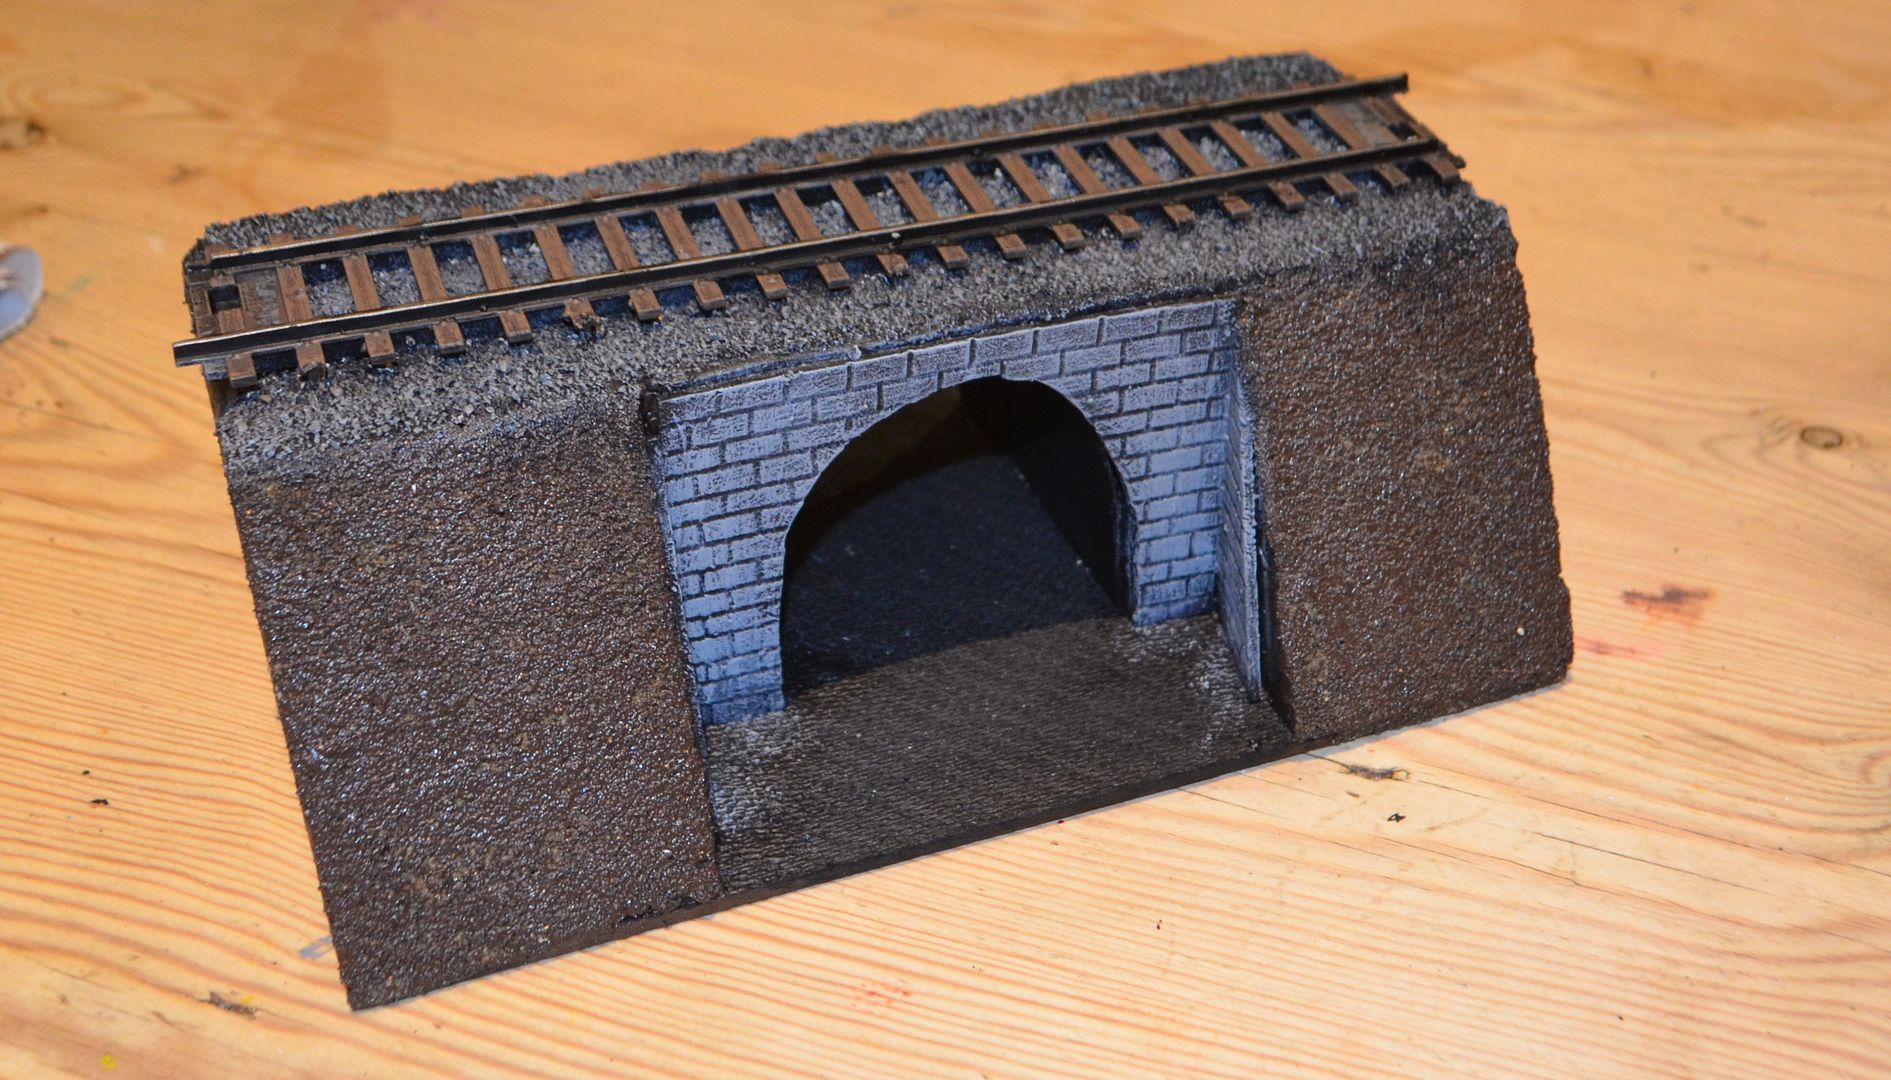
The brick work around the edge
of this tunnel has been created out of a thin skim of blue foam embossed with a
pencil. The tunnels themselves are wide enough for a vehilcle pass through and are the same
width as my other roads.
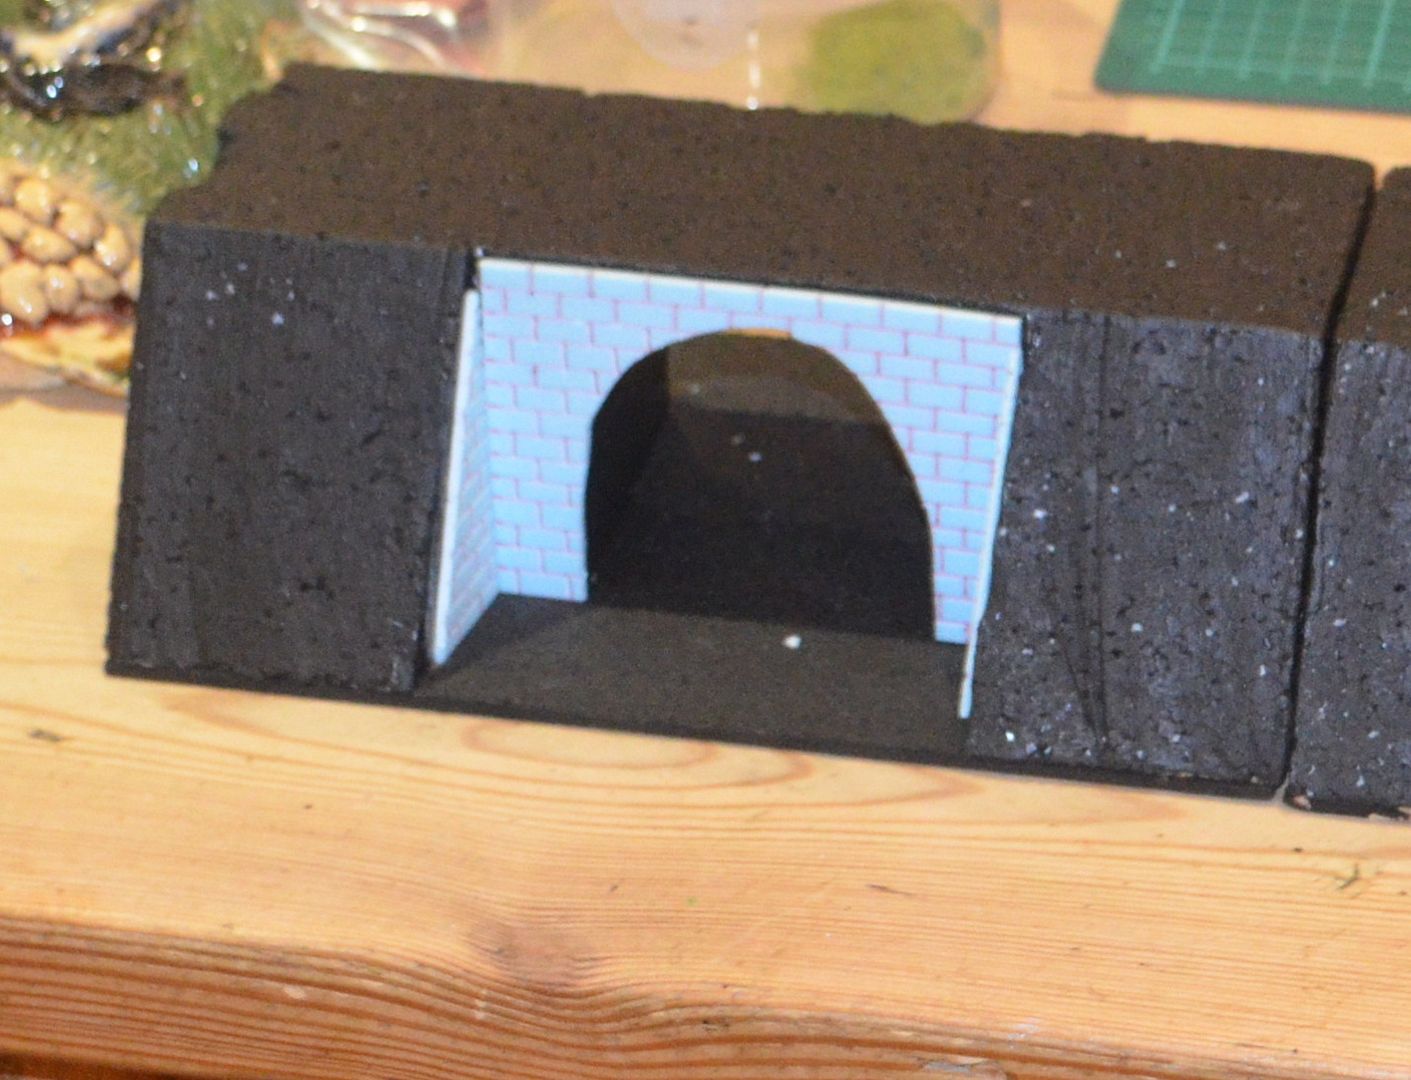
This facing was made using some old off cuts of embossed plasticard.

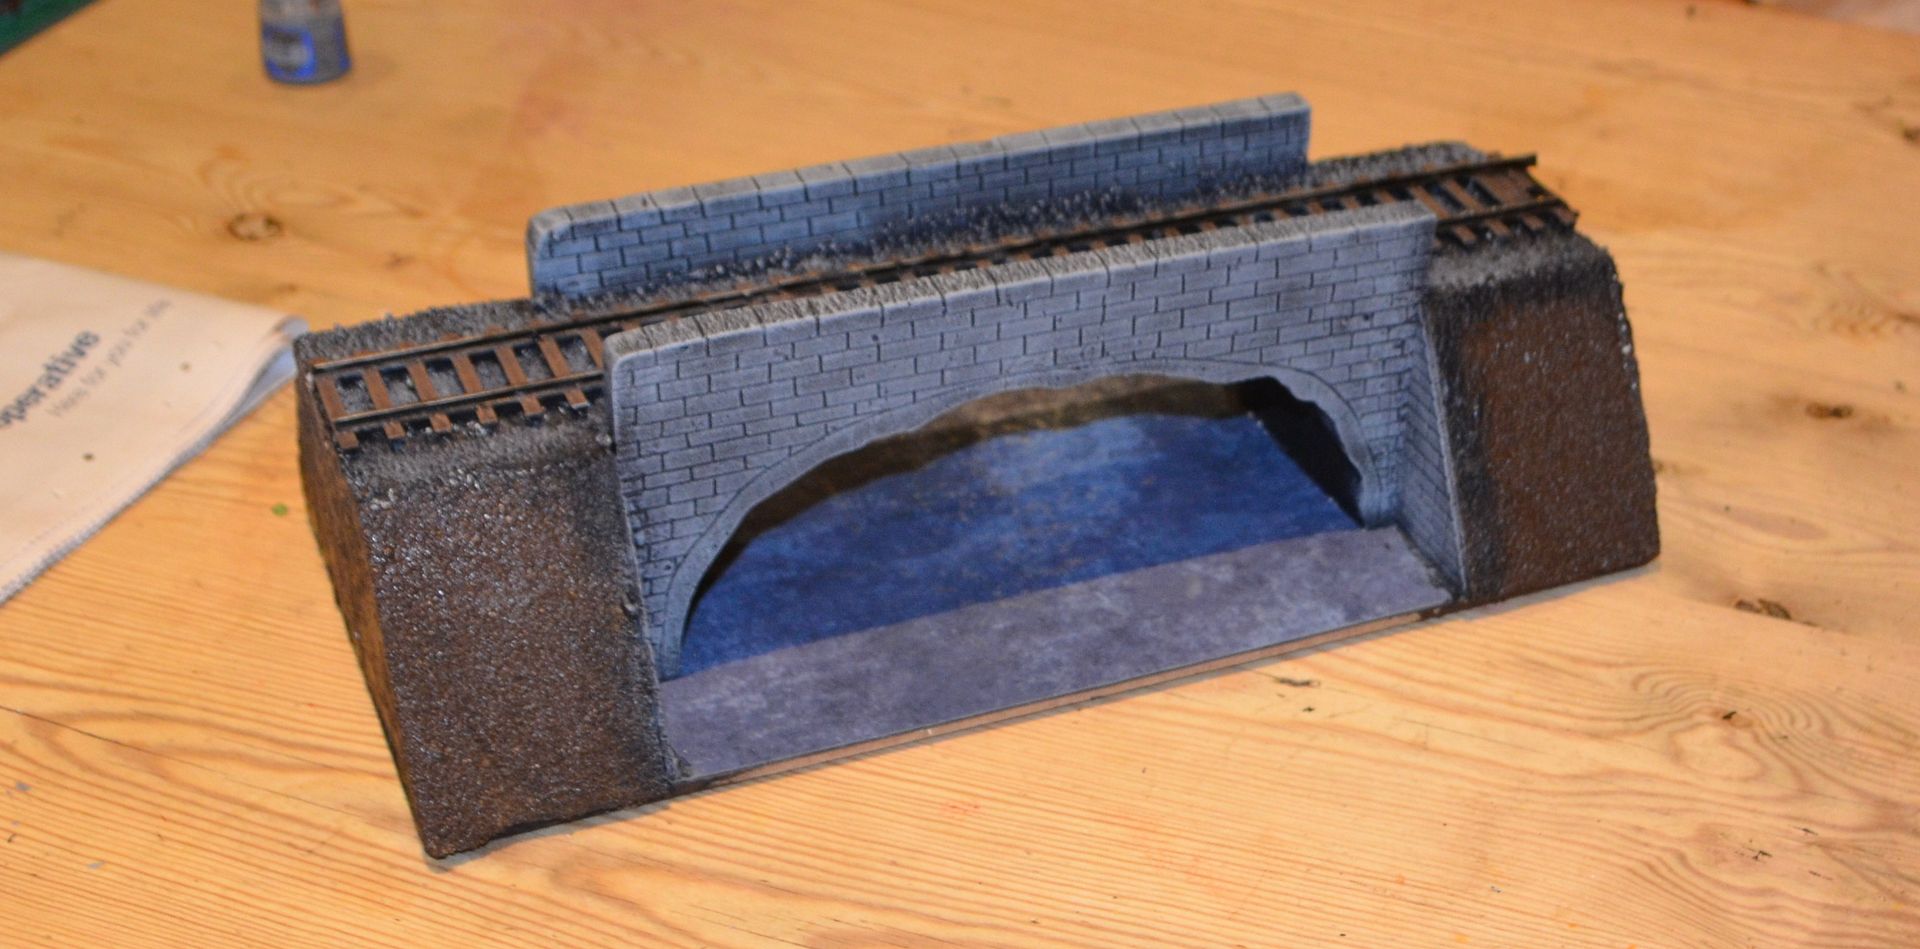
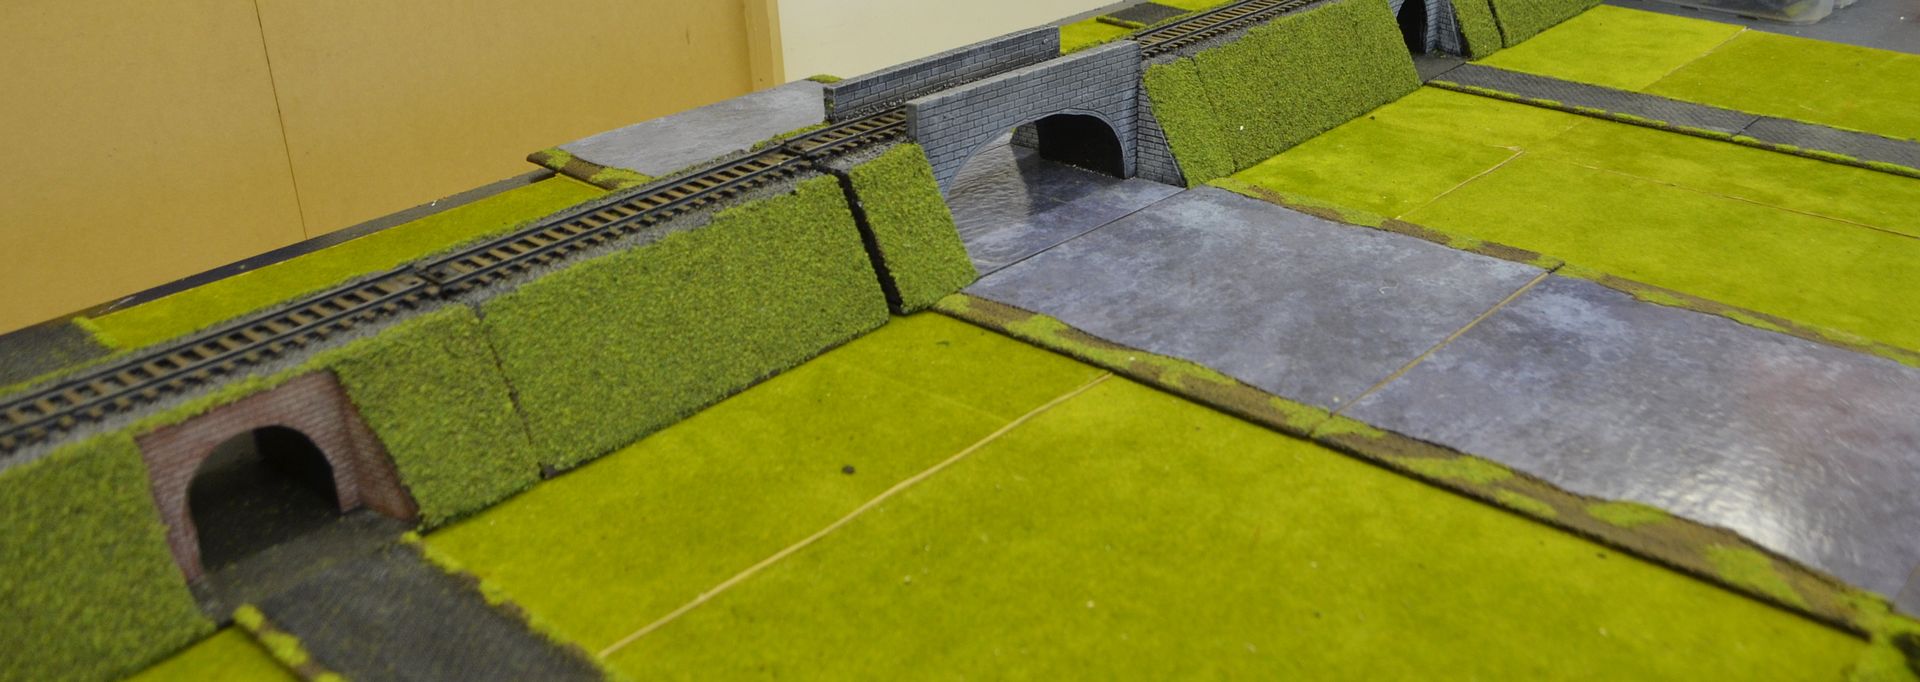
The other big feature is a
bridge that can span my big rivers. This time I cut out the two end sections
for the embankment and then built the bridge from pink foam (inside) and clad
the outside in thicker blue foam. This meant I could give the top of the bridge
a wall. As before the stonework was embossed on the foam with a pencil.
I should mention that when I cut
out the span I created a foam sandwich and held all the pieces together using
foam skewers – the shape of the arch came from the lid of an oval ice cream
lid. The water effect was created using my trusted Oxford Blue Vinyl Floor
Tiles sourced from Homebase. A walk way again the river edge has been added
with blue foam and etched to create a slab effect (this way land troops can
still use the tunnel as an cut through.
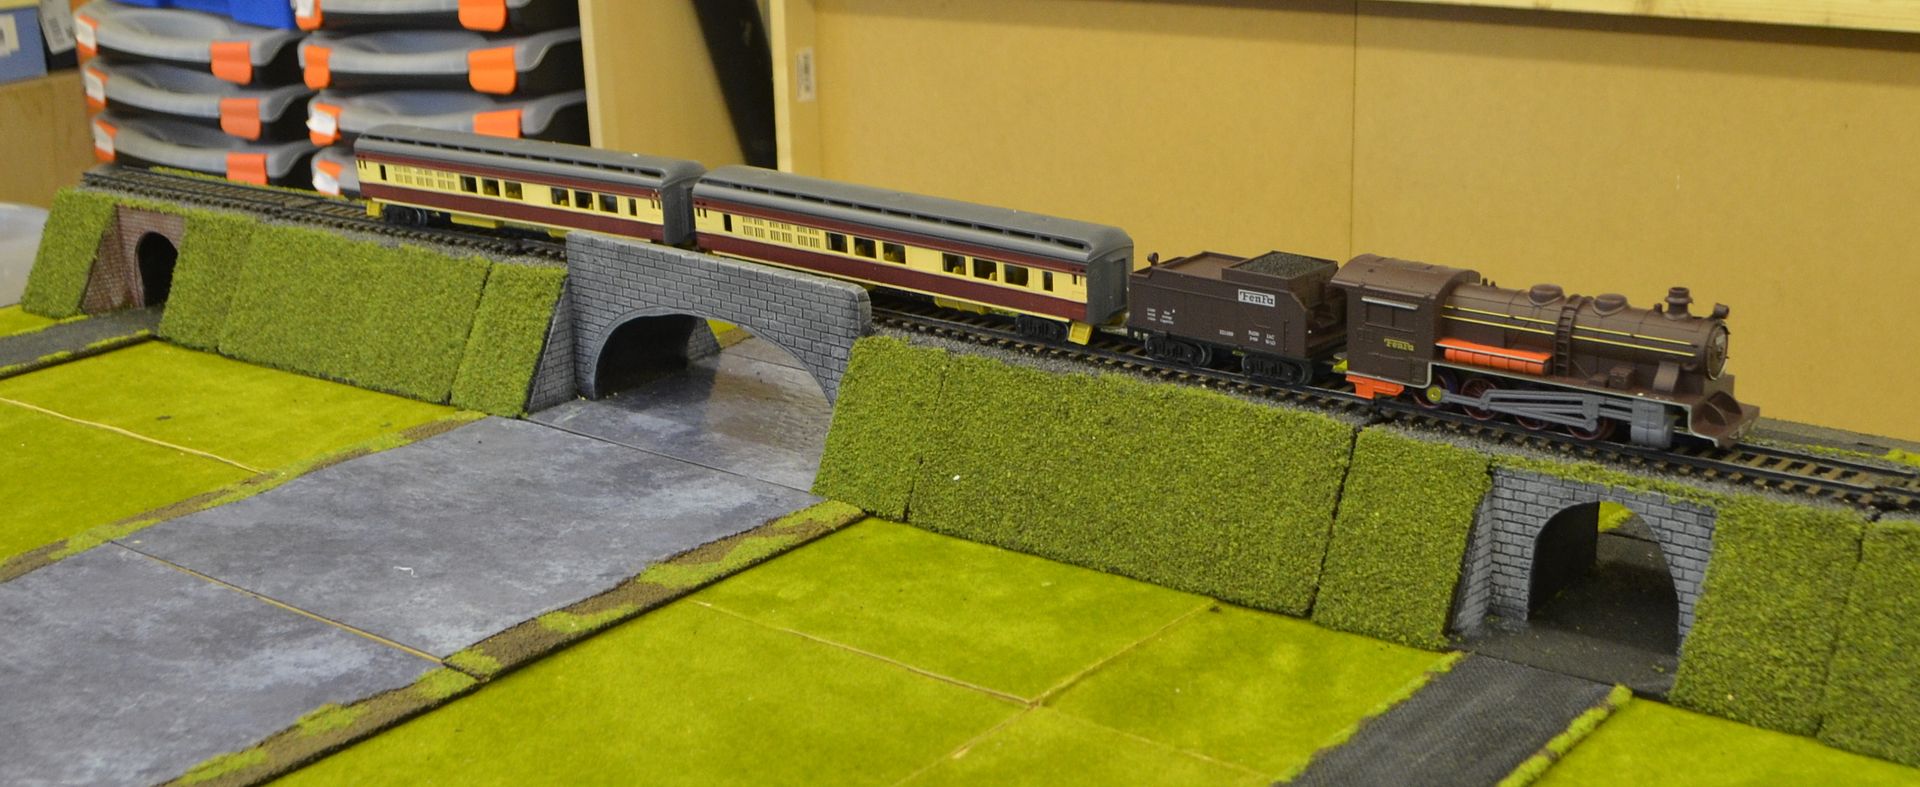
Some painted versions of the bridges...
Some painted versions of the bridges...

Next up - greening the embankments.
First up I found my mixing bowl and poured in copious
amounts of flock, static grass and what looks like really small bits of clump
foliage. These all had different hues of green but when mixed together by hand
create a great looking verdant cover.
Taking each embankment piece in turn I coated the exposed
brown slopes with pva (lots of it) and then scattered the ground cover over the
pva. Firmly pressing by hand the flock onto the glue. These were set aside to
dry. Already the green slopes have given the embankments a wow factor!
Looking around at my local area where there are a number of
these embankments its not uncommon for these to be wooded. So Ill be adding
some trees then in time.
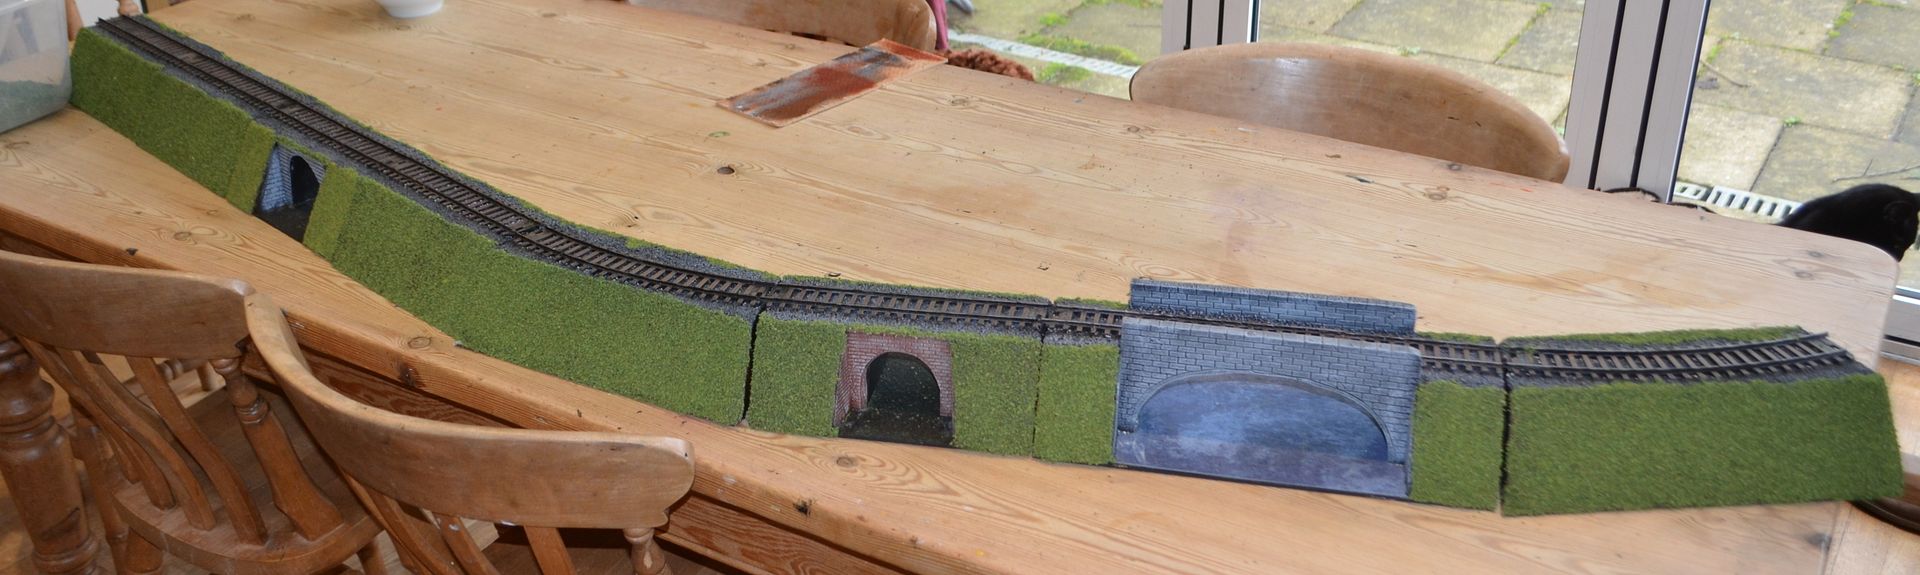
Had to put them on the table

So a few trees and bushes need to be added but otherwise they are good to go..
Until next time...
By gum, but that's productive in so short a space of time! Have you given up sleep? Looks really good you know. Look forward to seeing the whole layout in a game.
ReplyDeleteThose embankments sections are excellent
ReplyDelete-- Allan
Saved! Great work again, which I will undoubtedly 15mm-ise at some point... ;)
ReplyDeleteThey look great!
ReplyDelete