part 1 of this project starts here
http://shedwars.blogspot.co.uk/2015/10/frostgrave-terrain-part-1.html
Over the coming weeks you will see all the various components I have both to build this table but in this post I will talk about the structure of my town. The rulebook advises that you need loads of terrain and that suits me just fine. However what I don't want is just a load of ruined buildings plonked on a battlemat. It just has to be better than that.
My vision is lots of stairs, raised walkways, towers, bridges and temples all crowded into a small area. The structures on top of this undulating landscape will be ruined and the whole thing will be placed down loose to create variety of game play.
The best material to built these stairs and structures is in my mind Foam core - this can be bought really cheaply on ebay/amazon ( I bought 10 x A1sheets - the big ones - for £22 inc postage). With a supply of dressing pins, white glue, steel rule and a very sharp blade you are good to go.
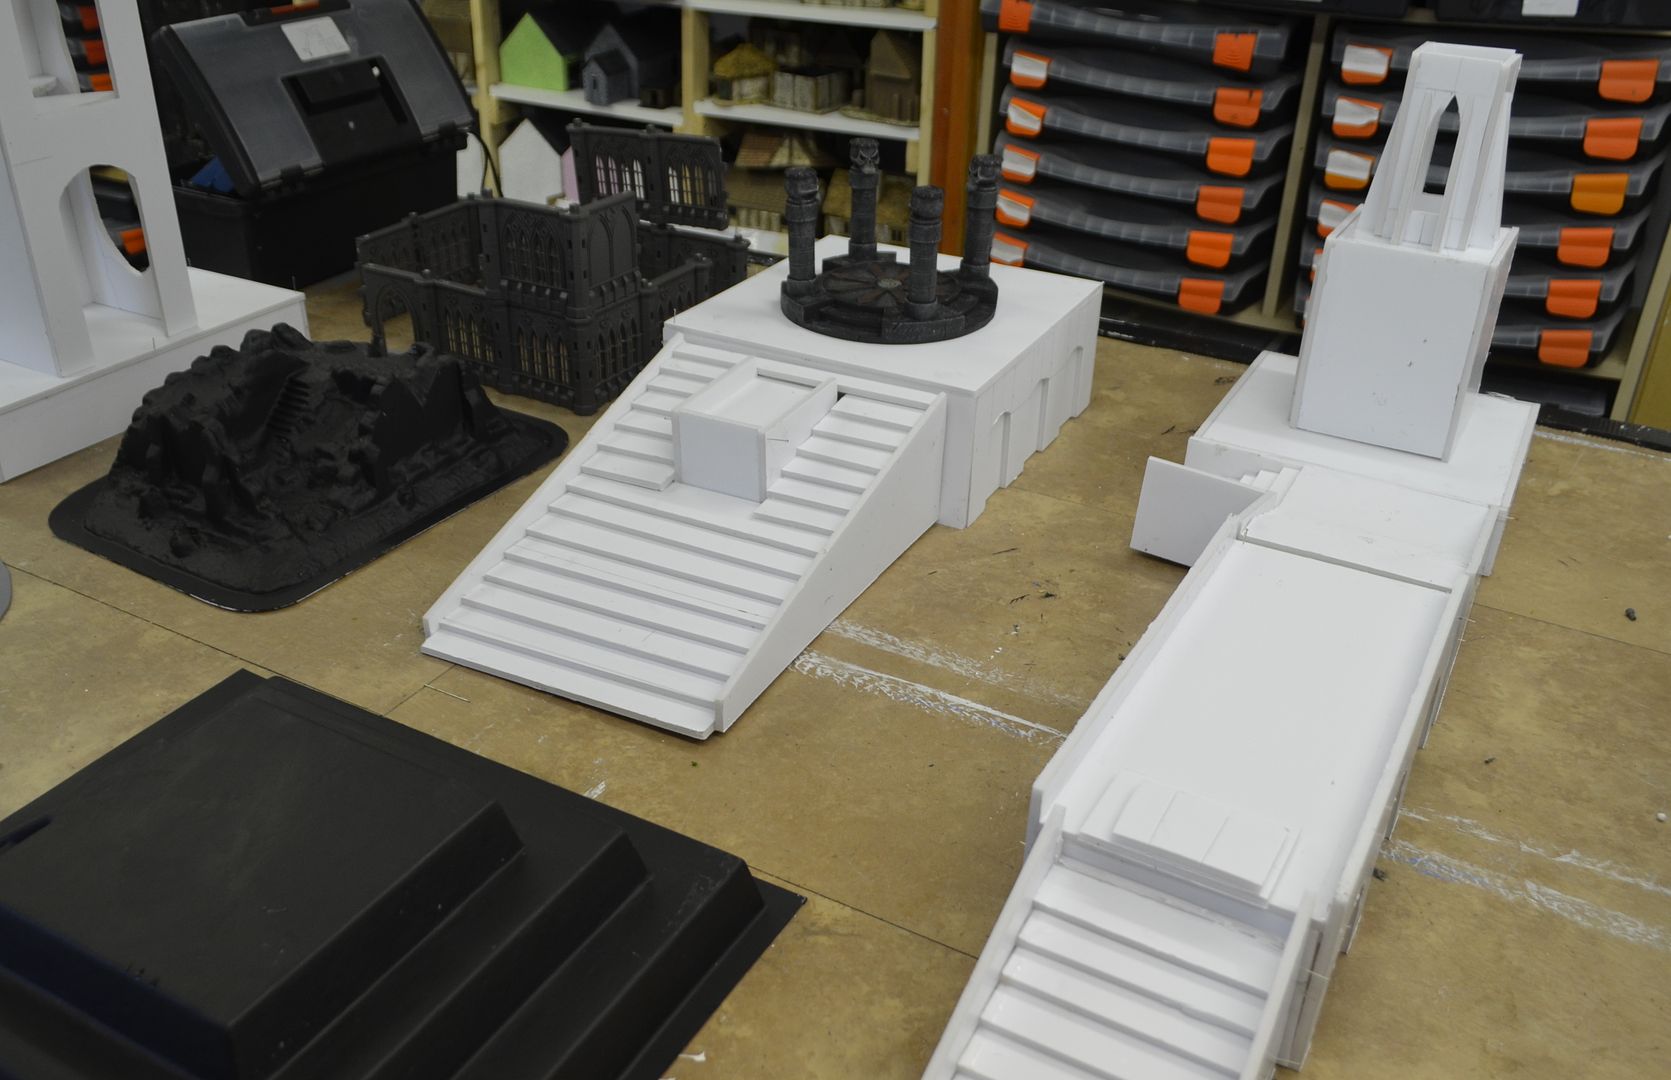
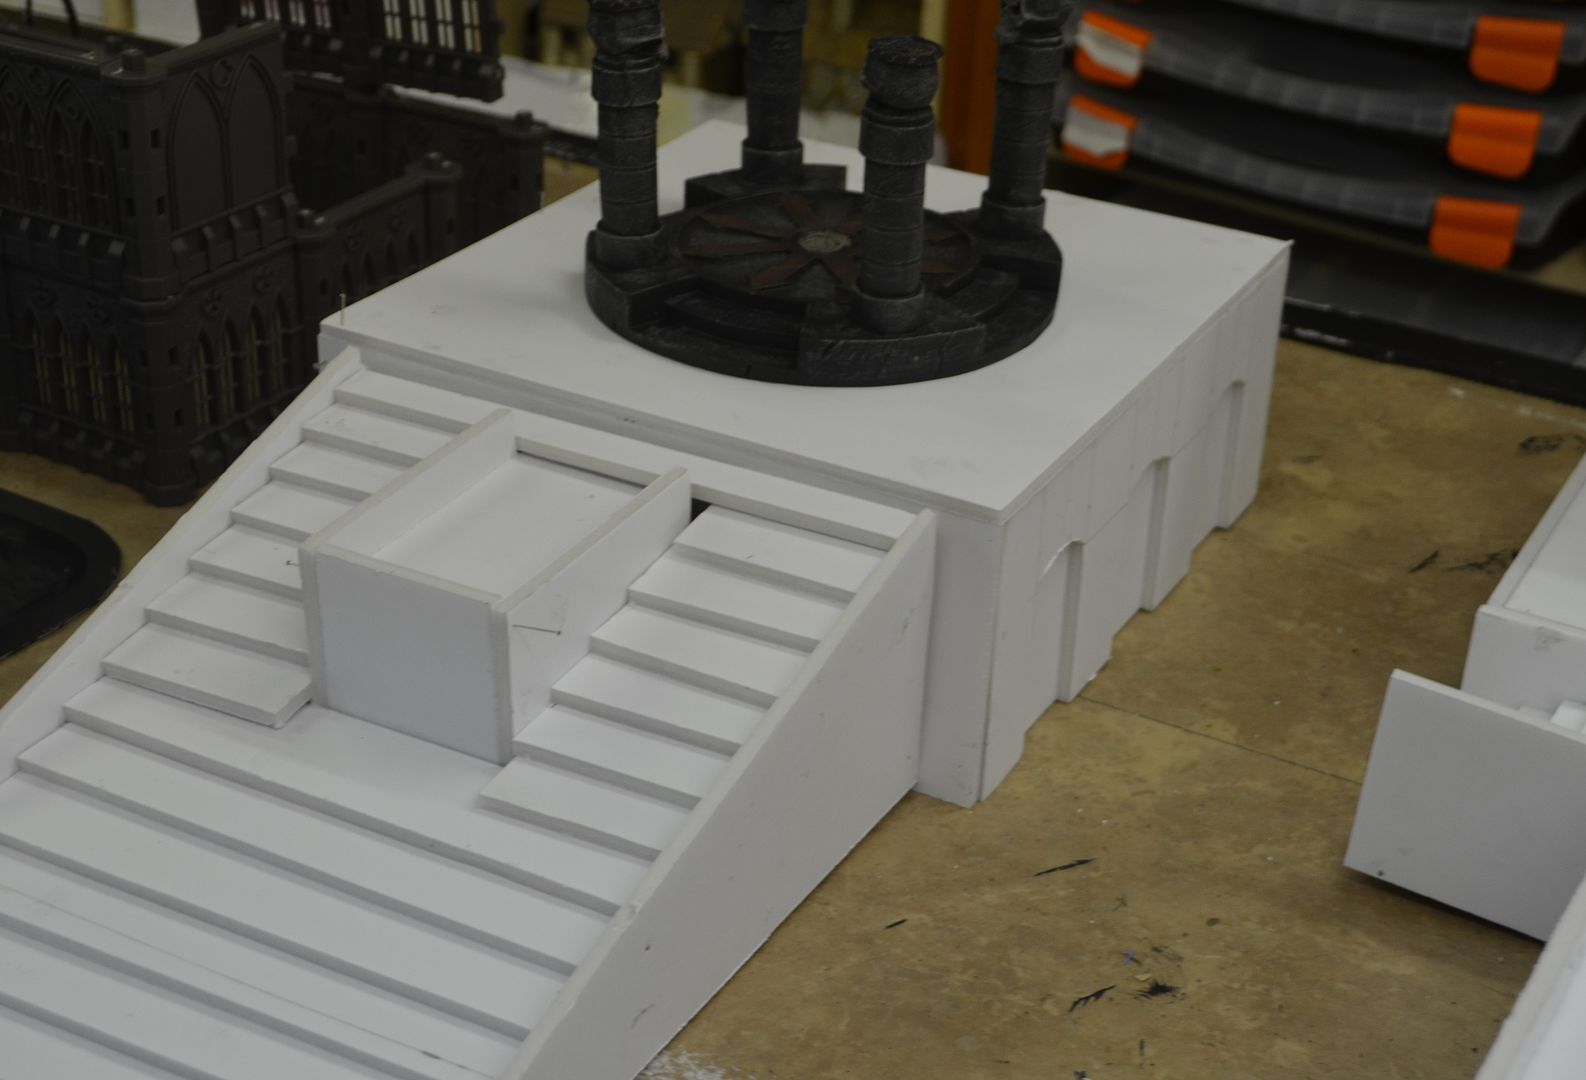
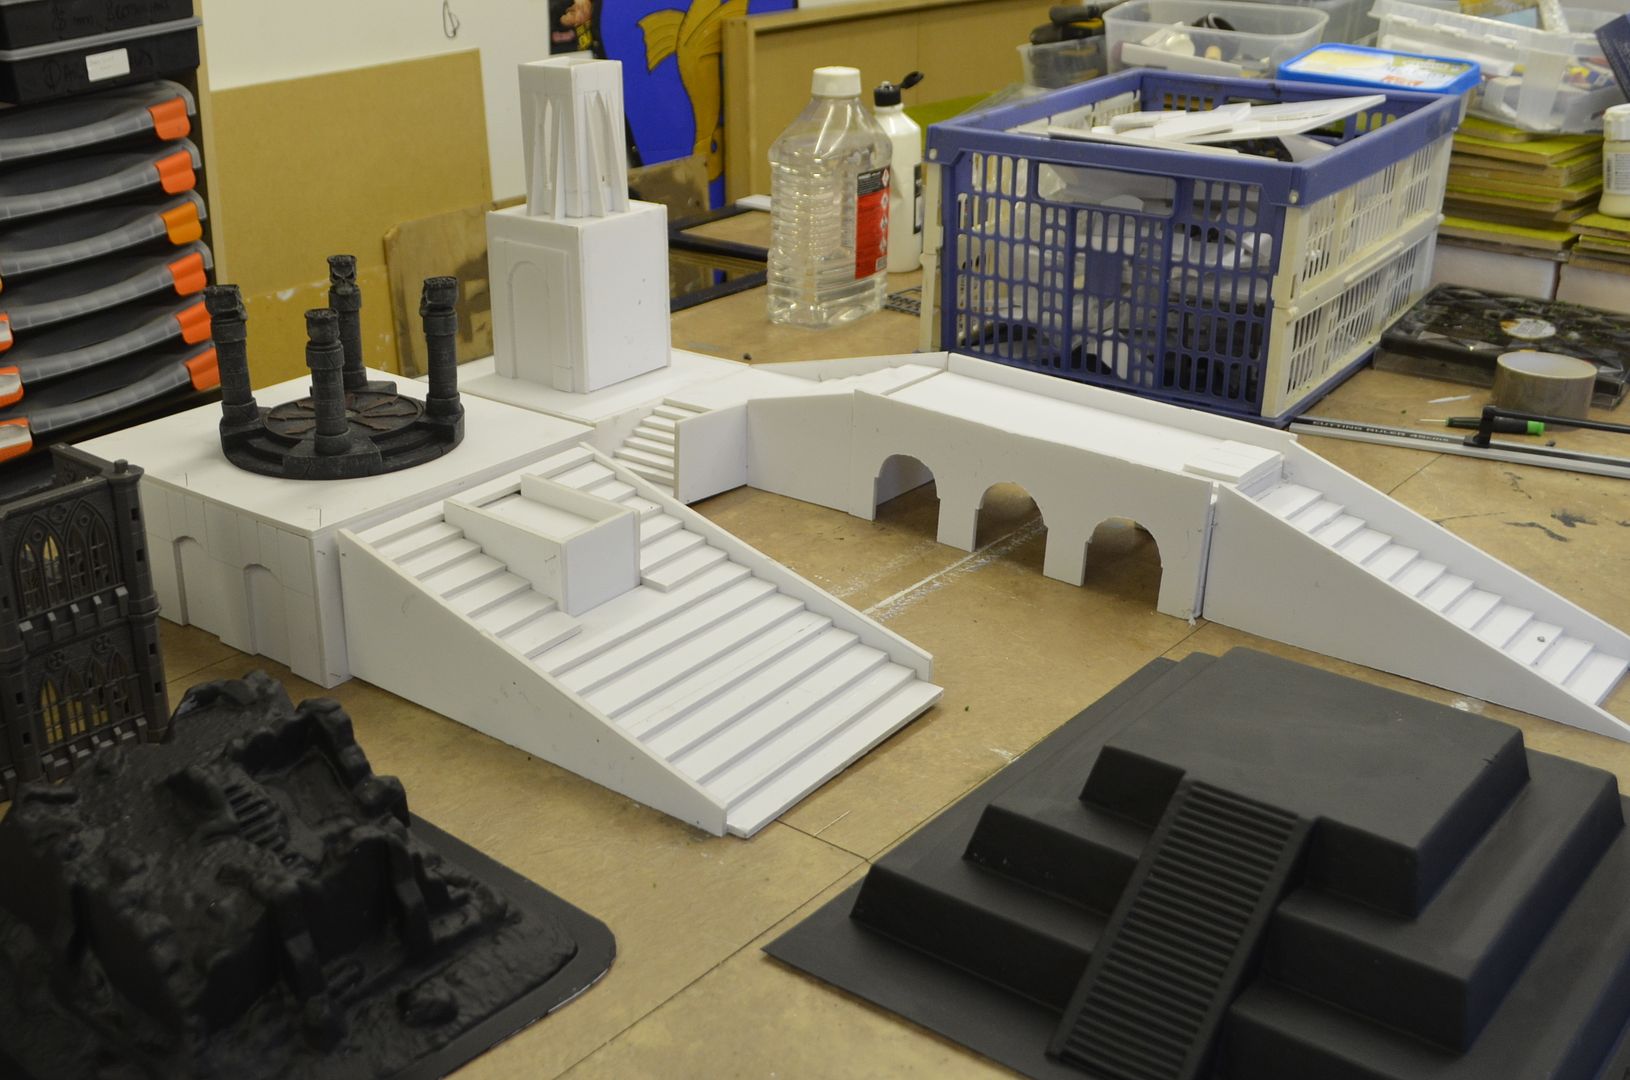
The structures you can see in these pictures were knocked up in an afternoon. I reckon this about a third of what Ill need in the end. All the units built are either 5 or 10cm high to allow for switching pieces around.
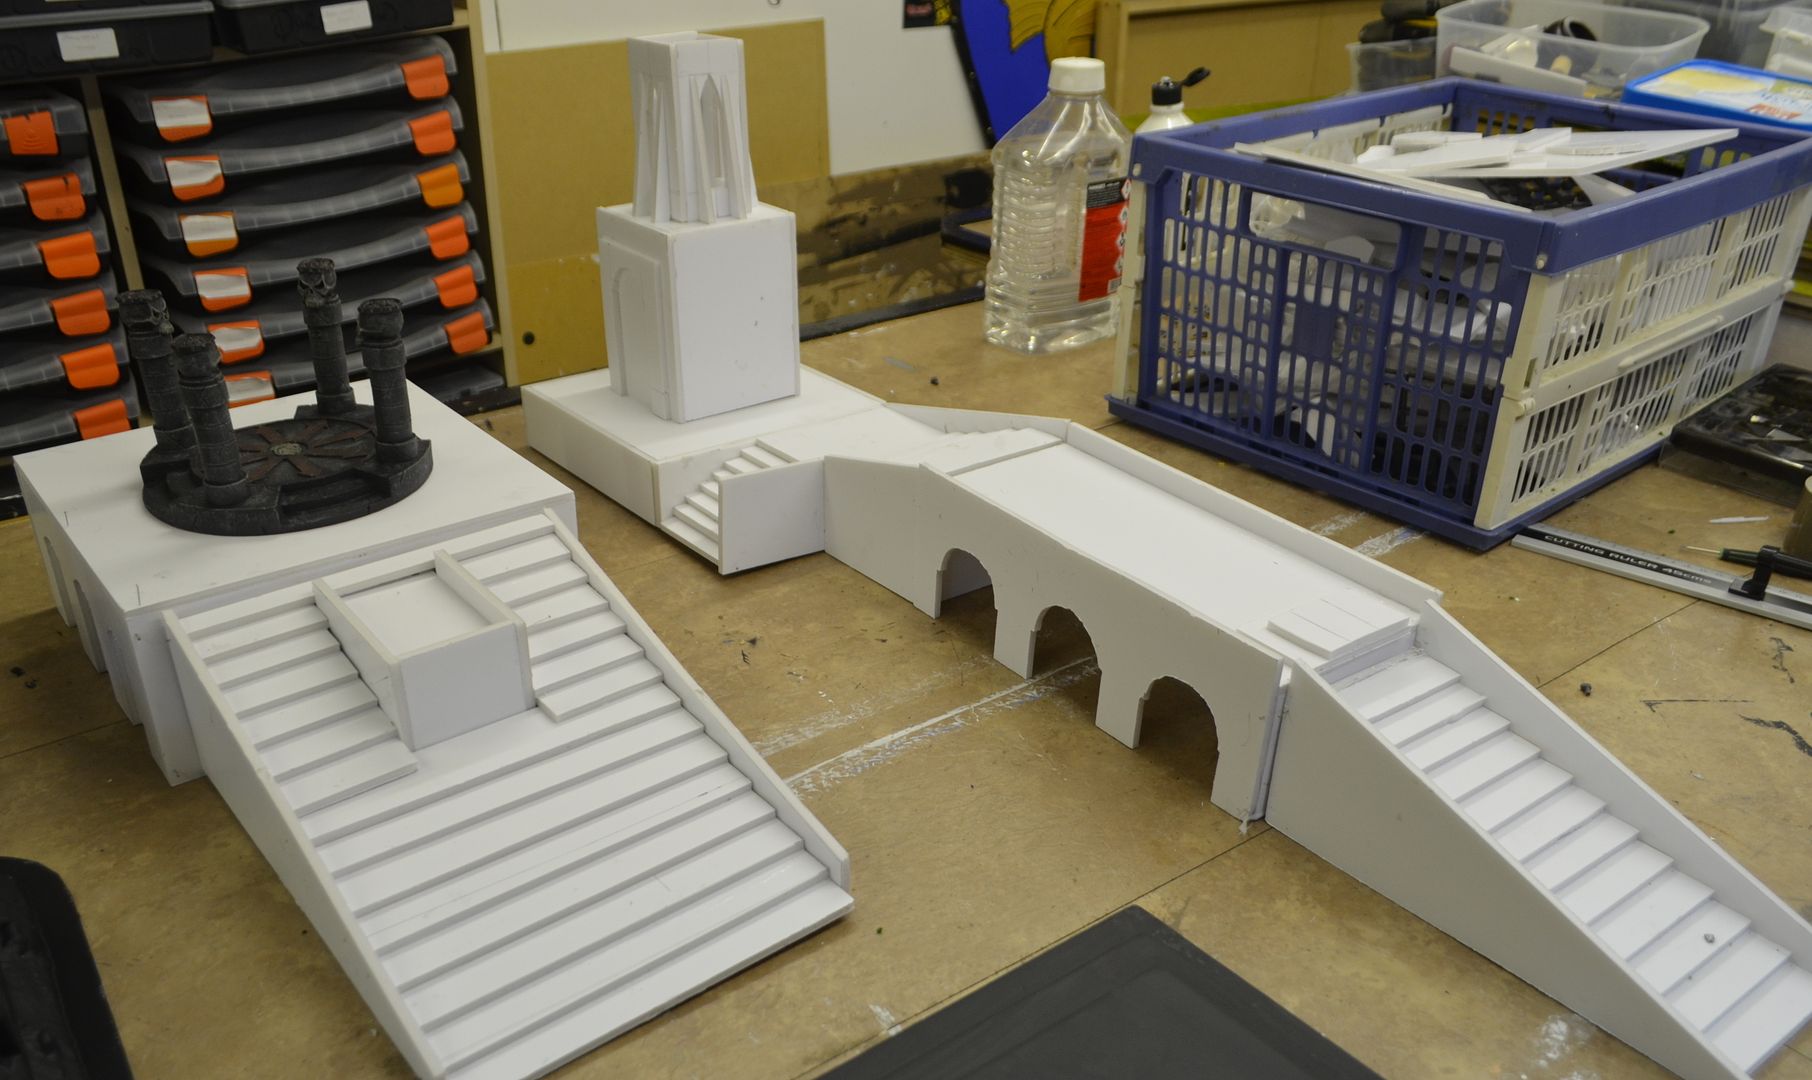
The columned structure on top of this plinth is the Pegasus Alter of Evil - an acquisition off ebay for £9. To the left of this you can just make out the Gothic building set for Pegasus.
In the foreground of the picture below you can see the Amera stepped pyramid and one of their ruined buildings. These have been primed and painted black.
As part of this build I wanted to finish one piece to illustrate what the final project might look like. I took the three arched bridge in the top right of the picture as my test piece.
Whilst browsing the local poundshop came across these EVA sheets - they are A5 in size and give 10 sheets in a pack.
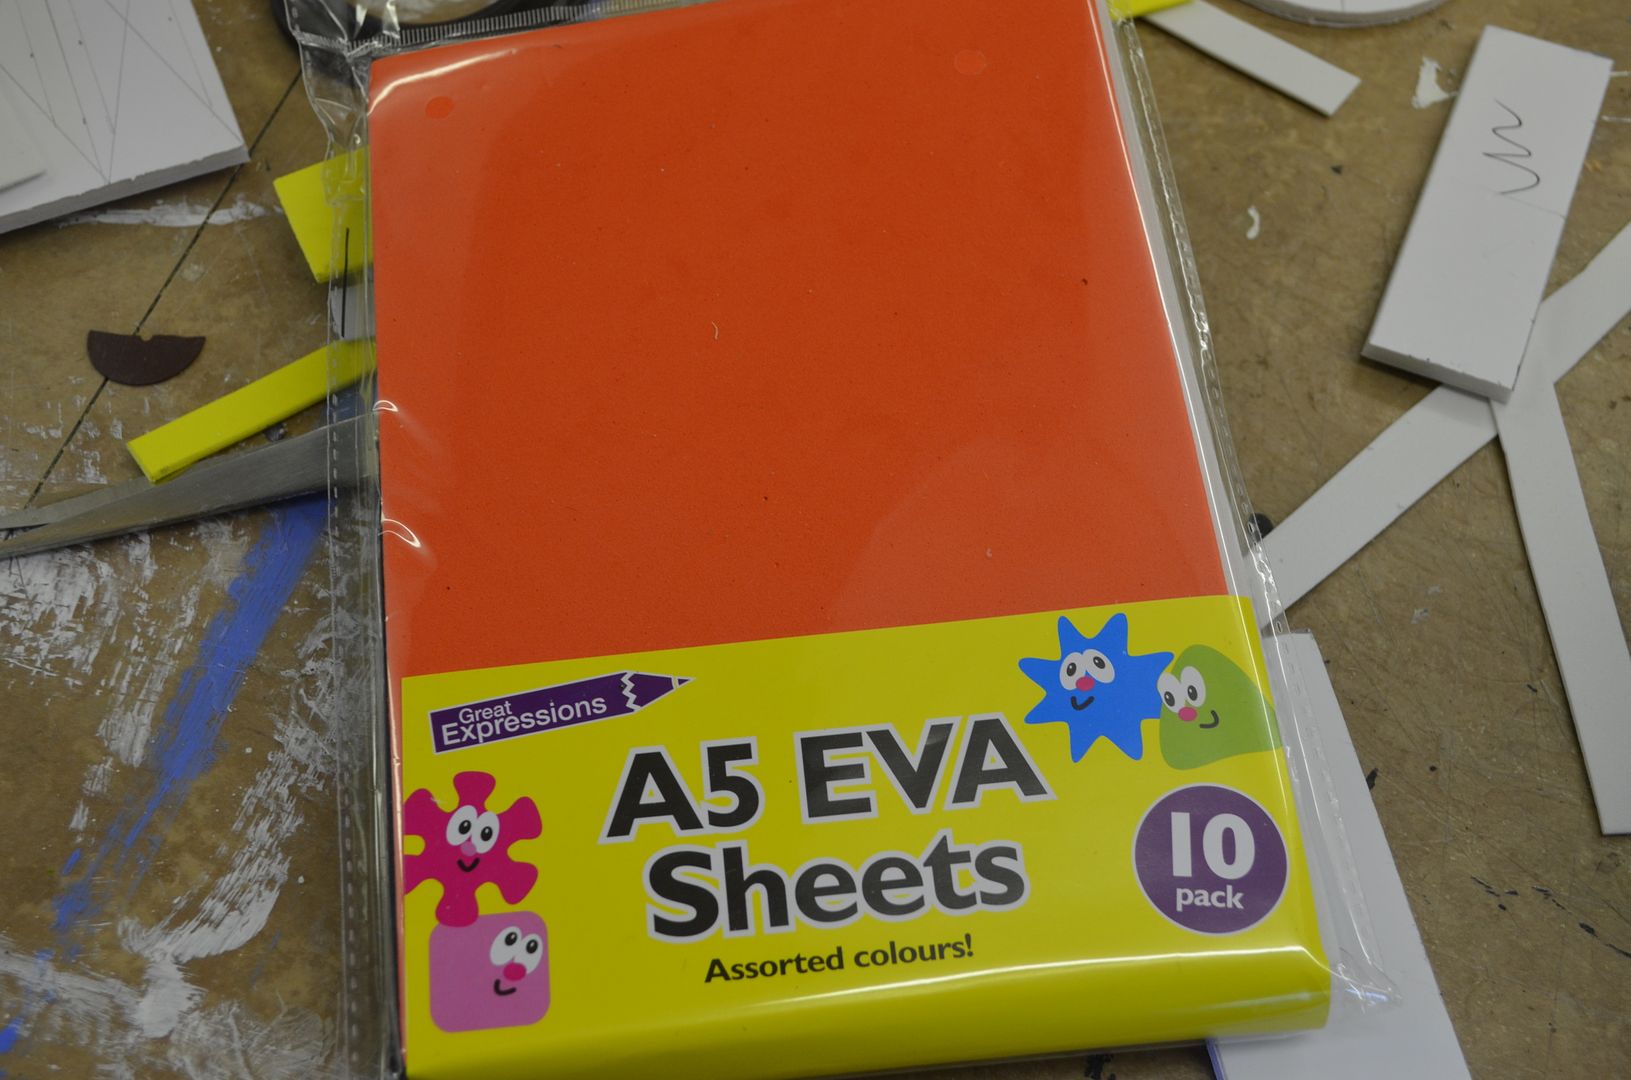
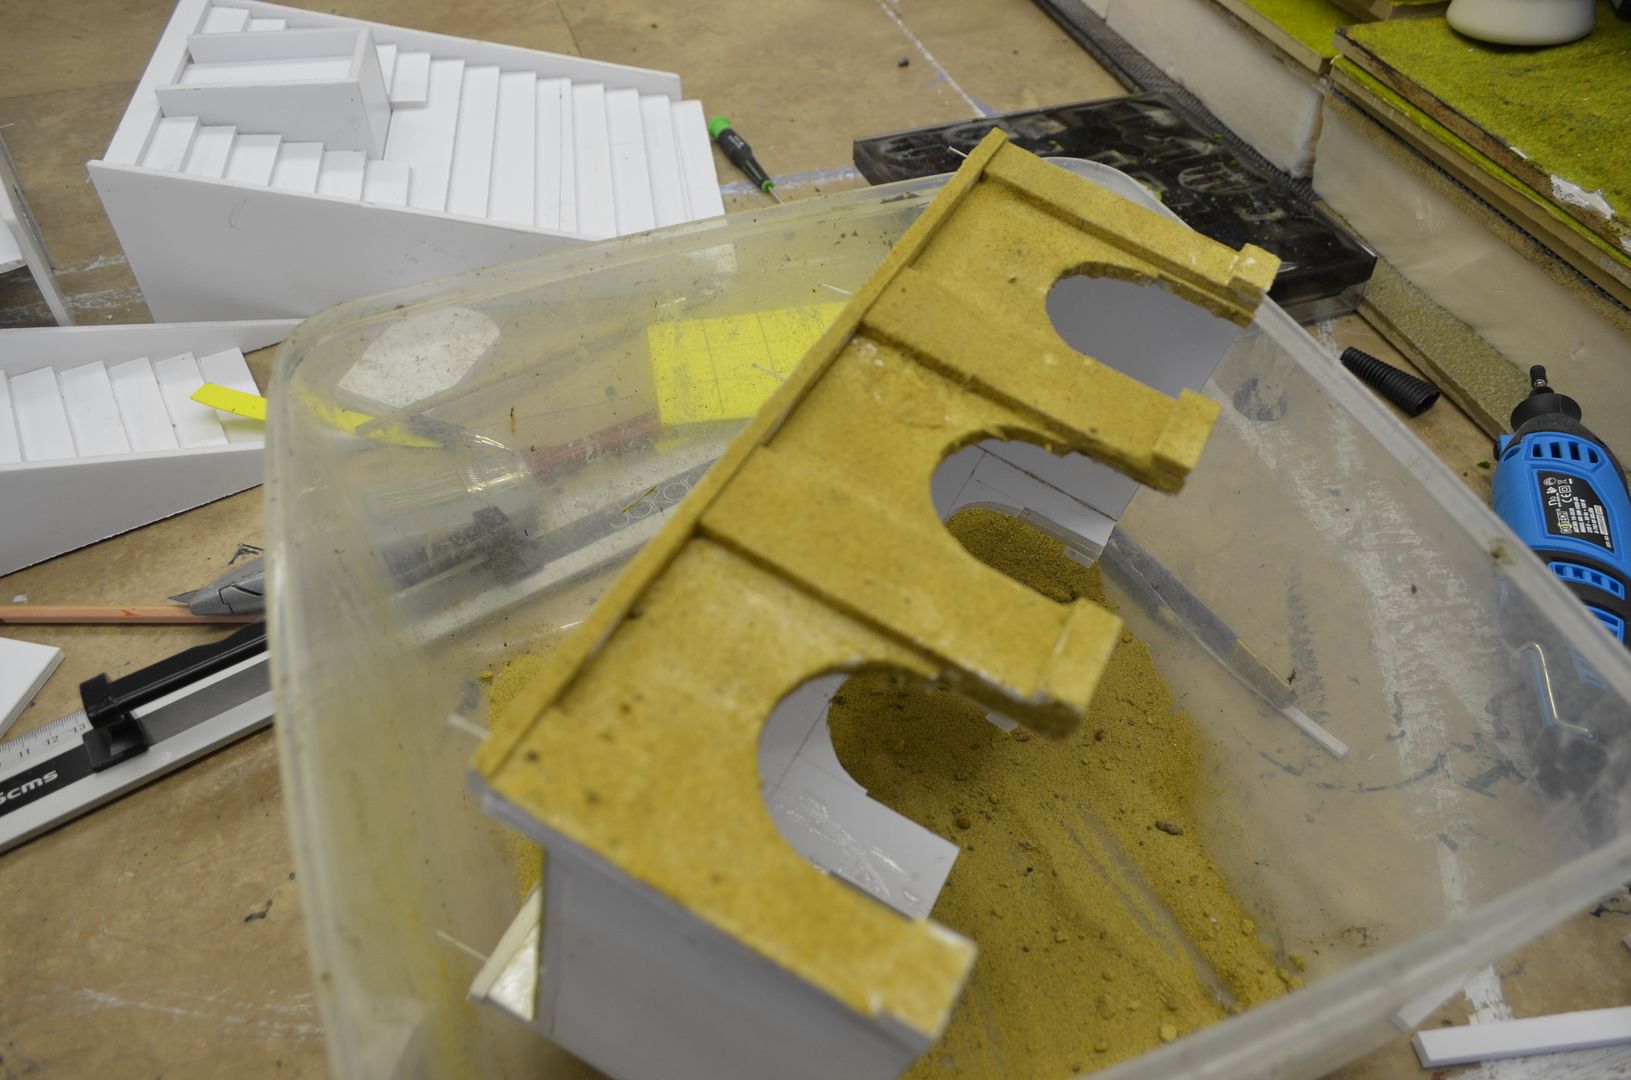
These are perfect for embossing flagstones and much cheaper than the 2mm blue foam I have used in the past. As you can see the bridge has had the flagstones added along with some buttresses to give it a much better 3d shape.

The flagstones were drawn out in 3cm, squares and then cracked using a biro

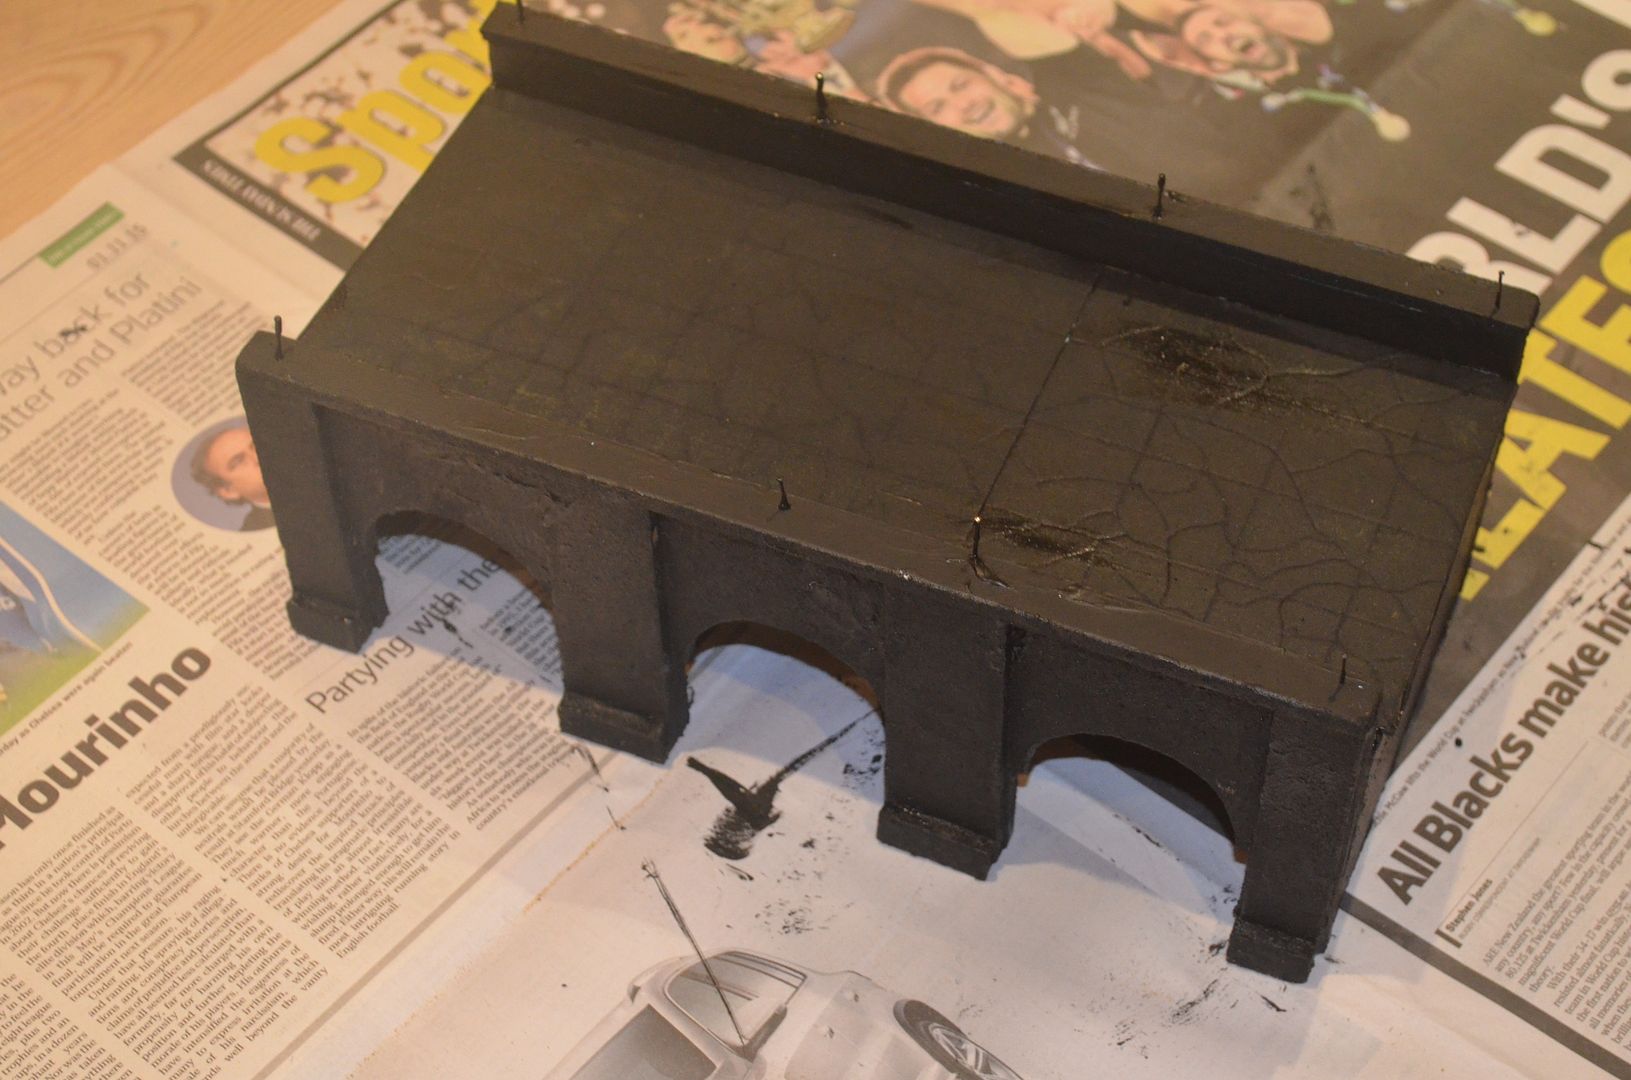
The structure was then coated in white glue and covered in sand.
Once dry the whole structure (including the underside) was painted in cheap black acrylic paint.
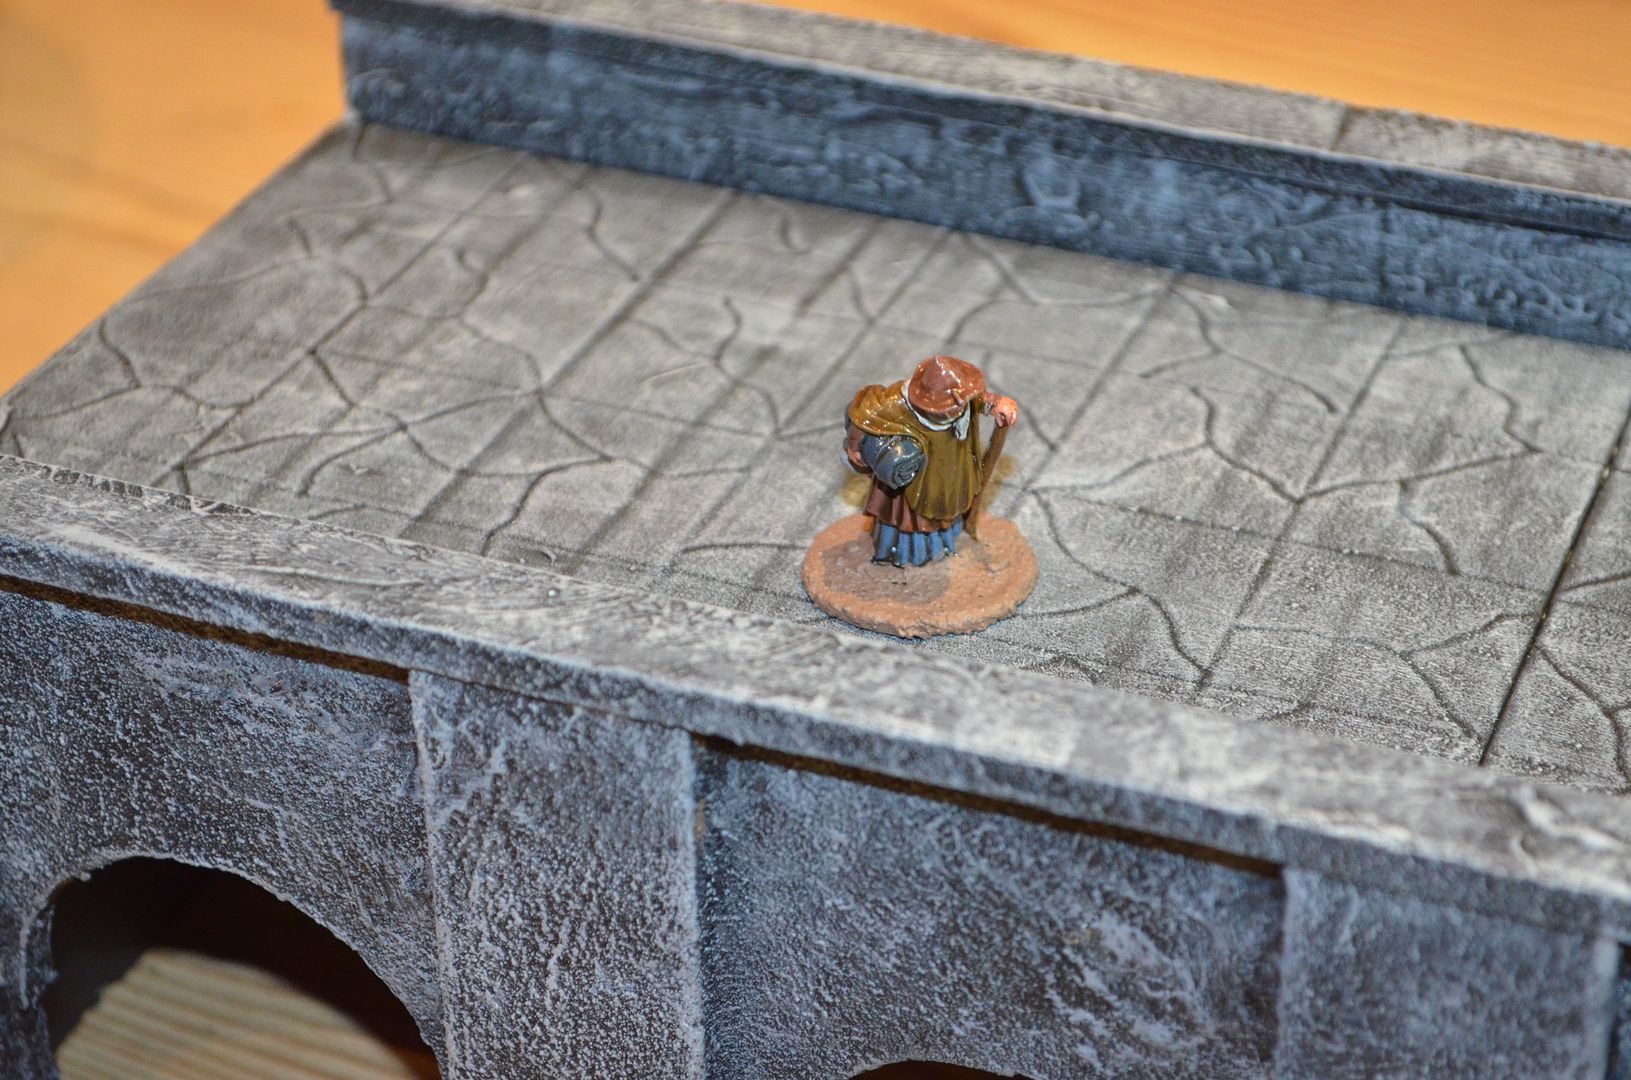
This was then drybrushed with a couple of shades of grey. The 28mm figure shows how big this piece actually is.
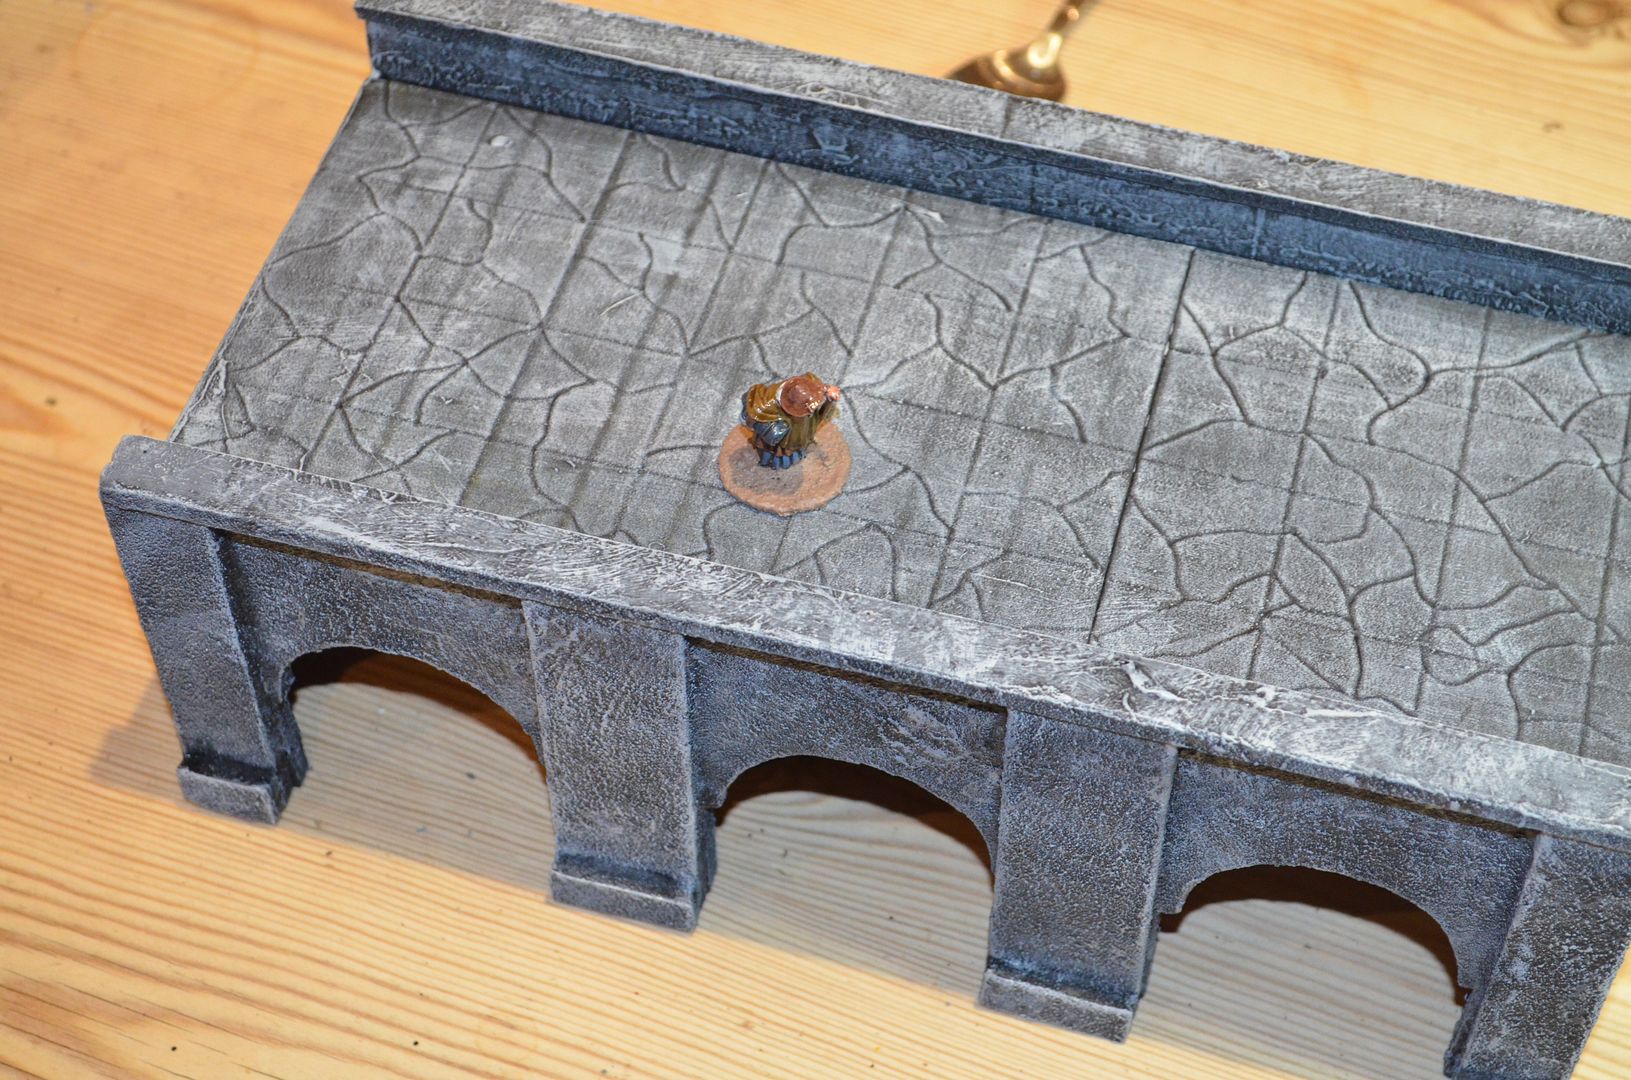
I am quite pleased with the final effect and if all the pieces come out like this my city will look suitably grey. I am particularly encouraged by the flagstone finish.
So the first piece is finished. I'll now build up the rest of the foamcore structures before starting painting.
Until next time
Part 3 can now be found here
http://shedwars.blogspot.co.uk/2015/11/frostgrave-terrain-part-3.html
Great looking terrain and some interesting use of materials.
ReplyDeleteThank you for posting all of the images.
And good luck with the project.
Tony
Thank you Sir, your work is always inspirational
DeleteVery impressive
ReplyDeleteLove all the steps!
ReplyDeleteNice terrain work - this should shape up to be another very impressive gaming table :)
ReplyDeleteGreat looking stuff, love the idea of putting sand on the bridge to give it texture.
ReplyDeleteDarn pretty!
ReplyDeleteEVA strips sound like a must have product, thank you for the tip off.
ReplyDeleteLooking great I just need some more time :)
ReplyDeleteFantastic looking terrian.....
ReplyDeleteCheers
Stu
amazing stuff - as a note i just put in Eva strips and got some interesting pictures of Eva Longoria ! thanks for both of the heads up !
ReplyDeleteLove it!
ReplyDeleteThat looks great!
ReplyDeleteoooo .... where did u get the eva strips ?? they look somewhat useful ..
ReplyDeleteCracking looking Bridge. I remember Kingston (near the Station if my Memory serves) having a Pound shop but Surbiton?
ReplyDeleteVery cool looking set, well done, I made a lot of Gondor ruins about 5 years ago I mixed the sand with the black paint, this helped to speed up the builds
ReplyDeleteI've also tried the sand, but found that painting on some very watered down white (polyfilla-style) plaster is also very effective at making a concrete-style wall effect. It also soaks into the edges of foamcore sheets, so makes them resistant to melting when painted!
Delete