Delighted to report in this post you will see the first of my four planned Frostgrave boards...
In the last few build posts (the previous one is here http://shedwars.blogspot.co.uk/2015/11/frost-grave-terrain-build-part-7.html )
- you have seen me put together some of the buildings for the city. I have now settled on four different boards, These will all be interchangeable and can be combined.
The first of these is the city before ruin. The base would be the focus of this build.
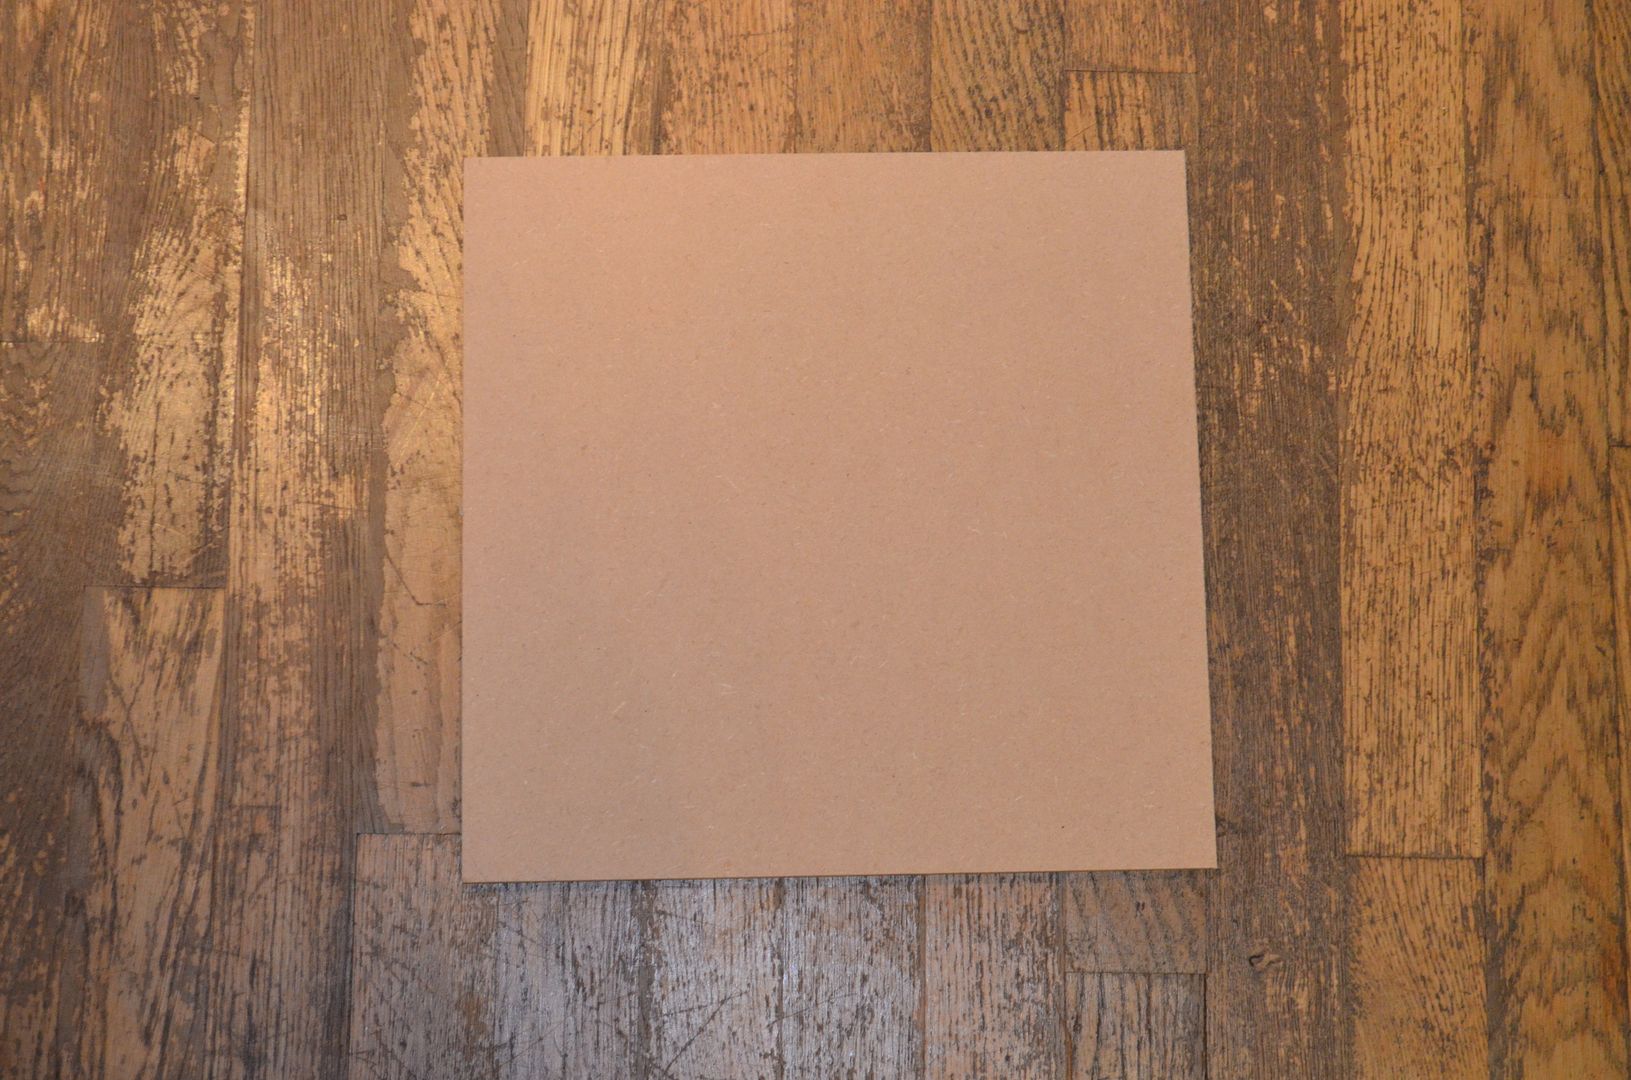
I started off at one of my favourite places B&Q - I selected an 8 x4 ft 9mm MDF board and got the bloke in the store to cut this into 32 square foot boards. Total Cost - £15
Once home nine of these were put to one side and then primed with PVA to seal - both sides !
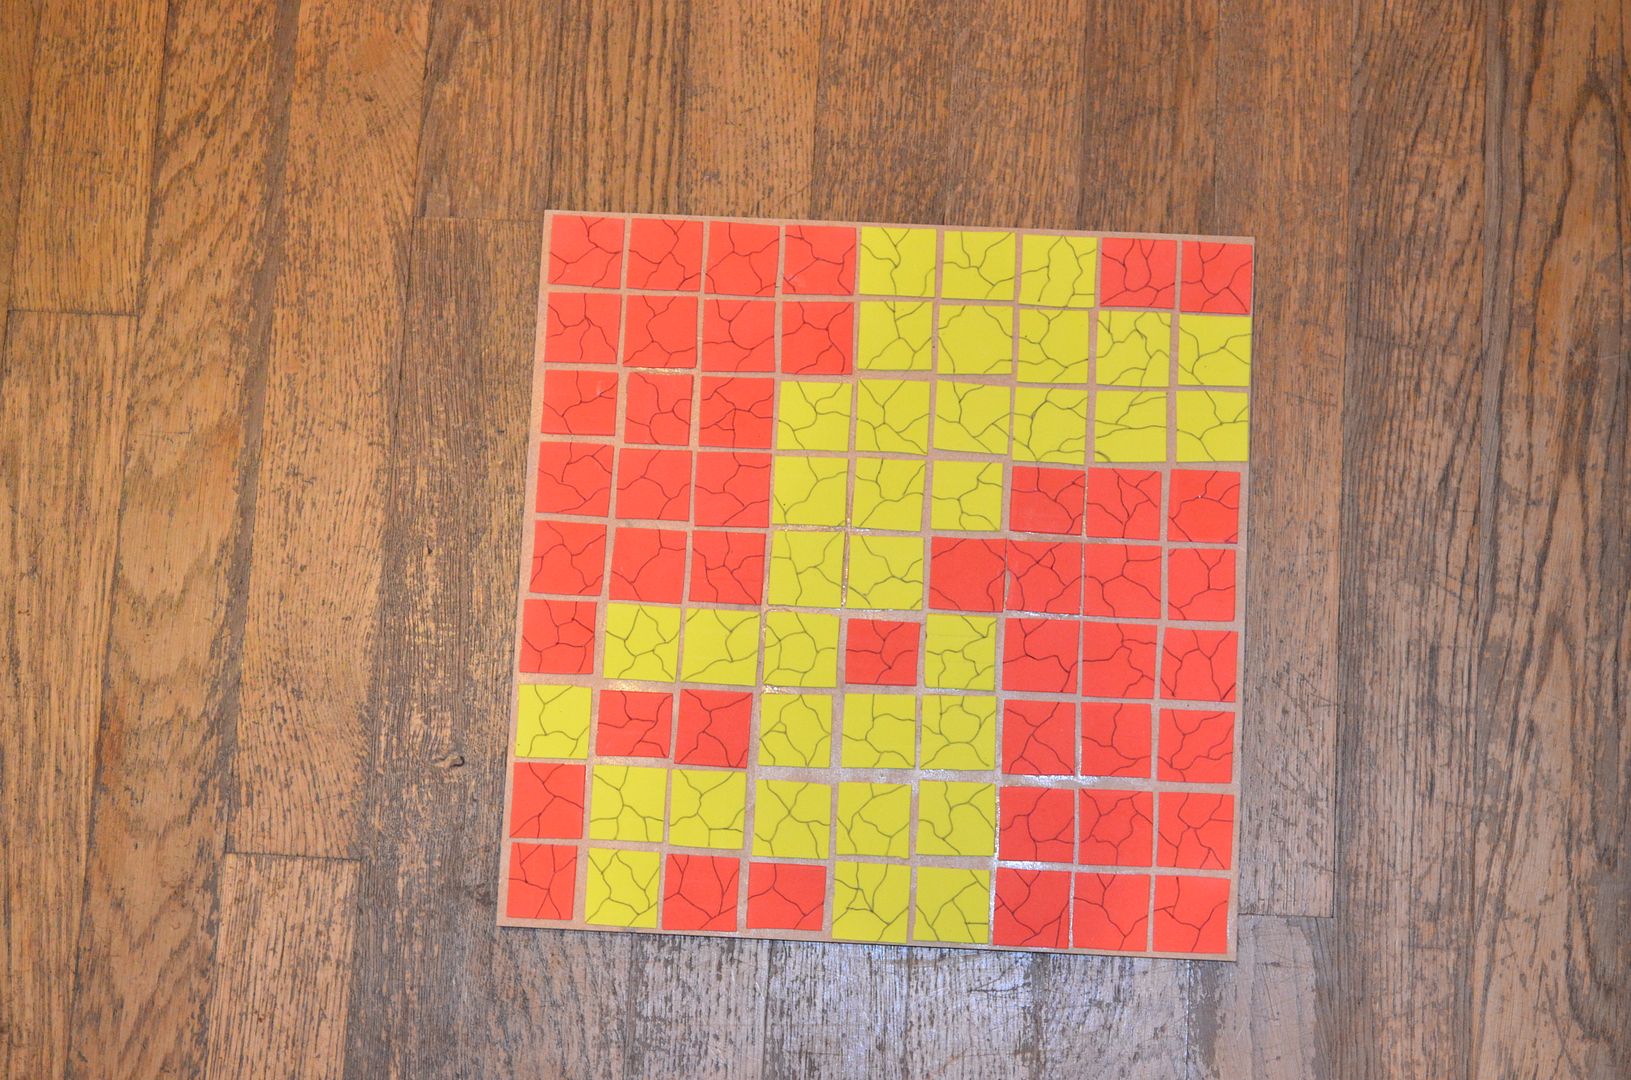
I then cut out hundreds of 3cm square tiles from the EVA sheets I procured from Poundland. These were then fixed to the boards using pva. Ill be honest this took a long time !

Once dry I then etched using a biro some crazy paving onto the eva tiles. This took even longer !
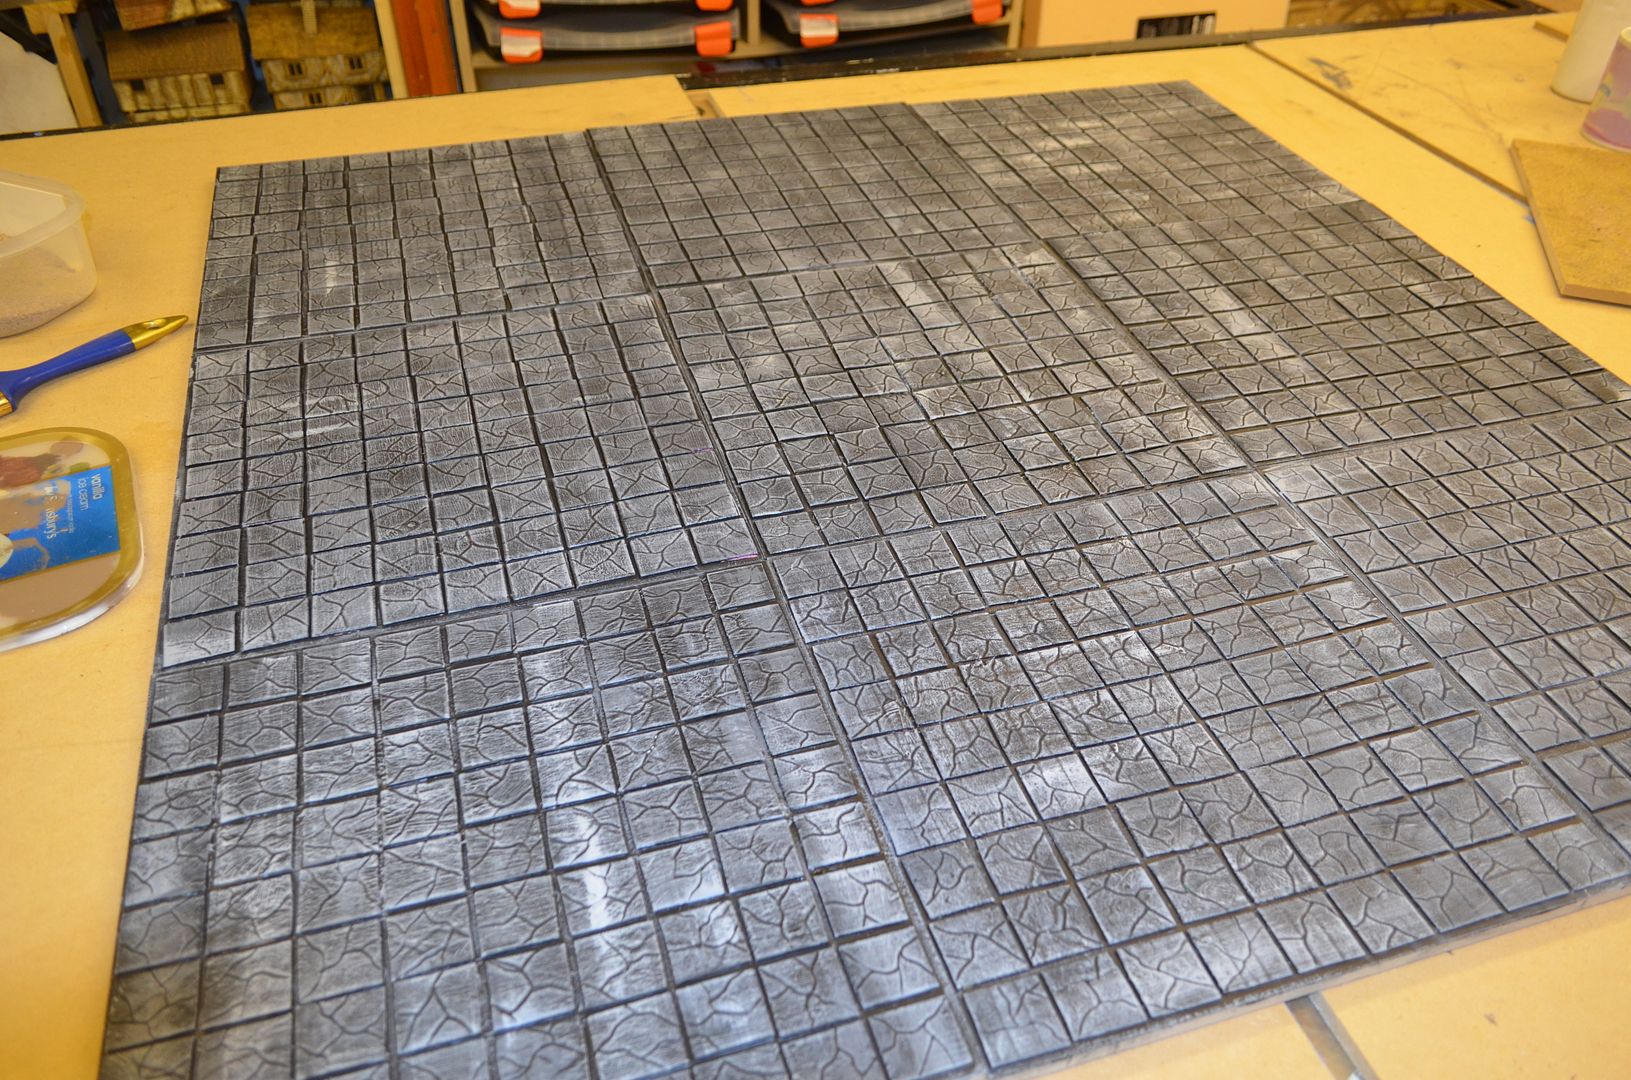
Once all the etching and gluing was done I painted them all a solid coat of black acrylic paint. This required a touch up in some places but one coat pretty much did it. With the black dry I was able to drybrush with two coats of successive lighter greys.
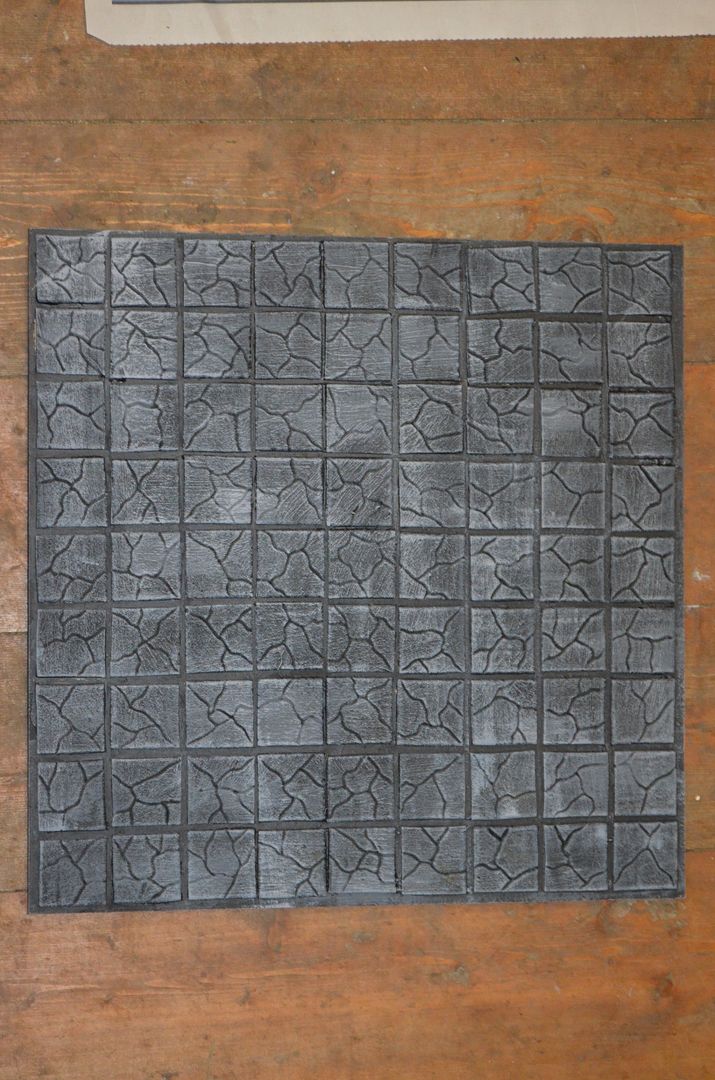
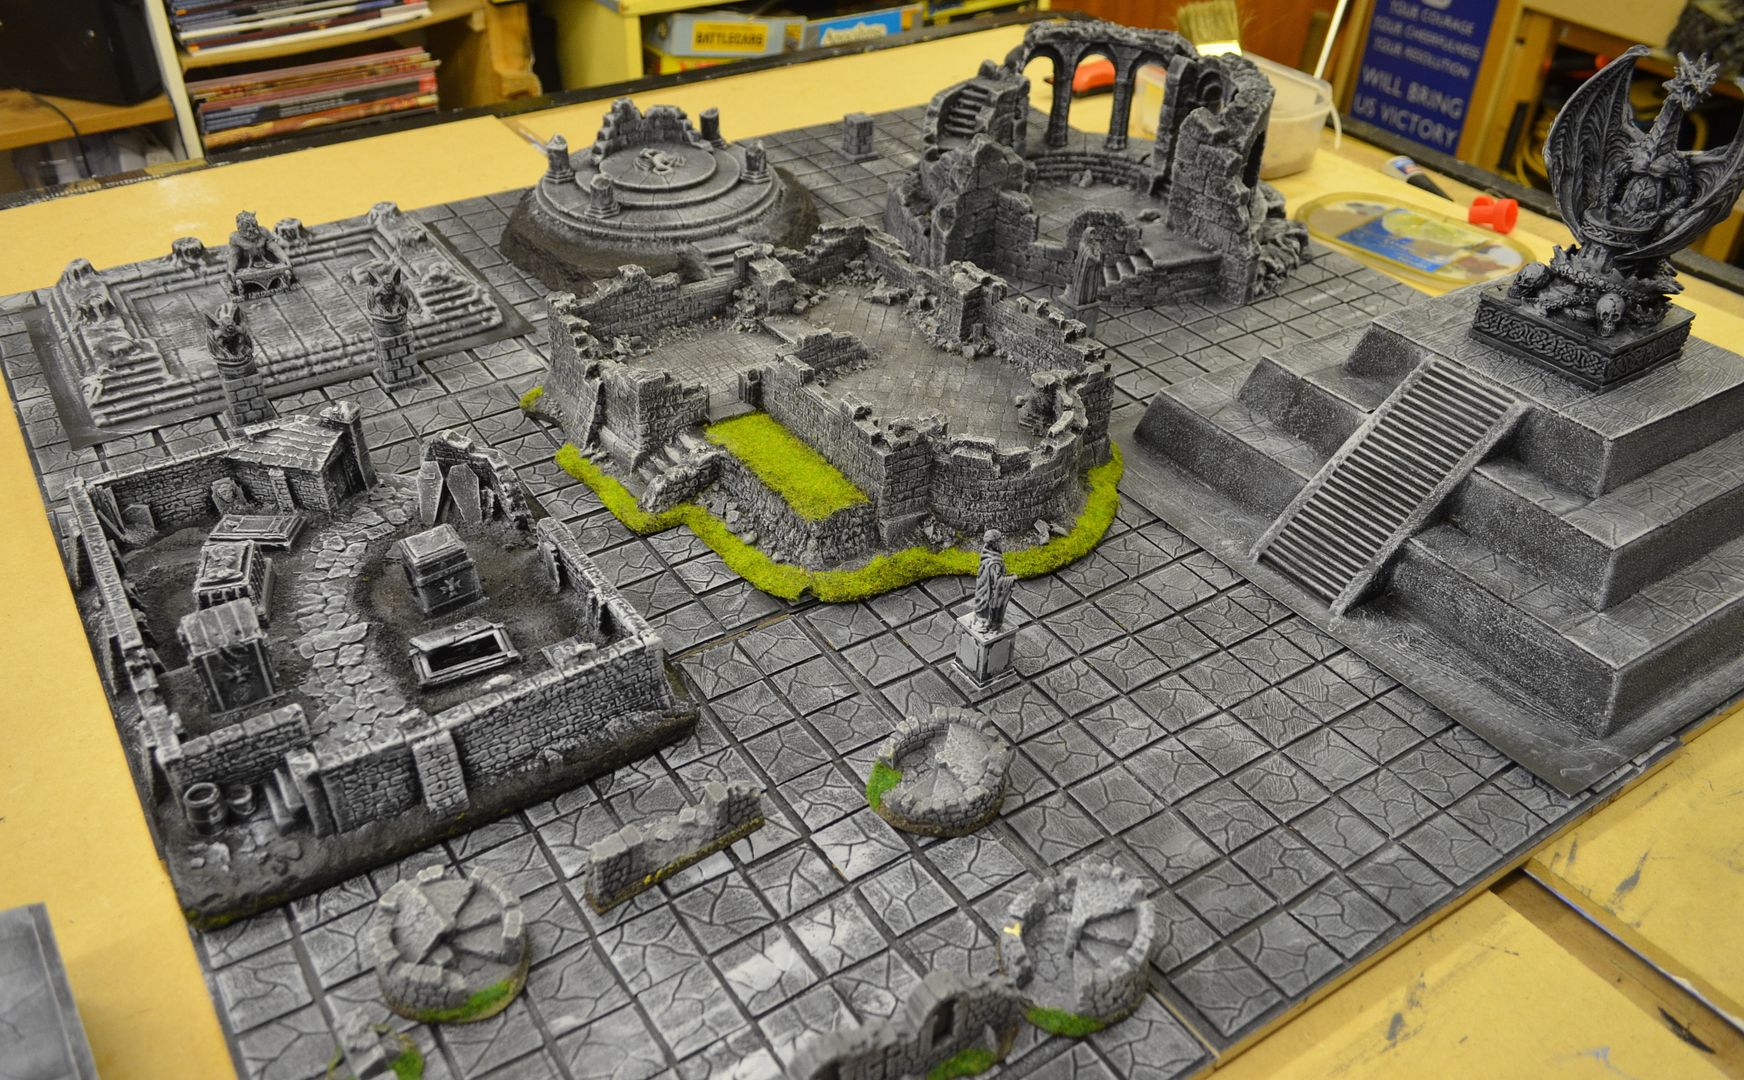
All nine boards finished - a 3ft x 3ft board.
Lets add some buildings.....
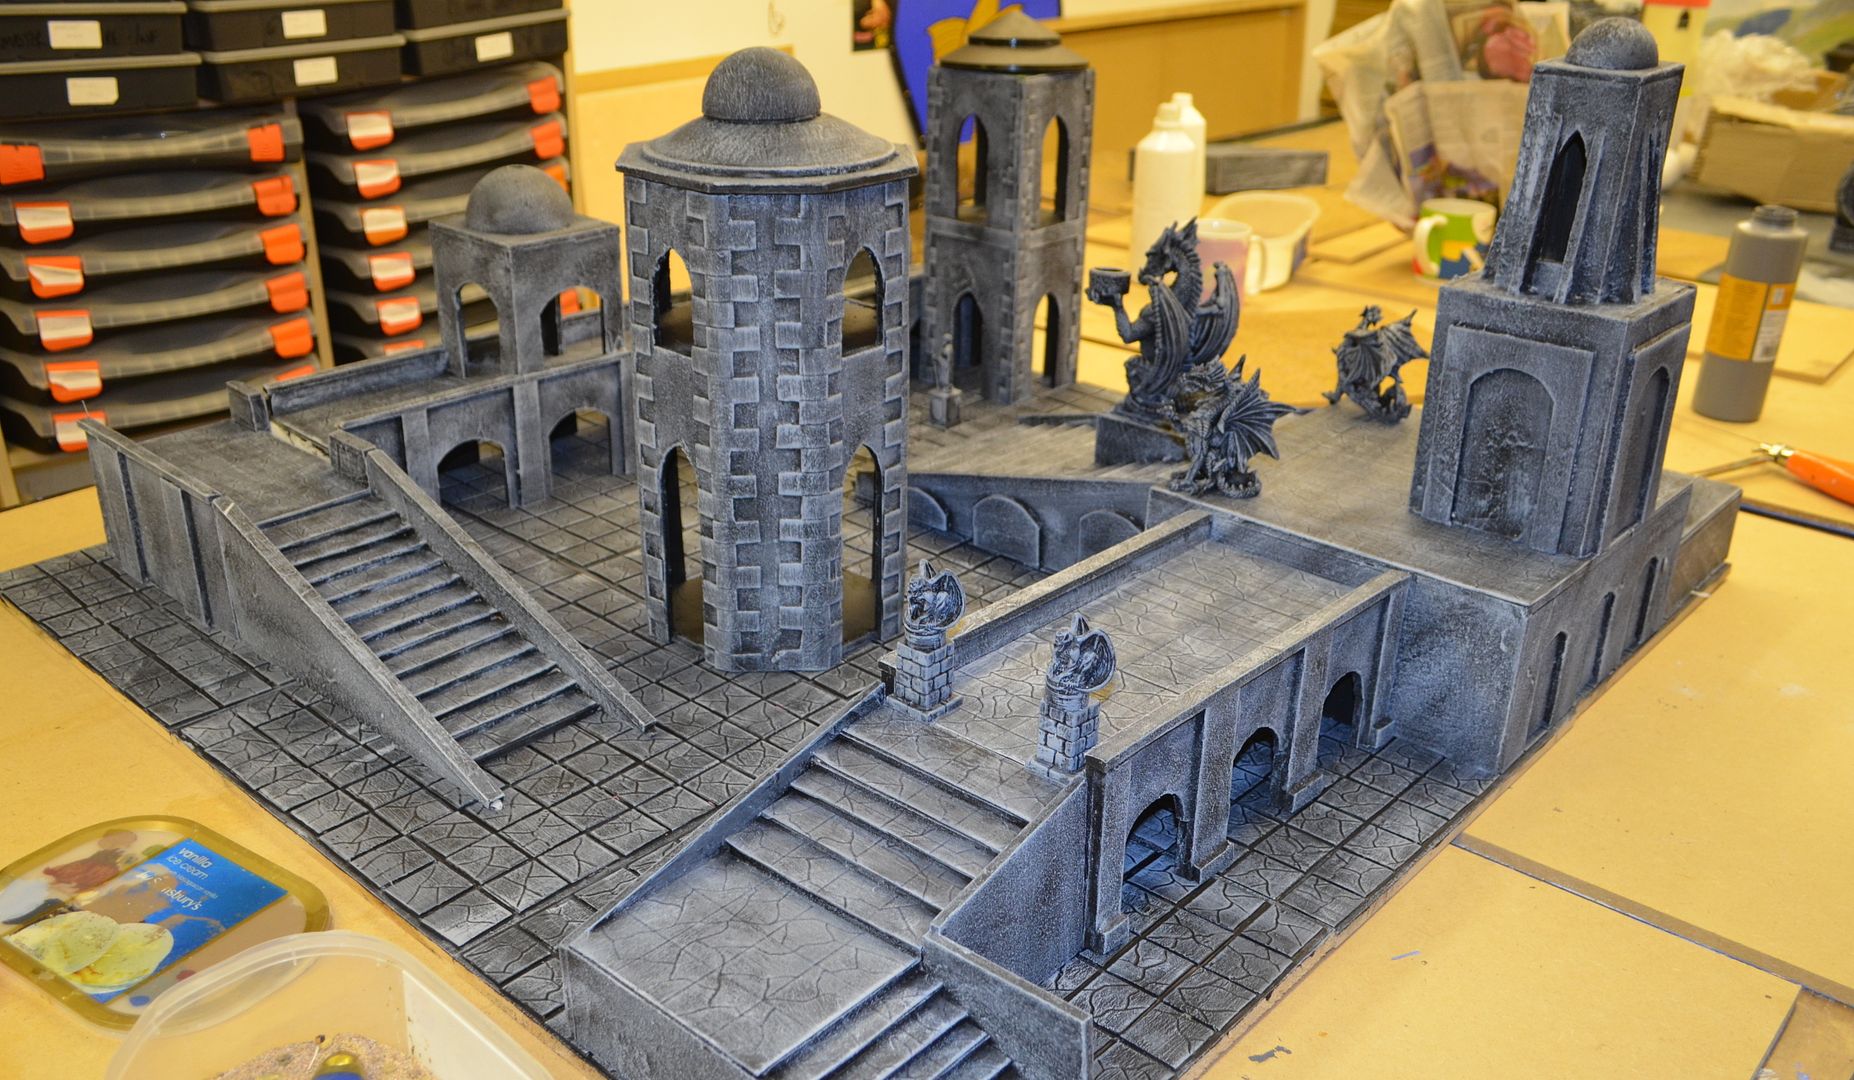
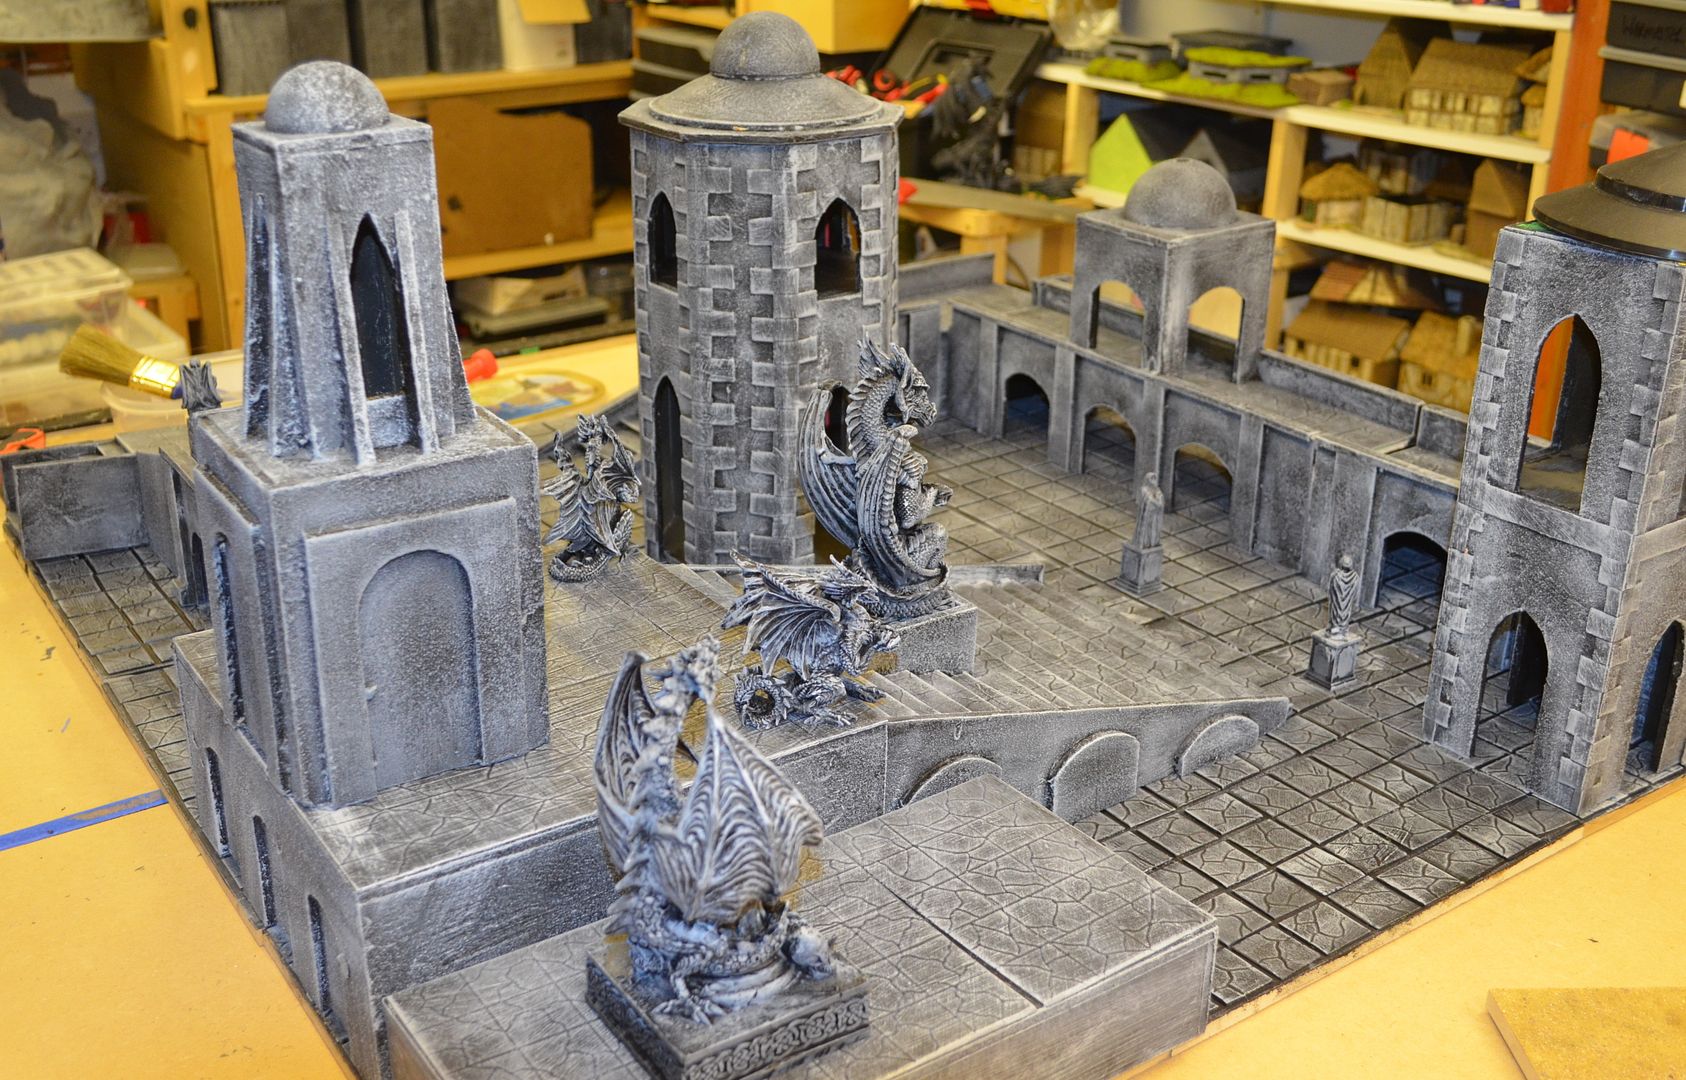

OK - Decision still needs to be taken on whether snow gets added...
I mentioned I was building more than one board...here is the second - still has some work to be done but this one is somewhat more ruined...
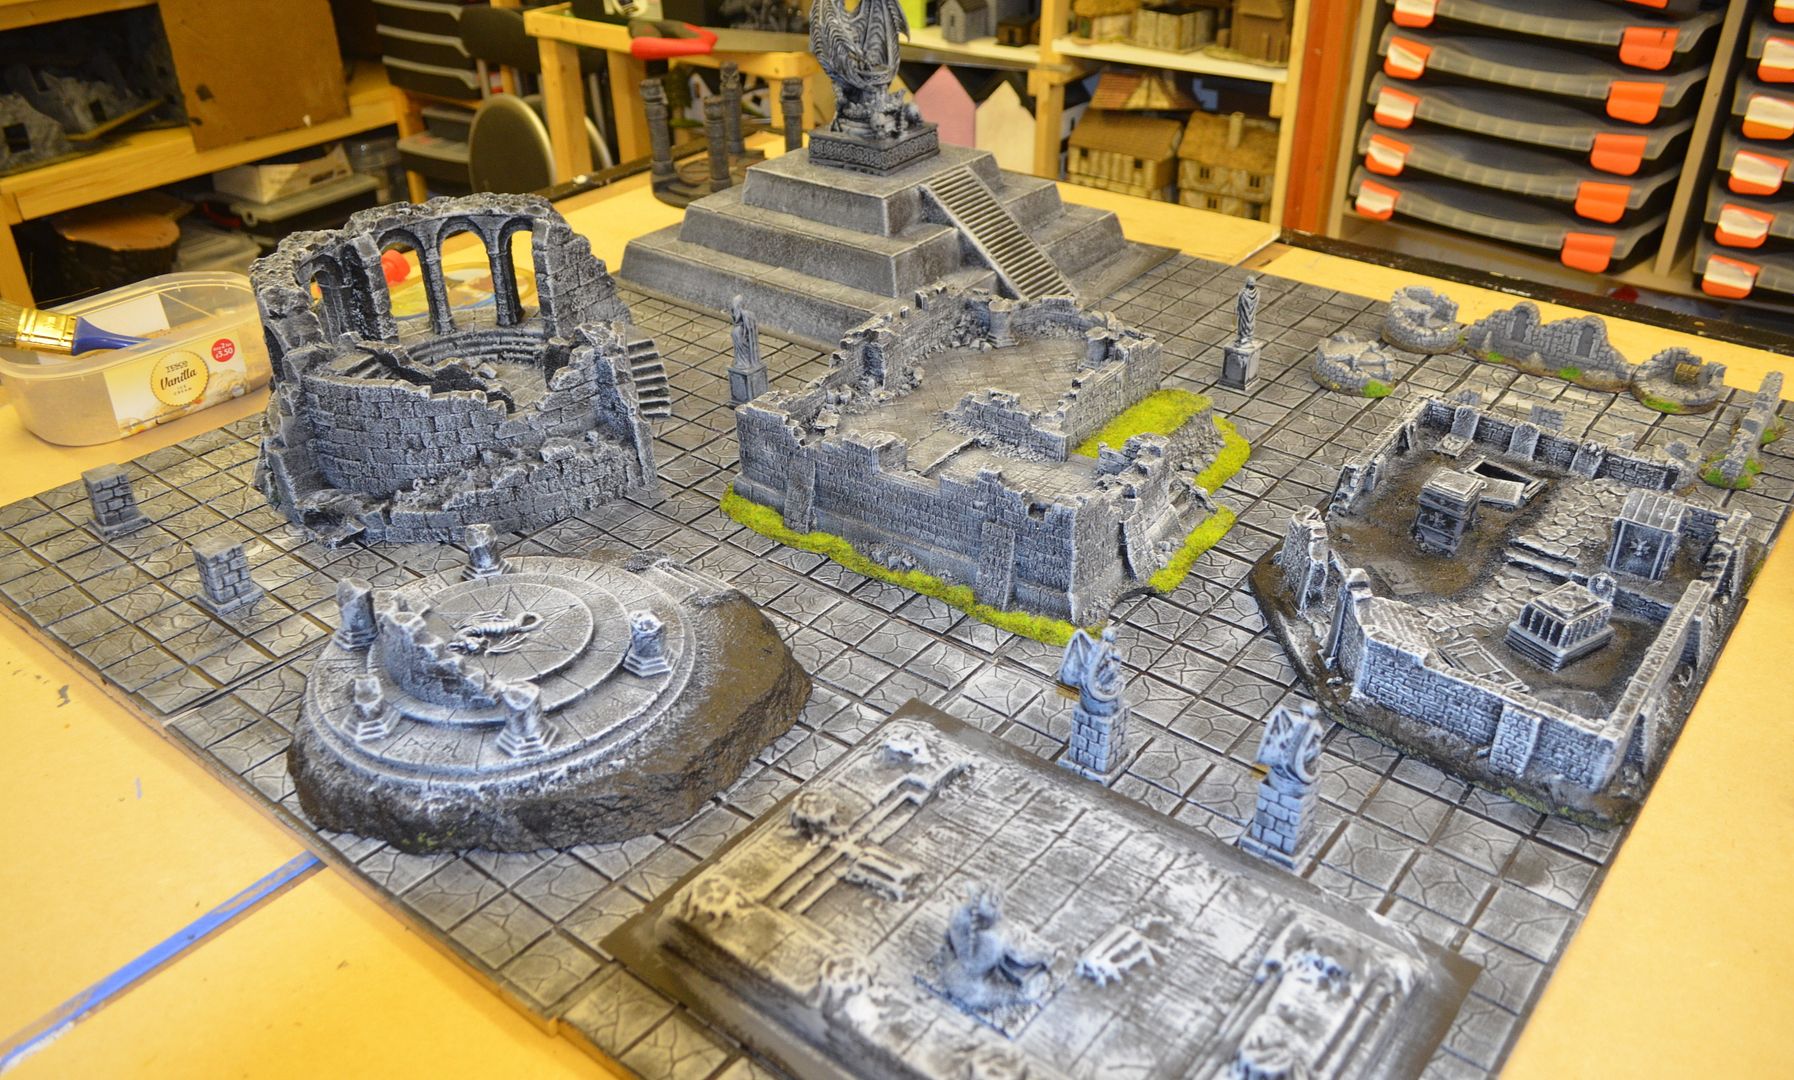
More to come very soon
Until next time
Part 9 can now be found here
http://shedwars.blogspot.co.uk/2015/12/frostgrave-terrain-part-9.html
All I can say...WOW!
ReplyDeleteAmazing.
ReplyDeleteIf you want to keep the versatility of the board don't add snow, just use some winter trees and you'll get the winter illusion. But, having a unified snow board is awesome! Decisions, decisions.
ReplyDeleteLooks like exercise - painful process but great result! I especially like the way that first table has turned out. Gives me some ideas for the Pulp 40k stuff I'm working on.
ReplyDeleteWell that is indeed a labour of love to make a thing of beauty!
ReplyDeleteNicely done!
If you want to keep your big terrain pieces generic without snow, I think that some drifts and banks on your boards themselves will sufficiently convey the wintry aspects you are after. At the end of the day I would do to the board what you are doing to the bases of your figures so they match nicely
I should add that when using modular boards, I have found it very useful to place a square of that rubbery non-slip material that home hardware shops sell to put under mats so that they don't move on floorboards. It really stops the boards from shifting apart during games.
DeleteAdd that snow! It'll give tonnes of atmosphere. You can always take it apart later.
ReplyDeleteExcellent!
ReplyDeleteDo add that snow!
Overwhelmed by your impressive terrain, I think what shows is the more you make the better it gets. I say keep things flexible so separate snow drifts
ReplyDeleteAbsolutely superb! Personally, I'd not bother with the snow...it looks brilliant as it is and without the snow can be used for a variety of other games.
ReplyDeleteA lot of work but well worth the effort as it looks amazing, on the snow I won't do it as you can always just dress thing up to give the illusion of winter when need be.
ReplyDeleteThe whole group is looking fantastic.
ReplyDeleteVery well done.
Tony
Your Frostgrave terrain is looking great.
ReplyDeleteAs for the snow, I'd say leave it off so that you can use the pieces for other things - just scatter some snow flock and use winter trees as and when you are playing Frostgrave, then gather it all up at the end for reuse.
Very nicely done
ReplyDeleteThat is coming together really nicely!
ReplyDeleteI am going to have to get a move on with the rest of mine now...
Gorgeous!
ReplyDeleteVery cool looking boards, make some snowdrifts that you can drop on the board and remove when not needed
ReplyDeleteADD THE SNOW, ADD THE SNOW, ADD THE SNOW,...
ReplyDeleteok sorry, just got a little excited there....
Espectacular!!!
ReplyDeleteNo snow - the boards are usable for more than just Frostgrave. Very well done, and also for the patience you had to get them finished!
ReplyDeleteI would pick up some clear plastic sheets and cut them into small scatter terrain and then build some snow on top of them. Then you can lay out piles of snow everywhere for Frostgrave.
ReplyDeleteHello, I love your tile, and I'm tying to do something similar at the moment. I have one question, did you use the PVA over the EVA foam? I'm trying to paint the foam but it is absorbing all the acrylic...
ReplyDeleteIf I recall I just used a really good black acrylic over the top - it does need to go on neat (not diluted)
DeleteThanks for the comment