I needed some ruins for my pulp heros to investigate and crawl across. These are really simple to build and I turned these out in an afternoon - thanks to the super warm Saturday sunshine that sped up the drying time considerably.
 |
| A finished board... |
To the build...create four squares of hardboard and draw a curve line across the middle.

Cut out the first and then use as a template on the other boards.

You now have eight mini boards that can be reconfigured to make any number of square terrain pieces or stand alone items.

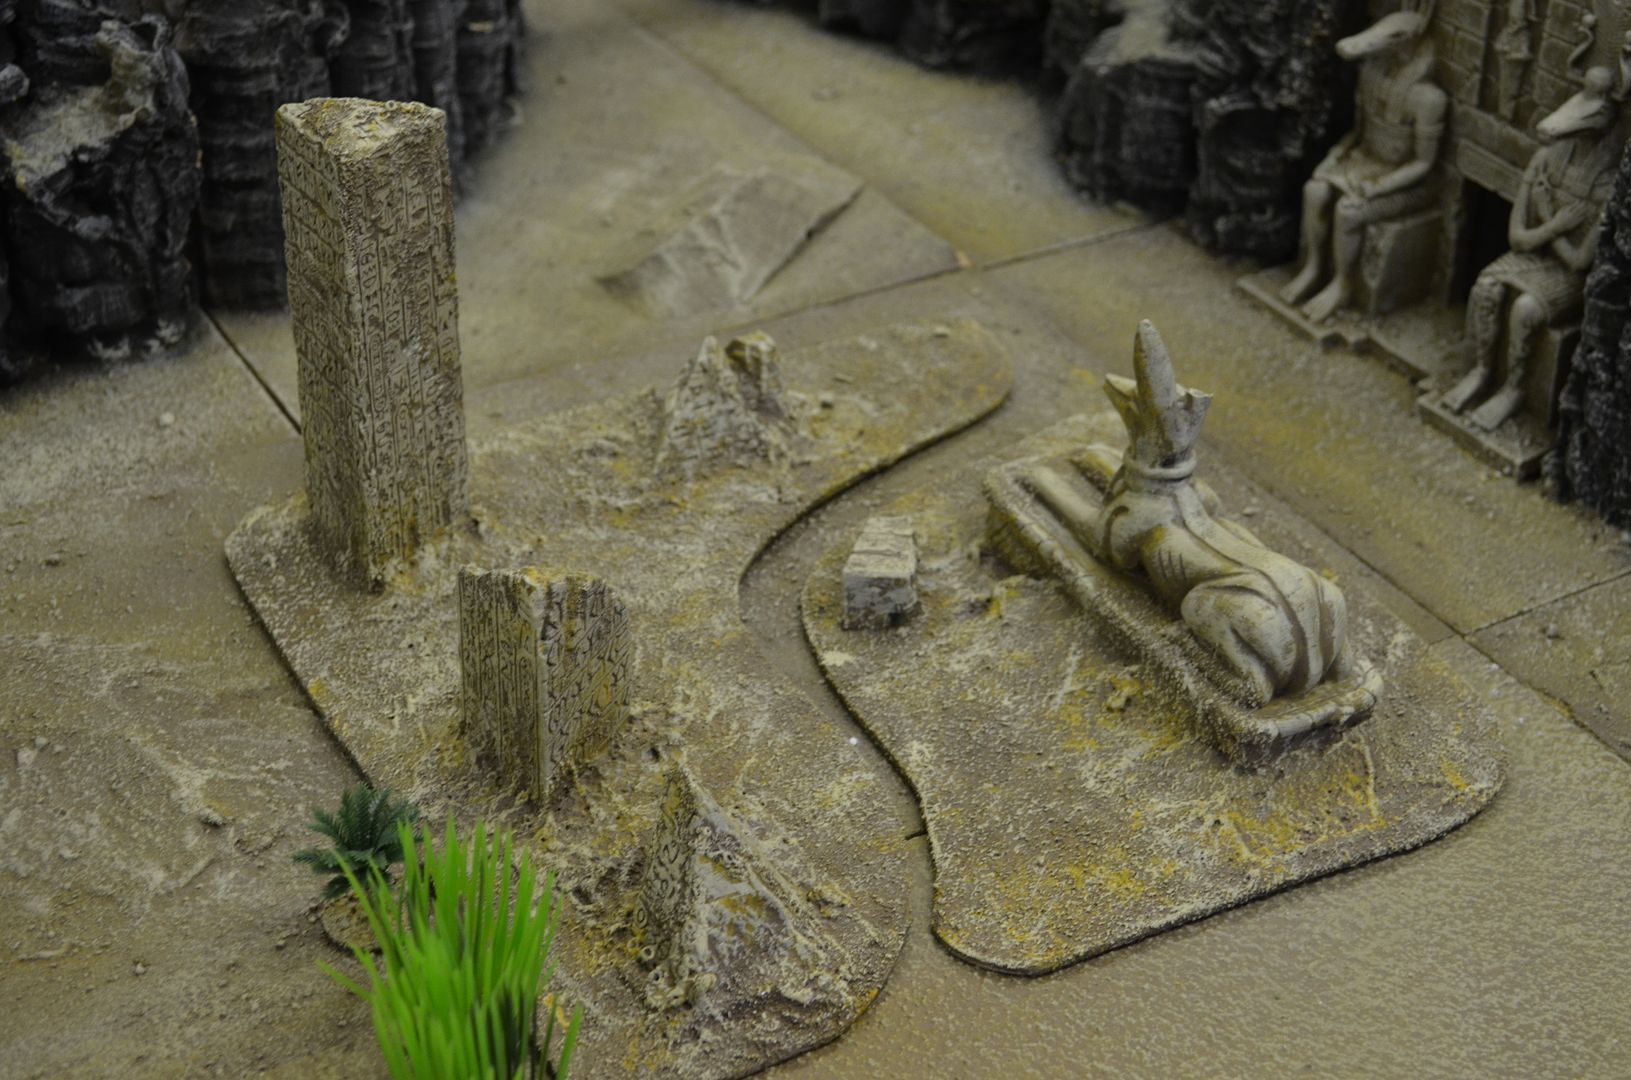
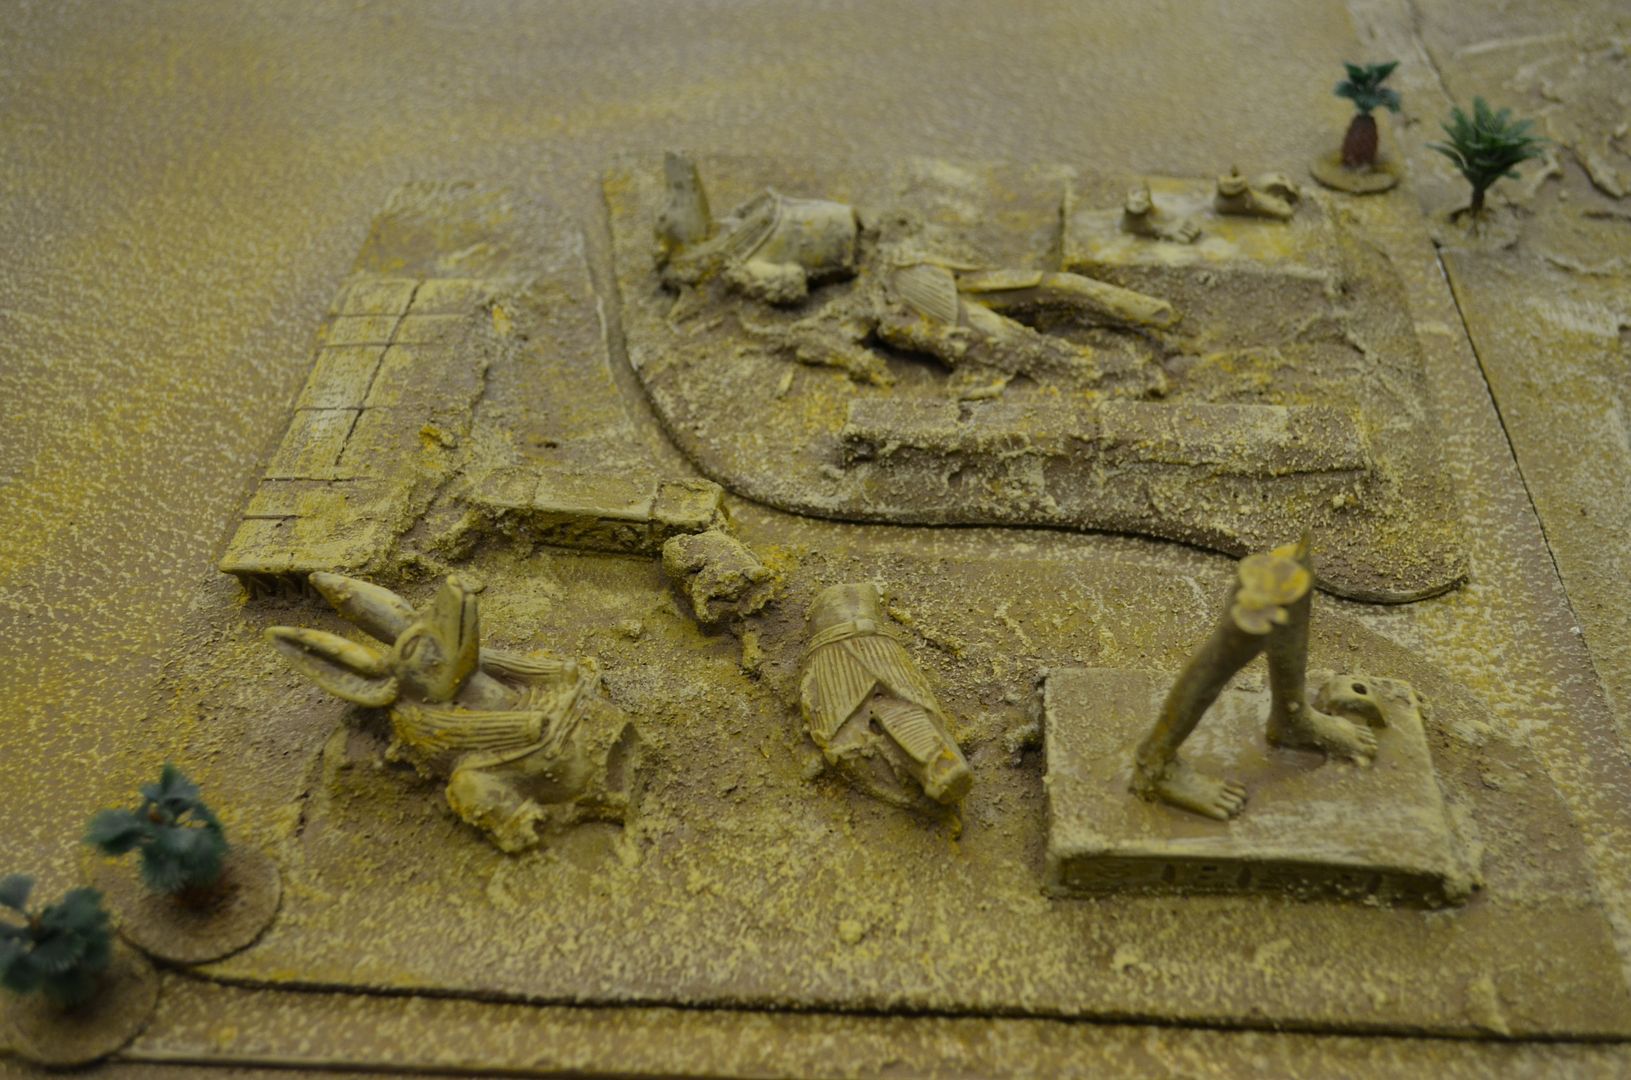
When I build my temple complex last year II acquired a number of mini egyptian statuettes including two of the jackal headed gods - Anubis. These are made of resin and break really easy -= perfect ;-)

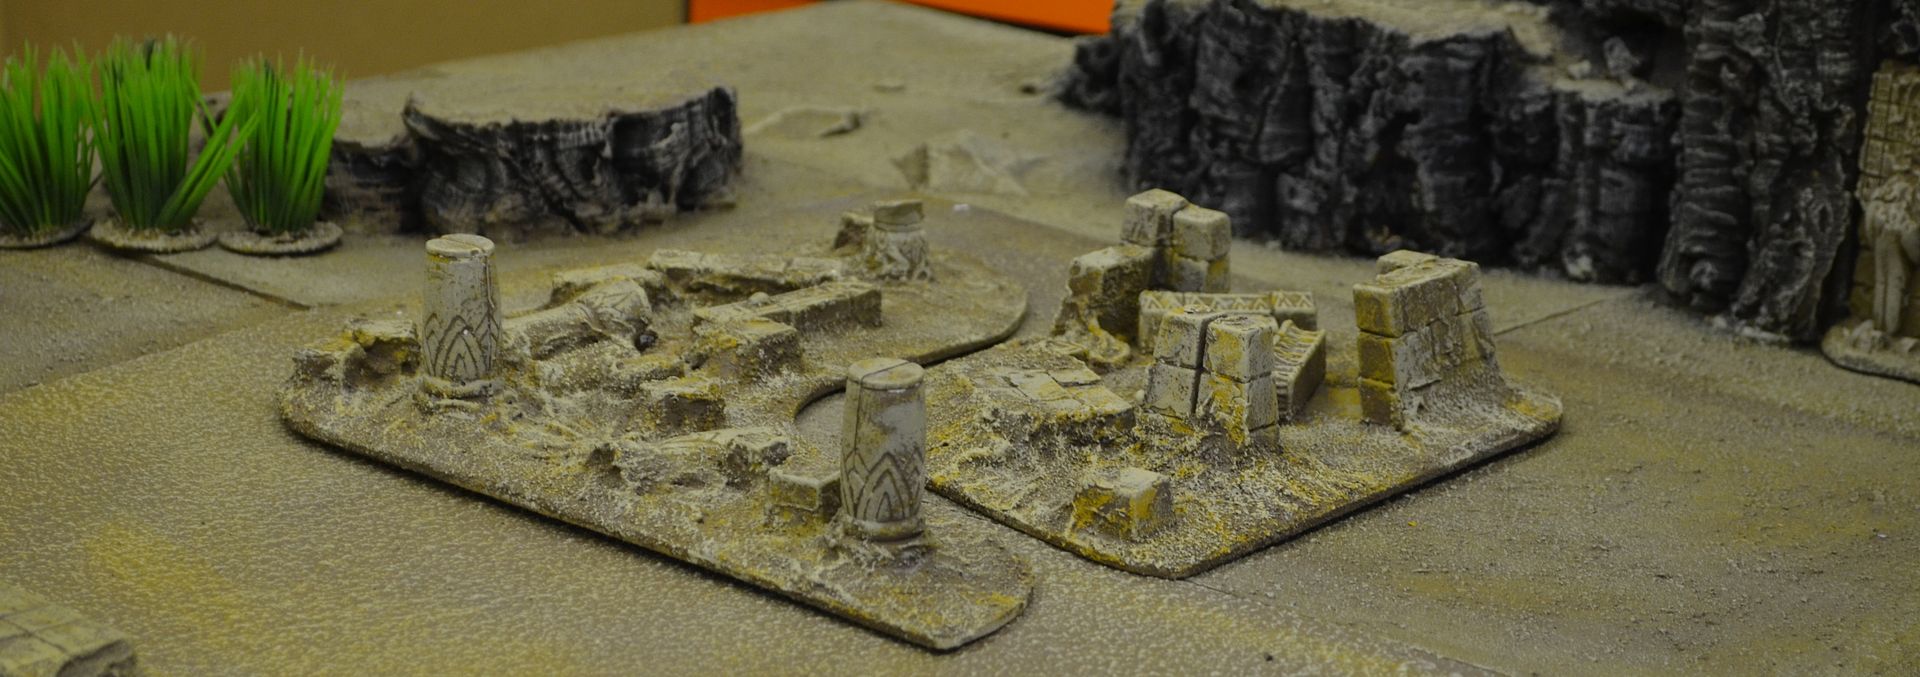
I had also purchased a hirst arts Egyptian pylon temple some months back but gave up building this when it proved to be too small. So therefore I ended up with a number of plaster blocks (some embossed with hieroglyphics and symbols).
Finally my good friend Mark had given my some unwanted plaster Egyptian columns
All these items made their way onto the boards. Using an interior adhesive these were glued down

The statues were broken up (using a chisel and a small hammer) and also fixed to the boards

Finally I had acquired a fallen three sided obelisk set from Fenris games at Salute earlier in the year. This to made its way onto the boards.

I wanted these boards to look slightly more unkempt and give the impression that sand had blown across the ruins building ion certain areas. To give the height and an uneven surface a reasonable amount of filler was piled up against the glued down items


Once the filler was dry all the boards got coated in pva and a sand/ballast mix poured over with the excess shaken off.

And onto the painting...
Stage 1 - my matt brown base (pre coloured emulsion paint)

Stage 2 - drybrushed with yellow ochre

Stage 3 - drybrushed with Titanium Buff (creamy white)

Job finished...a few shots of the final boards...

I completely forgot to take pictures of these without minis but have no fear there is a pulp game planned for tomorrow and these do feature on this table...
As you can se this table features the cliffs and is stepped to create two levels...

More very soon
Fantastic looking board, its always amazing what you can use with a little bit of polyfilla and some dry brushing.
ReplyDeleteCheers
Stu
Very clever and well executed!
ReplyDeleteExcellent terrain pieces :)
ReplyDeleteJust brilliant!
ReplyDeleteBrilliant work as always!
ReplyDeleteThat's really cool stuff, Eric. Love it.
ReplyDeleteYou coming over soon??
DeleteThis is really great! I want to go grab my Foreign Legion troops and try and defend the archeological dig :-D
ReplyDeleteHell yes!
ReplyDeleteExcellent stuff, Eric, well done!
Can't wait!
ReplyDeleteGreat job!
ReplyDeleteGreat looking terrain and more ideas to follow.......
ReplyDeleteLooks fantastic, im looking forward to the batrep
ReplyDeleteAmazing, creative and gorgeous!
ReplyDeleteyour ability to turn out fantastic looking pieces of terrain, seemingly at the drop of a hat, amazes me..... and makes me somewhat ashamed of all the half finished terrain pieces I have! I shall have to use this as a kick up the behind to get on with my stuff.....
ReplyDeleteThanks Tea Urn....to be honest its just fun, the reaction of my players, and positive comments like yours creates all the motivation I need.
DeleteI rarely plan these pieces but I do start with an idea. The fact that I have accumulated most of the tools I need and have space to work in is all an added bonus.
I too have plenty of part started pieces but I get bored (like so many) and move on. However they will all get finished eventually.
I am truly impressed someday I will have the space to work on and store such products...
ReplyDeleteI am truly impressed someday I will have the space to work on and store such products...
ReplyDelete