Since my foray into Muskets & Tomahawks I have been using movement trays to speed up play (an indirectly protect the figures). All my 28mm figures are based individually on 25mm steel washers.
However the aesthetic look of these movement trays leaves a lot to be desired. Lets face it plain mdf is boring.
So last week I decided to do something about it and the following has taken for ages !
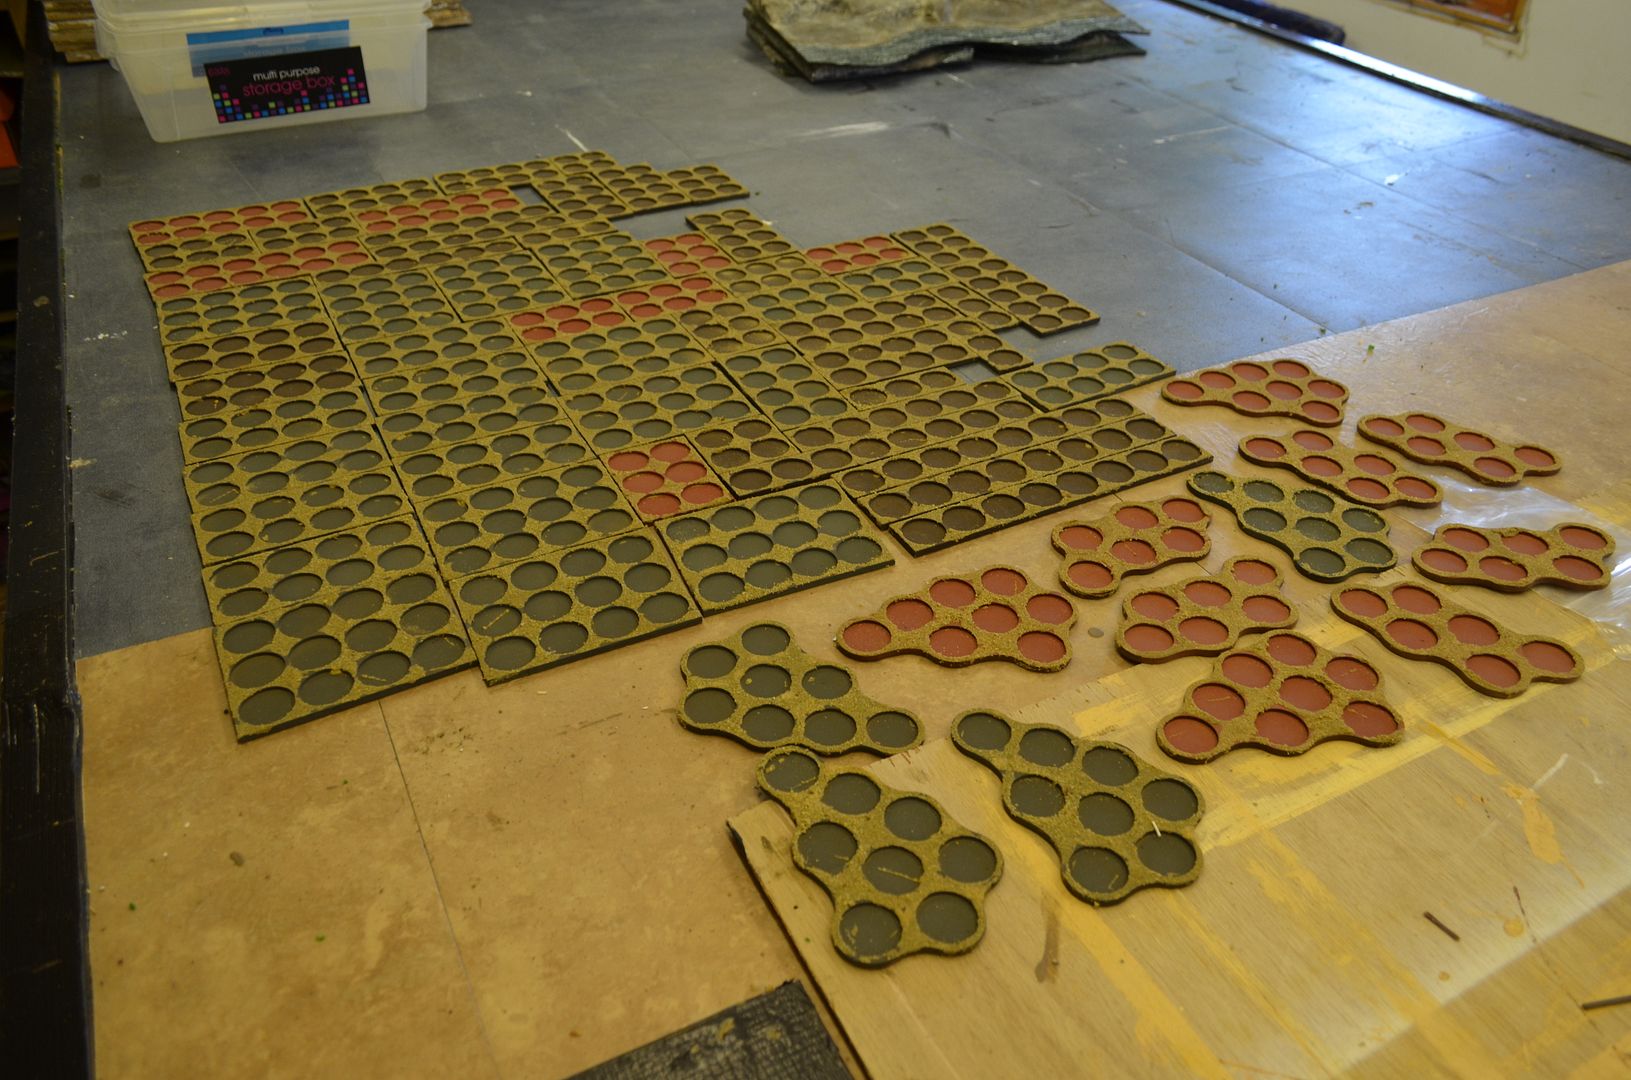
I have in excess of 80 Movement trays ranging from some small ones (three holes) to some large ones (12 holes) - these come in two formats which I call regular and irregular.
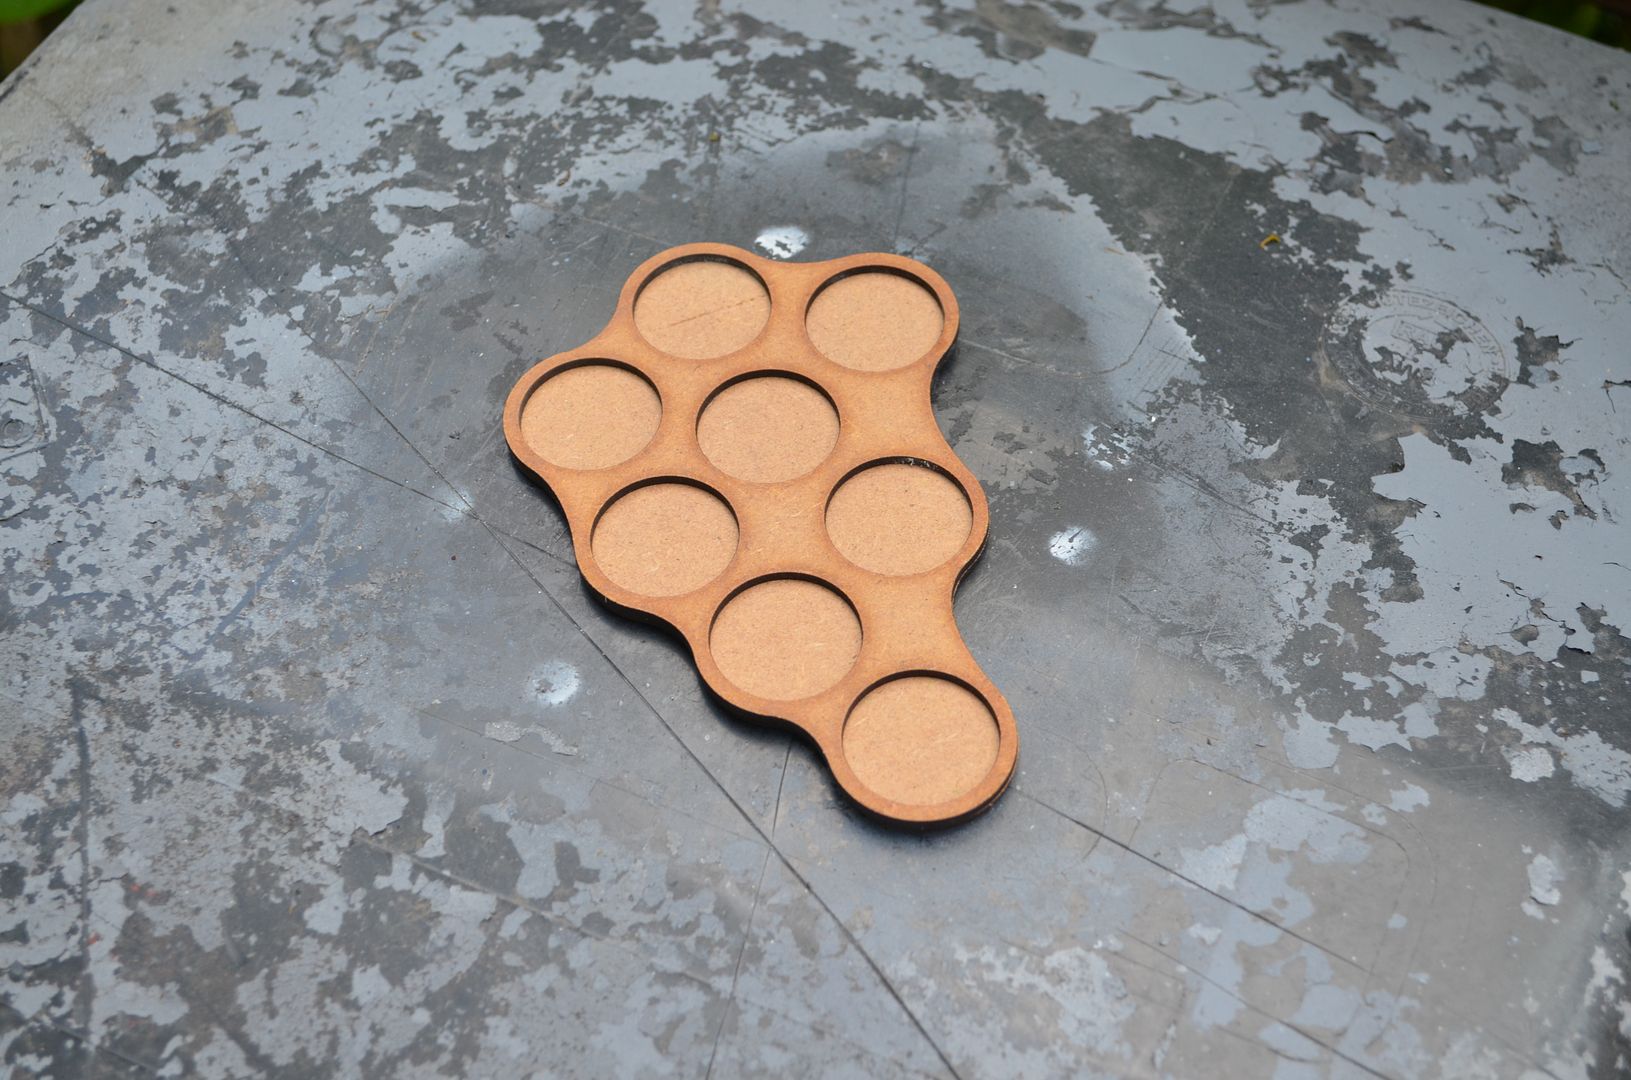 |
| An 8 hole irregular movement tray |
All of them have been sourced from warbases over the last couple of years
http://war-bases.co.uk/index.php?route=product/category&path=68
First up the mdf base need priming. Nice and simple job using cheap spray paint.
Now comes the first big job. To give these trays some texture I firstly 'painted pva glue on the top surface trying to avoid getting glue in the 'holes'. Once the glue was applied I dusted the tops with coarse sand. I soon developed a factory line approach as can be seen in the photos below.
This took a long time and there were plenty of occasions when I thought - bugger I should never have started this.
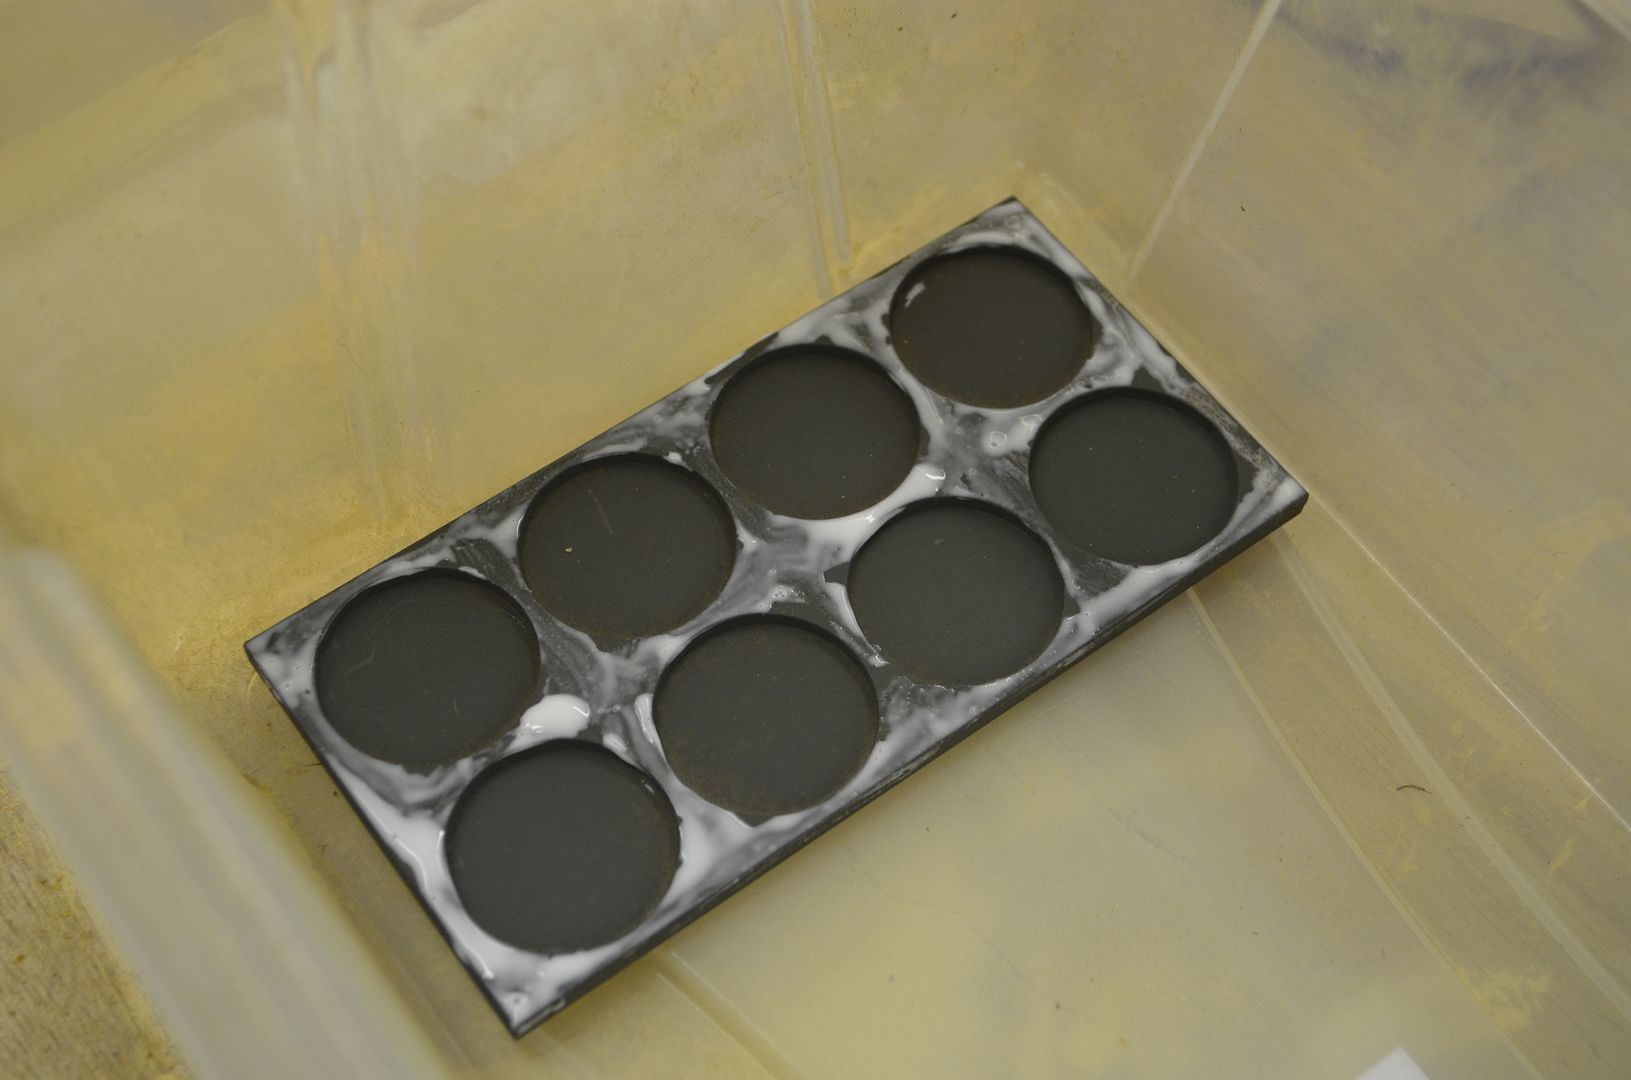 |
| Add White Glue |
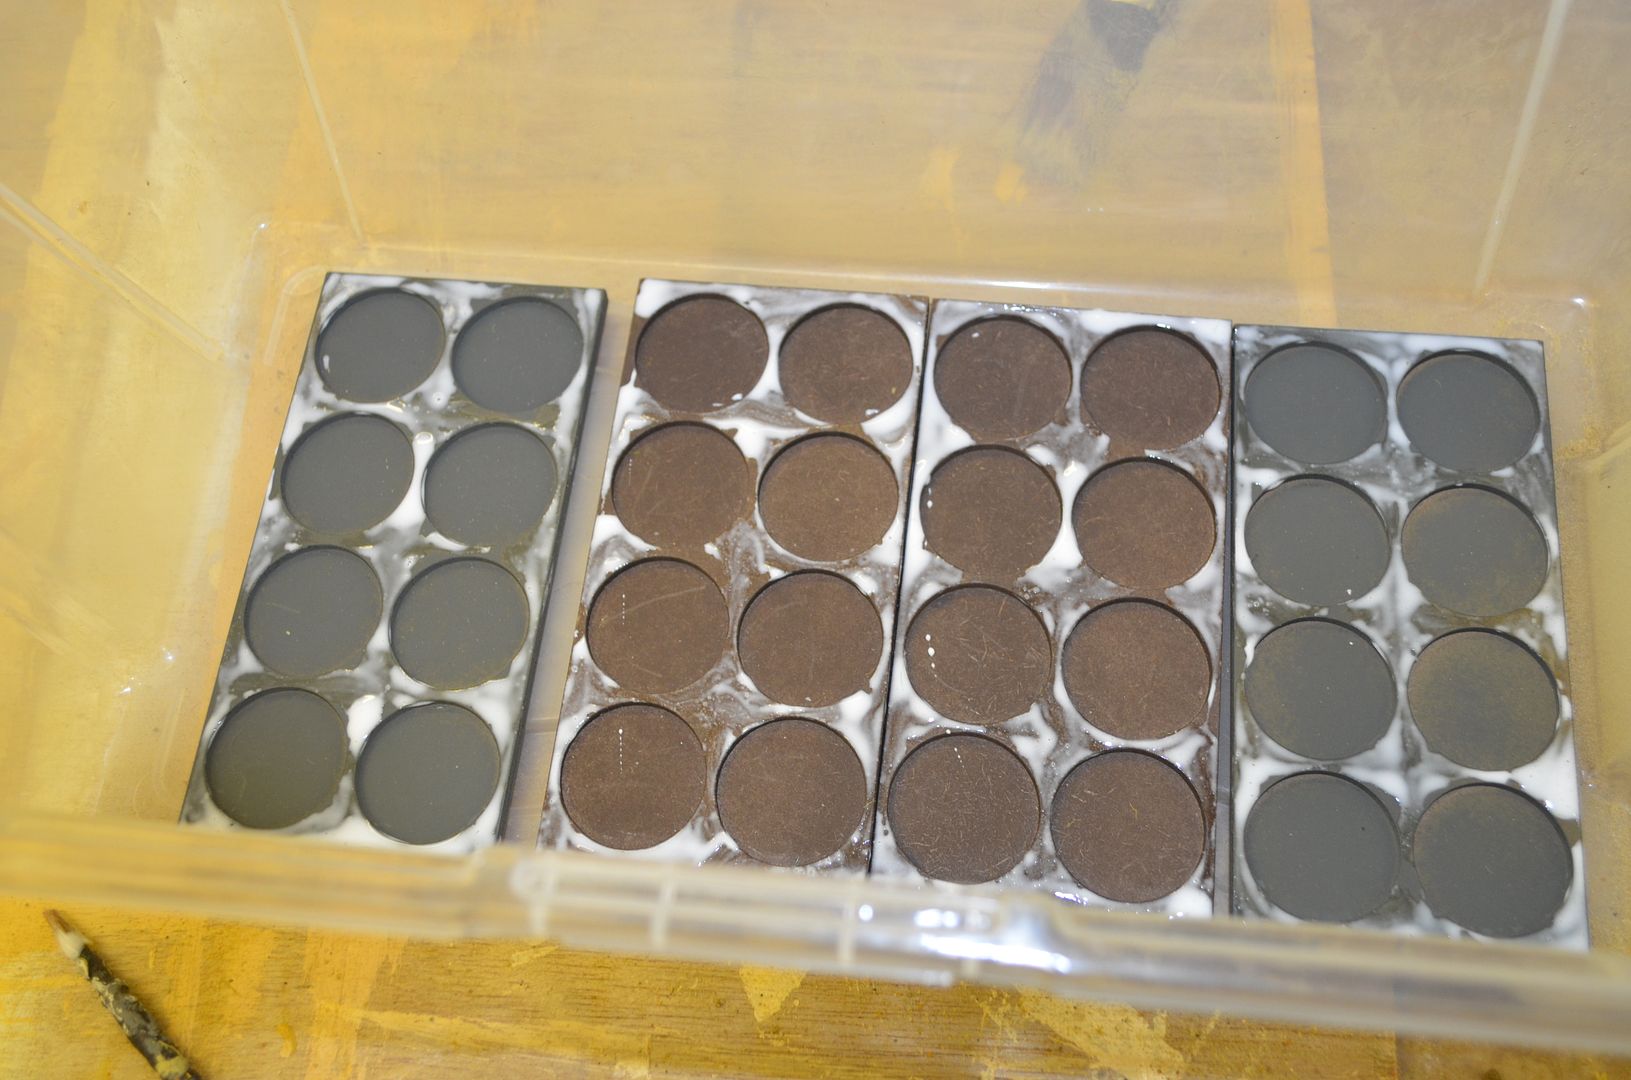 |
| Line them up in a plastic tray |
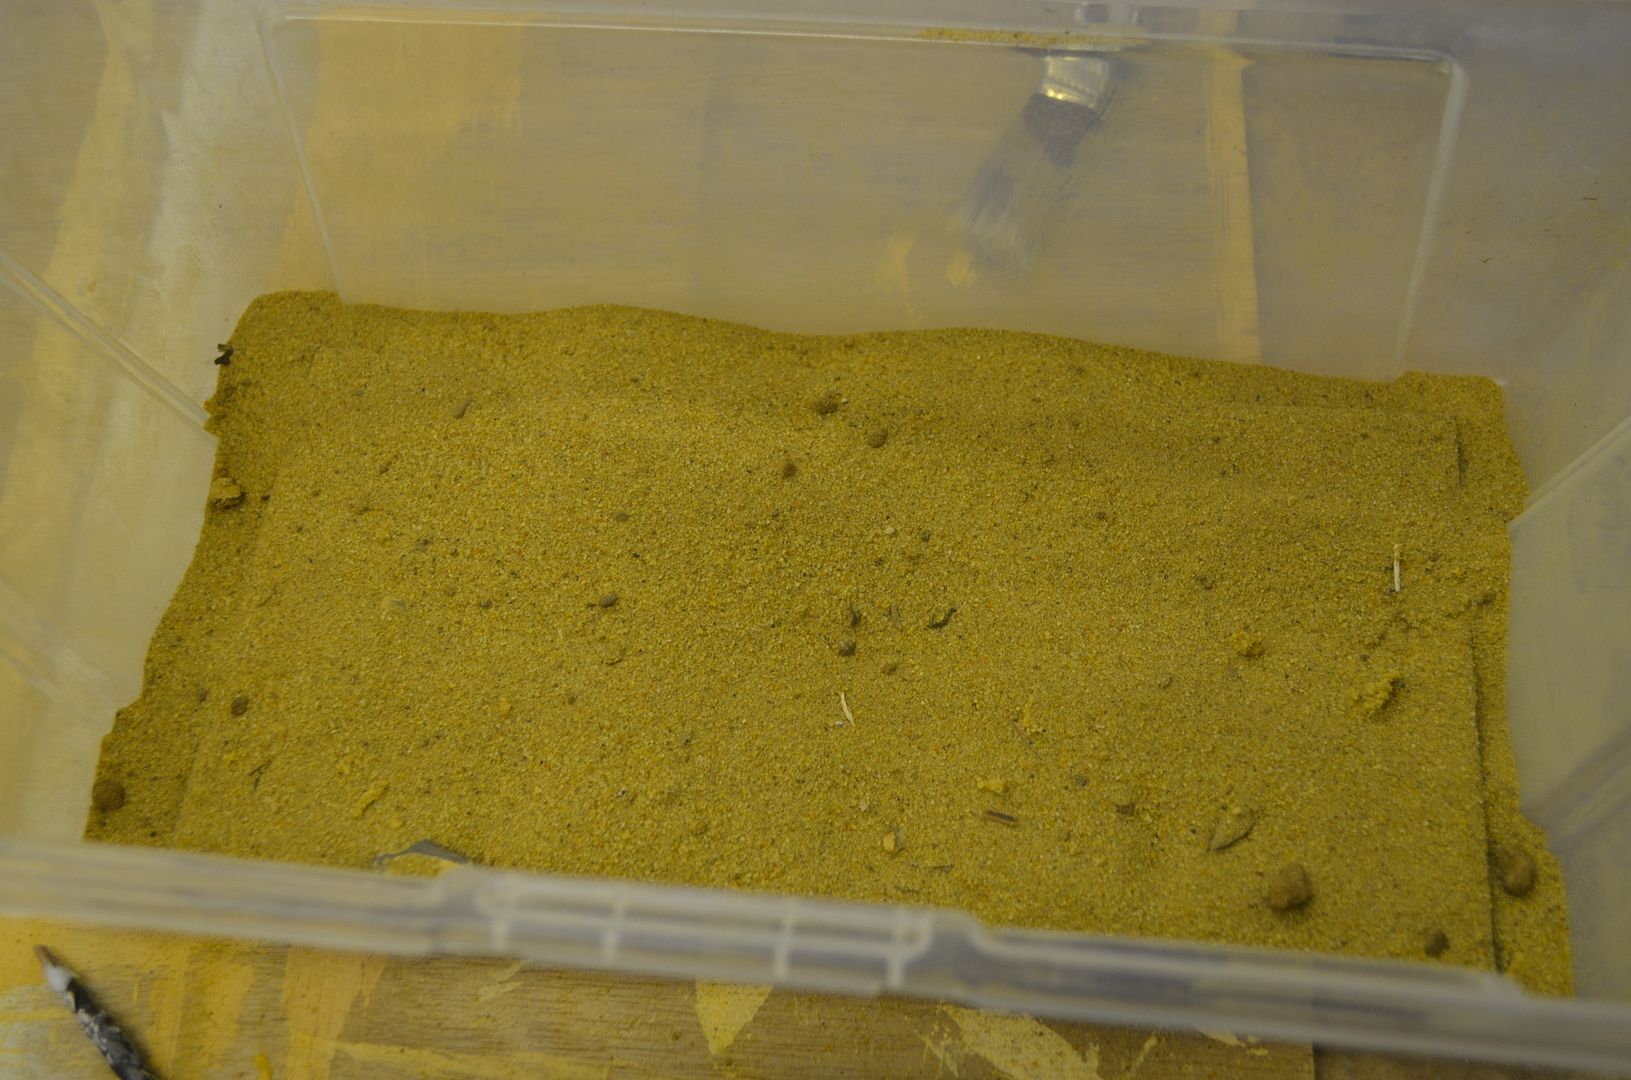 |
| Cover in sand |
 |
| Shake off sand |
 |
| Finally finished stage 1 |
With the sand applied and left to dry I could move onto the next stage. The base coat. Again given the numbers of bases to paint and their fiddly nature (making sure the paint did not pool in the holes) this took a good two hours. But I could start to see light at the end of the tunnel.
I should add that I decided to paint all of them in the same scheme - my deserts colours, using the big old tin of pre missed paint from B&Q. This base is a match for GW Steel Legion Drab. I figured the desert colours would work for most of my terrain set ups rather than going for a temperate climate base that would not work for the arid games.
With the base colours dry I could start drybrushing on the yellow ochre and titanium buff.
The pictures below show the finished paint job

Finally I am on the home stretch. Just a few tufts (some homemade) and bit of static grass finishes them off nicely.
Was it worth it...I think so but I'll let my players decide when they next come round.
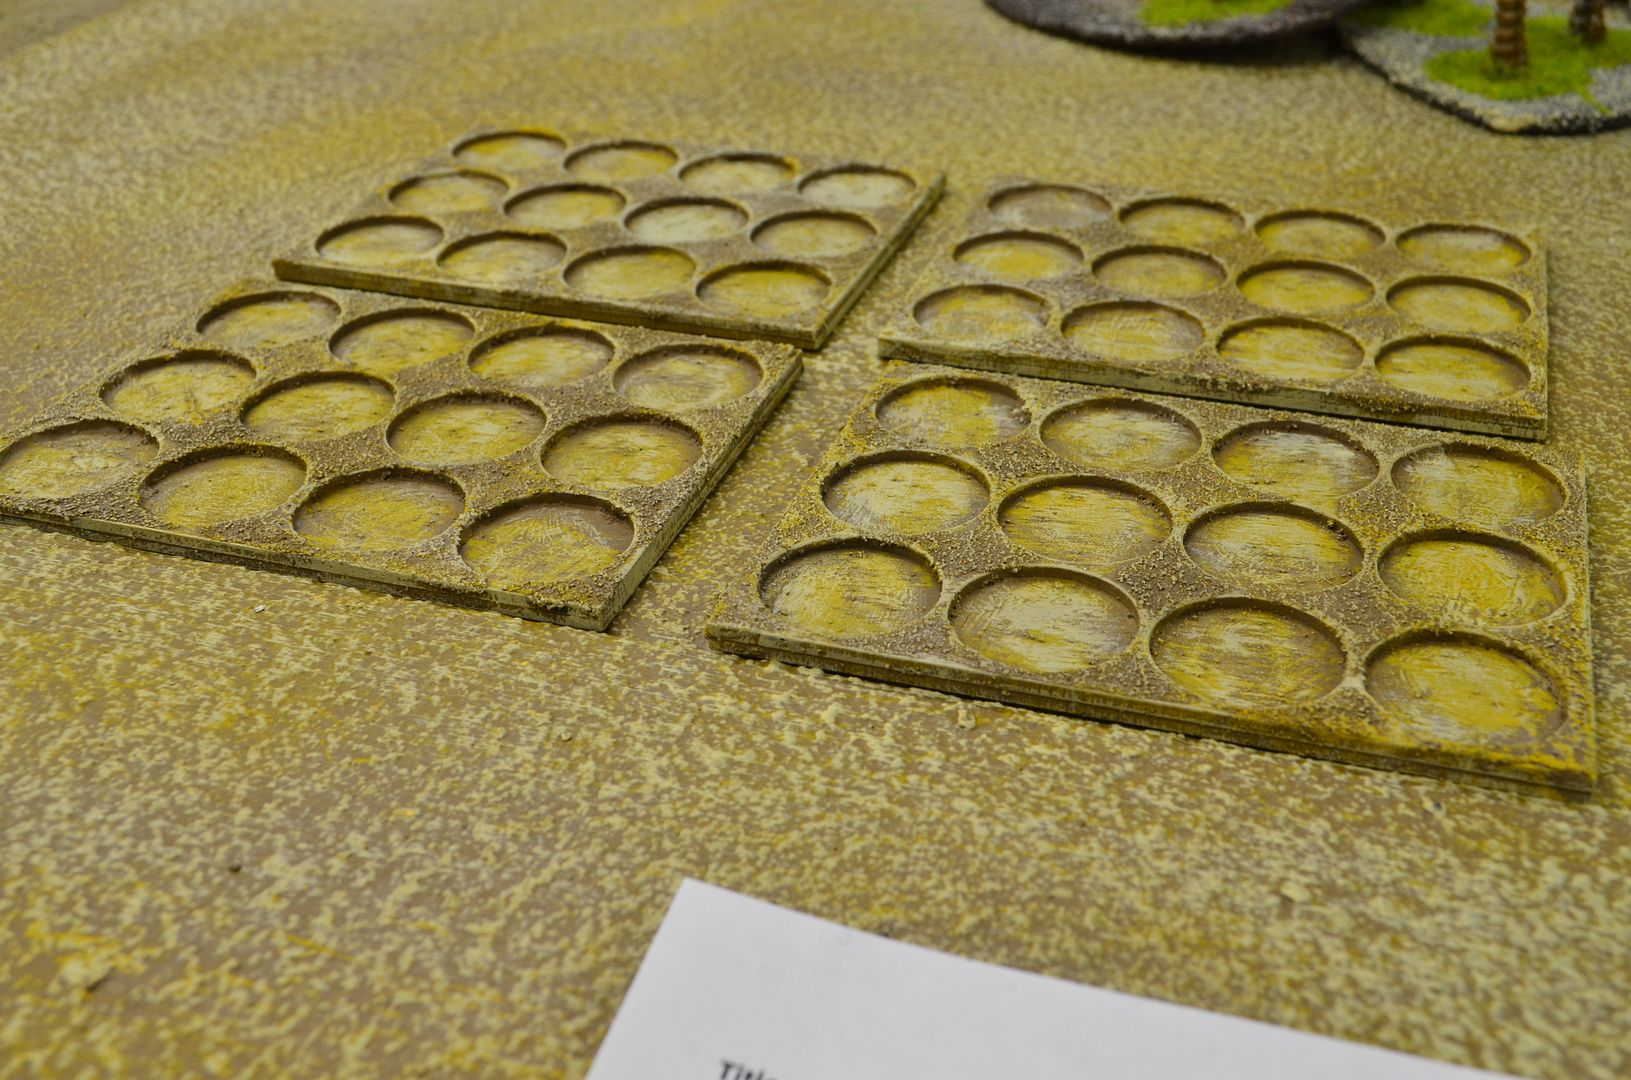
So as a reminder....this is what the bases looked like before I started...
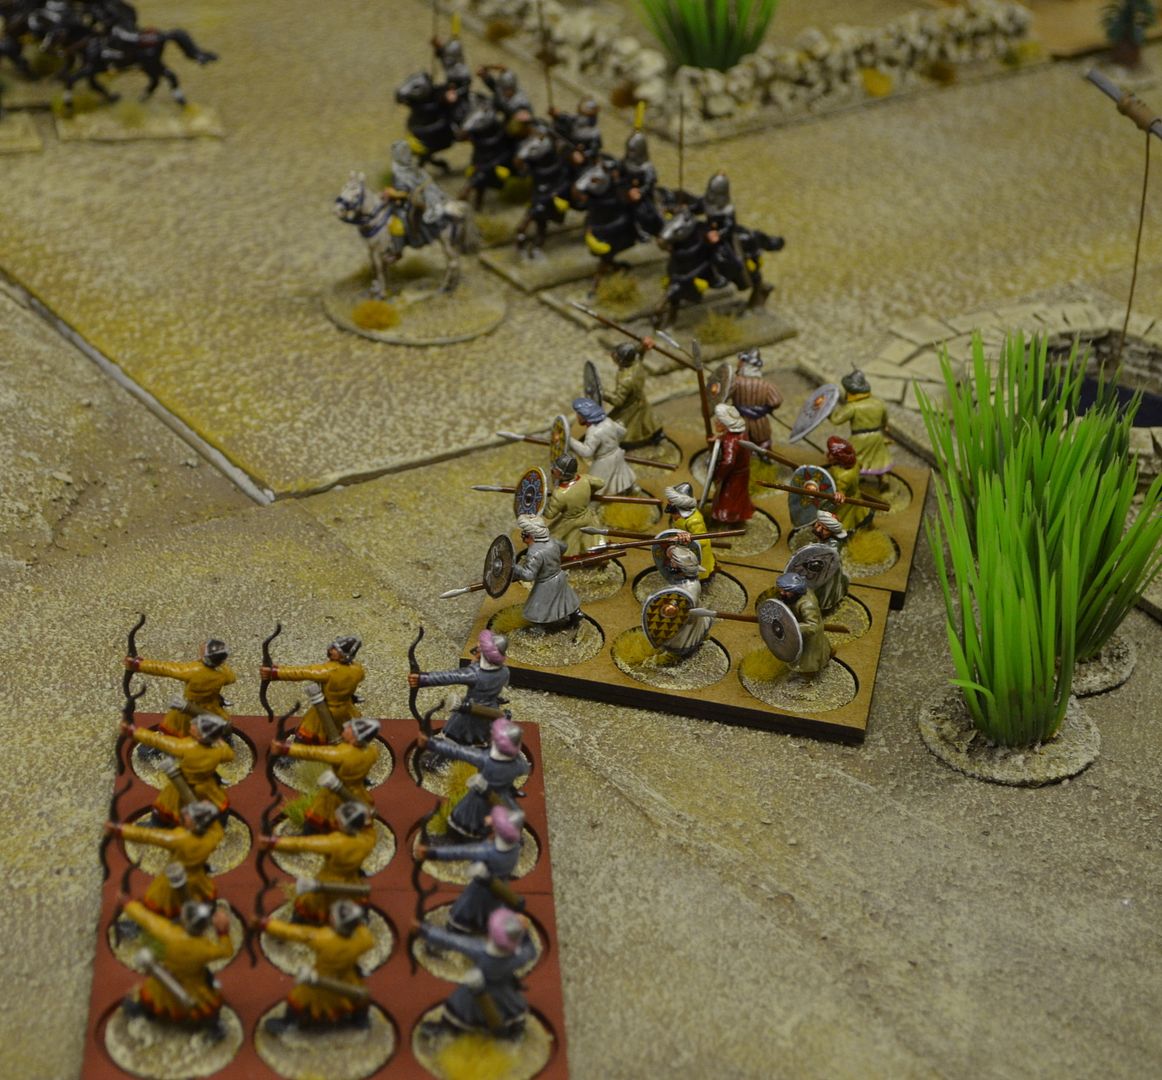
and the finished product

Until next time
Vast improvement in my opinion, well worth the time and effort.
ReplyDeleteThey do look a lot better, they're a very handy tool as well!
ReplyDeleteThey look excellent. Given the nature of your basing then there is going to be a lot of base visible on the movement tray (unlike, for example square-mounted figures where only the edge of the tray is visible) so it was definitely worth doing.
ReplyDeleteA mammoth task there, but the end product was well worth it. Feeling smug though, I did mine as I went along!
ReplyDeleteThey do look much better - I've got some group trays for skirmish games that I'll give your method a go on
ReplyDeleteDefinitely worth the effort
ReplyDeleteThat's a good job jobbed! The bit I don't like is gluing all the base bottoms to the perforated tops before painting.
ReplyDeleteVery nice work.
ReplyDeleteReally nice trays. Worth your efforts. ;-)
ReplyDelete