As always we randomly generated the forces with each side limited to 24 units across four brigades. The card gods threw up some unpleasant surprises - both sides fielded a large number of cannon and I for my sins ended up with only two pike blocks and a wealth of dragoons and muskets.
Upon reflection the Royalist force was much more balanced and by virtue of a single high die roll chose the more defensible of the two sides.
The engagement was quite simple the side holding the Powder Mills at the end of the evening won the game , As you read through the AAR I apologise now that the game was not fought to a conclusion - we ran out of time. However I am committed this year to report all of the Shed battles.
Next Admission: I forgot to take a picture of the total battlefield but suffice to say the Mills were sited in the middle of the table alongside a fordable stream. All units bar artillery could cross the river with a six inch movement penalty and charge bonuses negated to any attacker assaulting the opposing banks.
Our opening deployment usually ends up with the opposing cavalry forces facing one another however in this game the dearth of cavalry meant that this did not transpire.
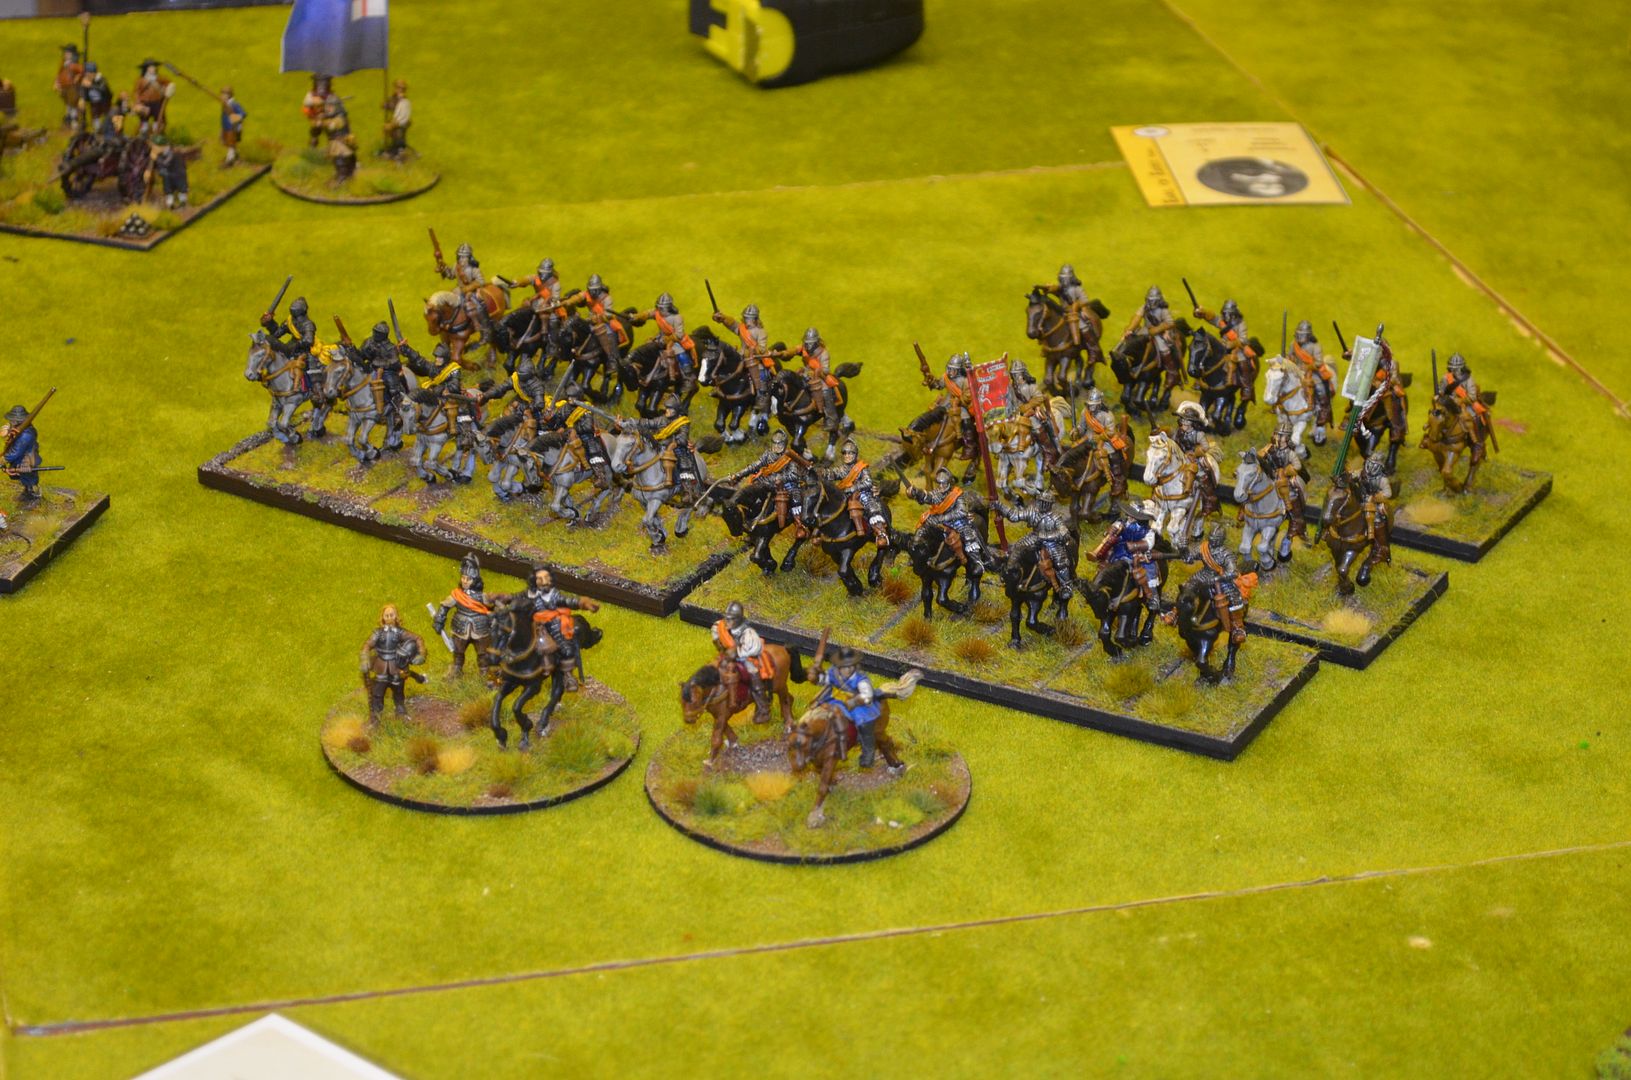
The Royalist left flank was anchored by the village in which Mark placed a number of clubmen units, a pike unit, his commanded shot and a musketeer unit. Facing them were the might of the Parliamentarian horse commanded by Essex with two Curassier units. Realising that assaulting the village with horse and no infantry support was going to be a futile exercise I pushed my horse into the centre riding past the Kings jeering infantry.
I figured the Royalists on the left flank could be ignored as I pushed for the centre
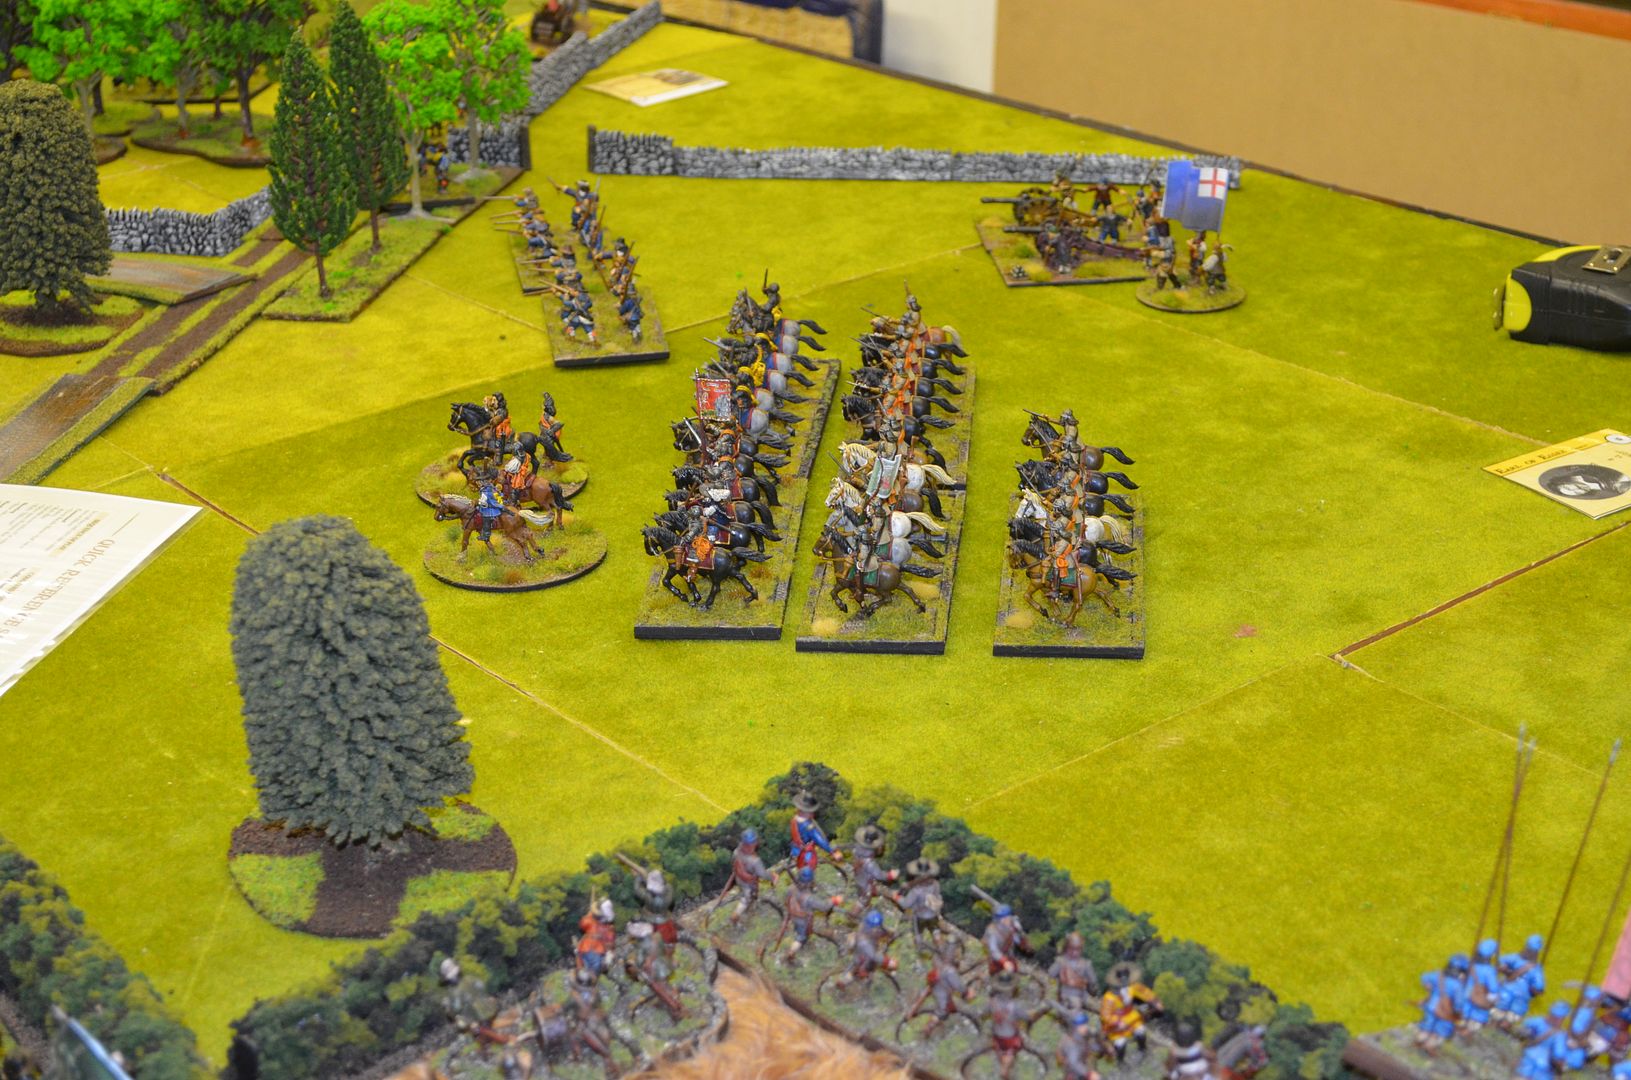 |
| The Parliament Horse advance |
 |
| The Villagers bemused as the enemy trotted past - their firearms having little effect |
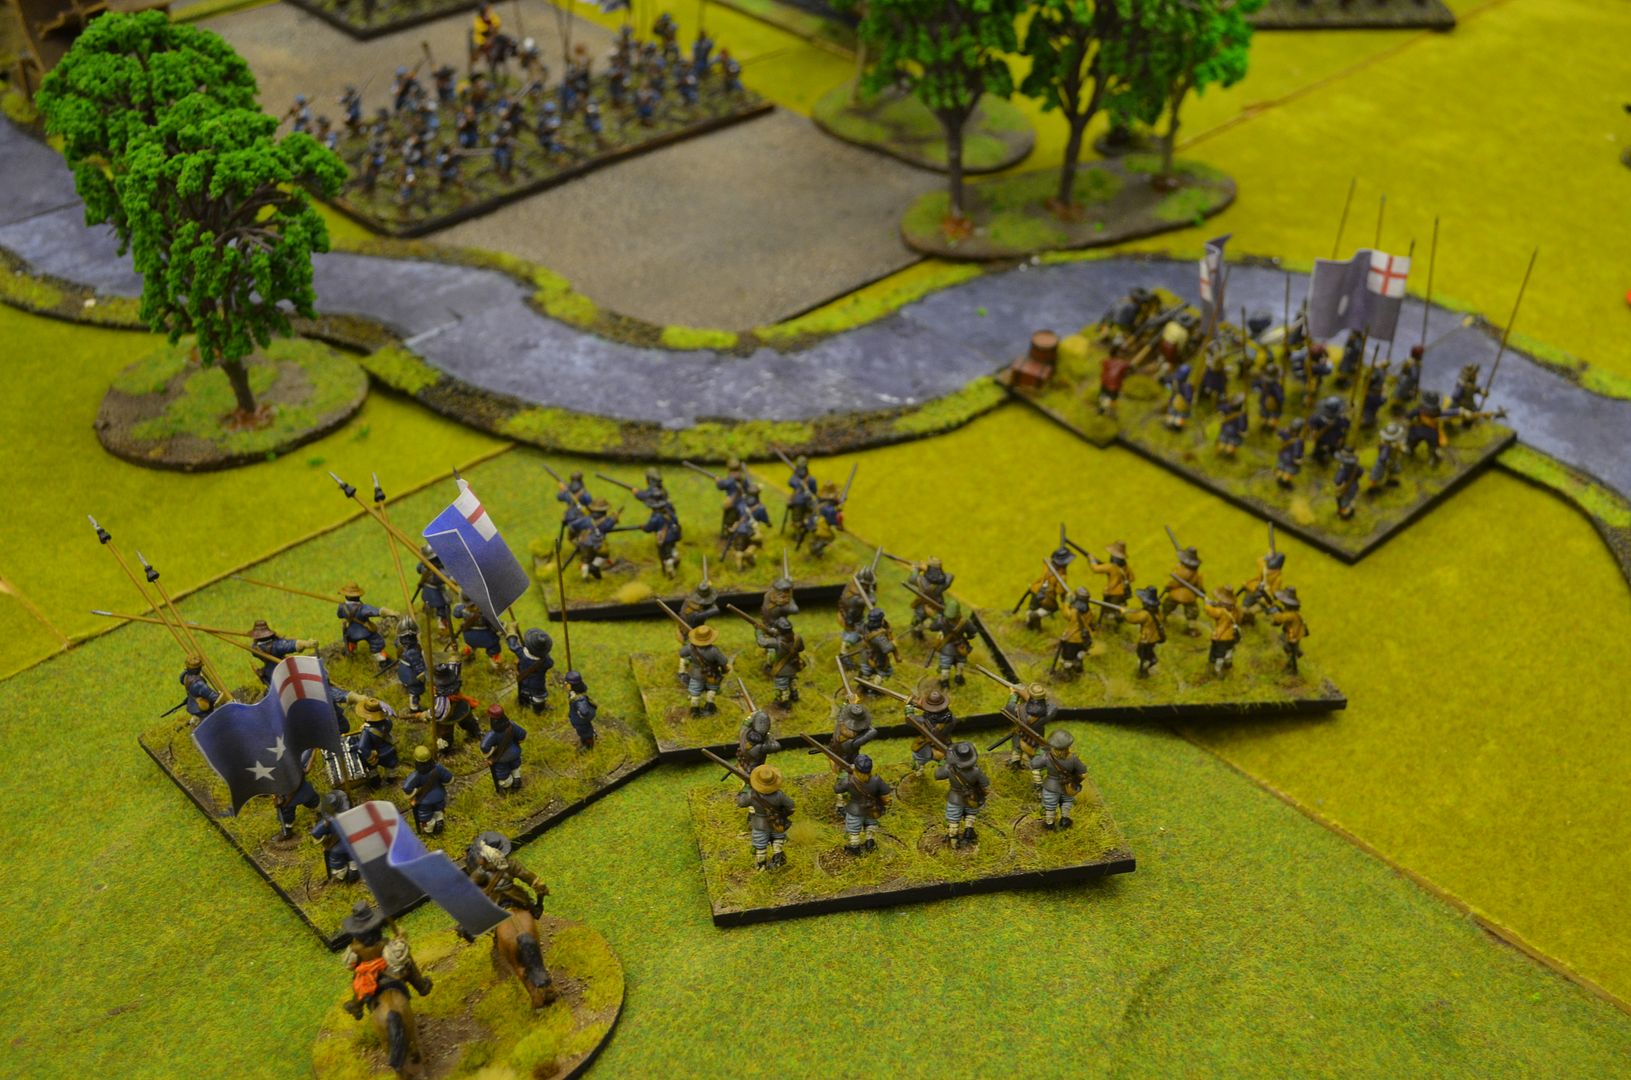
The target of my Horse was Marks centre battalion of infantry all nicely arrayed alongside the bridge leading to the powder mills.
With no Royalist horse support nearby this was going to be different.
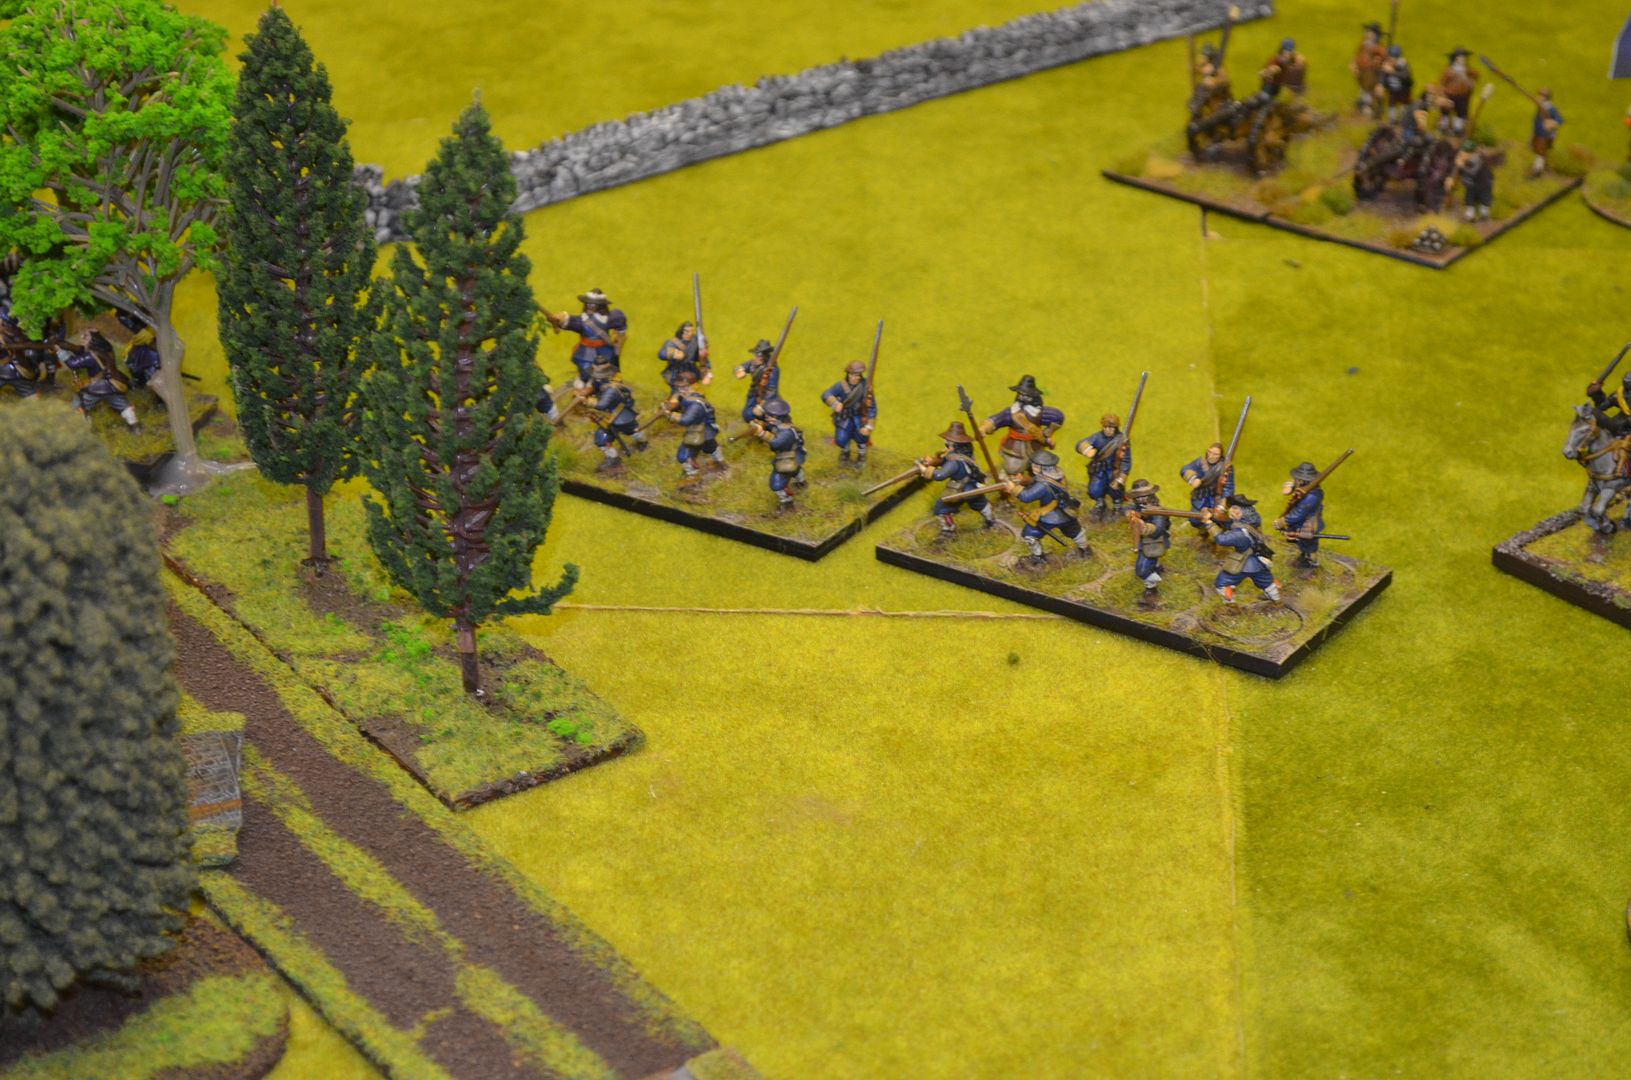
Elsewhere I pushed my centre musketeer companies up the middle to offer support to my advancing horse. Units would be attached to the assault on the mill.
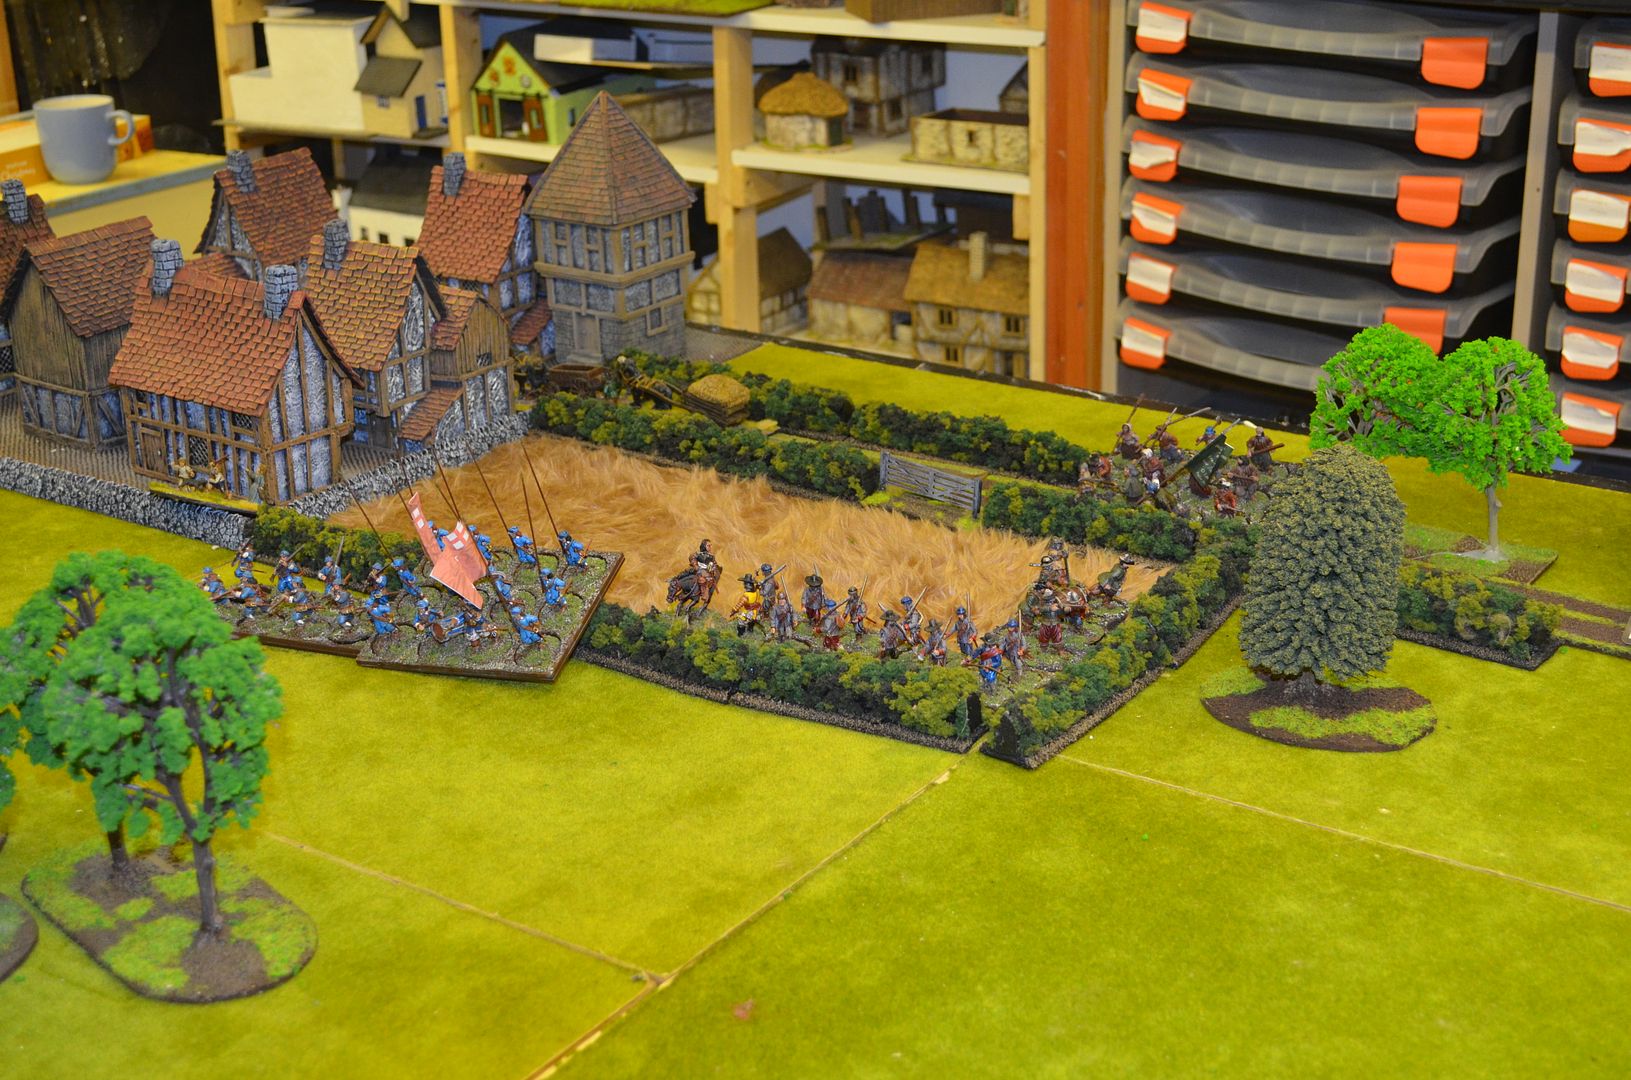
The infantry pressed forward taking advantage of the cover in the tree lined road.
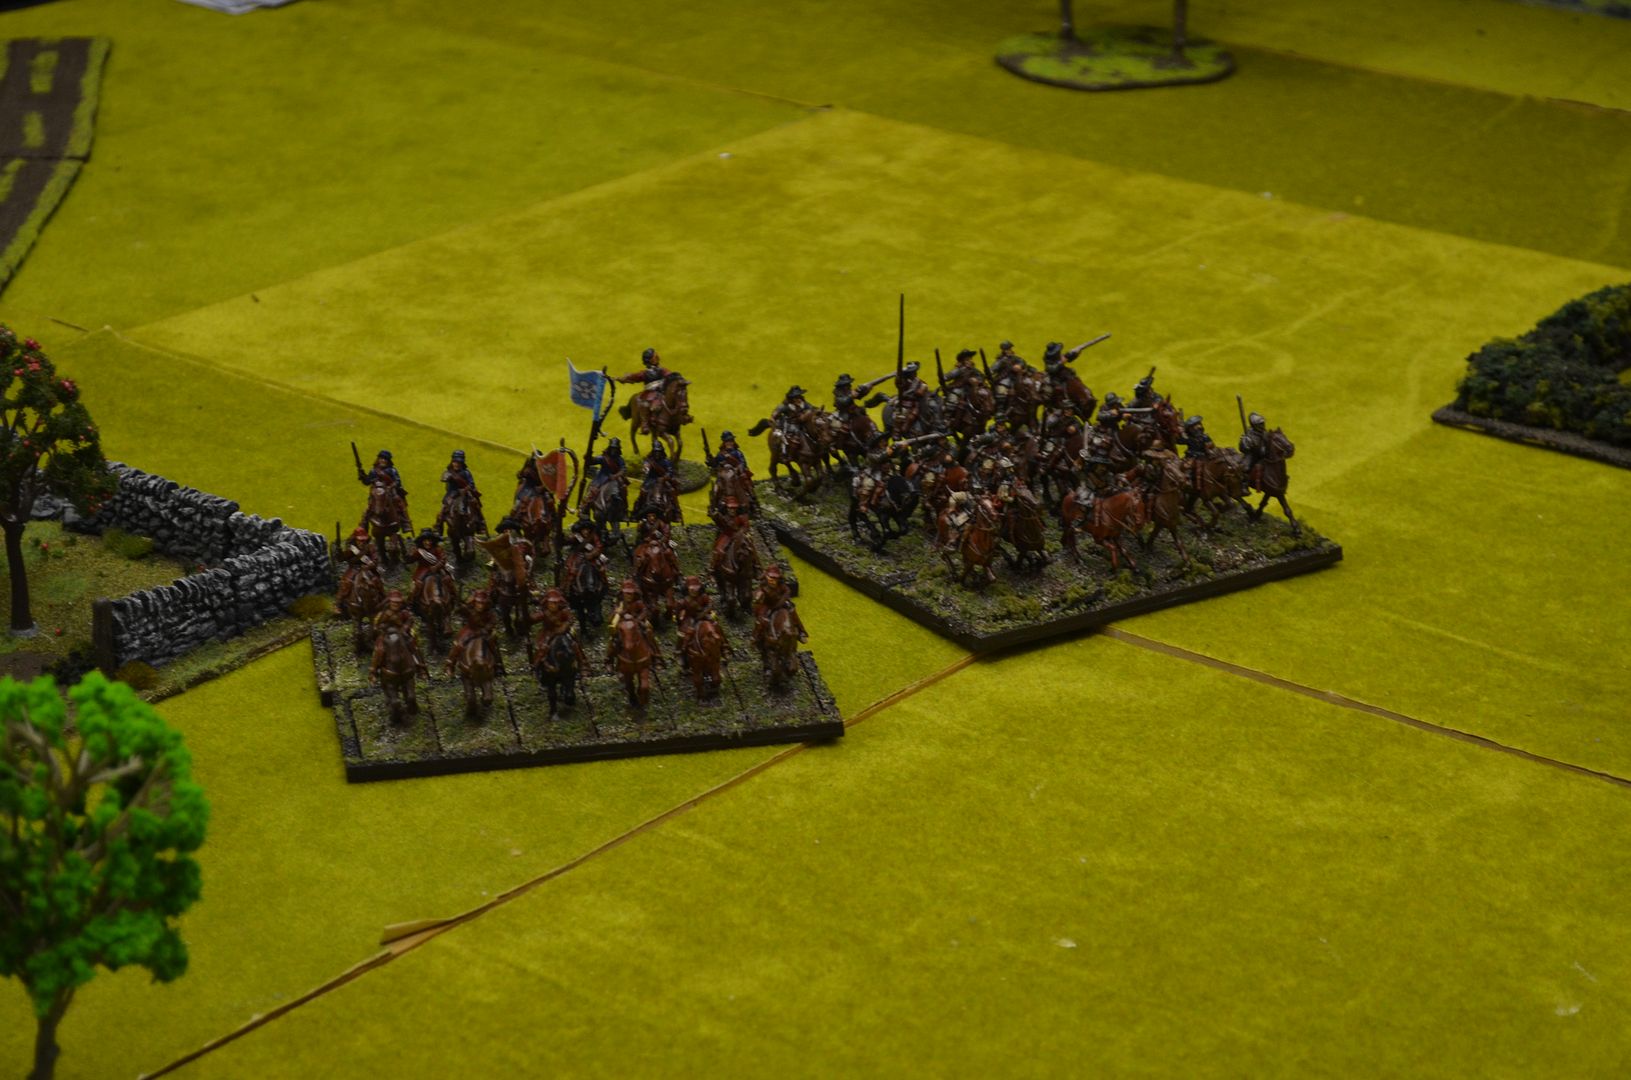
The Rounhead horse continue to advance on the Cavalier centre
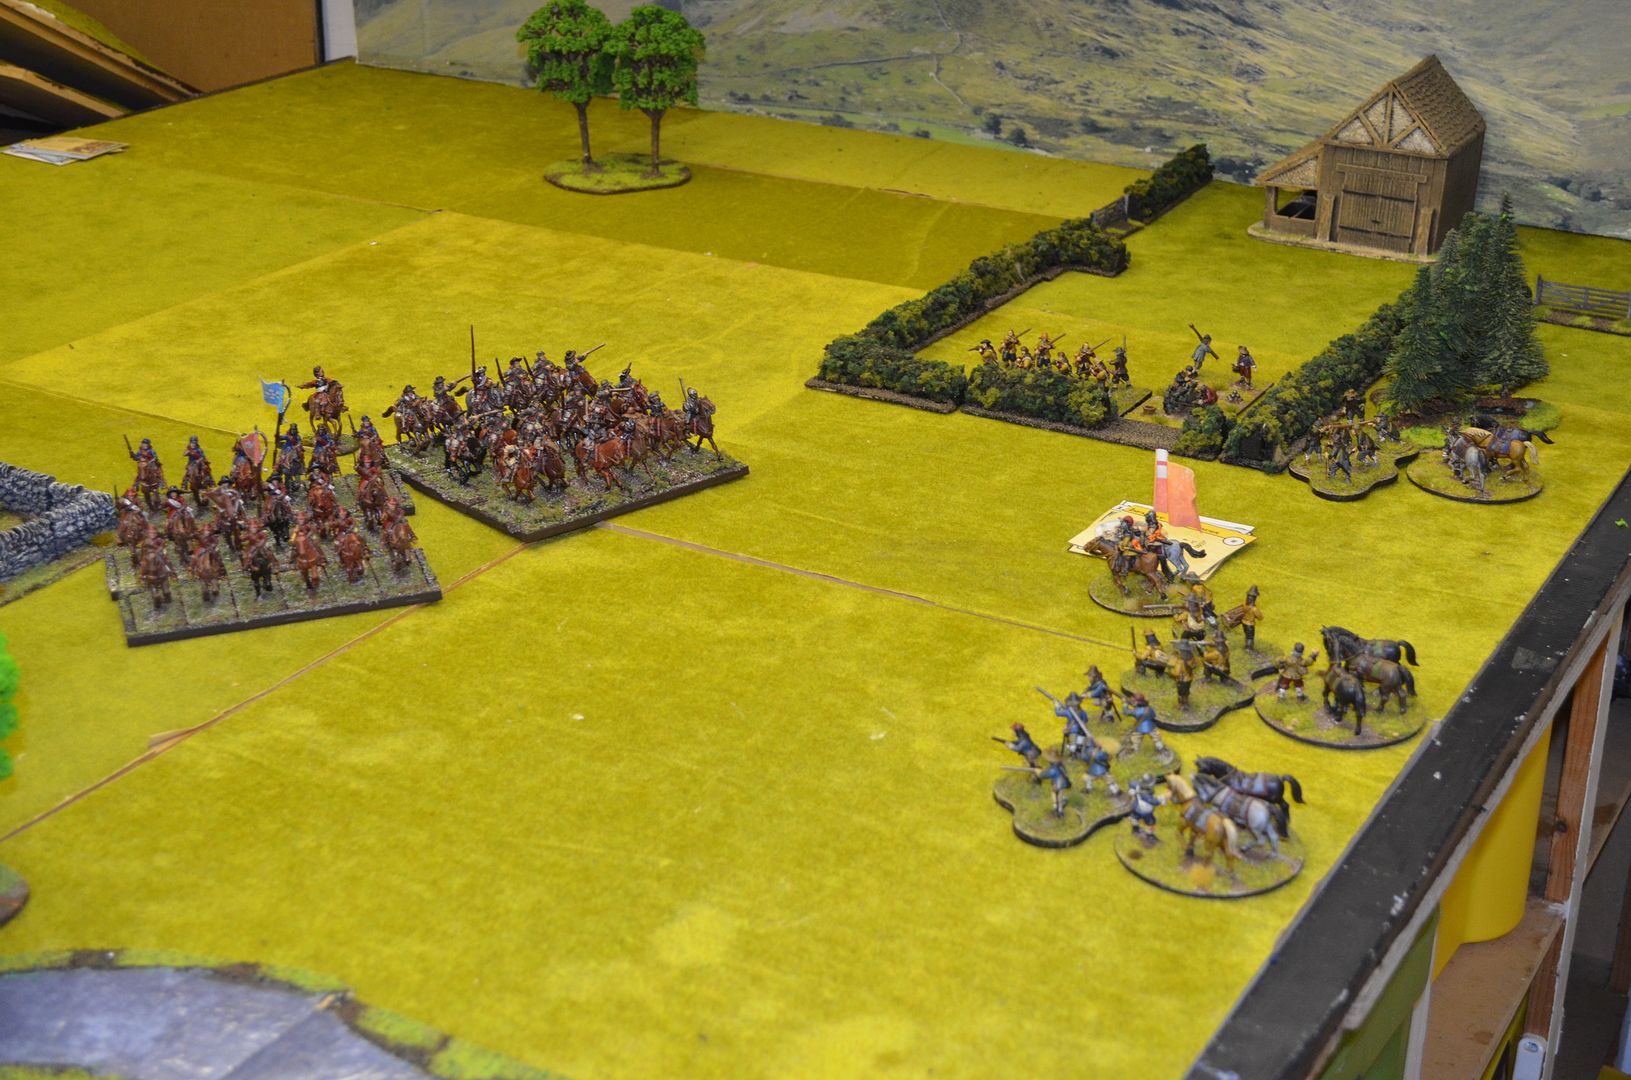
Over on my right flank things were not going so well. The Cavalier horse quickly disposed of my dragoons and were able to break this battalion in the following turns allowing the Cavaliers to threaten my centre across the river.
Despite dismounting and offering fire the Roundhead dragoons were driven from the battlefield - with the first rebel battalion broken things weren't looking so good my side of the table
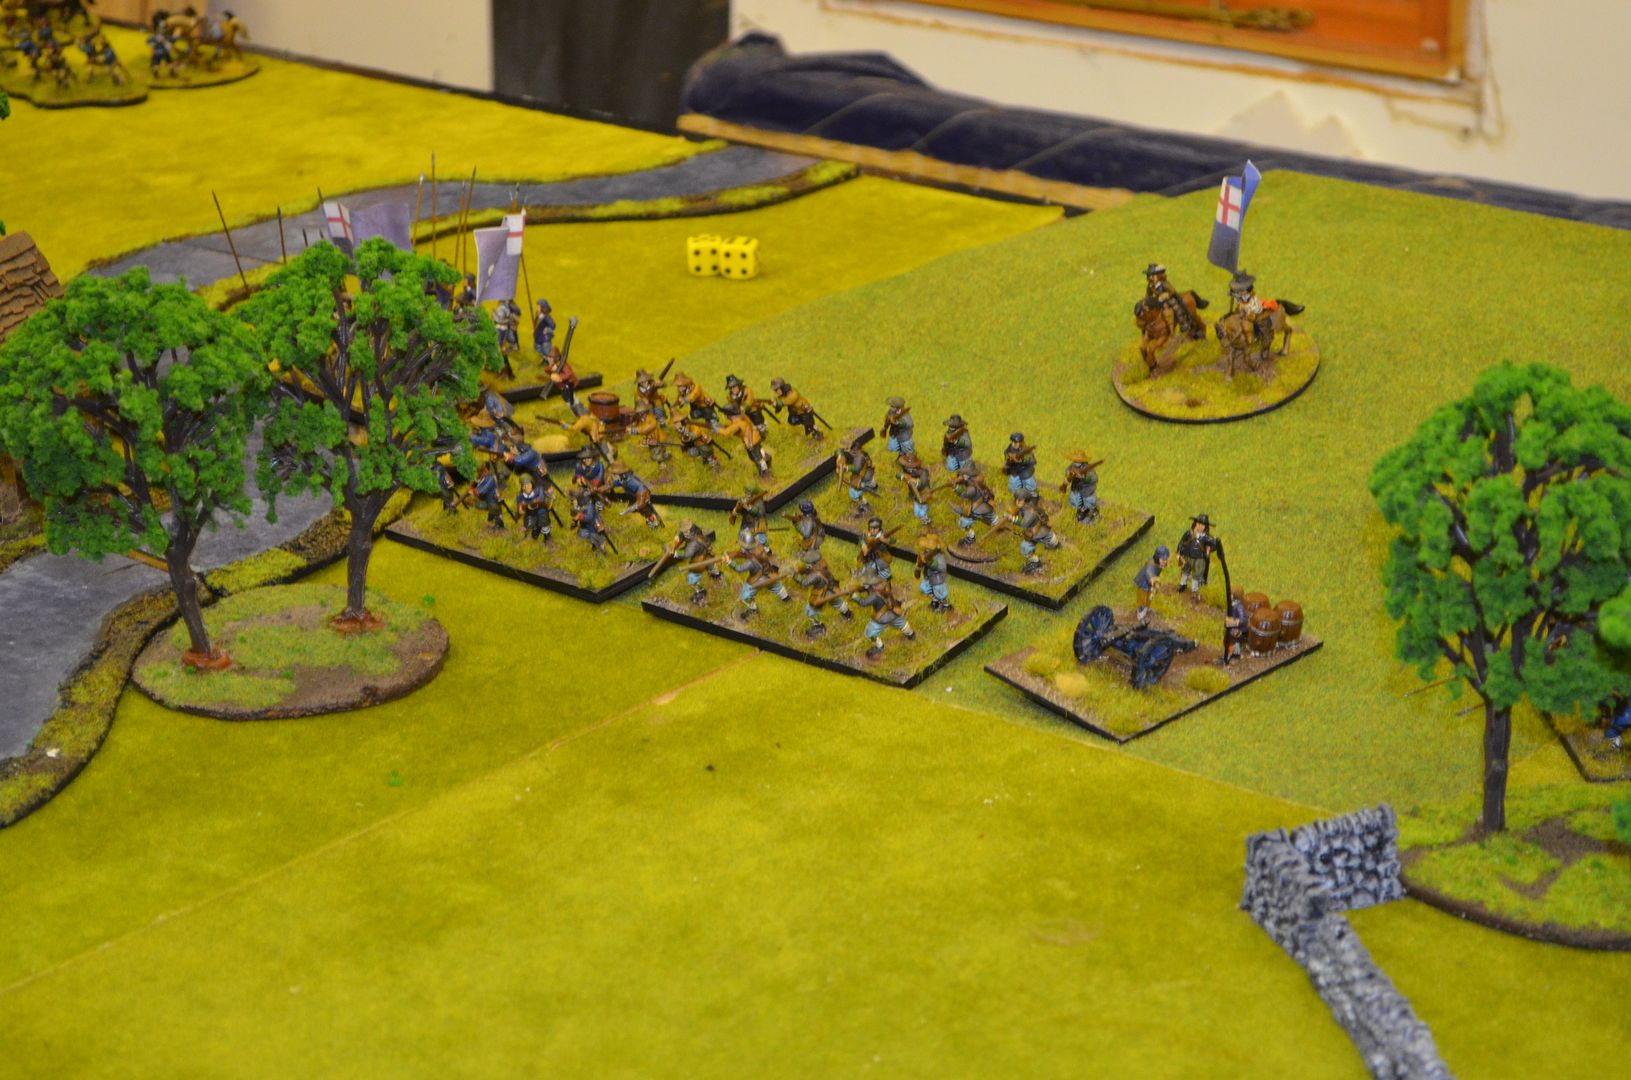
By now Marks right flank in the village had no targets sdo his units left the safety of the field to target my artillery in the centre.
At this point the Rebel horse could charge the centre Kings infantry or about face and catch the Village battalion in the open. My musketeers had formed up and were beginning to have a telling affect on the forces arrayed in front.

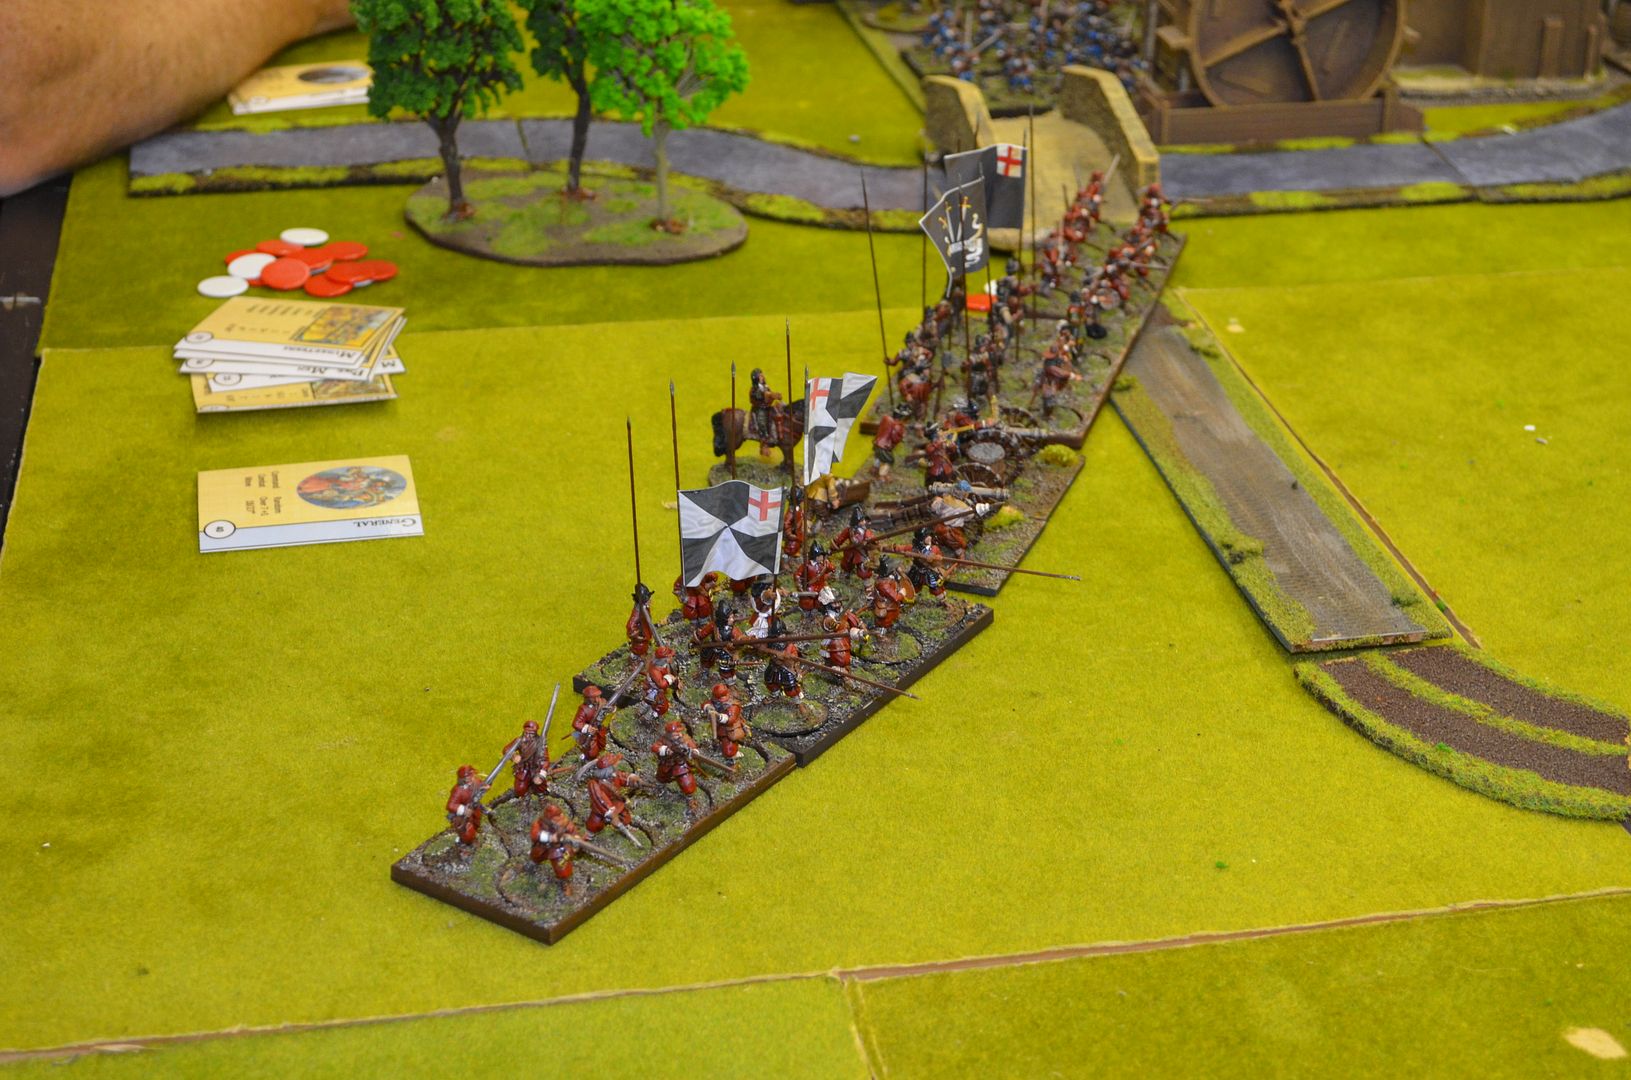
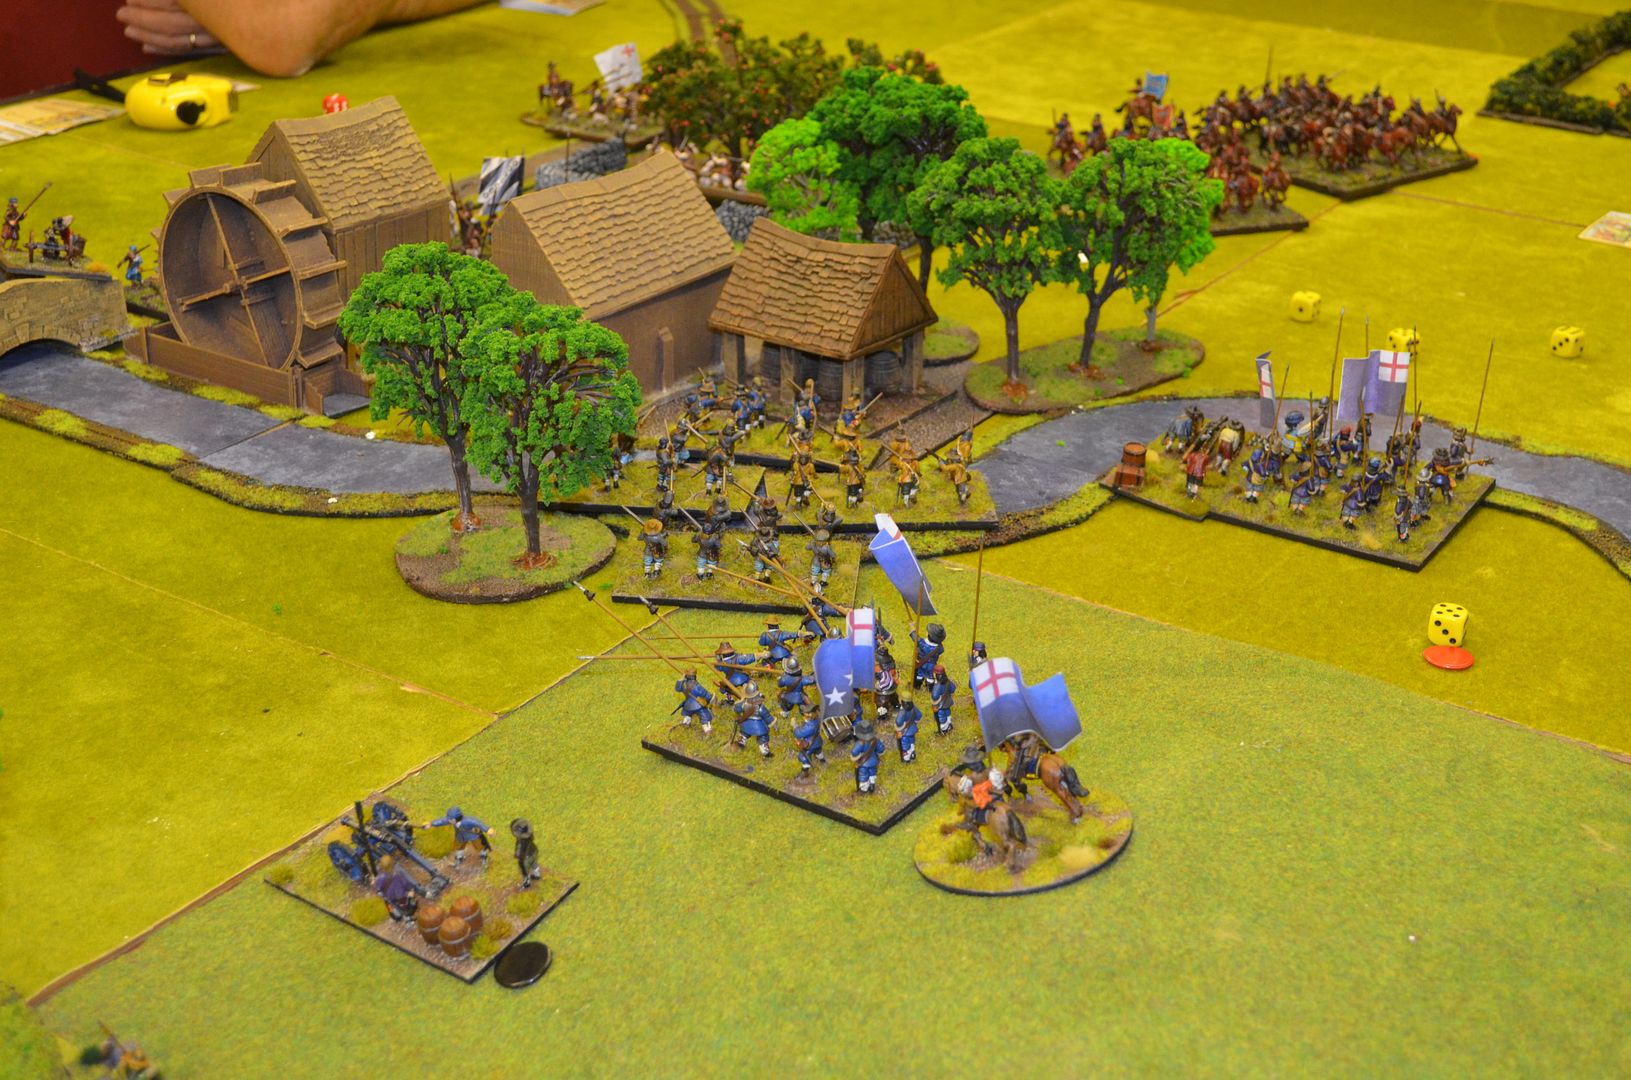
With a cry of onwards for God and Parliament the rebels attacked the ground around the mills. They surged towards the stream intent on pushing the Cavaliers from their defended positions.
Blunder ! The advancing troops decided enough was enough and they retreated away from the Mill. Next turn they pushed forward again and a bitter melee ensued around the mill.
Fighting erupts around the mill - fortunately one of my two pikes was on hand to guard the river from the approaching Cavalier horse
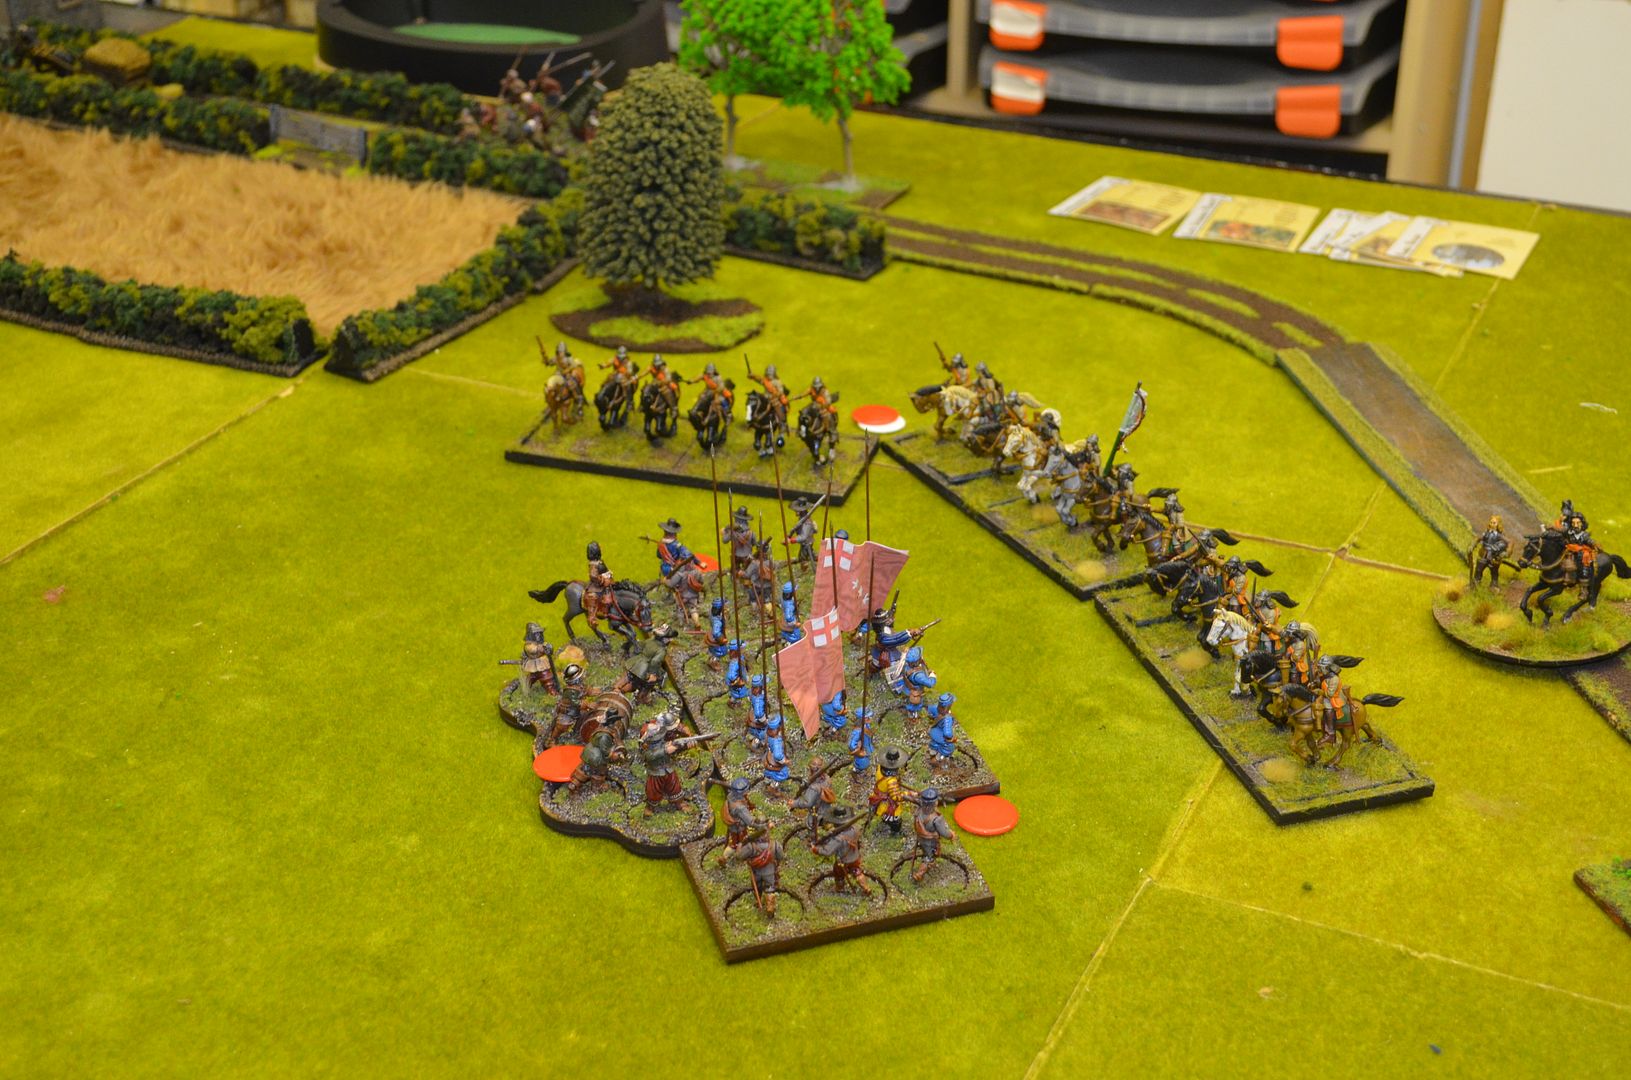
Back over in the centre half of my cavalry had forced the defending royalist infantry into a hedgehog - no way were we going to charge but the Caracole of the cavalry and the supporting musketfire were having a telling affect.

The other half had about faced and attacked the units moving from the village. Again these units formed Hedgehogs but they weren't going anywhere fast.
Sadly the time we had allowed for game had elapsed and it was a nail biter - indeed it could go either way (Mark would argue victory was all but his given the Mill was still in his hands).
With other games to be played in the shed we had to break this down and settle for a technical draw.
As a point of reference we use red counters to denote hits, white counters for disorder and black counters for shaken units.
Good game, and interesting to see how your available unit types affected your tactics.
ReplyDeleteNice pics and AAR :)
ReplyDeleteAs ever an interesting read, supported by fine pictures. Glad you are back in the shed!
ReplyDeleteI hate you ... in a loving way! Man, I've got ECW on my list ... but you always make it through projects in such a way that always makes it look so easy!!! Love it though - you are an inspiration to us all. Shed expansion, many periods and regular games. Man, I envy you!!!
ReplyDeletelooks like a hard fought draw , lots going on !!!!
ReplyDelete