Part 3 can be found here - a link at the end takes you to part 5
http://shedwars.blogspot.co.uk/2014/10/rocky-escarpments-part-3.html
Thanks for following this post. Its been a week now since BLAM finished and what with work, a new regime of fitness training the posts have been a bit thin on the ground.
On the good side..well we did manage one game last week (Warmaster) and I am running another tonight. Its been great fun playing the old games and if I remember ill take some pictures tonight.
My build on the escarpments has taken a bit of a hit this month so only a small amount of progress to report.
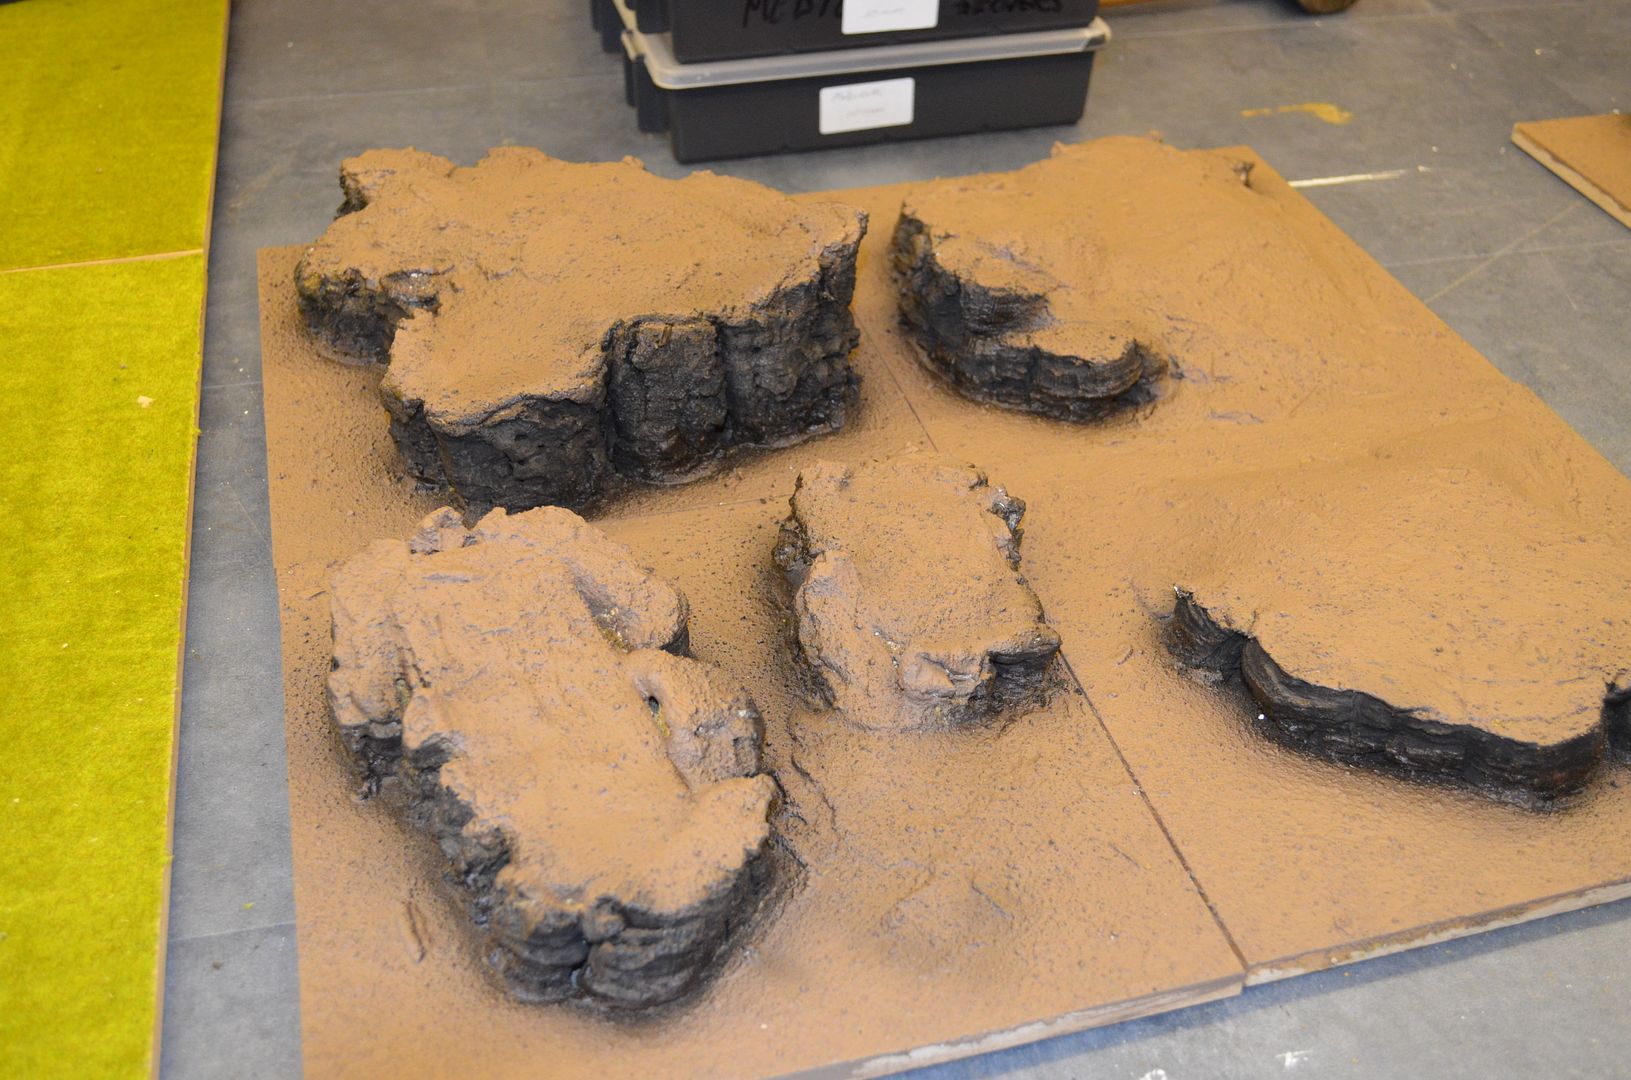
With lots of small bits of cork left over from the big builds I decided that I could use these to build some small outcrops. These are all based on 25cm square boards so will fit with overall base effect I am looking for.

As you can see from the above picture they are all based on a pink foam or polystyrene core with the cork pieces stuck around the edge.


These are just higher than a 28mm mini.

These small units will allow me to create wadi's and small rises in the ground

I used these two products in this build. Once the cork pieces were dry I packed the infills with small bits of foam then fille3d and covered using this filler. I allowed three days of drying before liberally covering the units with pva and sand.

I was still dithering on the base colour for all these when I read somewhere about the paint matching service at B&Q. Happy with the way I based my Afrika Korps I decided to see if they could match up the brown GW drab. £49 later a large tin of paint appeared.
So on when the paint - firstly on the flat desert boards

These will all of course get drybrushed and washed down to create the arid landscape I am looking for.
I then started on the cliffs and small outcrops. With these all painted I broke out my new toy - an airbrush and compressor. I used this to give the cliffs there first coat of black primer.

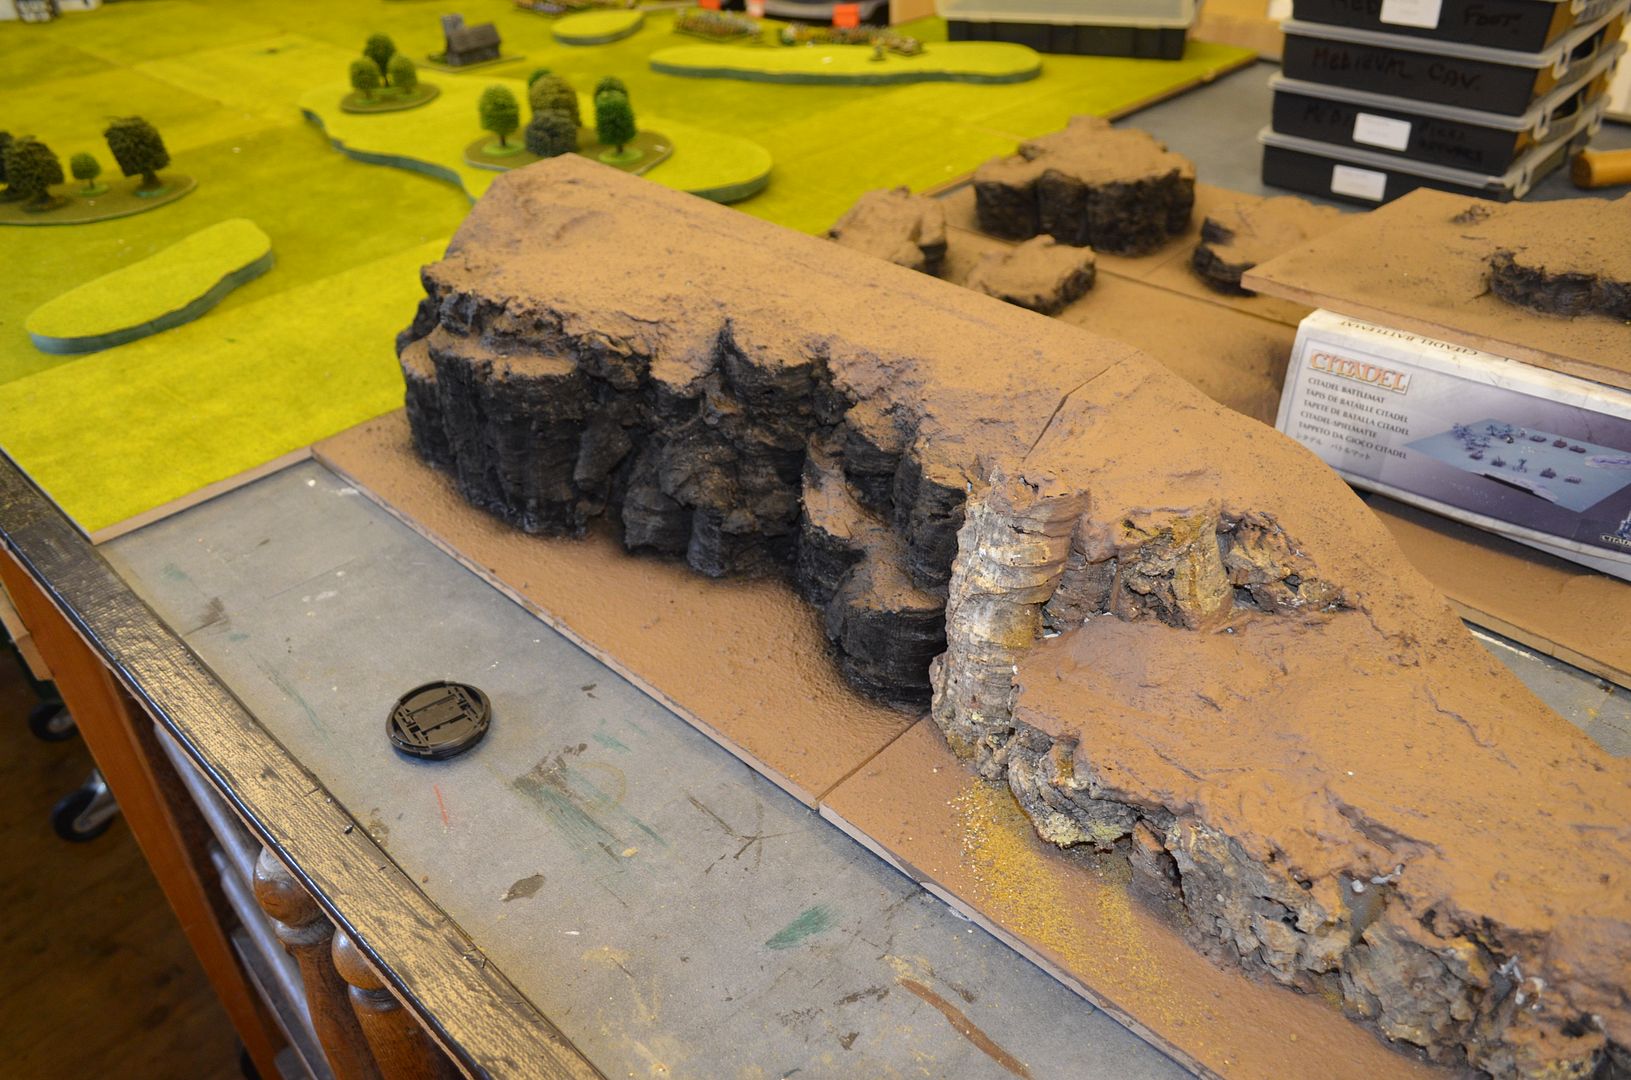
The cliffs on the left have been primed whereas the ones on the right have been untouched. Both boards have had the emulsion base coat.
Here are a few more shots of the small rocks with base paint and cliff primer

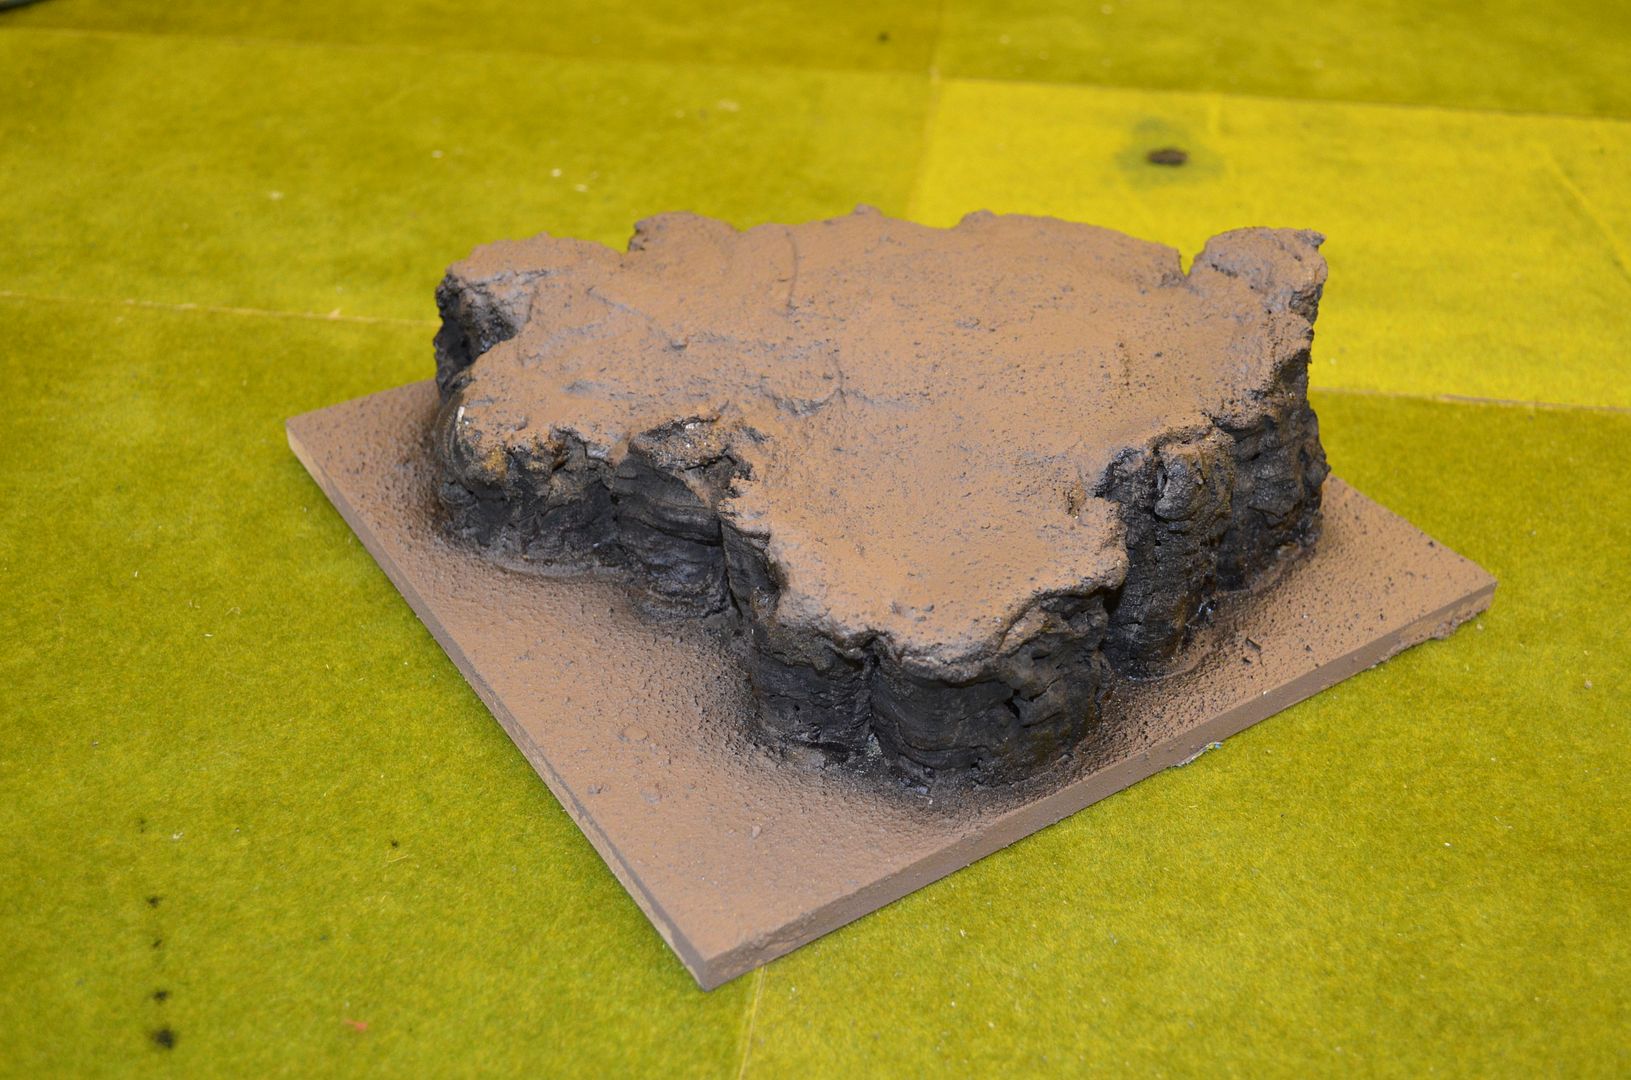
I love the way the air brush has tied to together the cliff faces in a uniform way. This will become the favoured implement for painting the cliff faces. Ill work up the face in brown and sand tones and then finish with a quick drybrush.
With over 6 metres of cliff faces to paint this is going to take time so bear with me.
I have also decided that the pyramid and temple will also get the same base treatment so there is still a long way to go...
until next time
Part 5 can be found here
http://shedwars.blogspot.co.uk/2014/11/rocky-escarpments-pyramid-finished.html
The airbrush really lets you get a different effect that is very nice.
ReplyDeleteI love where this project is going, whatever the pace!
Its very inspiring for my own North Afrika project that I'll starting soon in 15mm
This comment has been removed by a blog administrator.
ReplyDeleteThey look amazing. Nice job, I am envious as always.
ReplyDeleteOne word : Excellent !
ReplyDelete