Well Mrs Shed has been very kind and let me spend yesterday in the man cave and so I decided to crack on with the escarpments.
The Previous part 2 - can be found here
http://shedwars.blogspot.co.uk/2014/09/rocky-escarpments-part-2.html
Over the week I had been starting to fill the tops and sides with standard filler and whilst doing this I realised I hadn't actually built the boxes for my Egyptian tomb entrances. Rather than build some big boxes I built two half size versions


Again these have the same side panels allowing alignment
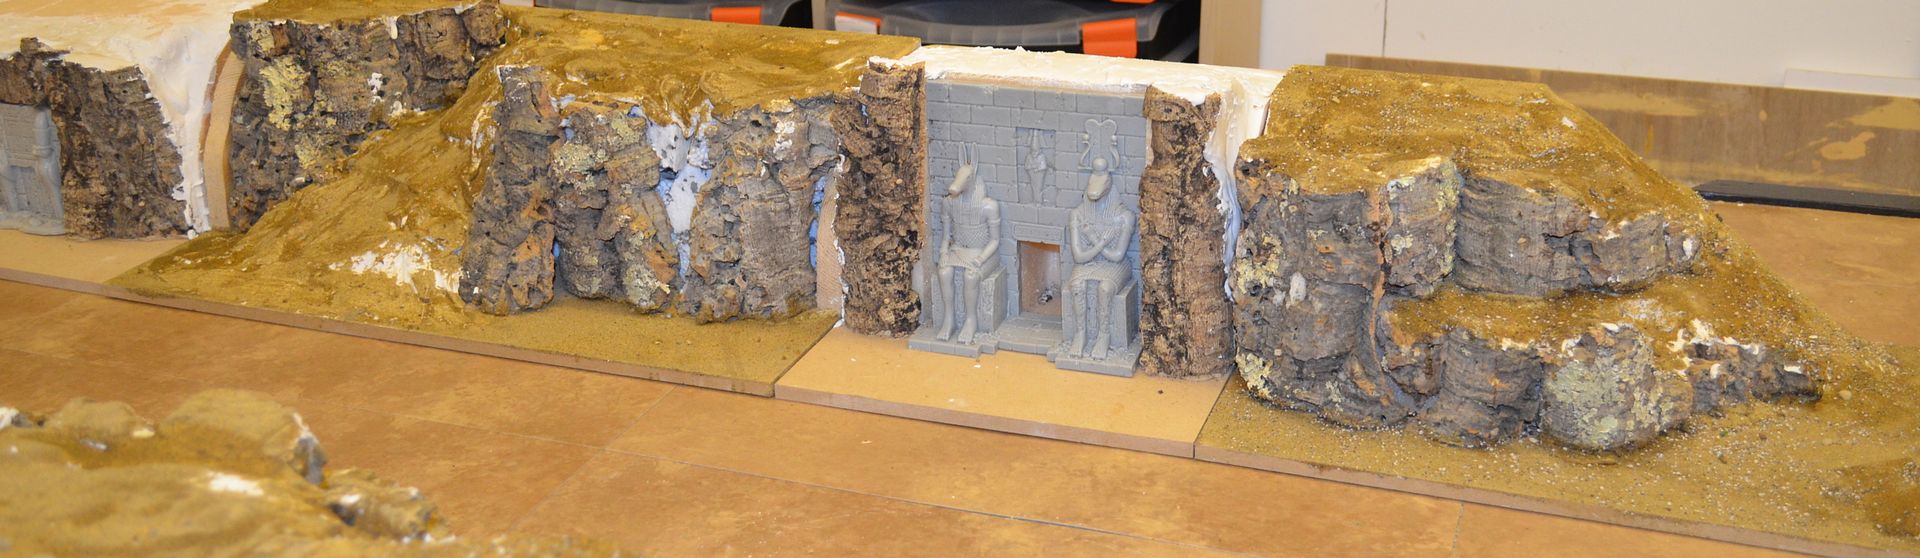
The following picture illustrates the plan for the tomb entrance better. The resin entrances shown in these pictures all come from Scotia Grendel..
Scotia Grendel Website

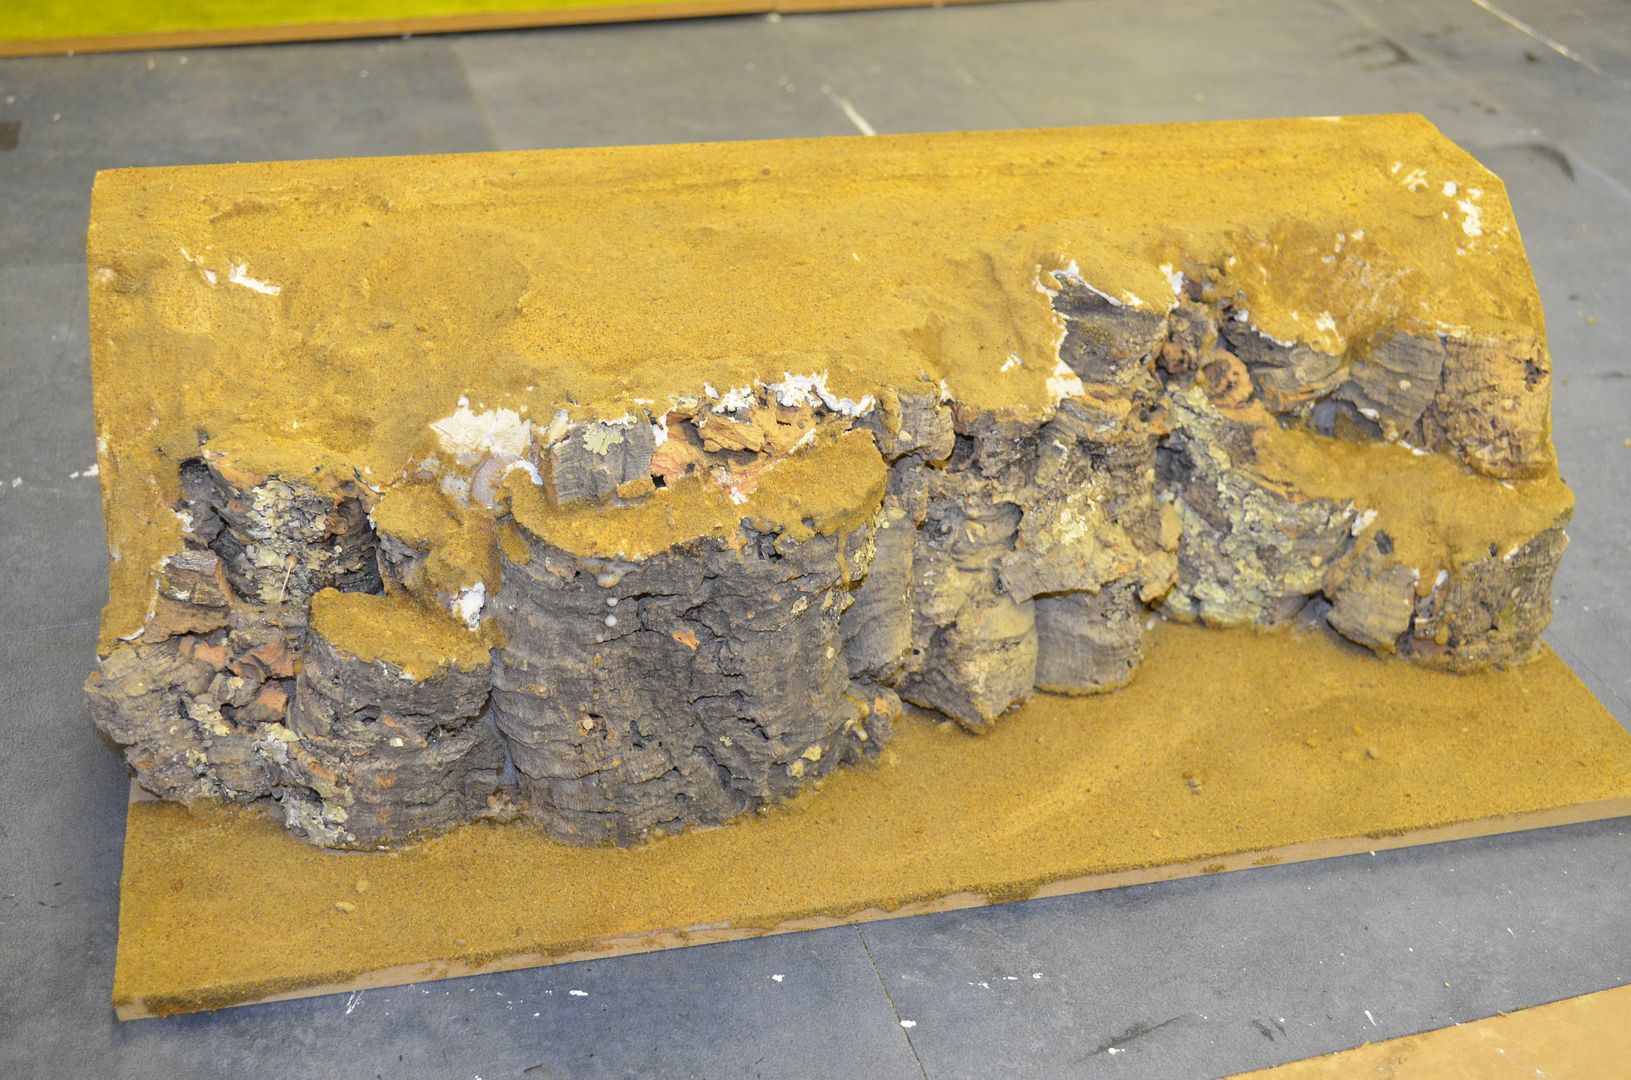
You can also see in the above picture the 'white' filler on top of the cliffs.
With the filler dry on all the big pieces it was time top start adding the sand...
Now on the subject of sand my 'mix' is a combination of coarse builders sand (found by the side of the road), fine sand from the local woods (rather funny to sneaky in with a bucket), and some model coarse rail ballast. This was all baked in the oven until
Copious amounts of PVA were used in the application and I am in two minds thinking that two coats of base might be necessary.

Starting look very good....couldn't help putting out a figure
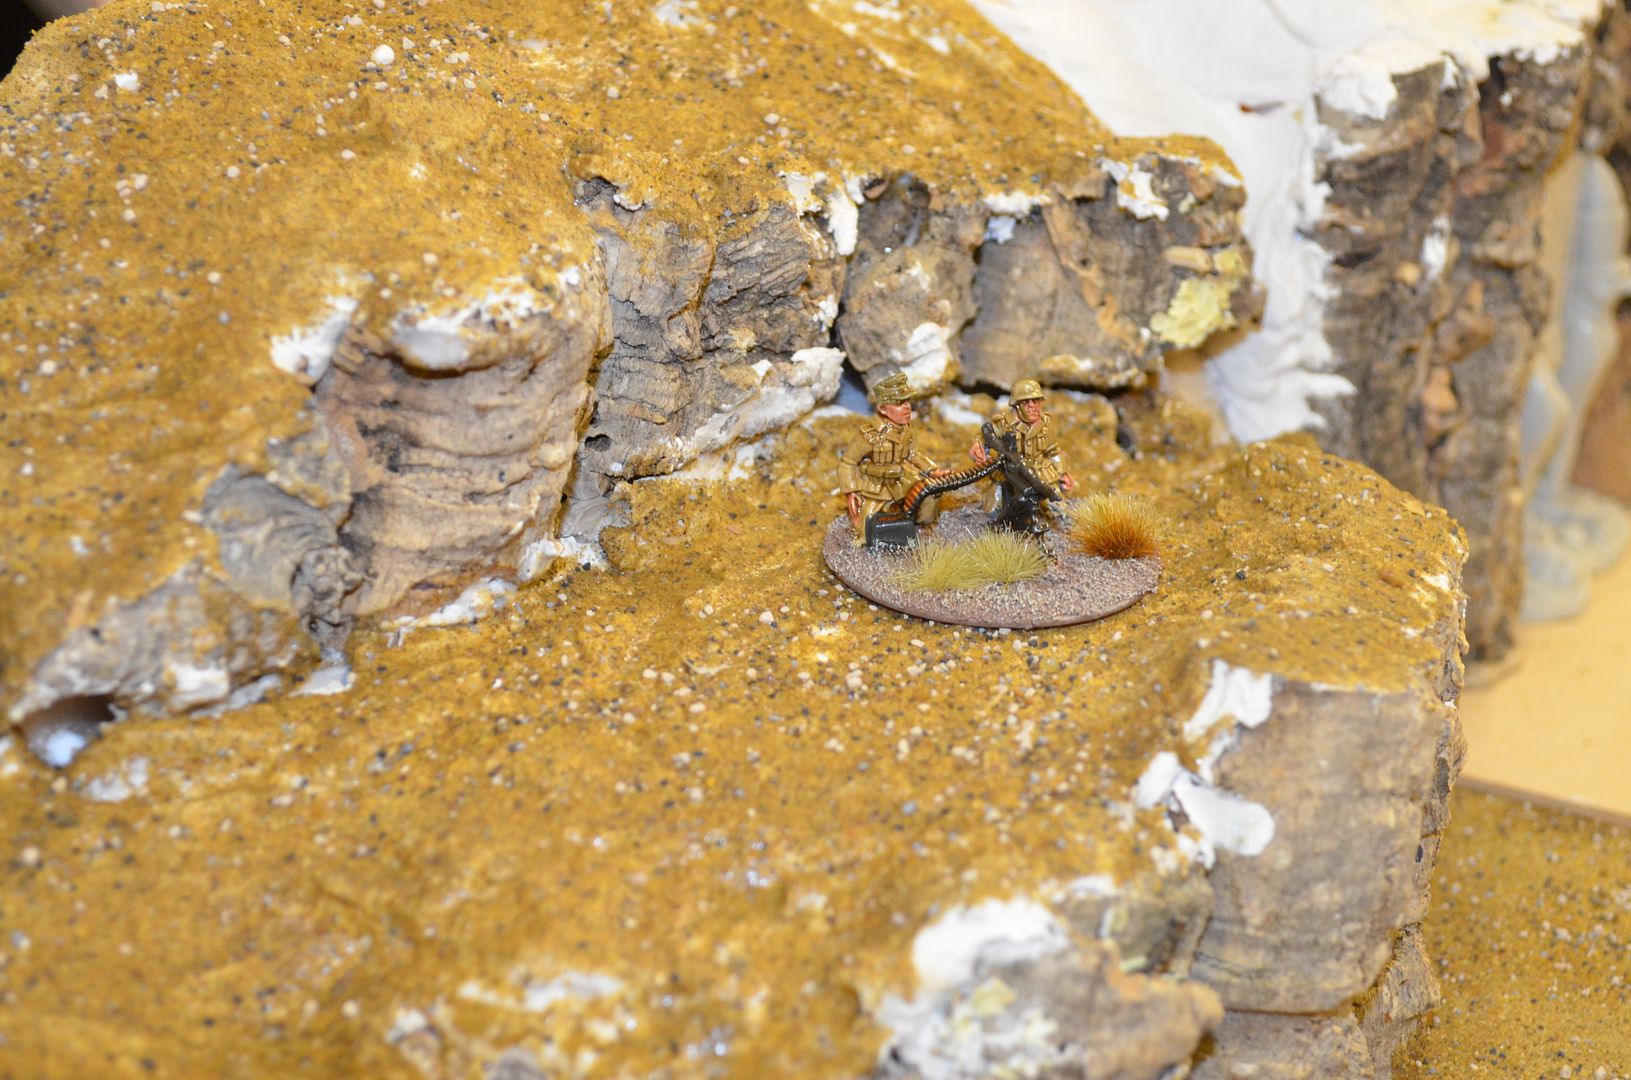
The base on the MG crew will be the colour I am going to strive for in these builds - but you can still see a lot of the white filler - this is going to need covering.
It was at this point I realised the shed was starting to get rather messy...

Back to the tomb entrances...these were built up in the same way as the big boxes...

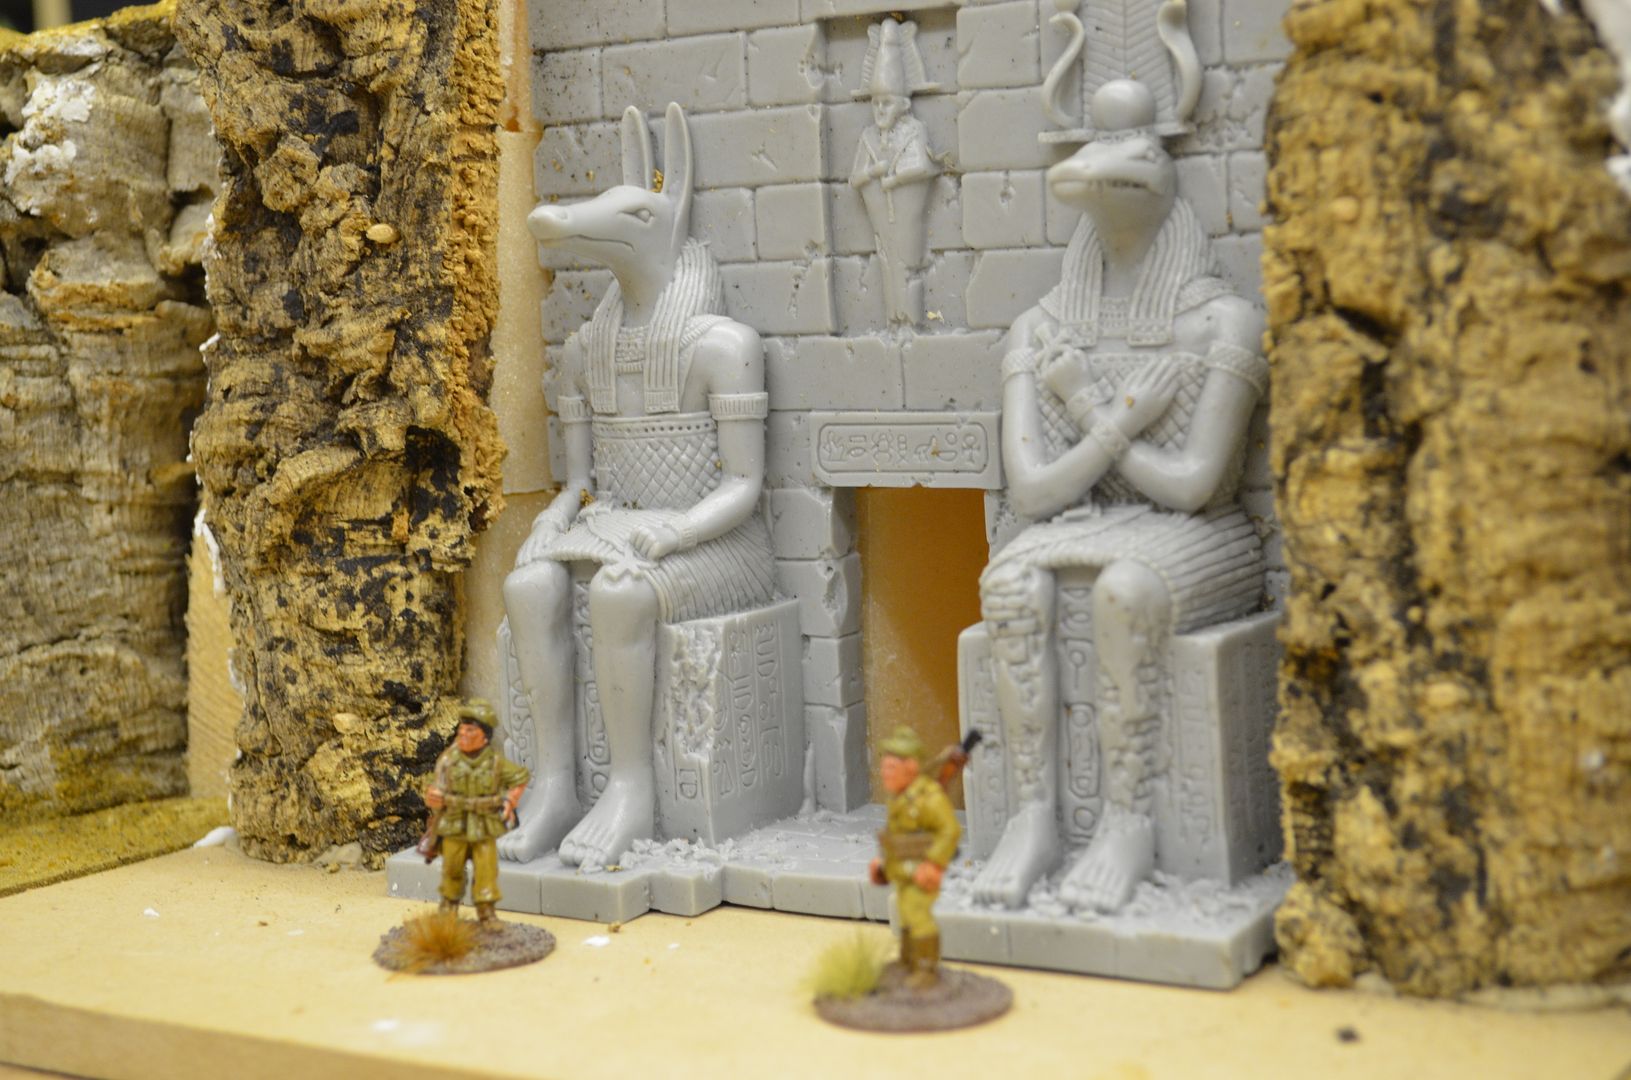 |
| Rather impressive size given the figures are 28mm |
 |
| This is a smaller entrance so I had to build up the cliff face above |
At the moment they are not fixed in place but will be eventually. The larger of the two looks really impressive.
Ok so now the last couple of shots...as you can see I now have around 5 metres of cliff face
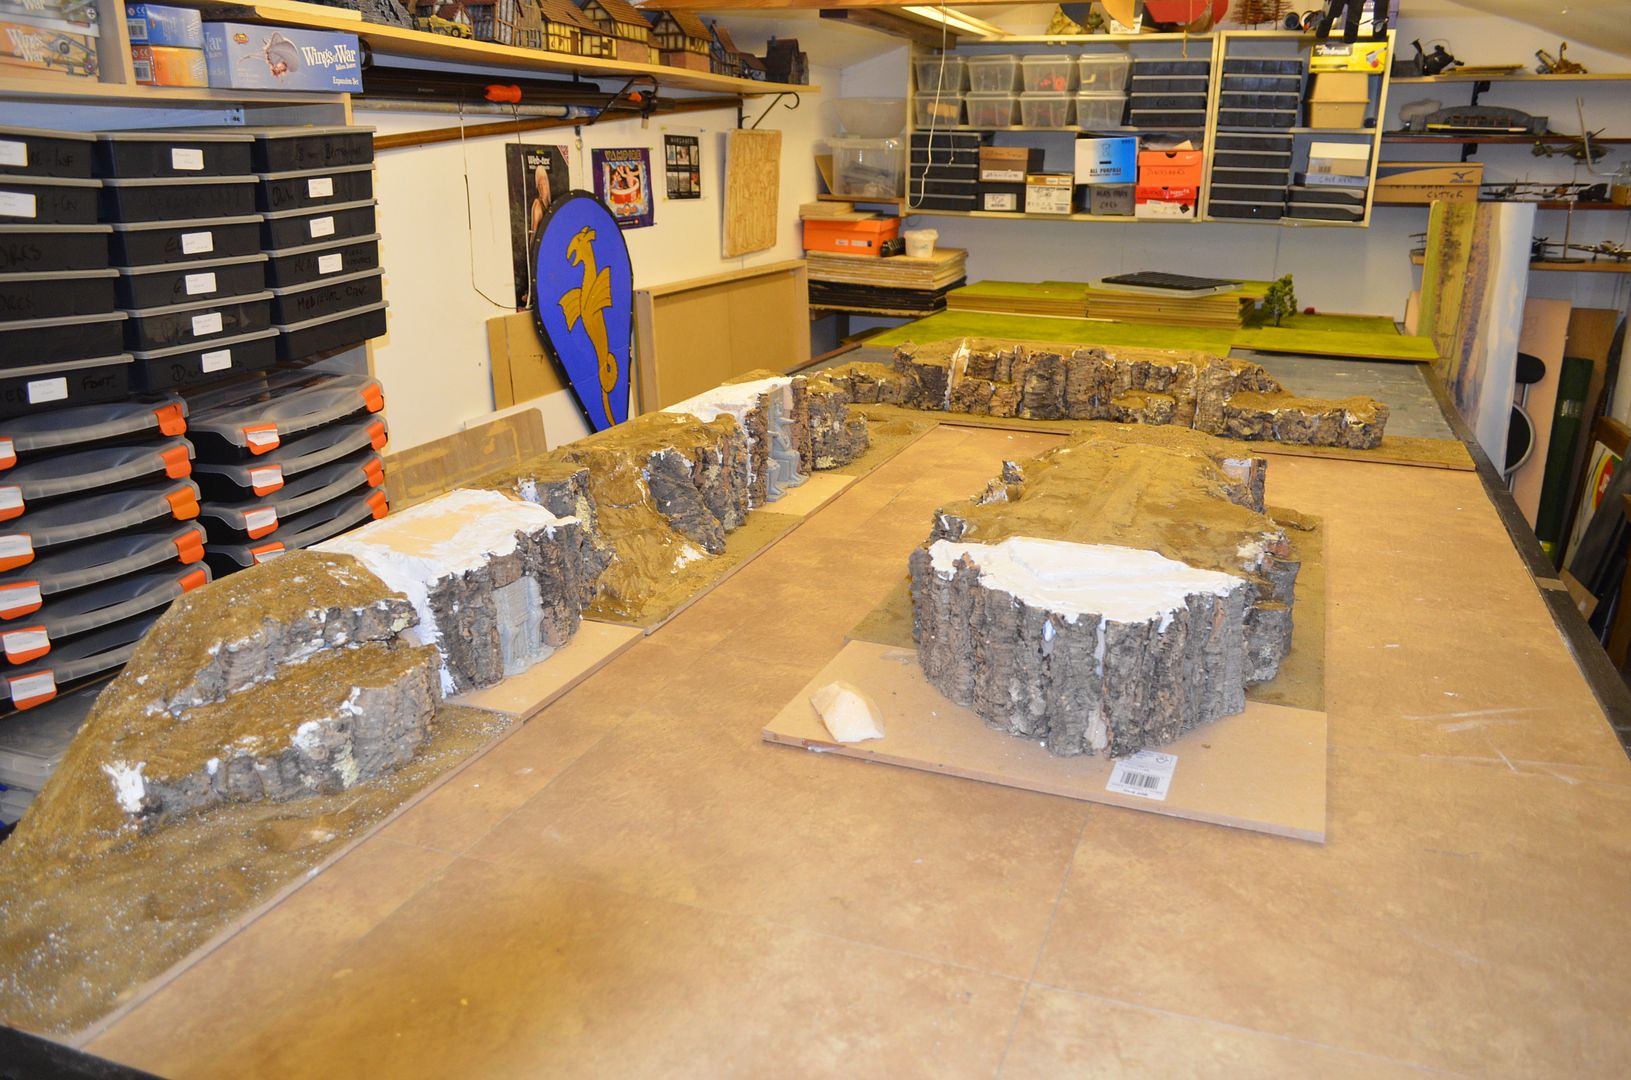
If needs must I can build two really big mesa this size - 1 metre long

And of course build the valley side for the tombs
What next...well in no particular order
1. Finish filling some of the cliffs
2. Fill in some of the rock face gaps with small bark pieces
3. Fionish the ground work...
And then paint it.
Realising that painting this is going to be a real sod I have just invested in a compressor and air brush - hopefully this will be with me next week.
This build is going to take a bit of a break - I have BLAM next week (the wargame weekend) and to be frank I want to get cracking on painting the 100+ Saracens that have just turned up
next time...
Part 4 can be found here
http://shedwars.blogspot.co.uk/2014/10/rocky-escarpments-part-4.html
My cat is wondering why I have bought cat litter?

I love th texture of the cork, and the over all effect of the stuff put together is stunning. Can you estimate a cost on the project? I'd obviously be one a smaller scale but I do love the idea of a Mesa or a canyon...
ReplyDeleteHi Herbert West
DeleteThe cost so far for this build is estimated at...
Cork - £80
Timber (Bases & Sides) - £25
Glue - £20
Filler - £25
Sand, Grit etc - Free
Bear in mind there are over 5 metres of builds here...I also have a number of smaller dunes, hillocks etc on the drawing board using the above material.
I reckon this is going to cost around £30-40 per metre by the time it is finished
Cork is usually very expensive at a model shop but much cheaoer at a pet store.
ReplyDeleteAbsolutely - buy on weight not size of sheet - the bigger sheets are so much more expensive. You are going to break it up anyway.
DeleteLooking fantastic!
ReplyDeleteI'm about to start building some 15mm terrain for Western Desert gaming, so this is really useful, thanks!
Funny you say that whilst I was mucking around I kept thinking Cowboys and Indians
DeleteLovely work! Speaking from my own experience, I'd recommend a layer of dilute PVA over the sand before you paint it. I found that in conjunction with the paint it led to a really solid surface. With just the paint small patches had a tendency to come off.
ReplyDeleteThanks for the tip...
DeleteLovely work, indeed! And a great, extremely realistic model. I also adore your basement room - looks so cool!
ReplyDeletePeter
Cheers Scheck - the Basement room is actually a shed
DeleteMy daughter loved the grumpy cat picture!
ReplyDeleteExcellent, inspired and realistic...
ReplyDelete