A few weeks back I started my Temple project but then got waylaid with other things. This afternoon I returned to the project.
If you want to read part 1 head here...
http://shedwars.blogspot.co.uk/2014/07/egyptian-adventures-temple-build-part-1.html
To begin with the whole temple needed cladding in 2mm blue foam...expensive at £5 per sheet
the temple costs around £12 but the results are worth it.
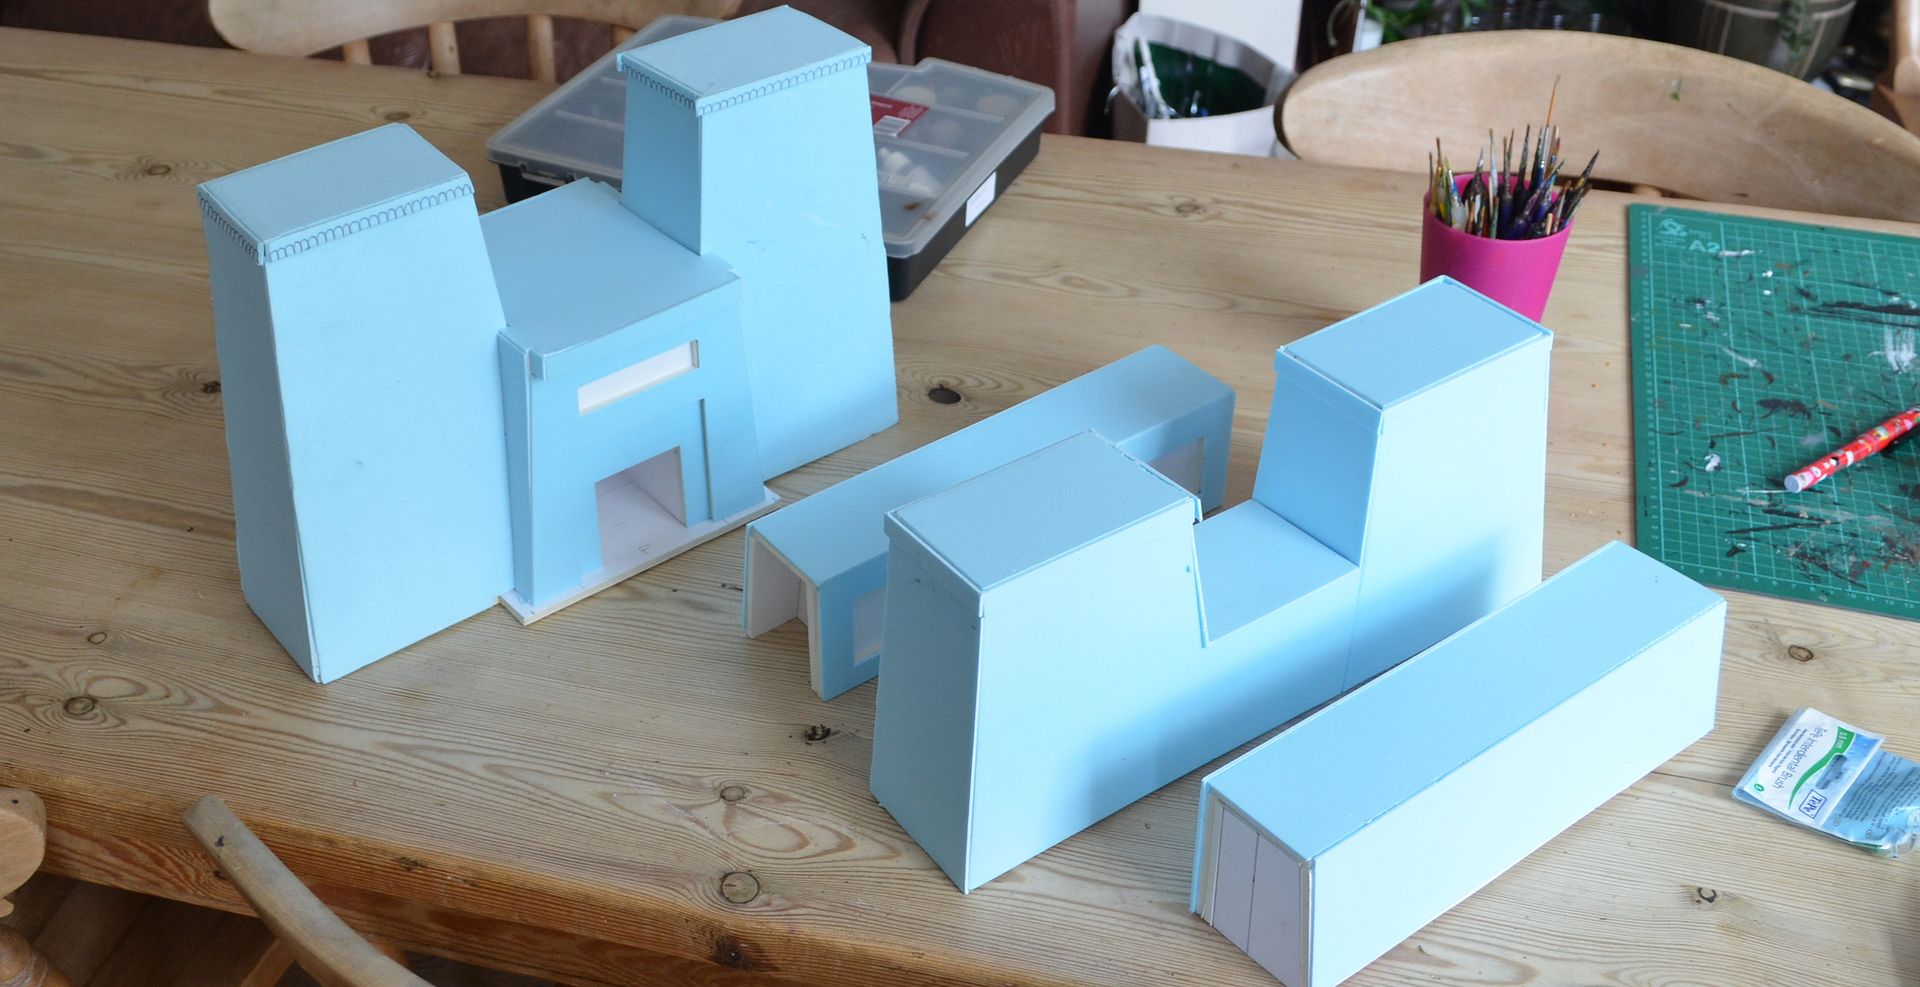
Then the walls etc needed filling. With no filler to hand I ended up using adhesive - the hard as nails type stuff. Works really well if a little messy.
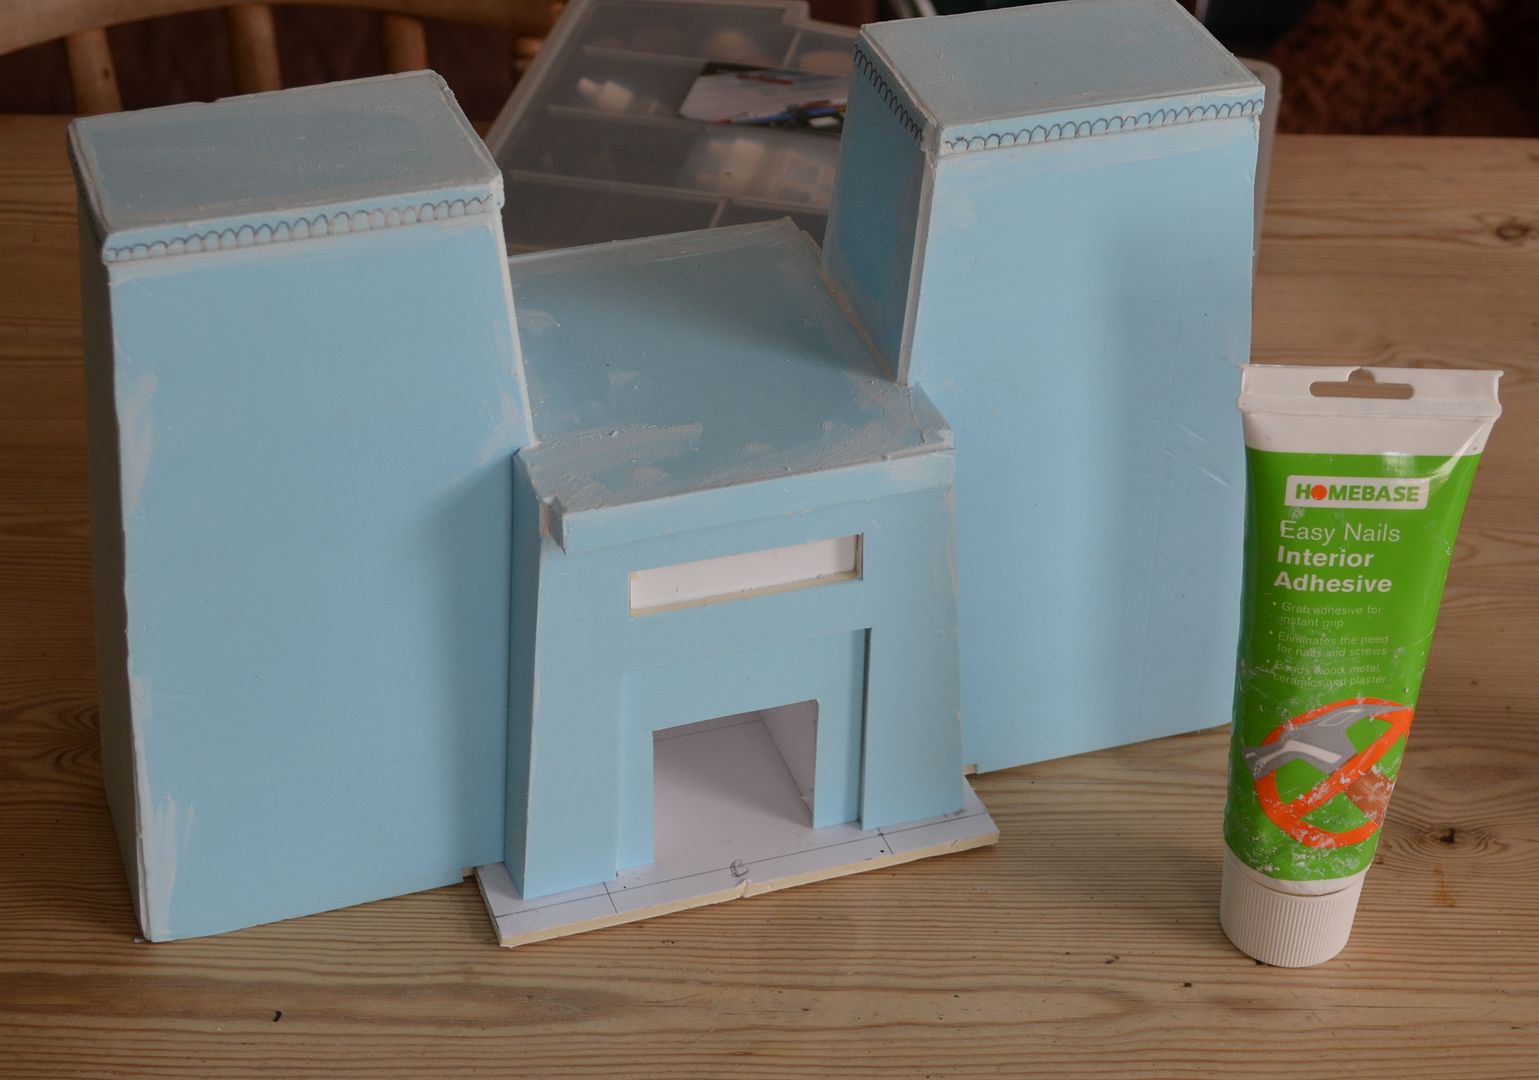
These two jobs took at least 4 hours to complete...but with some good coffee and a bit of music the afternoon ebbed away.
Next up the task of embossing the stone work. I used a rough guide of 1.5cm x 3m long blocks.
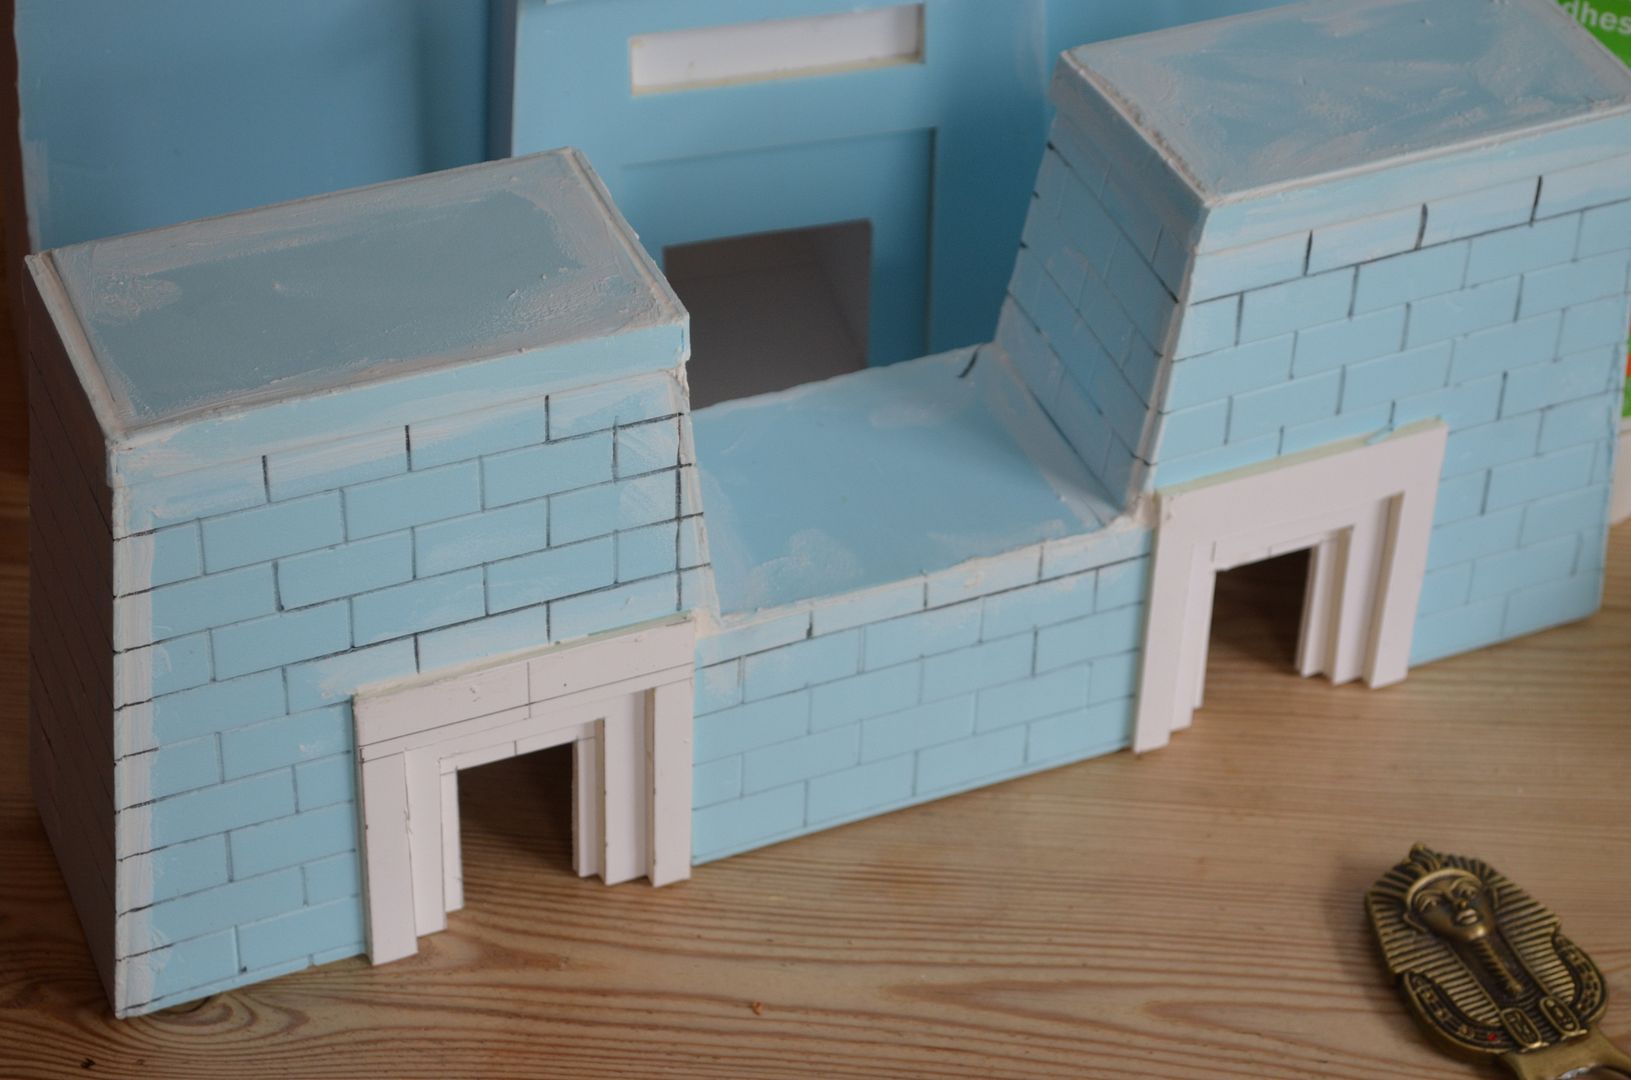 |
| The Egyptian bottle opener was for inspiration - the beer for perseverance! |
I decided that I wanted some pictures on the front of the temple...sadly my rather crude drawings are slightly comical so these will need to be redone - I'll stick a new panel of foam over the poor pictures.
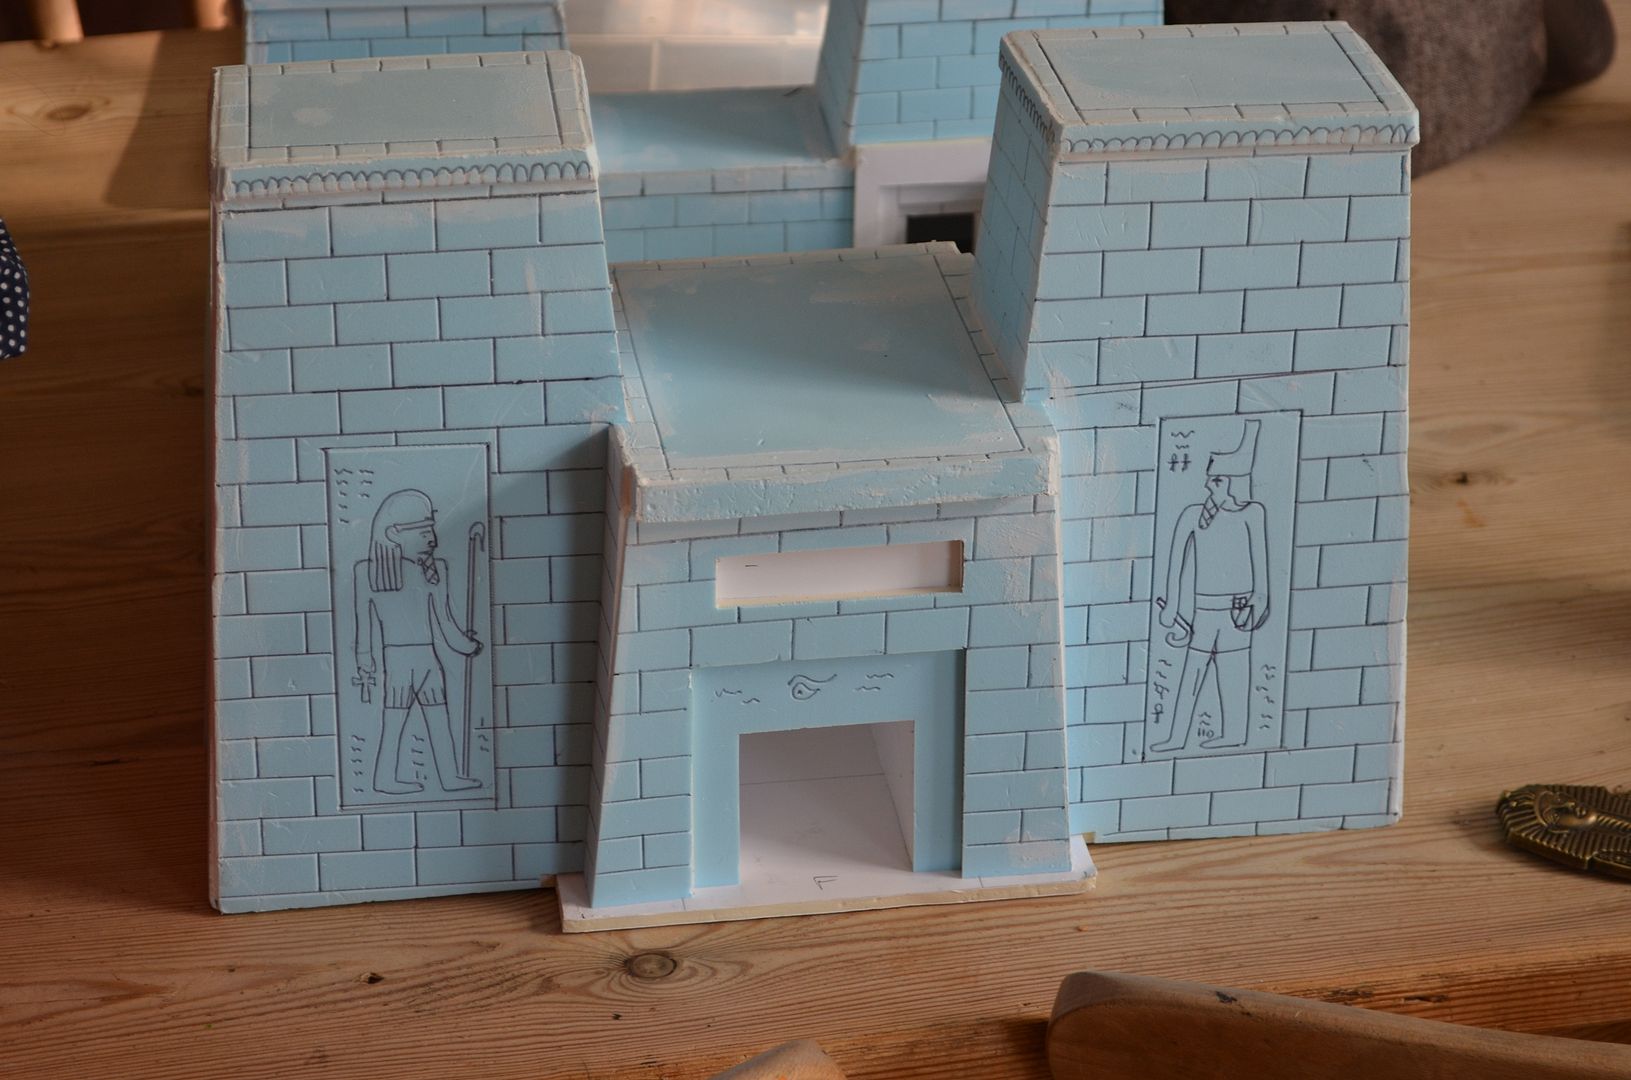
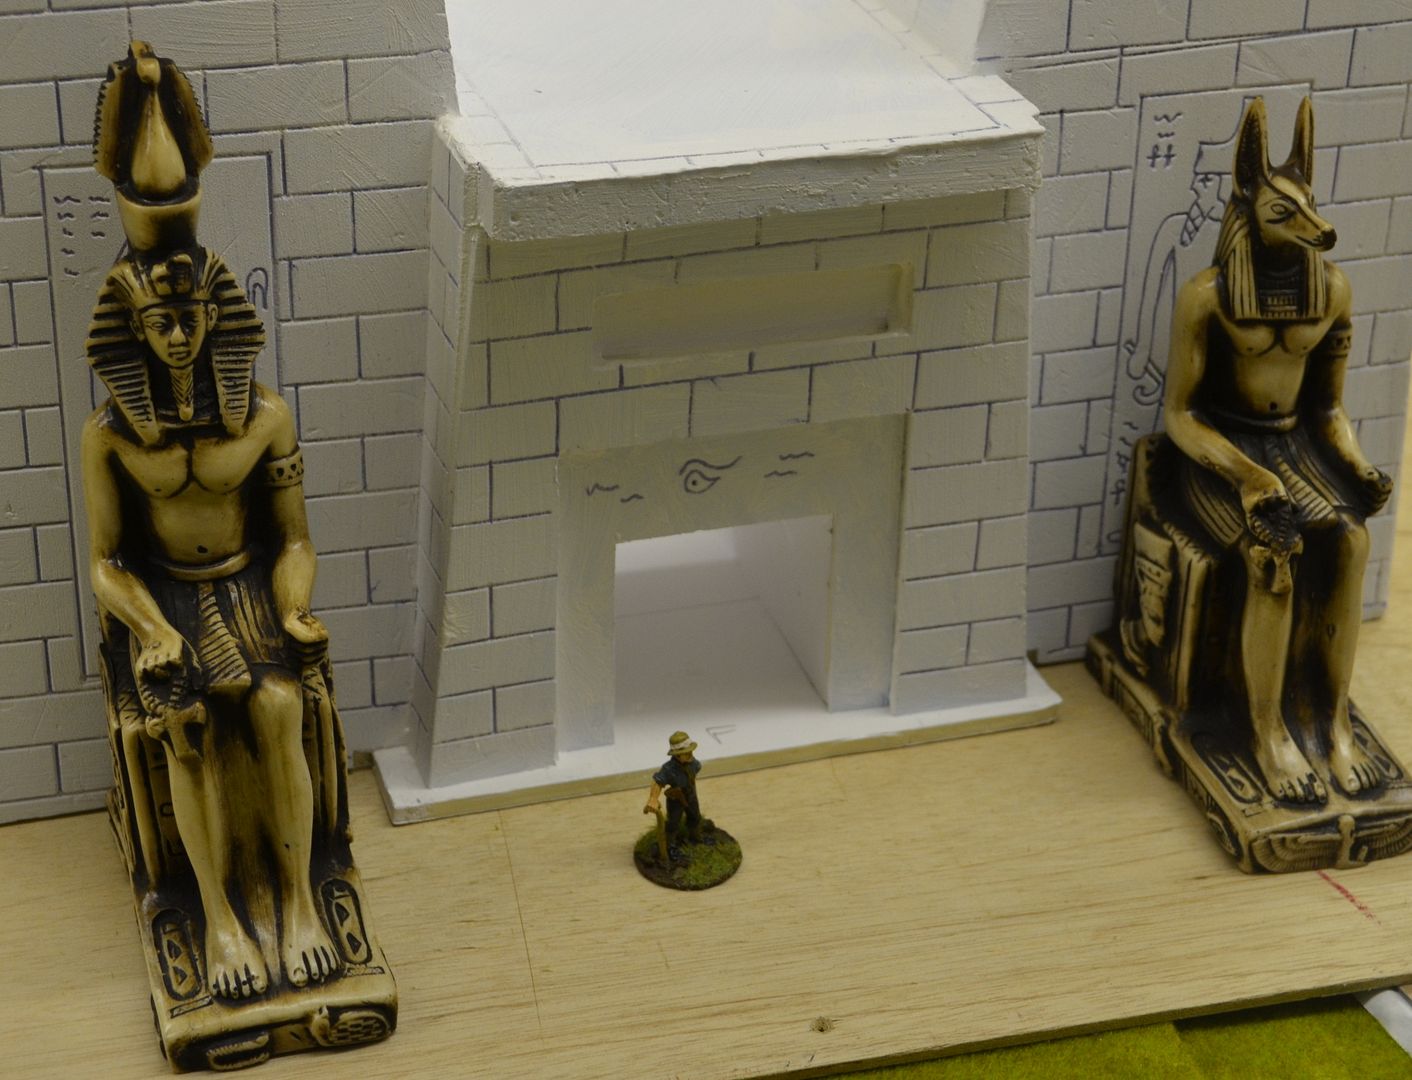
Next up a coat of white acrylic to prime the bits...when I get back from sp[ain this will get the sand stone treatment
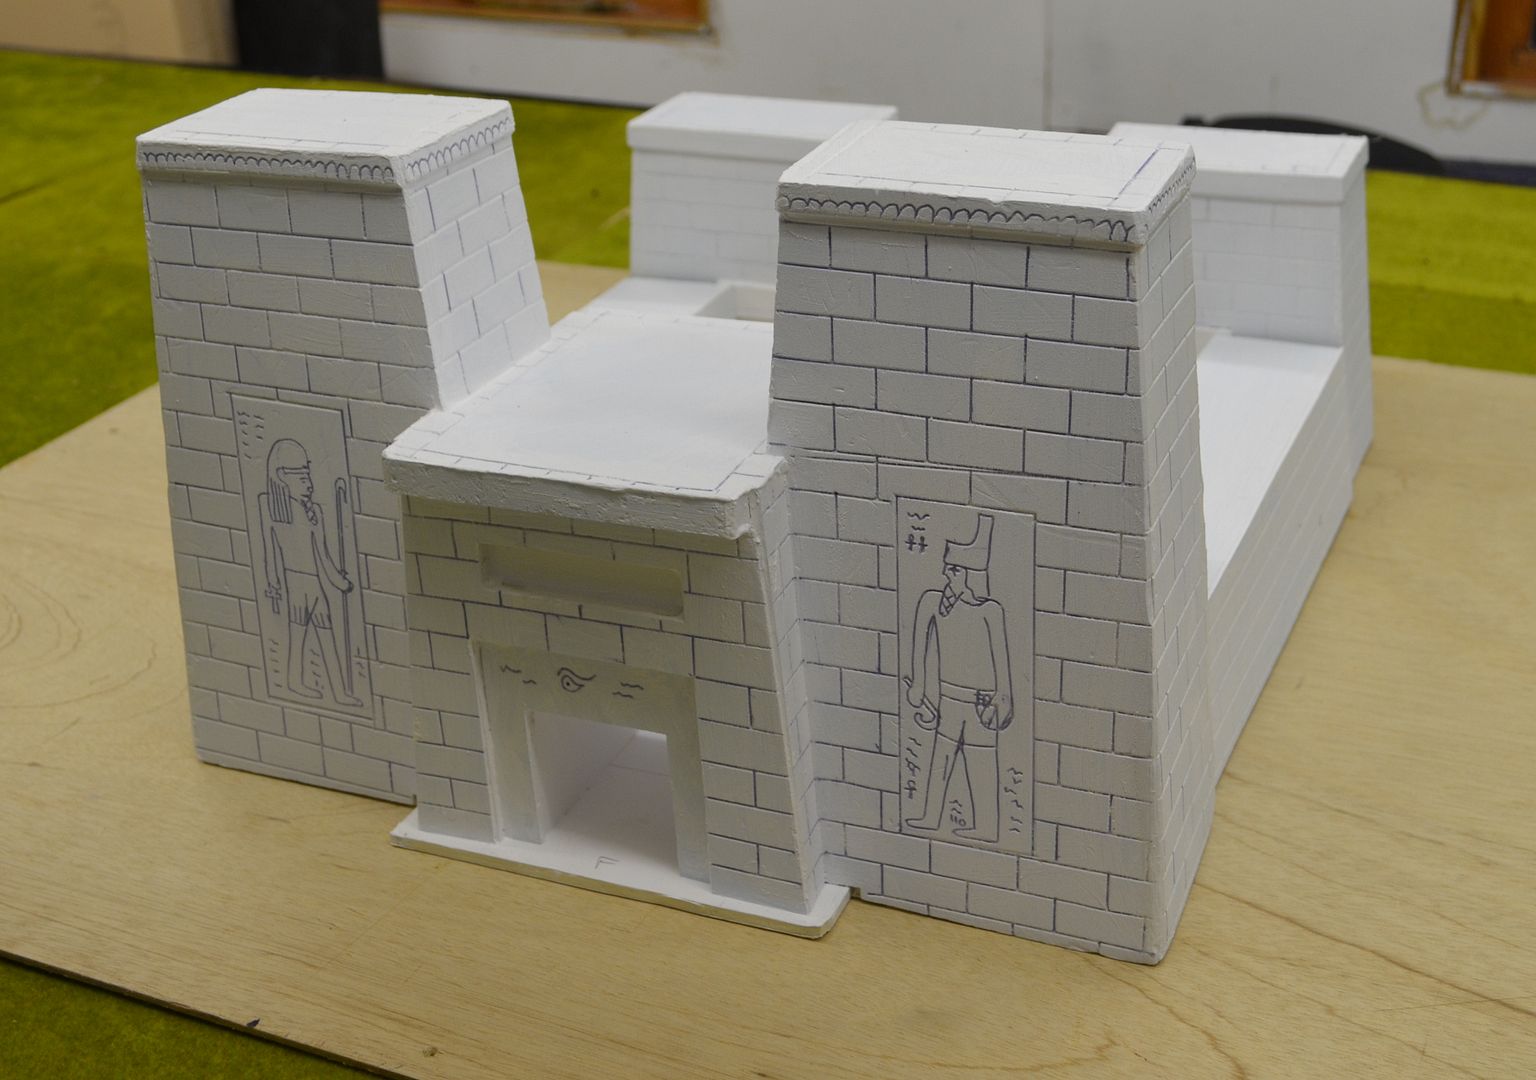
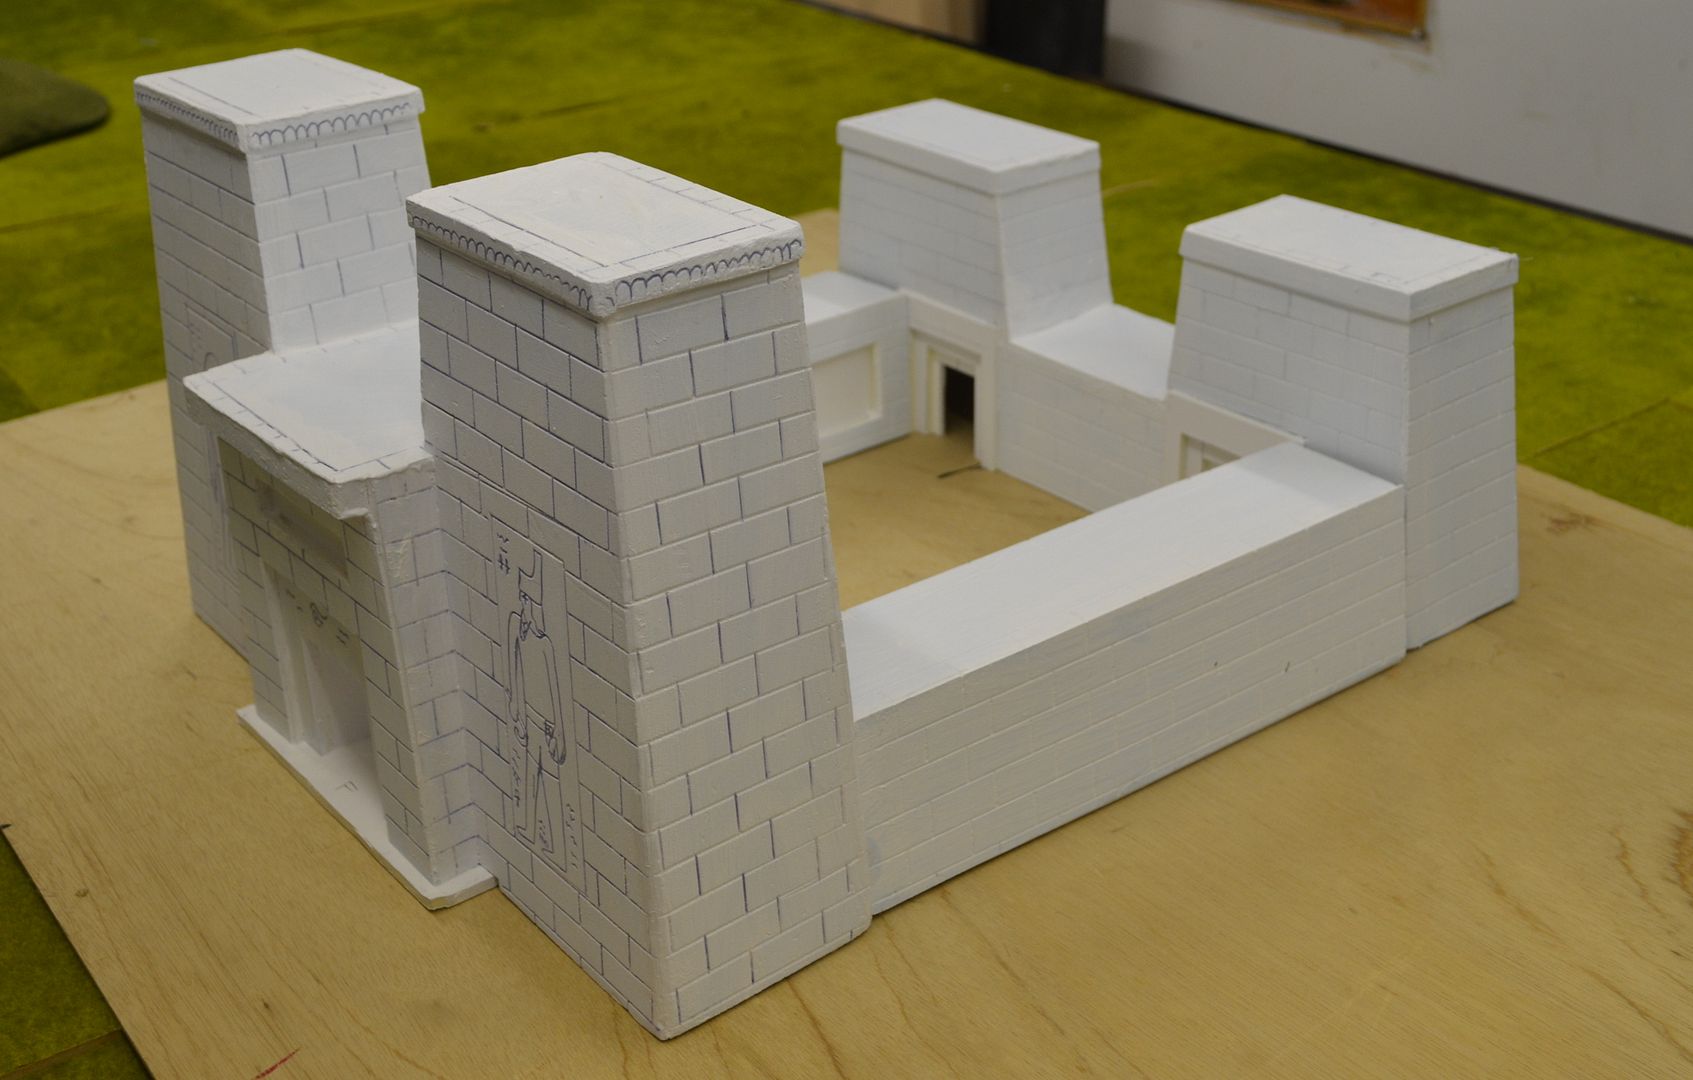
Believe me when I say that the embossing of the blockwork took ages...
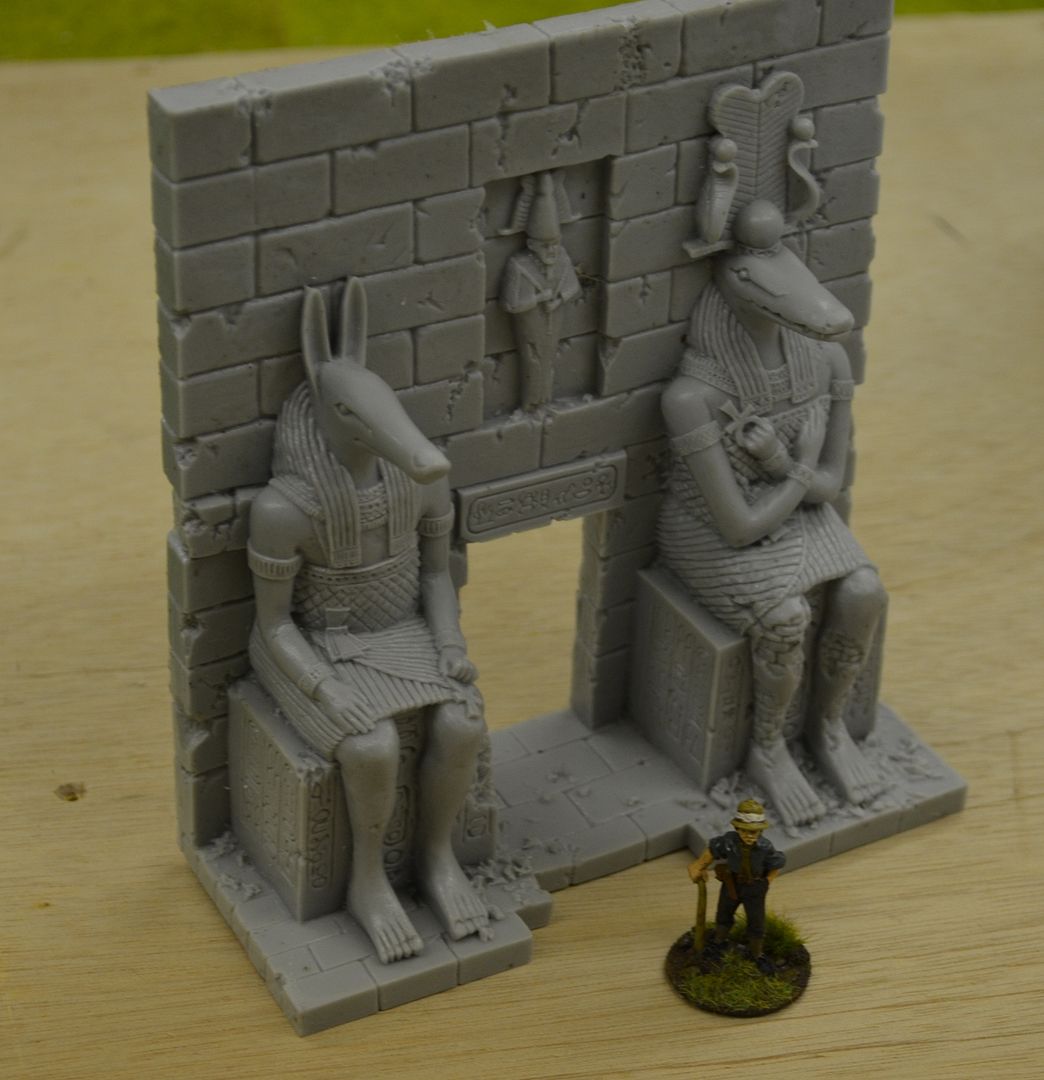
As if by magic, actually some rather nifty purchases from ebay turned up this morning and these work really well with the temple
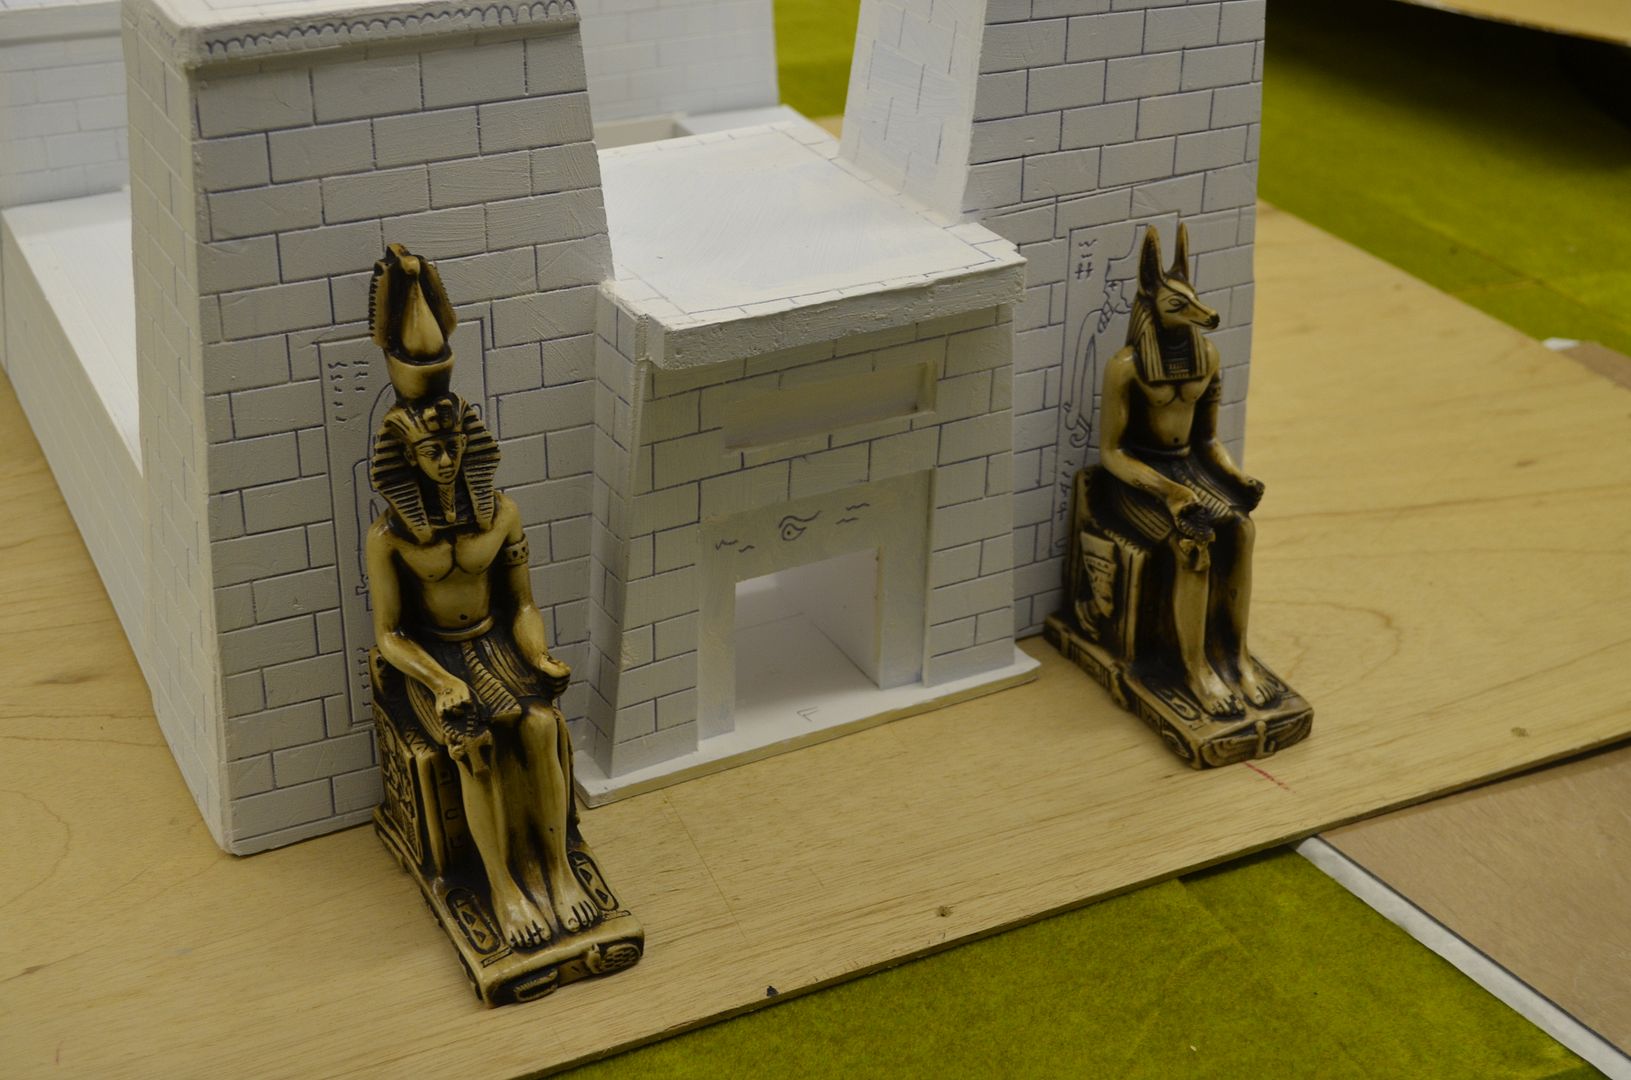 |
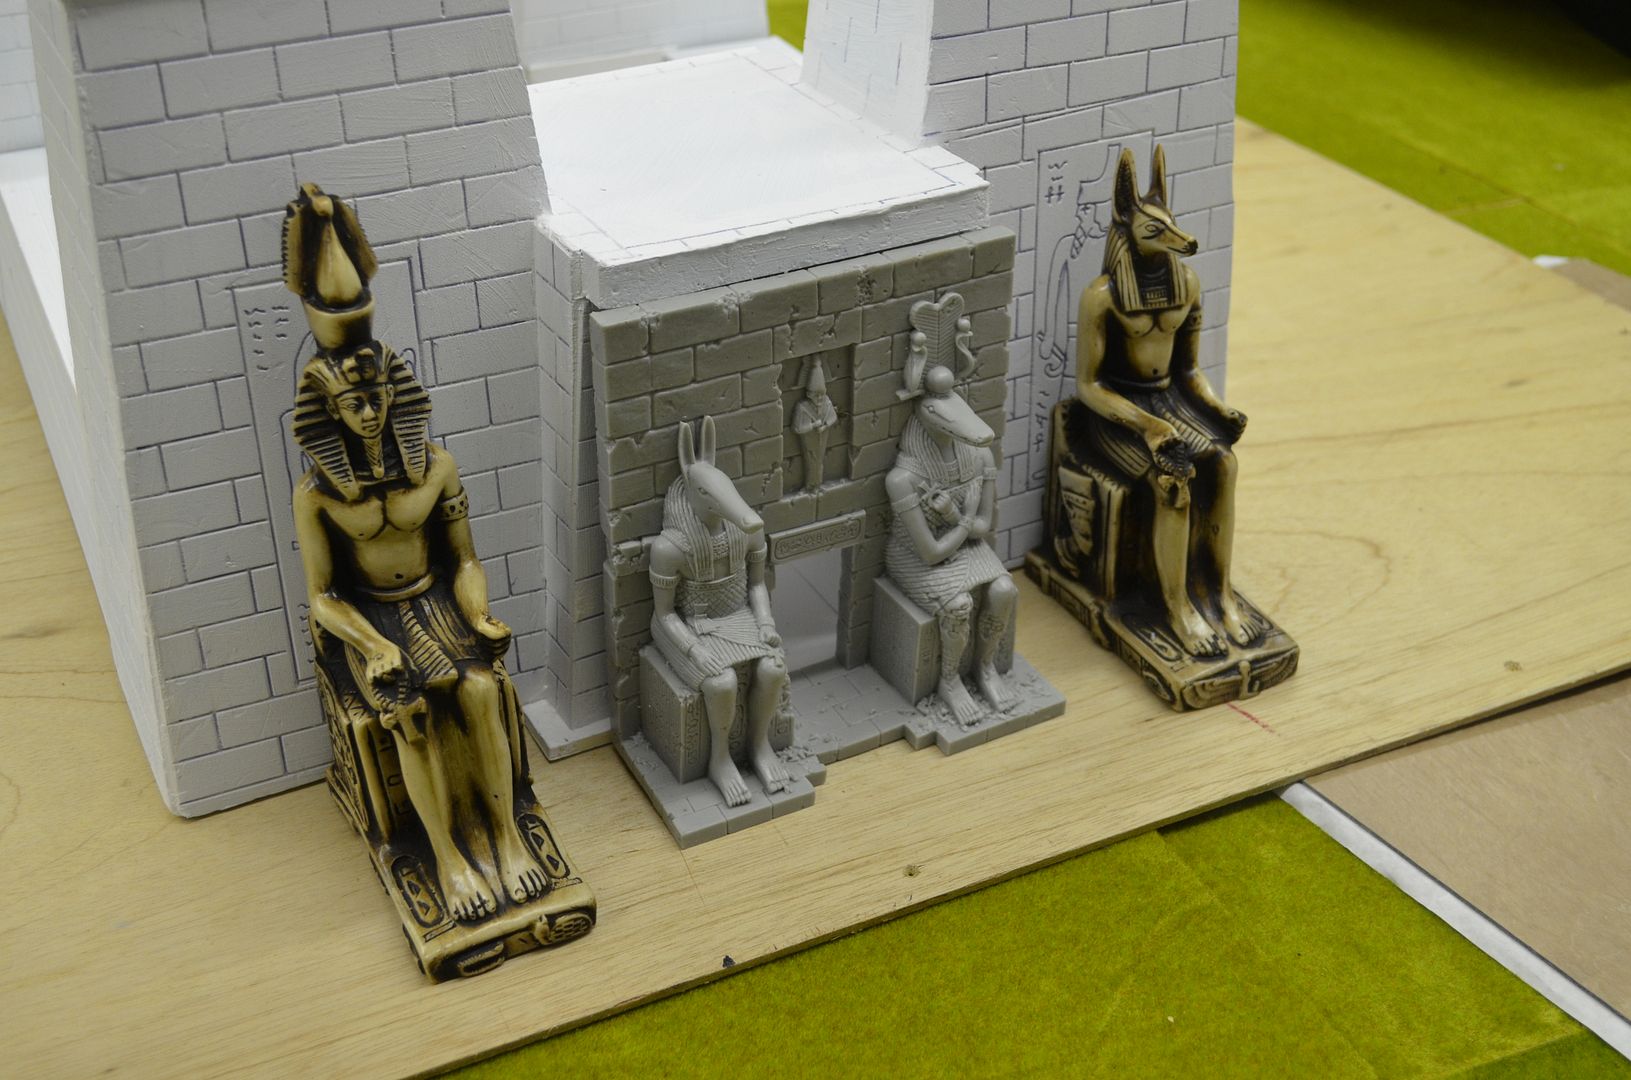
| These new statues cover my rather poor drawings well ! |
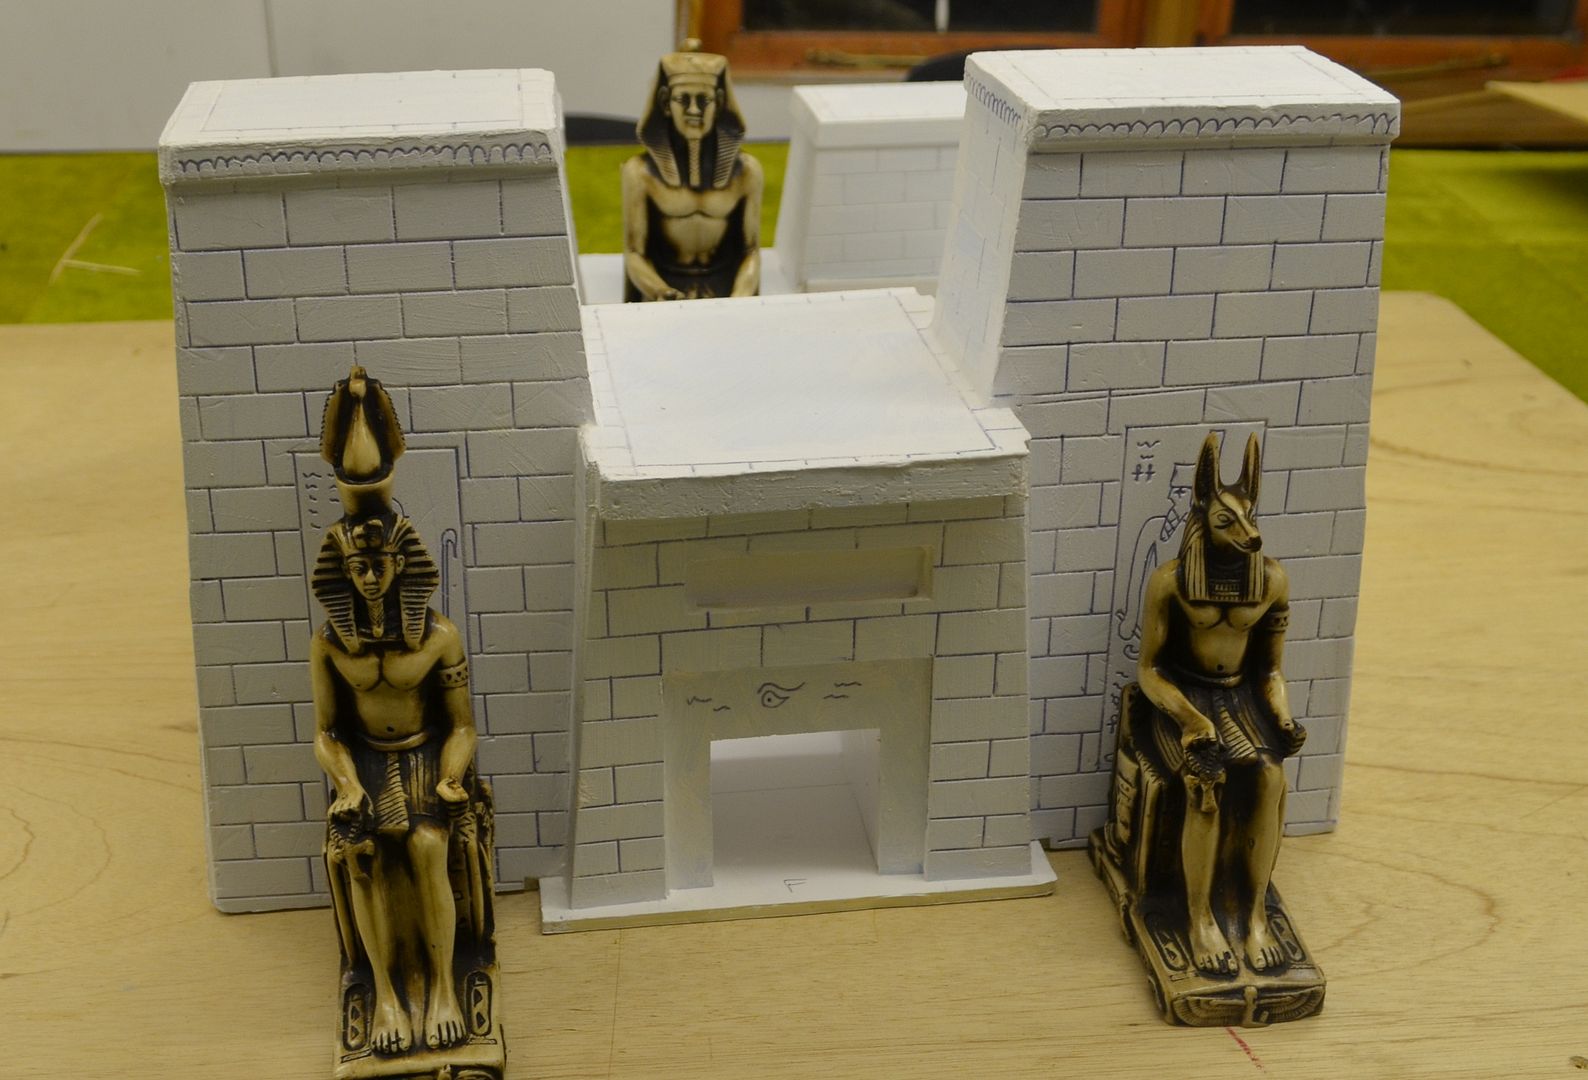 |
| The two statues in front cost around £5 each - the bookend inside the temple had already been sourced earlier |
 |
| Add caption |
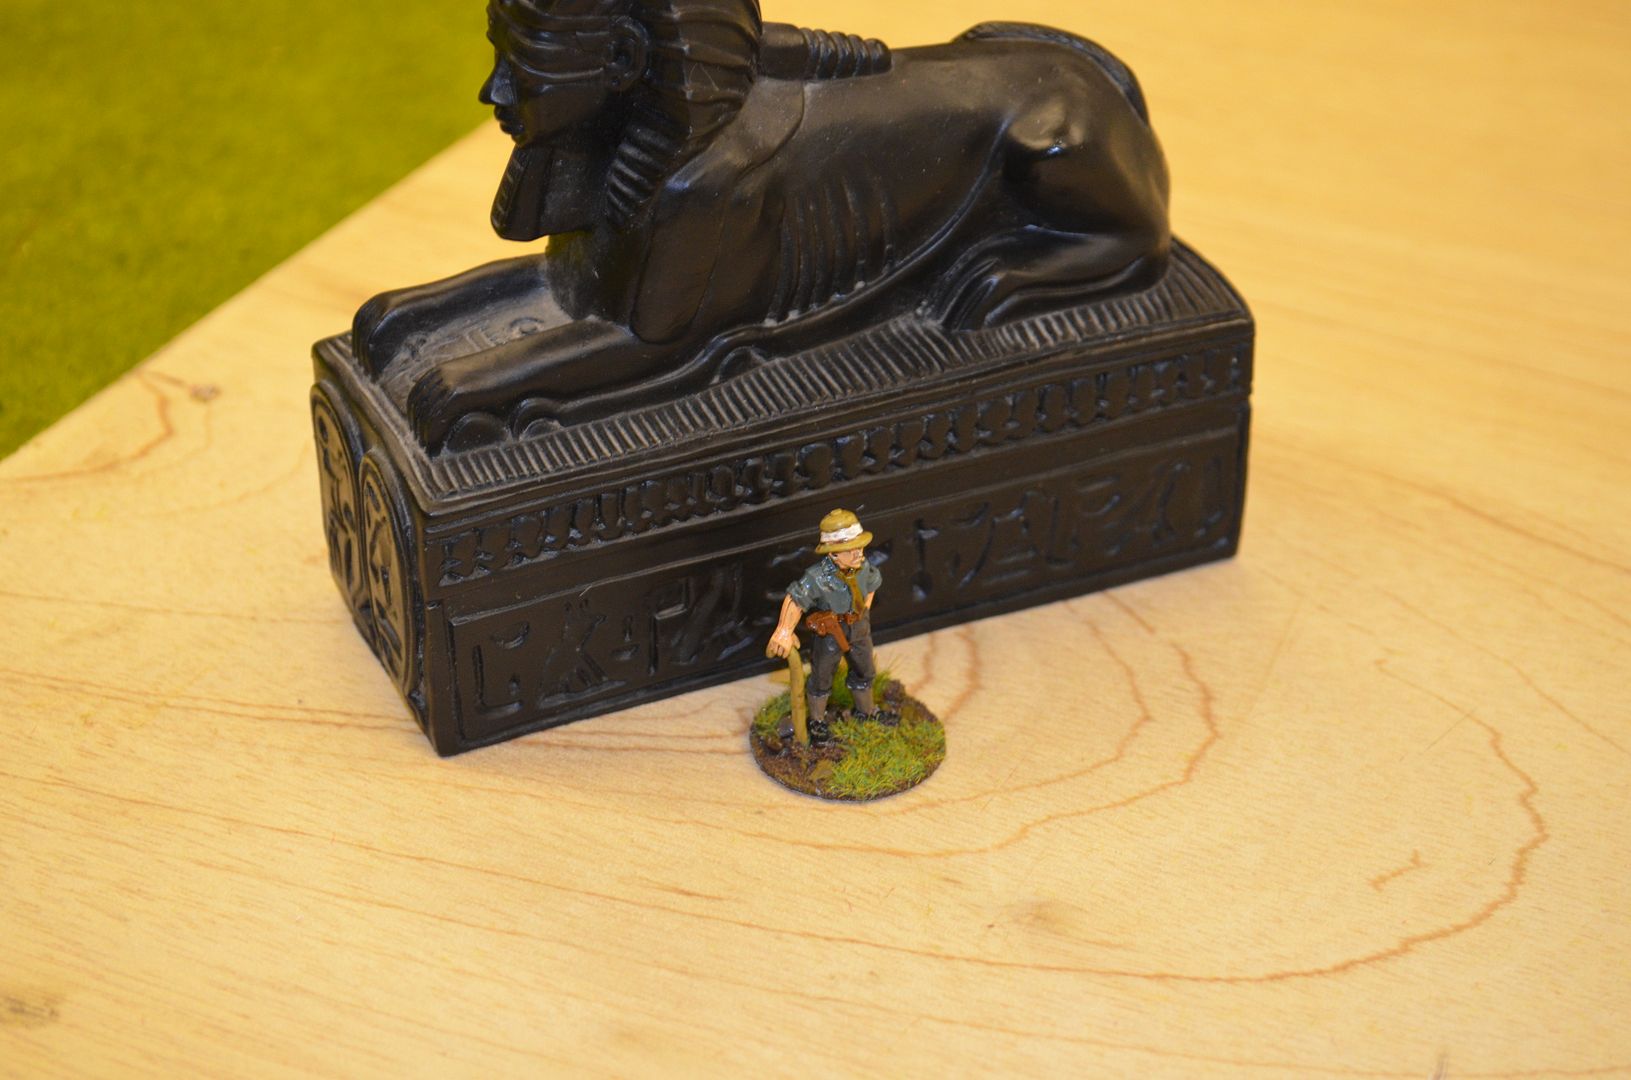
This rather nice sphinx was picked up on ebay for 99p plus postage
And finally I received the parcel from Scotia Grendel - see link below
http://www.scotiagrendel.com/Products/index.php?main_page=index&cPath=227_40
These temple and tomb entrances are not cheap but certainly look the business

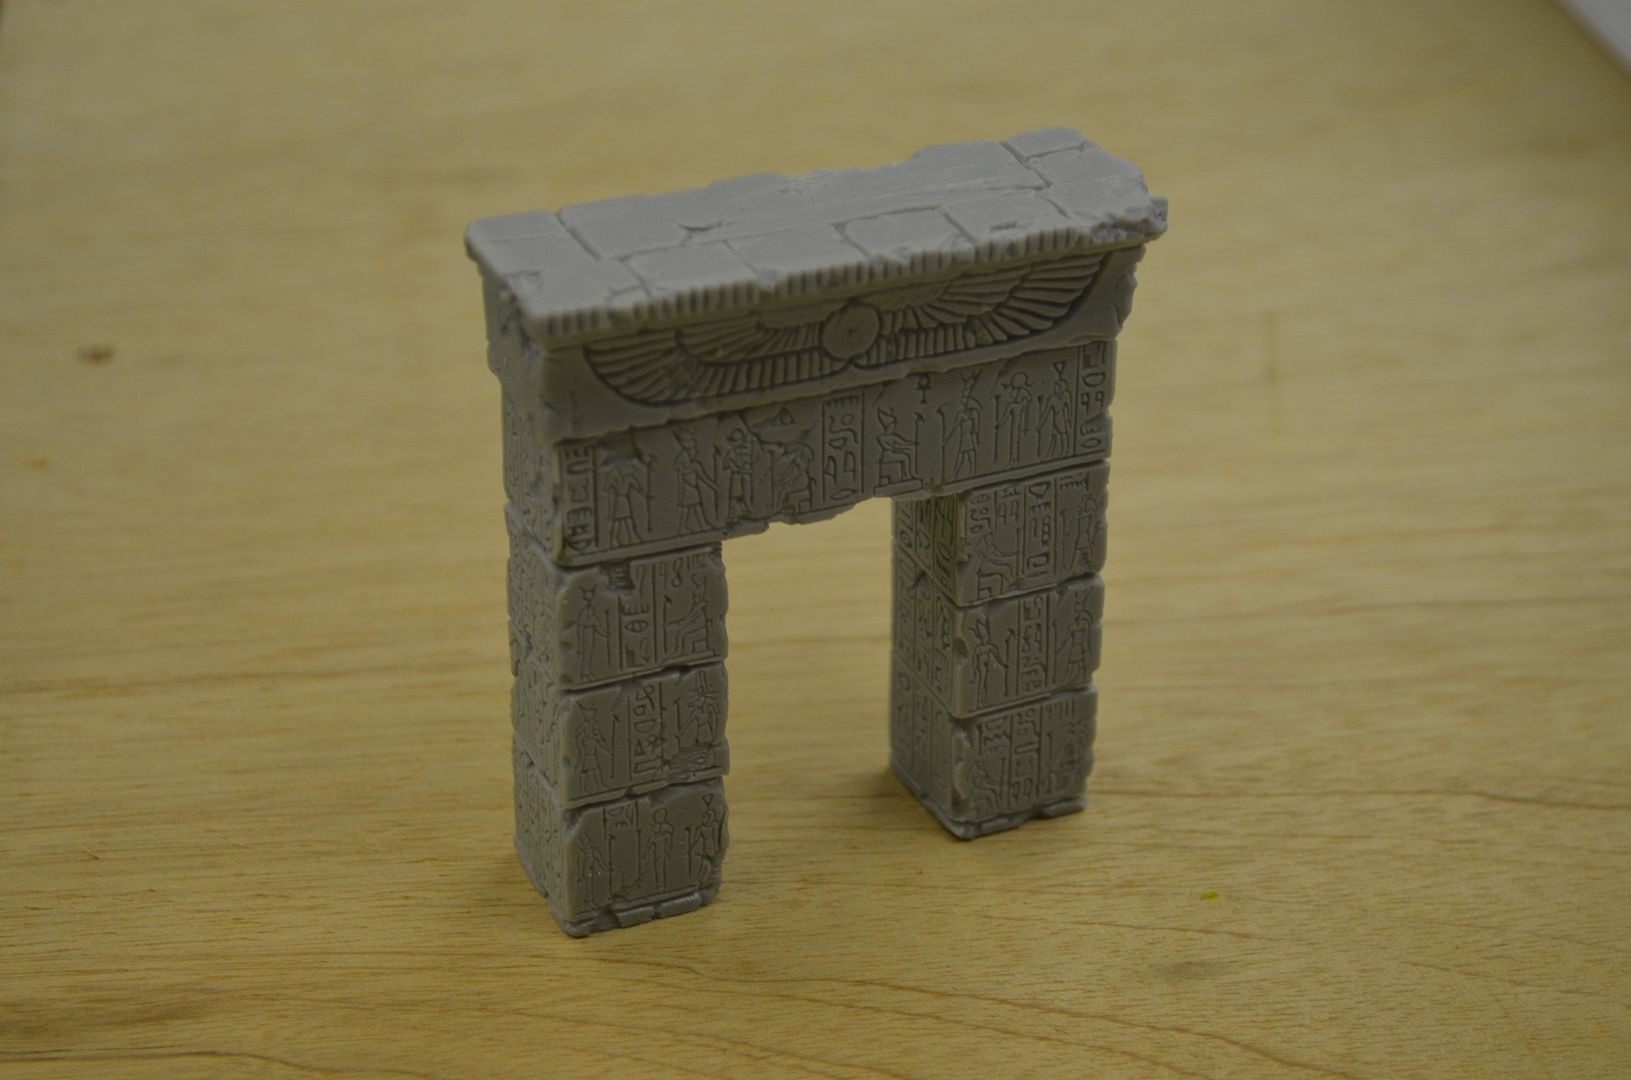
and by luck the last piece fits inside the temple entrance like a glove
Next up the base and the ground work...
Until next time
Part 3 can now be found here
Part 3
I love it!!!
ReplyDeleteGreat modeling!
ReplyDeleteThis is superb work mate. Can't wait for the next installment!
ReplyDeleteLovely , inspirational stuff.
ReplyDeleteThis is really cool! Great work!
ReplyDeleteVERY impressive ! ,Tony
ReplyDeleteYou are very talentuous and creative...love this post!
ReplyDeleteBrilliant. I wish I had the knack to make things like this!
ReplyDeleteOutstanding - looking forward to seeing it all based and finished.
ReplyDeleteWow fantastic work
ReplyDeleteEric - we love you to do something like this for Wargame Bloggers Quarterly .. if you would like to help and contribute please contact me at wargamebq@gmail.com
ReplyDeletecheers
Hi Dave
DeleteI would be delighted to contribute
Once I get back from Spain I will drop you a line
Great. If only I had somewhere to store something like this. Looking forward to the next instalment.
ReplyDeleteWonderful stuff! Thanks for the link to Scotia Grendel too - been looking for something like this for ages!
ReplyDeleteI have the Scotia Grendel Egyptian scenic stuff, I've been meaning to do something with it for a while. This may be the inspiration I needed...
ReplyDeleteVery nice work. I'm curious to see what the limestone treatment is.
ReplyDelete