In my last post on trains for wargames I mentioned that I
had secured a complete train set for my VBCW/Pulp needs. In this post I’ll
begin to explain what my plans are for the track.
Sadly for me my commute takes me into central London
everyday and whilst on the journey the other morning it struck me that the
track has been made as level as possible. In some places the track cuts through
the hills and in others it runs along with embankments either side. Near where
I live the train passes by an embankment that must be 40ft high and cuts across
the local landscape as a huge man made barrier.
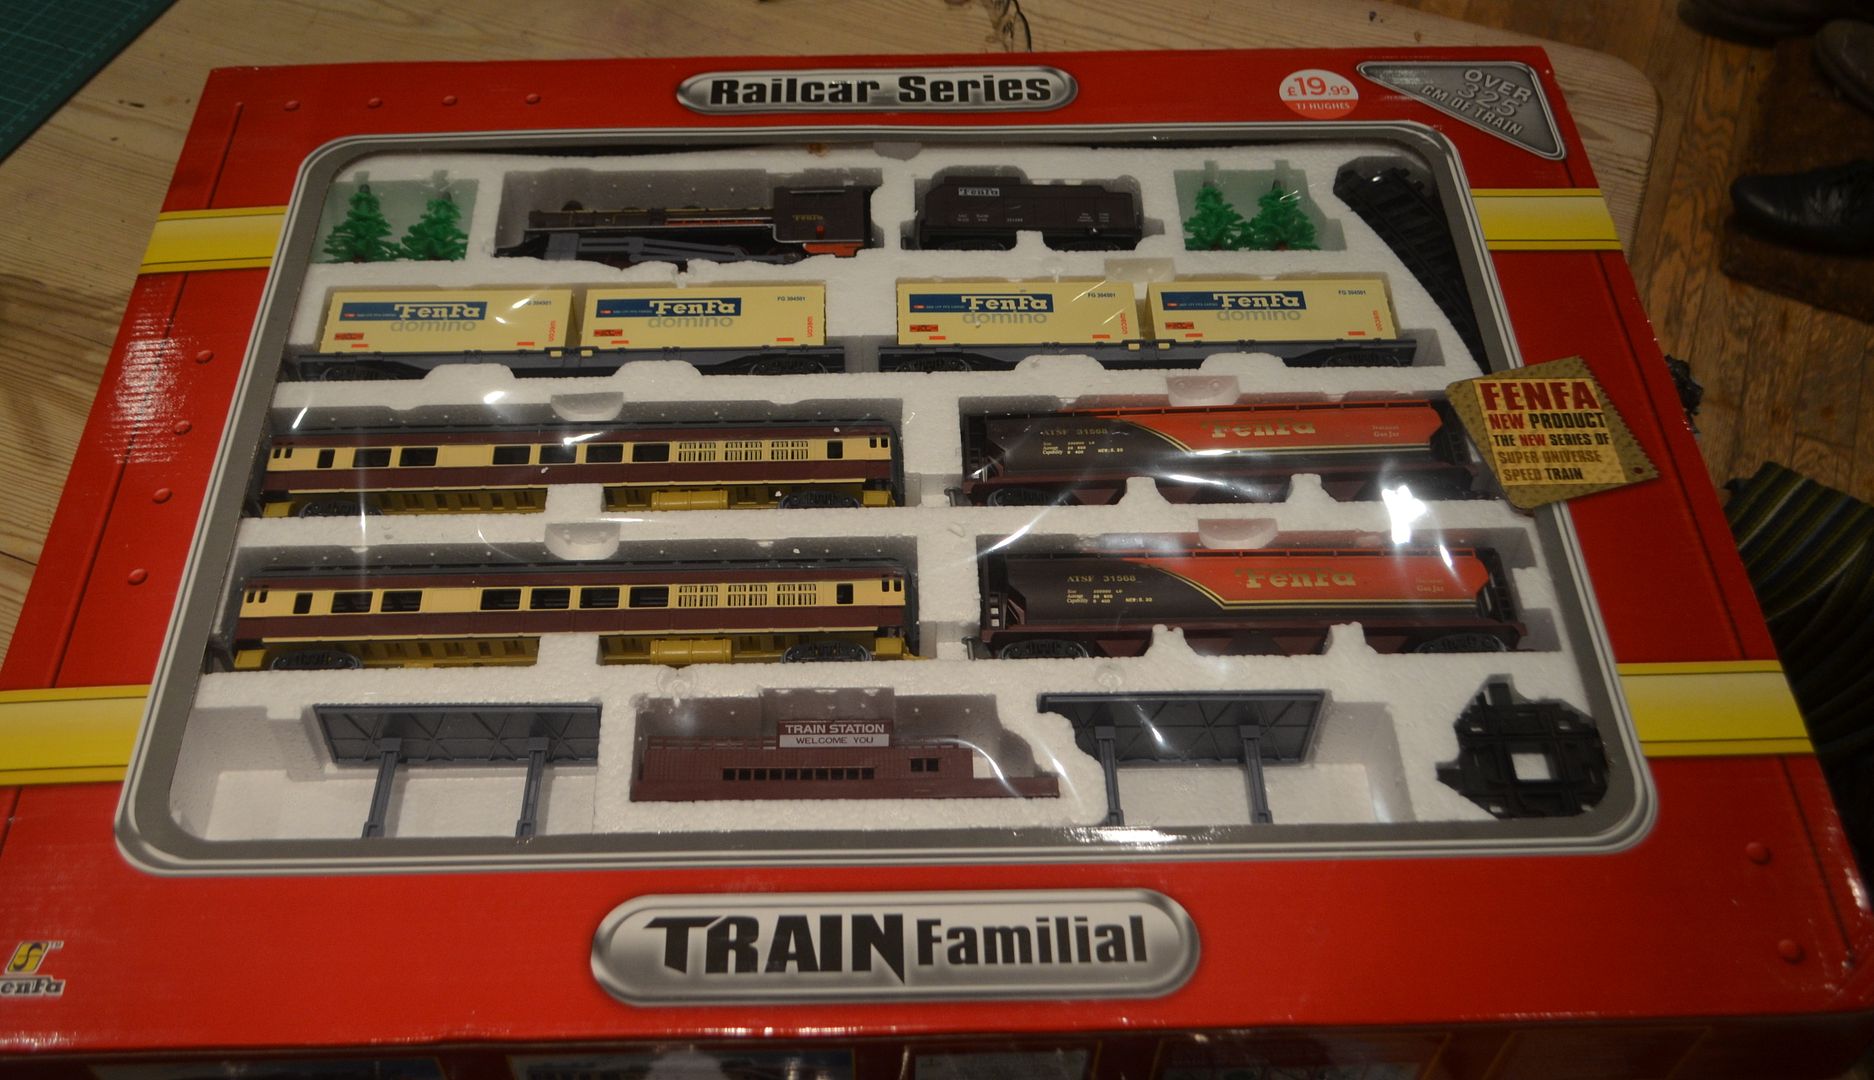 |
| The big box set |
Given that the last box turned up with loads of track I have
decided that I am going to produced two track sets for the games table. The
first of these will be a low level affair complete with a level crossing,
station, and road bridges over the track. The second will feature this tall
embankment with both river bridges and road tunnels through the embankment.
 |
| Lots of track including 16 straight sections |
I wanted to keep the track on the table as straight as
possible – in reality train curves and bends are gentle and only tend to occur
where switching takes place. There is no need on the table to have an oval or
the like.
The first big question was whether or not I was going to lay
down a double track, ie one where trains can travel past each other side by
side. This is typical on all lines in the countryside BUT doing so would mean
the width of the terrain would double and may end up compromising space on the
table. I also had to consider the track I wanted to build on an embankment –
these will need to have road tunnels cut through. Given the height of a vehicle
is about 4cm the tunnel itself would need to be about 5cm high making the embankment
around 7cm in height. With each track requiring 4cm of bedding space a
double tracked section would be just too wide. As it is the footprint of these
embanked sections is probably going to be at least 16cm wide. Hopefully the
diagram below illustrates my point.
Settling on the single track approach I decided to start on the low level track. In terms of length of track I am aiming to build enough track to stretch the length of the table.
Amongst these sections I am going to need
Amongst these sections I am going to need
1. A level crossing
2. A small train station
3. A switch in the track
I’ll start explaining how I managed the simple elements and then come back to the these shortly.
I needed boards for the tracks – very simple - I used hardboard 8cm wide.
I got the nice folks in B&Q New Malden to cut these in strips for me. It was then a simple case of marking off the length of track with a pencil and then cutting these boards to the length required. A quick sand to smooth off the edges and we are good to go.
I got the nice folks in B&Q New Malden to cut these in strips for me. It was then a simple case of marking off the length of track with a pencil and then cutting these boards to the length required. A quick sand to smooth off the edges and we are good to go.

Taking a piece of track I trimmed off the connecting tabs – these are great if you are going to just use the track on their own but would likely to prove problematic once the track is based.
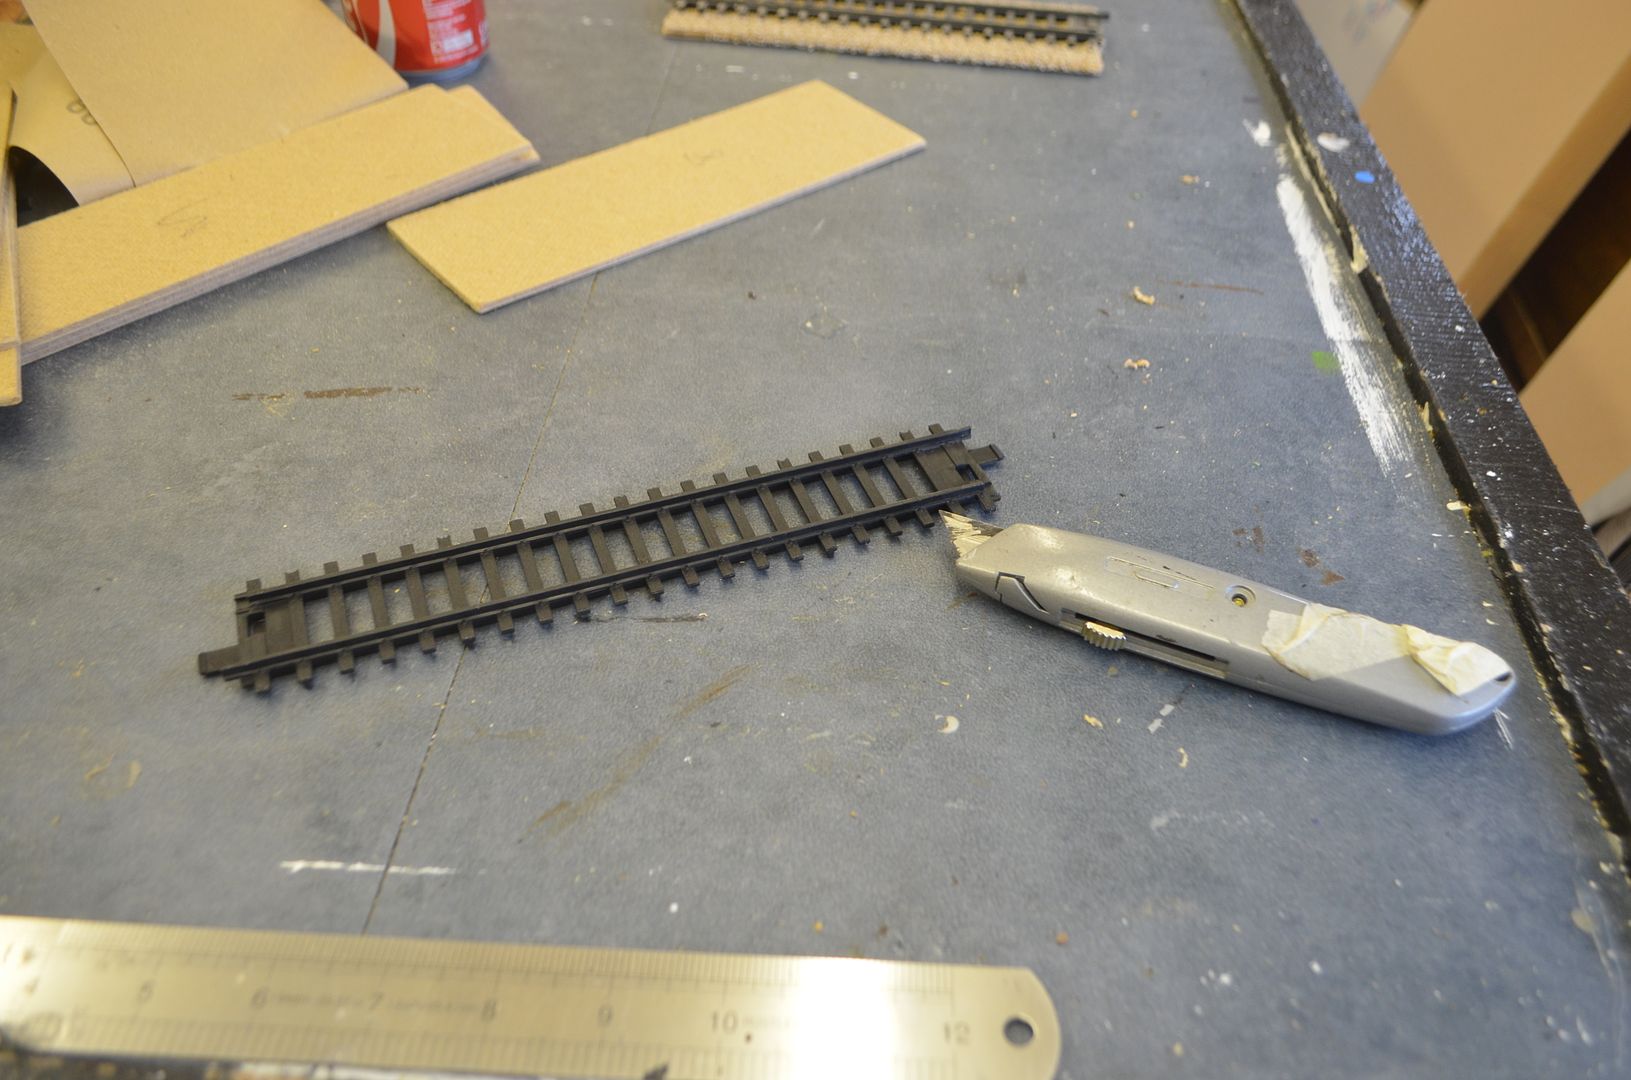
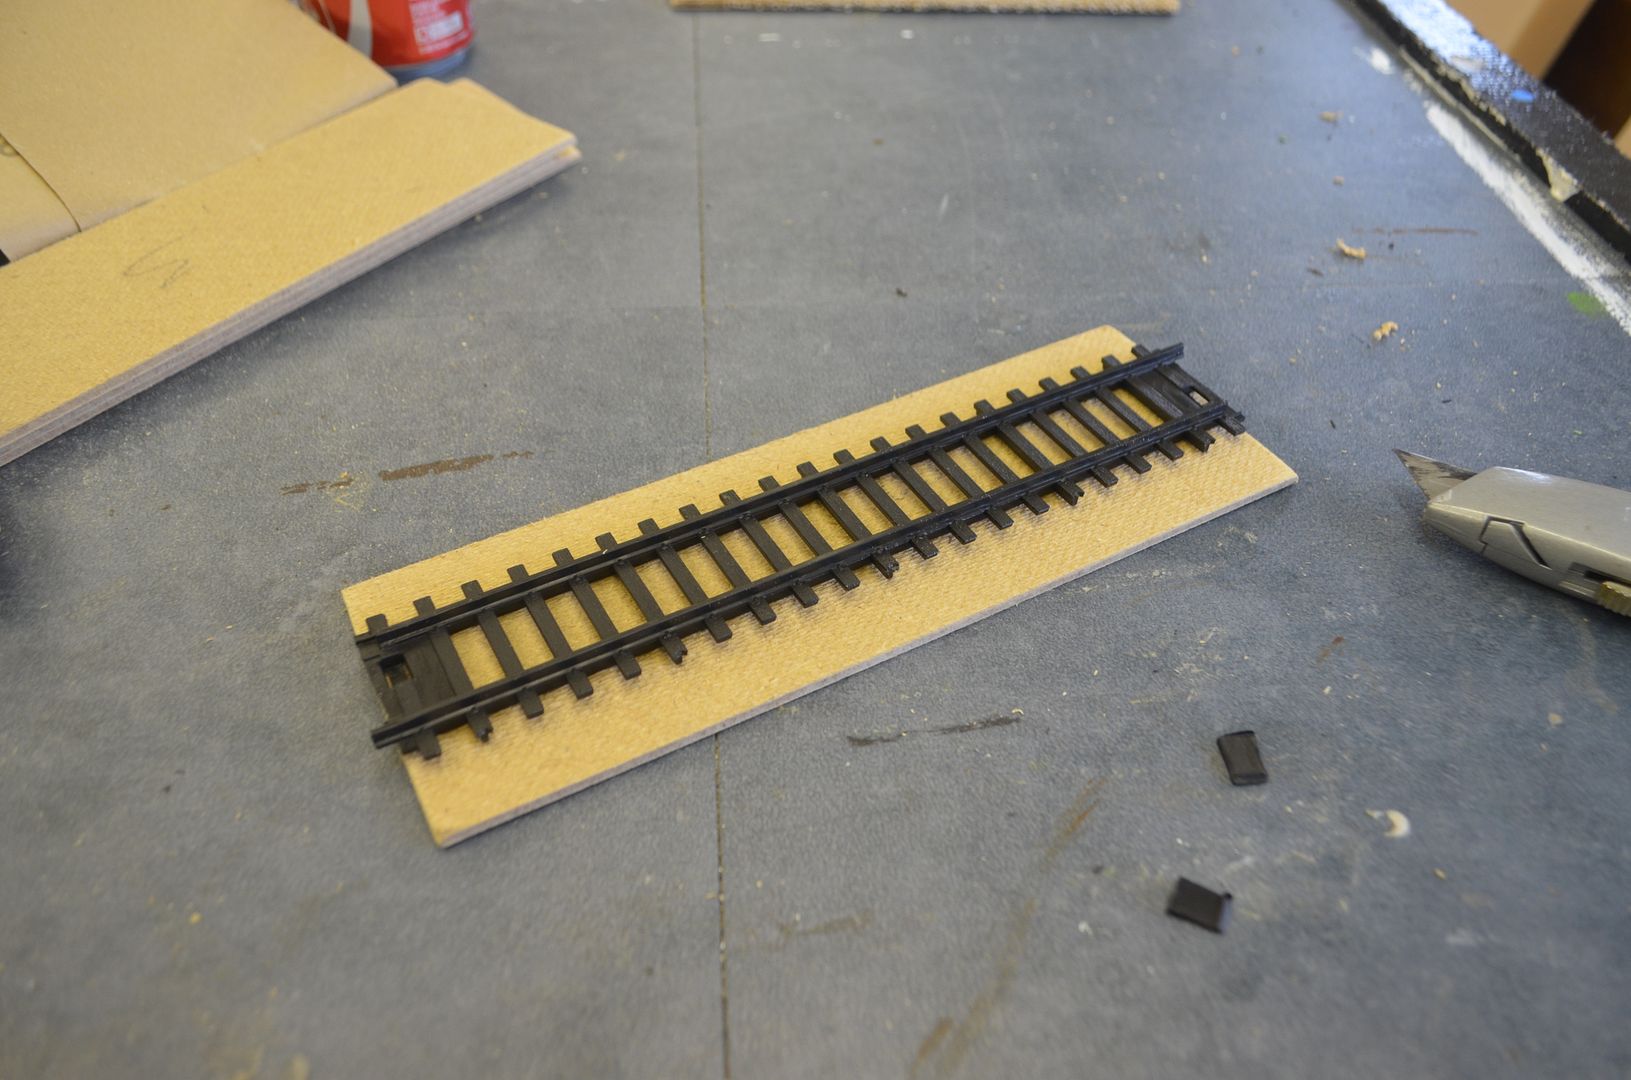 |
| Making sure track and board right length |
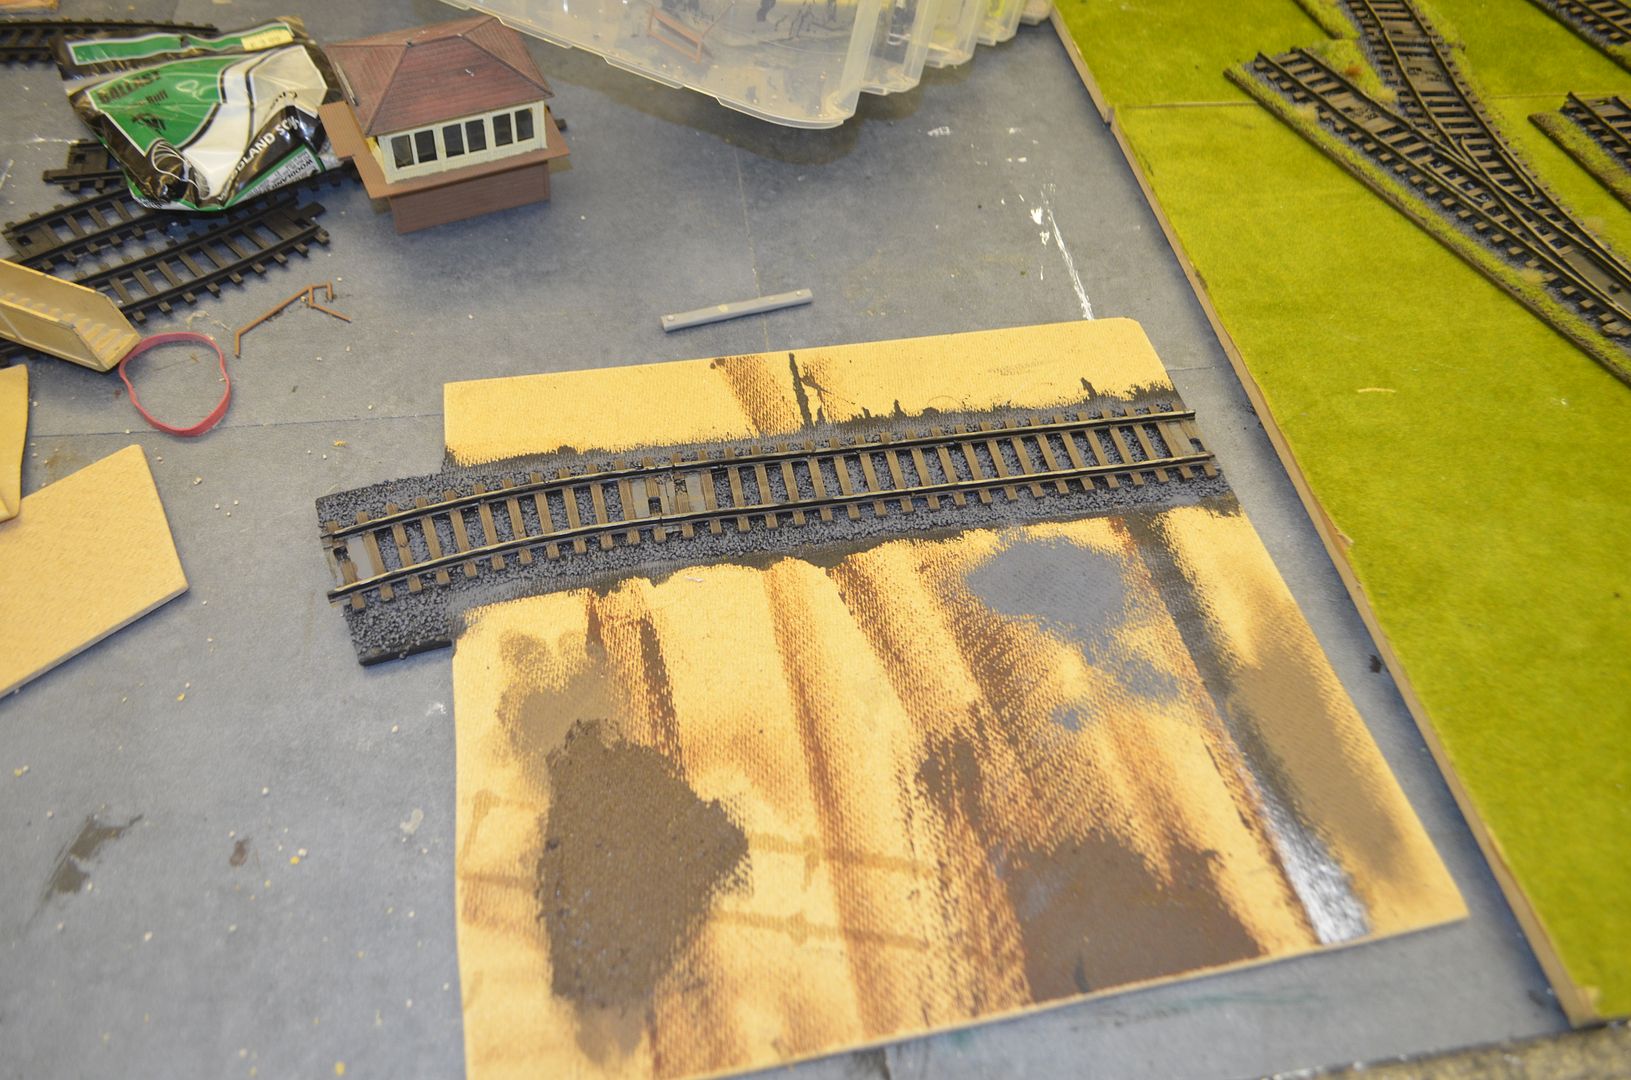
Typically rail track rests on sleepers and between these are stones. My track already comes with sleepers but to get the stone affect I decided to use coarse ballast (toy railway supplies). I coated the boards in PVA and then whilst the glue was still tacky stuck down the track (adding superglue for a stronger bond) and then covering the track and board in ballast. The ballast has now fallen between the sleepers and after about 3 hours the pieces are already to paint.
 |
| Adding ballast - big plastic tub |
 |
| All stoned up |
With all the section constructed it was time to paint them black. I used black acrylic as it is flexible and tough. Painting between the sleepers was a pain and this is not an easy job. It takes time but I am sure the final effect will be worth it.

Once the track has had a good coat of black paint – as I mentioned above- it takes time the next job is to dry brush up the ballast underneath the tracks. By starting inside out it doesn’t matter if they get some paint on them – a coat of dark grey followed by light grey seems to be sufficient.
The start on the sleepers – dark brown followed by light brown – this helps to bring out the grain – finally the tracks. Paint black and then gun metal along the top surface.
Finally add greenery and you are good to go...
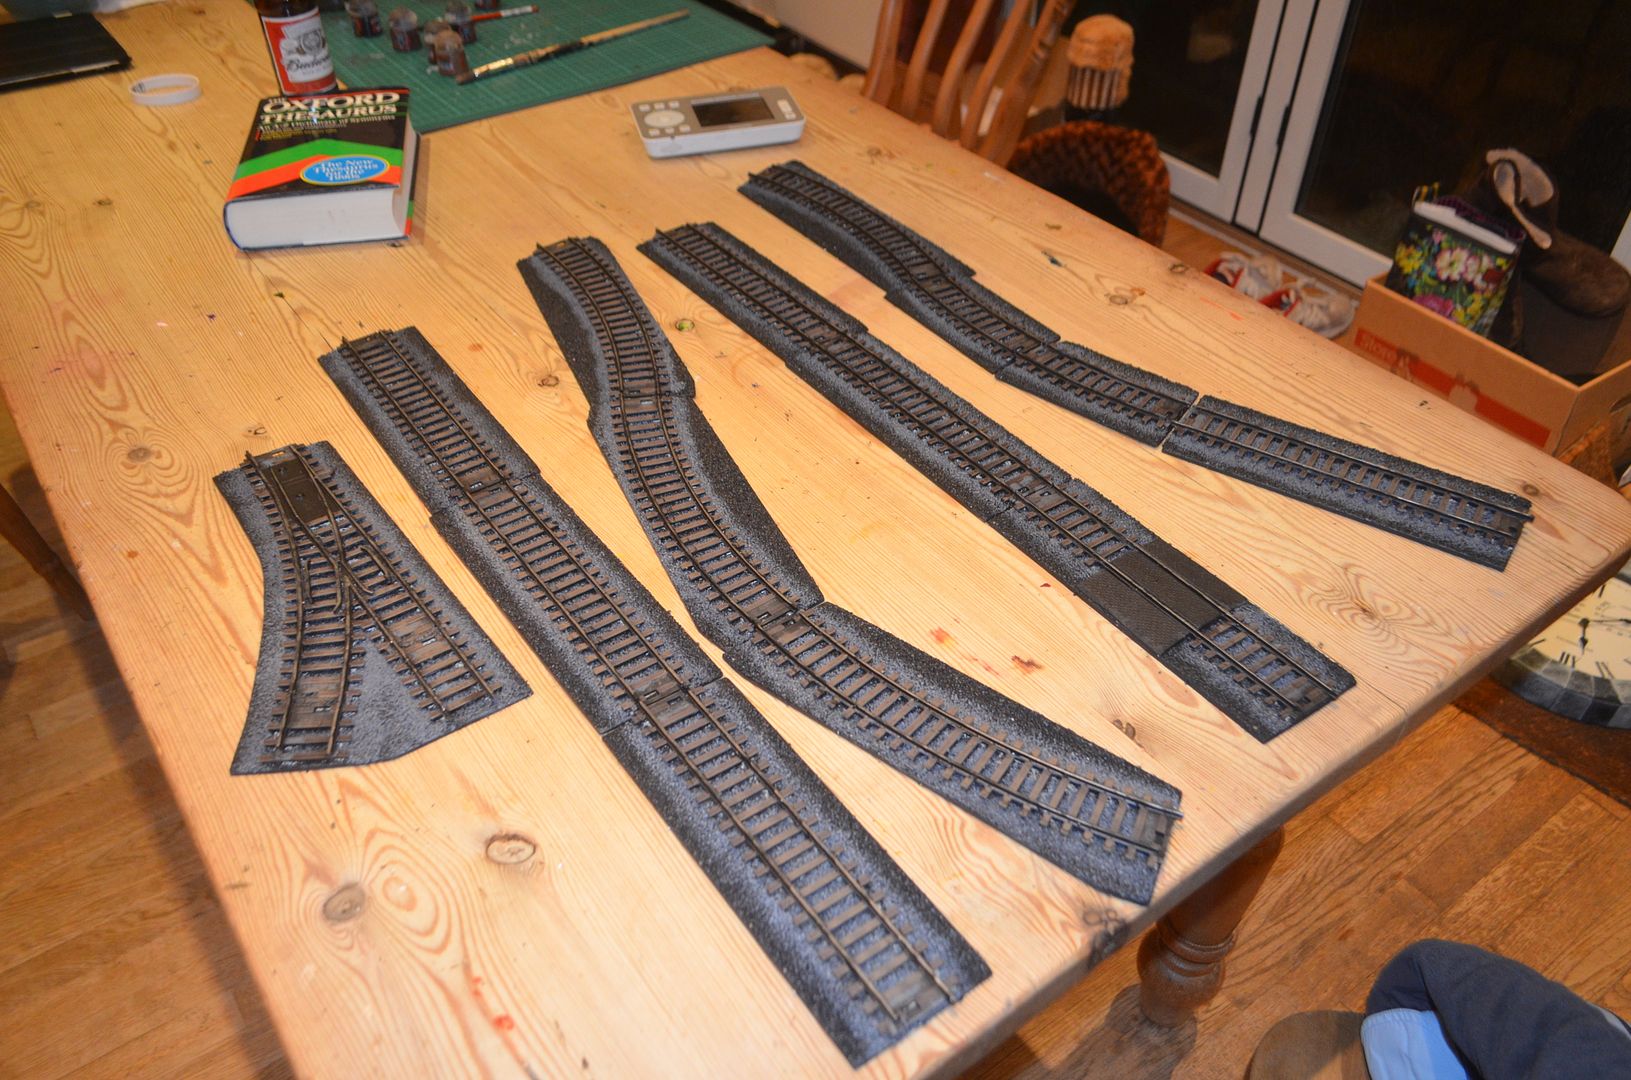
I mentioned above that I was building three additional special pieces. The train station and switch were done in the same manner as above. I did have to extend the track for the switch to ensure that the 8cm wide track boards could butt up to the two exit points on the switch. The stain and platform will be built later on but I did cut out a base board for the unit and run the track through the middle of the board.
Finally add greenery and you are good to go...
 |
| 3 metres of track |
I
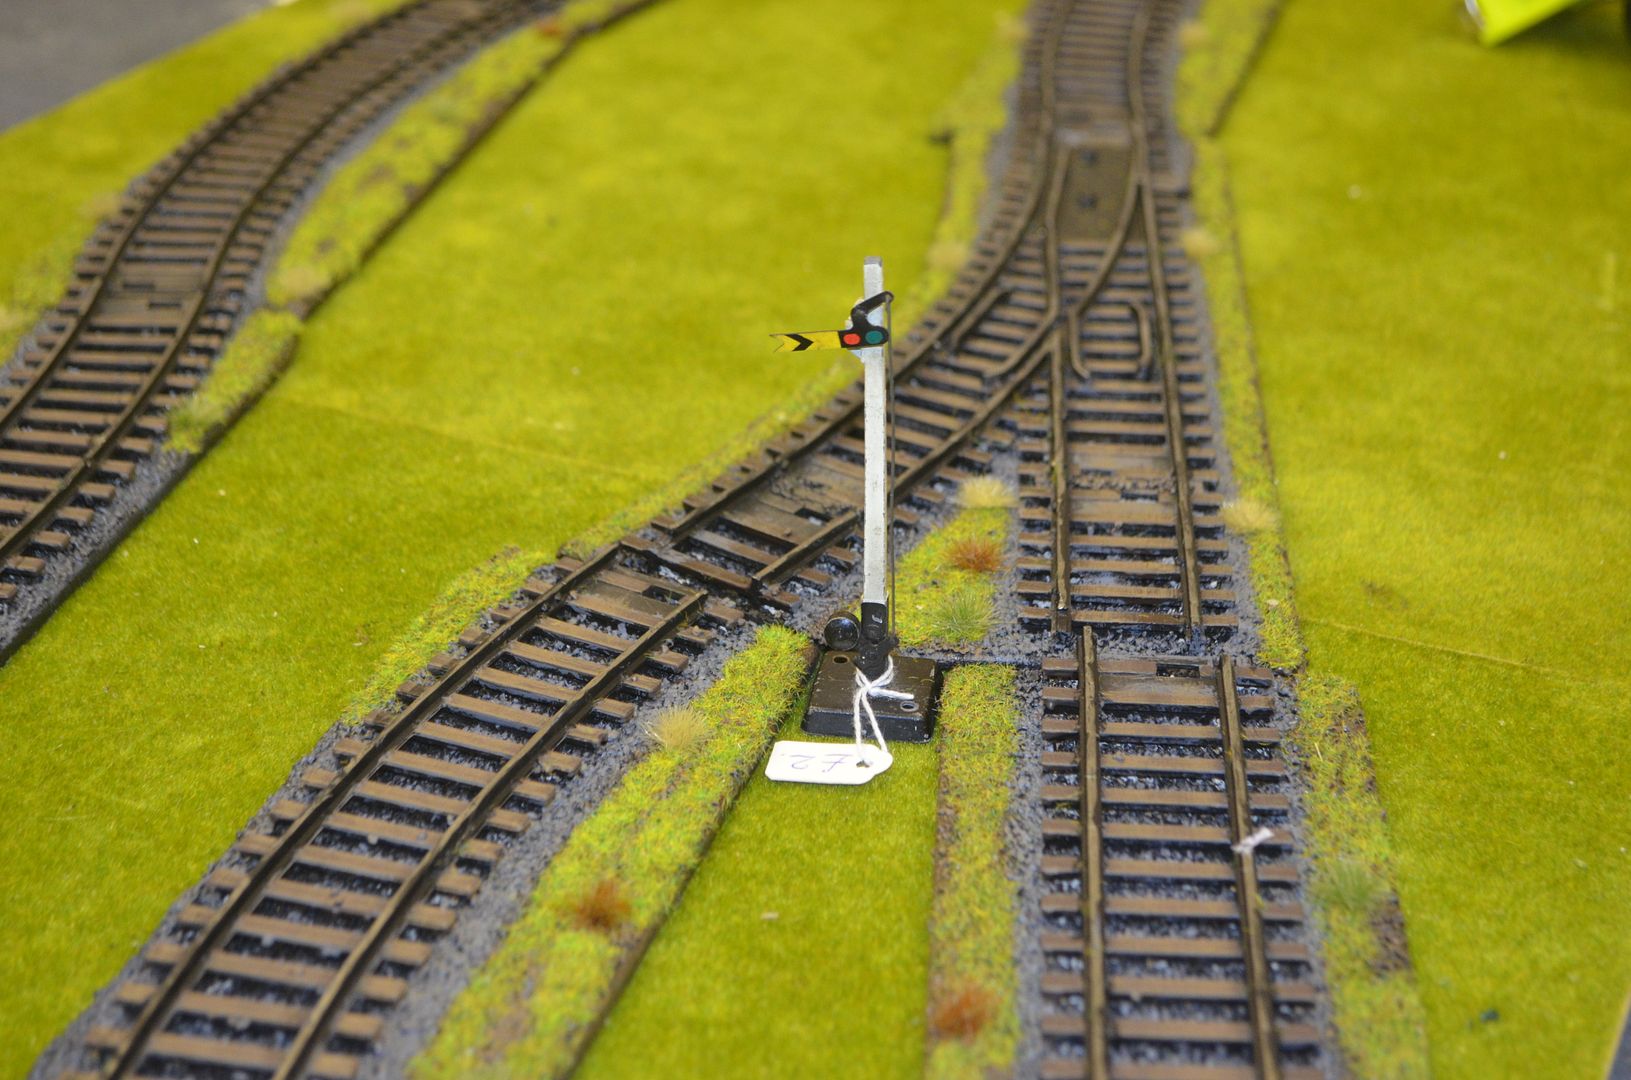 |
| The Switch plus a signal picked up for £1 at a toy fair |
 |
| The station board |
The level crossing necessitated me cutting out the sleepers in the middle of a straight section and then packing this with hardboard (rough side up) so it would match the roads previously built. The crossing itself will be supported with gates and the like.
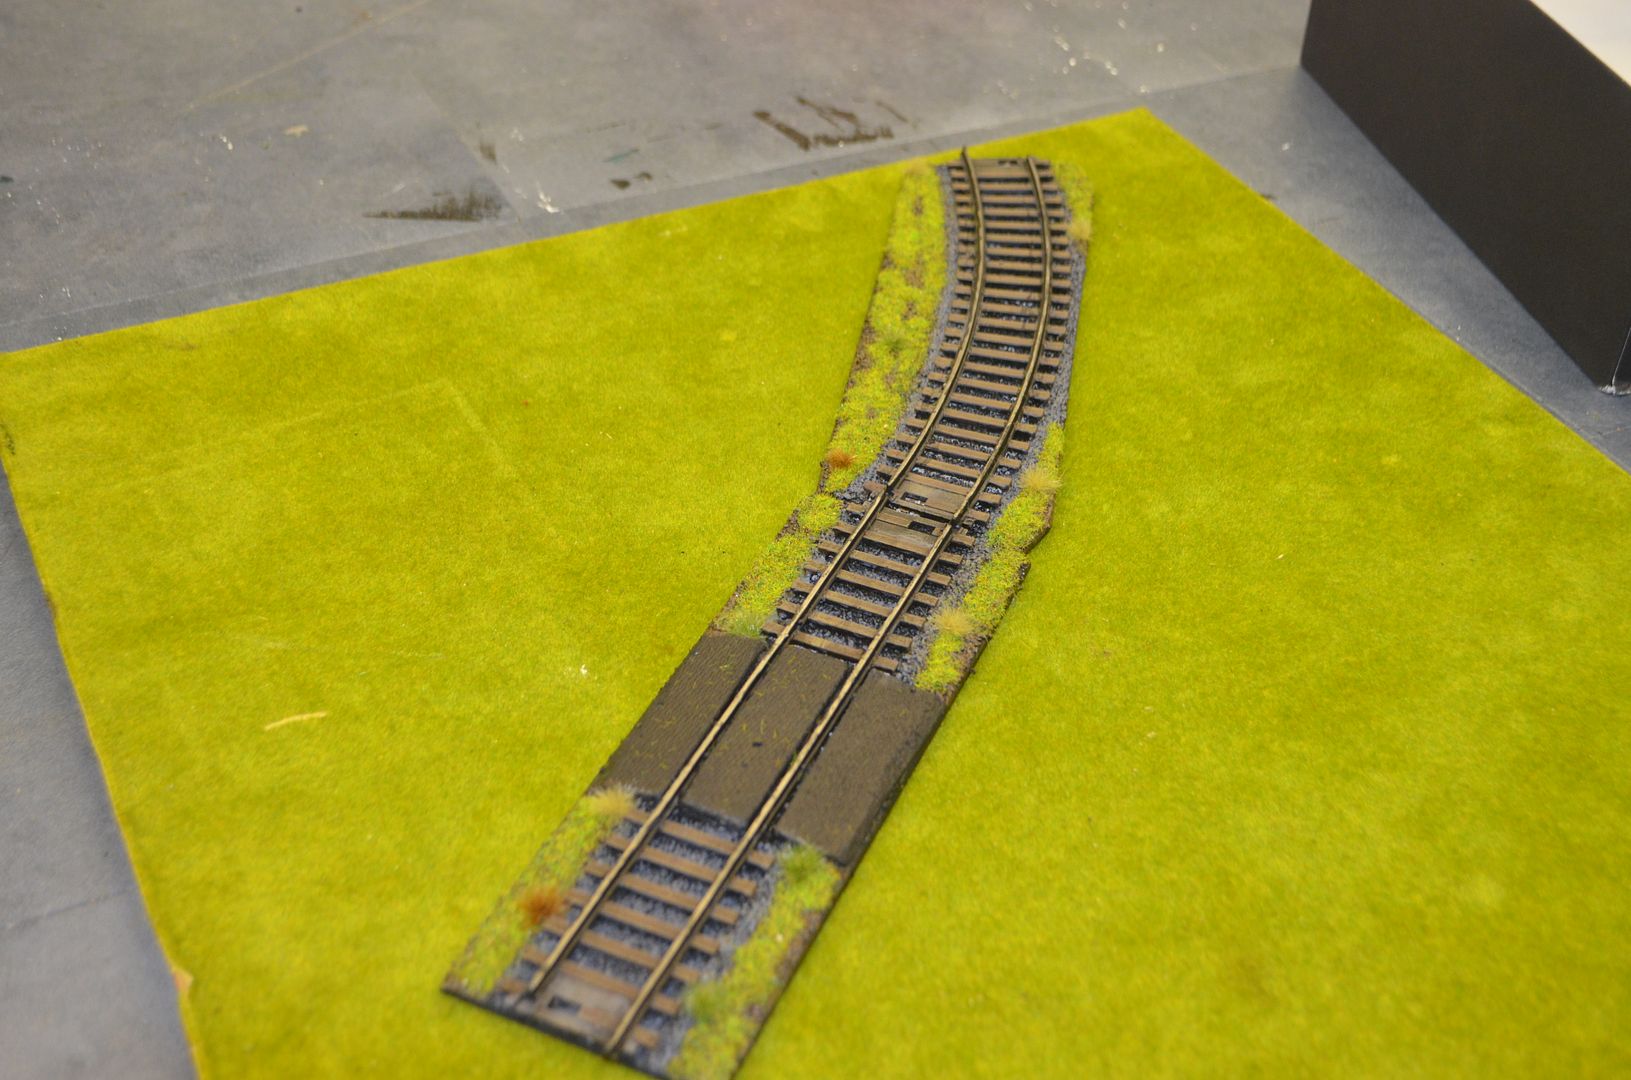 |
| Level crossing - took some thinking about |
The train is good to go...

My embanked track will stretch 1.5m across the table. In addition I will add one curve section giving some variety to play. With each section stretching circa 20cm I will need to build a minimum of 8 units. There will be two road tunnels. One narrow river bridge section and one wide river bridge section. The fact that all my rivers come in two sizes and the roads are a standard width makes life easy. So I will build in total 6 vanilla section and the above units as described.
More on this shortly.
Excellent post this. I am thinking about some rail for my Victorian steampunk board so your thoughts and techniques are very helpful!
ReplyDeleteSomething else to add to my to do list, very nice !!
ReplyDeleteThat's really moving along on the project! Looking forward to seeing it all laid out for a game.
ReplyDeleteGreat work, looking forward to seeing the 'embankment' sections
ReplyDelete