With my medieval games coming on a pace I thought I would turn my attention to some wattle fencing. The following tutorial will hopefully be of interest.
Material Required:
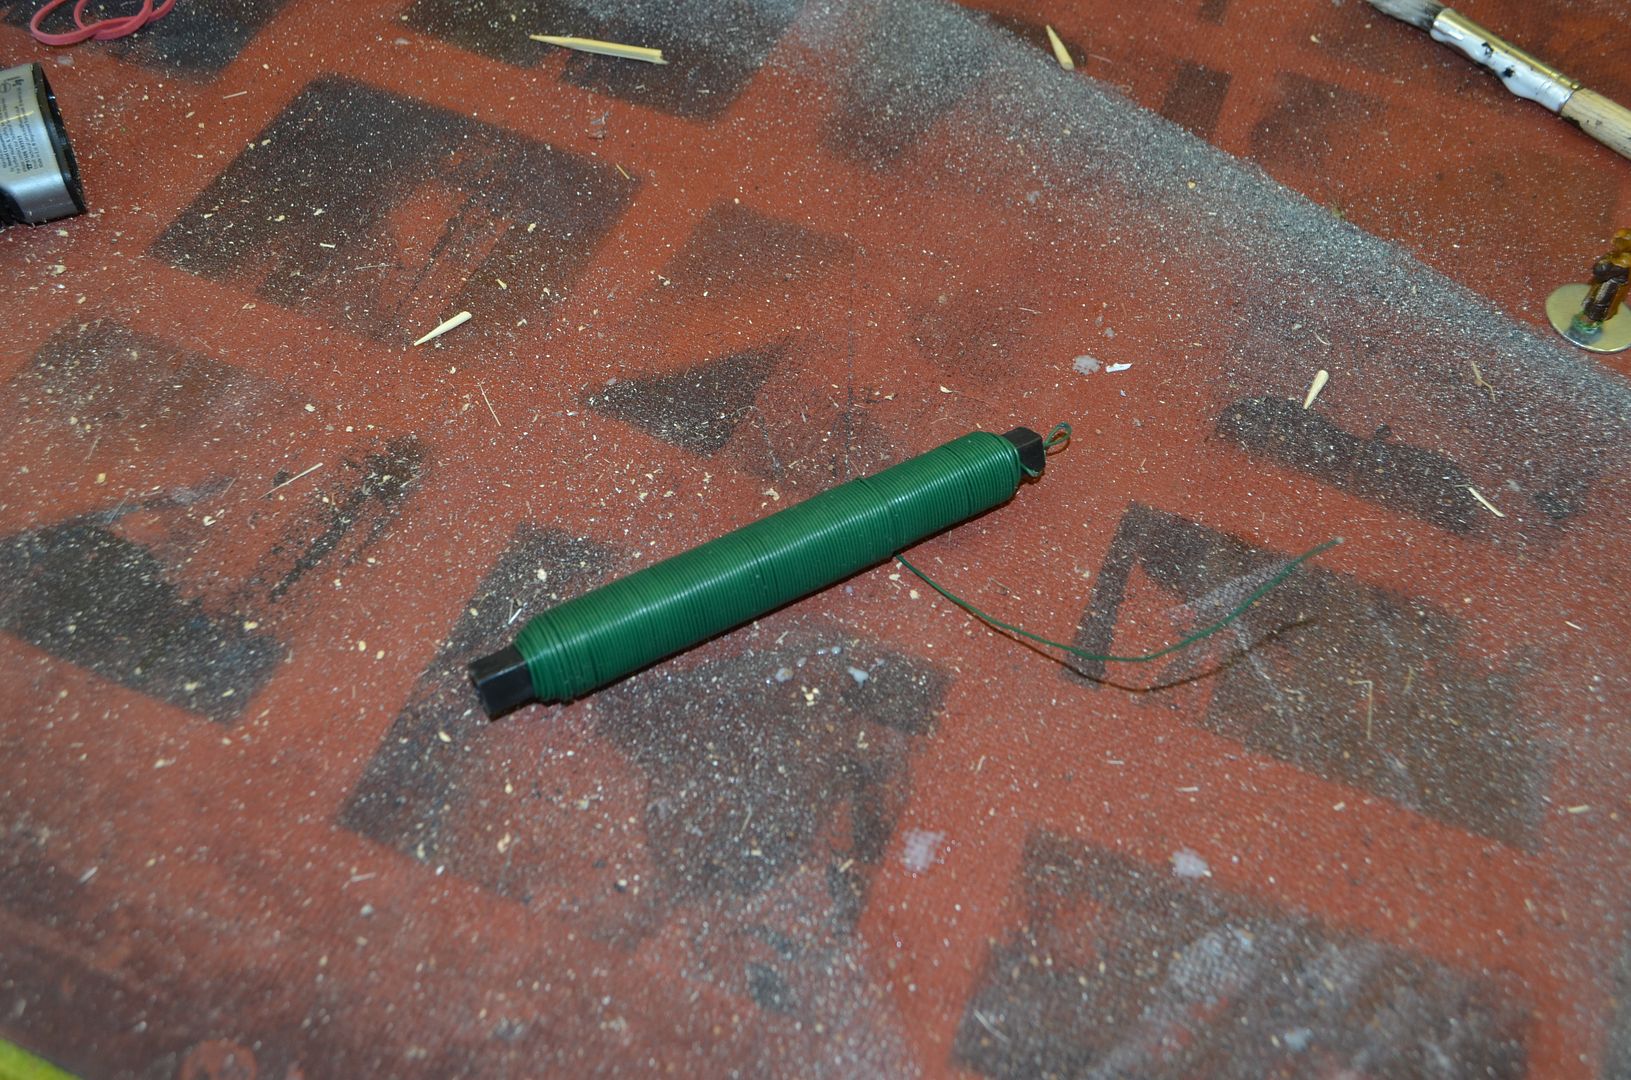
Hardboard off cuts, bamboo skewers (99p), garden wire (2 reels for 99p), paint, pva glue, static grass – Total Cost £1.98
Tools: Jigsaw, Drill, Sharp Clippers
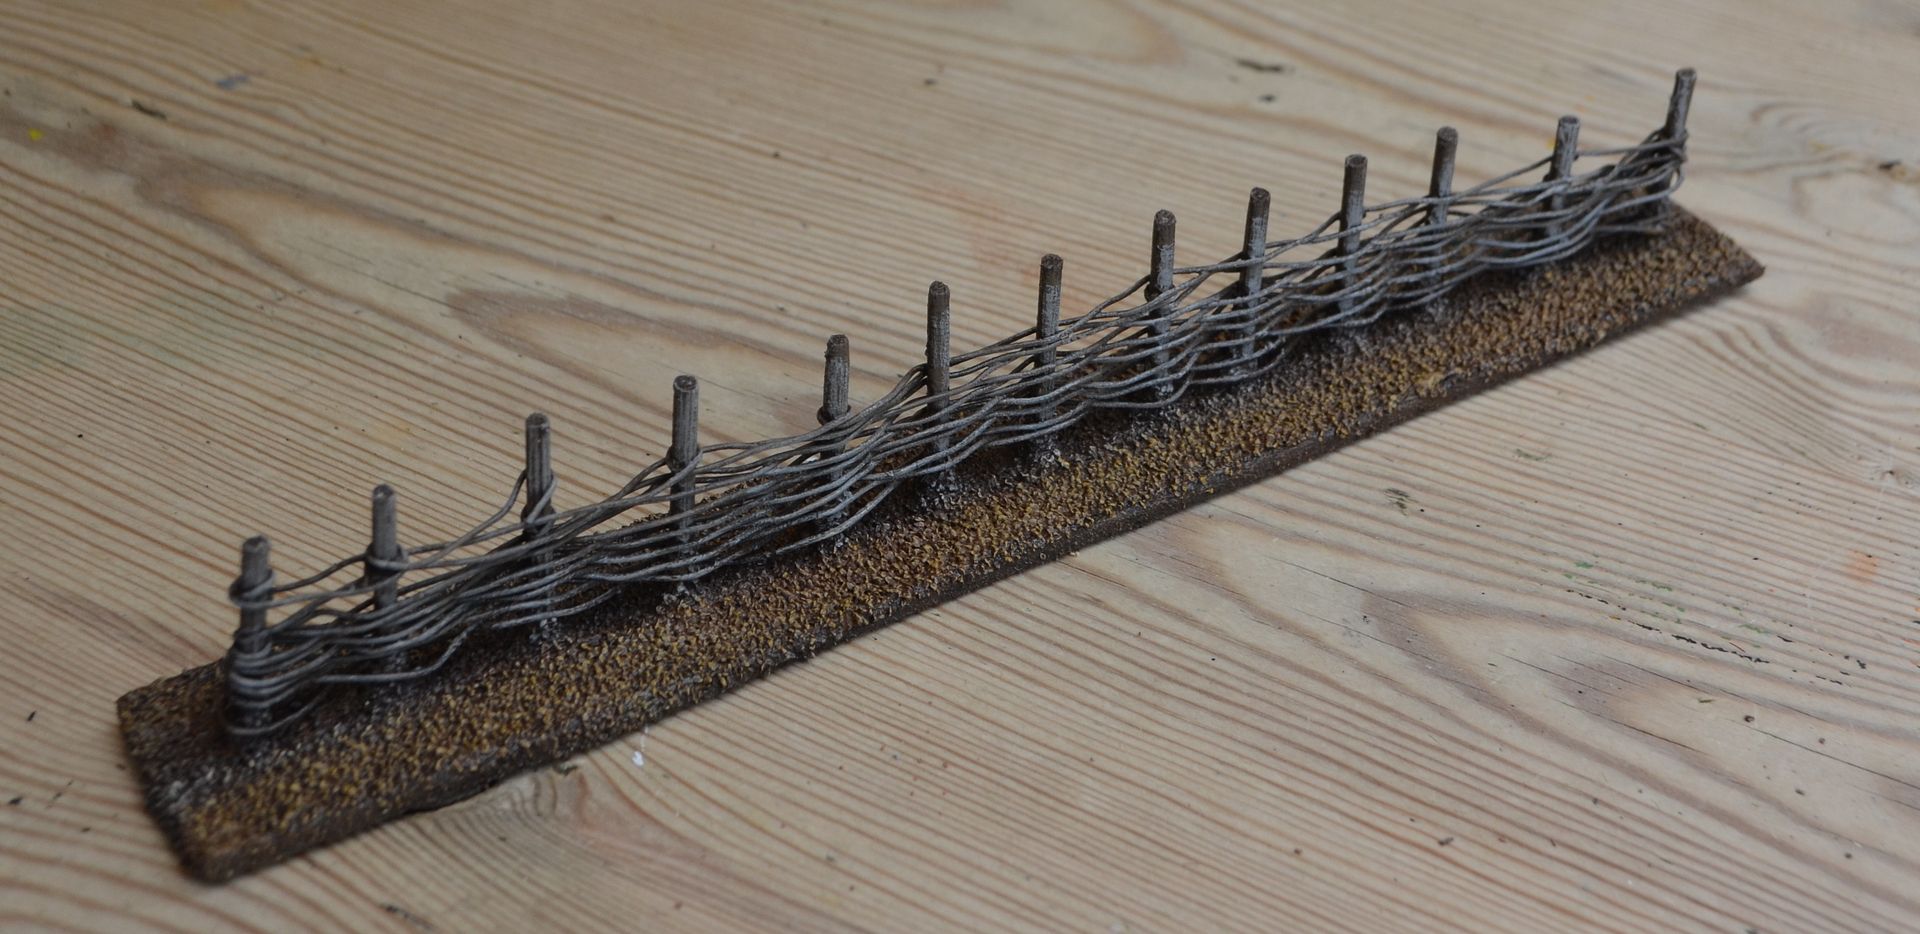
I decided to use standard hardboard as the base. These has been cut into strips 2 inches wide and in 6 /10 inch lengths. Once cut, the hardboard edges were then sanded down. In time I may make some corner sections
The upright posts are bamboo skewers – I have a load of these left from my FIW fort build. To fix these to the hardboard base drill holes 1/2 inch apart along an imaginary line down the centre of the base. The end post needs to be as close to the end of the base as possible so runs of fences look continuous…
Cautionary note: drill the post holes from the bottom of the base - this way the base stays flat when the drill pushes through. I always use the rough surface as the top as this is already keyed for the basing materials.
With the holes drilled push through the skewers (sharp end first helps) until the end of the skewer meets the base. Using the right drill head size really helps here, too loose and they will keep falling out, too tight and you will keep breaking the skewer. Taking a sharp pair of scissors/clippers – I use garden pruners cut the posts so they are about the height of your figures.
Once complete I covered the base in grit, sand and ballast using PVA. Leave to dry for 24 hours. The glue from the basing material will help to glue the posts in place. Once dry you can progress onto the next stage.
Using green garden wire (the stuff coated in green plastic) fix one end to the bottom of one of the end posts and then start to wattle (?). By interleaving the wire between the posts the wattle effect soon becomes apparent. Take the wattle up to about 1.5cm - 2cm high and fix off the end with a dab of superglue. This does take time – I reckon the standards fences took about five minutes each.
Once complete paint the whole thing in a dark colour – I used dark brown. The plastic coating definitely helps with the paint! And then finish off both the bases and fencing in a dry brush (eg browns & light greys)
Finish of the base with its own drybrush and fix ground cover. In my case simple static grass. Hey presto Wattle fences.
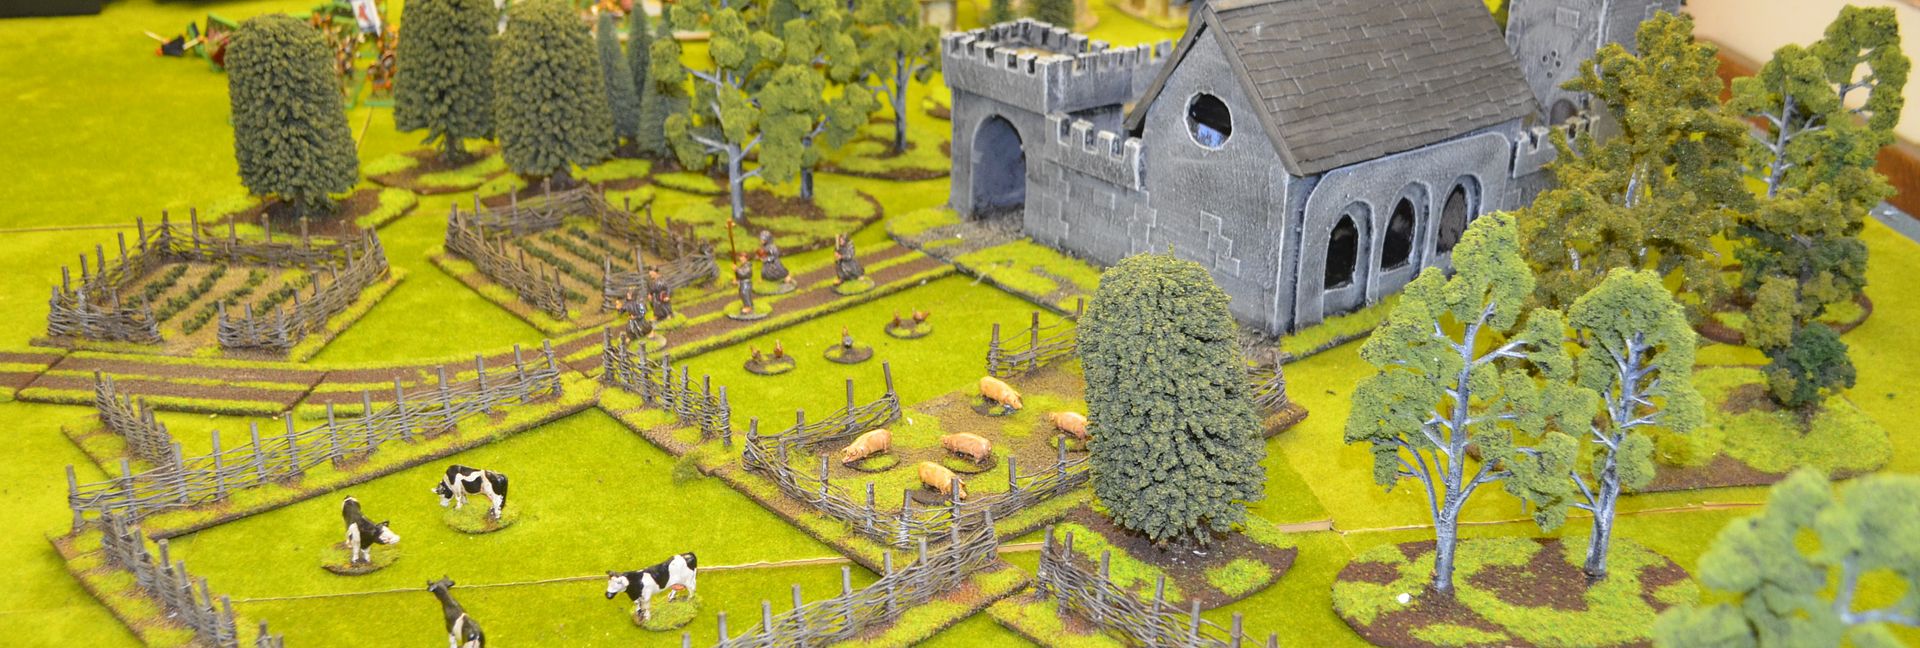
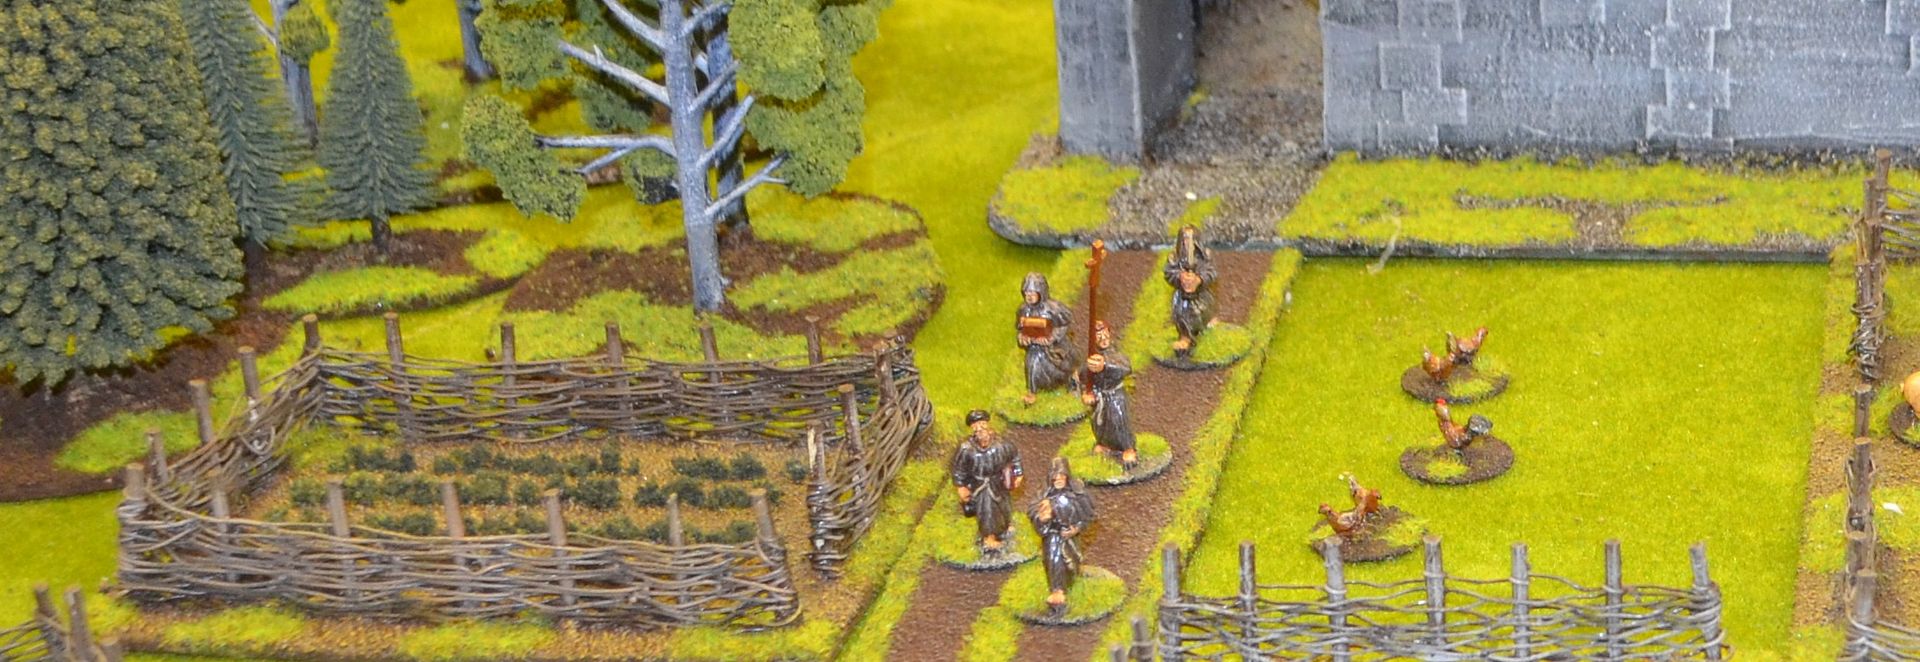
Not being satisfied with just a few fences I decided to build three fields in the same fashion. The larger of the fields has become a livestock pen, the smaller simple vegetable patches.
Here they are laid out with the priory nestled in Shedwood Forest...
Here they are laid out with the priory nestled in Shedwood Forest...
Hope this has been of interest
Until next time.....


They look very effective..good tutorial
ReplyDeleteThis is a nice walk through of how to make wattle fences. This is easy enough for me to try.
ReplyDeleteExcellent results and a very clear tutorial. Thanks!
ReplyDeleteGreat tuto, looking simple and very nice!
ReplyDeleteGreat tutorial and something I'll do!
ReplyDeleteChristopher
Very nice looking results, thanks for the tutorial.
ReplyDeleteRegards,
Matt
Great wattle fencing,useful tutorial; I was going to make some like this but got lazy and bought some from Renedra.
ReplyDelete-- Allan
Very nice! Lovely inspiration for a bit of DIY.
ReplyDeleteIt's got to be easier using soft garden wire than annealing welding wire. I'll have to put my hand in my pocket and buy some. Cheers!
ReplyDeleteVery nice tutorial, thanks for sharing!
ReplyDelete