Wednesday, 1 April 2020

Another shed extension part 4

Good Evening Folks - hope you are all well.

Its been almost two weeks now since I have set foot outside the house and thankfully I haven't gone stir crazy quite yet. Although its been cold I have been cracking on with the shed extension and here is the latest update. If you missed part three you can find it HERE

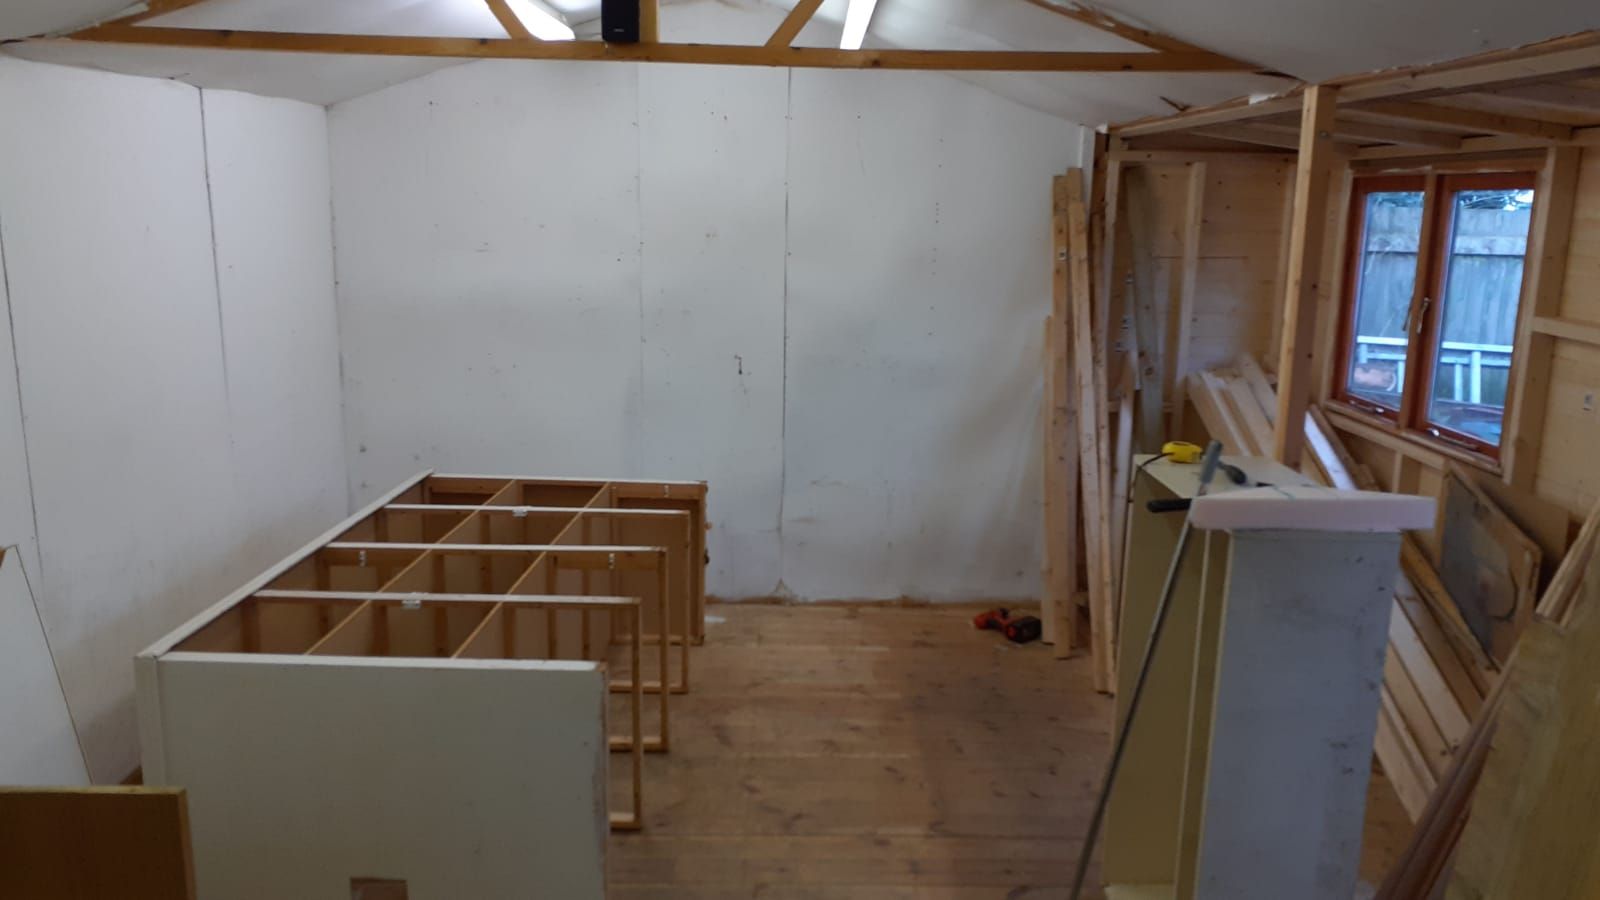
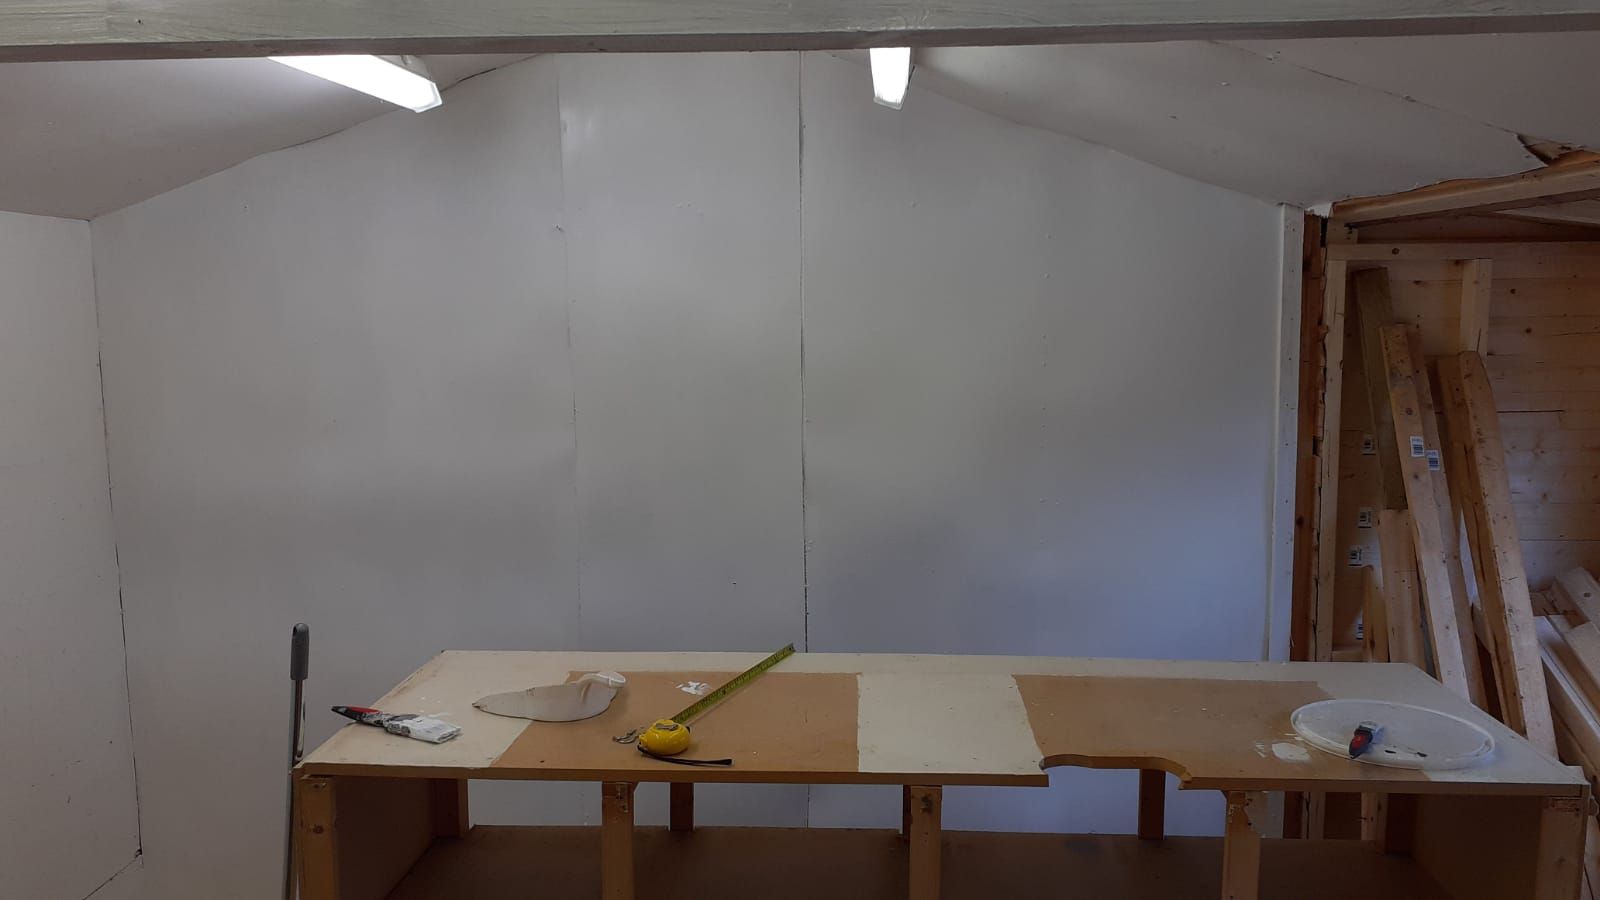
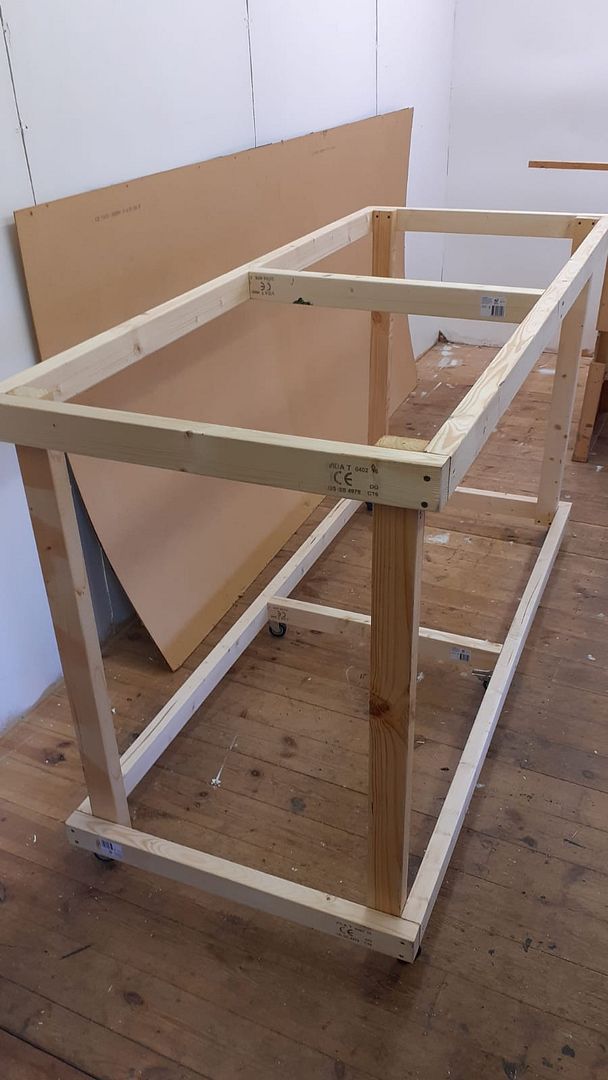
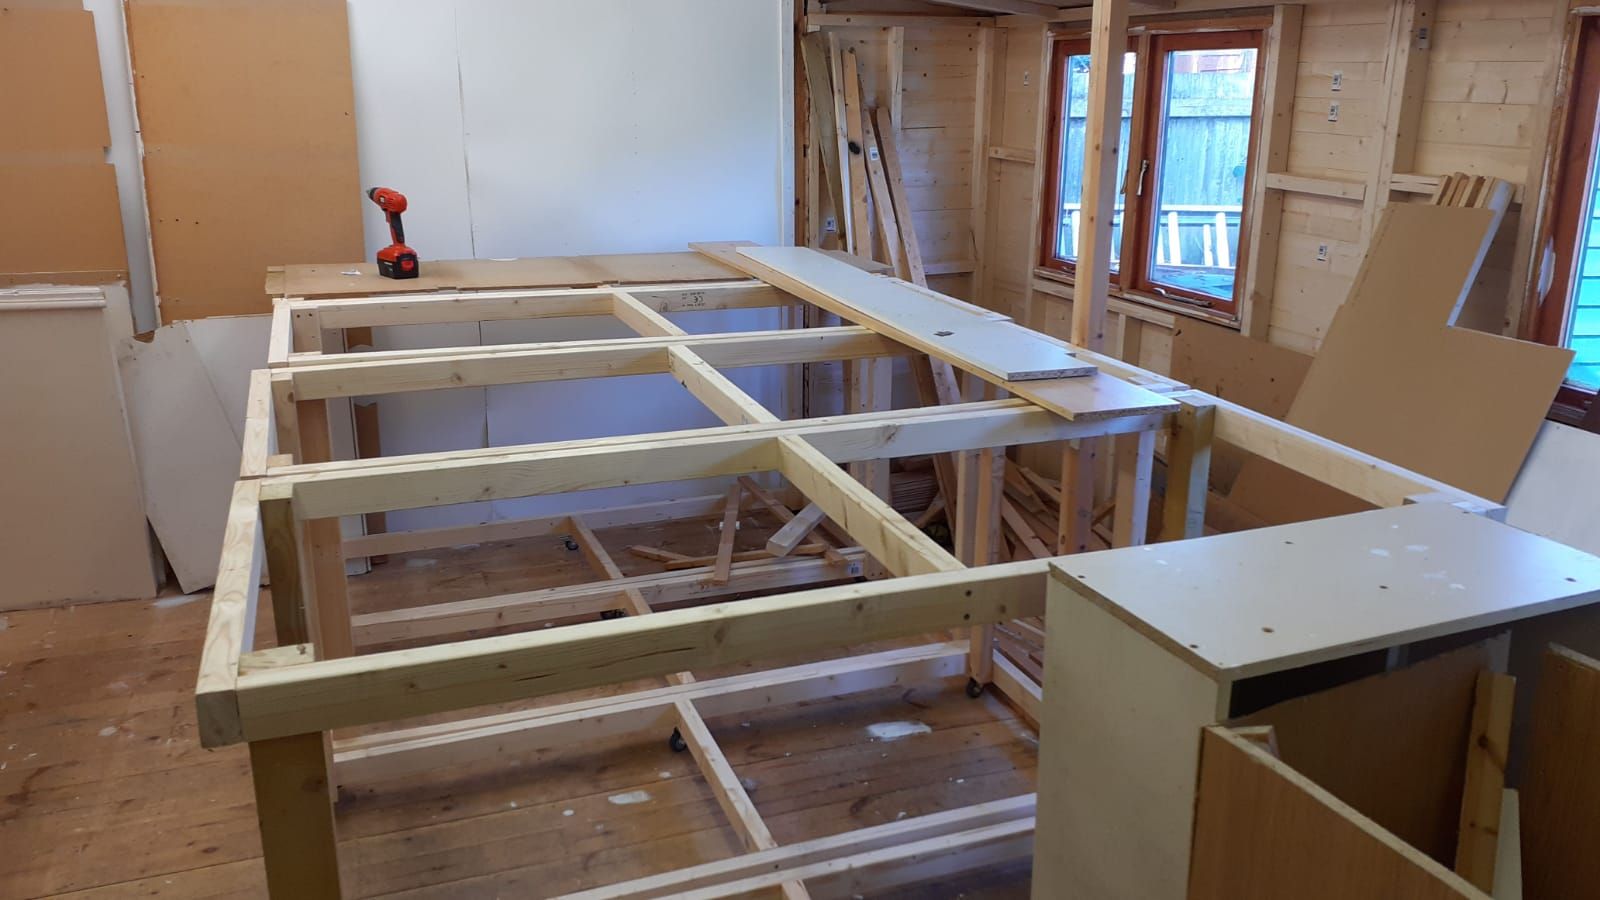
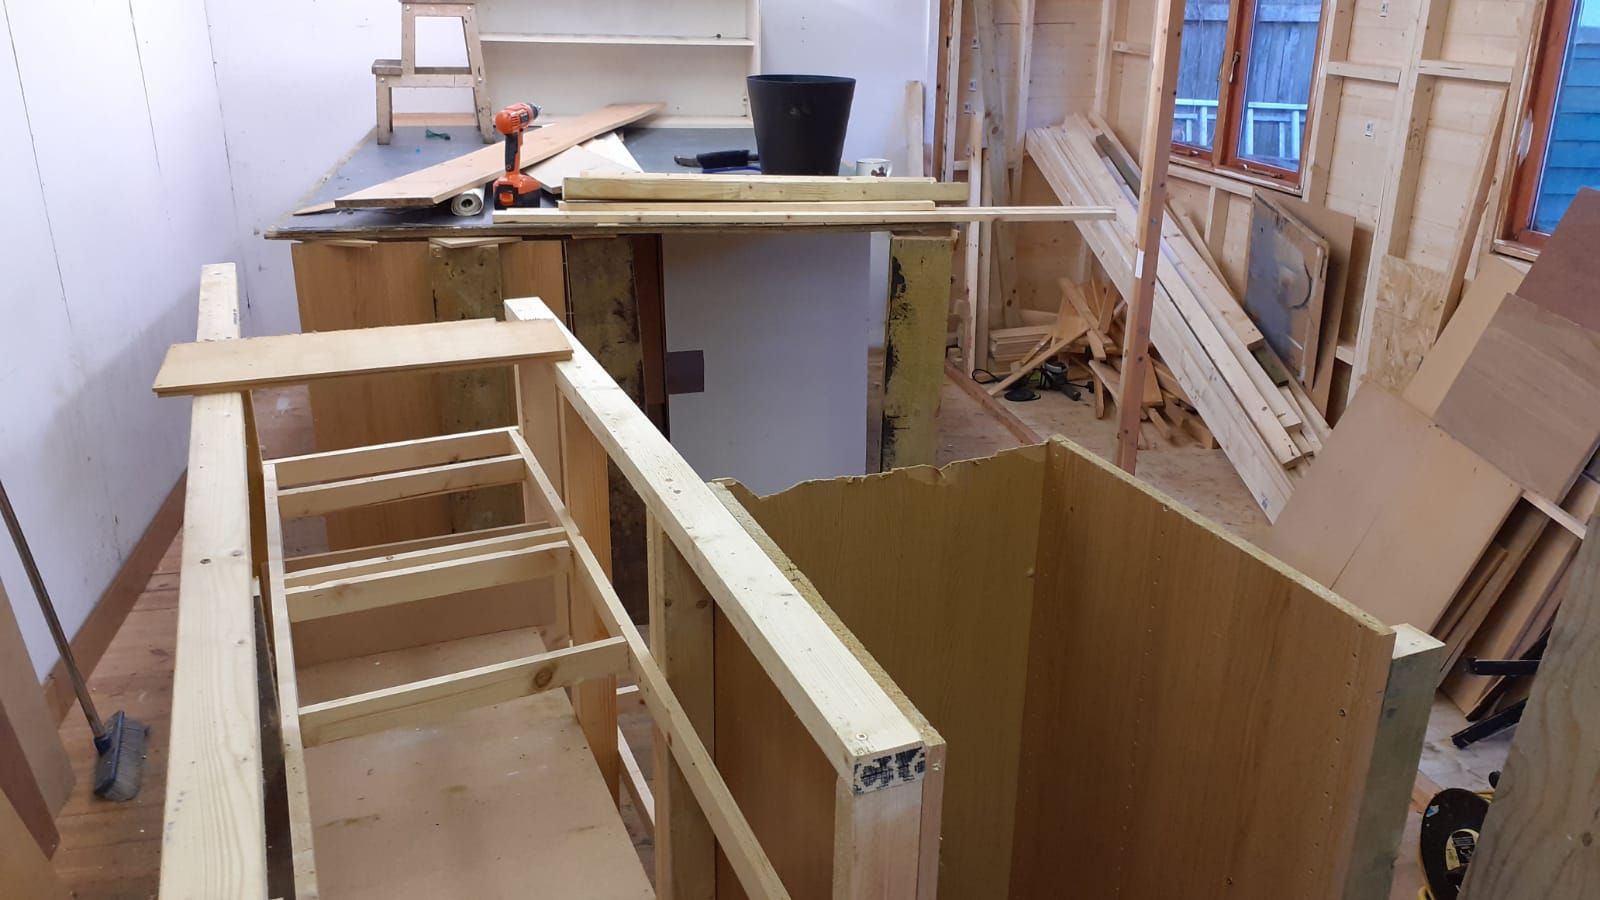
When I left you last I had just finished building the tables. The next job was to paint these up. Fortunately I still have gallons of white paint from the house decorations last year so the tables were given three coats of emulsion white - inside and out.


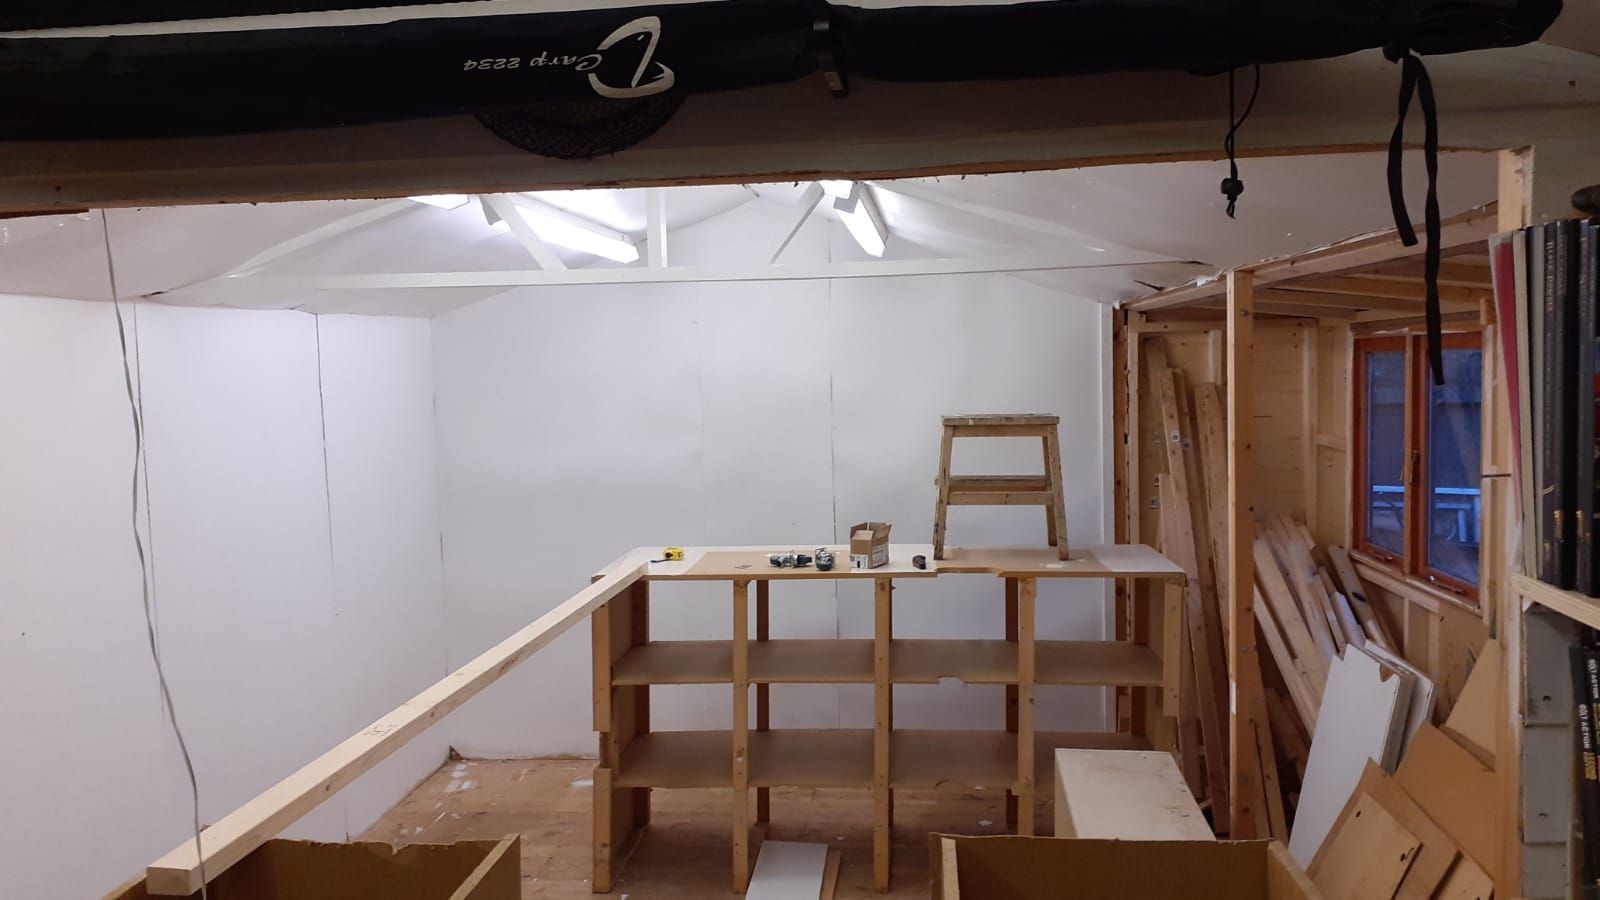
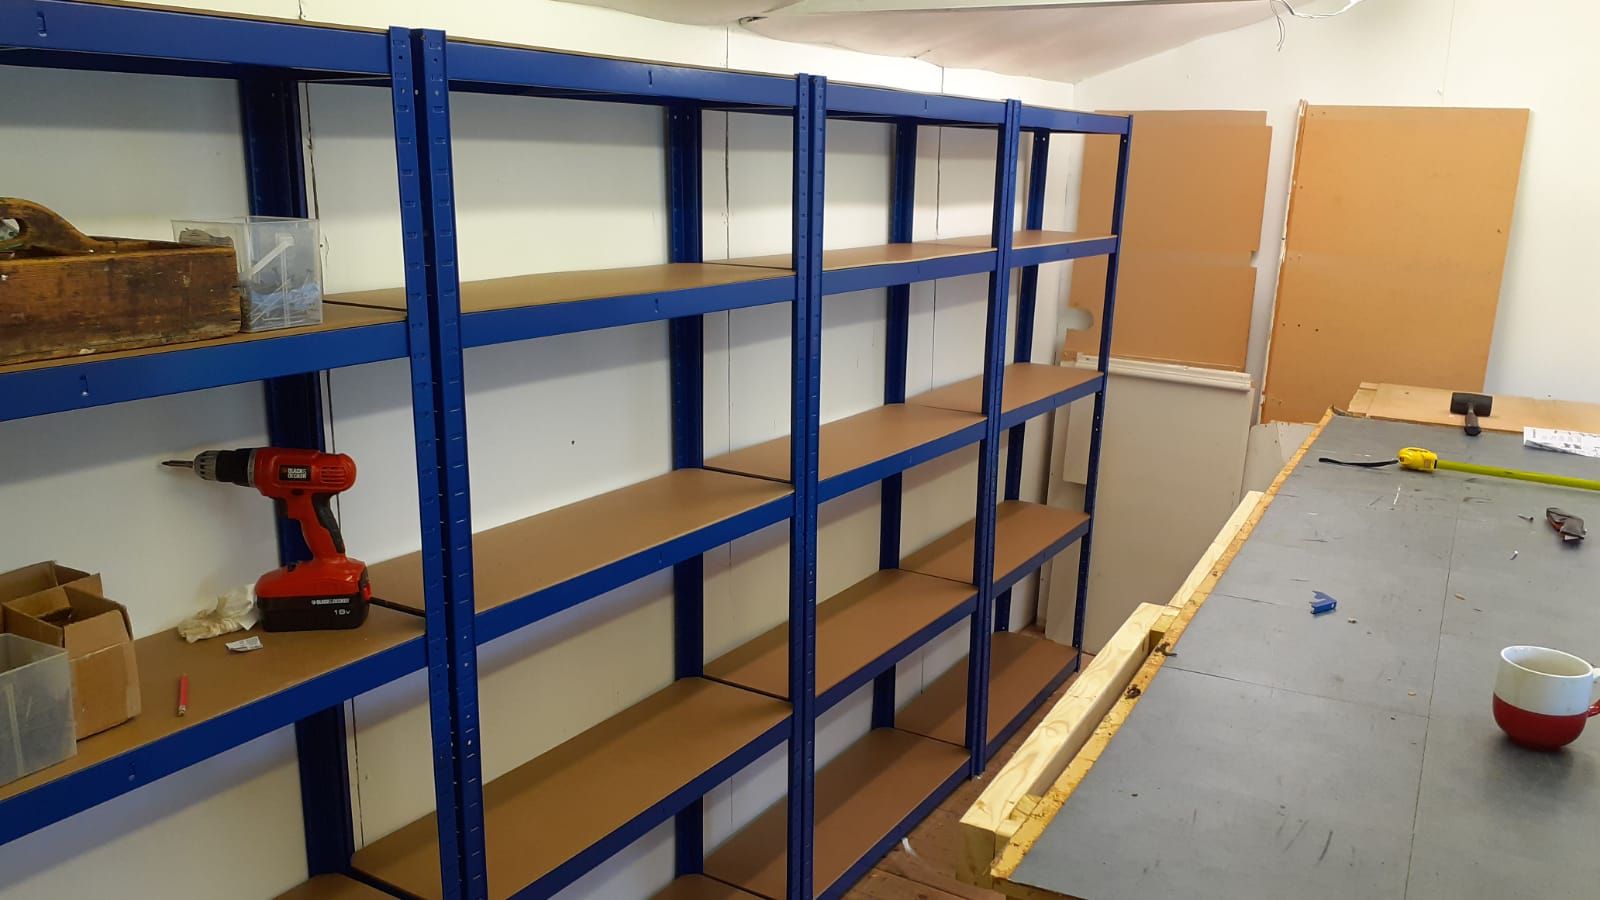
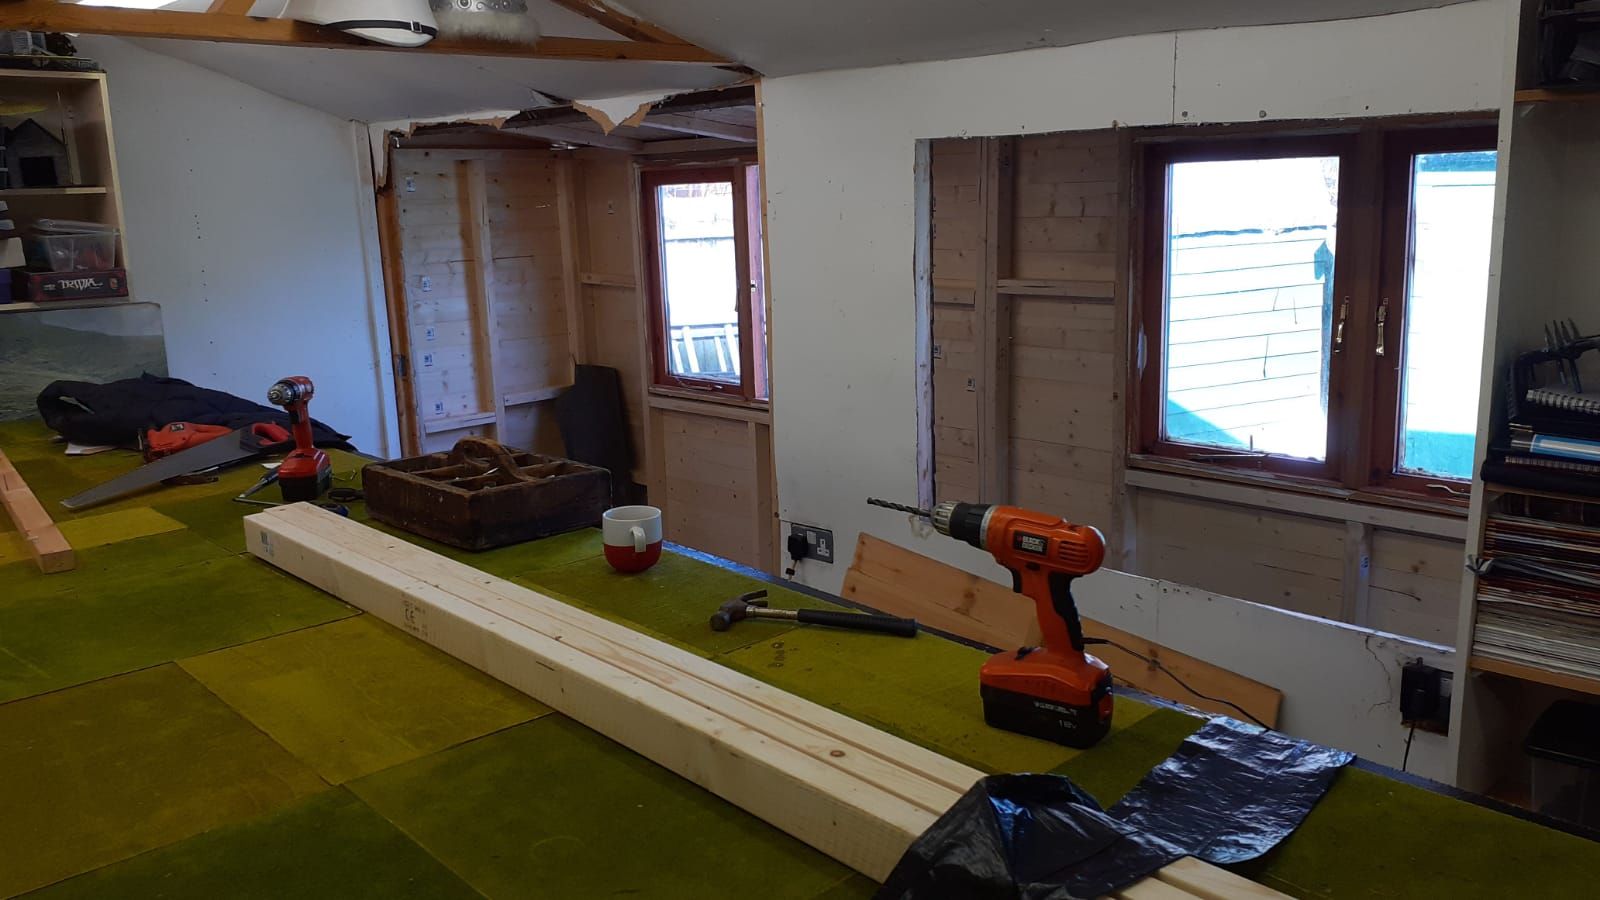
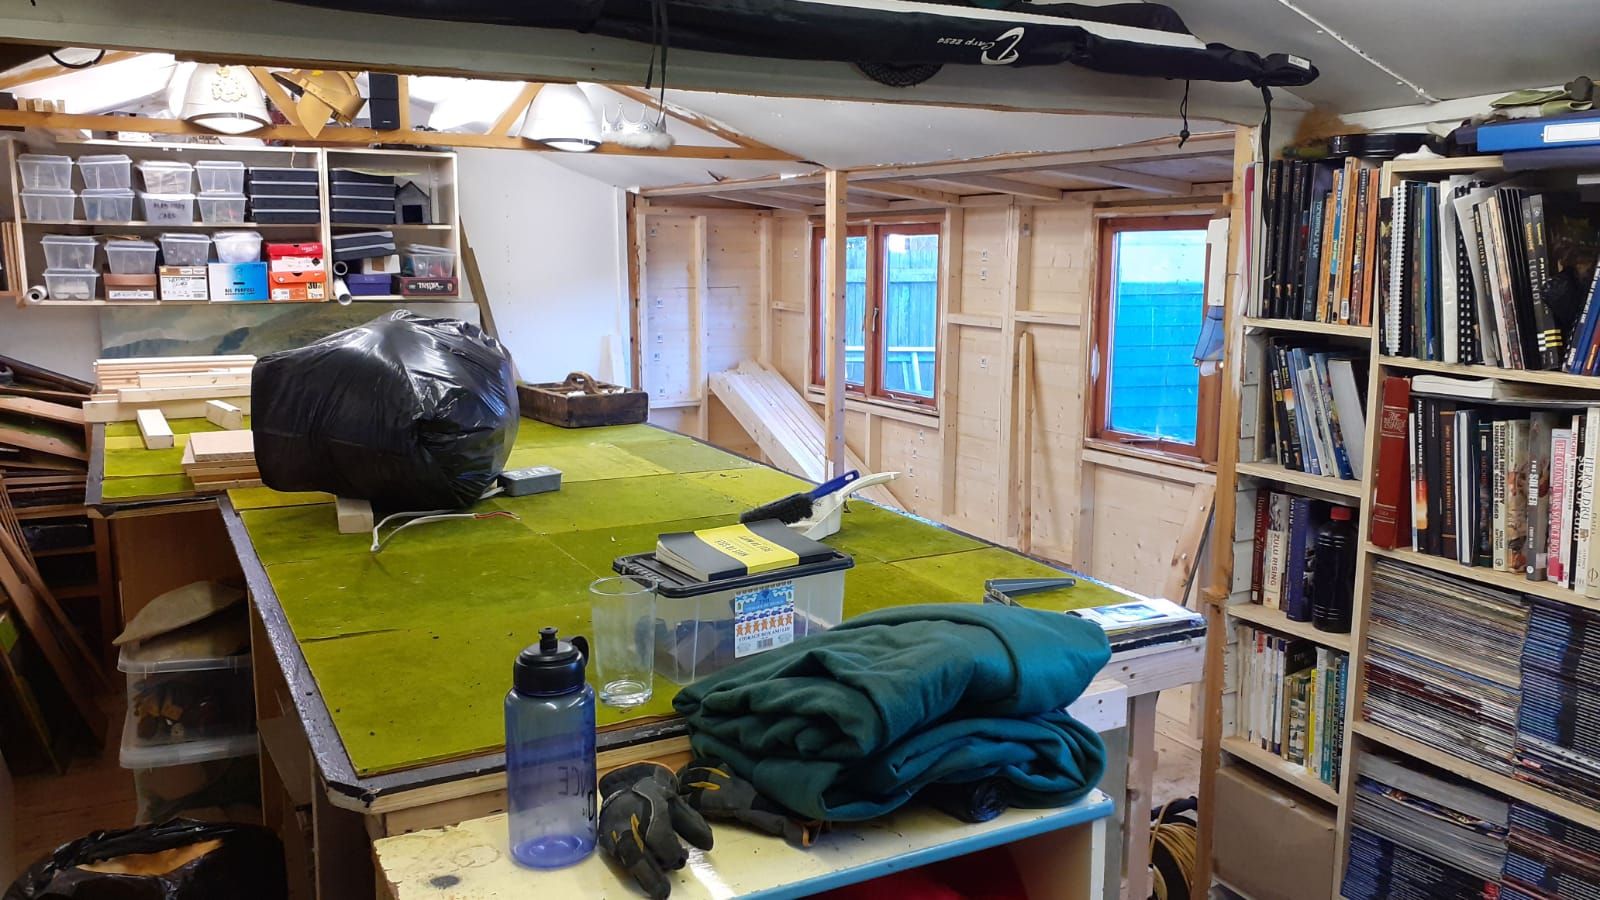
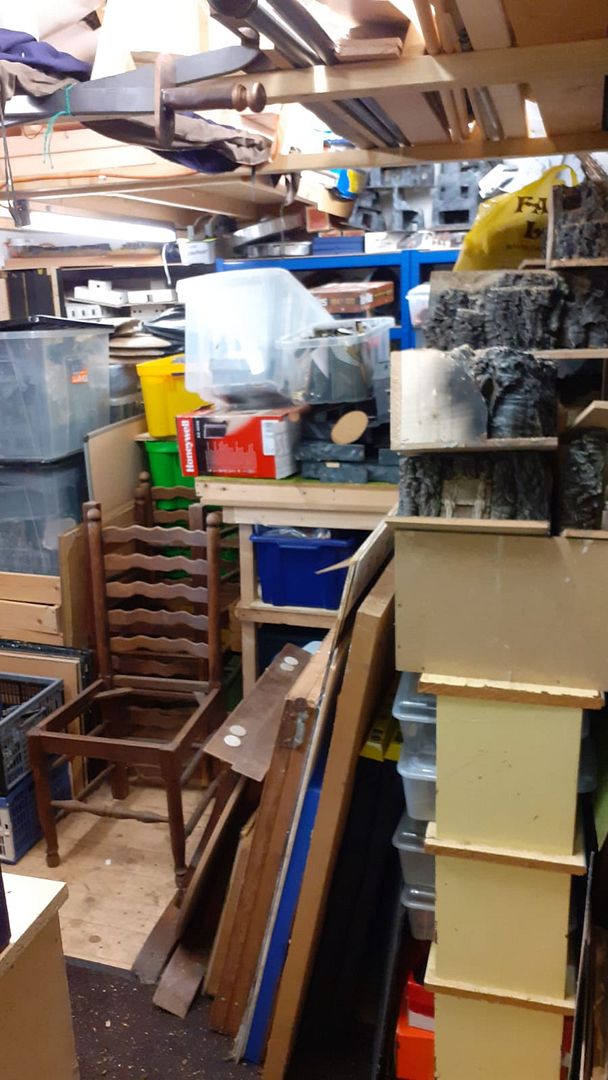
As you can see above its all still a bit of a mess inside.


One of the advantages of all four tables being on casters means I can push them to one side a create more floor space if required. I was whilst tidying up one afternoon the lights in the shed went out.

Now I should stress that I am no qualified electrician but I had a hunch it was the fuse box and given the old one was a bit battered and cracked I figured a replacement would be in order. A swift online order on Monday morning saw a new unit turn up in the post the next day. It was relatively straightforward to replace the old with the new and I am still here to tell the tale. Plus the lights are now working. Prior to Covid-19 I would have called an electrician in.


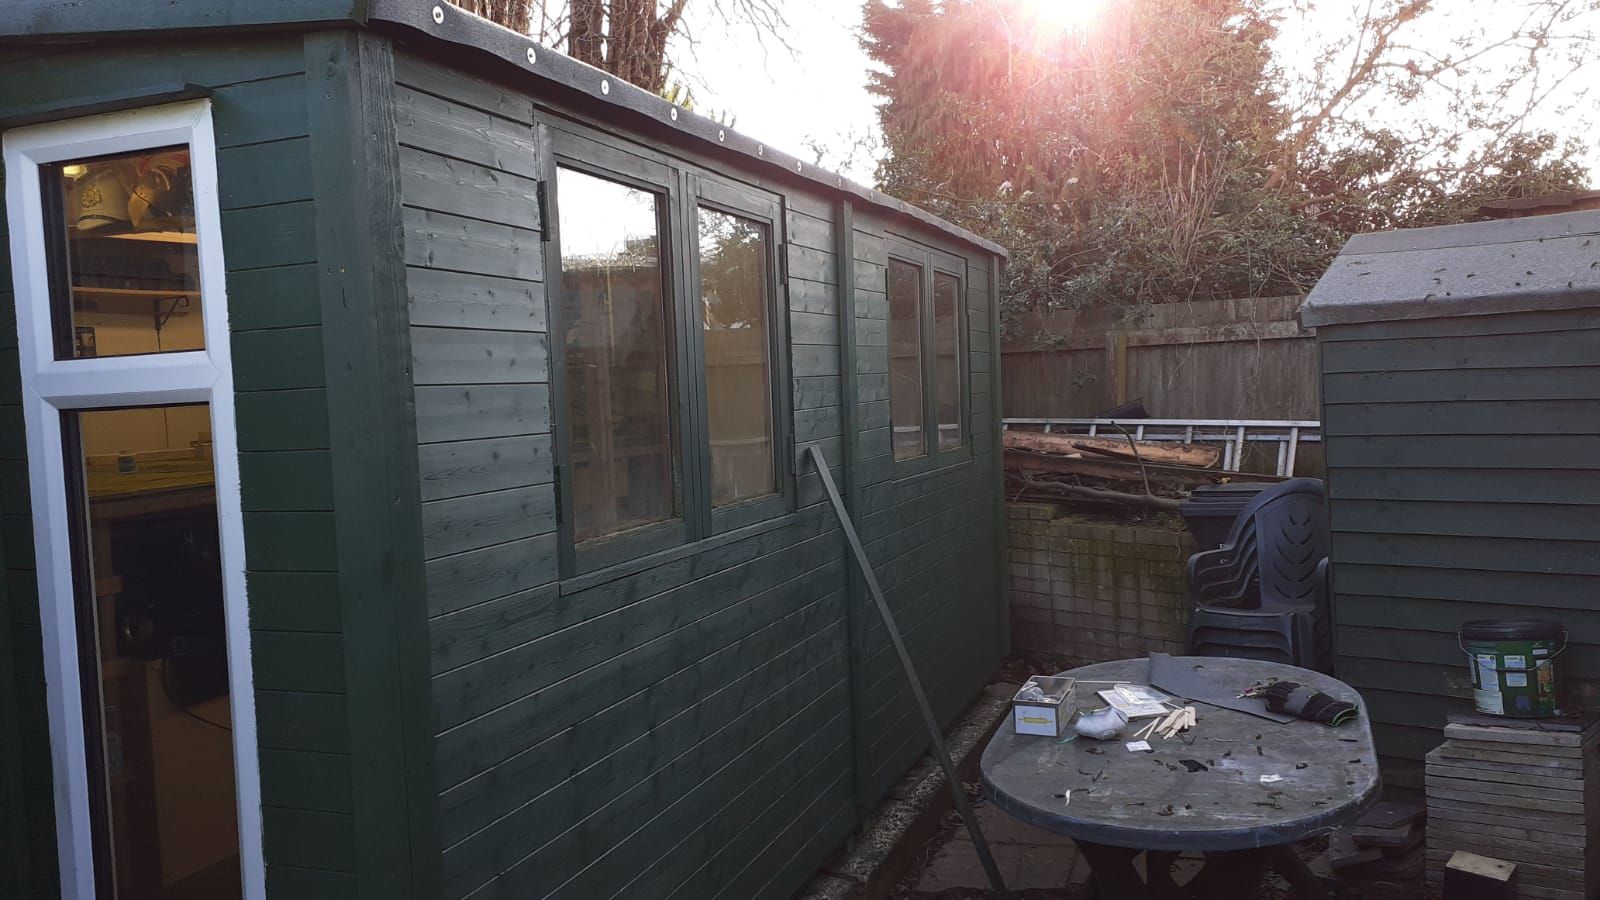
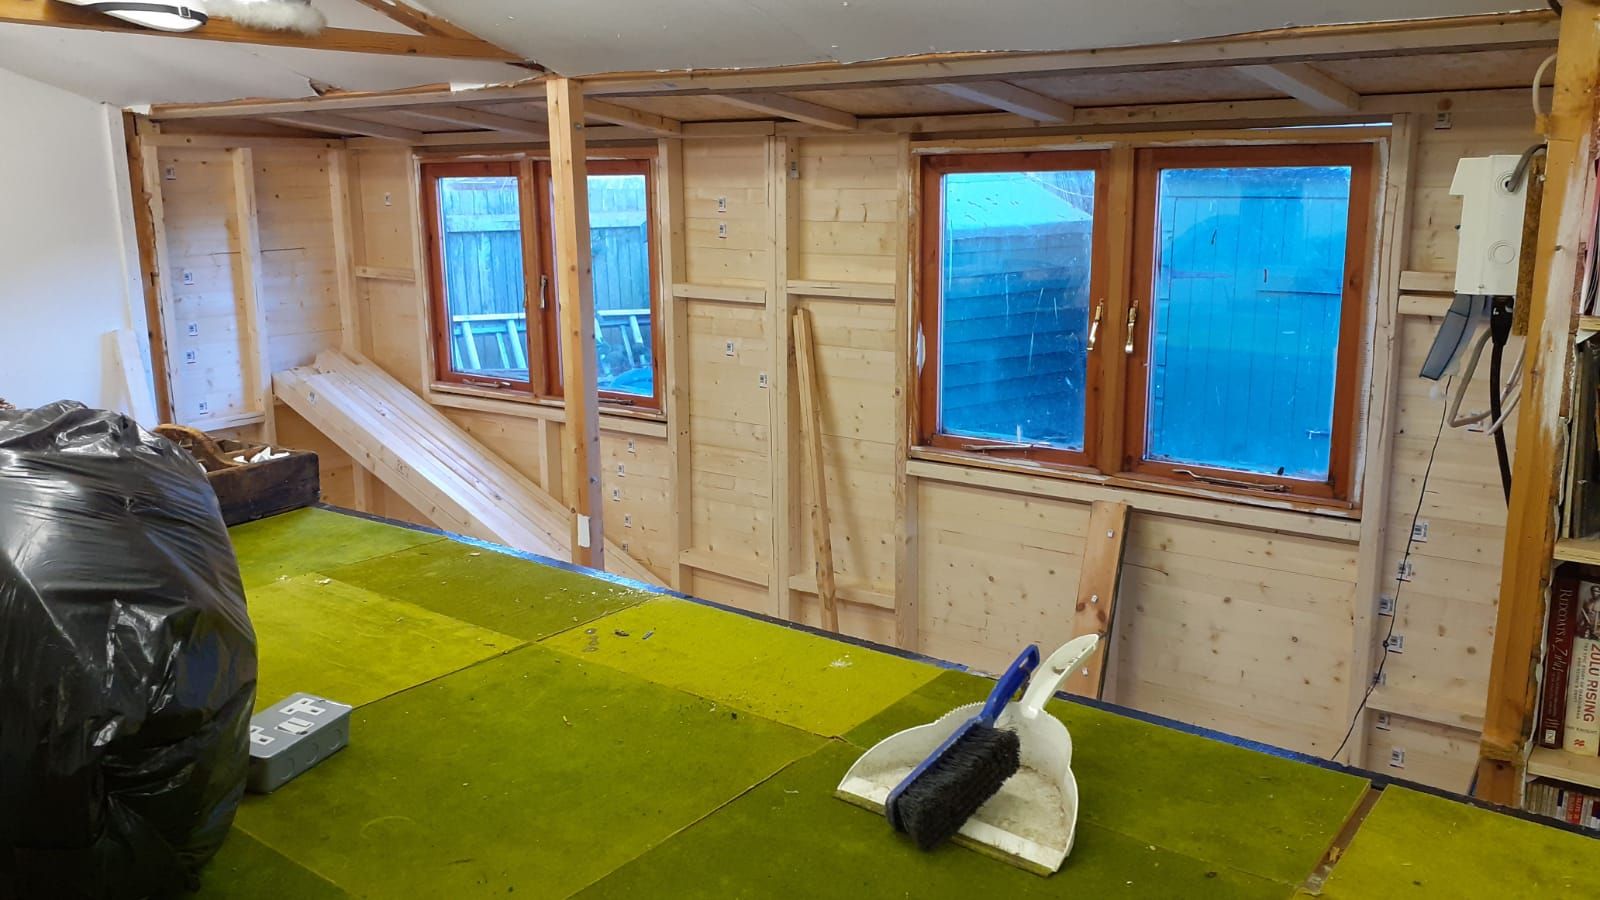
I also refurbished the interior window frames with a coat of paint and cleaned them for the first time in 15 years !


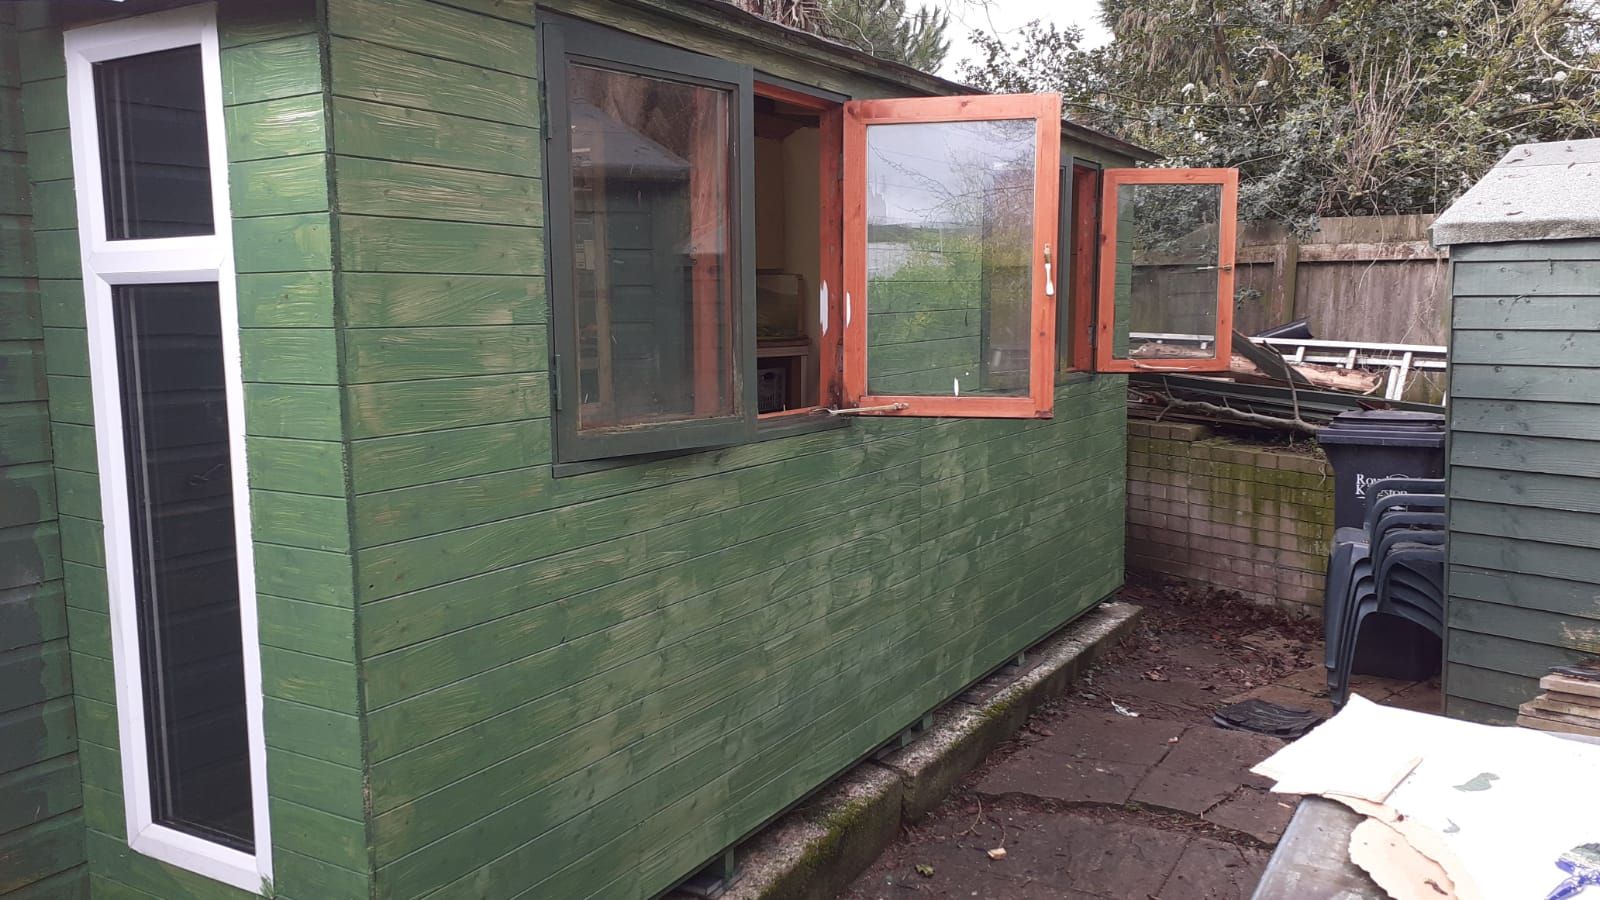
The final piece of construction saw the interir walls of the shed clad and painted. Unfortunately I do not have the materials to insulate and clad the ceiling so this will wait until normal movement is returned.


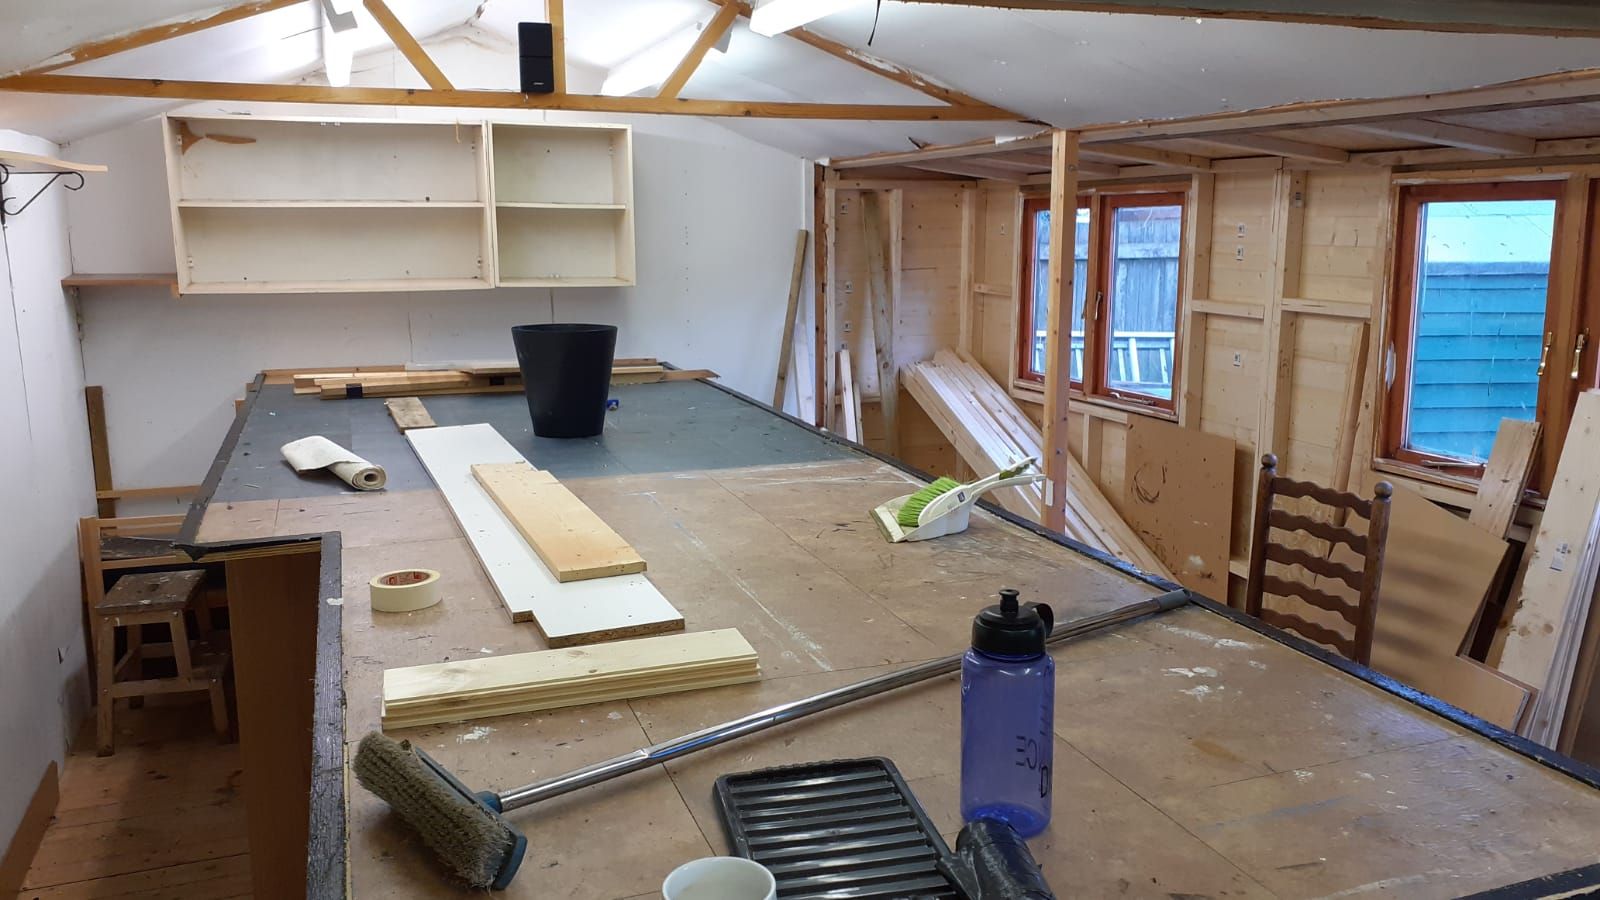
With the inside finally painted and cleaned up I could return my attention to the tables. These were given a couple of coats of paint on the tops.


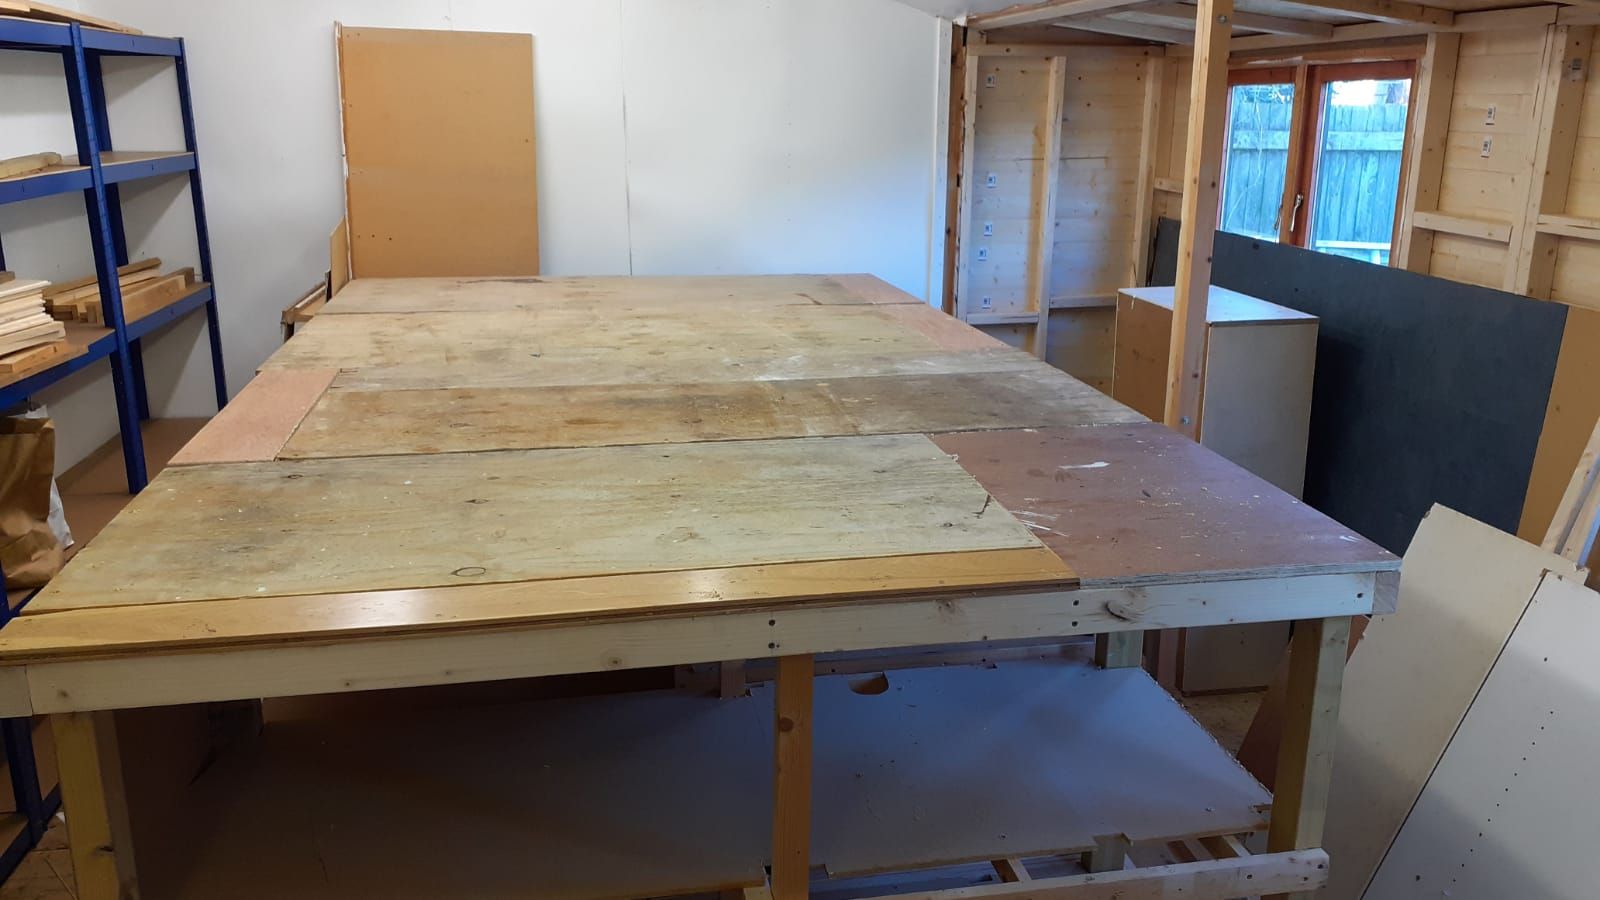
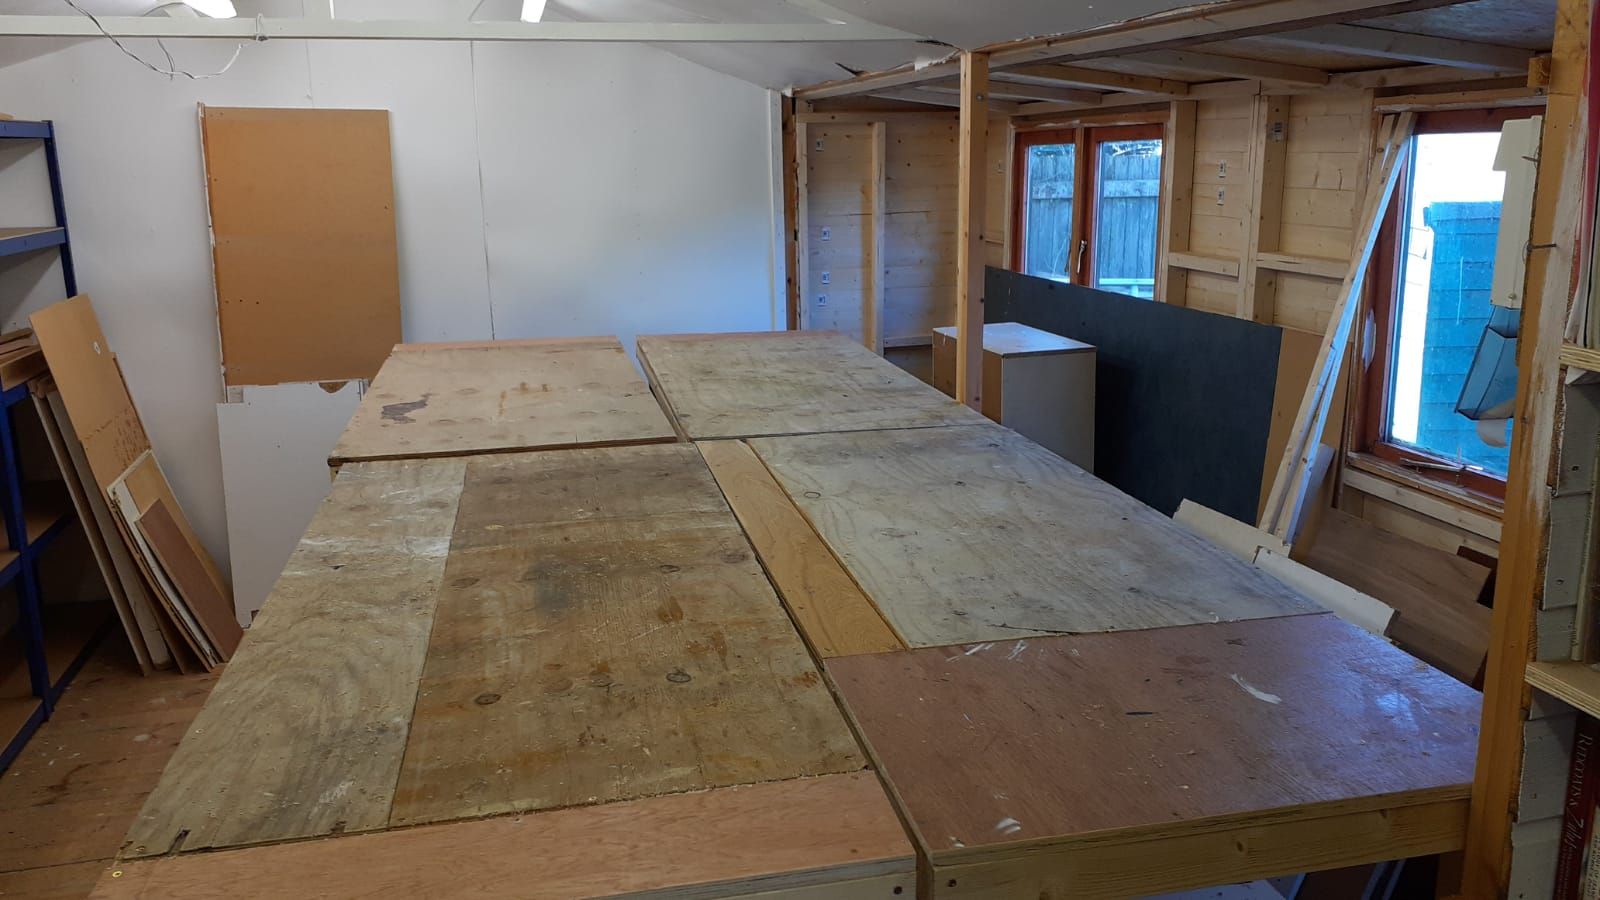
The tables then were covered in some very cheap vinyl floor tiles - sadly the glue on these was lousy so I have had to nail and staple gun down the edges.


I think they look quite smart - albeit a bit shiny


A final shot of the four tables complete. I have enough times to cover the two other tables in the other room and sufficient to cover the extension boards


The extension boards will be my next task. Once the tables are finished the plan is to empty the middle part of the shed and redecorate that part.

More soon

Stay safe

EtS

Part 5 can be found HERE

Monday, 23 March 2020

Another Shed extension part 3

Hi Folks

I hope you are all keeping well?

Its at times like these we can be grateful that our hobby can provide a suitable distraction to world events. I have been ploughing on with the shed build and significant progress has been made. Mrs Shed keeps telling me to slow down as there are still weeks ahead of us to fill.

So when I left you last I had finished the outside and could progress onto the inside. If you didn't see part 2 you can find it HERE

The first job was to dismantle the old table and once sufficiently cleared a new coat of paint was applied to the walls and ceiling.


Eventually I will insulate the new extension and clad this in boarding but given I cannot get out to get the materials now it will have to wait until the end of the quarantine.


The new paint job certainly brightens up the space.


Once the paint was dry I assembled the new racking that will carry the terrain/figures in this room. This was ordered through ebay and arrived a couple of days later. 


With the racking up and painting done I could turn my attention to the table. Given the limited materials to hand I had to work out the optimum use of what I had. In the end I decided to assemble four tables each was about 2.5 feet by 5.5 feet in size.

These have all been built as simple frames and then mounted on six casters (again another order from ebay). The table height is the same as the old one. 


All four frames were assembled and then I could start out on the into shelving and table tops. 


Each table's insides is slightly different in terms of shelf configuration and these are open on all sides to allow easy access of stored items.

Once complete (a three day job) the plywood tops that used to grace the old table were cut to fit the new ones. These can be configured as it stands to either option 1 (10ft x 5.5ft) or option 2 (11ft x 5ft) 

Option 1

The photo below is deceptive as there is plenty of room (more than before) all around the new table


Option 2

I'll also be adding some inserts to make the tables longer and wider as and when required. I can also configure a dog leg or set up two smaller.


Next job is to paint these tables and finish them with much smarter top.

More soon


part 4 can be found HERE
Wednesday, 18 March 2020

Another Shed extension part 2

Good Morning All - I do hope that you are keeping well in these difficult times.

As promised an update on the latest shed extension or as it is now being referred to as Dad's Isolation Project.

For part 1 of this project head HERE

When I left you last the bulk of the outside work had been done. In the last few days the shed has been treated to a new coat of paint - actually four coats in total


First coat above...


Fourth coat plus roof all battened down and corner joints sorted.

With the exterior sorted I could turn my attention to the inside. As you can see from the picture below I left the old shed walls up during the build and once the windows were transferred to the new external walls I could begin to knock through.
'

Critically it was important to leave the centre post, which is holding up the original roof in place. Its going to need reinforcing with a new joist in the near future.. Finally the old walls came down and I could look out on the new room.


The dimensions of the new room are about 13ft by 15ft. Significantly more space.


Now was the time to start thinking about the table which meant emptying the new room completely. This was all transfered into the 'other wing' of the shed. I do have too much stuff !


With the shed cleared I could start dismantling the old table...


and begin planning the new...more soon


part 3 can be found http://shedwars.blogspot.com/2020/03/another-shed-extension-part-3.html


Friday, 13 March 2020

Time for another Shed extension - part 1

Good evening All

Apologies for the lack of posts recently but as always real life sometimes gets in the way. The good news is that I now have a bit of spare time on my hands and whilst trying to avoid catching the dreaded C virus I have been extremely busy on all thing wargames.

My WOTR project is coming on a pace with almost 200+ figures now painted and I'll post up some pictures very soon. However over the last couple of days I have taken advantage of the reasonable weather and started on the next shed extension.

Another extension I hear you cry !

Yup following the last build a couple of years back there was always one more build on the shed to be done.

Previous build here

This is in part motivated by the shift to big classic 28mm wargames in the shed...my table is just not big enough and the new extension I hope will rectify this.

Ultimately the shed will sport a much deeper 6ft table. The extension will also create more space for the gamers and create (hopefully) a better environment.

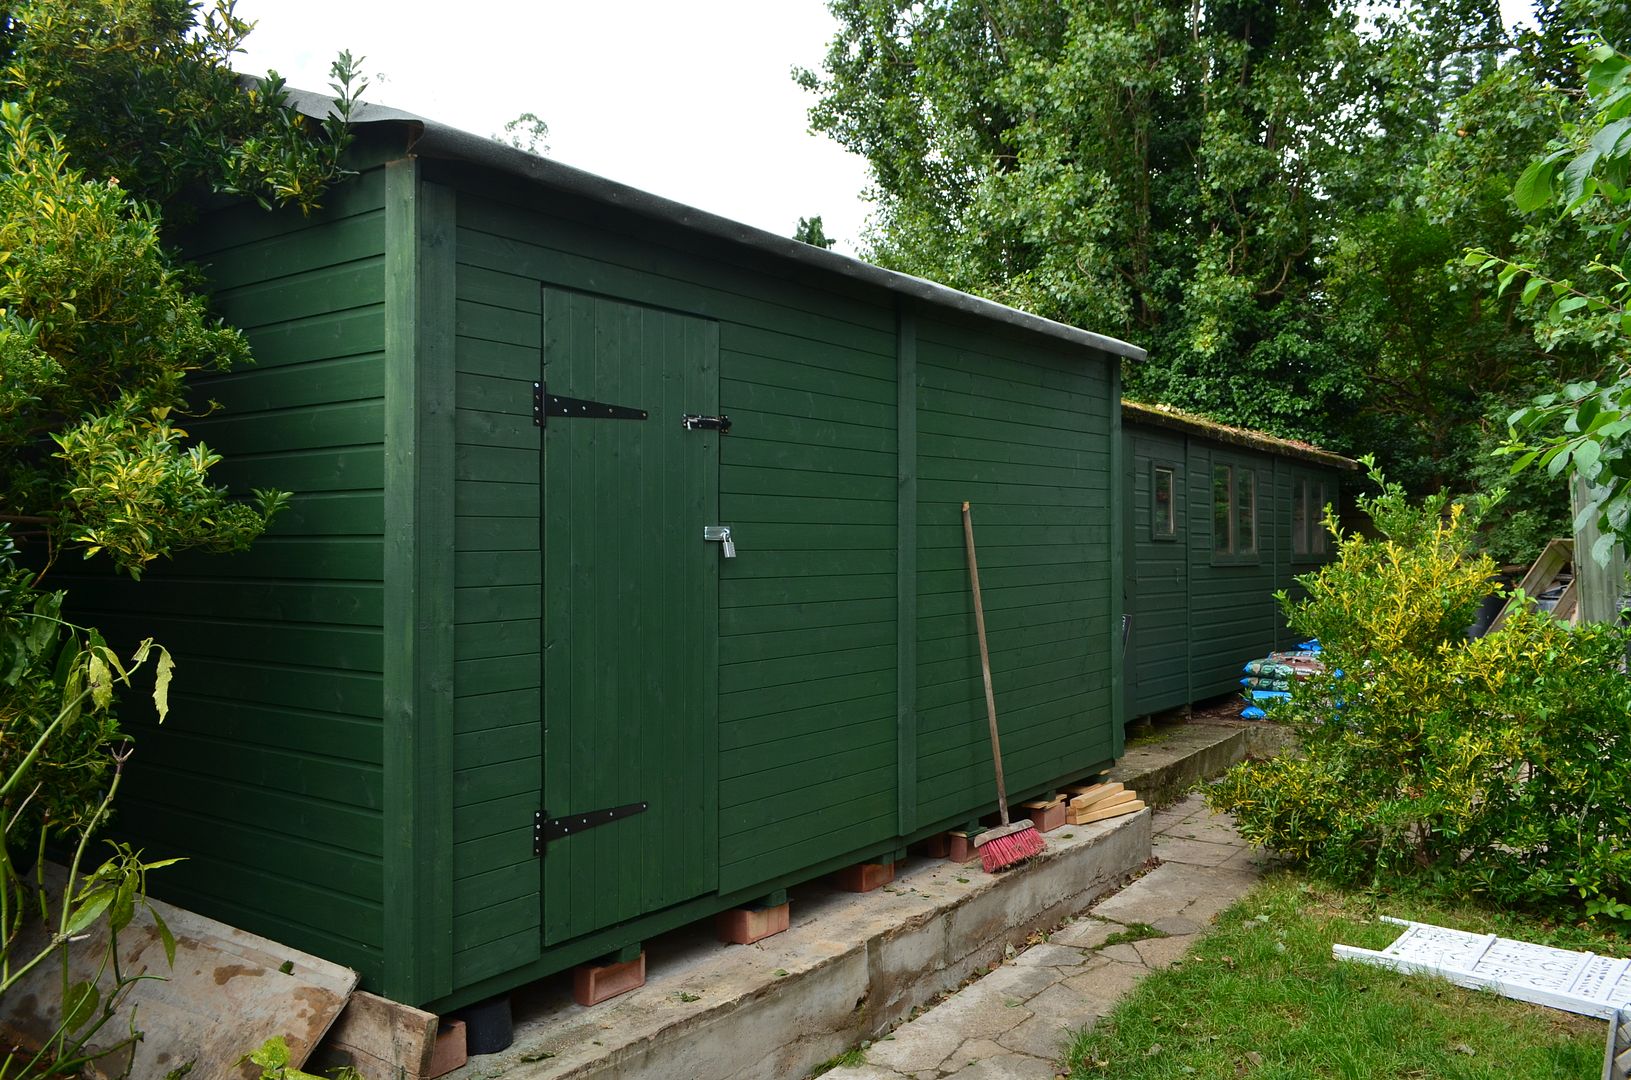
The picture below shows the current room I am extending and the outside of the shed before I started work...the room being extended is at the far right


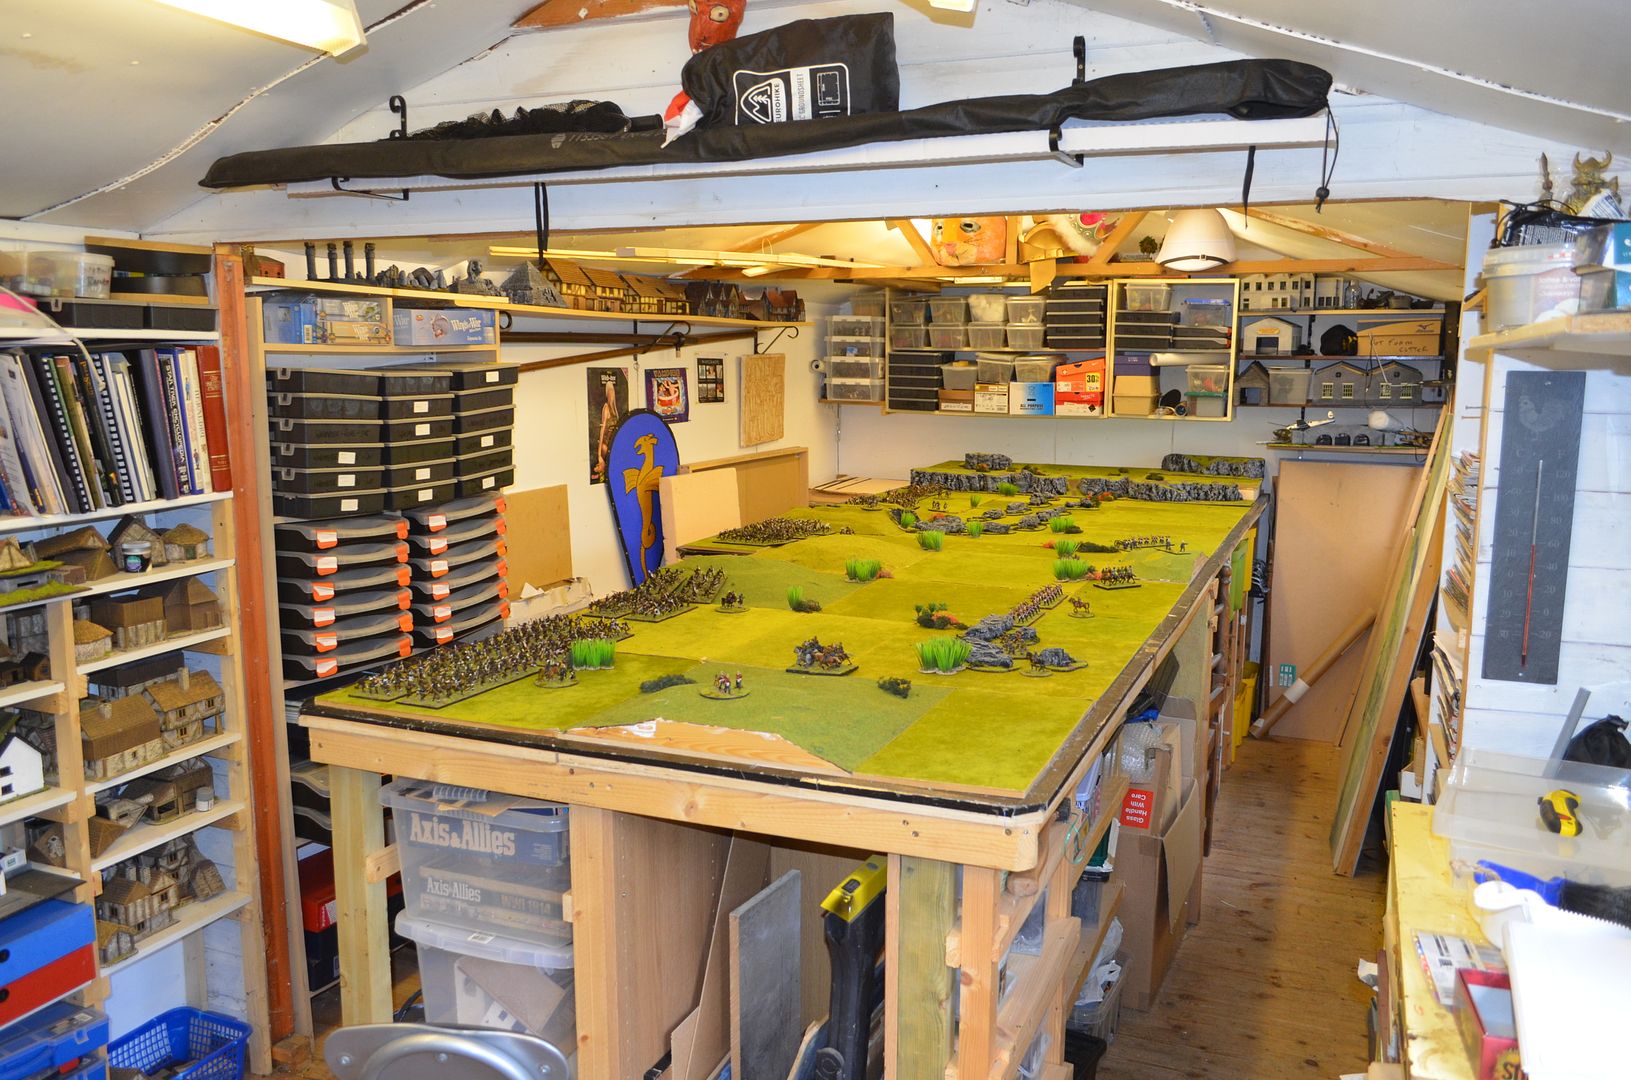
The main games table seen below is five foot wide at the far - the objective is make this deeper


Onto the build over the last couple of days...

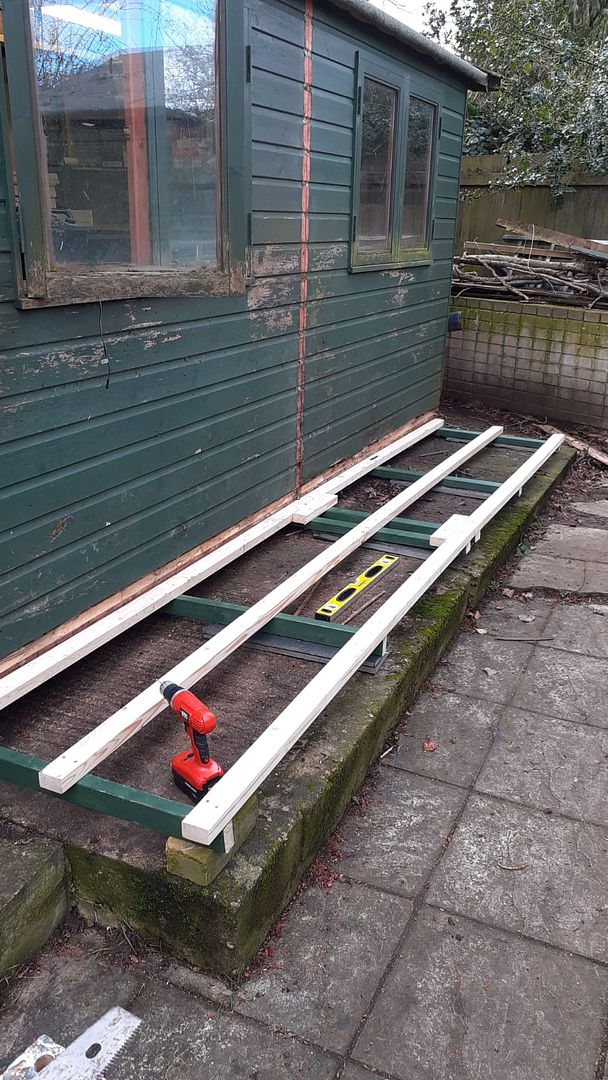
As you can see from the picture below my concrete base extends out about a metre from the original build. By building onto this I can extend the shed building outwards. The starting point was to get the floor joists down.


Onto this the floor boards were added...a few jumps ensured it was all secure


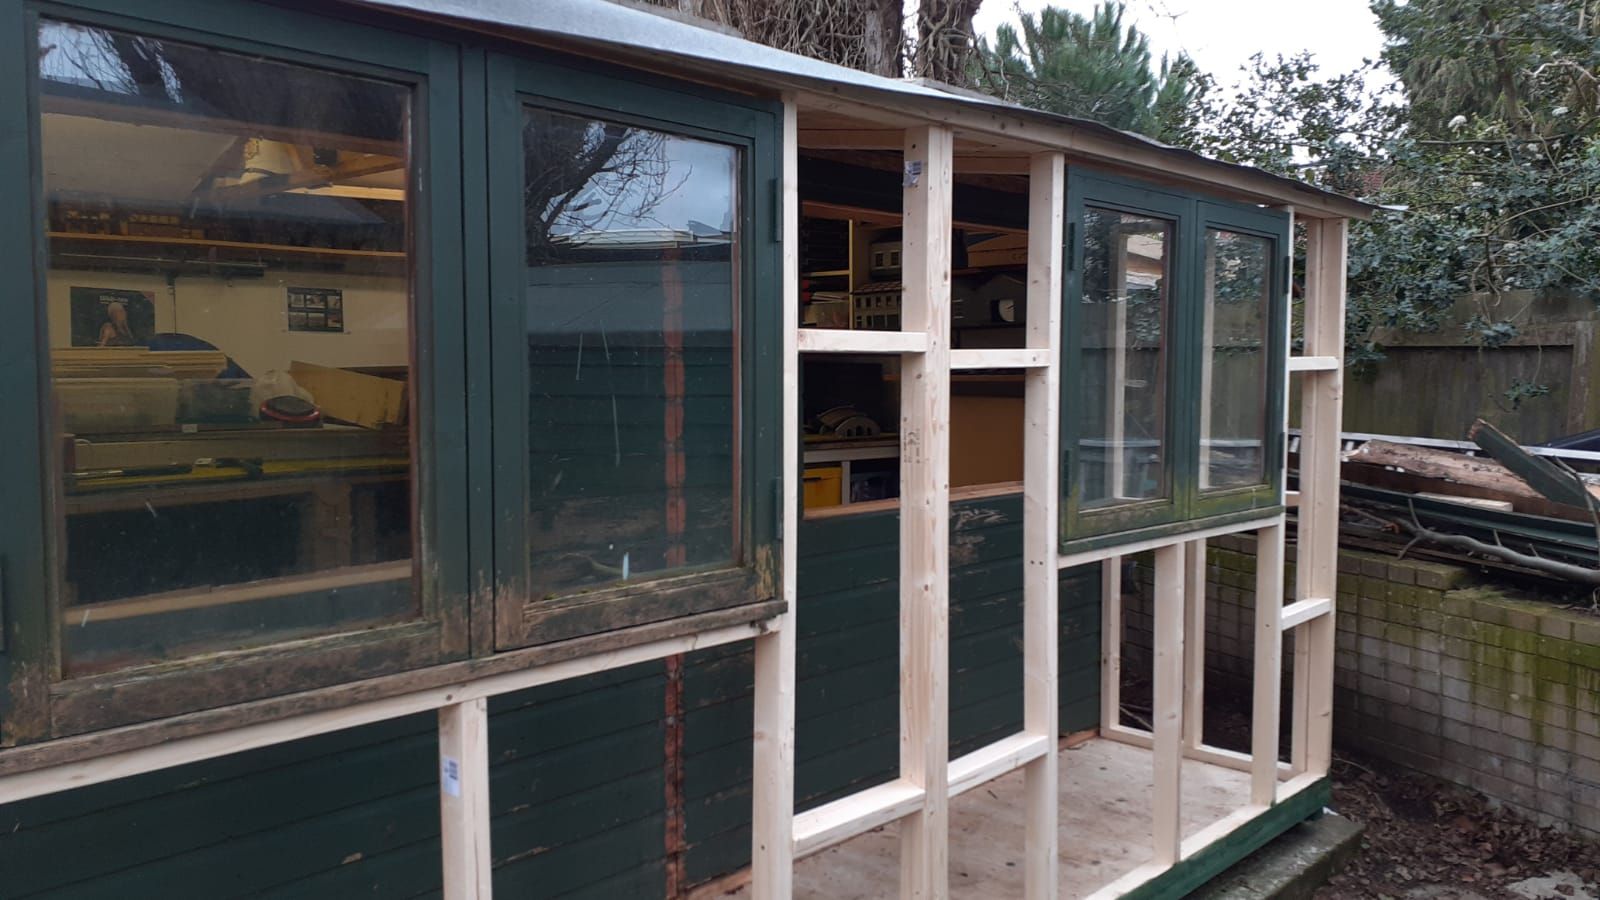
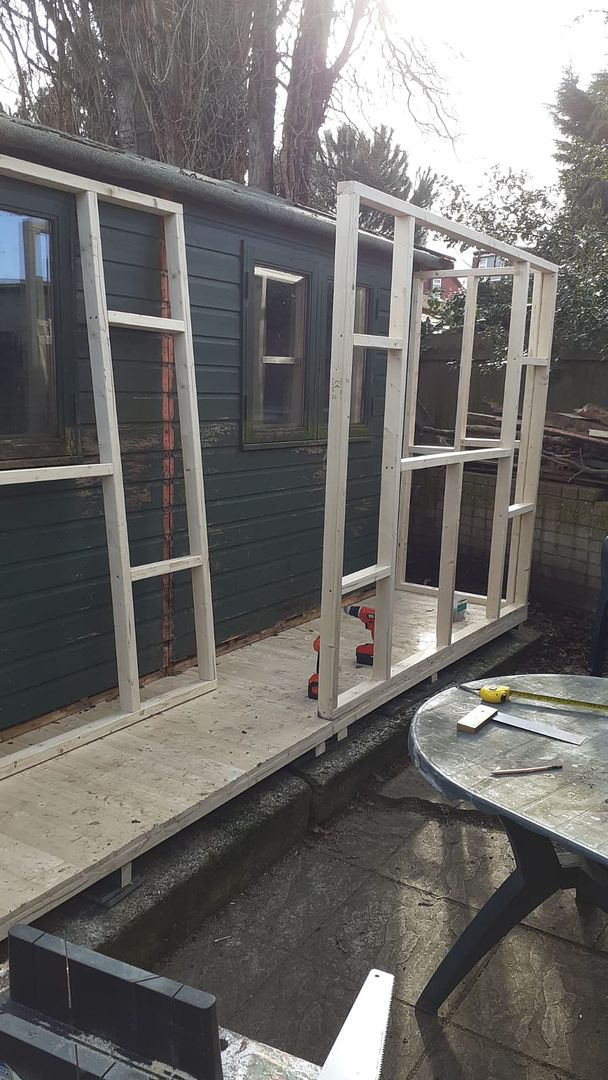
With the floor down my attention turned to the walls...just a simple frame build


Which after much measuring and cutting started to take shape...my gaming friend Mark (who is still playing catchup on his Roman Army painting) recently installed a new conservatory. Rather fortuitously he game me a few windows. The first of which has gone into the end wall.


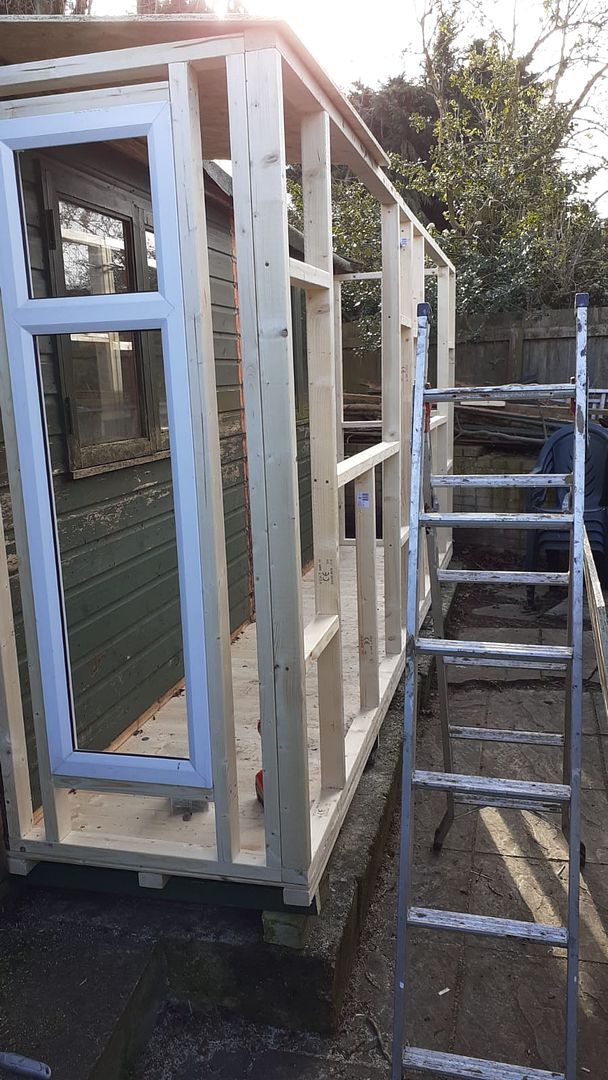
I then recycled the windows from the wall that is being demolished into the new frame. This was and absolute pain getting them out but worthwhile in the end.

You can also see that the roof has gone on although its not fixed in place.


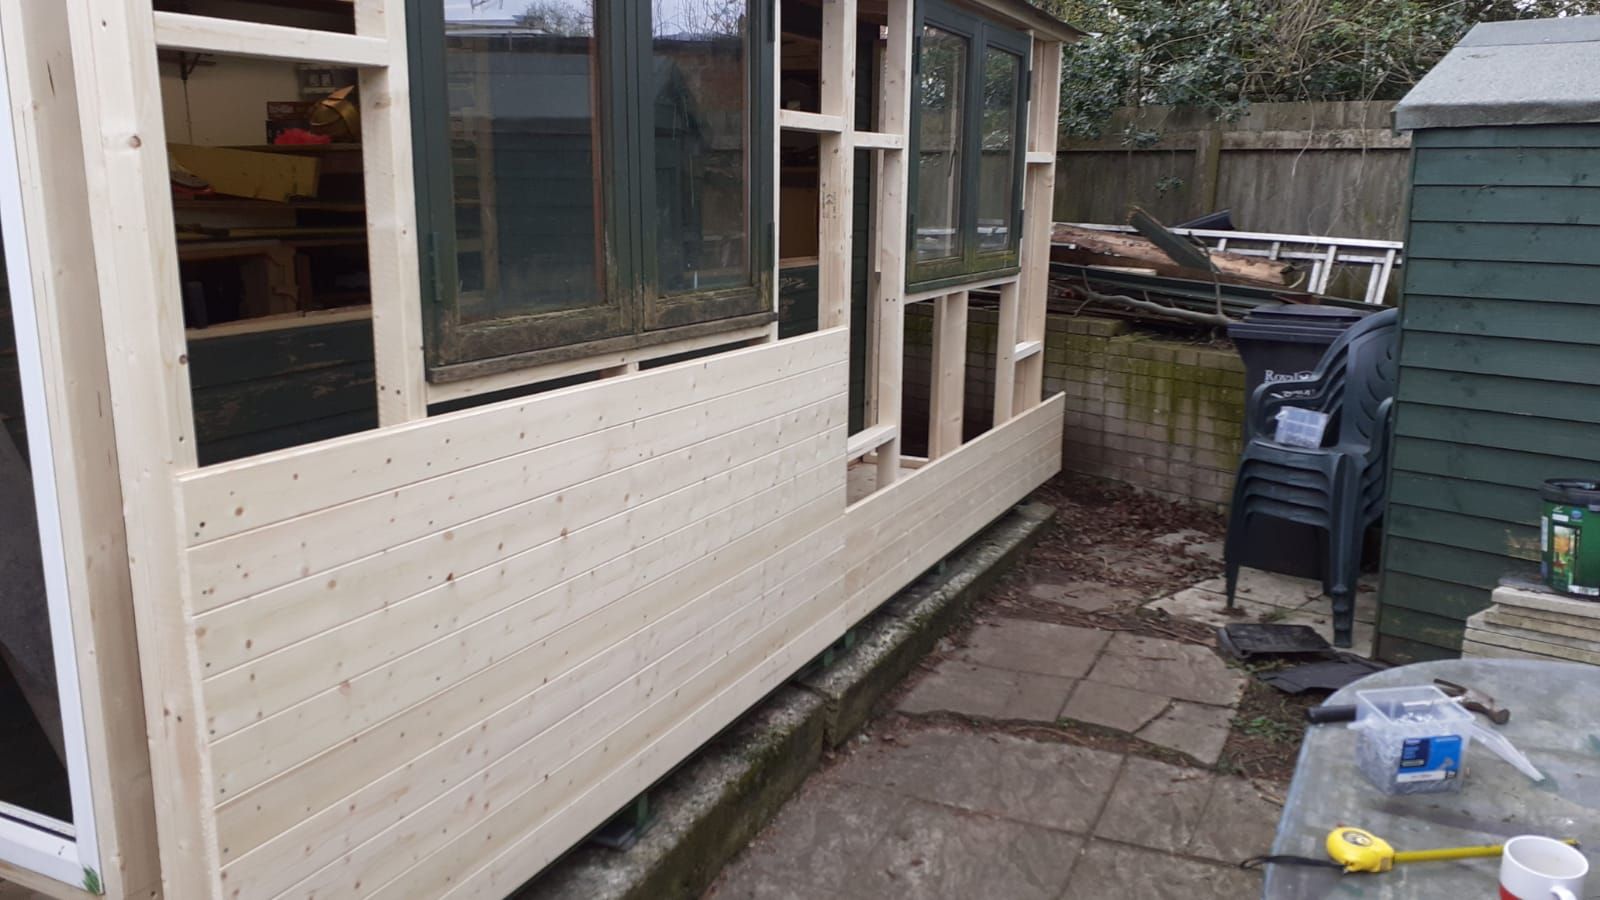
And then it was onto the cladding...this took a long time but fortunately all my initial calculations were spot on and I literally had just enough wood.


Finally clad...


Starting this weekend, I need to give the exterior a coat of paint and fix down the roof. Then I shall break through and share with you the internal progress.

More soon & stay safe in these troubling times

Eric the Shed

part two can be found HERE
Friday, 7 February 2020

10mm Napoleonics - Time for a clear out

Over the last few days I have been taking stock of what is in the shed and ultimately what do I actually need. A couple of years back I built my 28mm Napoleonic Armies and I am very happy with them. However I also painted hundreds of 10mm Napoleonics about 10 years ago and to be frank they have only ever seen the table about a half dozen times in that period so I have decided to sell them.

It seems appropriate that I alert followers to the blog of their sale and where you can find them on ebay. Links to follow.

However to help promote the sale I thought it might be useful to post some pictures of them in action from posts gone by...


I have broken the forces into five lots - two British Armies and three French Armies. Each force is roughly the same size in terms of unit numbers etc..

The opening bids of £209 might seem a bit steep but what you are getting is over 100 bases of individually painted figures - that works out at about £2 a base for either 6 infantry, 3 cavalry or one cannon and crew. I think that that is a fair price. Of course I am throwing in free UK postage.

So if you are interested in buying these make me an offer or put in a bid. At least you now the provenance of these items

THESE FIGURES HAVE NOW BEEN WITHDRAWN FROM EBAY.


cheers


Friday, 31 January 2020

2020 - The New Project - War of the Roses part 1


A couple of weeks ago I hosted a rather large EC game based on the battle of Newbury and whilst closing up we were talking about what we might do next. Alastair suggested we should put together a project where each player could contribute to the 'big game'. It was also noted that there was an appetite to run a campaign of sorts and perhaps this might culminate in our 'big game in January next year.

Thinking caps were quickly donned and a suggestion was put forward for a War of the Roses campaign loosely based on the old Kingmaker Game.


I am sure that this game needs to further introduction. How this campaign might work is yet to be determined but we did agree the following.

Each player would attempt to put together a retinue for this campaign using 28mm figures. At the moment we are not definite on the gaming rules but it is likely we will use either Lion Rampant, Hail Caesar or To the Strongest. It is possible we will use a combination of all three in our games.

Retinues will be based on the army lists from the old Medieval Warmaster rulebook.


These give the minimum and maximum number of units for a typical Yorkist and Lancastrian Army.

Each player will need to foield around 6-7 units of which a minimum will be 2 Longbow and 1 bill and one man at arms unit (this can be either mounted or dismounted). Additional units are of course welcome including Irish and Welsh foot, Burgundian mercenaries, handgunners, Artillery,Pikes etc.

It will be for each player to determine what they purchase and the retinue they will field. Of course they will need to decide on which Lord will be their champion. For my sins I shall put together the retinue of the Nevilles, the Earl of Warwick, aka the Kingmaker.

Of course this has got the enthusiasm going and a few parcels have turned up in the last few days

Apologies for quality of picture

So another project kicks off...

Monday, 27 January 2020

28mm Woodland Indians - something to paint

Since I finished painting my Roman Legion I have been mulling over my next project but whilst I am deciding what this might be I needed to satisfy my painting craving. Its been almost two months since I lifted a paint brush.

With Muskets & Tomahawks second edition just round the corner I thought it would be useful to add to my French Indian War collection, and why not add to my 80 plus Indians already painted.

With cost in mind I decided to buy into Warlord Games Plastic Woodland Indians - not just one box but three boxes.


These were sourced from Ebay at a relatively good price of about £16 per box.

The intention is to paint them all in one go and then sell around half to cover the original outlay. Hopefully;-)

As figures go they are nothing special - but they are quite fiddly to put together.

So on Saturday afternoon I assembled the full 72 figures in one massive session. I used 25mm round bases rather than the squares bases they came with.

Once the figures were dry I spent an hour dabbing on the flesh colour.

The bases have been treated with sand and grit. On top has been given an emulsion brown paint job


With a bit of luck these will all be finished later in the week at which point in time I'll post up the ebay link

cheers


I'll post up the