When I left you last night I had started on the hull...
Stage 1 is here
http://shedwars.blogspot.co.uk/2015/01/pulp-tramp-steamer-full-speed-ahead.html
This morning the hull had completely dried so I was able to cut the sides to give some definition to the ship.

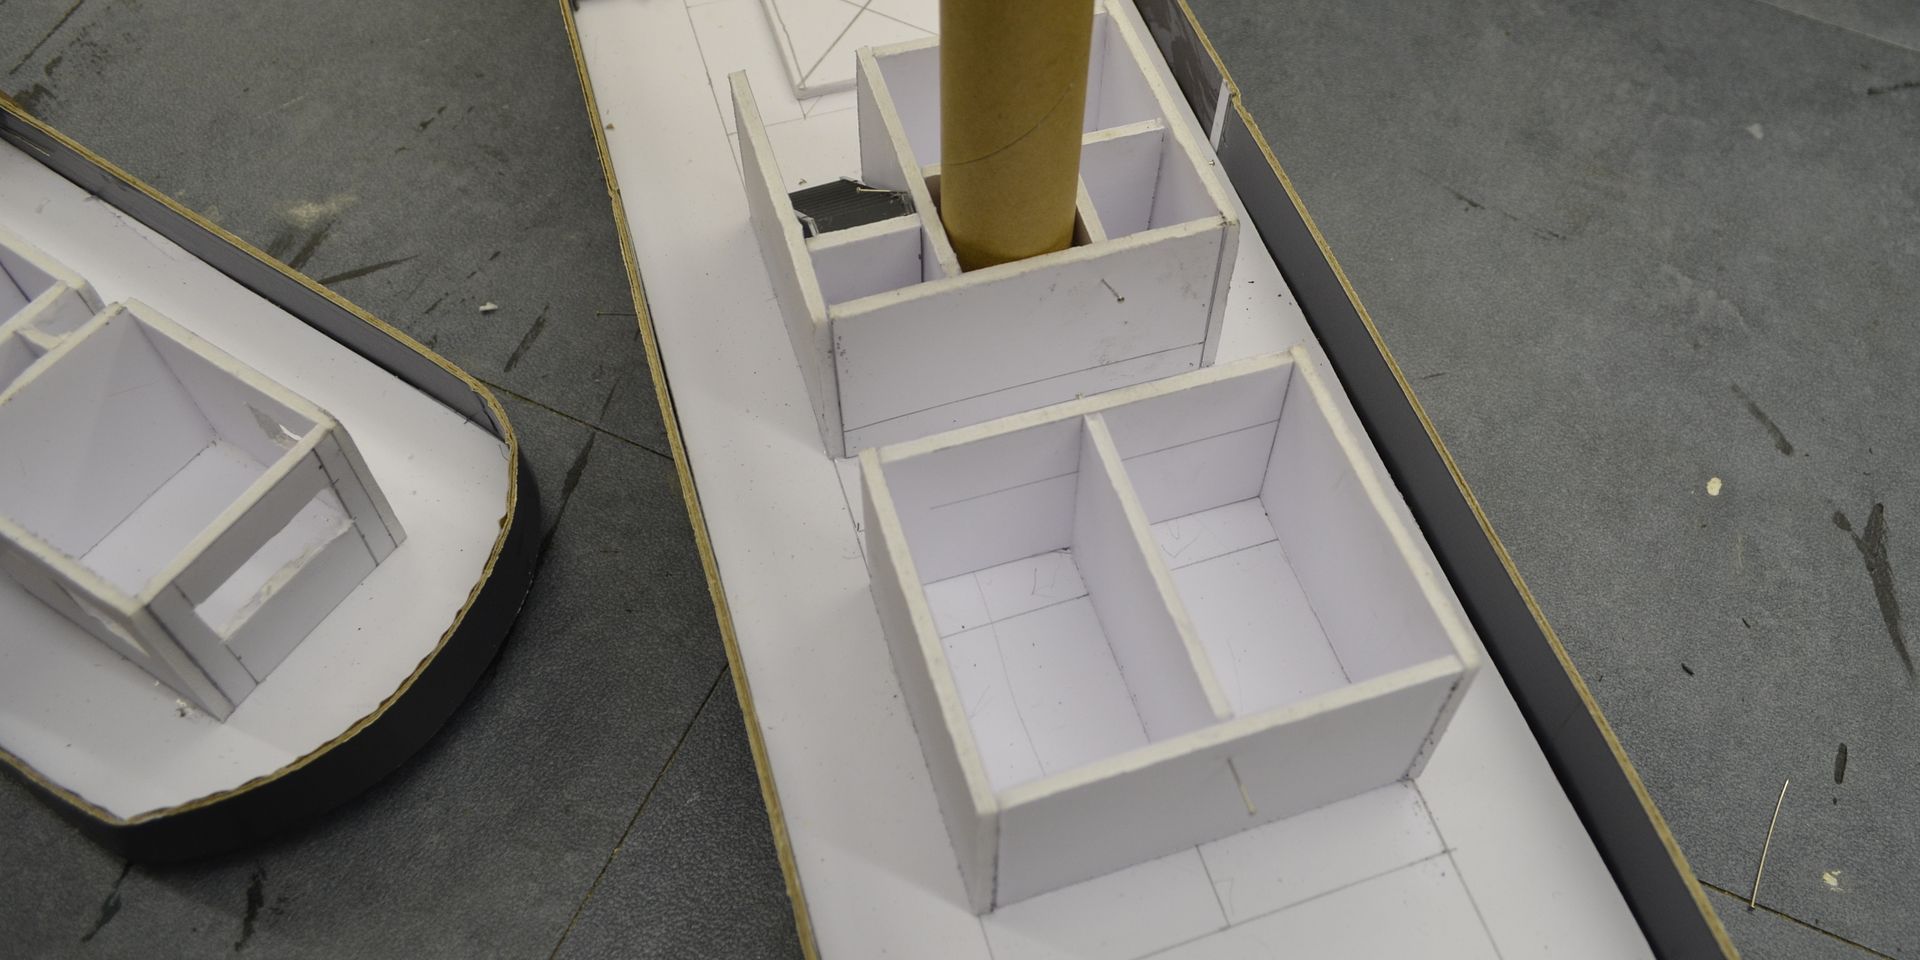
Now the pink foam base isn't very practical from a deck point of view so to combat this I cut out deck pieces for the fore and aft and the centre deck from foam core. Onto these I drew the design of the superstructure.
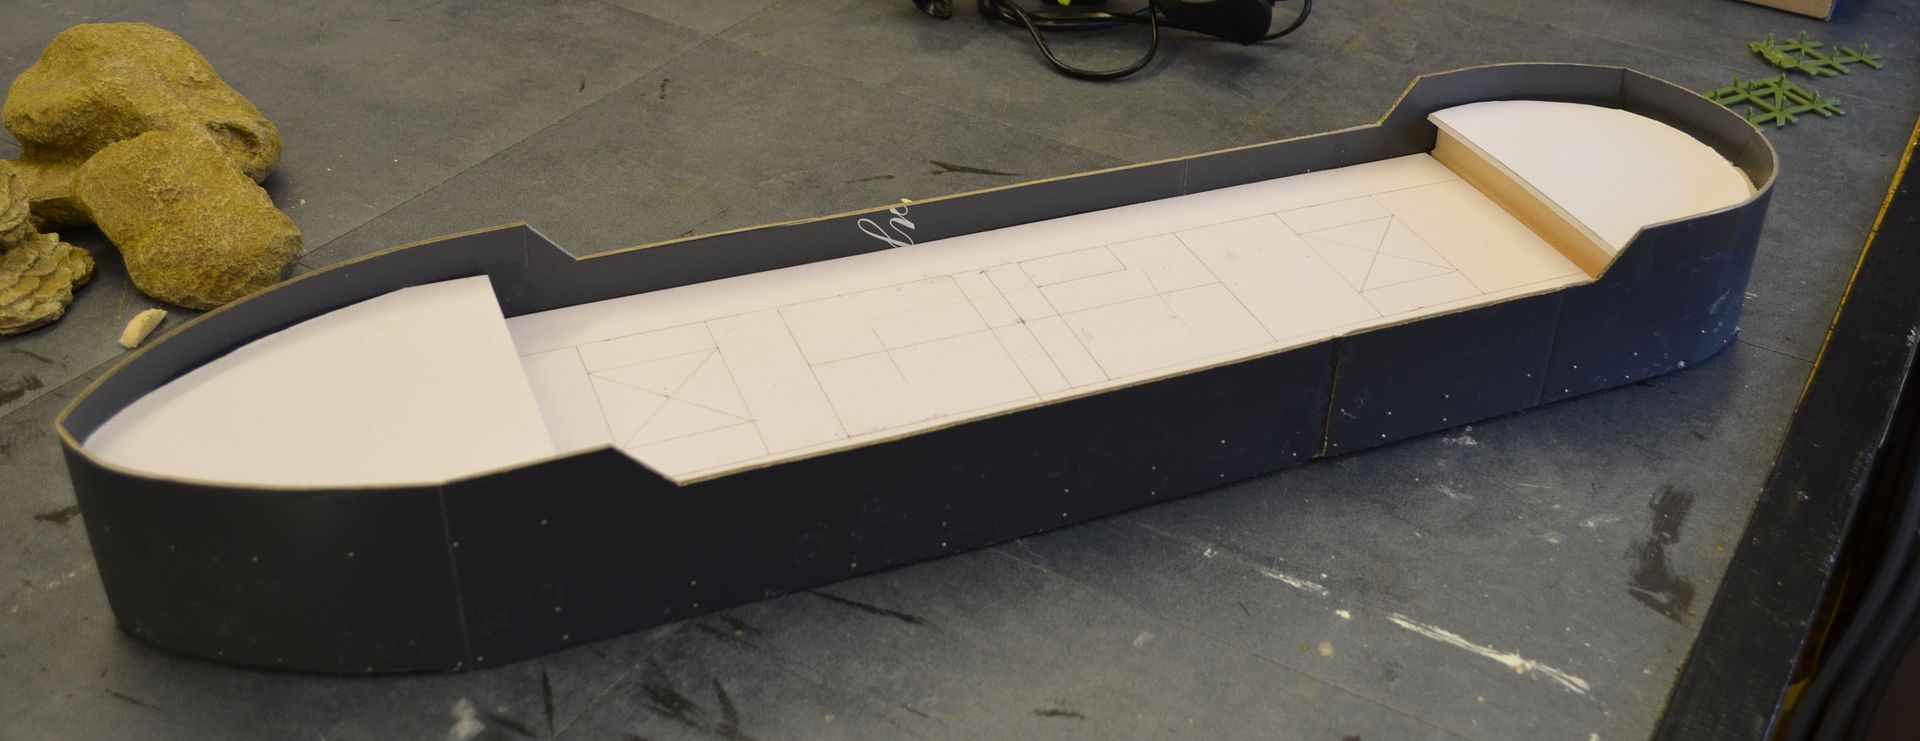
All the superstructure would be built from 4mm foam core. It was critical to get enough space to move my based minis around the ship. So gangways etc would all be 3cm wide.
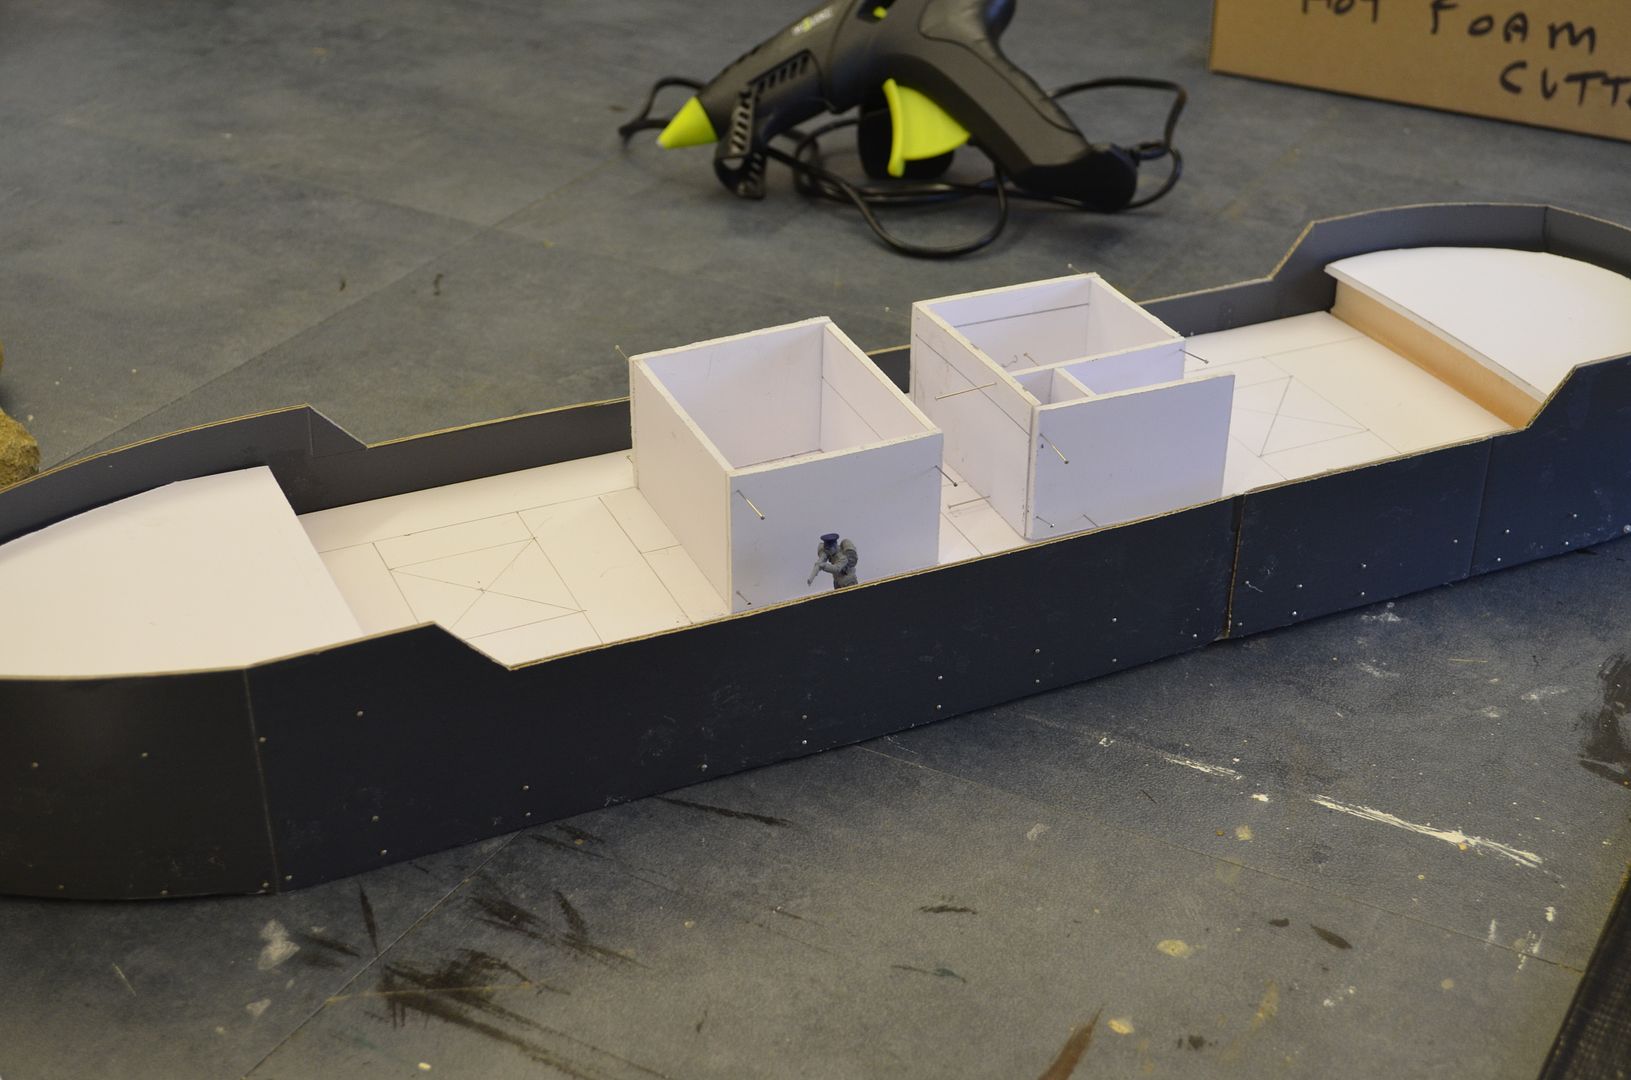
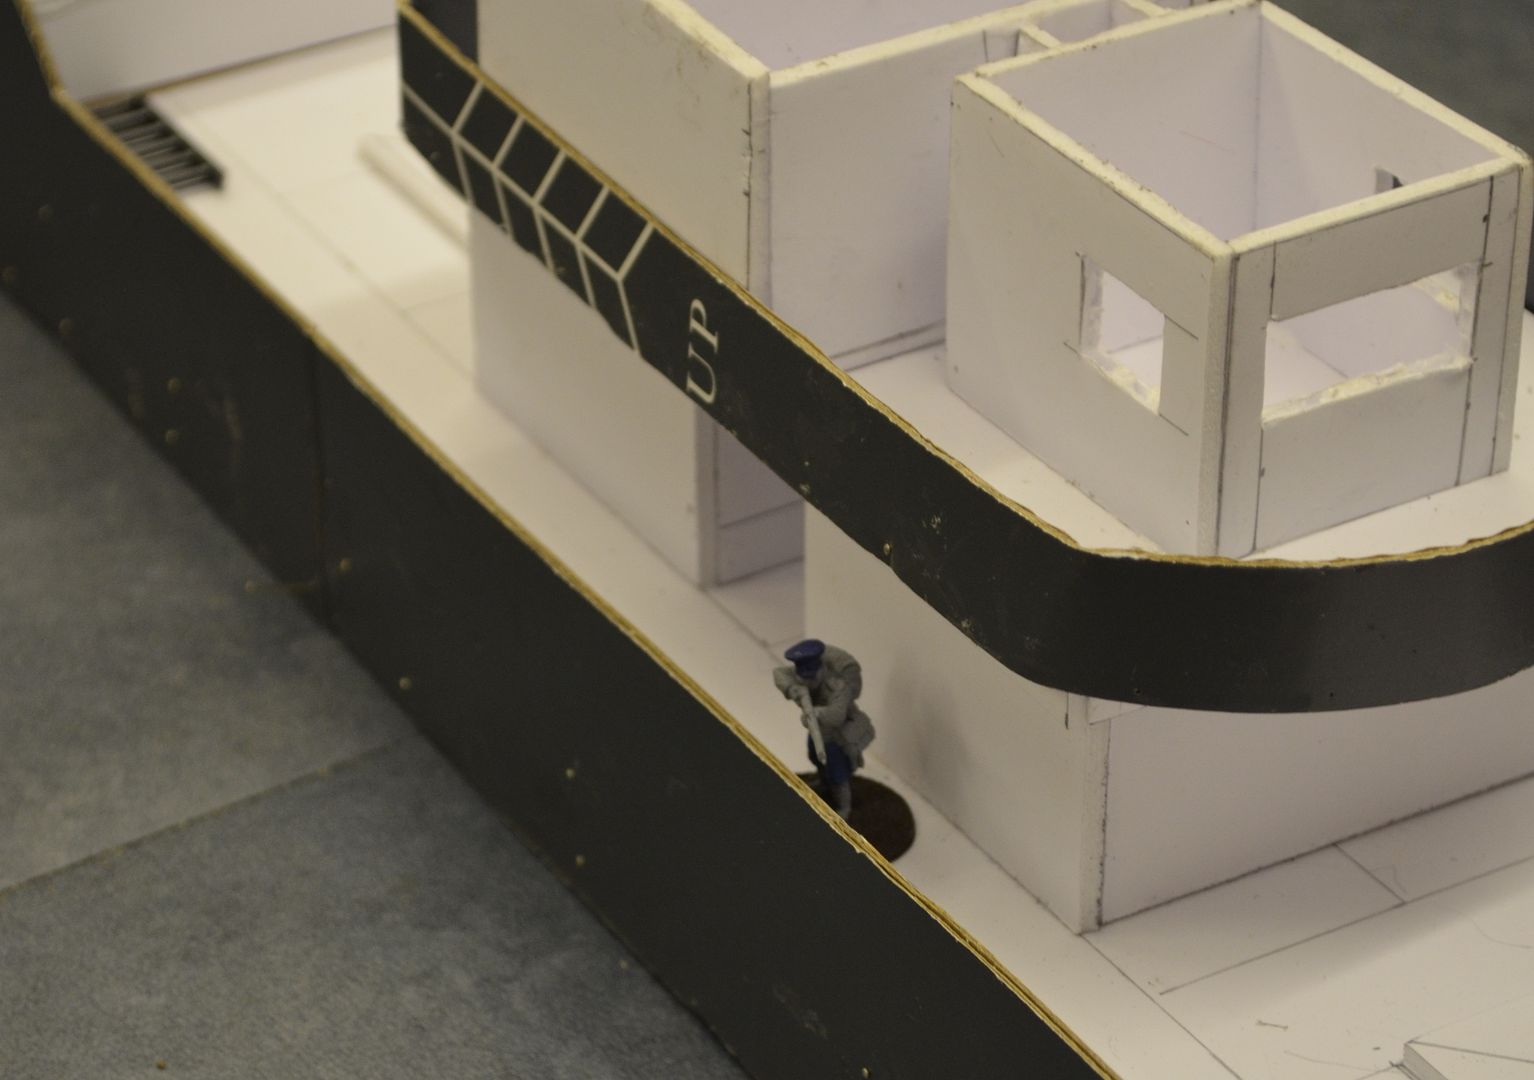
The first two pieces go in and are glued to the deck plate. In the picture below you can see one of my standard based figures has easy access up and down the side walking deck.

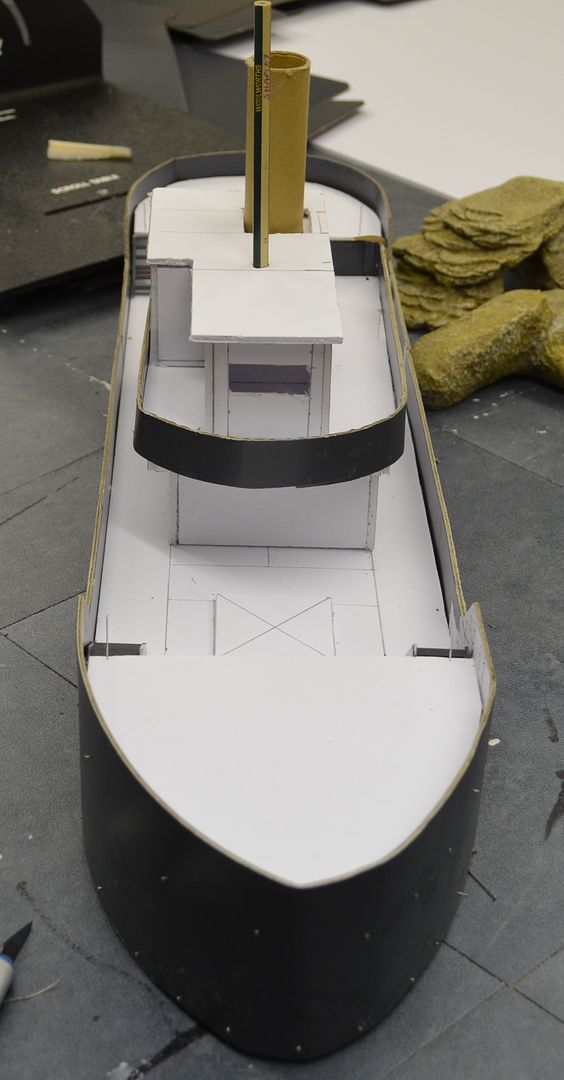
In the below picture I have now added the roof to the first floor of the superstructure and following the success of the card around the hull (see part 1) I repeated this for this deck. The side panel wraps all around and stands 2cm high.

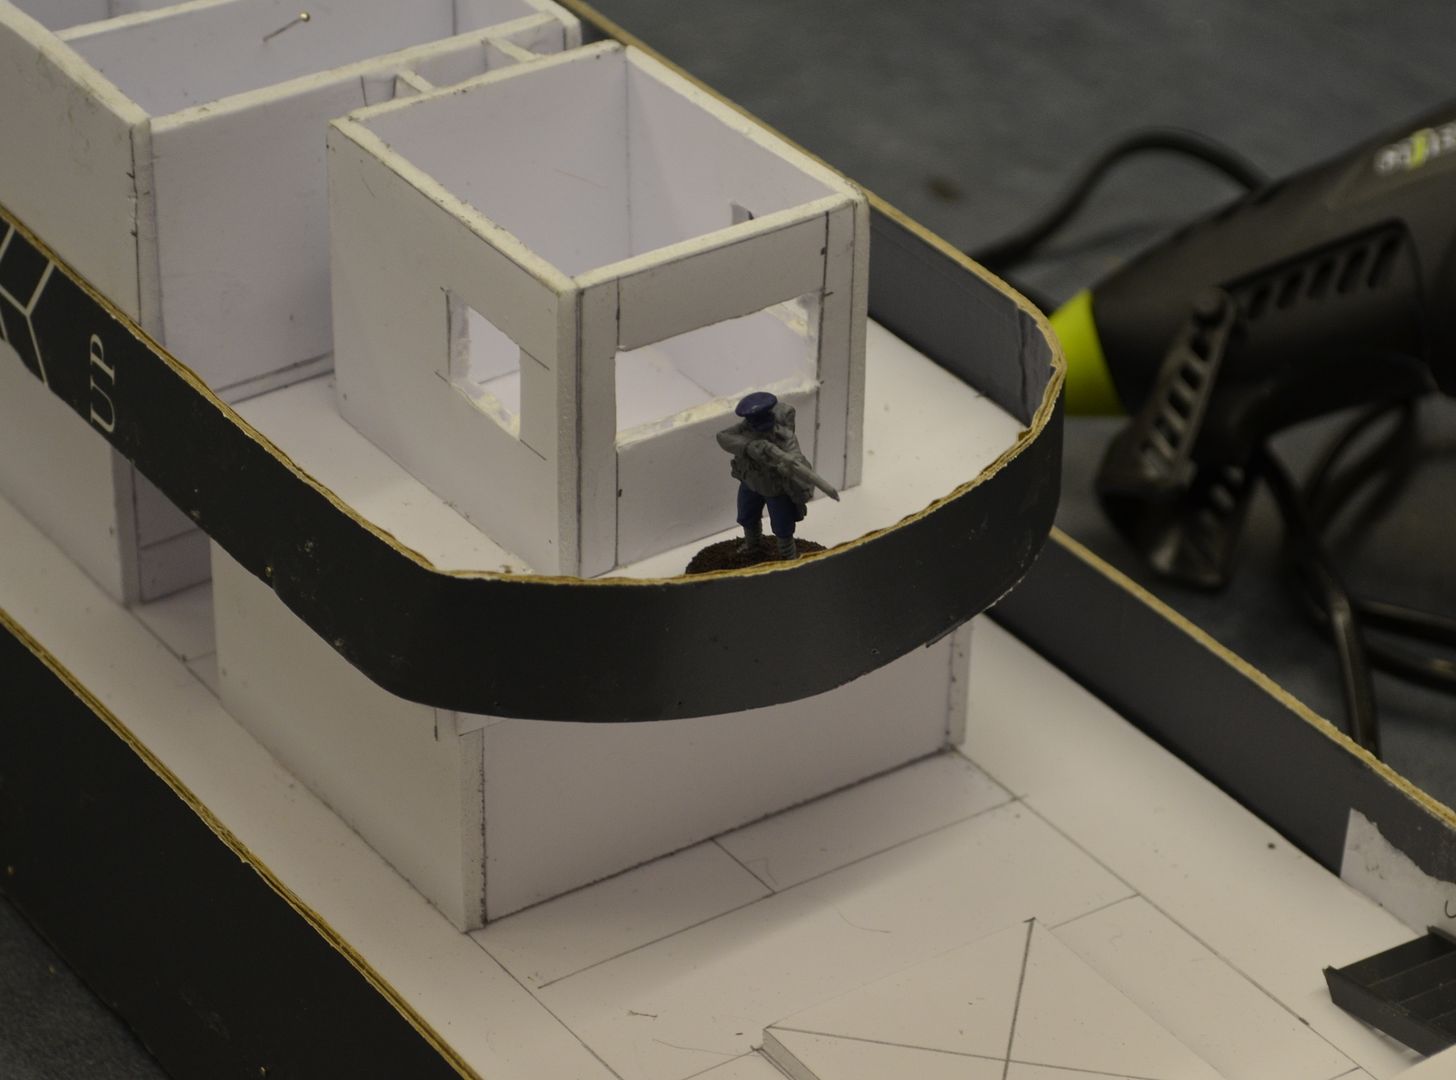
With this base built and pinned I started on the bridge deck. In the below picture you can see the small bridge. Again its important for playability that the gangways etc are wide enough for bases.
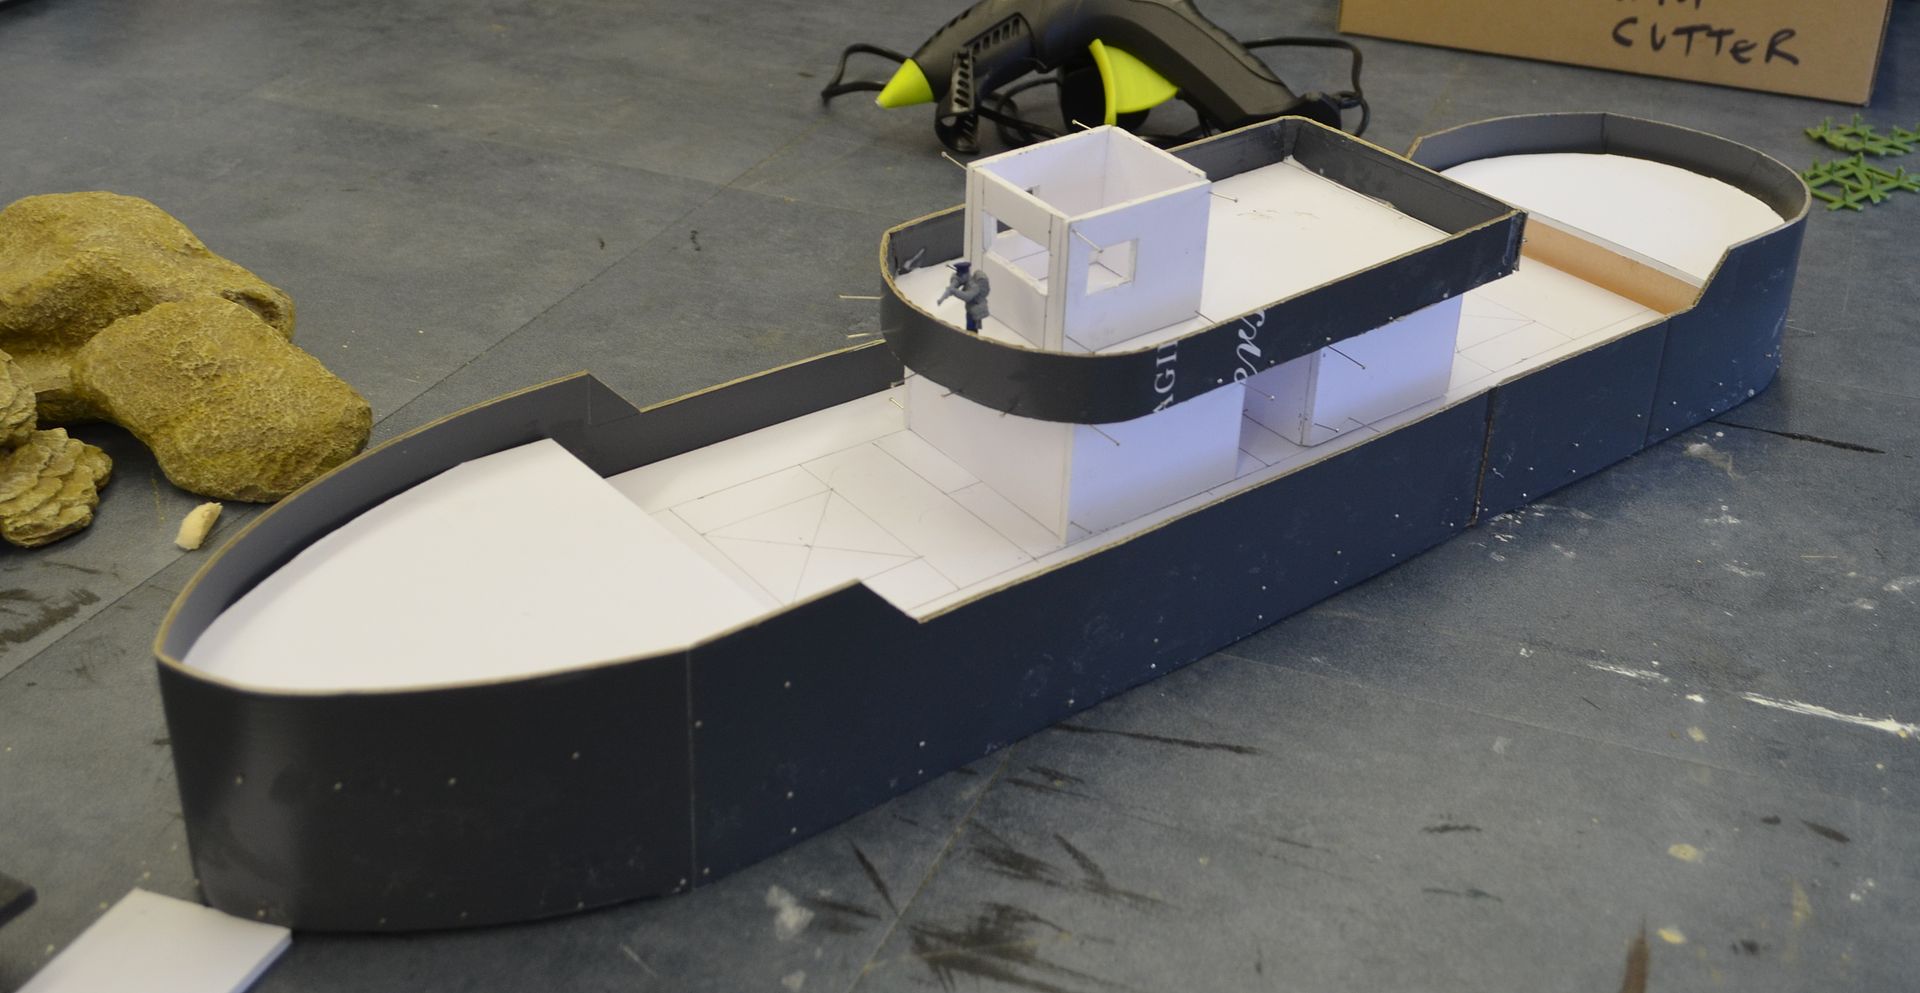
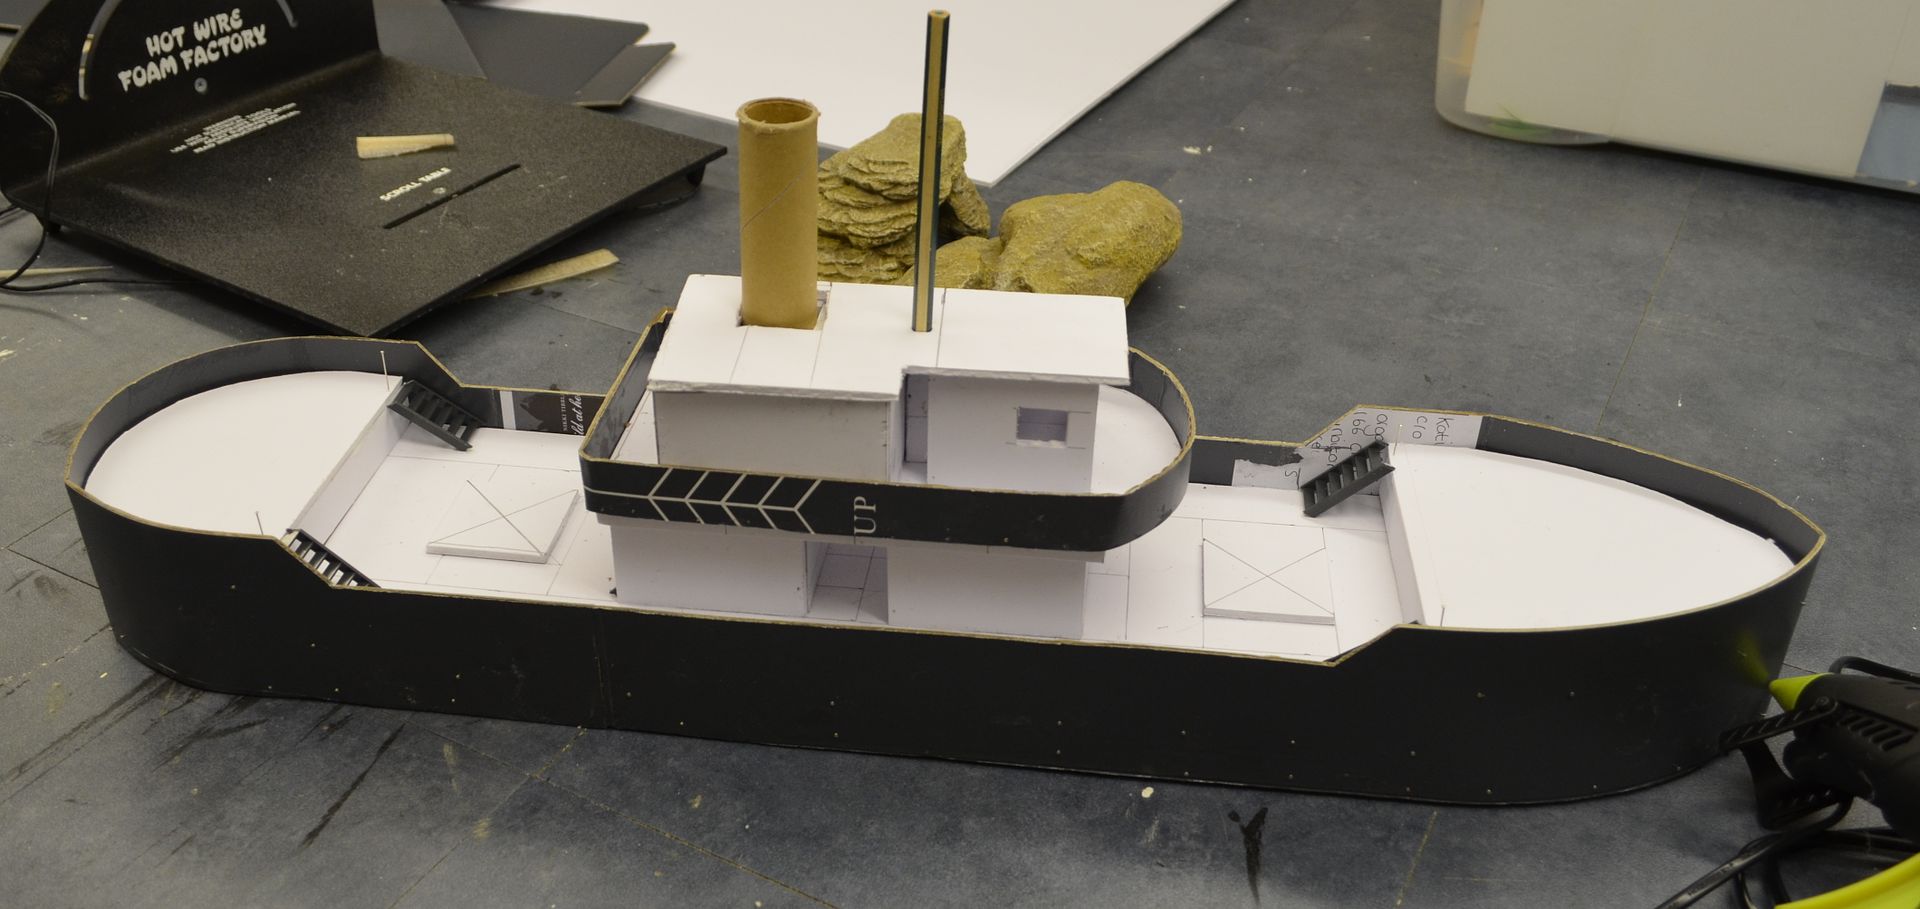
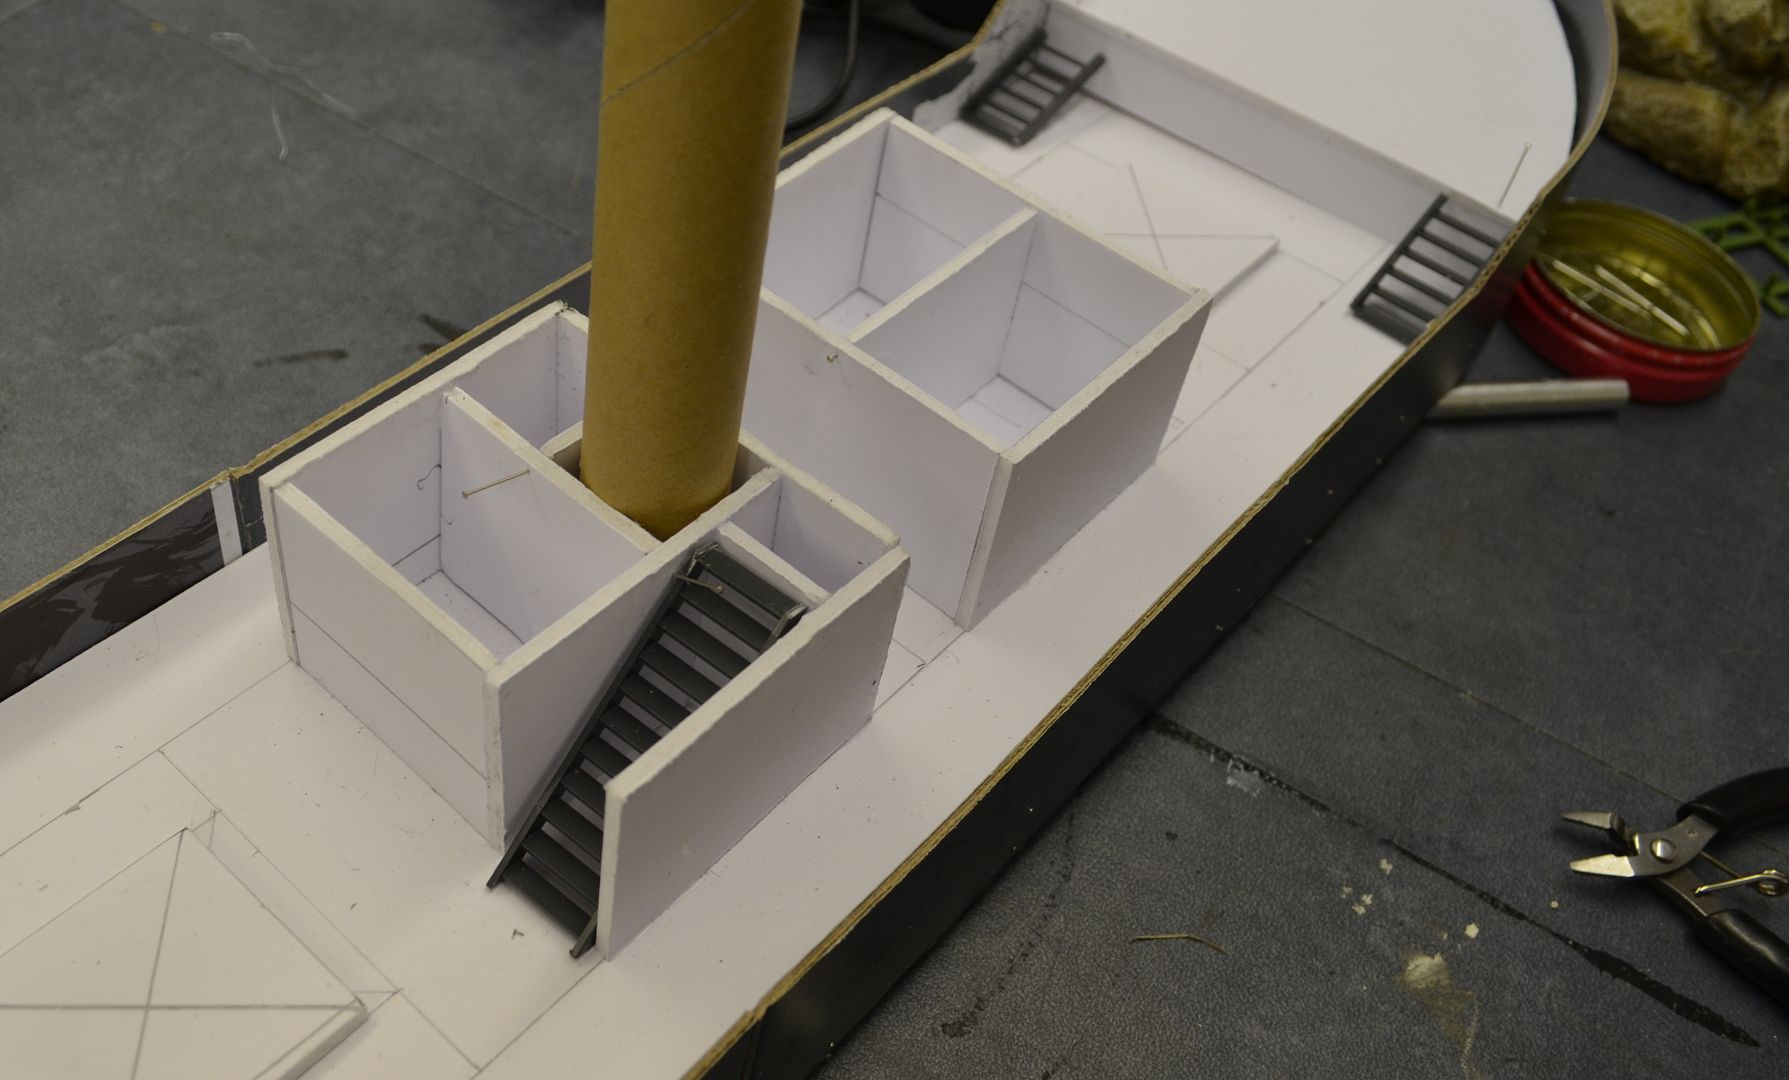
In the picture below you can see this starting to come together. The funnel runs all the way through the decks helping to hold them together, The pencil is a temporary mast !
The steps you see in the pictures are from a modelling centre bought years ago. I finally found a use for them. There are stairs to all levels including the inside staircase from maindeck to bridge deck.
You can see from the above photo that the bridge deck superstructure is slightly off centre. This is deliberate as I plan to mount a lifeboat on the portside. It also means the superstructure covers the staircase.
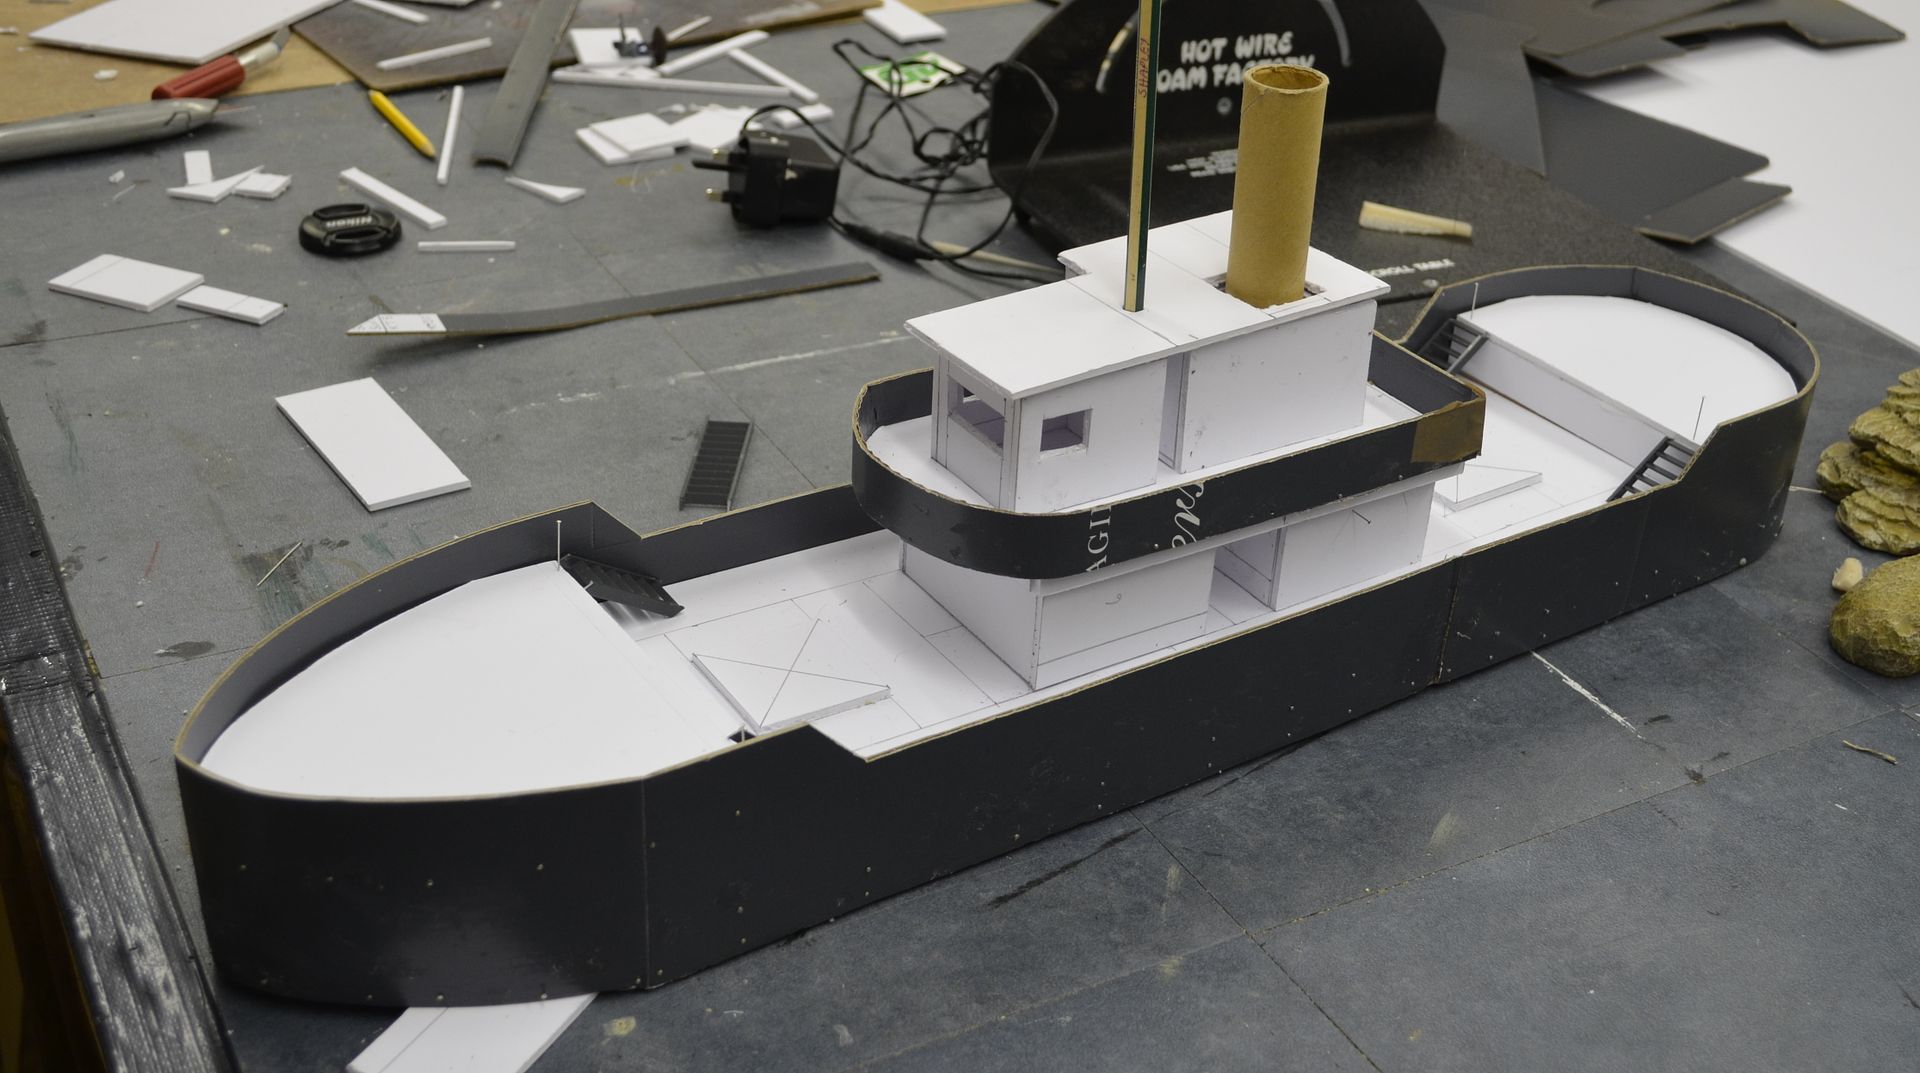
So in the above and below pictures the boat is finally beginning to take shape.
All the decks are compartmentalised allowing for rooms !. The bridge deck will have the bridge, the map room, the wireless room and the gun locker.
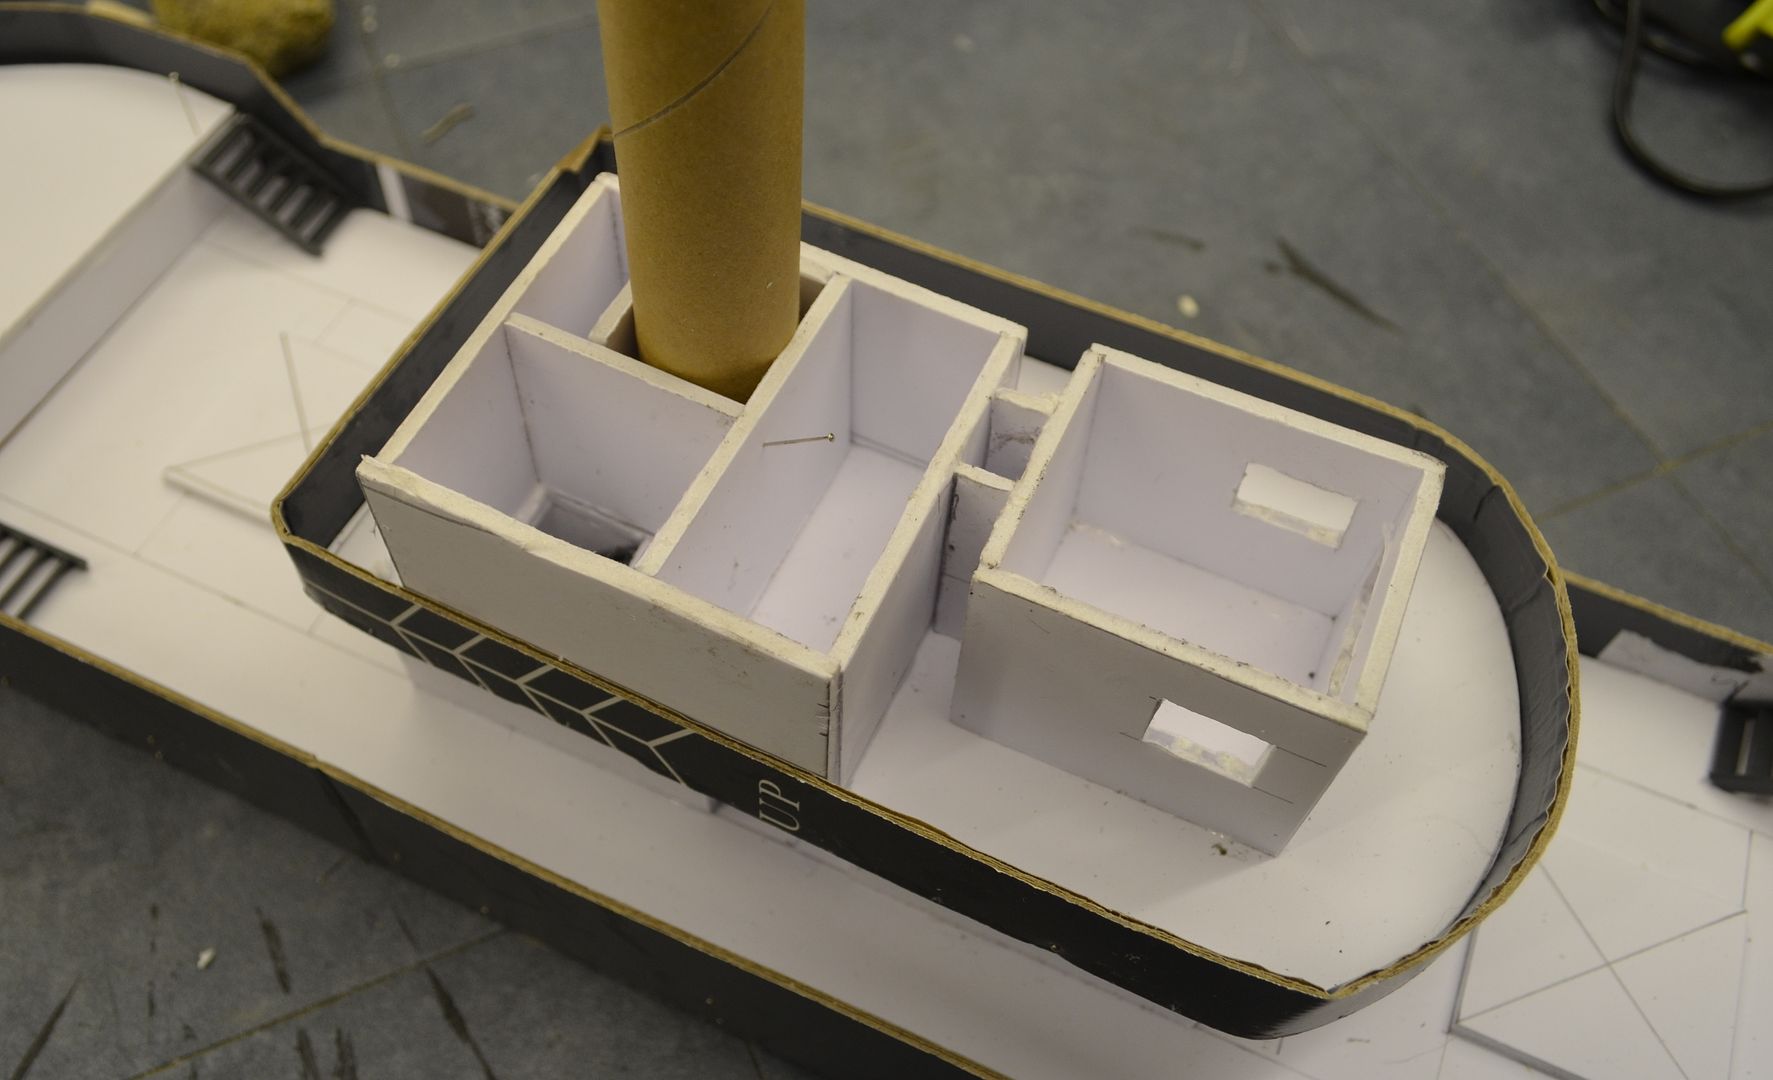
A close up shot of the stairwell.. clearly more work needed with a sharp knife.

Main deck will have the Captains cabin, two passengers cabins and a ships locker.
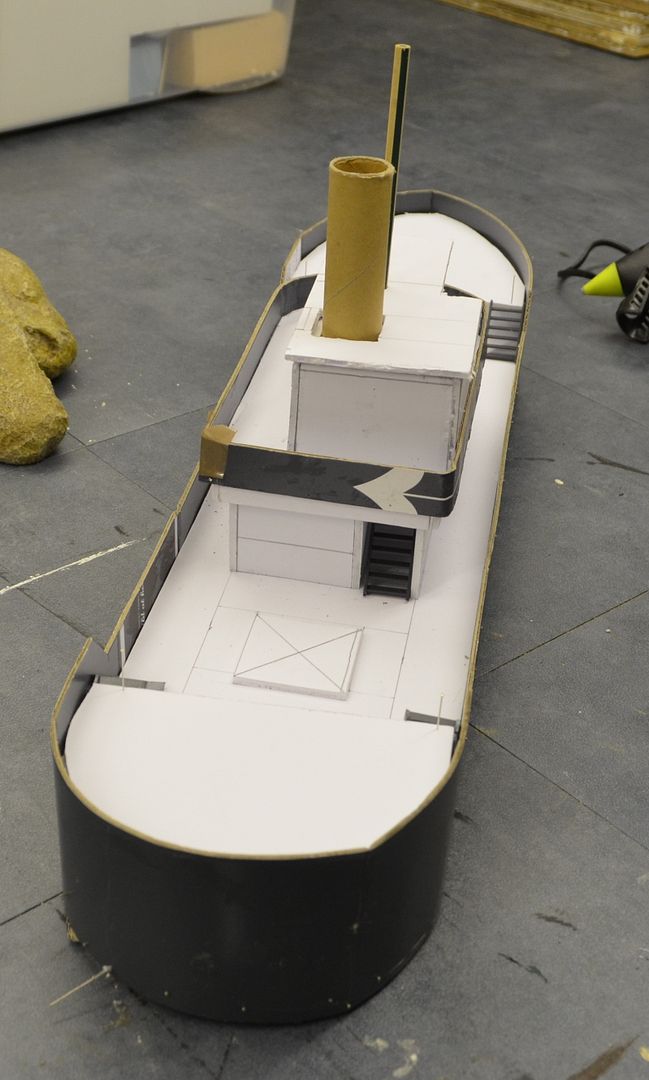
You can see the funnel running through the deck and a better shot of the staircase.
More 'space & playability shots' with 28mm figure
So next up... finish the decks, the cargo doors and the fore & aft decks.
Come back soon...
Part 3 can be found here...
http://shedwars.blogspot.co.uk/2015/01/pulp-tramp-steamer-decking-it-out.html
Looking good. Also, a very good how to. This should be a great setting for any number of adventures.
ReplyDeleteAmazing. Definitely up to your usual high standards.
ReplyDeleteThat's incredible progress!
ReplyDeleteThis is soo cool!
ReplyDeleteYou're really cracking along with this Eric. I'm becoming seriously tempted to try one myself seeing this progress.
ReplyDeleteComing along very nicely. I look forward to seeing more.
ReplyDeleteI keep telling myself that I will make something like this one of these days but I never seem to get around to it!
ReplyDeleteYou clearly have no such motivational difficulties; excellent work, well done that man!
You'll soon have steam up at this rate, Captain Shed!
ReplyDeleteGreat how-to. Thanks!
ReplyDeleteI can't belivee how fast you work!
ReplyDeleteThat looks cracking!
ReplyDeleteAre you planning on adding any deck guns?
ReplyDeleteOne of my favorite pulp captains was Ponga Jim Mayo. His steamer the Semiramis had a pair of deck guns that came in handy.
http://www.louislamourgreatadventure.com/PongaJimMerchantMarine3.htm