So following on from my first post about the 28mm Norman
church I thought I would share the progress of the build in this post.
If you want to go back to the beginning head here – don’t
worry there is a link on that post that then brings you back to this point.
In my first post I mentioned that I had dry built the model
to begin with, this I would suggest is a must. I discovered for example, and by
accident that the floor sections for the tower although look square they aren’t
and that there are two length of roof trusses. I know these are minor things
but had I have glued these first time round undoing the job could have been
problematic.
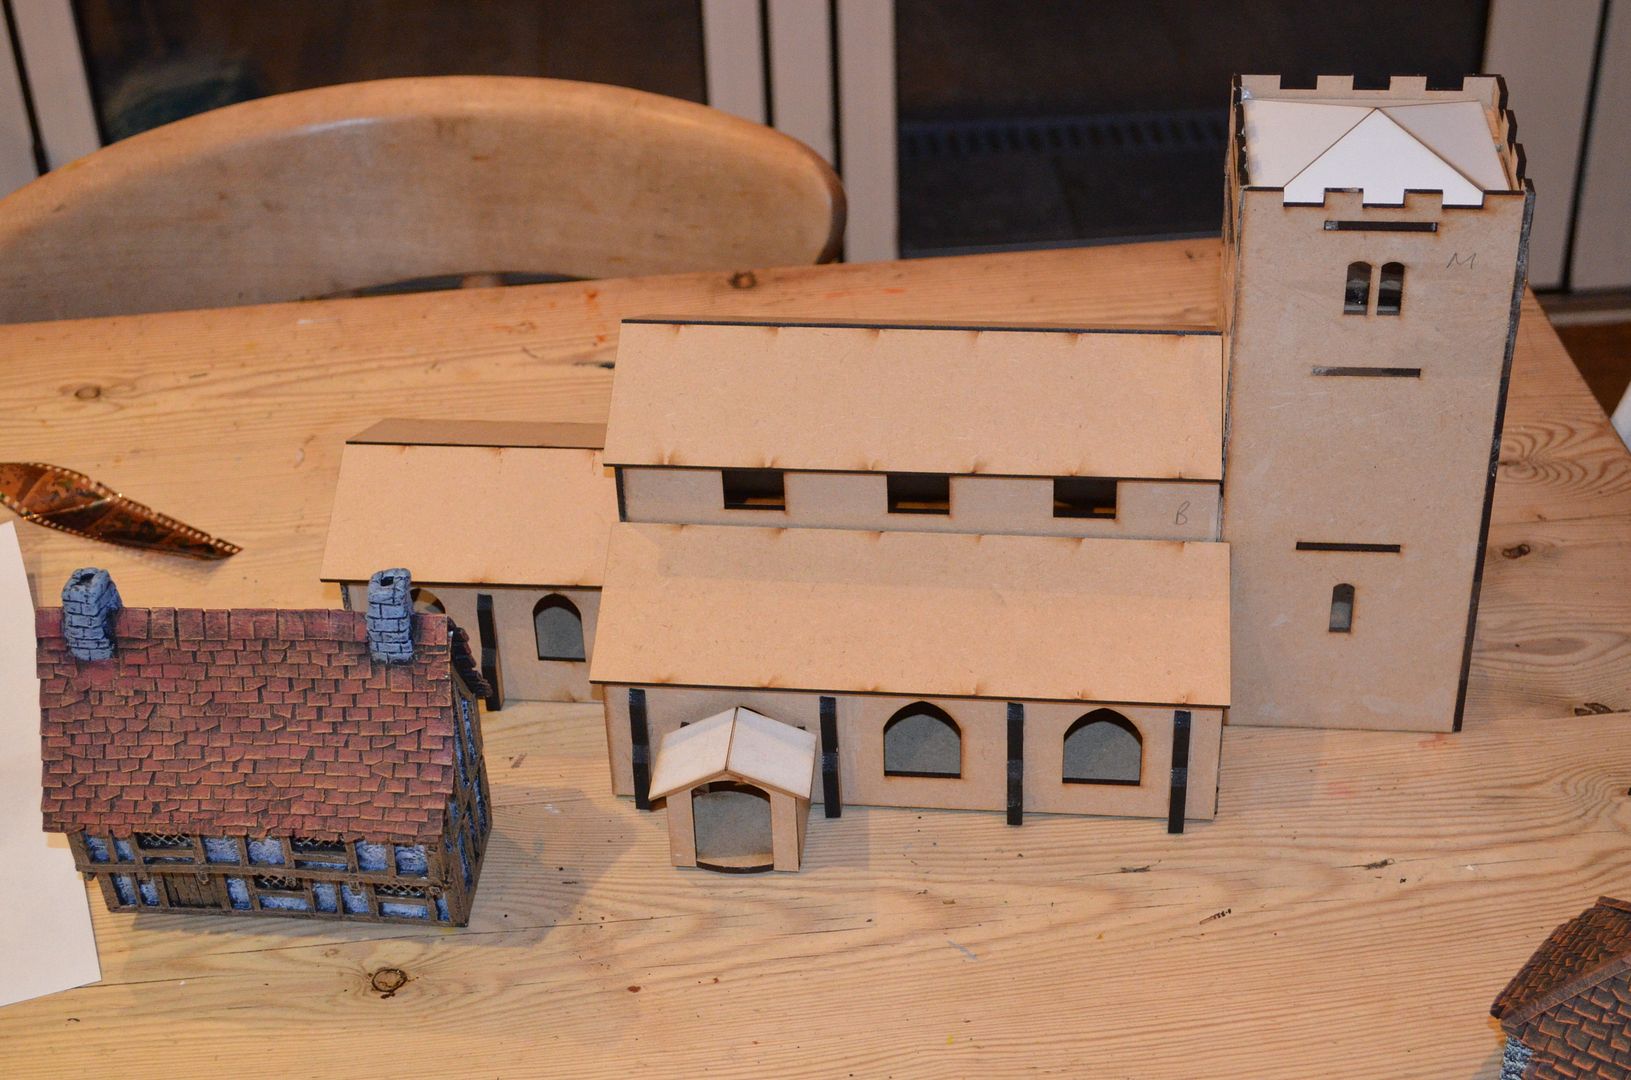
Given this was my first build in mdf I decided to use super
strong grab wood adhesive – similar to ‘hard as nails glue’ but the home base
brand (much cheaper). The total build was really very simple and took about an
hour to get the basic construct of the building done. It helped enormously that
the pieces were all individually labelled and the instructions clear and concise.
All the fiddly bits such as the window frames took a little longer.
With the basic construct completed I gave the whole thing a
good grey coat primer. Its now starting to look the business.
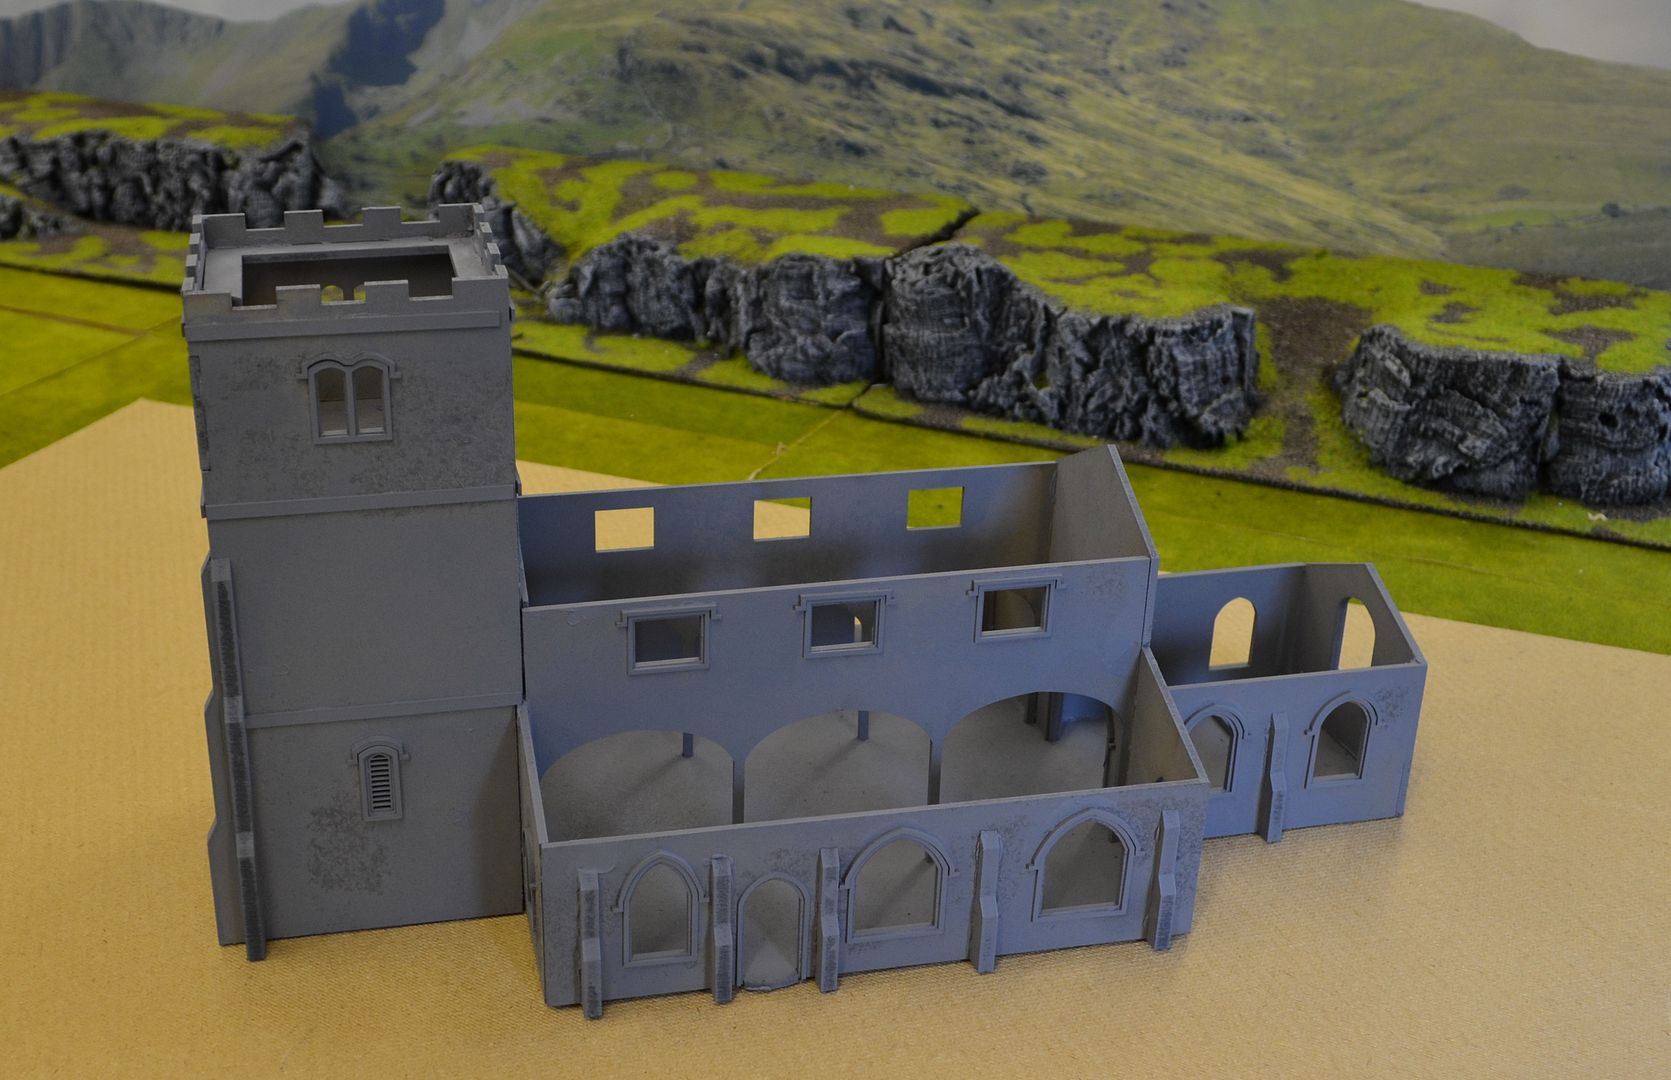
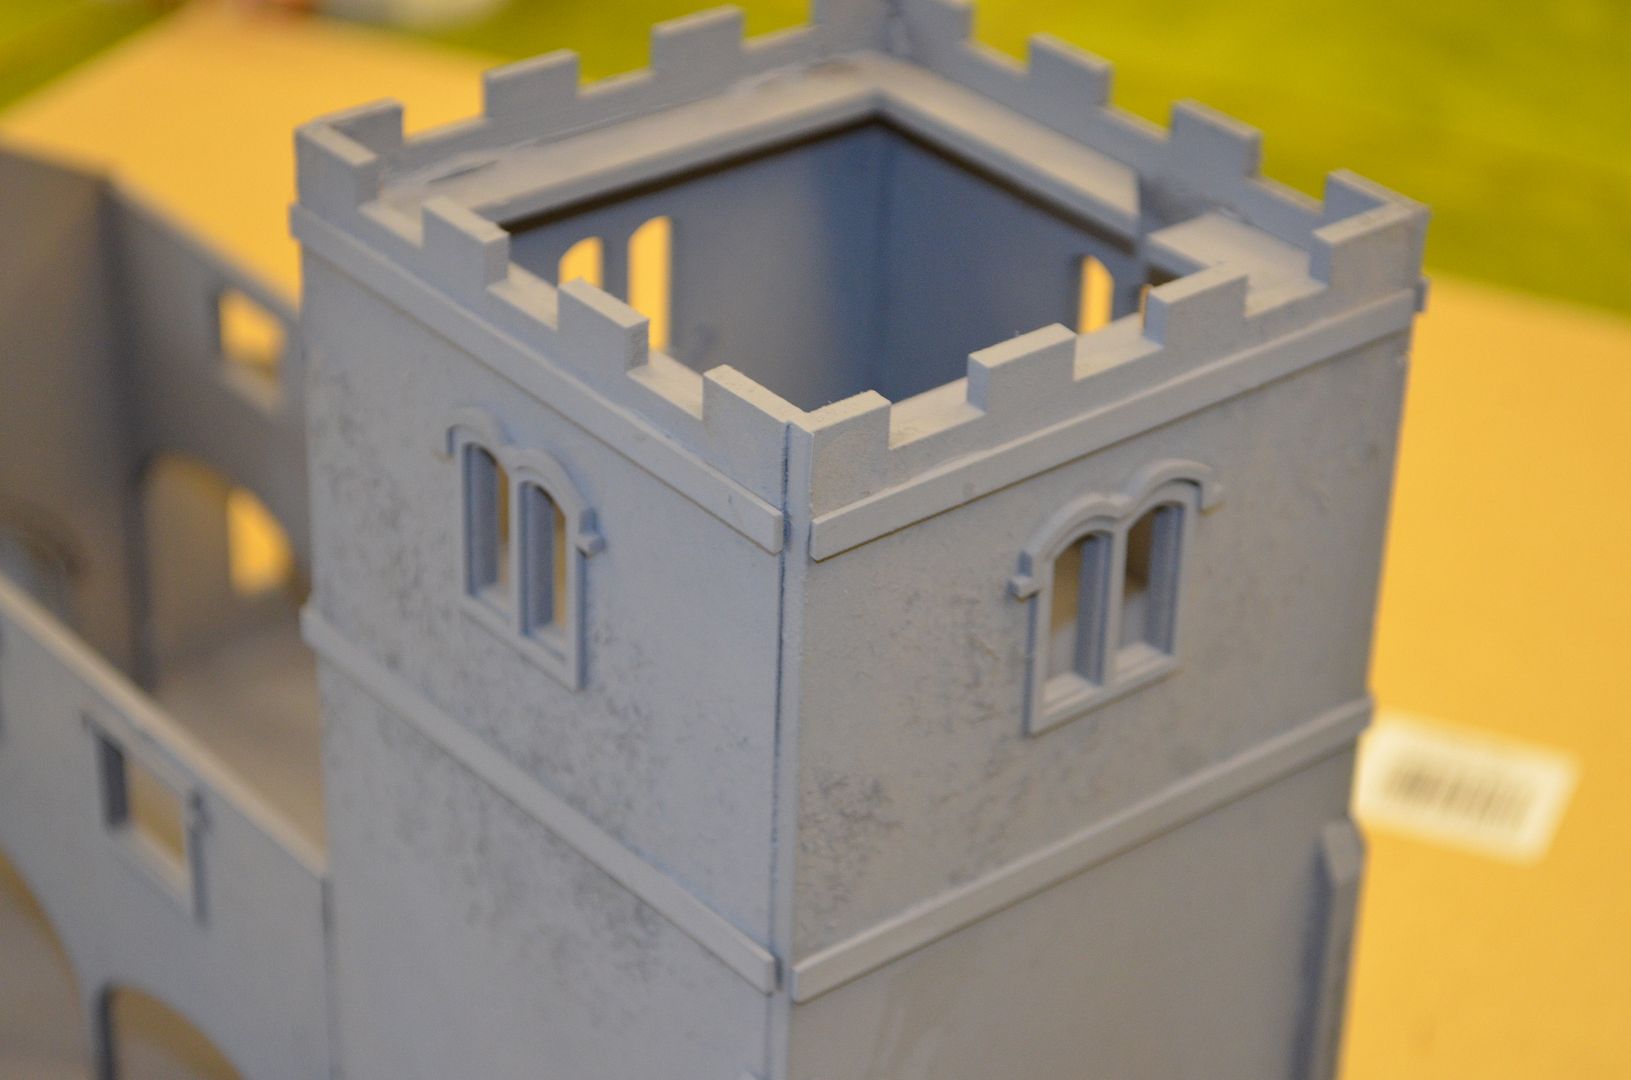
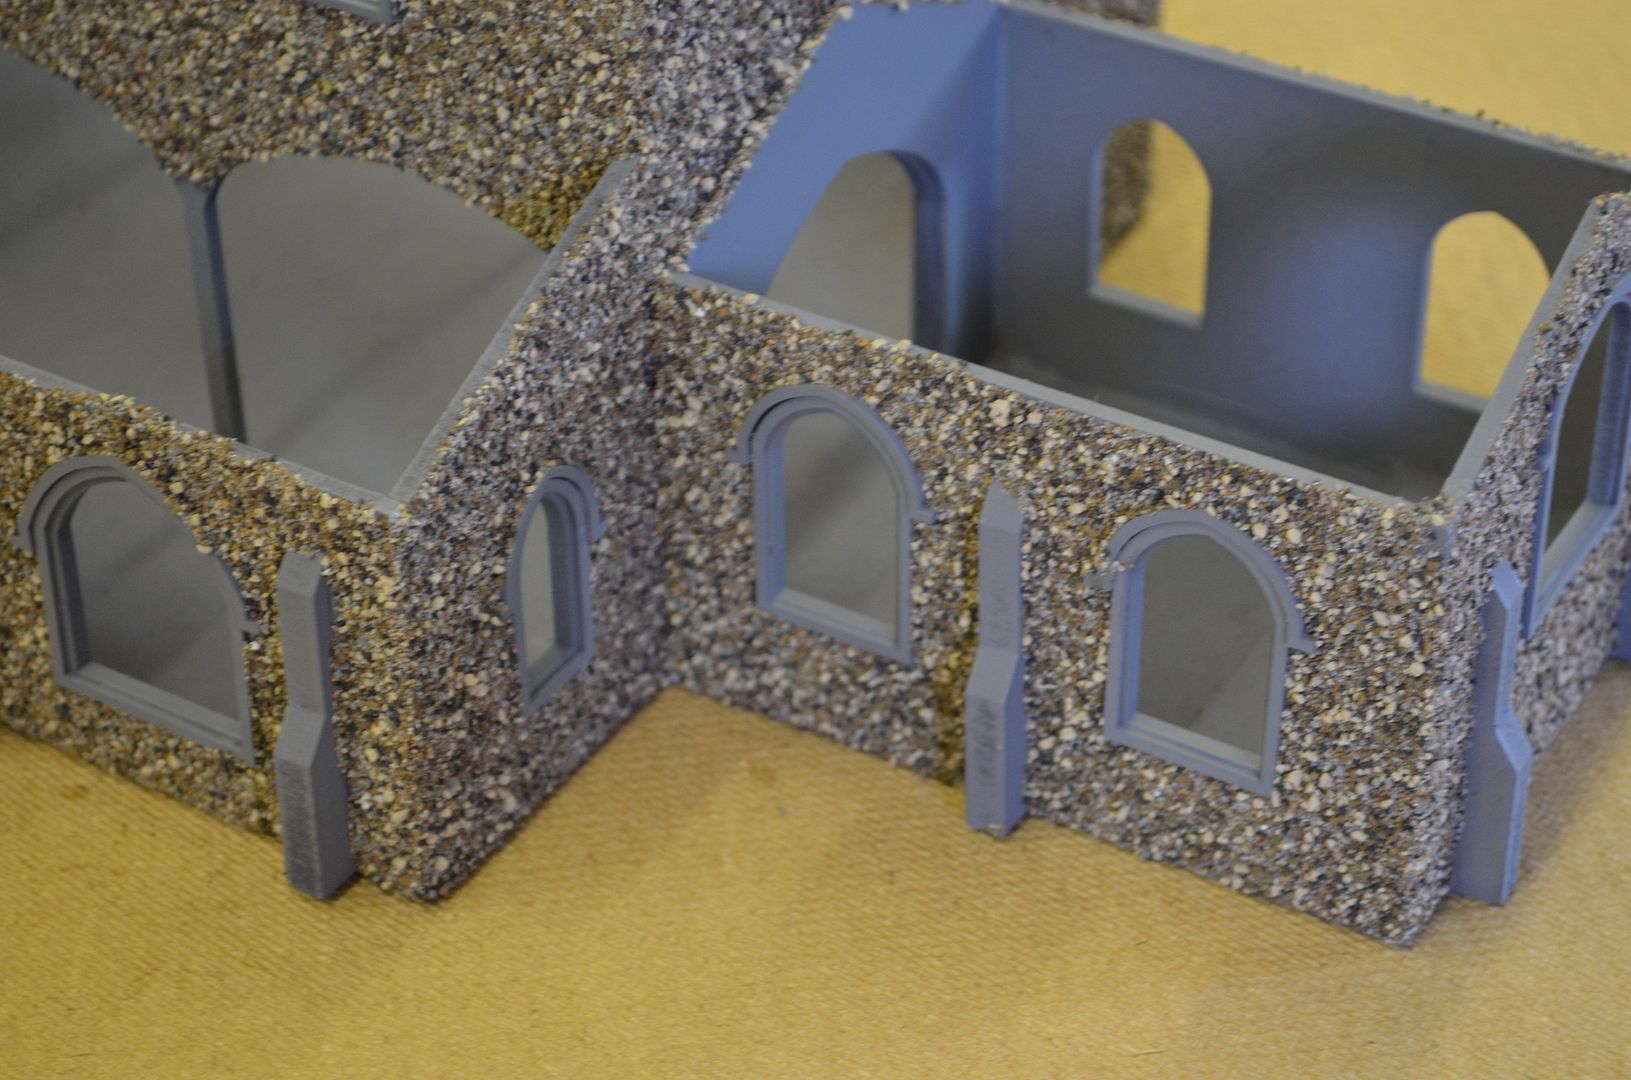
The pictures below show the details you get on these models. The stone mullion windows look fabulous
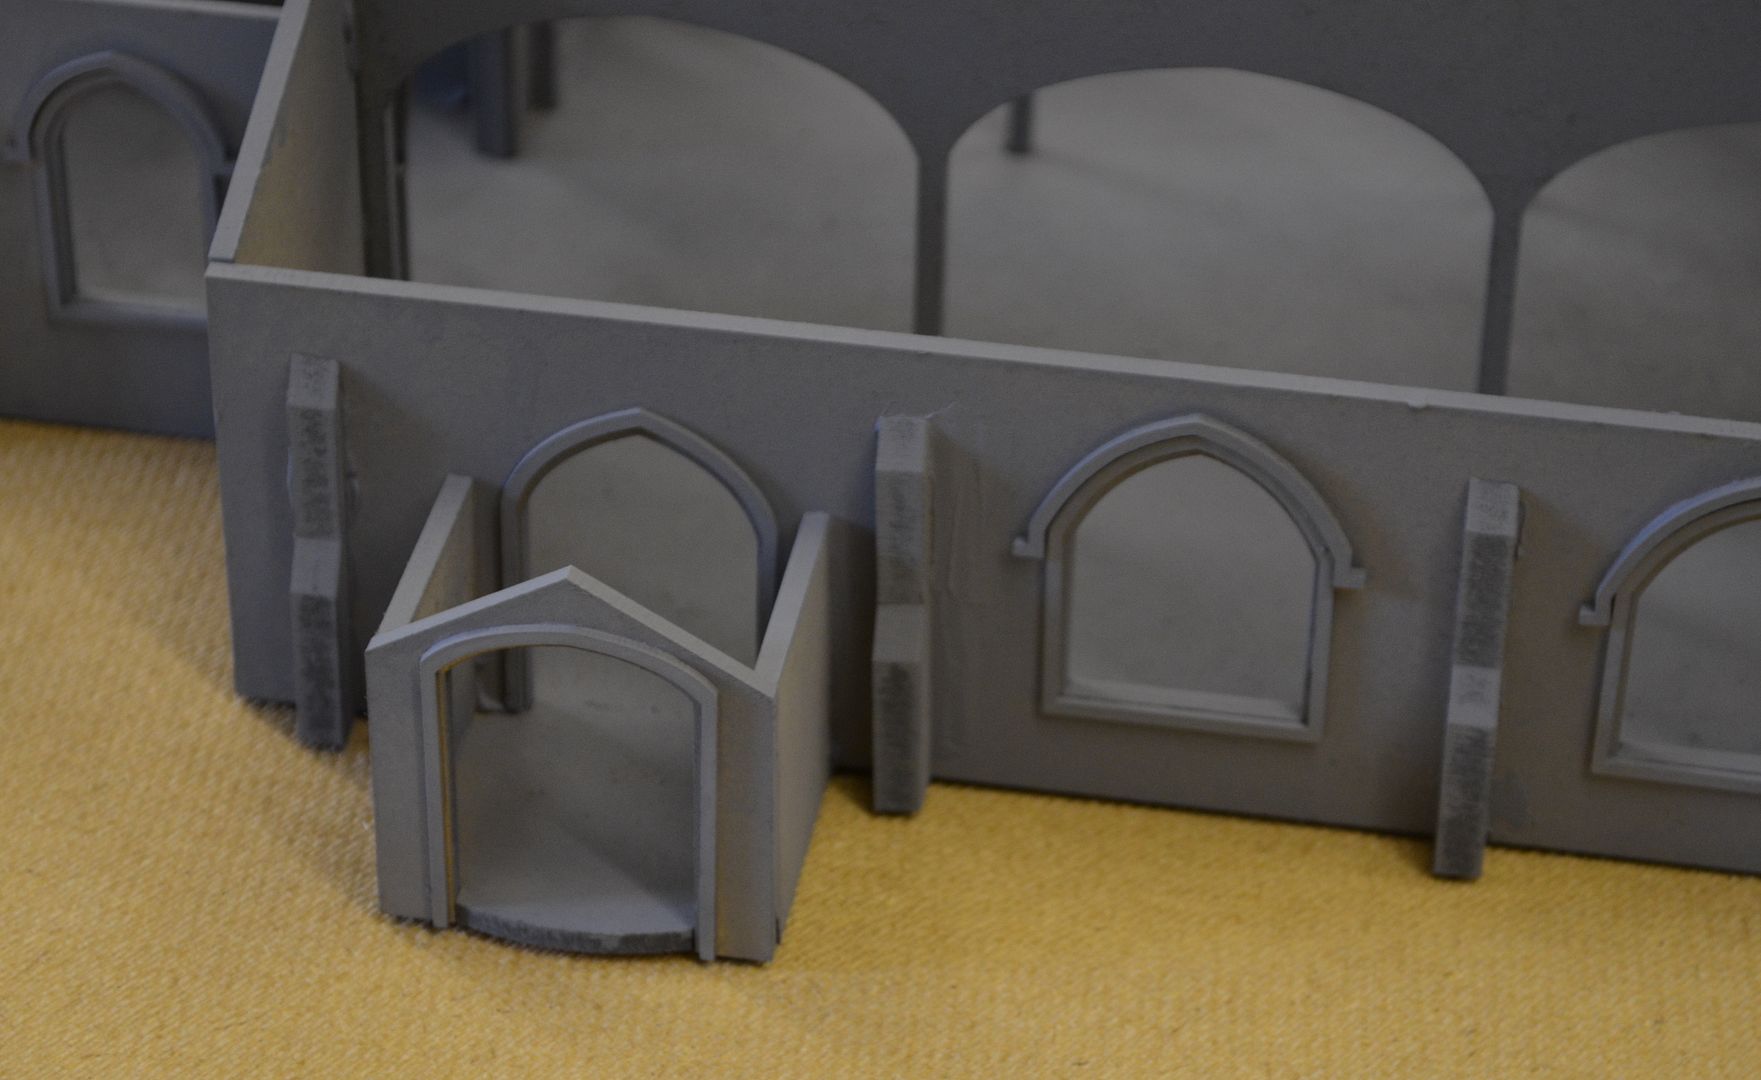
The raised windows are all over the building. These were just glued on with pva
The instruction set illustrates how to get a variety of finishes
on the church. I decided that I would go for a flint grey finish so this means
giving all the walls a good liberal coat of pva and then coating in coarse and
medium ballast….care had to be taken to NOT get glue on the window frames.
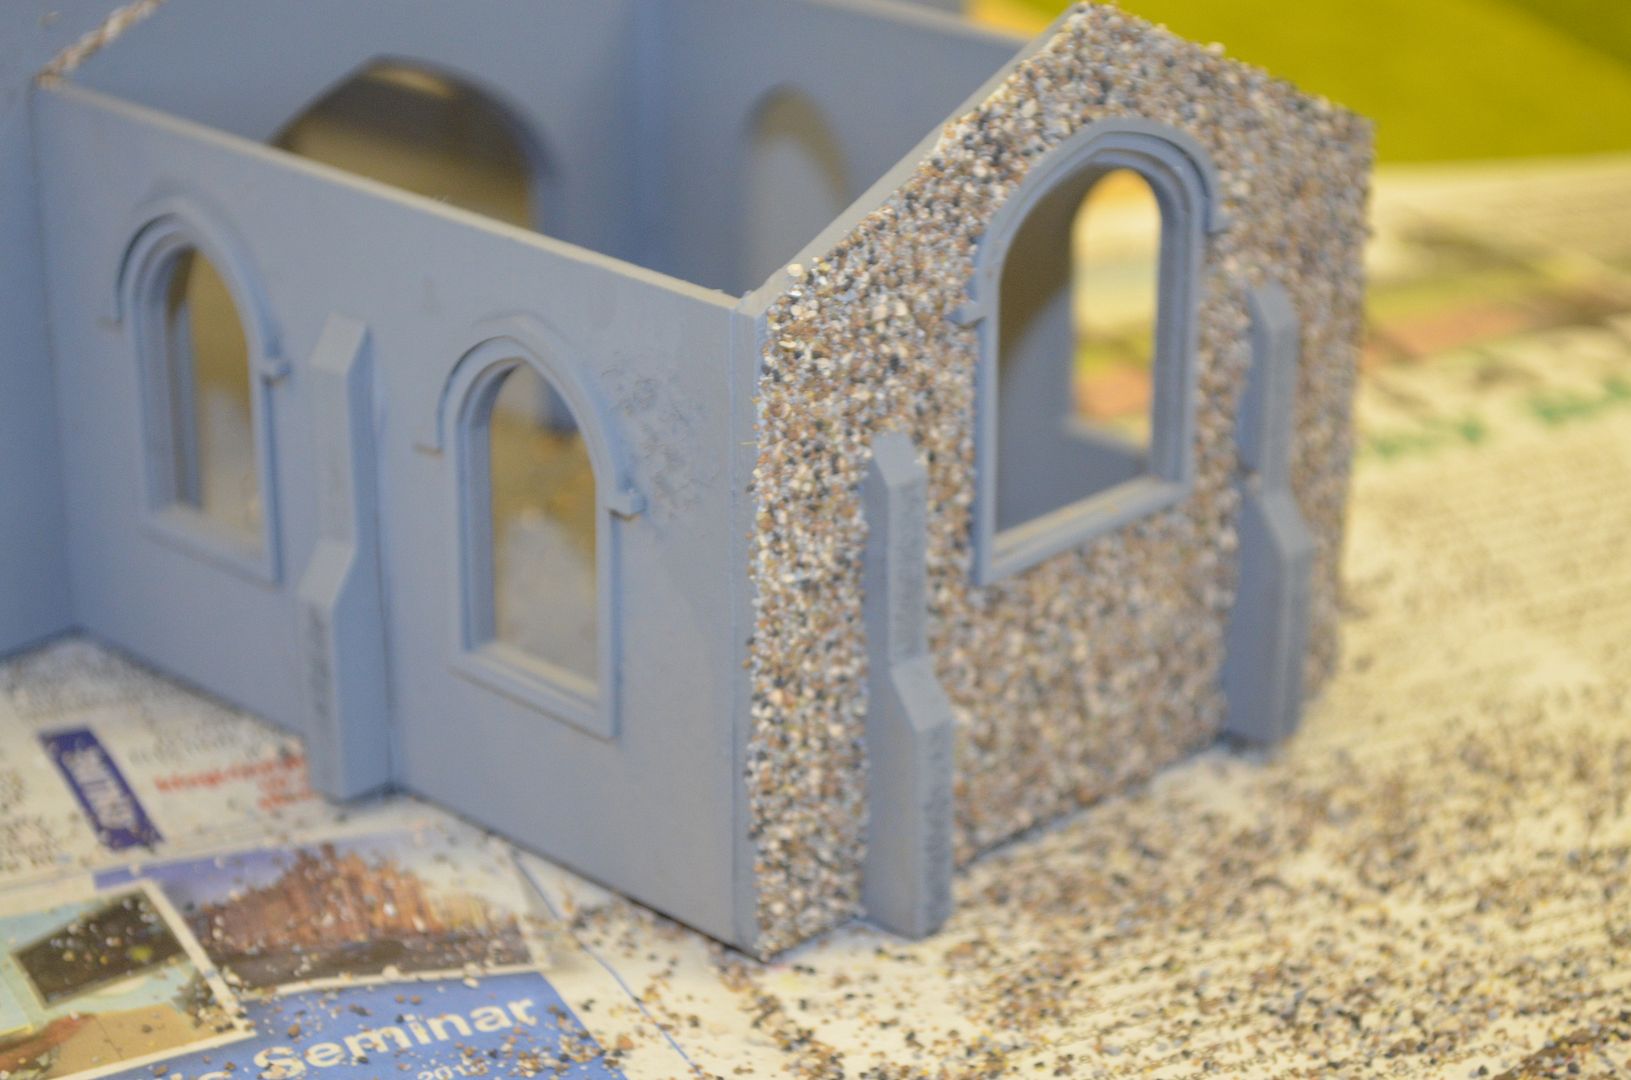
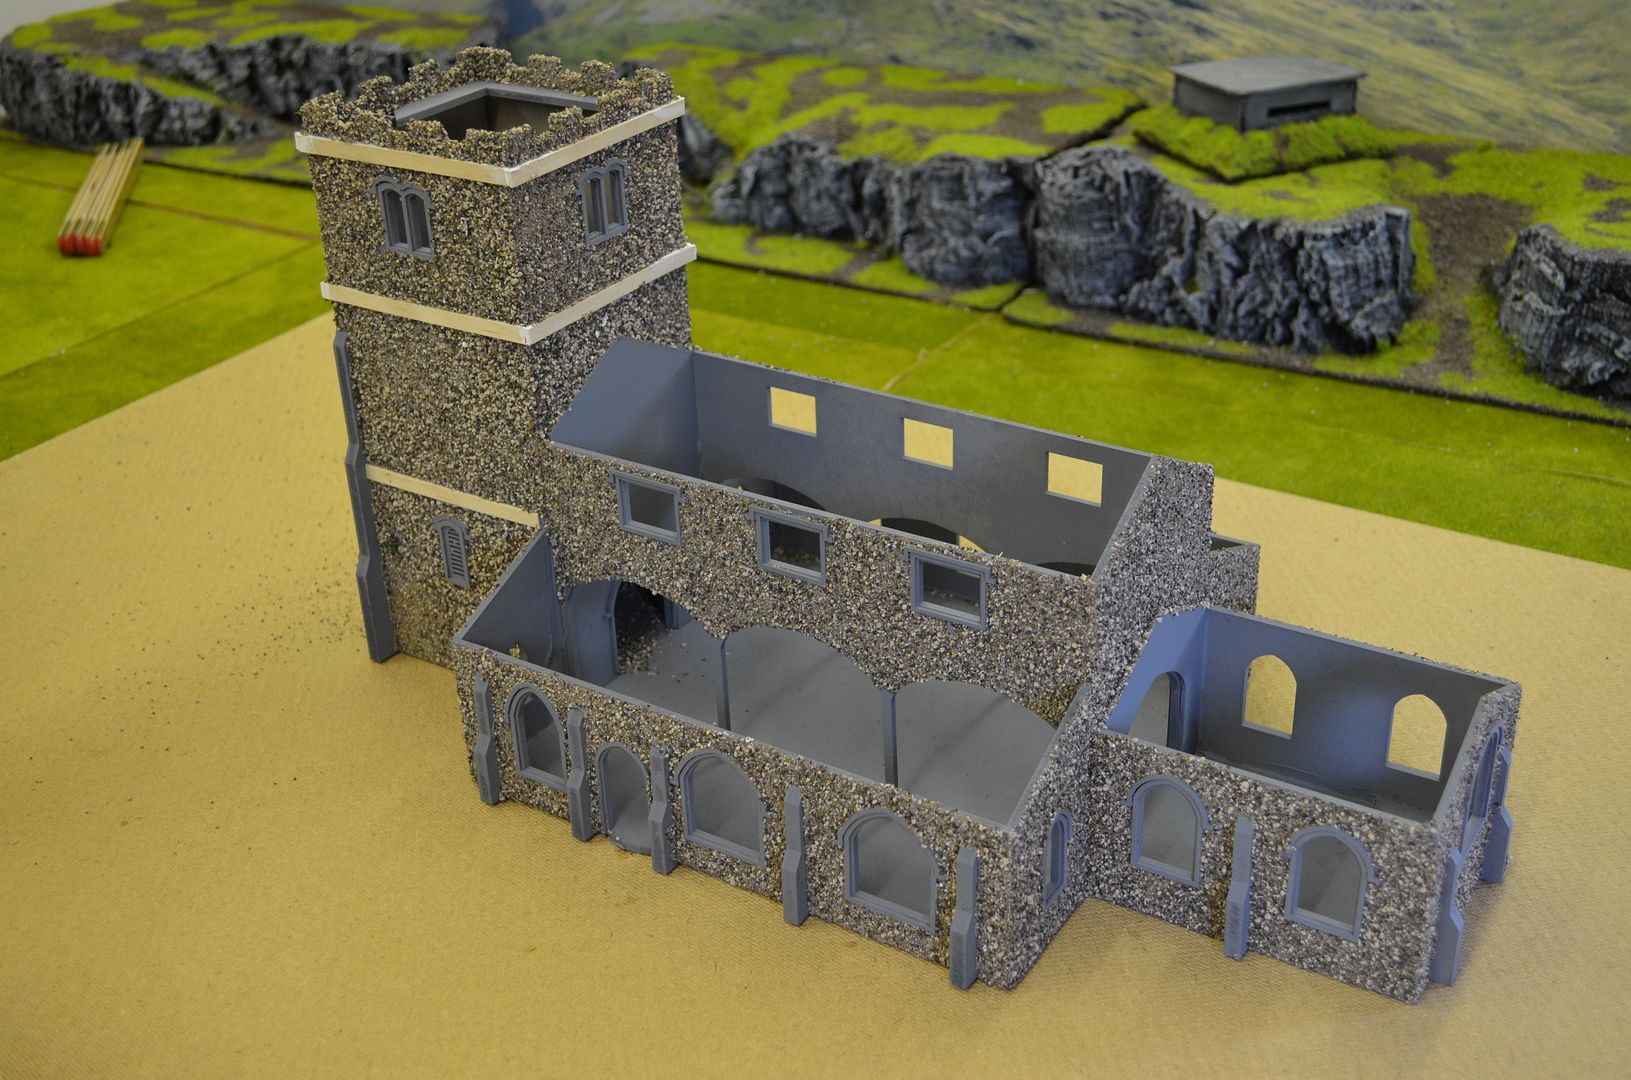
This was a really mucky job but hey somebody had to do it.
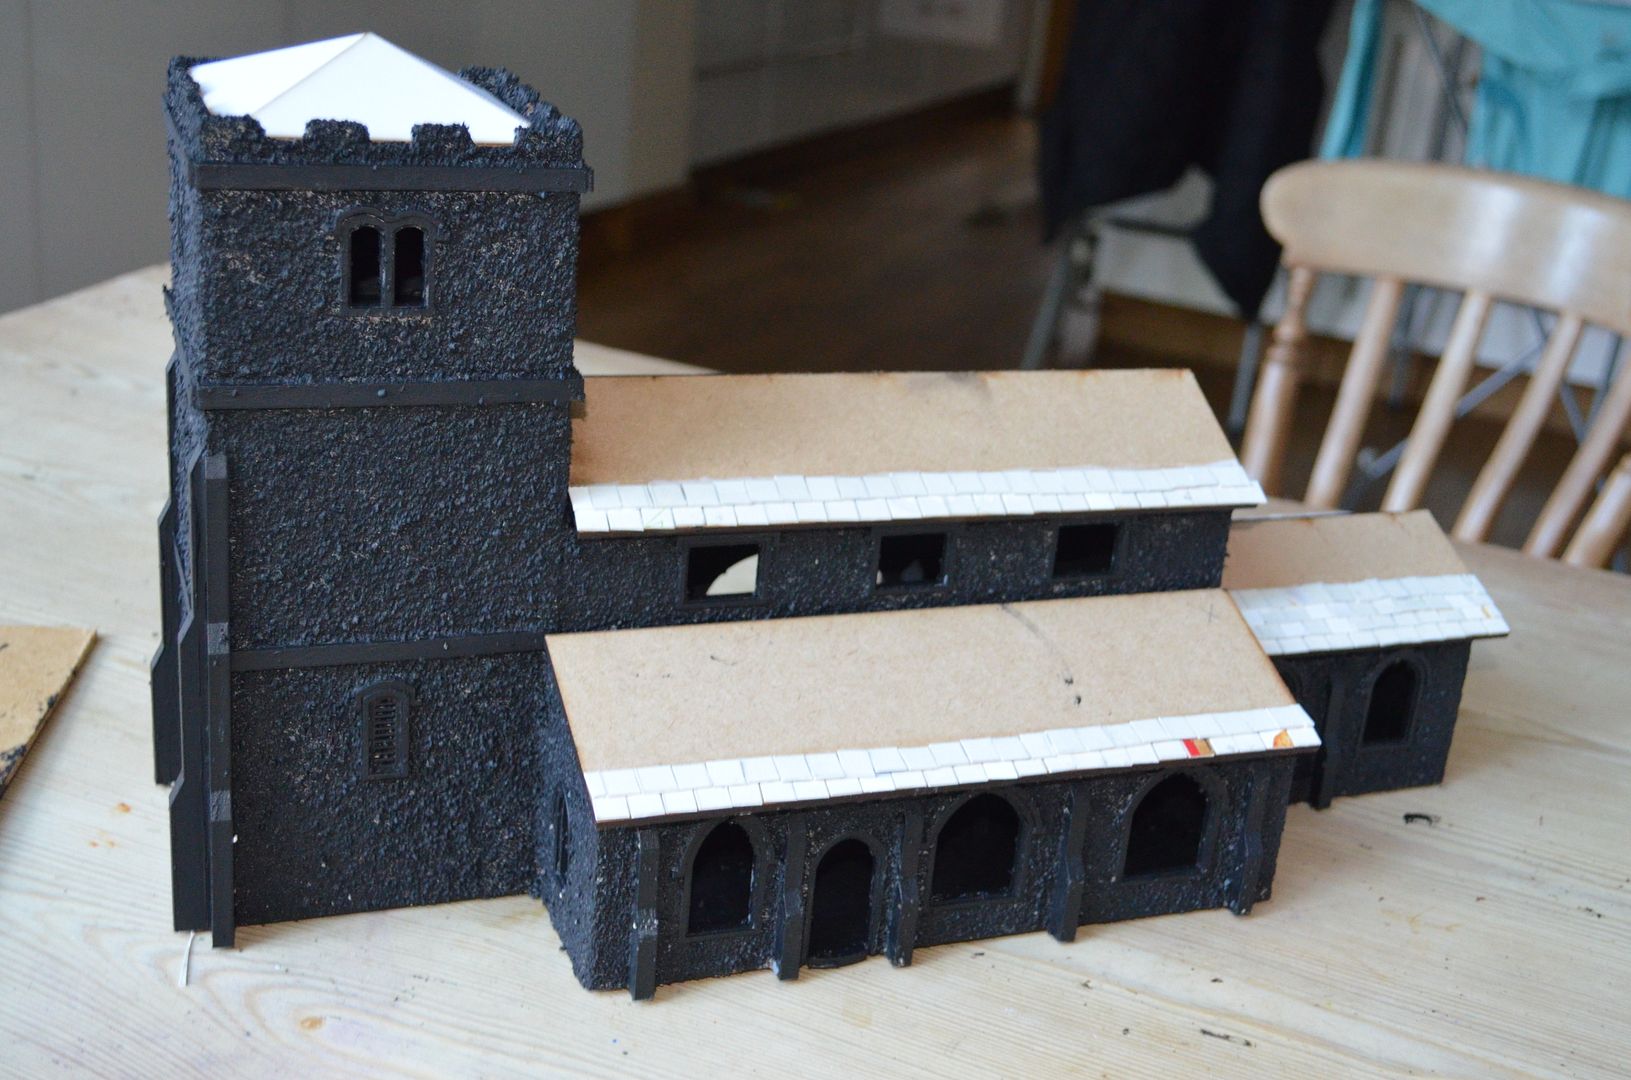
very happy with above result....and then I went and painted it all black
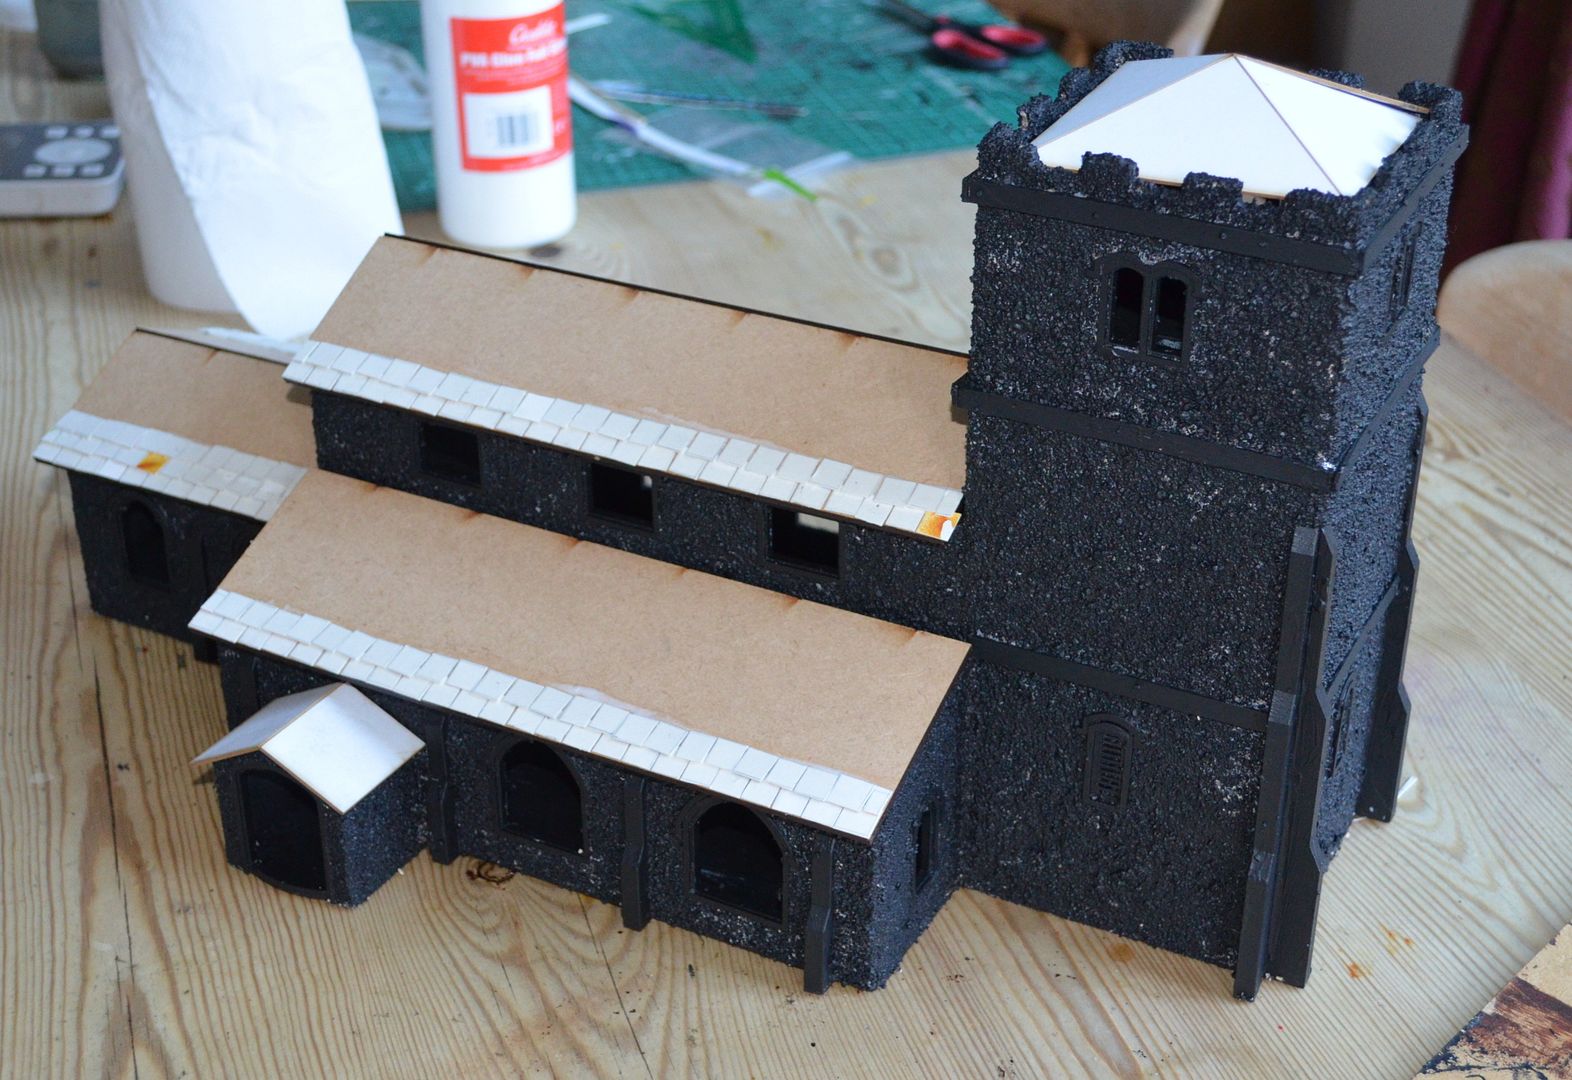
Now starting on the roof - slow and very boring all those hand cut tiles. (an old cereal box)
Going to try and get this baby finished this week.
Part 3 can be found here
Part 3
This is Superb! It will be a masterpiece among your buildings, Sir!
ReplyDeleteI am very impressed by your work and your blogg. I am trying to keep up with my own blogging and modelling. But I have a long way to get to your standard, sir. If you got some time over, check it out ; http://mars1889.blogspot.se/
This is looking very good and the flint work is paying off.
ReplyDeleteThe Flint is looking good and while the roof tiles (or Slats might take a while to do this way it will look good in the end. A lead roof might be easier, it depends when you want the church to be set. Looking good though and I am sure it will continue to as time goes by and the project progresses.
ReplyDeleteComing along nicely this will look marvellous!
ReplyDeleteThat is shaping up to be an excellent centre piece for your VBCW rural settings. Now, name it after one of the dozens of obscure Saxon saints.
ReplyDelete