Having just completed my hedgerows I decided that a few fields would be nice
on my table.
The following is a quick snapshot of how mine were
constructed.
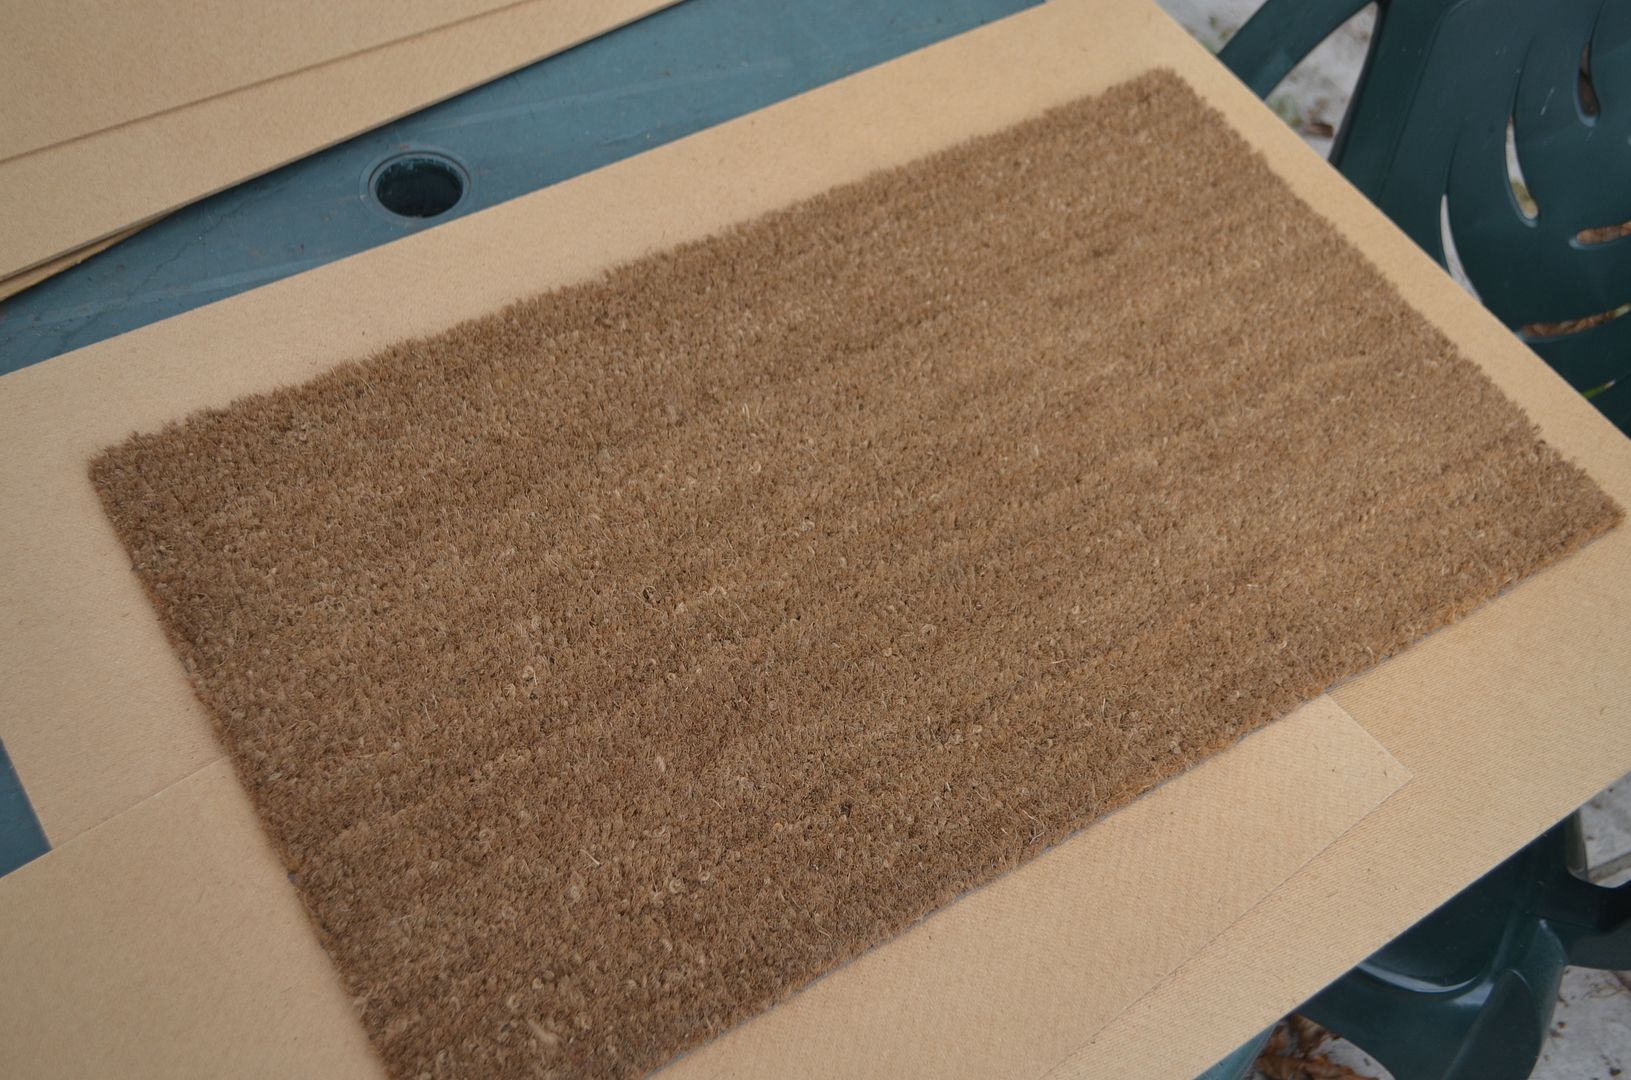
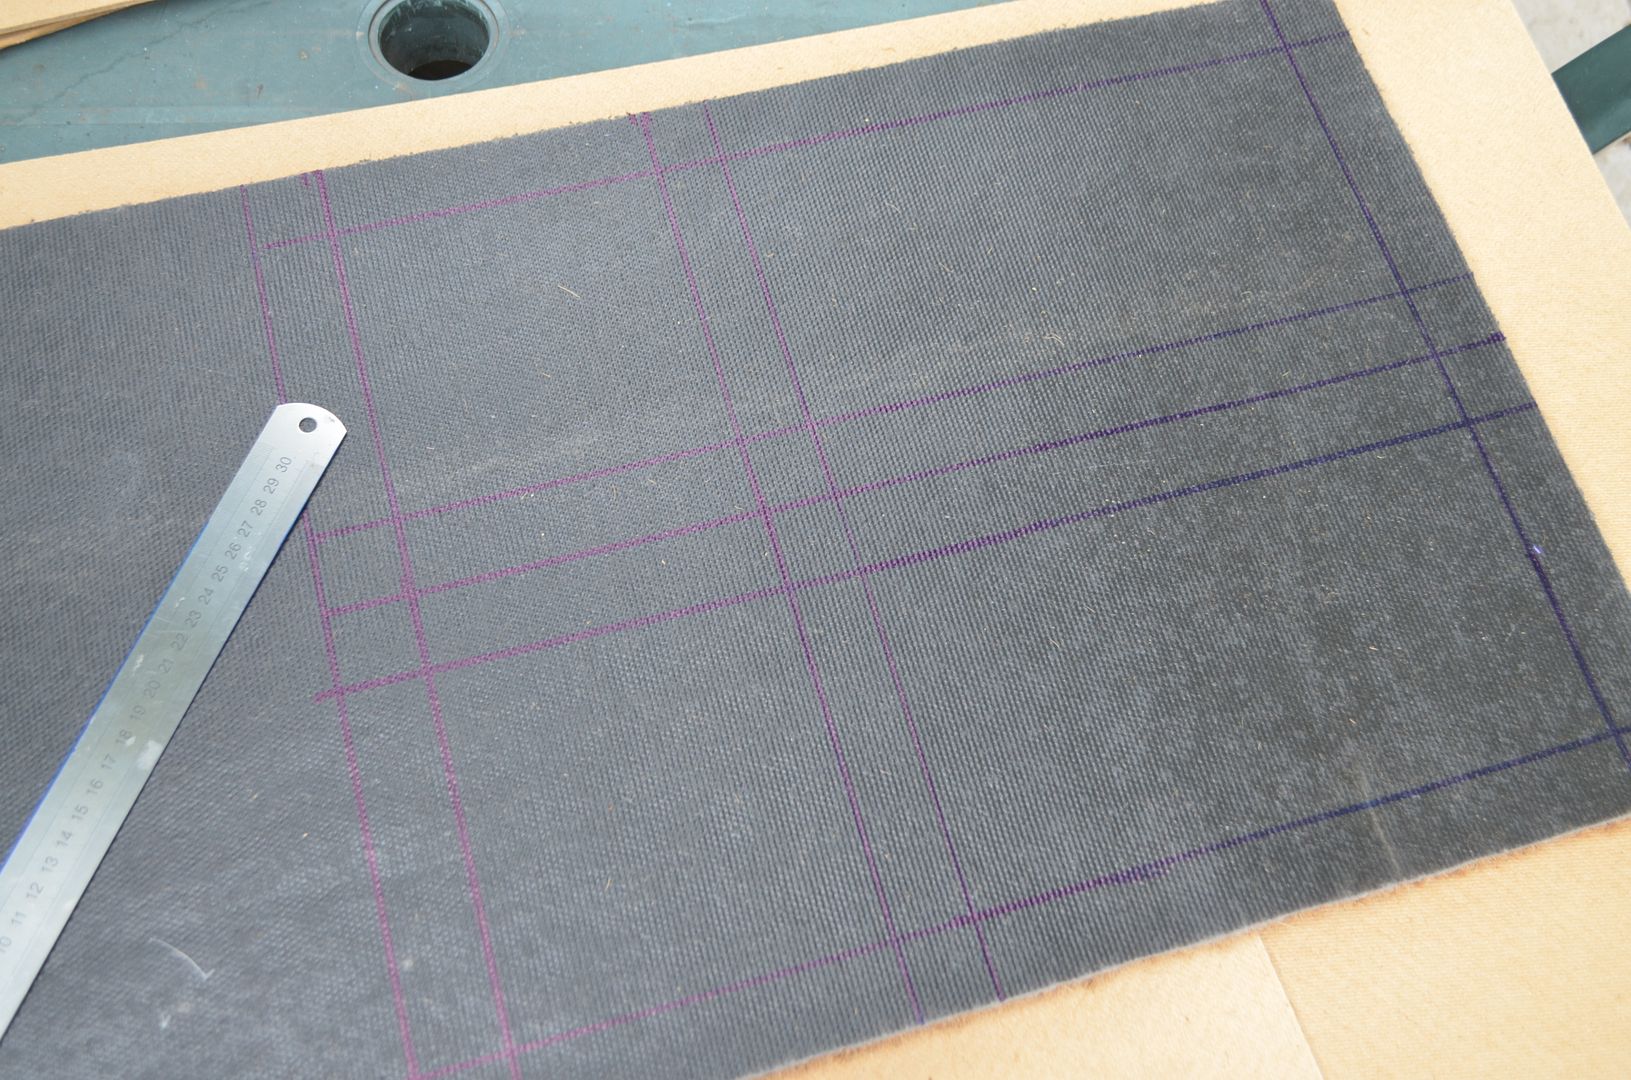
Mark up the mat with the shape of the fields on the underside of the mat.
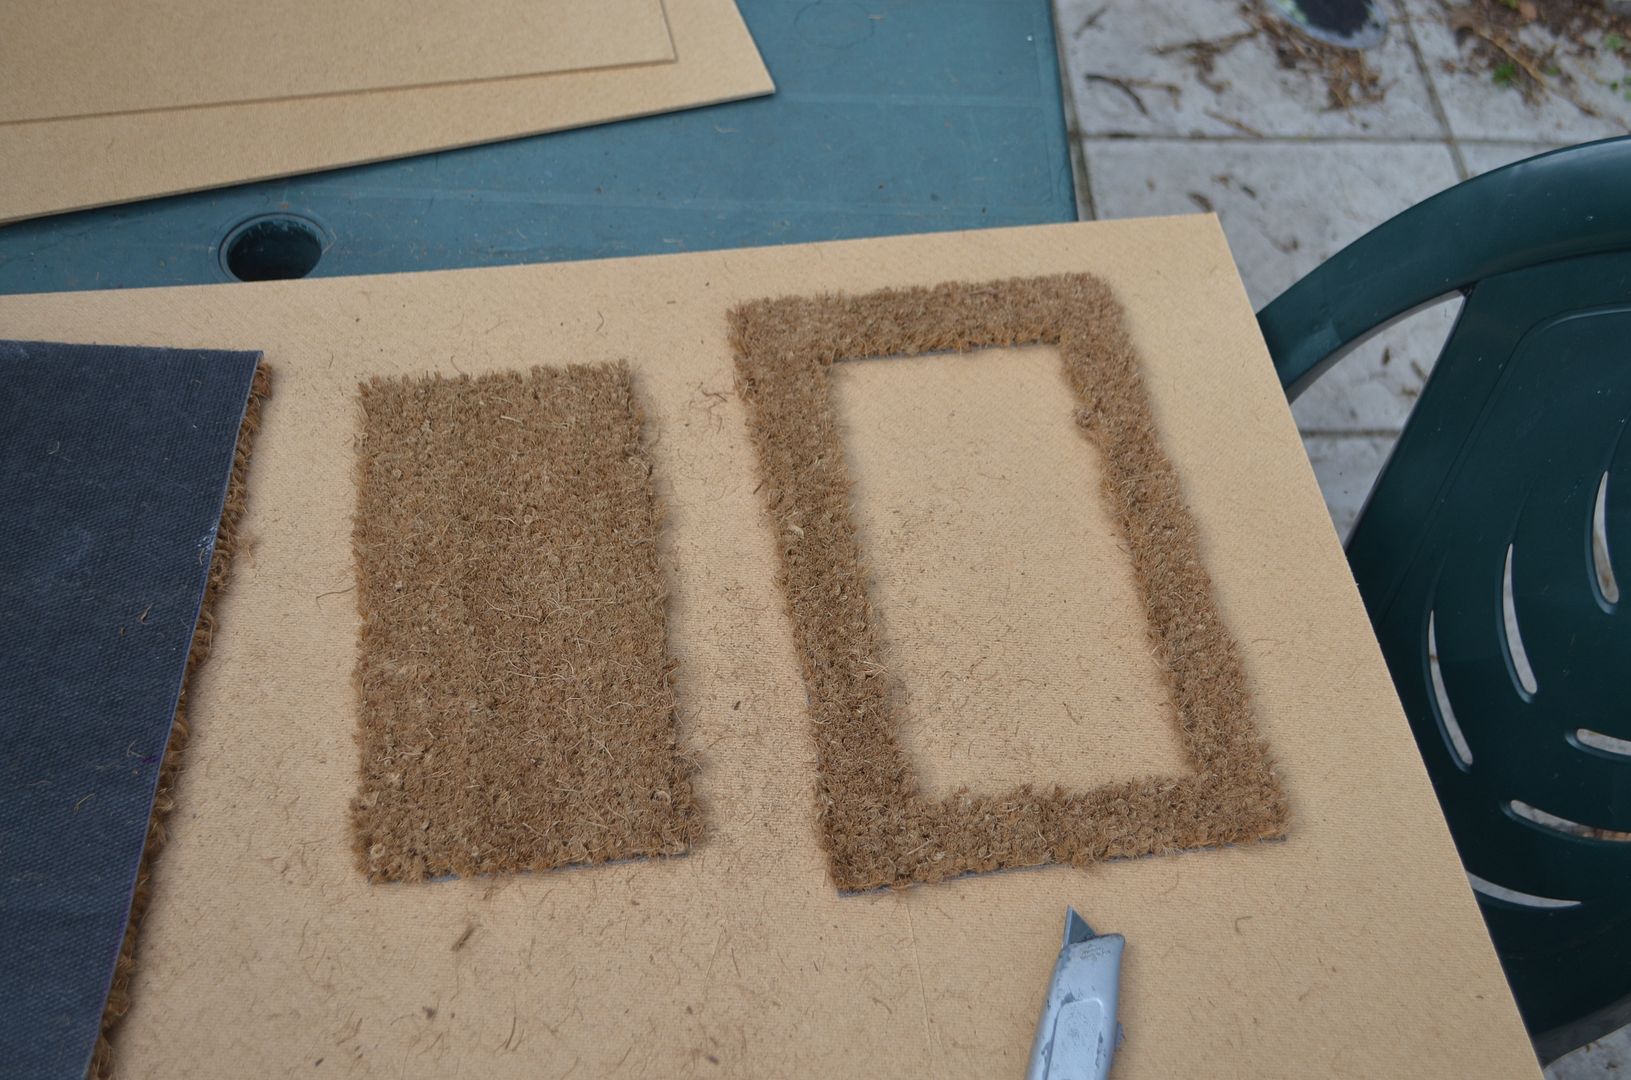
Using a sharp blade cut out the fields and an inside square.
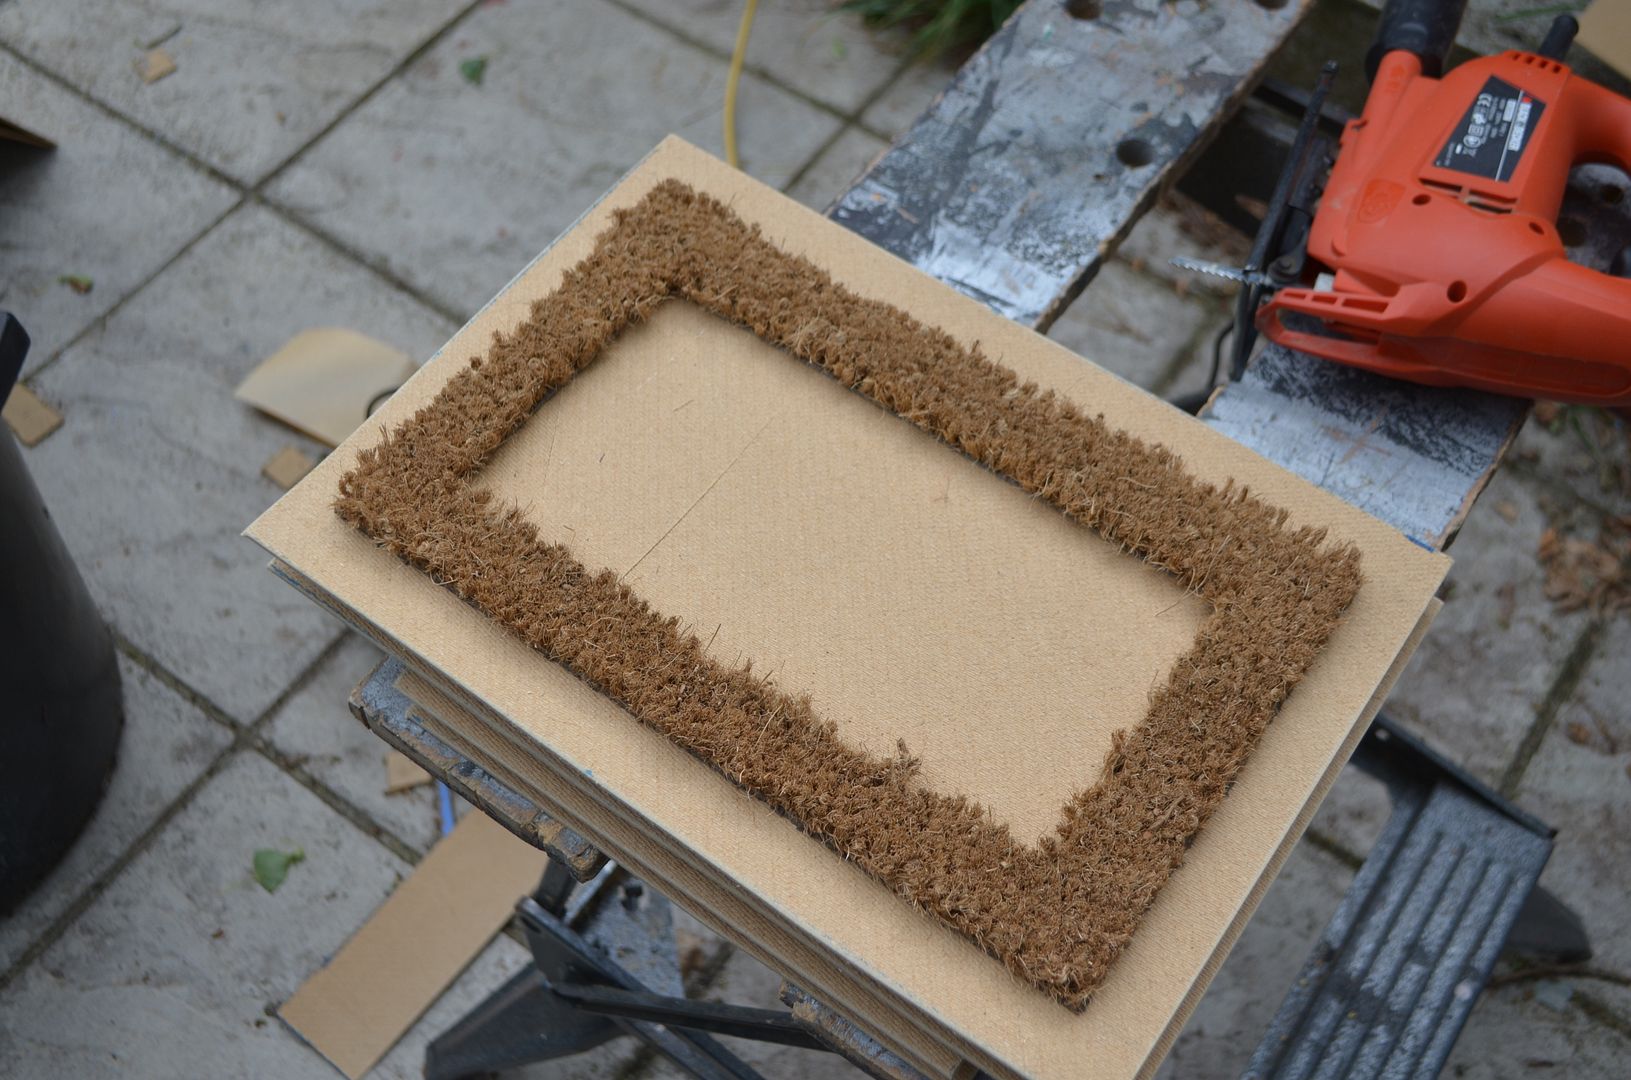
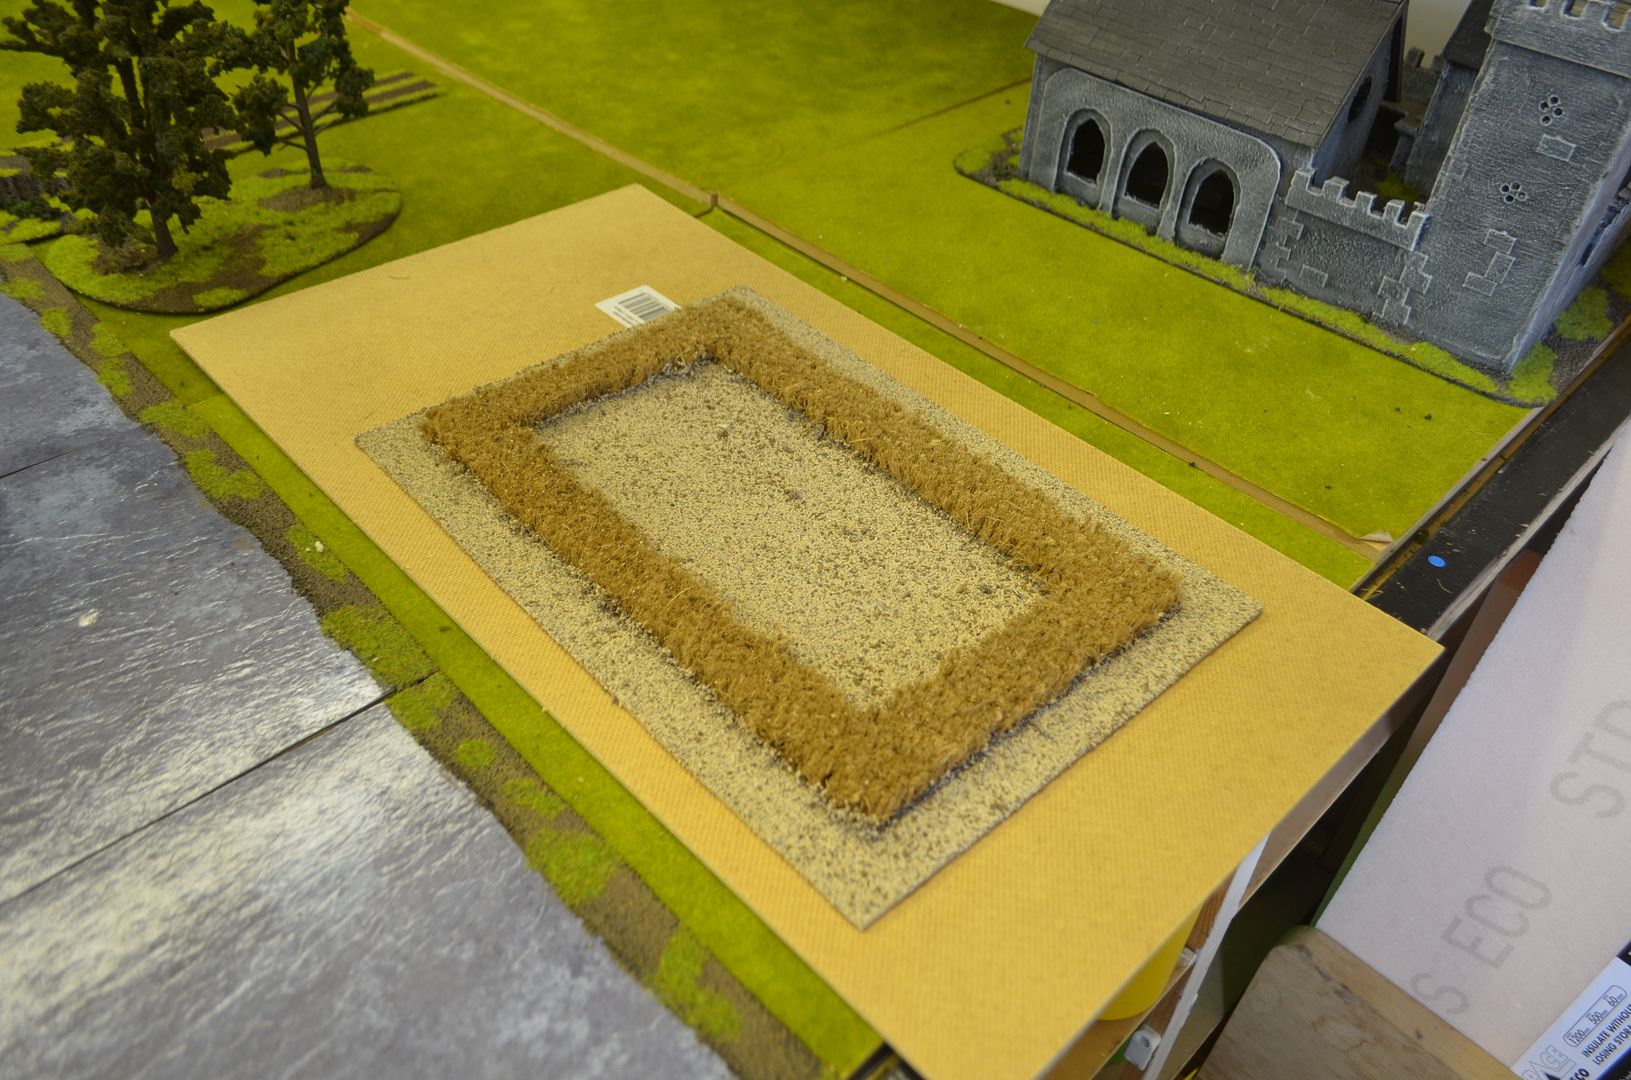
Glue the field perimeter to a hardboard base.
Once dry, coat the base in PVA and add sand, grit and ballast. Texture to taste. Allow to dry.
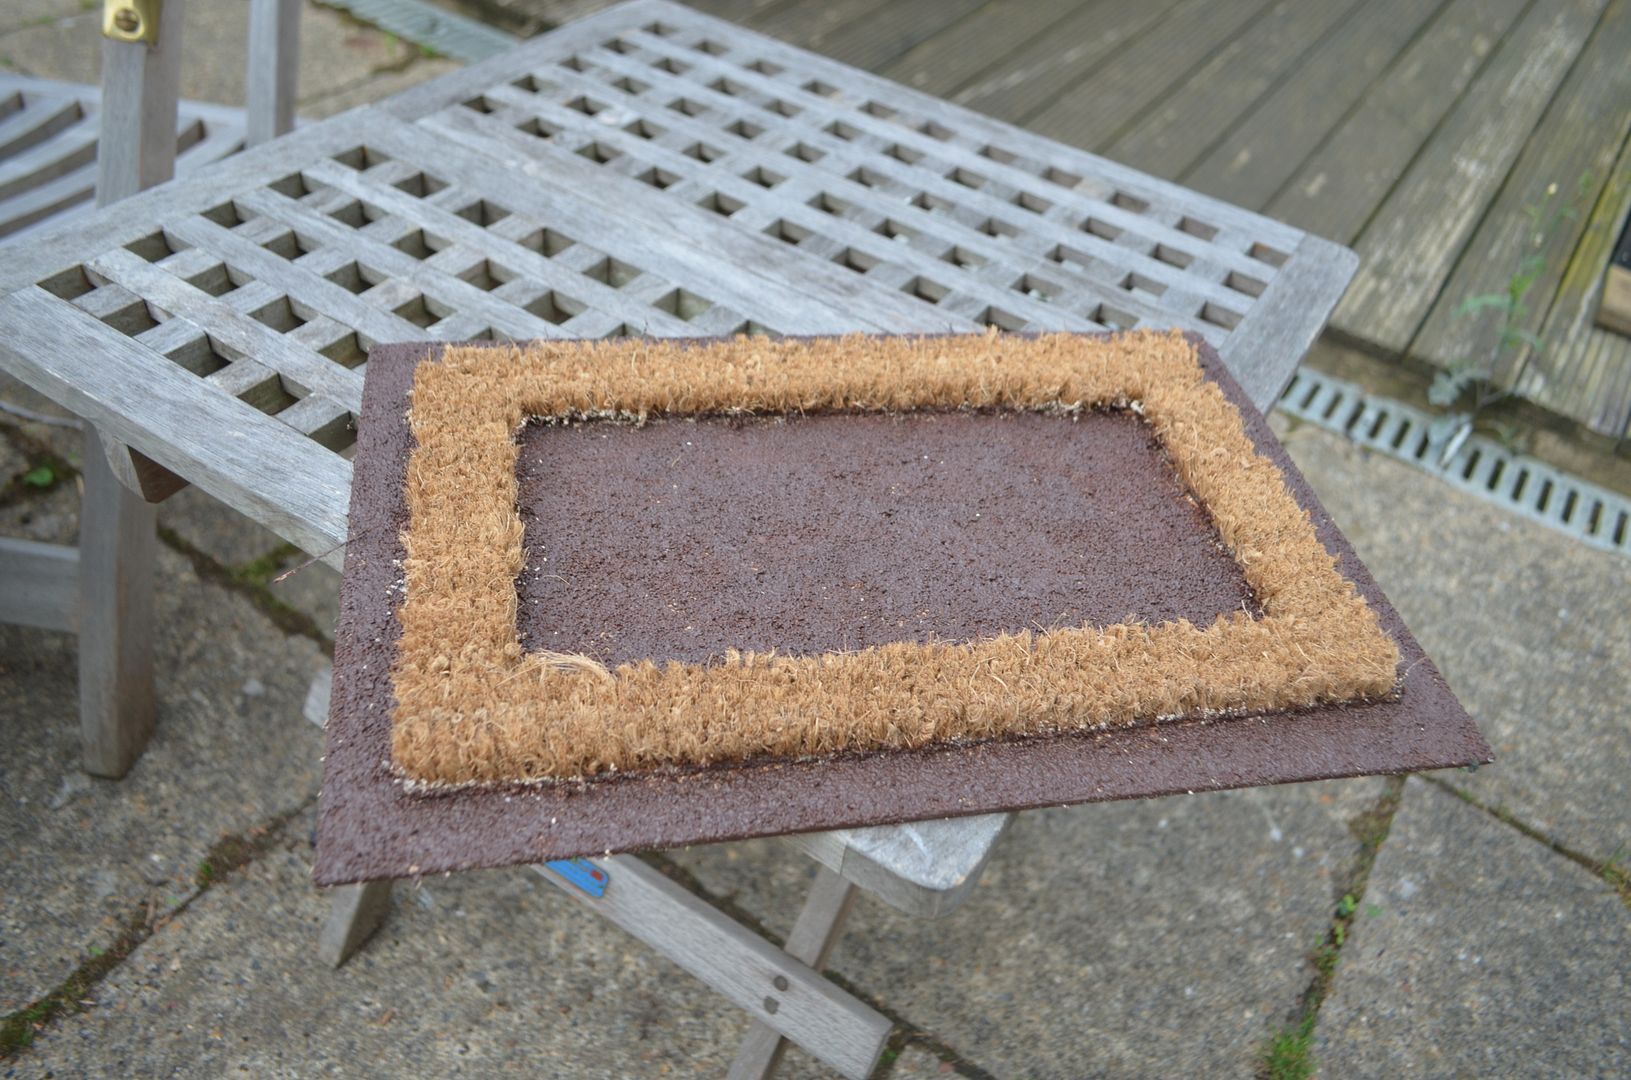
Then paint base - mine painted with acrylic raw umber. Allow to dry.
Once dry dry brush soil with lighter browns.Add static grass. Sorry no photo here.
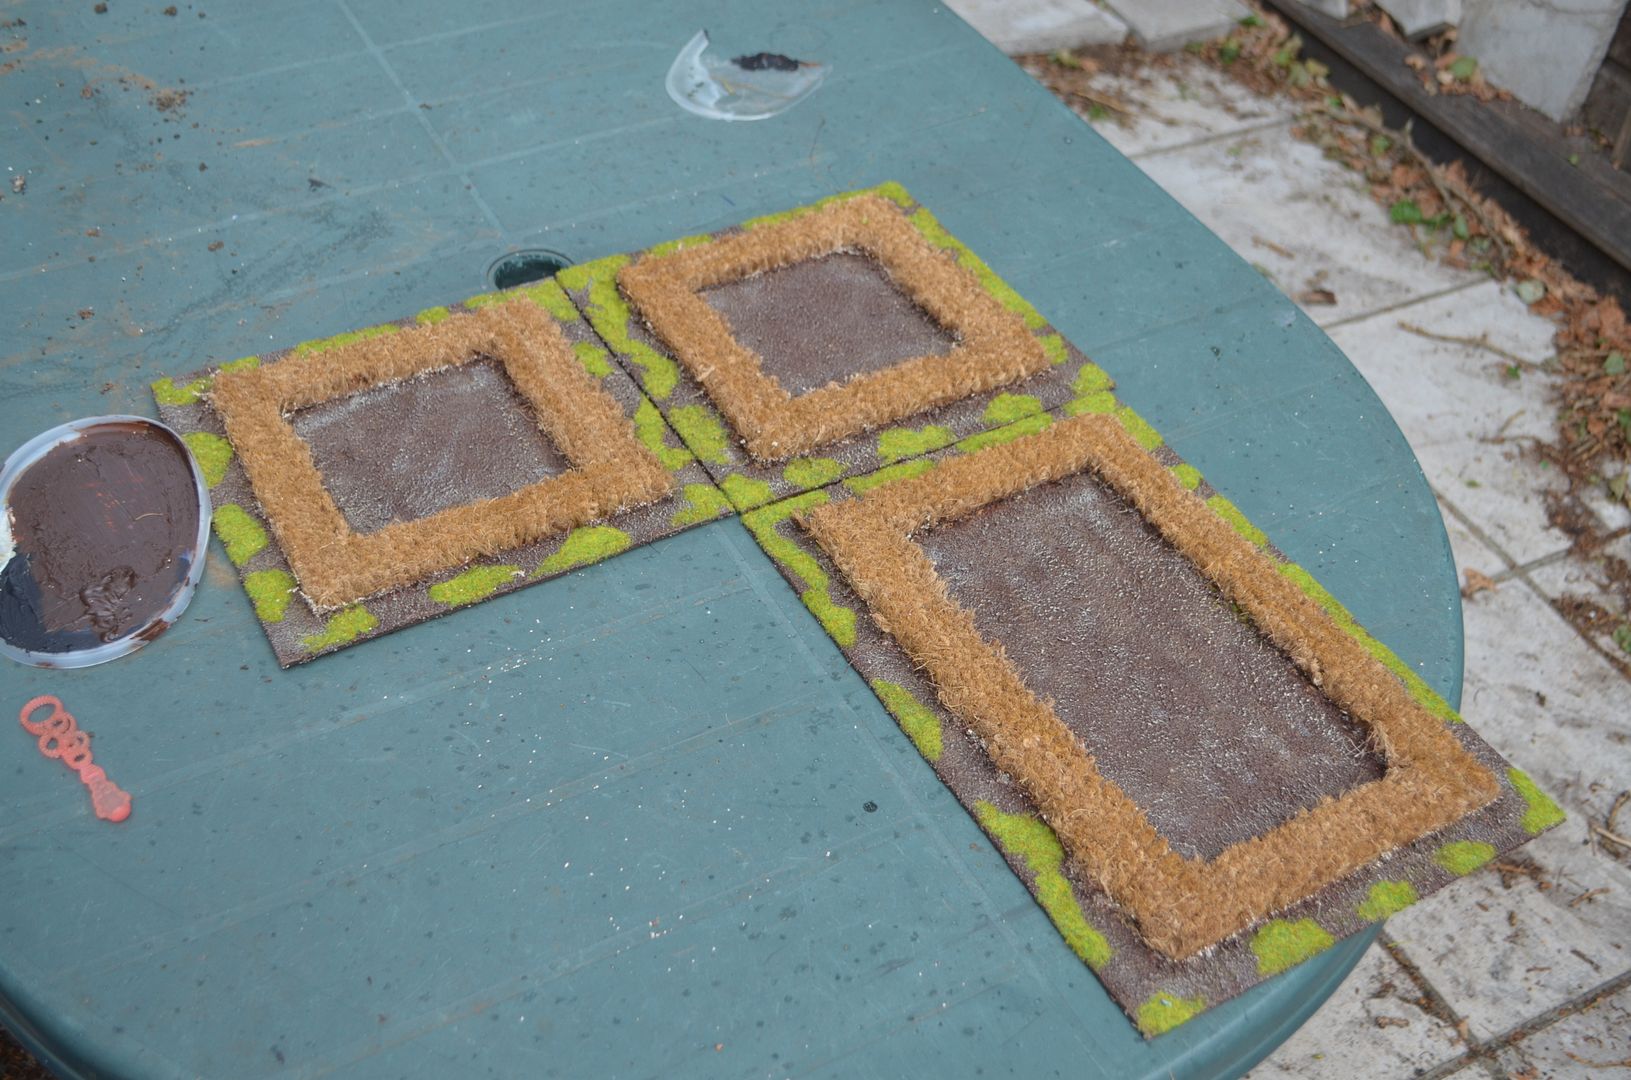
It speeds up the process if you make more than one at a time. I made four. Here are the other three.
Set out for games.
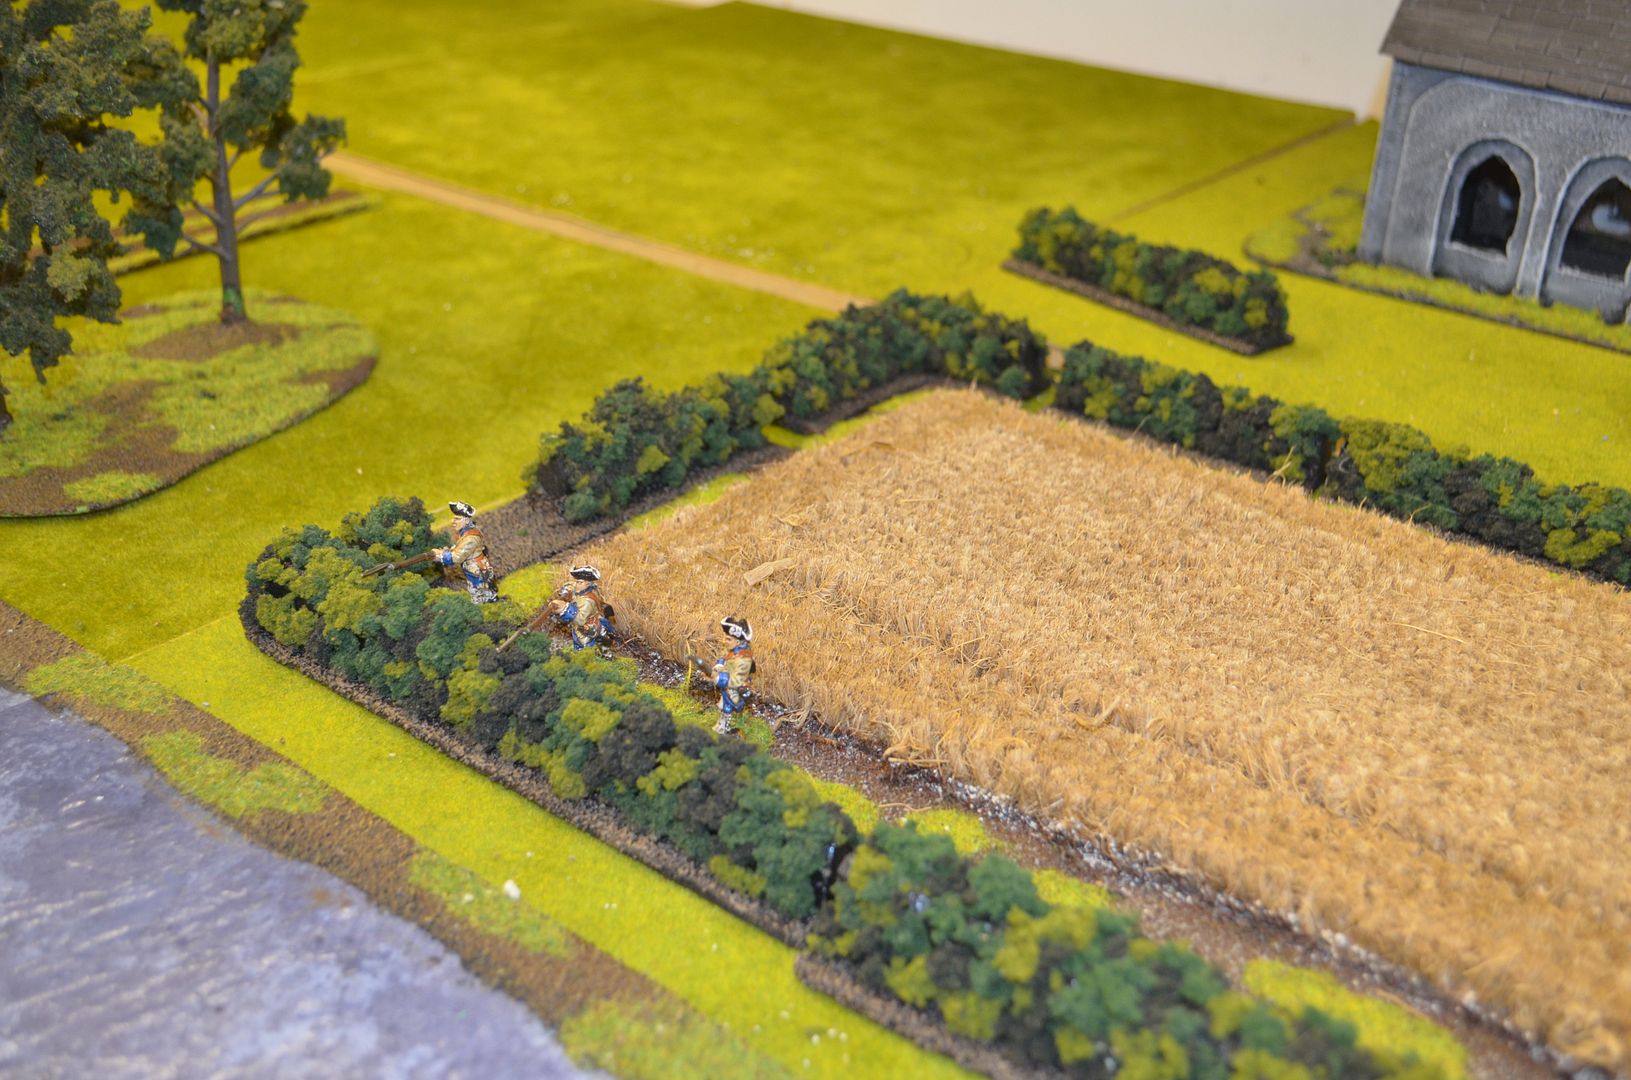
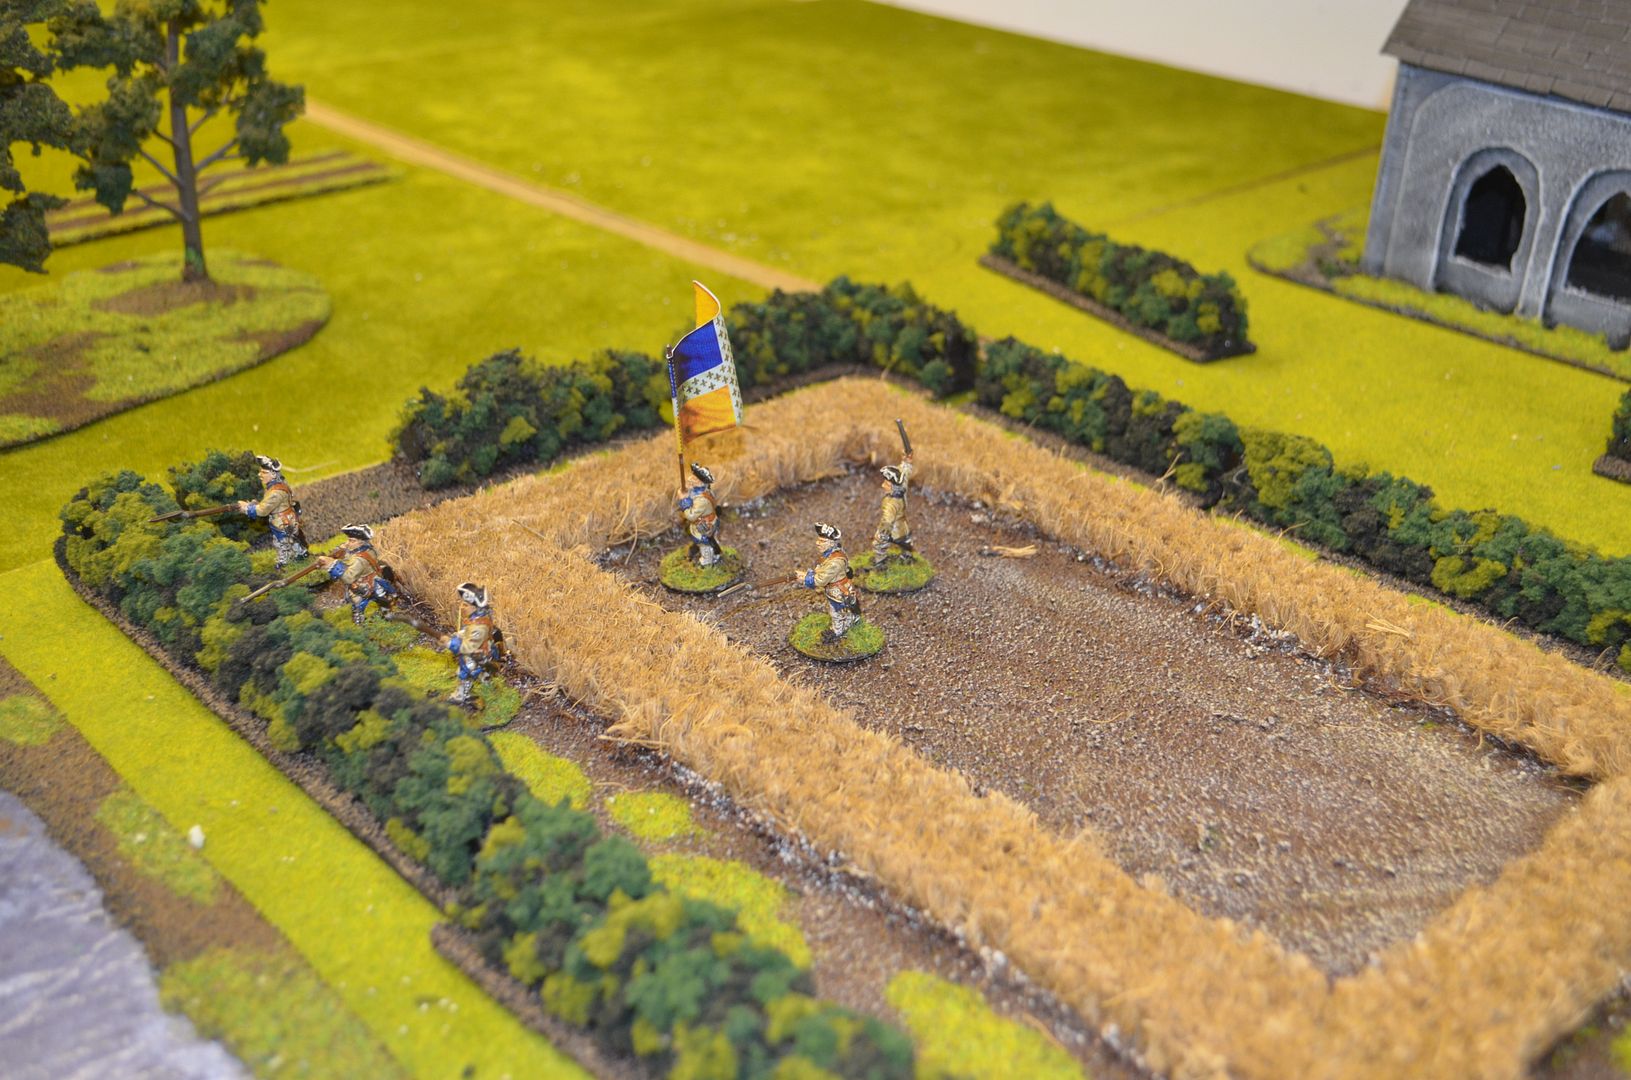
With Hedges.
Note the Inner cutout can be used to fill the field or removed to allow troop deployment. The gap around the perimeter allows troops to defend hedgerows etc.
By not having fixed hedges on the field base I can now cater for a range of different perimeters.
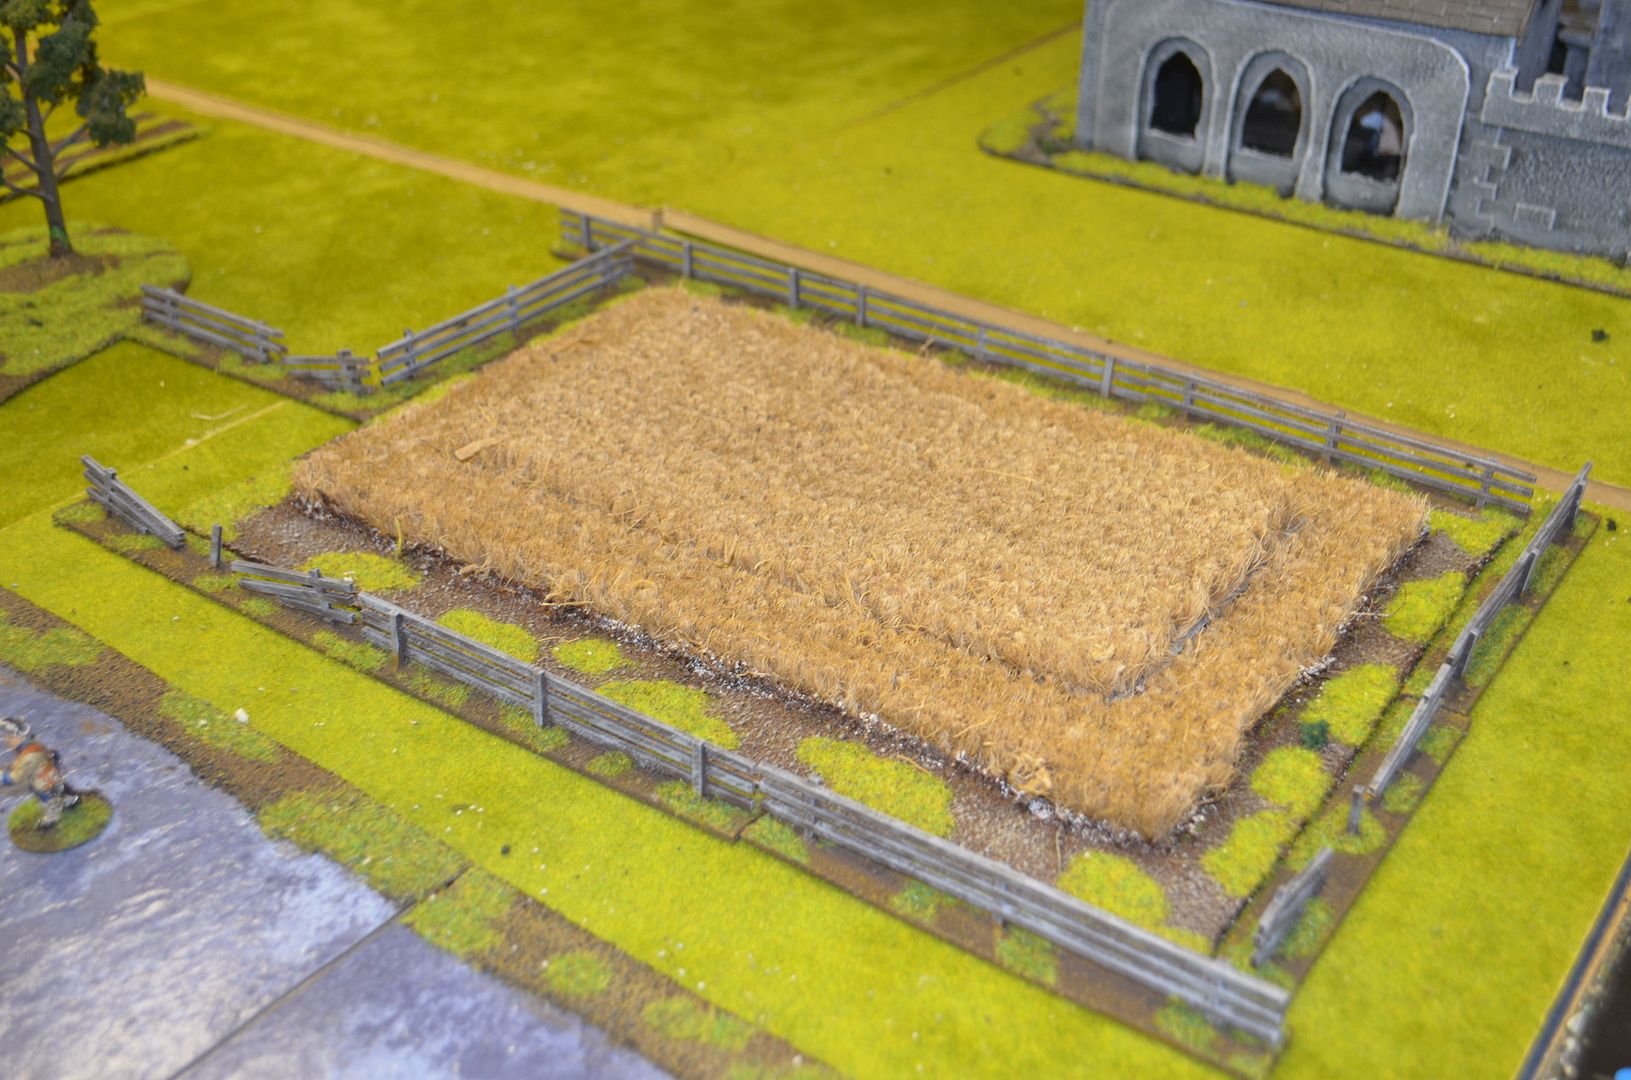
With Fences.
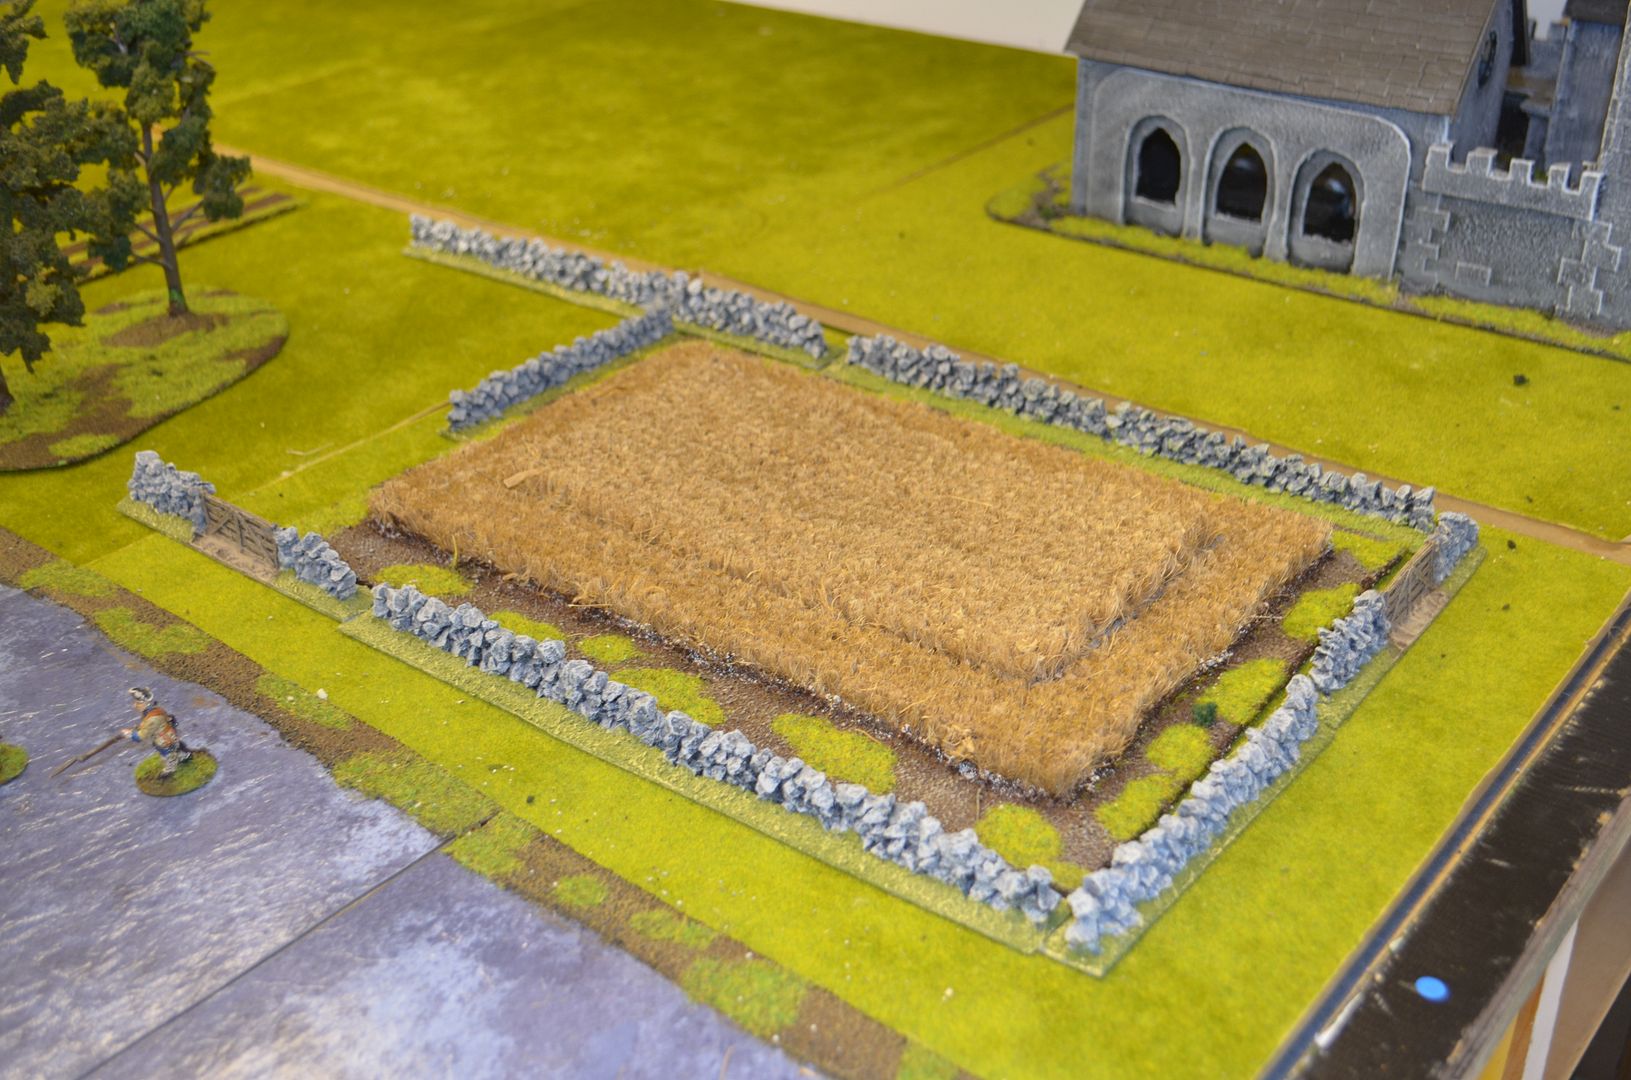
or with walls
Total Cost about a tenner in wood, paint, glue, and mat. Time to construct circa three hours (excluding drying time)
Job done
If you were interested in this build you might be interested in one of my previous terrain builds...
Follow this link to something new....Wattle Fences
Follow this link to something new....Wattle Fences
Very nice, I keep meaning todo this thanks for the remainder and tutorial :D
ReplyDeleteWhat a brilliant idea to have a removable middle - well done!
ReplyDeleteA simple yet brilliant idea
ReplyDeleteLove the look of these. Great idea and very well done!
ReplyDeleteWill have to copy this technique!
ReplyDeletePretty cool Eric!!!!!
ReplyDeleteSuper work - quick, easy, effective. What's to not like?
ReplyDeleteneat schema
ReplyDelete-- Allan
looks really fine! good effects and realistic
ReplyDeletePeter
Fantastic, I really like these ideas!! Great work.
ReplyDeleteVery nice, Ill try this
ReplyDelete