One of the centre pieces of my coastline will be the pirate fort overlooking the harbour.
This will be mounted on the standard 50cm x 50cm boards I use on my table.
To get the height on the fort I decided to mount this on 75mm Jablite ( a thicker polystyrene). I did consider raising the fort higher but it would then become too dominant.
First up I cut to two sides of the mdf board with some gentle curves for the coastline. By only cutting two sides I can now butt the fort board on an edge or corner of the board.

Several holes were then drilled into the board and bamboo skewers fixed in. These will be used to strengthen the bond between the Jablite and the MDF base. Once this was done I painted the board in PVA to stop it warping.
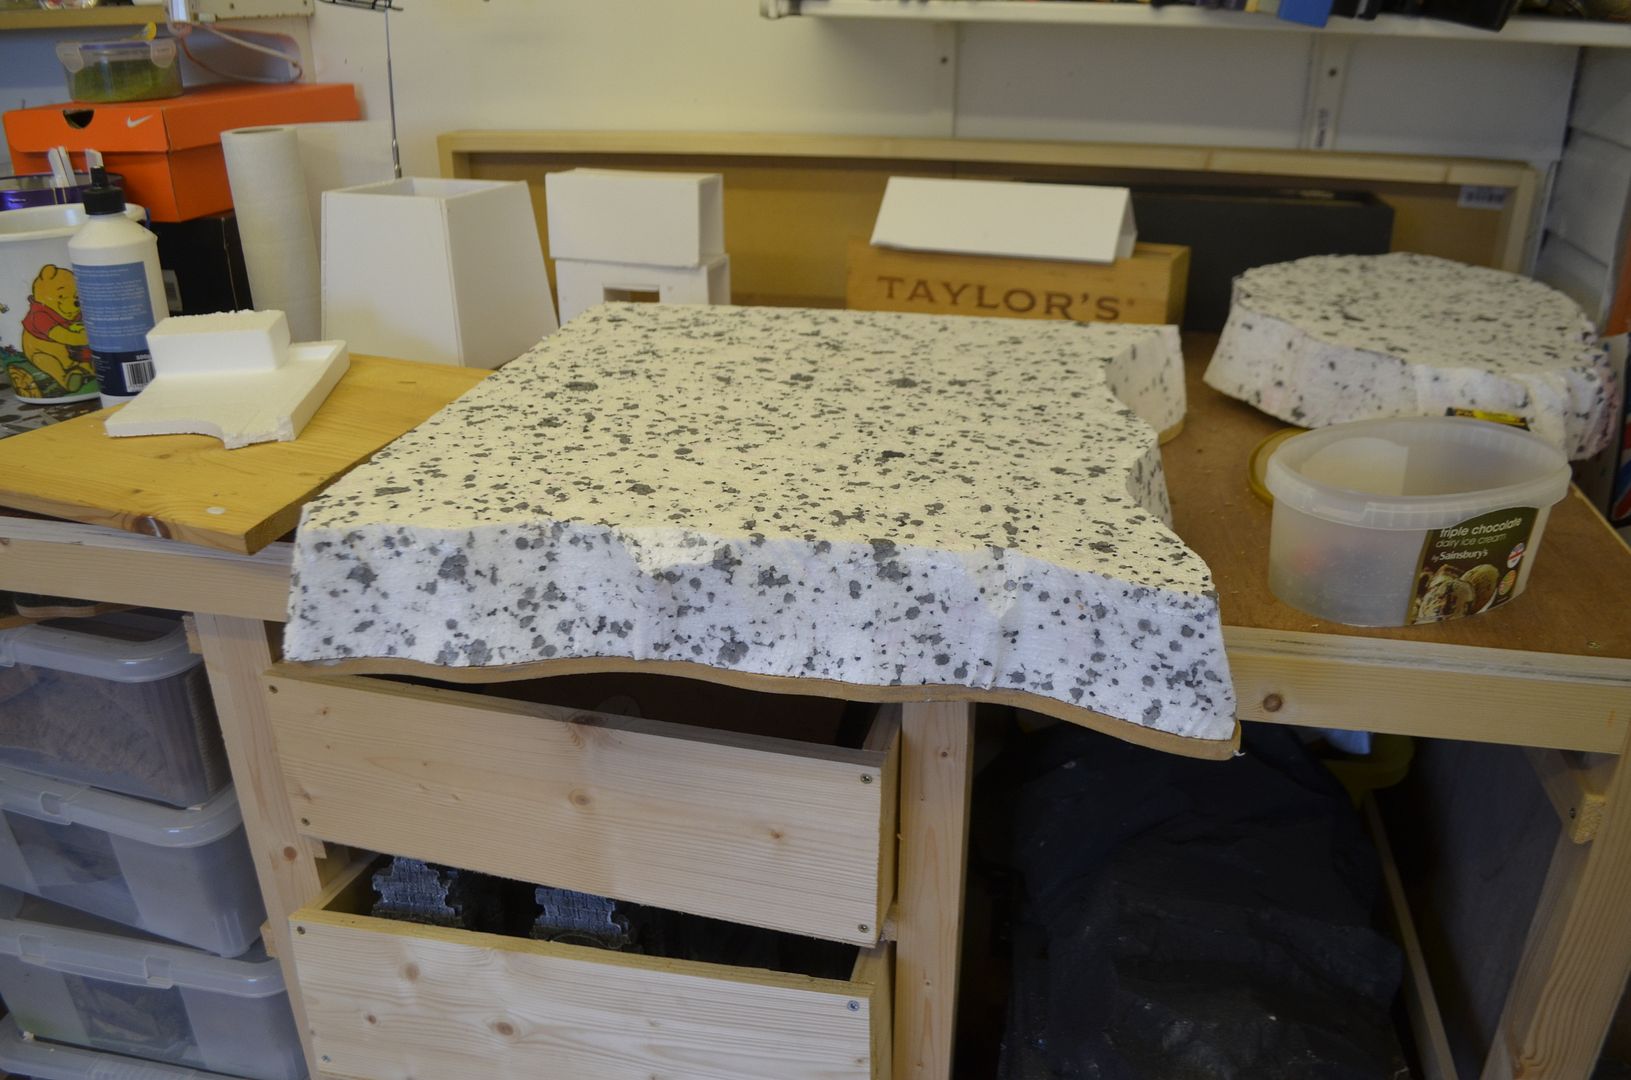
A square of Jablite was then pressed onto the board (through the skewers) and glued in place with more white glue. The whole block was then left to dry for 24 hours.
Once dry I took my trusty foam cutter and cut the edges of the cliffs to match the board underneath. Sculpting of the cliffs proper will then come later.
A rough plan of the fort was then drawn onto the top of the jablite board.
At this point in time I started the fort itself. The basic construction (from 5mm foamcore) consists of a square tower and walls. The walls and towers will be topped with battlements and embrasures. Using a really sharp Stanley knife and a steel rule the basics of the fort took a night to construct.

The tower stands around 15cm in height, the walls 10cm in height. The tower itself gently slope inwards to the top.
Once the walls were glued I allowed the whole thing to dry for another 24 hours.
The ramparts themselves would have embrasures for cannons. These again were cut from foamcore and glued in place. This took the best part of an evening to cut and glue all the pieces.

Next up I needed to make sure the fort sat flush on the jablite base. You can see in the pictures that the top of the cliff is no longer flat but stepped. The walls themselves will fit into these steps giving the image that the fort follows the contours of the high ground. Again the foam cutter helped to cut out these contours.

With walls sitting flush I started to fill all of the gaps and edges of the fort with fine filler. To keep on time with this project I have decided that the walls will be smooth plaster rather than stone. If time permits I may come back to ‘clad’ the fort in stone.

With the basic construction of the fort now finished it can be glued down onto the jablite base. To help ‘fix’ the walls to the base I drove thin cocktail sticks into the underside of the foam core walls and then pushed the unit down into the jablite.


The remainder of the cliffs were then sculpted into the fort.

Before I turned my attention to the finer details of the fort the whole thing was given a coat of black acrylic paint

A very nice begining, looking for more!
ReplyDeletePhil.
Great start. Can't wait to see more.
ReplyDeleteExcellent start. Really want to see this progress. Keep up the good work
ReplyDeleteWizard, looking forward to seeing the finished article
ReplyDelete-- Allan
Well that's just cool!
ReplyDeleteChristopher
You are a terrain making machine Eric! Excellent work sir!!
ReplyDeleteTop work as usual, looking forward to playing in this.
ReplyDelete