Its been a
few months since the Shed saw any action from the Anglo Zulu war so it was
about time that the figures came out to play. The scenario we opted for is
listed in the Warlord publication Zulu as the Battle of Nyezane – fought on the
same day as the Battle of Isandlwhana.
The action
centred on the British Coastal Column, under the command of Colonel Pearson,
whose orders were to advance into the heart of Zulu territory. To do so they
had to cross the river Nyezane. A single ford was available for their wagons
and supplies. The book details this game as an encounter (more of a what if
rather than a historic engagement) with 6000 allied forces up against twice as
many Zulus. The premise was simple the British forces had to get at least 50%
of their forces over the river to win the game – the Zulus had to inflict 50%+
casualties on the invaders.
 |
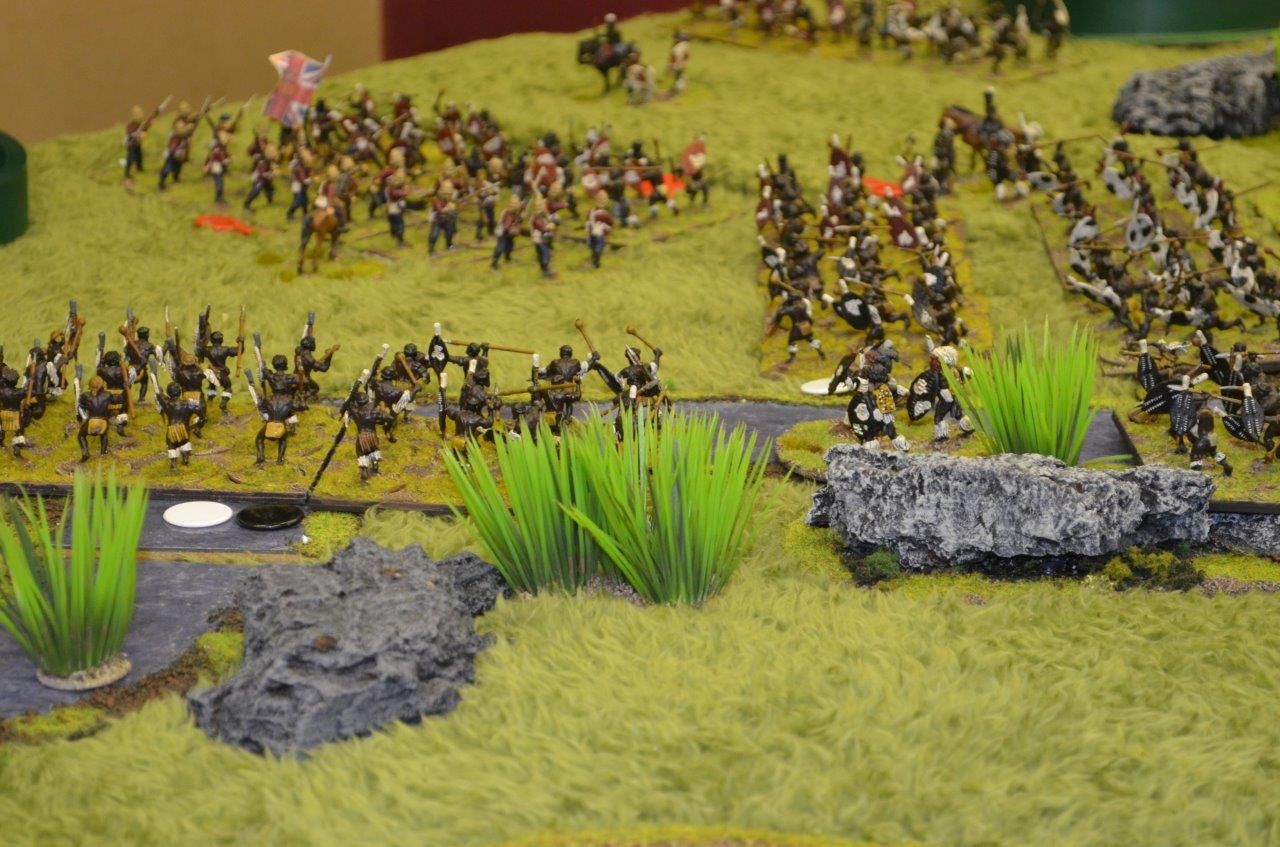
| The Battlefield running east west |
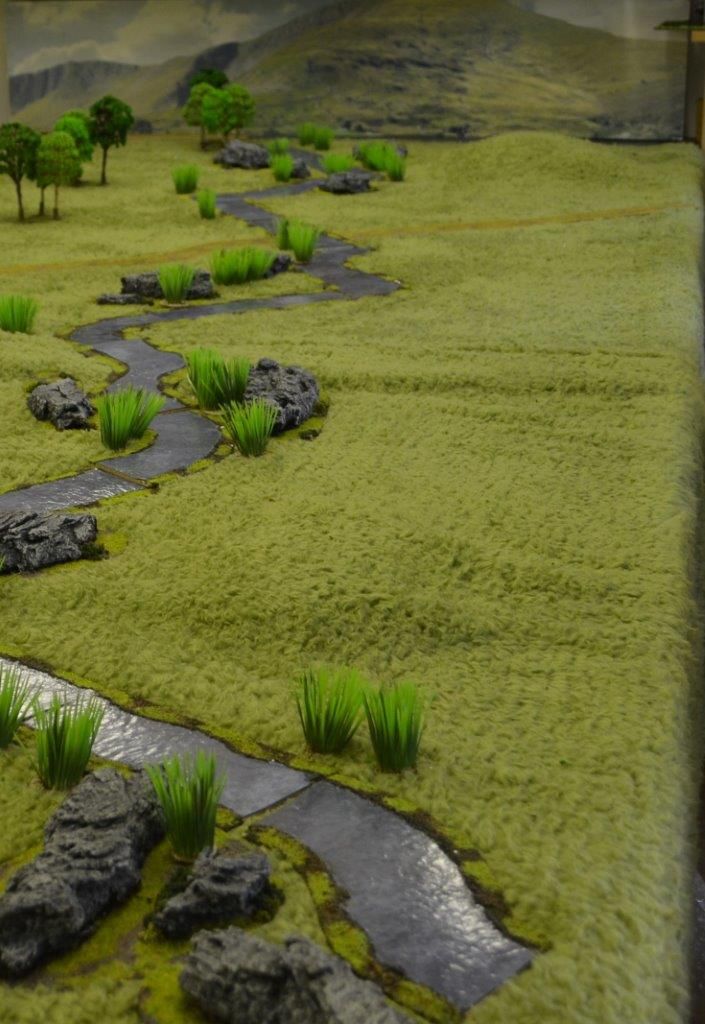
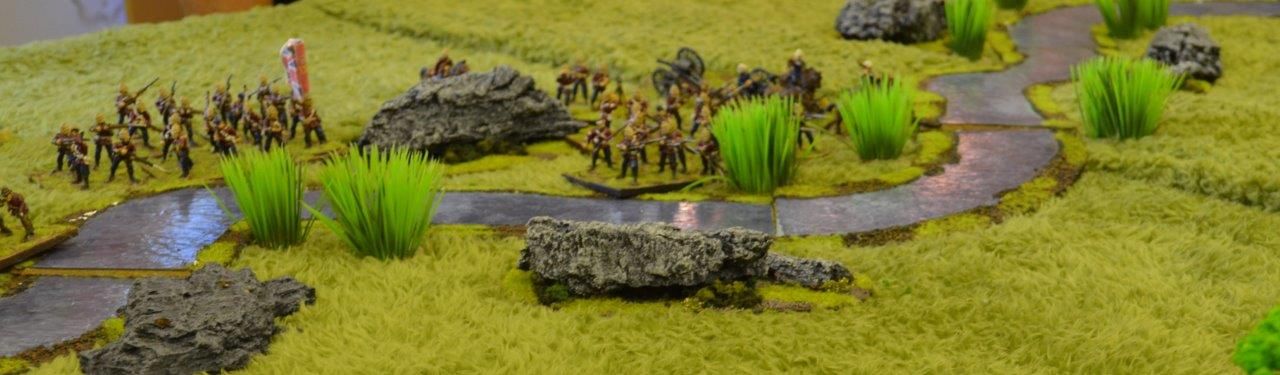
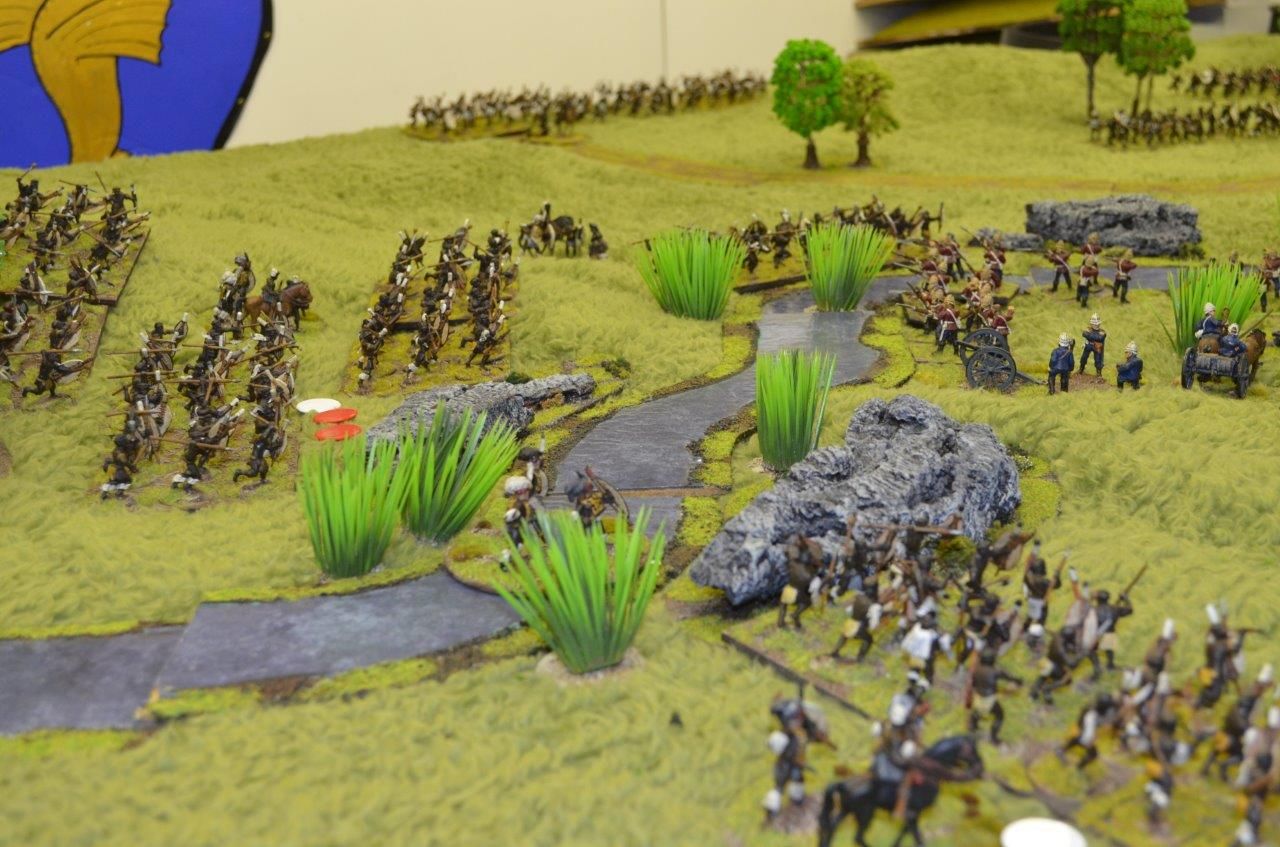
The battlefield was set up across the whole table – once again my Dunelm throws came into play with the desert hills placed underneath to create a rolling terrain. A river ran diagonally across the board running south west to North east. This was bisected by one ford along the track that ran North South.
We agreed that the banks of the river would count as soft cover. Any unit shooting across the river would treat their targets as if in soft cover. This would certainly be to the Zulus advantage if the British never crossed the river.
The river itself was fordable to all units bar artillery with a six inch movement penalty. All ranges and movements were reduced by 1/3rd according to those listed in the BP rulebook
Finally we agreed that there would be no break point in the game – every unit on both sides would continue fighting until driven from the table, routed or shaken beyond the point they could recover.
The British would enter from the South, the Zulus from the North and Western edges of the table.
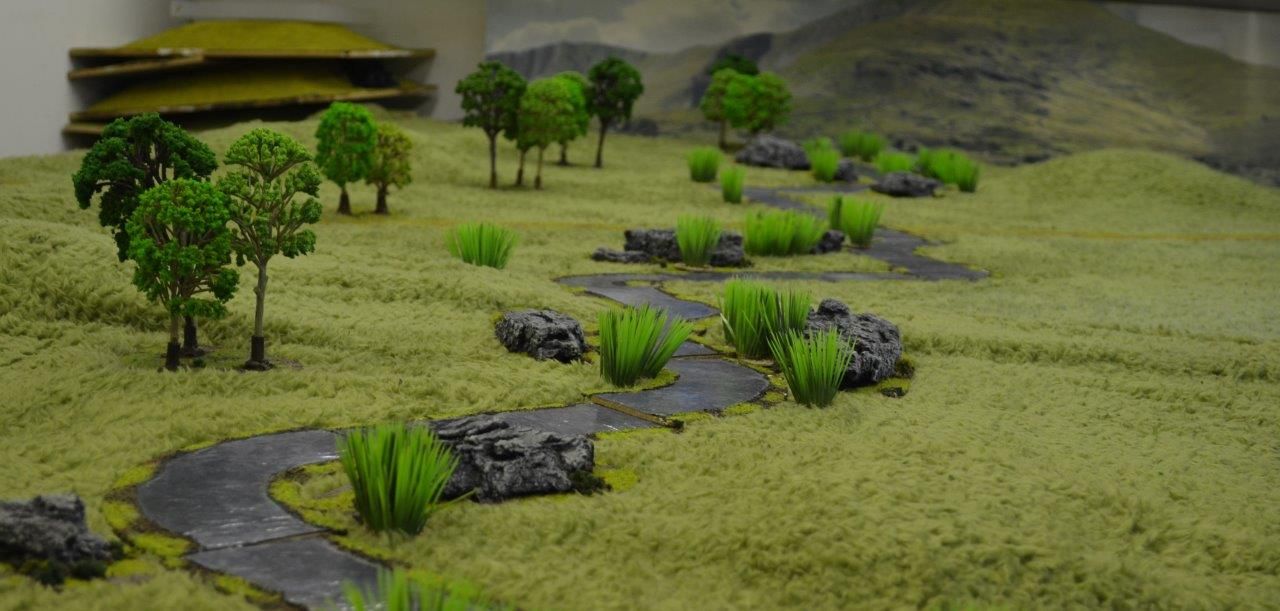 |
| Another shot - you can sdee the ground is uneven |
In terms of figure count the Zulus had about twice as many figures (approx. half of my AZW collection)
Four of us played the game splitting the forces equally on both sides – Mark and I would control the Zulus and Alastair and Anthony the British – Anthony was a first time visitor to the shed and I think he had some fun.
The scenario guide laid out both forces but having played the Black Powder rules a few times I decided to give the Zulus two more warbands than they were entitled to. We had some debate at the end of the game as to whether this addition created an imbalance or not. Personally I think the Jury is still out.
The British Forces were as follows
First Brigade
2 British Infantry Units (full strength)
1 7lb artillery piece
I unit of Royal engineers (small)
Second Brigade
2 units of Breech Loading armed NNC (I had to use my Boers)
1 unit of mounted NNC (small)
1 unit of Pioneers (small)
Third Brigade
1 naval Gatling Gun
1 7lb artillery piece
2 units of mounted infantry
A total of 12 units plus officers (ratings 9+) – approx. 140 figures
The Zulus had a total of 12 warbands (6 regiments) plus commanders (ratings 8+) – approx 288 figures
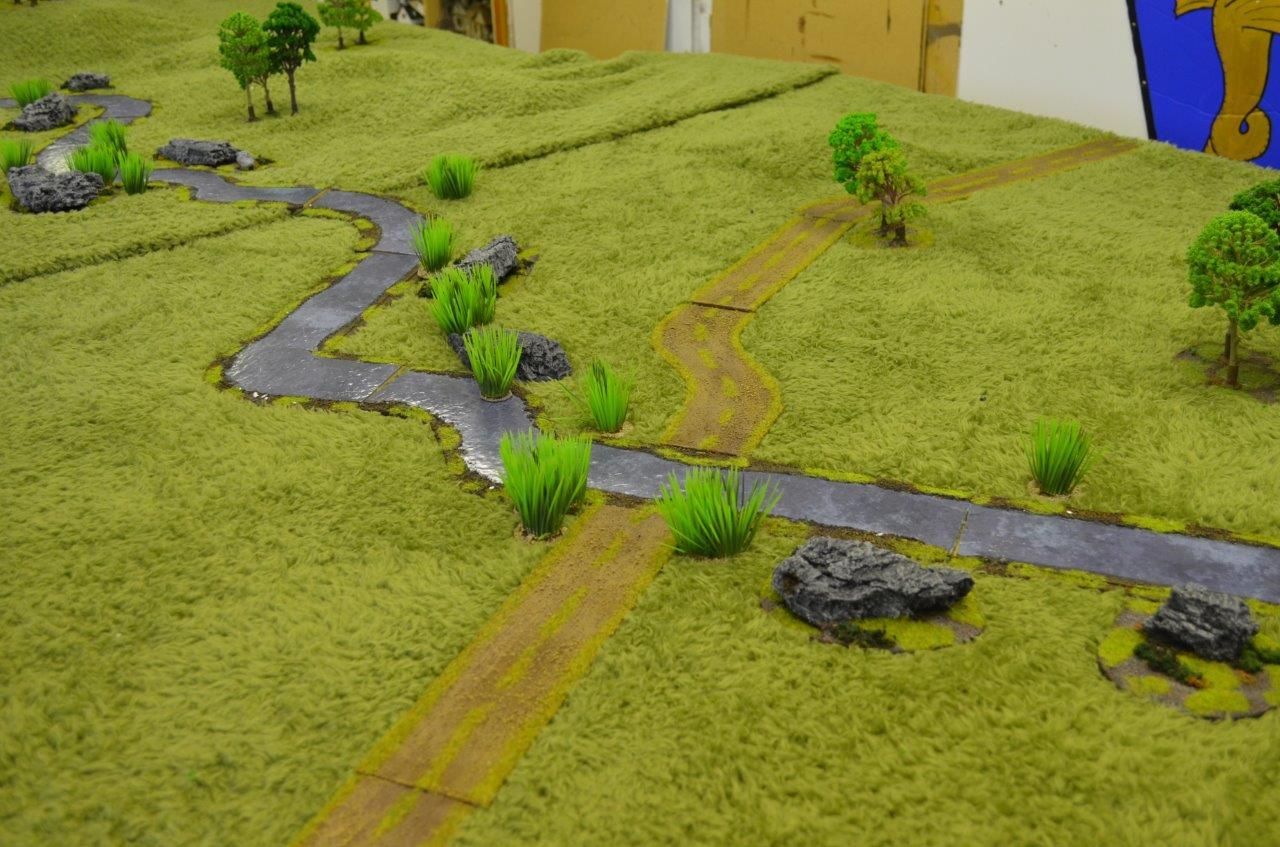 |
| The Ford |
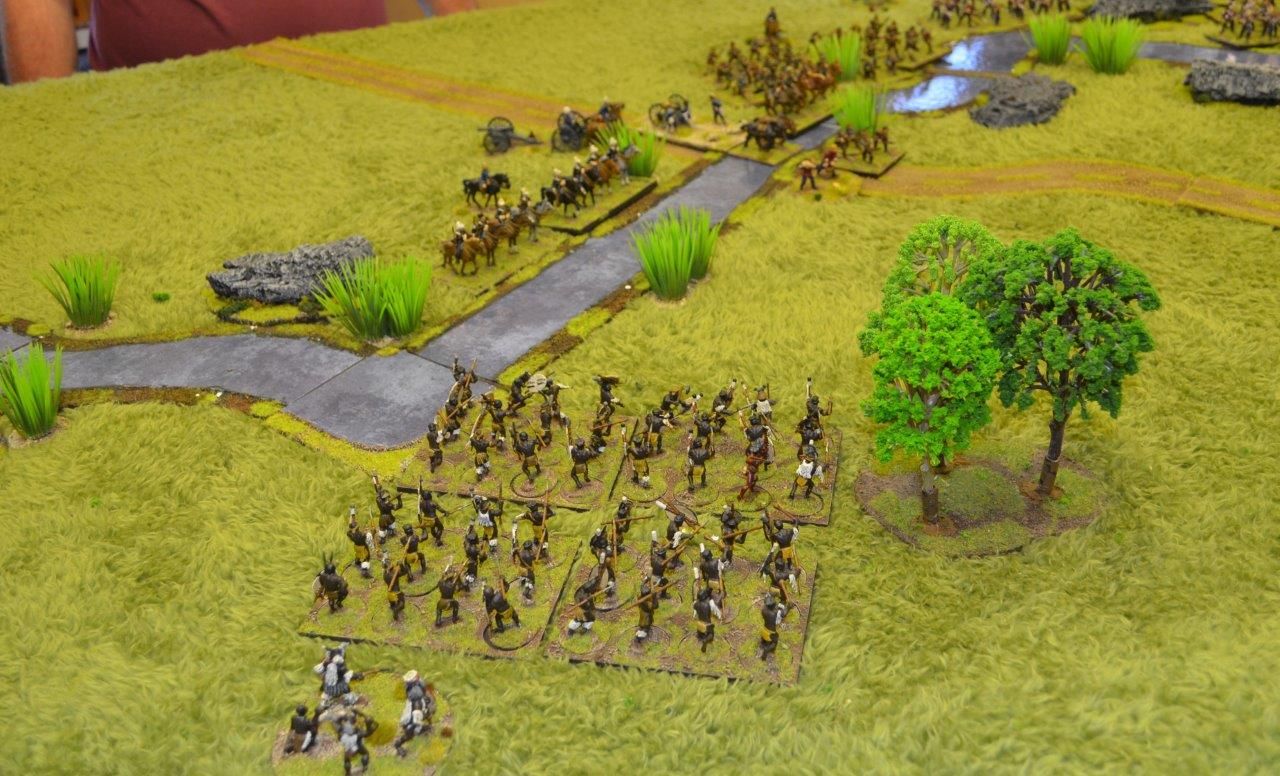
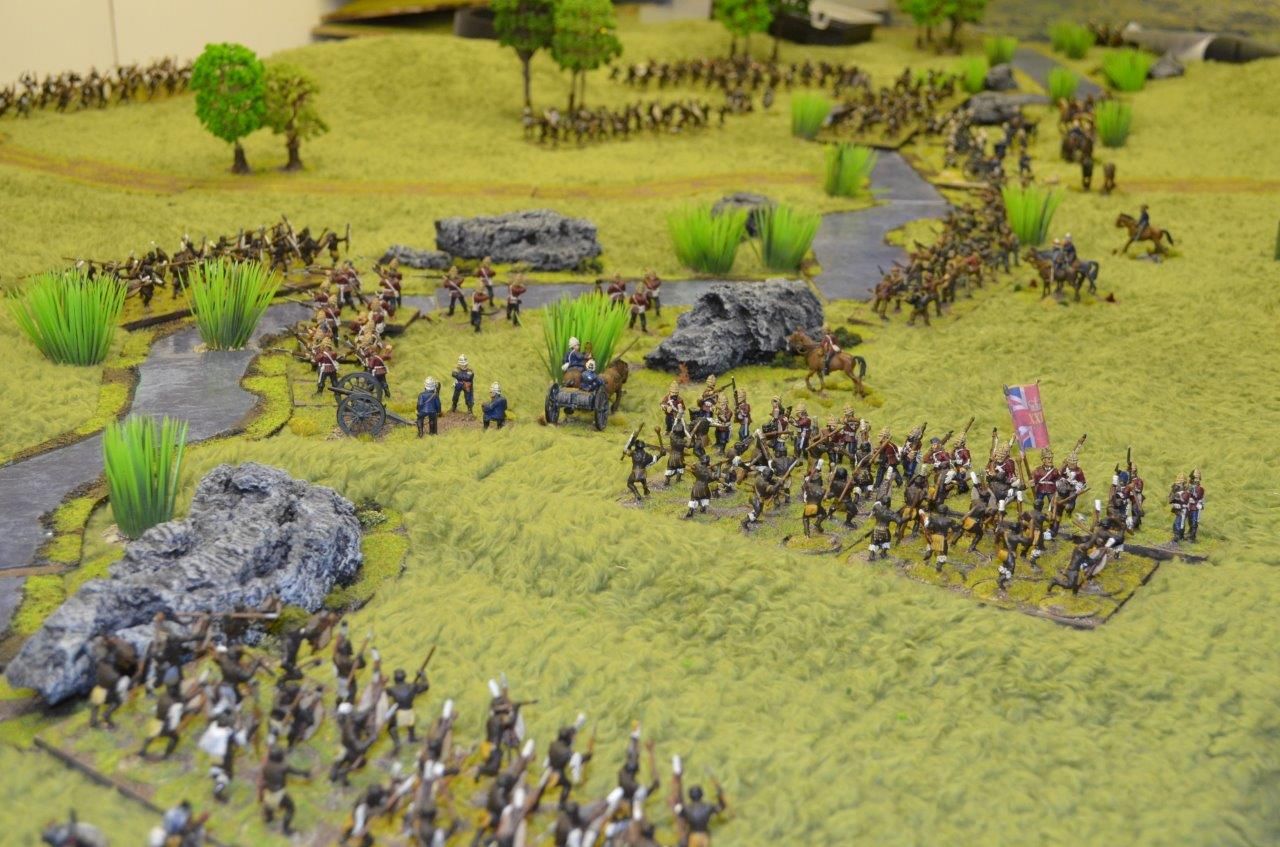
The game started with all the units off the table. The British could field up to one third of their units on the North bank of the river (the vanguard) with the remainder entering from the back edge near the track. Our brave British commanders decided that none of the troops would be foolhardy and cross the river in advance fearing that they might be cut off too soon.
The British started the game and with their 9+ commanders swiftly marched up to the riverbank.
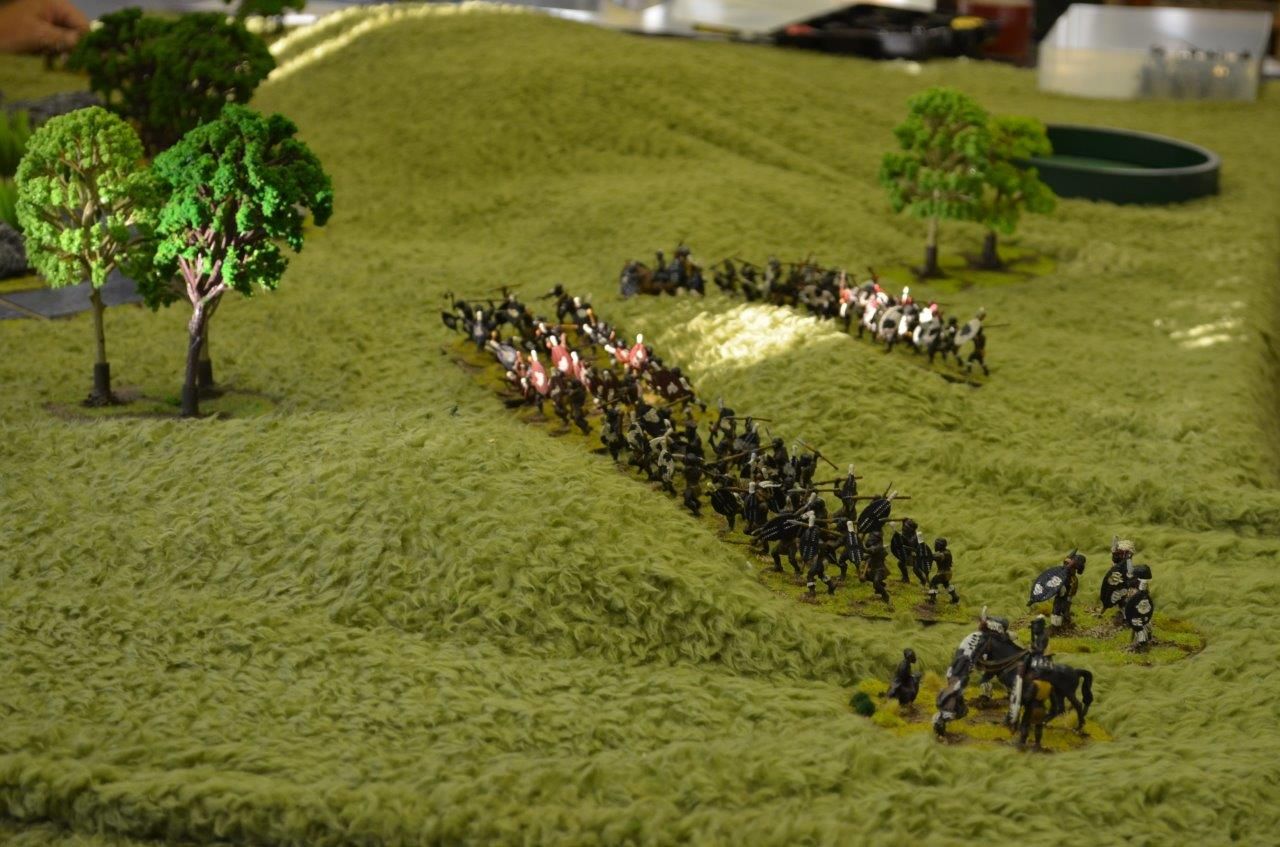
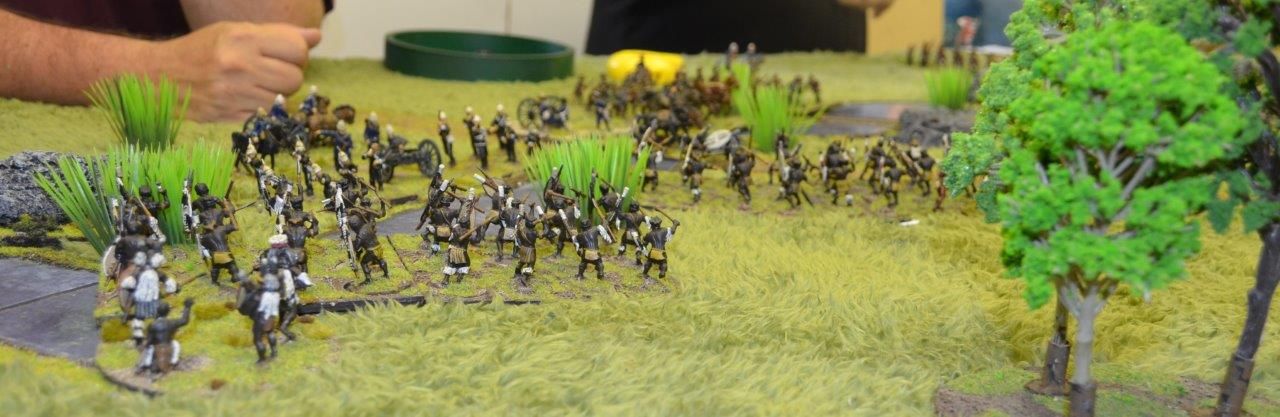
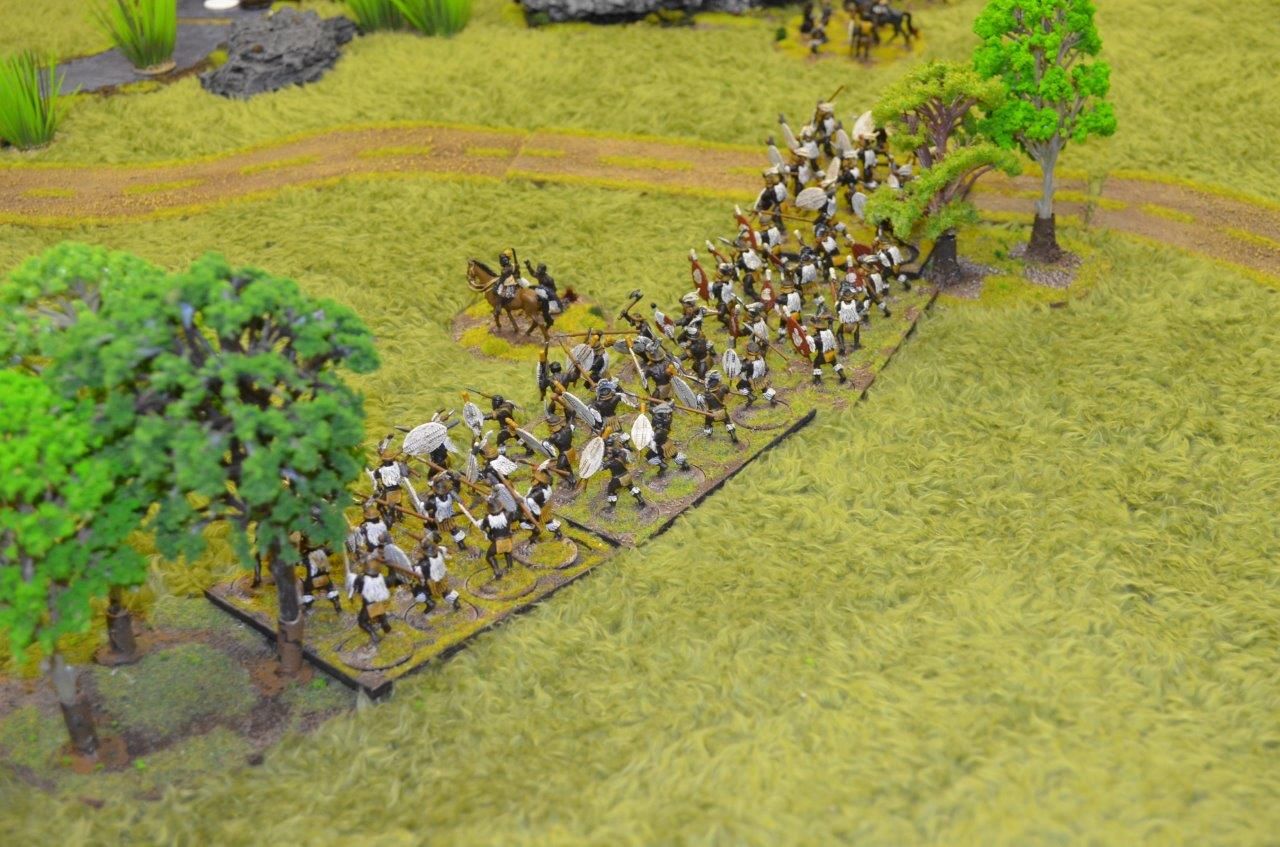
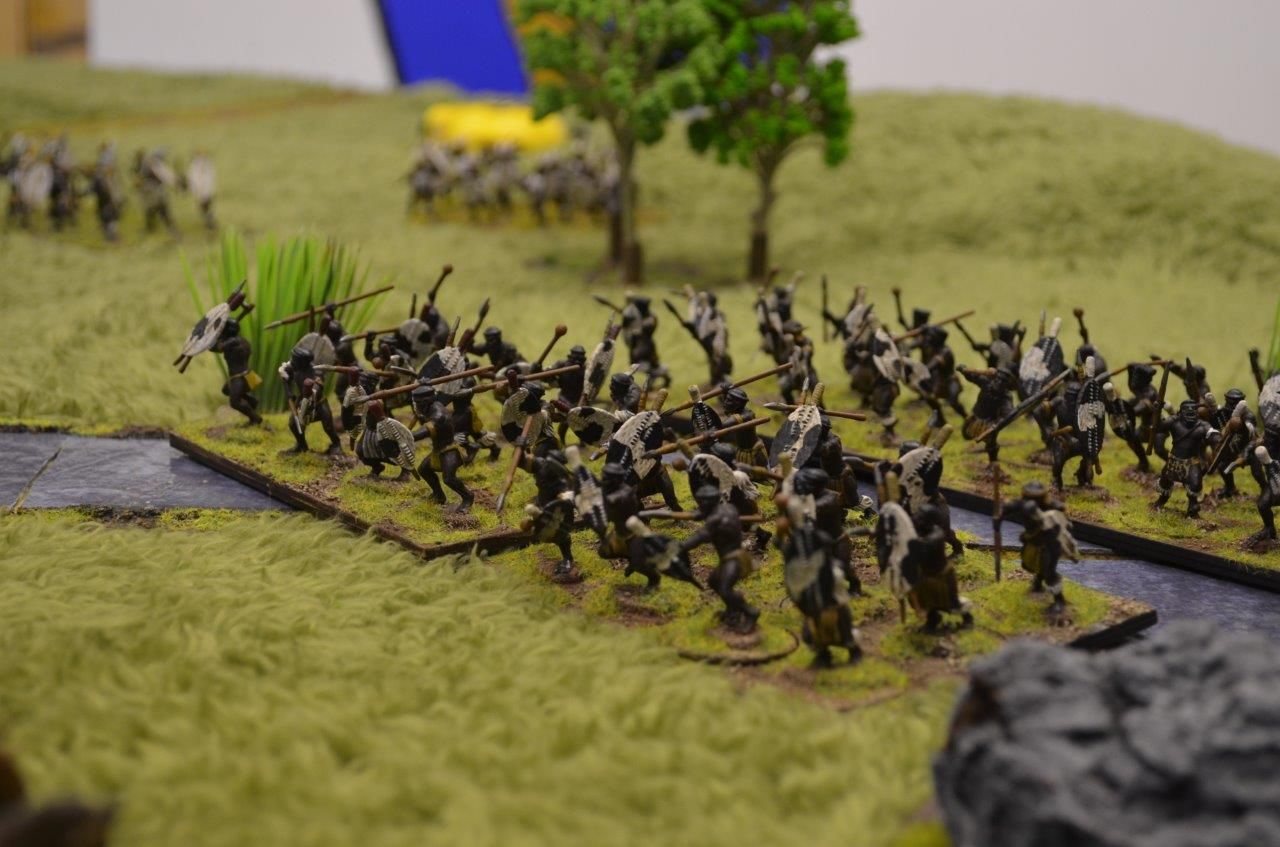
It was time for the Impis to move forward. Each Impi could only enter on an odd number rolled on a d6, meaning the Zulus could only feed in troops as the dice were rolled. Unsurprisingly the wings of the Zulu army appeared first. Two warbands entered from the West and the North eastern edge.
Rather alarmingly for the Brits these units both thundered forward and could be threatening the allied forces the following turn.
 |
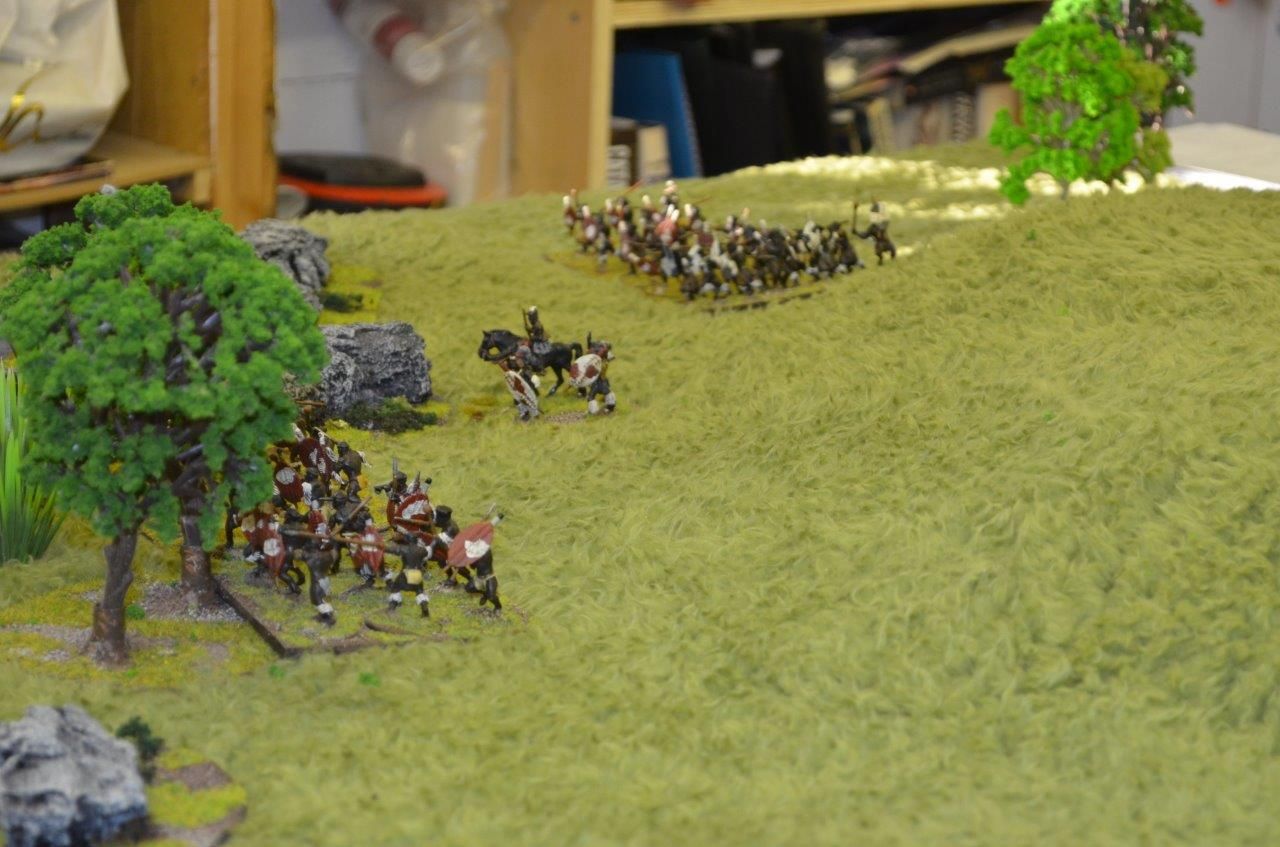
| The Zulu Left Wing almost engage |
 |
| Defending the Drift |
 |
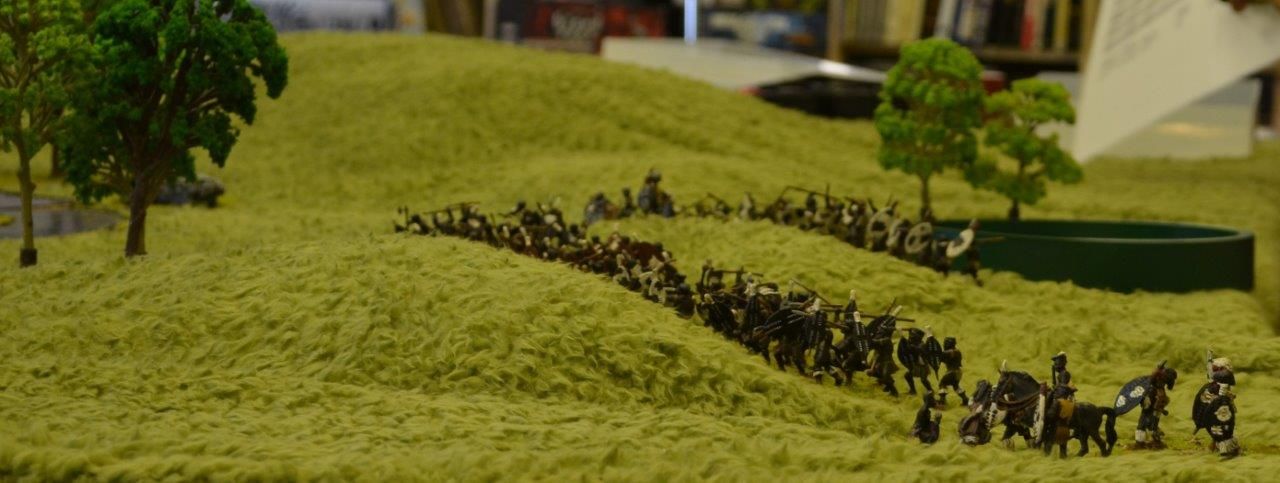
| More Zulus march over the wills from the west in the dawn light |
 |
| The right wing is now fully deployed and sweeping forward |
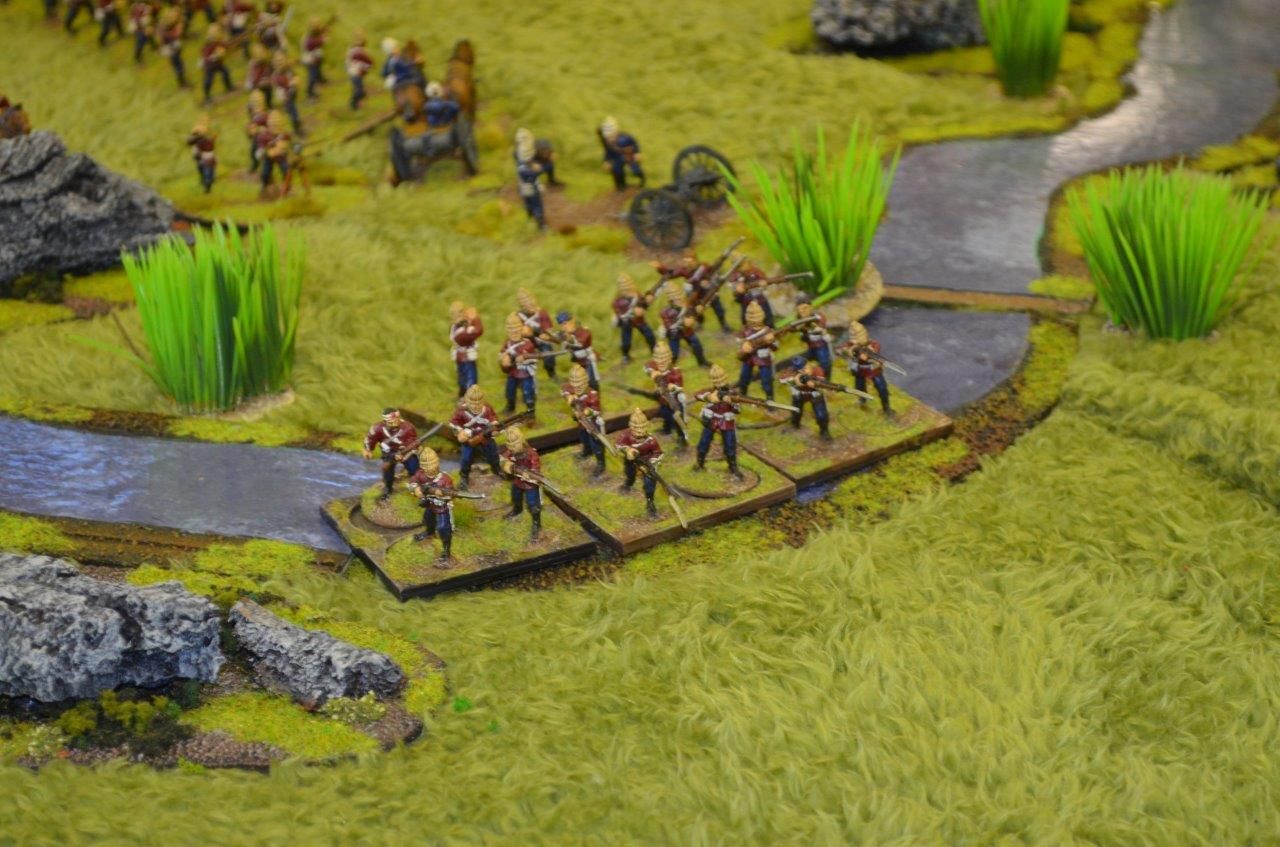 |
| The 33rd get ready to receive - a rousing song of Men of Harlech rings around the shed (yes we were playing the Zulu soundtrack) |
 |
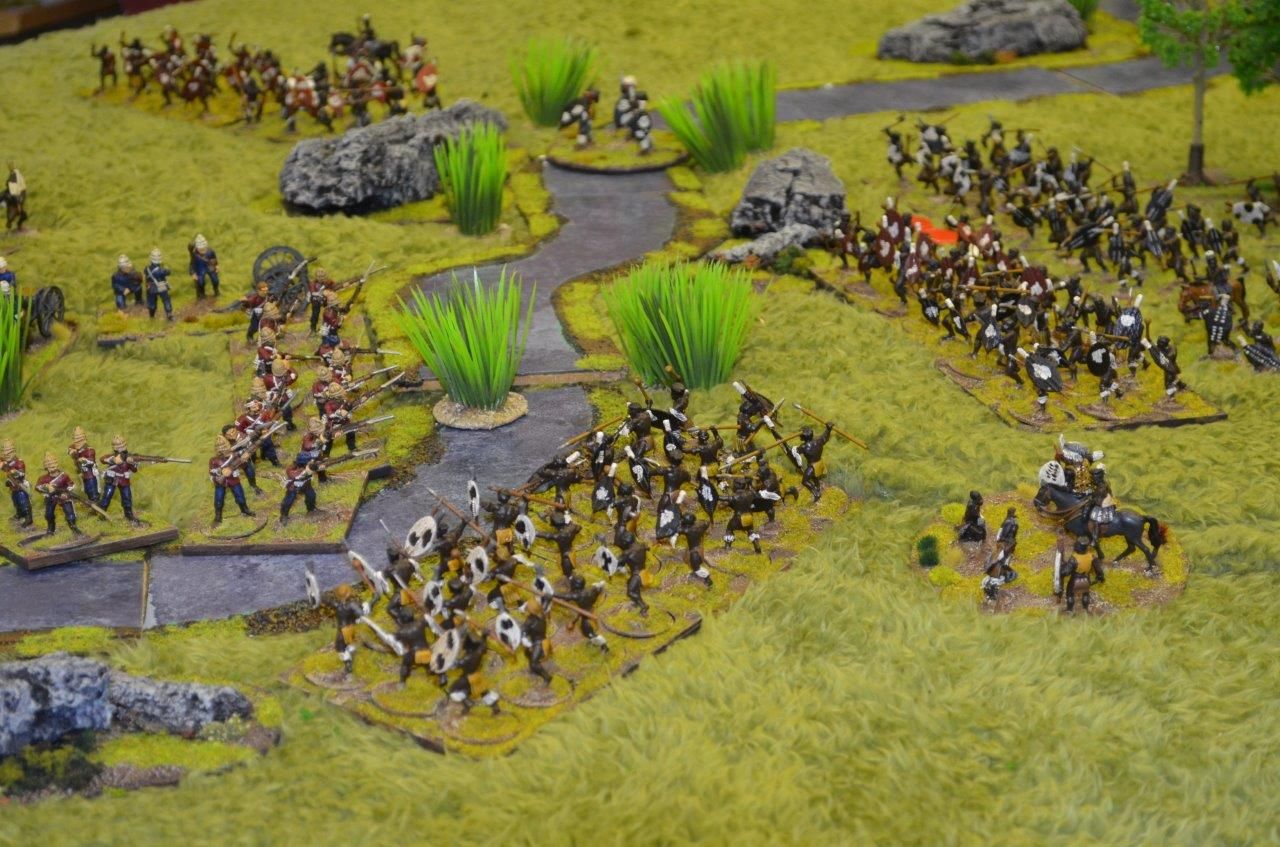
| The Zulu left wing is now fully engaged along the river - taking some serious casualties |
 |
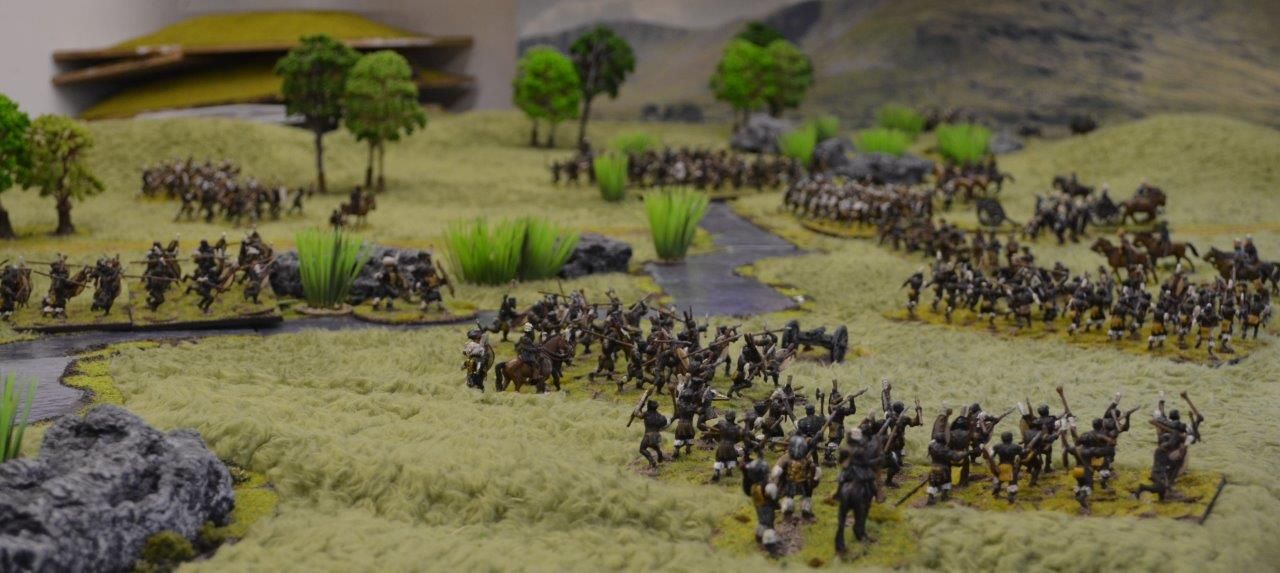
| Fighting is now extensive across both Allied wings with more Zulus pouring forward |
 |
| Just when the Allies thought it couldn't get worse the centre loins advances into sight |
 |
| The British are just holding on... |
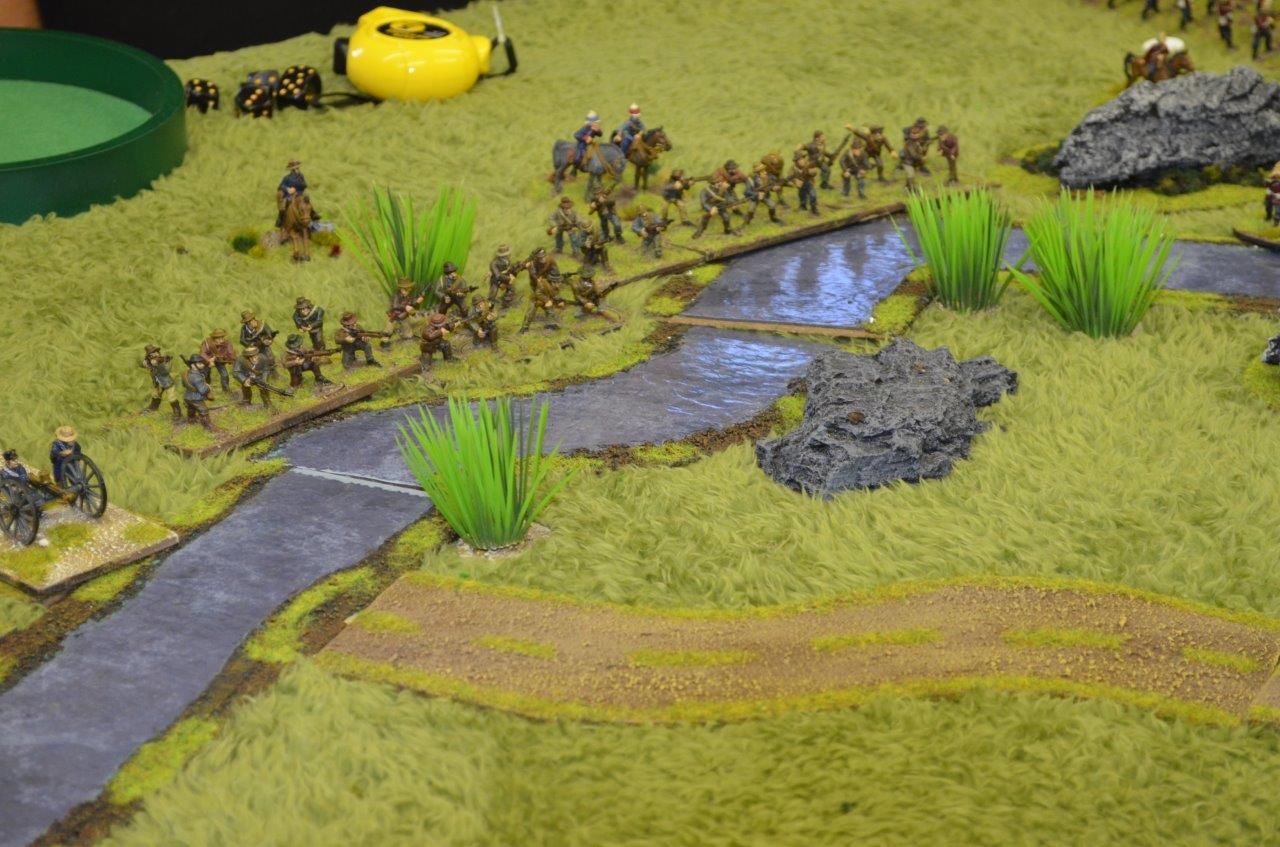 |
| Not surprisingly the NNC (cunningly disguised as Boers) have no targets - the centre is yet to reach them |
 |
| As the Zulus pour forward their ranks start to thin out but they are weariong down the redcoats |
 |
| Soon a new attack is unleashed on the British Infantry - their left flank buckles and a regiment has fallen This opens the door for the natives |
 |
| The end of the 33rd |
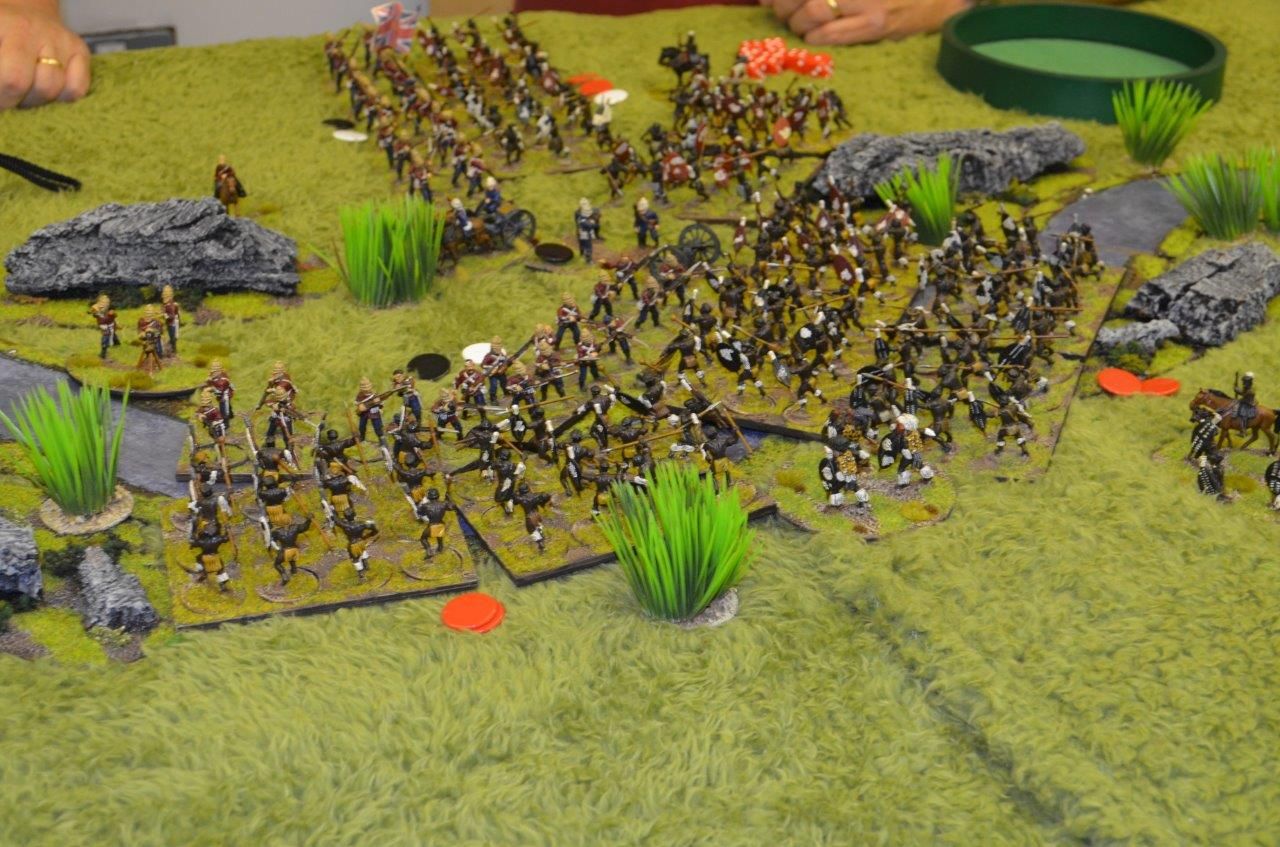 |
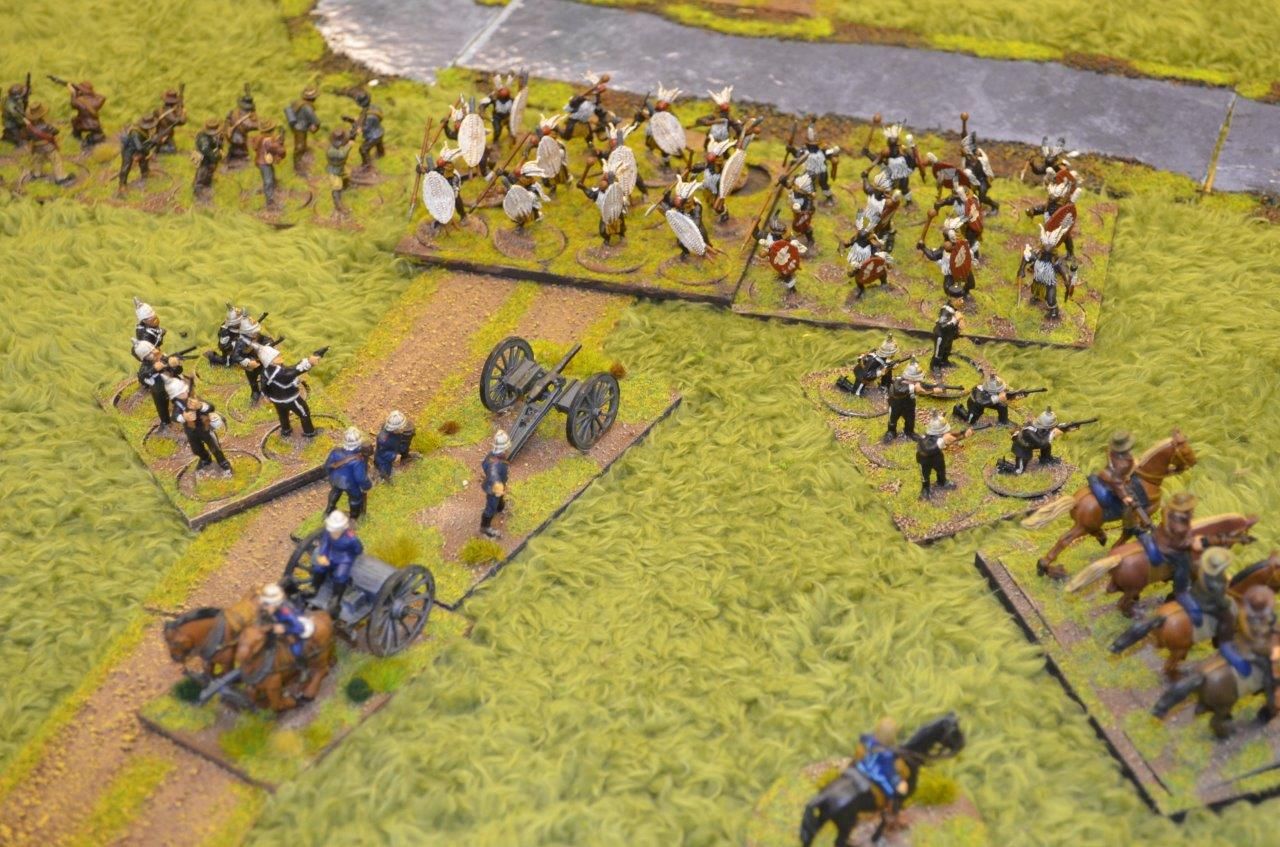
| Quite quickly the Zulus gain the upper ground and sweep across the this red line |
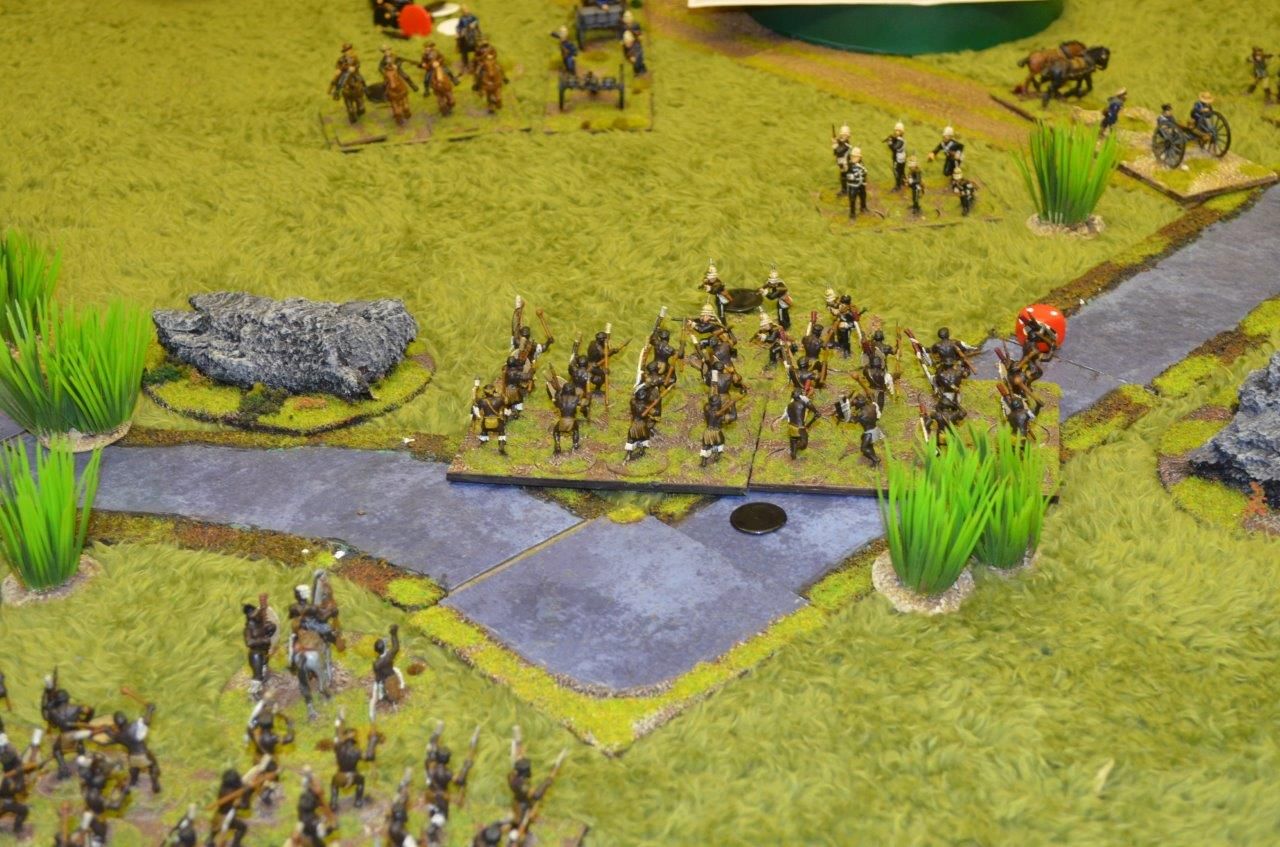 |
| Even the left flank of the Brits are now in trouble - their artillery being forced to retire |

 |
| The last british regiment is about to get swallowed whole |
 |
| Eventually the centre moves |
 |
| and advances into the heat of battle..actually it was all but over at this point |
 |
| The victorious Zulus swarm forward |


 |
| With a cry of Usuthu the centre crashes into the remnants of the mounted infantry winning the game |

 |
| There will be some celebrations tonight |
A most excellent game, fast furious and a rare win for the locals
More soon
A splendid layout and great AAR. Some pointed questions will be asked of HM Government in the House, I think!
ReplyDeleteThank yoy
DeleteVery nice looking game! I do love the look of the rolling hills. Putting hills under a mat creates a nice effect. 😀
ReplyDeleteCheers
DeleteExcellent report. Table and miniatures all look fab!
ReplyDeleteThank you
DeleteHi Giles, I did indeed have some fun! Your hospitality was awesome and your warehouse-I mean shed-was amazing. I almost felt I was a customer in a games shop! I had never played a BP colonial game before but because of your policy of 'playing at pace' the game still flowed very well and I certainly enjoyed myself. Many thanks, Anthony.
ReplyDeleteYou are more than welcome and come along again soon
DeleteThat looks very good, and a great report, poor Brits.
ReplyDeletethey weren't very happy at the end
DeleteGreat looking game! The throws work very nicely - your rivers and roads blend in well.
ReplyDeleteThe blend works better in real life - so very happy
DeleteAn excellent Batrep and fantastic photo's. The terrain looks excellent, most impressed.
ReplyDeleteCheers...
DeleteIt was an excellent game...shame the British volley fire wasn't up to scratch 🤣
ReplyDeleteFantastic looking game and entertaining Batrep.
ReplyDeleteA great report, cheers.
ReplyDeleteGreat looking game and one of my favorite Zulu encounters....nice to see the natives winning for once.
ReplyDeleteCheers
Stu
Your terrain is simply beautiful, the minis are darned good too!
ReplyDeleteGreat stuff! :-)
ReplyDeleteWe never use break points in black powder games. Even in big games, failed break tests are more than enough!
ReplyDelete