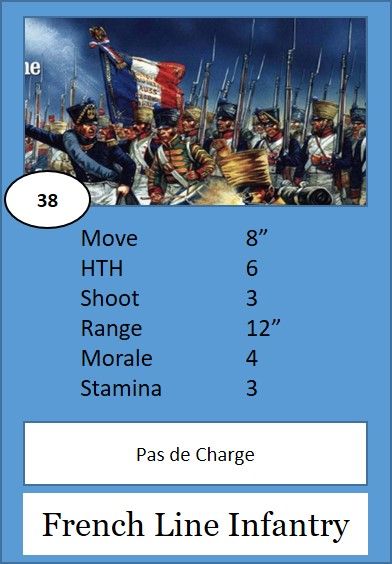
I quickly realised in the set up that I had actually put together a vast number of troops and to get everything out on the table in one go might be problematic. Over the past six months I have painted approximately 30 units per side (Infantry, Guns and Cavalry) and so realising that not all the units could be brought into play simultaneously I decided to make up some cards as per our Pike & Shotte games to support random army generation.
Every unit painted has a card (complete with rule statistics) and these are shuffled into two packs (one for each side). The players then agree how many units they can field and the number of brigades available. Our first game saw 18 units a side (about half of the available number) .
We decided to play Black Powder as the first game but we have plans to try General D'Armee
Mark took command of the French and John was in command of the Allied troops. As host, teamaker and general dogsbody I was given command of the Allied Left flank.
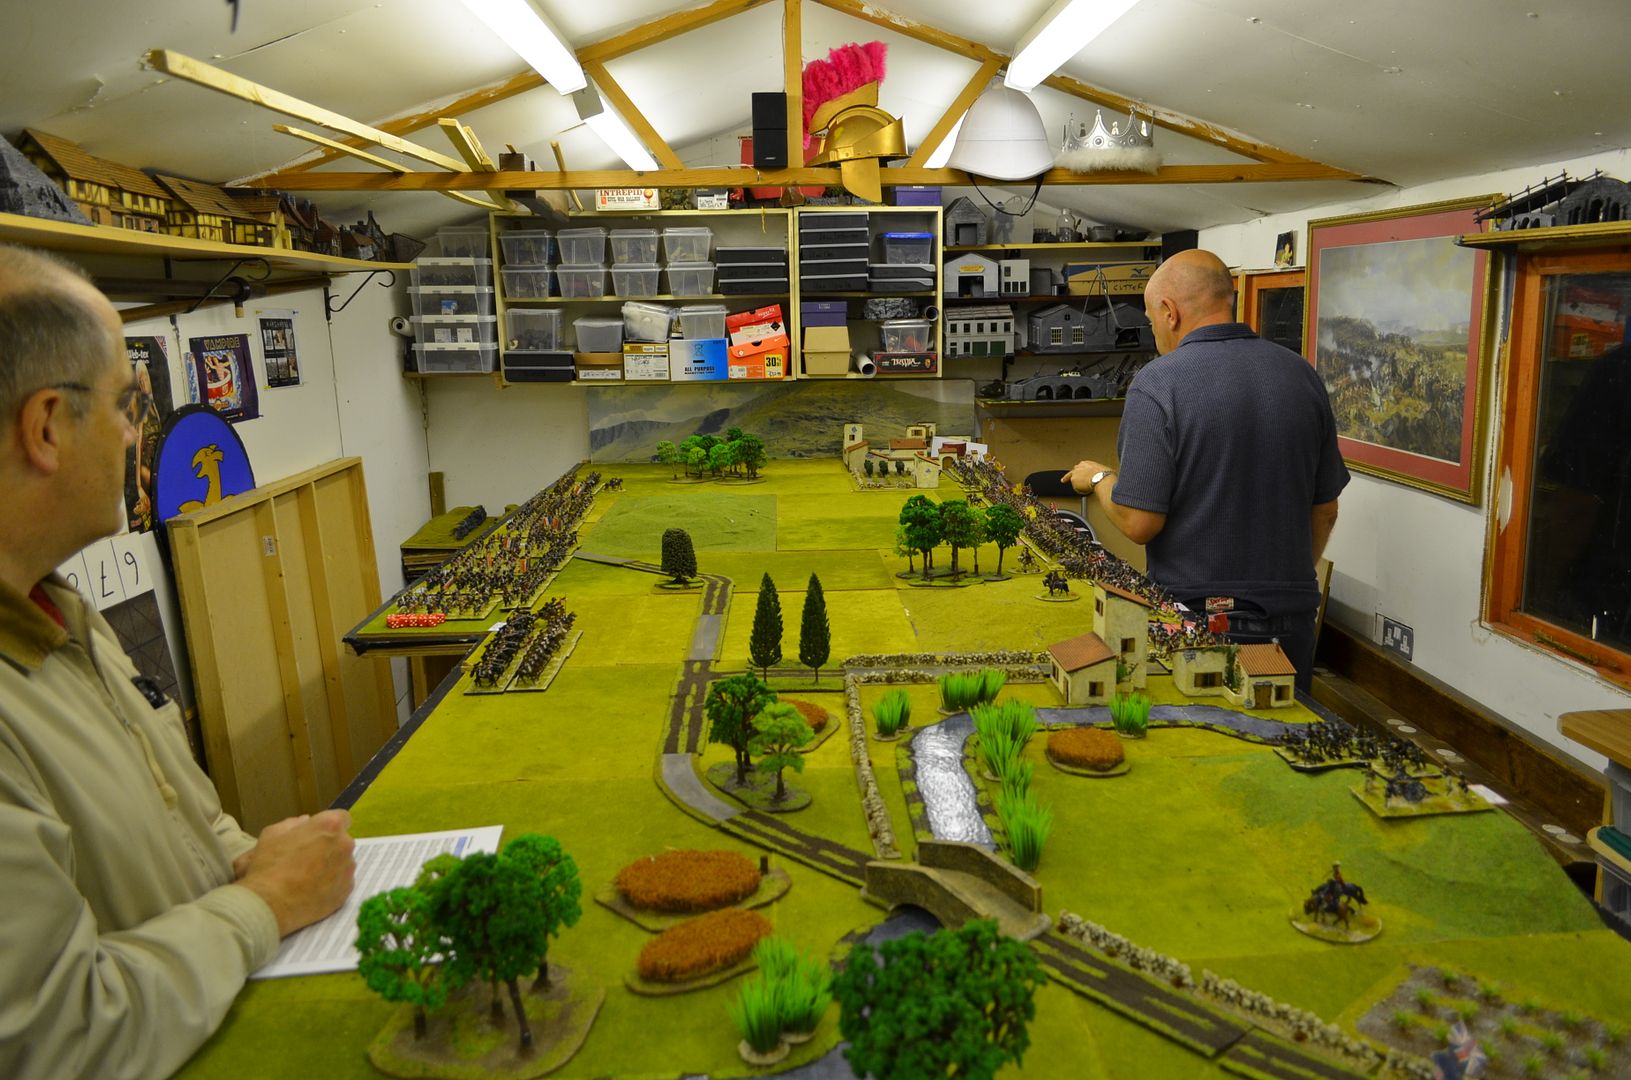
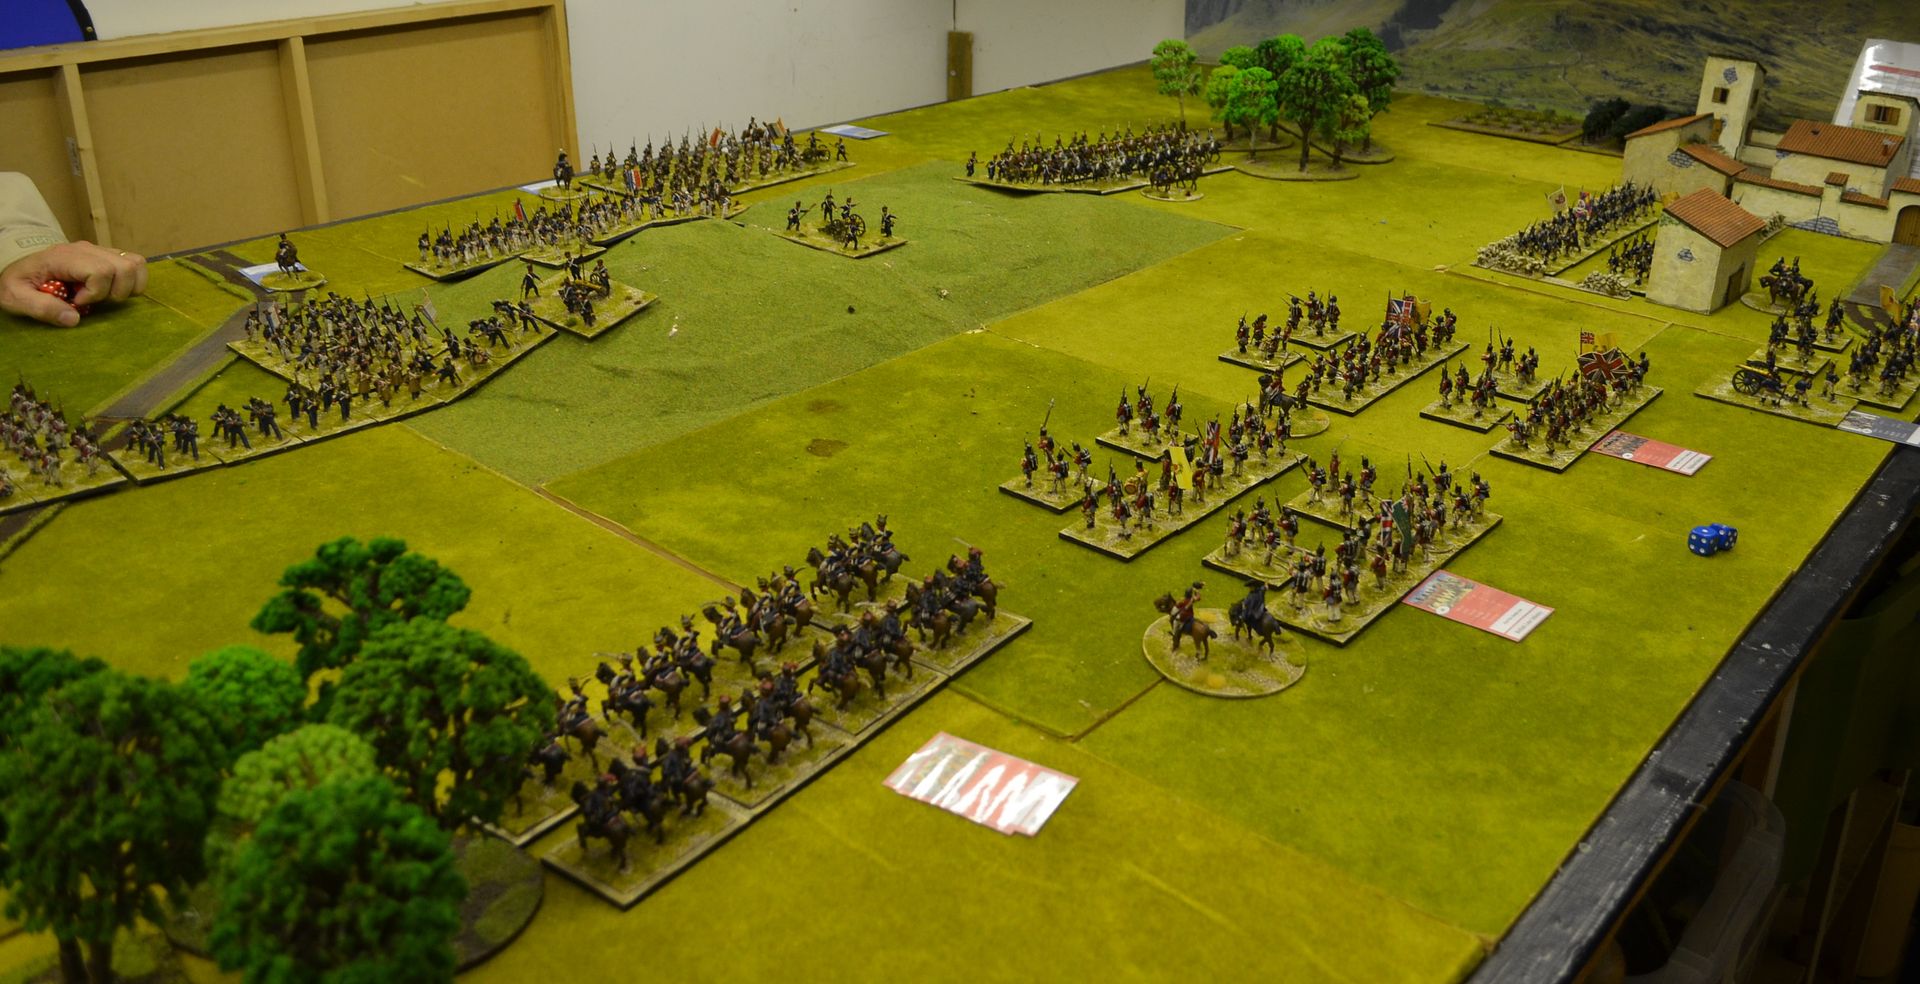
The battlefield was quite open with a few hills and a couple of small hamlets. The game was a straightforward engagement with victory going to the side that did not break first.
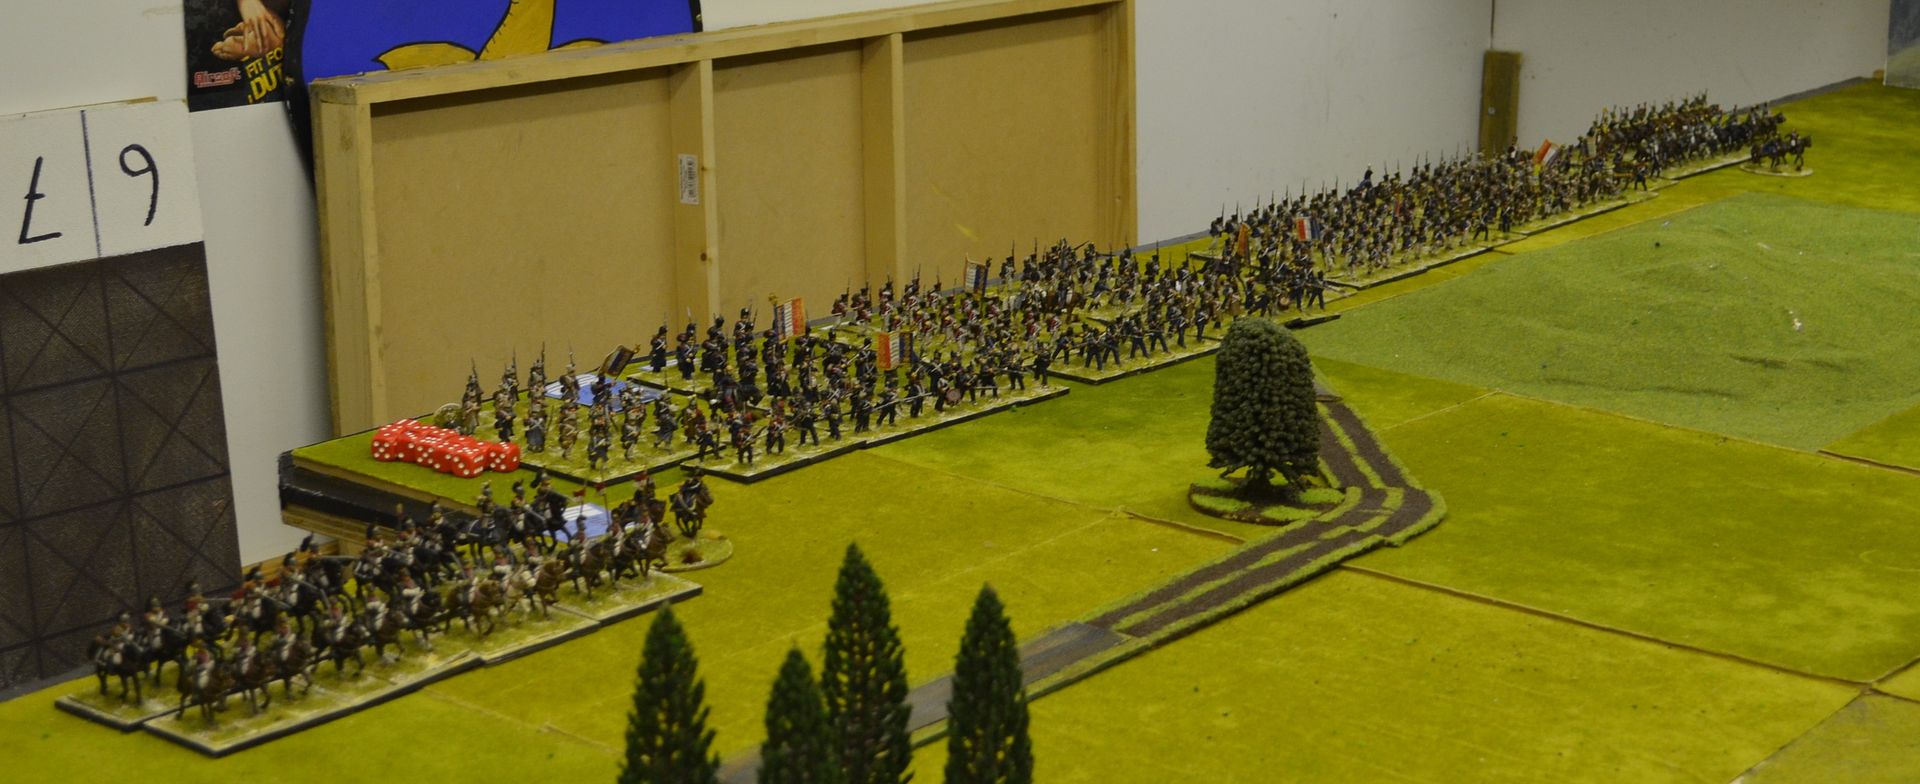
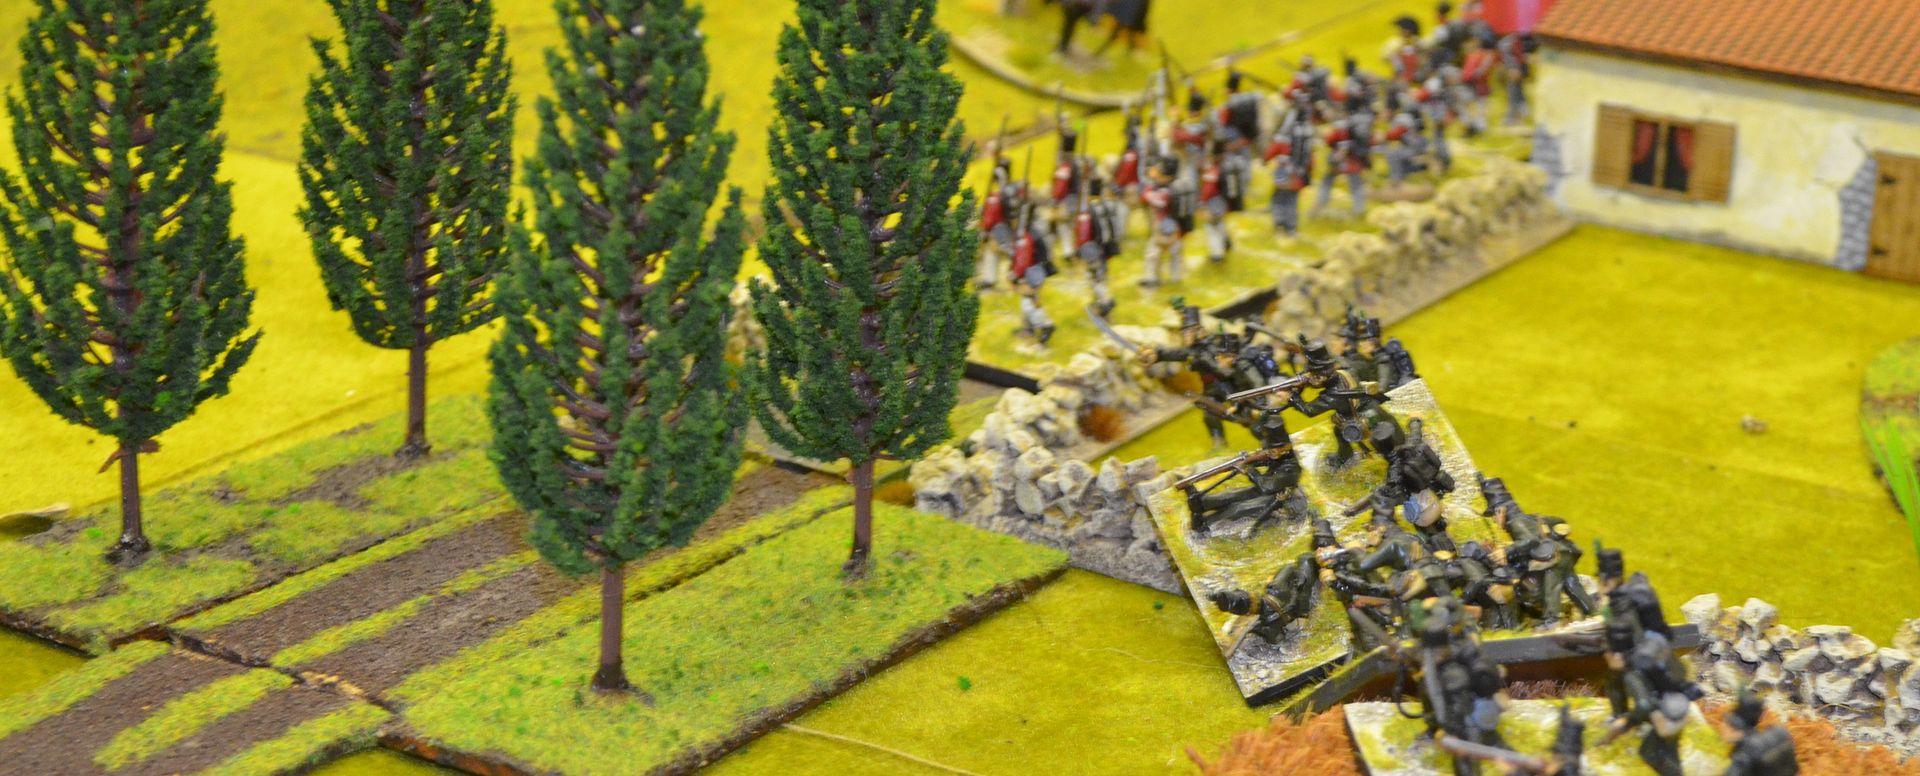
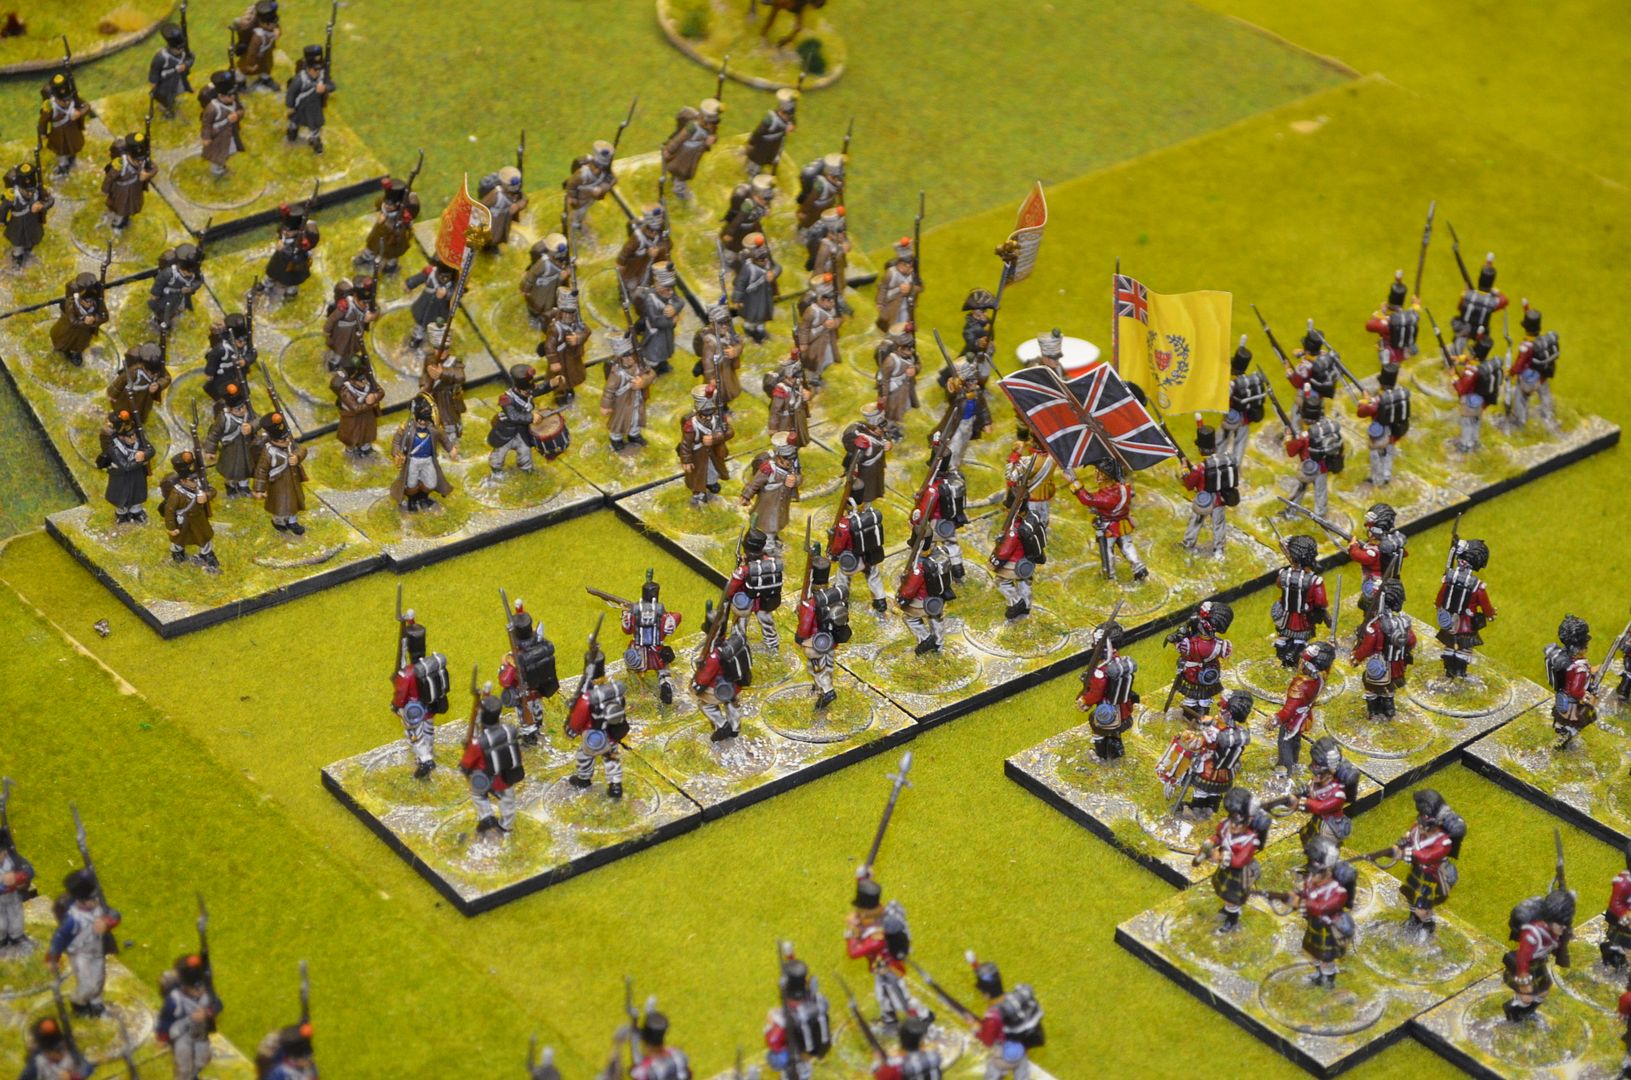
The French deployed en masse with their wings protected by cavalry whereas the British were more strung out along their base edge.
Rather than walk through the battle in detail I'll pick out a few key headlines...
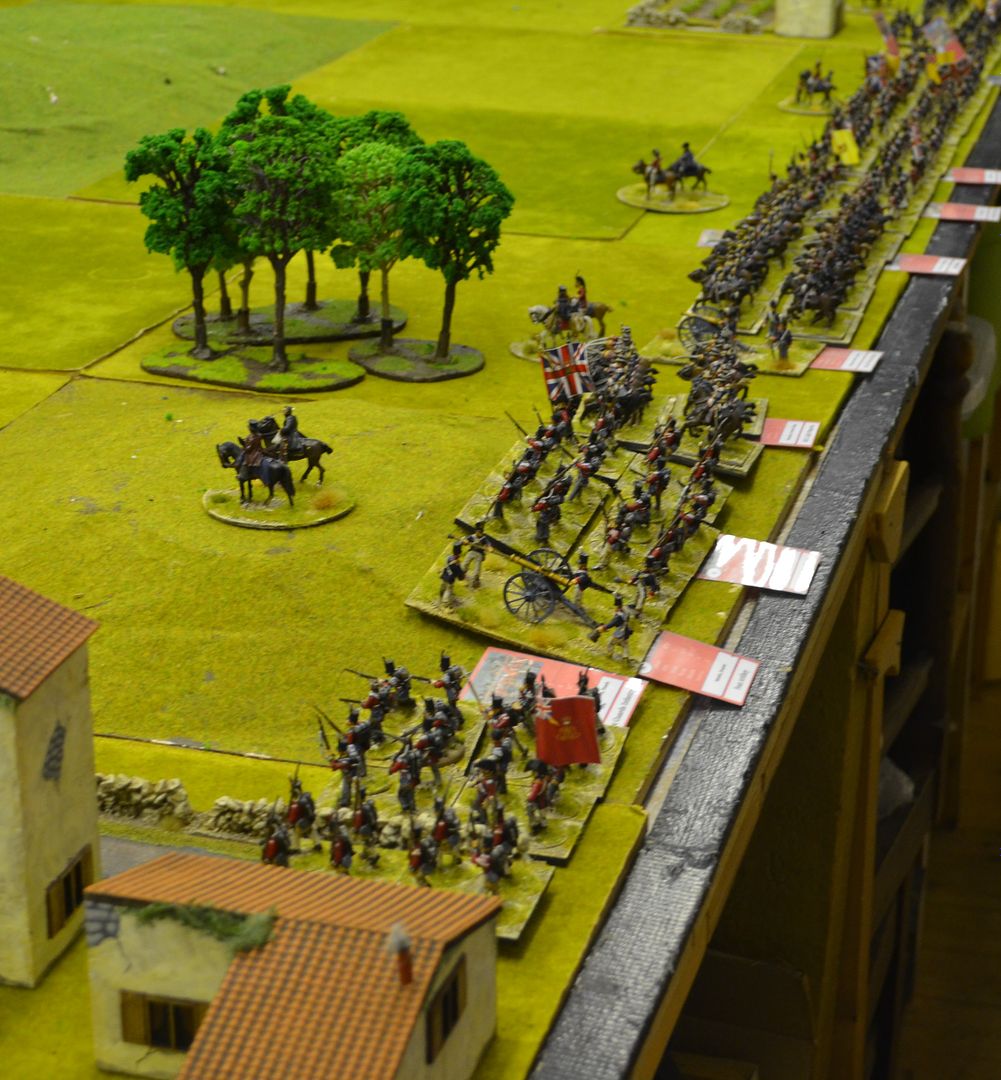
The first turn fell to the Allies and these had a torrid turn with virtually no orders taking place. The only units I do recall moving were the guns attached to the British Footguards and these positioned themselves on the hill along the base edge.
This lead to a small problem - they were in range of the French Lancers !! Mark charged and despite some fearsome closing fire both guns were overrun and the Lancers were able to withdraw
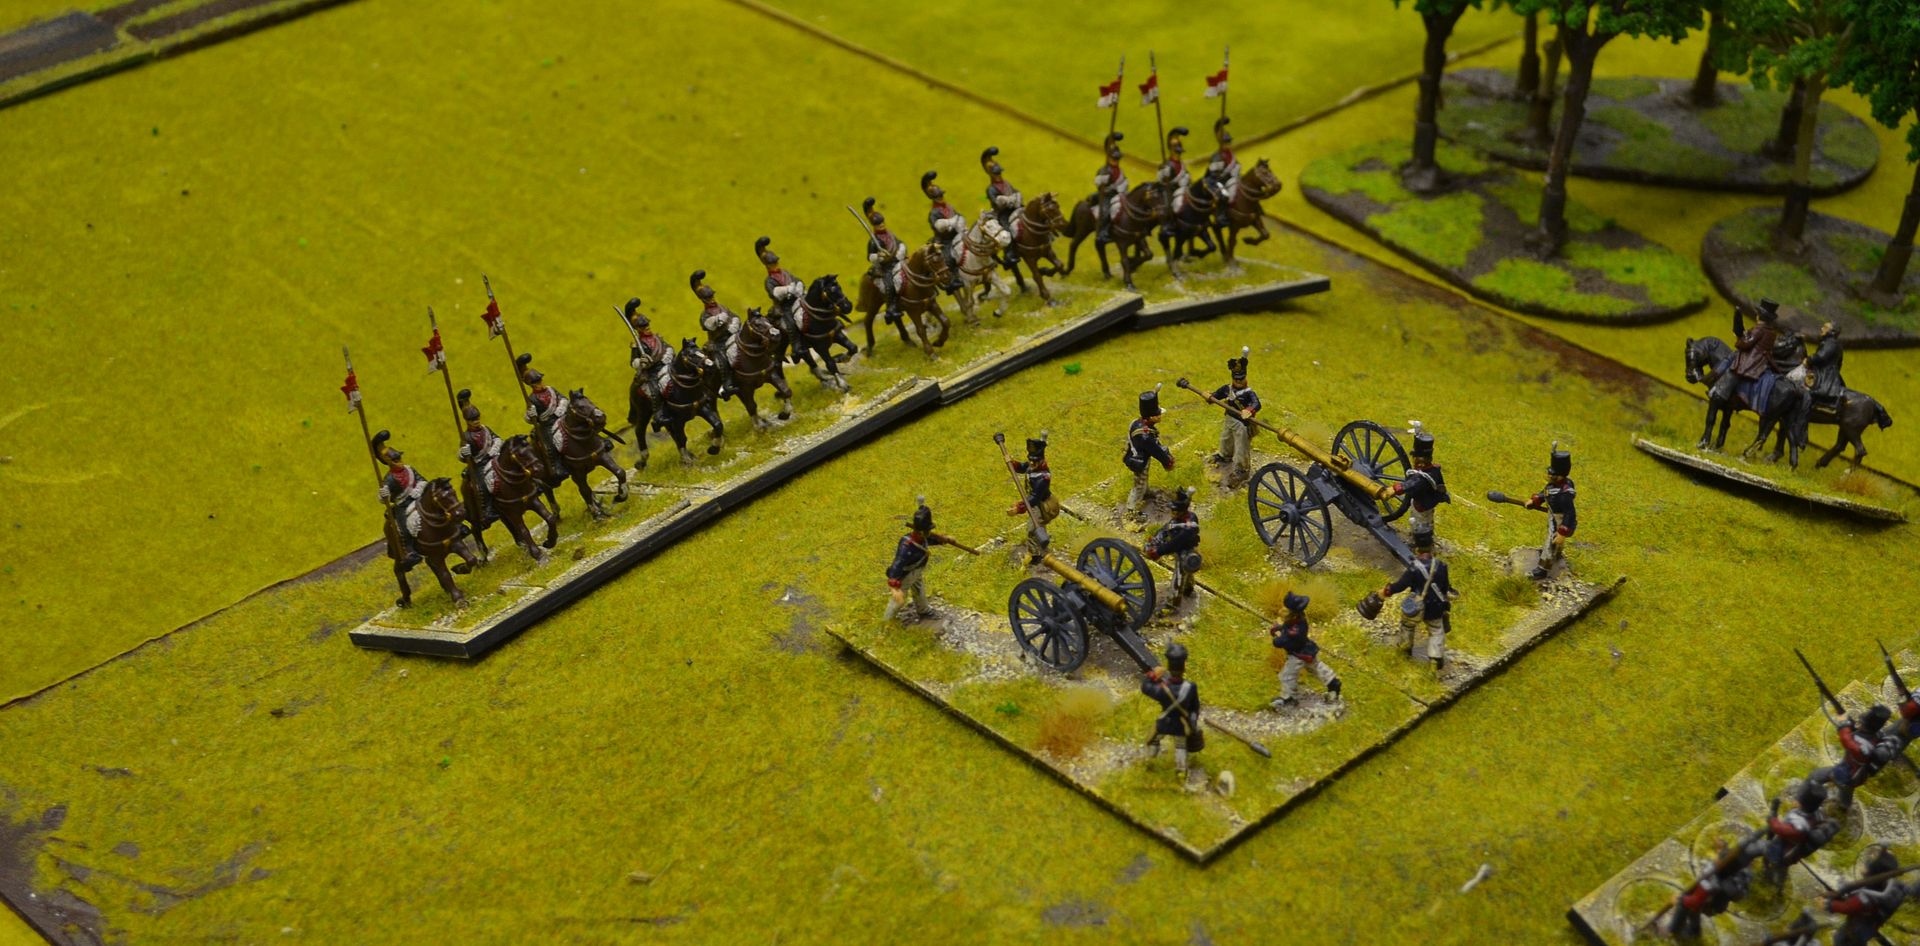
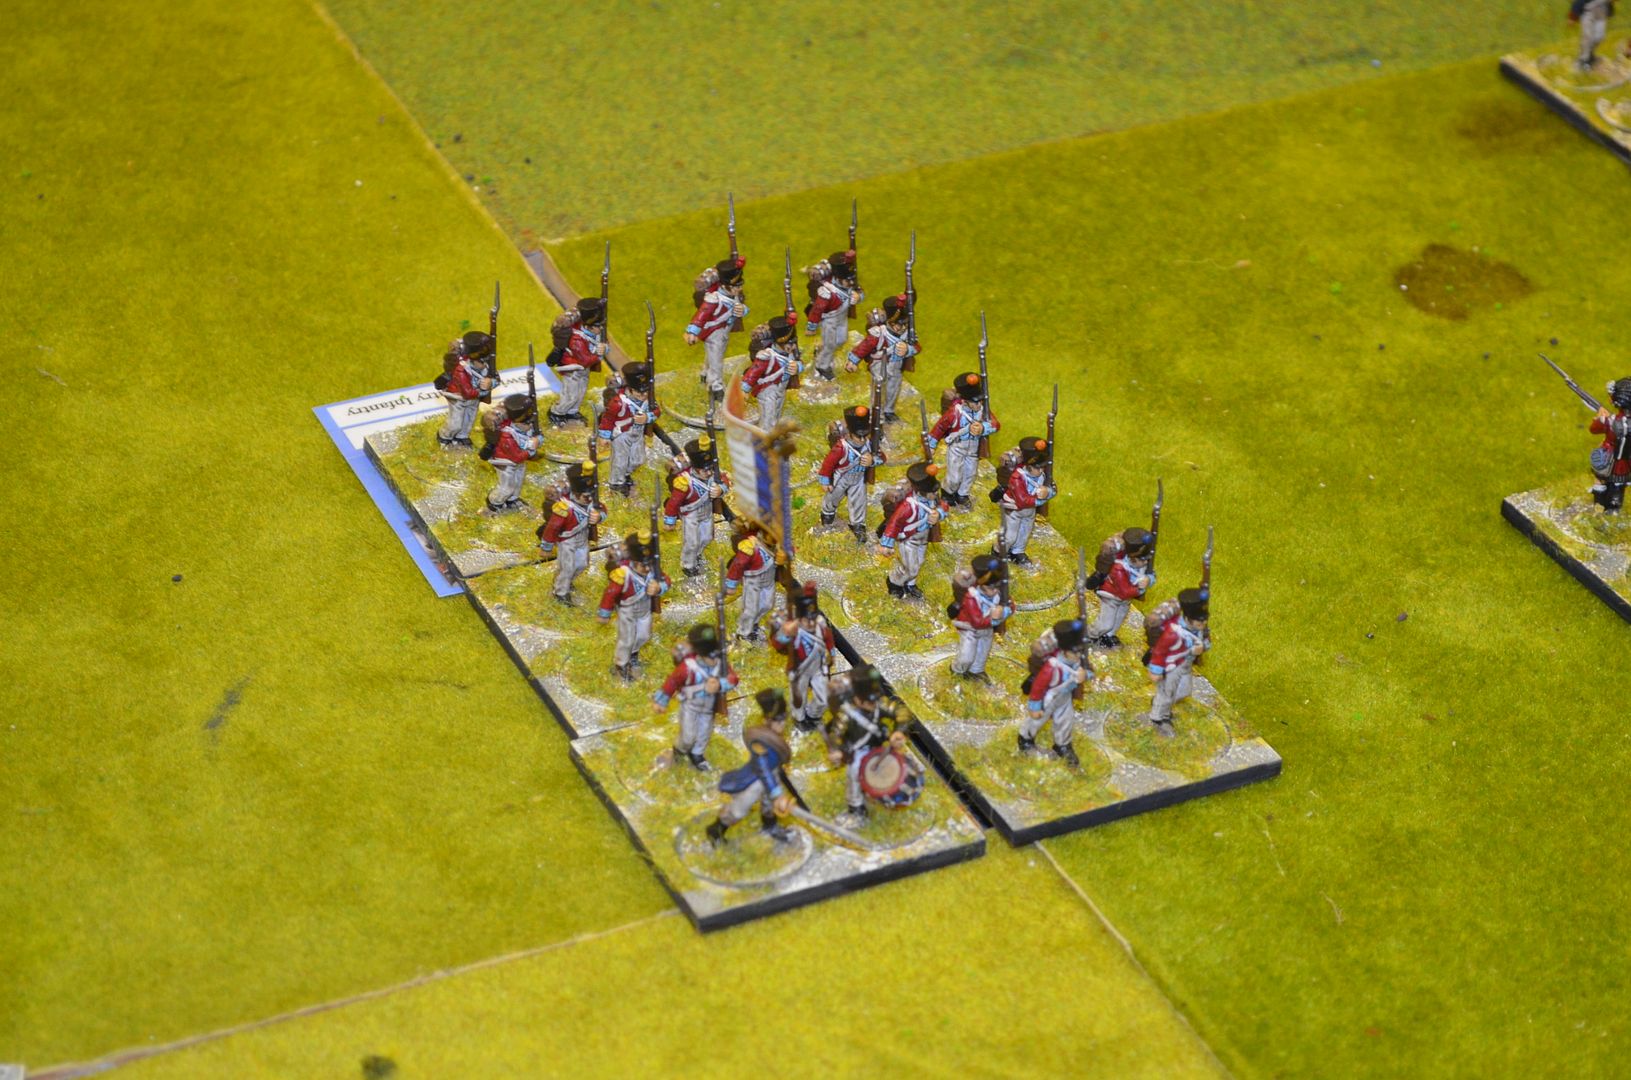
This single charge eliminated 50% of the Allied Artillery - not a good start for Wellington. There was only one thing for it the British would take the battle to the French and push forward. All along the centre the British Infantry advanced - the right flank supported by a portuguese brigade
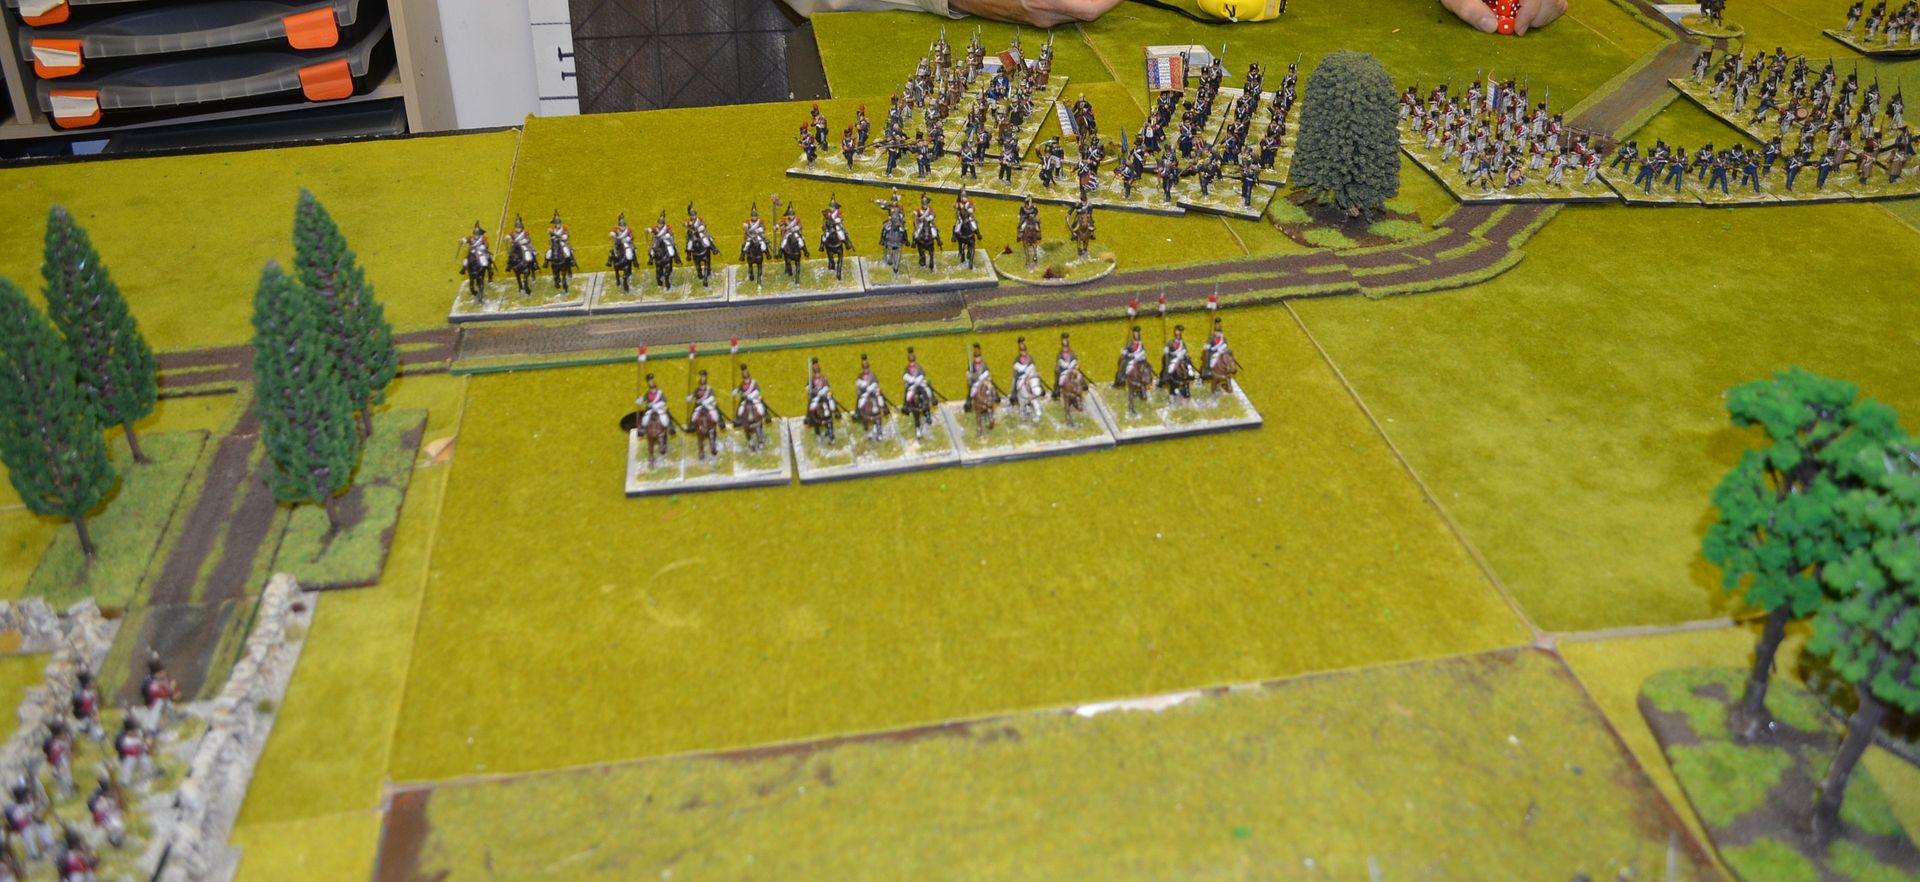
The Allied left flank (my command) had a problem - the loss of my guns meant the French cavcaltry were dominating this side of the field. The Lancers (supported by heavy Cuirassiers) had now recovered from their charge and were waiting patiently for the next target
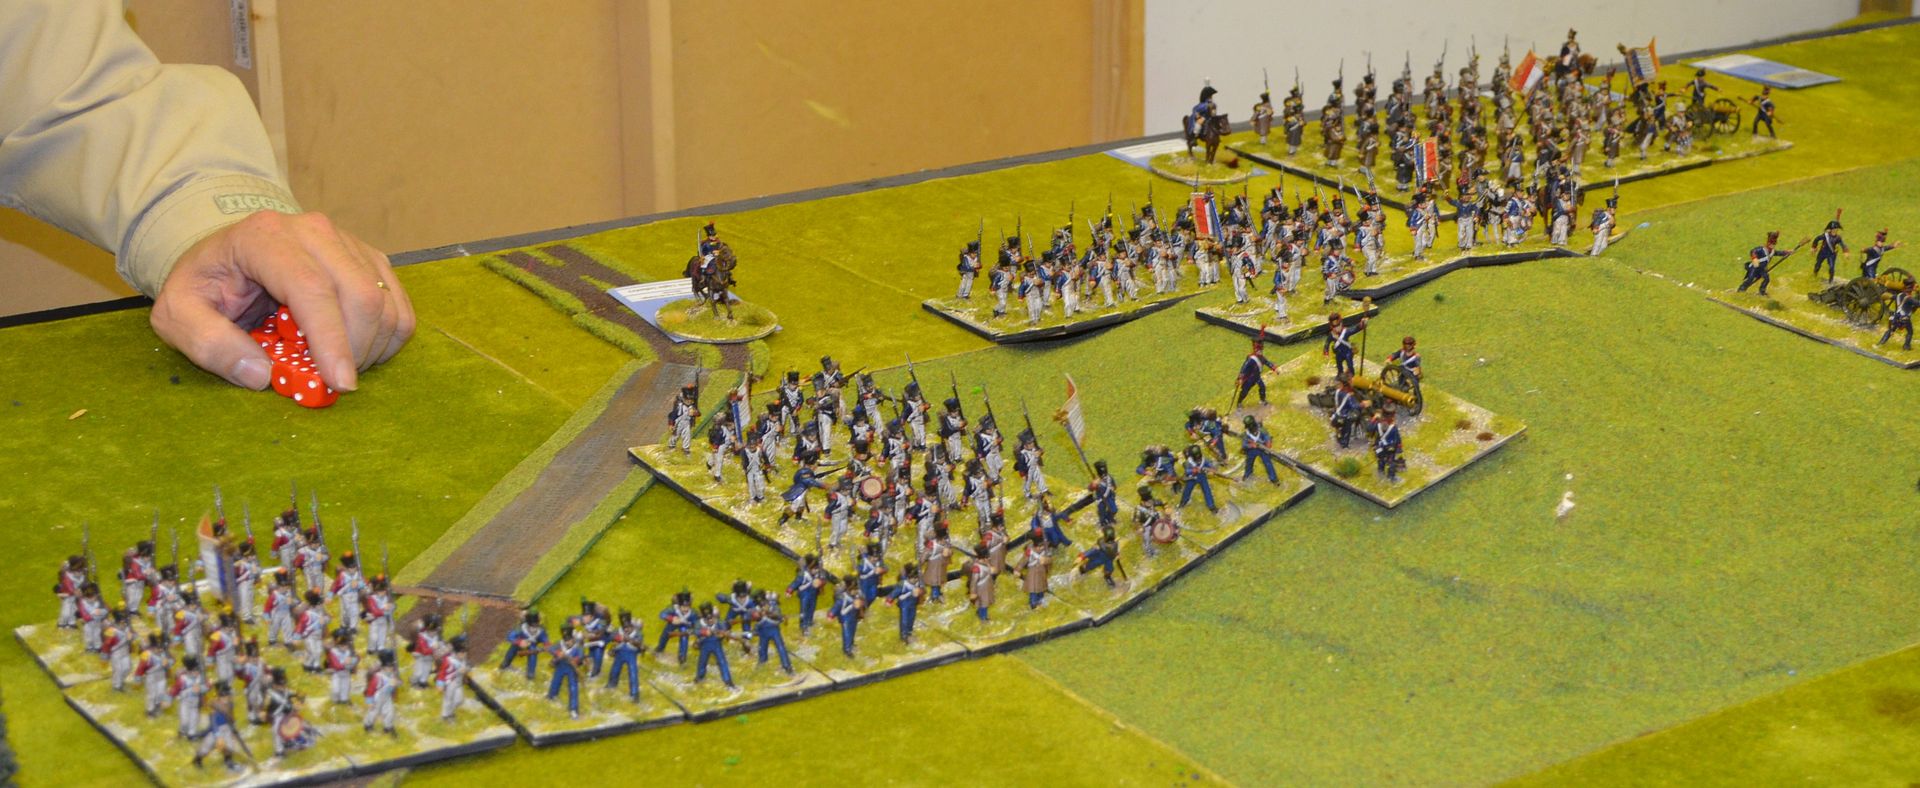
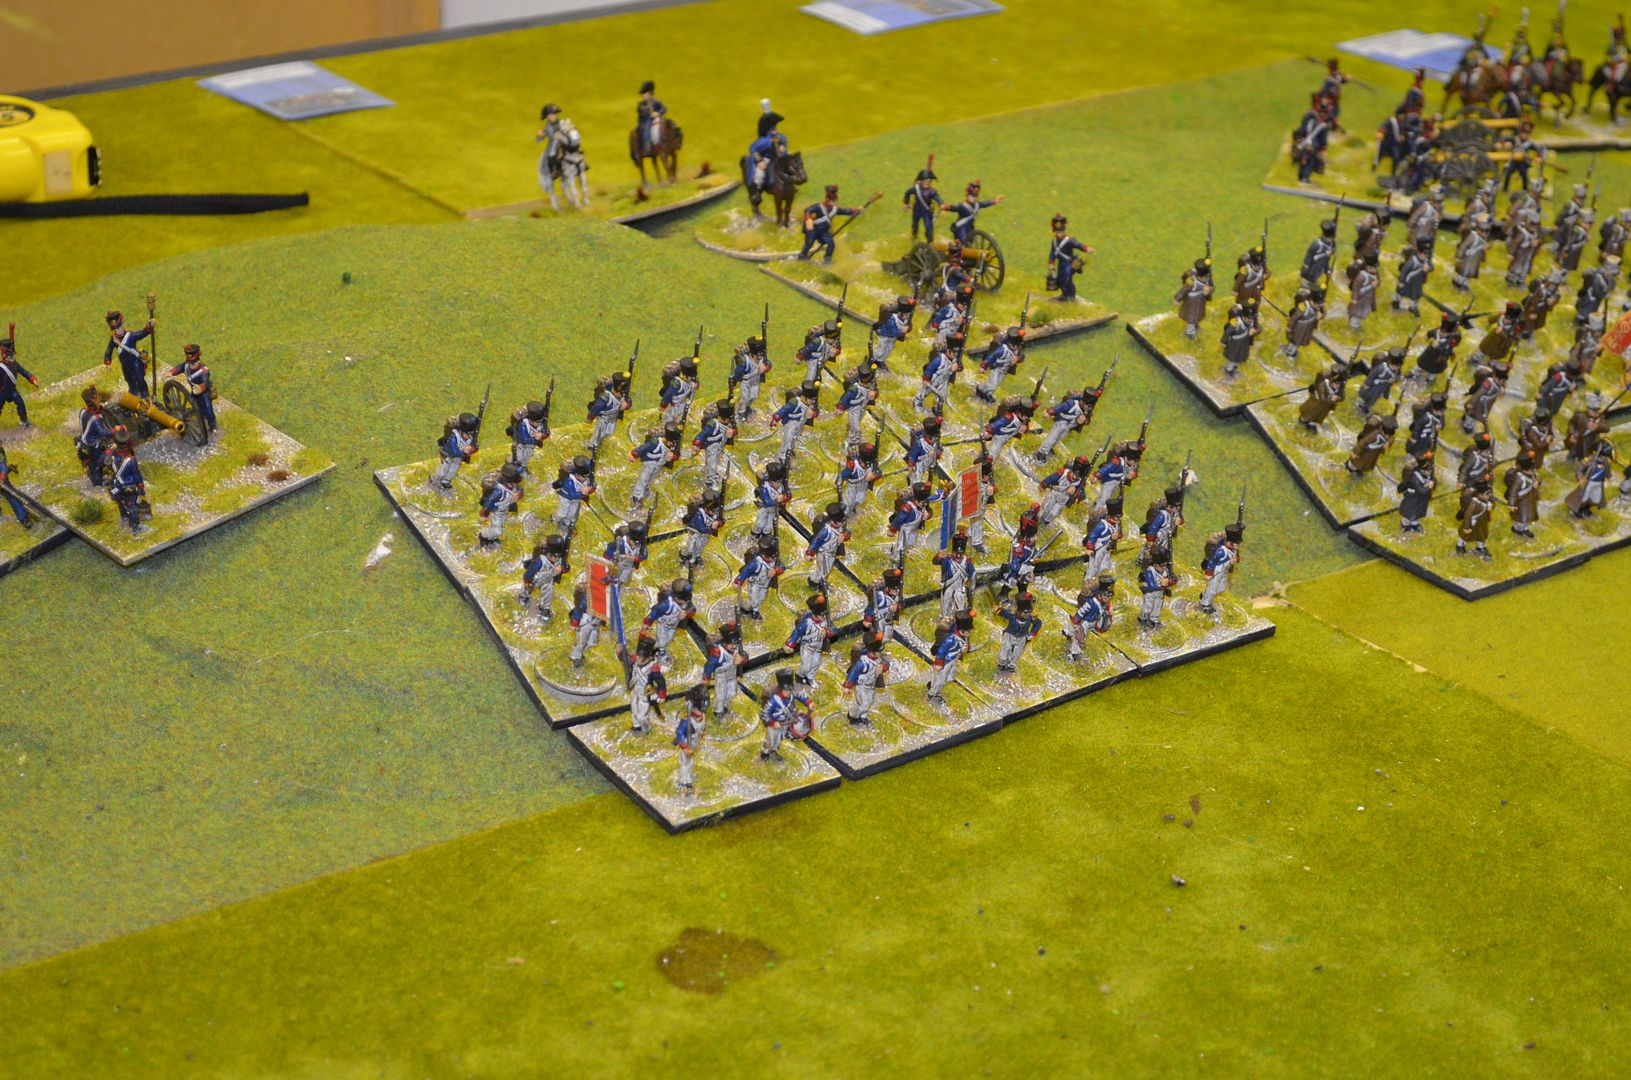
The French Infantry began to advance in column and line supports.
By now the Allies had moved their cavalry up onto the left flank to counter the French

And the Rifle Brigade supported by the South Essex had crossed the river and were now advancing on the French right flank. Wanting to push the rifles up to inflict fire on the french cavalry I rolled the command dice - a double 6 - blunder. My rifle brigade charged the Cuirassiers - gulp.
Sadly I forgot take a picture at this point but as you might expect I was not expecting a positive response. Fortunately the Cuirassiers did not know what hit them and were unable to countercharge. Somehow the greenjackets took the fight to the french heavies and the ensuing result was a draw. Both sides failed their break test and retired from the field.
By now the French Infantry were getting stuck into the Allied centre and despite some stiff resistance were getting the better of the battle.
It was time fort the French to unleash their reserves - a swiss battalion marches into the field
Across the field numerous battles were taking place with both sides taking fearsome casualties.

As the night drew on both sides were fighting to the death but in the end the French had edged it -
Well done Mark...
More soon
Great looking battle, the figures look fab!
ReplyDeleteBest Iain
Looks great, and I love the random force generation idea.
ReplyDeleteNice AAR :)
ReplyDeleteSuper start for your first go with the armies - loved the Rifle's blunder ... that is so Black Powder. Having been impressed with your disciplined painting regime, those cards just top it all off - they are excellent.
ReplyDeleteLooks like a fun game
ReplyDeleteNice looking table and figures, great stuff!
ReplyDeleteLook forward to seeing more of these!
ReplyDelete