I hope you are all keeping well?
Its at times like these we can be grateful that our hobby can provide a suitable distraction to world events. I have been ploughing on with the shed build and significant progress has been made. Mrs Shed keeps telling me to slow down as there are still weeks ahead of us to fill.
So when I left you last I had finished the outside and could progress onto the inside. If you didn't see part 2 you can find it HERE
The first job was to dismantle the old table and once sufficiently cleared a new coat of paint was applied to the walls and ceiling.
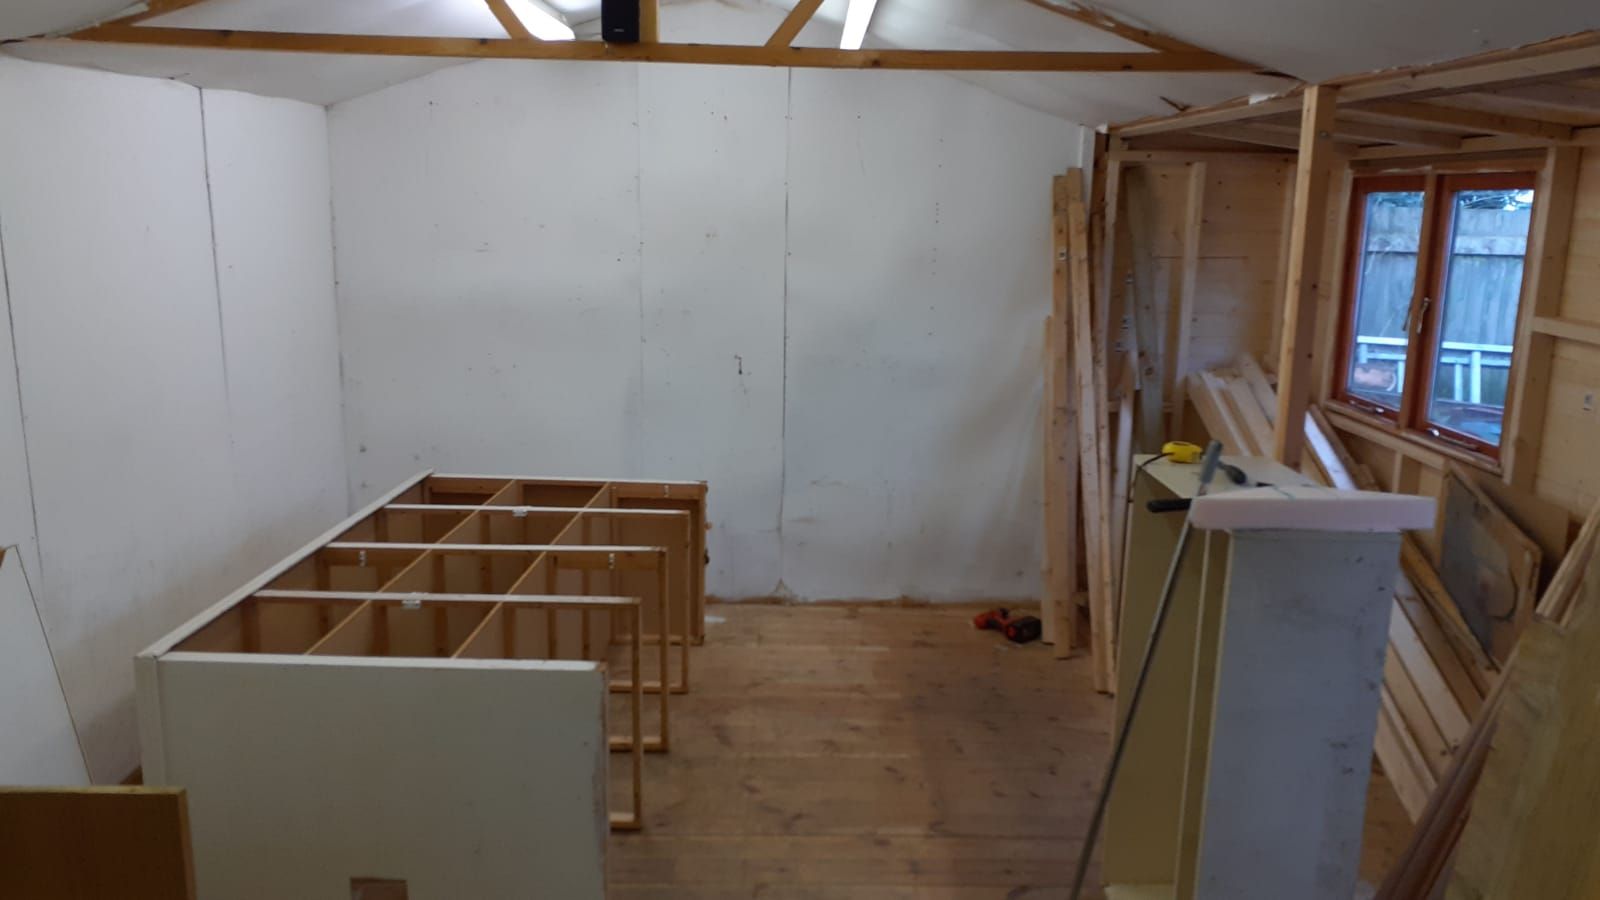
Eventually I will insulate the new extension and clad this in boarding but given I cannot get out to get the materials now it will have to wait until the end of the quarantine.
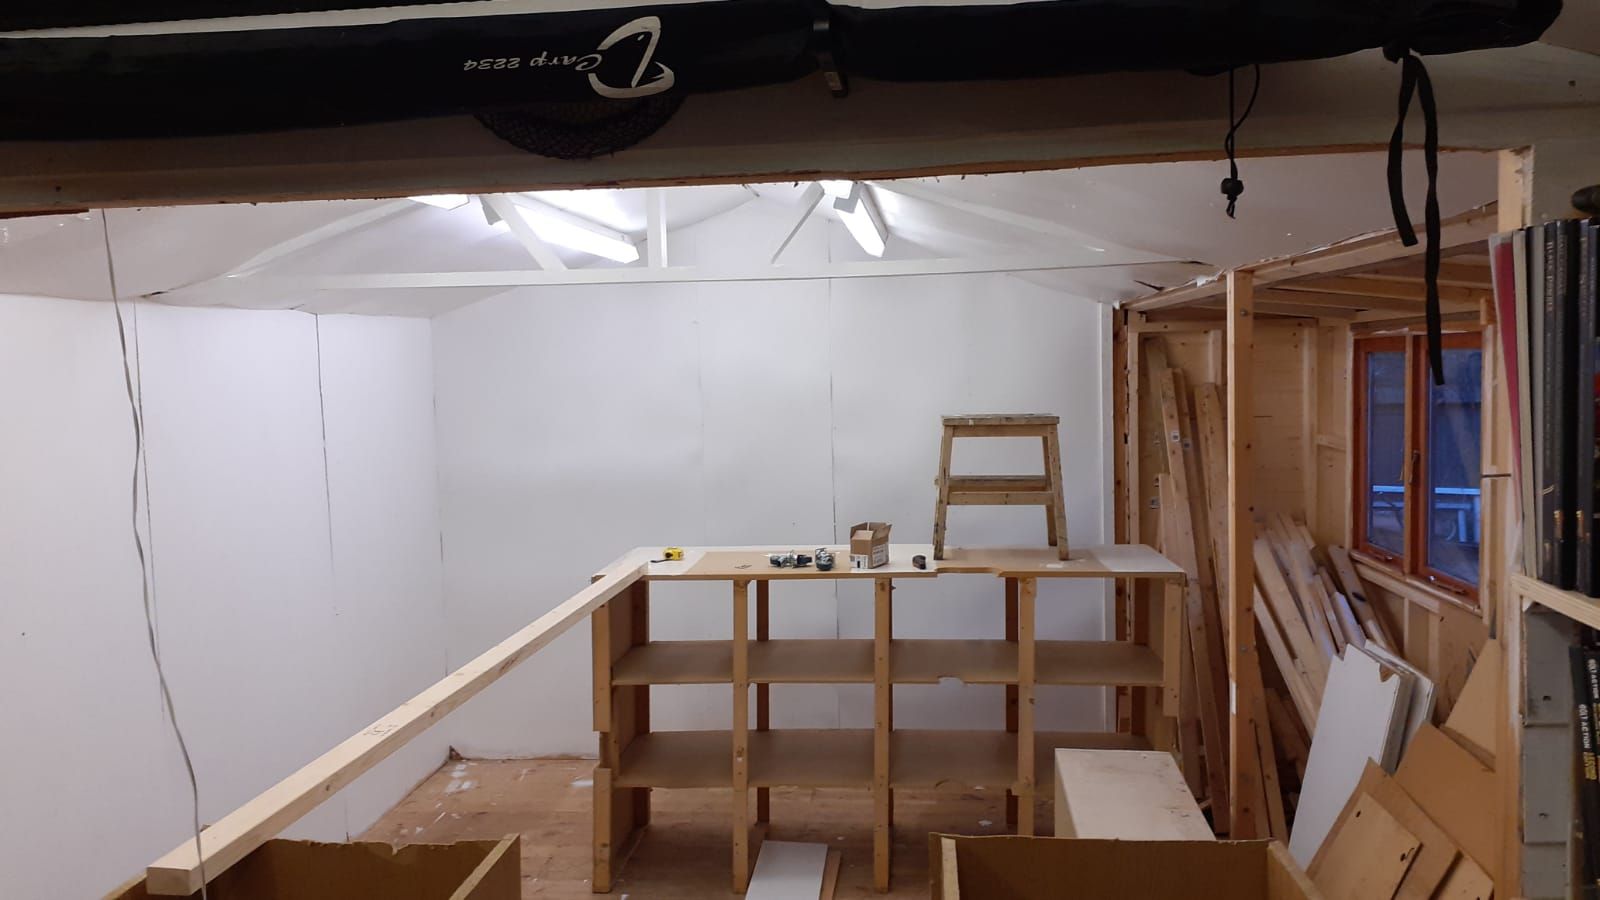
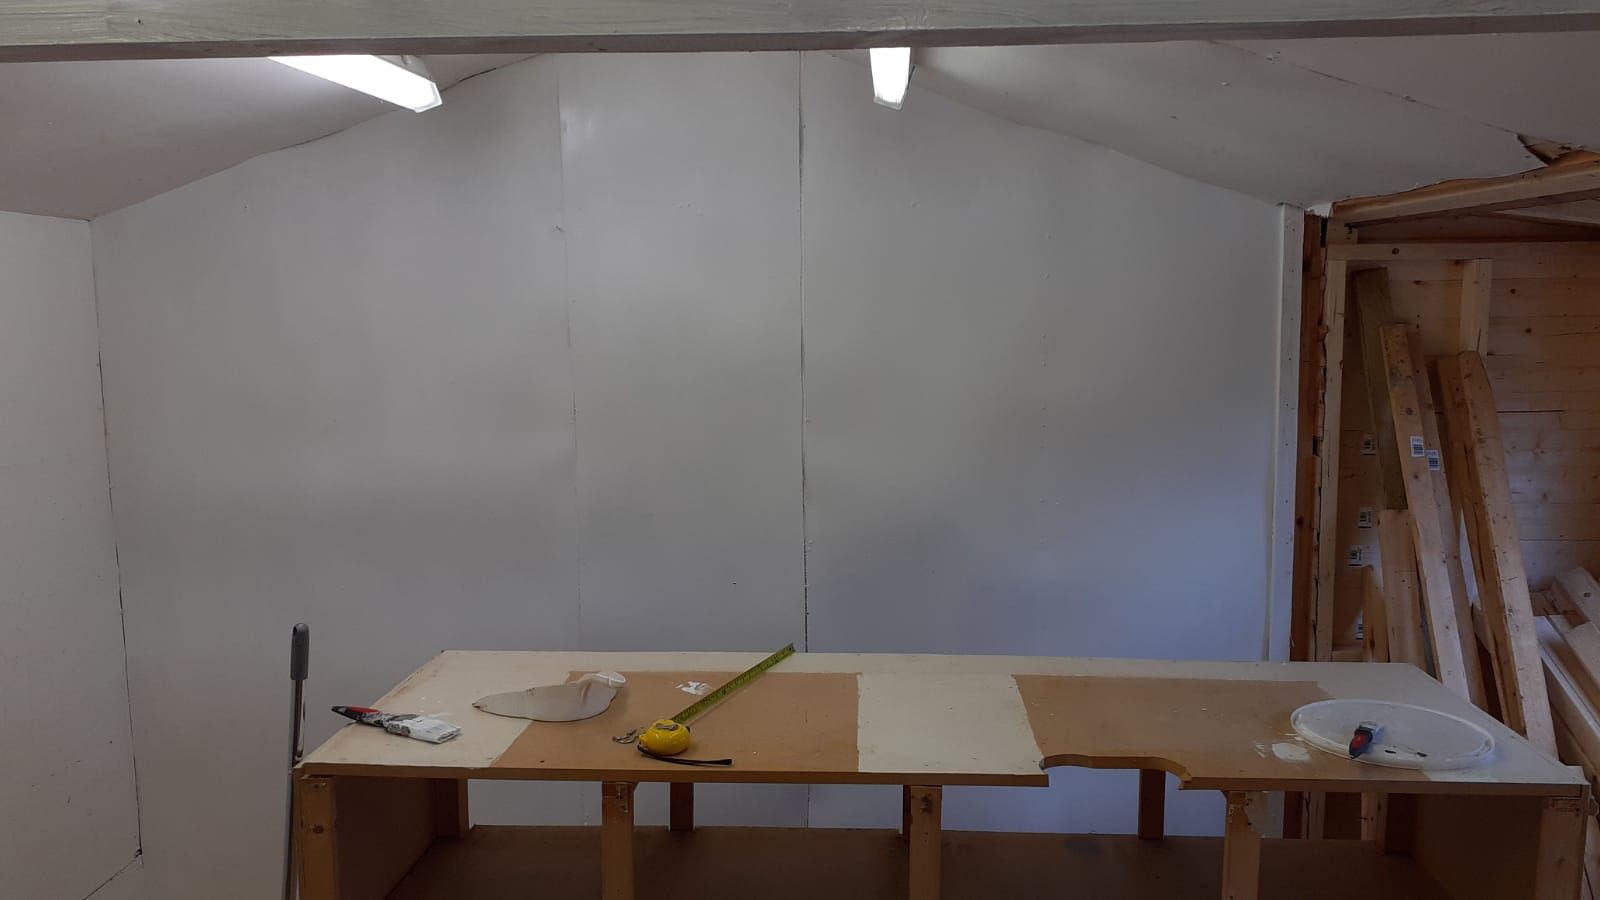
The new paint job certainly brightens up the space.
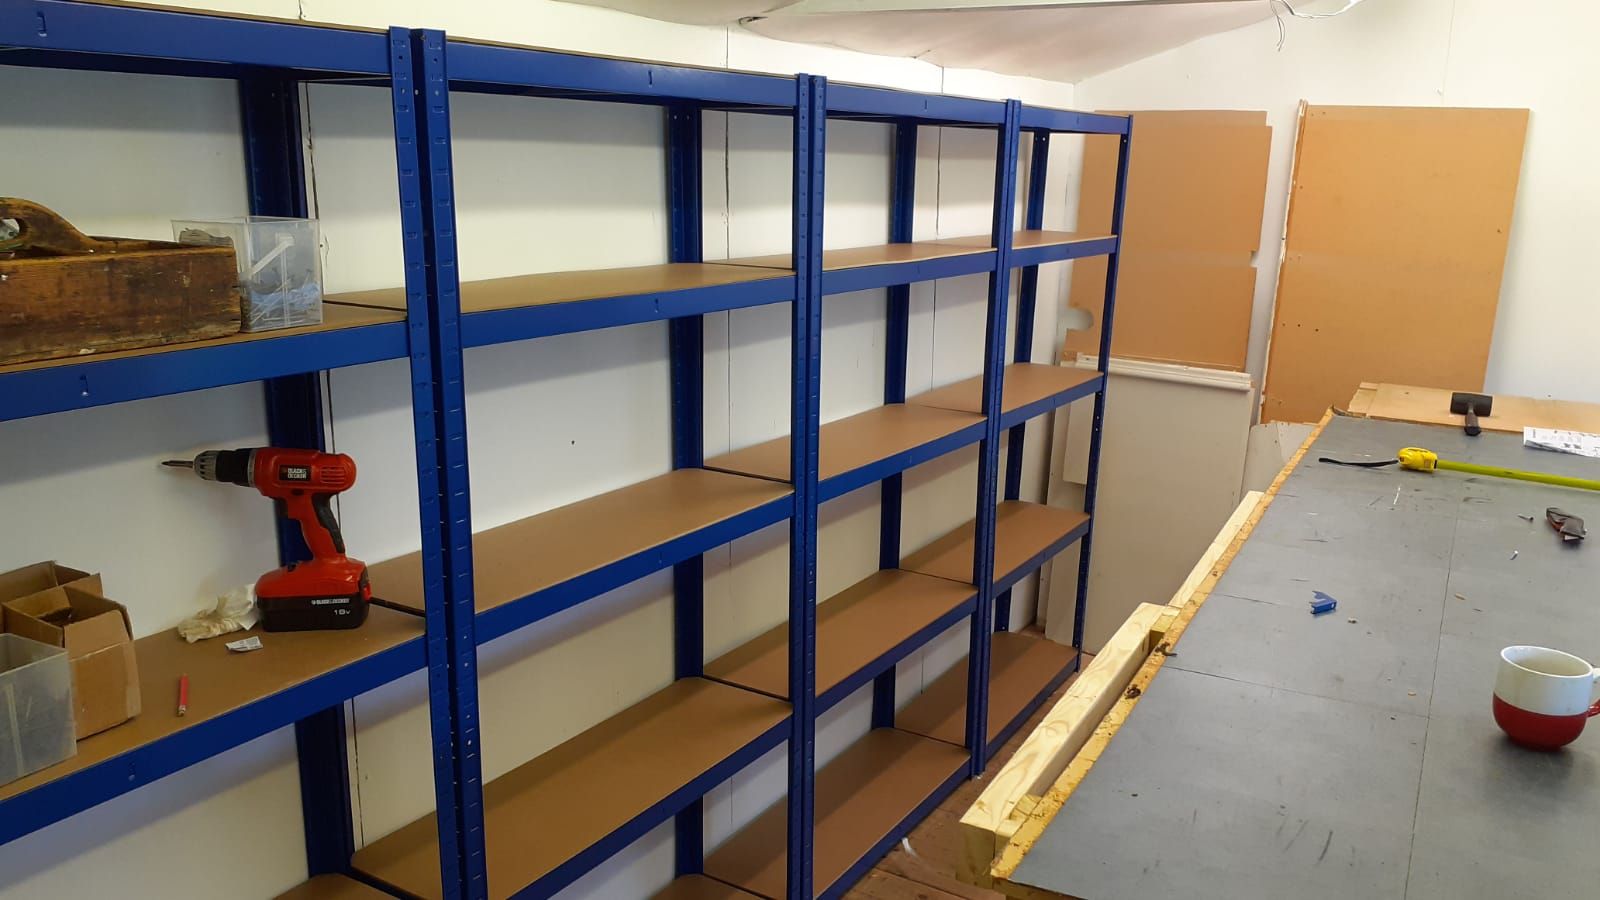
Once the paint was dry I assembled the new racking that will carry the terrain/figures in this room. This was ordered through ebay and arrived a couple of days later.
With the racking up and painting done I could turn my attention to the table. Given the limited materials to hand I had to work out the optimum use of what I had. In the end I decided to assemble four tables each was about 2.5 feet by 5.5 feet in size.
These have all been built as simple frames and then mounted on six casters (again another order from ebay). The table height is the same as the old one.
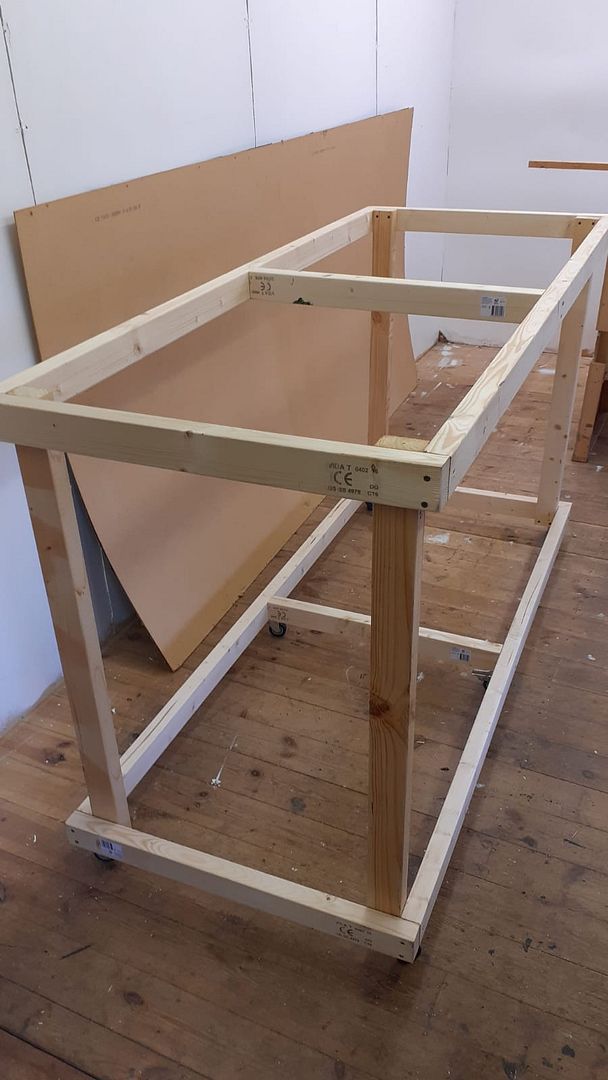
All four frames were assembled and then I could start out on the into shelving and table tops.
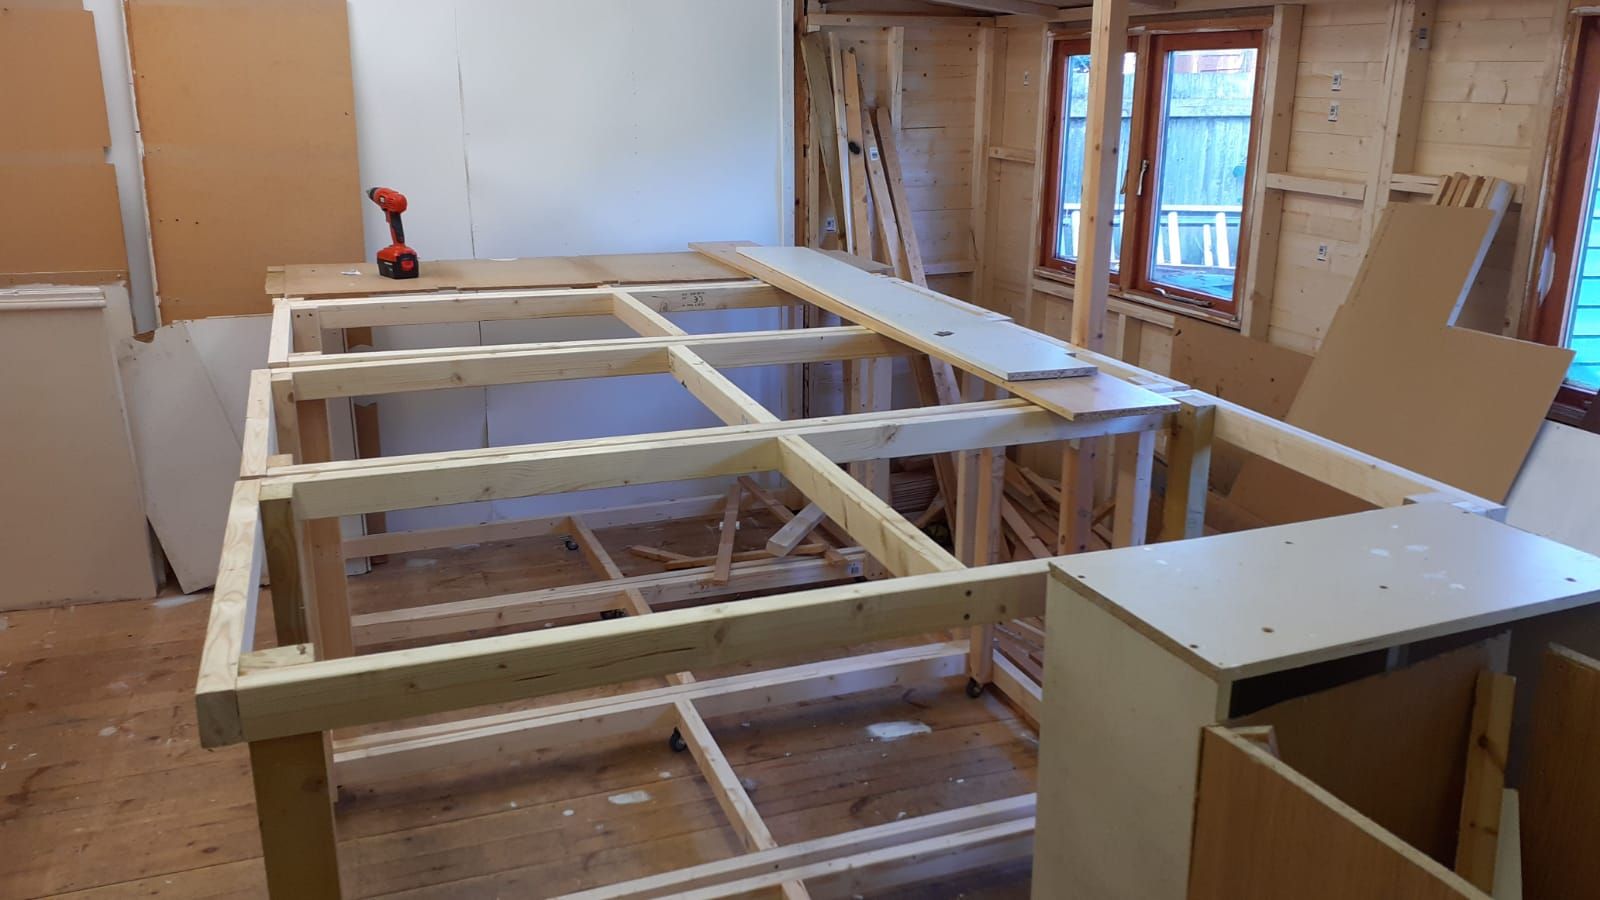
Each table's insides is slightly different in terms of shelf configuration and these are open on all sides to allow easy access of stored items.
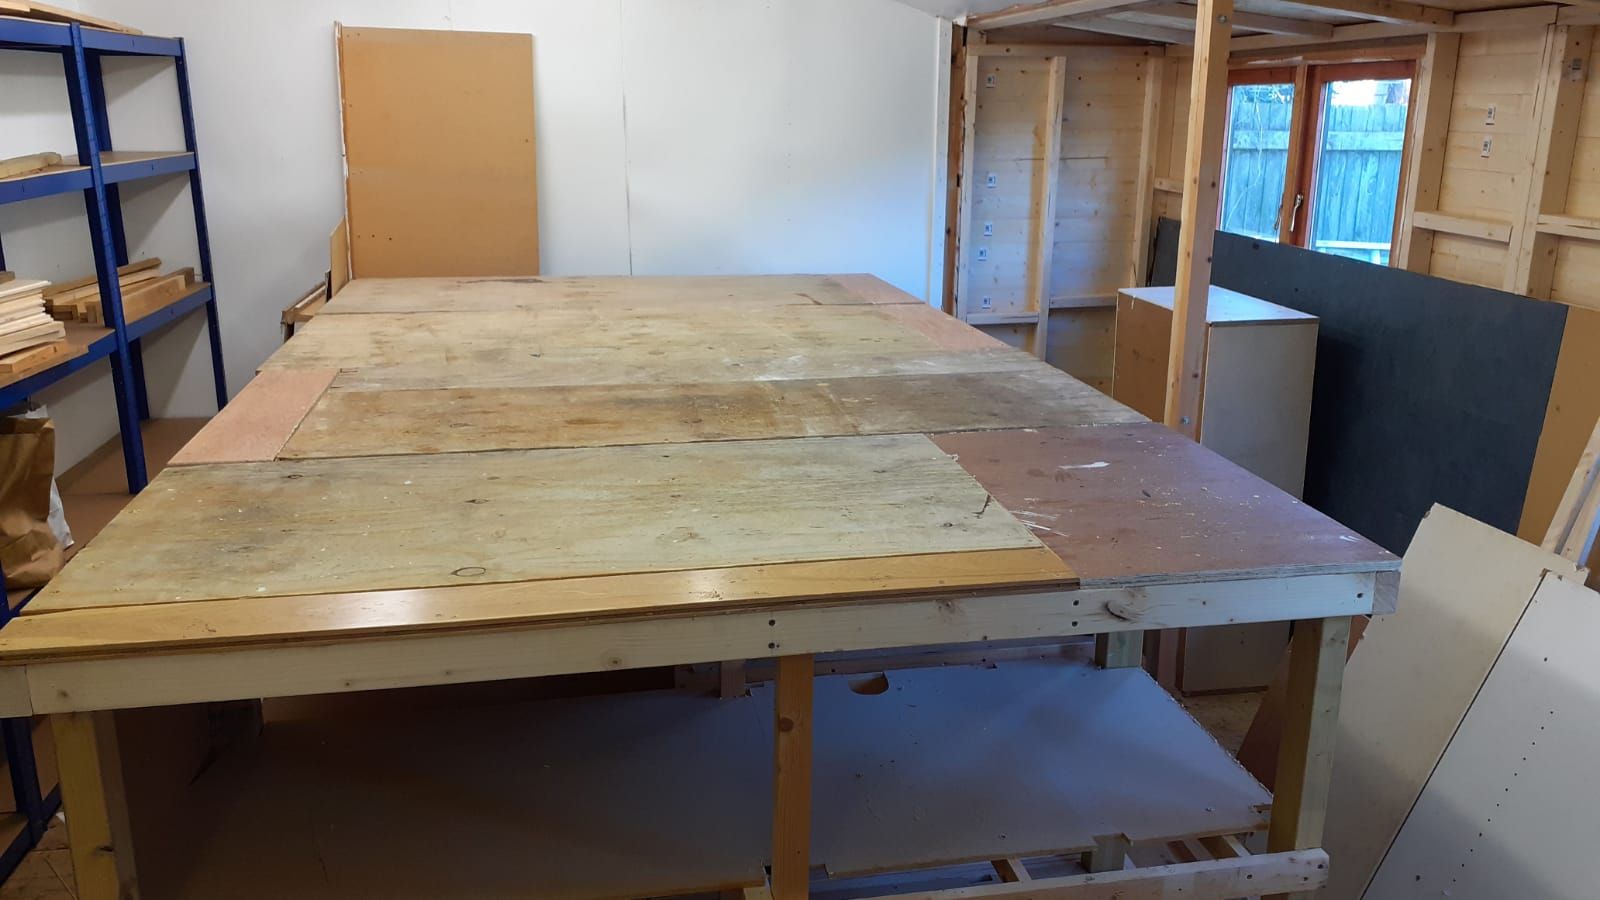
Once complete (a three day job) the plywood tops that used to grace the old table were cut to fit the new ones. These can be configured as it stands to either option 1 (10ft x 5.5ft) or option 2 (11ft x 5ft)
Option 1
The photo below is deceptive as there is plenty of room (more than before) all around the new table
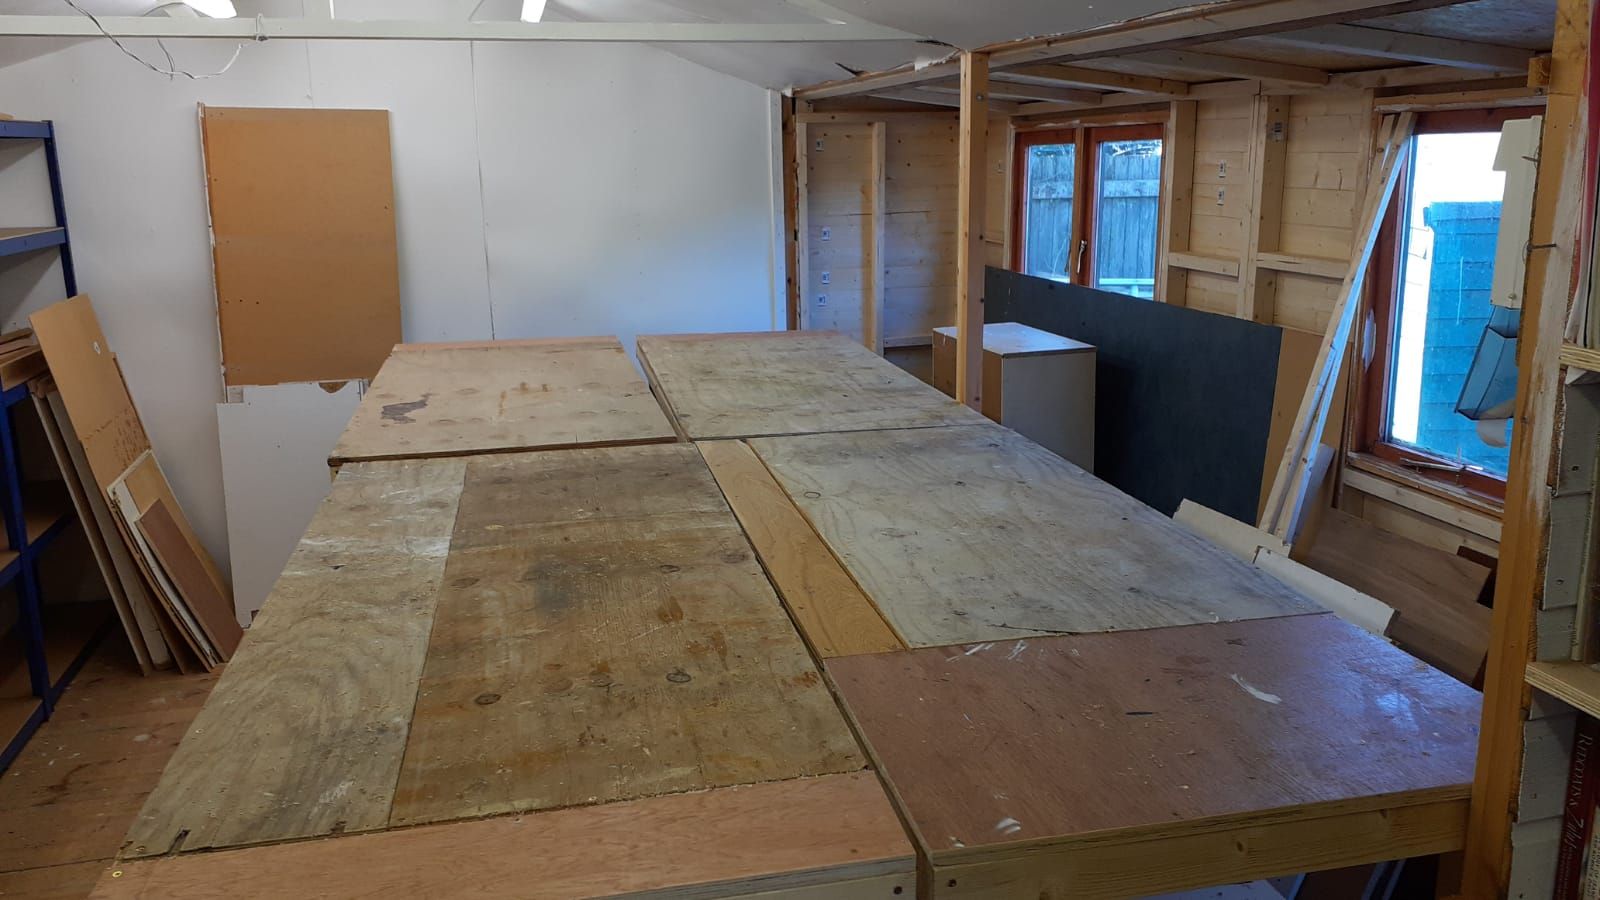
Option 2
I'll also be adding some inserts to make the tables longer and wider as and when required. I can also configure a dog leg or set up two smaller.
More soon
part 4 can be found HERE
Looking good :)
ReplyDeletethanks Paul
DeleteLooks great
ReplyDeleteNice work!
ReplyDeleteExcellent progress!
ReplyDeleteGreat progress. :)
ReplyDeleteDo you think you added significantly more storage or just made it neater? Nice flexible modular design on the tables.
ReplyDeleteBeing able to get around the far end is a bonus!
ReplyDeleteAwesome!
ReplyDeleteLooking good mate
ReplyDeleteCheers
Matt
I love a good shed!
ReplyDeleteComing along nicely. Well Jealous!
ReplyDeleteLoads more space! Looks great.
ReplyDelete