As
followers to this blog know that once a year I help organize a wargames event
called BLAM. This is a small get together of around thirty like minded souls who
have met through the Lead Adventure Forum. The event has now been running for
11 years and for the last five I have had the pleasure of hosting this in my
local Pub in south west London. As the event draws closer the organisers ask
for the attendees to consider whether they will be able to host and run games.
For my sins I have agreed to run an adventure for Sharpe in the Peninsular war
on the Friday and on the Sunday I am running a rather large Colonial game set
in the Sudan. A full description on the event will follow in a future post as
will my Sharpe game but this post is going to focus on last night’s playtest of
the Sudan game in the shed.
 |
| The scene is set |
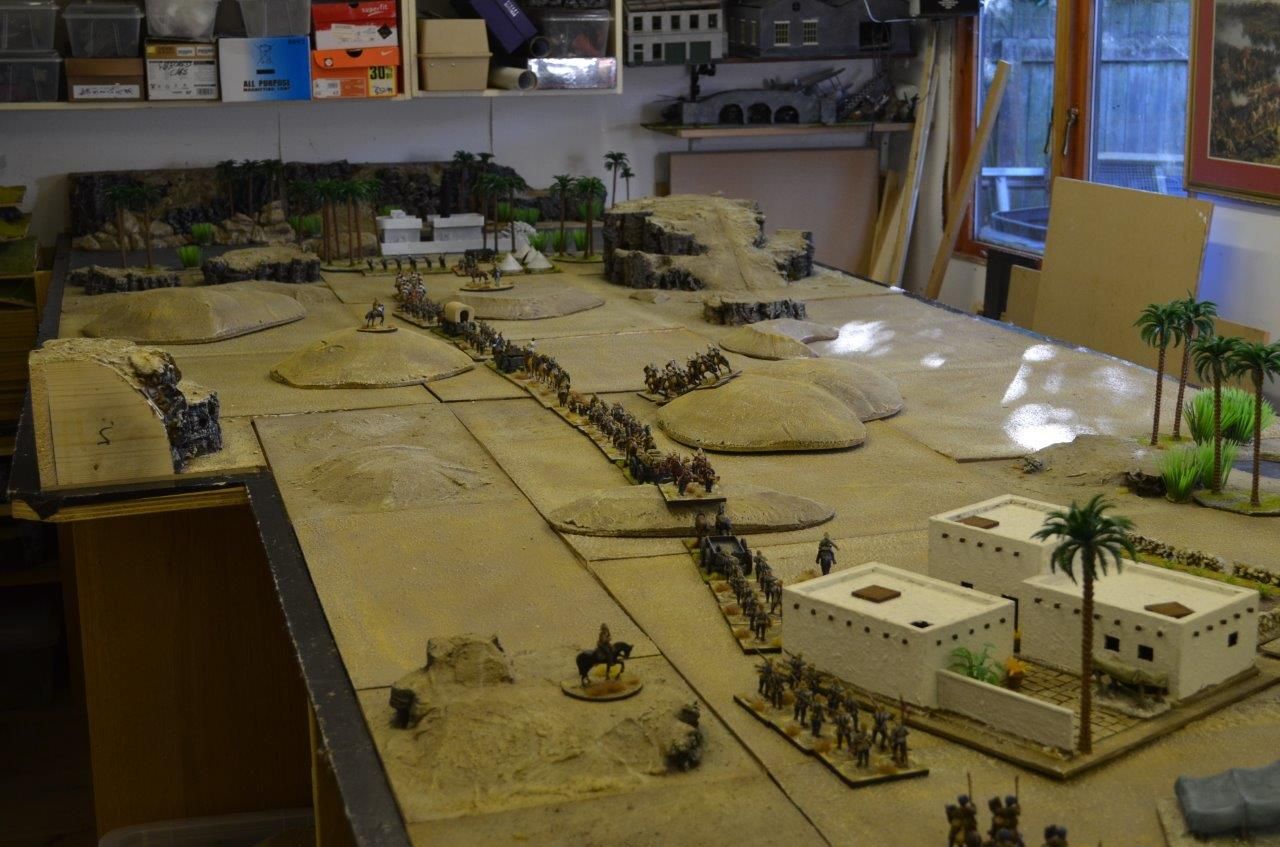
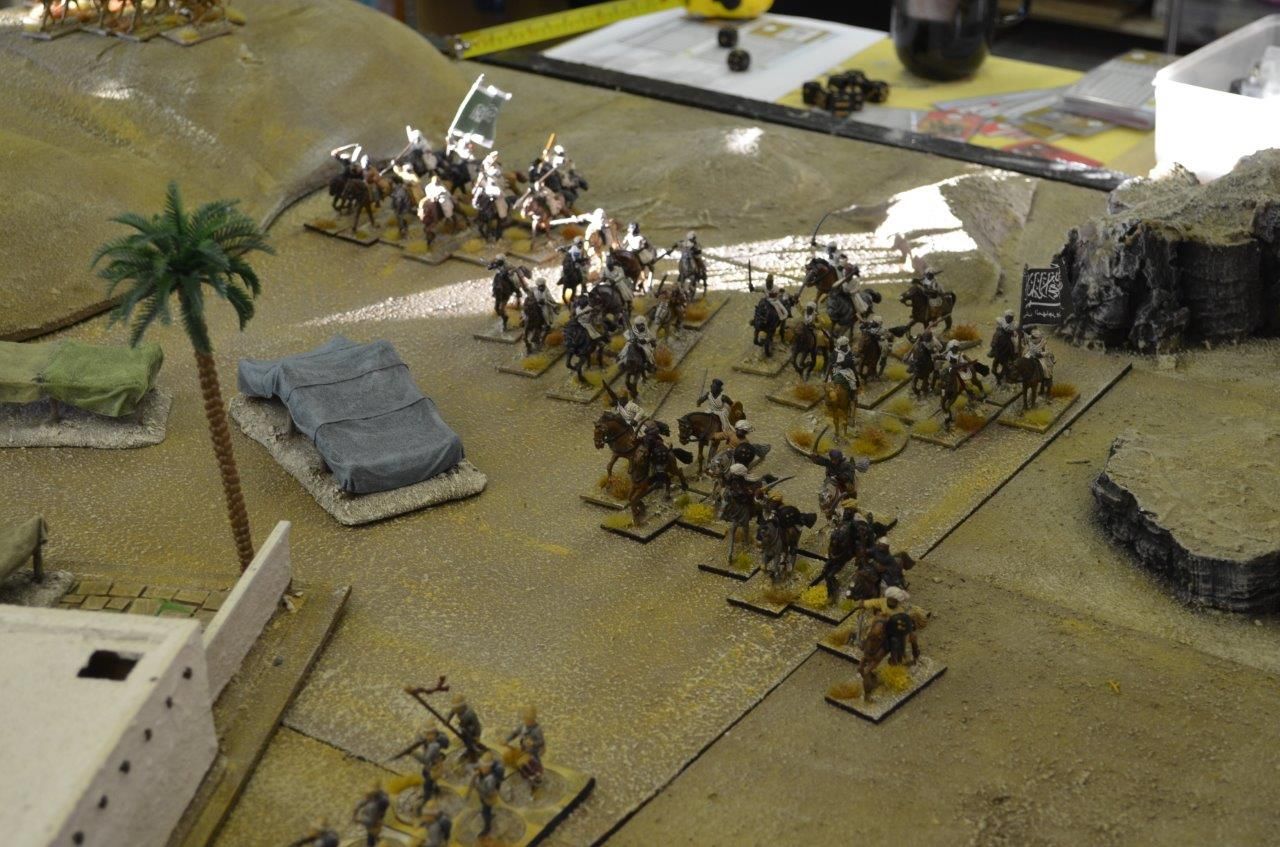
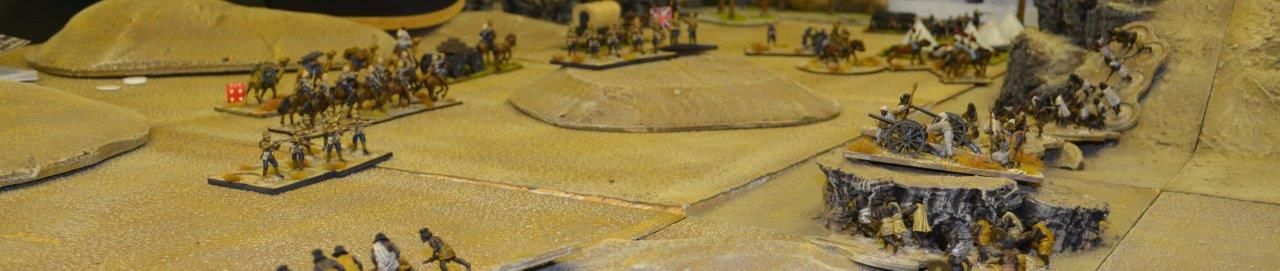
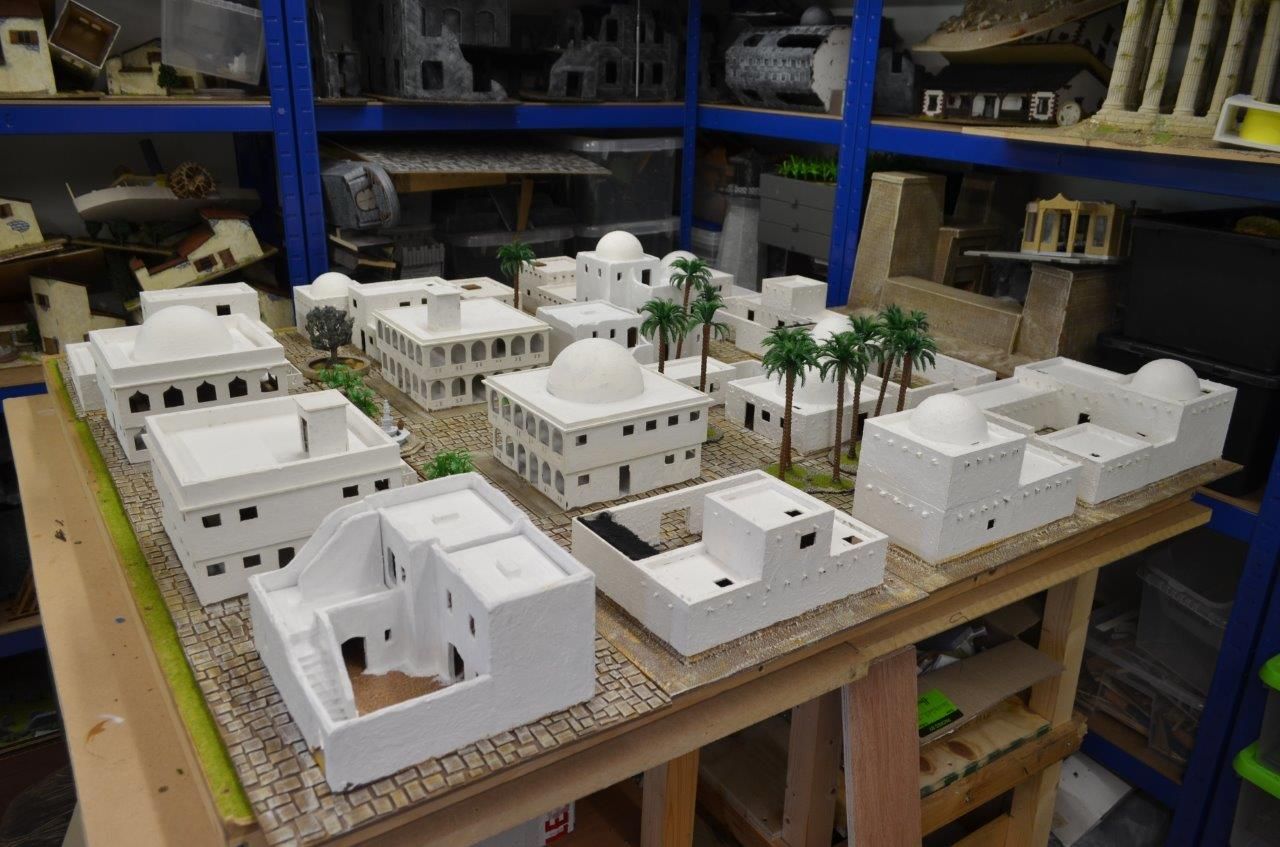
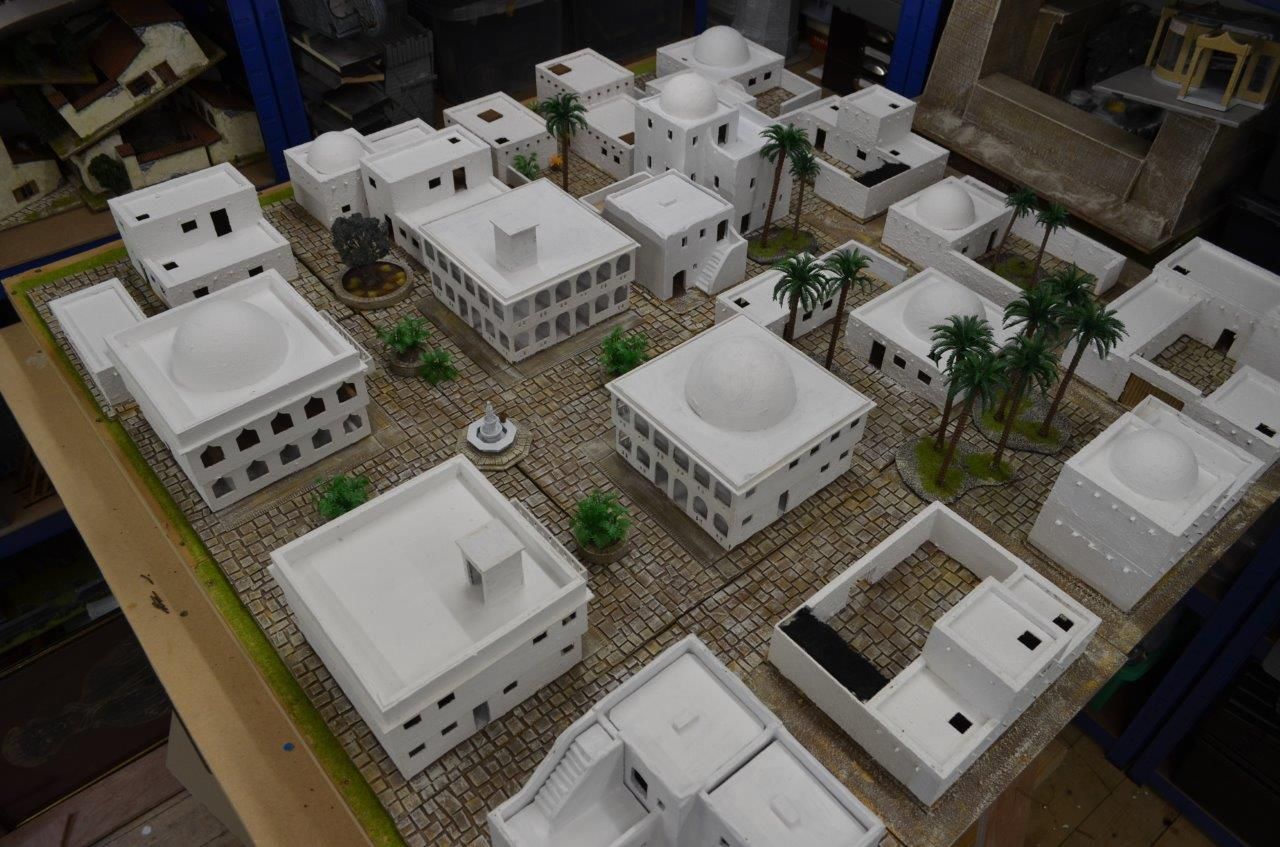
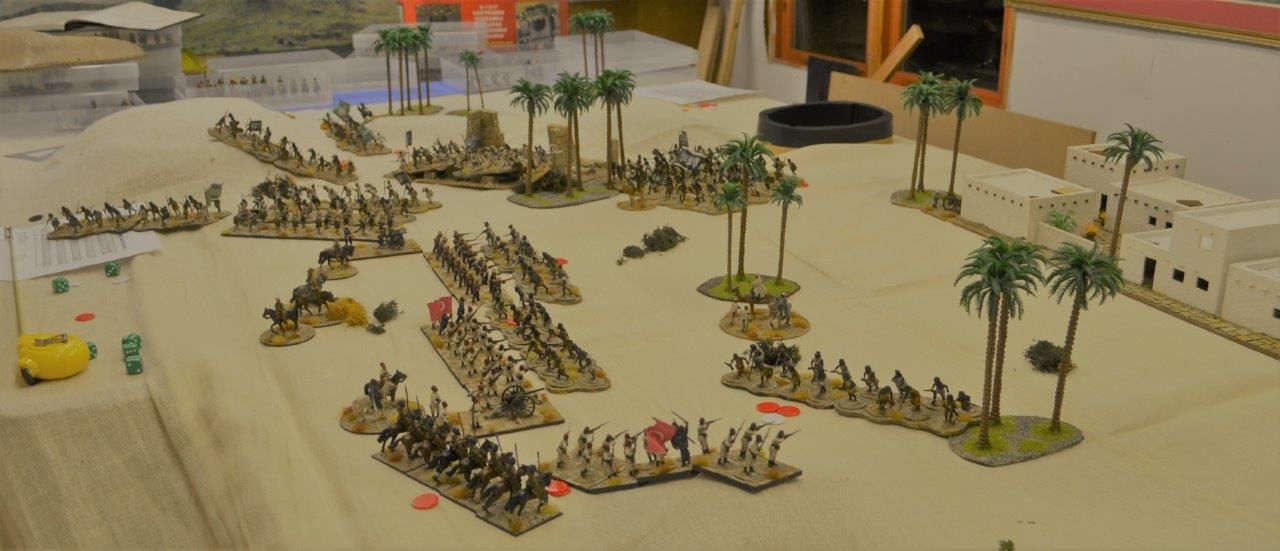
First up
you will notice that the table used is somewhat smaller than my full set up and
that my usual desert boards are not in operation. This is because the space
available in the venue is limited (I’ll be using a 12ft x 4ft table) and the
reason for the substitute cloth is for the simple reason that I don’t want to
haul the very heavy desert board down to the pub. The cloth itself is a cotton
twill decorators dust sheet. This was bought on eBay and came in a pack of
three for £17. The sheets themselves are 9ft x 12ft. The fabric is relatively
light but one placed over another cloth (and hills placed underneath it does a
reasonable temporary job of passing for the southern lands of the Sudan. I am
thinking that I might use one of these cloths to actually make a custom battle
mat but that’s another project 😉
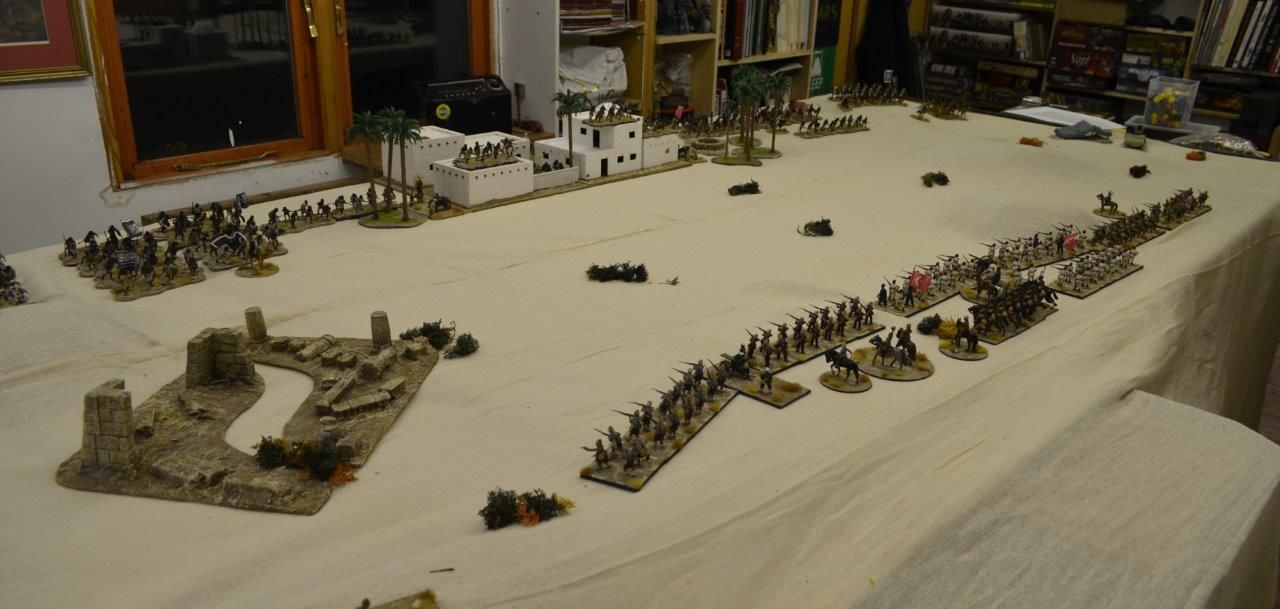
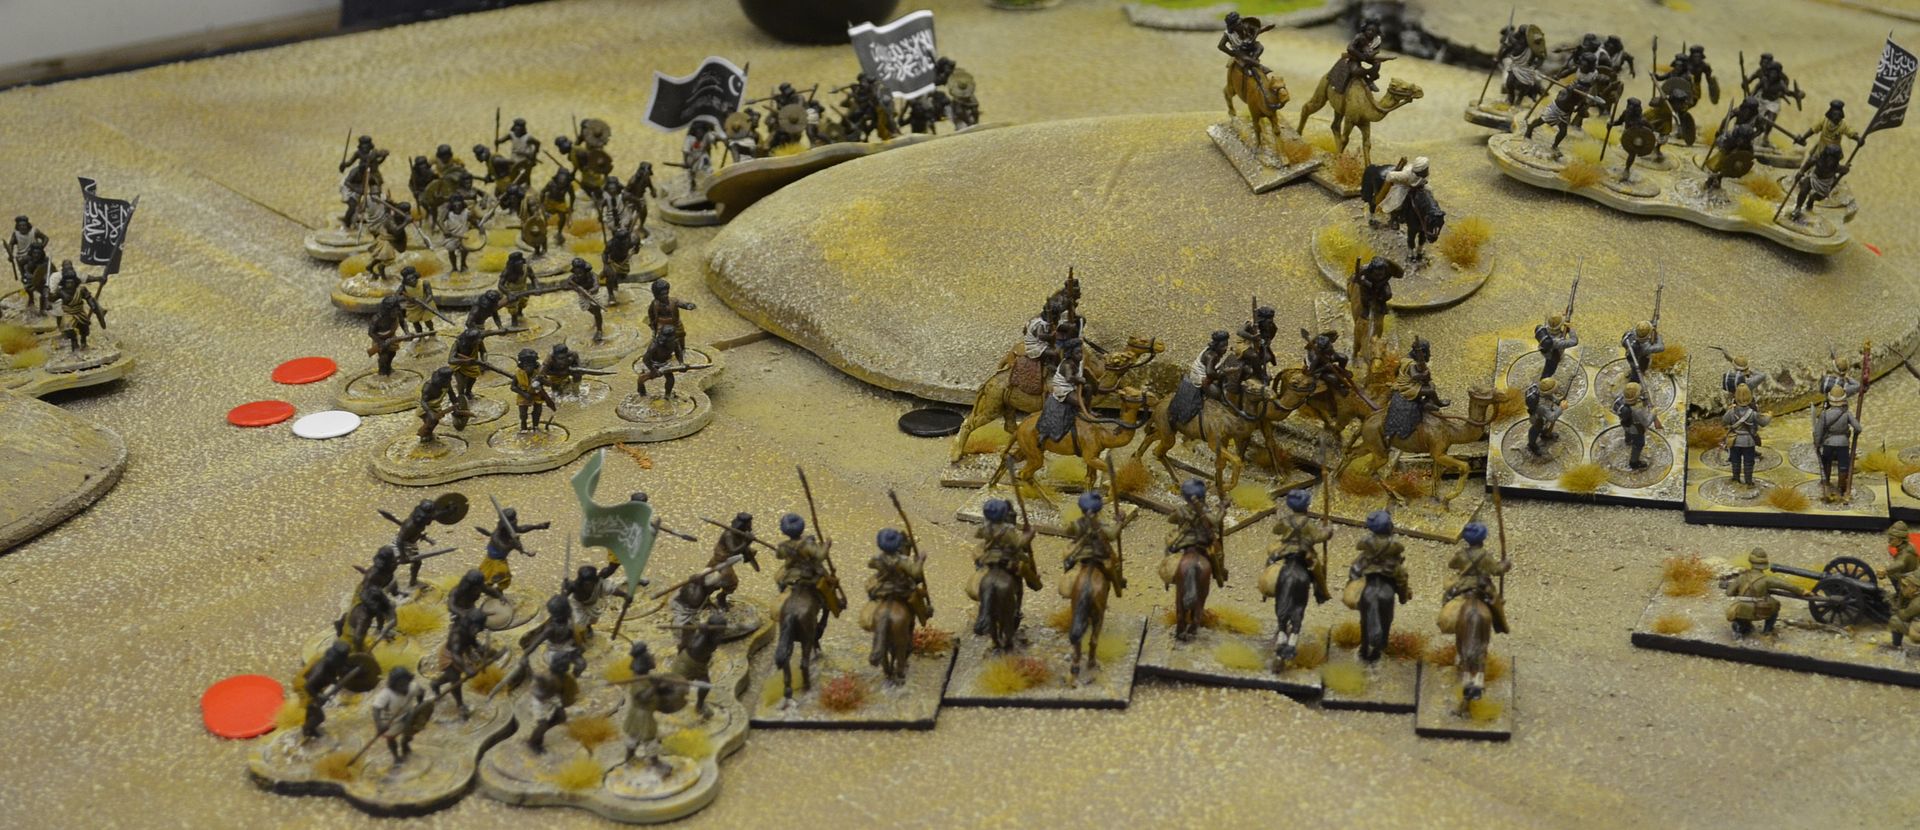
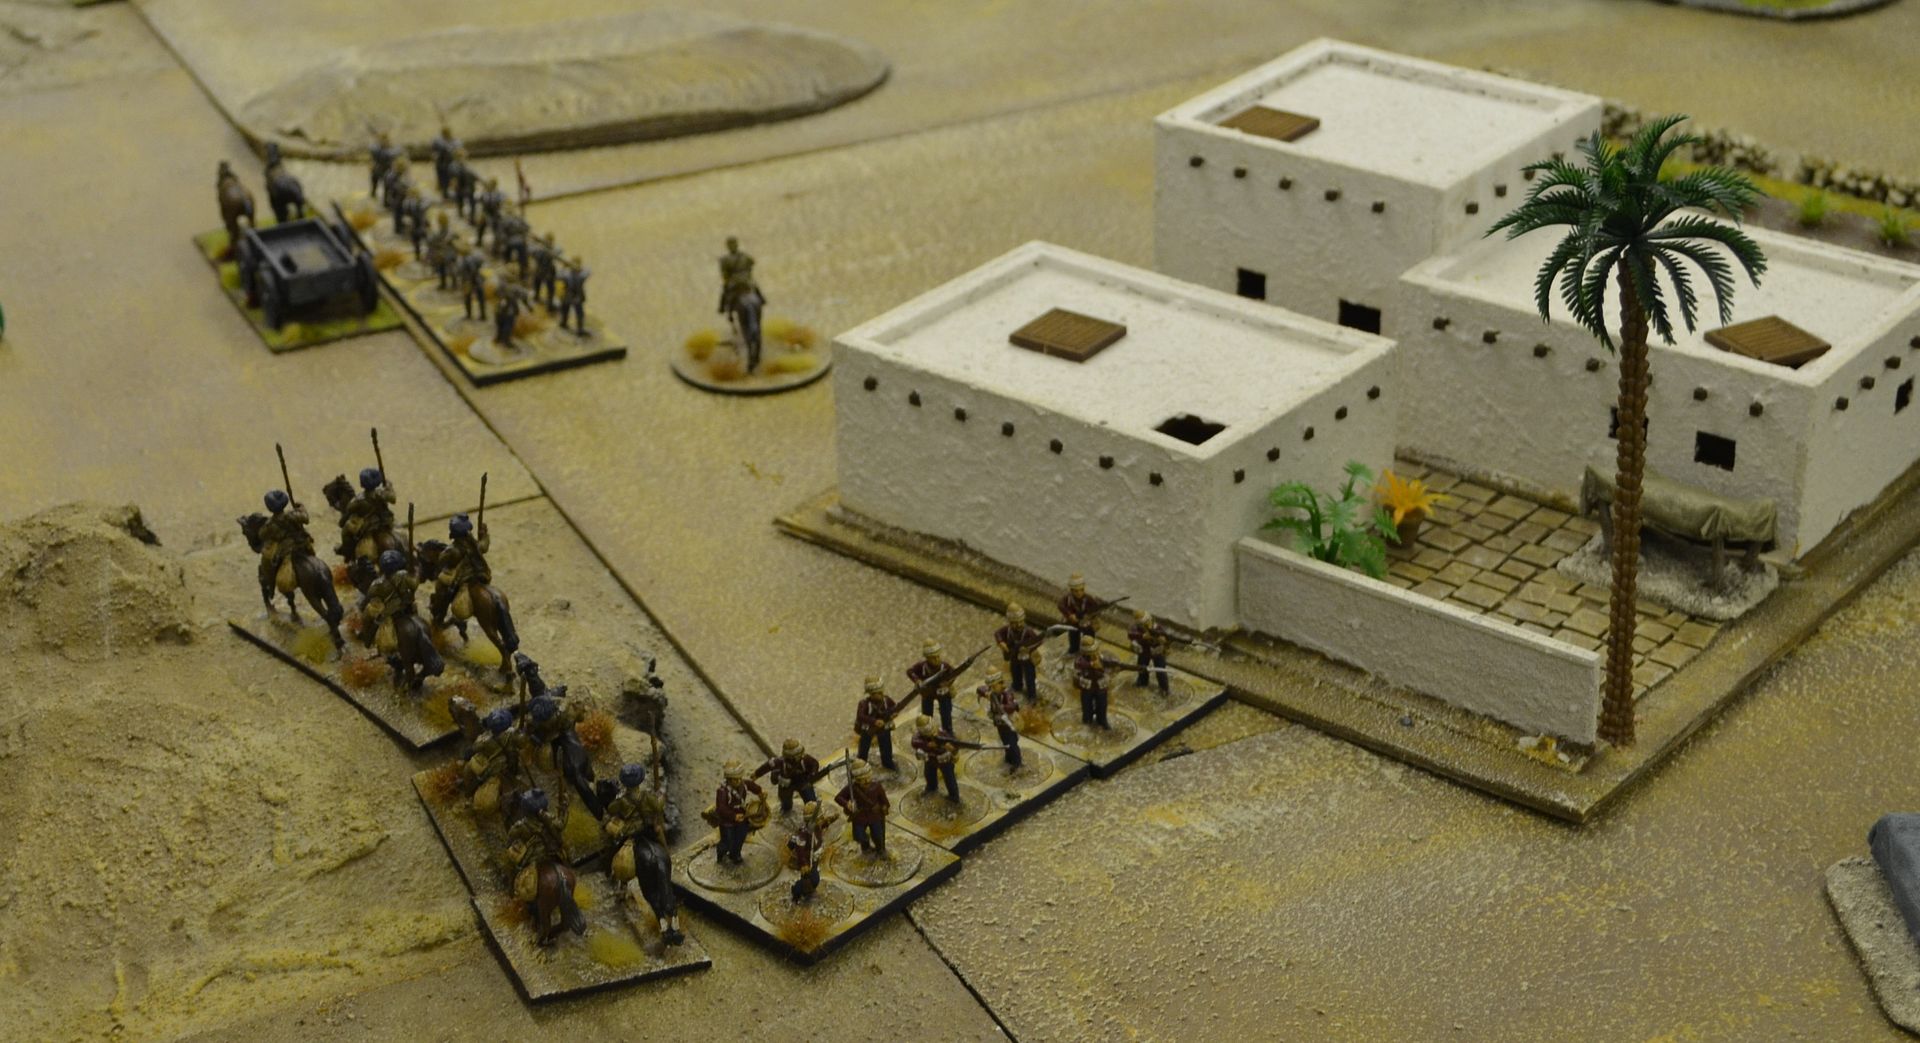
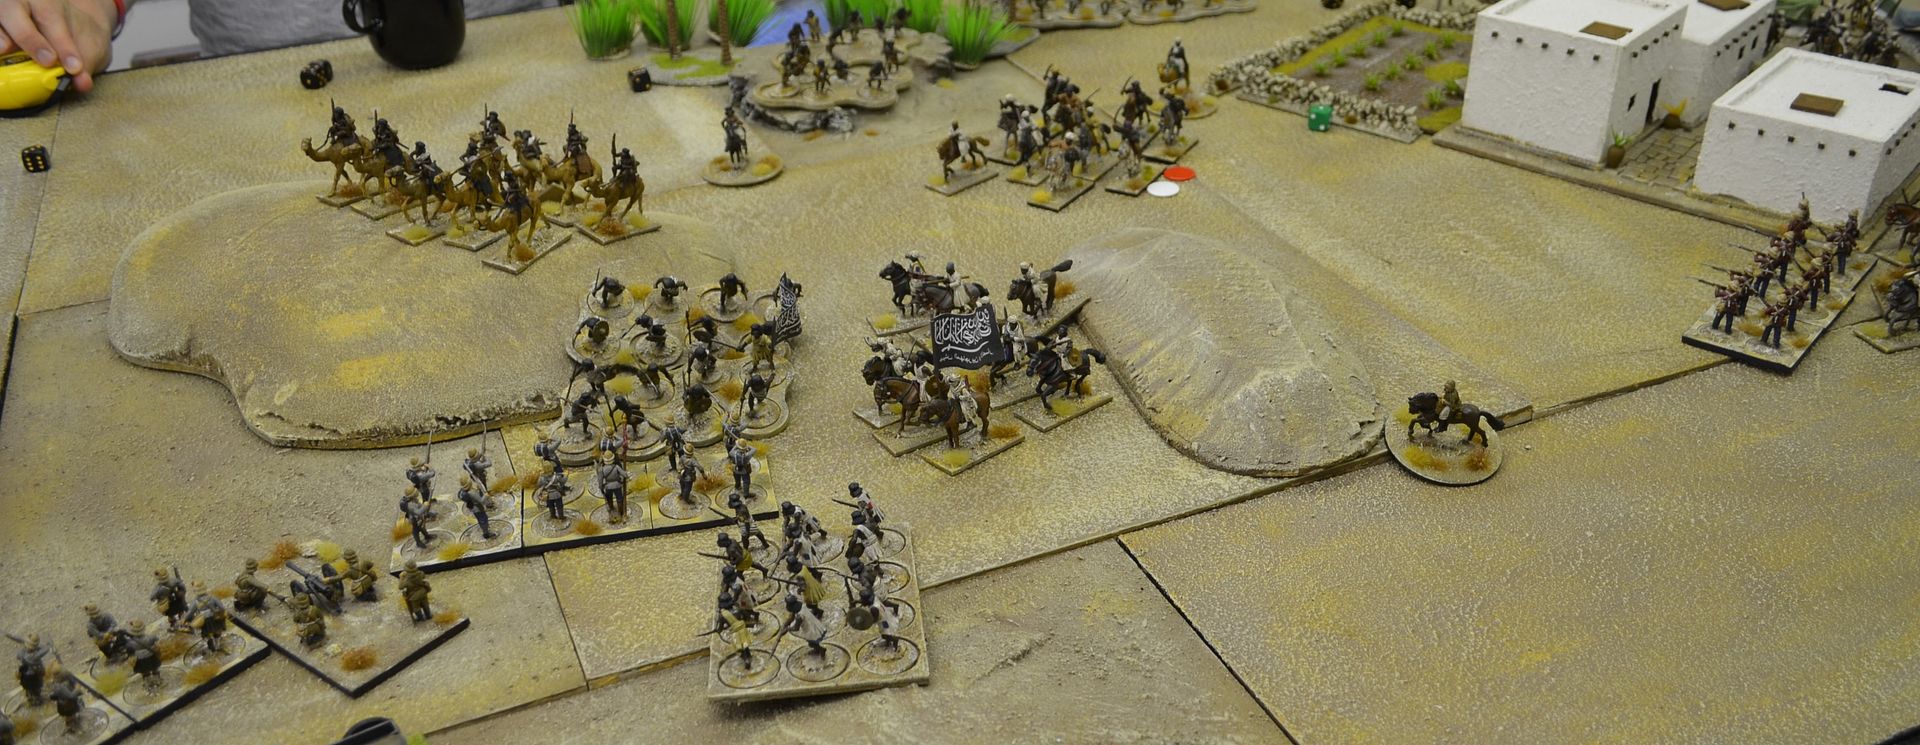
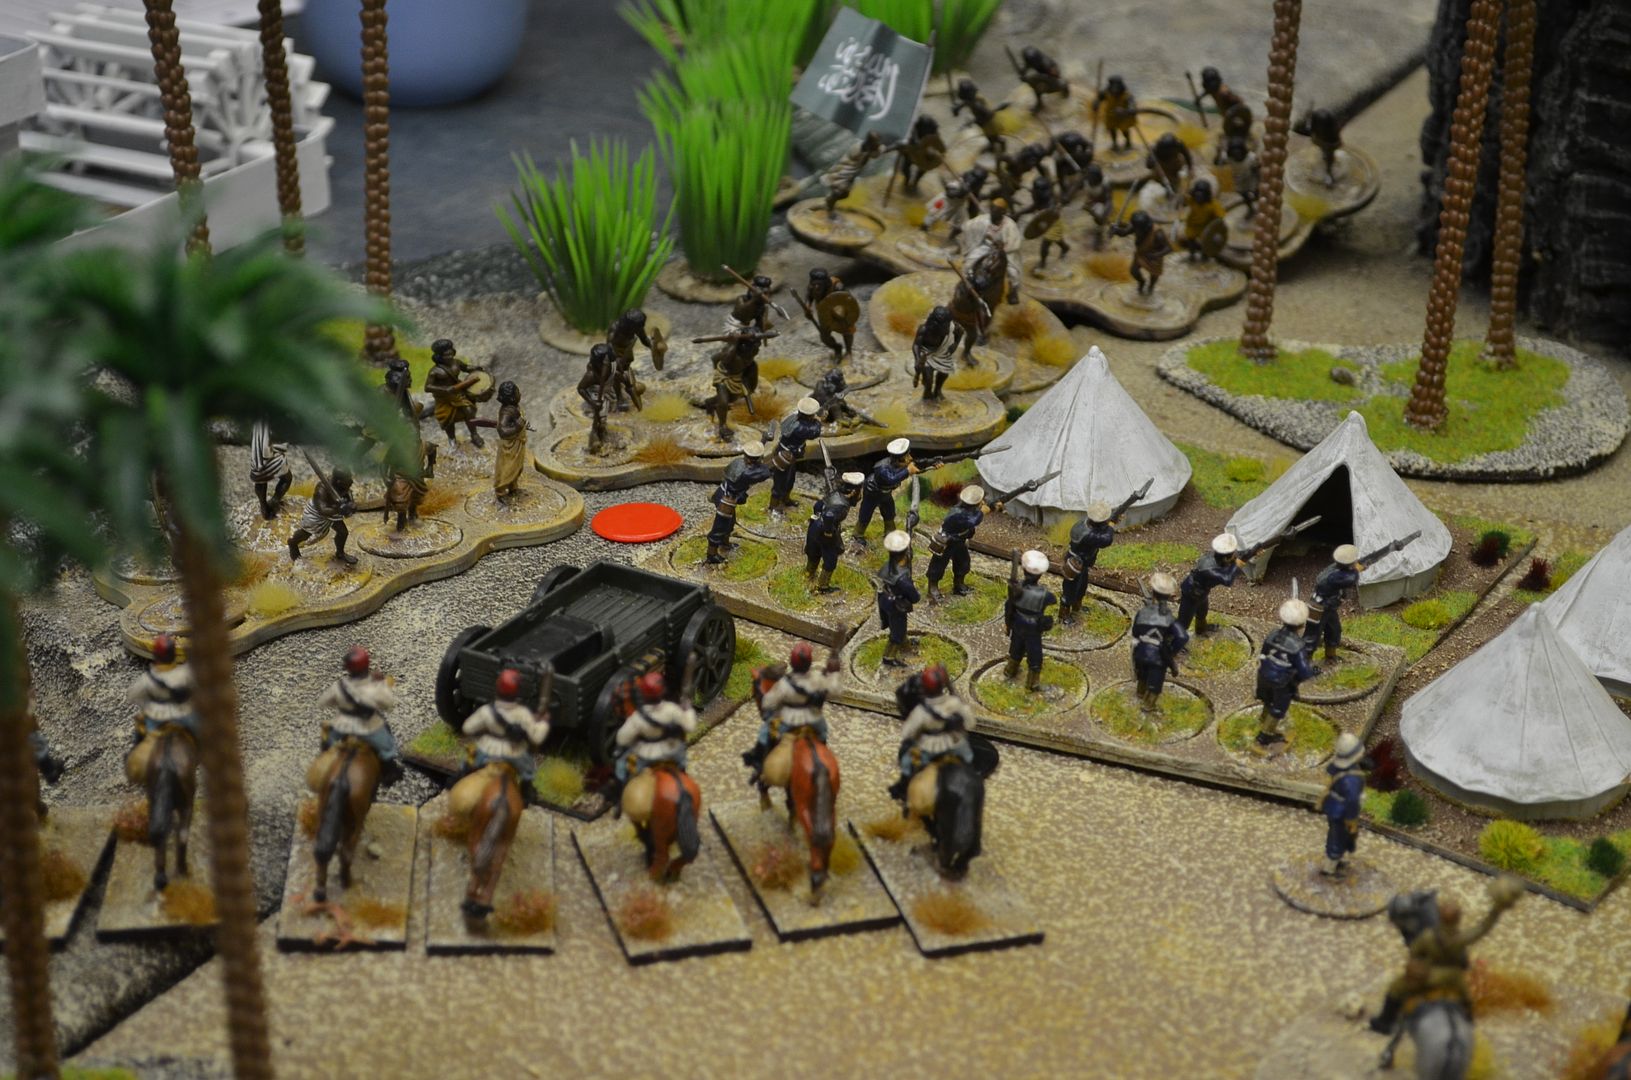
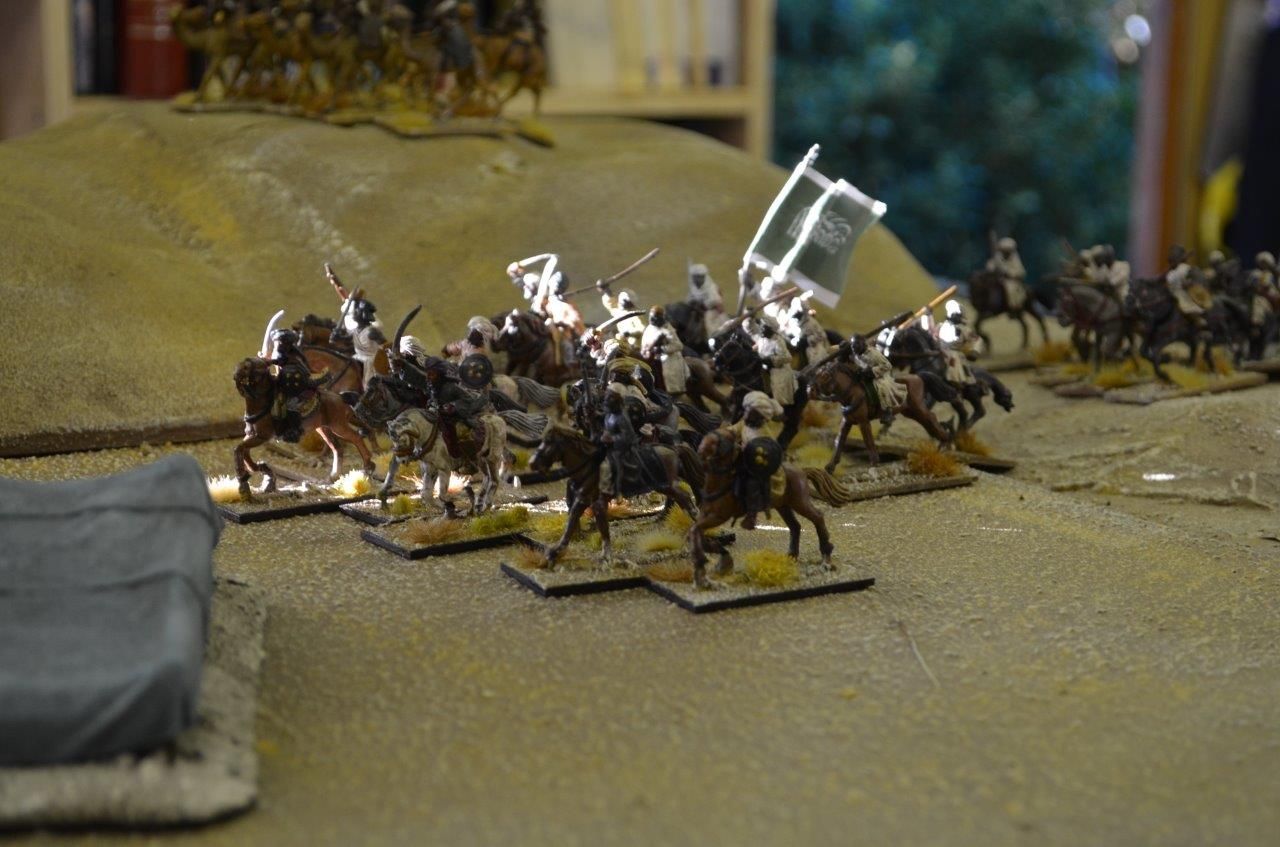
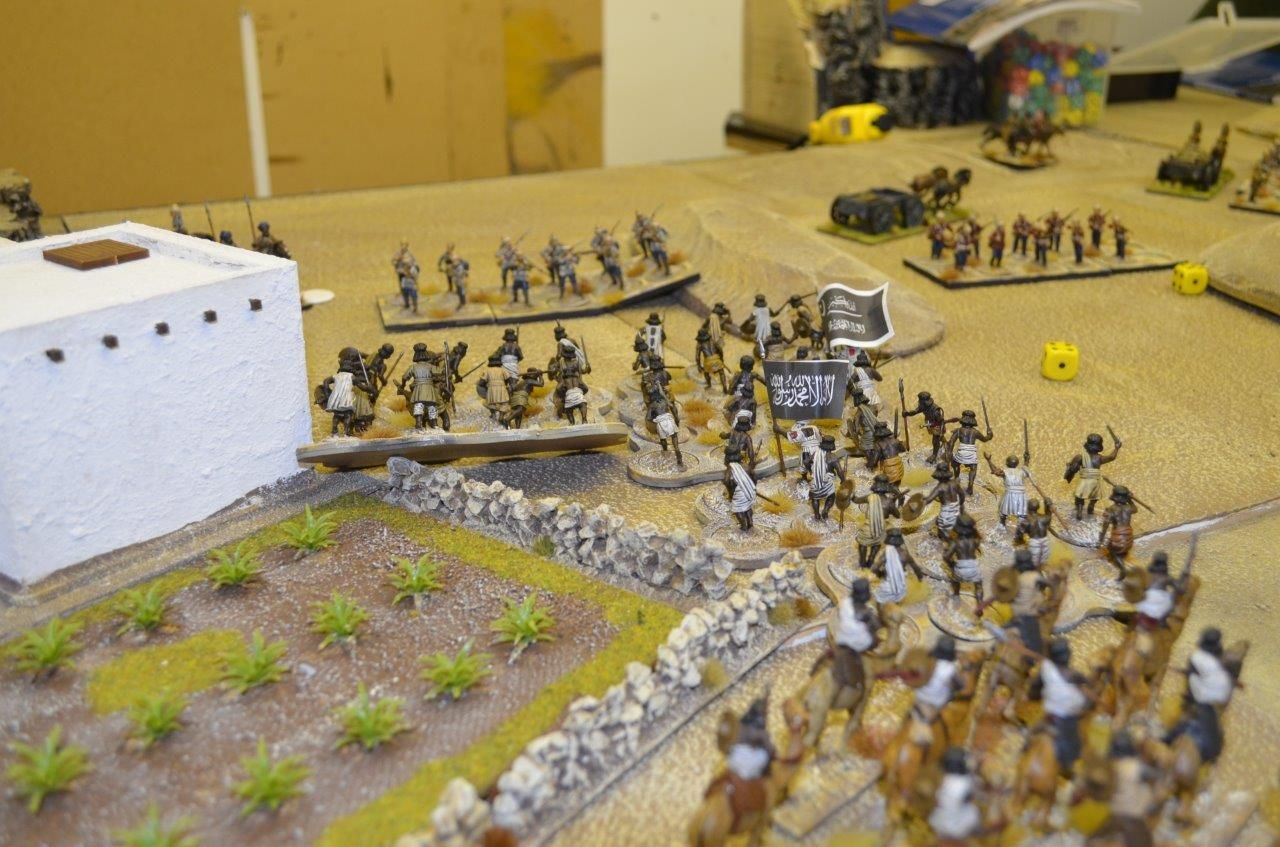
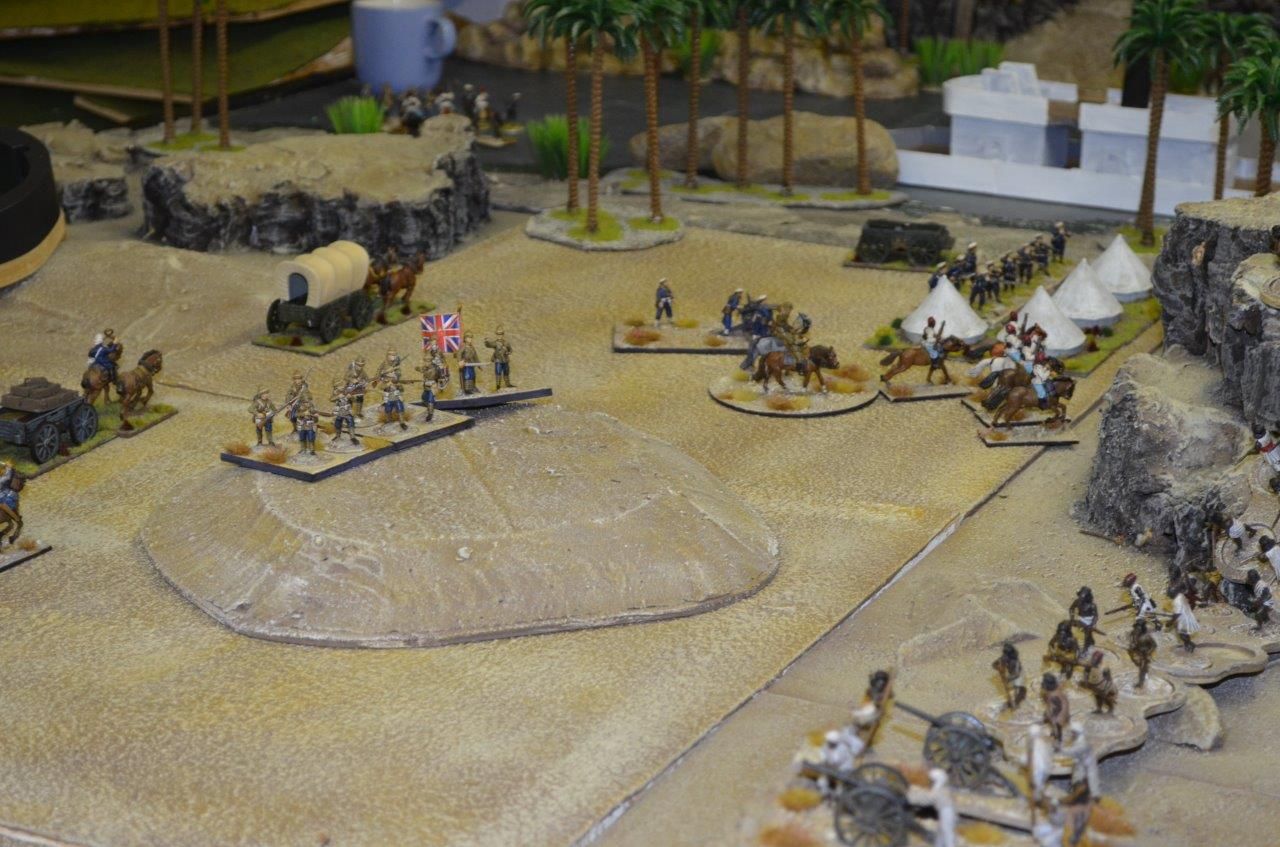
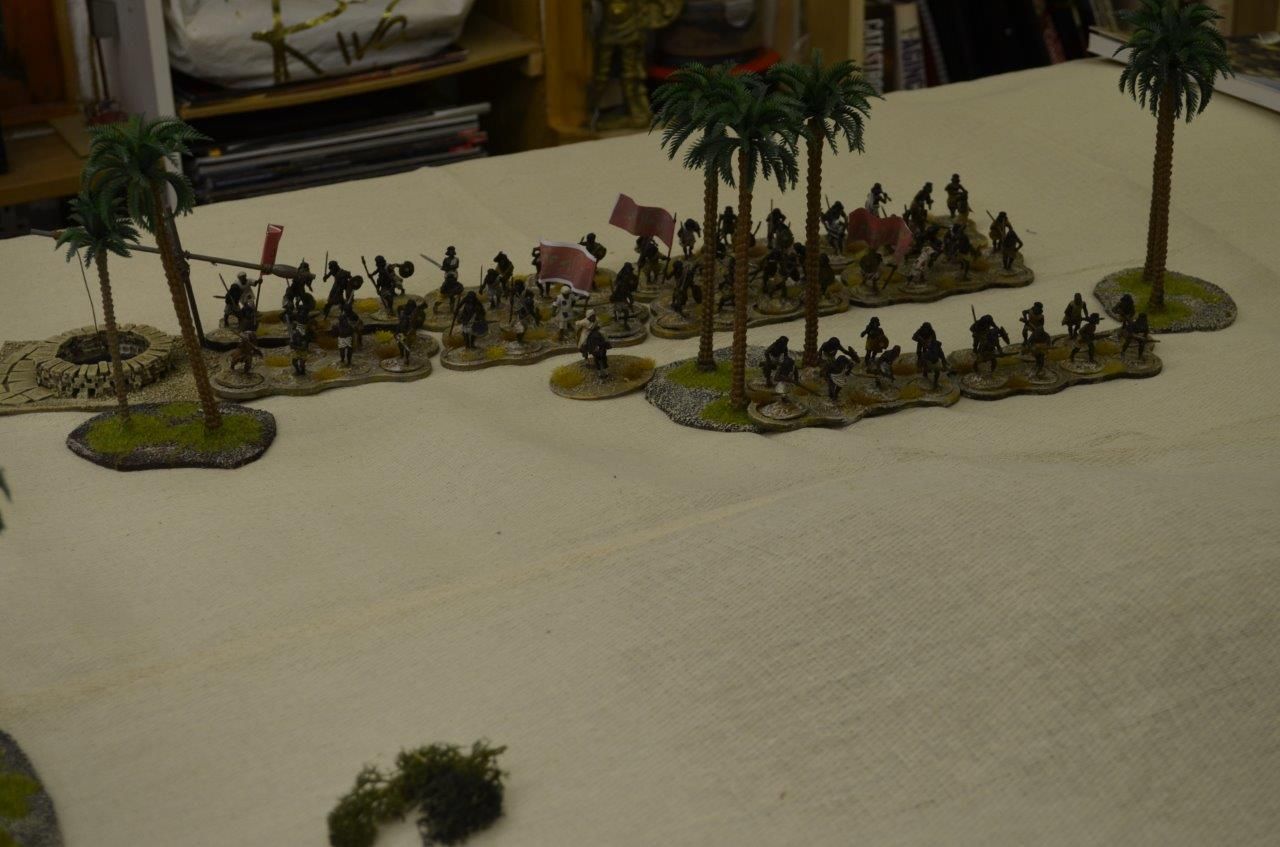
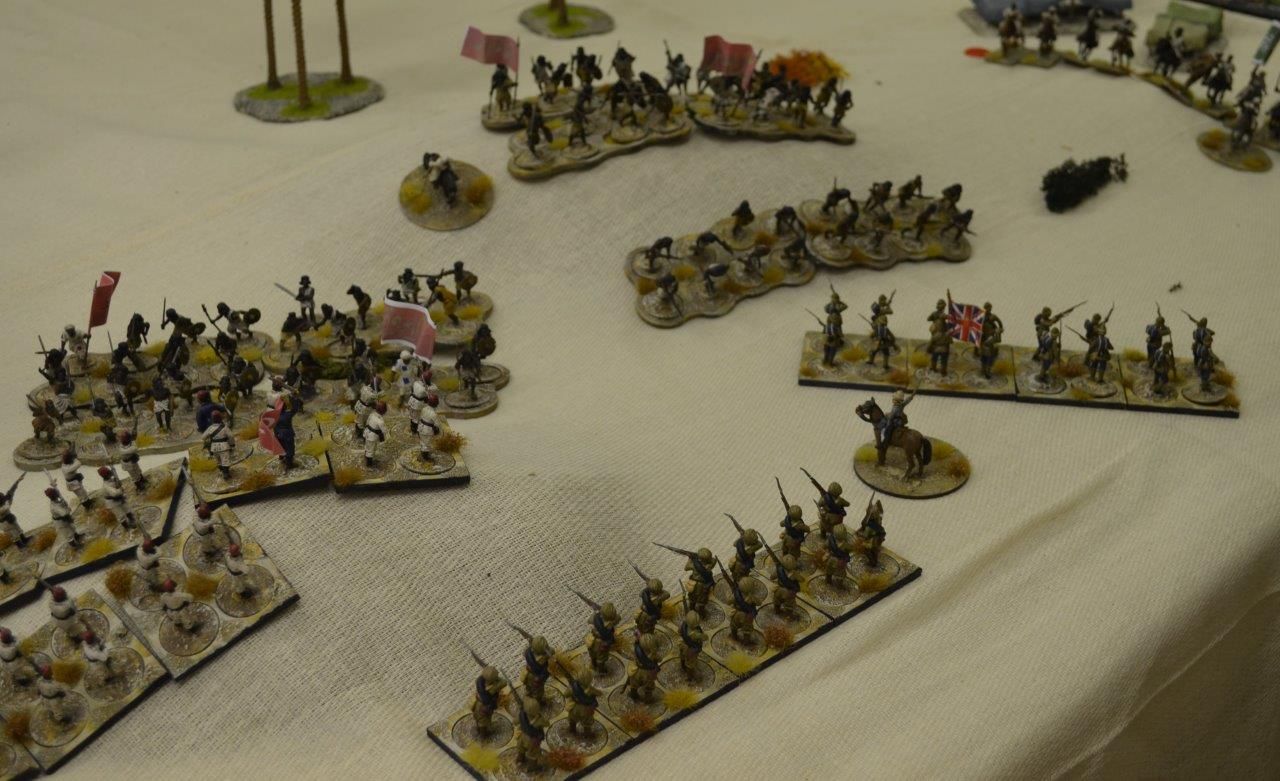
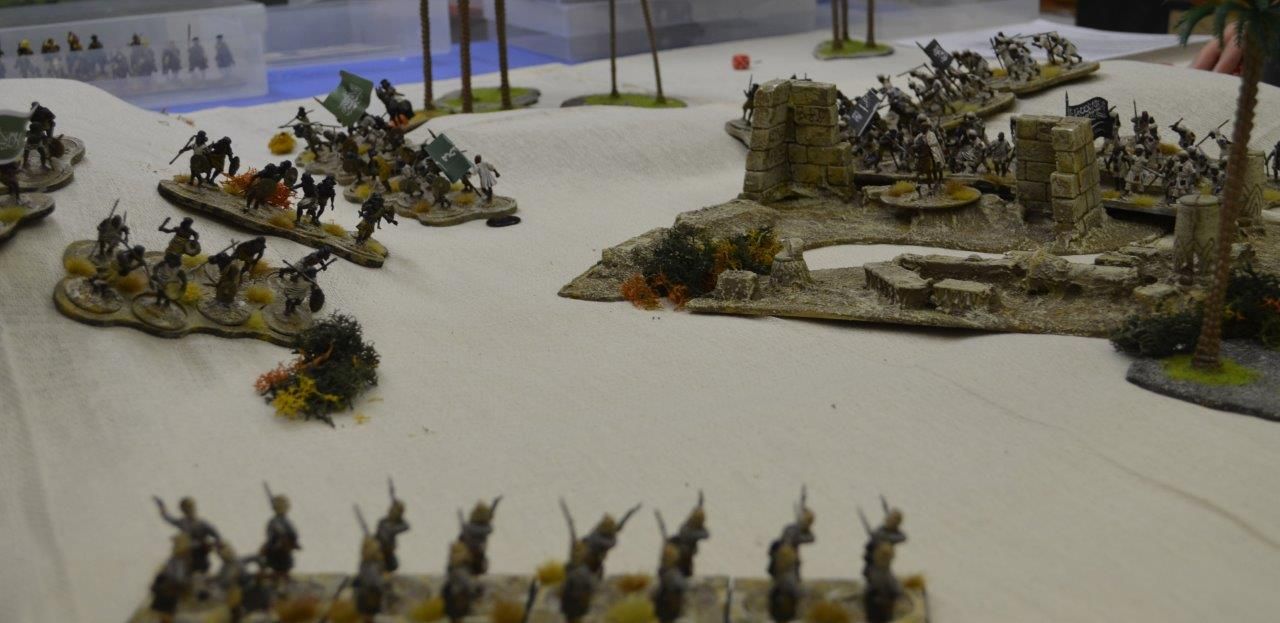
Onto the
game itself. This was going to be a straightforward simple affair. The British
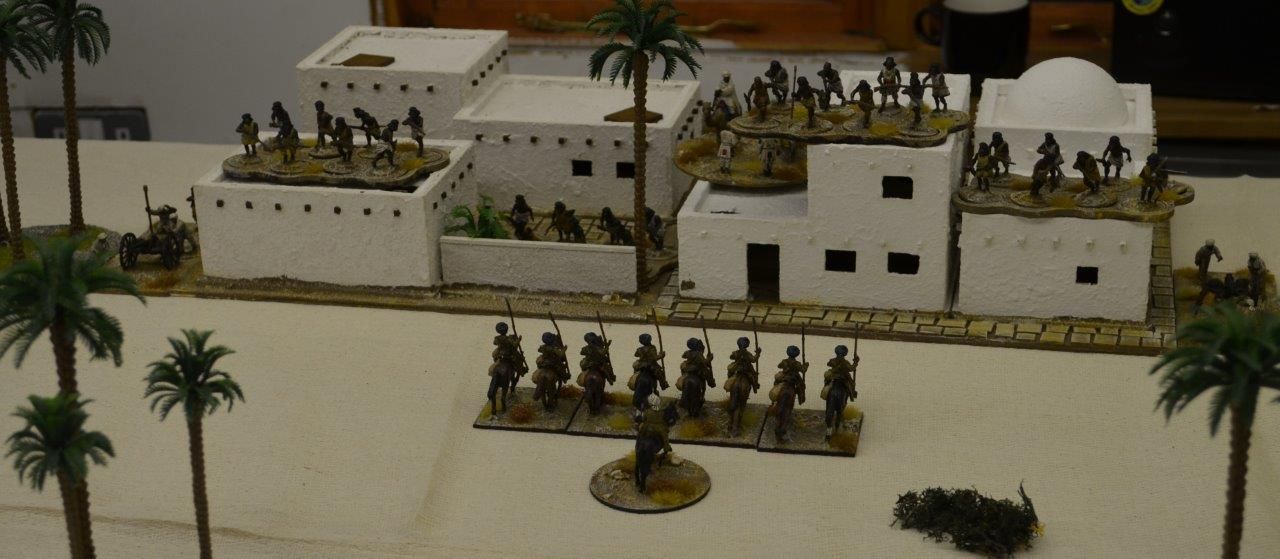
and allied forces have been instructed to clear the Mahdists from the small
village of El Gabbas, arrayed in front of them is a sizeable Dervish host.
We used the
Black Powder ruleset (version 2) – All British commanders had a rating of 9+,
Egyptians and Mahdists 8+
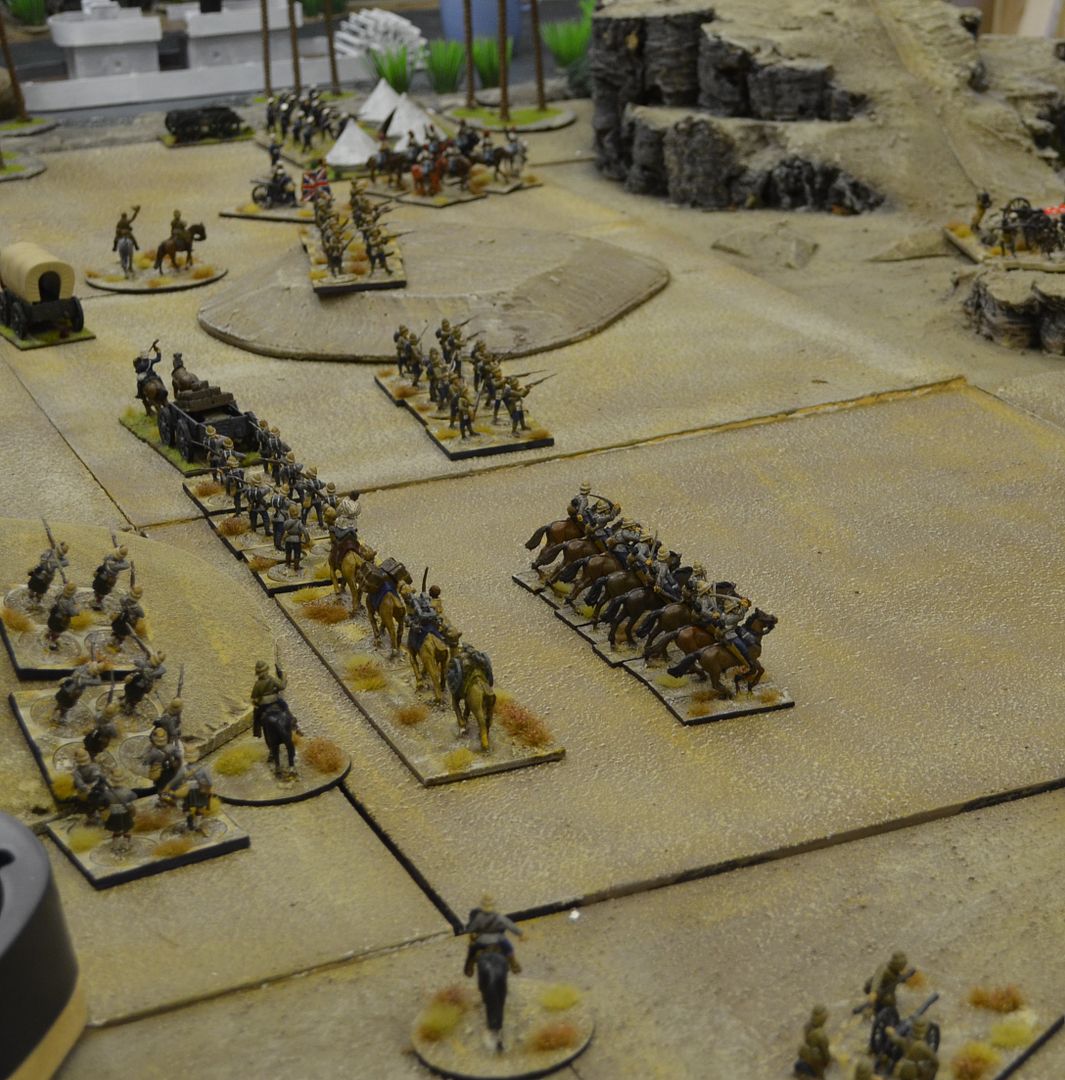
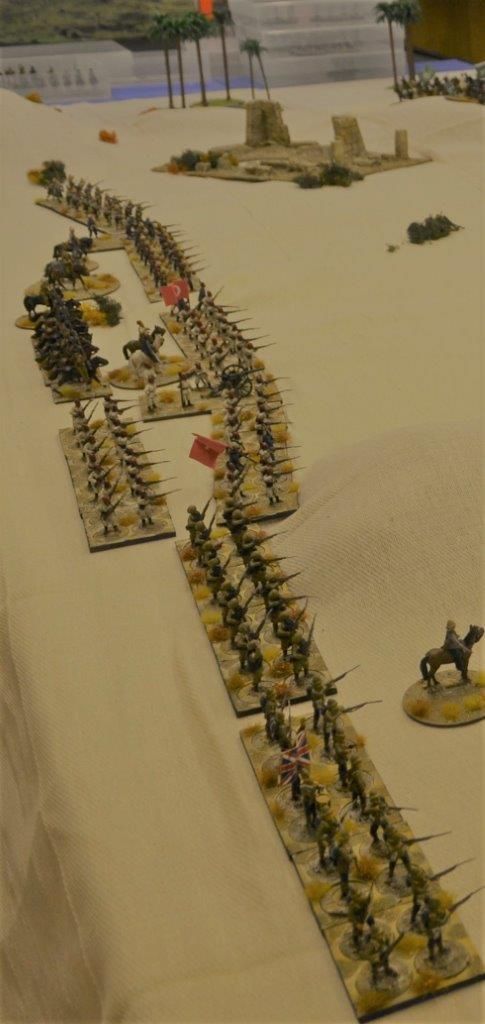
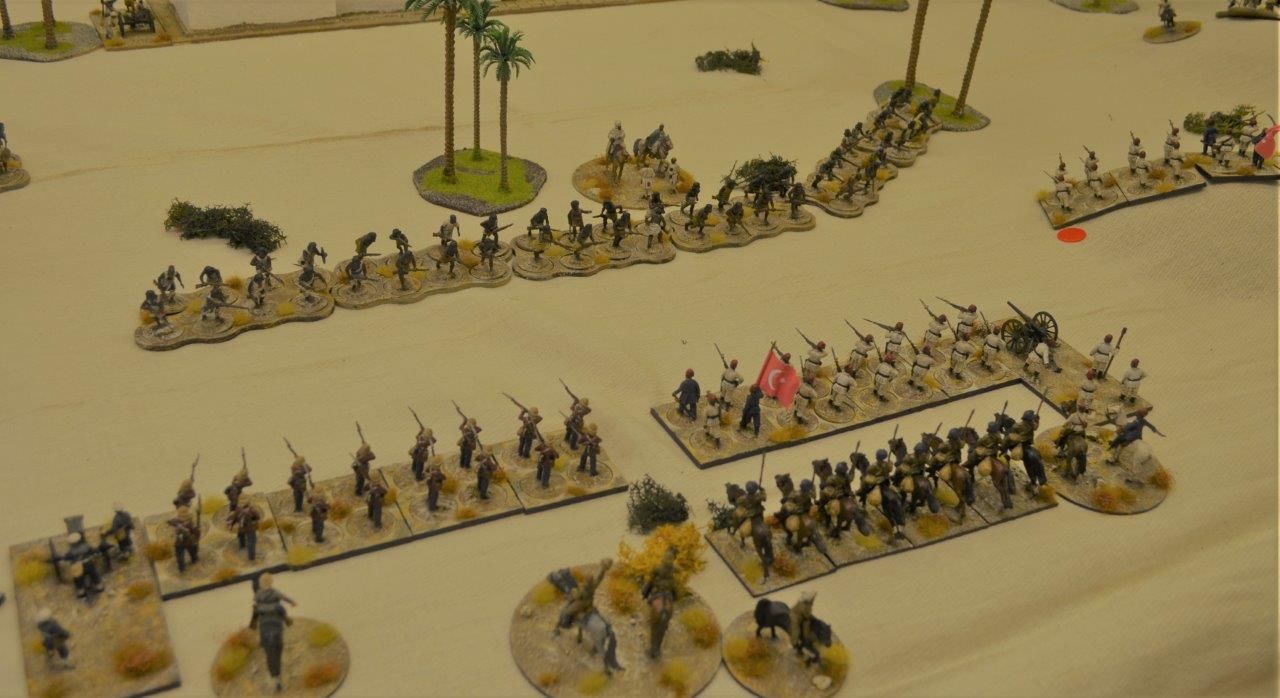
The British
Forces consisted of
1 x troop
of British Hussars (8 figures) + officer
1 x troop
of Sikh Lancers (8 figures) + officer
3 x
companies of standard British infantry (each 16 figures)
1 x company
of Scots Highlanders > the four companies of British infantry had 2
officers between them (16 figures)
3 x
companies of local Egyptian infantry + officer (each 16 figures)
1 x Naval
Maxim Gun
1 X
Egyptian Field Gun
1 X British
light field gun
Plus an
overall commander
This gave
the Allied forces a total unit count of 12 units

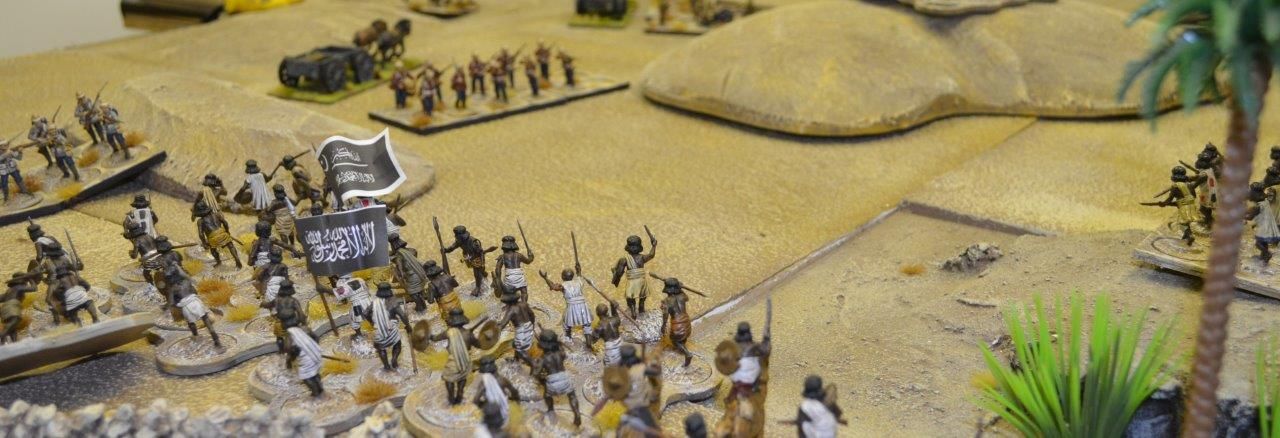
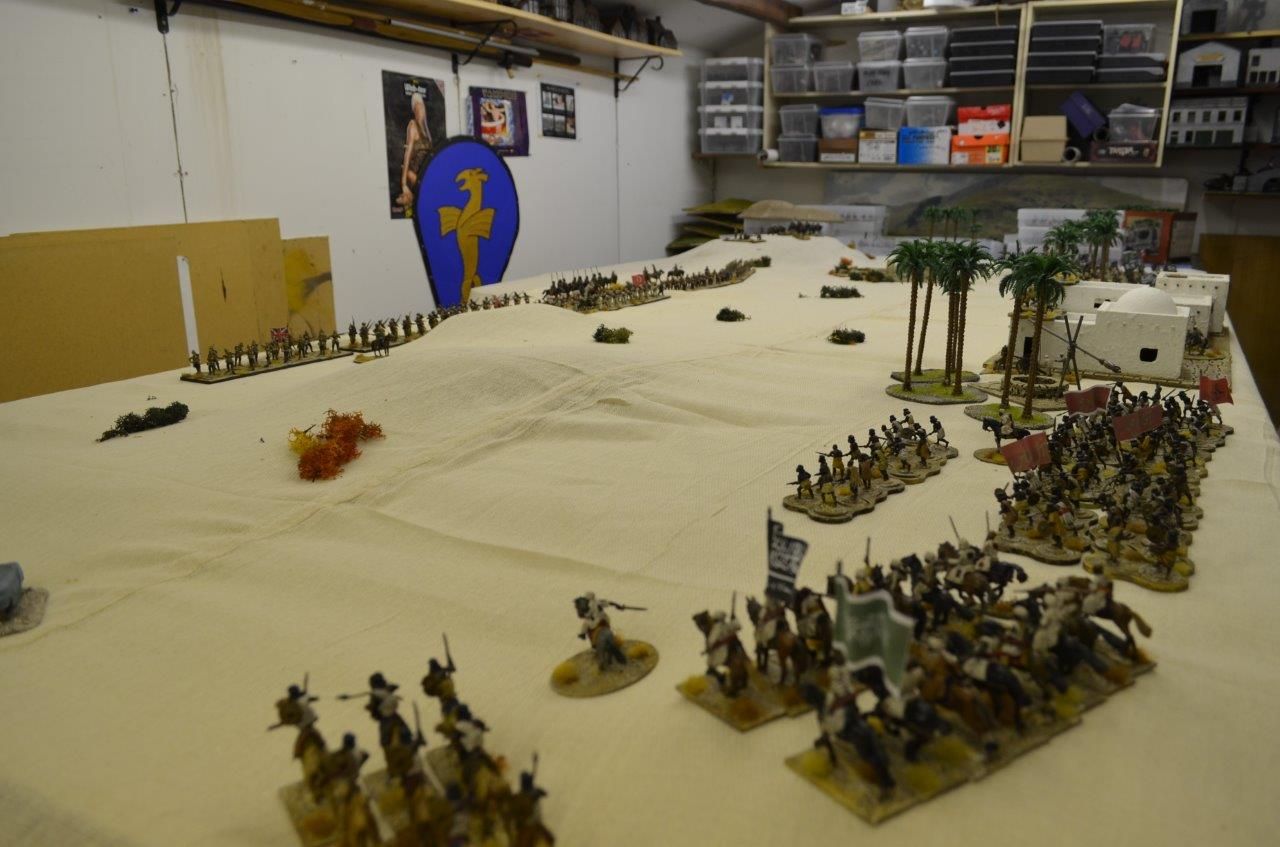
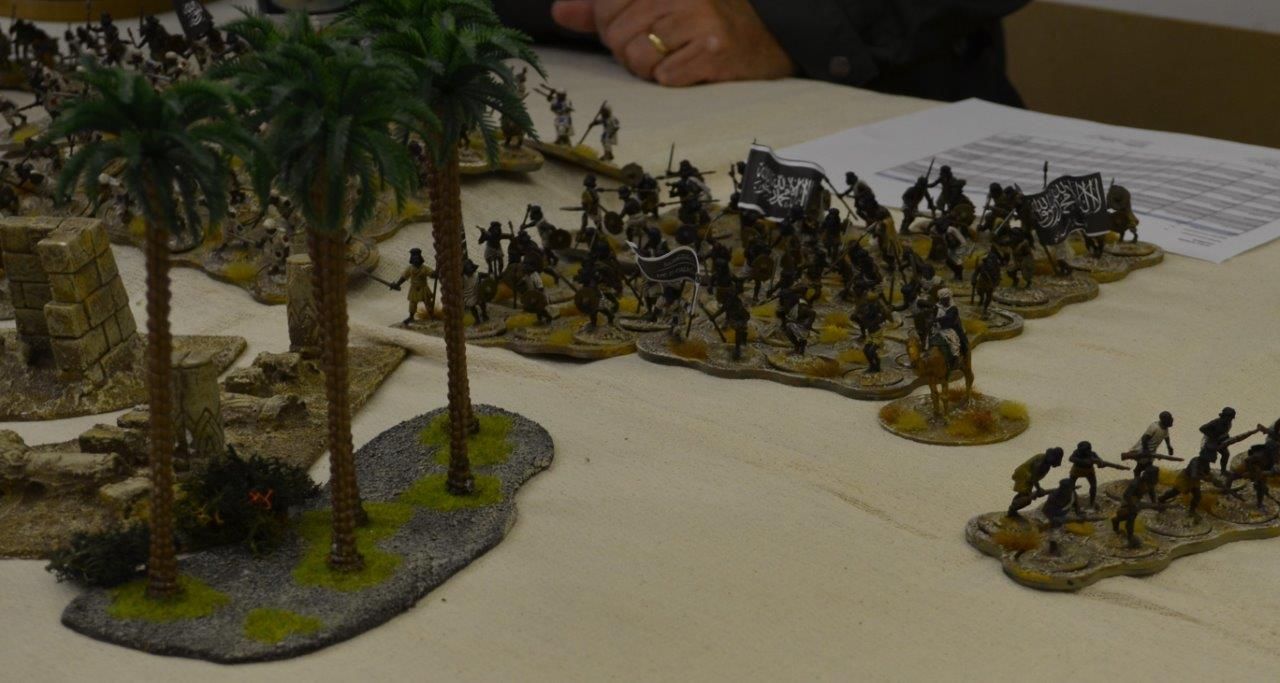
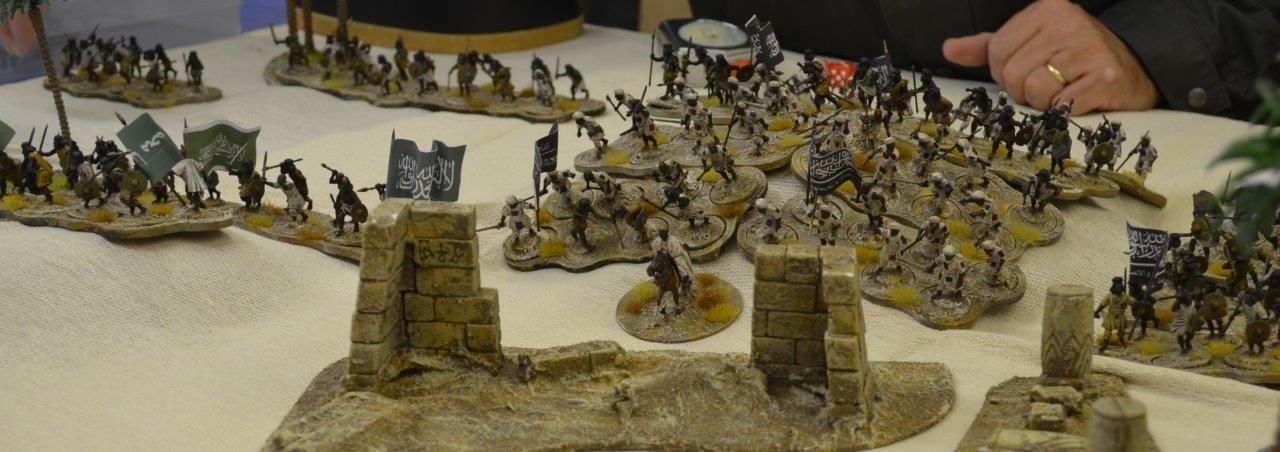
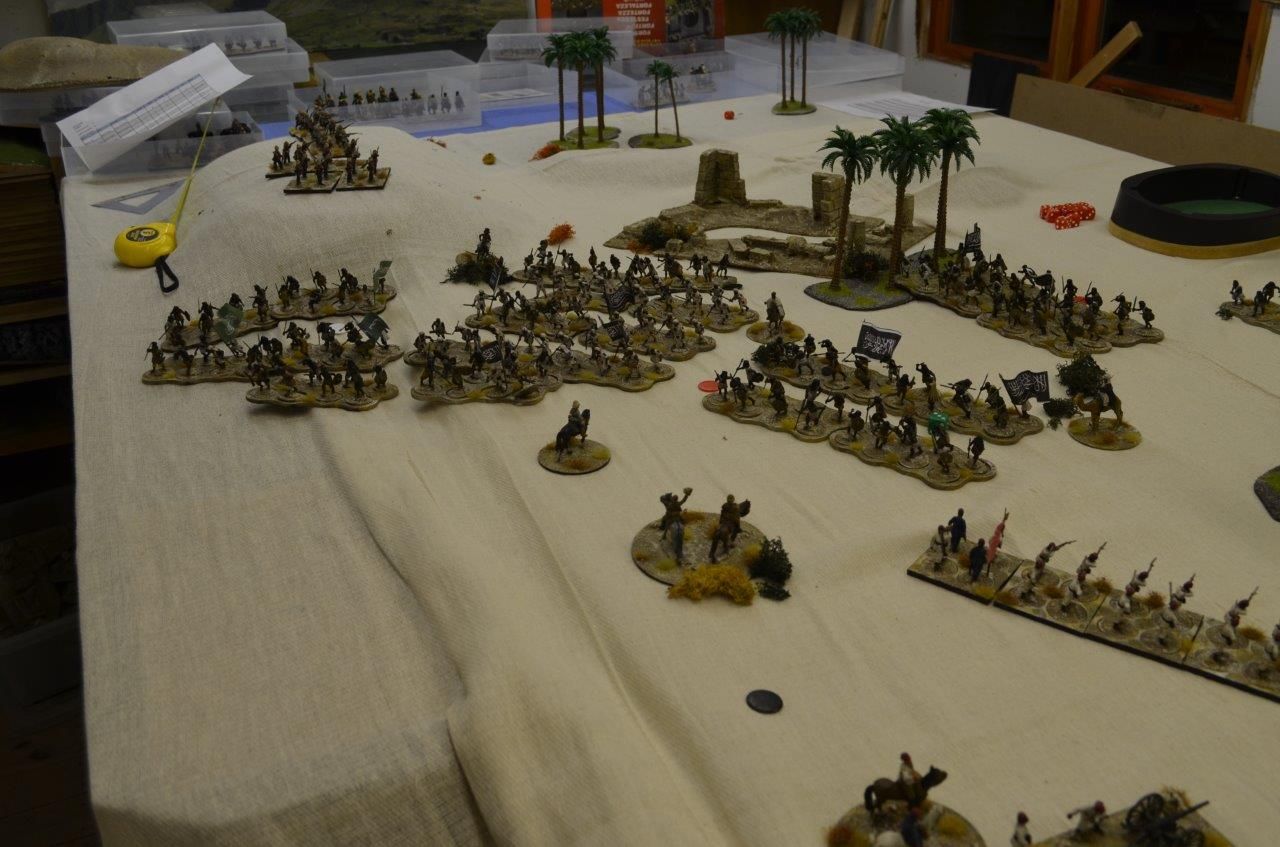
The
Mahdists Forces consisted of
2 x units
of Arab Cavalry
1 X unit of
Arab camelry (the Arab cavalry was grouped under one command)
16 warbands
( 4 warbands made a brigade with one chieftain(each warband 16 figures)
4 rifle
armed warbands (plus command) – 16 figures
2 x
captured Egyptian field guns
A total of
25 units (including artillery)

The game
objectives were simple for one side to break the other (the losing side would
need to lose 50% plus of its forces – either driven from the table or in a
shaken state at the end of the turn. Any unit forced off the table in retreat
could not re-enter.
This was
very much a playtest to see if the forces deployed were a match for each other
– after all there is no point in hosting a game if one side has little or no
chance of defeating the other. Mark elected to play the Dervish and I would
play the Brits. Certainly from my perspective the hordes of natives looked very
imposing and I was seriously thinking that thinking that I was going to get
spanked big time.
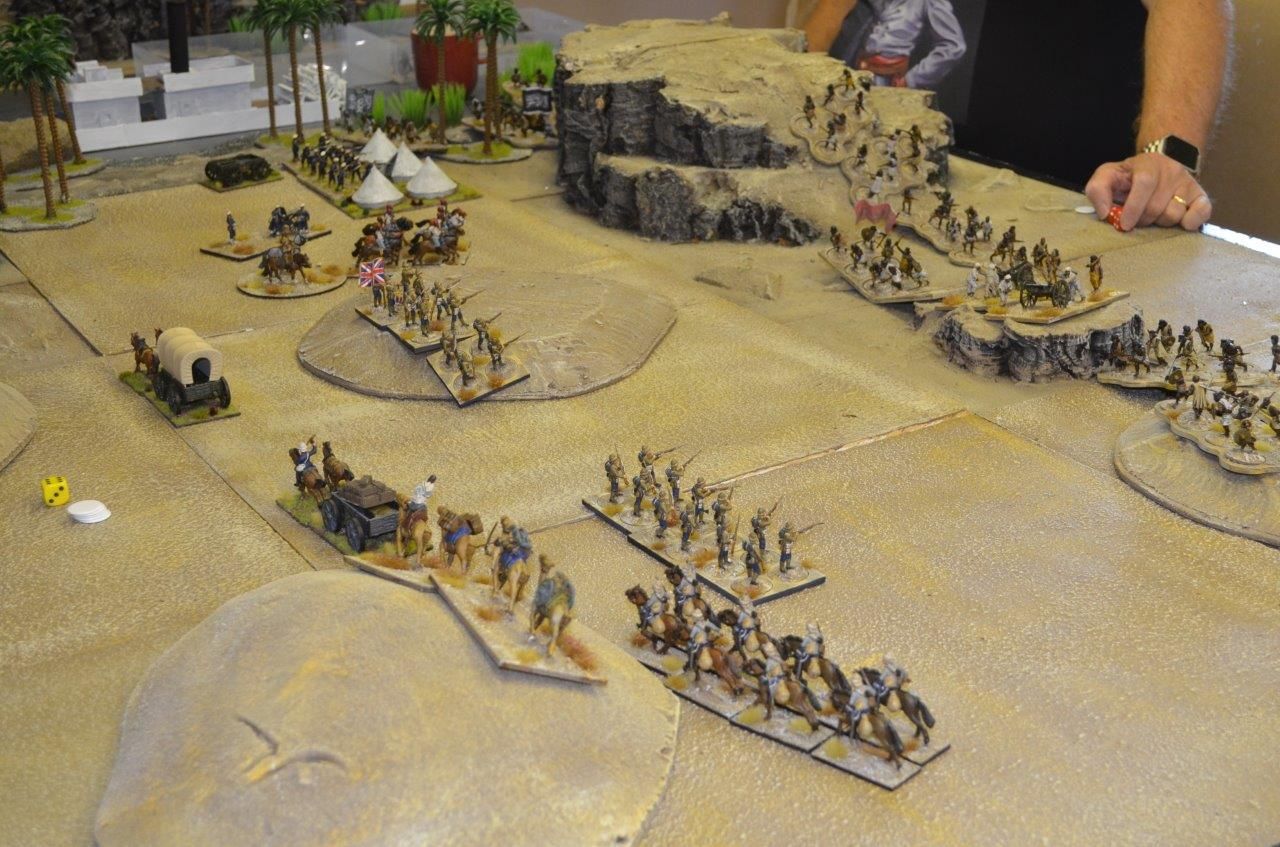
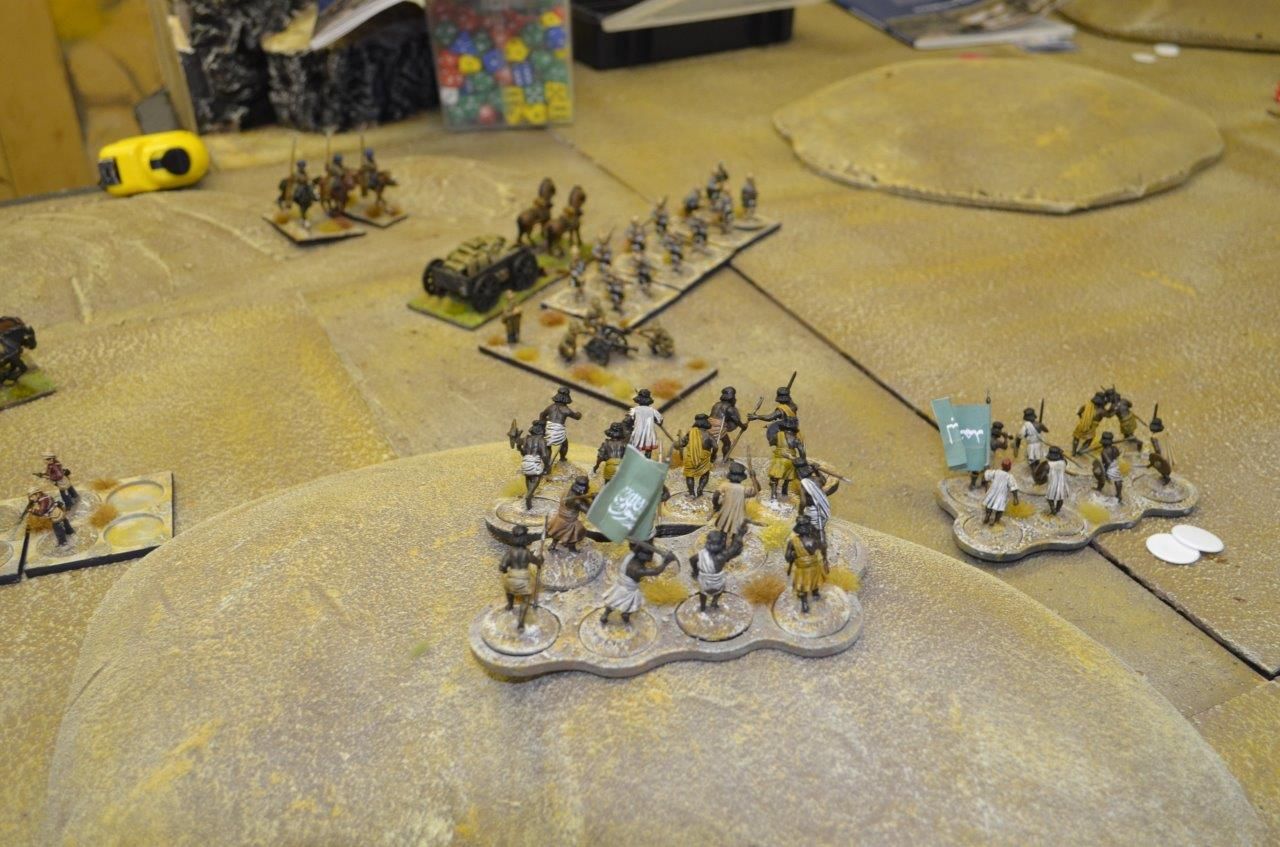
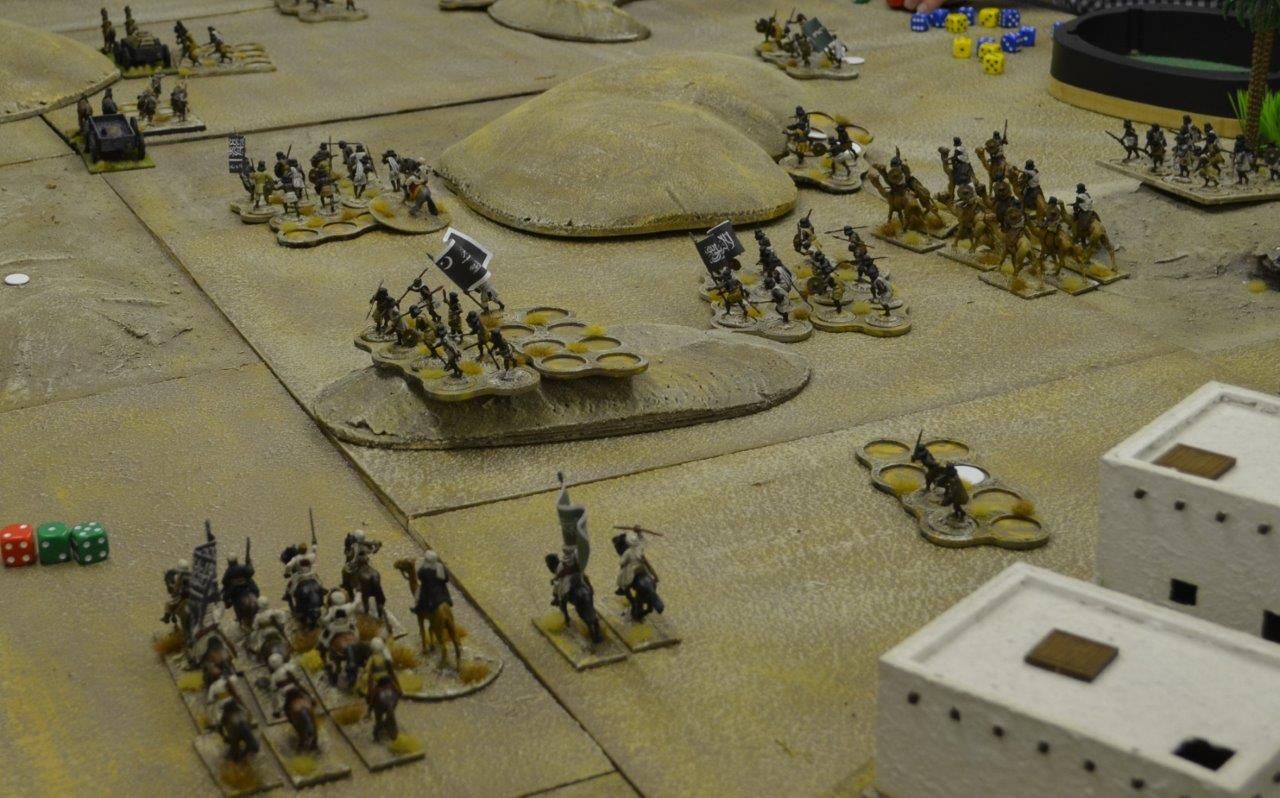
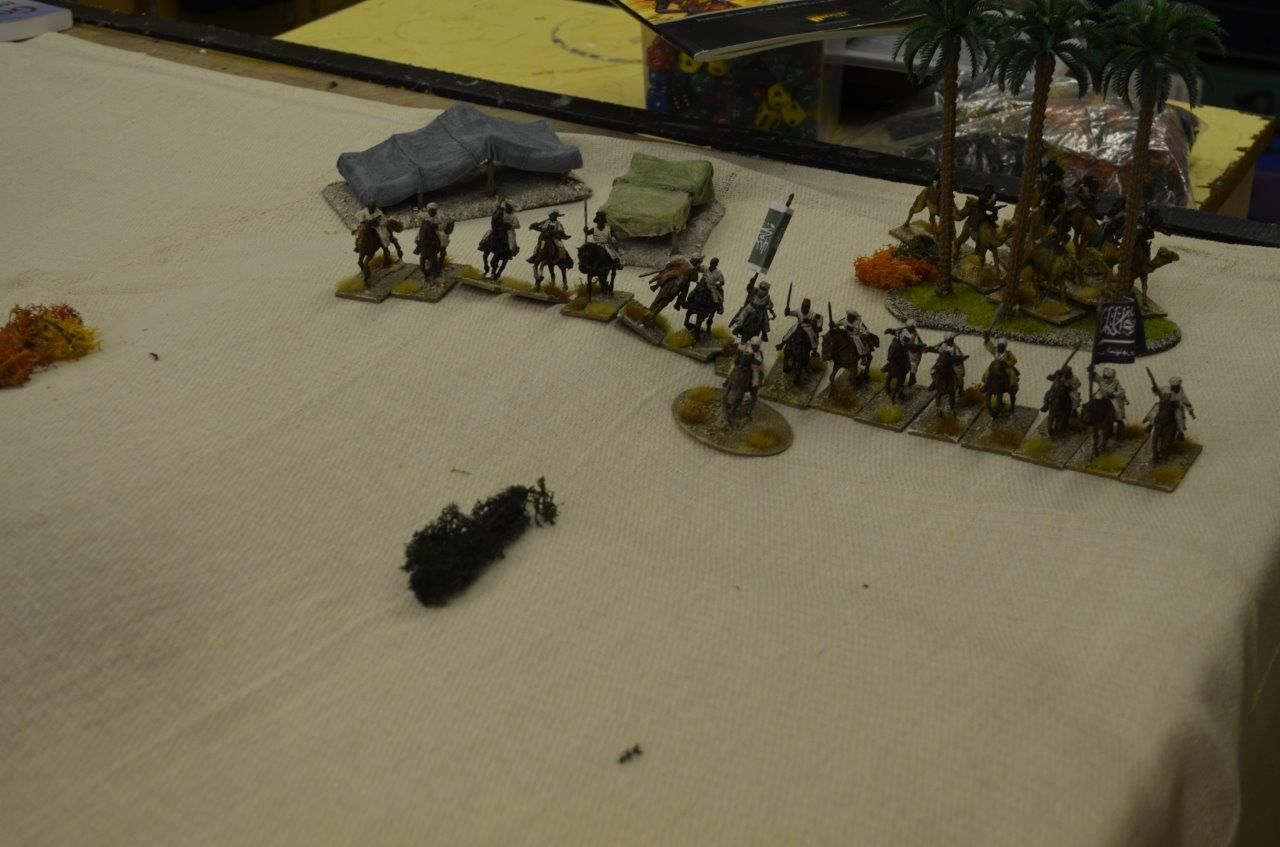
The Mahdist
forces kicked off proceedings and elected to advance on both flanks – this they
achieved with some success on their right flank with the cavalry but their left
refused to budge.
BY the end of the Dervish turn a few forces had edged forward but remained out of range. Time for the British. With my Lancers out of position in the centre I elected to swing thee towards my right flank. The rest of the force would hold awaiting the Dervish to advance onto my nice neat lines of infantry. The Lancers rolled their command and blundered. It got worse as the horse charged through my ranks and straight up the table finishing their turn a few inches from the defended village.


BY the end of the Dervish turn a few forces had edged forward but remained out of range. Time for the British. With my Lancers out of position in the centre I elected to swing thee towards my right flank. The rest of the force would hold awaiting the Dervish to advance onto my nice neat lines of infantry. The Lancers rolled their command and blundered. It got worse as the horse charged through my ranks and straight up the table finishing their turn a few inches from the defended village.

A rather
poor start for the British – the sense of foreboding got worse when the Dervish
left flank advanced on mass behind the dunes and their cavalry positioned
themselves for a charge into my flank. Meanwhile it was all quiet on the other
end of the field. Somewhat nervously the horde advanced forward slowly. It was
now time for the Dervish village defenders (armed with rifles) to pour fire
into the lost lancers, a rather neat enfilade fire adding to the Indian woes.
Rifles spat the lead bullets and several horse were dropped – the resulting
fire driving the Sikhs back shaken and disordered. These brave but gallant
fellows were able to retreat back to their lines in the coming turns and were
rallied to play a part later in the game. So although first blood was drawn the
natives couldn’t capitalize.


The
steadfast British troops waited patiently. A few rounds of artillery fire found
targets but inflicted minor damage.
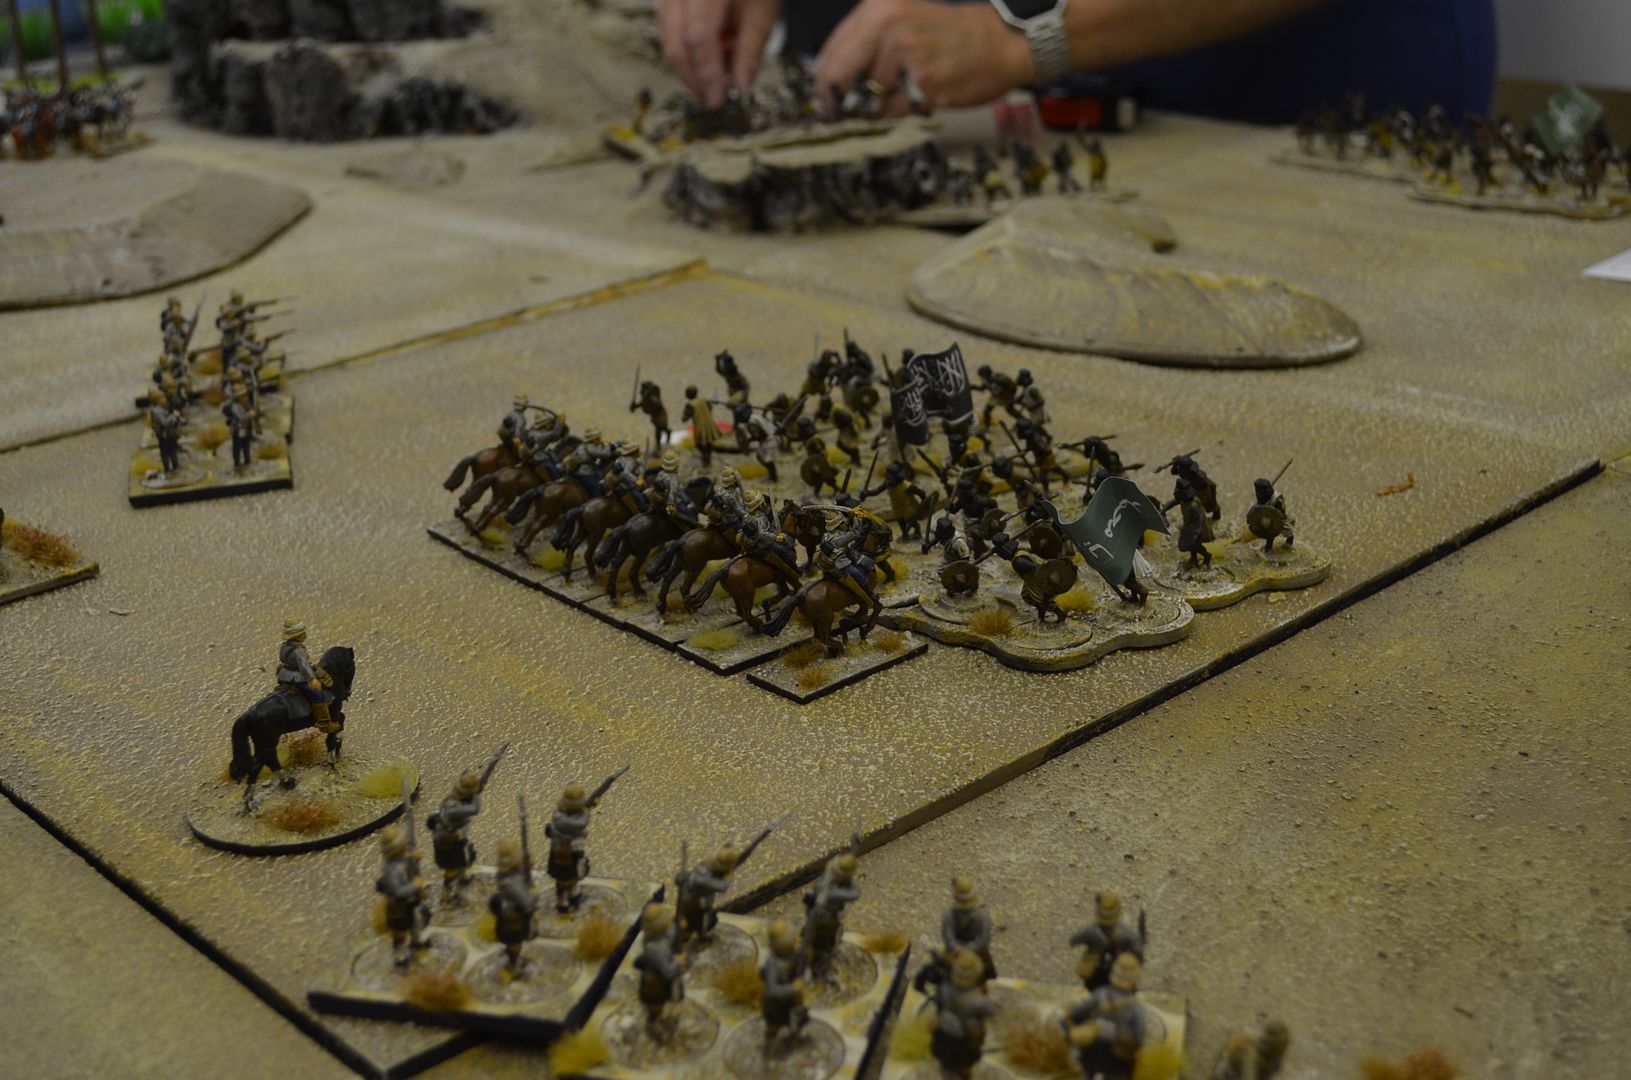
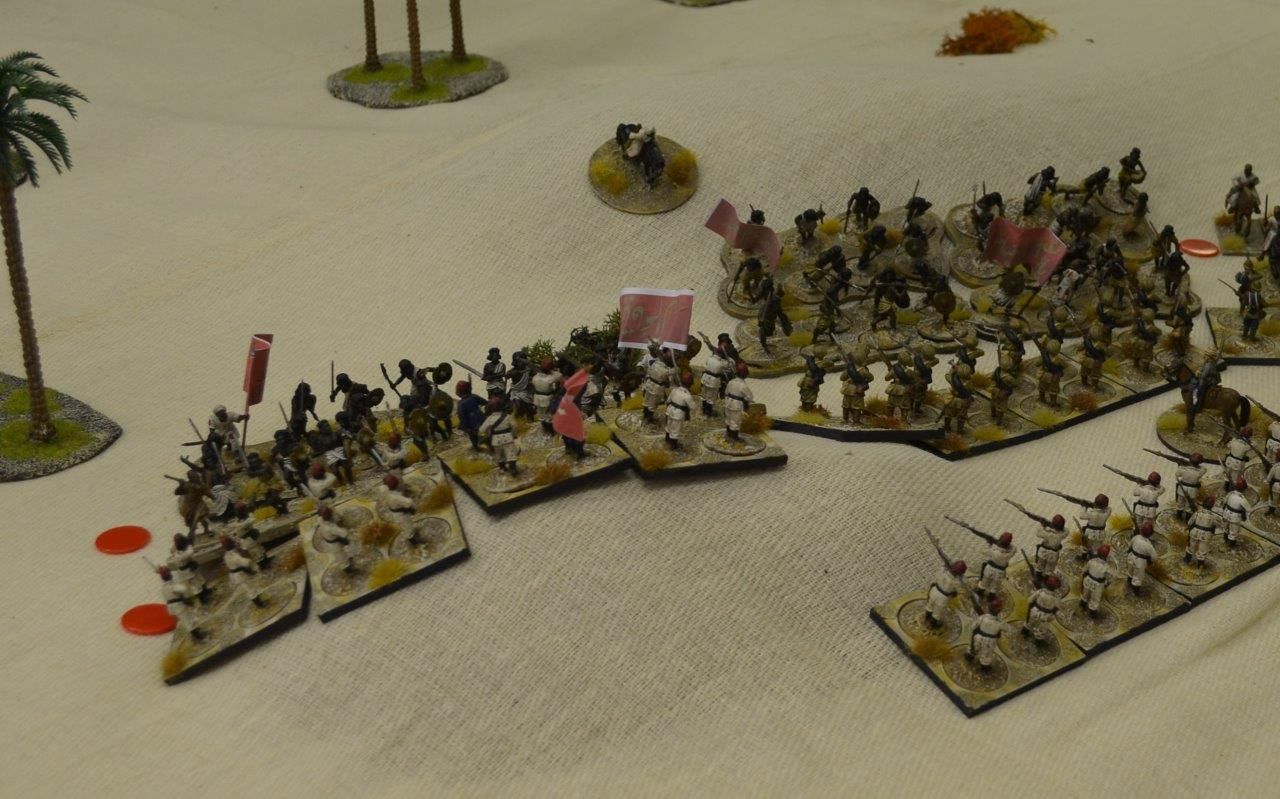
Once more
the natives took their turn and rushed the British and Allied lines on the
right flank. Cavalry and Fanatic tribesmen crashed towards the British lines –
closing fire was given shattering the charge. Two warbands disordered yet still
potent hit the British lines. The melee was furious with the terrifying charge
bonus awarded to the Dervish utmost in my mind (not only do these fanatics
cause their opponents to take an immediate break test but they also get to
reroll all their missed combat dice. Both sides fought bravely but only by dint
of the shock inflicted by the closing fire did the British hold off this first
wave.
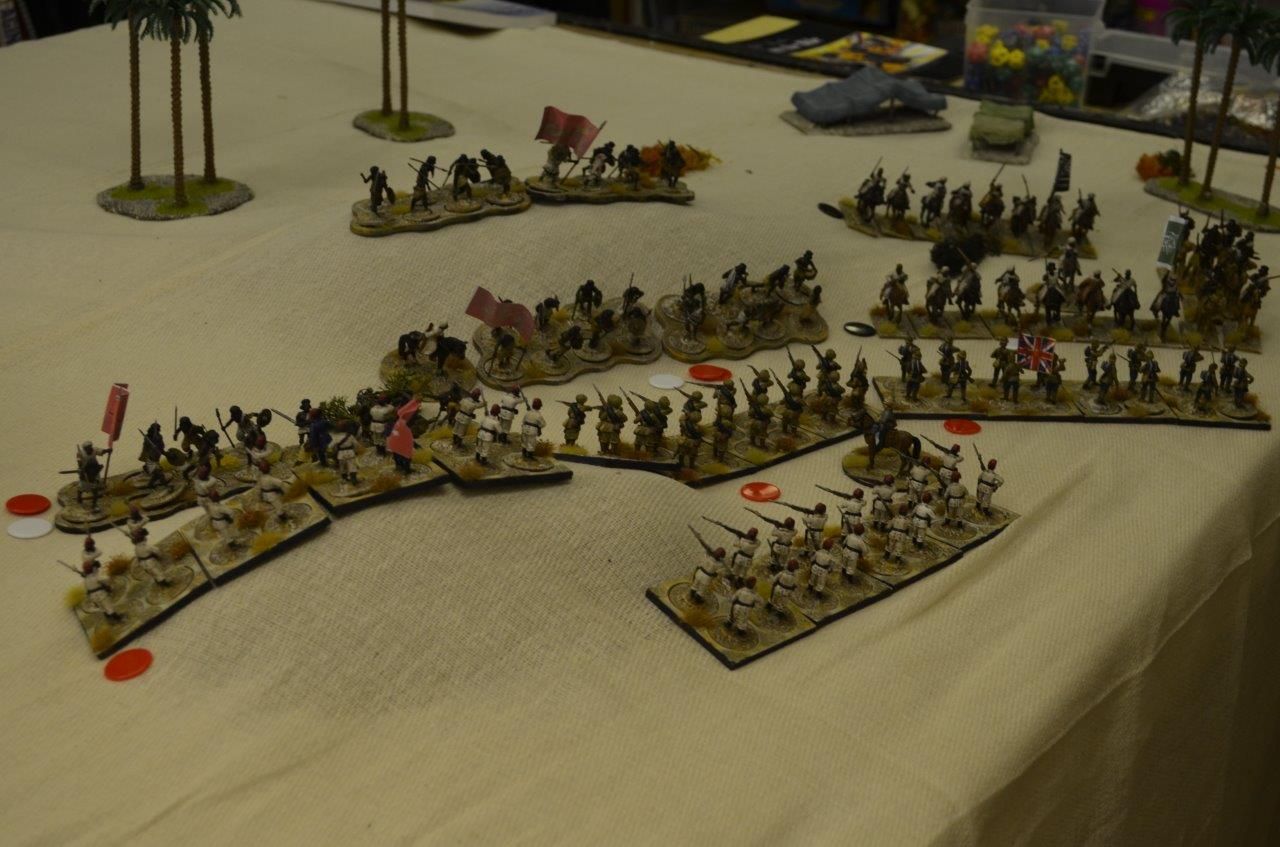
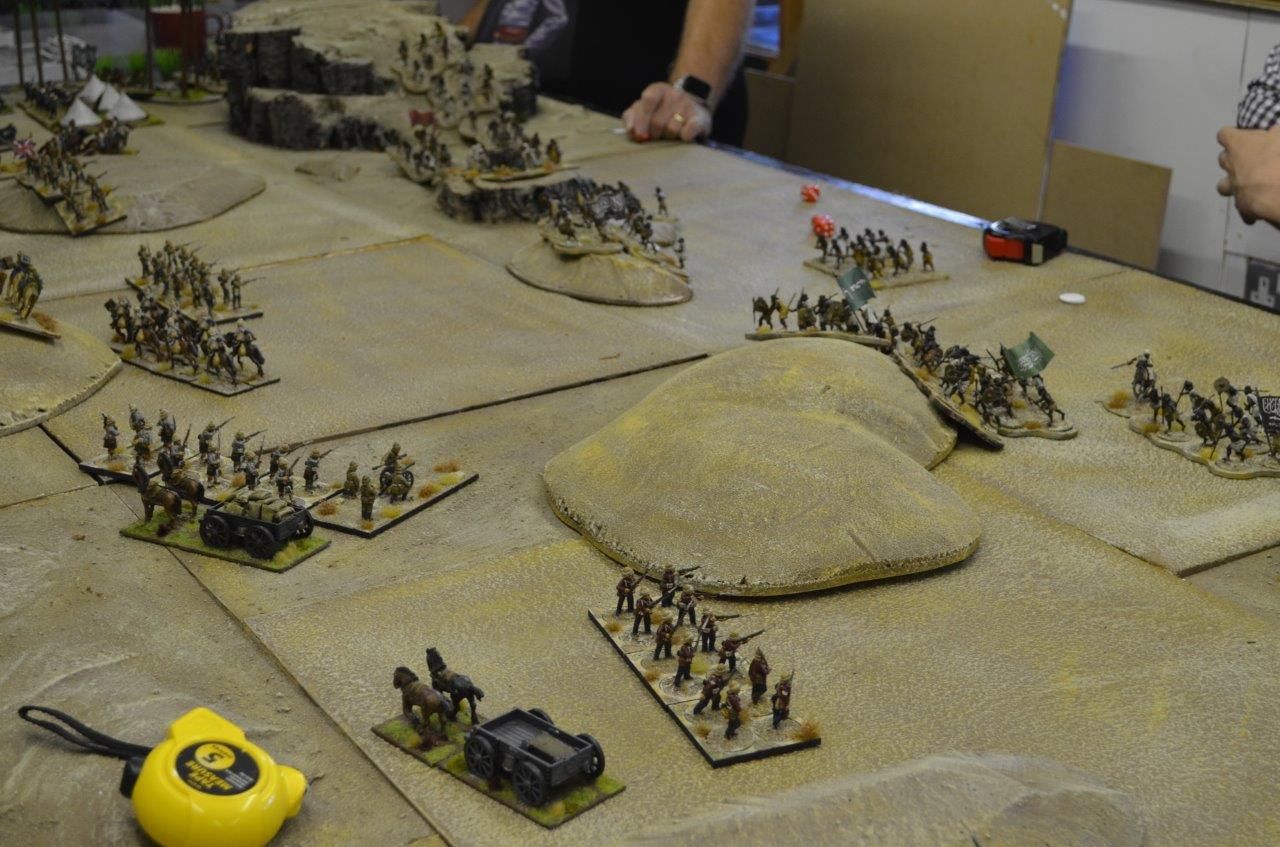
By now the
Mahdist right flank had moved forward, now threatening the British left. It was
time to unleash the British cavalry. Sweeping down off the hill they charged
into the massed native horde. Nine attacks needing 3’s to hit. I rolled the
dice – every one missed. The Dervish didn’t. Their numbers counted and swiftly
put the Hussars into flight and off the table. Things were looking desperate on
the left for the British – 12 warbands heading their way and only two companies
and a maxim gun in their way. The Maxim opened up dropping several of the
fellows in front of them – then the gun jammed ! The stalwart Scots opened up
sending a crashing volley into the nearest horde – driving the fuzzies into
oblivion. The second company opened fire dropping a few more but could not stop
the advance.


Time for a
breather and a cup of tea..

My British
forces were in a dreadful state on the left but my right flank was secure. My
centre remained untouched. The Dervishes had suffered plenty and were well on
their way to losing almost a third of their forces. This was going to be tight.
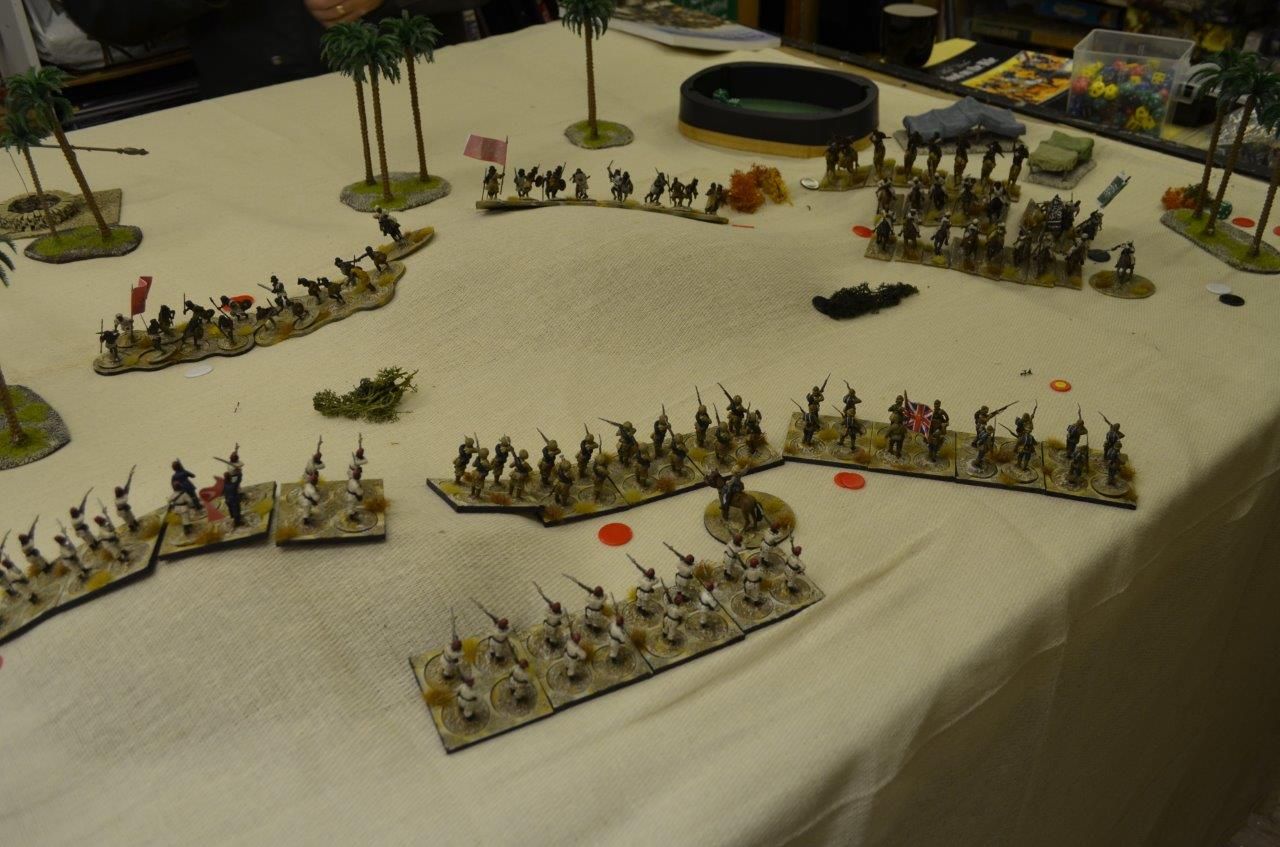
The Right
flank of the British quickly sorted out the remaining dervishes in front of
them – scattering the last few tribesmen into the dunes in a state of despair
and confusion. The British left was another matter – the Maxim and artillery gun
were steamrollered by the advancing horde and a British infantry company fell
to the spears. Only the stalwart scots held the left – but this didn’t last
long. By now the Mahdists believing victory in their grasp launched an all-out
assault from the village.
The defenders running forward to take on the British centre – the line held and supported by the rallied Lancers pushed back the desert horde. This final assault tipped the balance in favour of the Allies over 50% causalities inflicted on the forces of Allah – it had been a close run thing.


The defenders running forward to take on the British centre – the line held and supported by the rallied Lancers pushed back the desert horde. This final assault tipped the balance in favour of the Allies over 50% causalities inflicted on the forces of Allah – it had been a close run thing.
So what did
we learn from the game given this was a playtest –firstly the forces were
almost balanced if anything the British forces are slightly too strong so we
will remove on of the Egyptian Rifle companies. Aside from that I’ll allow each
of the teams to reposition three units on the table. Mark felt that the
Sudanese were too weak on the left and had a more balanced approach been in
play he might have done better. Equally my cavalry were in the wrong position and
should have arguably been used better.
The same
game is going to be played at BLAM on the Sunday (assuming I have any takers)
and I’ll post up a short summary afterwards for comparative purposes.