Monday, 5 June 2017

Napoleonic Project part 8 - The French Cuirassiers

Afternoon All

If you missed the post concerning the French Artillery you can find it here - don't worry a link at the end of that post will bring you back here

http://shedwars.blogspot.co.uk/2017/06/napoleonic-project-part-7-french-guns.html


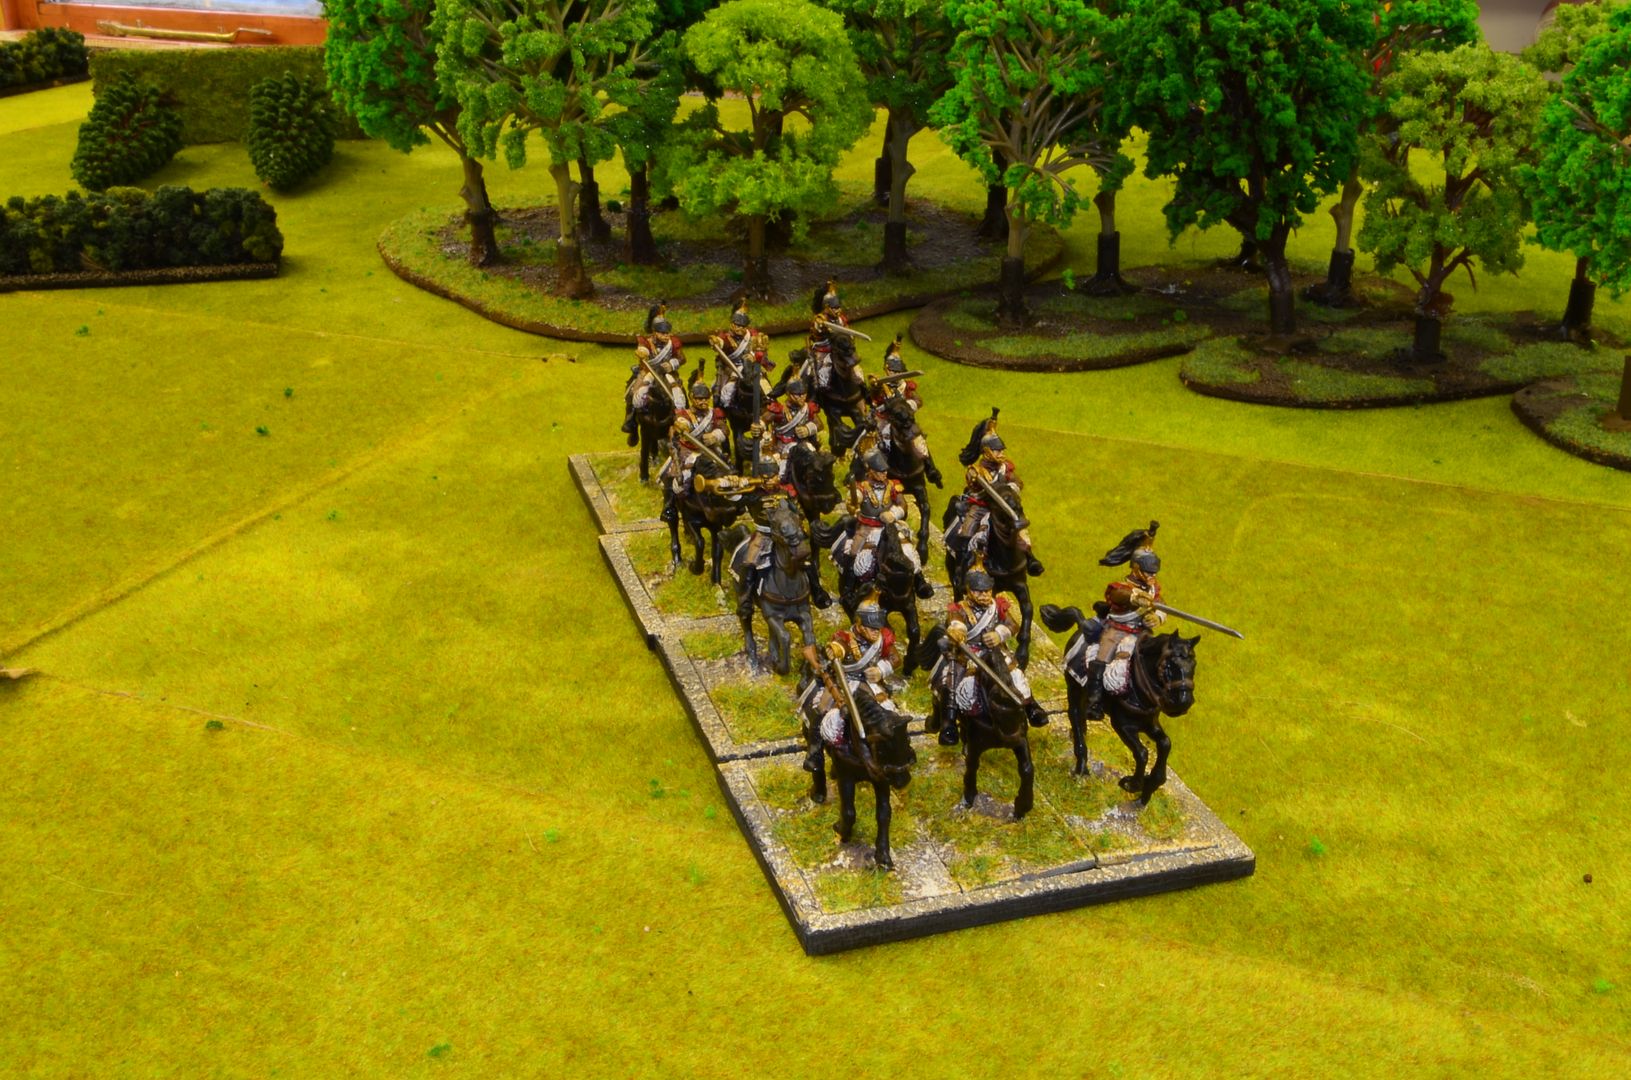
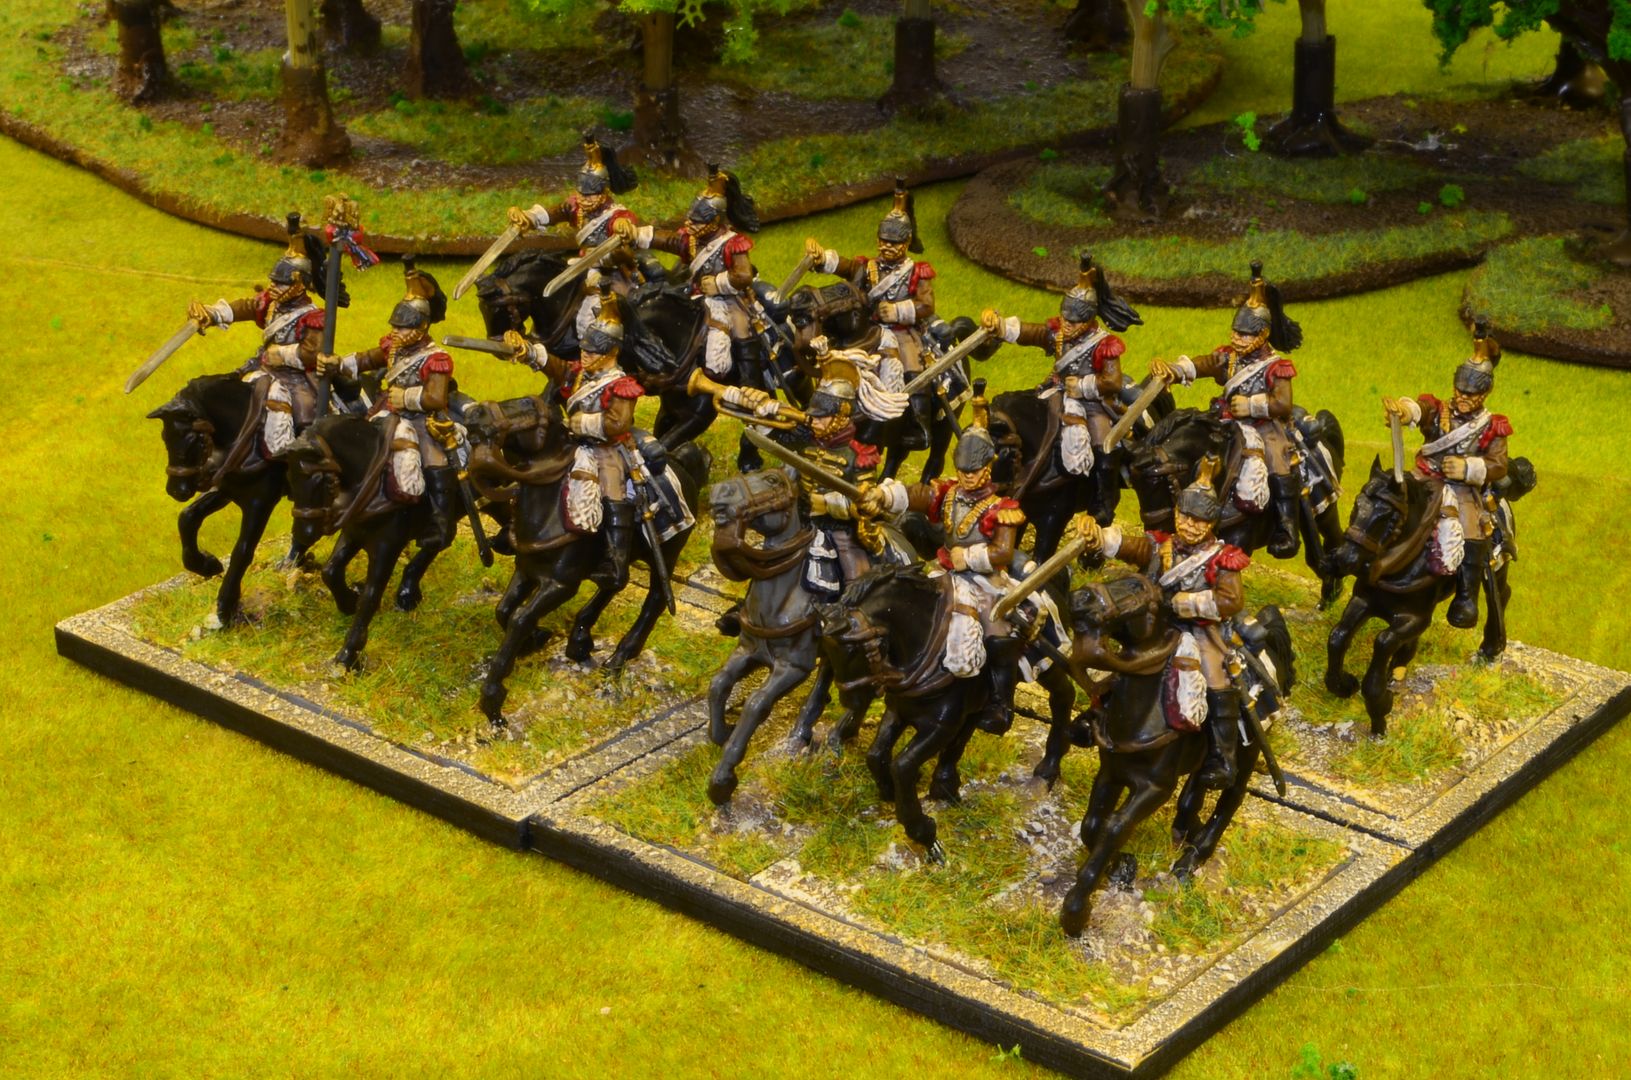
So as I mentioned in my last post I had some French Cavalry units nearing completion and over the weekend I managed to finish off the Curassiers.

These are my favourite Napoleonic regiment of all time and if I hadn't discovered that there was one regiment in Spain - I would have bent history and ensured that these armoured plated boys would have made an appearance.

Fortunately one regiment did travel to the Peninsular - the 13th - whether they played any role is conjecture but they were there !

A fellow blogger has done a great write up on these chaps and it can be found here..

http://thenapoleonicwargamer.blogspot.co.uk/2010/07/13e-regiment-de-cuirassier.html


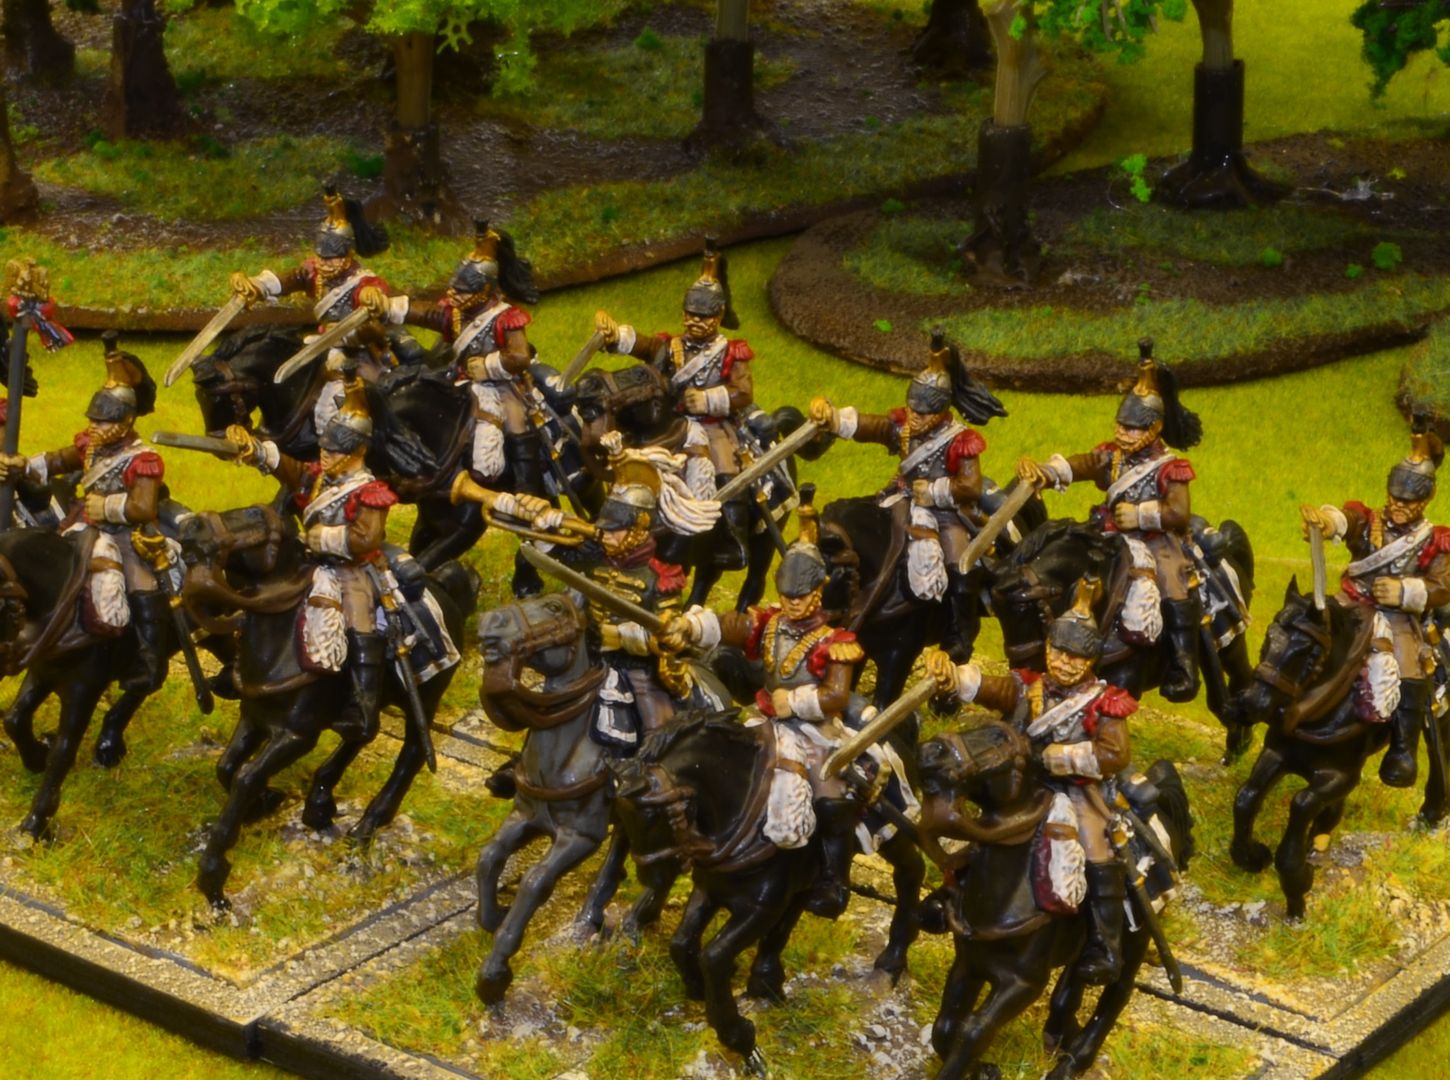
Sadly these horsemen did not wear the blue jacket but a brown one - once again I um'd and arh'd over whether mine should have a blue coat but in the end I followed history and plumped for the less regal looking brown version.

The figures themselves are from Perry and are full of character. They certainly look the part of heavy horse being more robust than the lighter cavalry units produced by the same company.


These are all based singly on 25mm x 50mm bases from warbases and then slotted into movements trays (3 per tray) - this allows the unit to be deployed on column and double line simply.


really must paint the moustaches


Looking forward to seeing these in action...

Up next will be the utilitarian french horse - Les Chasseurs a Cheval

part 9 can be found here
http://shedwars.blogspot.co.uk/2017/06/napoleonic-project-part-9-chasseurs.html

Saturday, 3 June 2017

Battle of Brentford Bridge - an ECW AAR

Hi Folks

Last Tuesday (Monday was a bank holiday) the Shed was somewhat light on the player numbers so Mark & I decided to fight the first battle listed in the new Pike & Shotte supplement - the Battle of Brentford Bridge....

heres what wiki says about the battle.....

The Battle of Brentford was a small pitched battle which took place on 12 November 1642, between a detachment of the Royalist army, (predominantly horse with one regiment of Welsh foot) under the command of Prince Rupert and two infantry regiments of Parliamentarians with some horse in support. The result was a victory for the Royalists

After the Battle of Edgehill (23 October) King Charles I captured Banbury (27 October) and was greeted by cheering crowds as he arrived in Oxford on 29 October. Prince Rupert swept down the Thames Valley, capturing Abingdon, Aylesbury and Maidenhead, from where he attempted to capture Windsor though failed due to Parliamentary strength there. After this many officers wanted to open peace negotiations, contrary to Rupert's desire to carry on to London, but the king agreed with the officers and so the Earl of Essex managed to overtake them and reach London with his Parliamentary army by 8 November.

While in Reading Charles decided that the peace talks were inconclusive, and that if he advanced on London it might place him in a better negotiating position. So on 11 November he moved his army closer to London by encamping at Colnbrook and to put further pressure on the Parliamentarians he ordered Prince Rupert to take Brentford

On reaching London the Earl of Essex had not been idle, and had positioned men on the western approaches to London. One force covered the bridge at Kingston upon Thames while another, to the west, barricaded the small town of Brentford which lay on either side of the Thames concentrating their efforts in the proximity of the bridge that connected Old Brentford to New Brentford

On 12 November under cover of an early morning mist Rupert's cavalry and dragoons attacked the two regiments of Parliamentary foot, one under the command of Denzil Holles and the other of Lord Brooke, which were barricaded inside Brentford. The initial attack by the cavaliers on Sir Richard Wynne's house, an outpost west of Brentford held by Holles's regiment, was repulsed.

So a Welsh regiment of foot were ordered into action by Rupert. The combined force successfully captured the outpost and carried forward their attack into Brentford itself. They drove Holles's men over the bridge into the defences manned by Lord Brooke's men. These in turn were driven out of the town into open fields.[5] The fighting continued into late afternoon, before the survivors of Holles's and Brooke's regiments were able to disengage under the protection of John Hampden's infantry brigade, which arrived from Uxbridge to cover their withdrawal. Nevertheless, a large number of Holles's men were drowned while trying to escape their pursuers by swimming across the Thames. The Royalists captured 15 guns and 11 colours and about 500 prisoners,[8] including John Lilburne who was a captain in Brooke's regiment.

Having won the battle the Royalist forces sacked the town. This action encouraged those Londoners who feared for their property to side with the Parliamentarians.[7] On 13 November the main Parliamentary army under the command of Earl of Essex's heavily reinforced with the London trainbands and other London citizenry, assemble as an army of about 24,000 on Chelsea Field and advanced to Turnham Green in the vicinity of the main body of the Royalist army.


At a standoff known as the Battle of Turnham Green, the senior Parliamentarian officers not trusting the training of their forces in a battle of manoeuvre chose not to attack, and the King decided not to press his advance on London by giving battle against a force much larger than his decided, as it was near the end of the campaigning season, to retreat to Oxford where his army could be billeted over the winter.


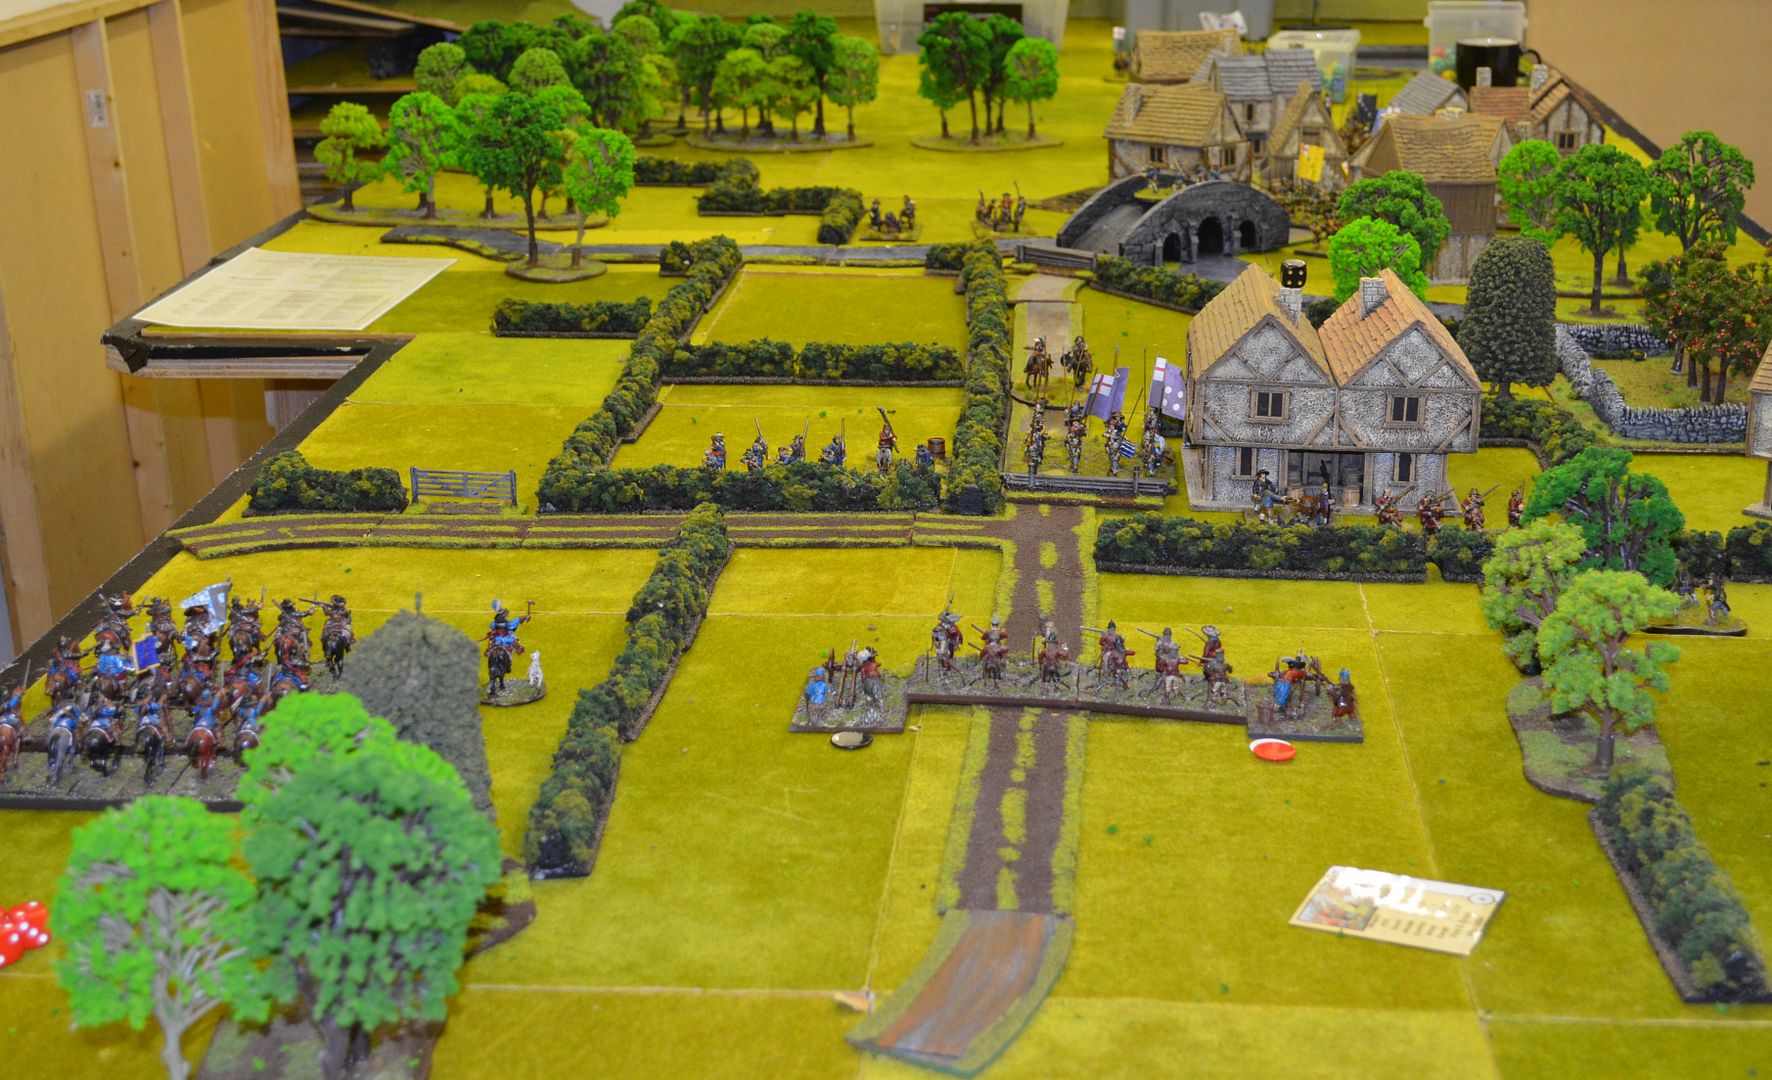
So we set the table up according to the book and although the scenario didn't state one way another we assumed the river Brent was unfordable (and hence the need for the bridge).

The forces were deployed according to the set up.

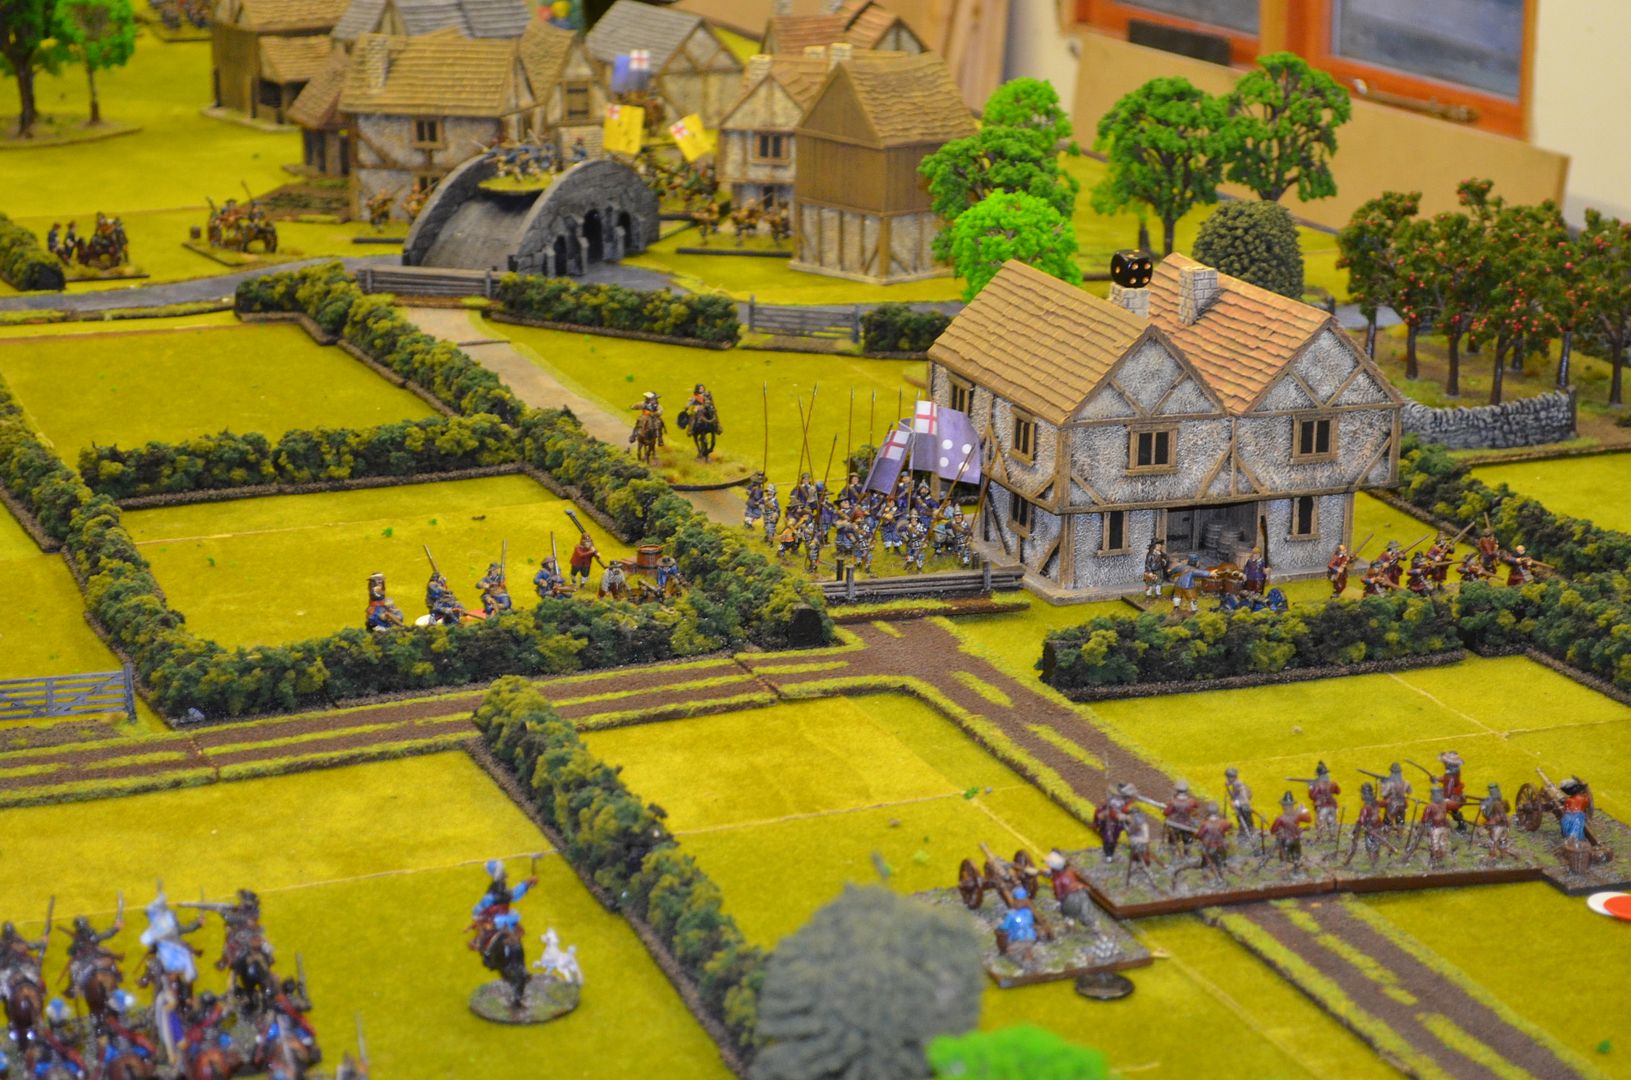
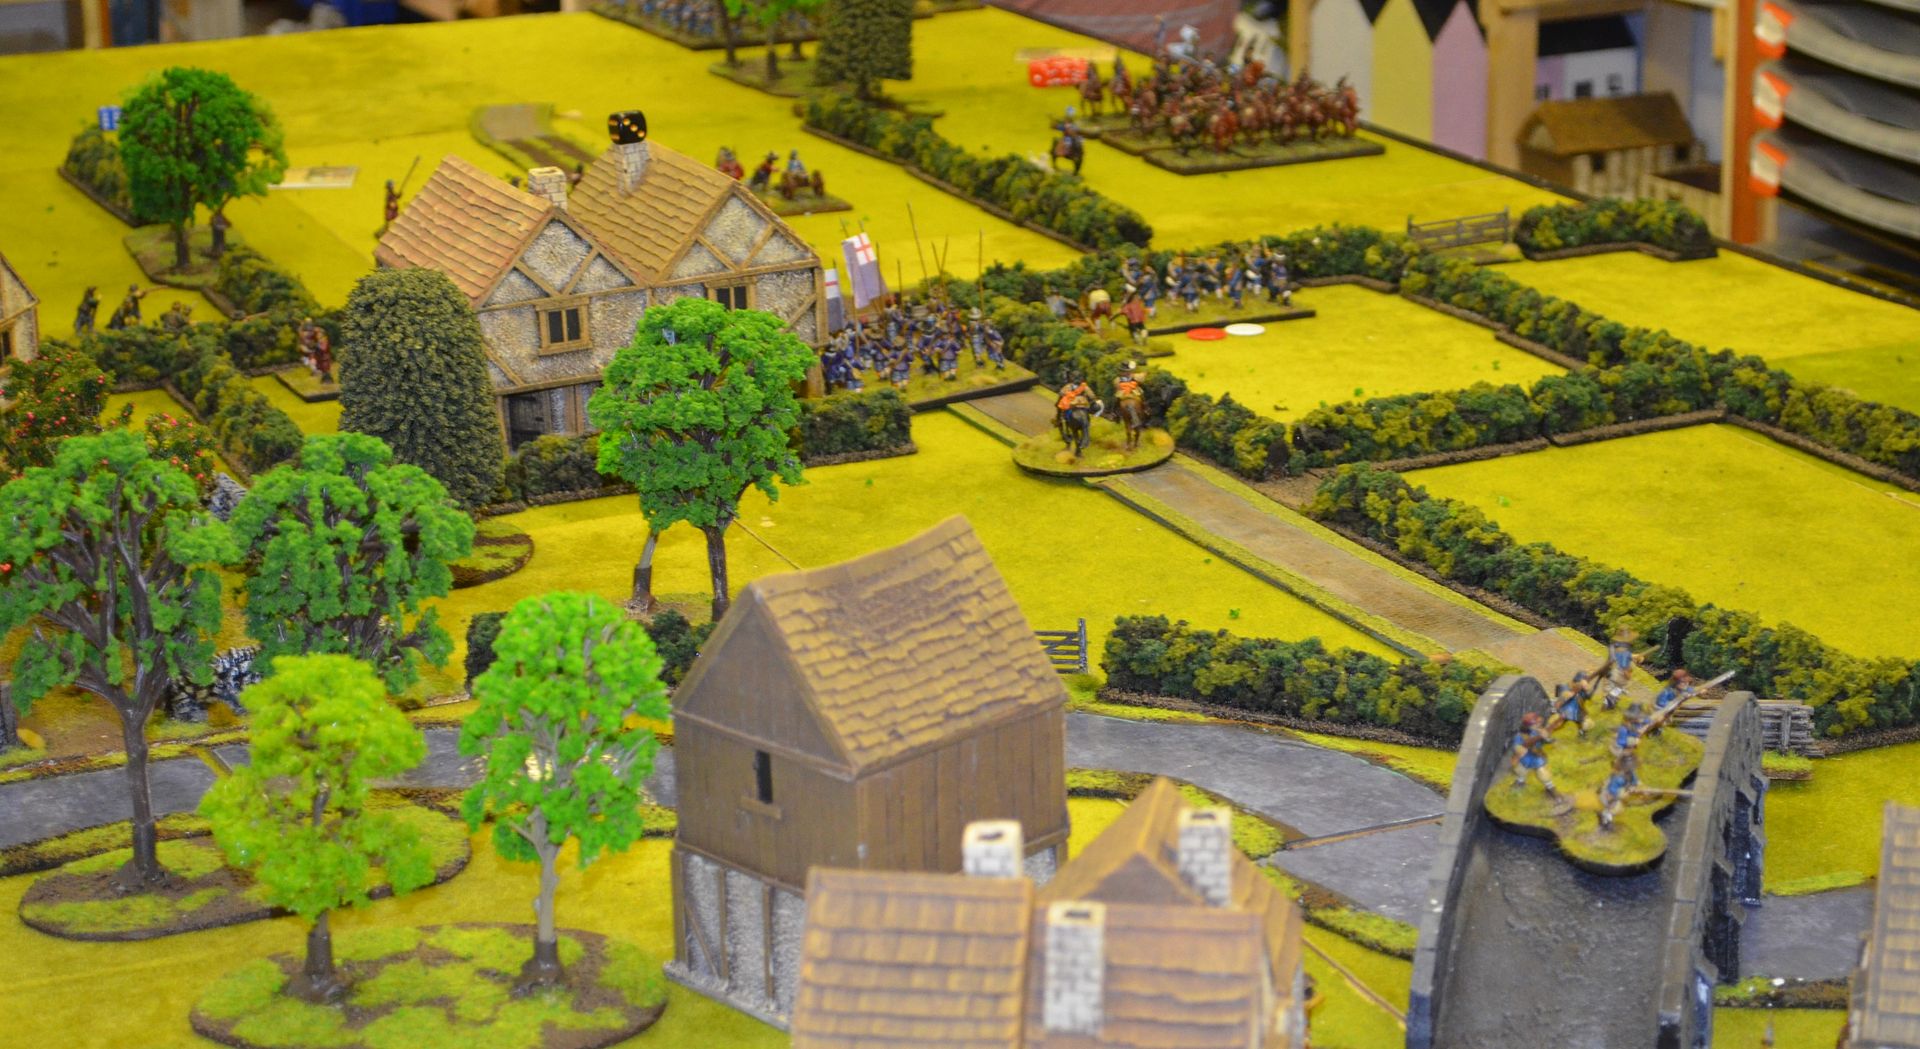
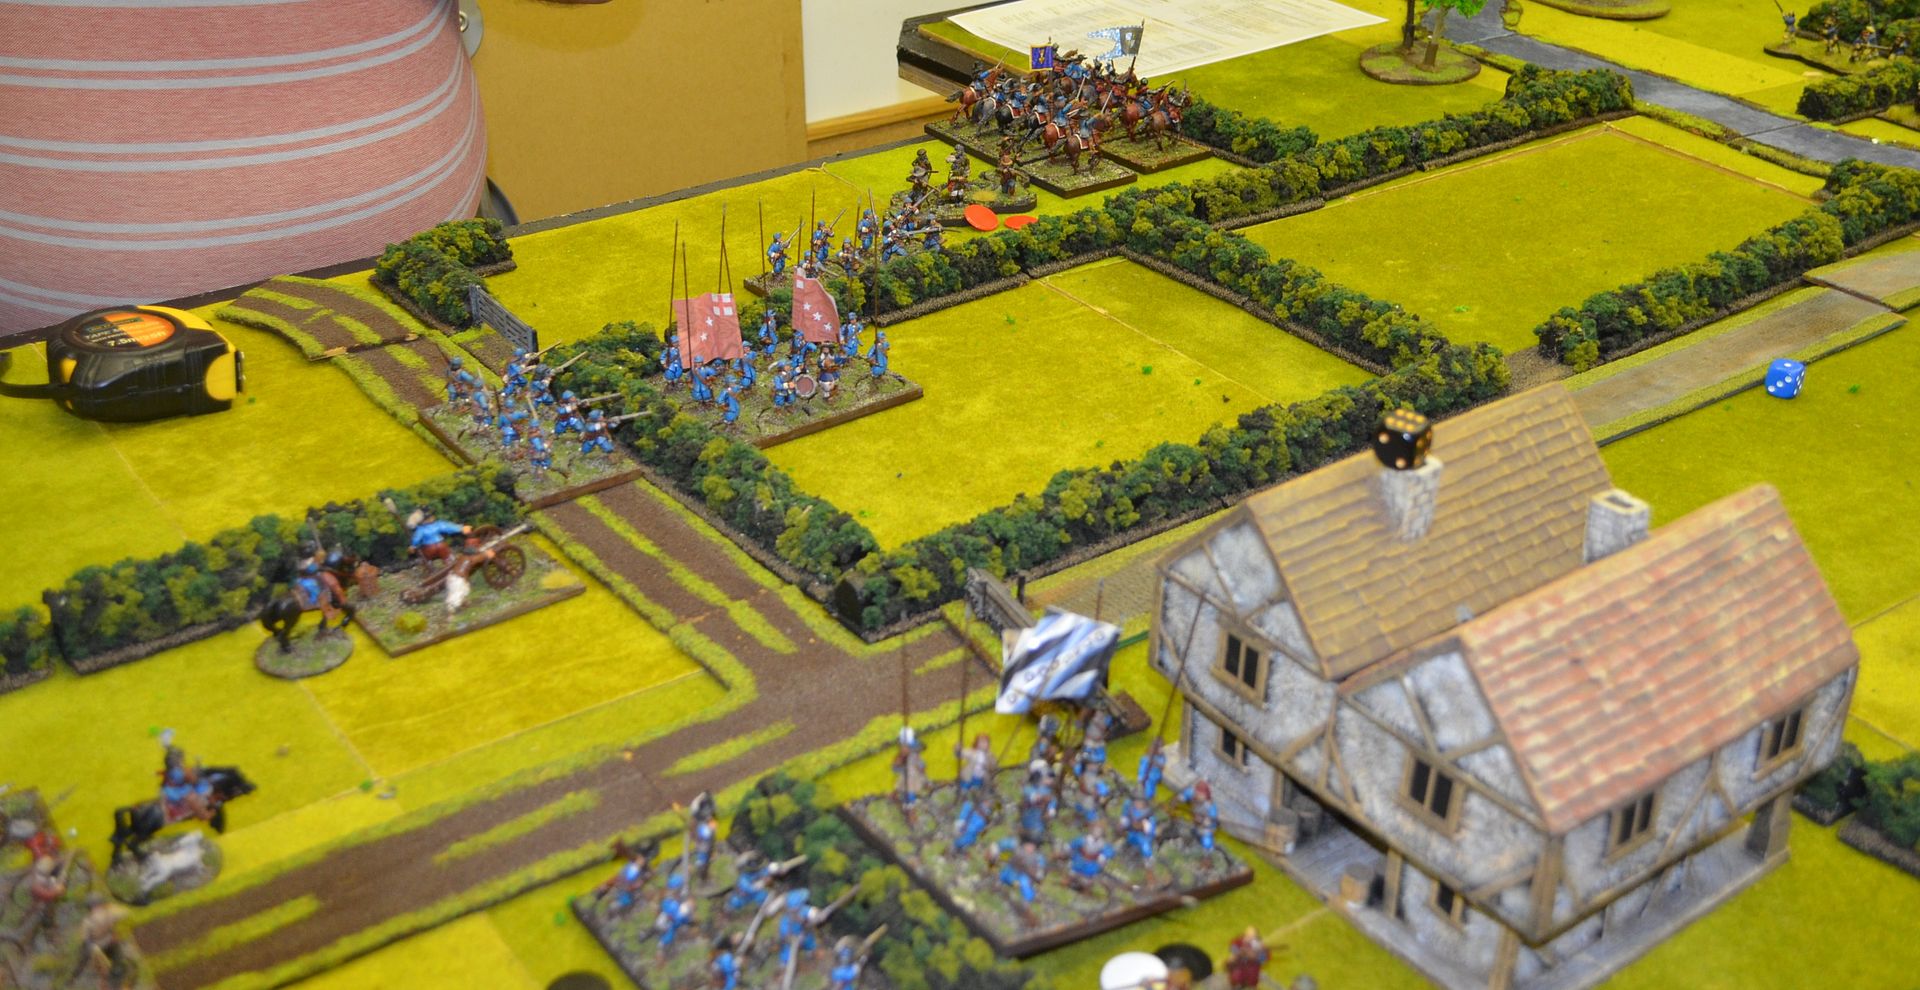
It became apparent that the Parliamentarians (Me) had a job on their hands - half of the regiment belonging to Holles was on one side of the bridge in the town and the other half defending Wynn house, Given he was a sole commander of this regiment and could not be in two places at once was somewhat problematic.

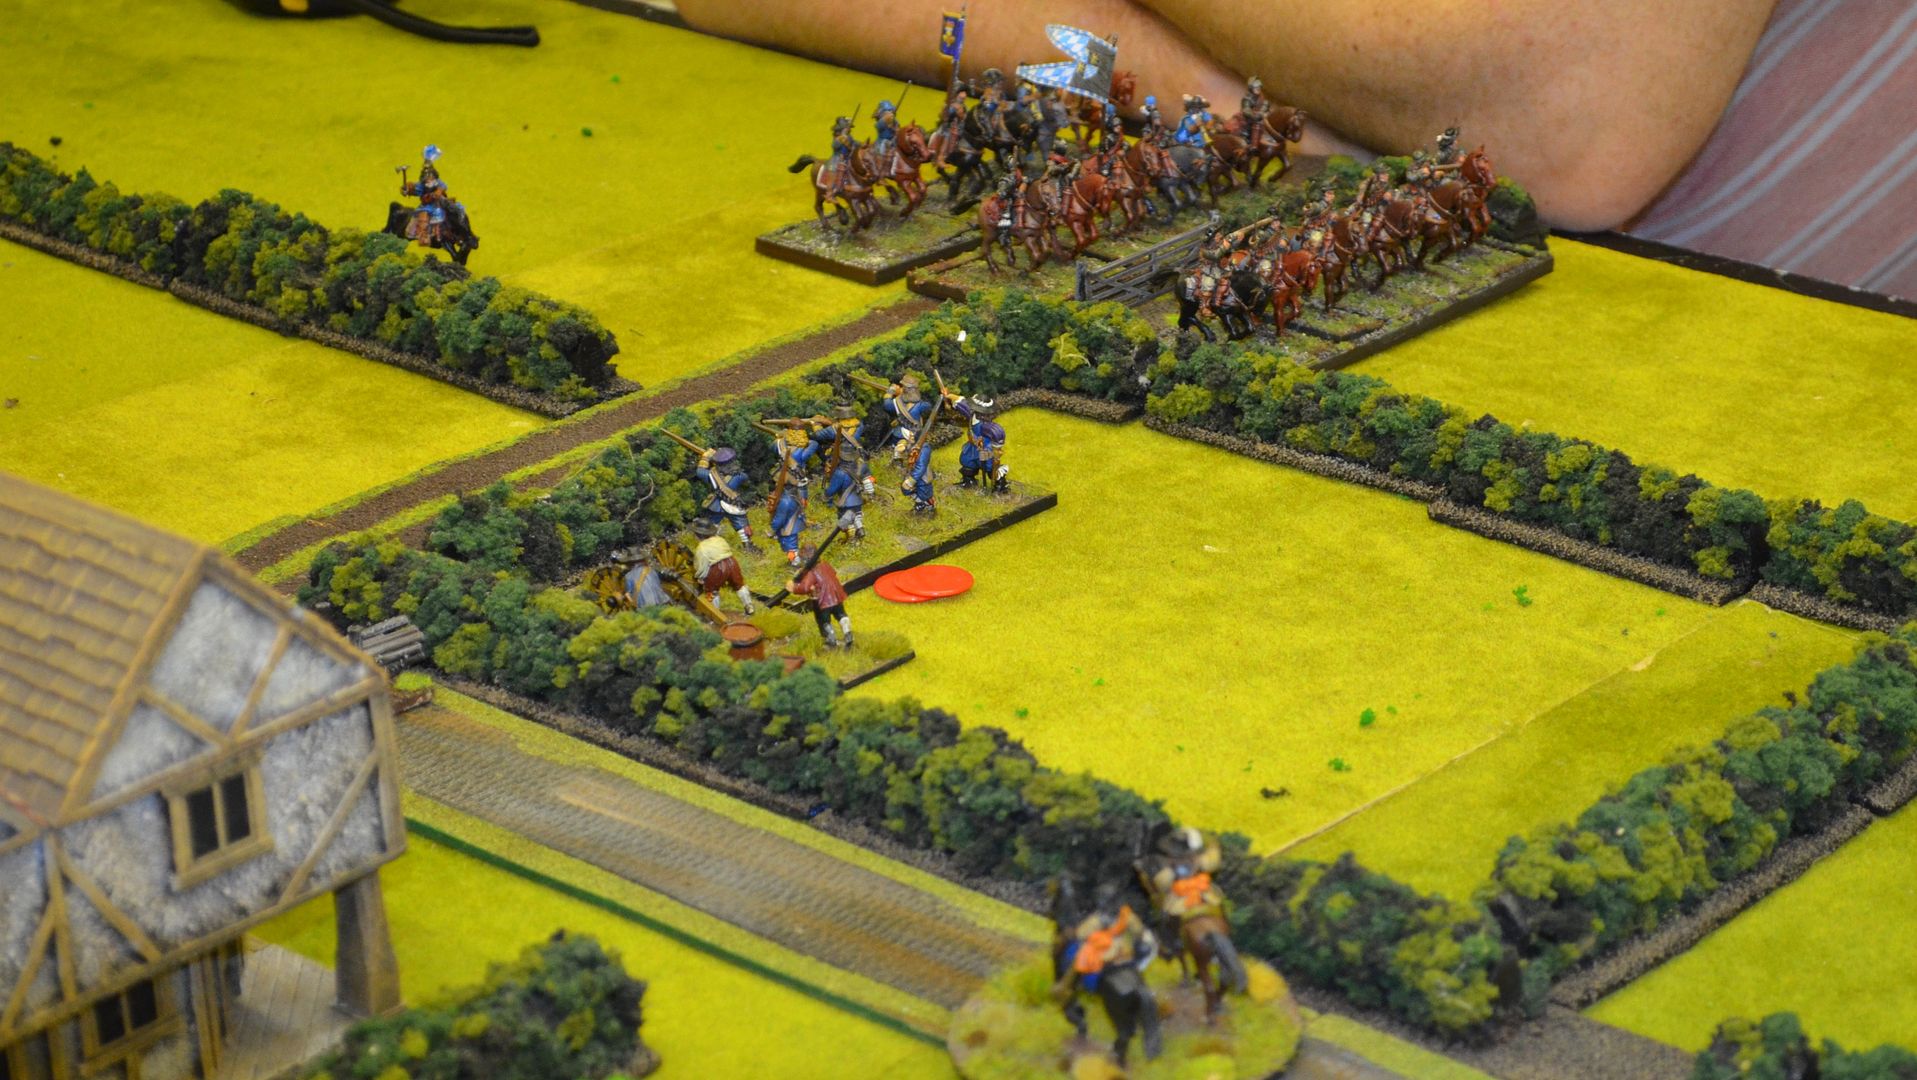
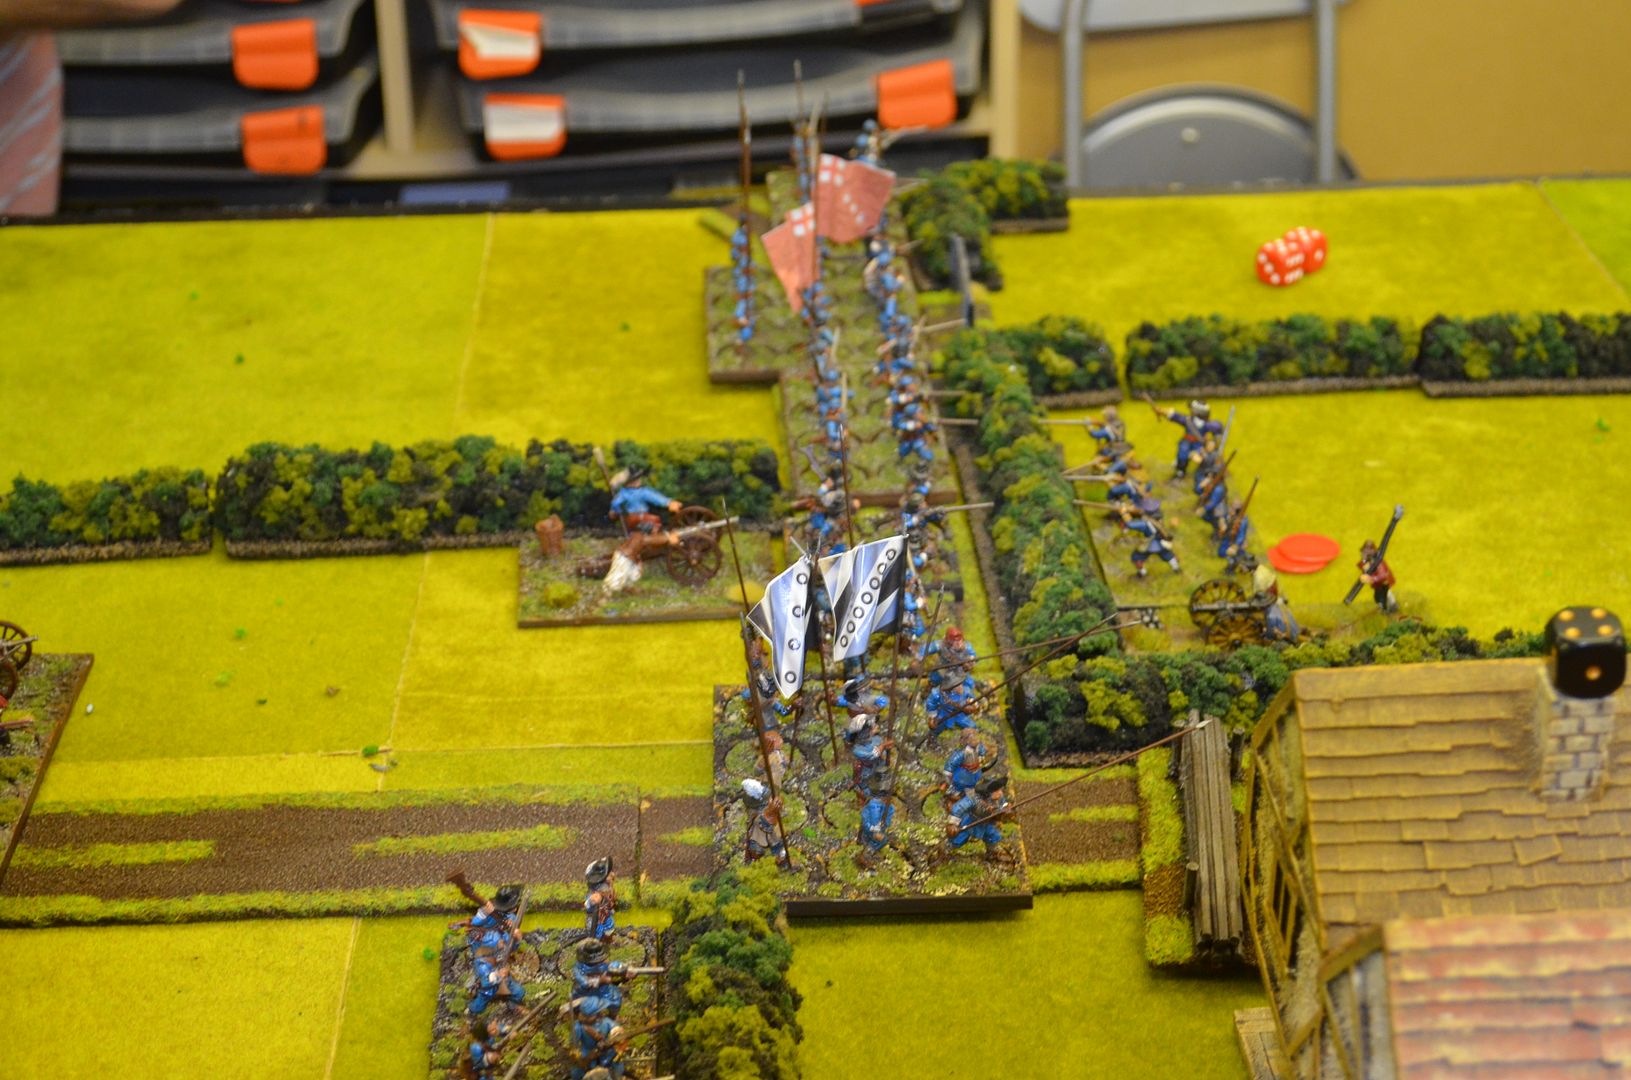
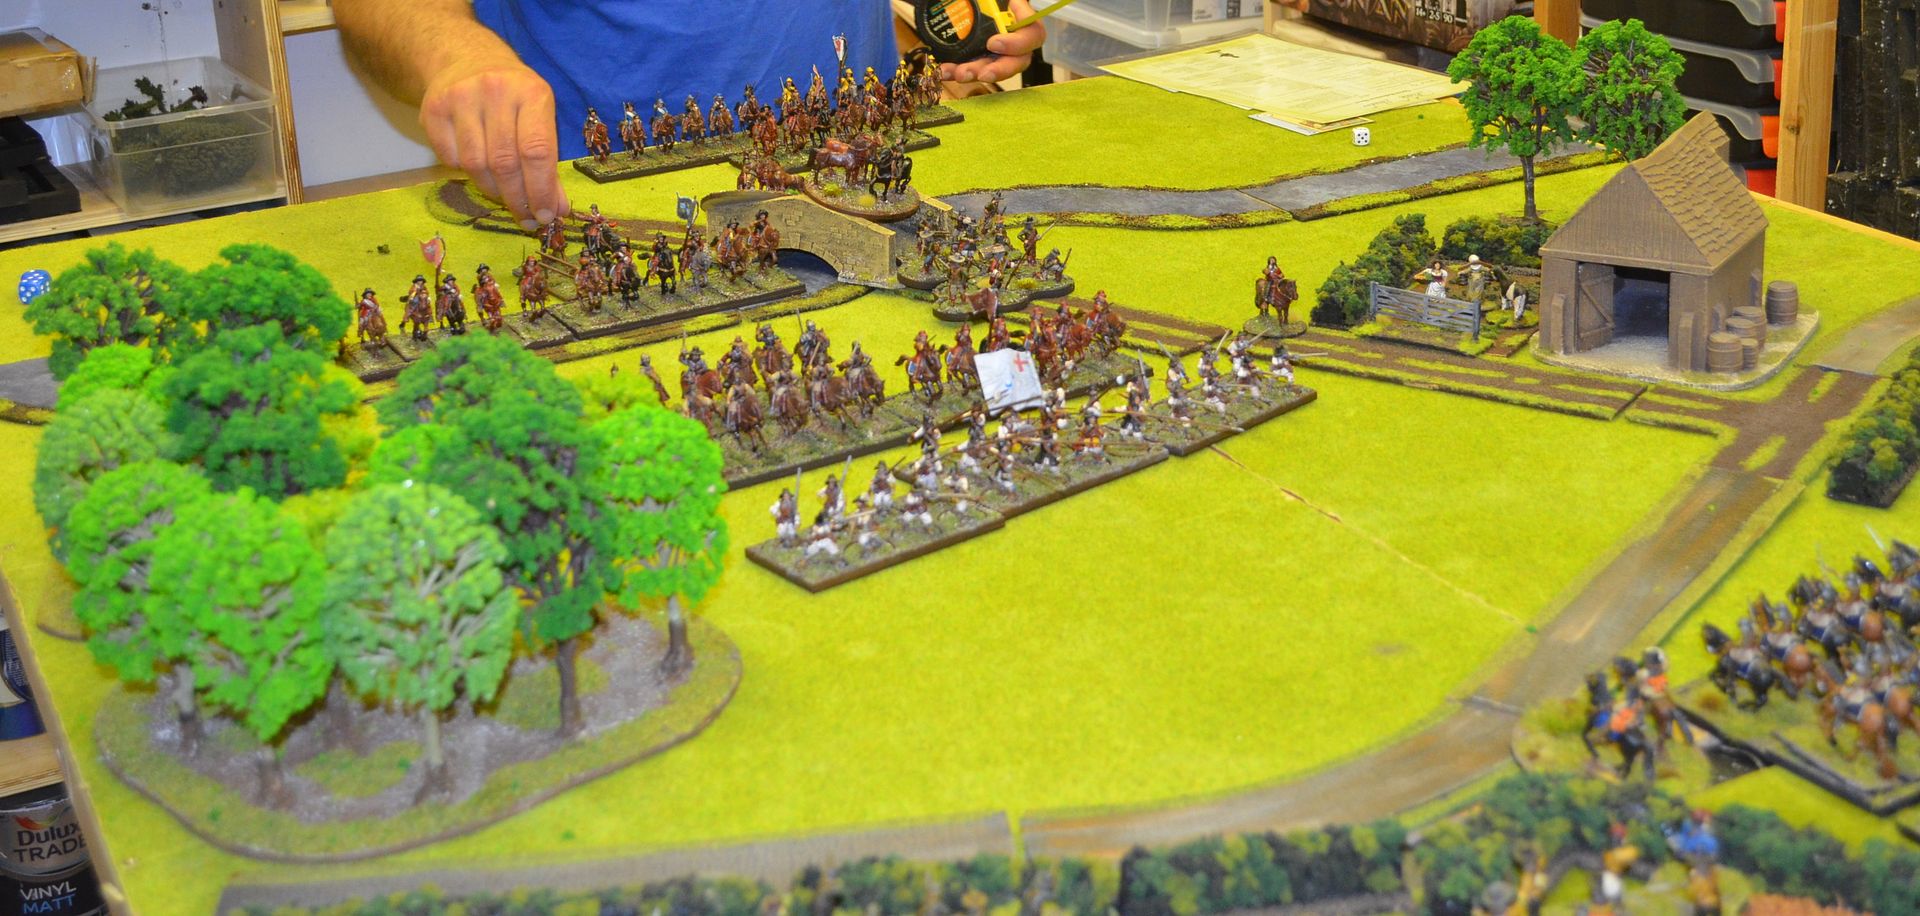
The game started with Rupert's(Mark) forces advancing onto the centre. In front of them lay the defended hedgerows of Holles musketeers, cannon and some dragoons.

My tactic was simple - extricate the pikeblock from the forward defences and get it back into the town. The Battalia could afford the losses of the guns and musketeers but if it were to lose just one advance unit it would be broken and therefore unable to defend the fight that might come for the bridge.


As the Cavaliers advanced their Horse broke to the left hoping to cut off any retreat to the bridge. The forward infantry elements surged forward and engaged in a firefight with the defenders


Holles' command rolls just didn't happen - that damn pike block would not move !


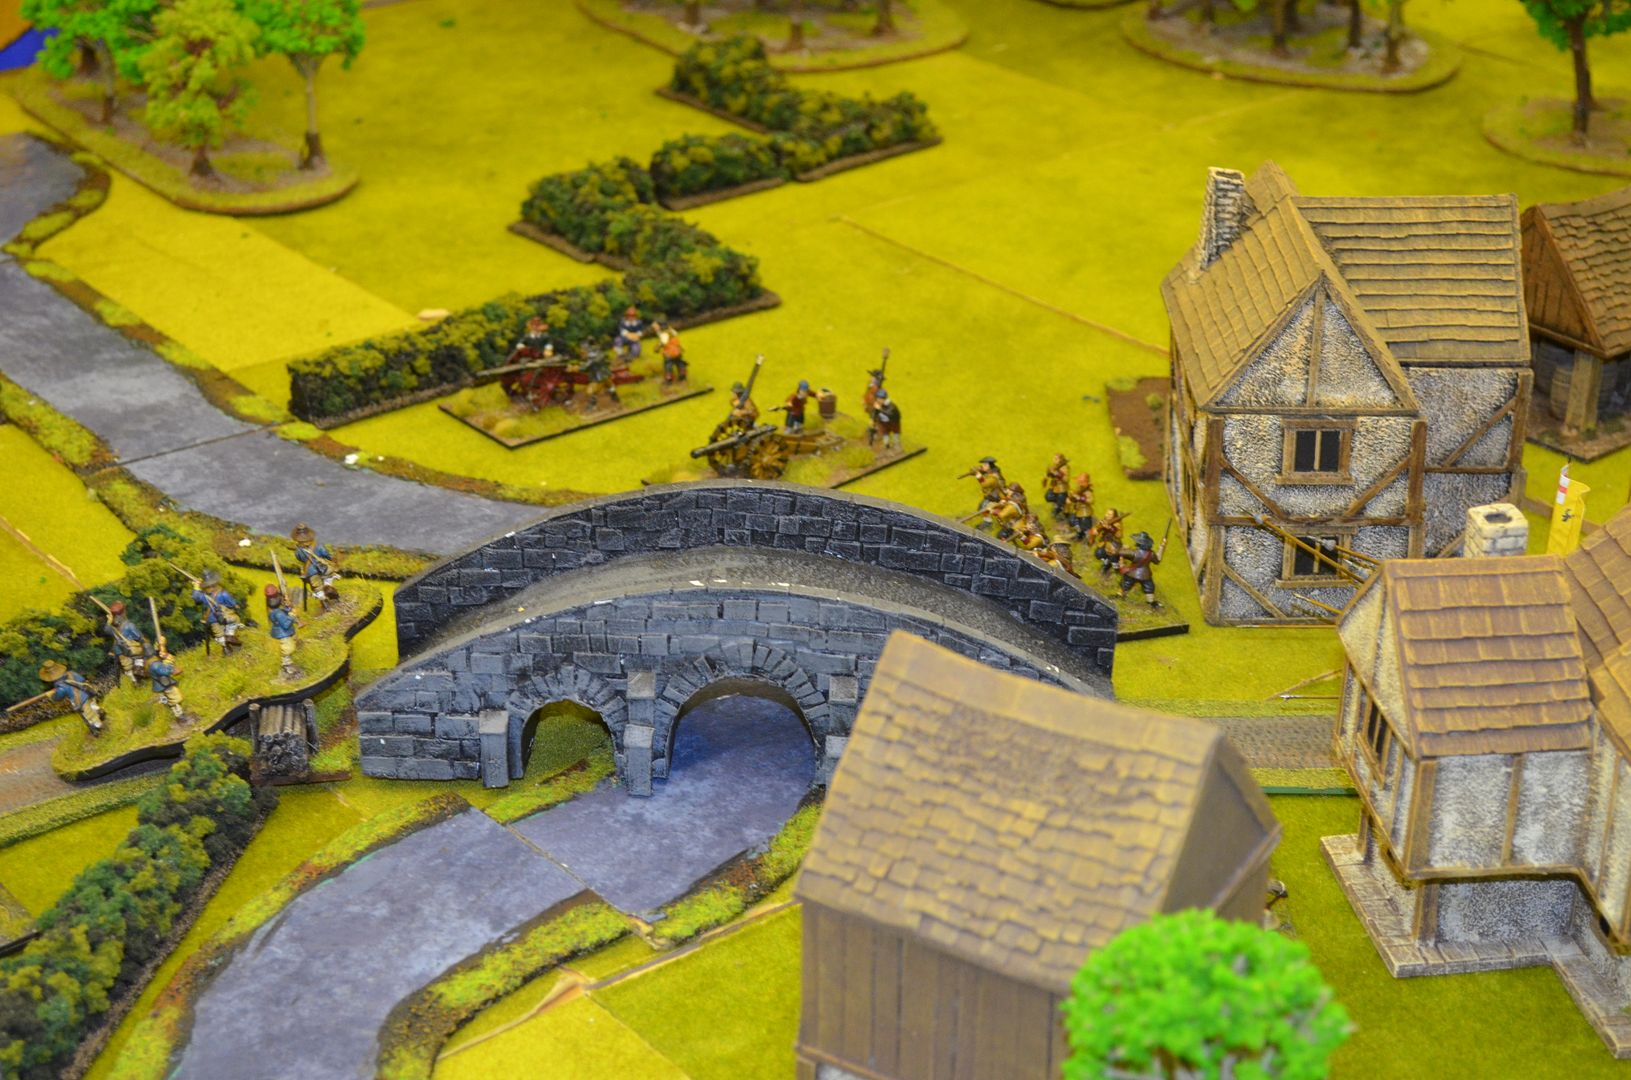
The rebels decided to push up some much needed firesupport covering the bridge


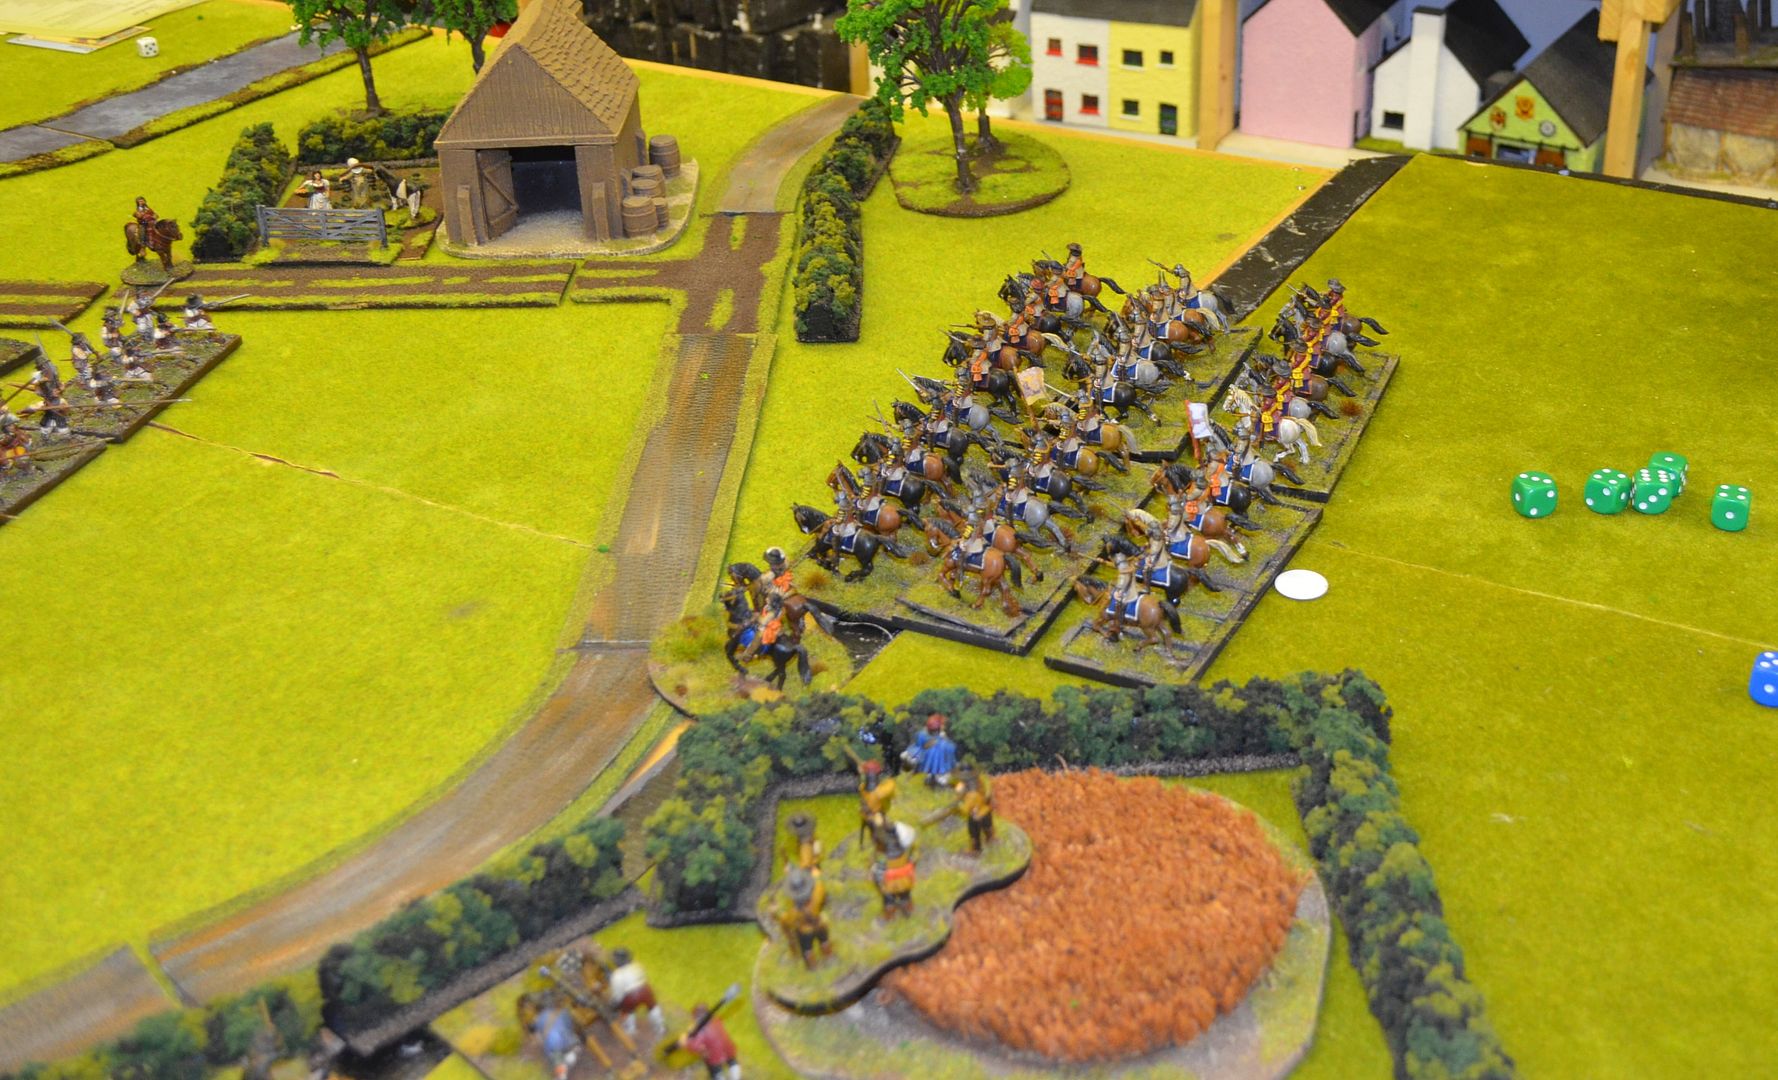
By now Rupert's horse was on the move and was soon riding full pelt for the Bridge


The remainder of Holles Battalion in Brentford busied themselves with the defence


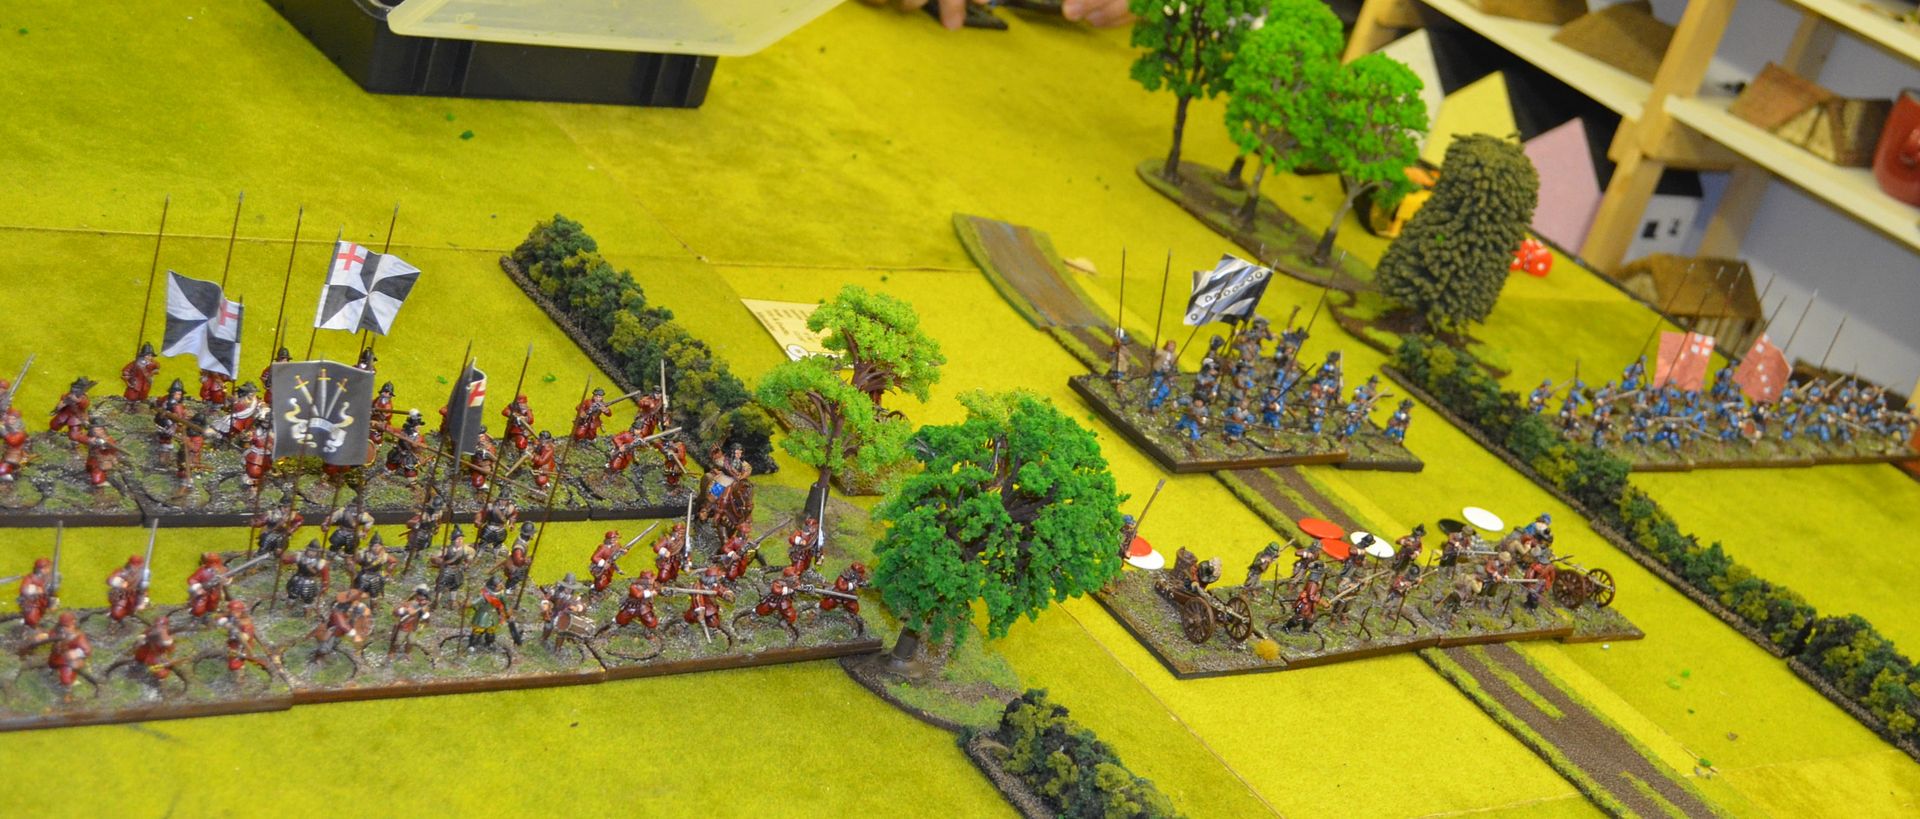
The leading elements of the Parliamentarians were now taking serious fire - and the Royalist reserves /Assault force hadn't even arrived


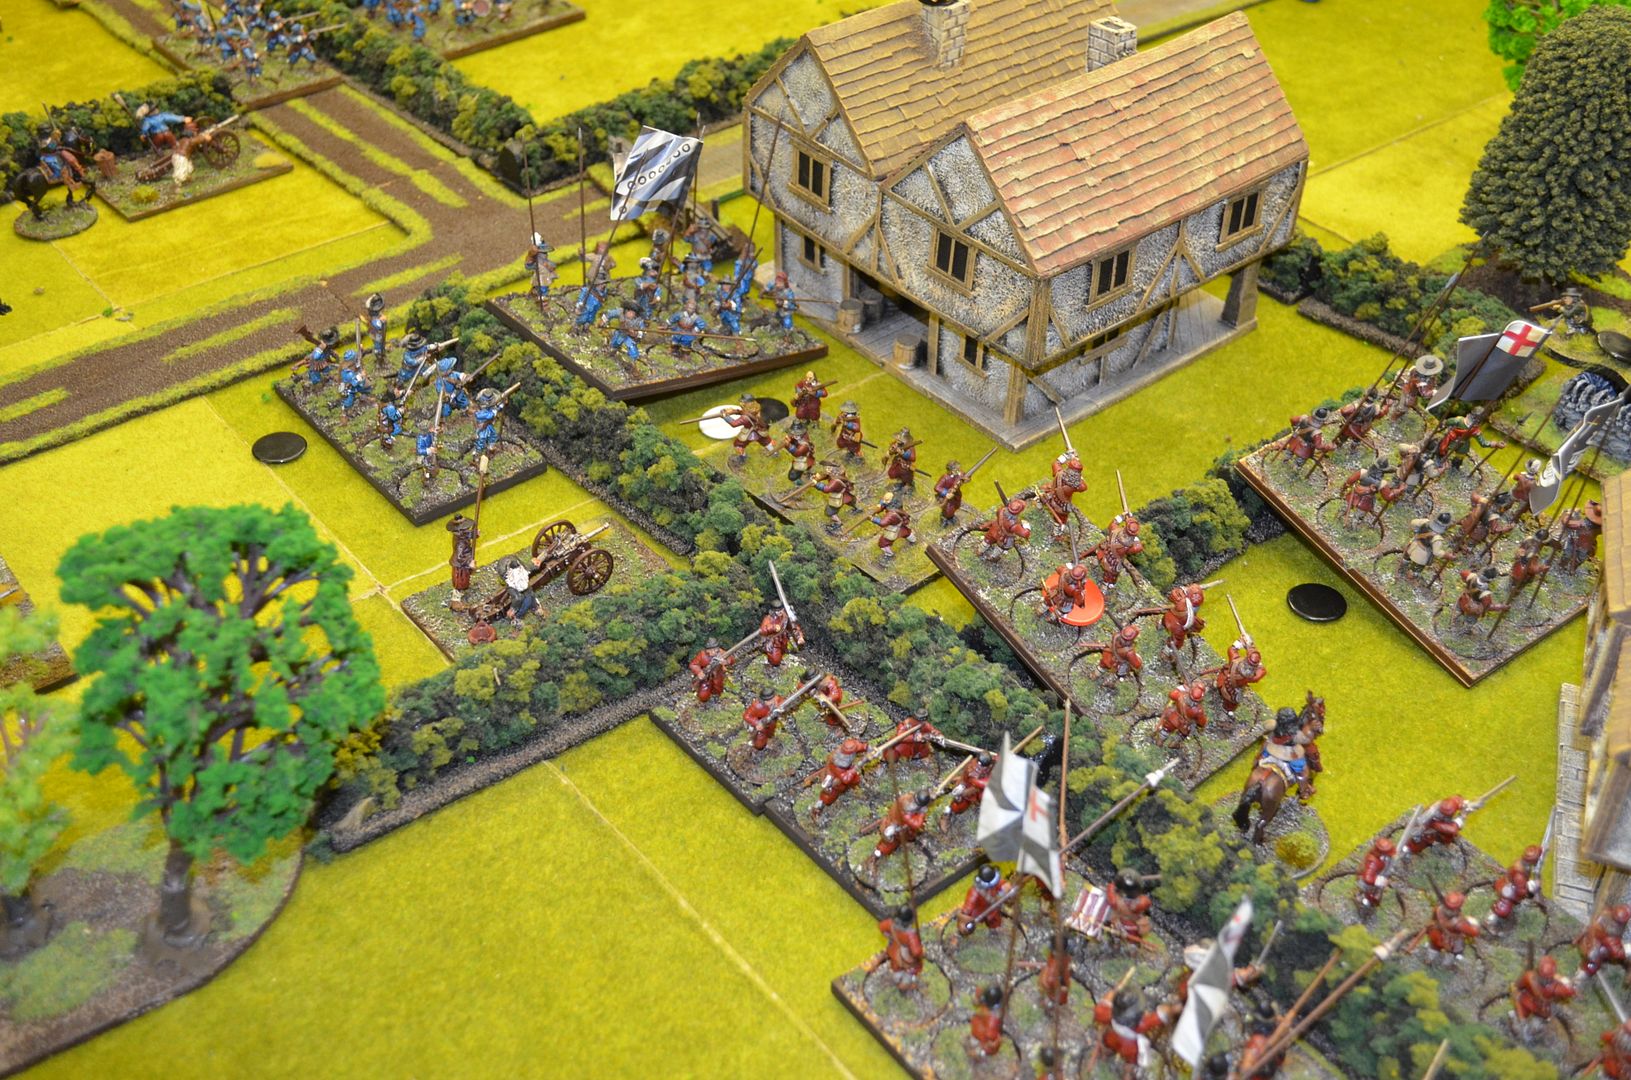
Here they come - four Pikes and loads of musketeers - they surged forward and took on the roundhead vanguard


Within a couple of rounds the defences around Wynn house crumbled and the road towards Brentford was clear


With a loud cheers they mopped up the remnants of the defence around Wynn house and pushed onto the river


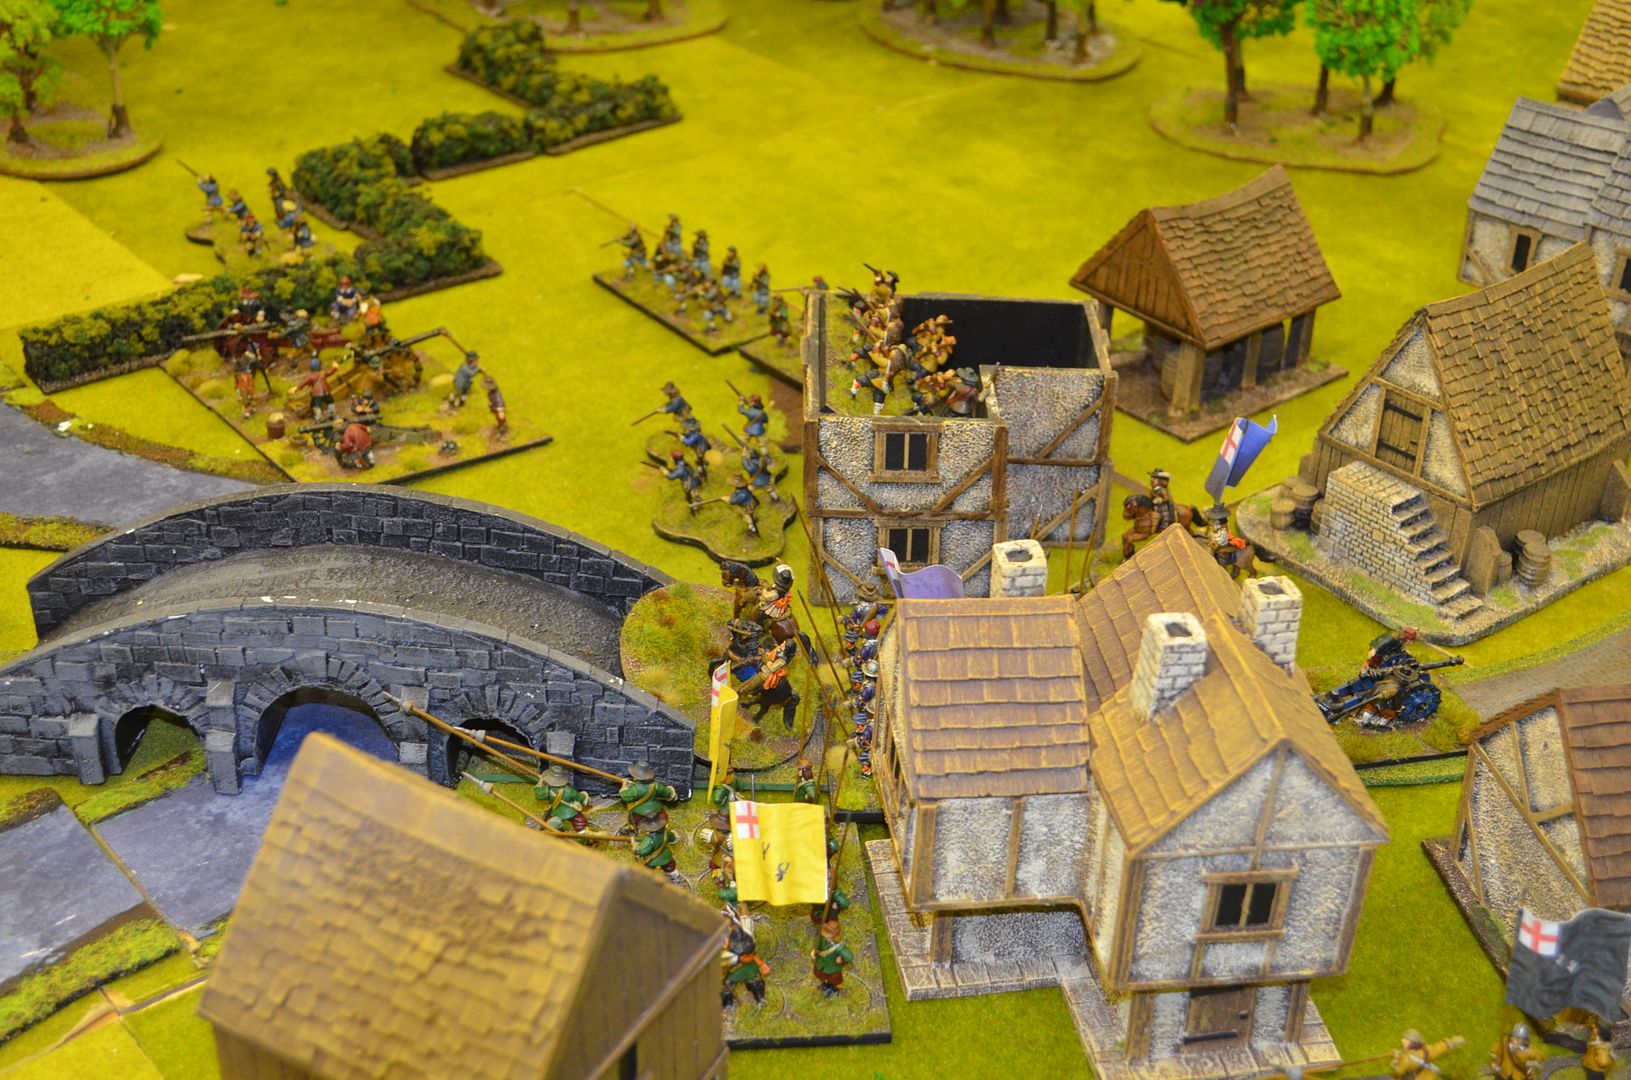
However this desperate defence had allowed the brigades of Brookes and Hamden to deploy their forces - nothing was going to come across the bridge


and it didn't - for a few turns Rupert tried to rally his troops and get them to cross the bridge into a hail of lead - it was never going to happen


So here are our thoughts....

1. Rupert must have been incredibly lucky to have forces his way into Brentford - the narrow crossing coupled with matched forces certainly plays into the Parliamentarian hands

2. The only way we can see Rupert winning is 1) a very large dose of luck, 2) getting his cavalry to cut off the escape quickly and then bringings his troops up the road swiftly before the defenders have had a chance to deploy-

2. Had Holles brought up the other half of his brigade over the bridge to counter the attack then it might have been a different story. I did consider taking the fight to the Royalists but I would be giving away my key advantage.

A fun game - interesting to refight an historic action for a change and we look forward to the next scenario

see you all soon


Jump up to:
Friday, 2 June 2017

Top Tip - if you use Army Painters Dip

If like me you are lousy at painting I have discovered that the Army Painters dip covers a multitude of sins. It not only acts as a strong varnish to protect your minis in battle but it also delivers a rapid way of bringing poorly painted figures to a wargames standard.

However these pots of dip are not  cheap - current retail about 20 quid. Over the last three years I have got to the point where I have used around 30% of the tin and then a crust/skin forms on the surface of the paint. At first I thought this might be because air was getting to the dip and causing it to harden. So I began to wrap the tins once the lid was firmly on in clingfilm to create an airtight seal.

This did not prevent the skin from forming. I then had a eureka moment - and it really was like Archimedes Eurejka moment when he discovered displacement. I figured out that the skin is forming because the amount of air inside the tin is sufficient to cause this reaction - how do i remove the air?

Simples - I add something else to the pot to raise the level of the dip and create less air.


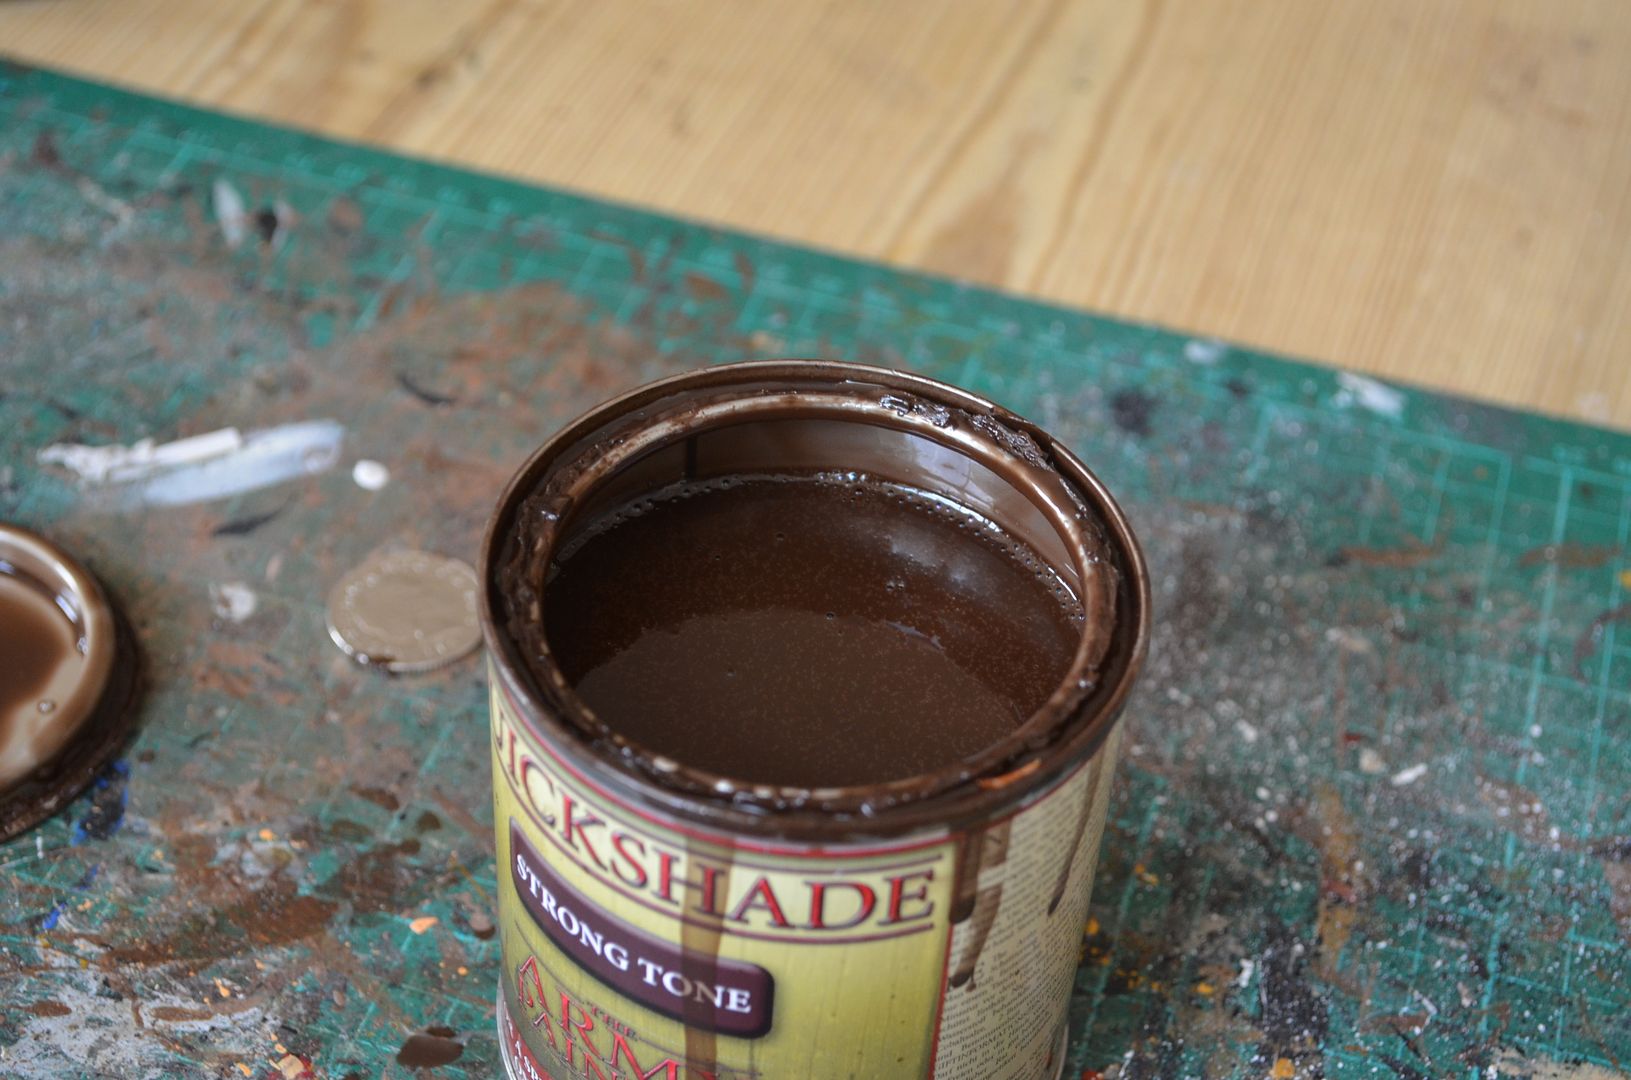
In my case I have used a solid pebble as I doubt this will chemically react with the dip.

As you can see the pebble has raised the dip level


This hopefully solves an issue, saves money and is of interest to all you other 'dippers'

cheers


Thursday, 1 June 2017

Napoleonic Project Part 7 - The French Guns

Just in case you were thinking that I had 'ceased fire' on this massive project I am sad to say you are very mistaken....

Previous posting was here
http://shedwars.blogspot.co.uk/2017/05/napoleonic-project-part-6-british.html

So lets do a quick resume of where I have got to and whats still in the pipe...

Each Regiment consists of 12 Cavalry or 24 Infantry - all based separately and then in movement trays (three figures for cavalry and four for infantry)

PAINTED


  • British Command Stands (10)
  • British Artillery - 6 Artillery pieces and crew
  • British Infantry - 12 Battalions painted (inc 2 Highland & 1 Rifle)
  • British Dragoons - 1 Regiment
  • French Dragoons - 1 Regiment
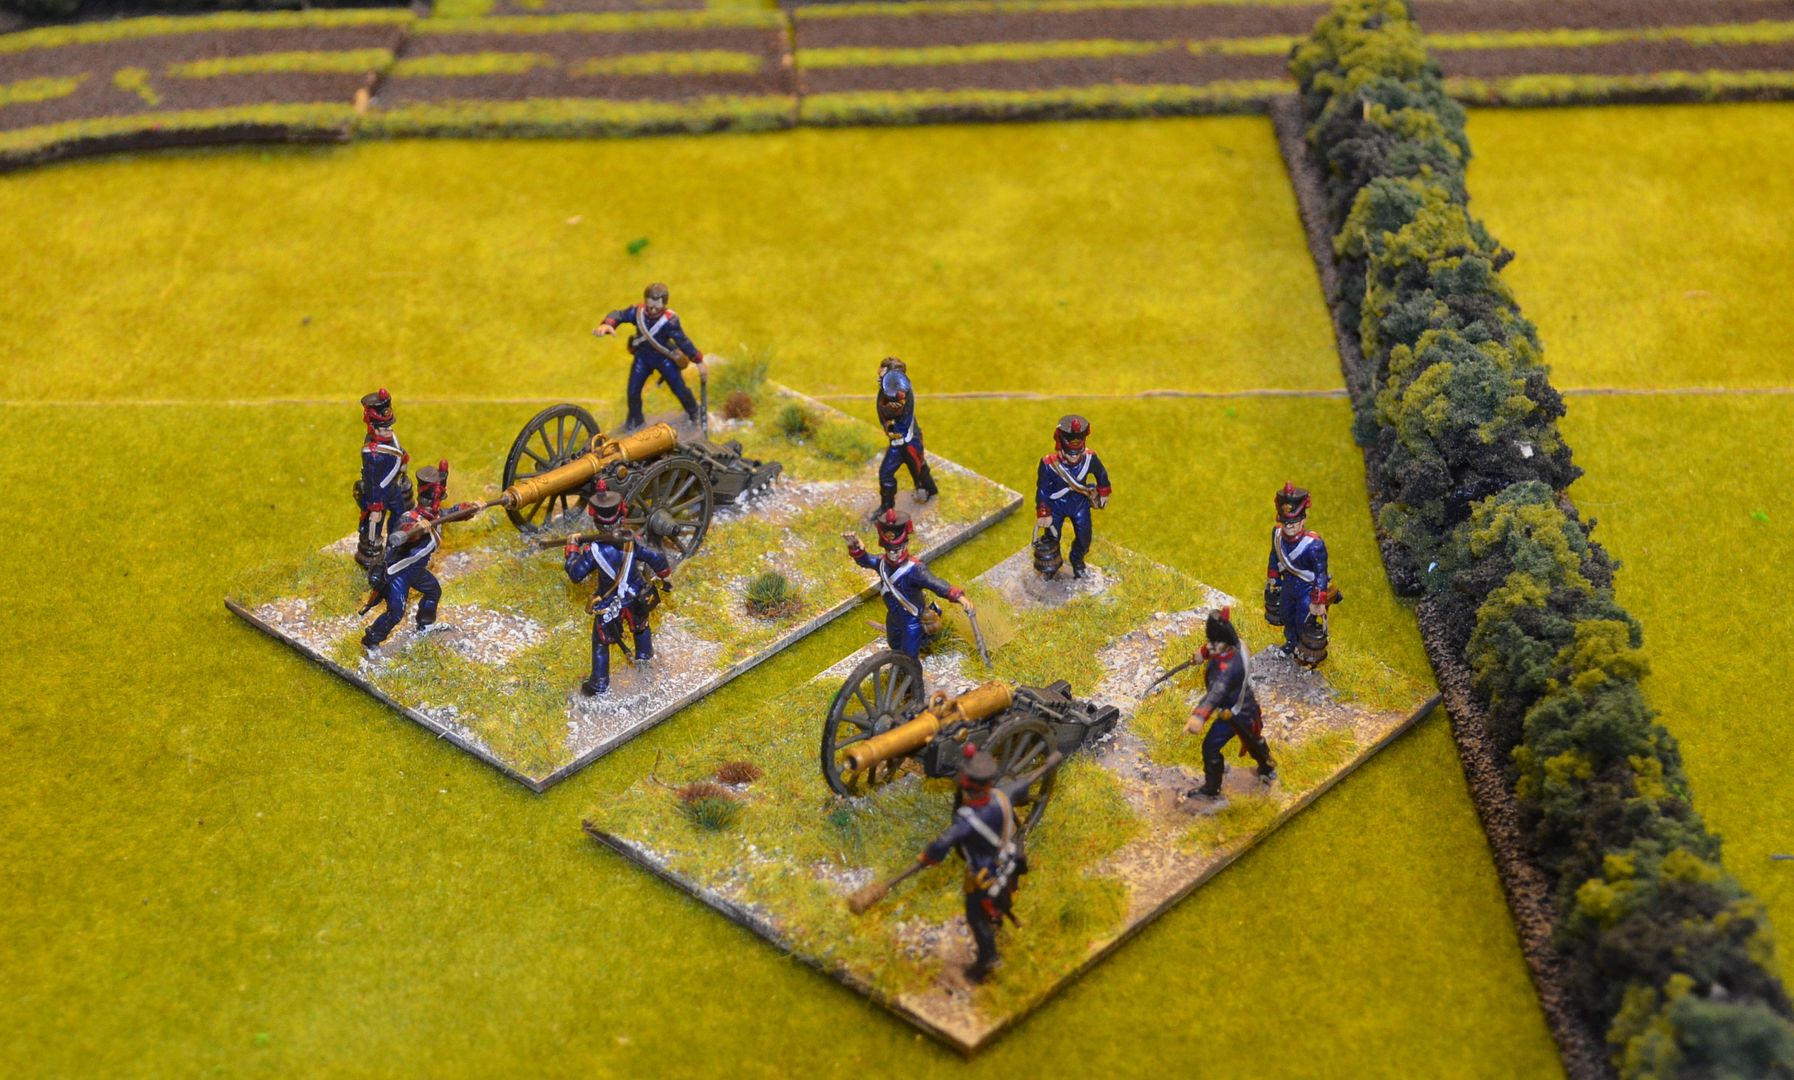
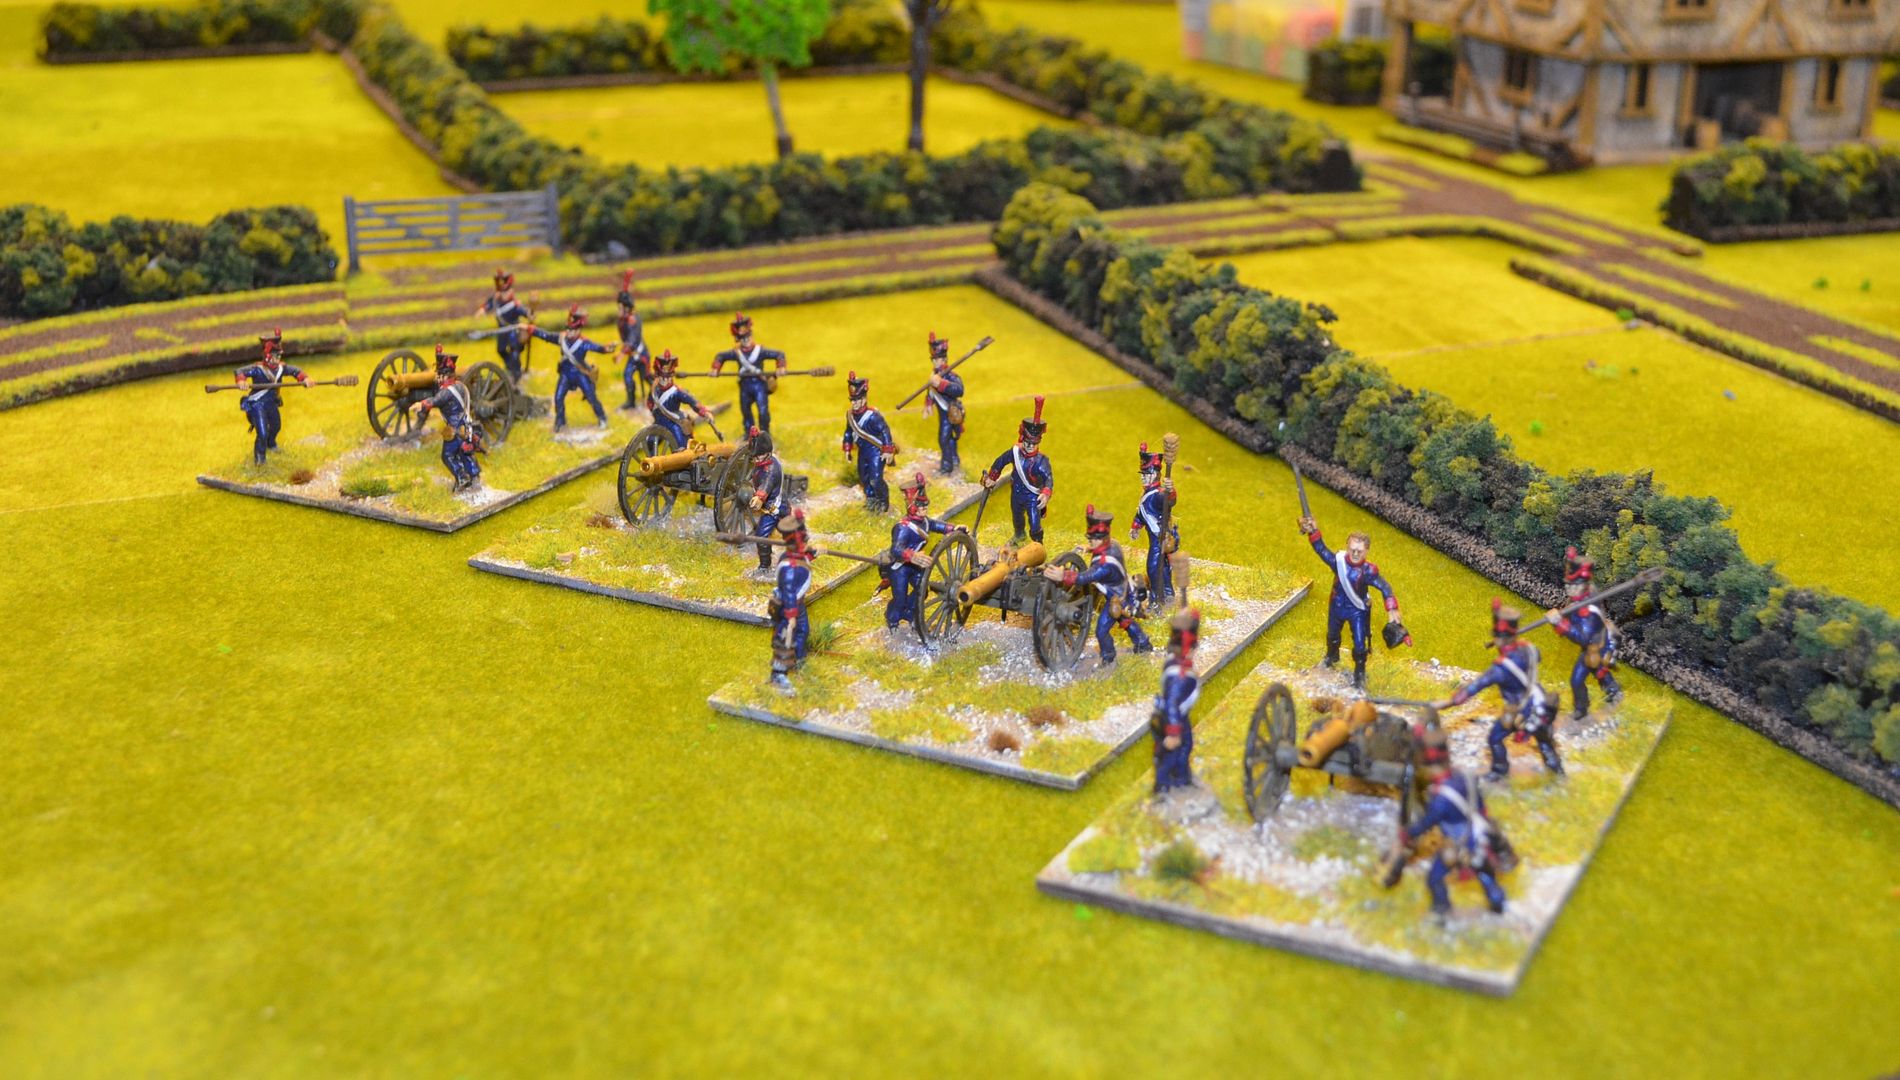
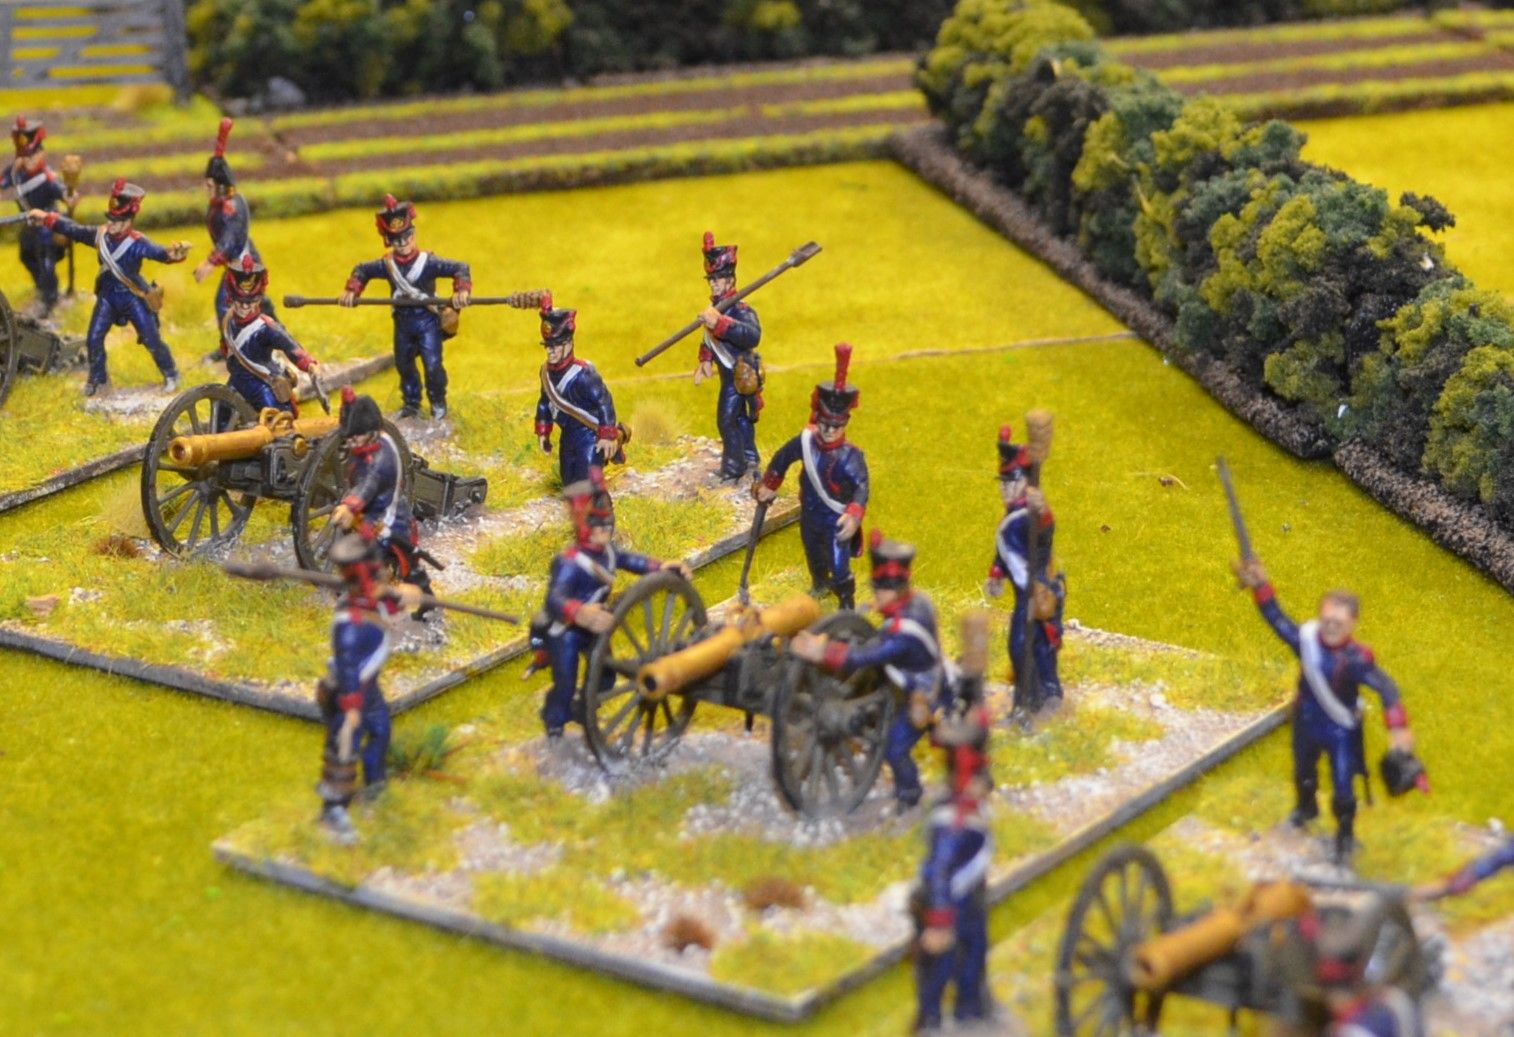
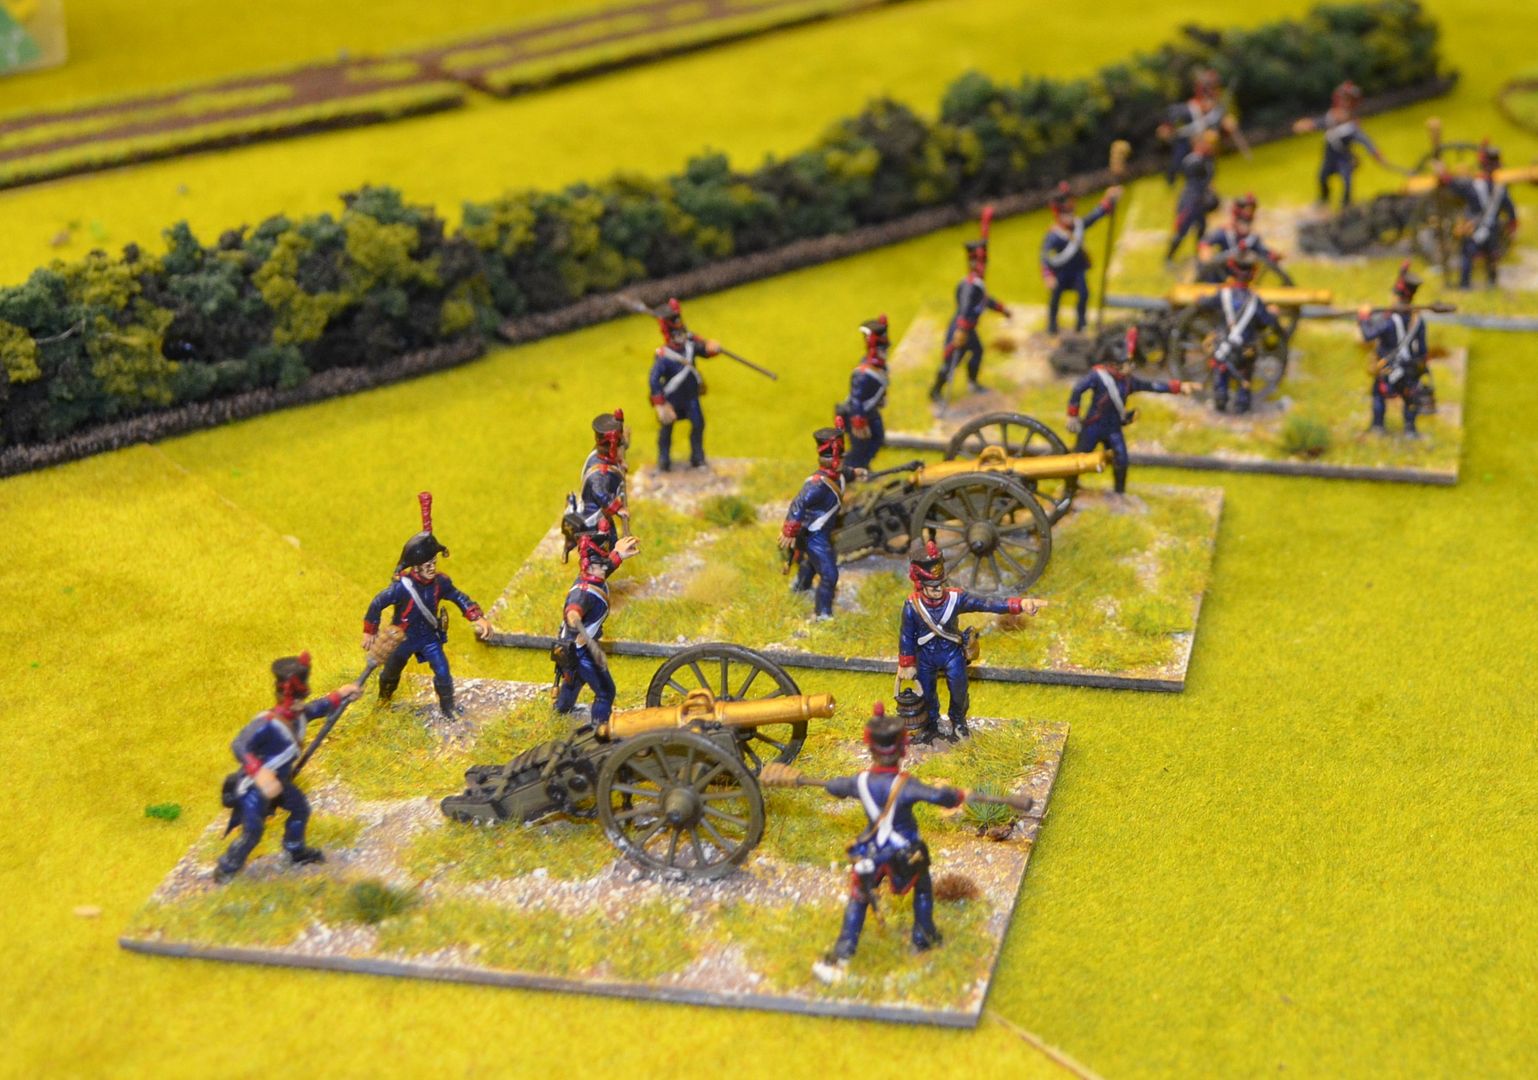
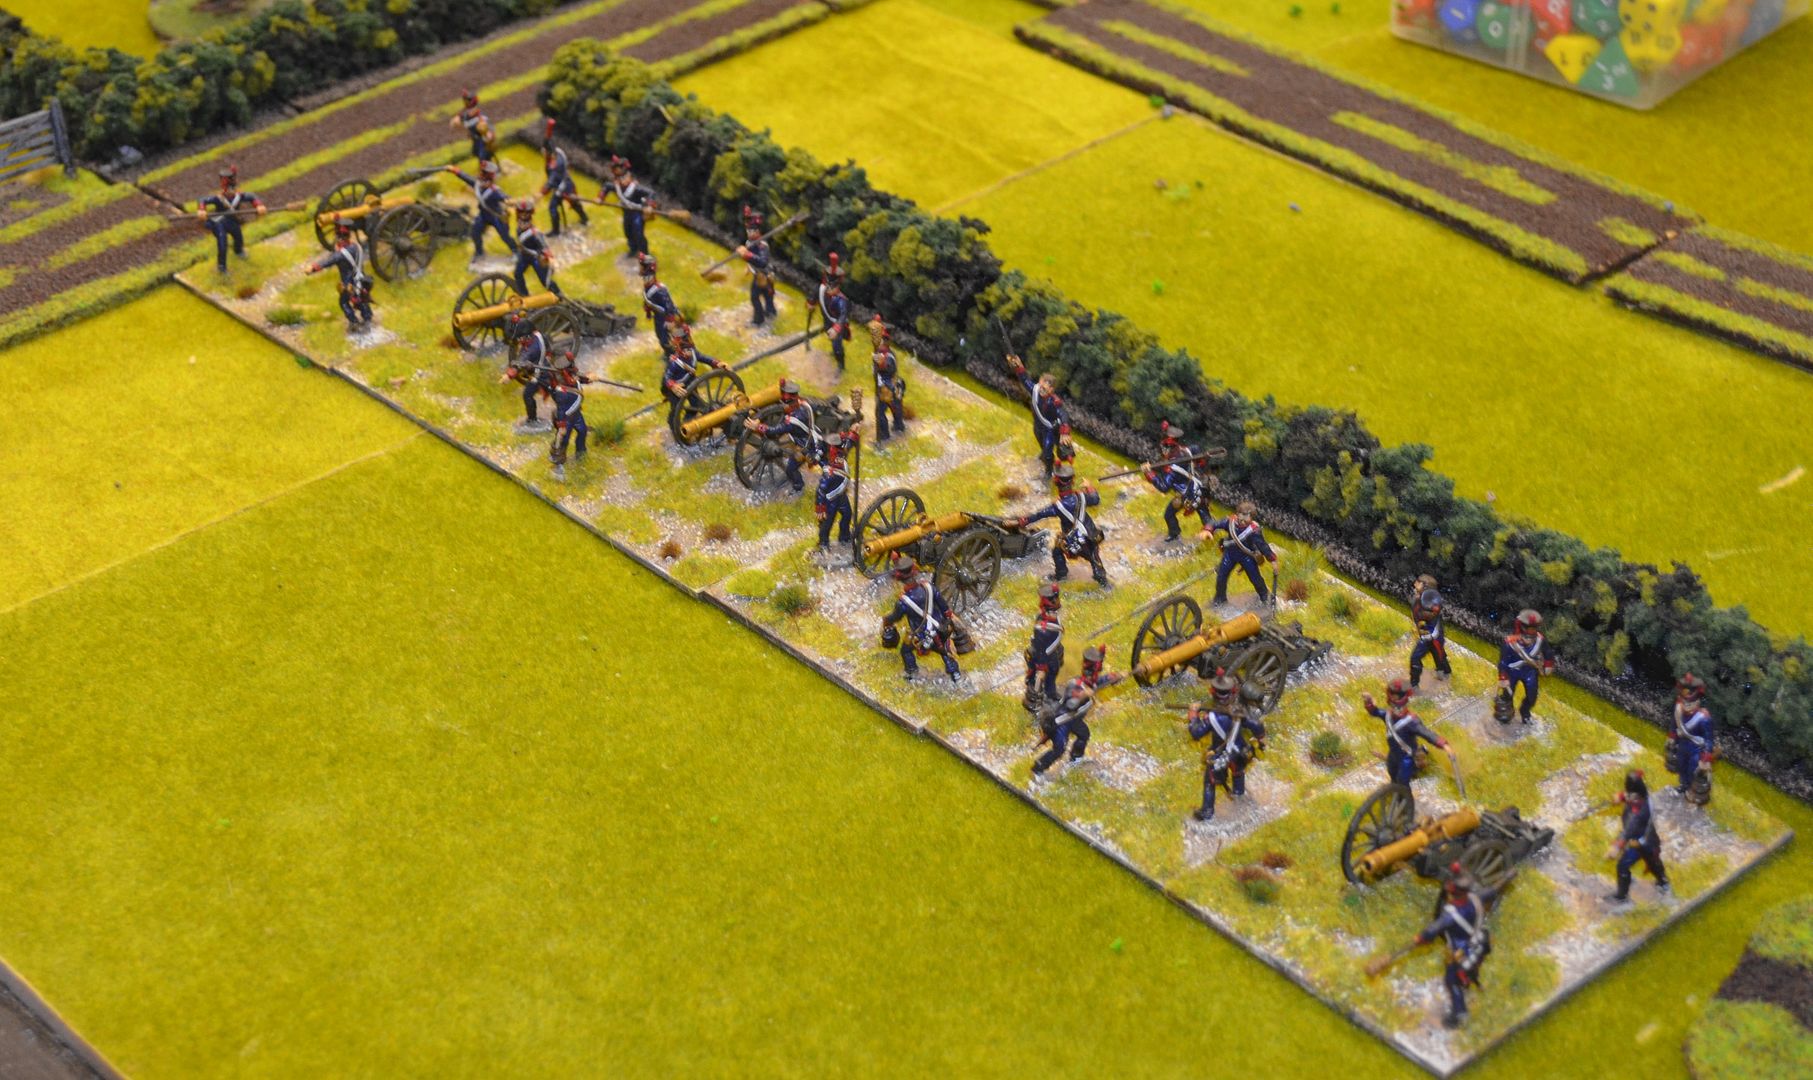
  • French Artillery - 6 Artillery pieces and crew (pictures below)
Total painted - 38 Horse, 348 infantry, 12 guns


ALMOST COMPLETED

  • French Curassiers - 1 regiment painted in brown coats as there was only one regiment in Spain
  • French Chasseurs a Cheval - 3 regiments (just need to base)
  • French Light Infantry - four regiments almost completed

Almost painted - 48 Horse, 96 infantry

TO BE STARTED

  • French Line Infantry - 8 Infantry Regiments
  • French Hussars - 2 Regiments
  • French Lancers - 1 Regiment
  • British Light Dragoons - 2 Regiments
  • British Hussars - 1 Regiment
  • Portuguese line Infantry - 2 Regiments
  • Portuguese Cacadores - 1 Regiment
  • French Old Guard - I regiment (I know they did not fight in Spain)
  • French Command
To be painted - 88 Horse, 288 Infantry 

TO BE PURCHASED
  • Portuguese Infantry - one more box to complete a 3 strong brigade
  • British Heavy Dragoons - 2 Regiments - waiting on Warlord to release on June 17th
  • French Line Infantry - 3 more regiments
To be bought and painted - 24 Horse, 96 Infantry

This makes a total of 

Guns - 12
Cavalry - 174
Infantry - 828

a total of 1014 figures....gulp....


By my reckoning I am out about 40% of the way through this painting marathon (give me zulus to paint any day) and should be complete come the end of the summer

The Foot Artillery shown today were sourced at Salute direct from Victrix - these were a joy to build and assemble and at 40 quid for six guns and crew great value (7 quid/gun). I decided on four medium and two large guns. At some point in time I am going to need to source French Horse Artillery but I think I can wait for the moment.

Two 12 lbs


4 x 8lbs


Close up - painting these was good practice for the forthcoming french infantry


Another view

All six batteries


Thursday, 25 May 2017

Attack, Attack, Attack - a VBCW report

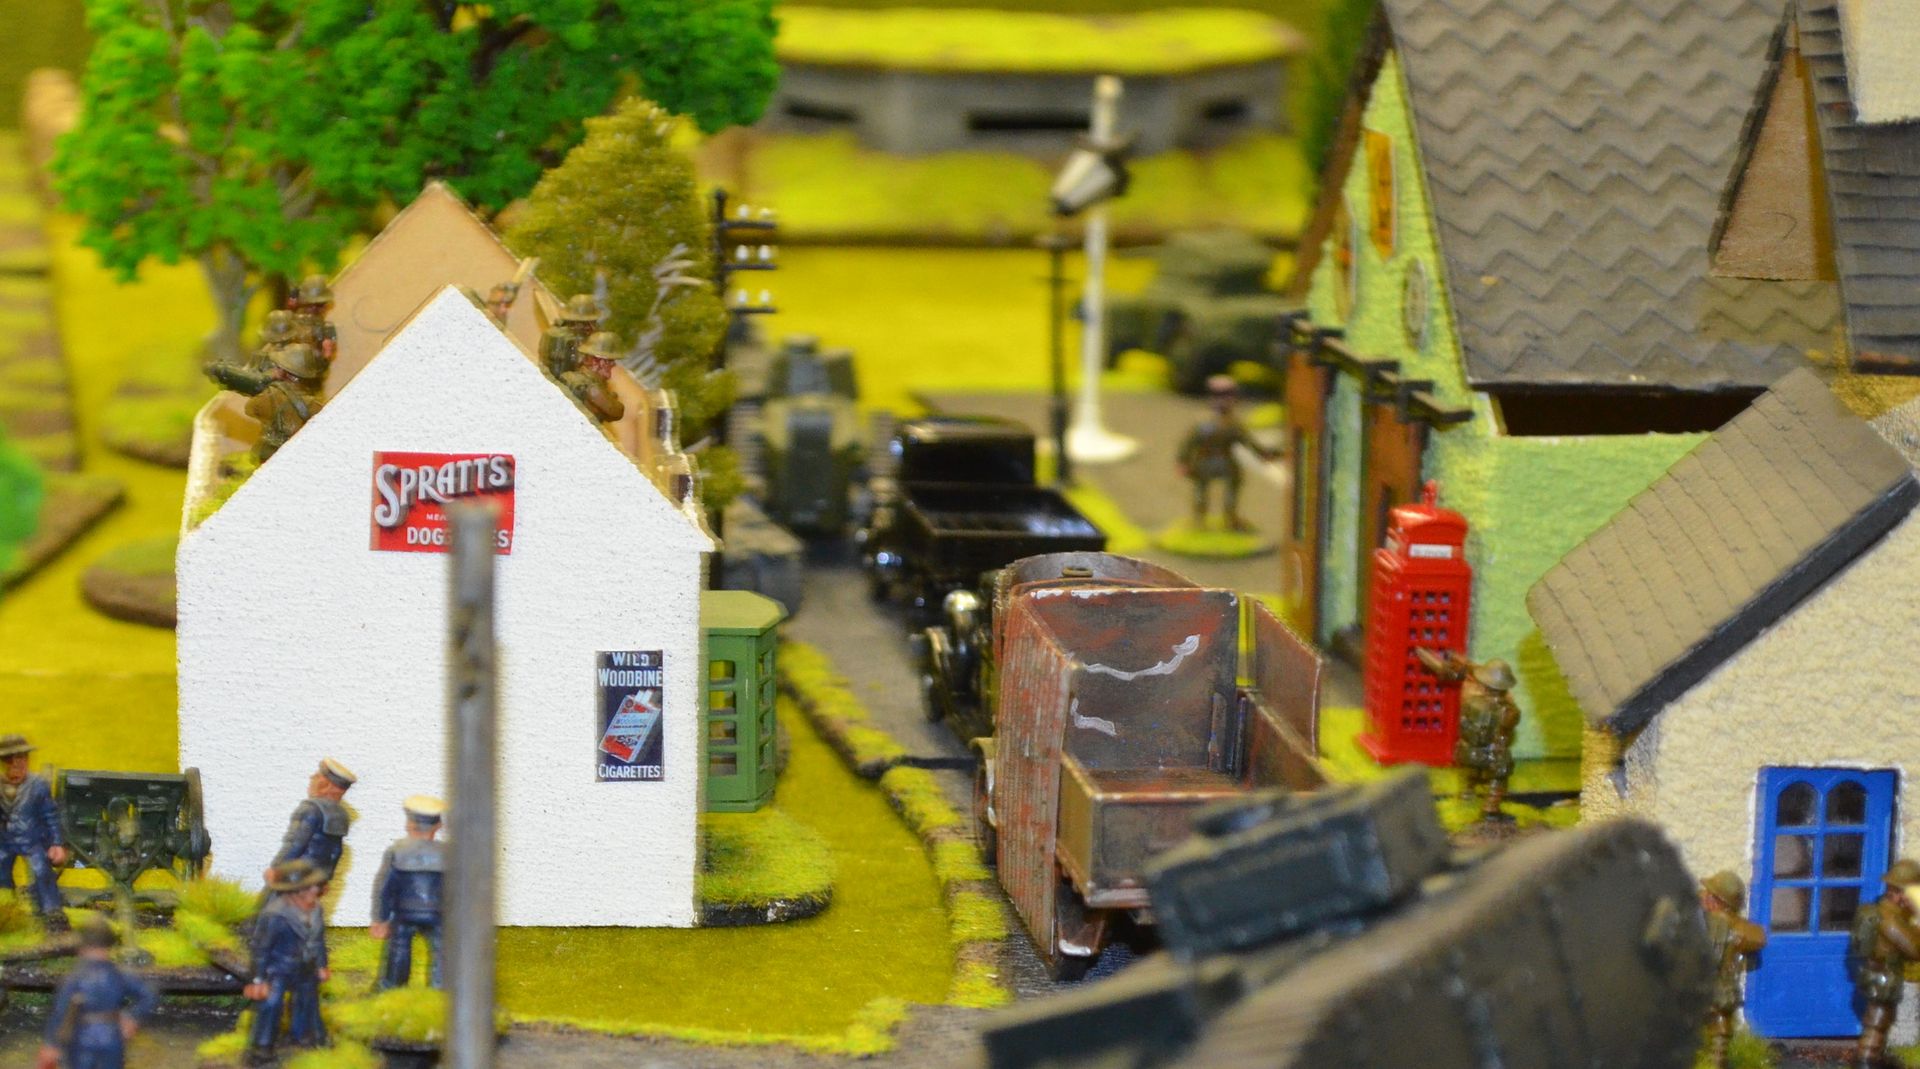
Monday night saw the Shed regulars convene for another game of Bolt Action VBCW style.

It was a simple game - three players would take the Anglican forces and force their way up the long side of the table to capture a fuel depot situated at Mustard Manor. BUF forces (about half the strength of the attackers had to delay their advance.

As things panned out the defenders (Mark & myself had a torriod time) - we failed to hit the proverbial barn door and inflicted virtually no casualties on the attackers despite our defended positions and hidden deployment.

To be frank I cant be bothered to write up the report but here are some photos from a most thrilling game (especially if you were attacking (Rolf, Alastair and John)


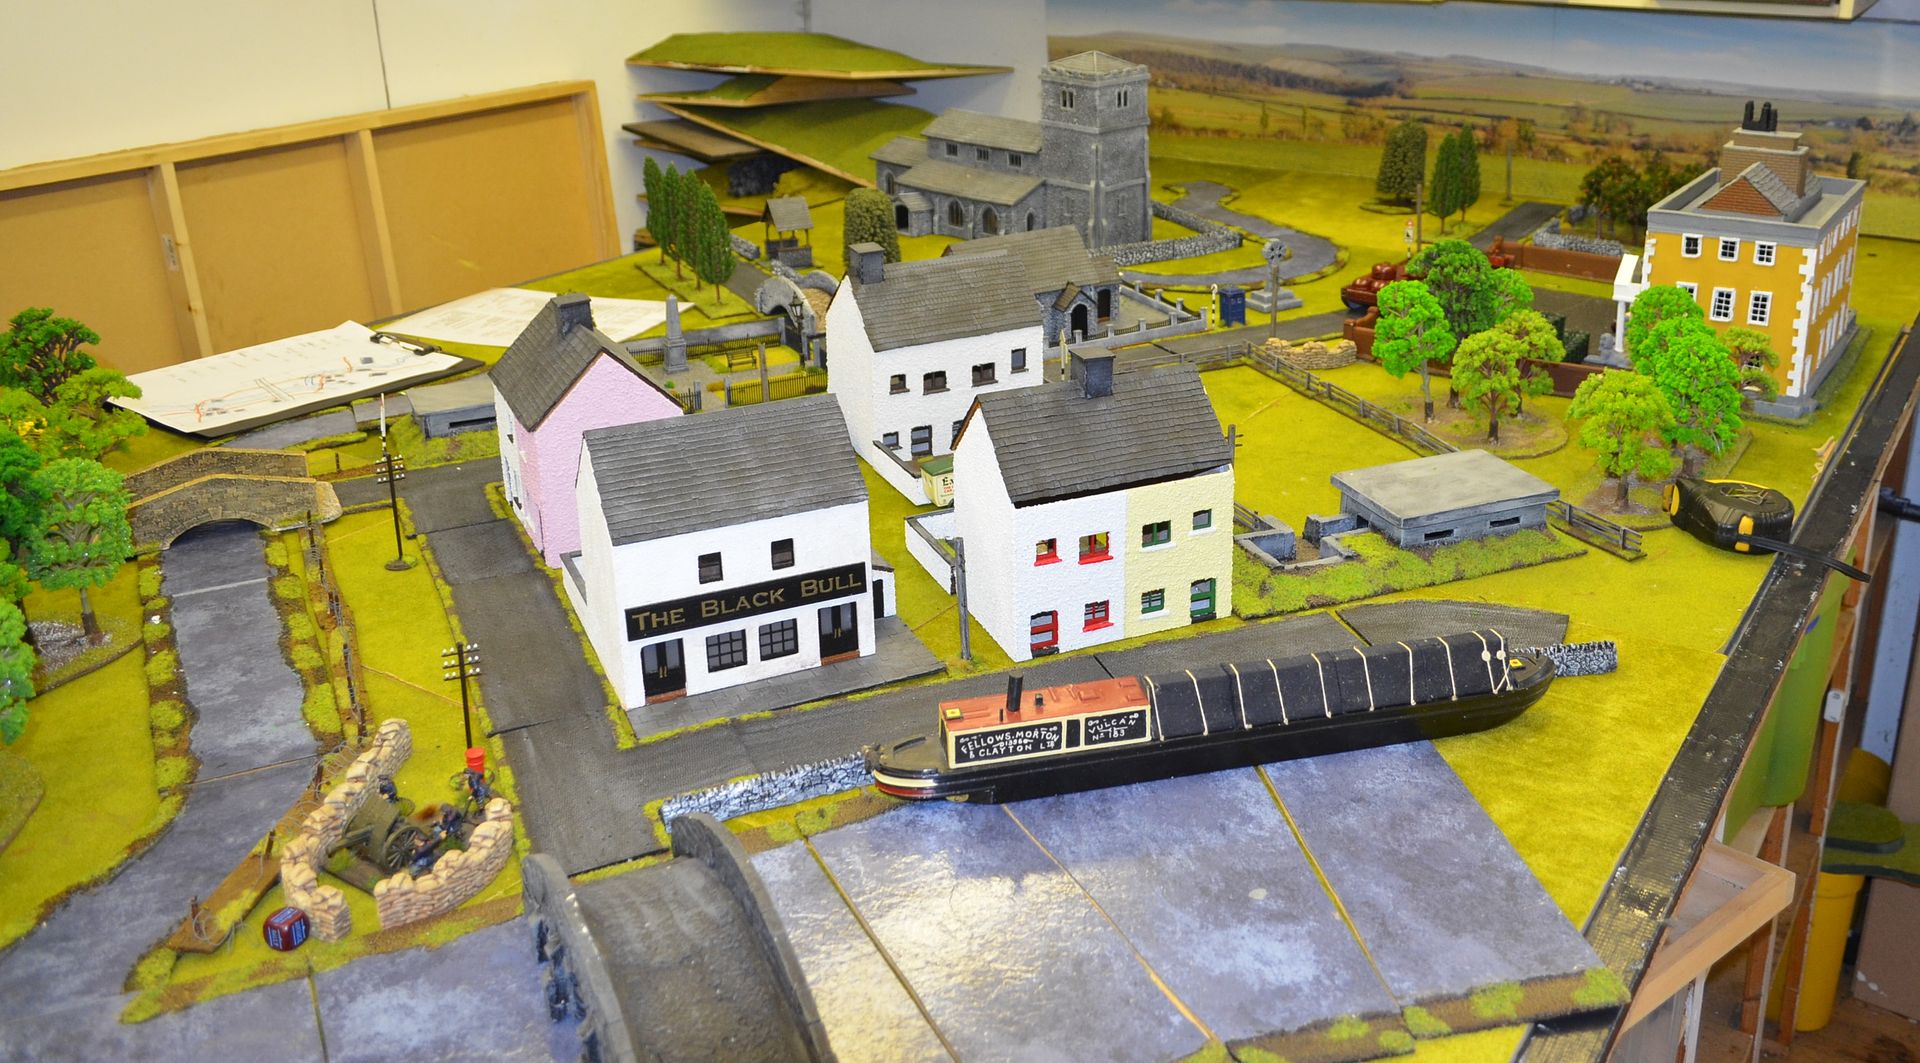
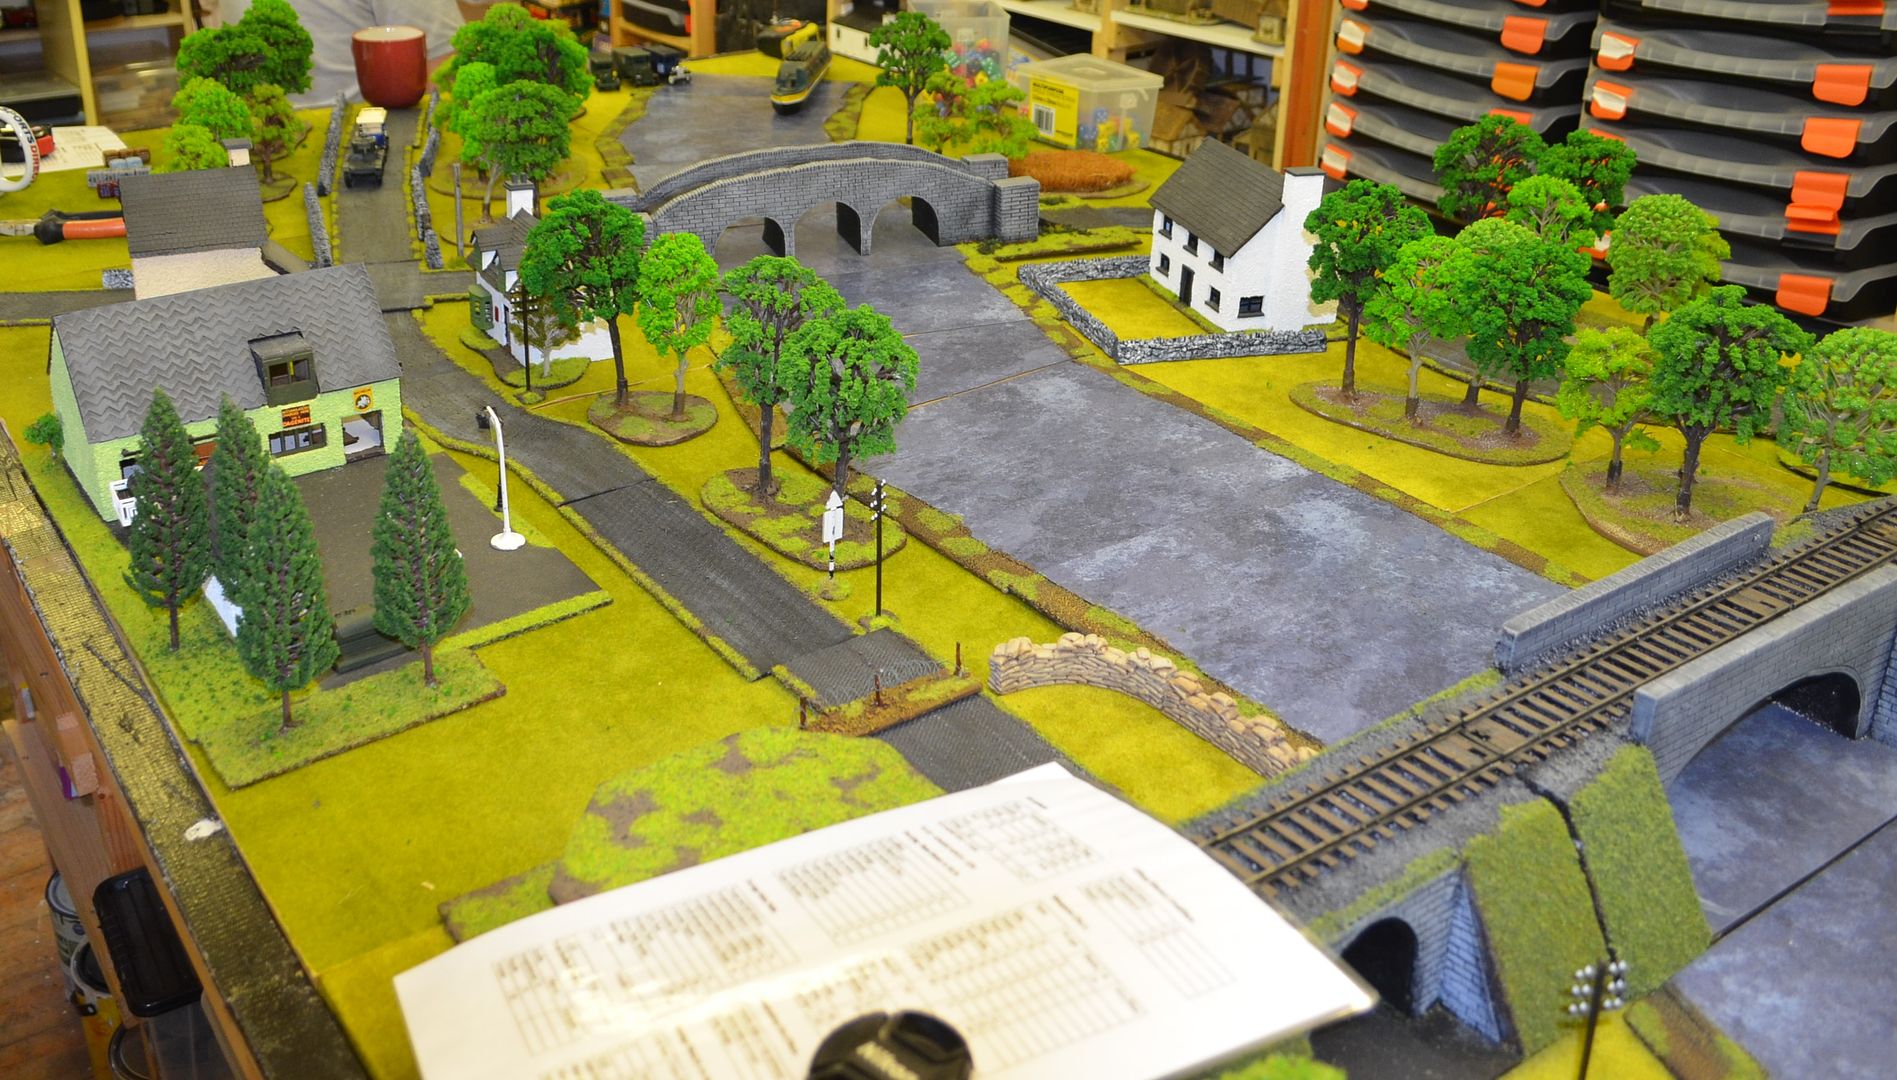
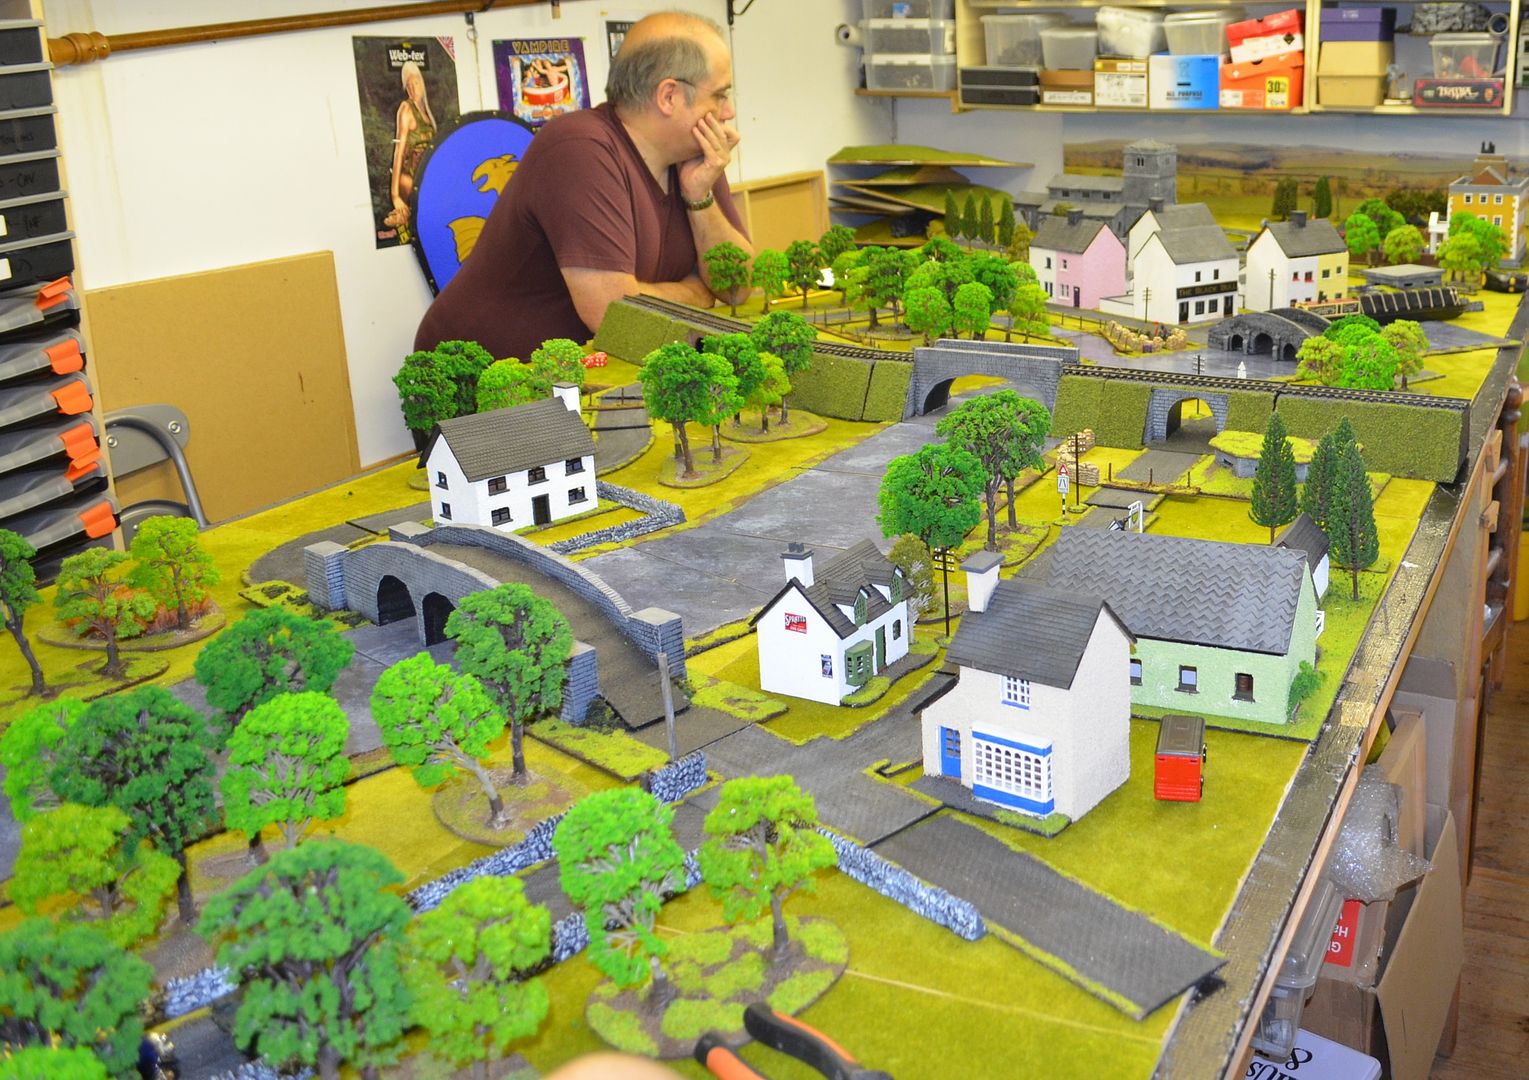
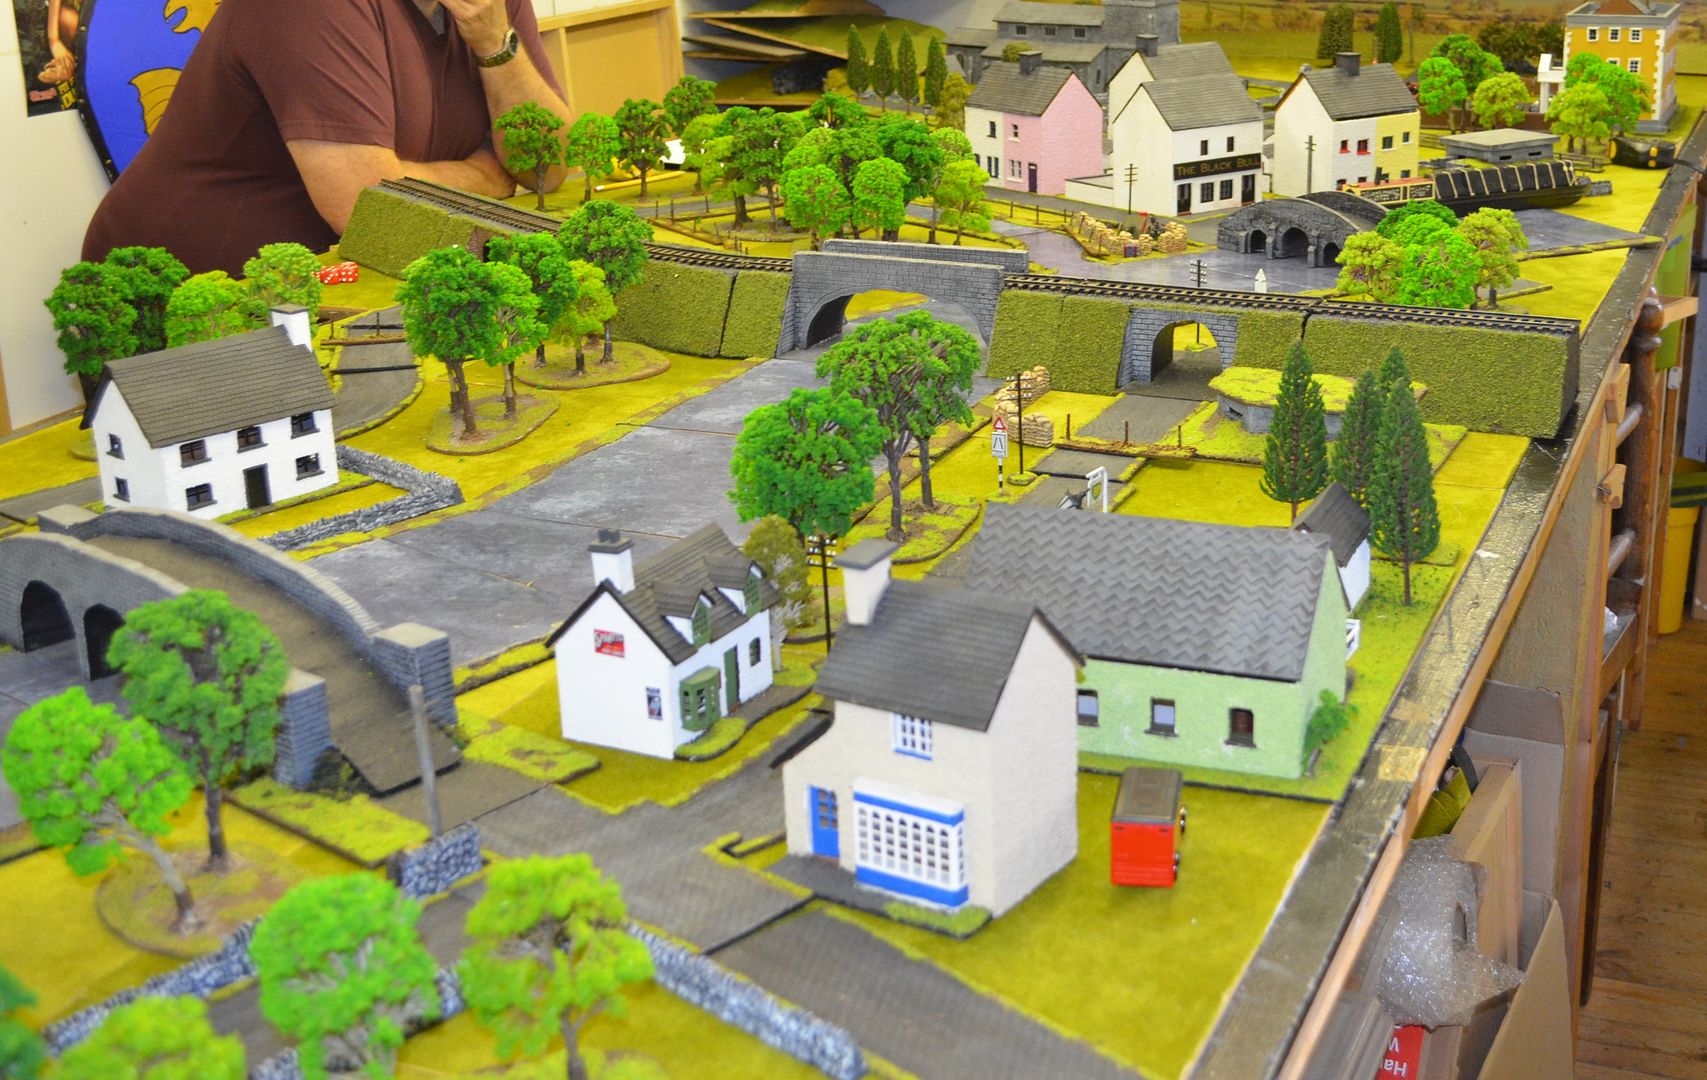
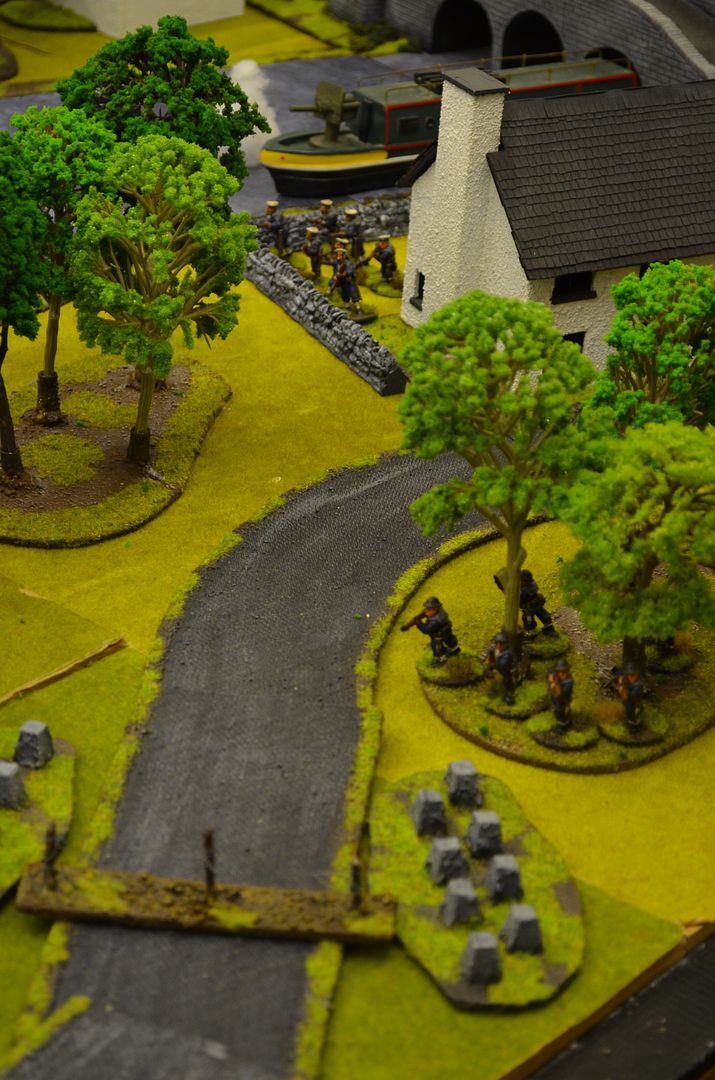
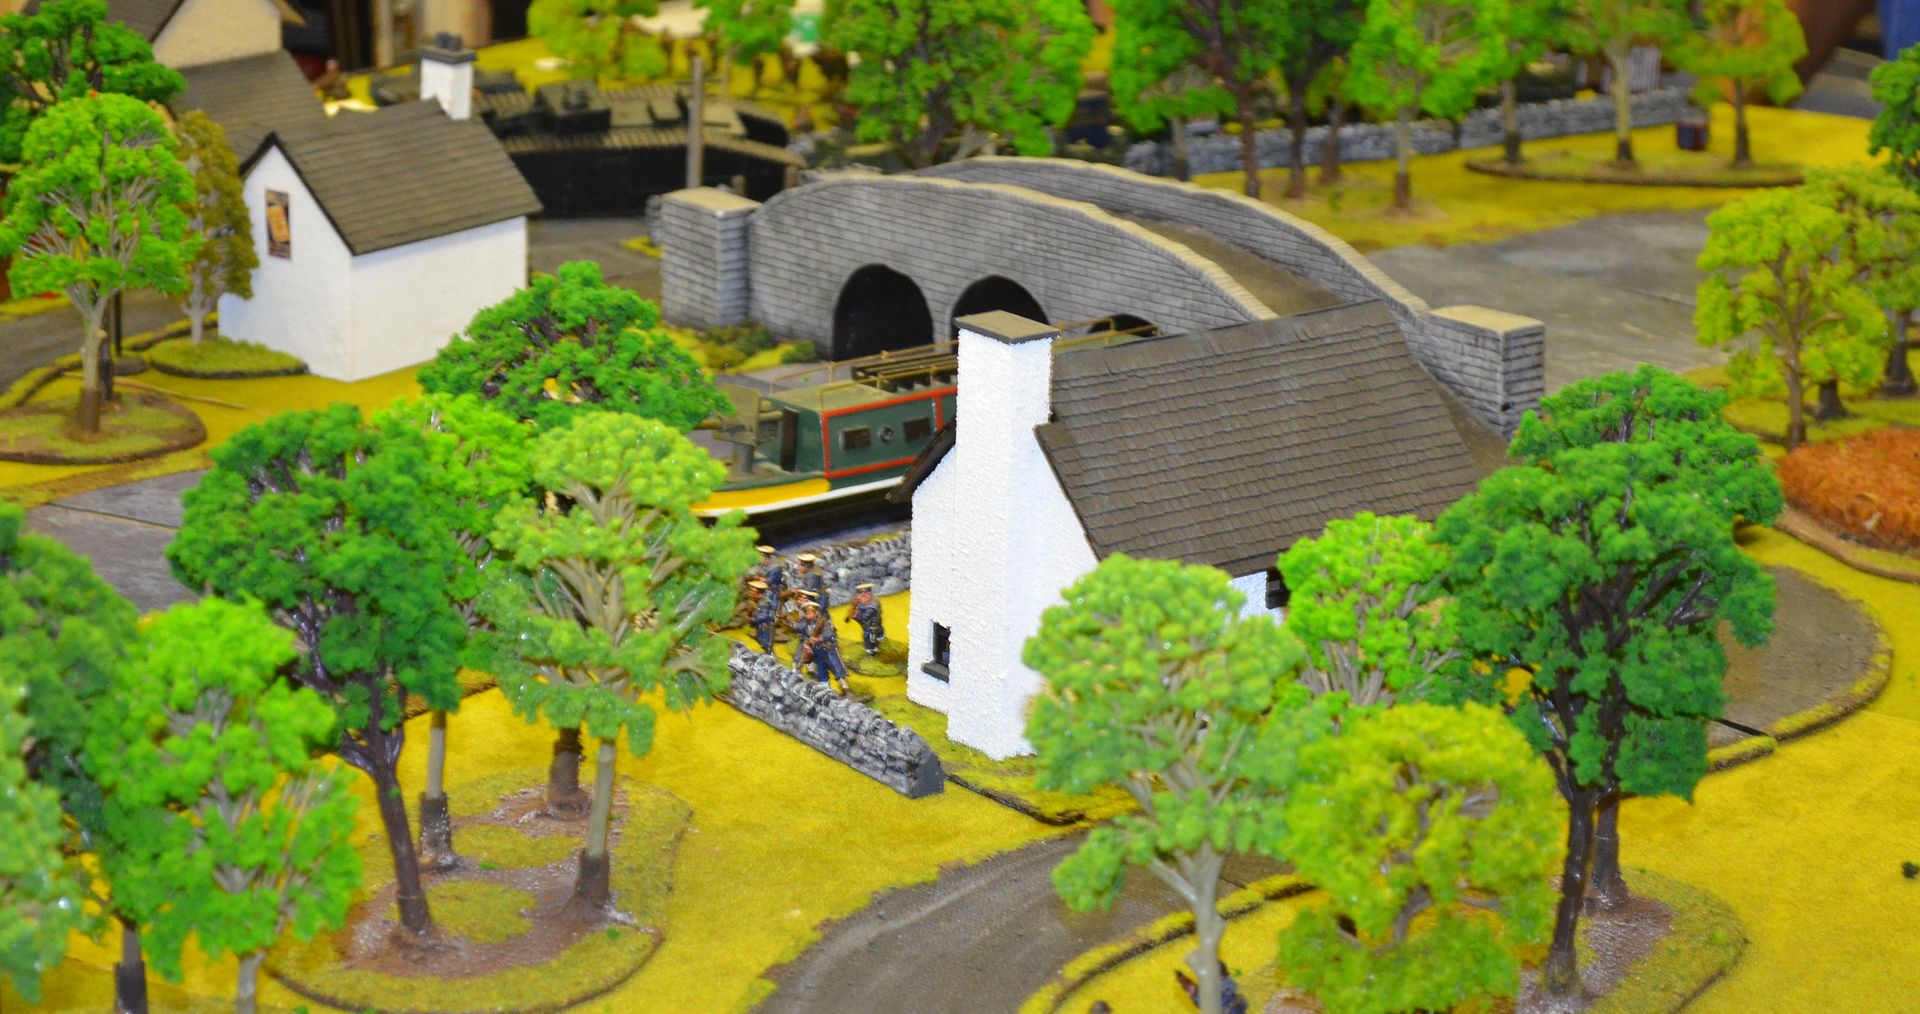
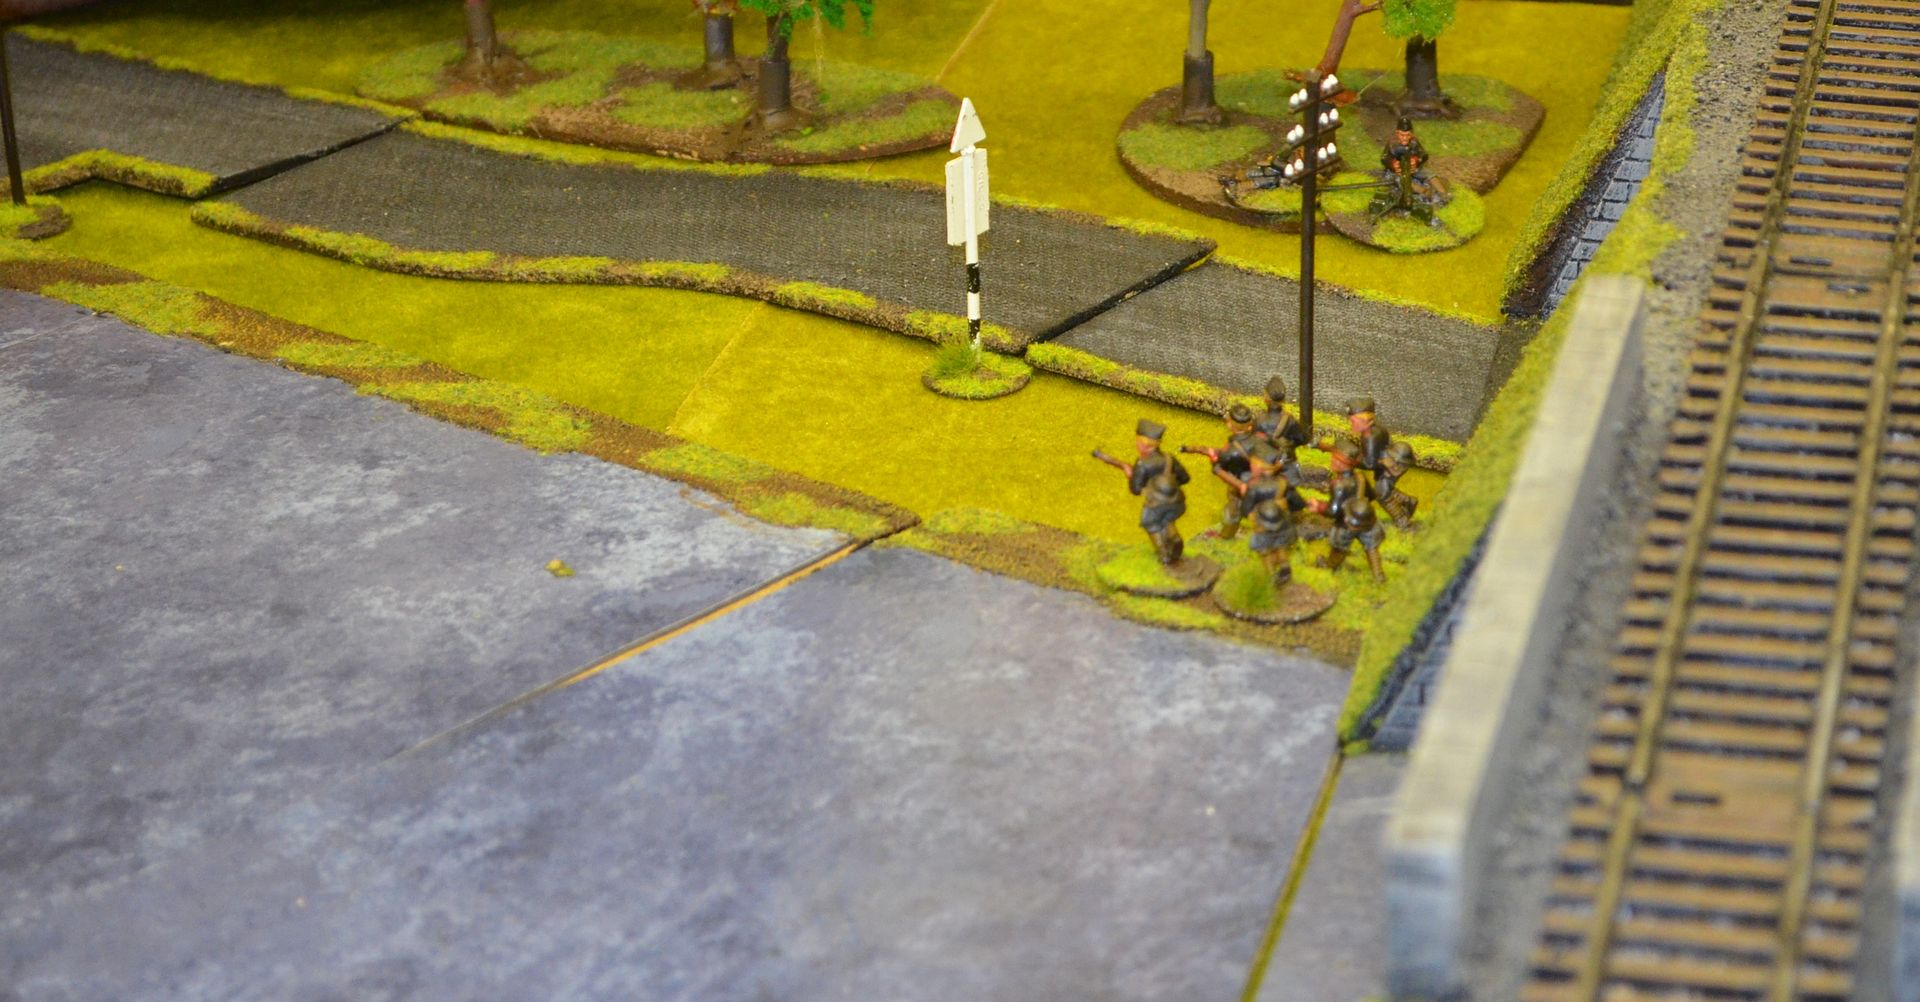
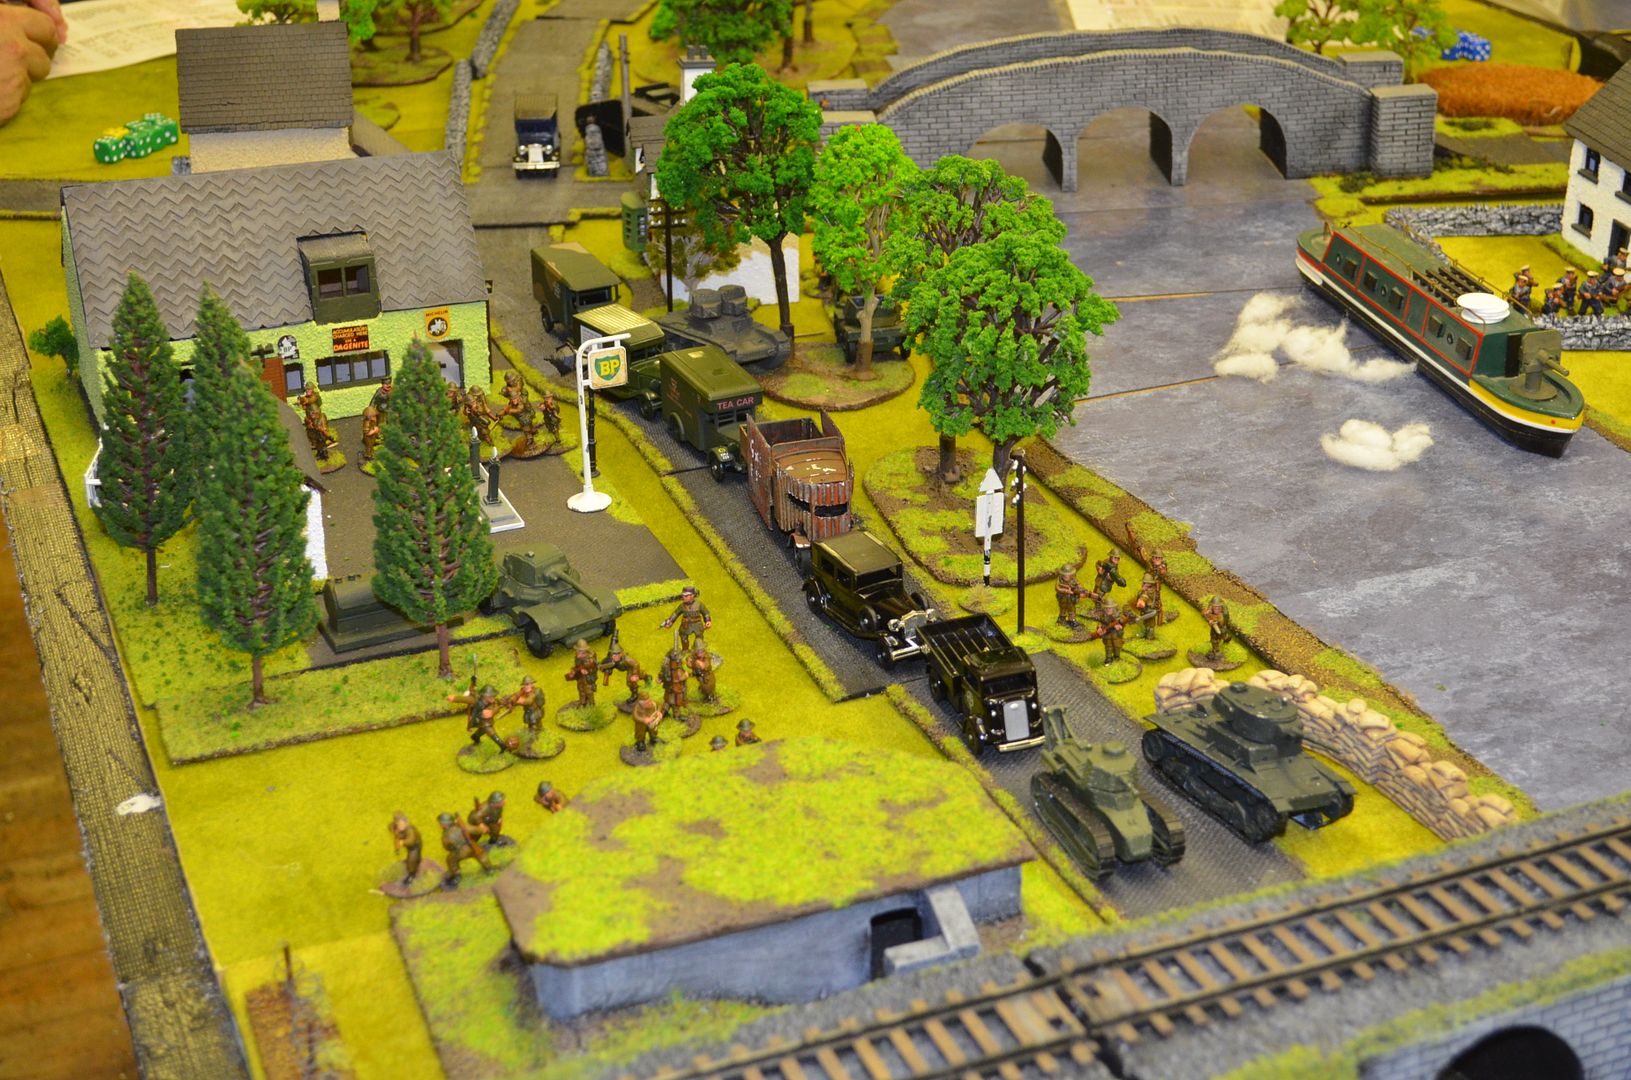
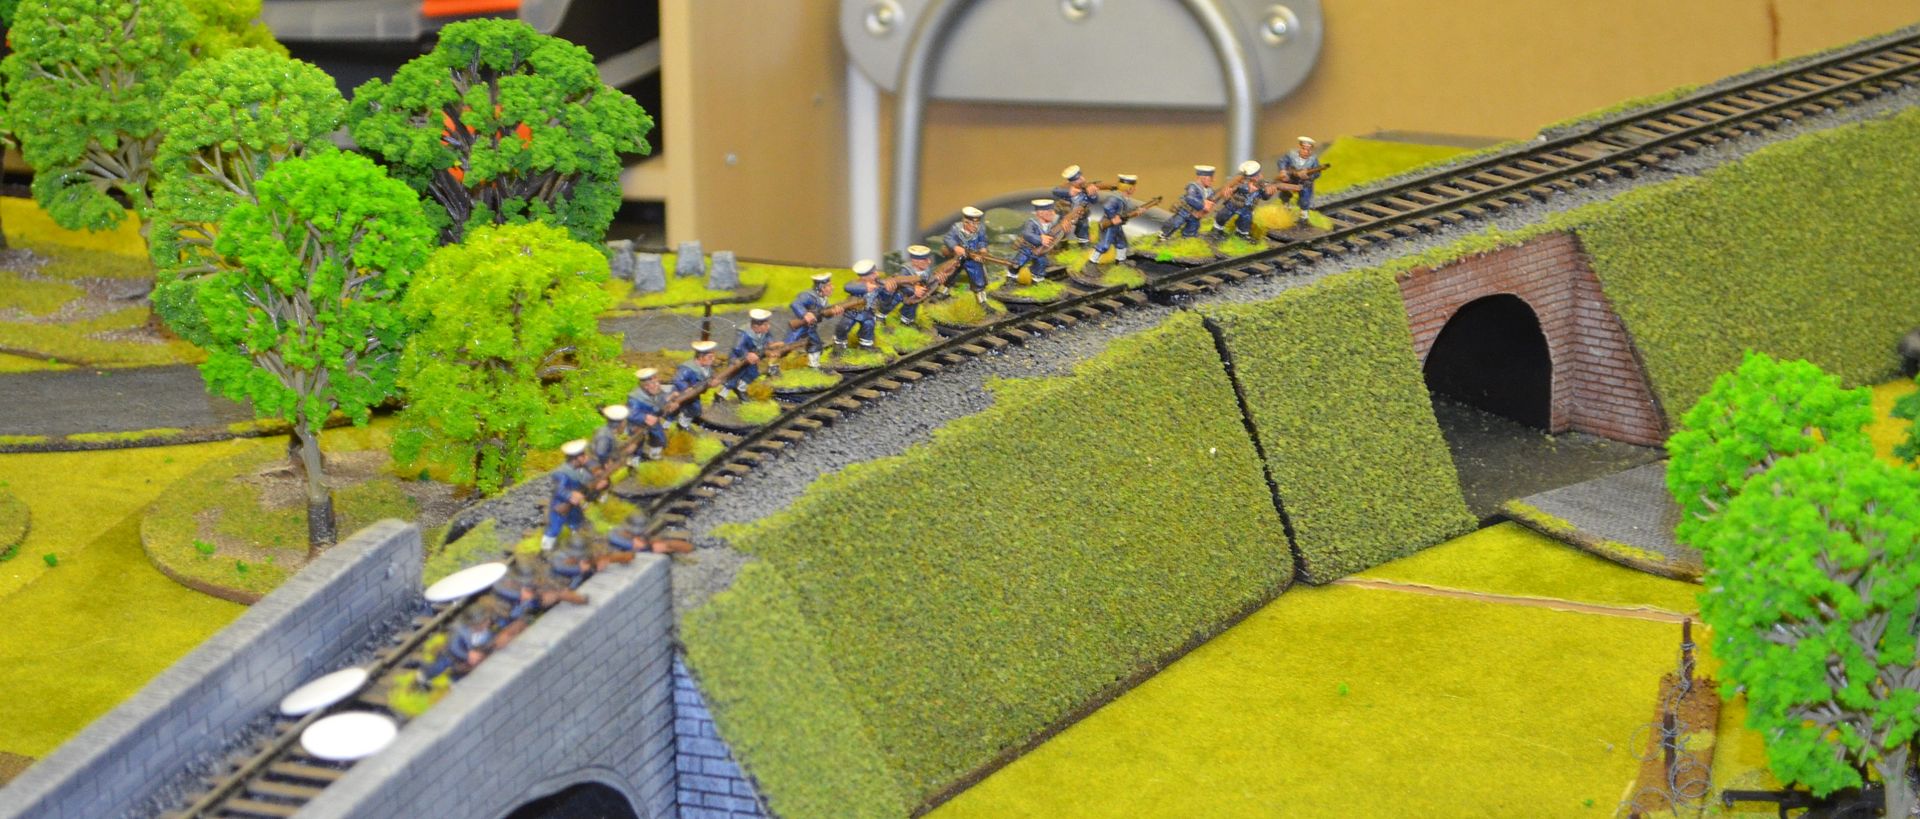
As you will see from the pictures there were lots of rivers, canals and bridges. Even the railway embankment came into play....


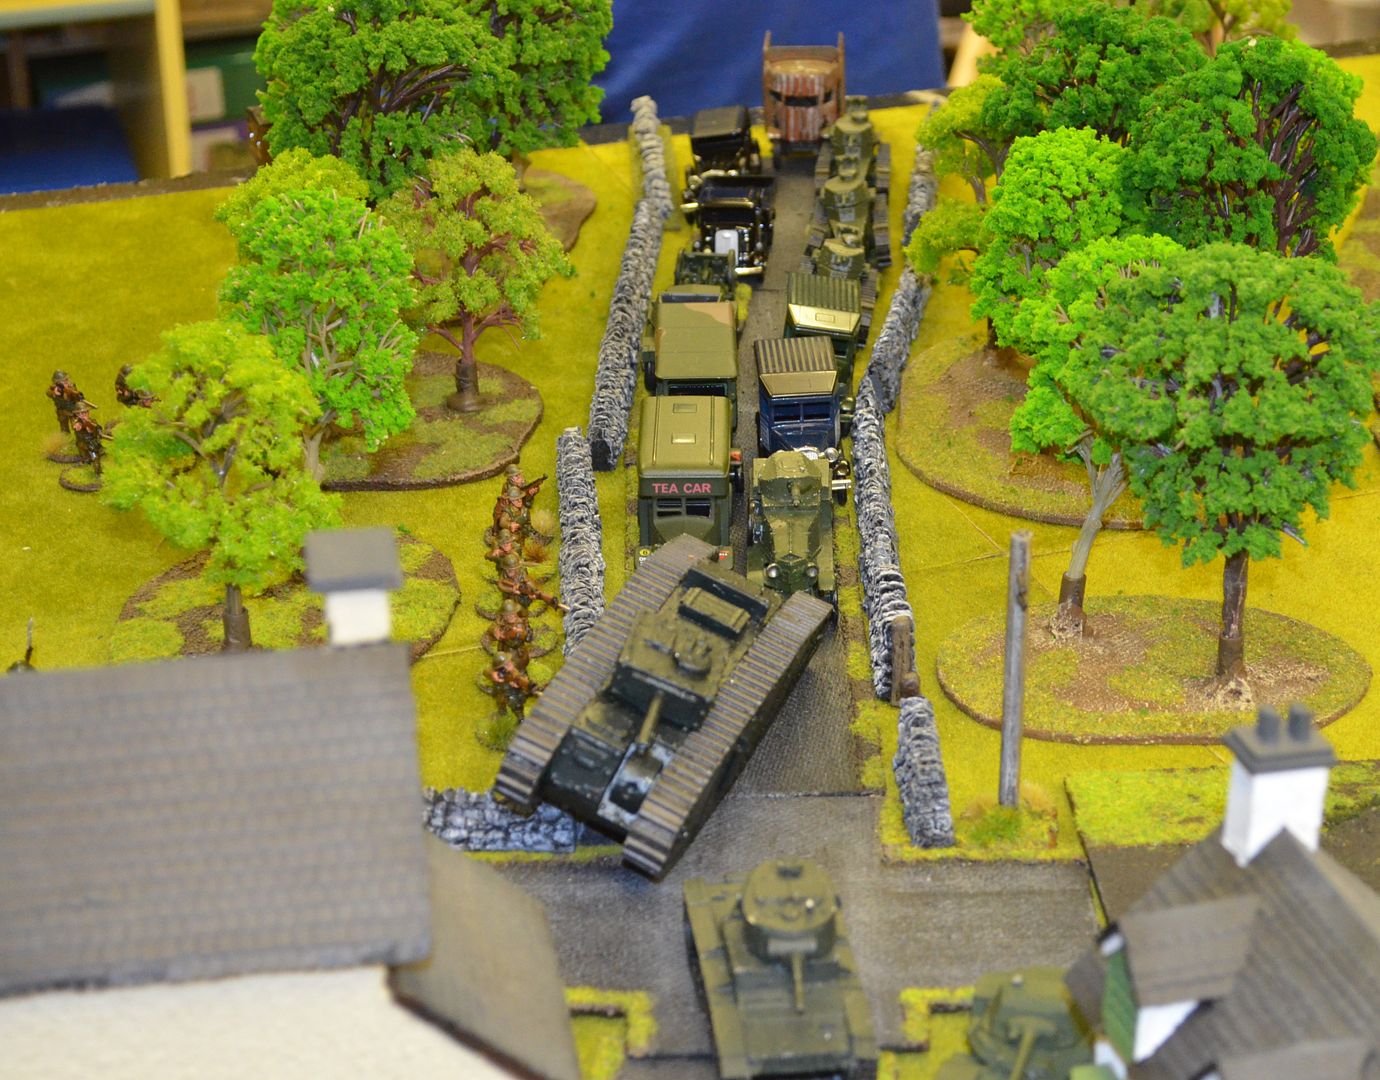
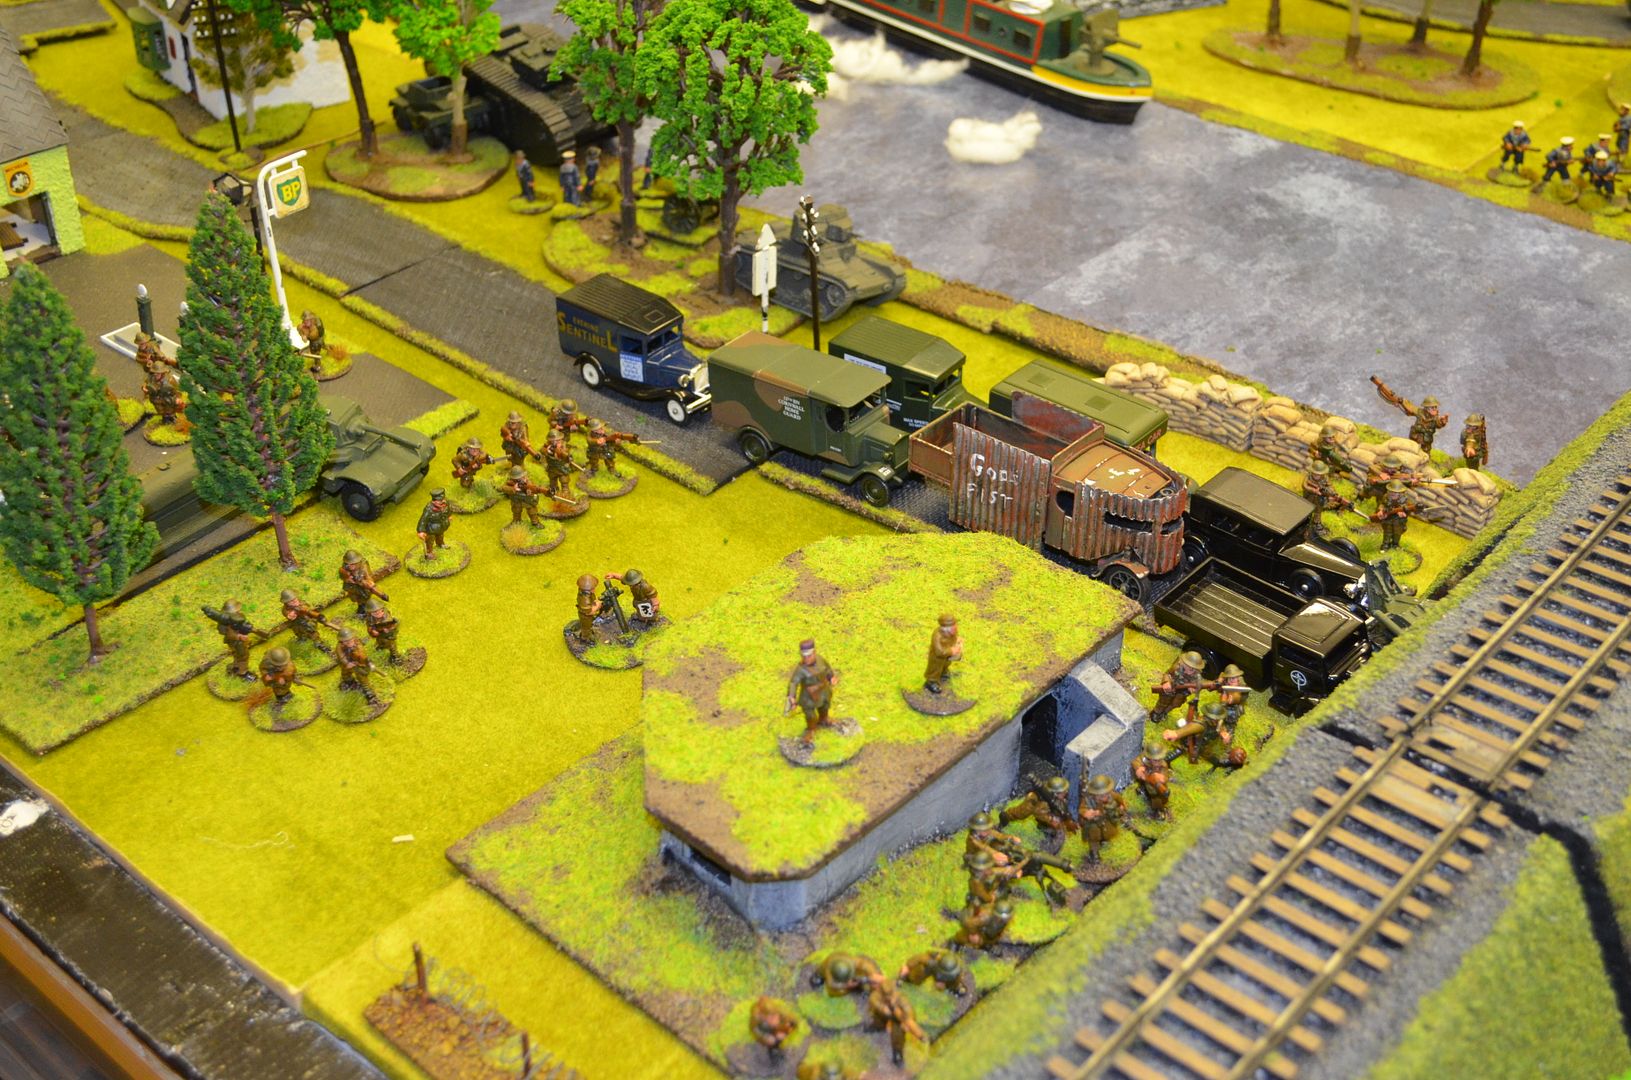
The attackers in a variety of motorised vehicles arrived...


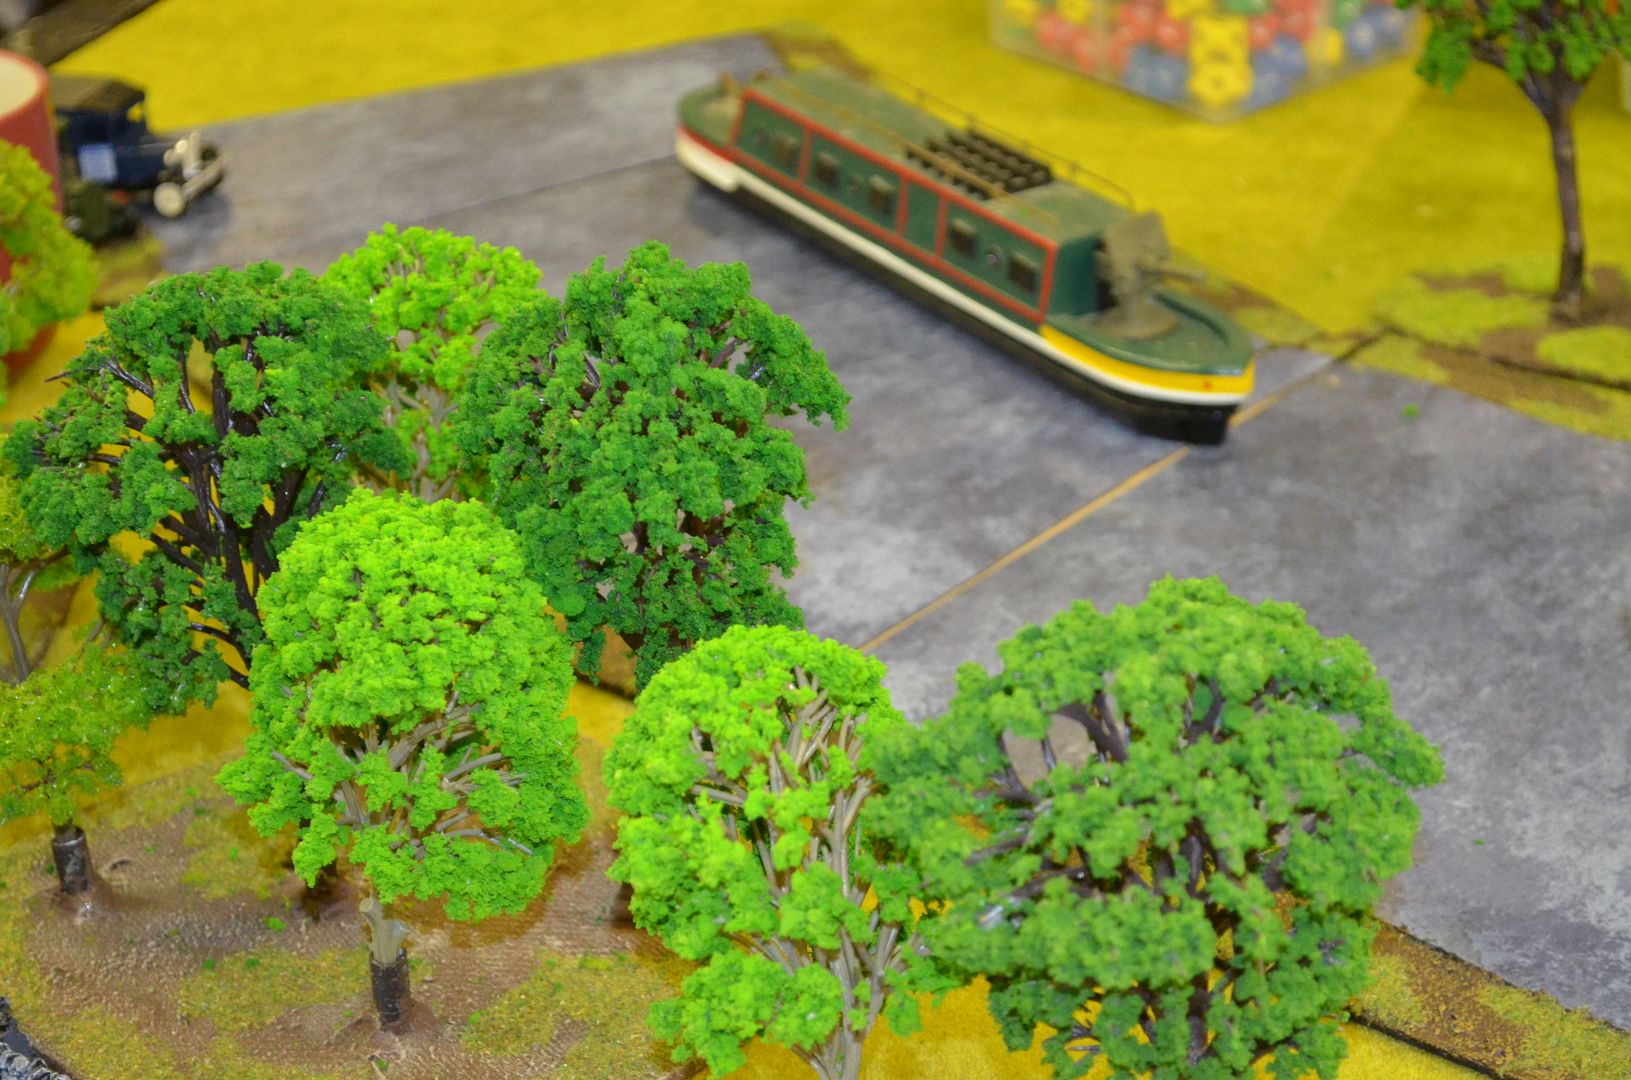
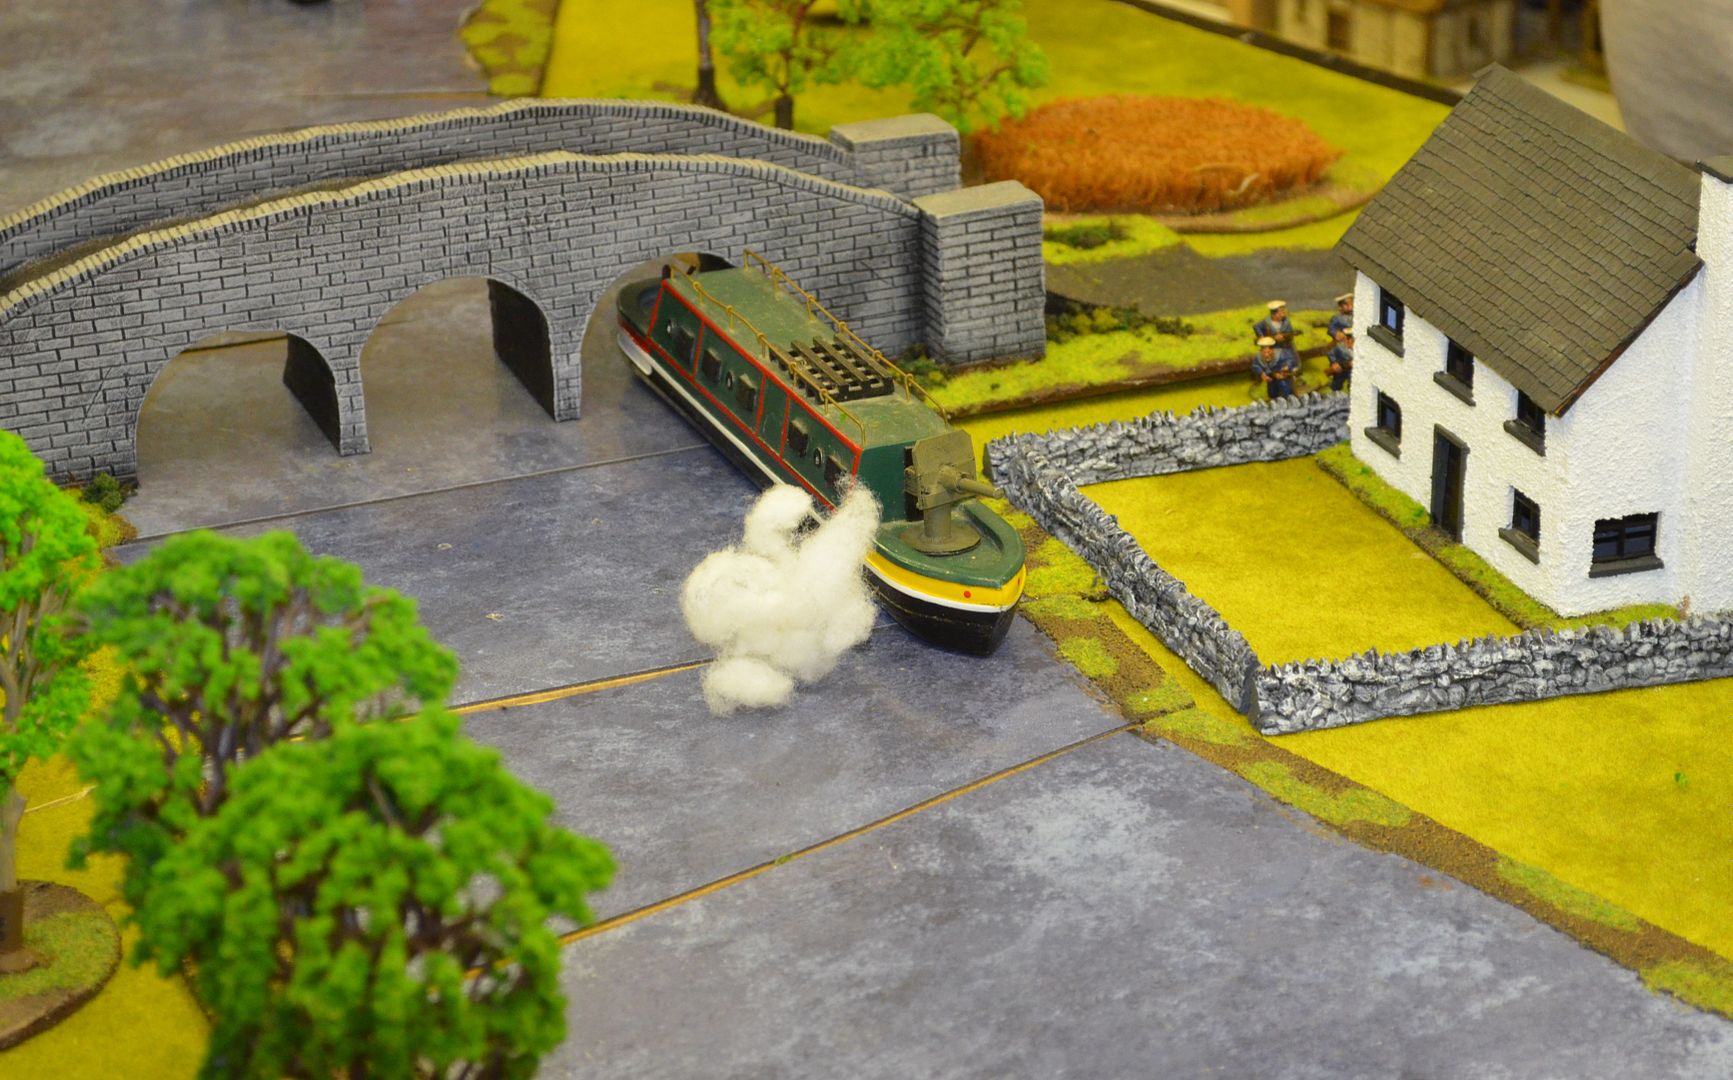
They even had an armoured barge complete with gun and naval contingent - the best the BUF could was immobilise this early on


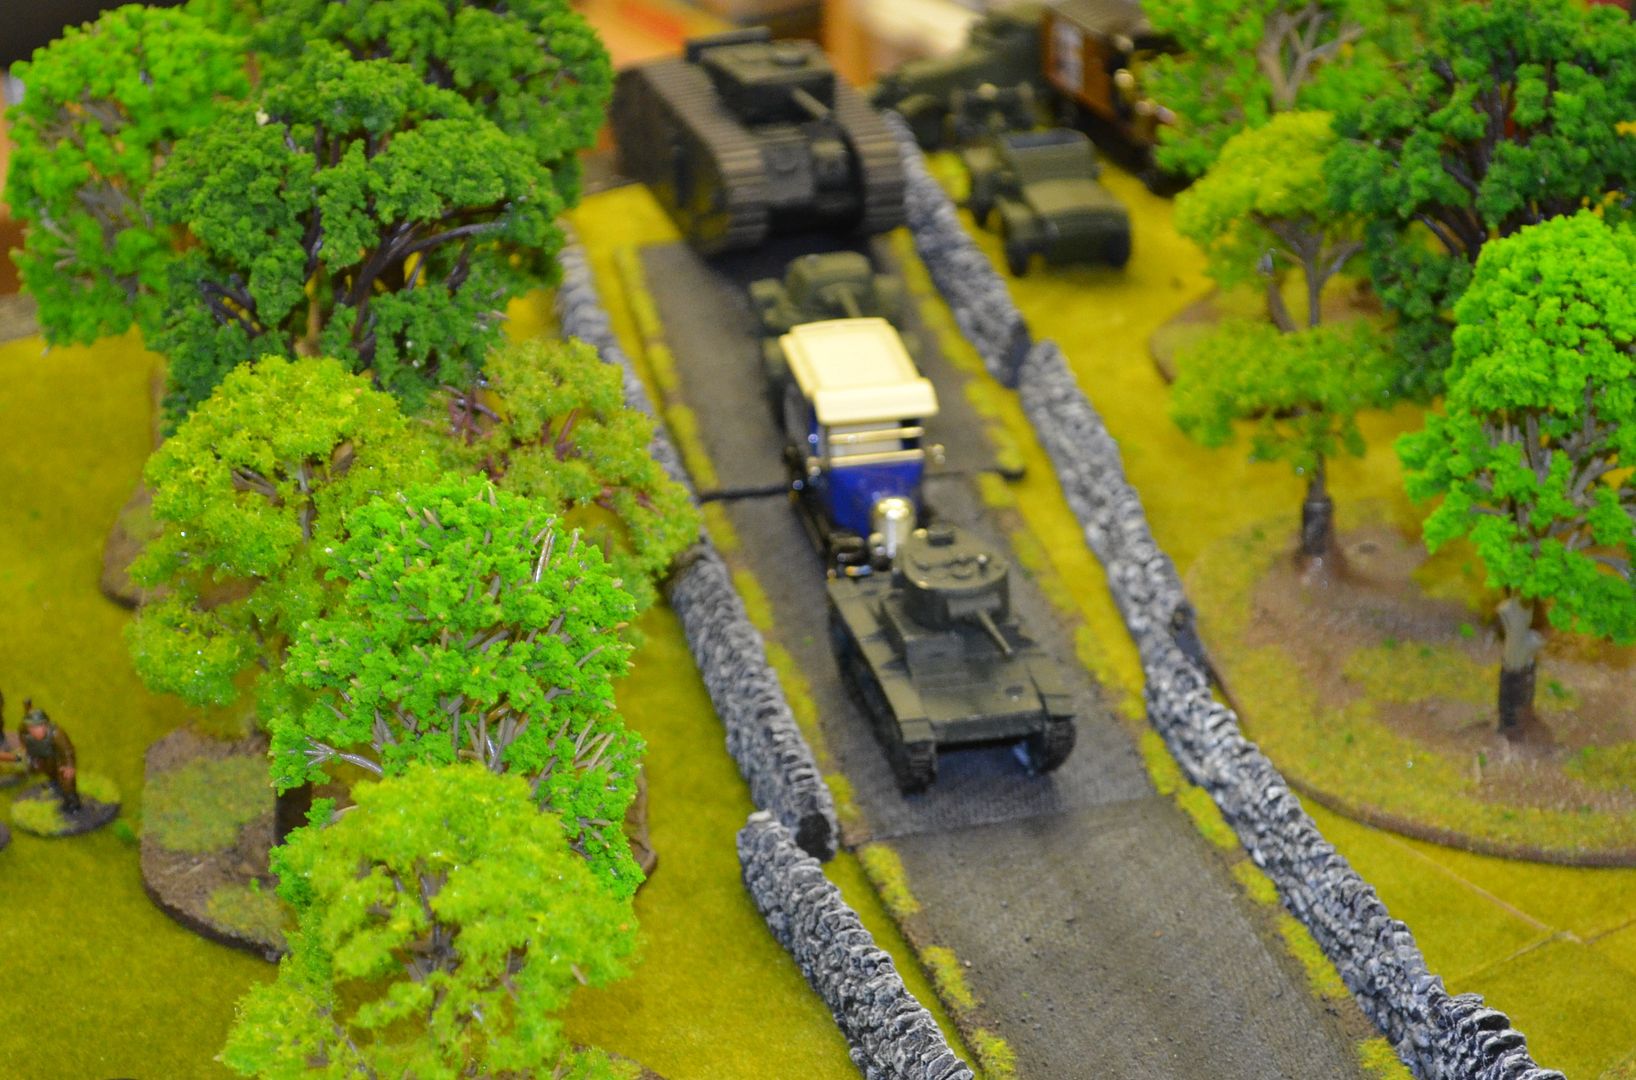
More troops arrive and the lane is busier than the M25 on a Monday morning


The pillbox in the distance held an AT gun - it fired about six times - every one a miss !


Moving on up the river


Troops begin to disembark for the assault


Artillery knocks out the BUF big red tank


Over the viaduct here they come !


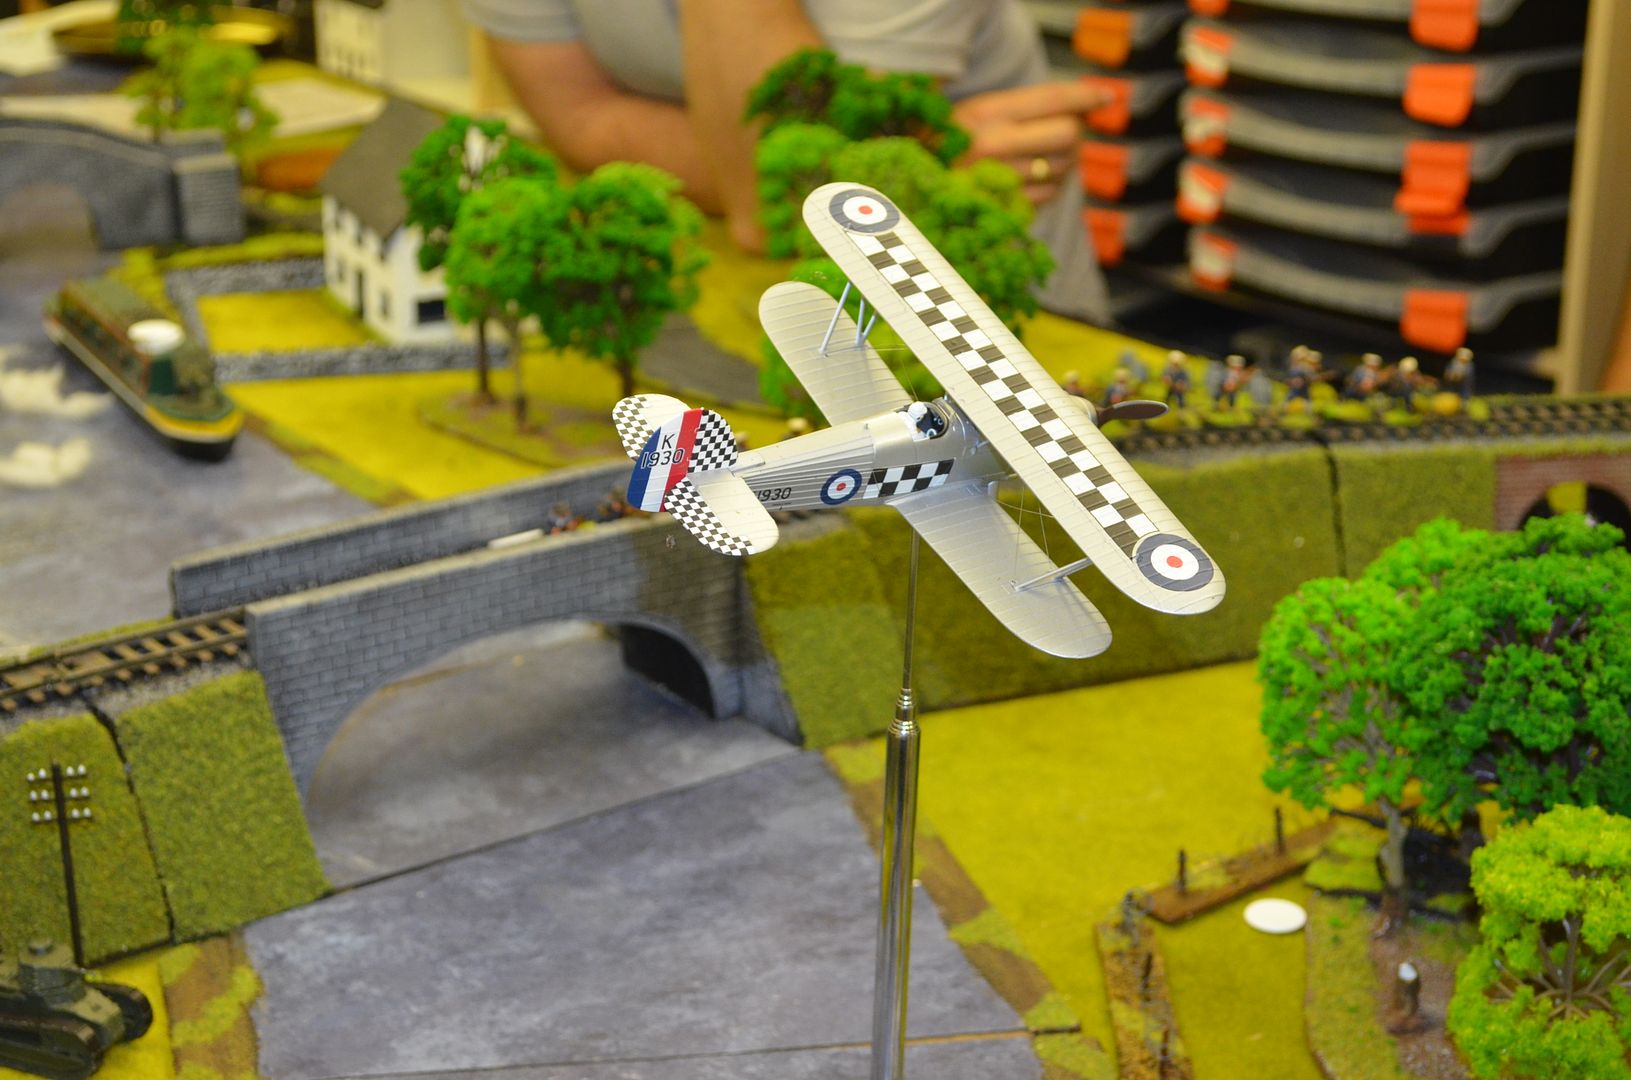
Did I mention that the League had aerial support as well as off table artillery. Both were used to deadly affect


More soon...


Tuesday, 16 May 2017

The Siege of Southchester


On Monday night we tried something very ambitious in the Shed - I decided we would try and play a siege game using the latest supplement for Pike & Shotte. I say ambitious because the Parliamentarians not only had to scale a huge city wall but also fend off a Royalist relief force.

I had anticipated six players and according set out the sides with three commands on each. Sadly one player dropped out at the last minute so yours truly ended up commanding both an assault force and the Parliamentarians intent on holding up the relief force. I was knackered by the end of the evening.


But what to call this battle, well sometime ago we fought a Very British Civil Wargame in the ficticious city of Southchester and it seemed apt to revisit this place for a battle nearly 400 years ago in the first British Civil War - of course I am talking about the English Civil War

If you interested in our VBCW game fought almost three years ago it can be found here...


The small walled city of Southchester lies on the Essex side of the River Thames. Its about 40 miles from London.


Prior to the War this estuary town was famous for its local eel fishing, a rather beautiful 14th century church and the near perfect Norman Keep.


The defenders begin to plan their strategy


The City only recently declared itself for the Crown. Parliament has quite rightly decided that this 'irritant' must be removed from their dominance of London and home counties. Raising troops loyal to the Parliamentary cause Sir William Guthrie has marched swiftly to the town and has decided an all out assault would be wiser than starving the locals out. 

His local sappers have advised him that the masonry of the walls has fallen into disrepair and that his sizeable artillery train should have no worries battering down the towns defences.

Guthrie knows that he has to move quickly to suppress this insurrection against government rule as forces loyal to the king are approaching rapidly.


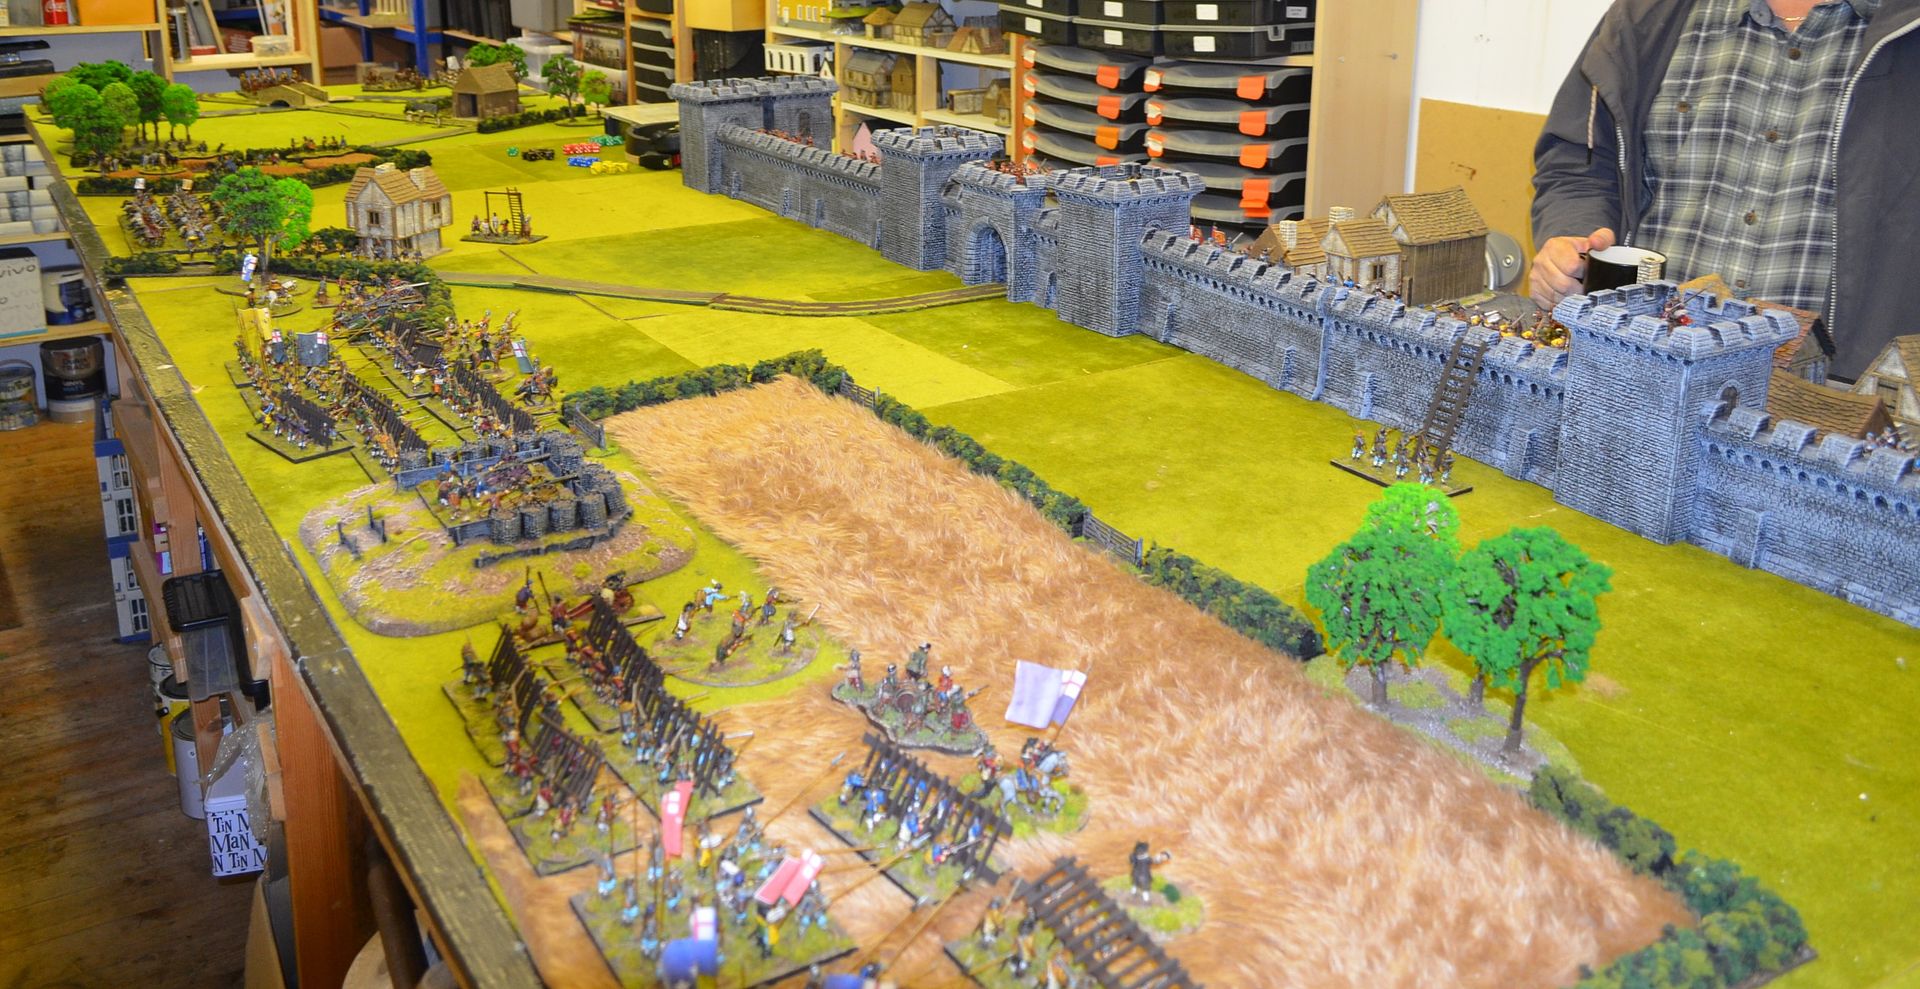
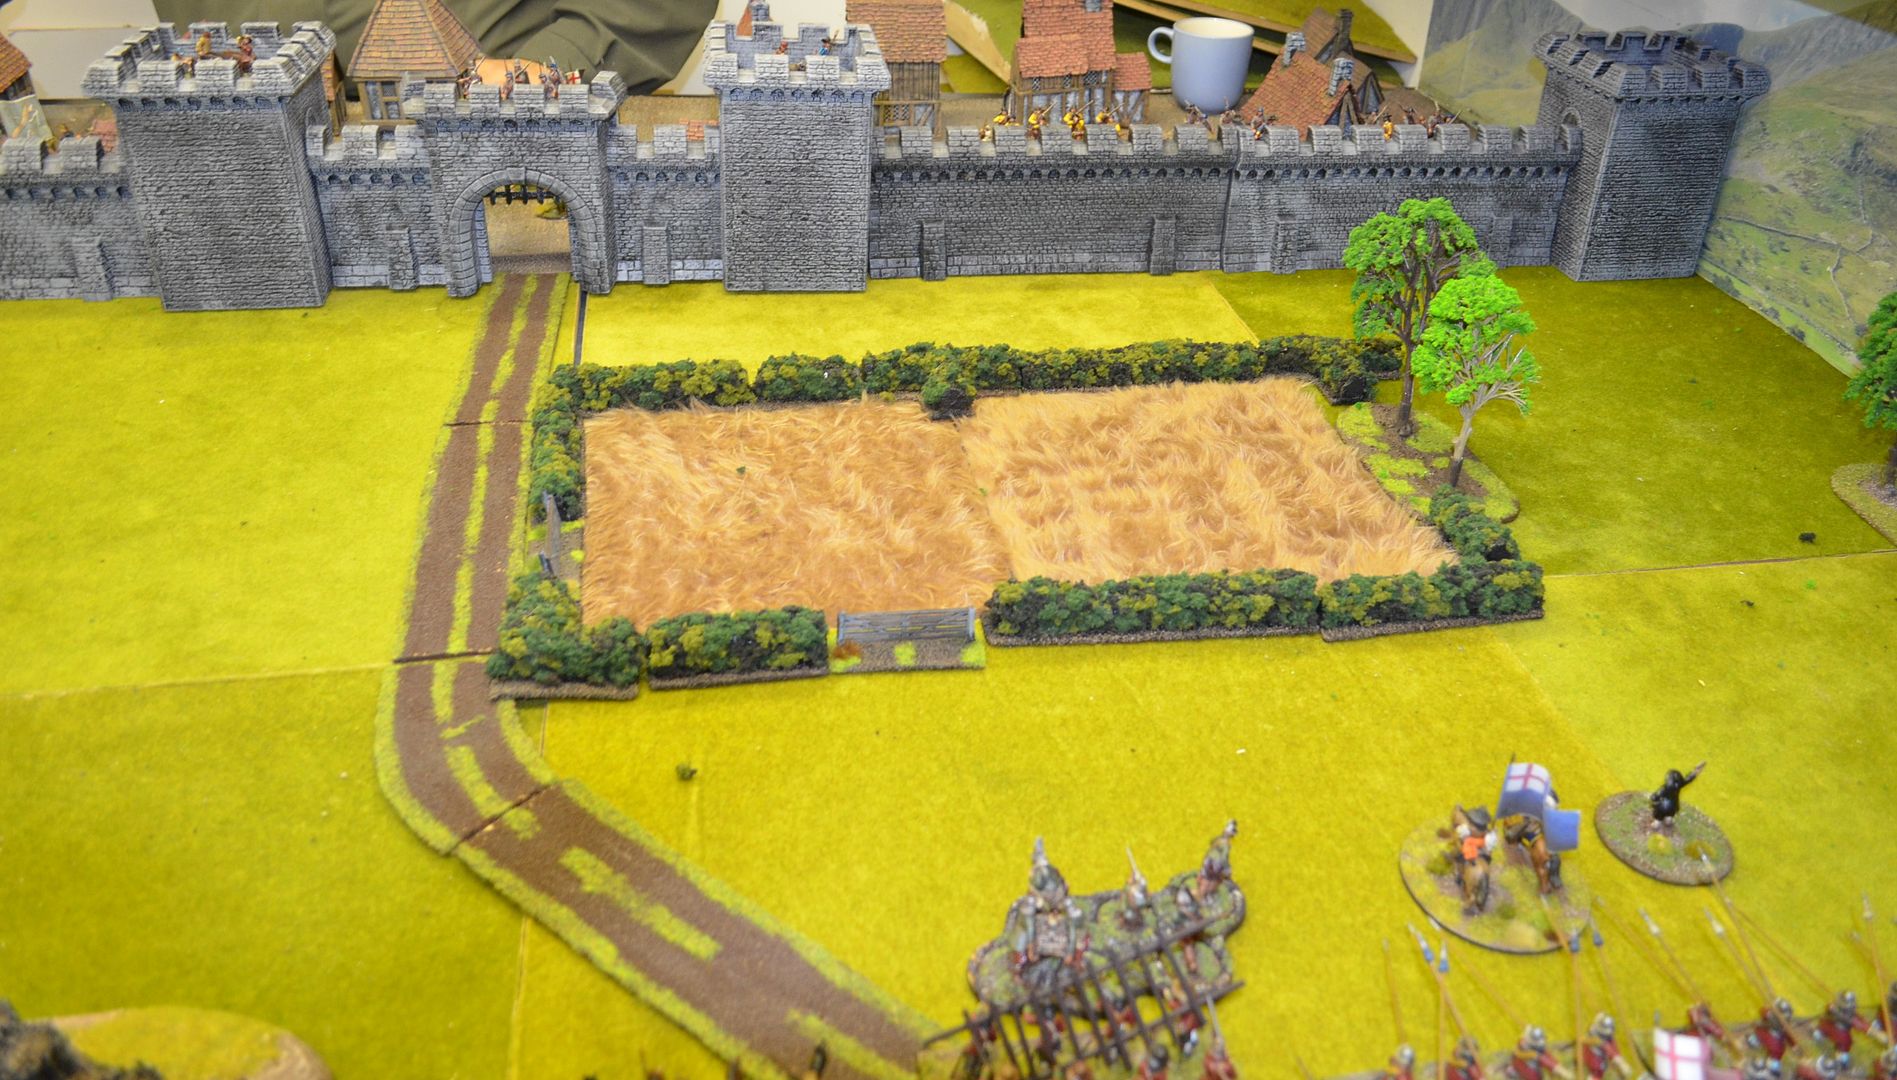
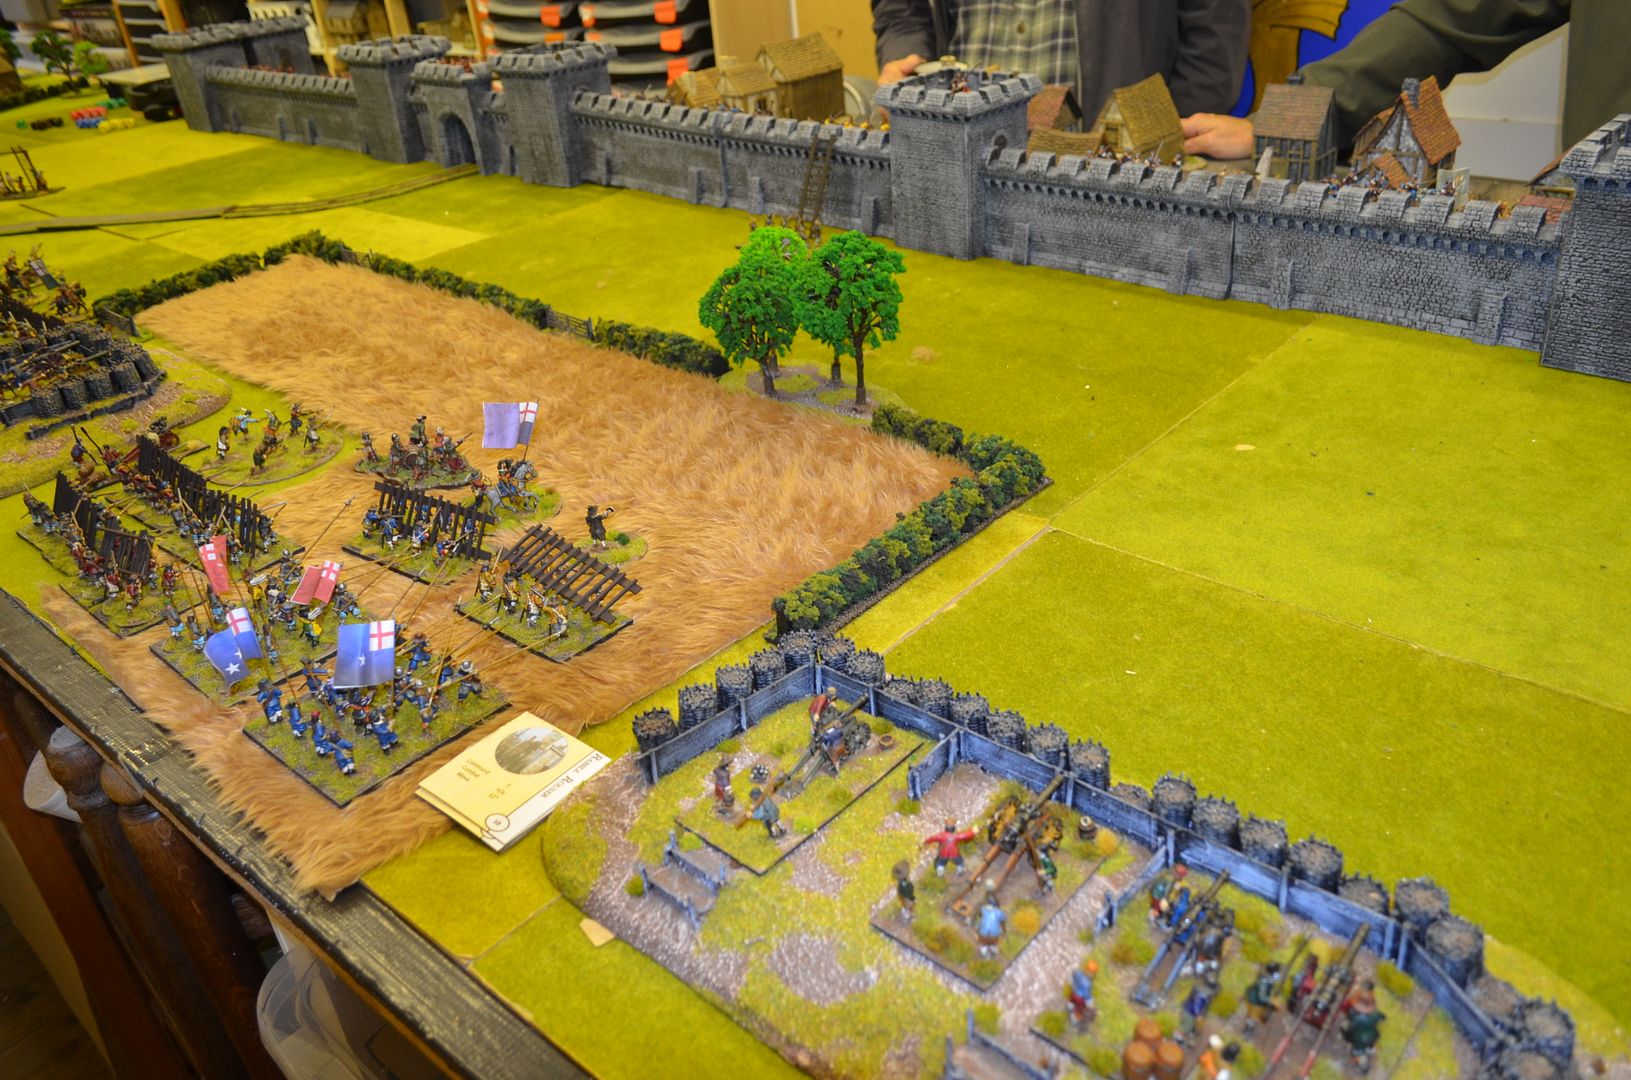
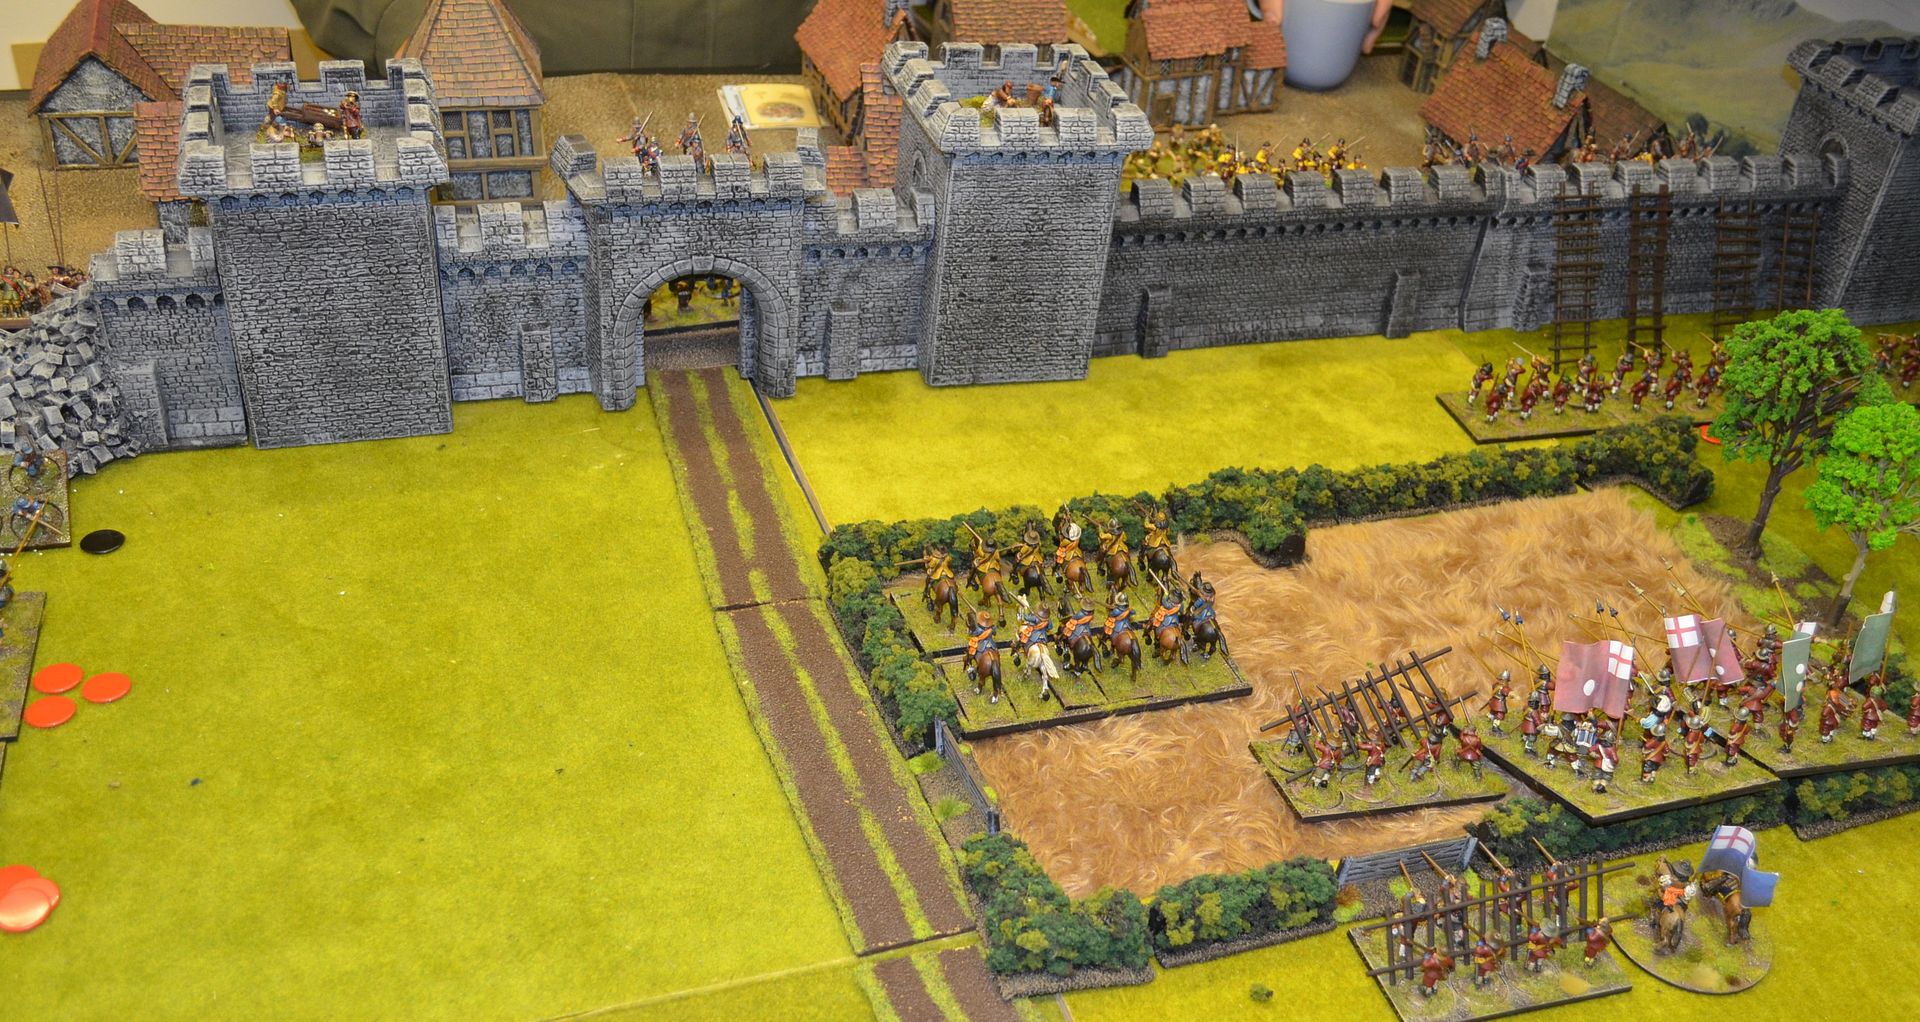
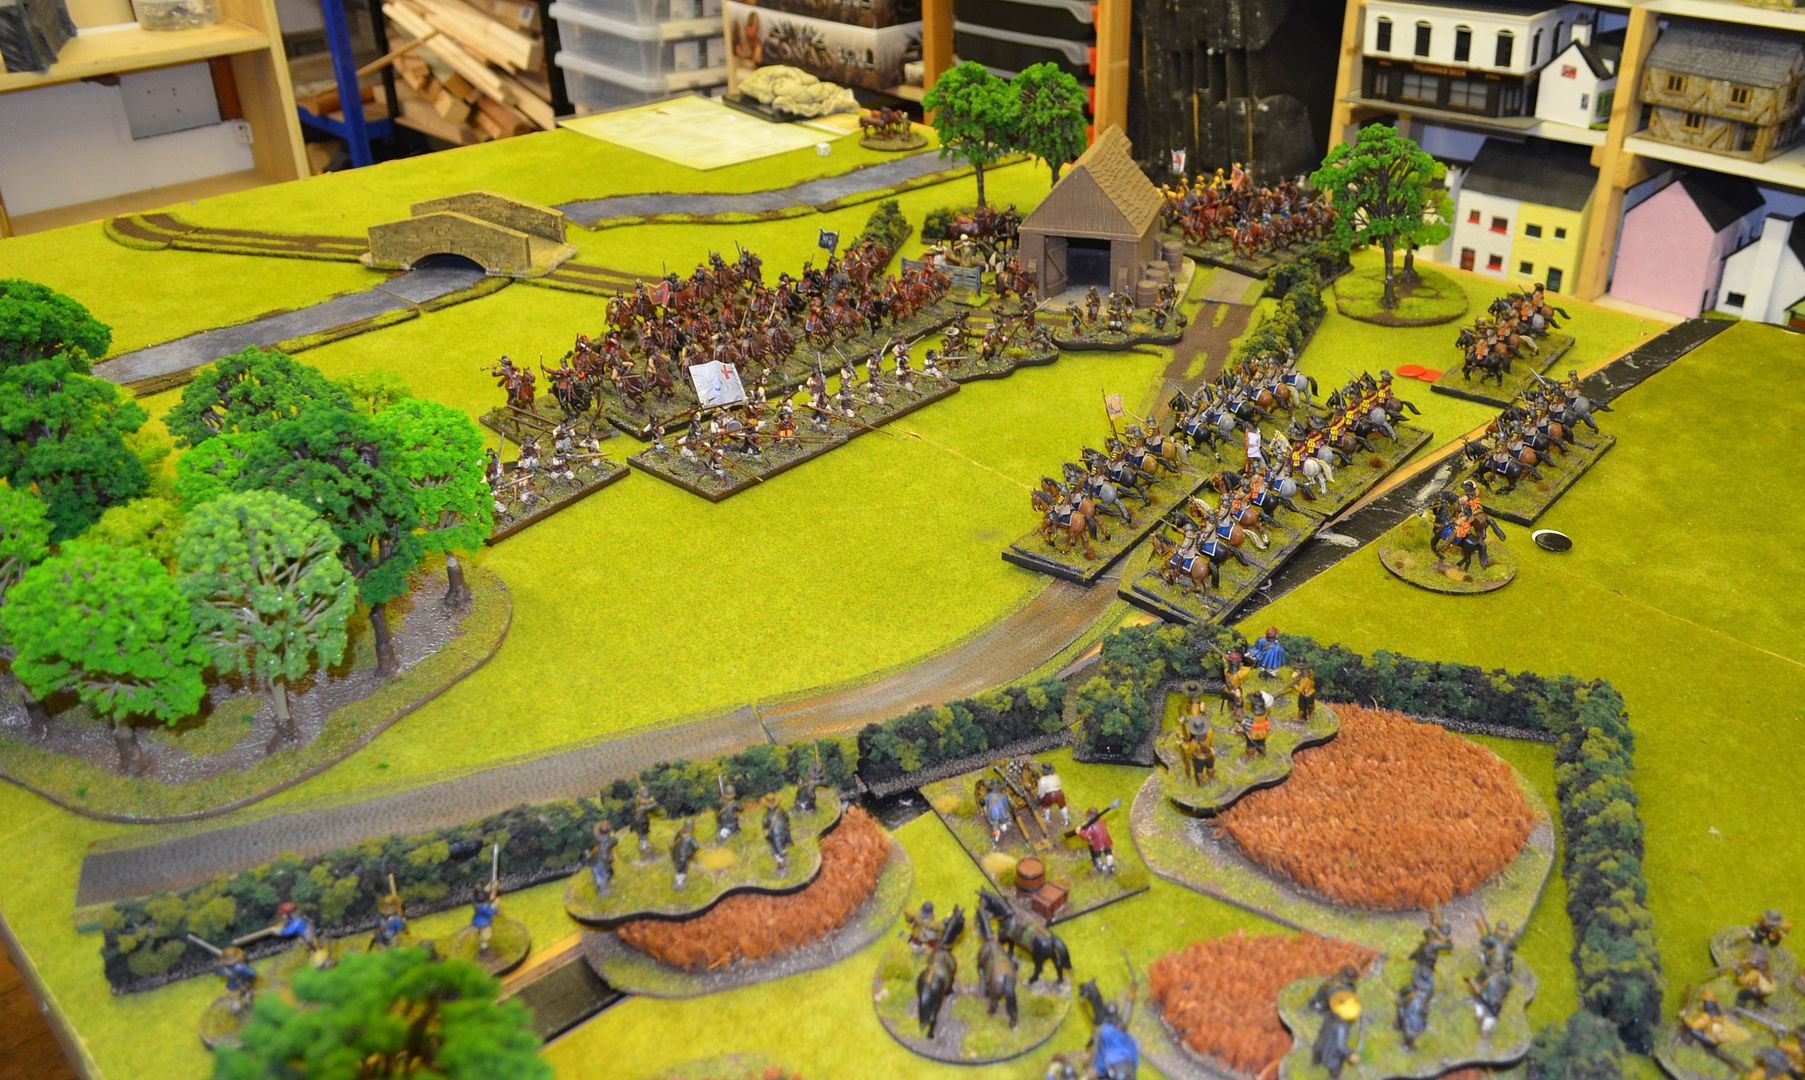
View from the table - the Royalist relief force comes on from the bottom of the picture

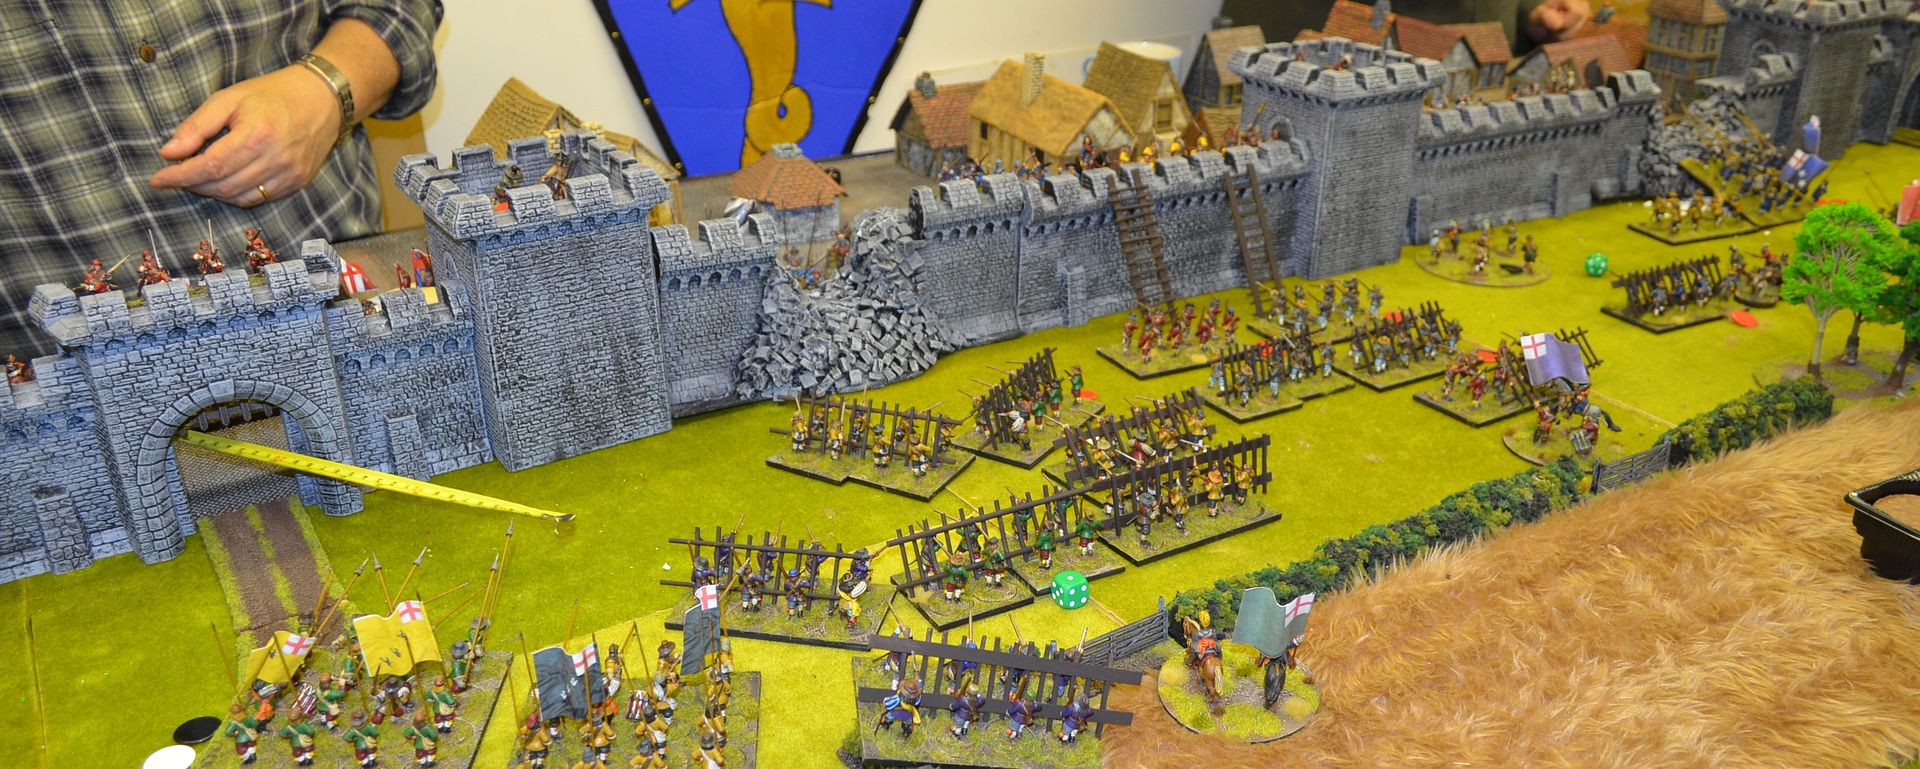
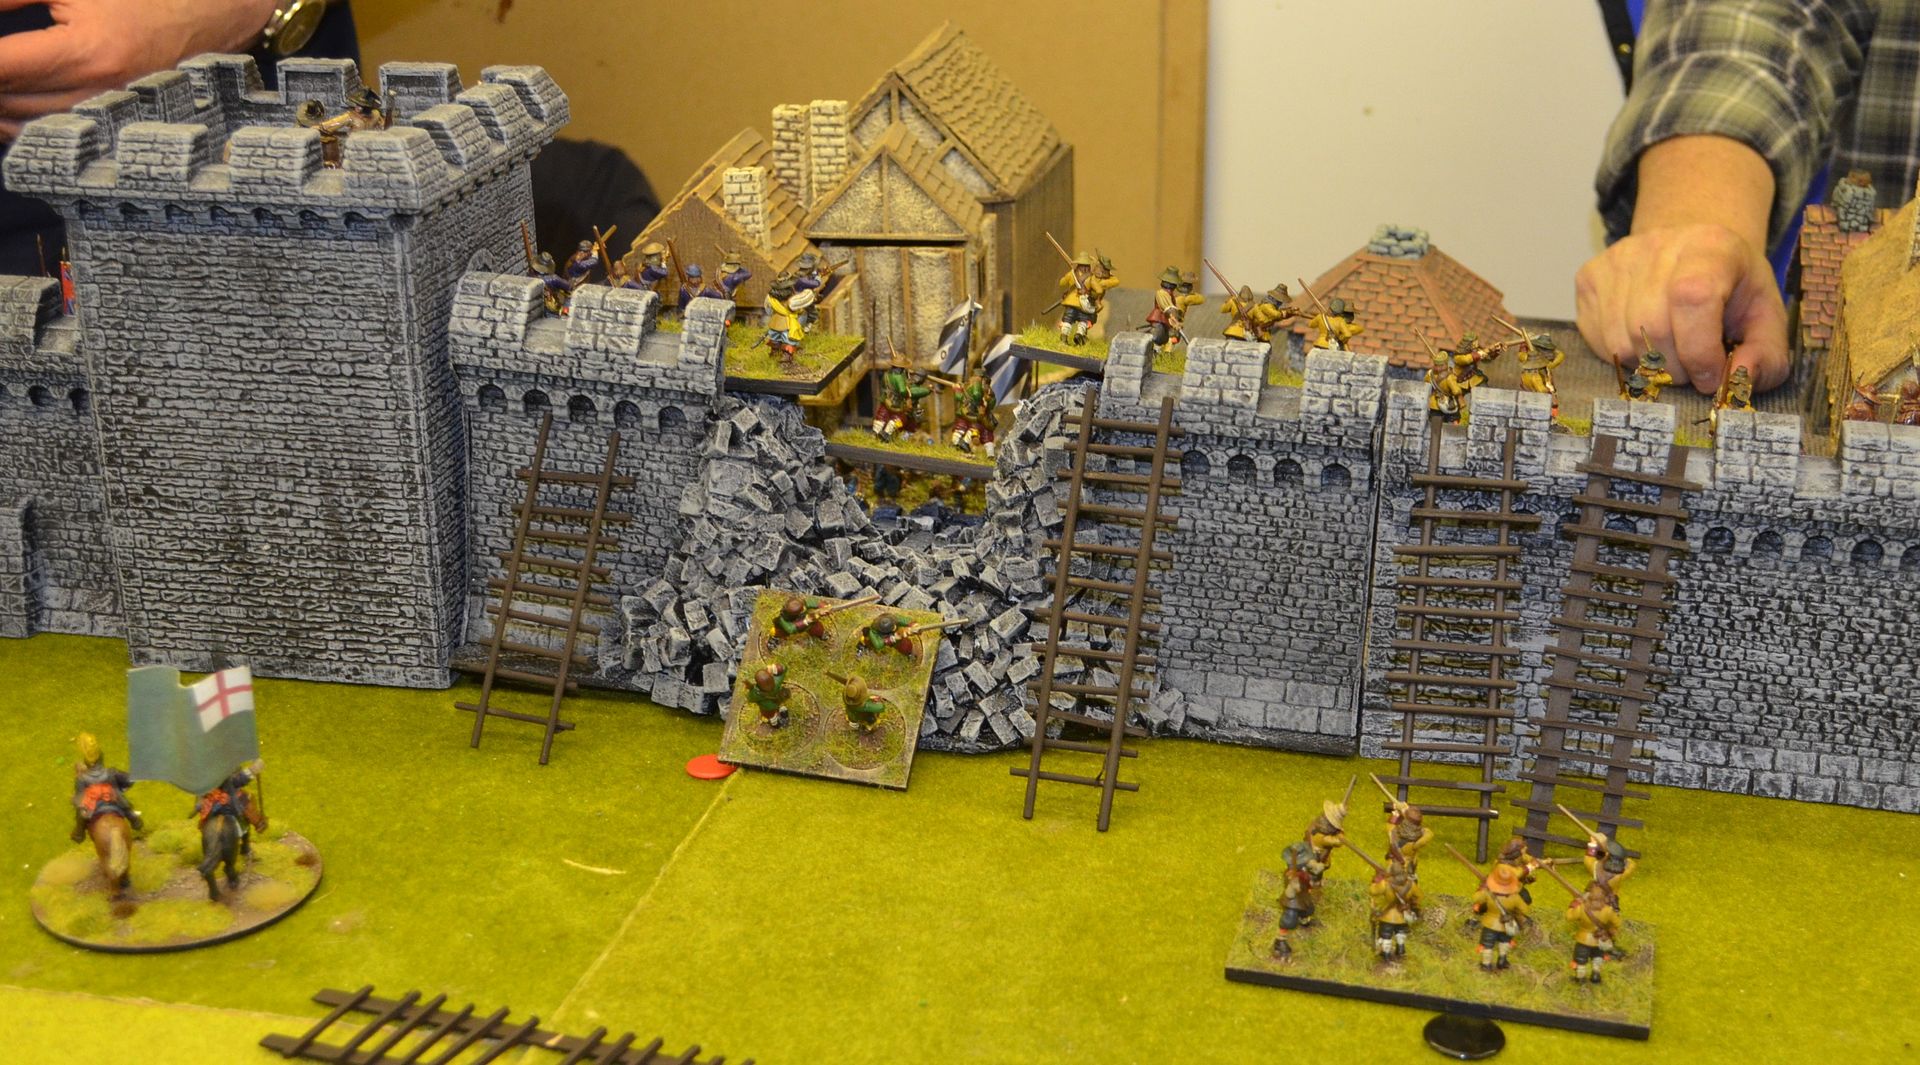
Our game starts on a damp friday morning - the Parliamentary forces are assembled for the assault. The large siege guns have been battering the walls for the past two days and a breach is expected soon. Scaling ladders have been distributed across the assault troops   

The defenders are on the ramparts are waiting...


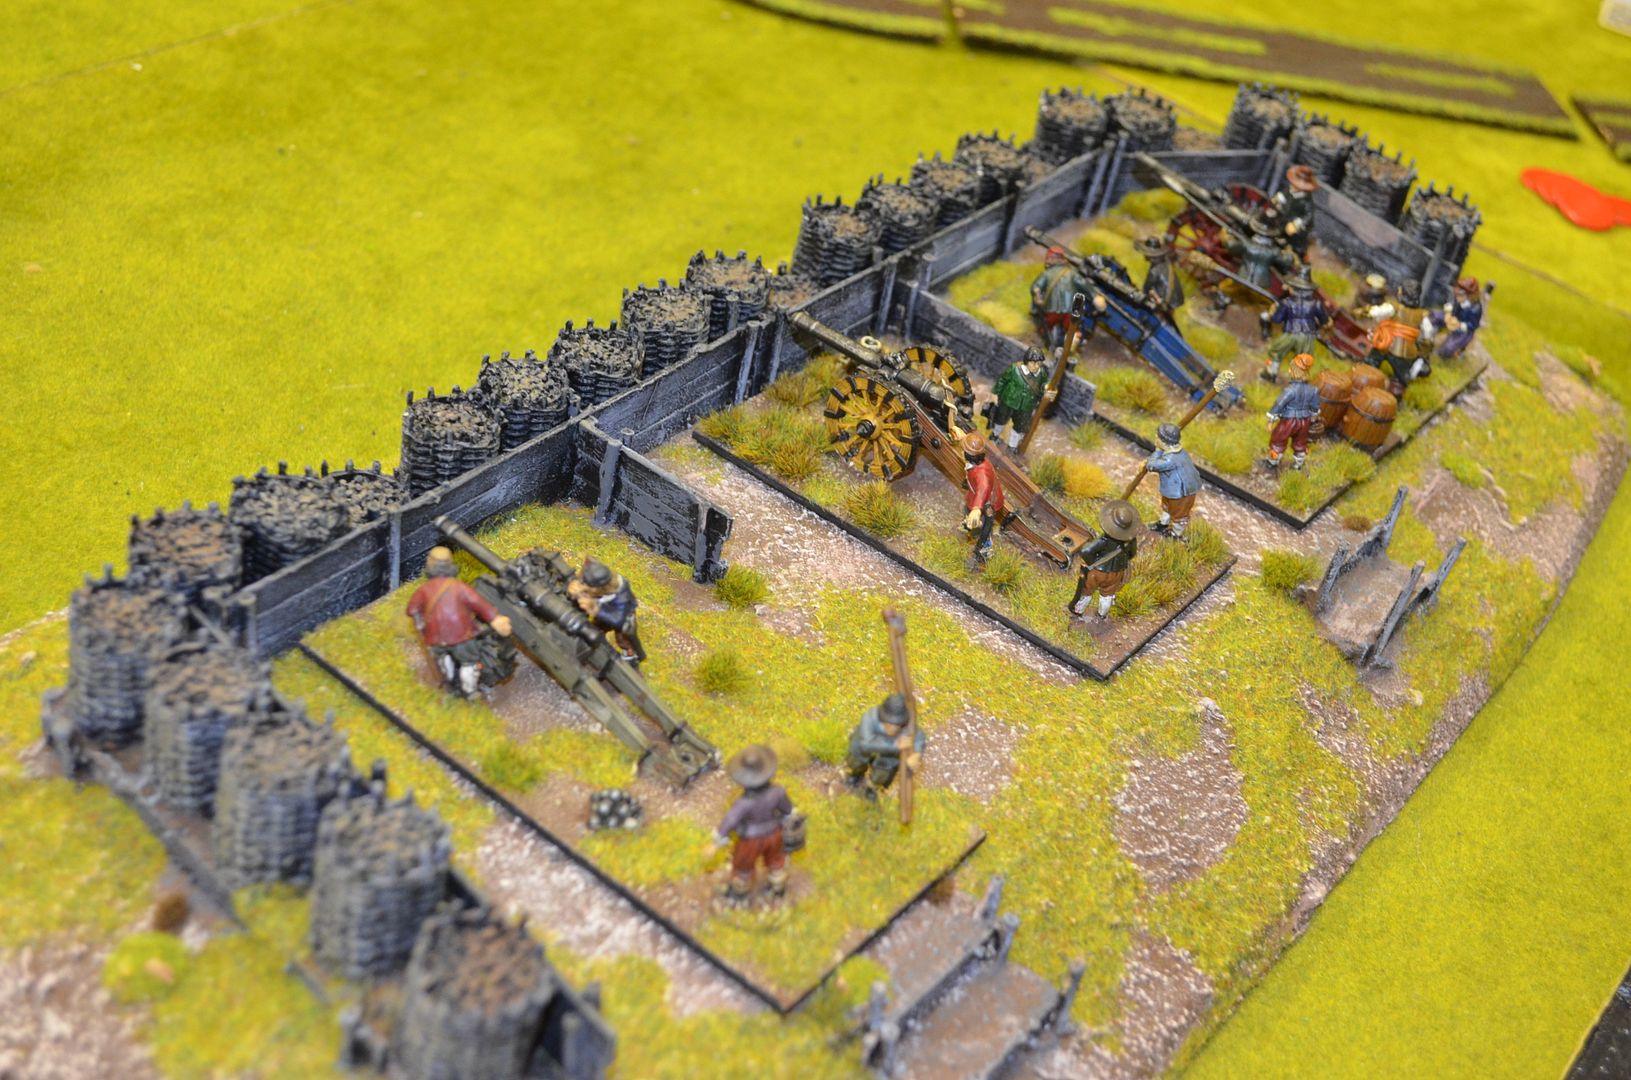
I haven't posted up orders of battle but suffice to say the attackers outnumbered the defenders about two to one. The defenders could only call on light artillery (postioned in all the towers bar one whilst the Rebel forces had in the region of nine medium and heavy pieces. 


We also introduced a new command unit to both side - Rabble Rousers


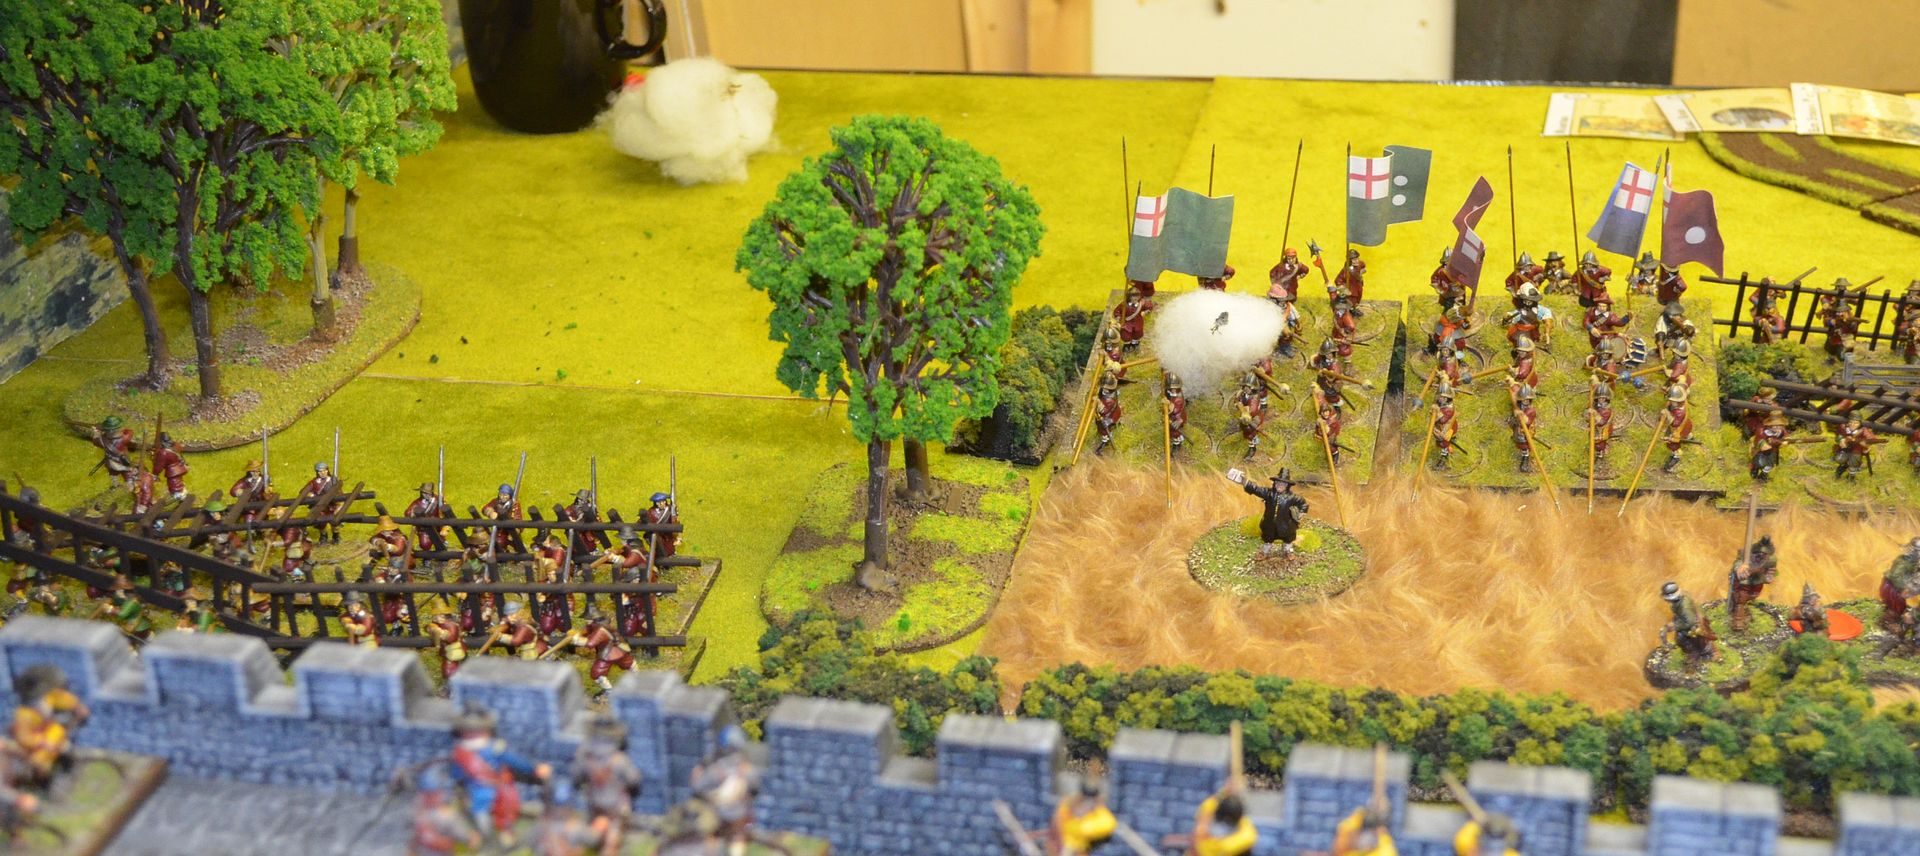
These religeous zealots can be used as command stands to rally troops in much the same way as an officer. They have a command rating of 7+ and can move 12" (18" if mounted). They cannot be targetted (no point in having god against you)


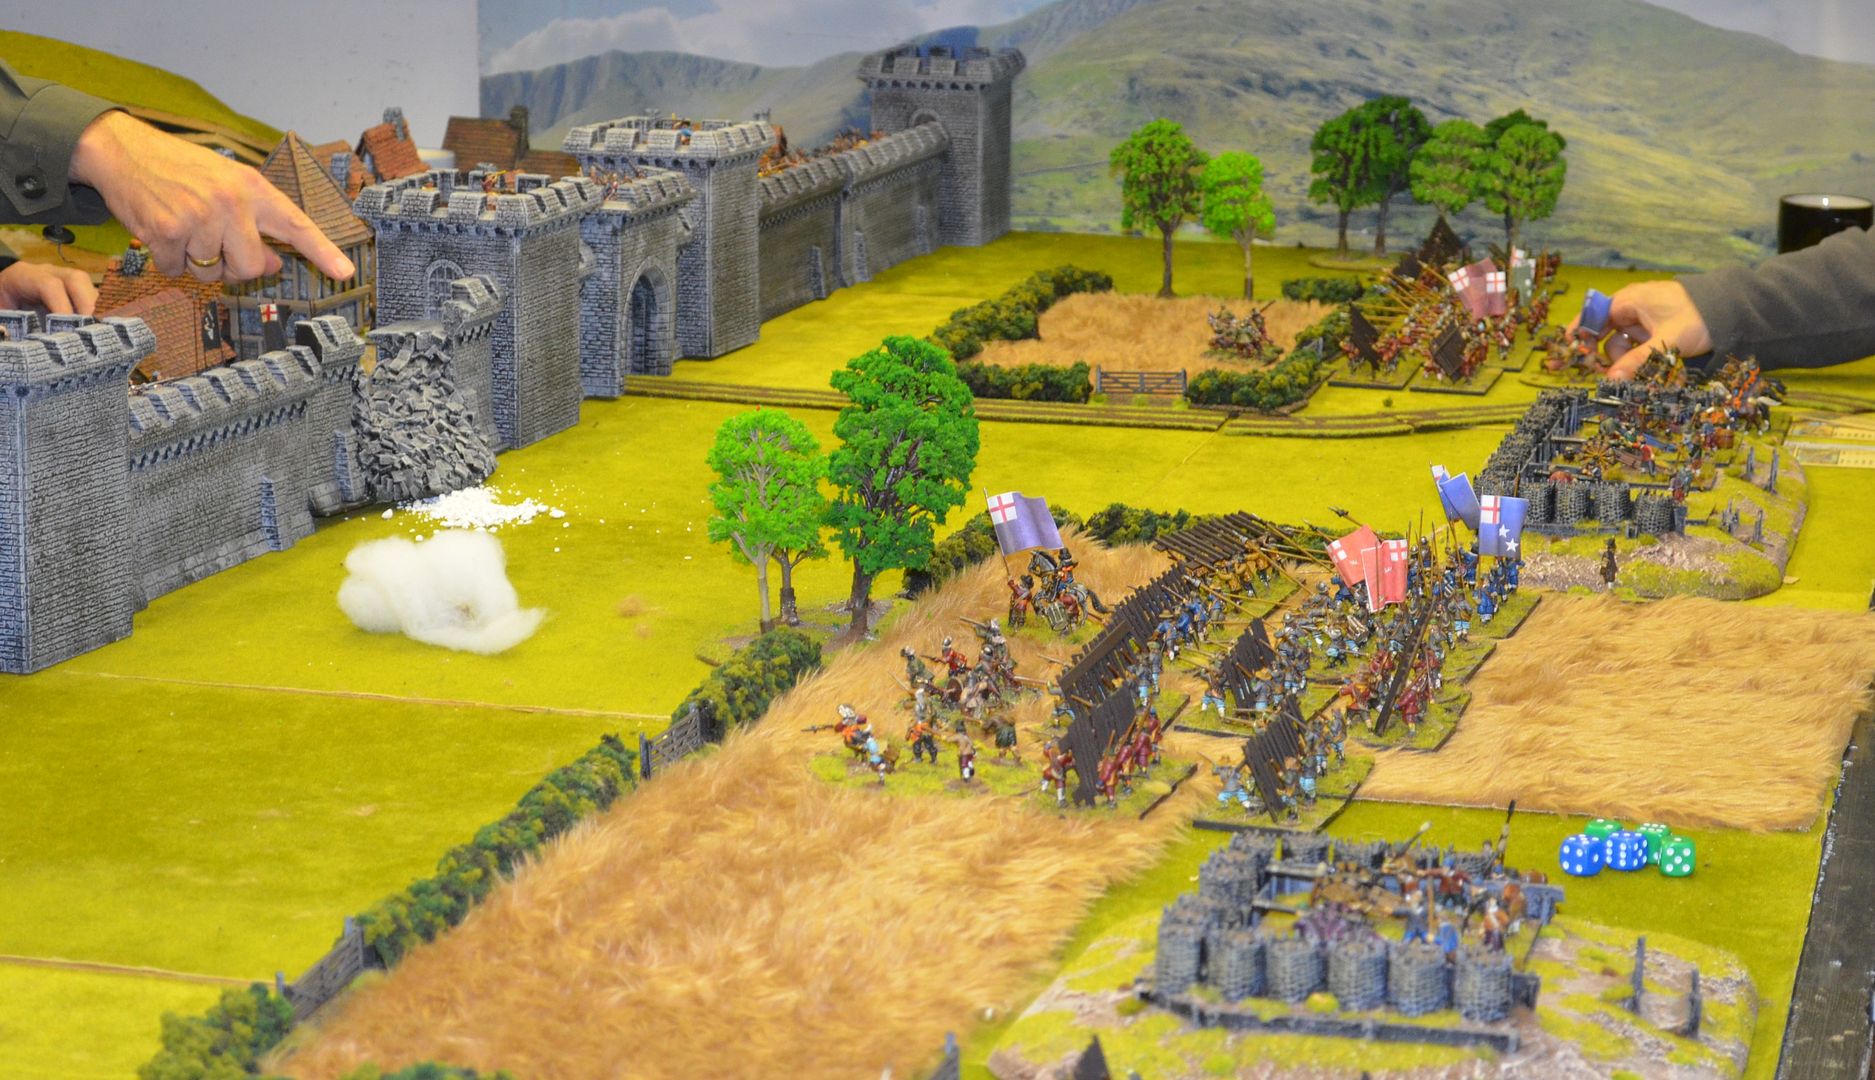
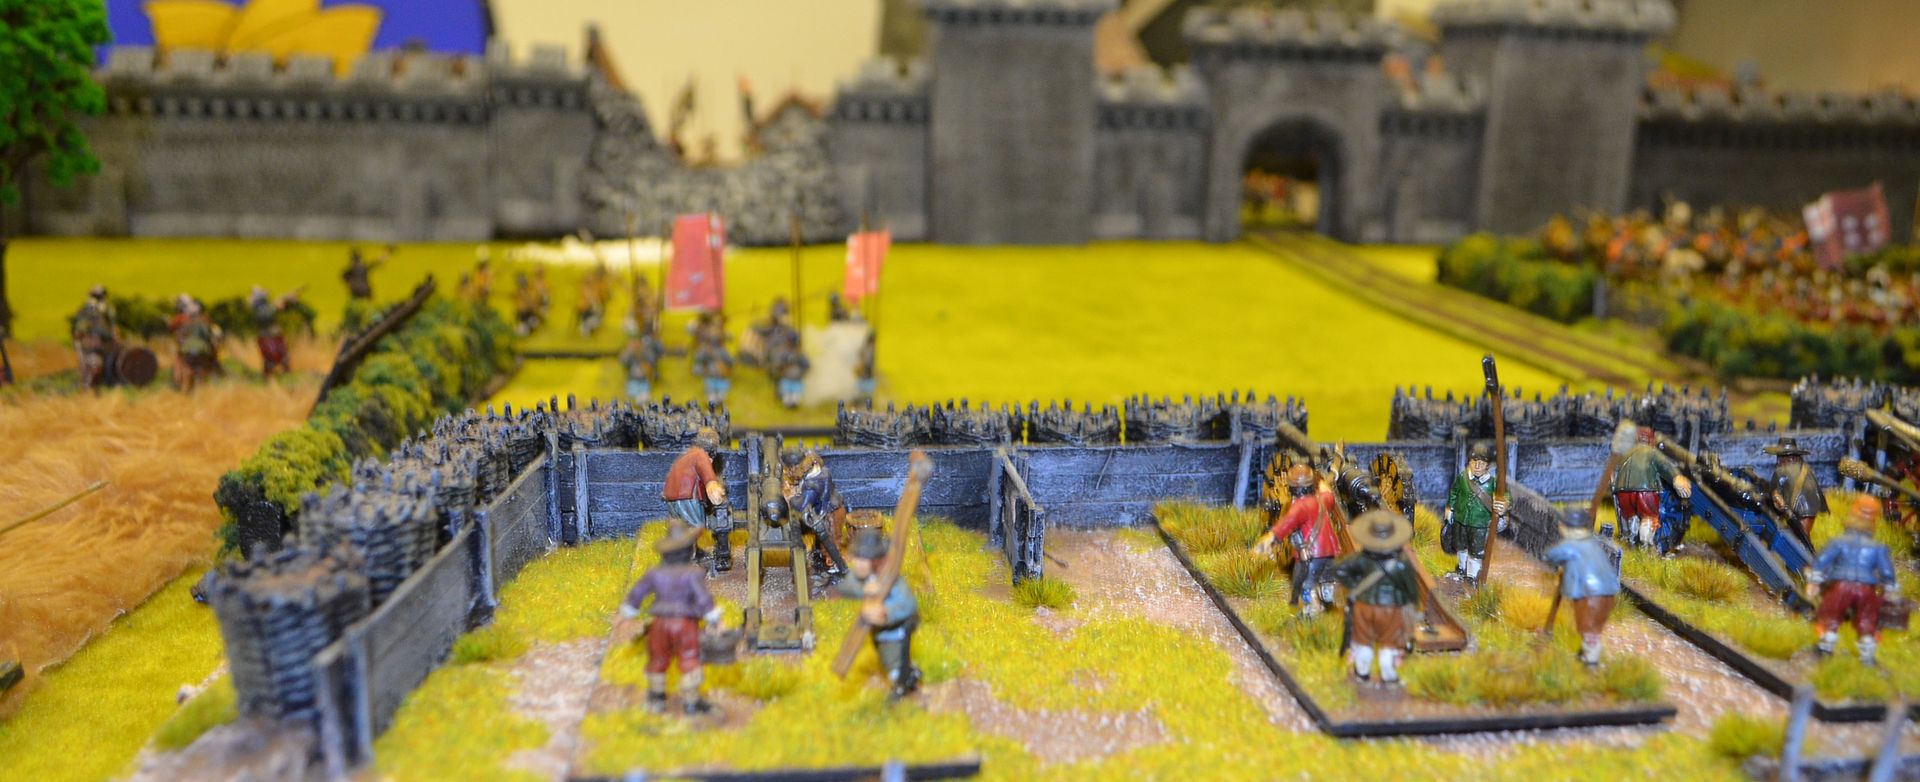
The Siege guns begin to belch their deadly load...one of three large batteries. The Attackers strategy was simple create some breaches and charge....


Its all very quiet on the right flank


The Attackers wait until the guns have done their deadly job....


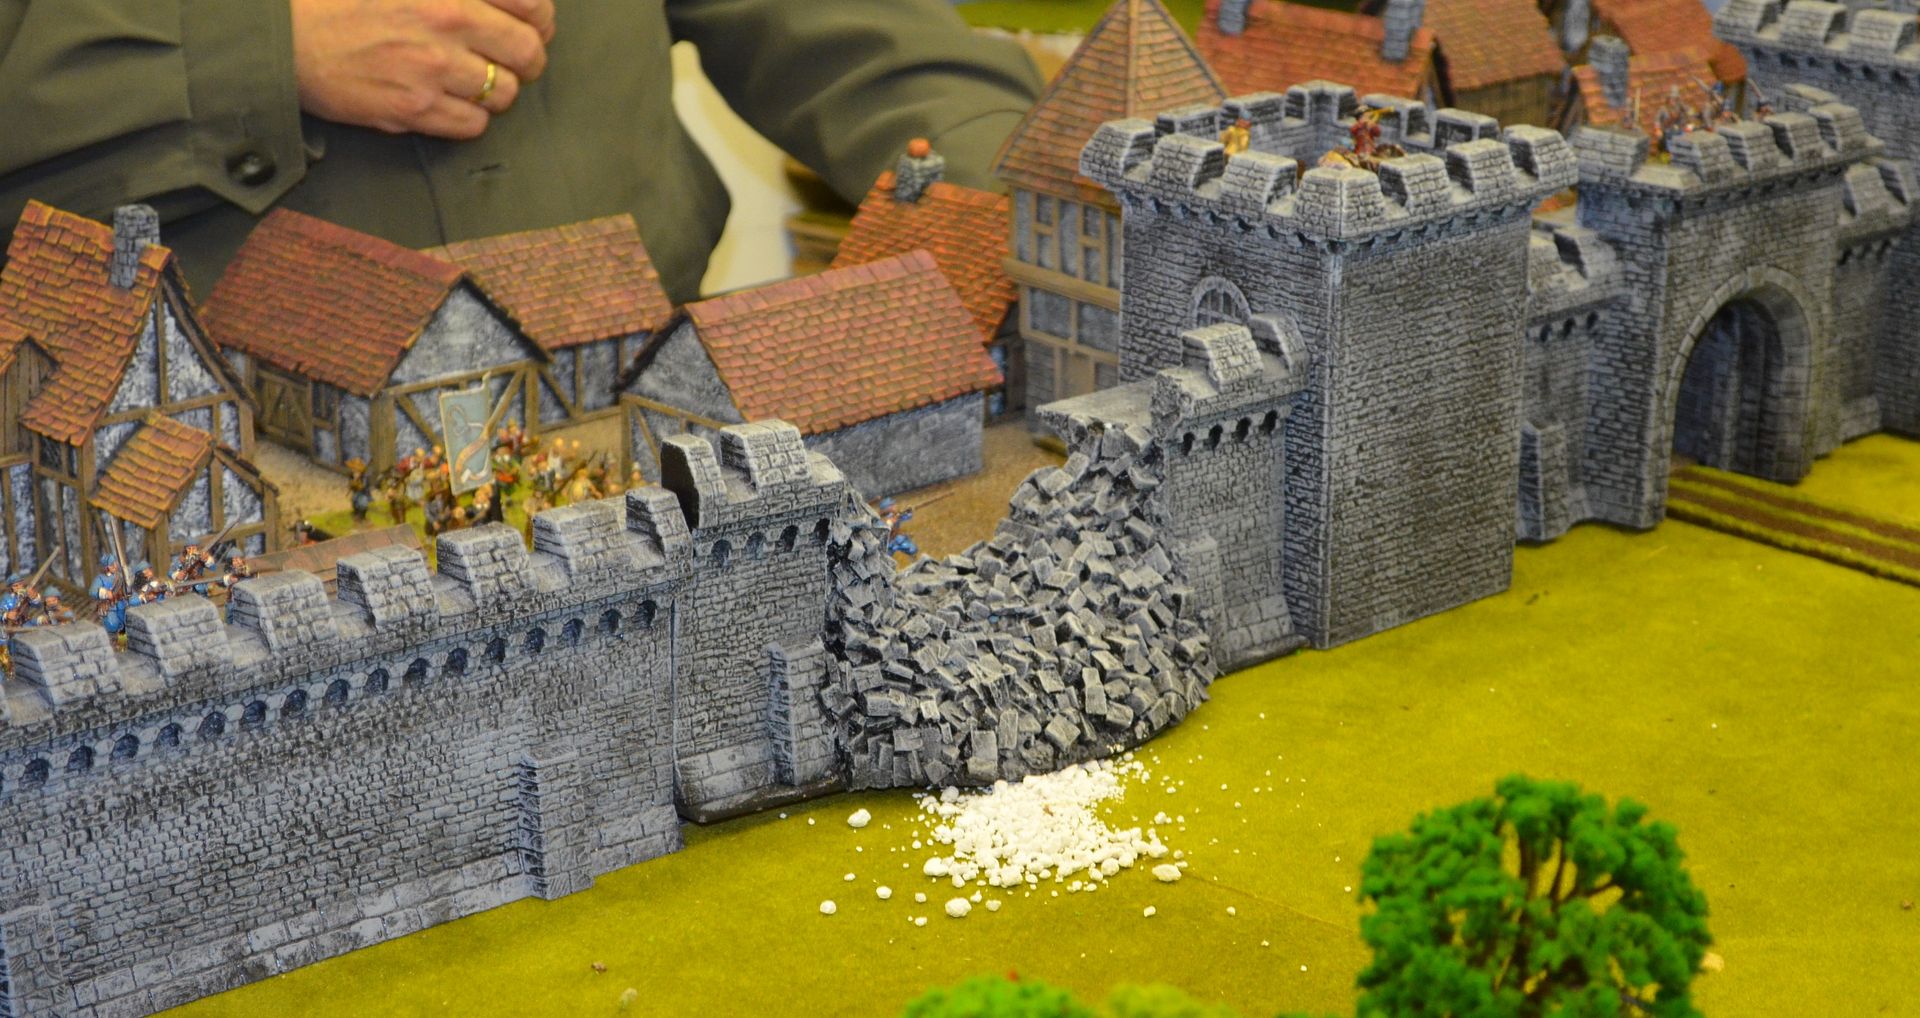
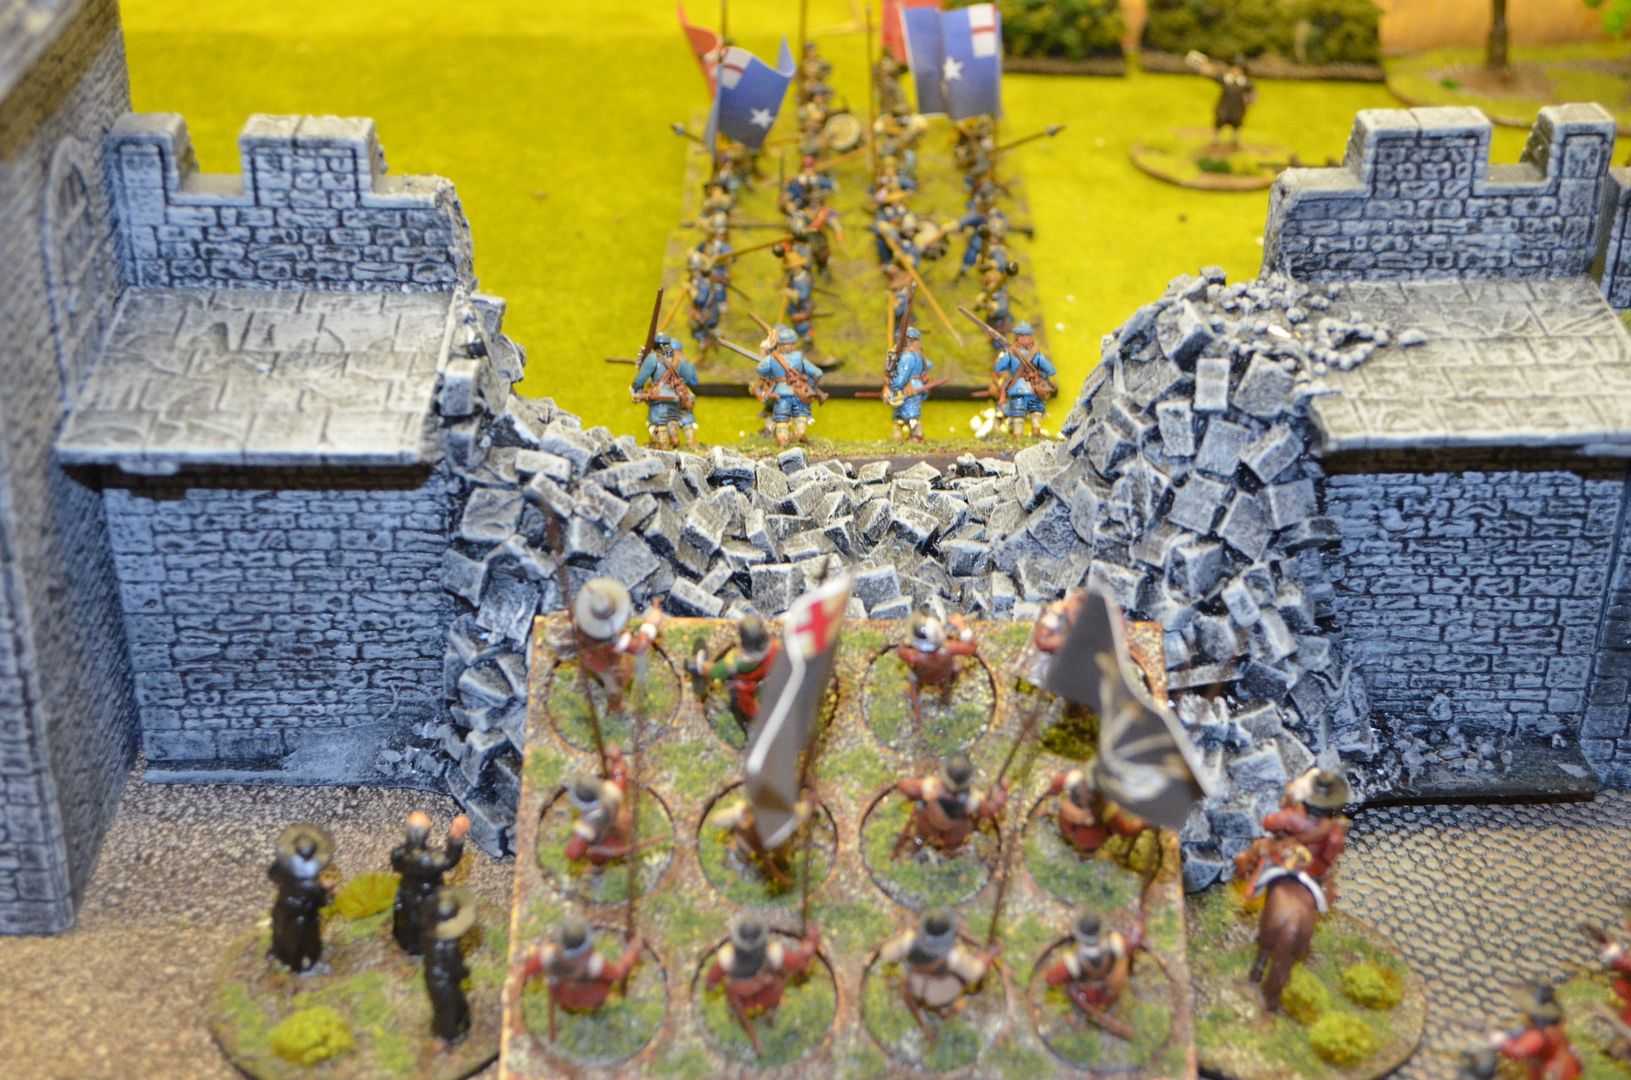
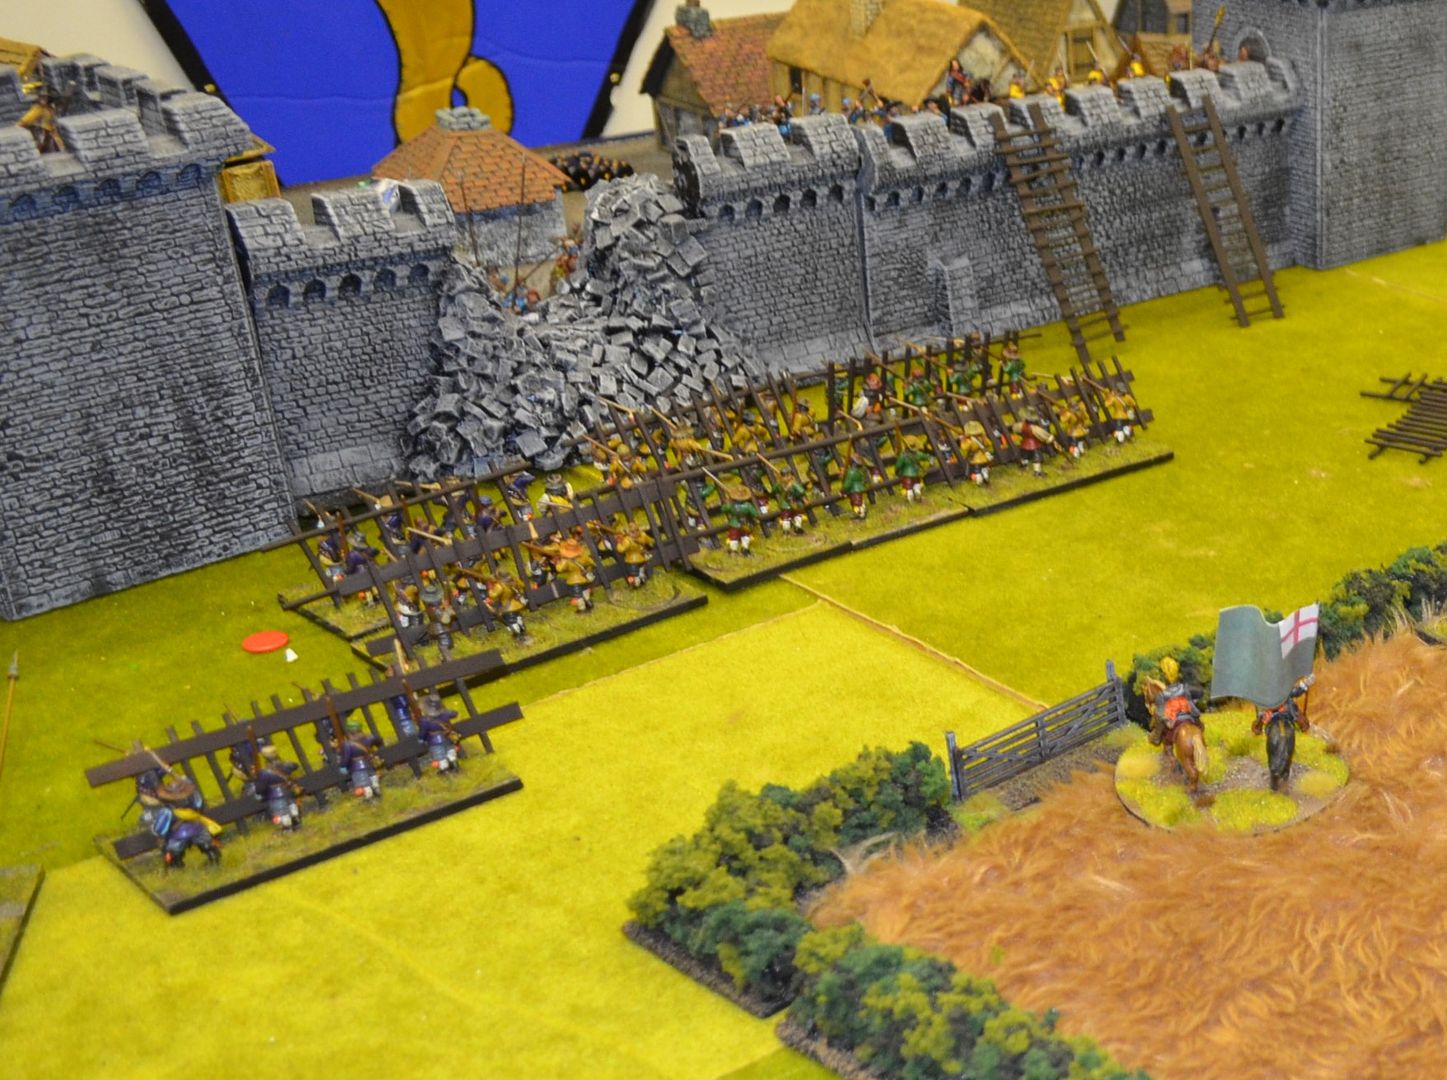
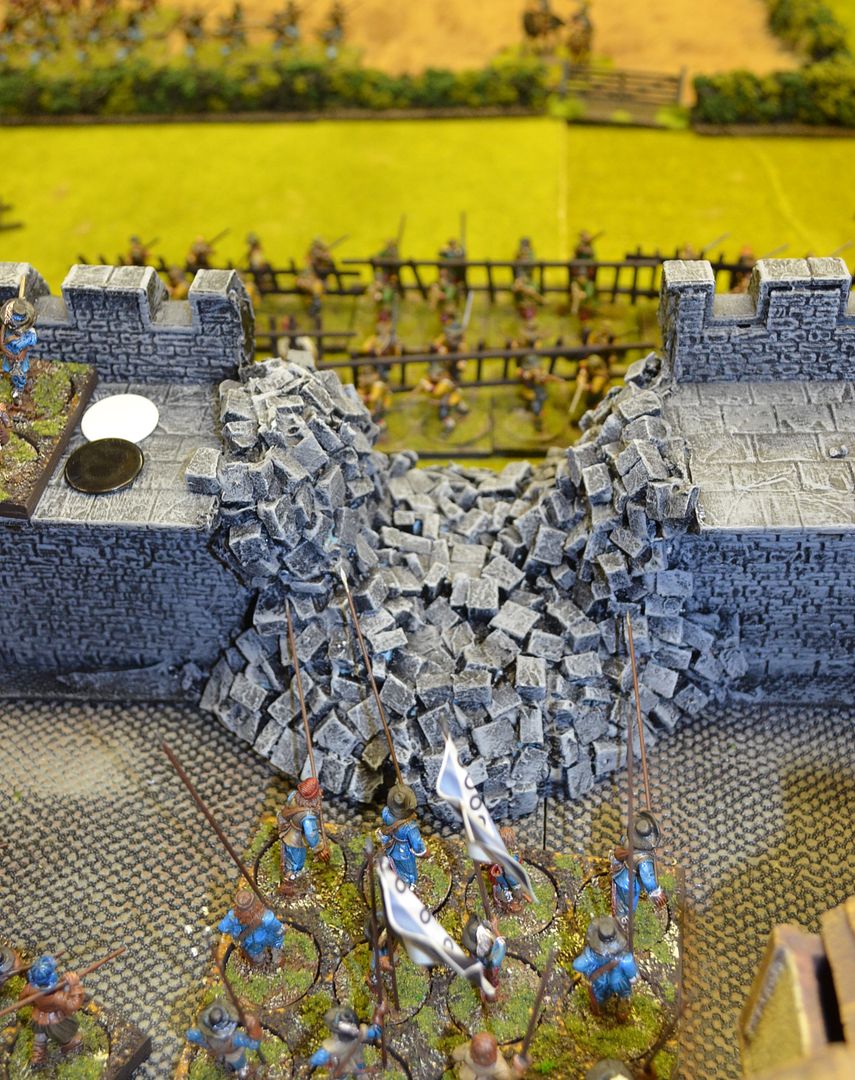
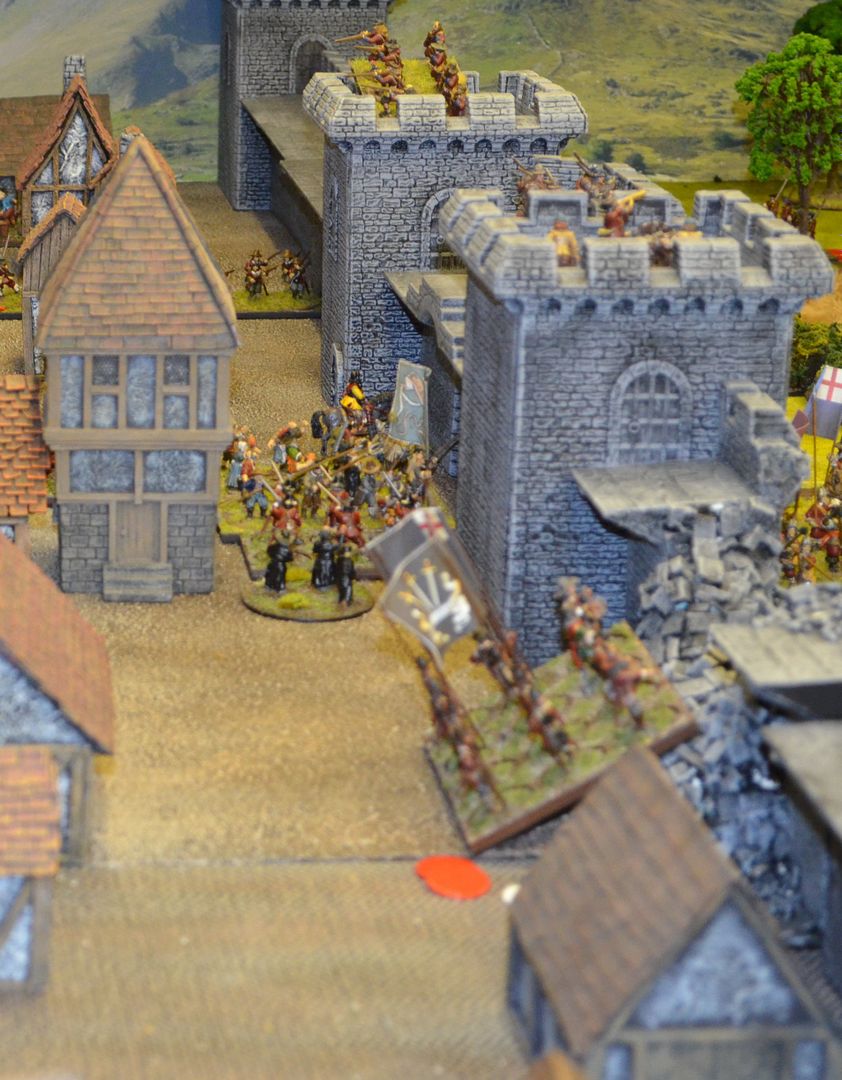
We didn't have to wait long as the first curtain wall gave way....


The attackers pour forwards dragging their scaling ladders just in case


By now the first of the Royalist relief force had arrived under Brigadier Rolfe....


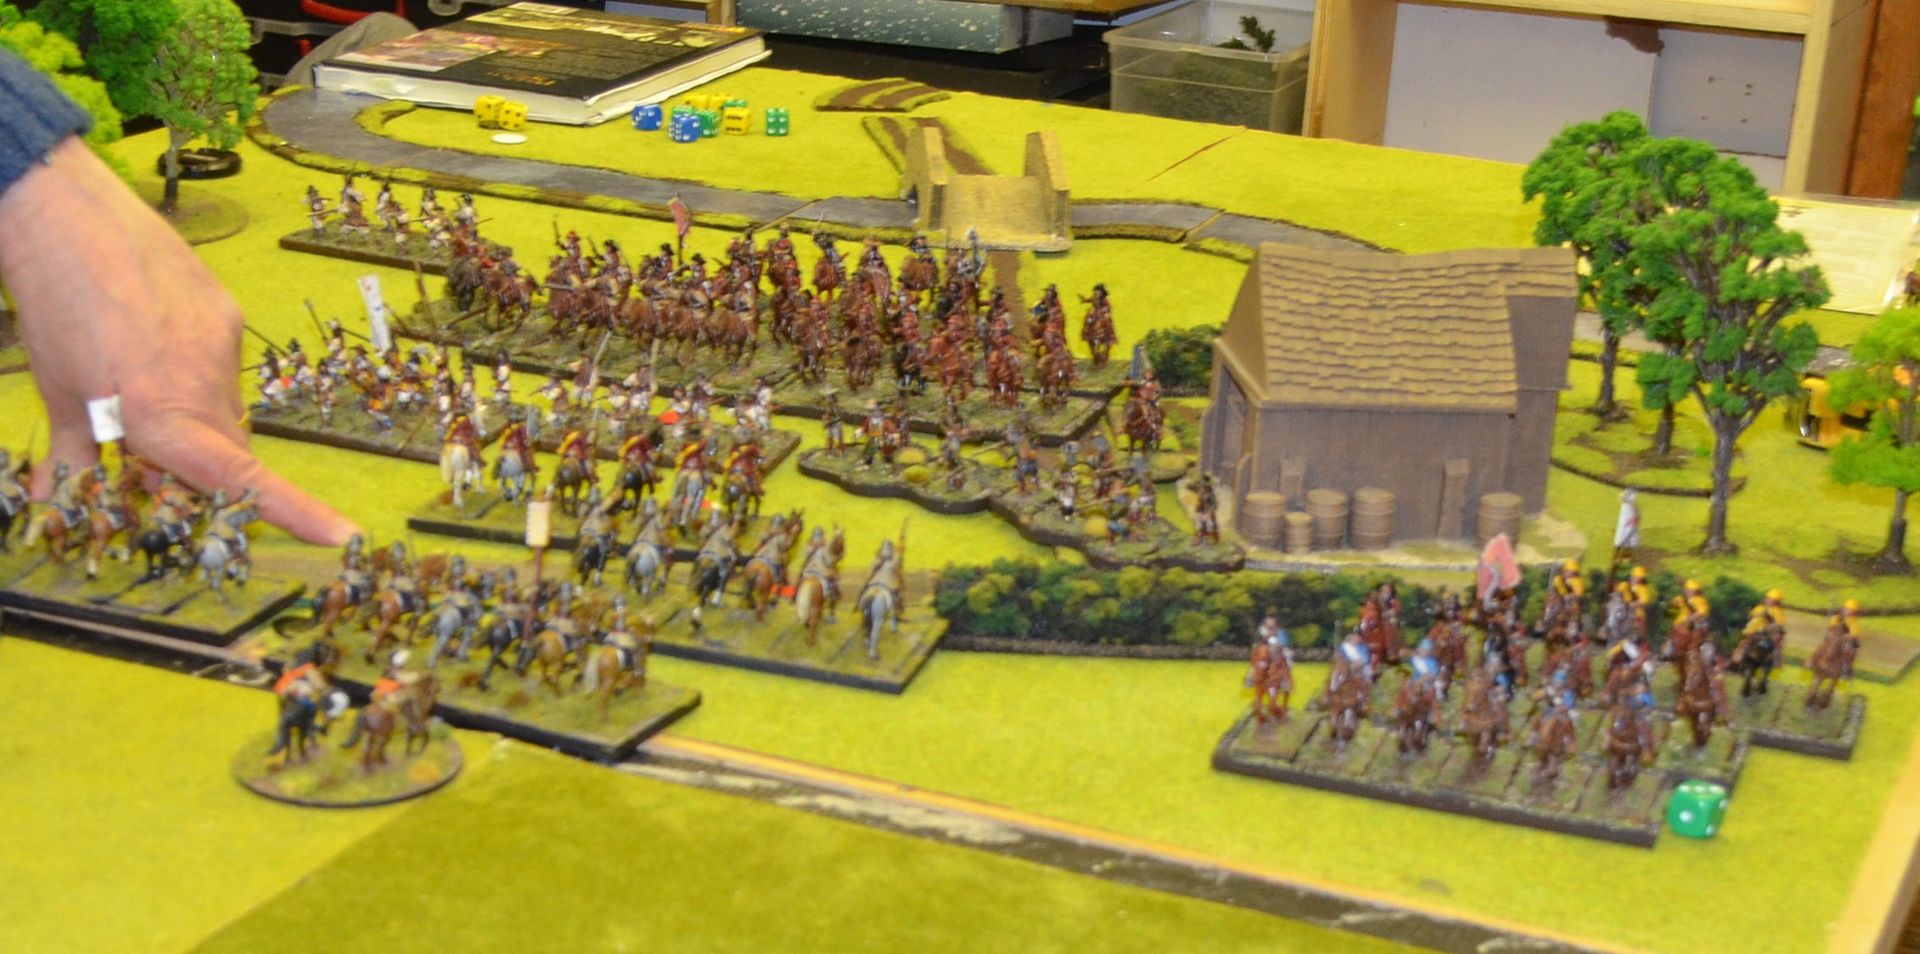
Soon followed by cavalry and supporting dragoons - the river posing now trouble to his trotters


It was time for the Parliamentarian cavalry to deploy to prevent the Royalist force from reaching the castle walls


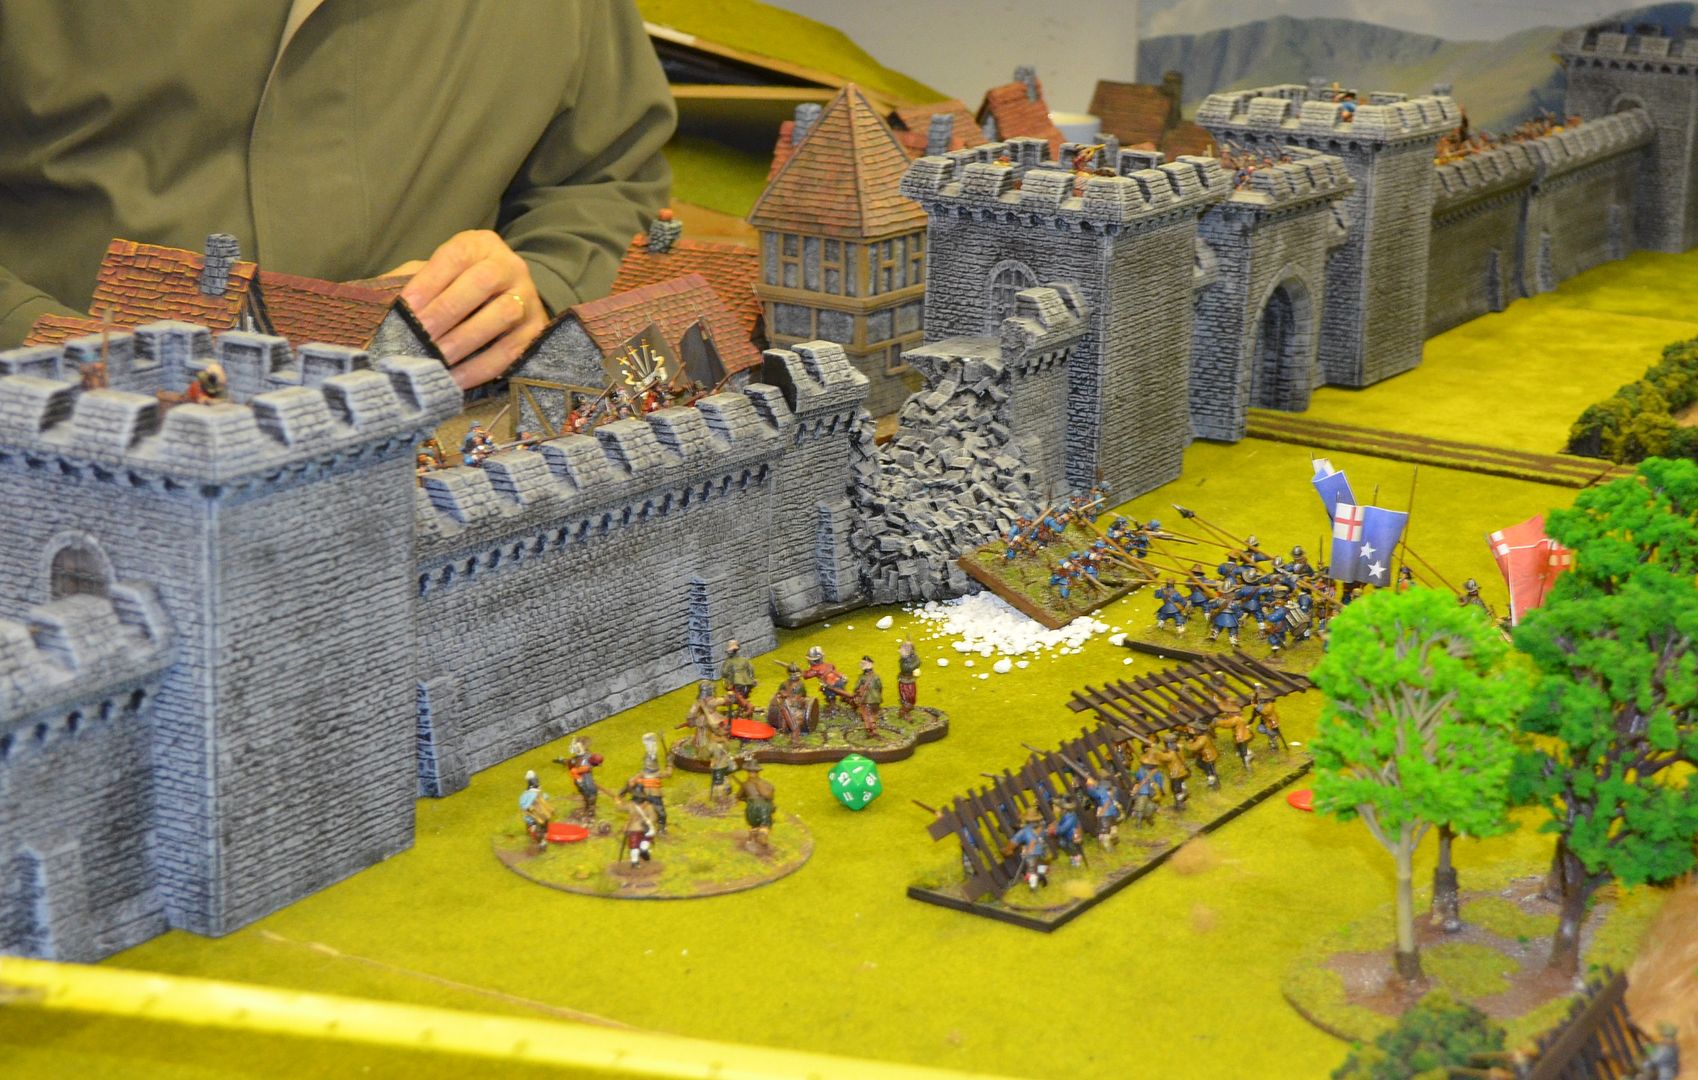
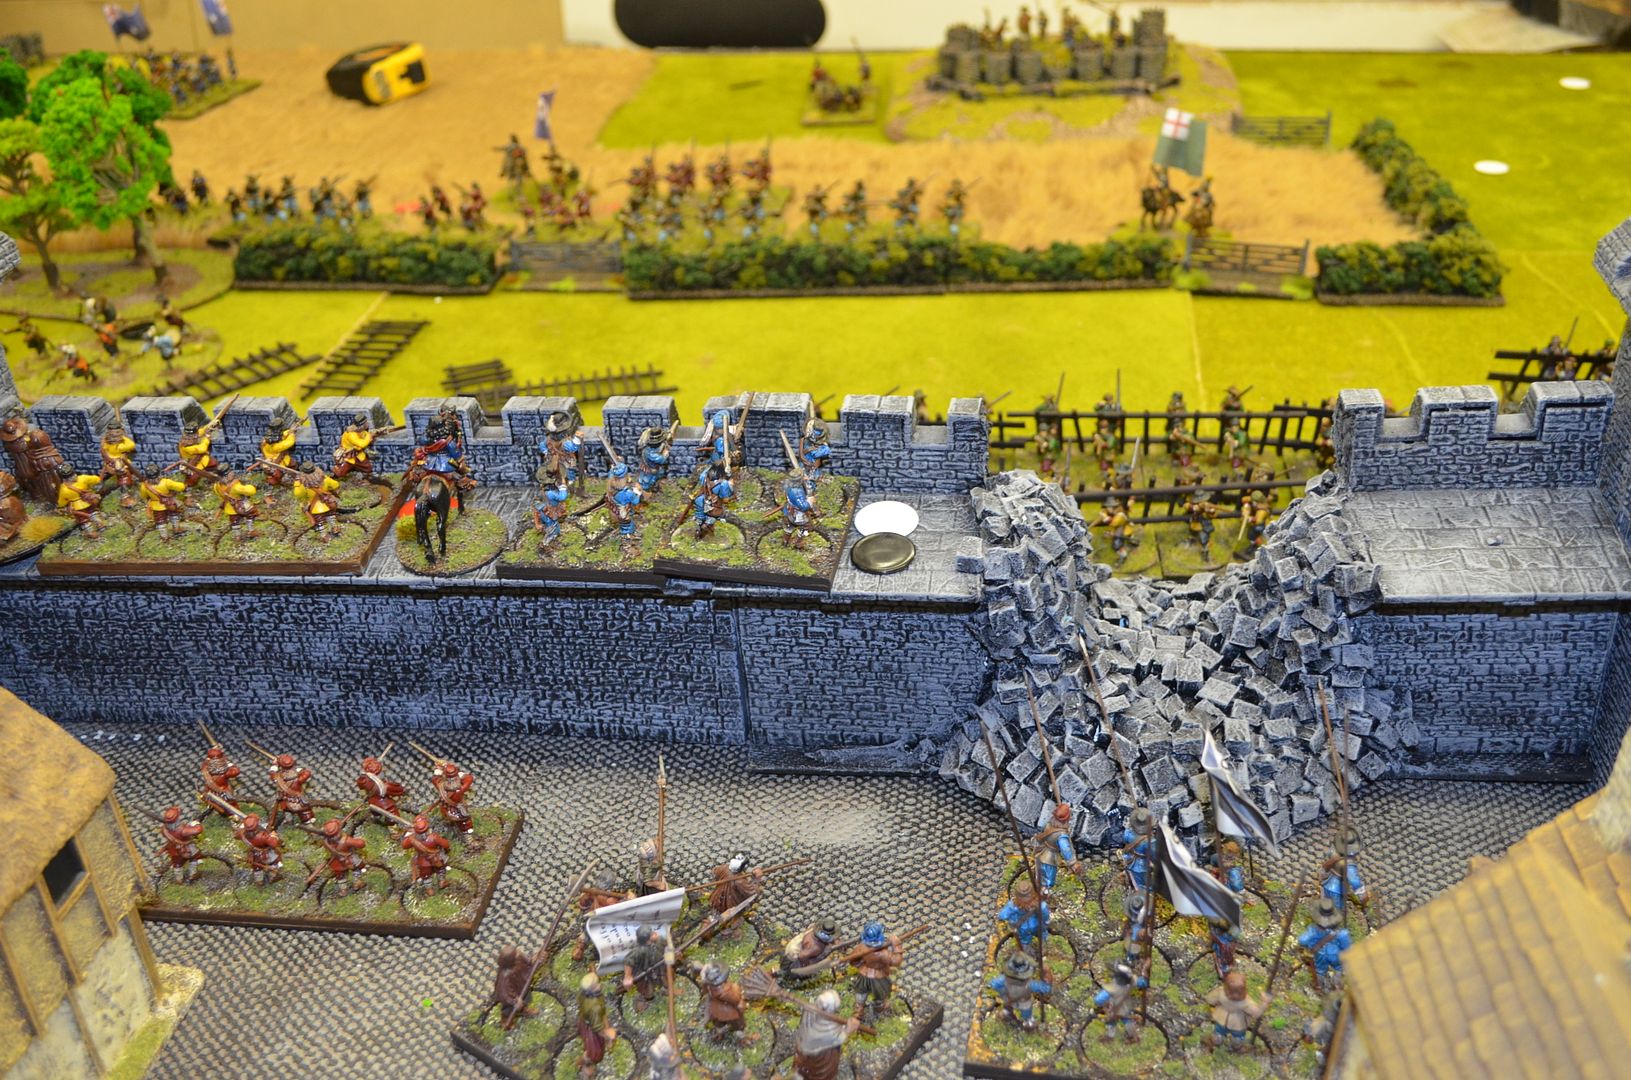
A second breach soon followed the first - cry havoc and all that !


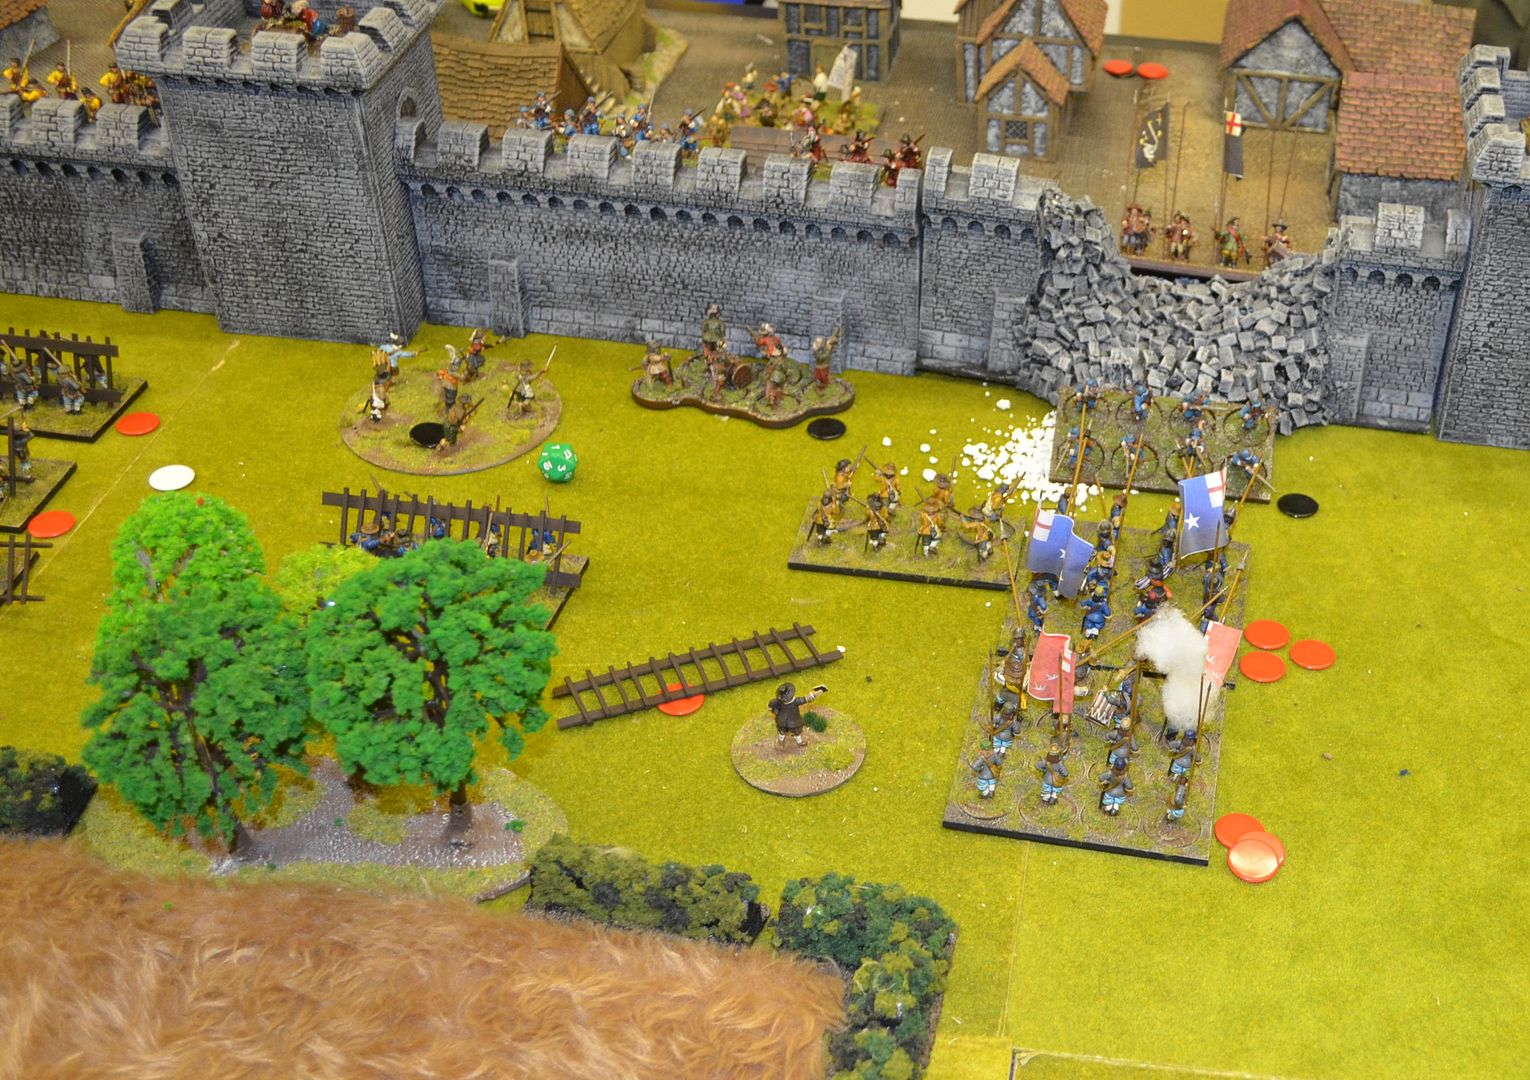
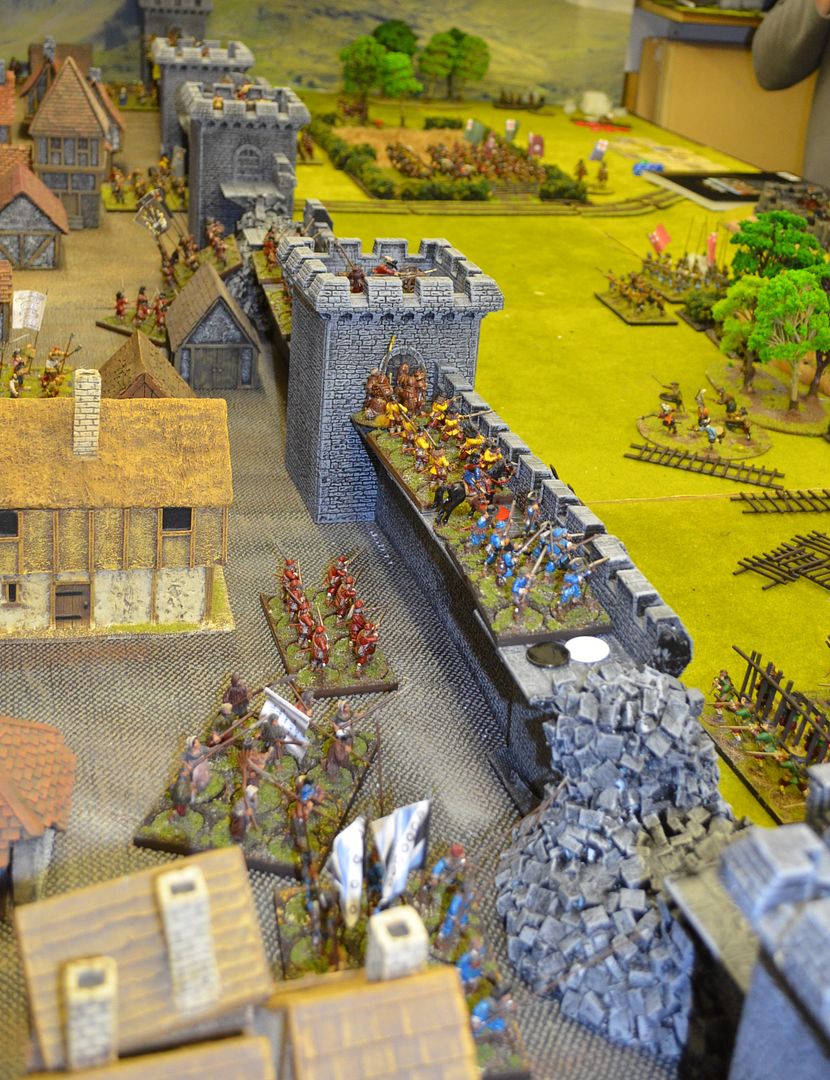
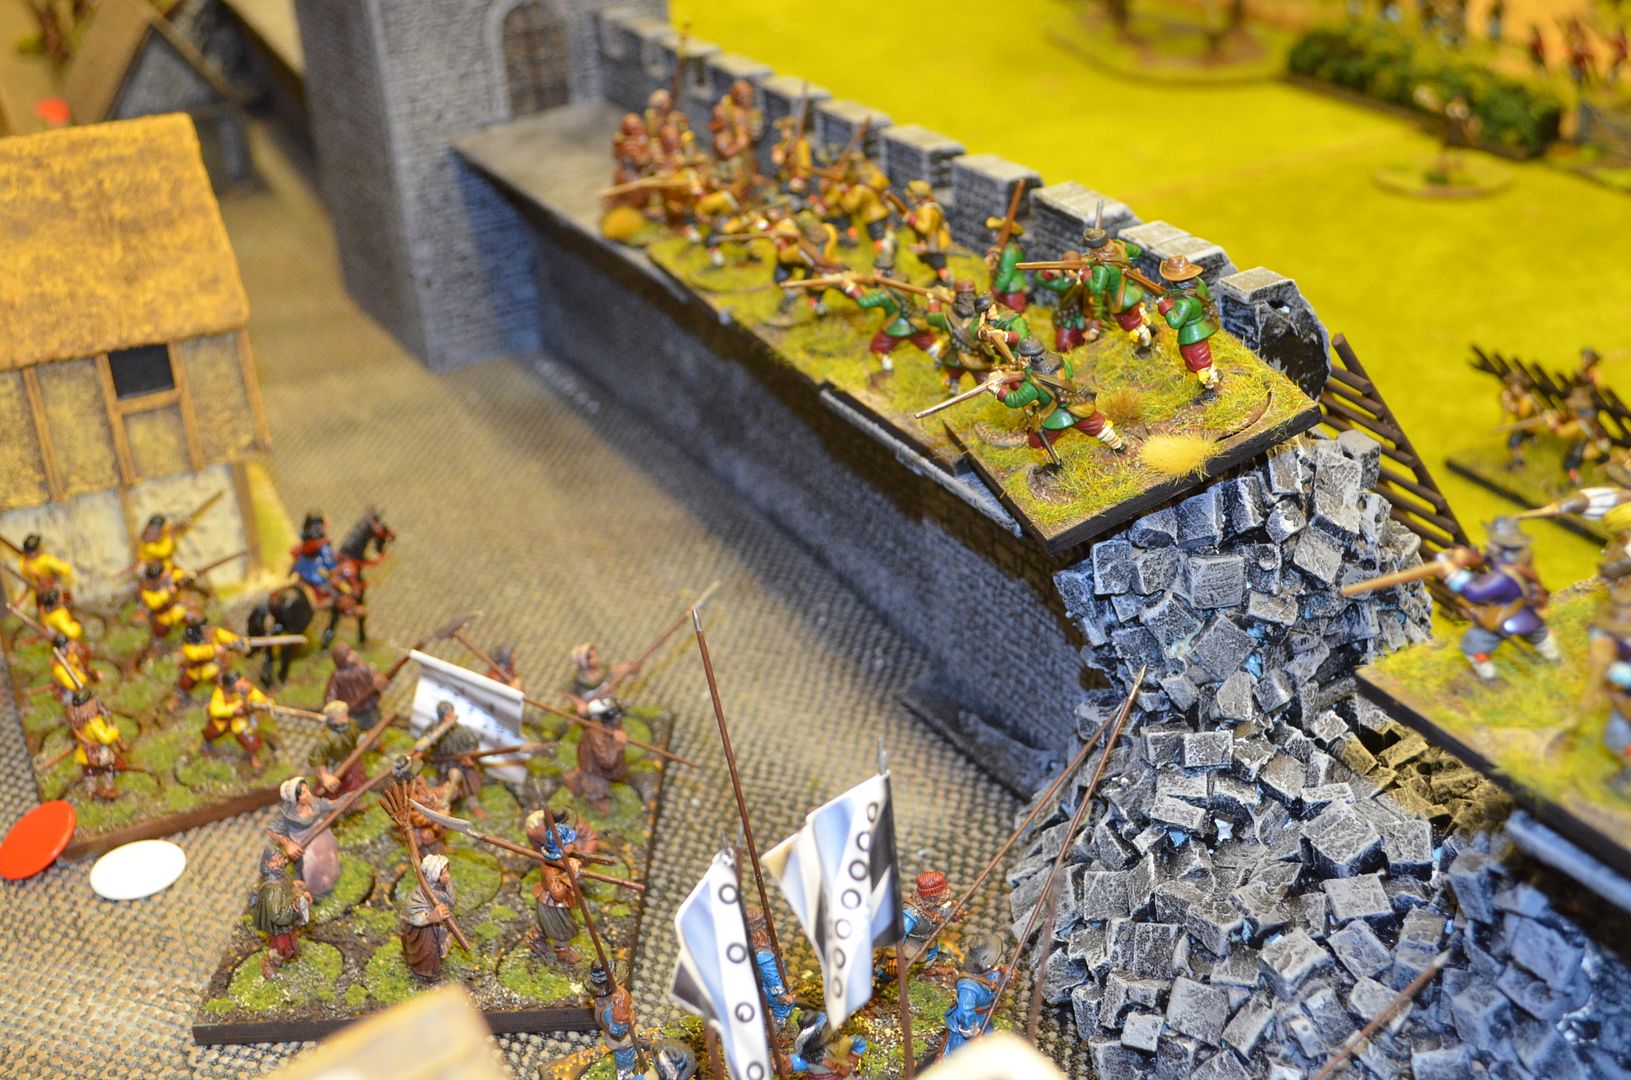
Under heavy fire the middle battalia of attackers forced their way up onto the breach


A lone unit of musketeers from the defenders sallied forth to try and prevent the gap from being overrun


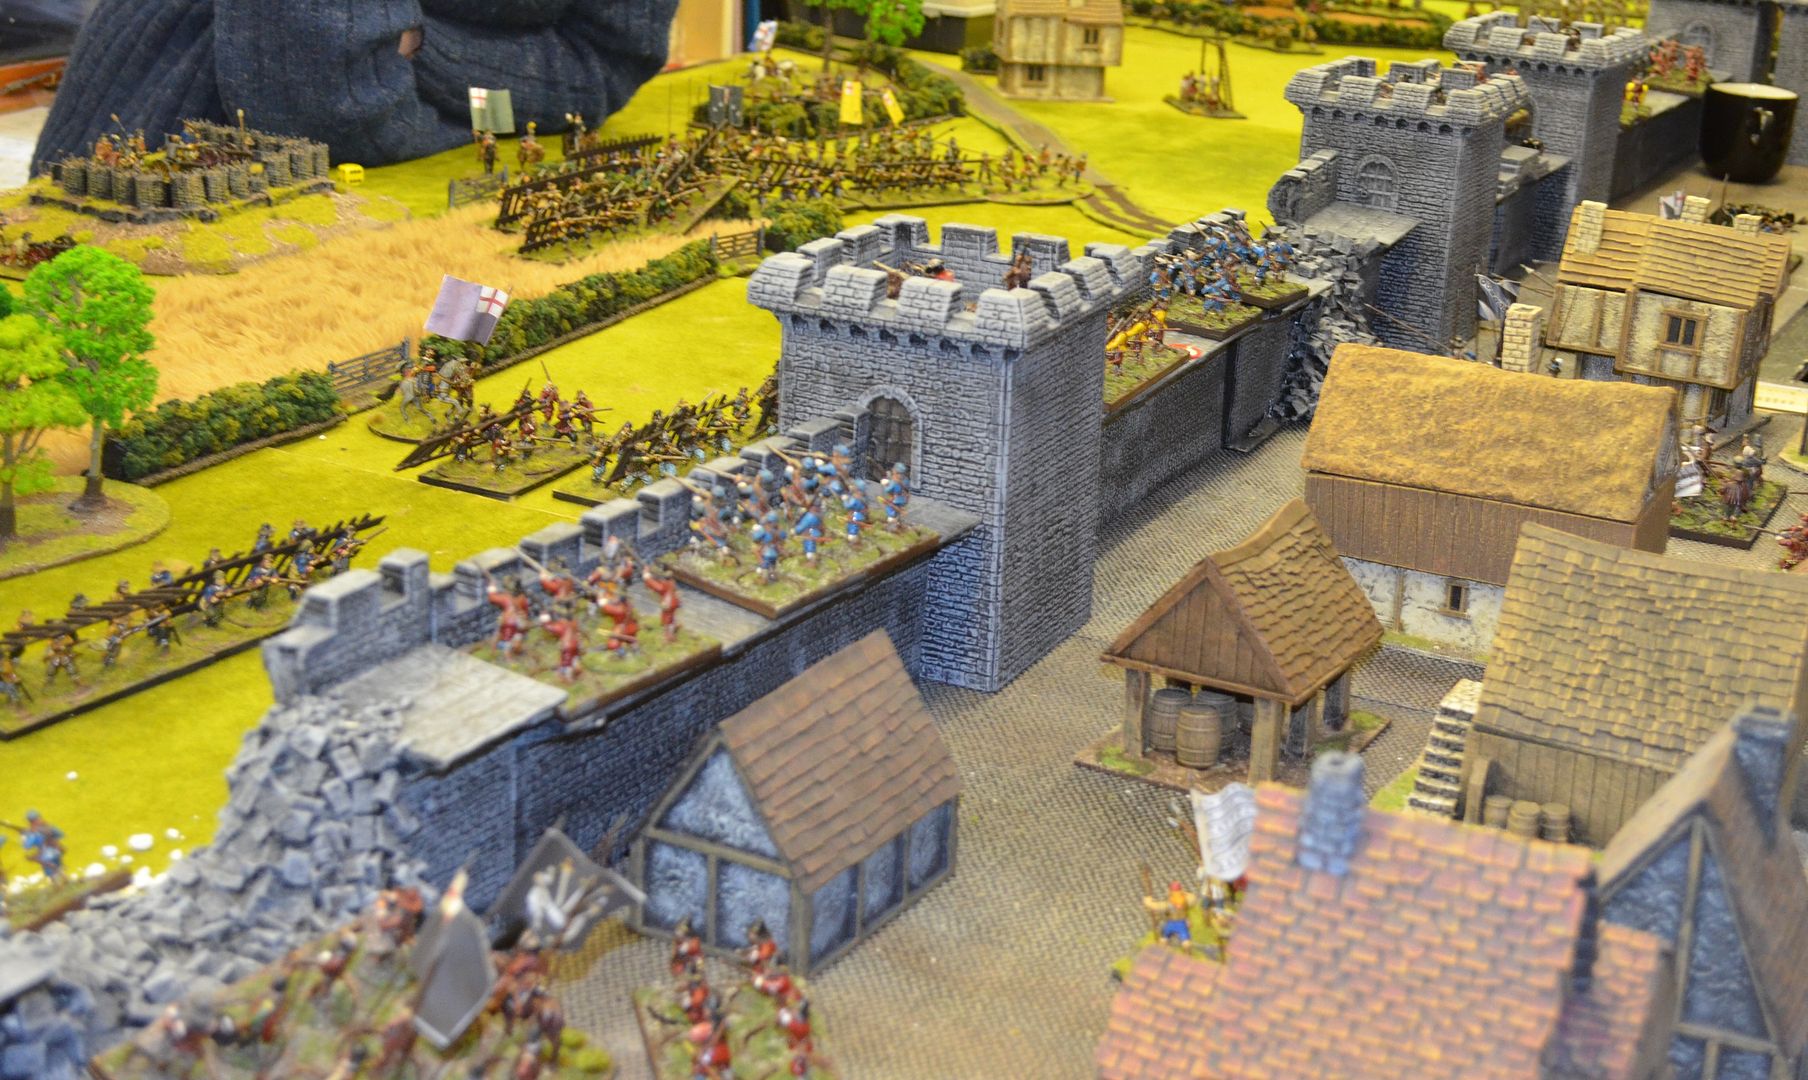
The attackers continued to advance along the city walls


The chaos was pretty impressive - the game was living up to expectations


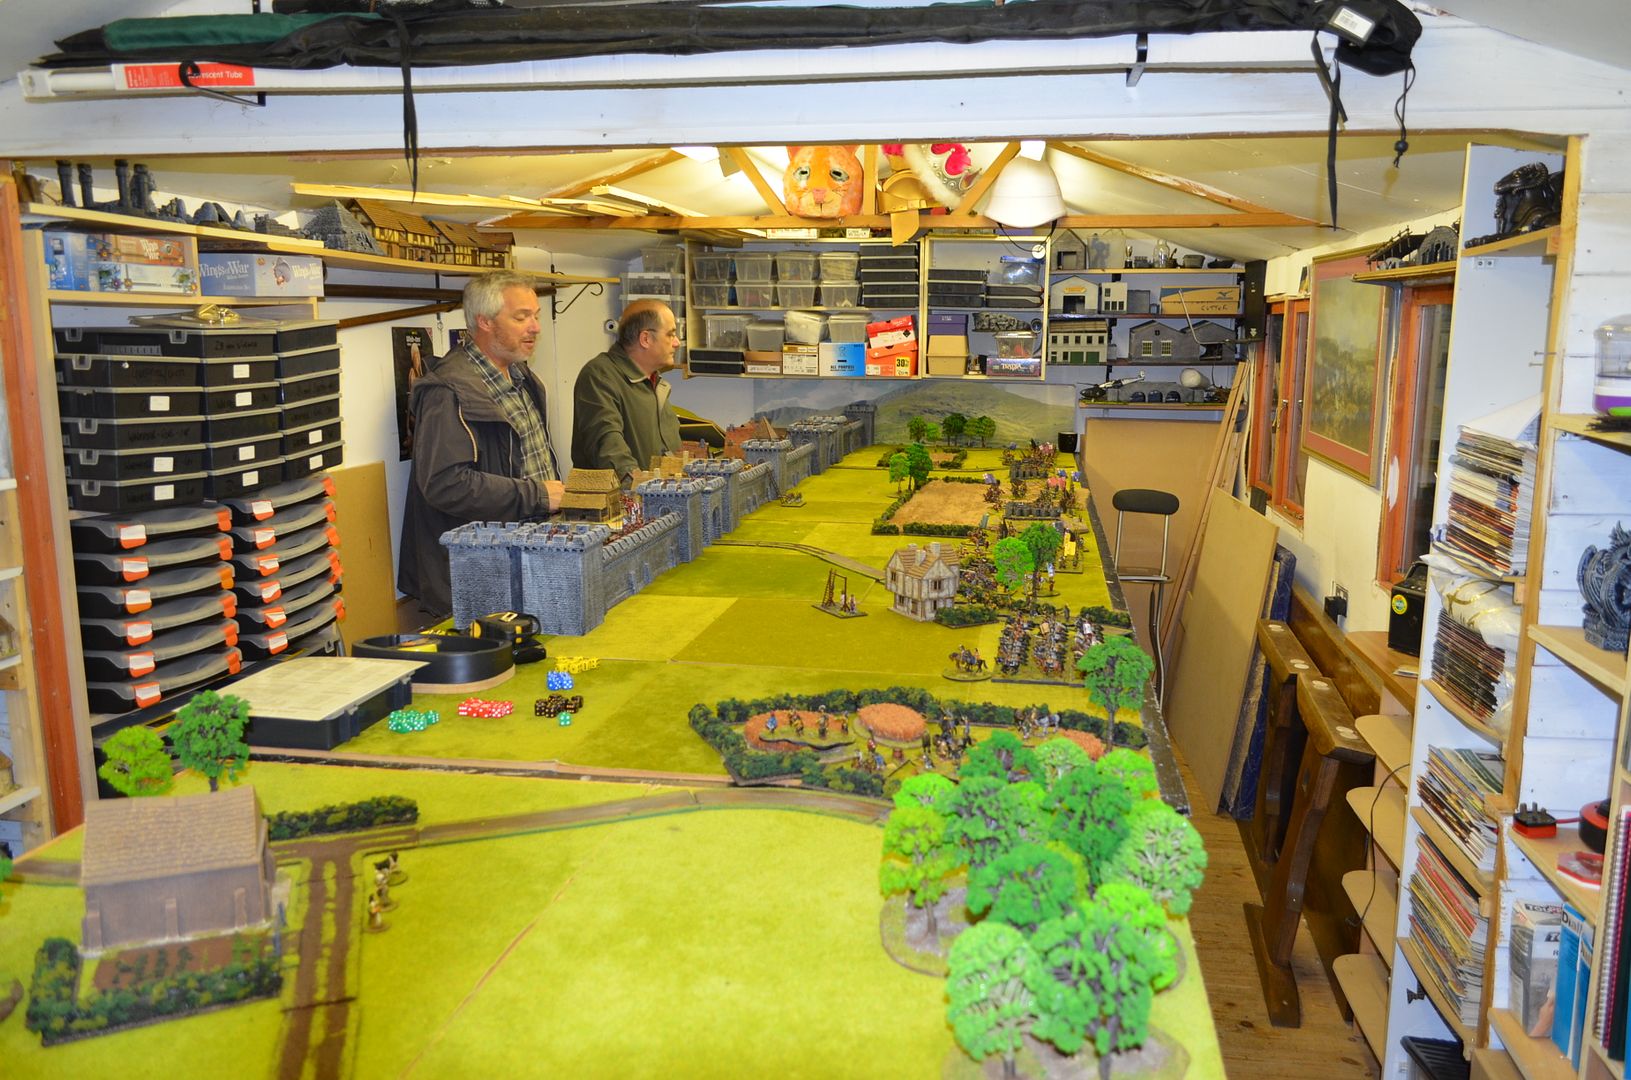
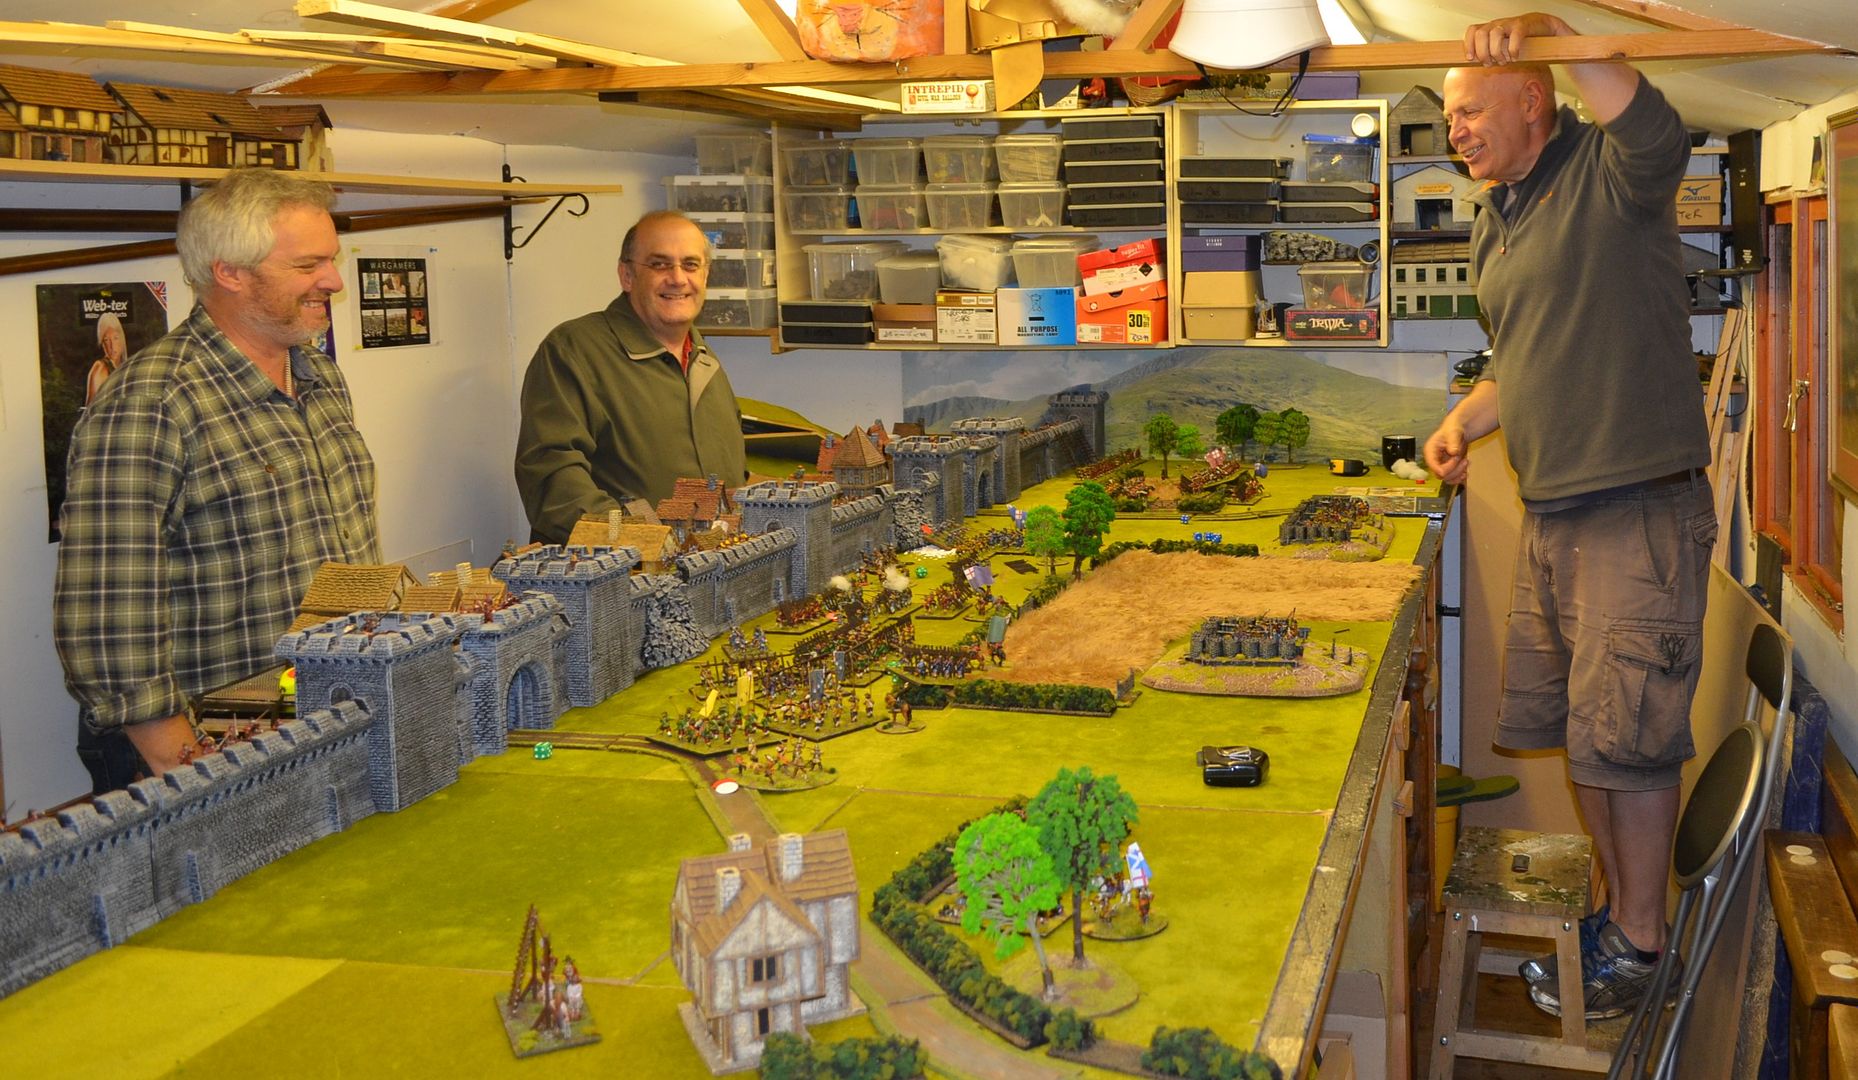
With the attackers so far advanced John had to use a stool to reach his advancing troops


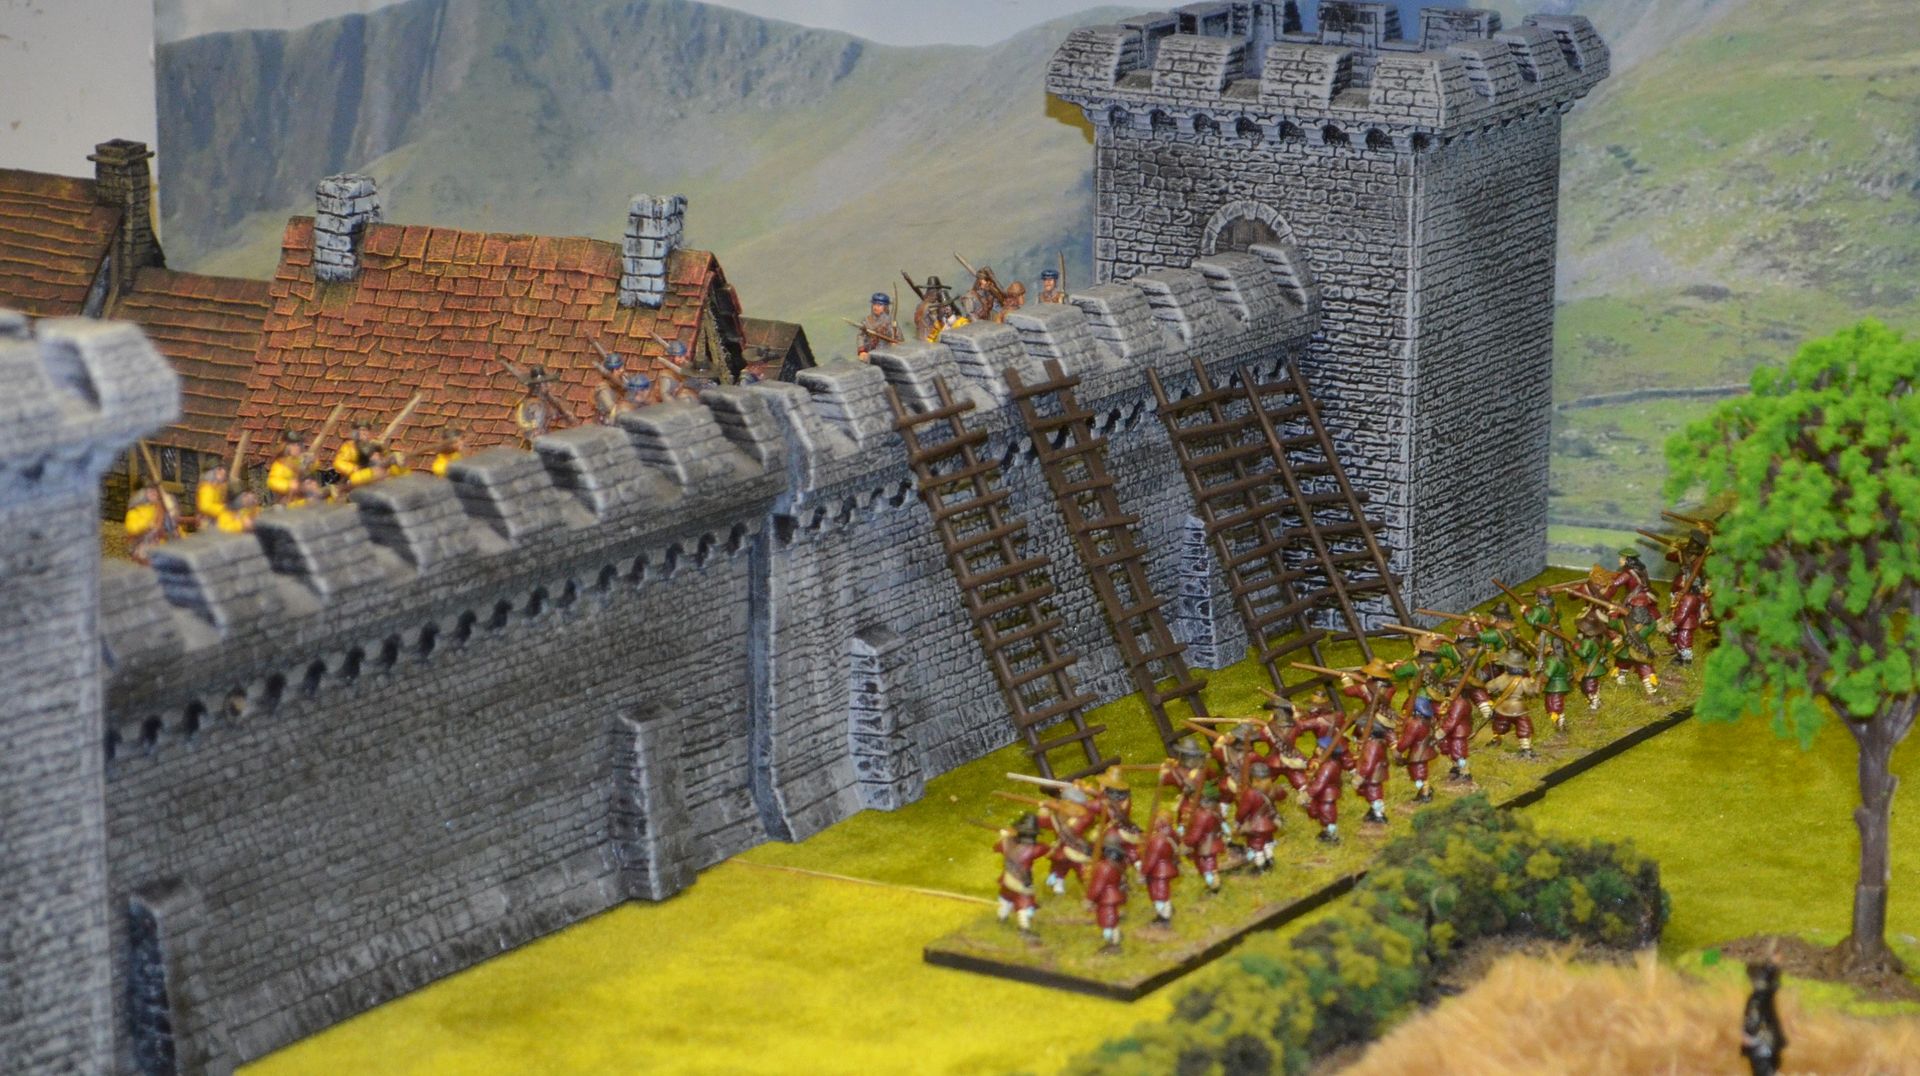
The assault on the right flank begins - scaling ladders pushed up against the wall and a furious melee begins


More troops advance to support the right wing assault


The centre attack is losing steam and the battalia finally breaks under weight of fire


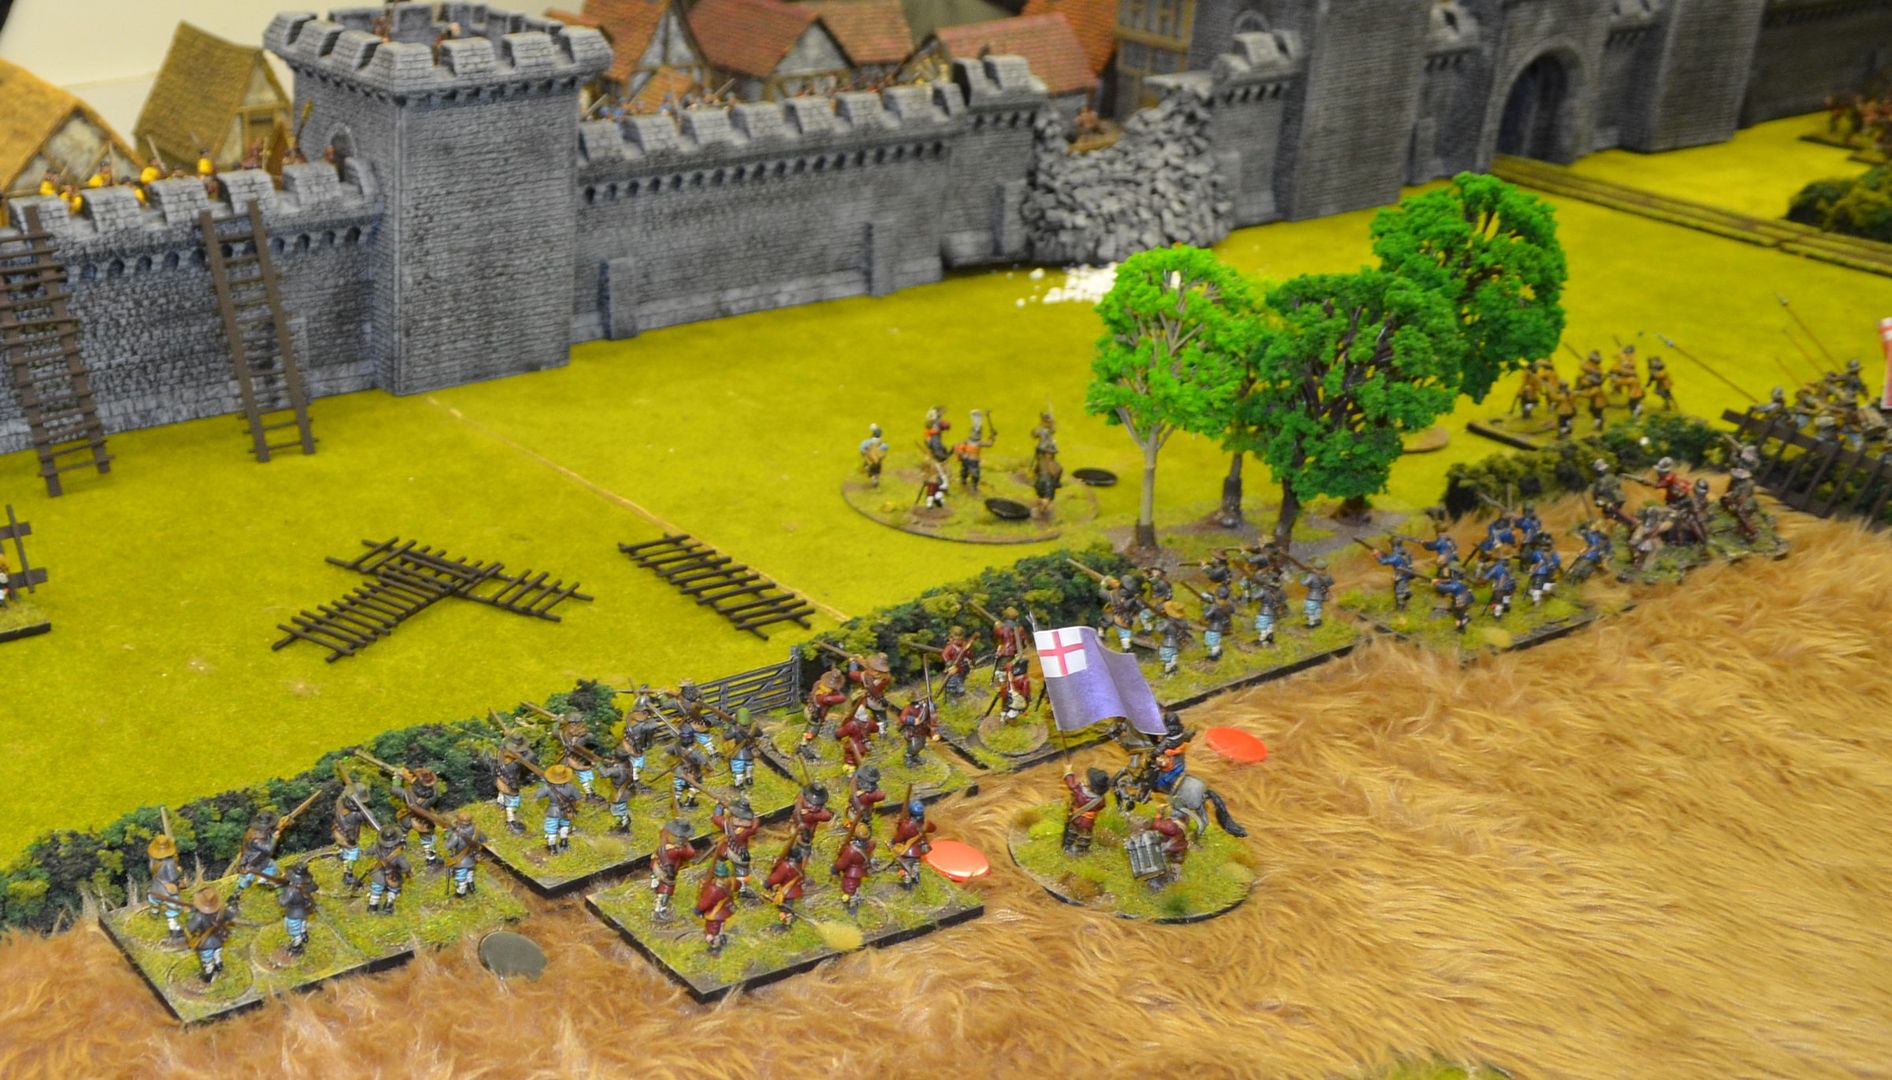
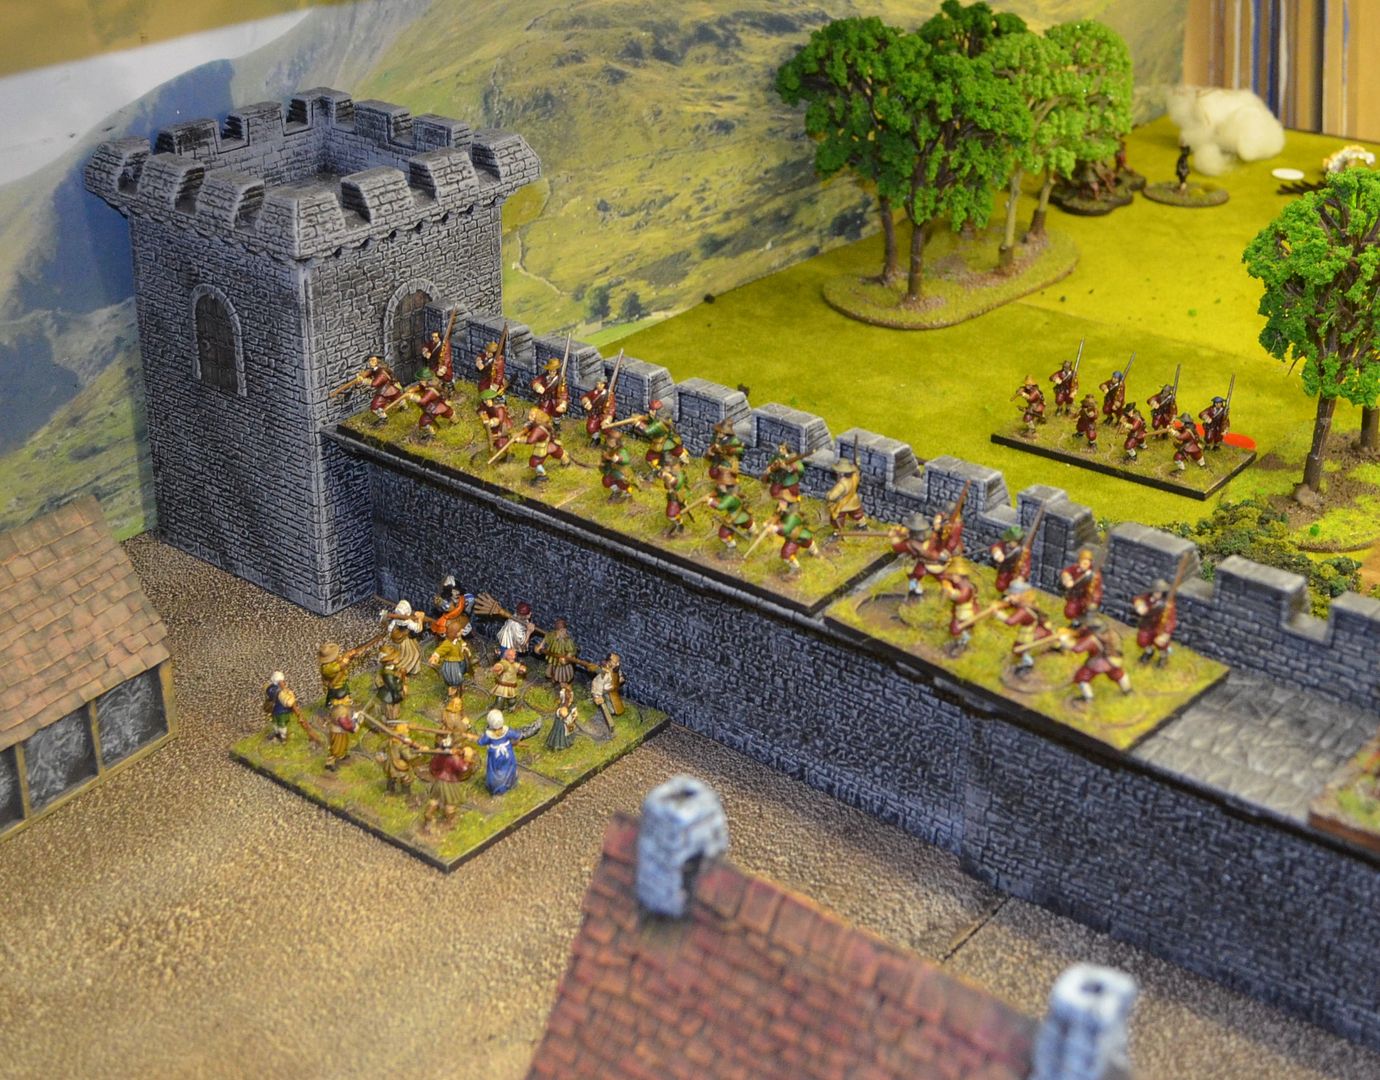
By now the left wing assault has begun - rather than force the walls I used the musketeers with their firepower to sweep the walls of its defenders


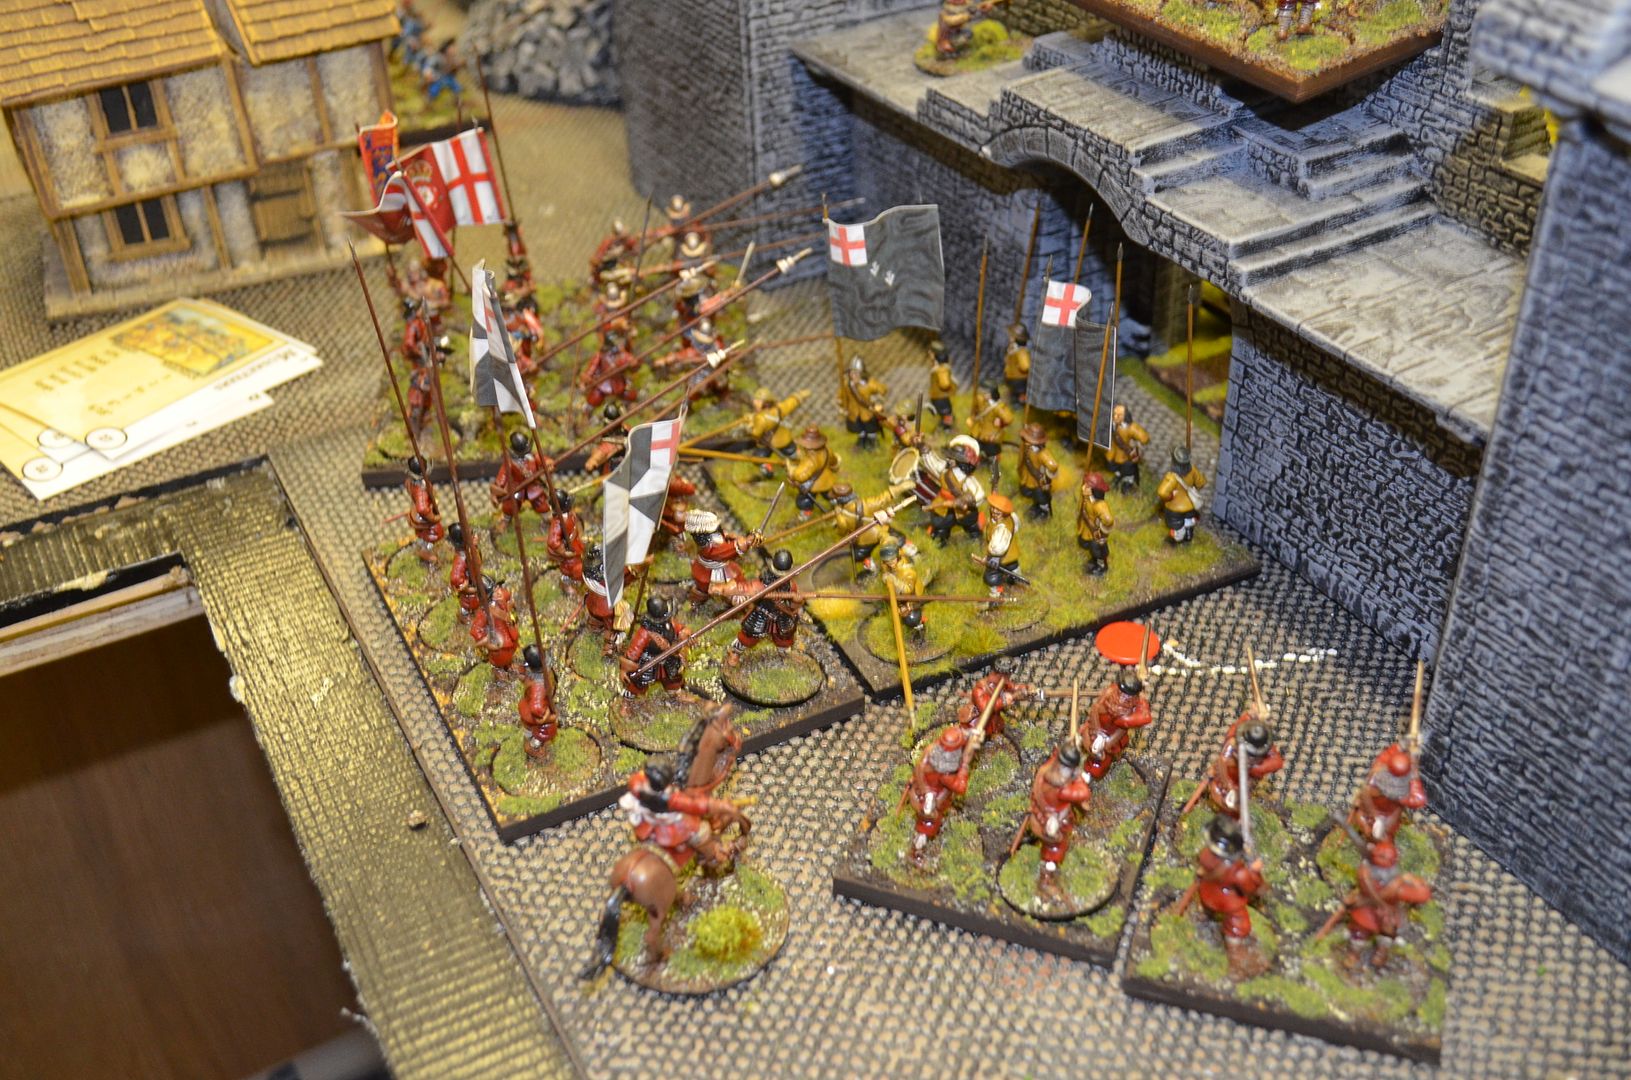
The left wing pike advance towards the now destroyed gate


Over on the right wing the Parliamentarian vavalry is coming off worse ion a firefight with the Royalist relief column  - but they are doing their job and stalling the advance. Can the city fall berfore this wing crumbles


More volleys from the attacking musketeers are reaping terrible wounds on the defenders despite the shelter of the stone walls


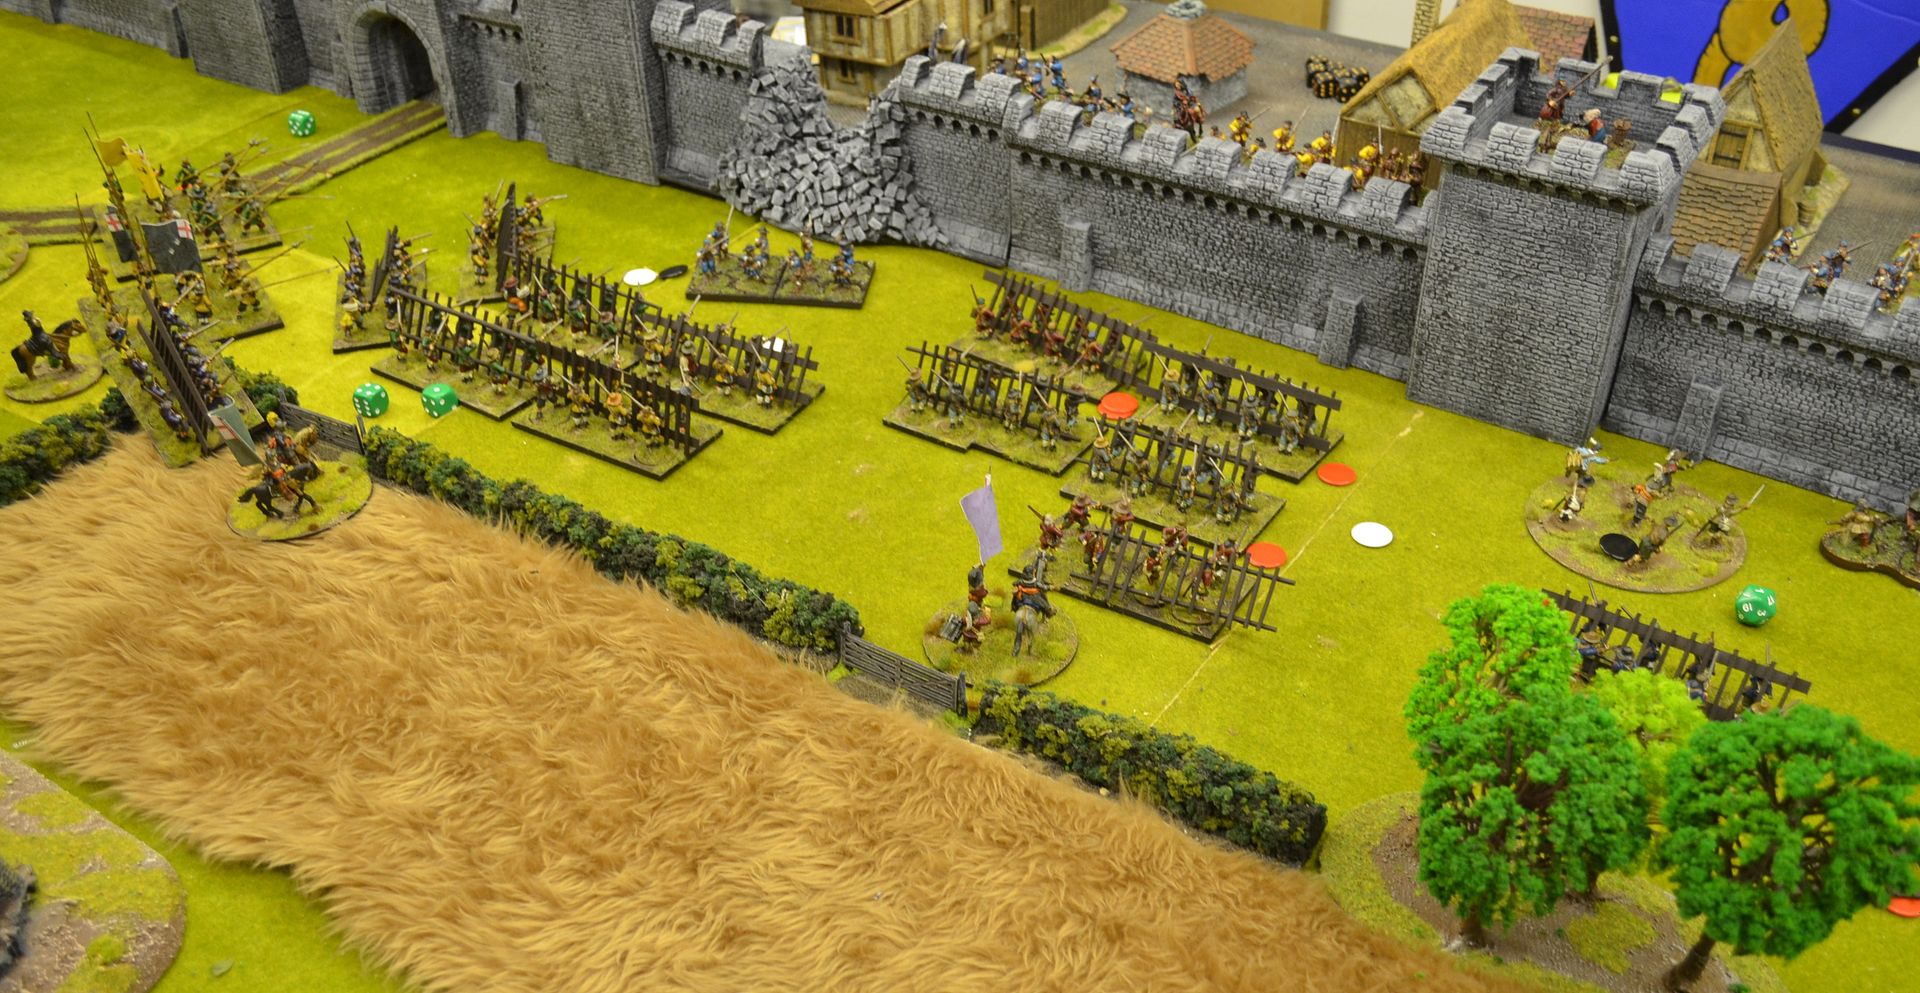
With the centre battalia now hiding in the fields its up to the right and left wings of the attack to press home


The gun batteries are now focussing their attention on the defenders tower mounted light guns


The breech on the left is plugged with a defending pike unit...


Reinforcements are rushed to wall expecting an imminent attack


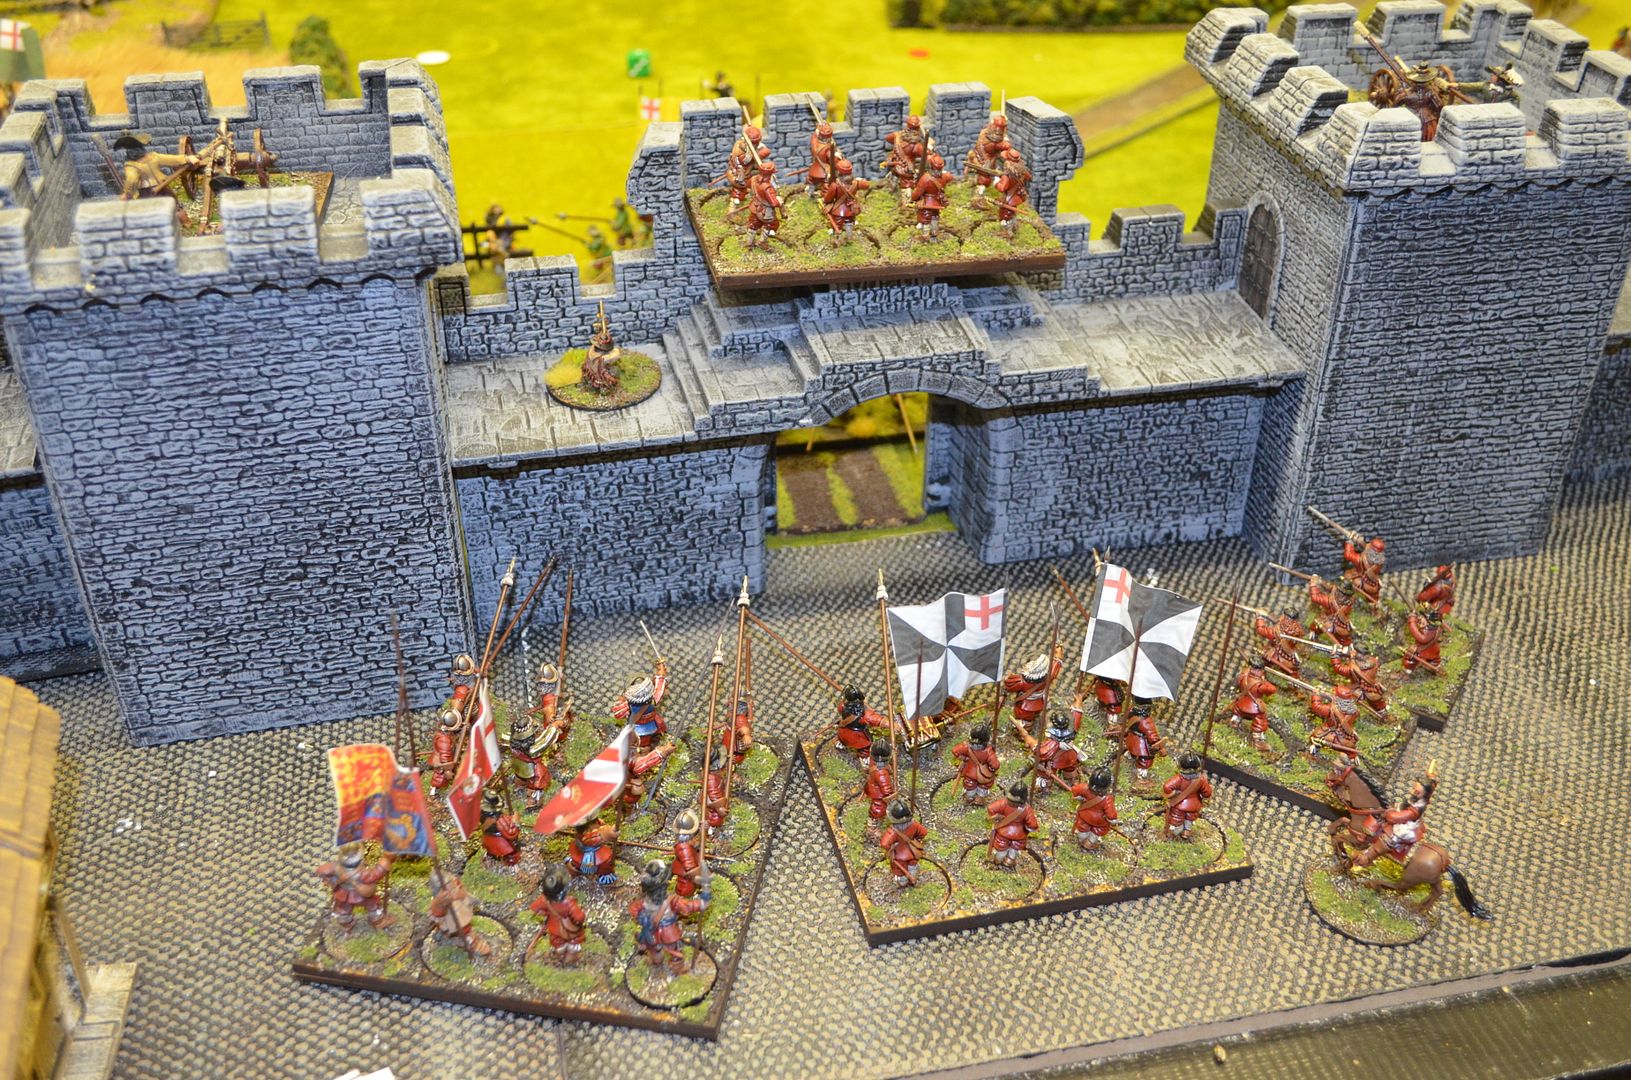
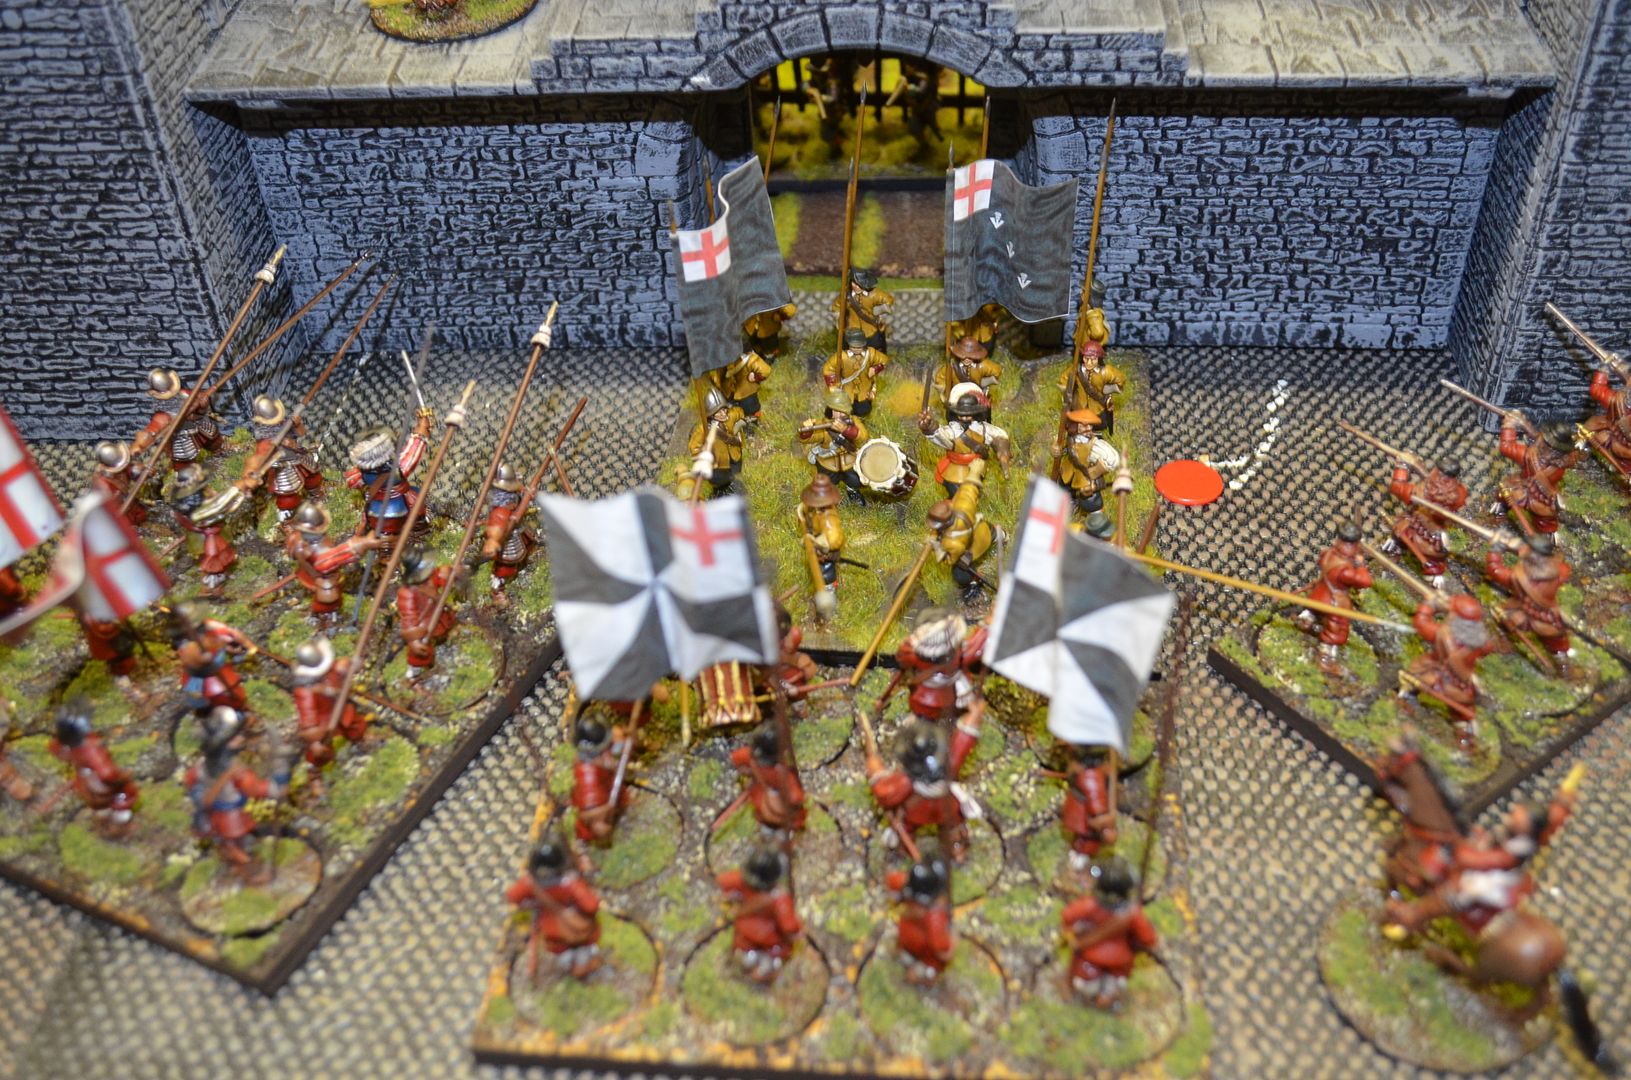
The gates become a focus for defence


The Right Rebel wing is now over the wall and the troops are now running amok in the city


All that stands in front of them is large unit of clubmen - this is swiflty routed


Over on the Rebel Left I throw in a Pike Unit through the gate - routing the defending unit.His supports have a different view....


A frantic melee continue outside the castle walls - the relief column just cant get through


The Attacking pike gets crunched - big time and forced back from where he came


The Rebels continue to mop up along the Wall...its looking desparate for the Royalist supporters


A final volley from the left wing musketeers clears the ramparts of defenders allowing them to throw up their ladders and reach the parapets in safety...


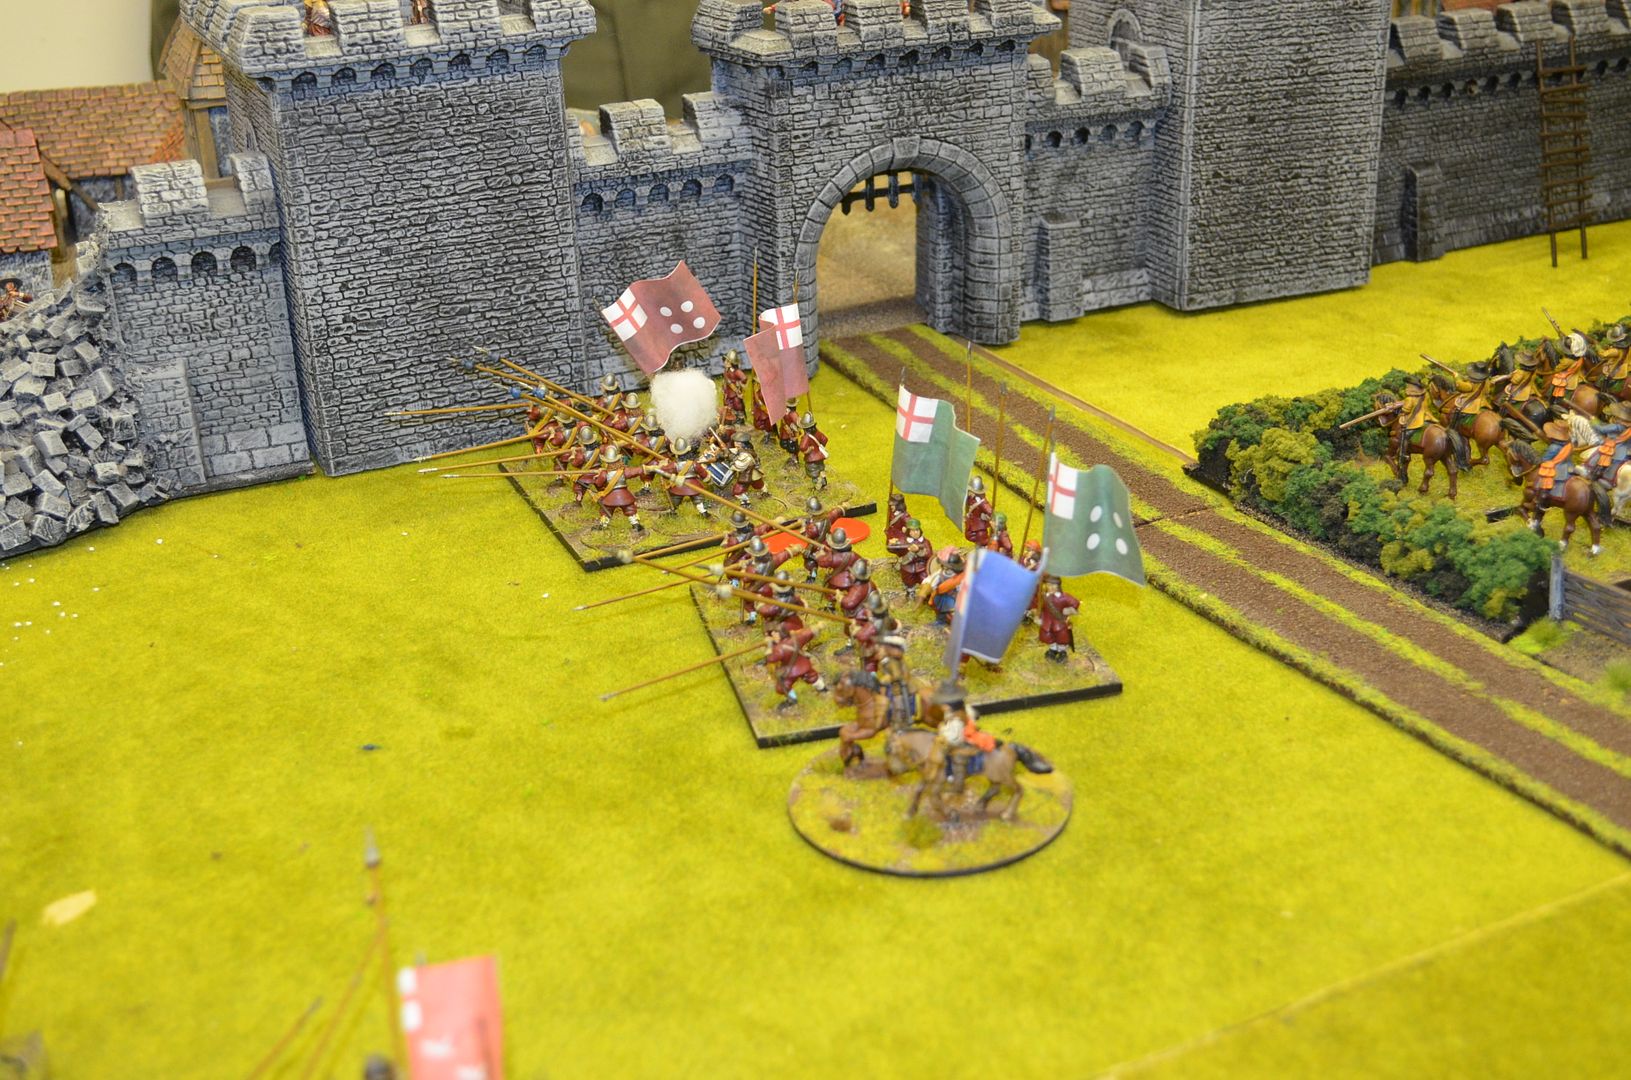
Parliamentarian Pikes march towards the last gate intent on haring the loot and glory that awaits inside the city


The rebels now pour en masse into the city forcing the commander to surrender


A victory for the Parliament  but at what cost - casualties were horrendous. Virtually every unit had succumbed in some fashion.

A cracking game that lasted about 3 hours -

We'll visit the siege games again at some point in the future - thanks to all those that took part