Showing posts with label Tools of the Trade. Show all posts

Friday, 2 September 2016

Brushes - A recommendation

If like me you paint a lot of figures you can go through a great deal of brushes and that can be expensive. Sadly I don't tend to take too much care of these things and I have lost count of how many expensive ones I have thrown away.

Over the last couple of years I have been trying to find some cheap alternatives that both fit my speed painting style and budget. I am delighted to recommend the following sourced from ebay.

These are called MAJOR BRUSHES
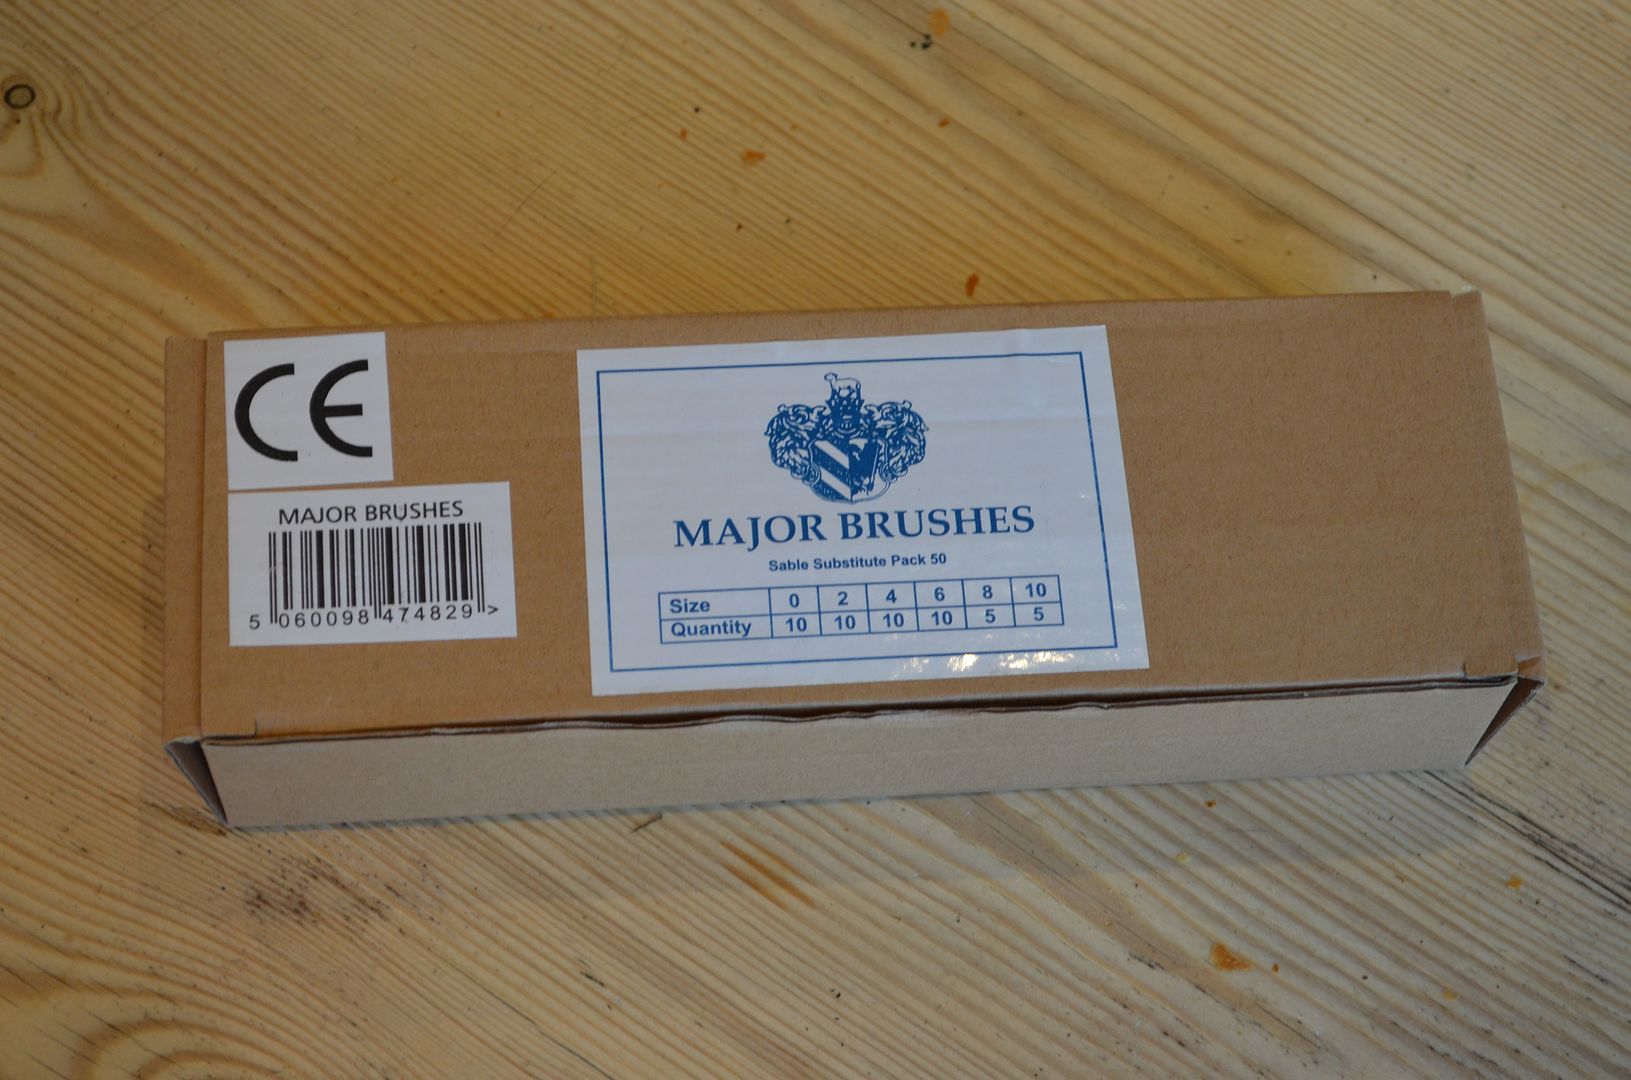


LINK BELOW

http://www.ebay.co.uk/itm/390878589592?_trksid=p2057872.m2749.l2649&ssPageName=STRK%3AMEBIDX%3AIT


The following is the description carried on ebay

---------------------------------------------------------------------------------------------------------------------------------------------------------------
THIS IS A SCHOOL PACK SIZE BOX OF 50 QUALITY SYNTHETIC SABLE PAINT BRUSHES.

SIX SIZES ARE SUPPLIED AS FOLLOWS;

10 x 0, 10 x 2, 10 x 4, 10 x 6, 5 x 8, 5 x 10.

Each size of brush is packaged in their own protective sleeves, every individual brush has a protection cap.

BRUSHES HAVE THICK COATED HANDLES MAKING THEM NOT ONLY WATERPROOF BUT EASY TO GRIP. THEY ARE CONSTRUCTED WITH HIGH QUALITY SYNTHETIC SABLE FOR GREAT RESILIENCE AND SPRING AND QUALITY.
IDEAL FOR THE ECONOMICALLY MINDED ARTIST, CRAFTER, HOBBIEST CERAMISIST AND BUDDING YOUNG ARTISTS.
USE WITH ACRYLICS, OILS & WATERCOLOURS.
These brushes are available at this low low price as they are sold in bulk.
Perfect for schools, colleges, art groups etc.
Cheap brushes make for cheap work give yourself the best chance with brushes that hold the paint and their shape superbly and will last for years.

This set will be securely packed and supplied in its own strong cardboard box ensuring the brushes reach you in perfect condition.

------------------------------------------------------------------------------------------------------------------------

The cost of these 50 brushes is great - £17.00 for 50 (which works out at about 35p per brush) - plus a further 10% discount if you buy two or more boxes

The brushes themselves are good - holding their point for at least a couple of sessions (for me that working through 100+figures). The big sizes are great for terrain, glue and painting on varnishes/dips.

The handles are a conventional length

Typically delivery is within 48 hours


So if you are looking for a cheap alternative give these a try. PS I have nothing to do with this company and my recommendation is based on my experience 


Sunday, 31 May 2015

A Fly Swat, A Sieve, and a Soldering Iron - Build Your own Static Grass Applicator

Hi Folks

Here goes another tutorial. First up I cannot lay claim to the idea of this build and a quick search on google will reveal a plethora of solutions...but here goes with a Shed Wars version..

Has it ever dawned on you how much you spend on the incidentals of our hobby? It did for me last week whilst clearing the shed and realising how much I have spent on grass tufts in the past 12 months. Could I recreate my own cheaper?


Our recipe includes -

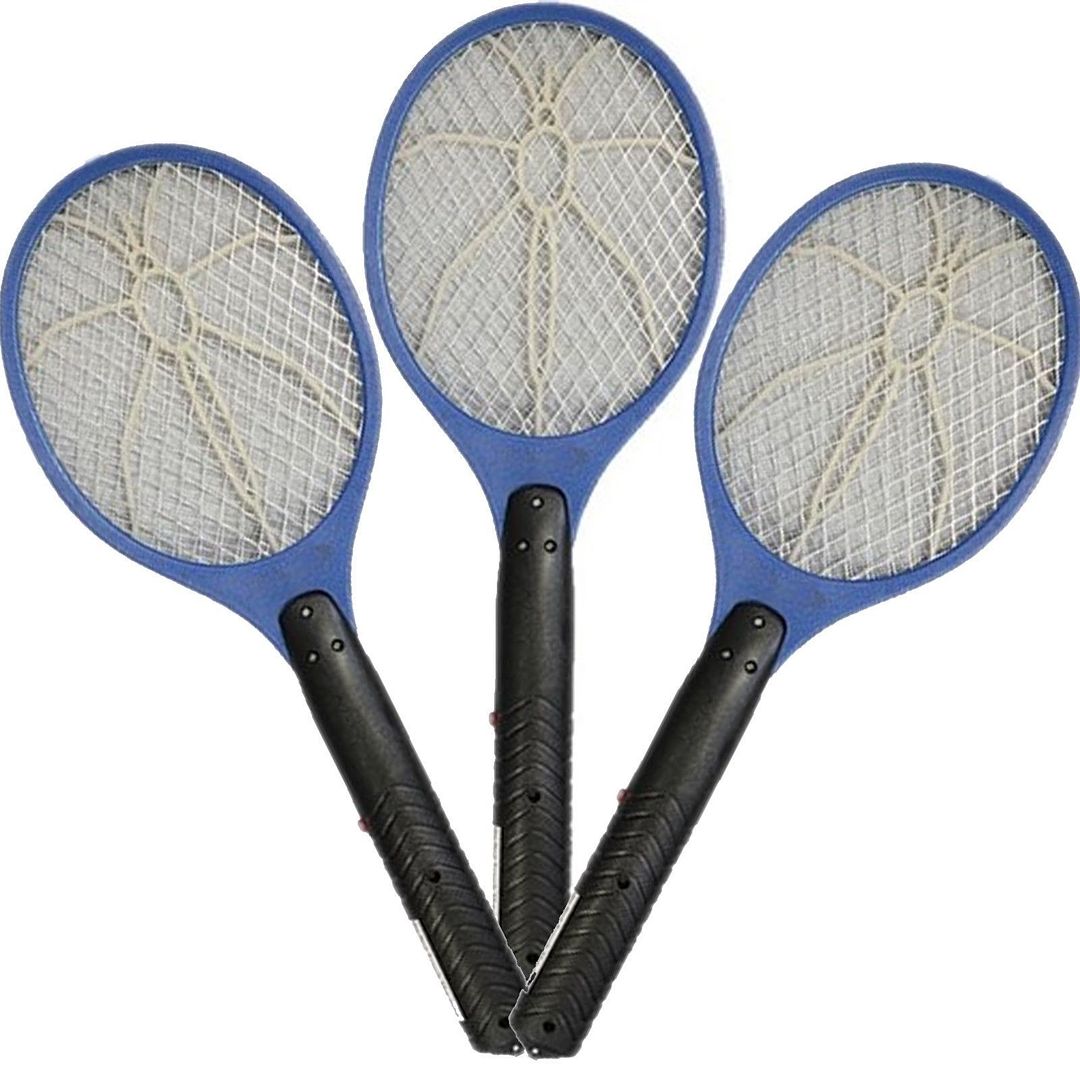
1. An electronic bug zapper/swatter.

Could not believe how cheap these were...a pack of three on ebay for £5.99 including postage - that's £2.00 each !

http://www.ebay.co.uk/itm/311314624196?_trksid=p2057872.m2749.l2649&ssPageName=STRK%3AMEBIDX%3AIT


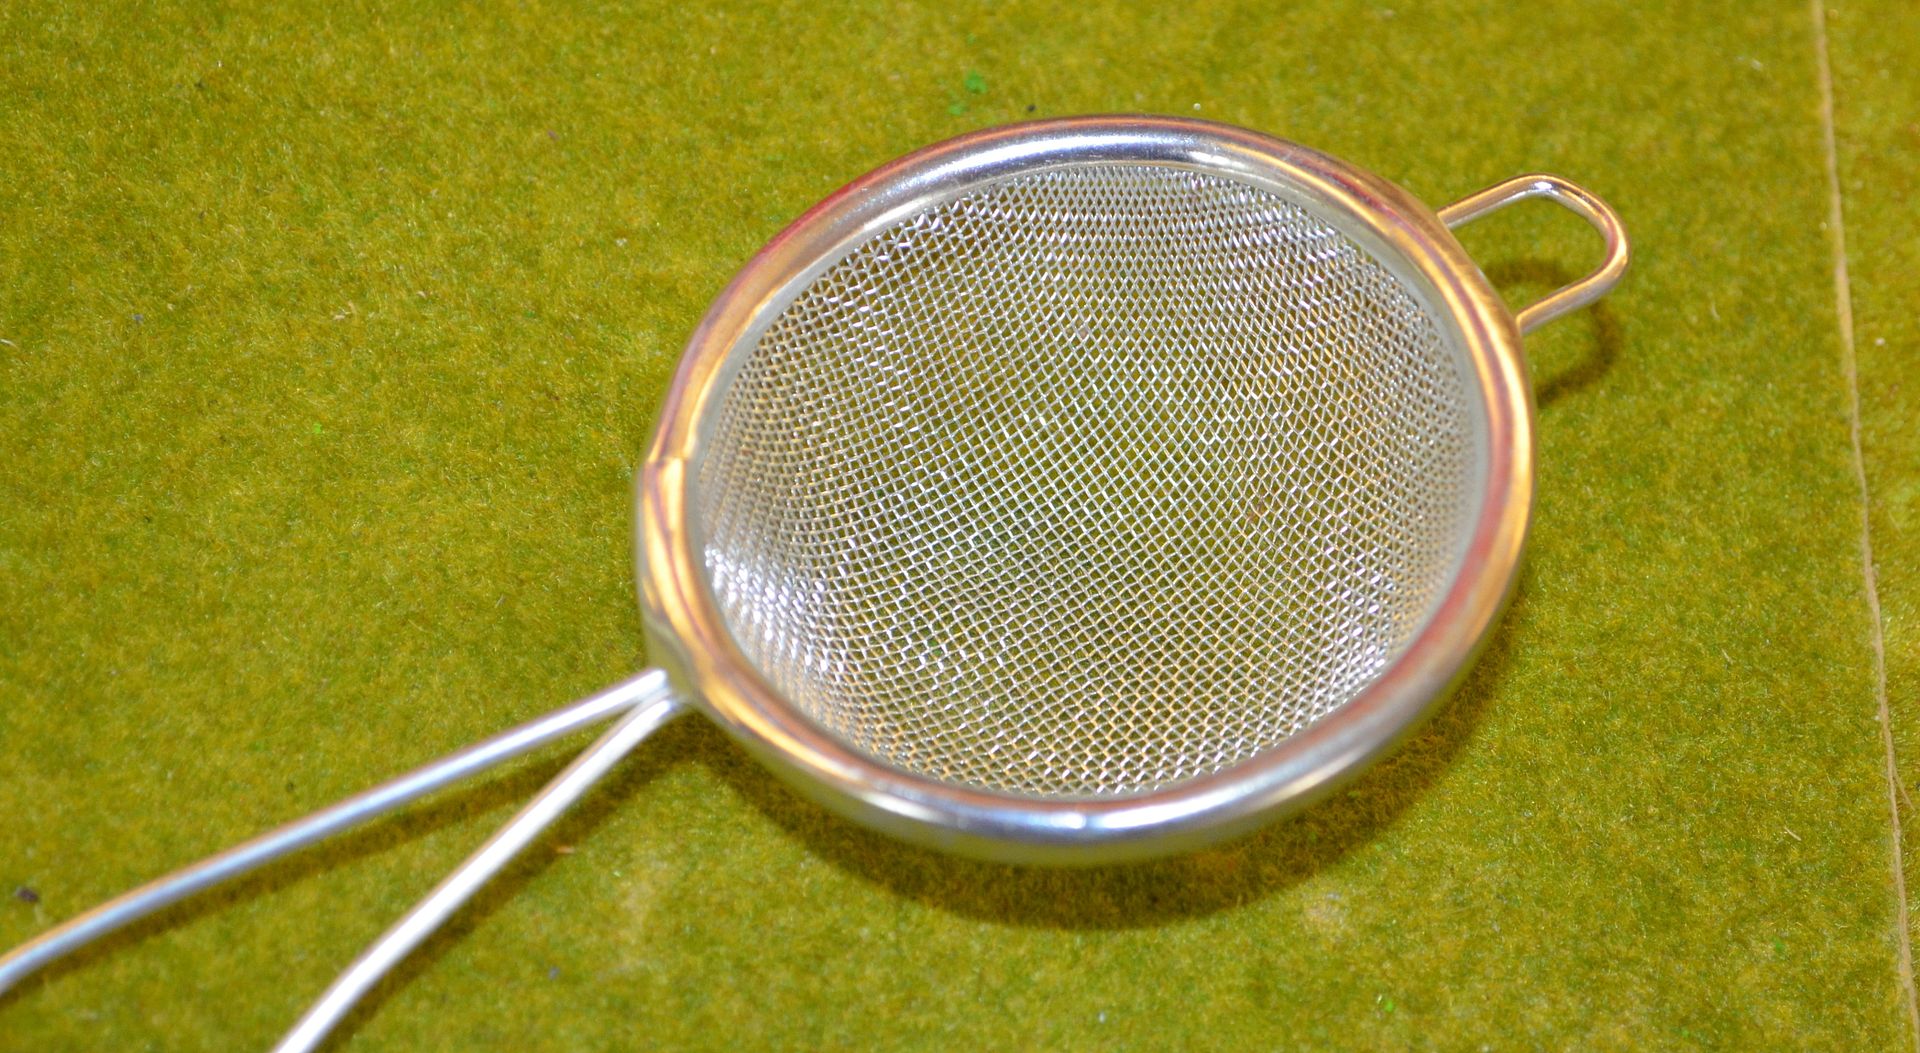
2. A simple metal tea strainer/sieve (small one)

I procured these for 99p each from the local hardware store


3.  A Crocodile Clip on a Cable

I bought a pack of ten of these from Maplin for £4.99  - that works out at 50 p each.

Apart from batteries and the static grass itself that is all you need. Total cost £3.49 per unit.


The finished product...


How easy was it to build...

VERY EASY I COMPLETED MY FIRST ONE IN 10 MINUTES.

So this is how you build a static grass applicator...

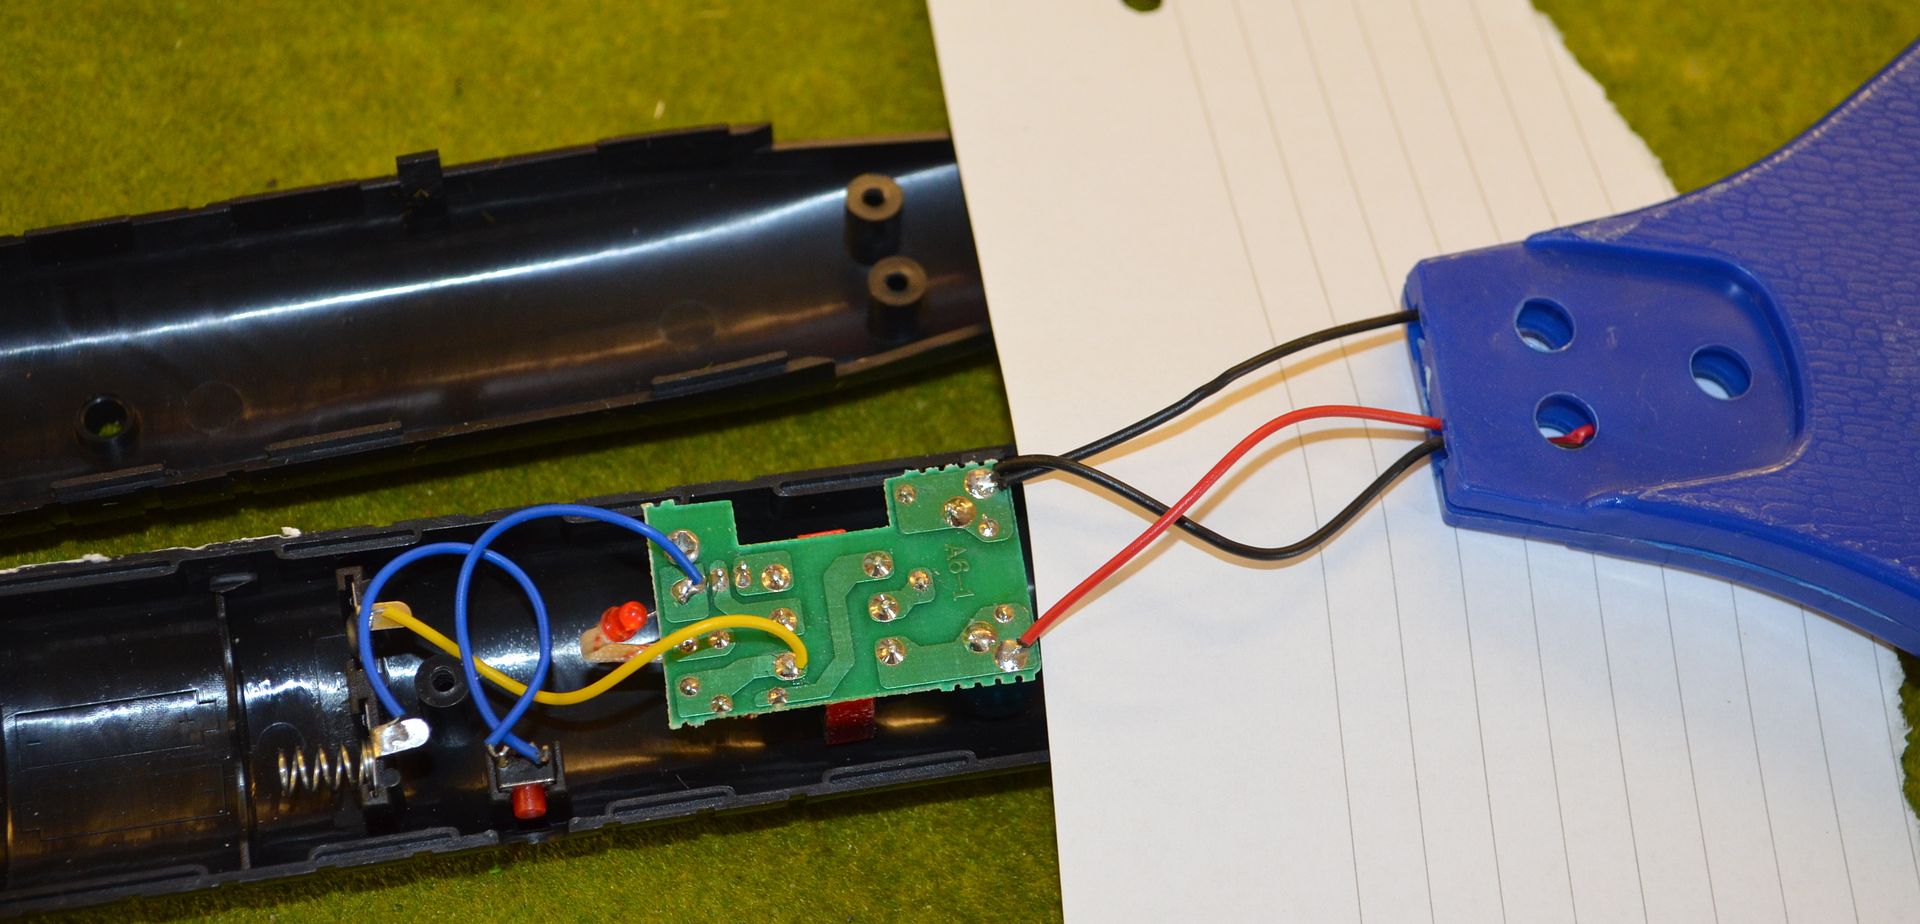
1. Undo all the screws on the bug zapper to reveal the inside.


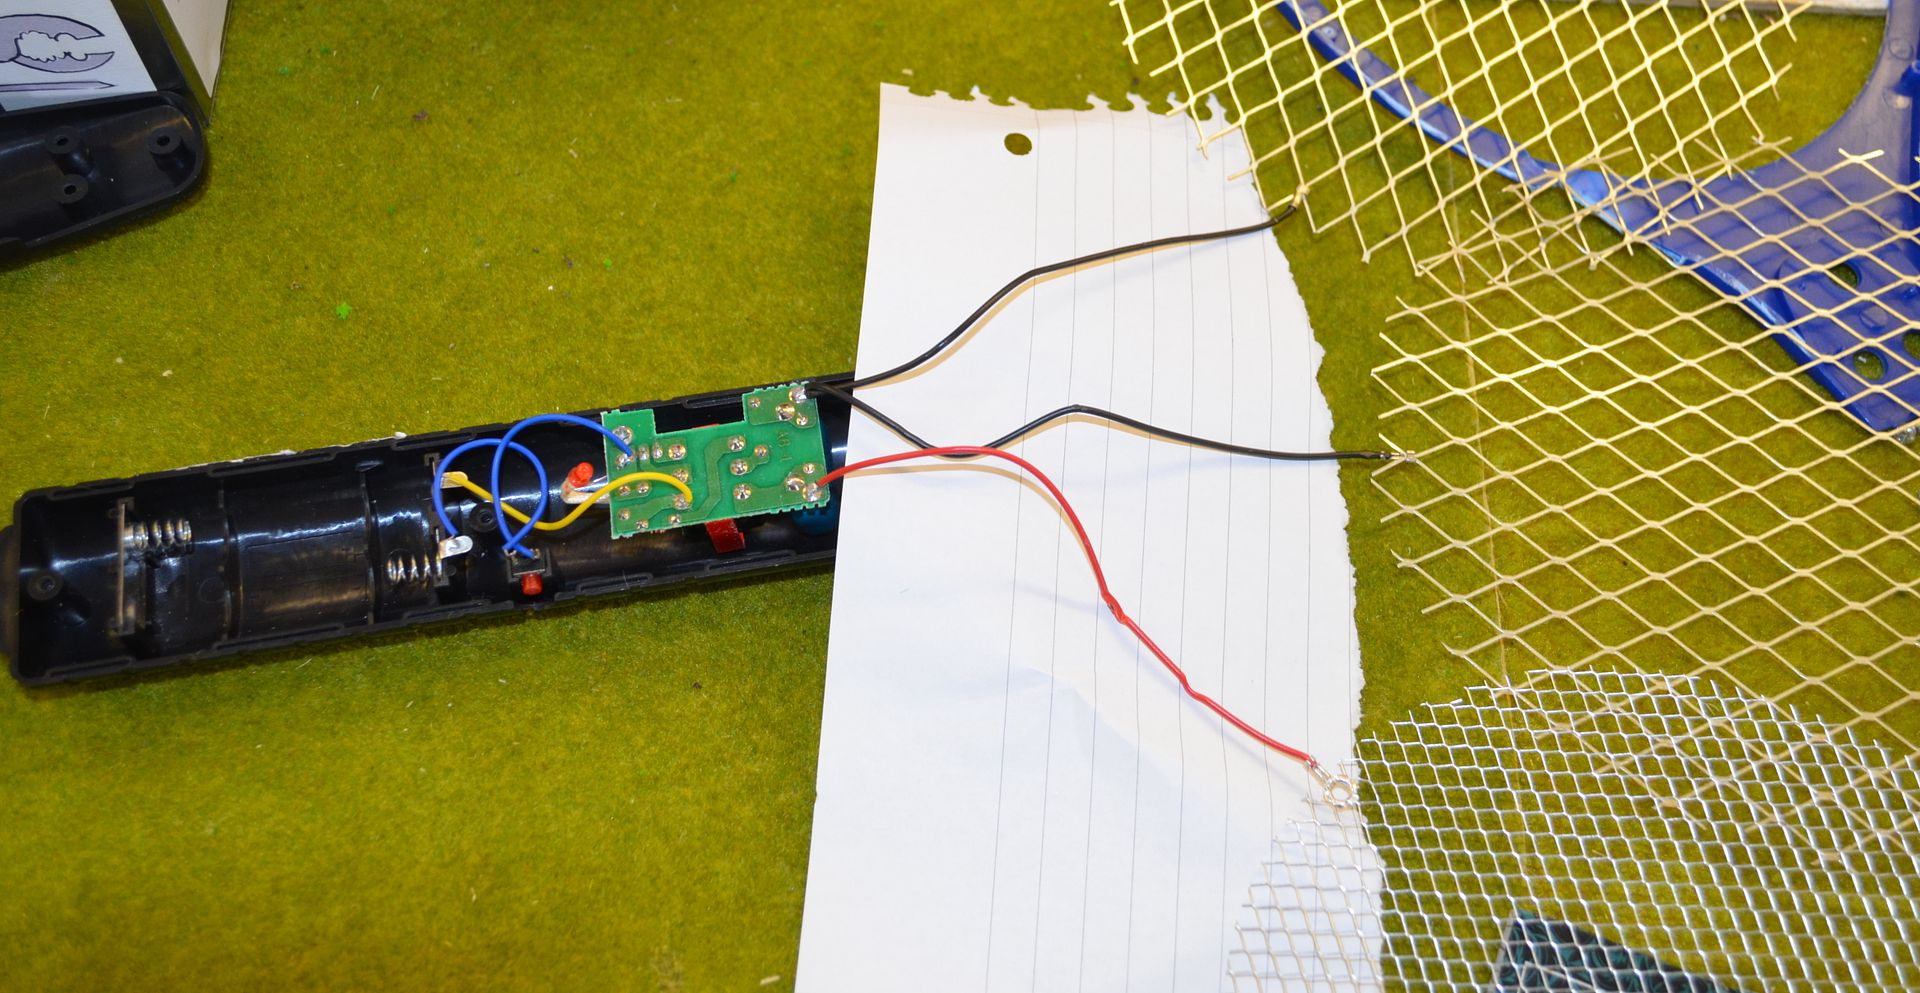
The tennis rack style head is connected to the electronics in the handle with three wires - two black and one red.

2. Open up the tennis racket style head


This reveals that the red wire is connected to the inside wire mesh whilst the blacks are connected to the Outside mesh.

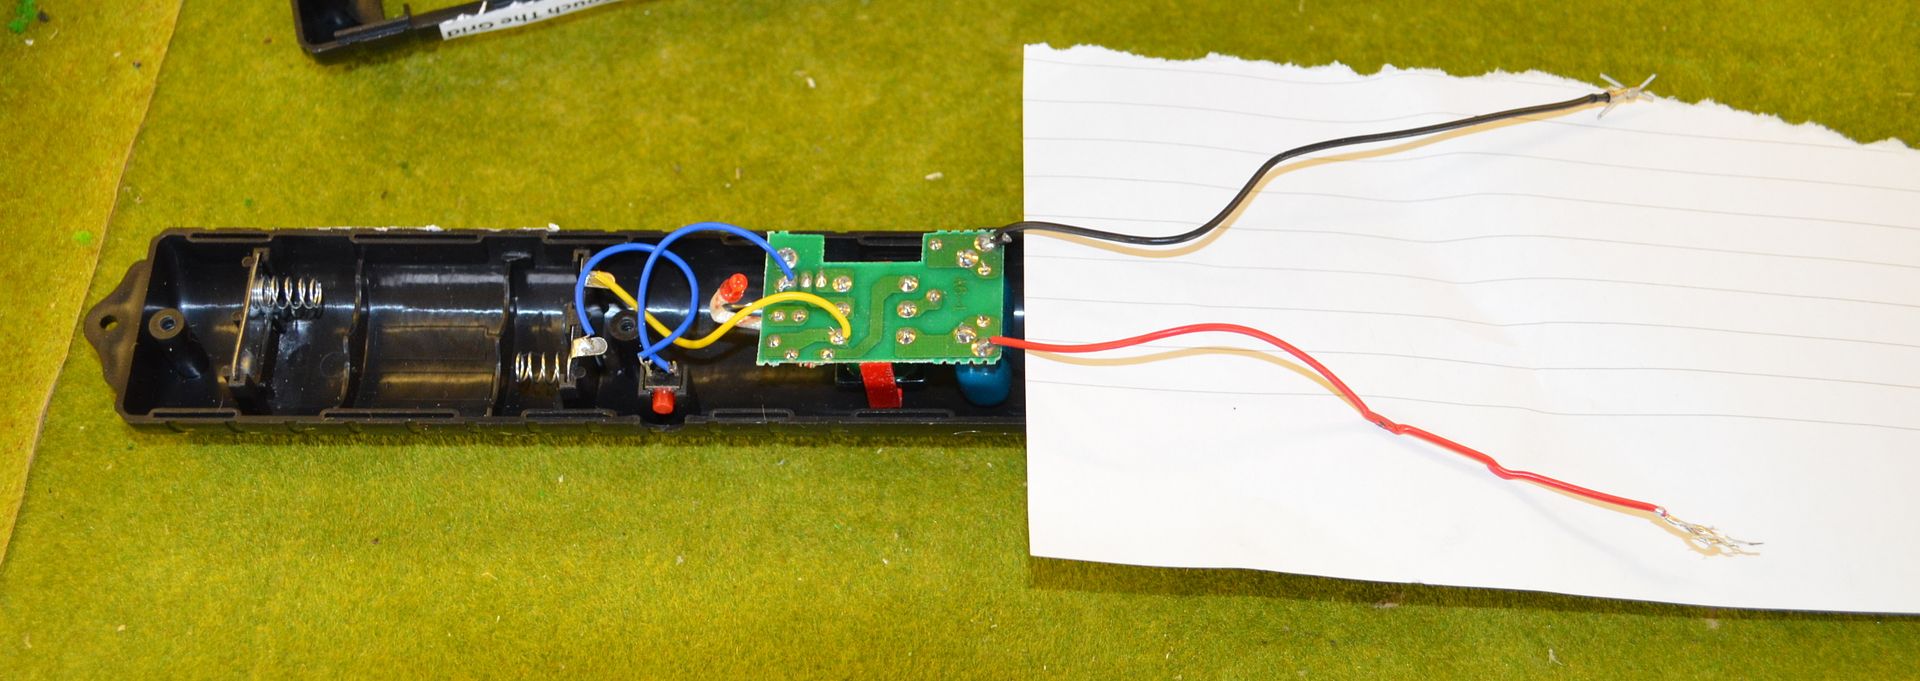
Cut one black wire away - as close as you can to the circuit board.
Clip the mesh away from both the remaining black wire and red wire 

3. This will leave you with two wires - if you have not already done so remove batteries...


4. Attach the red wire to one of the crocodile clip cables - see white cable below...


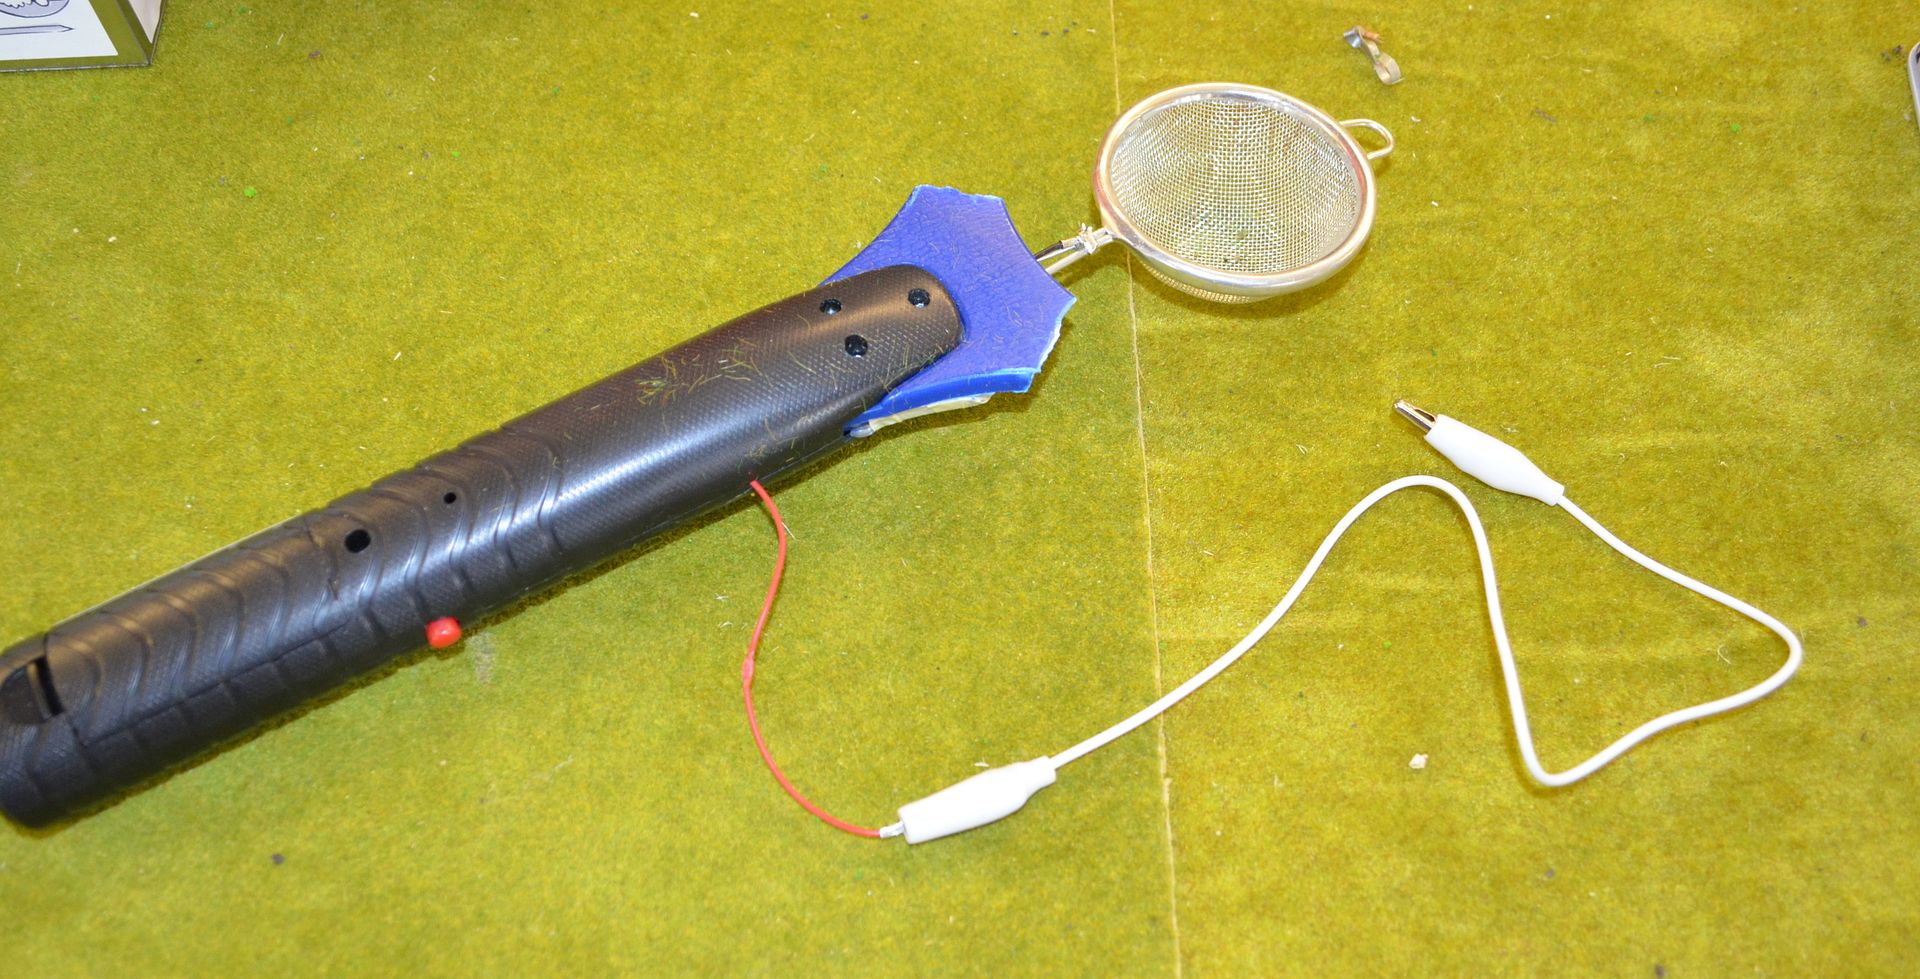
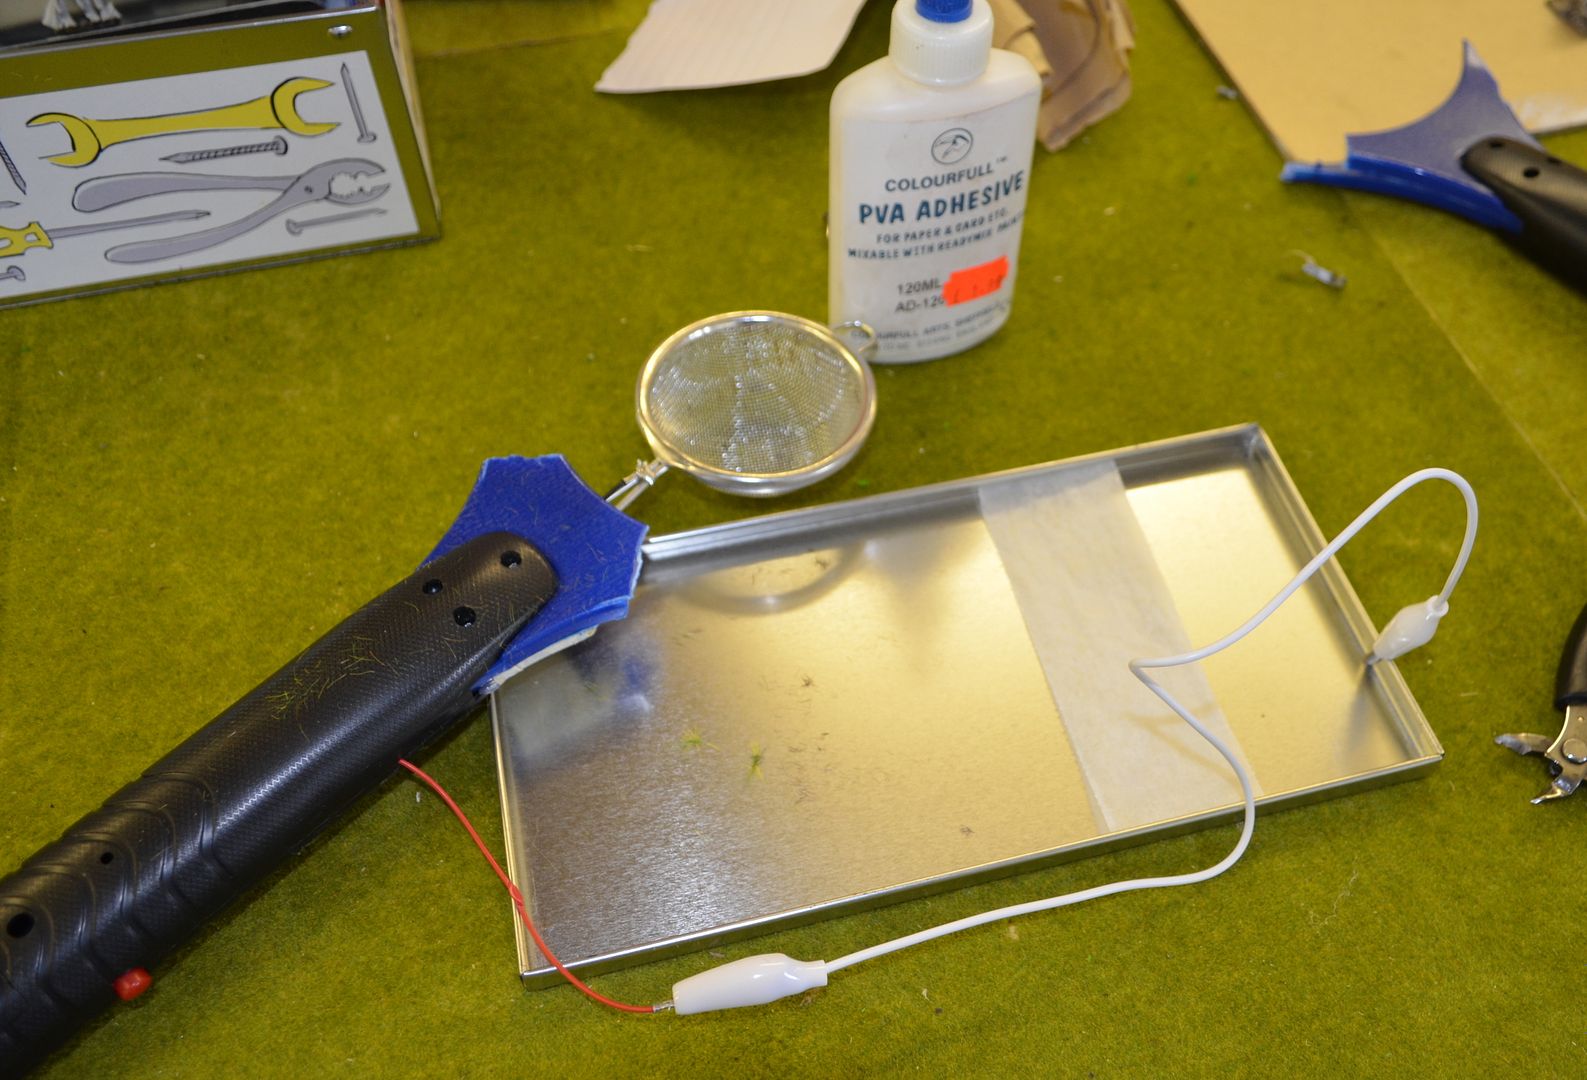
Cut away the blue tennis racket housing to create a 'guard' on the handle of your zapper and then hot glue the sieve to the side of this guard.

Fix the black wire using solder to the sieve. If you don't have solder you could use another crocodile clip and hide all the wiring inside the guard.  Once all dry and fixed close up the zapper ensuring that the red cable is out side the handle. Add batteries

That's it folks you have built a static grass applicator

How to use....

1. Get a biscuit tin lid and clip the zapper red cable to the edge of the tin.


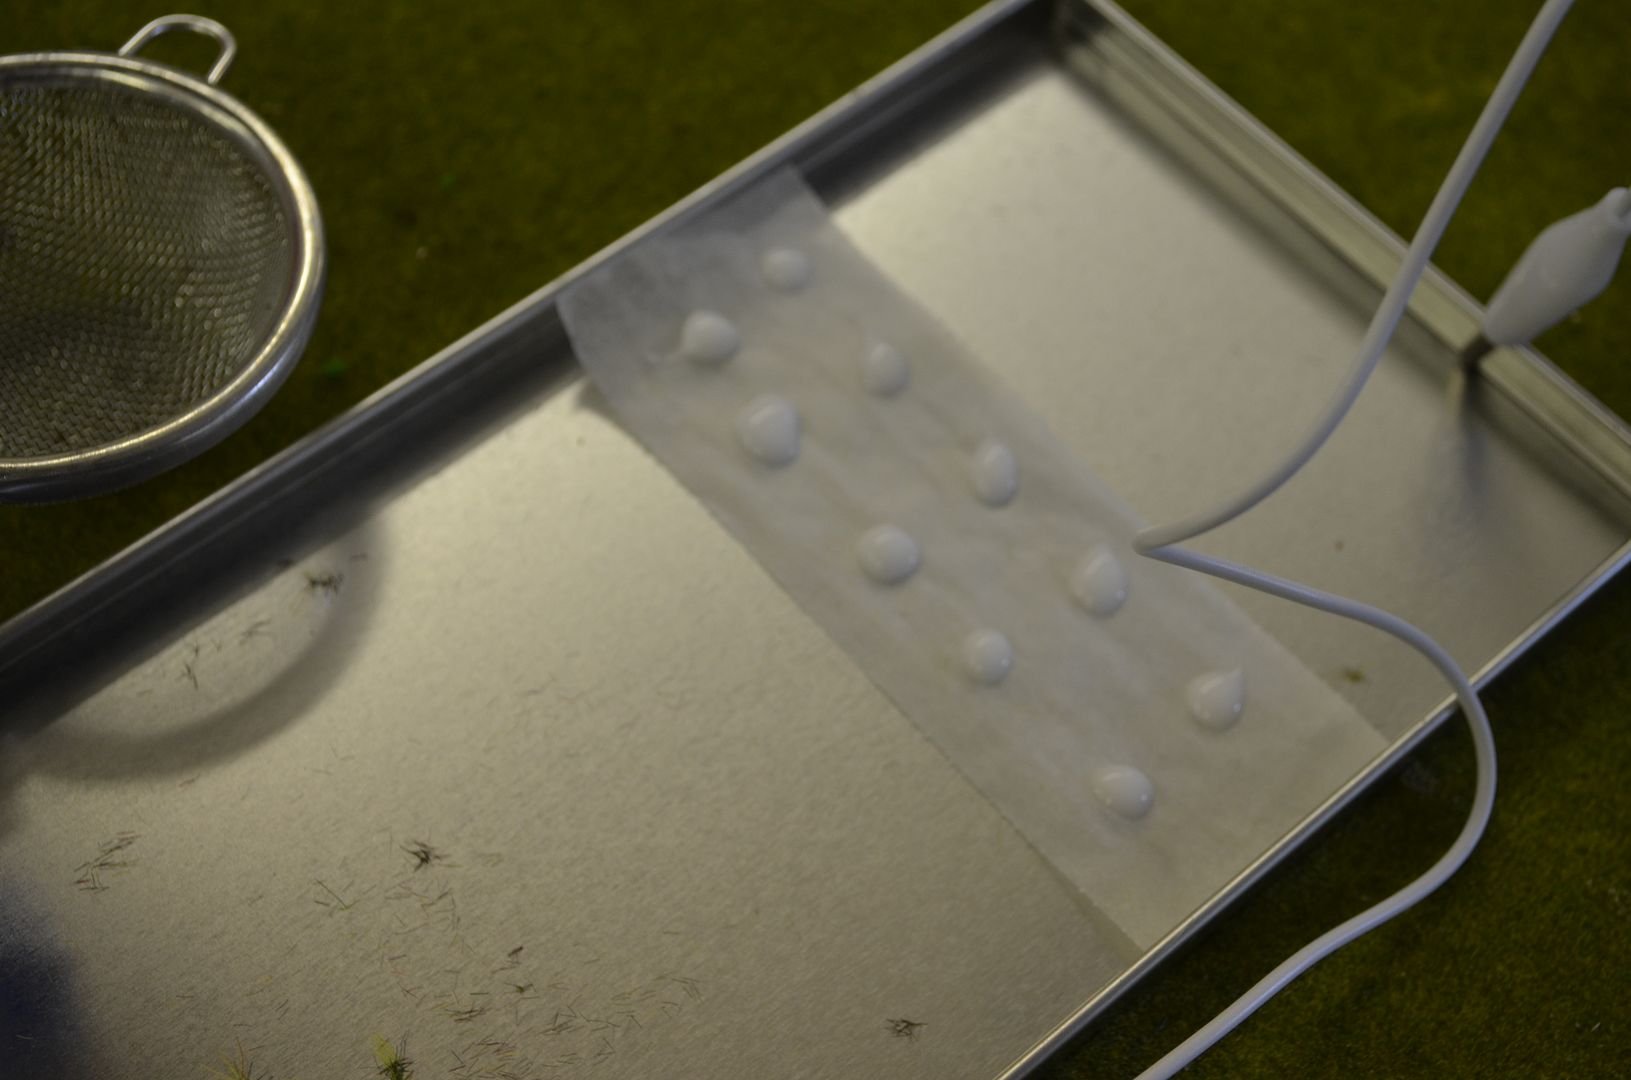
2. Lay out a piece of greaseproof paper and add splodges of white glue


3. Fill the sieve with static grass and whilst holding down the on button tap shake and tap the sieve over the wet glue.


4. Once the sieve is empty switch off, unclip the cable and wait for the glue to dry.

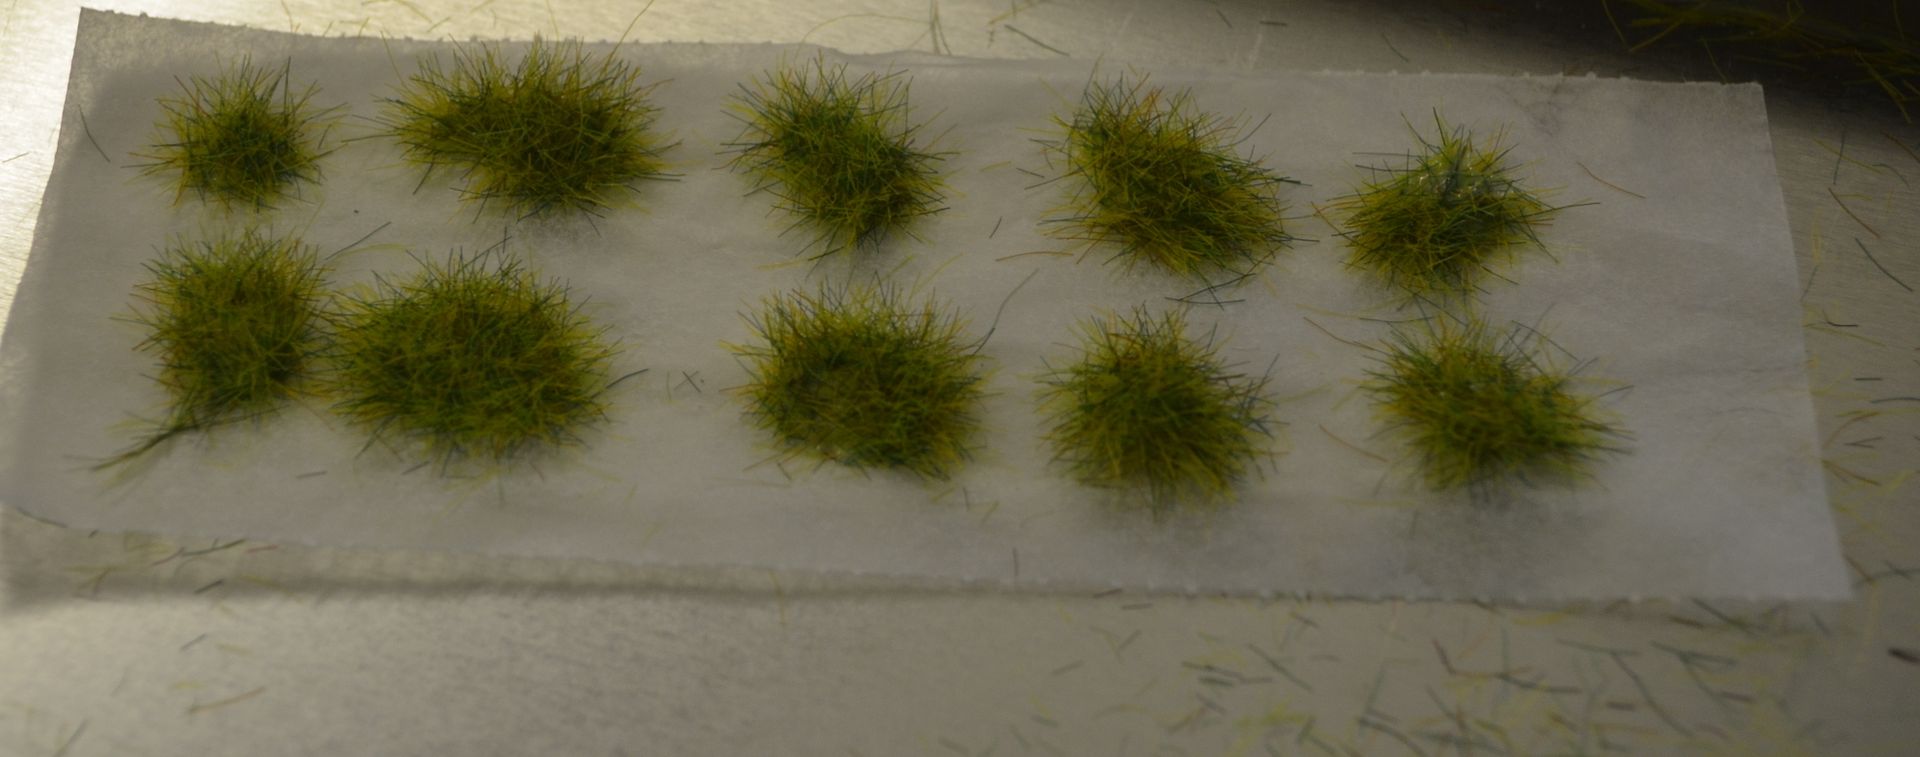
Once dry shake off the excess and then you are left with nice green tufts...


These aren't by any means perfect but with practise I should save a few quid...

Until next time


Tuesday, 18 February 2014

Sandown Toy Fair - Bargains to be had


On Saturday I dropped in to see my folks in Cobham and my old ,man mentioned he was going for a wander around the Toy Fair up at Sandown Park - thinking this might be interesting I duly followed him to the racecourse.

The exhibition was enormous - must have been 400 trade stands all selling old toys - meccano, dinky, Hornby, corgi,  scalextric etc

Some of the stuff was on display for crazy prices and made me wish I'd kept all my old toys.


£2 Signal box - plastic


£1 Signal


£3.50 Bentley Sports Car


£1.50 Hornby Metal Train Crossing

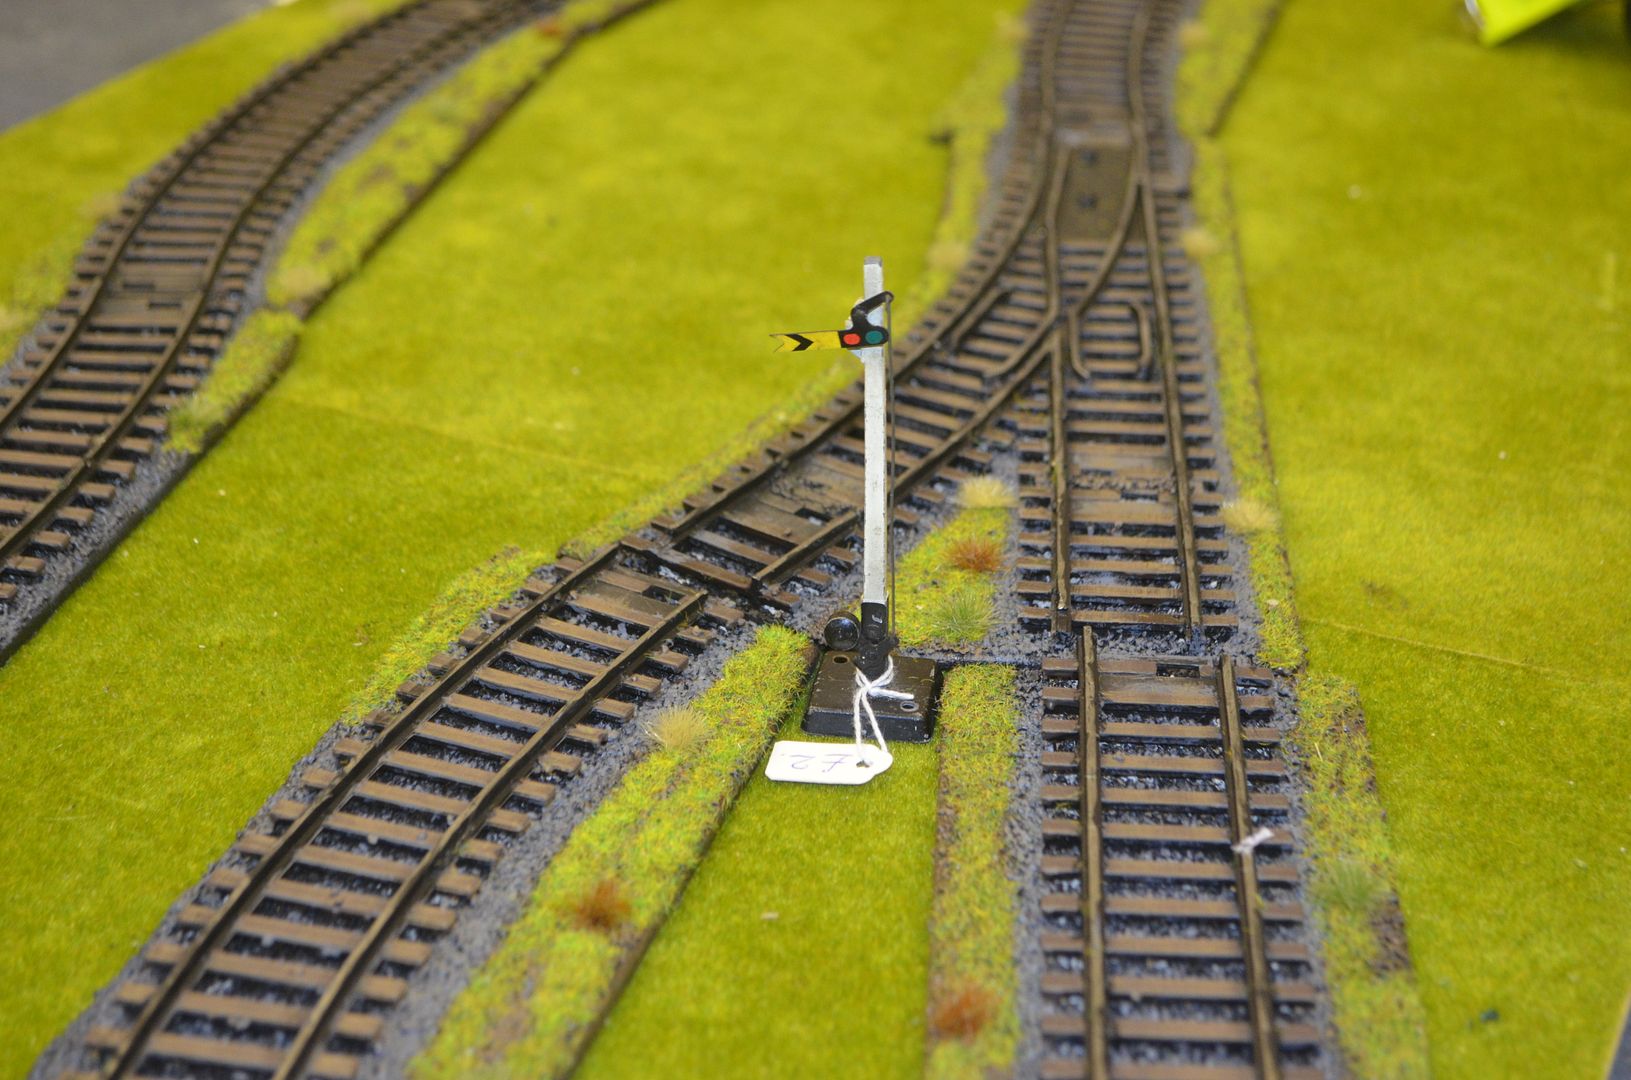
This Level crossing will appear shortly in my next train posting


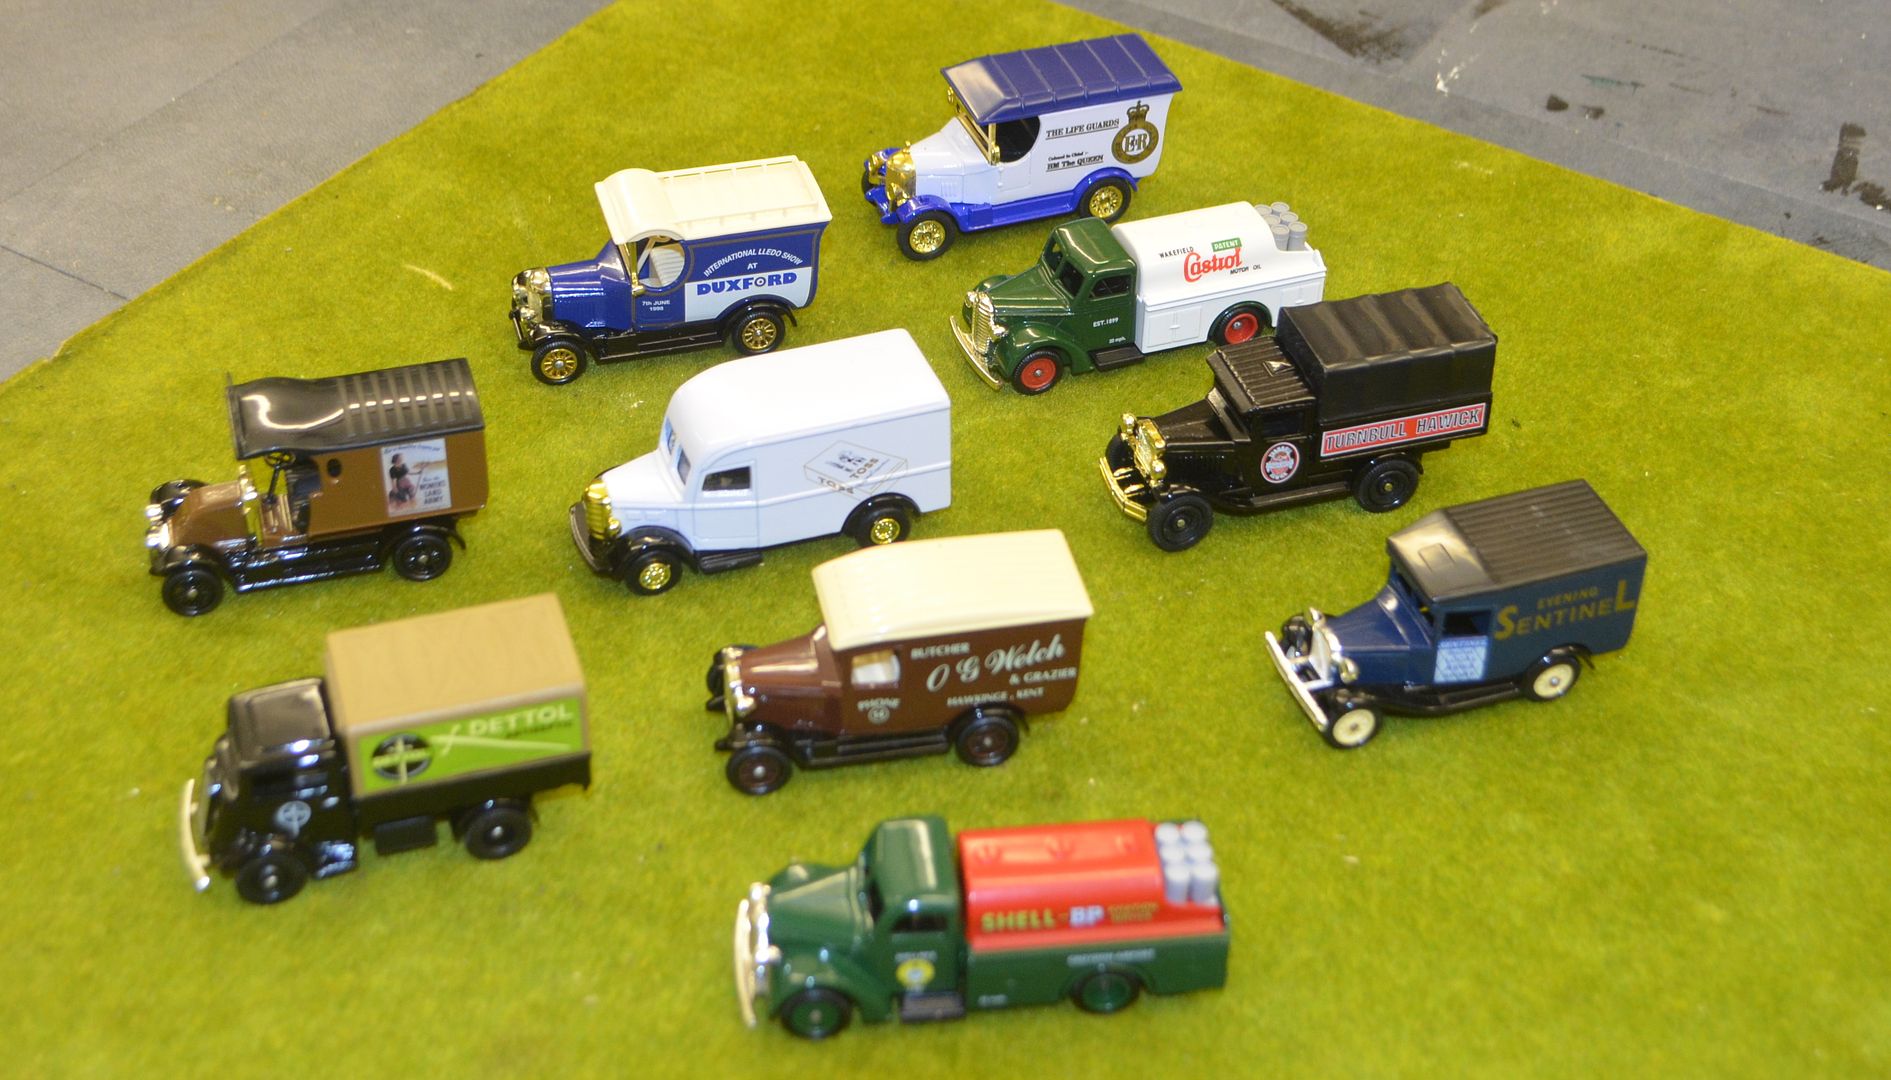
Bargain of the day - £1 each

Ill keep an eye out for the toy fairs in future as they appear to be fertile hunting grounds

Wednesday, 11 December 2013

Shed Wars goes all Blue Peter...really cheap but very effective dice trays

On a number of occasions I have seen other gamers use dice trays and I thought that's cool I'll ask for one for Xmas. However when I looked at the prices I said what ! - £16 inc postage for some wood and felt - I reckon I could make one for half the price.

Hows about two for £6?

Read on

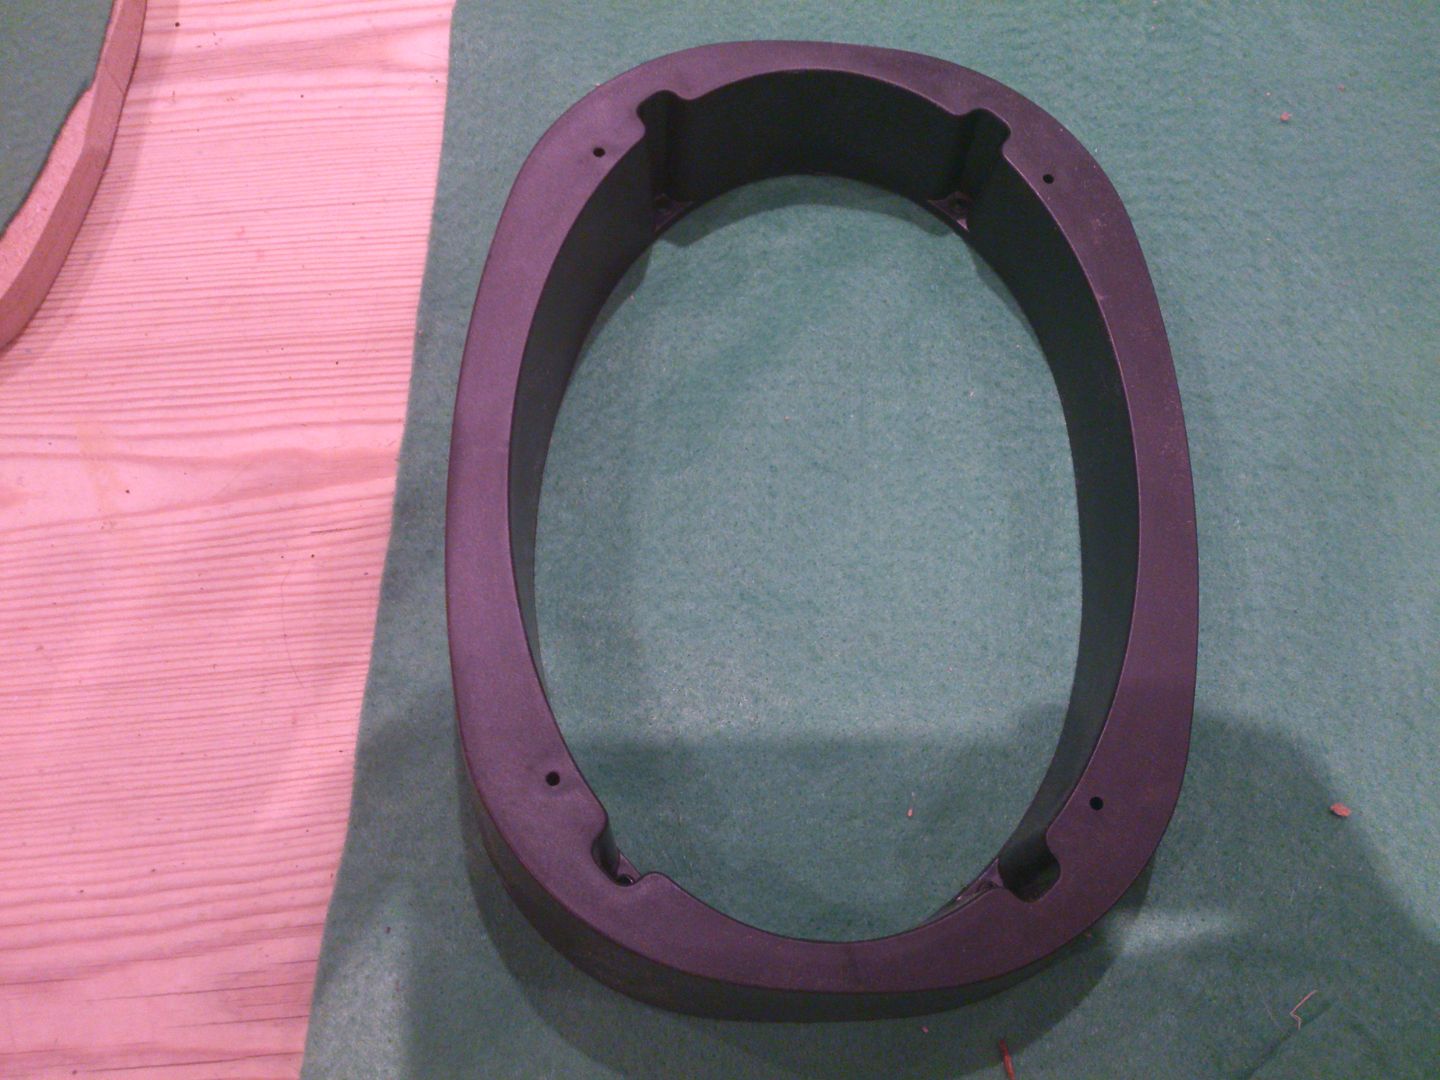
First up I needed a wall that could surround the tray - I searched for wooden circles, discs etc but nothing worked. By chance I came across the term wooden washers and this directed me to a custom car site for music nuts. A moment of inspiration hit me - speaker housings.

A quick search on ebay revealed these two babies for a grand total of £6.97

ebay site for speaker housing

A few days later they turned up.


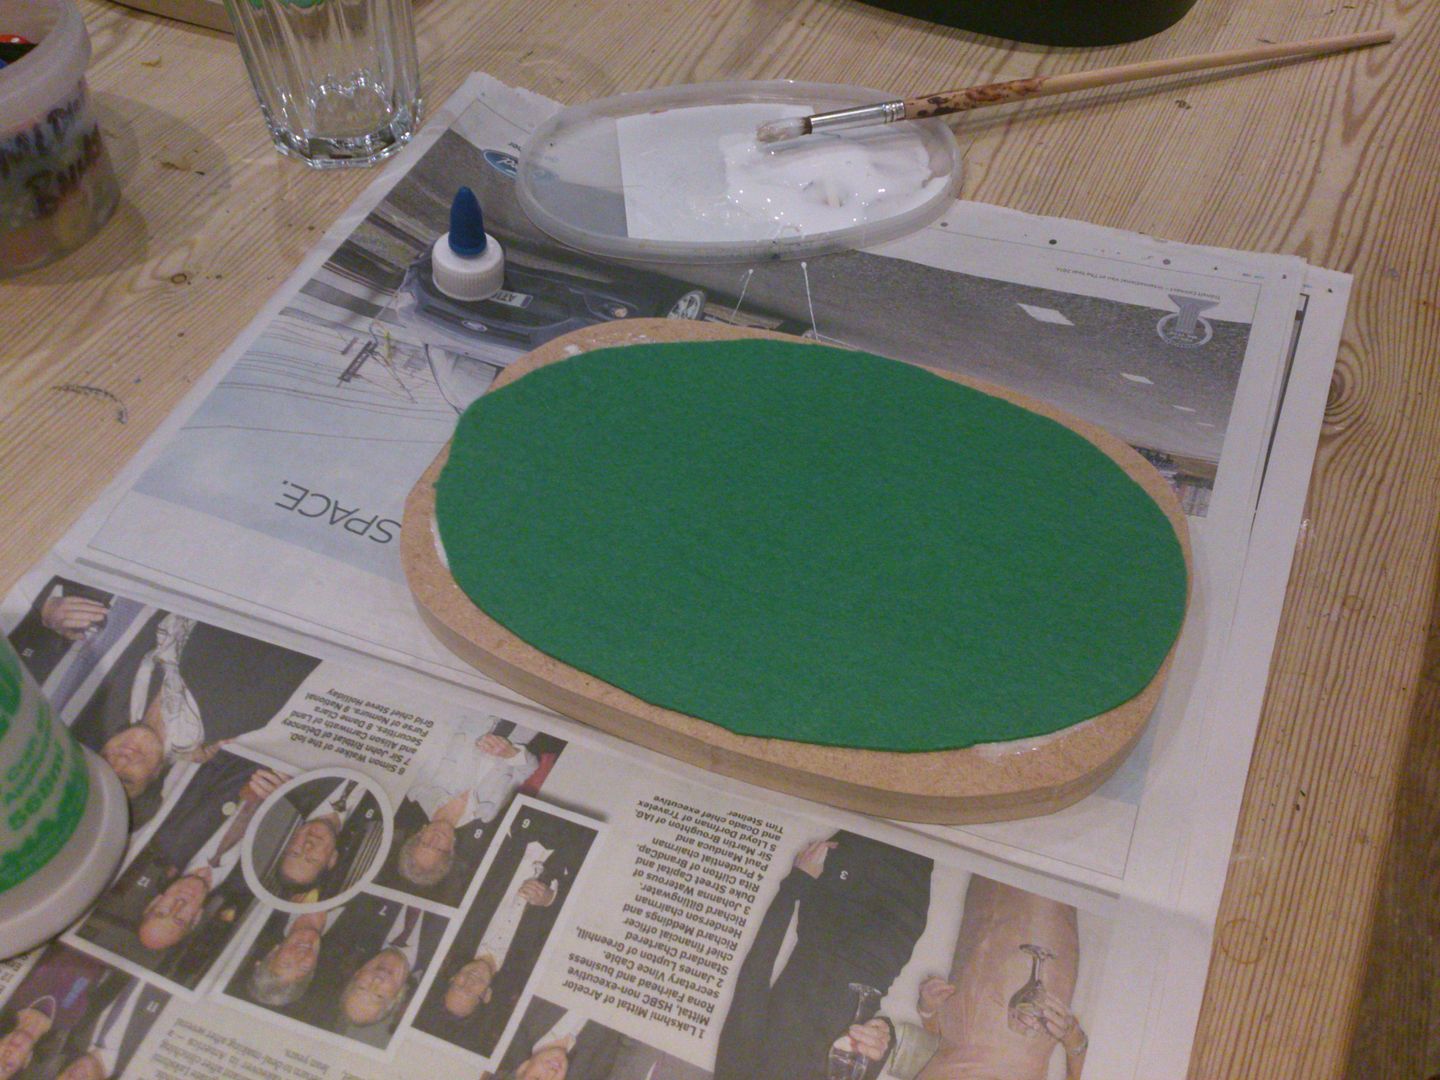
Today. Now Ive been going a bit stir crazy so I thought what the heck lets build these now. Fifteen minutes later the bases were cut from scrap 10mm mdf  (it was cold in the shed) and some off cuts of felt  were procured from a failed gaming mat.

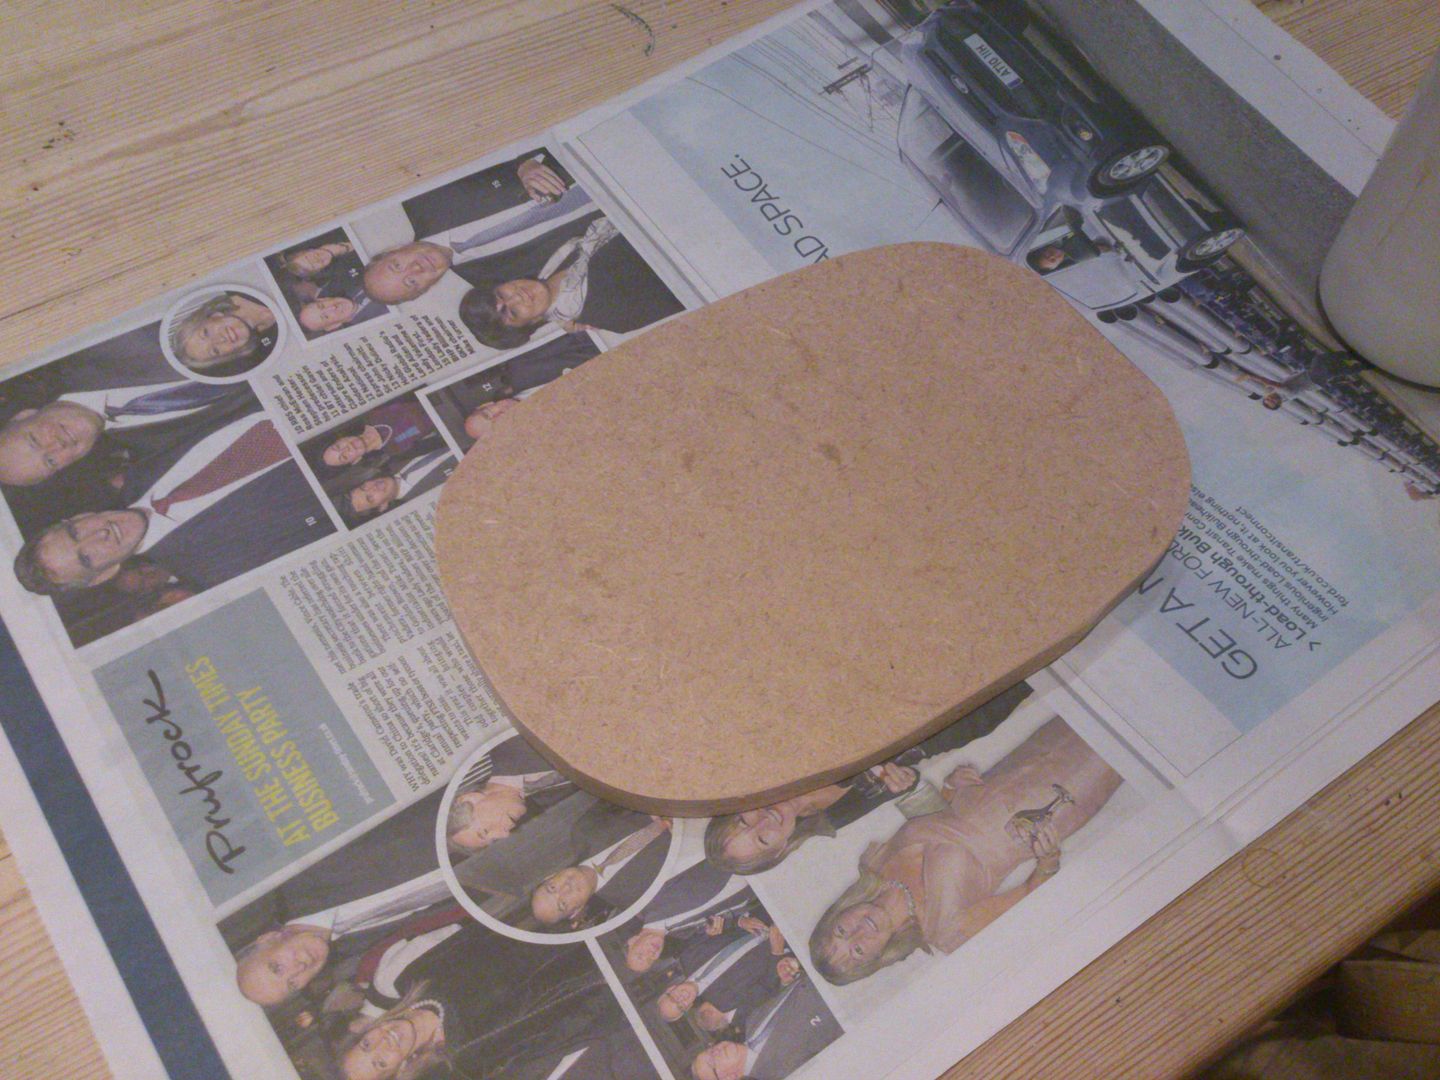
MDF Base cut


Measuring inside felt - be sure to cut extra so excess sits inside housing


Glue felt (pva) to base


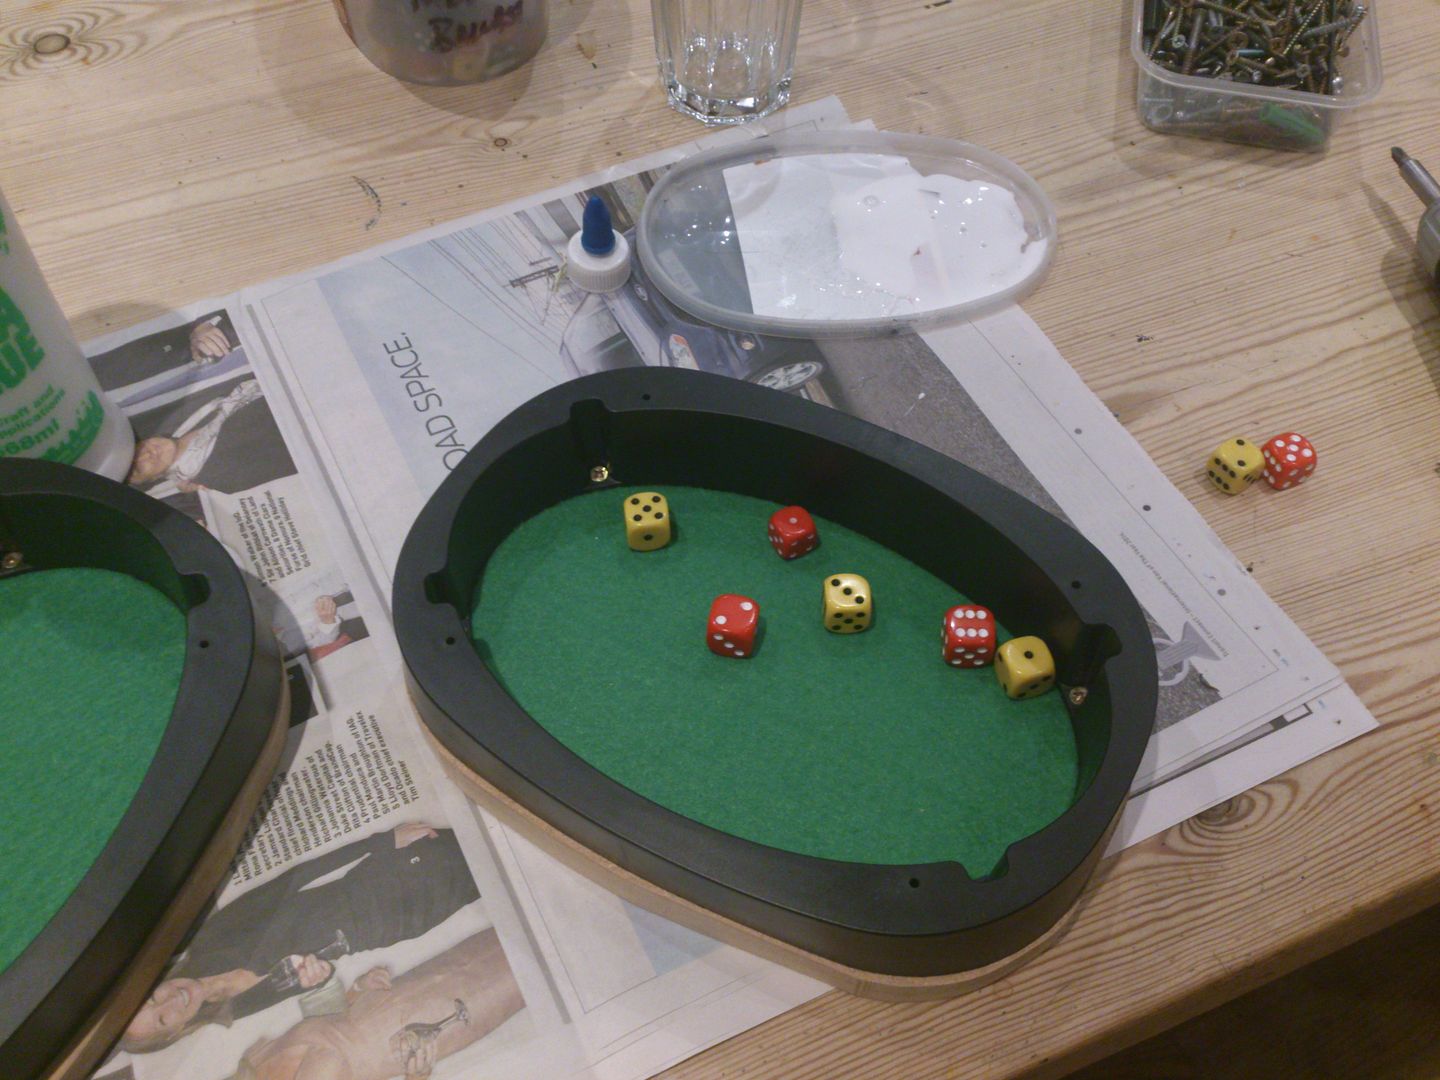
Screw down the speakers bases and jobs done  - total elapsed time 25minutes


Finished article - less than £3.50


And before anybody asks - yes  they do work - the dice don't jump out, always roll ones etc..

I might one day paint the bases...maybe I should make up some with Shed Wars branding?

cheers

and thanks for reading

Eric