Over the weekend Mrs Shed decided that a trip to Ikea in Croydon was needed. For some strange reason we have mislaid all of our breakfast bowls and there was a need to buy some stackable shoe boxes for my daughter.
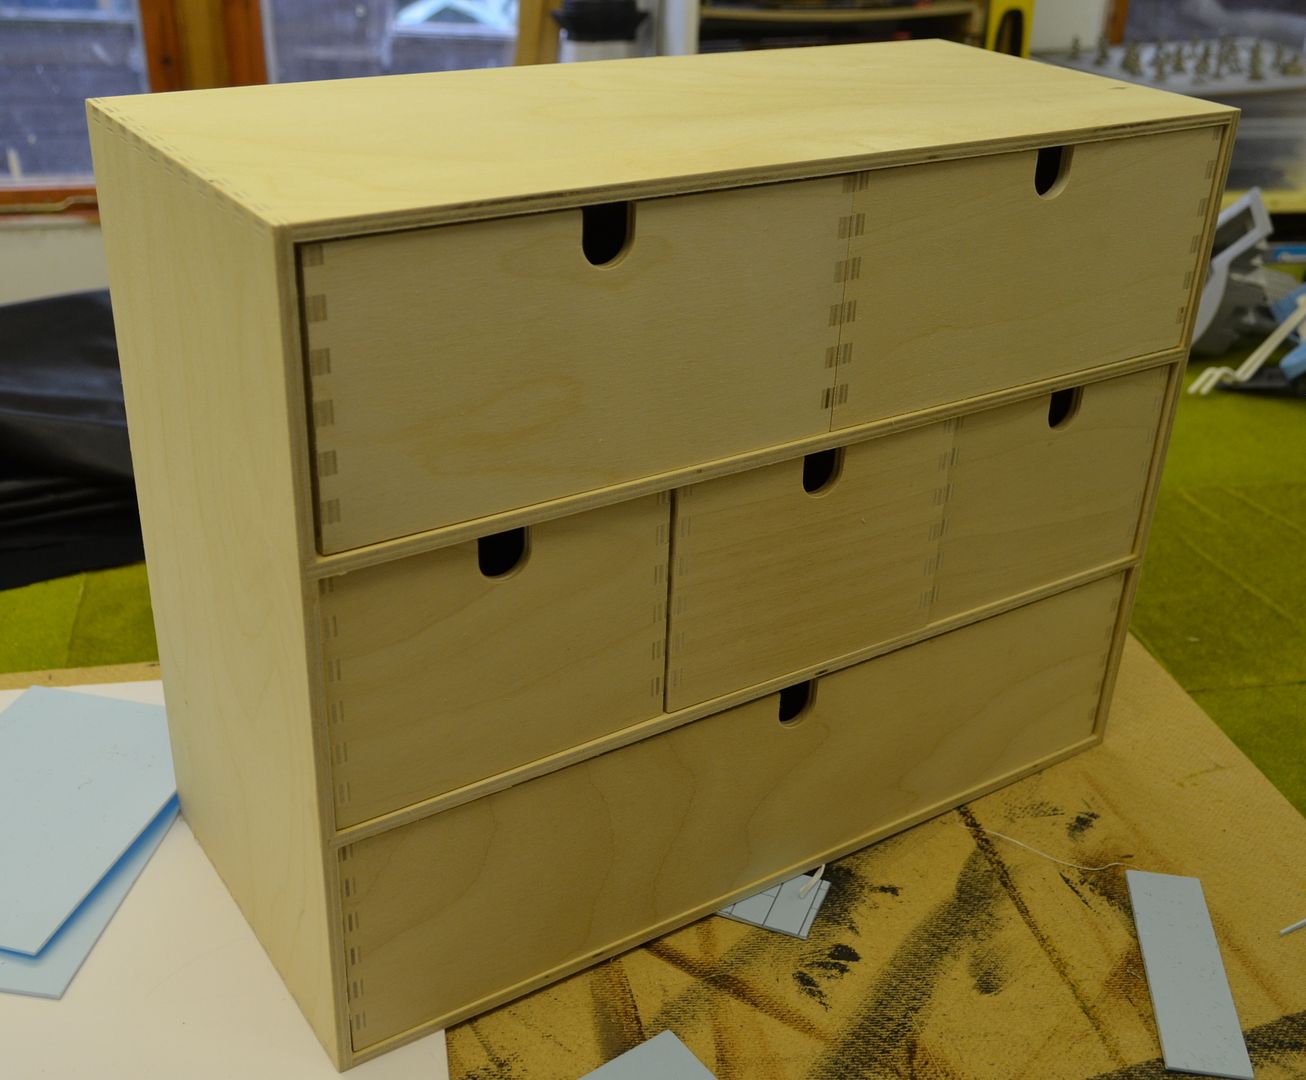
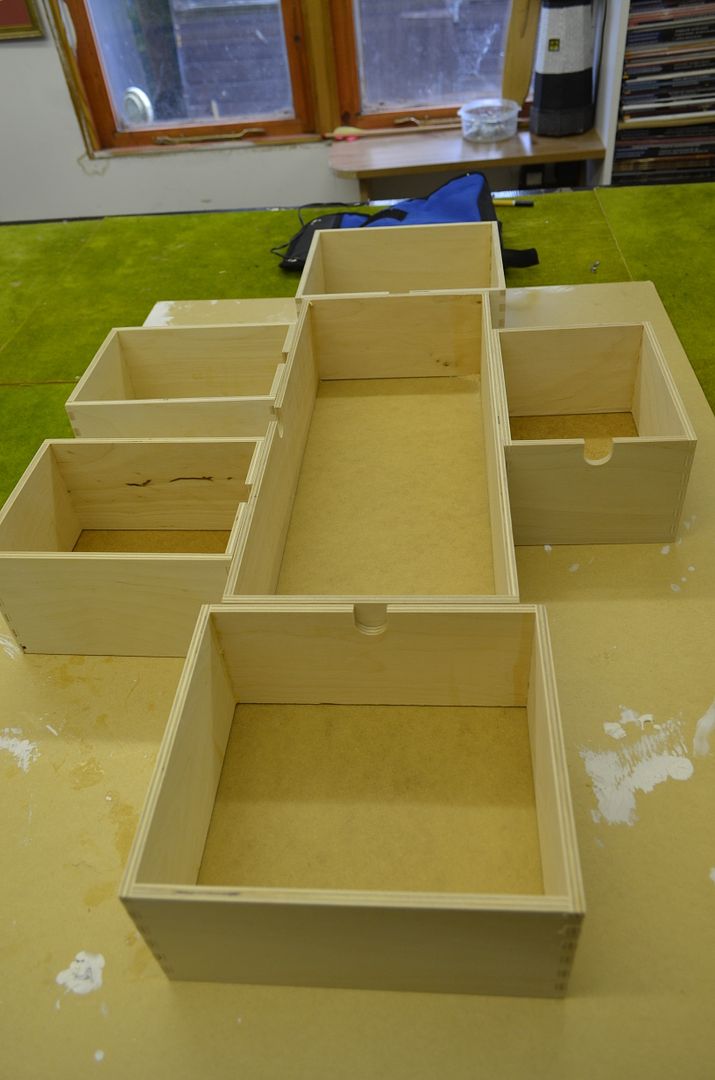
So off we tripped early Saturday evening. IKEA can be a wargamers dream and each time I visit I always return with some kind of booty. This trip was no different and three of the draw units shown below ended up in the back of the car.
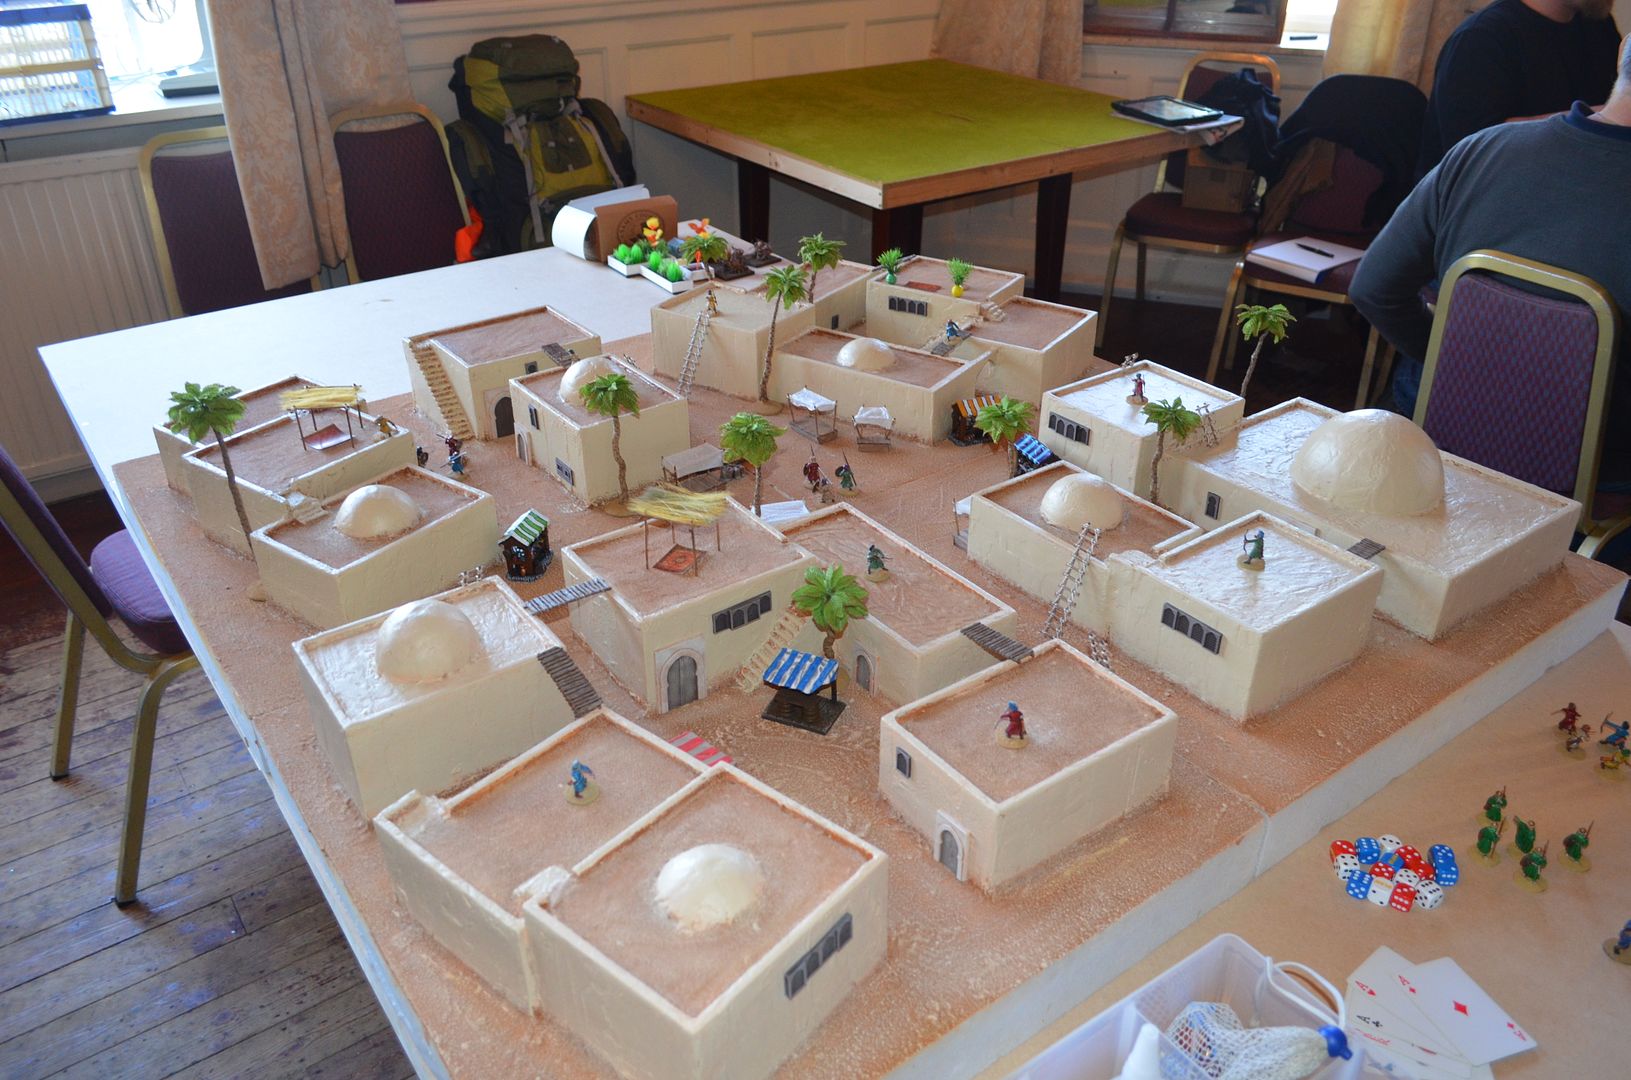
I had been on the look for these since last years BLAM when Dewbabuk use the drawers themselves to make adobe buildings. All he did was turn them over an give them a plaster adobe finish
I did consider doing the same but the thought occurred to me that these might be the perfect boxes to build my modular dungeon and tomb. What's more is they come with there own packing case.
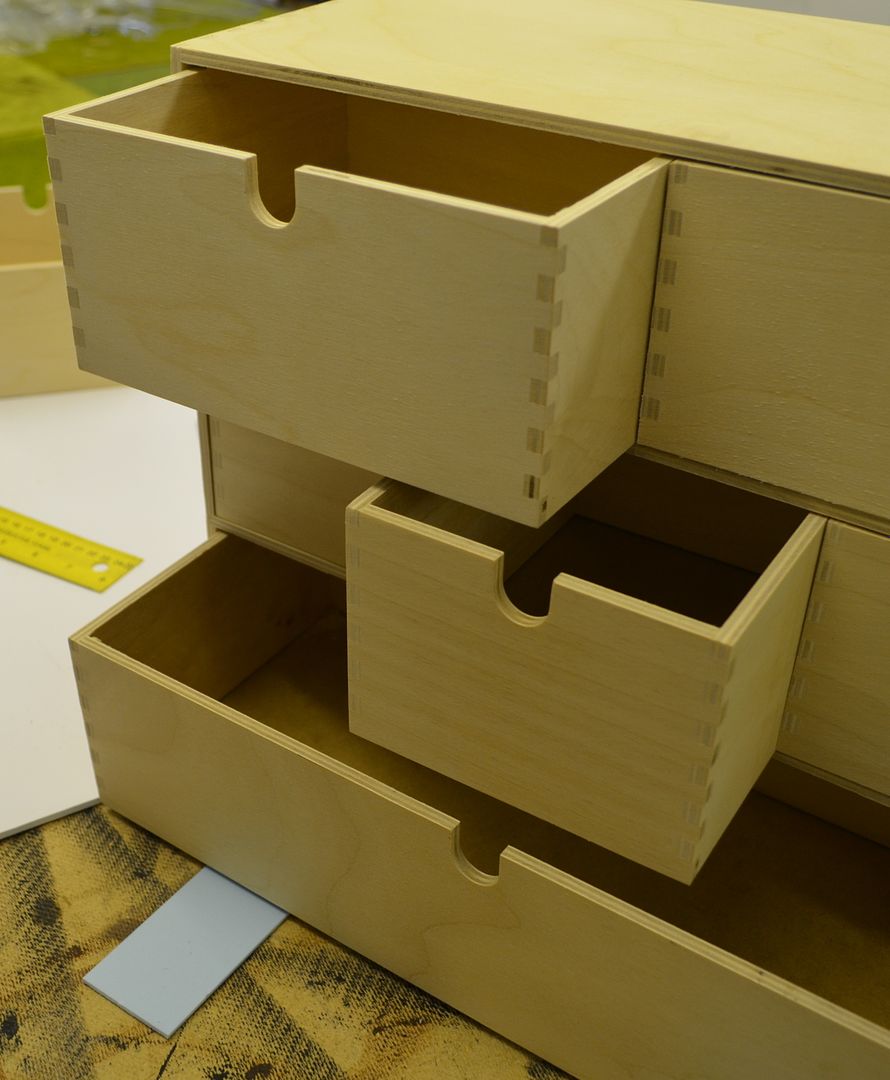
As you can see from the picture before each drawer unit provides one large, two medium and three small rooms. I bought three boxes so enough to be going on with.
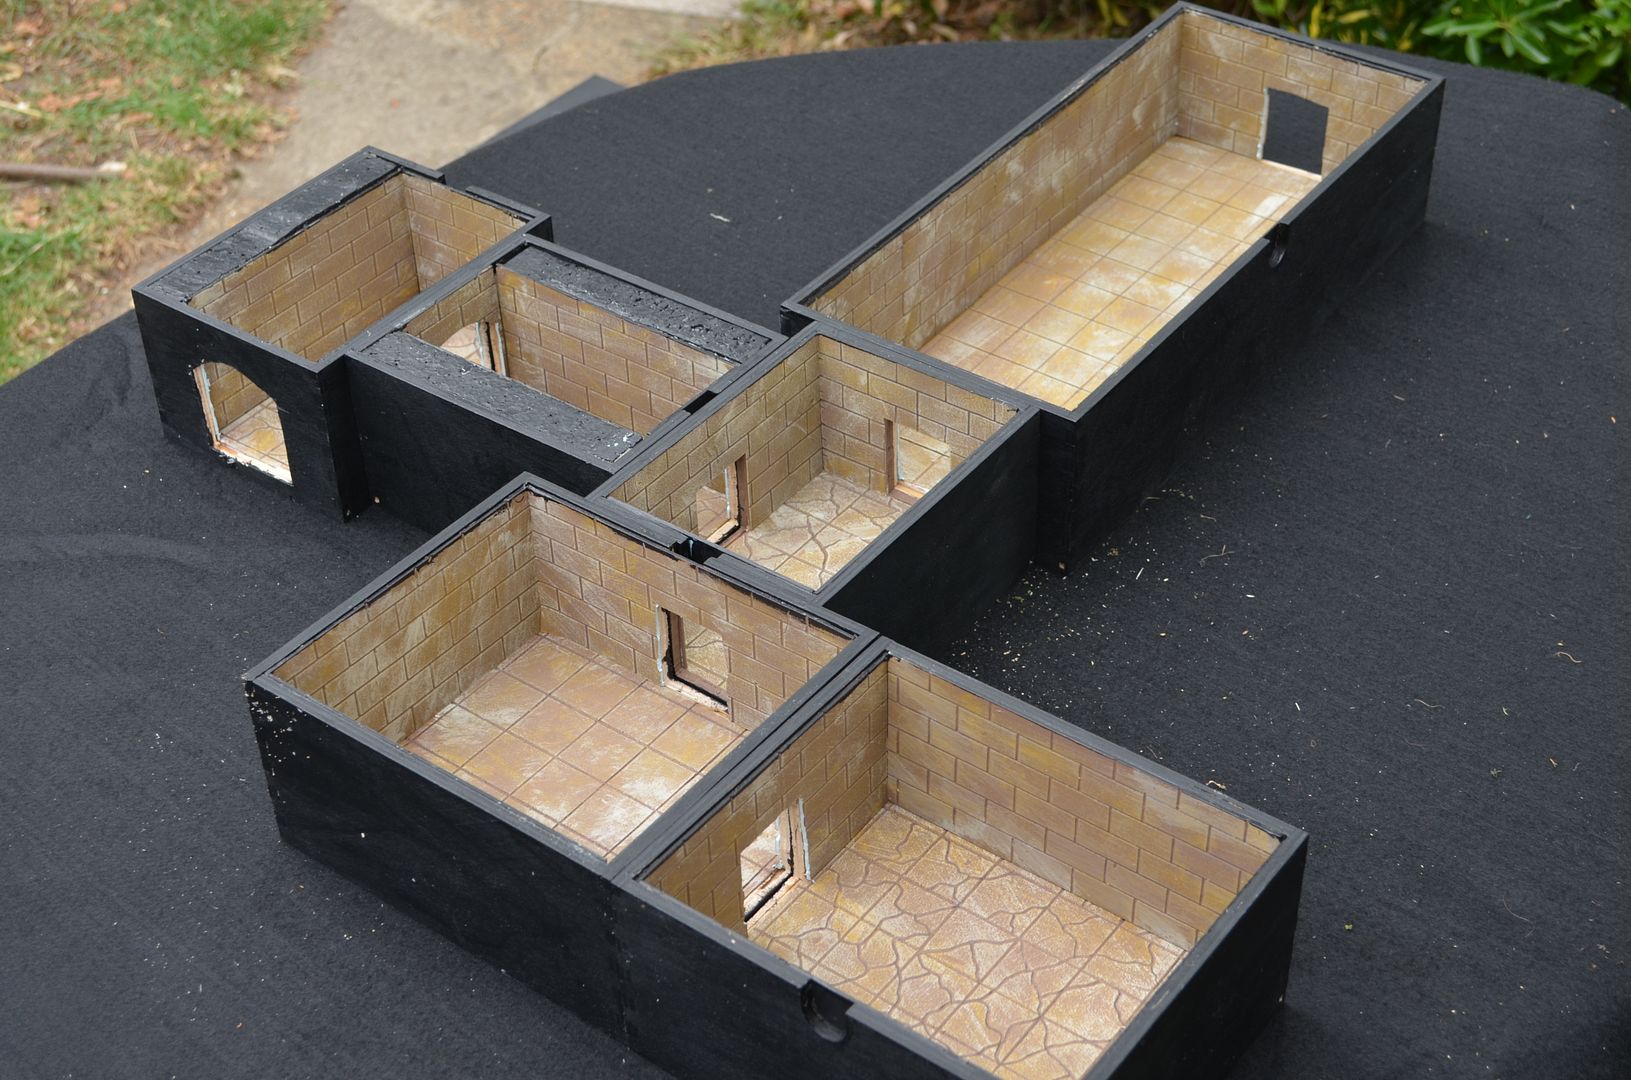
The picture below shows a simple layout using just one drawer section. I have three to begin with so it will probably keep me busy.
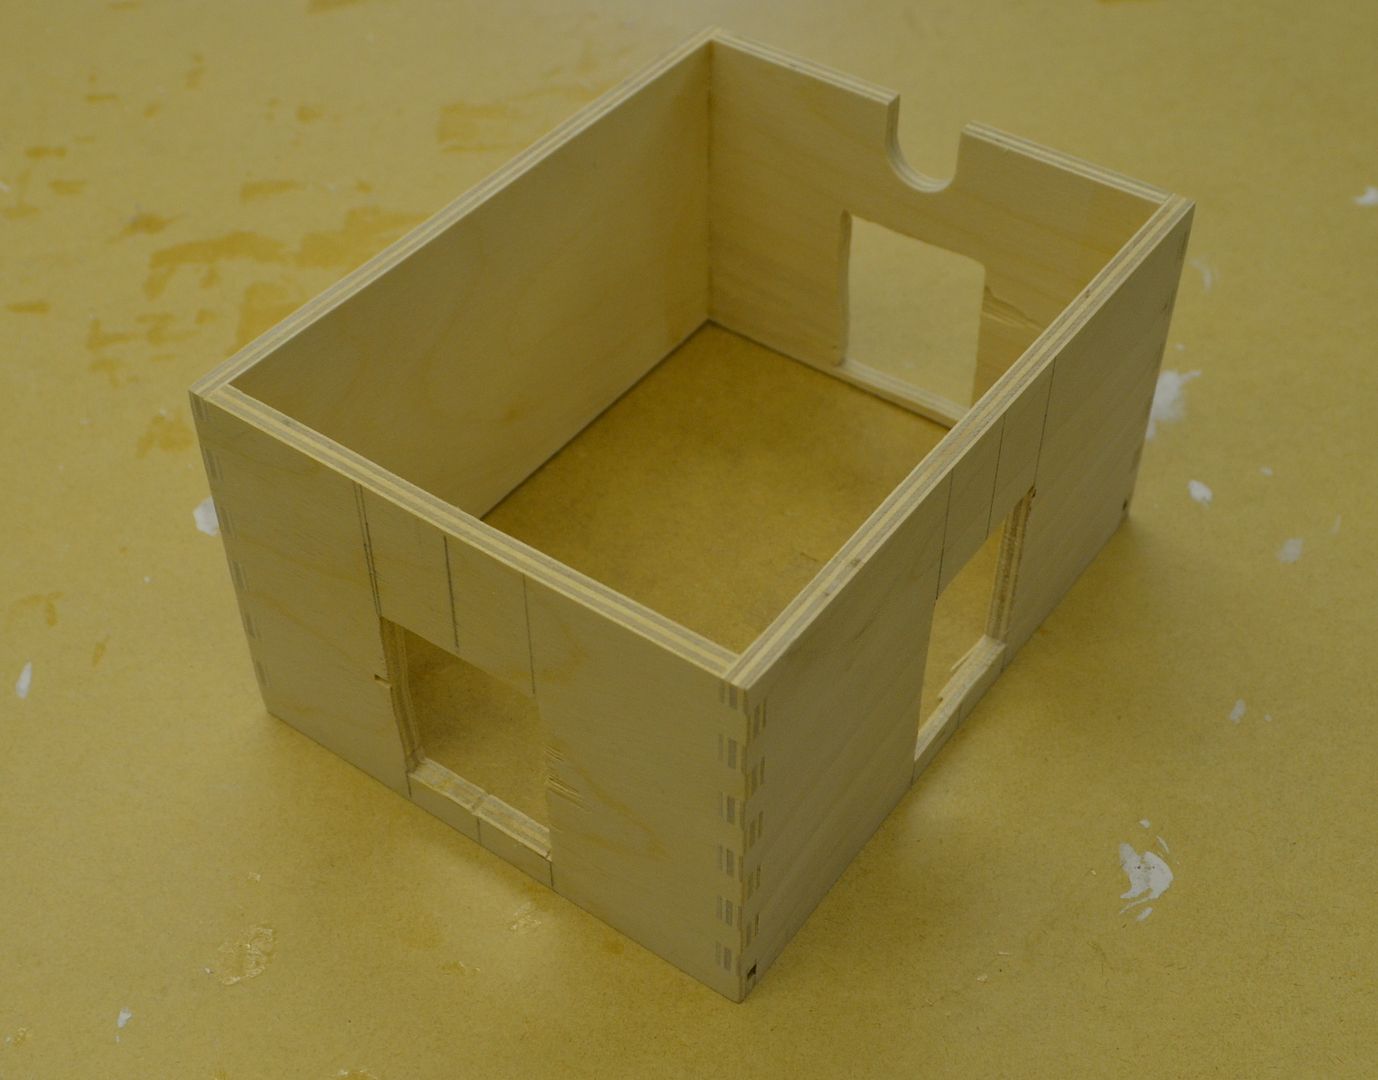
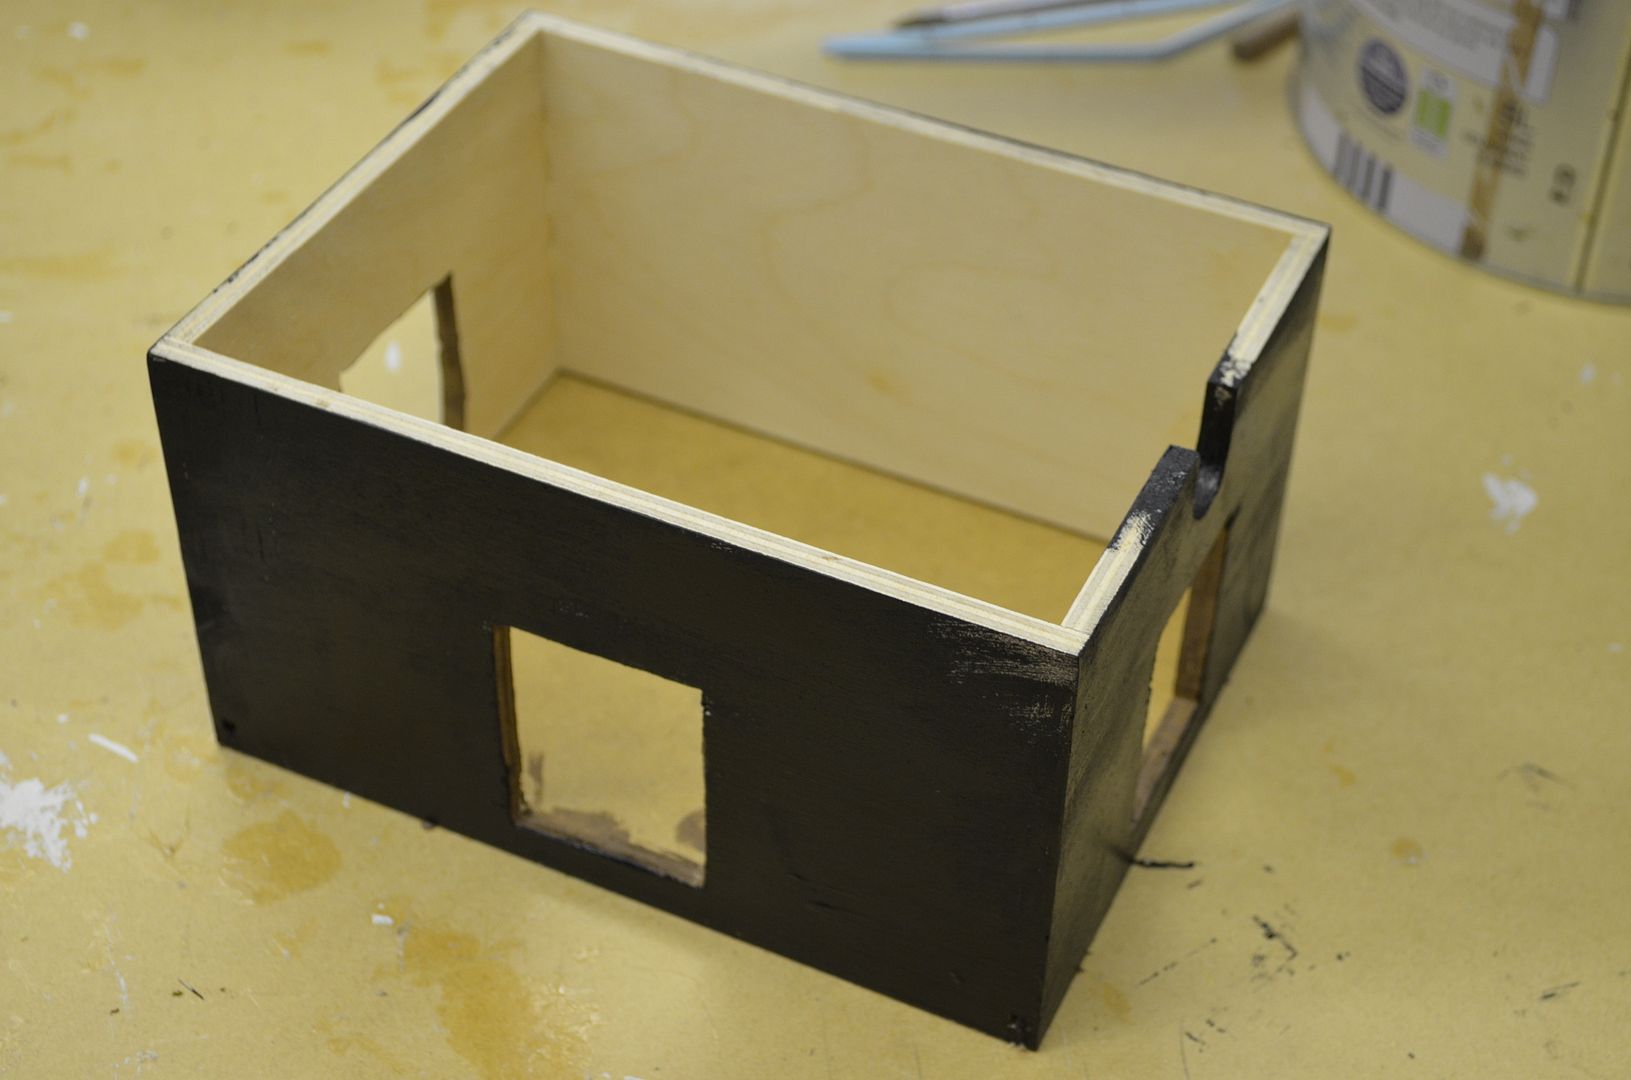
So on Sunday night I decided to do a test piece. Unfortunately these scandivavians don't seem to have measured these boxes in simple easy to read measures but fractions of centimetres. Establishing the centre point was crucial on each wall as I could then mark out the doors.
These were cut using a jig saw.
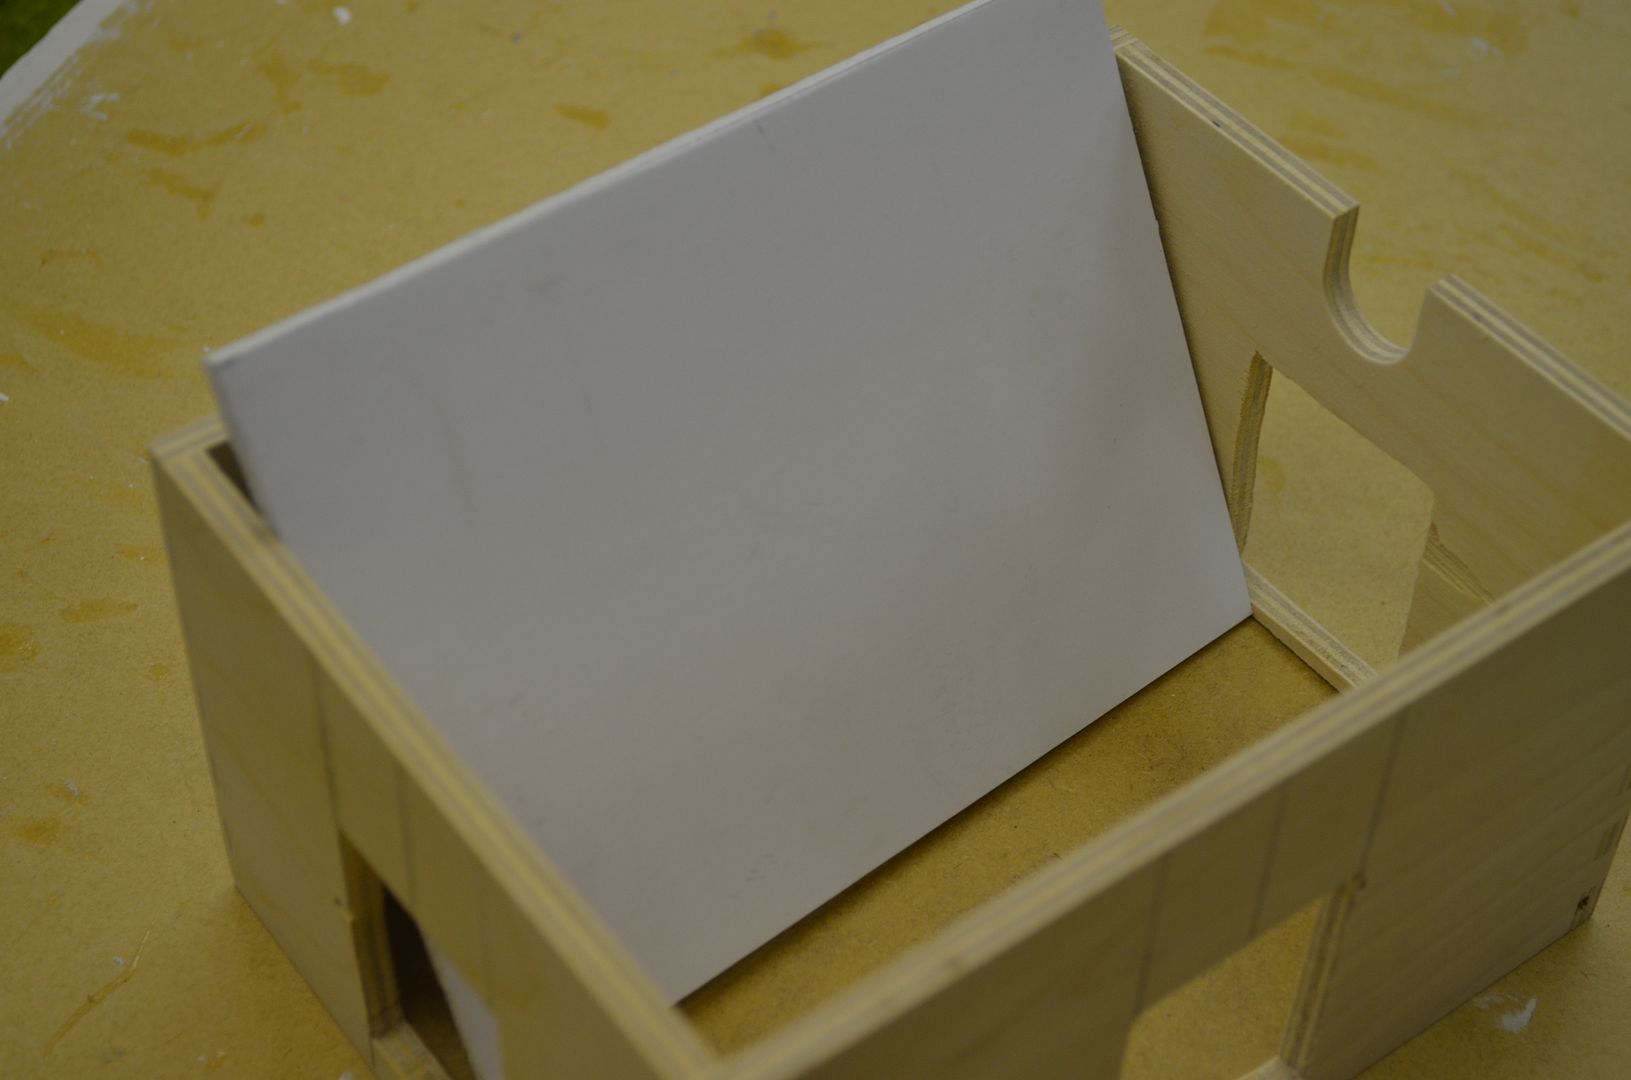
With the doors cut I turned my attention to the floor. A piece of 3mm foam core came to the rescue.
This was soaked in hot water to remove the paper backing. First time I have ever tried this and it works a treat.
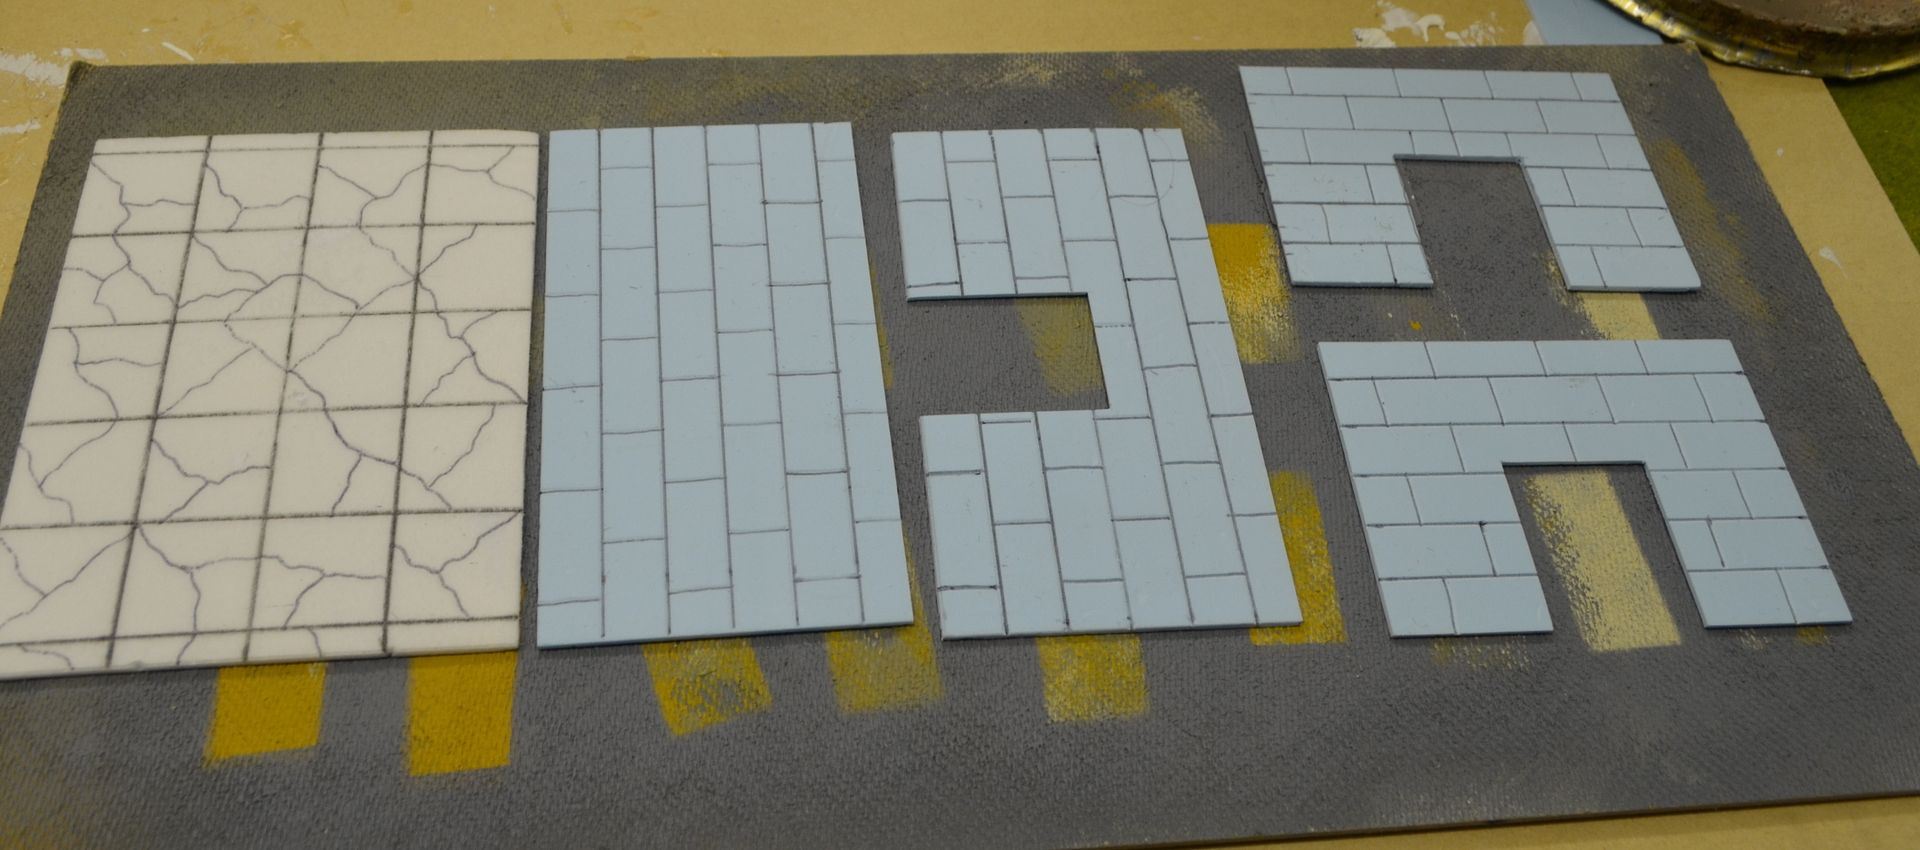
Once the paper was removed and the foam dry I etched on the paving slabs with a biro and drew is some cracks.
check that it still fits...;-)
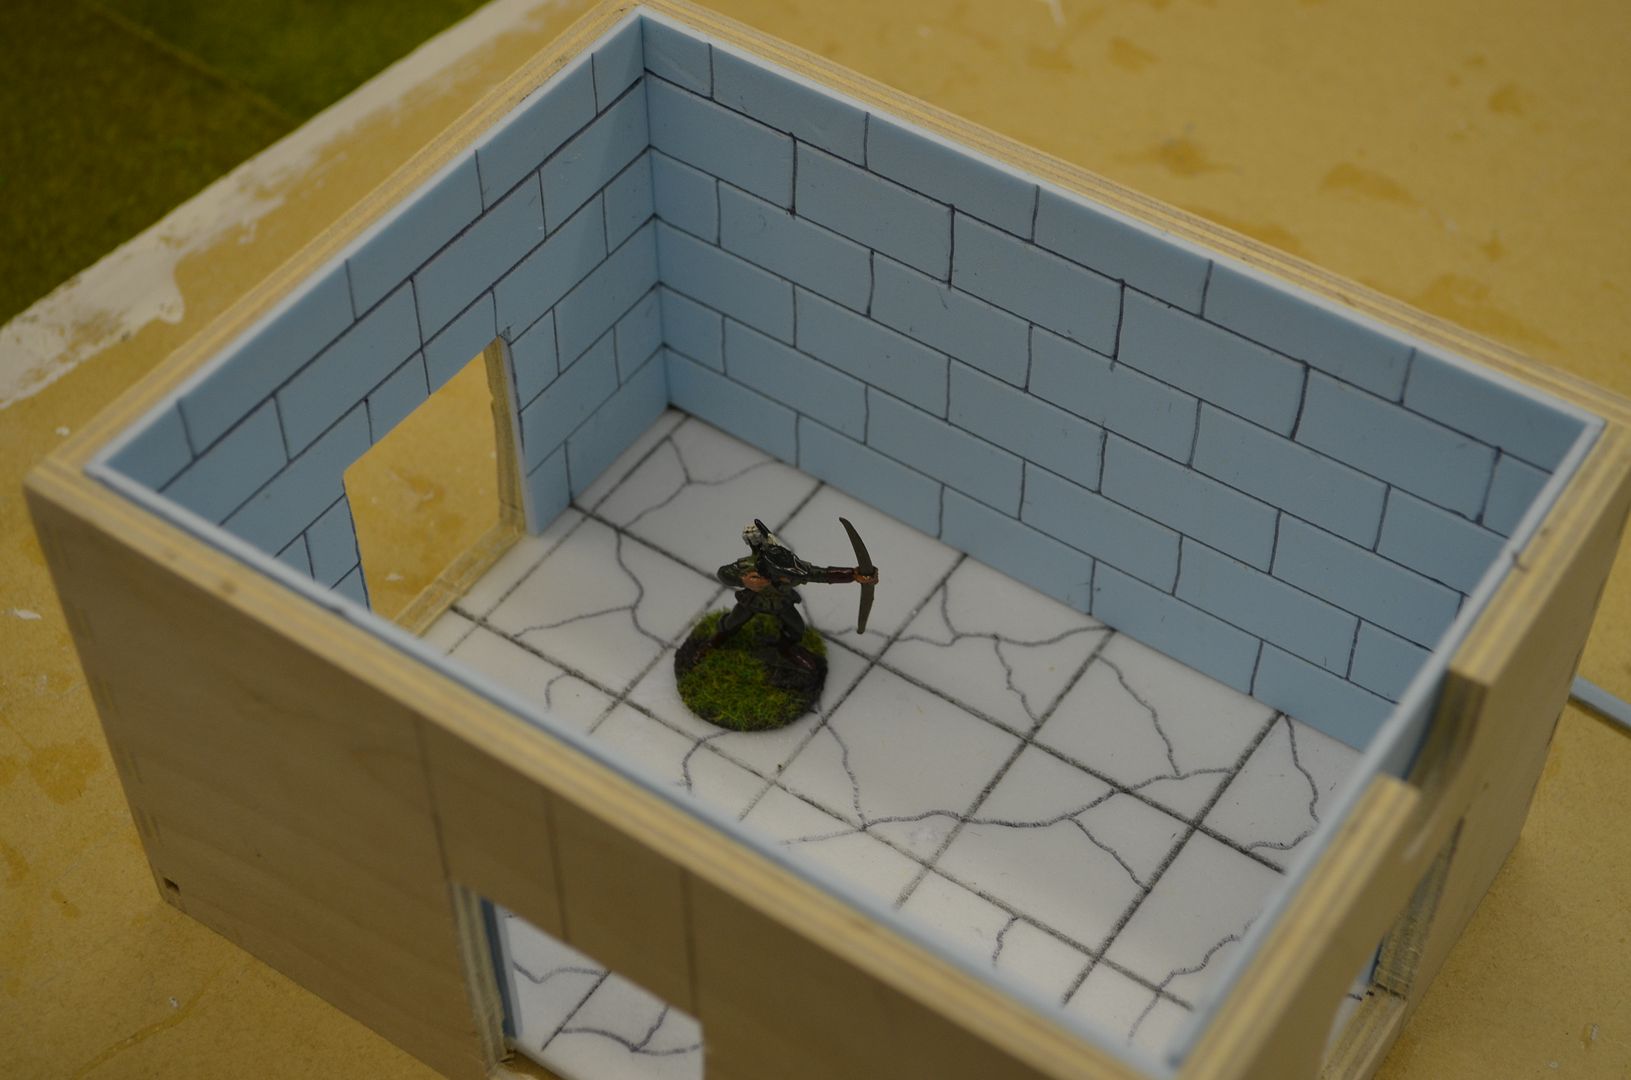
For the walls I used 2mm Blue Foam. I had purchased a number of sheets of this a couple of years back from 4D design in Tower Hill. If I run out I'll switch to using cheaper foam core.
These were scored with block work 3cm x 1.5cm.
In the picture below you can see the chamber starting to take shape - the figure is a 28mm Robin Hood. At this point I thought the walls might be too high BUT it does allow me some room to add height to the floors and create pits, steps etc. in future pieces.
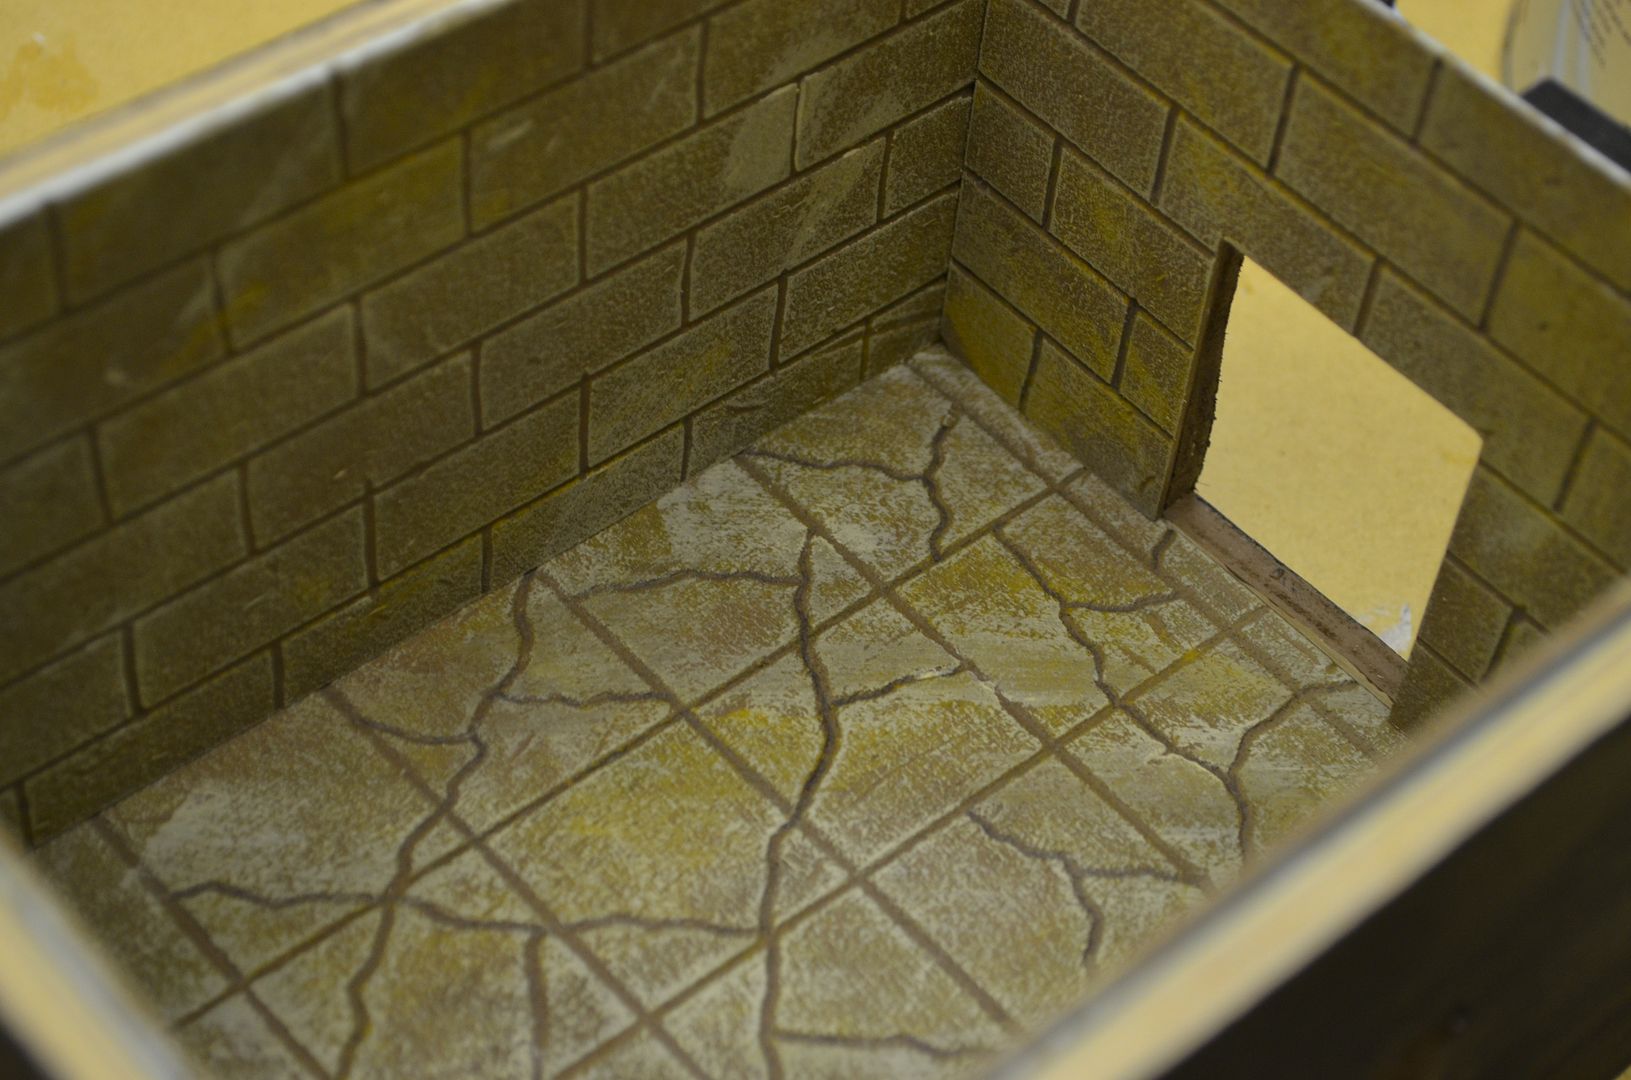
I decided that it would be much better to paint all these first before gluing them into the box. Unfortunately I didn't take any painting shots but given the first build is for the tomb complex under the pyramid these were painted light brown and then drybrushed yellow ochre followed by cream. As per all my desert boards.
The outer box was painted black.
And here we have the first finished room. I still need to glue in all the panels and tidy up the top edge, but hopefully this gives a picture of the final affect.
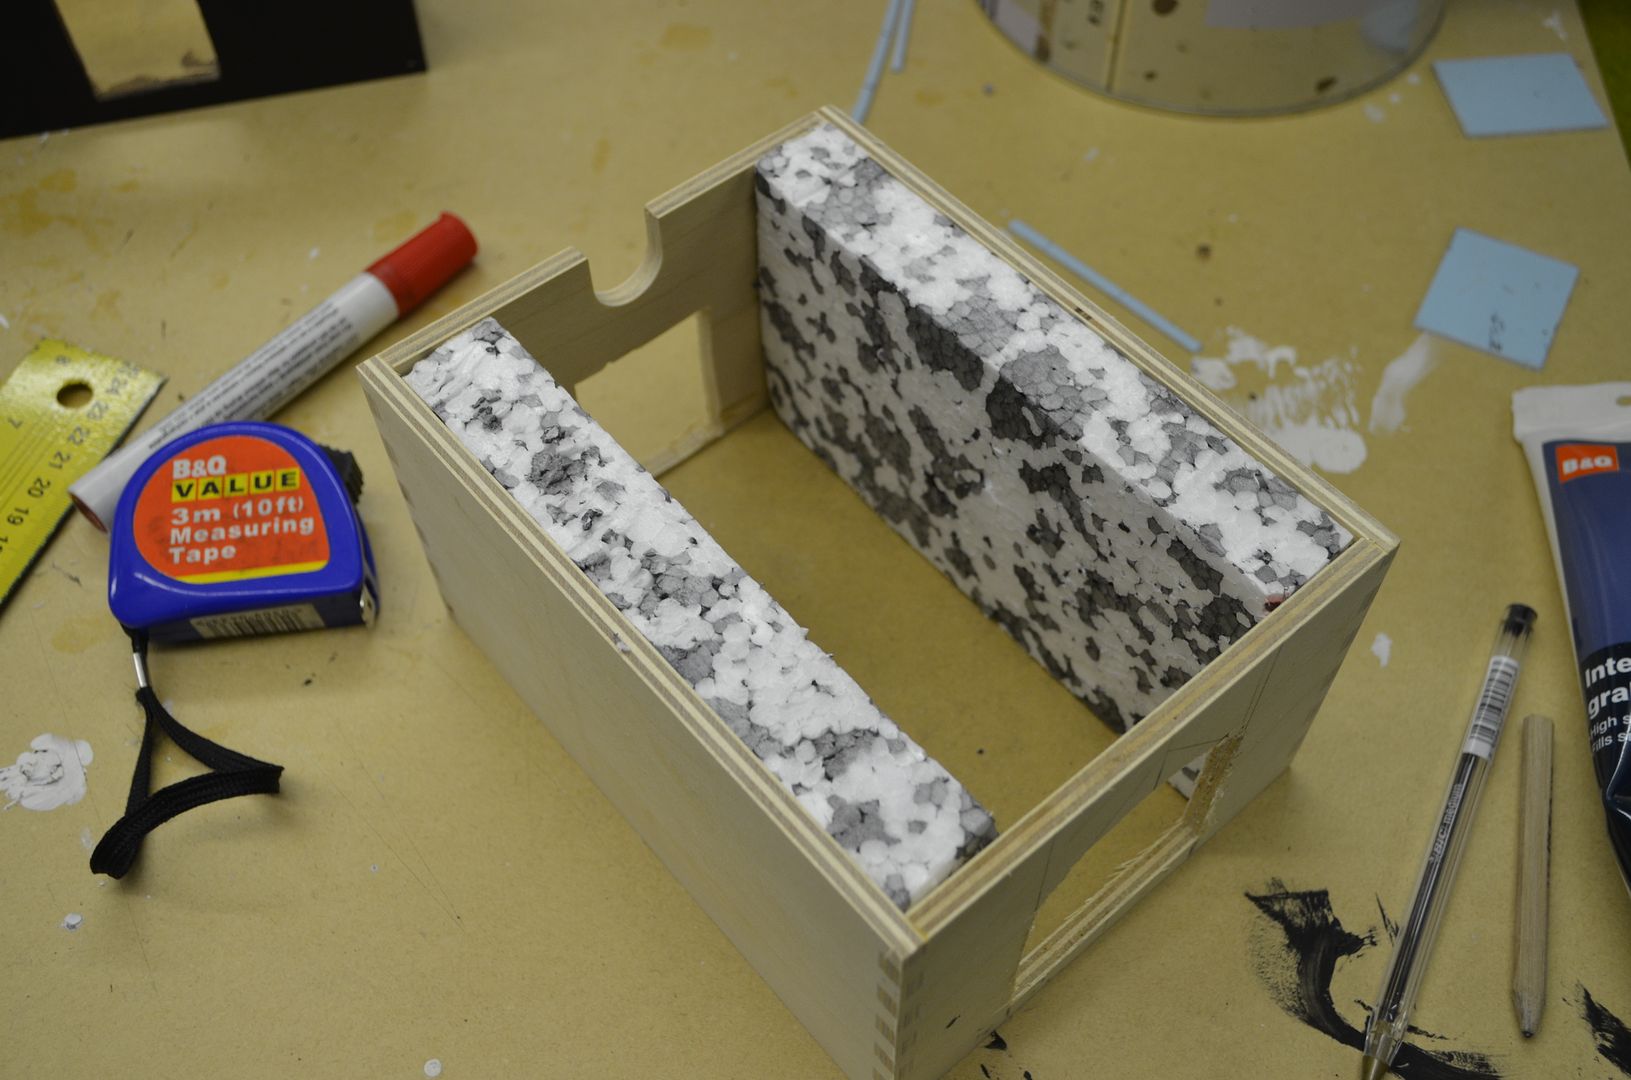
With time running out I decided I would need some corridor sections. The walls of these are being packed out with 25mm polystyrene. In the next post I'll focus on building the corridors, including corners and junctions.
Part 2 can now be found here
http://shedwars.blogspot.co.uk/2015/07/building-28mm-modular-tomb-part-2.html
So as I left the Shed I discovered that my two cats were waiting for me on my new trellis...
Until next time....