For those of you following a Very British War you are probably very familiar with the VBCF - there own dedicated forum. If not head here for more info...
http://vbcf.freeforums.org/index.php
A few weeks ago it was brought to my attention that the members of the VBCW fraternity were holding a global event. I have taken the liberty of posting in the proceedings...
As we were told there are no set of rules to use, no set size of forces, the setup map is for six foot by four foot, but we could use a larger or smaller table (we did).
Even the force size was left to our own devices
The GameIn the east Red Force, in the West Blue Force. To control the Fosseway both side must hold the 3 farms on the Foss. In the north Bridge Farm, the centre, Grange Farm and Brookfield Farm is in the south.
Both Red and Blue Forces plan to send small forces forward to take the farms before the big battle starts.
Any player or group of players fights a battle for 1 or more of the farms and tells us who won, Red or Blue. They can fight it in any scale and with any size force, all we need to know is who won.
We add up the results and the winners for each farm hold it when we do the big game at Partizan.
In one of the farms there is a part of the Crown Jewels collection, laying hidden, so at the end of the game, the players can roll to see which farm it is in and whoever controls the farm also has procession of a part of the Crown Jewels.
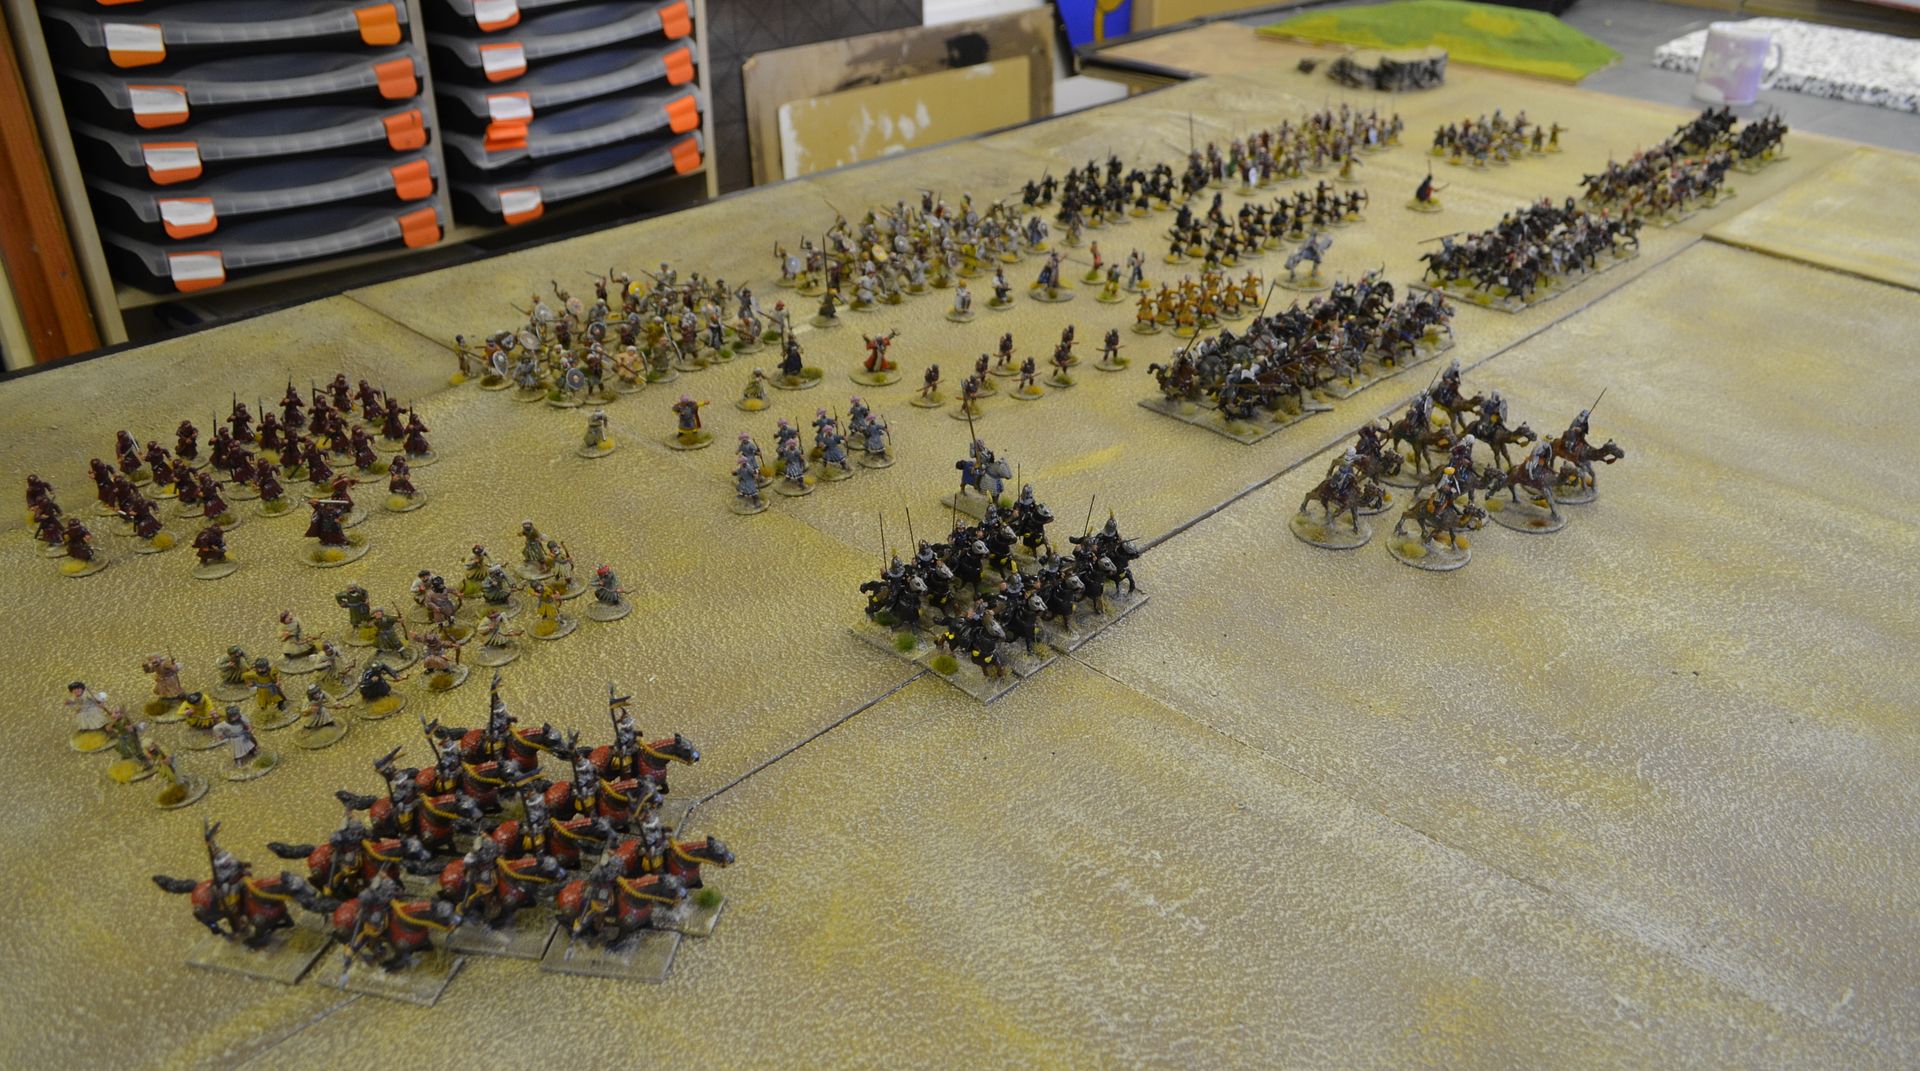
The Shed table was set up to reflect the map provided and I created two forces - the Fascists (Blue Force) and the Socialist Militia (Red Force)
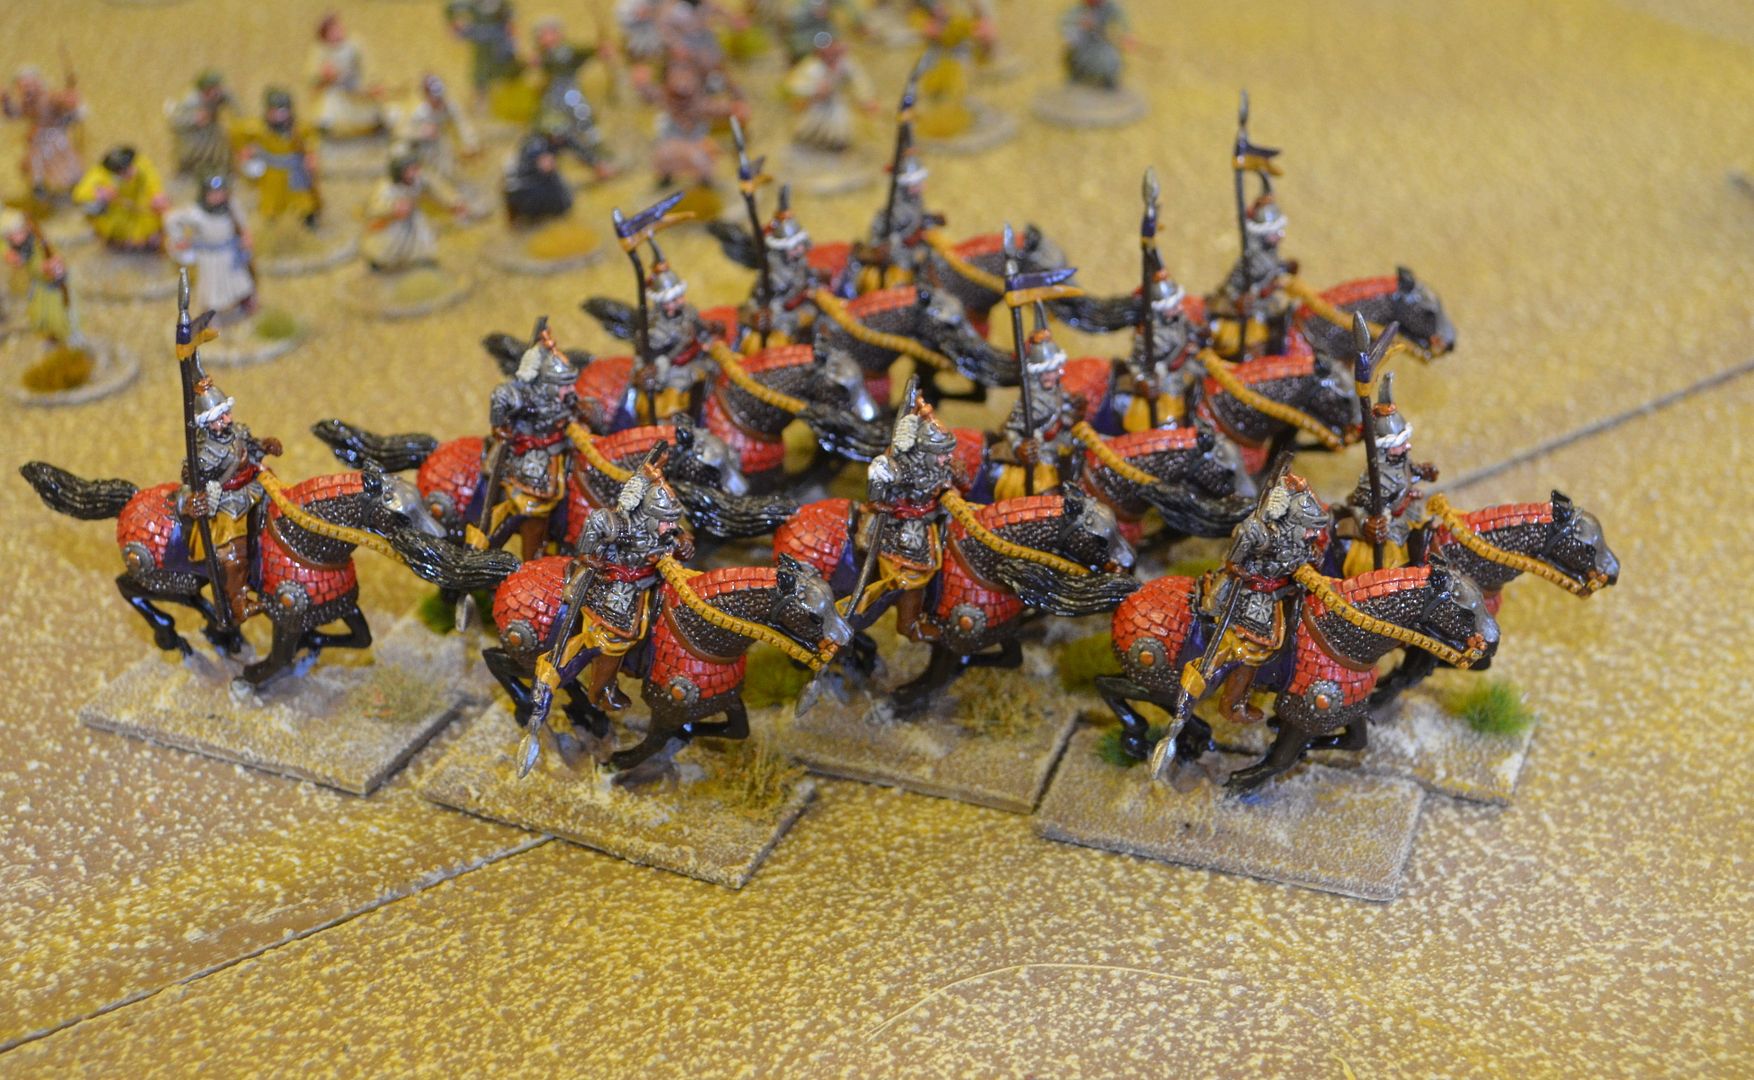
We played using Bolt Action Rules with bOth forces fielding very similar forces. With four players involved the forces were subdivided into equal parts. Typical compostion being
1 X Commander (+2 Morale Modifier)
5 X 6 men Rifle sections - (some had additional lewis guns/smgs)
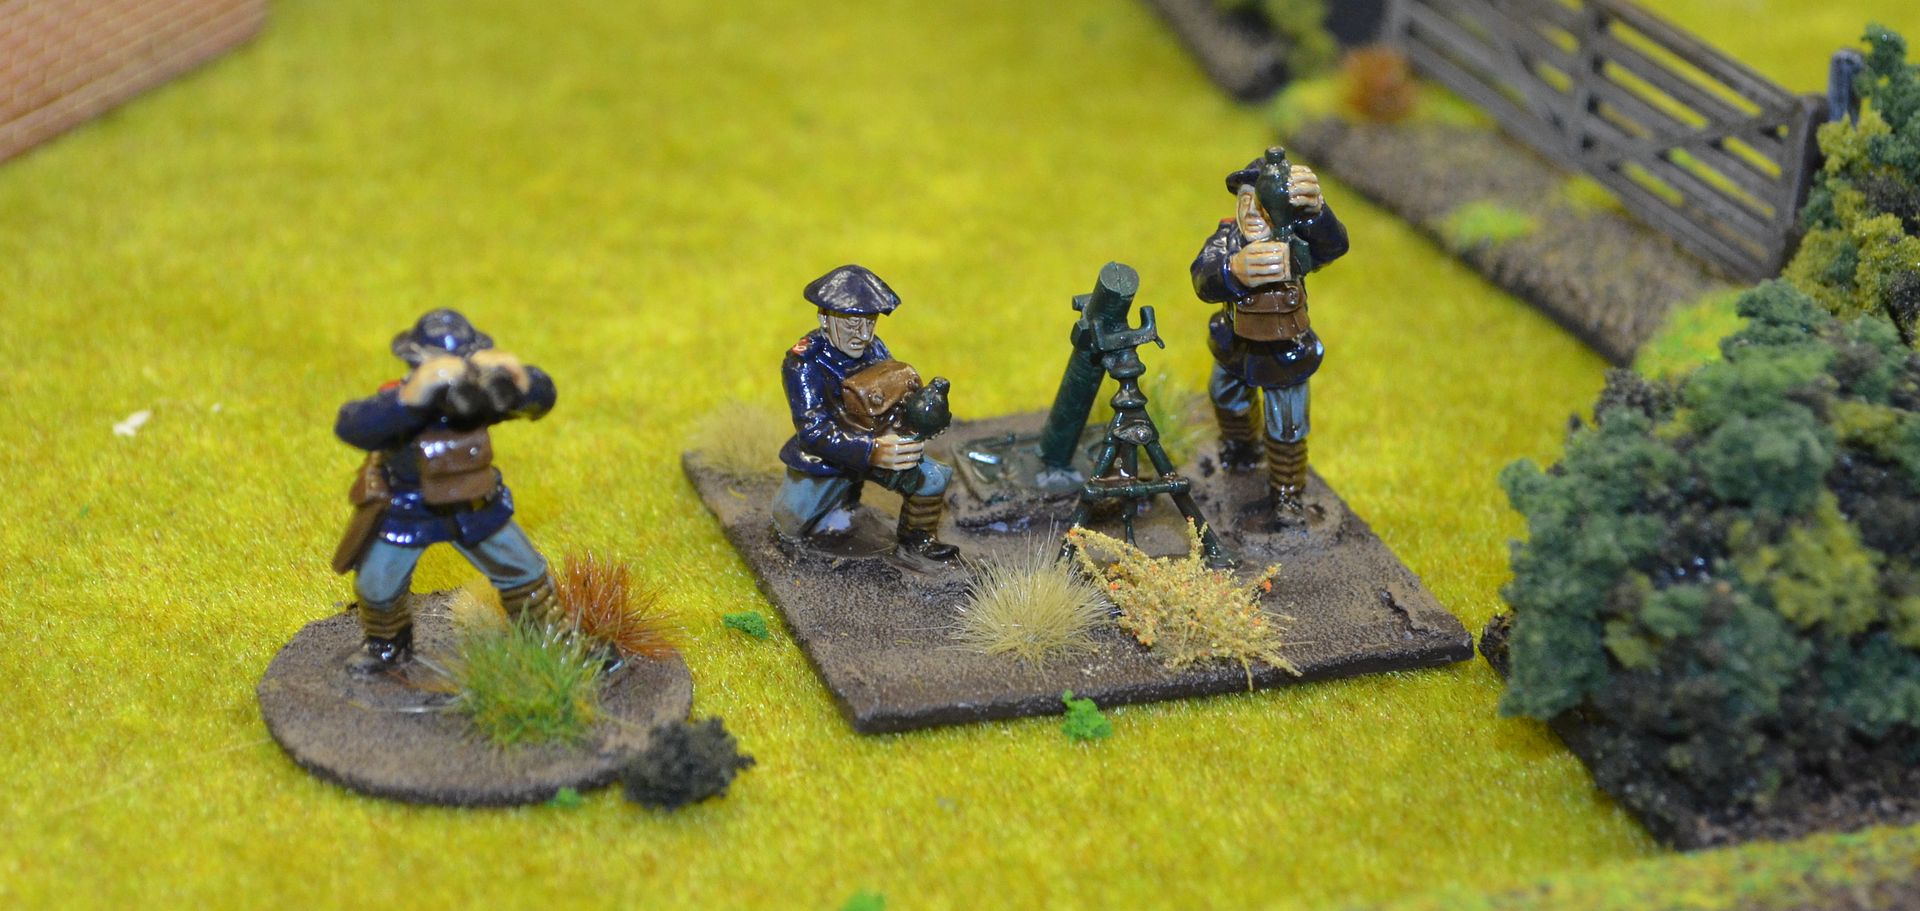
1 X Medium Mortar
1 X HMG (crew served)
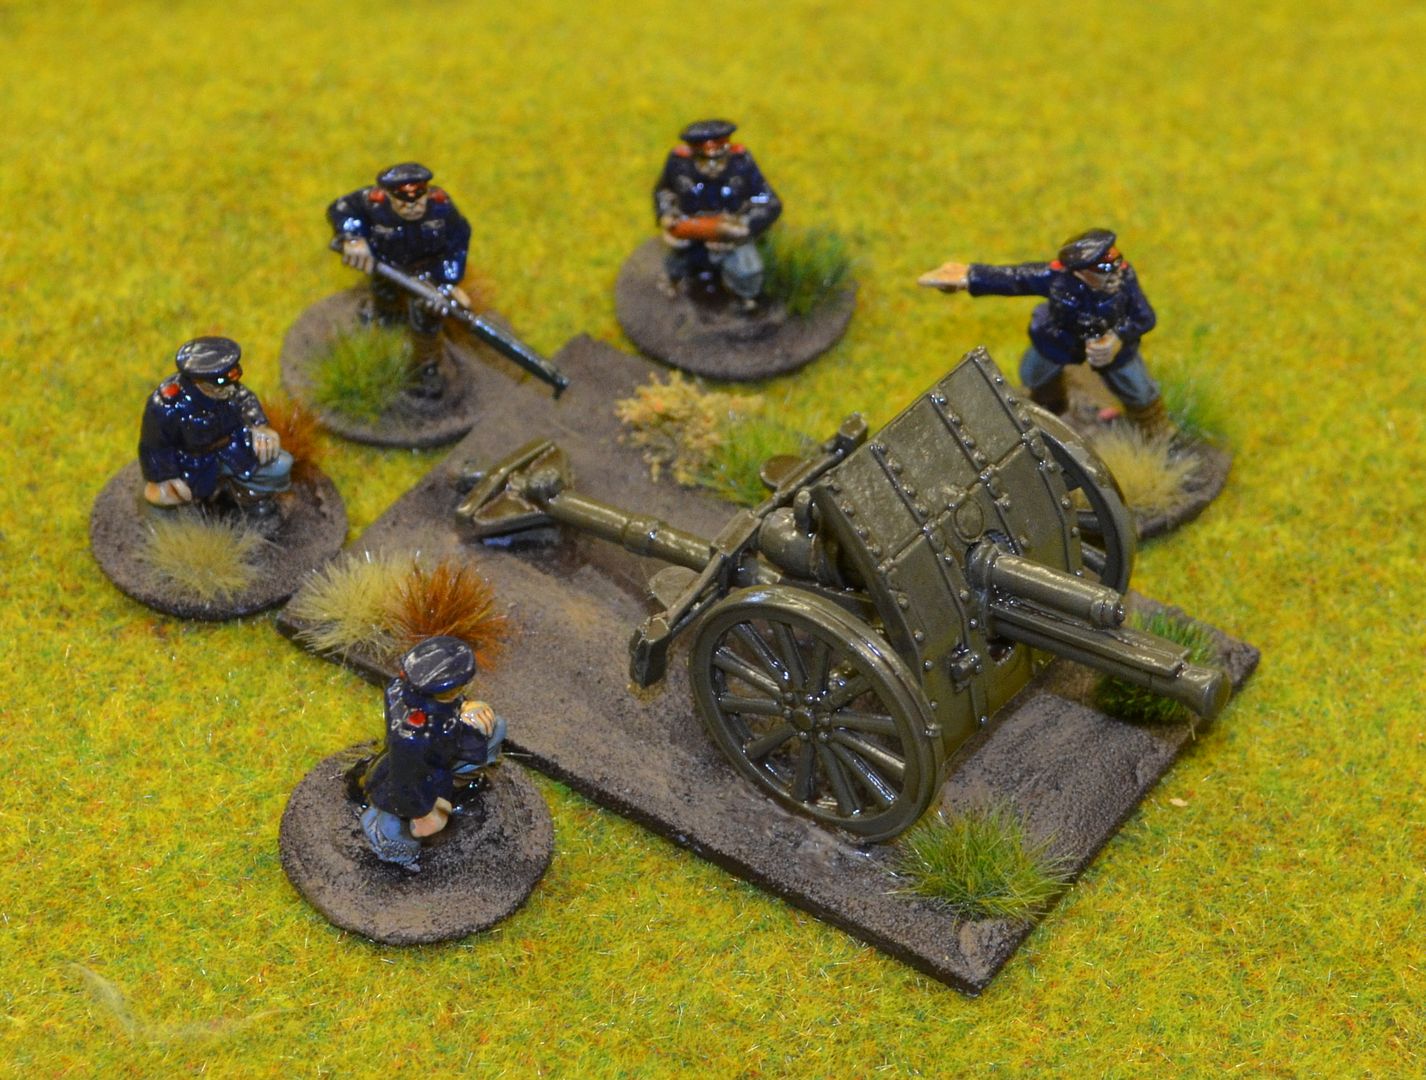
1 X Armoured Car and/or Light Tank
We used the road bisecting the table to create the deployment for each side.
How did it play?
Well rather than wait for our fourth player to arrive John and Alastair (of a Wargaming Gallimaufry fame -
http://wargaminggallimaufry.blogspot.co.uk/) Kicked off proceeding on the south side of the table. John quickly threw most of his forces towards Brookfield farm whilst Alastair split his to attack Brookfield and Grange Farm.
Johns Fascist troops quickly seized the farm outgunned Socialists using his tank and armoured car to great effect. Extremely vicious hand to hand fighting soon saw the Socialists retreating from where they had come. Unlucky dice for Alastair, an aggression never before seen from John soon captured Brookfield for the Fascists.
Meanwhilst both my Socialists and Mark's Fascists had entered the fray. The positioning of Bridge Farm meant Mark could get his troops in far faster than my own and I quickly realised his defensive lines were too strong to break. I therefore focussed on the centre...I should really say dawdled.
My attacks were unplanned, lacked cohesion and quite frankly atrocious. I did not deserve success and to be blunt didn't get it. Not only was Bridge farm left uncontested the Fascist could pour in their reserves into the centre.
It was a whitewash. Casualties for the Socialists mounted quickly and by 10.40pm we were beaten. I suspect the Fascists lost no more than 20% of their forces - 80% losses for the Socialists.
A great game - lots of learnings and I can report that Blue Force held all three farms with the Crown Jewels.
Thanks to Panzerkaput on the Forum for organising this...
and now some pictures..
 |
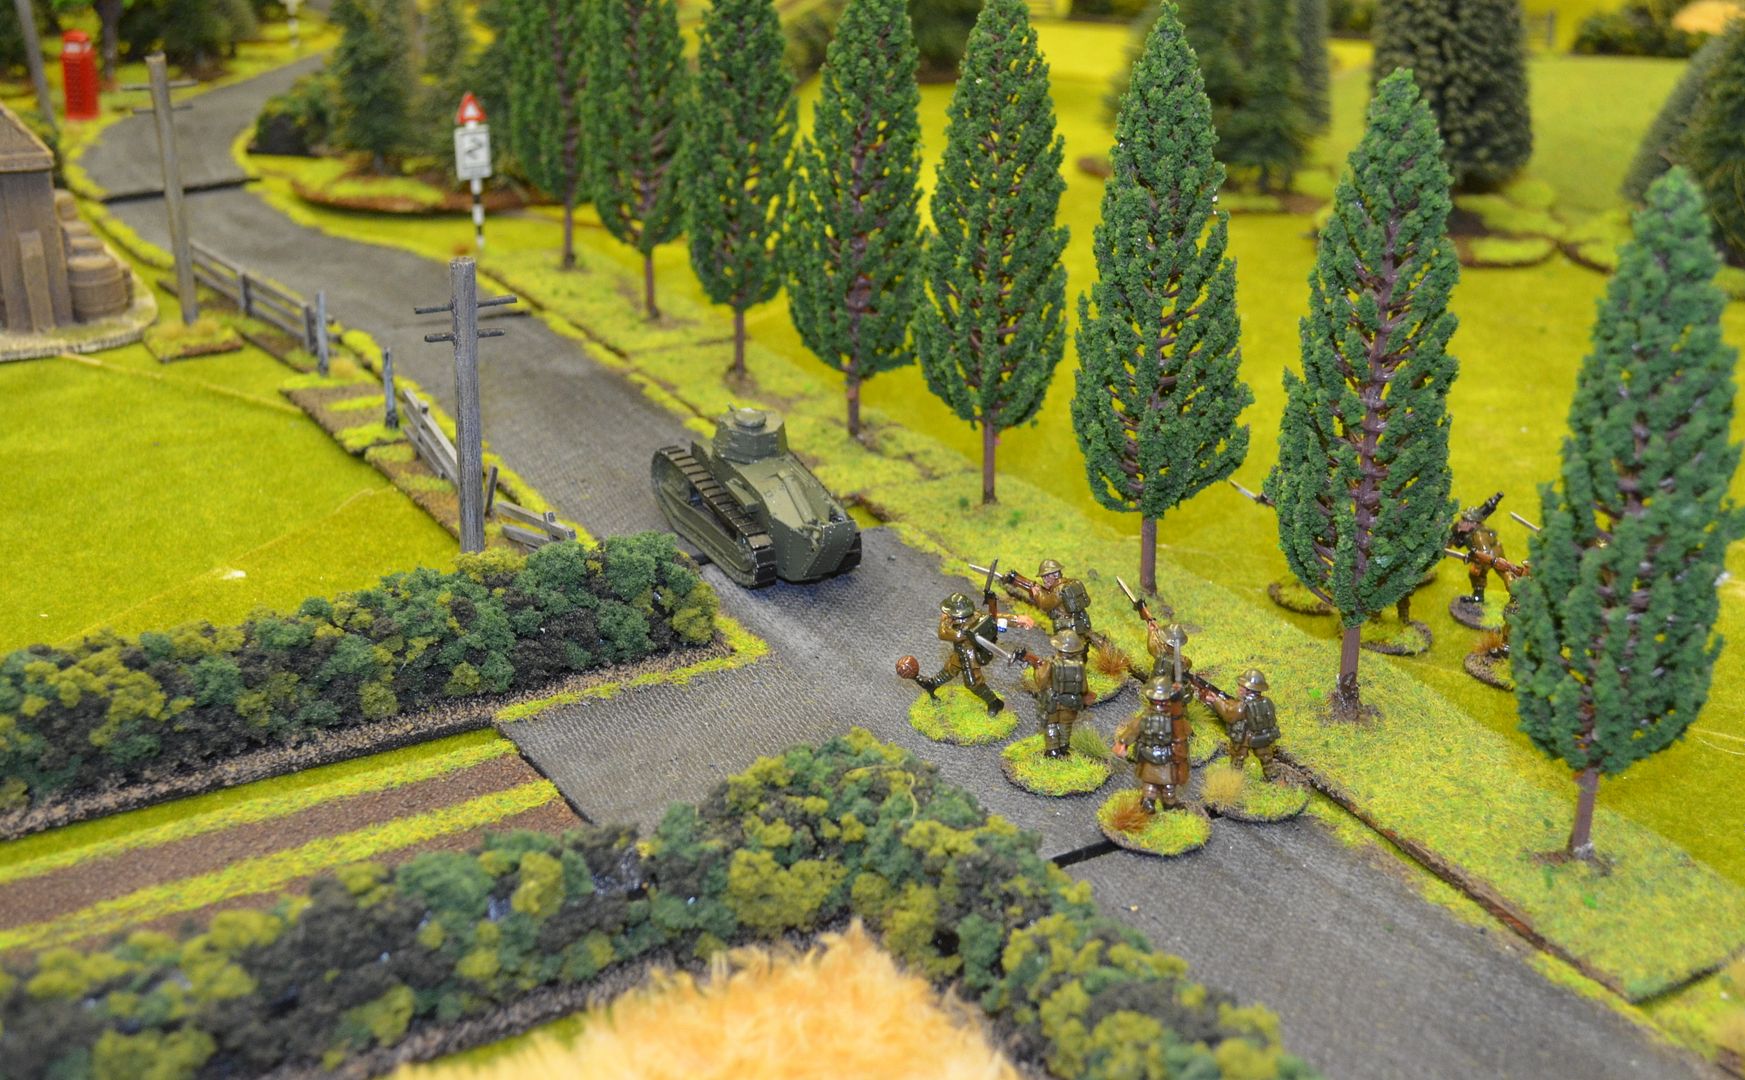
| Socialist Troops advance towards Grange Farm (playing football) |
 |
| Brookfield Farm ( can be sourced from Doug at Em4) |
 |
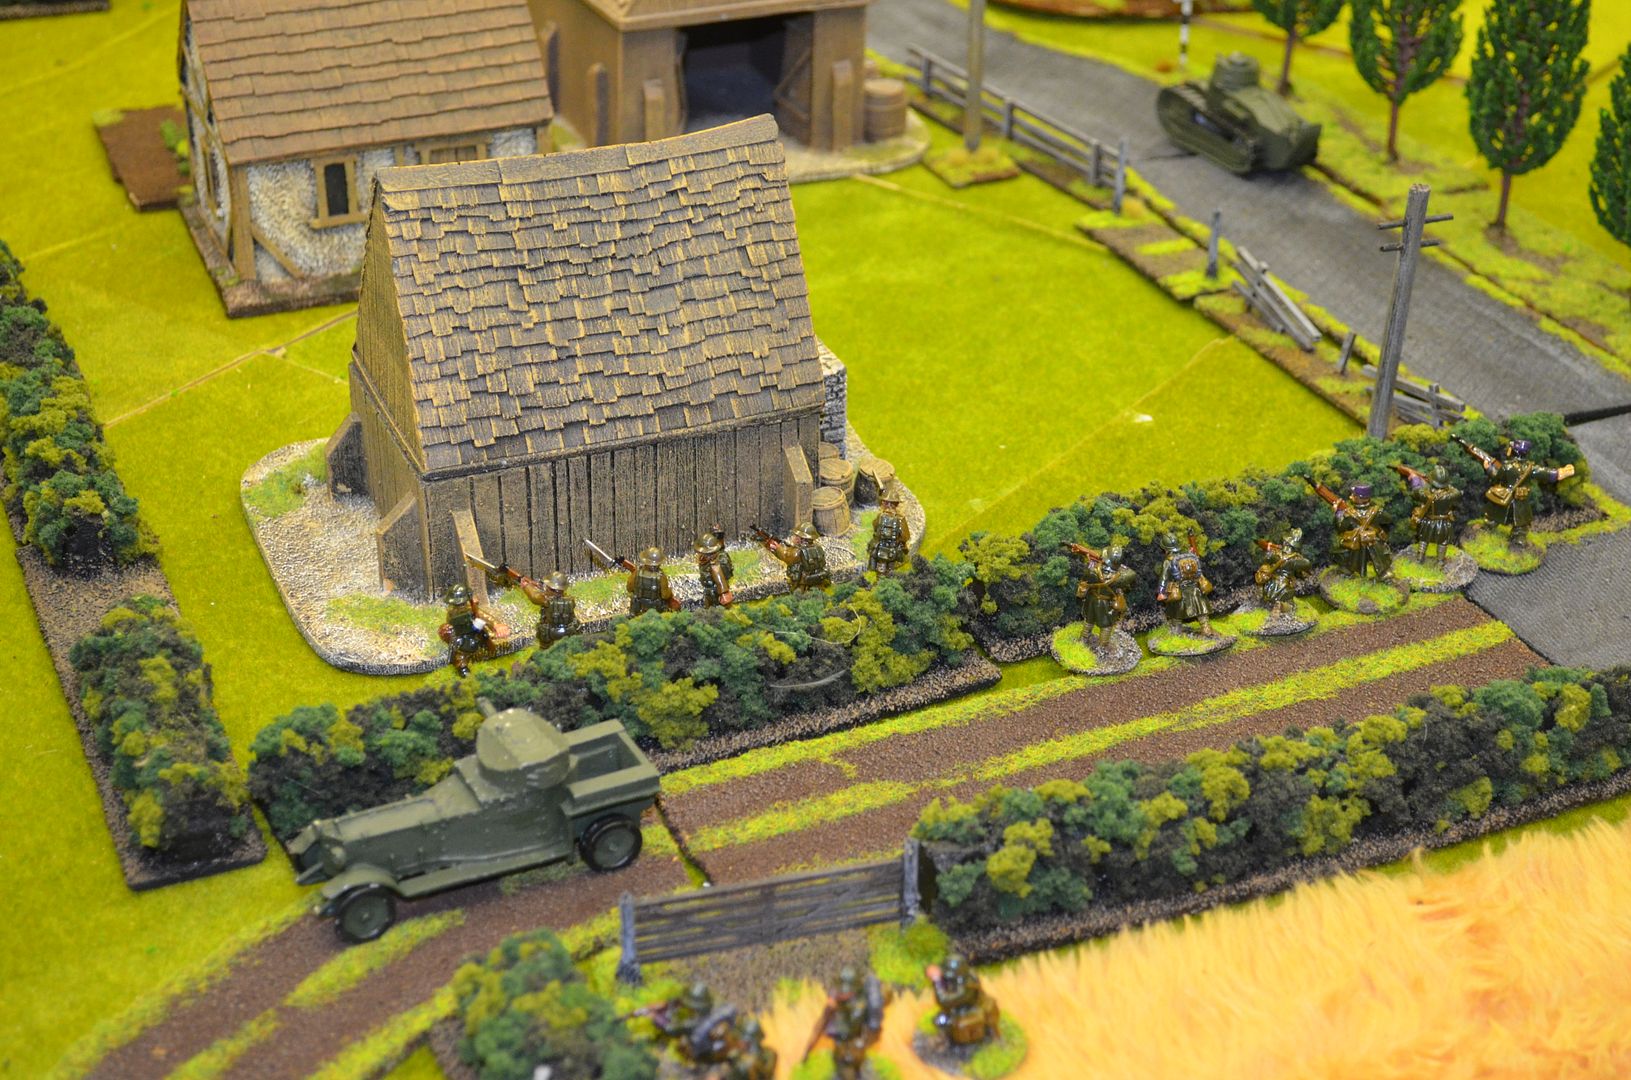
| The Socialists debate whether going into the barn is sensible |
 |
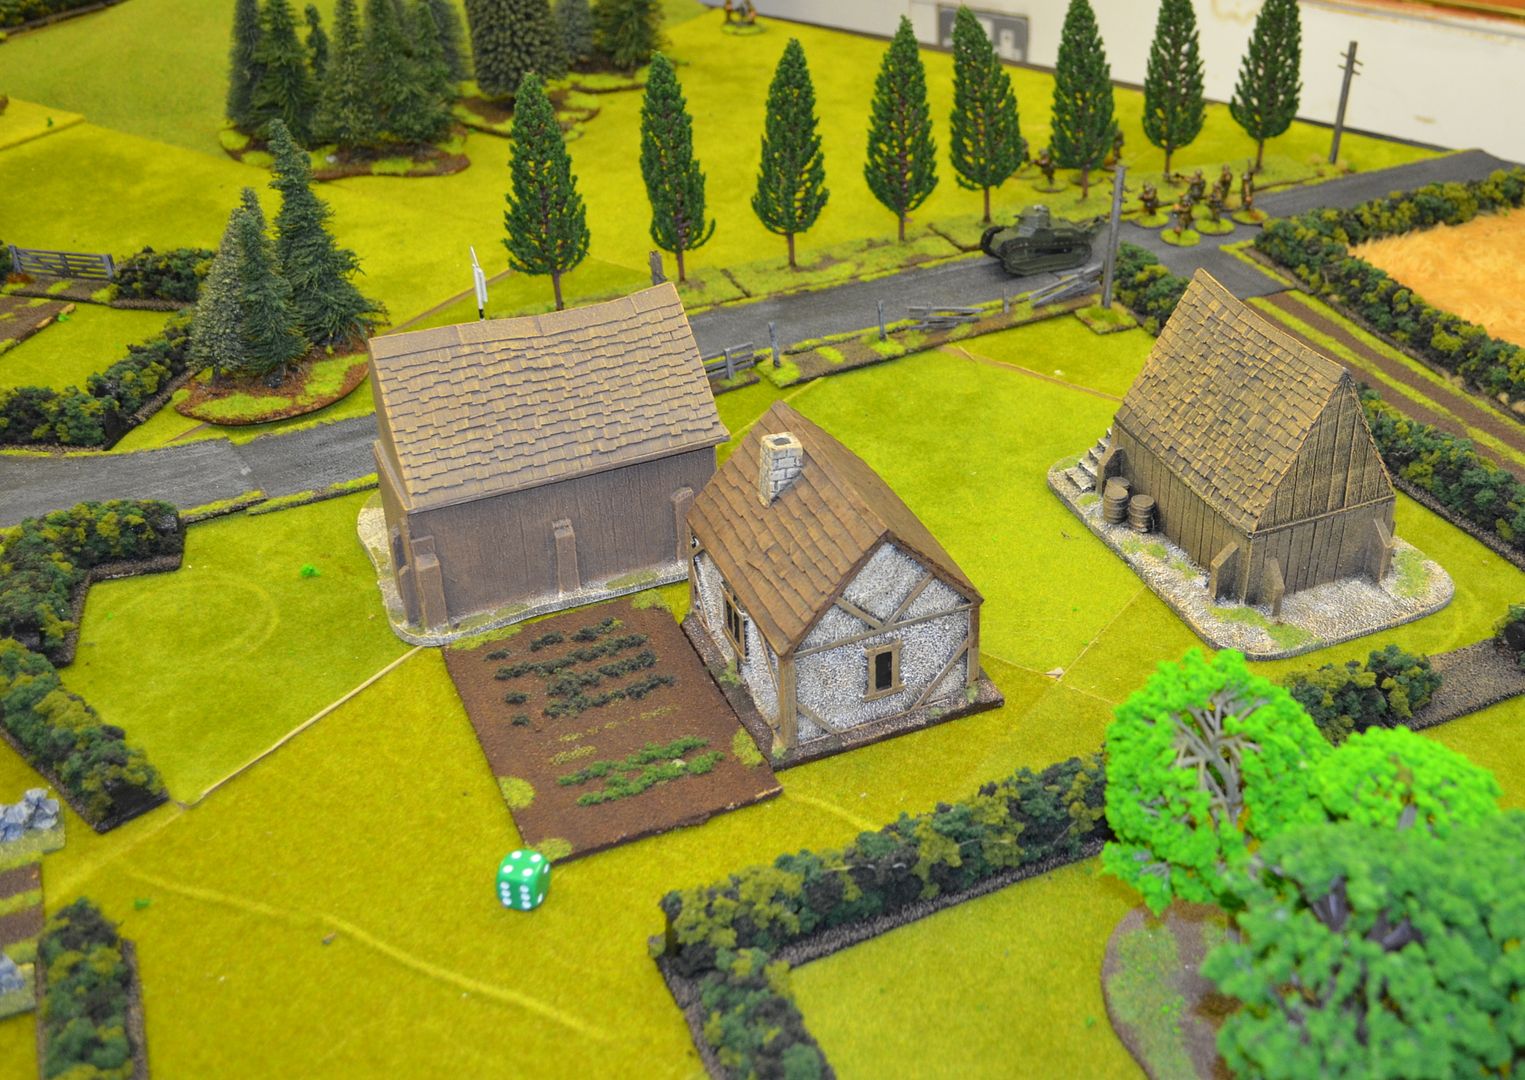
| Grange Farm (in the centre ) - Buildings from the now defunct PMC - some are still sold by Caliver |
 |
| Again more Socialist dithering outside Grange Farm |
 |
| Alls quiet at Bridge Farm - this end of the table has not started yet |
 |
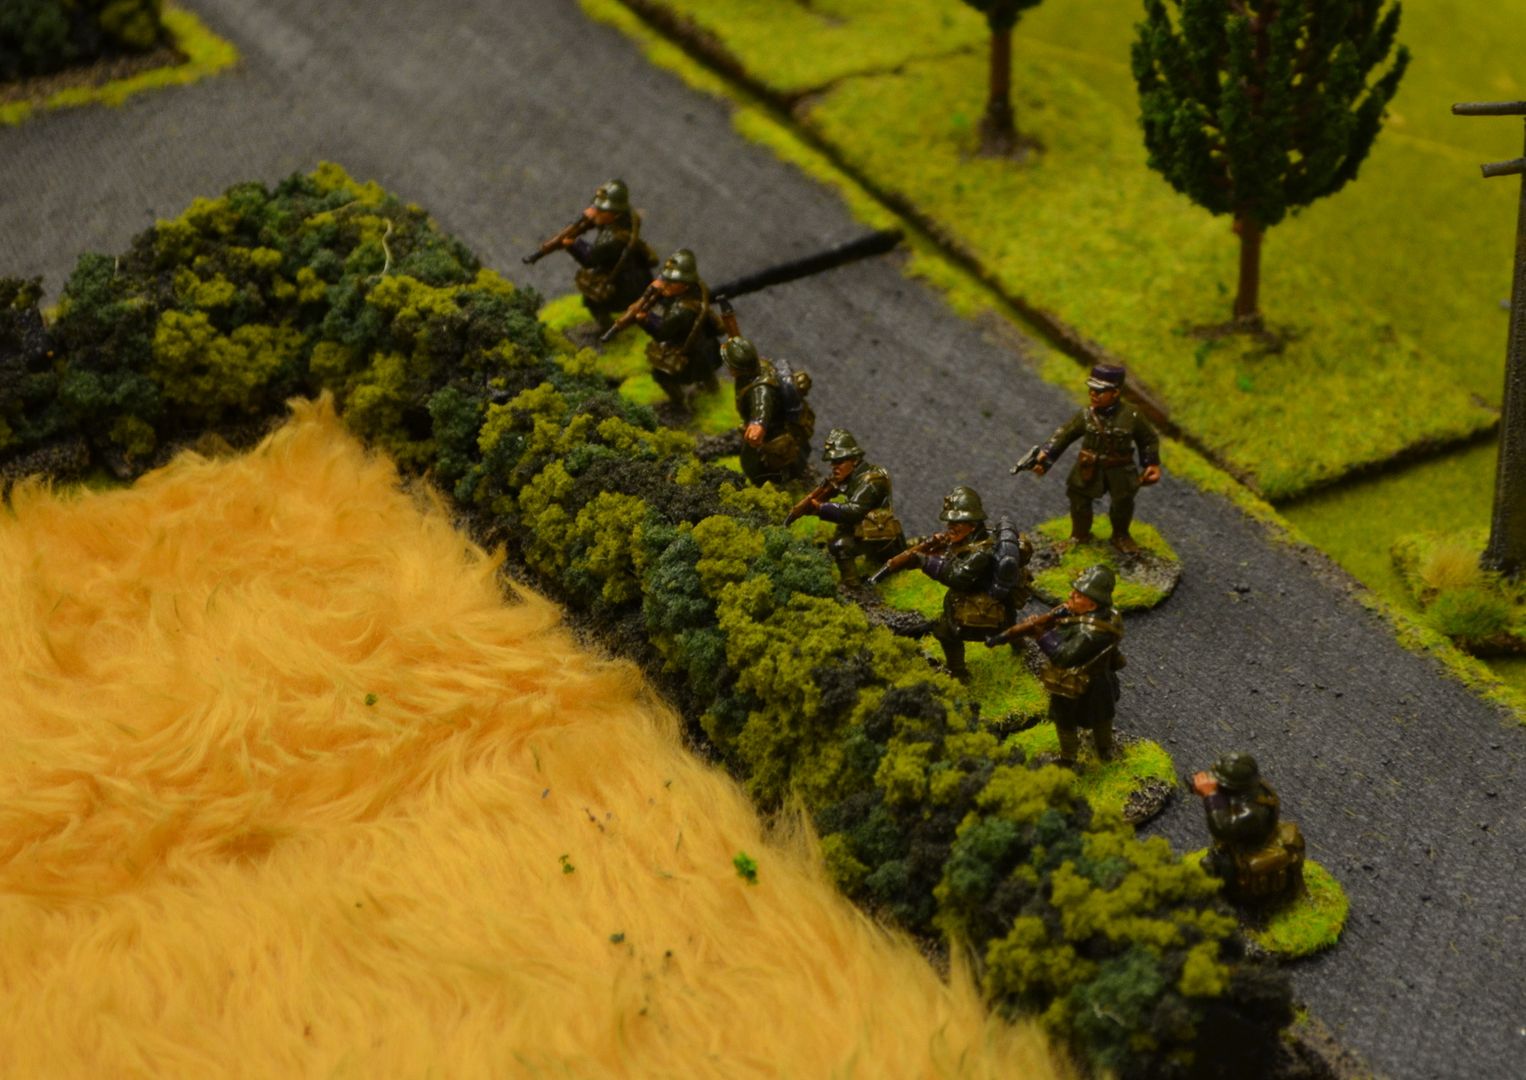
| The Fascists arrive in Bridge Farm |
 |
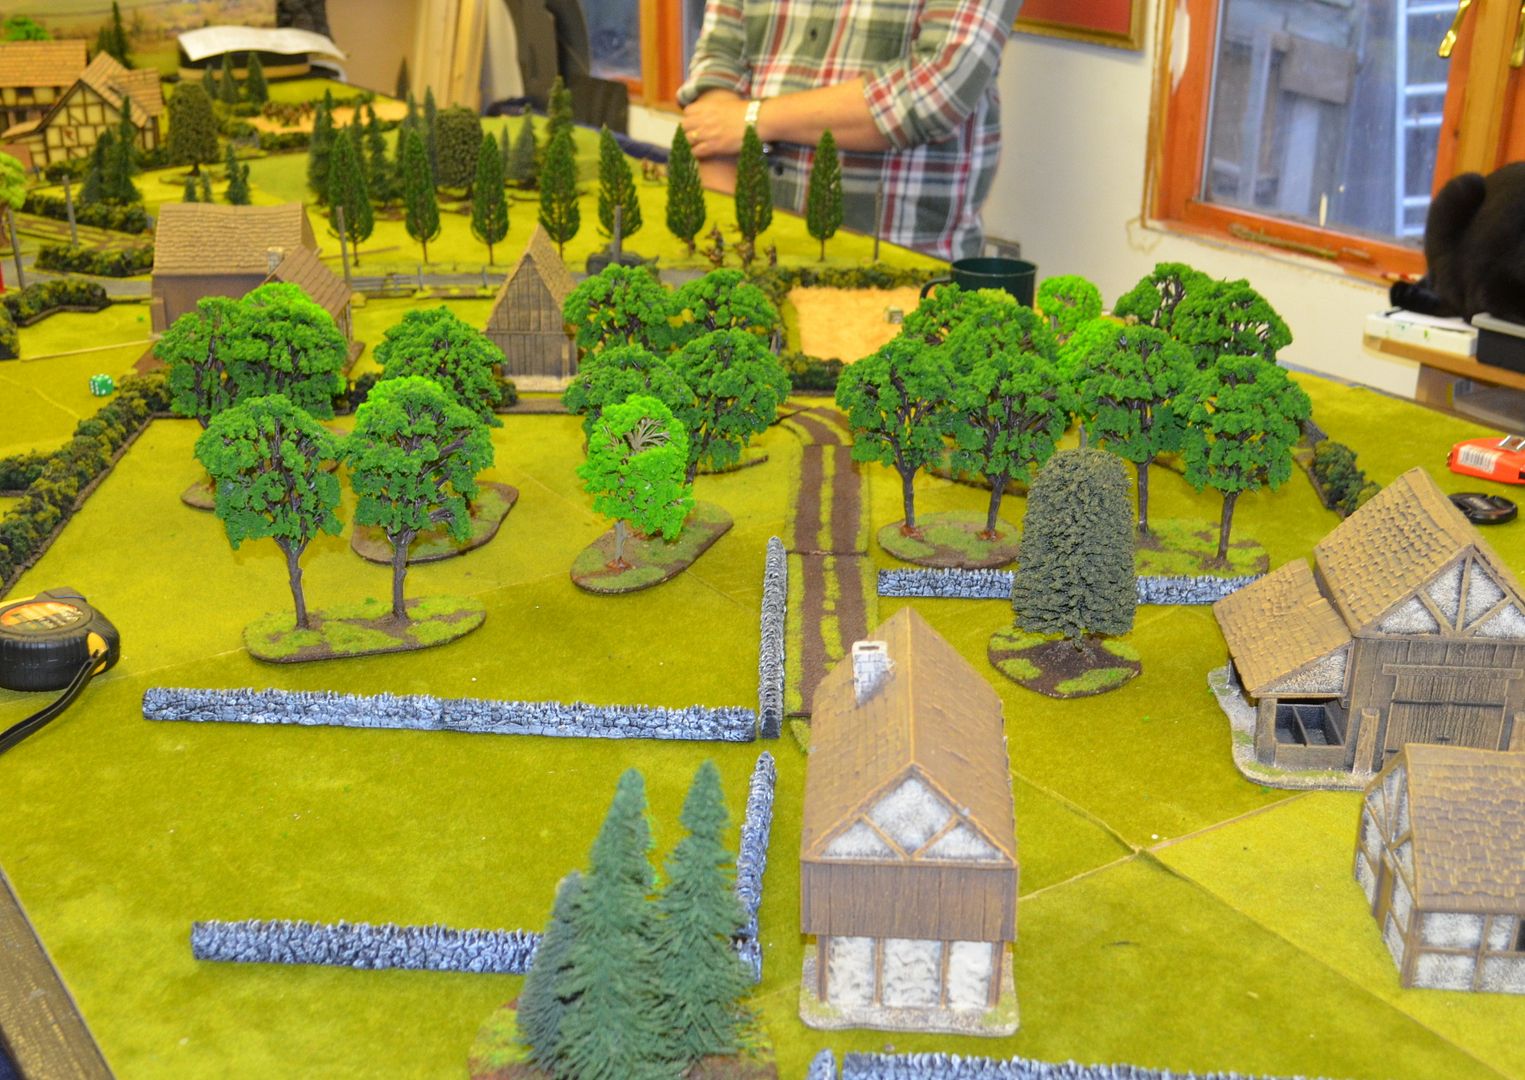
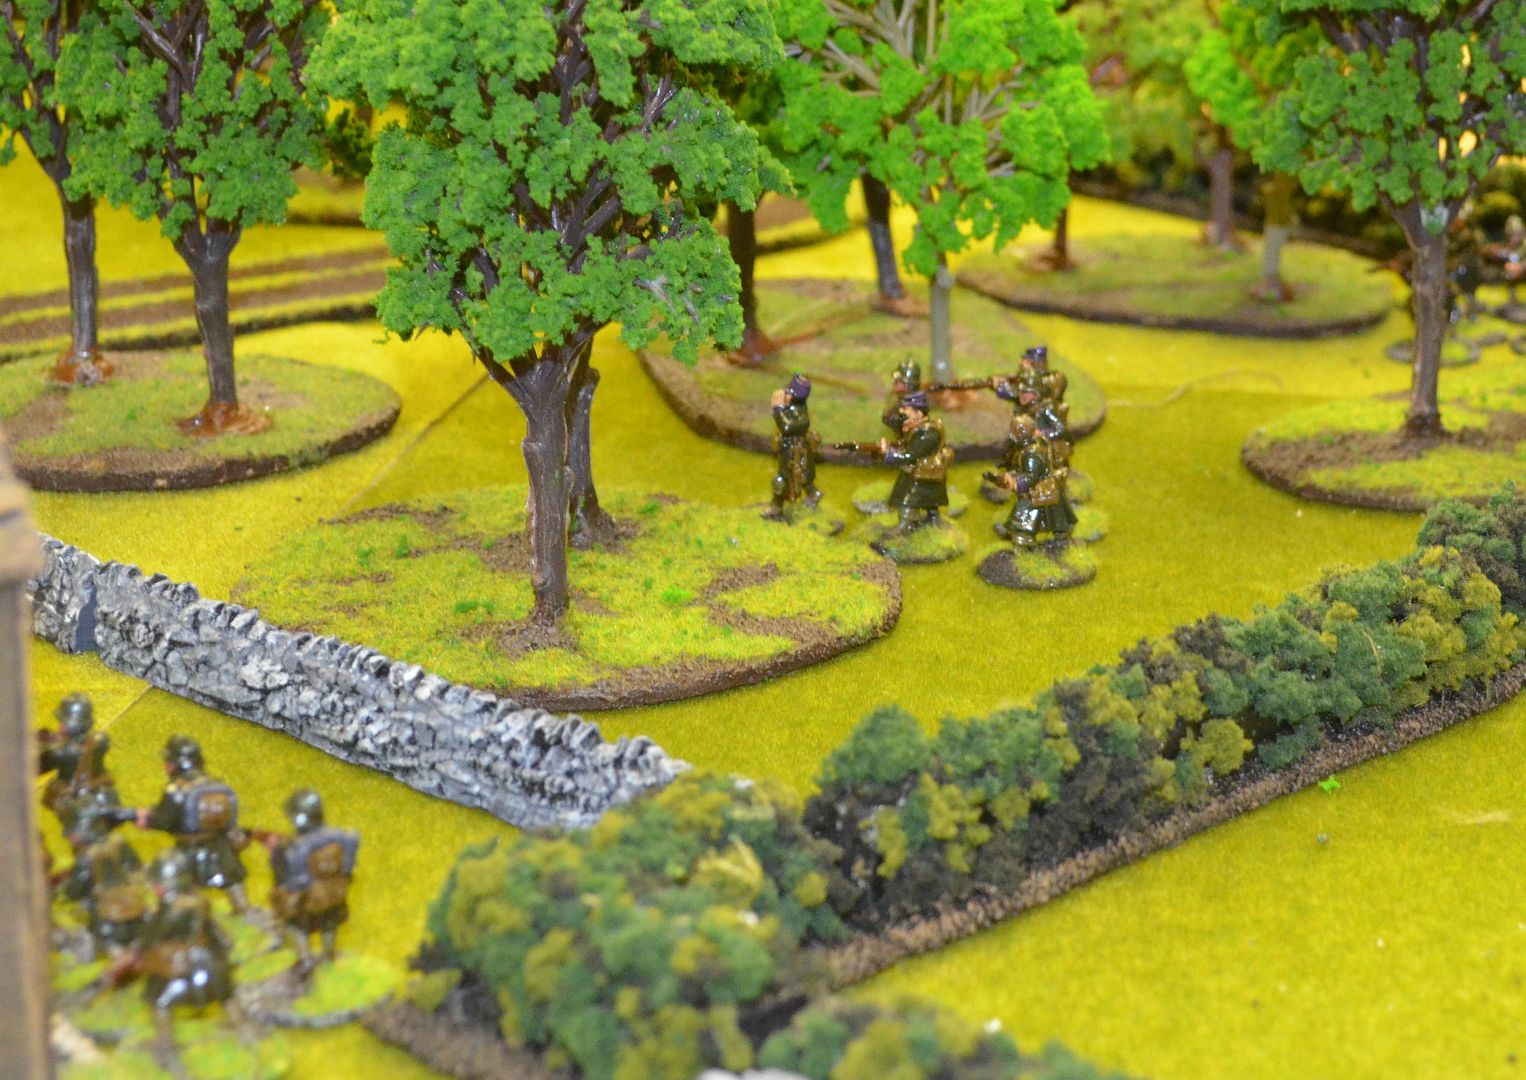
| Our Socialists dither in the Woods between Bridge and Grange farm... |
 |
| That's better - form a nice straight line...just like skittles. Yes they all fell over killed in the next round |
 |
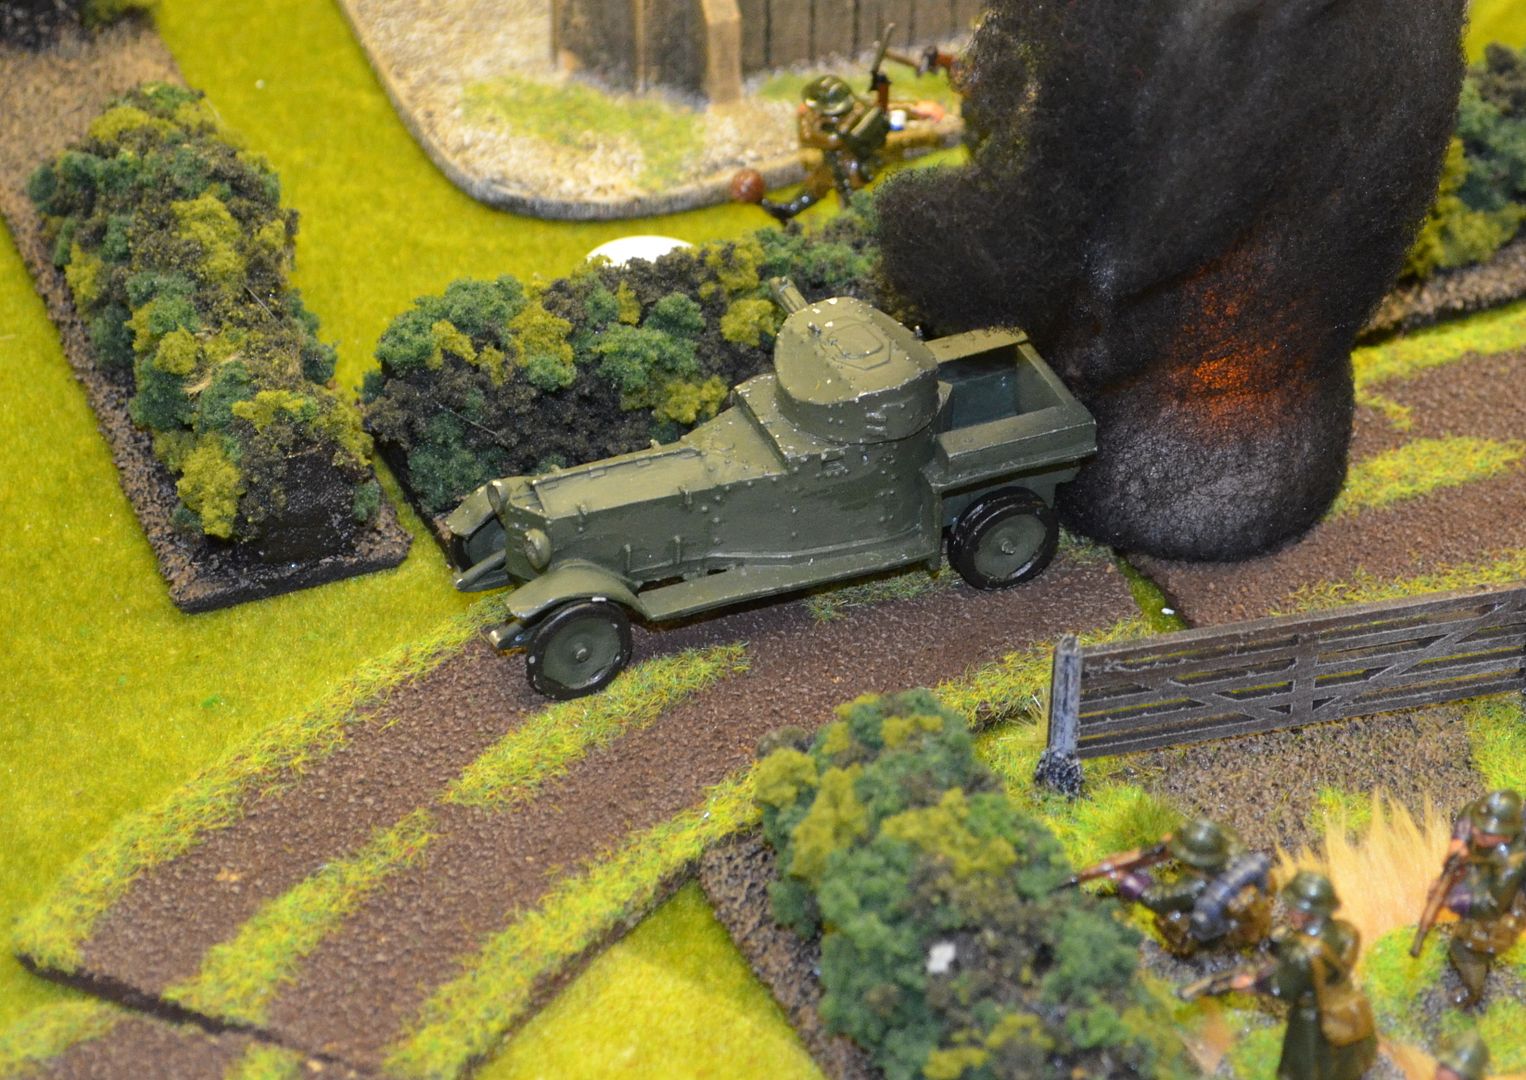
| Even the Fascists Mortar had a field day - a drop shot on the Socialist Armoured Car ended this threat |
 |
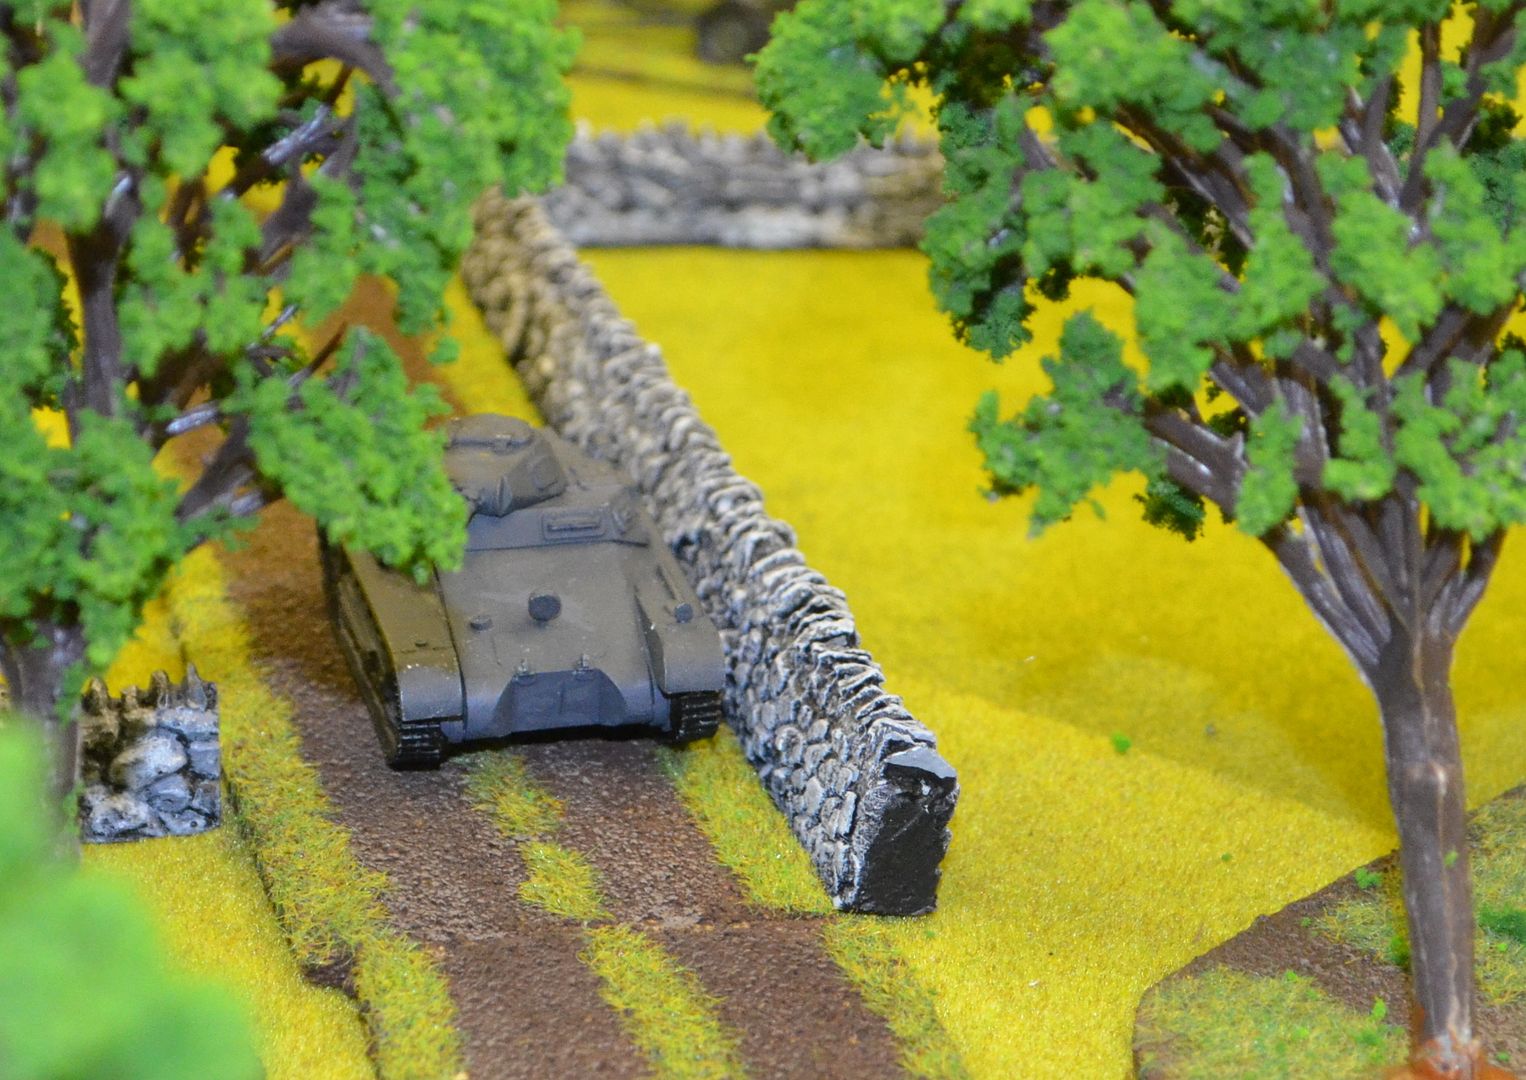
| The Socialist tank pushes on up the road |
 |
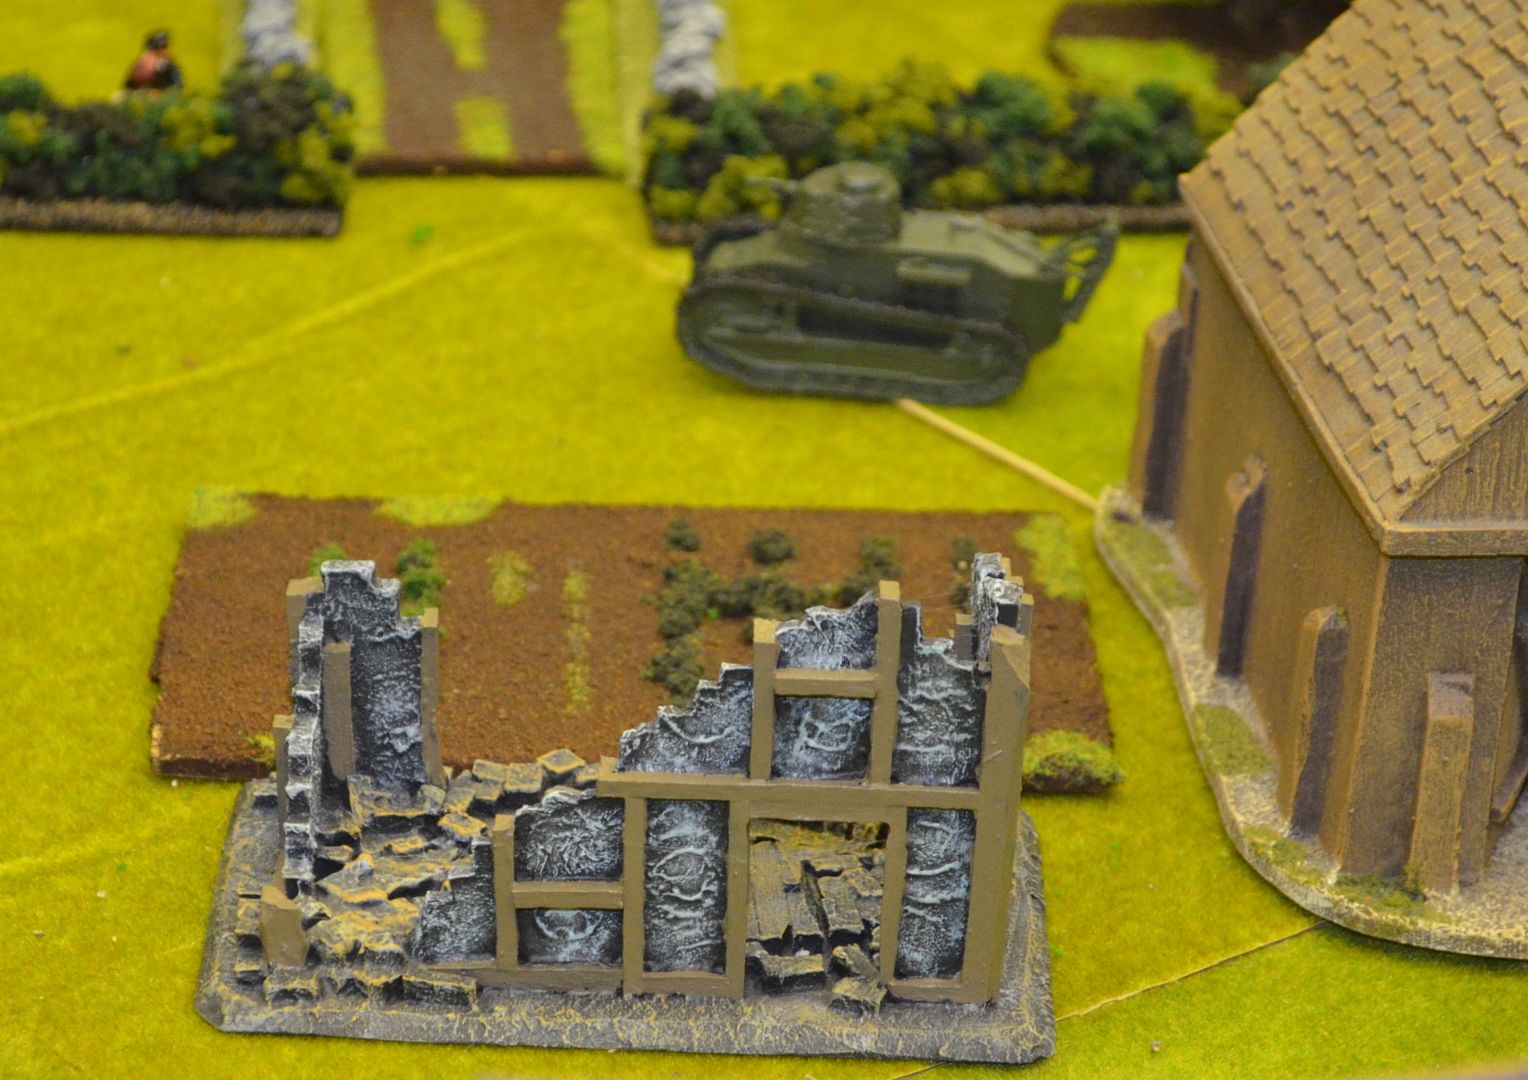
| Whist a Fascist Panzer 1 creeps up on Grange Farm |
 |
| The Farm house in Grange Farm takes a direct Mortar hit wiping out a Fascist unit - our only success in the game ! |
Until next time....