Saturday, 17 November 2012

Post Apocalypse using Bolt Action Rules

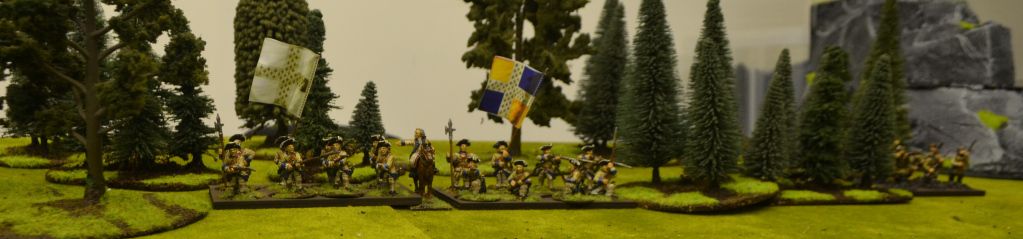
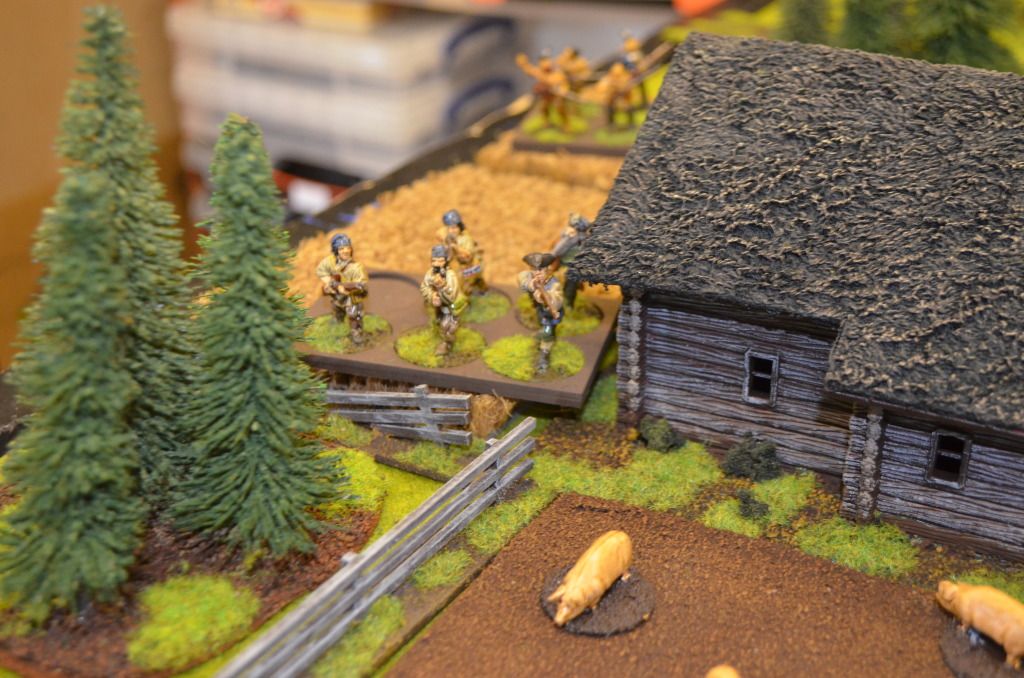
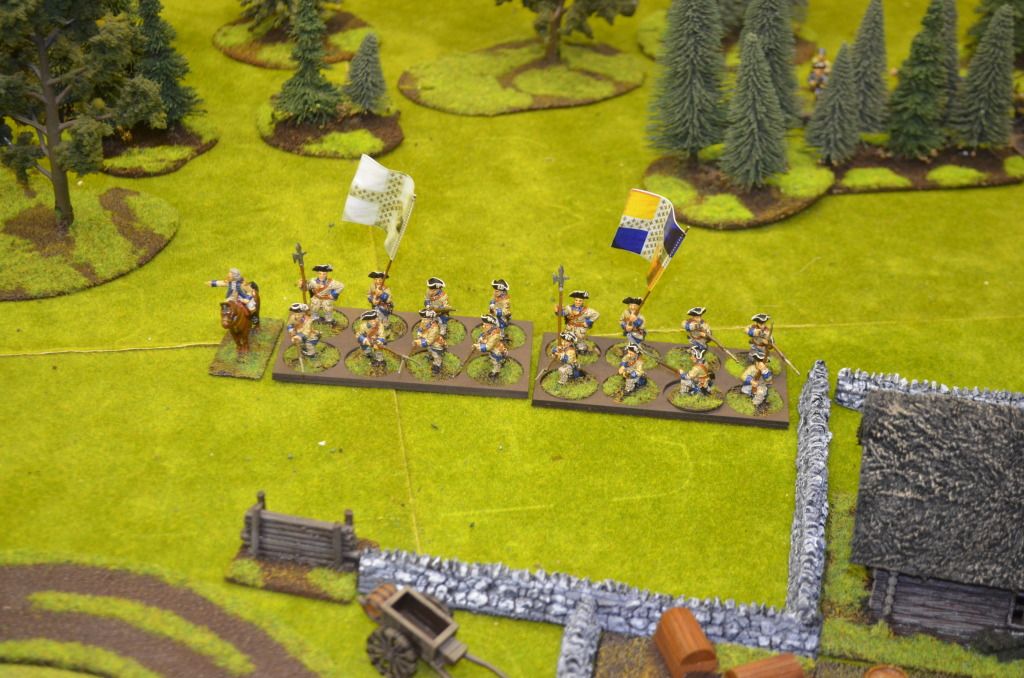
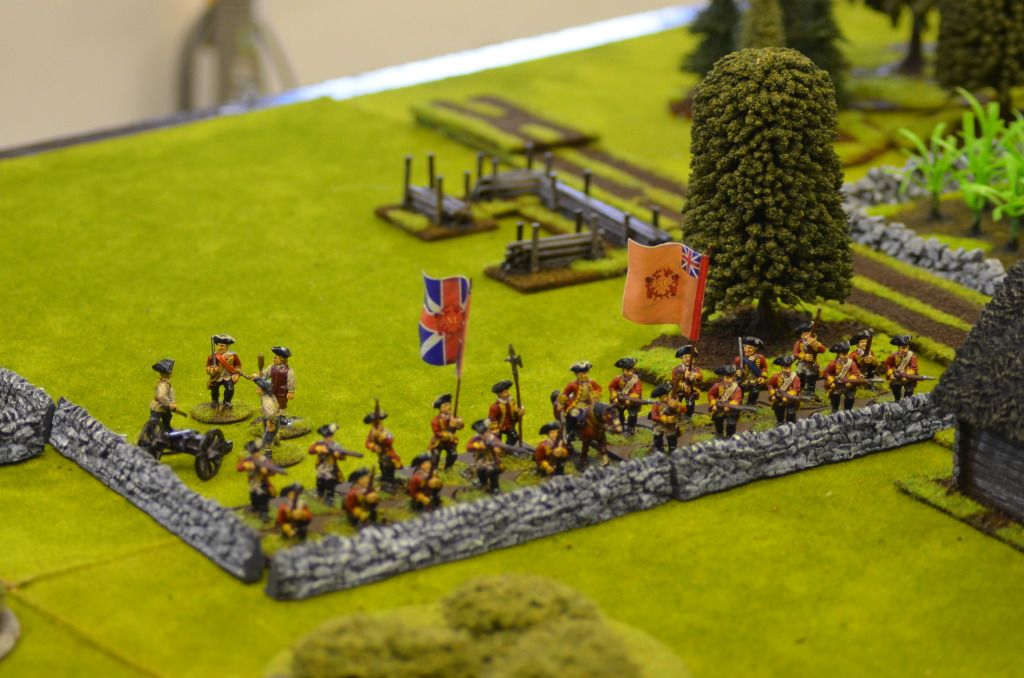
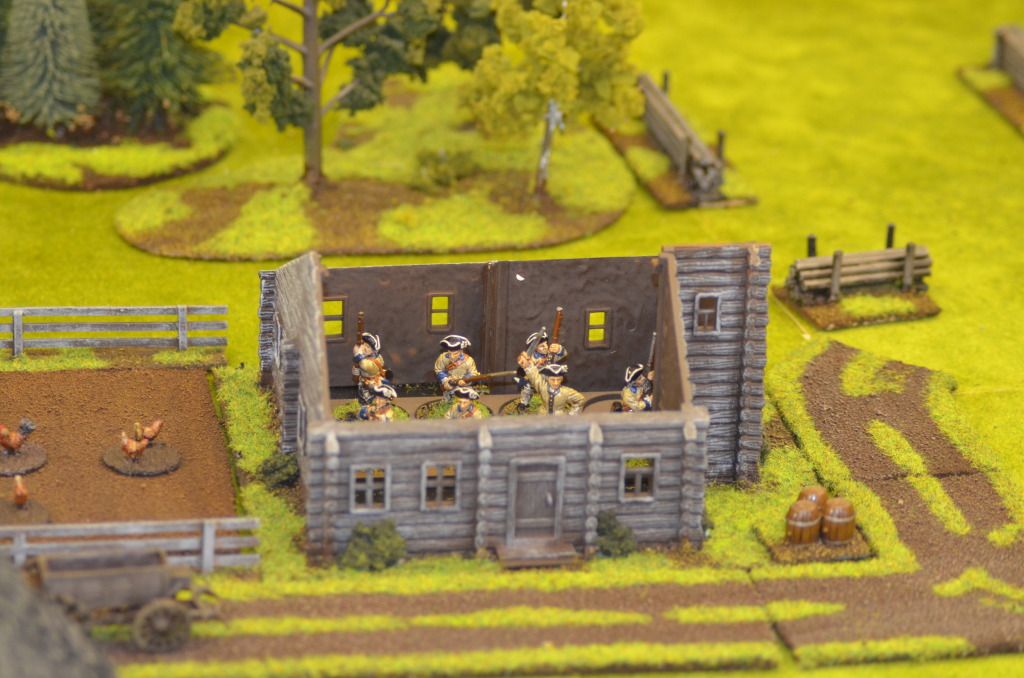
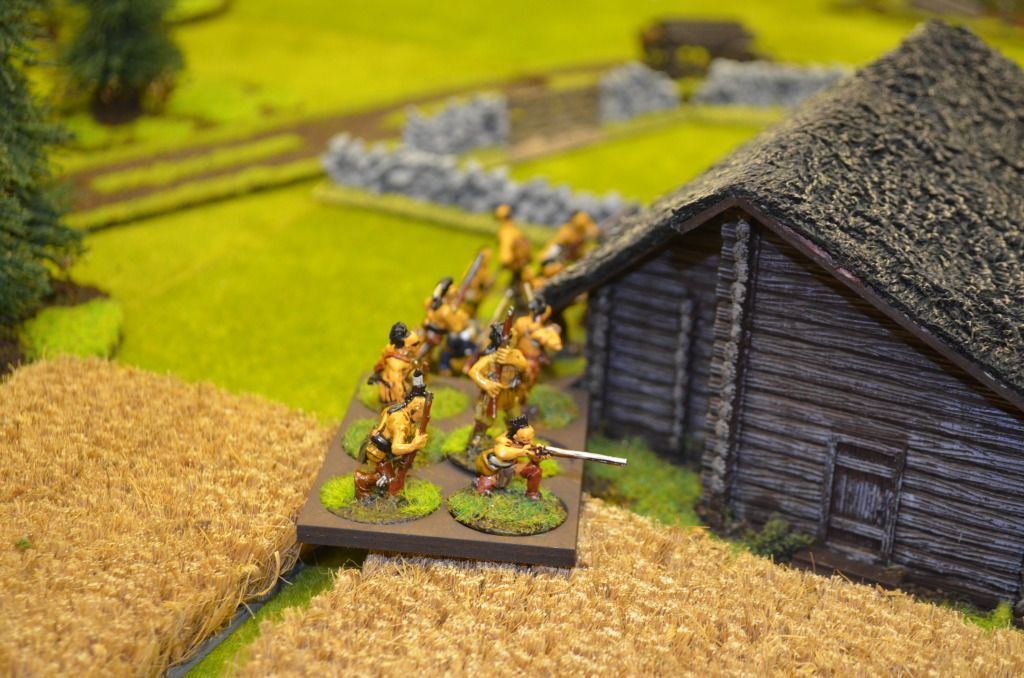
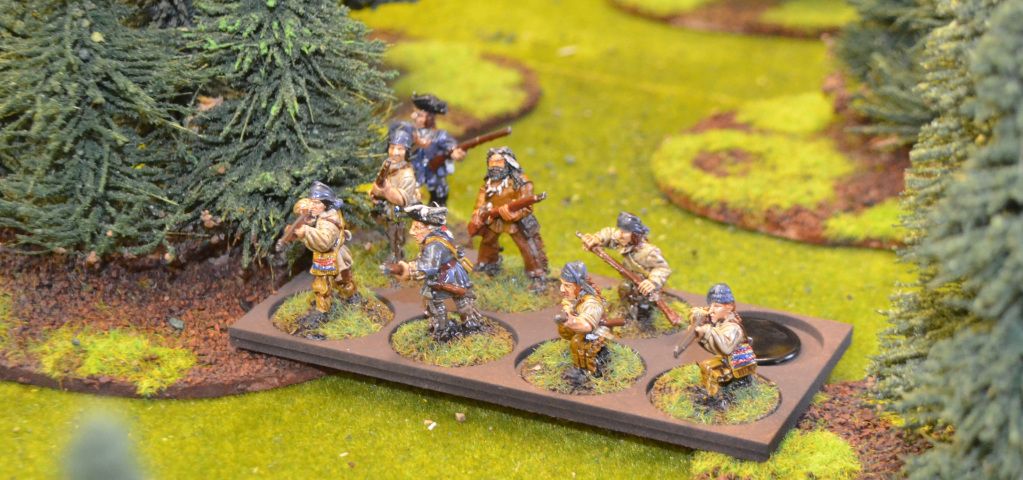
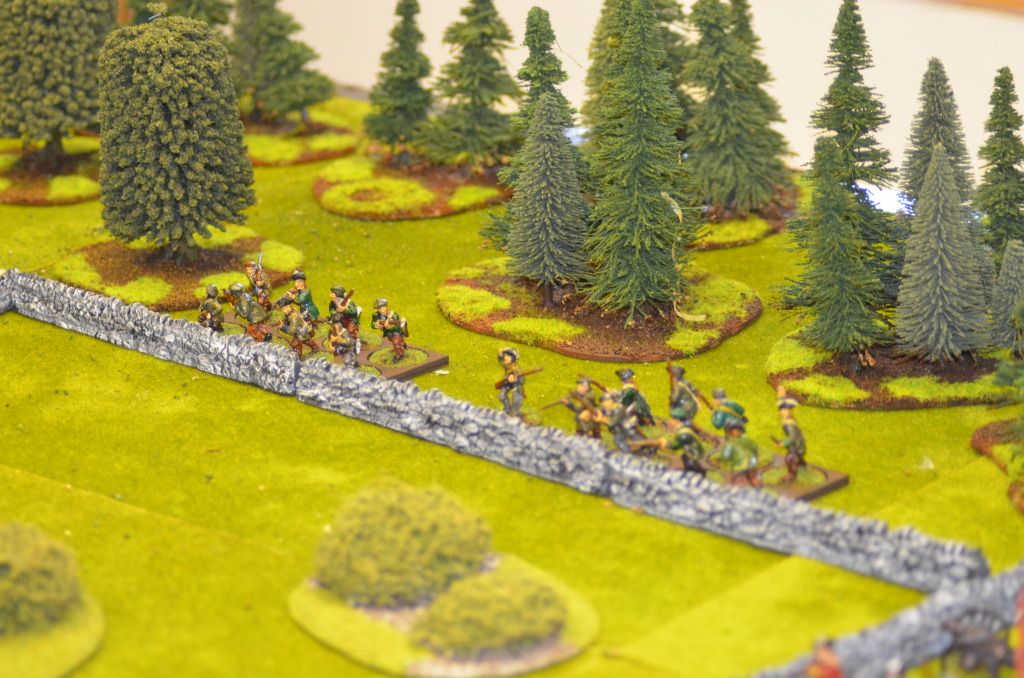
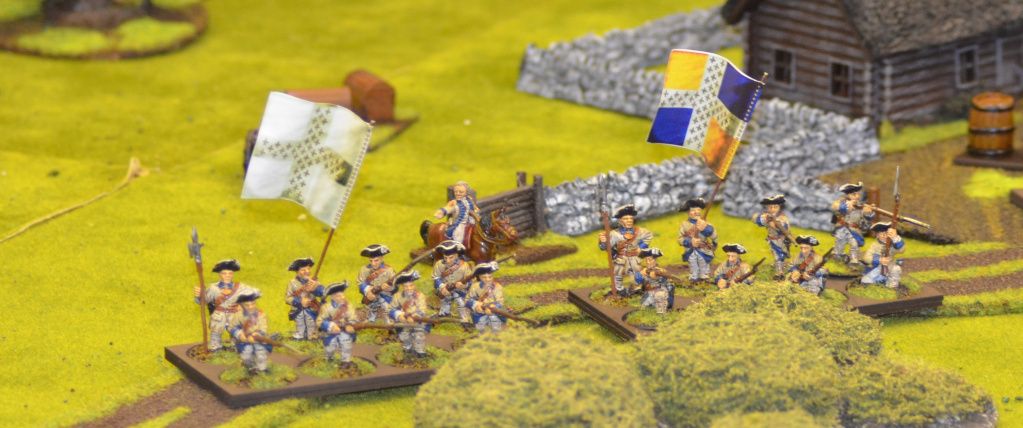
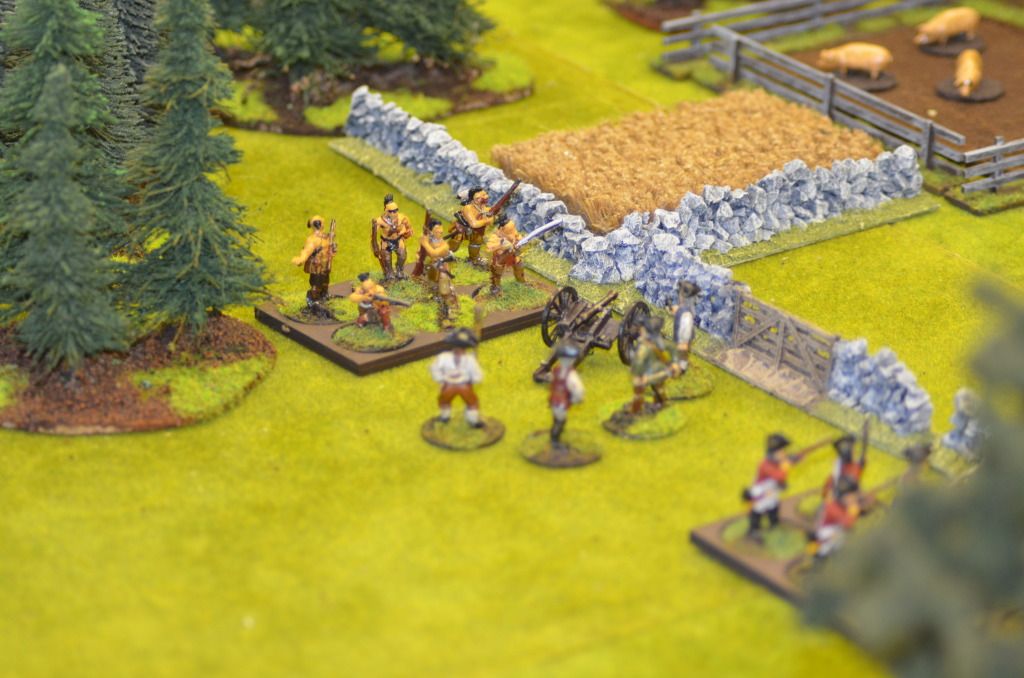
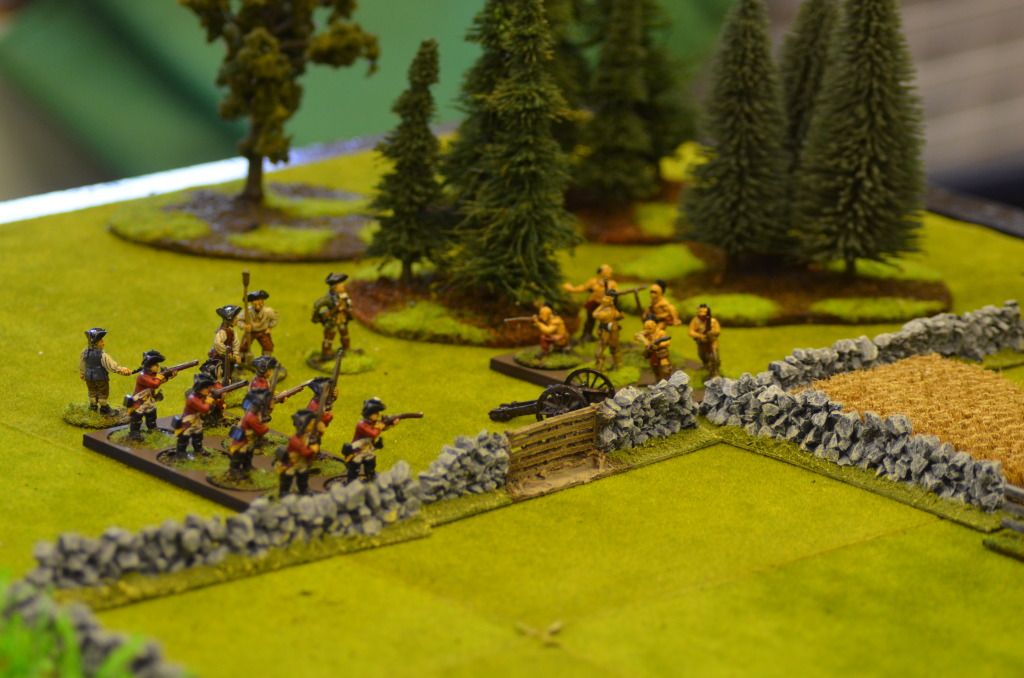
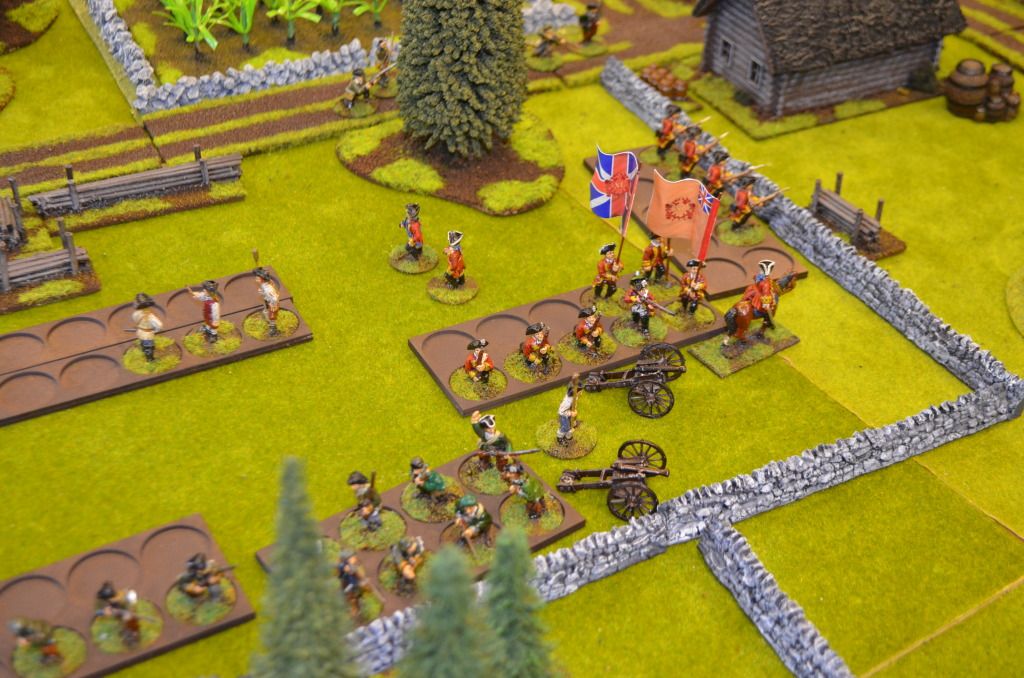
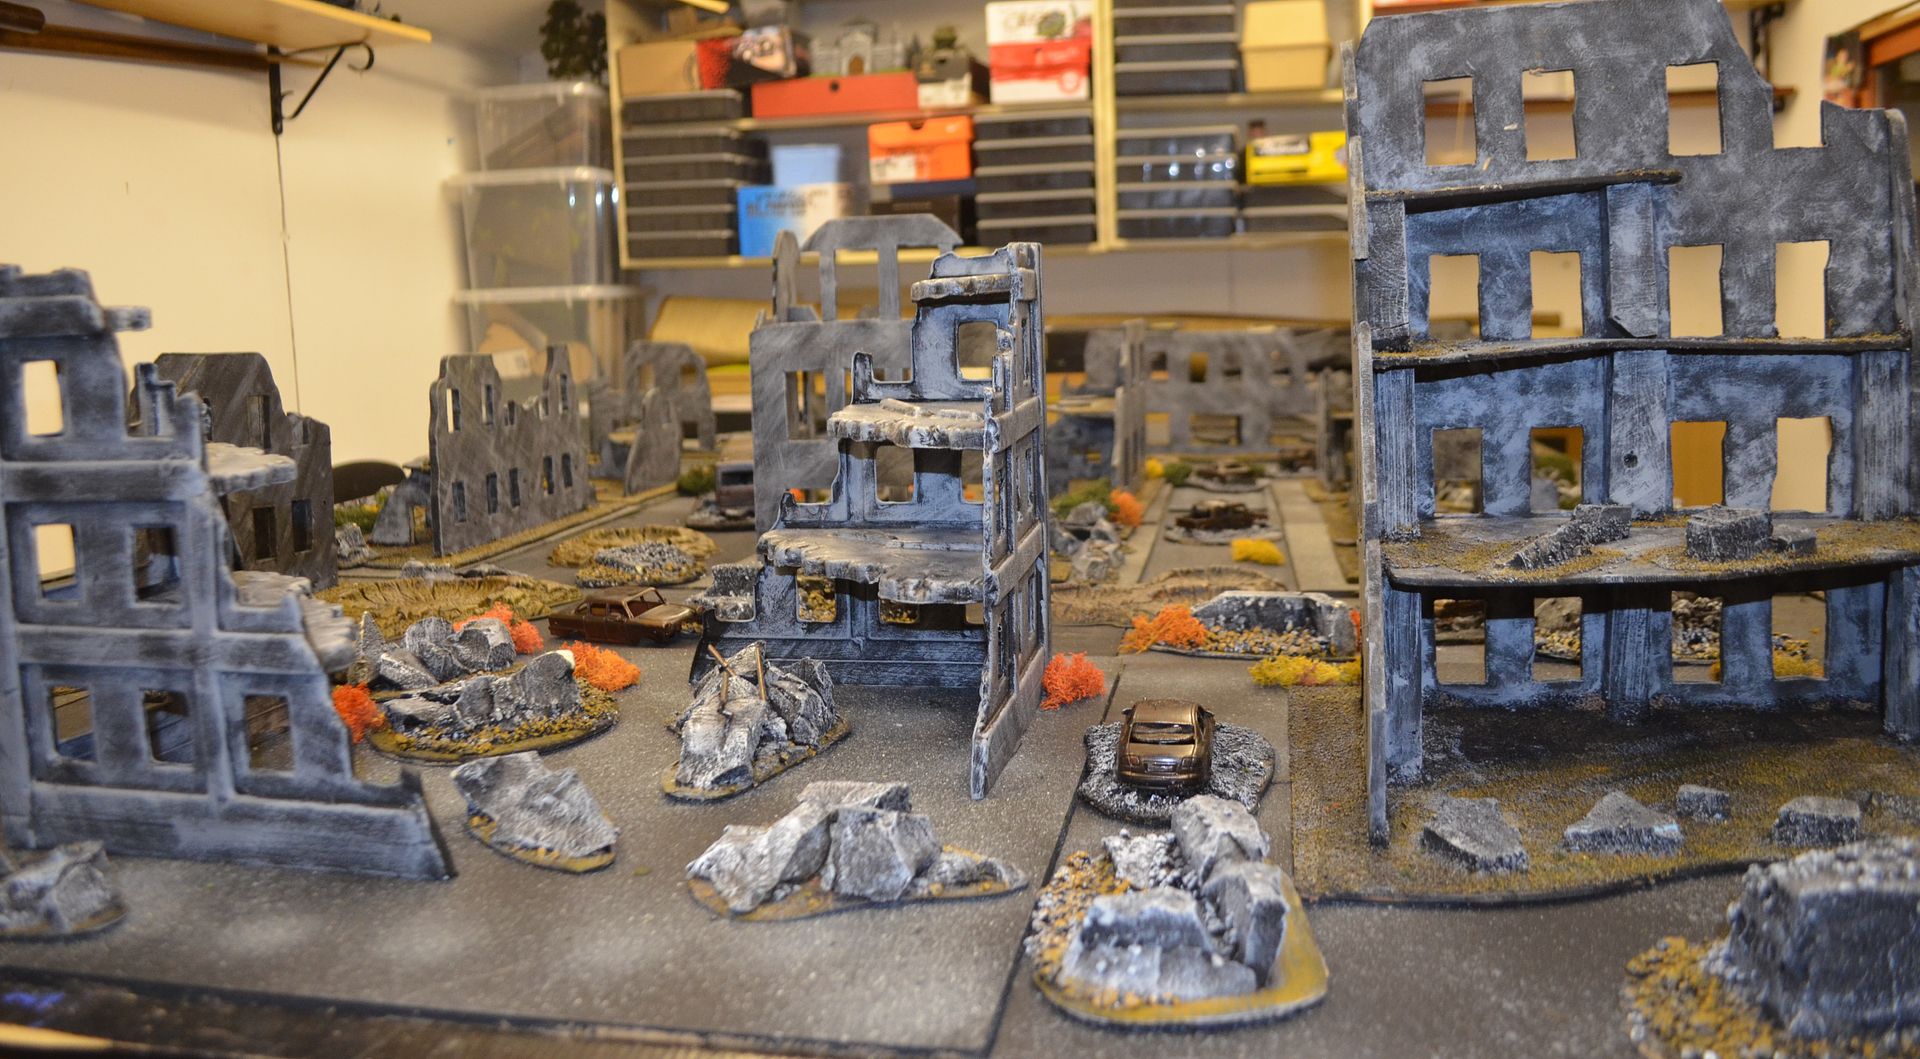
Monday night saw a change of scene in the shed – we moved from the verdant forests of North East America to the bombed out remains of a city in the near future.

A few months ago I purchased Warlords Games Bolt Action ruleset, not that I have any interest in setting up a WW2 project, but rather a view of seeing if they could be used for my near future skirmish games.


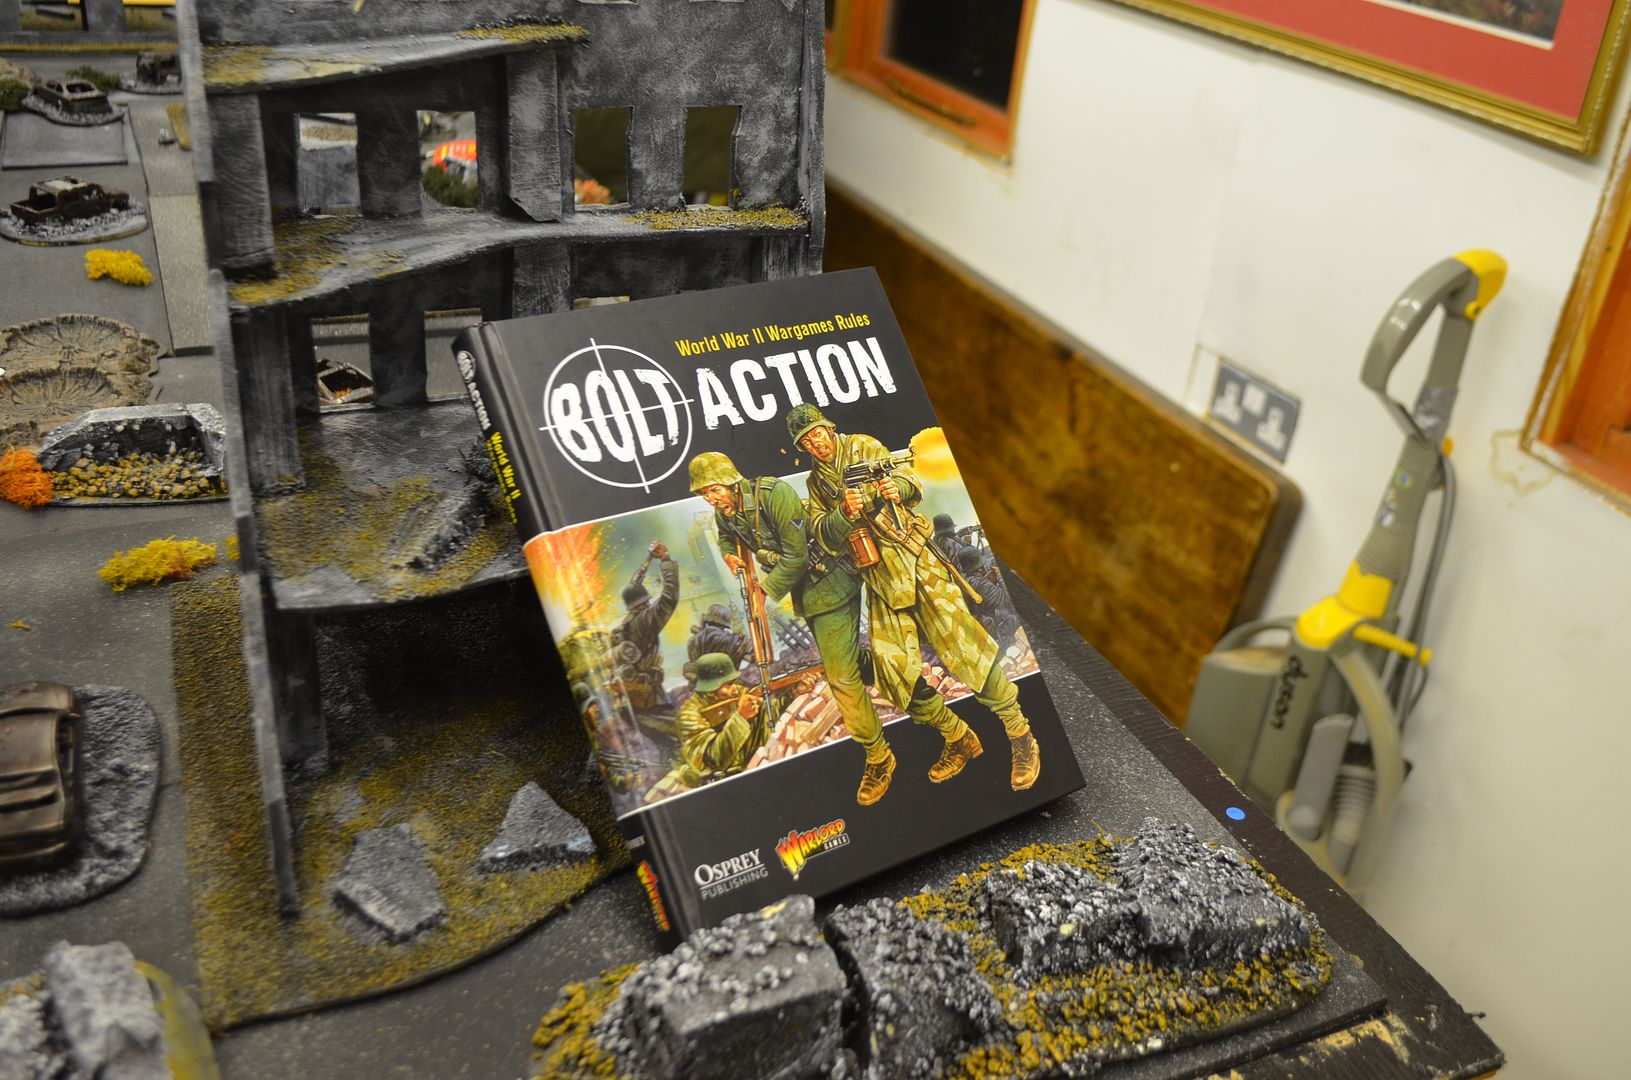
As a quick summary the Bolt Action ruleset allows for a small scale skirmish game fought between squads, support weapons and a few vehicles. The rule book itself is over 200 pages long, full of eye candy and copious lists on the chief protagonists in the European theatre. The rules themselves are very simplistic but in the game we played they seemed to work quite well.

Each squad, support weapon etc counts as a unit. The unit has a designation of whether it is green(8), experienced (9) or veteran (10). These determine morale dice (roll less than score on 2d6). Morale is modified by the number of pins a unit has accumulated and/or whether an officer is nearby. A unit takes a pin every time it is hit, regardless of whether it suffers casualties. If a unit is pinned it must make a successful morale check and the number of pins influence the ability to fire, move and the subsequent checks (typically -1 for each pin counter).

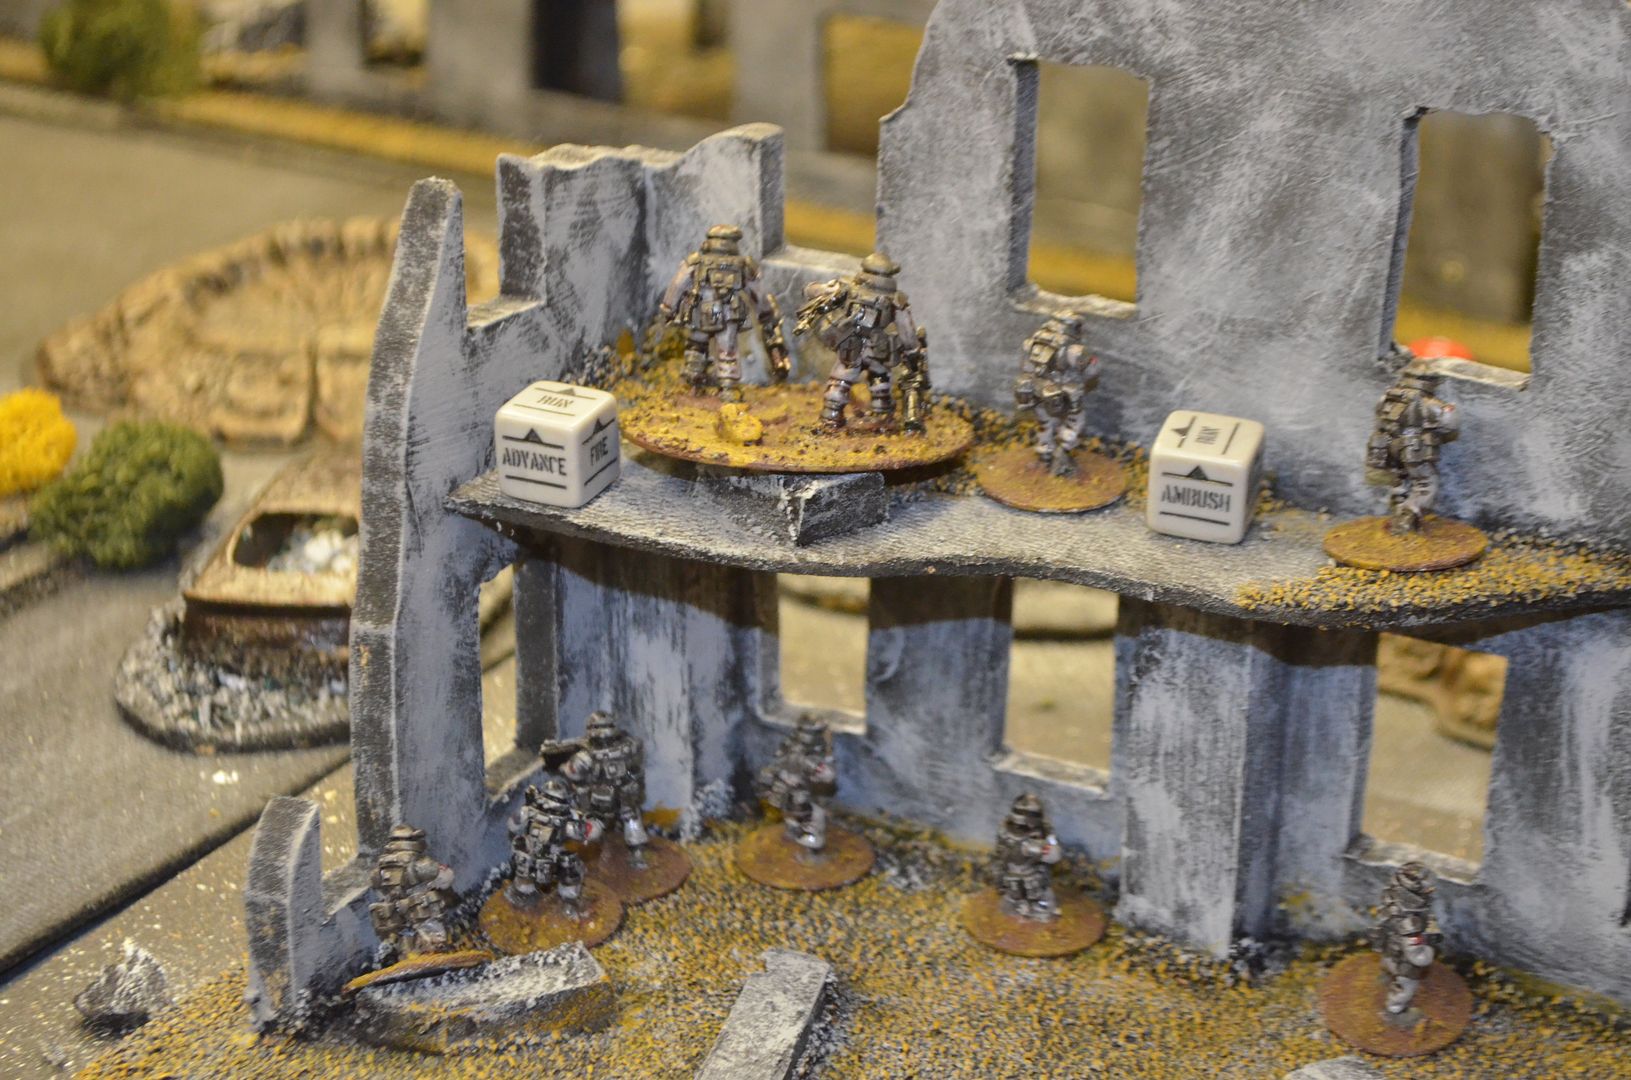
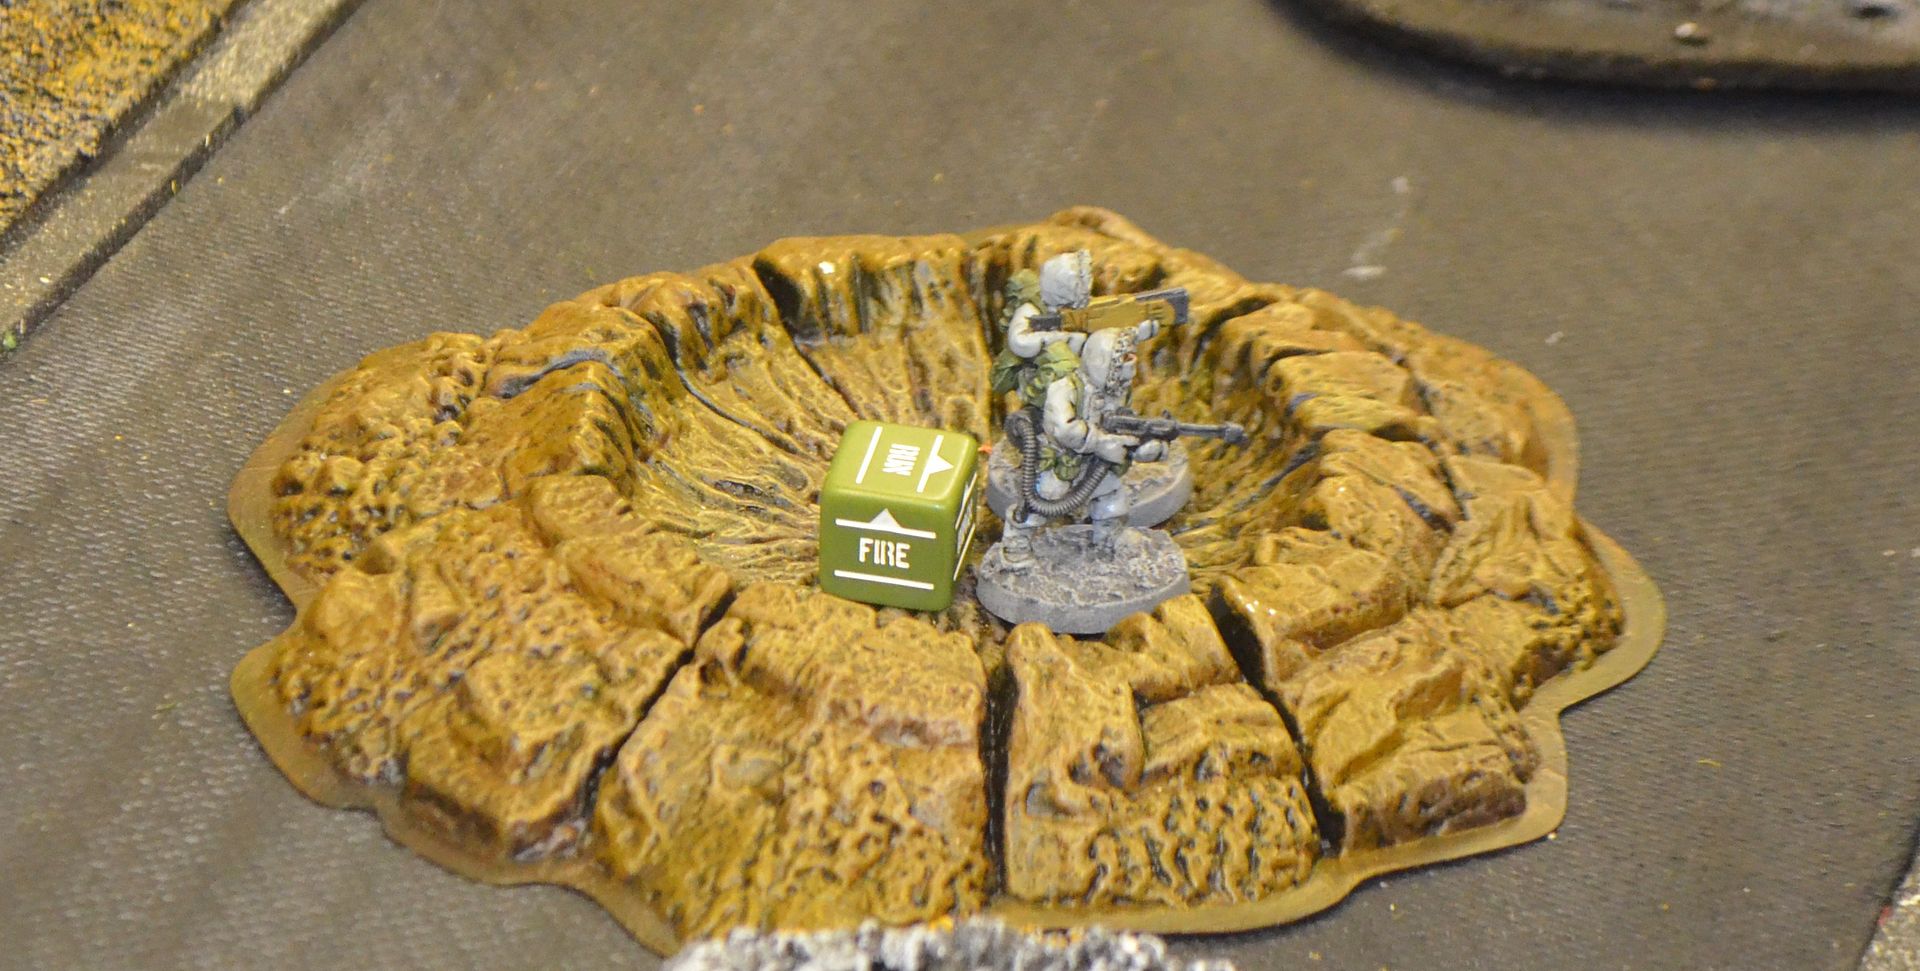
At the beginning of each turn all units are allocated a special dice (colour denoting the sides). These dice are popped into a cup and drawn randomly. Each die shows six actions,


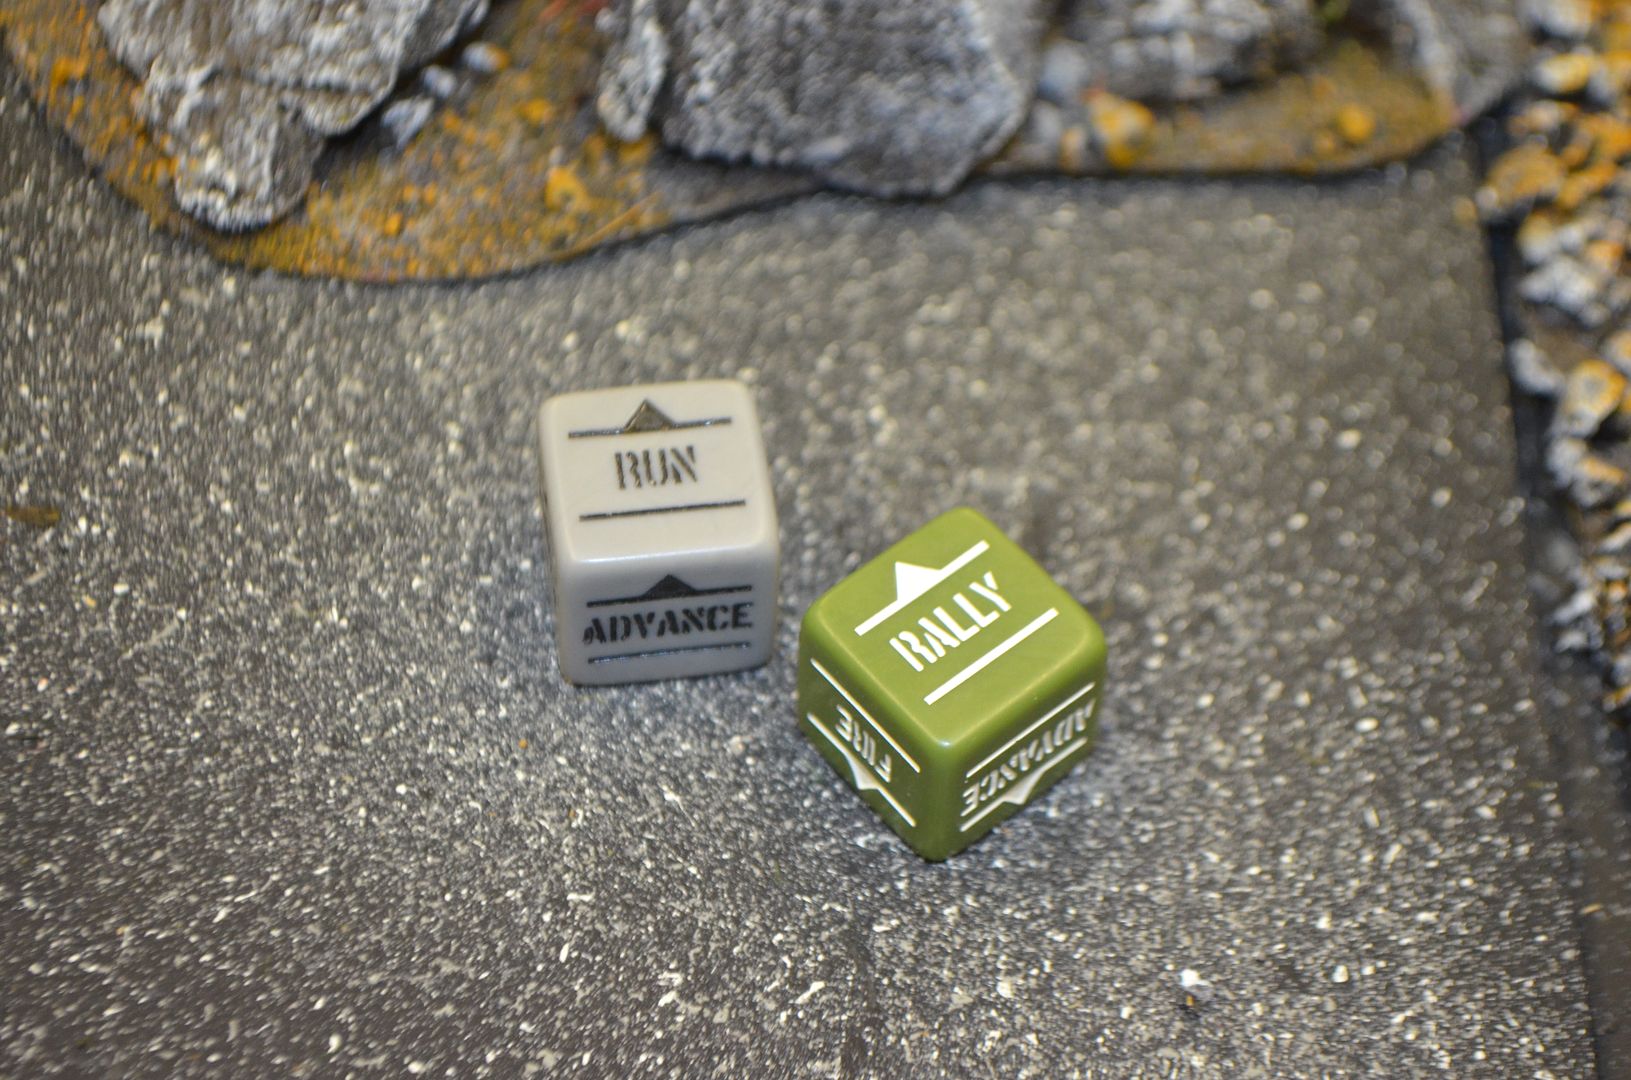
·         Run (unit can double move)
·         Advance( unit can advance 6 inches and fire)
·         Fire (no penalties for movement)
·         Ambush (effectively puts unit into vigilance mode)
·         Rally (the opportunity to remove pins)
·         Down (hitting the dirt and taking cover)

As and when a die is drawn the player decides which of his units will activate and what they will do. This does of course mean that players will not necessarily move in turn. Tactical and strategic success can be determined by the order in which you move your units and recognising when/how many of your opponents troops have activated.

Combat is very straightforward – each model has a weapon with a number of shots, range etc. To hit you need 3+ on a d6 this is modified by cover, movement etc.  If a hit is achieved the target is deemed pinned, a subsequent roll for each hit is then made to determine casualties. This save is dependent on the quality of troop with veterans getting killed on a 5+. Although we had no vehicles in this game they work much the same way with armour denoting a save, AT weapons get a penetration modifier. 

Our first game was an envelopment action – in principle the attackers have to drive across the table and by the end of the game (seven turns) have either exited the opponents edge or are residing in their deployment zone.


Both forces were given the same number of units – 3 squads of experienced regulars (assault rifles), 3 squads of veterans (assault rifles), 1 officer (assault rifle), two medium machine guns and a sniper team.


The defenders could deploy 50% of forces on the board, with reserves appearing from turn 2 if they successfully made a morale check. The attackers deployed along their starting line.

To spice things up the attackers were able to bombard the area up front with all defenders on table coming under fire. As a result most defending units started pinned but a spectacular hit on the sniper team caused this unit to disintegrate in a cloud of HE and Smoke.

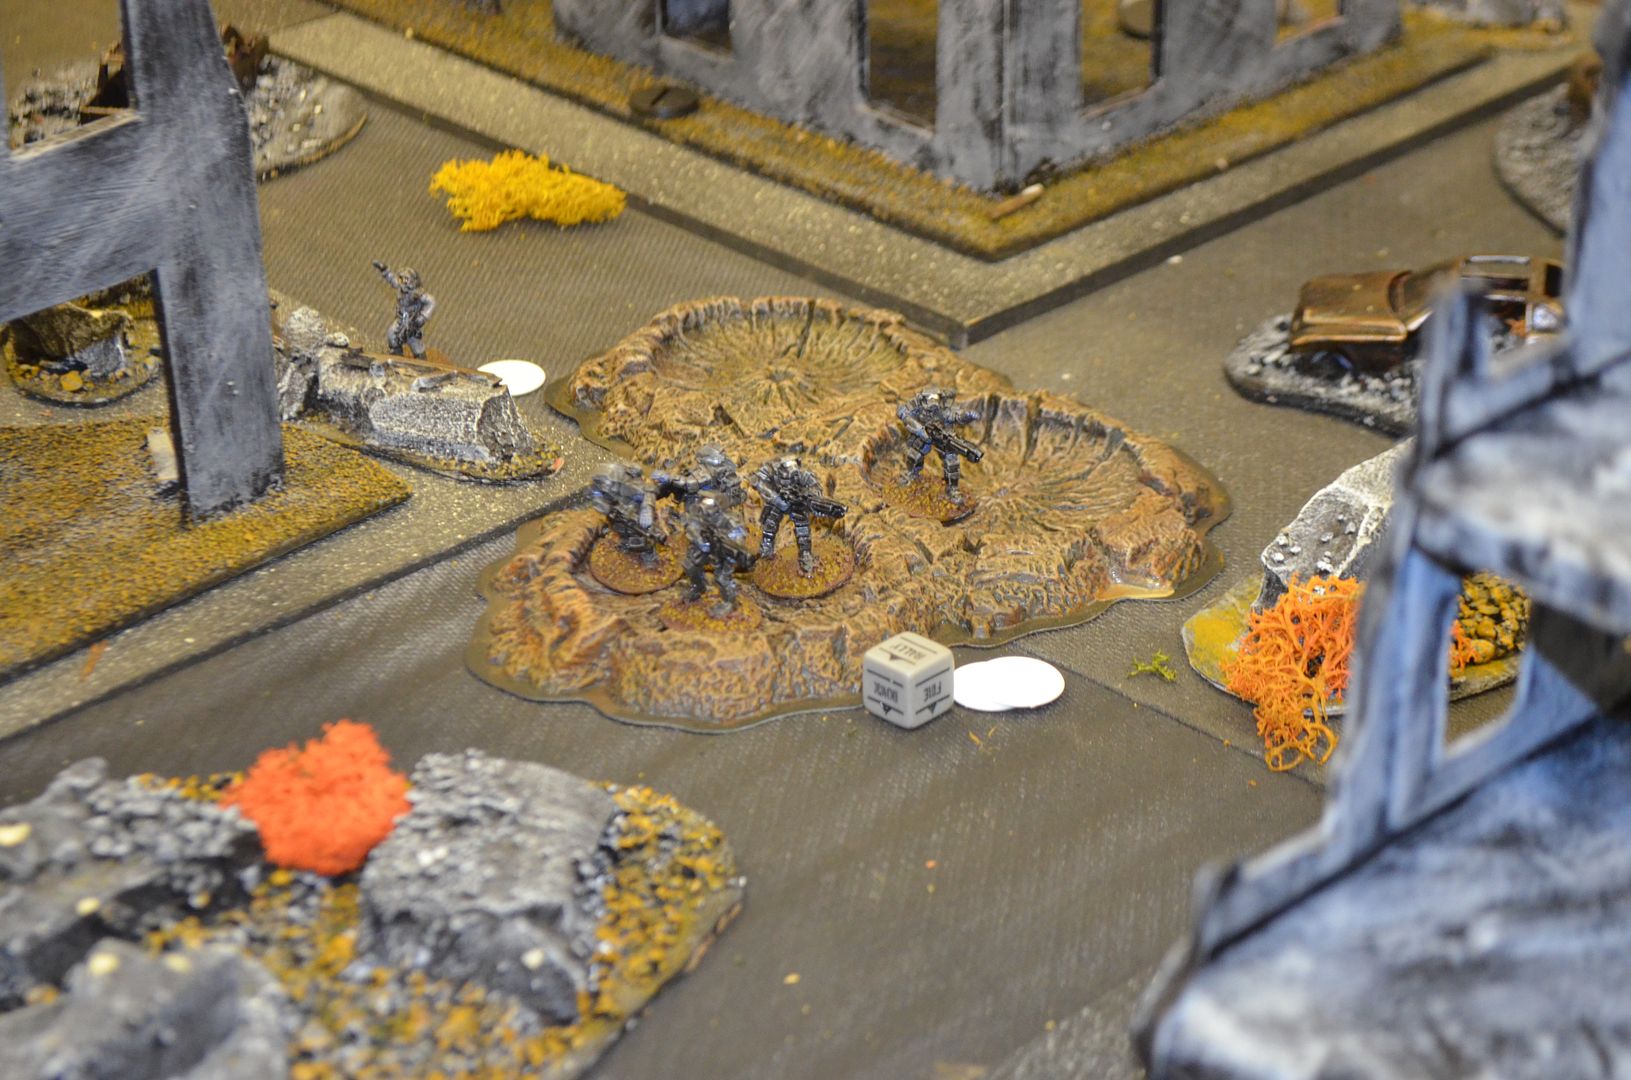
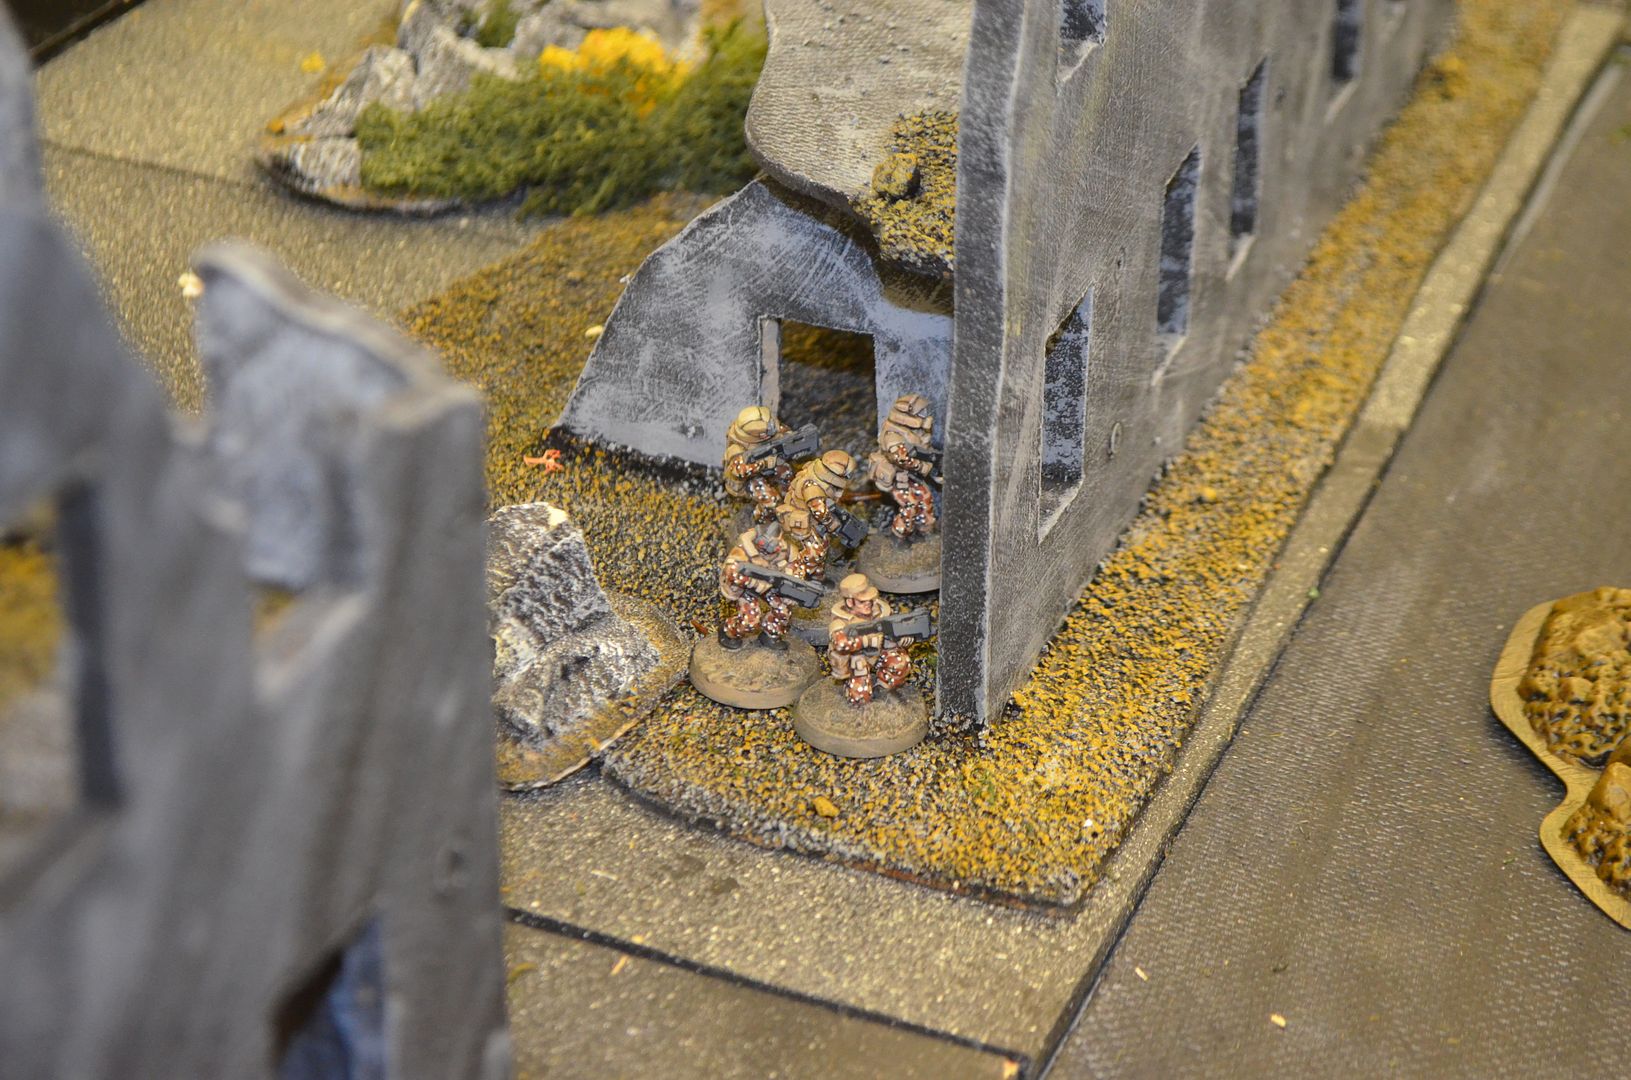
So the scene was set and by the end of turn one the Green Forces (attackers) had advanced across the board with a focus to attack the left flank and centre. The Defenders jostled for position in the windows of the ruined building with many opting for Ambush fire in the next turn.

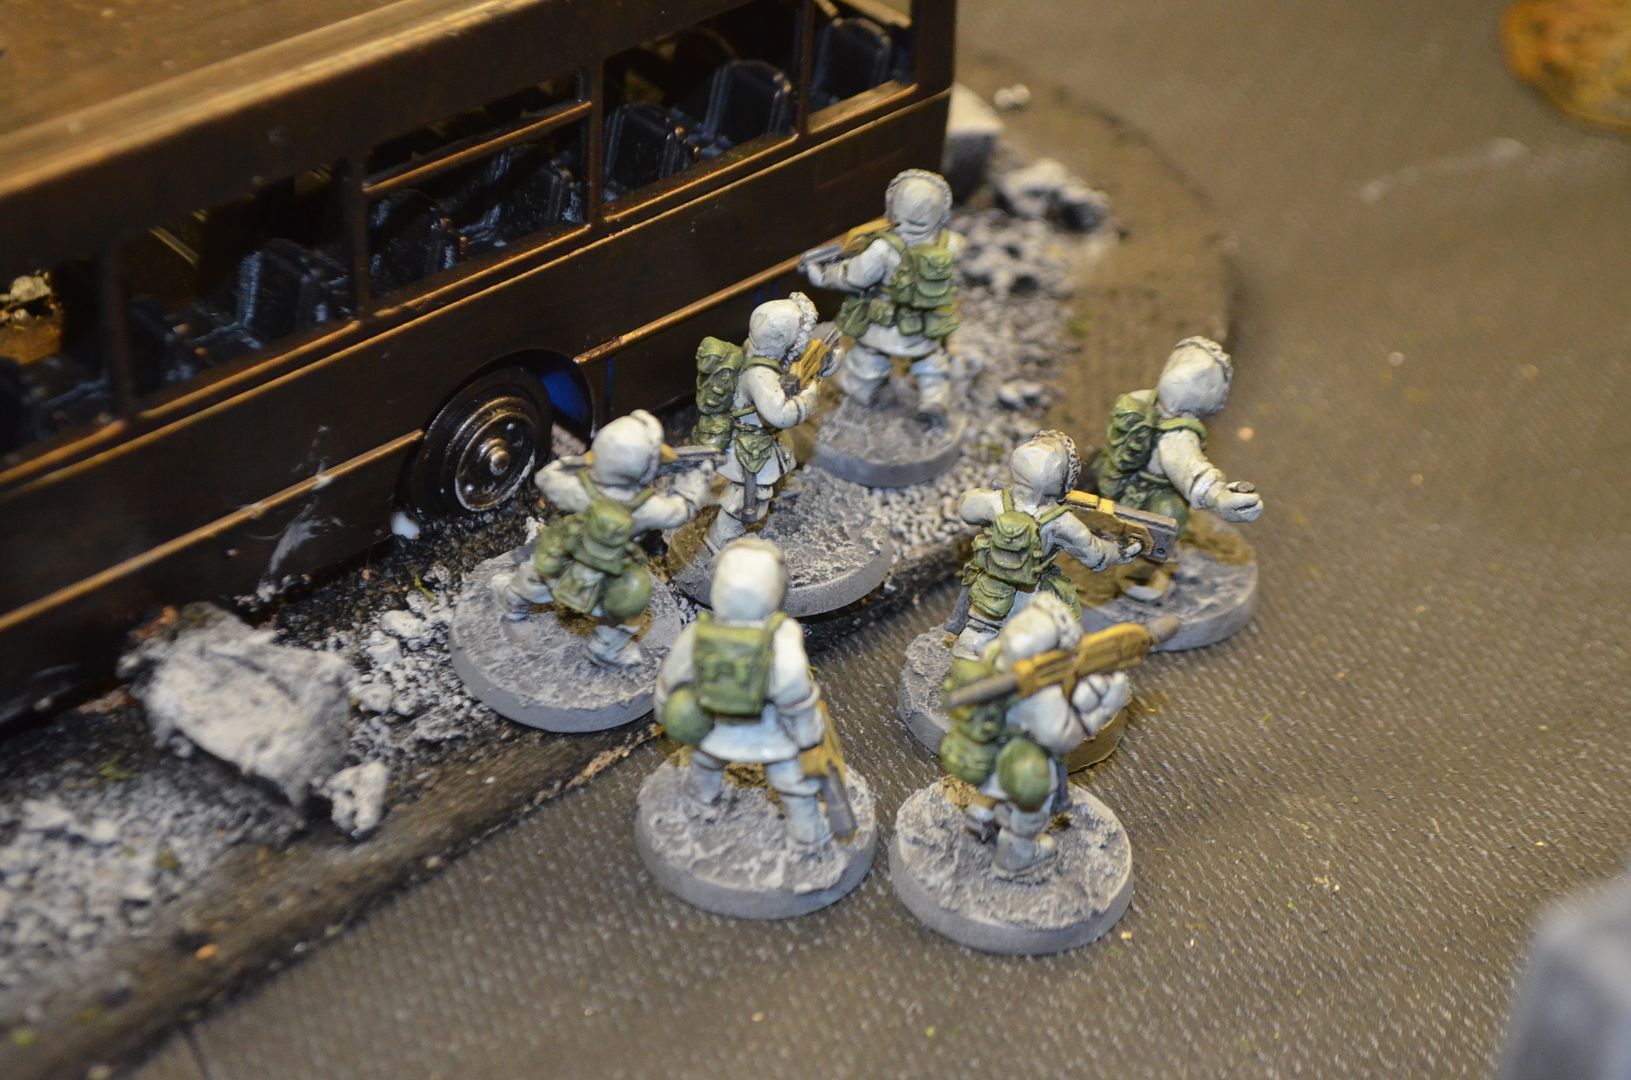
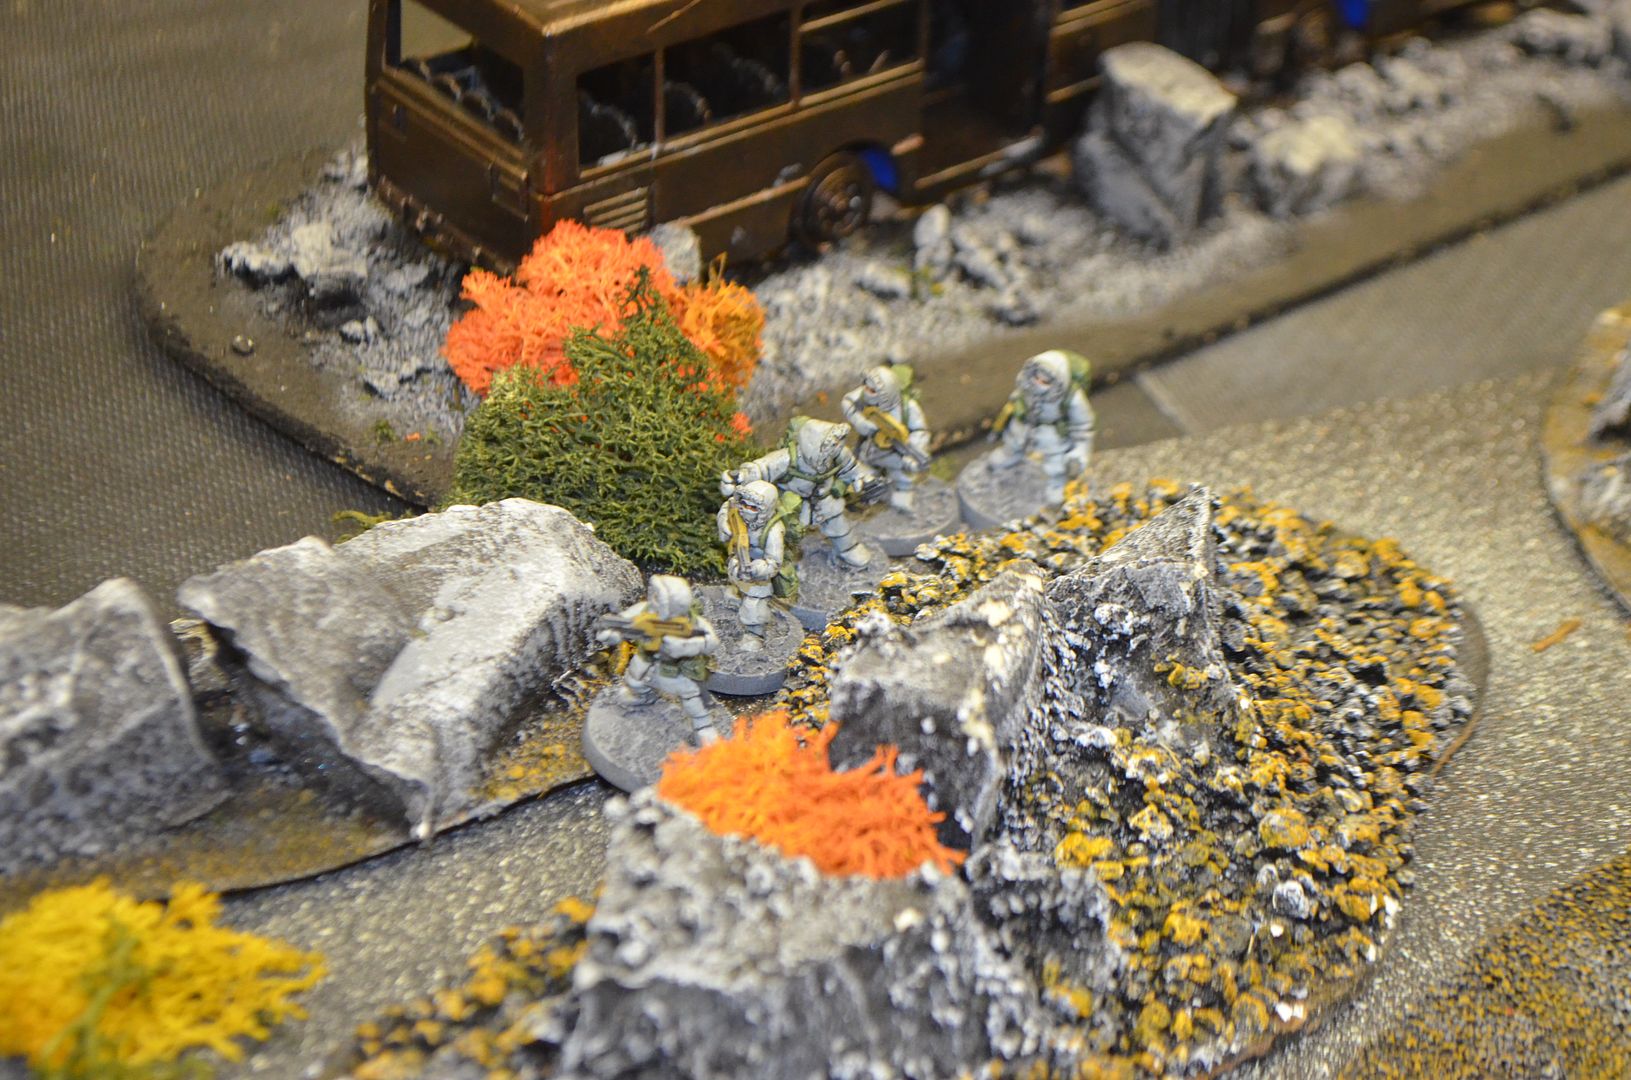
Thanks to Matt for providing Green Forces his excellently painted Snow troopers & Pig Iron Multi Cam fellows.


In turn 2 the leading elements of green forces had come under fire from the medium machine gun positioned in the ruins of the left flank, four dice rolled and two hits scored with two kills. Not the start the attackers wanted. Further exchanges of fire flashed across the city district.


By turn 3 our defending forces had established a strong defensive perimeter and were freely shooting the advancing green forces. Casualties started to rack up and units were becoming pinned under heavy fire. The Green forces enjoyed some success with a squad taking out the deadly support weapon.


Turn 4 saw the game enter an attrition phase, with all the defenders reserves now in position and telling fire counting heavily on the green forces it was looking like objectives would not be achieved.

Turn 5 began with some desperate advances by green, could he seize back the initiative. Sadly his early losses and the defenders fortunate rolls had determined the fate of the game.

Turn 6 Green forces were able to charge one unit of Greys and were successful in the ensuing and very devastating melee.

Turn 7 – With Green suffering 40% casualties the objectives were never going to be achieved and a halt was called to proceedings.


So what did we learn...

1.       The ruleset is easily translated into other periods of play. There is no reason why the rules could not encompass all squad based skirmishes.
2.       The activation of units is clever – but a high degree of luck can come into play
3.       Ranges (a max of 24 inches) seemed to be somewhat limiting – maybe better to have no range maximum on a small table but count long range over a certain distance for all weapons – exception maybe handguns etc
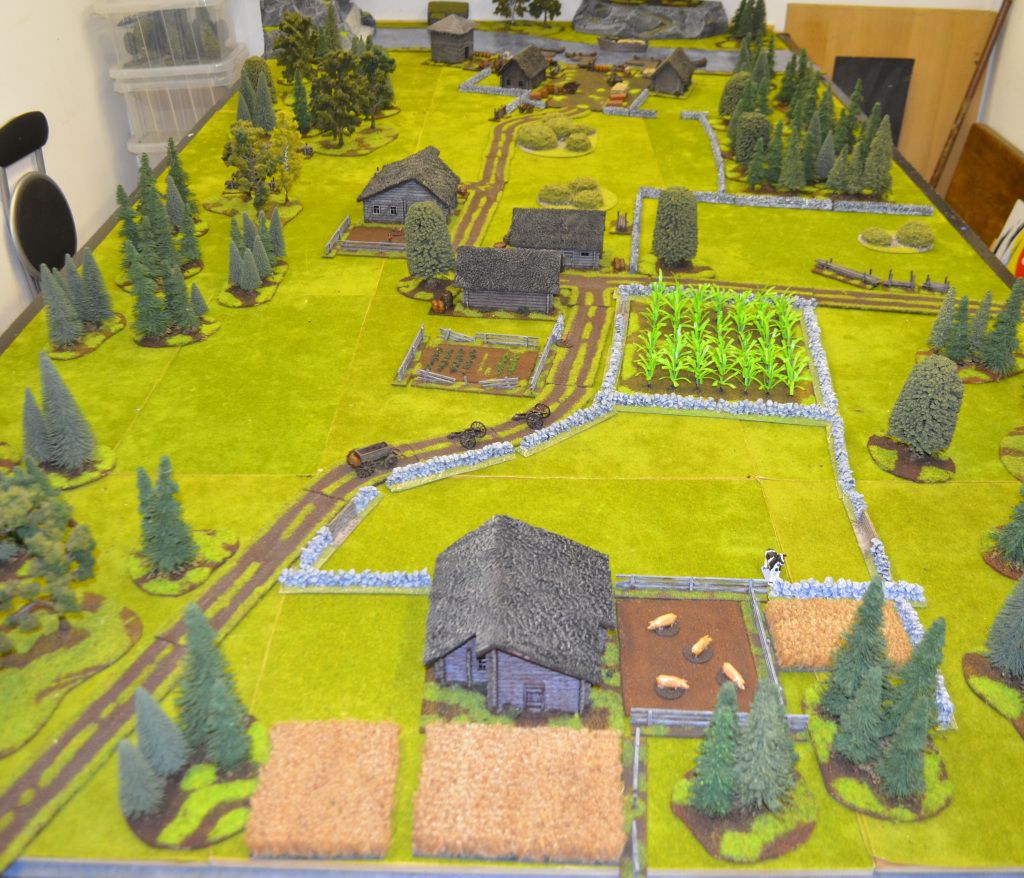
4.       We probably had too much terrain on the table
5.       Using more than 10 units per side not recommended – nine just about worked.


Hope this is of interest?

Eric

Tuesday, 13 November 2012

First Pirates come ashore...

When I start out on a new project my first priority is getting the figures painted this is before I start with the fun bit of building the terrain.

This is always the most time consuming aspect of any activity and to be frank I am not the best painter in the world. My style can be best described as rapid.

To begin with I base (on 25mm washers from B&Q), grit the bases with sand and then prime. Because I want the colours to be quite vibrant on these pirates my choice of primer this time will be grey.

Rather than paint one figure at a time I typically paint in blocks of a dozen figures at a time and go through the set one colour at a time.

First up will be the base. With the pirates I have deviated from my standard scorched brown and light drybrush, I have plumped for a lighter base colour. Because these boys will be shipboard and in the town it’s unlikely that they will get a treatment of static grass.

Working by the numbers the flesh will get painted first followed in this order shoes & boots, trousers, shirts, jackets, hats. Once all the clothes are painted I turn my attention to hair (I hate this bit). Only once all the core elements of the figure are painted do I turn my attention to guns, swords and other accoutrements. To keep the time down I do very little shading – unless it is a big area (eg a cloak). Once dry the figure gets a wash of Army Painter dip and allowed to dry/cure for 24 hours.

I estimate that the 13 Pirates (A baker’s dozen) shown below took about 3 solid hours to paint. This works out around 15 mins per figure. By working in blocks you can churn through quite quick. The more detailed characters remaining will probably take much longer.

Not to self - sort out lighting on camera shots


So the first part of the crew are finished – I have set them off against some buildings recently purchased from Matakashi...

Cheers

Eric

Monday, 12 November 2012

More Trees - Big Trees

As you have probably gathered from previous postings on this blog I have had a bit of a run on tree building this year and this last post quite possibly is the last...after all there are only so many trees a wargamer can use !

I am sure like many of you have wondered about using (or maybe you have) the Woodland Scenic tree armatures. The problem I have had in the past is that they tend to be very fragile, a pain to construct and can be quite expensive once you have bought the armatures, foliage etc etc. Hopefully the following will try and dispel those myths.

A few weeks back I bought some Pirates from foundry, they came all nicely packed and arrived very promptly. I was struck by the nature of the foam packaging (like sponge) and thought there must be a use for this. A thought occurred to me that if I cut it into small irregular blocks and covered the result in flock foliage might appear.


So out came a few armatures from a purchase made some time ago.


Sharp scissors and PVA glue soon had me jamming these bits of foam onto the tree’s boughs. At the moment the foliage looks a bit blocky but once dry the magic will start to happen. Note – I found that dipping the foam into the PVA was the best way to get this stuck onto the tree rather than painting the tree in PVA. It is messy but it seems to work.


Once dry I took my trusty scissors and started to reshape the blocks into a more pleasing shape.


Spray the whole tree, foliage sponge and all black.


Now is the time to paint the tree itself – drybrushed greys and lighter browns.


Once all this is done, paint pva glue onto the sponge foliage and dip in a big box of flock. Shake off the excess and allow to dry.


Fix the flock with scenic cement (Sprayed) – hey presto job done. All I need to do now is base them.

I am quite pleased with the result.

The armaturesw were about £1 per tree and the flock was about £4 for the bag - still loads left - so I reckon each tree cost about £1.25 each - oh they stand around 6" to 8" tall..

Now if you are interested in palm trees head here

Palm Trees

Cheers

Eric


Sunday, 11 November 2012

My First Photo Shoot

Hi Folks

A bit off piste here folks but we will be back to the 18th Century very soon....but... 

 
A few weeks back the good guys at Amera Plastics (http://www.amera.co.uk) wrote to me and asked if I could send them some more pictures of their ruined buildings in play.

Always happy to support the guys who produce our toys I set up my first photo shoot !

The buildings in the shots are all from Amera, and the figures and tank are from the excellent Pig Iron range.

The ruined cars , rubble and other bits and bobs are either scratchbuilt or have been collected along the way.

If you are looking for a ruined city check out their site its a quick and easy way of putting a lot of buildings out in one go.

Cheers

Eric

A very few of the pictures sent to Amera


Tuesday, 6 November 2012

Pirates - A new adventure for the Shed

Fifteen men on a dead mans chest

Now that I have completed my French Indian Wars project – will still be buying the odd set of figures I am turning my attentions to the next project. In a sense it is a continuation rather than something completely new.

My decision was made quite easily when I purchased a rather fabulous looking ‘man of war’ from Ainstey Castings – you guessed it my next adventure will be Pirates !


As I always start my projects with the figures I immediately sent off an order for the Pirate Horde with Foundry. 48 hours later the figures arrived – great service. I have just primed and based the seventy figures, painting the first of my motley crew will follow. A few other Pirates and nautical types will be added but I reckon around 100 ruffian types will be more than enough for the skirmish games I want to run.


With all the 18th century stuff accumulated for the FIW I can use a great deal of the figures and terrain in a pirate setting. Obviously we will be moving to warmer climes so it gives me another chance to roll out the jungle terrain constructed rather expensively a few years back.

So I can tick off the jungles, the rivers & waterfalls, the trade goods (just need lots of treasure chests).

I eventually want to build an Island retreat complete with small fort, harbour and township. This will be surrounded with cliffs, beaches and inland features. The ideas are starting to formulate. Like many of my projects the planning is done in my head and I tend to deal with issues as they come along rather than plan out in advance.

So if you like your rum, your cutlasses sharp and the Jolly Roger flying at the topmast keep an eye on developments in the shed.

Cheers

Eric

Friday, 2 November 2012

Rocky Outcrops

In a moment of madness  between running the kids between various events I decided that I would build some rocky outcrops to accompany the recent waterfall. Although this work was spread out over two days allowing for drying time the actual process to build these four items was less than 3 hours.

I reckon the total cost of materials was also less than £10.

The following is a quick step by step process for churning out big terrain in very little time.

Materials required: Black, Grey and White - lots of black needed, grit, Static Grass & the foam.

My foam is the insulating type used in modern extensions. Look out for it in local skips and builders yards. Off cuts are usually plentiful.

Start with a block that looks like this: (no idea why photo on its size)


Using an old knife hack out the outcrop into the shape you want. Tearing the blocks out works well.


Into a rocky shape....


Once cut paint the whole thing black - TWICE - the acrylic paint helps to stop the outside from flaking and gives it a tough skin. If needs be glue the foam outcrop onto a board/card for further strength.


Drying in the Winter Sun !


To get to this point took me approximately 1 hour to build four outcrops - another 20 minutes will be required to paint the second skin.


Once dry the next step is really quick & fun. Using a largish brush ( I buy the cheap ones in the poundshops for this) dry brush the whole thing dark grey.

Dry-brushed with Codex Grey


By the time you have finished you can dry brush the outcrop light grey....

Dry brushed with Fortress Grey


Then add a bit of top soil on the top...


Once done add static grass to complete the final look....


Affed a few trees to illustrate that this could be a wooded outcrop


Soon to appear on the battlefield


Thanks for reading


Wednesday, 31 October 2012

Encounter at Pilgrims Falls

Battle of Pilgrims Falls -

Our regular Monday night game was determined to be a straight forward engagement between the French and British forces on the Canadian Border.

The setting was the ficticious settlement of Pilgrims Falls. This strategic location on the upper stretches of the George River has become the battleground of two strong opposing forces. The settlement itself is based on the last trading post in the wilderness, with a prosperos village developing in the vicinity of the small port. Farmsteads, crops and livestock scatter the valley floor. To the North East lie the actual Pilgrim Falls.

Village of Pilgrim Falls, The waterfall at top of photo.
The battlefield gave me a chance to put out my new roads/ tracks - I'll get round to posting a tutorial on these soon.
The Jetty at Pilgrims Falls


Livestock - (all from Redoubt Miniatures) - Daisy the Cow needs from friends


Chickens - soon to be Coq au Vin!


New Field - with workers


The Settlement oblivious to the noise that follows


The forces based on circa 600 points (Muskets & Tomahawks were evenly matched). The objective simple - drive the opposition from the field.


The Britrish commanded by Colonial Richards had three units of Regular infantry with two regular artillery pieces. These redcoats were supported by three units of rifle armed Rangers. Approcimately 70 men in this sizeable force.

The French were lead by the infamous Colonel Orly, he mustered three strong units of French Infantry, three units of musket armed Canadian Militia and three local Indian Warbands - a total of around 80 men.

The French emerge from the woods

It was agreed that both forces would start just over 2 foot apart with the French forces played out first. Both sides took advantage of cover from walls, buildings and woods.

Les Pigs...


French deployment on Eastern Flank


During the first turn the French took the initiative and moved forward. Two flanking attacks using the Indians and Irregulars aimed top sweep around the British line, whilst the formed troops would attack the centre.

Militia sweep through Pilgrim Falls


The early phases of the game saw the French sweep out around the flanks capturing the port and the western Farmhouse. (Much to the amusement of the local domestic animals)

Militia & Indians on Western Flank


Meanwhile the French Regulars moved into the central village. With neither side seeing the other the battlefield remained eerily silent.

French Regulars under Colonel Orly advance


Eventually some of the cards for the British began to turnover. The British centre advanced with Artillery support. Finally the Redcoats could see the French mingling around the central village. Firing Lines were hastily drawn up and two units opened fire on the belkeagured defenders. Despite the solid walls of the cabin French men died and the unit was driven backwards out of the building.


AImpressive British Line with Artillery support


French Defenders


Over on the western flank a gun battle had erupted between the Indians and the Rangers hidden in the Cornfield. Sporadic firing caused few casualties. The Western redcoat unit advanced and opened fire on the Indians skulking in the farmyard, a few kills drove them off the field. However this line soon came under fire from Canadian Militia and they too were driven backwards.


Rangers in Maize field
Indians advancing


Back on the Eastern Flank the Canadian Militia under the guidance of Major Dumas had circled around the Rangers holding the flank, driving one unit into flight and causing no end of consternation as they advanced along the woods on the British baseline.


Canadian Militia Push forward


In the centre the two comnbatants slugged it out with their regulars, some damn fine firing from the French began to tell on the British Defenders. As the eveing wore on Casualties began to build on both sides with the French performing better.


Rangers - soon to be flanked
French Line 'duel' with British Defenders


Back to the West an Indian unit had rushed an unloaded artillery piece, dropping one gunner in the tomahawk charge they expected the rest to fall quickly. Six braves against three men. Three hits from the Indians, three saves from the gunners - three hits from the gunners and no saves for the Indians saw an unlikely victory for the English. The Indians were driven back into the sights of a formed British line - boom their bodies dead before they hit the ground.


Indian Tomahawk Charge on Cannon Crew


Indians get wasted


Despite this small victory the British had no answer for the massed French units and the Militia charging towards them. With the majority of buildings in the hands of the French and the British position comntracting a victory was given to the men from Gaul.


A retreating British Force


Thoughts:

Artillery is not very good - it raely hits and does not have a major impact - we will strengthen this for next game.
Rifles are effective at longer ranges but onluy if you can see the enemy
600 points plus per side allows for a good game but be wary of it turning into a slogfest


All good fun...

Thanks for reading

Eric the Shed