Following on from my previous post I am delighted to report that the Breach project is complete...
for the first part head here...
http://shedwars.blogspot.co.uk/2016/11/once-more-unto-breach.html
When I left you last I had cut the walls and placed polystyrene in fillers into the holes. The next step was / should be relatively easy - I coated the in polyfilla and allowed this to harden,
Once dry I liberally pasted on pva and then covered the breaches in gravel. It didn't stick. Either the glue wasn't strong enough or the gravel was too heavy. I tried the same thing with cat litter - same problem.
In the end I coasted the breaches in hard as nails adhesive a pushed in off cuts of blue foam. These stuck. Apologies no photos at this stage.
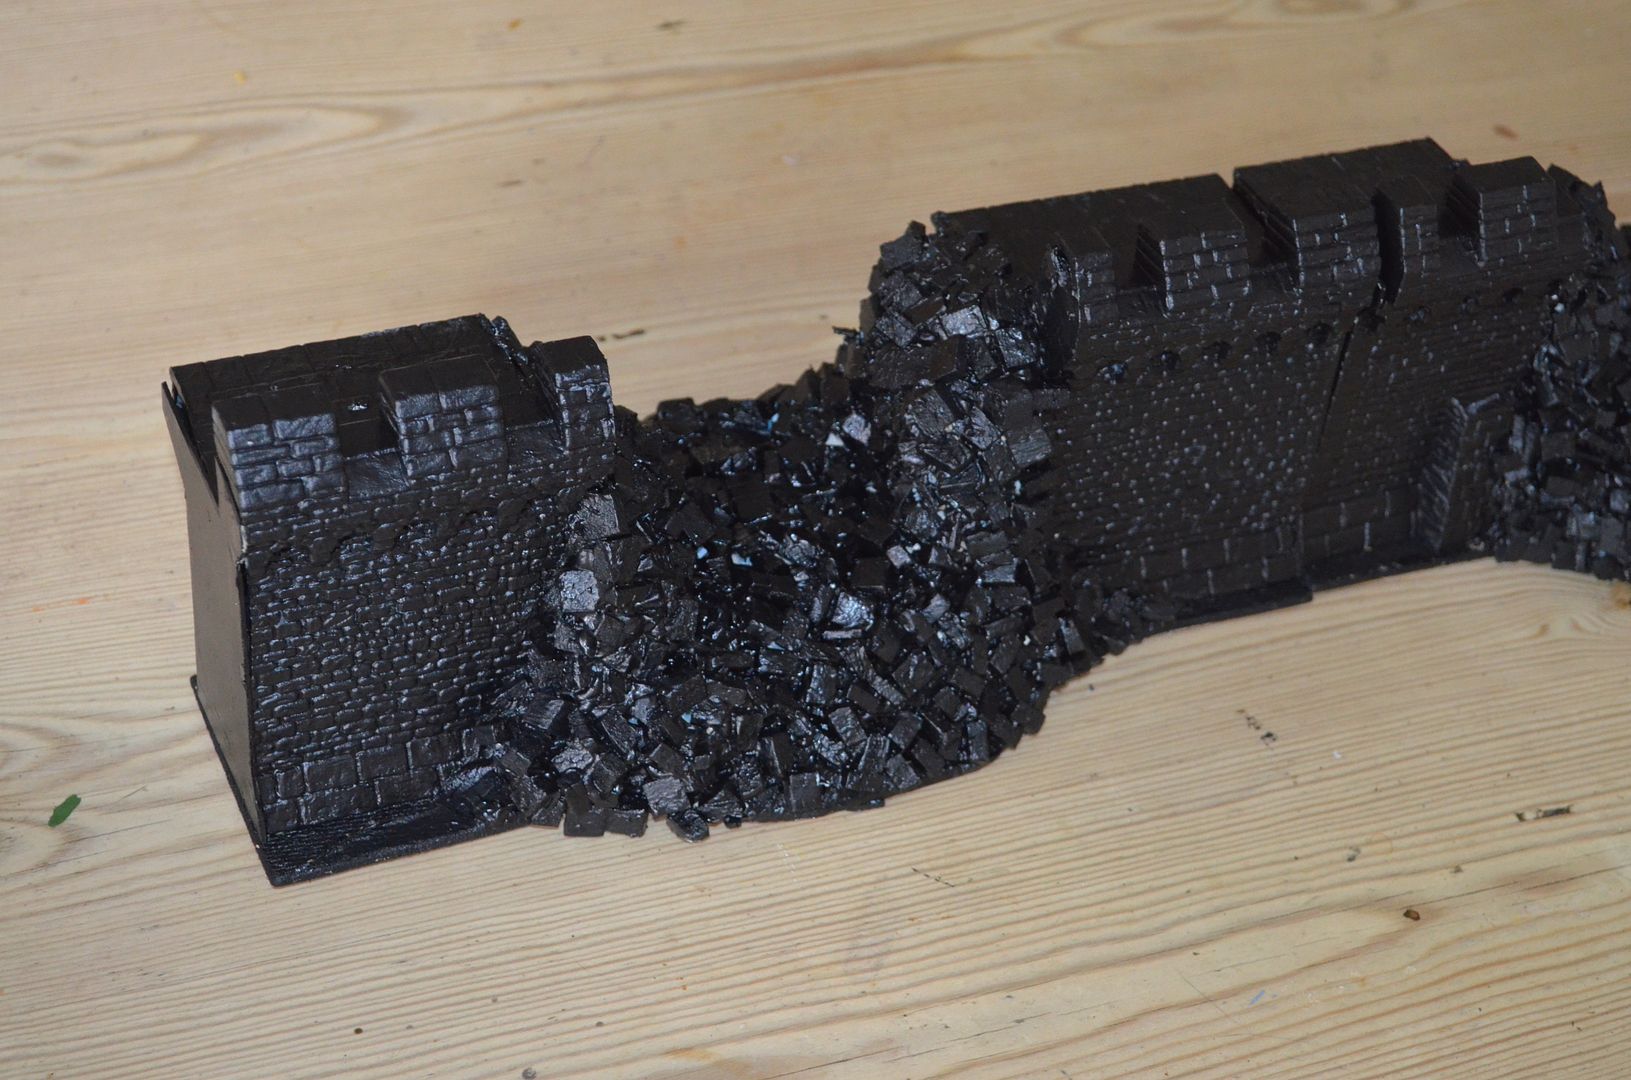
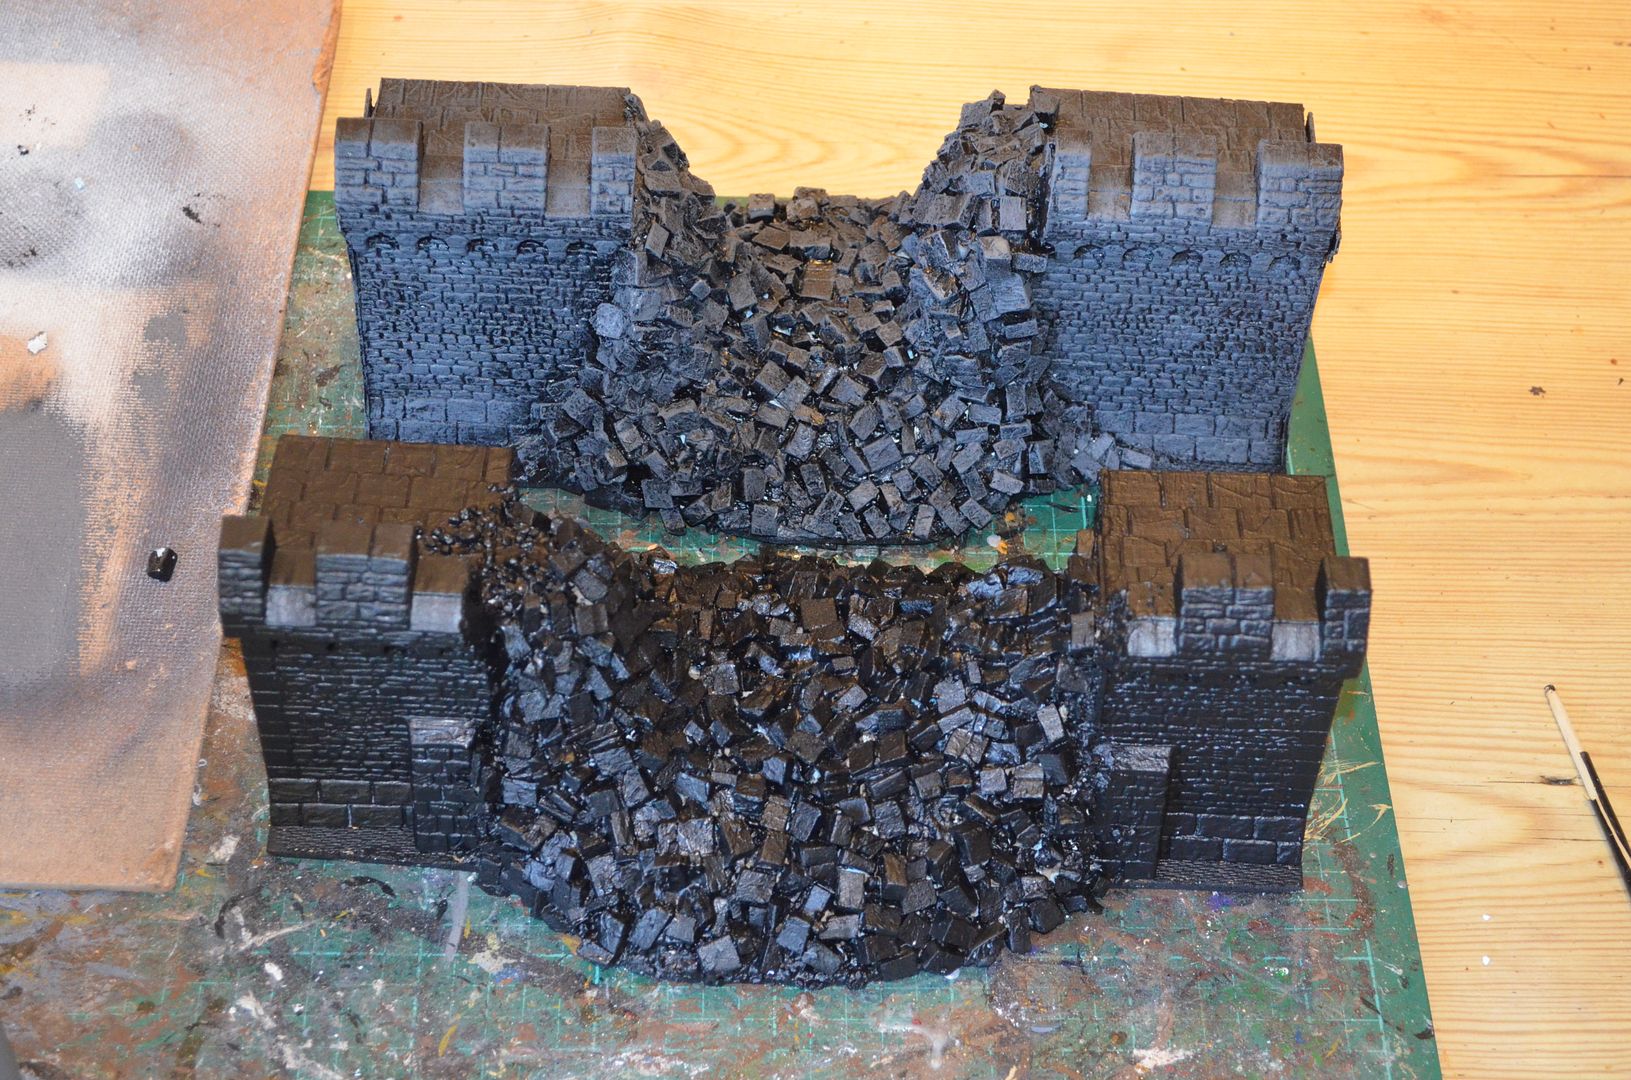
Once this was all dry (24 hours) both sets were painted black. Again I left these for 24 hours to dry.
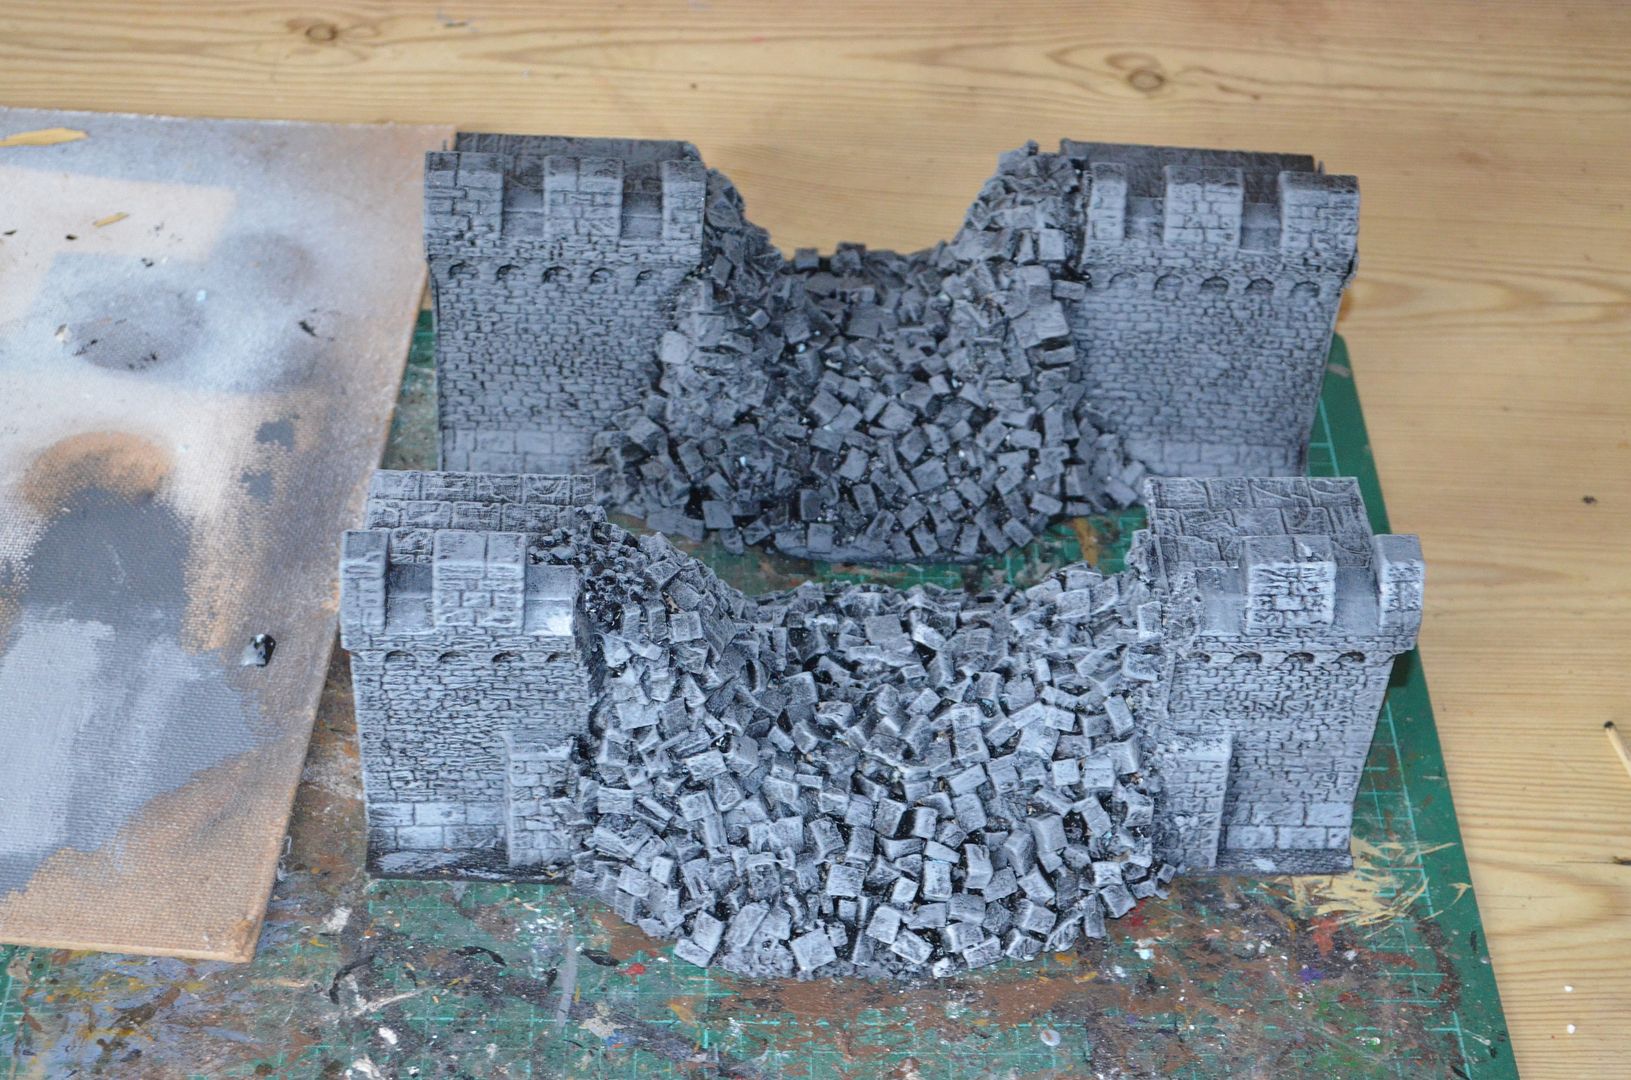
It was then just a case of drybrushing on various layers of grey.....4 coats in total
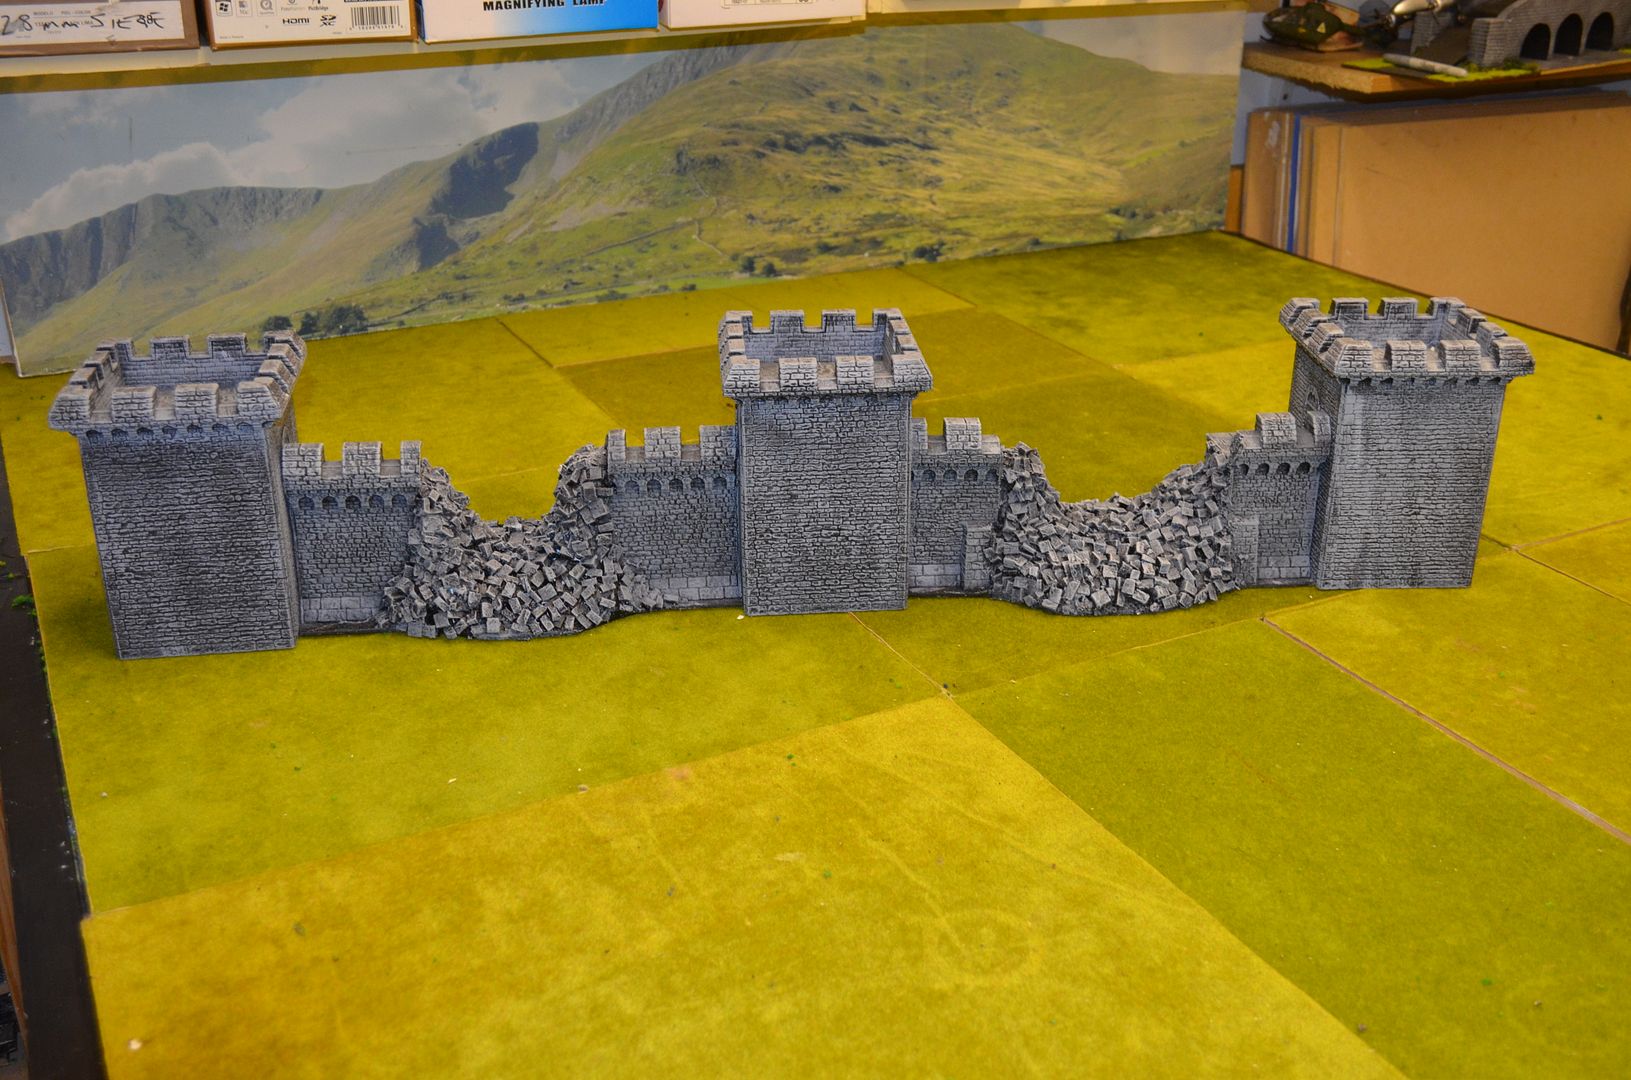
Not my best builds but they'll serve a purpose in the future.. as you can see two breaches added to the castle wall
The breaches almost marry up onto an existing wall - the height difference is the base
just had a thought...maybe I should breach one of the towers...
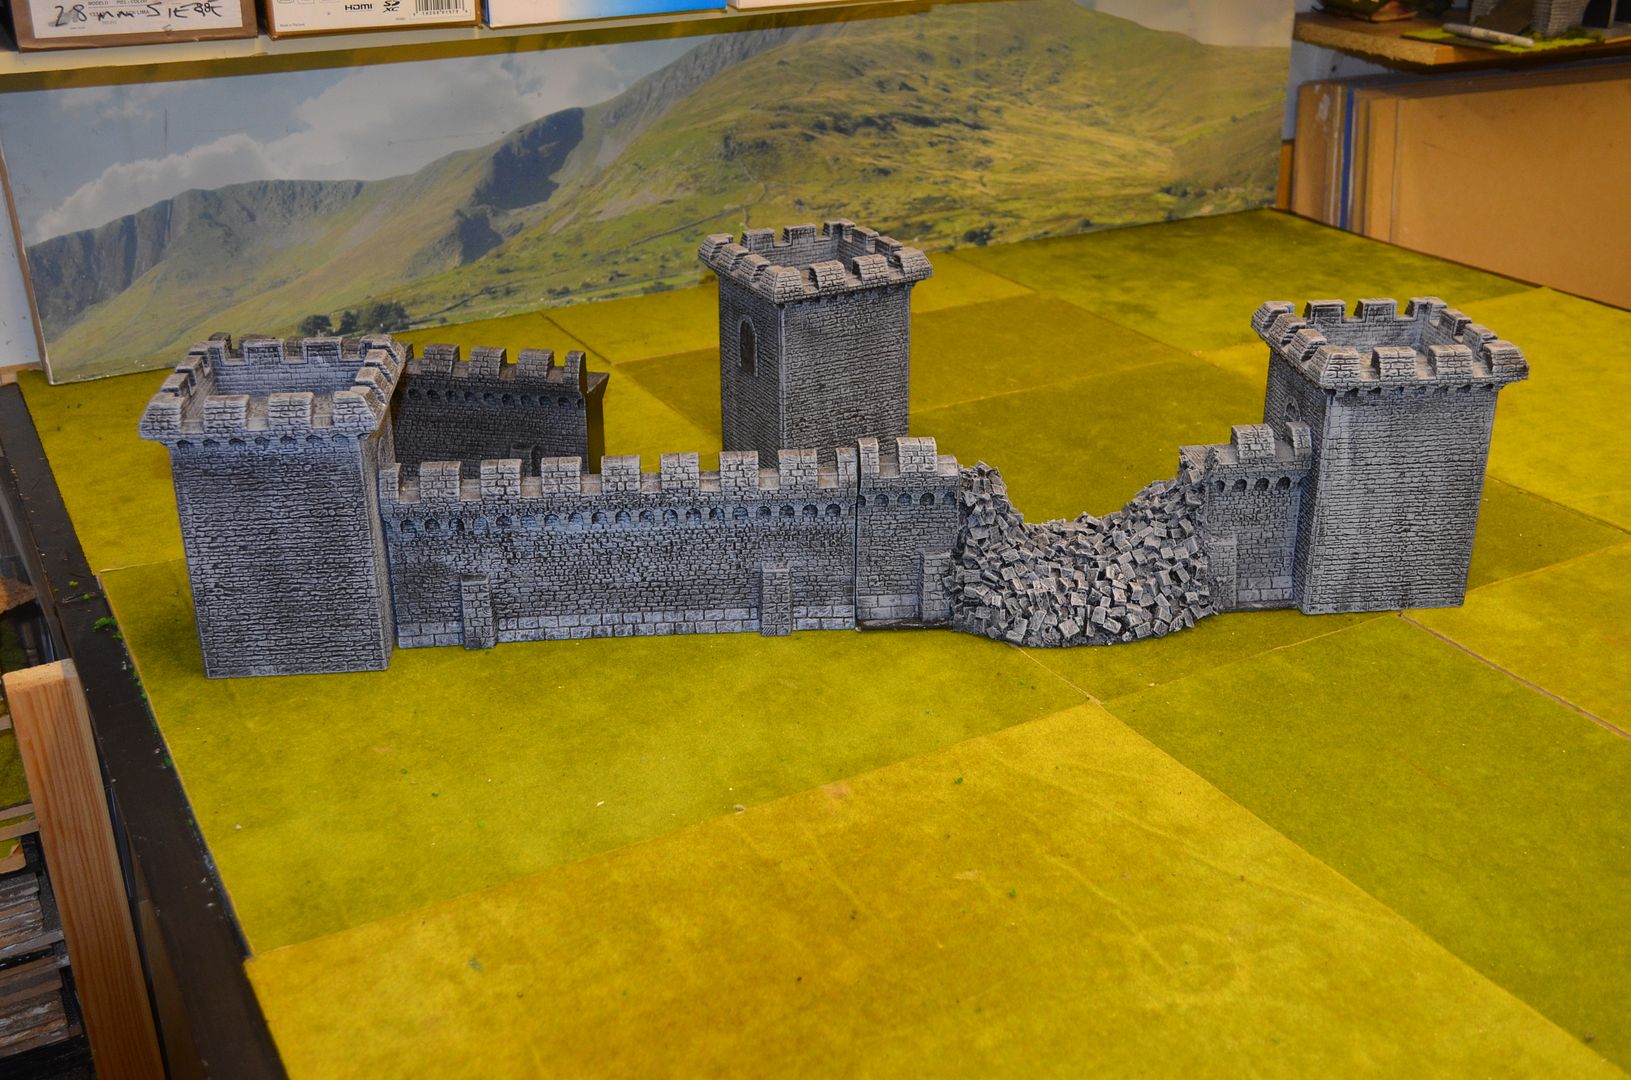
I'd call that a pretty good result. I look forward to seeing the walls in use.
ReplyDeleteLooks great
ReplyDeleteThese look great Eric, my ocd would be calling for me to base the rest of the walls now though...
ReplyDeleteThese are great! You are a very clever man!
ReplyDeleteMasterfully done good sir! :-)
ReplyDeleteYou could always add a base to one or two of the intact walls so they meet up smoothly. With a tower between wall sections the difference is probably hardly noticeable, so you'd only need to do so for the neighbouring wall section.
ReplyDeleteI think if you add some more small fill -- like sand or other debris -- between the larger stones, it will look even better. Love the site.
ReplyDelete