Part 3 is here
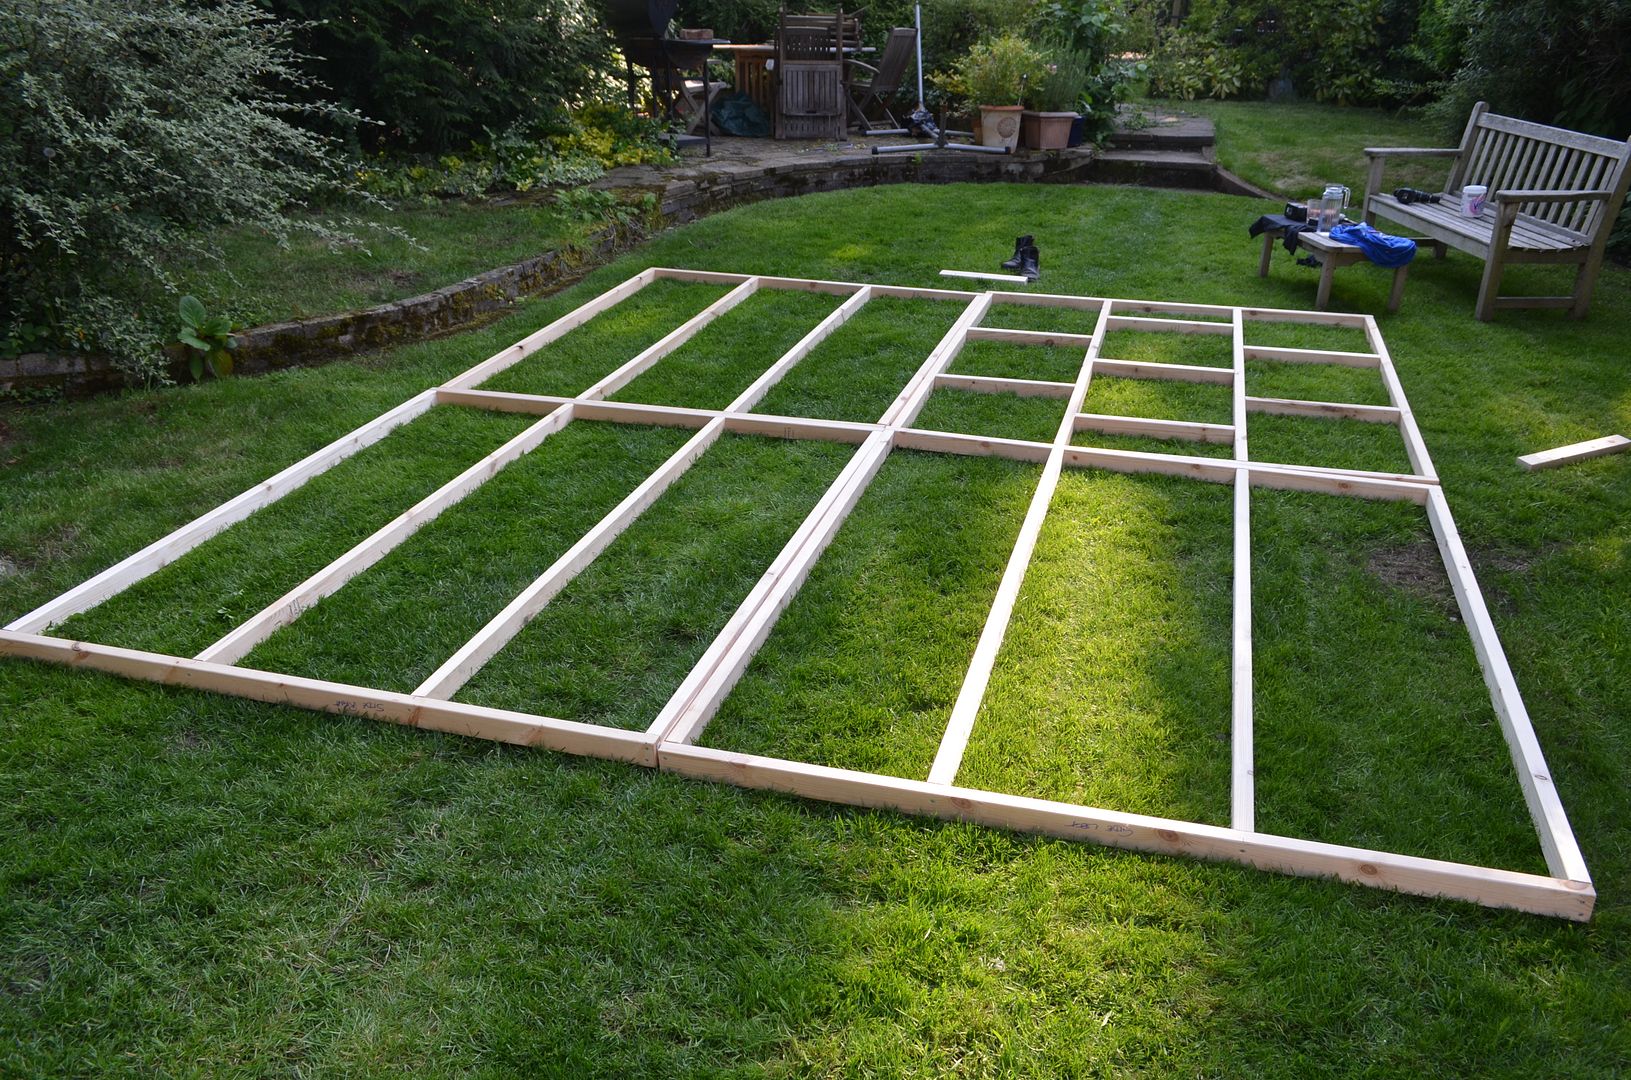
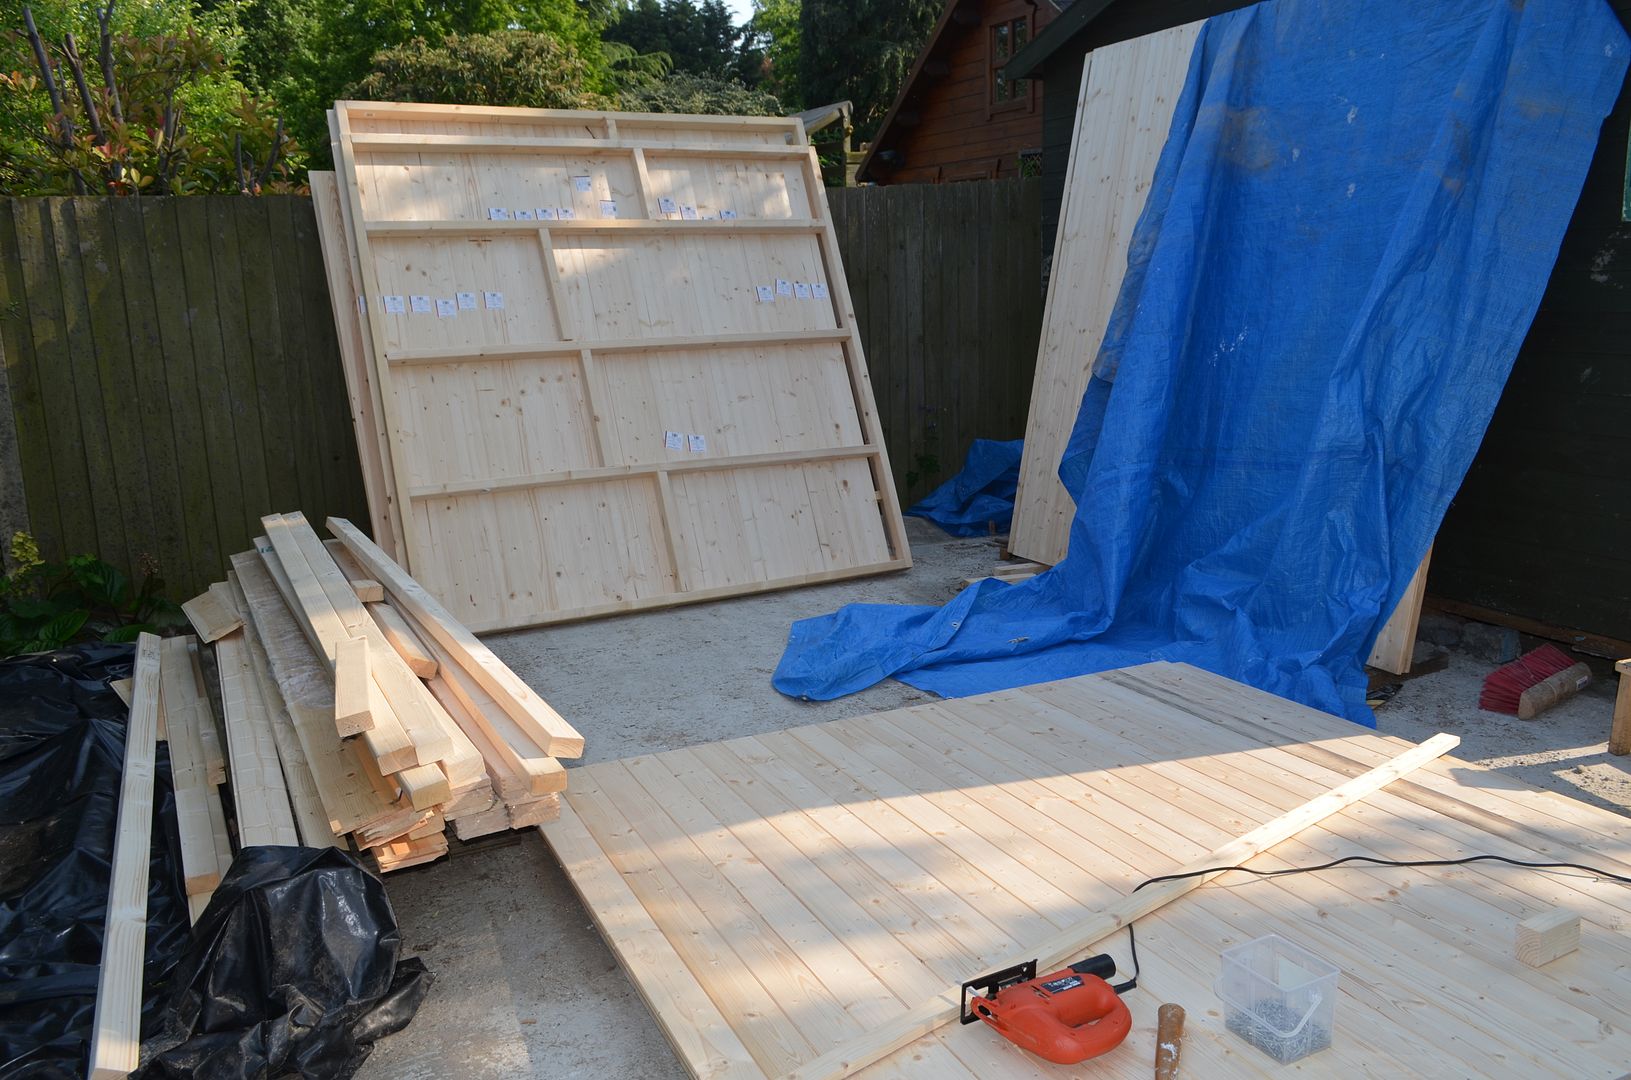
So with the walls of the Shed extension built its time to
turn my attention to the roof and floor. But before I start I’ll answer a question that
was posed by my son last weekend…
‘Dad why are you not starting with the floor and building
upwards? @ The answer is relatively straightforward – the weather and the build
area !
The floor is probably going to be the fiddliest part of the
construction and the only part that cannot be rectified once up. It has to be
level before everything else goes on top and gets bolted down. My floor has to
be built on brick pillars, then the floor joists then the floor itself. By
prepping everything else first means that once the floor is down (it will be
built in situ) the rest can be erected quickly afterwards.
So with fine weather this weekend I was able to crack on with the construction.
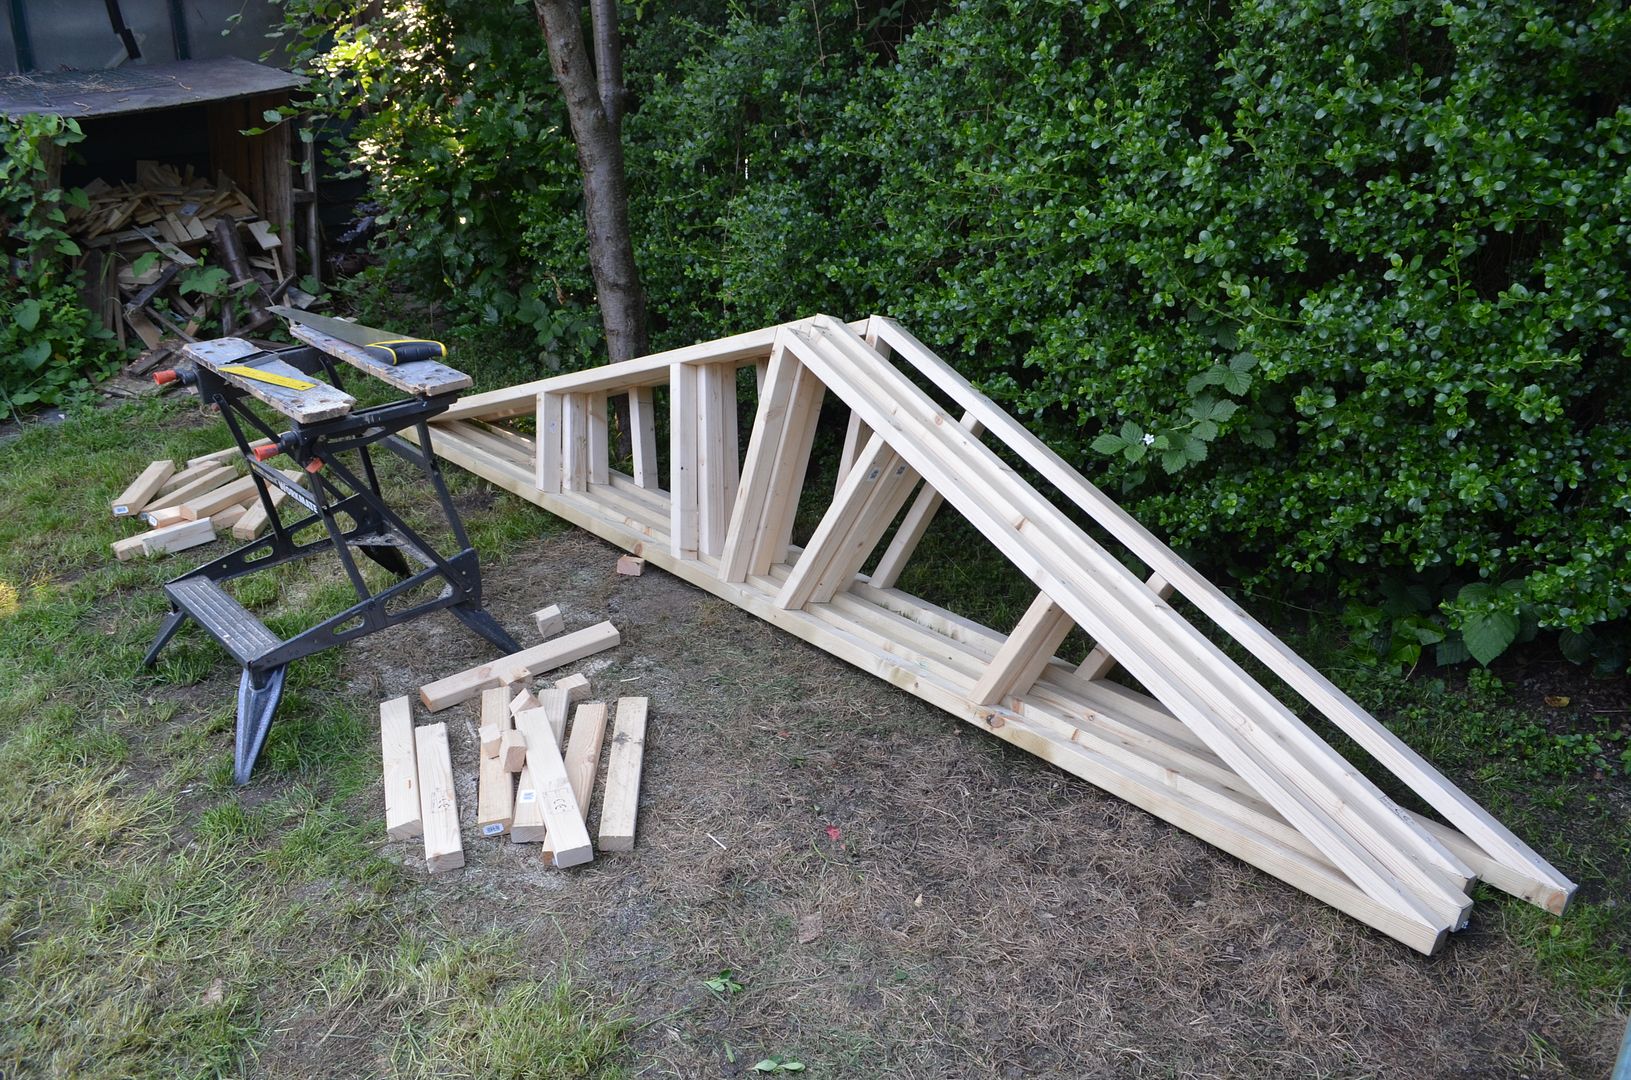
First up the roof tresses. These were relatively simple to build (thanks to my o level in maths). There are four in total angled at a 20 degrees slope (the same as the existing shed). Two will sit on the sends and two will sit midway along the buildings length. Once I get closer to the erection phase Ill determine if I need another to support the weight of the roof.


My wife has a running joke with me that one day she will get me a Black & Decker workmate for Christmas, as I will have absolutely no idea what to use it for.
ReplyDeleteMy wife (age 57 this month, note) says can she marry you instead? Please take her!
Very impressive! 1:1 is my least favourite terrain making and painting scale :-)
ReplyDeleteWow! You've made excellent progress.
ReplyDeleteIt's funny how I can make a detailed 28mm model of an entire hospital complete with scratch built X-ray machine and boiler room (indeed all the details are scratch built) but I can't put up a level shelf! My hat is off to you sir on a brilliant build, so far so good!
ReplyDelete