Part 1 can be found here...
http://shedwars.blogspot.co.uk/2015/02/a-new-challenge-building-volcano-part-1.html
09.00hrs and the project is a go !!
First up fix an old Champagne box to base board. This has had one end chopped off and stands 36cm tall. The box will create a sturdy centre for the volcano plus creates an inside for something I have planned later on.
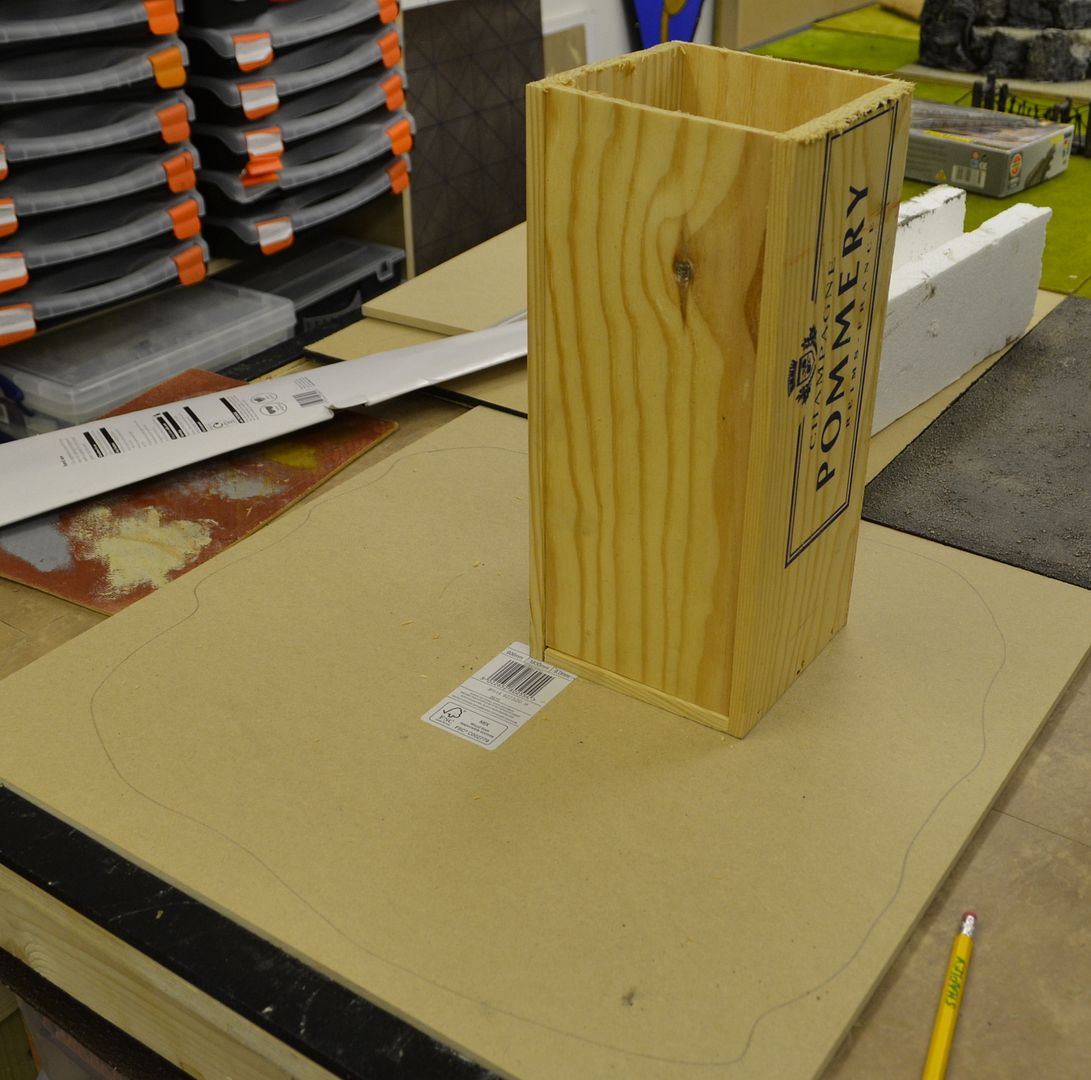 |
| Cut roughly to 36cm high |
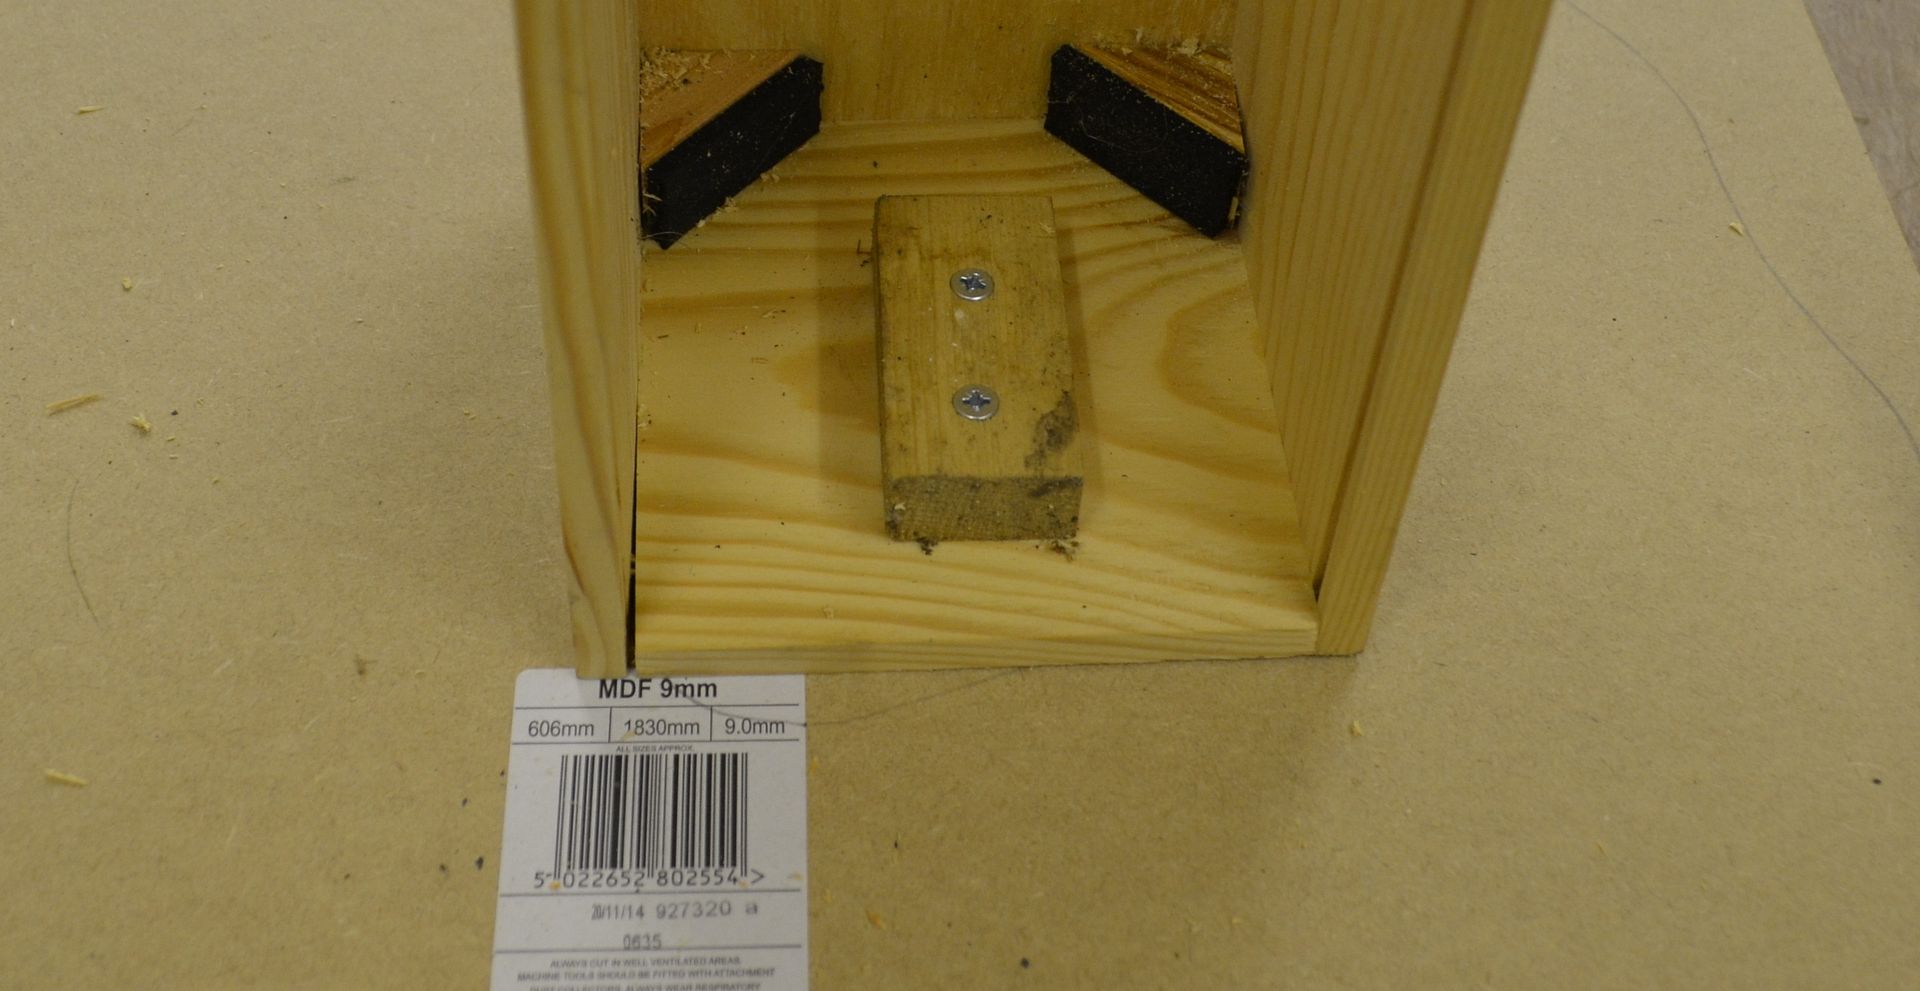 |
| Glued and screwed to baseboard. |
Step two glue in skewers around the base to hold the polystyrene heart of the volcano.
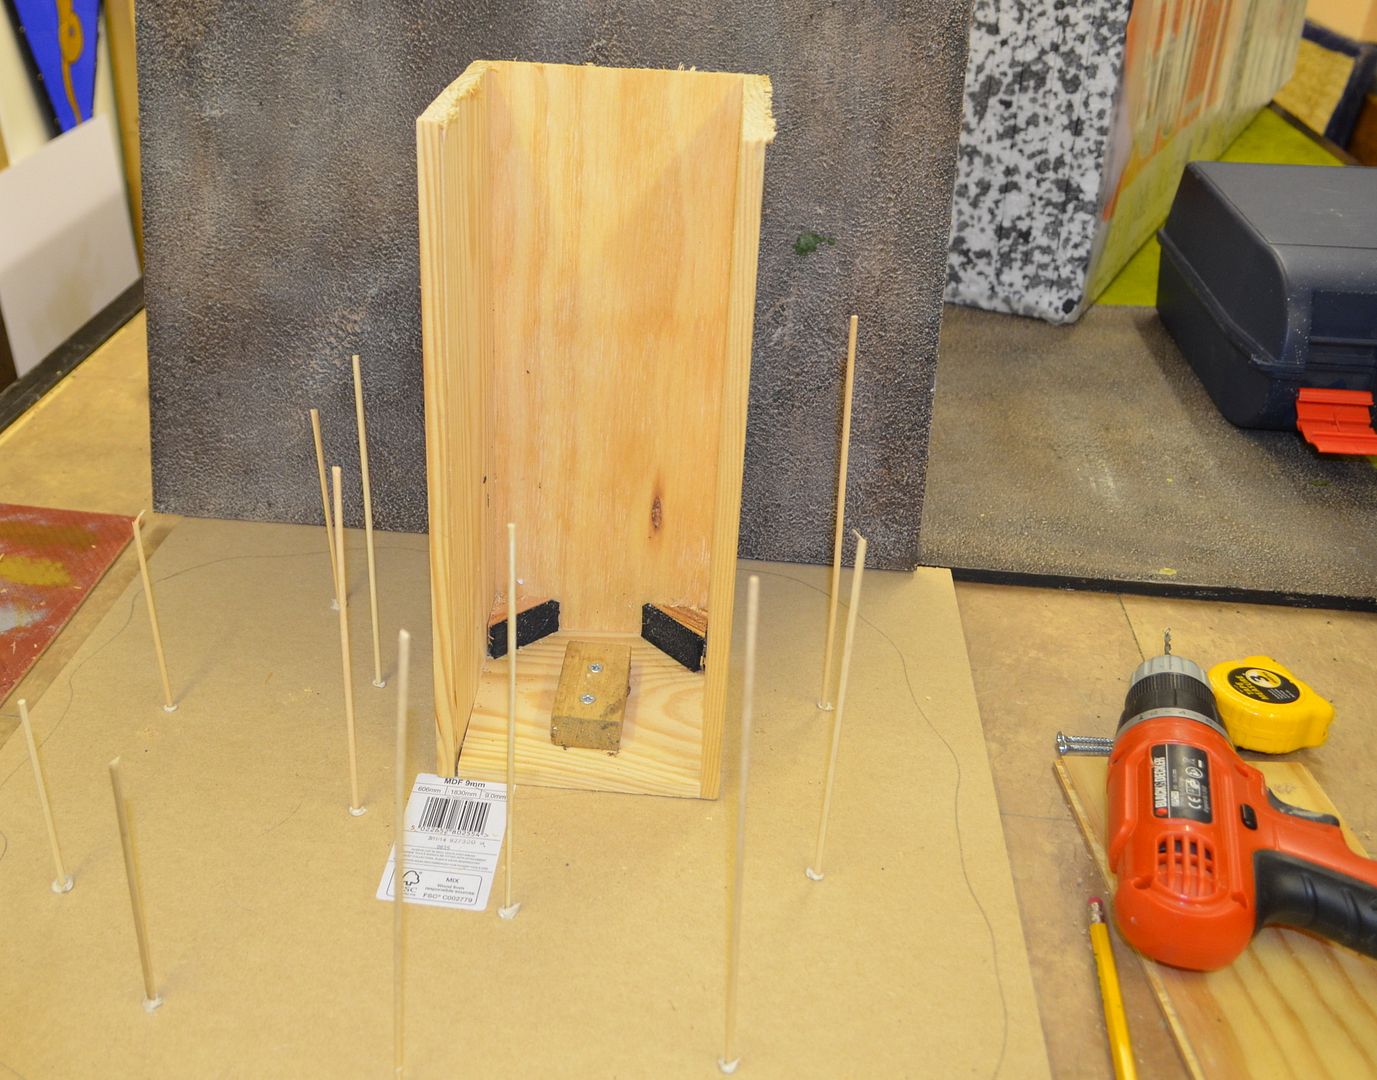 |
| Simple bbq skewers hold the polystyrene in place |
As you can see in the following pictures as the volcano takes shape I have not been particularly careful in measuring pieces. Afterall you are not going to see this in the final pictures.
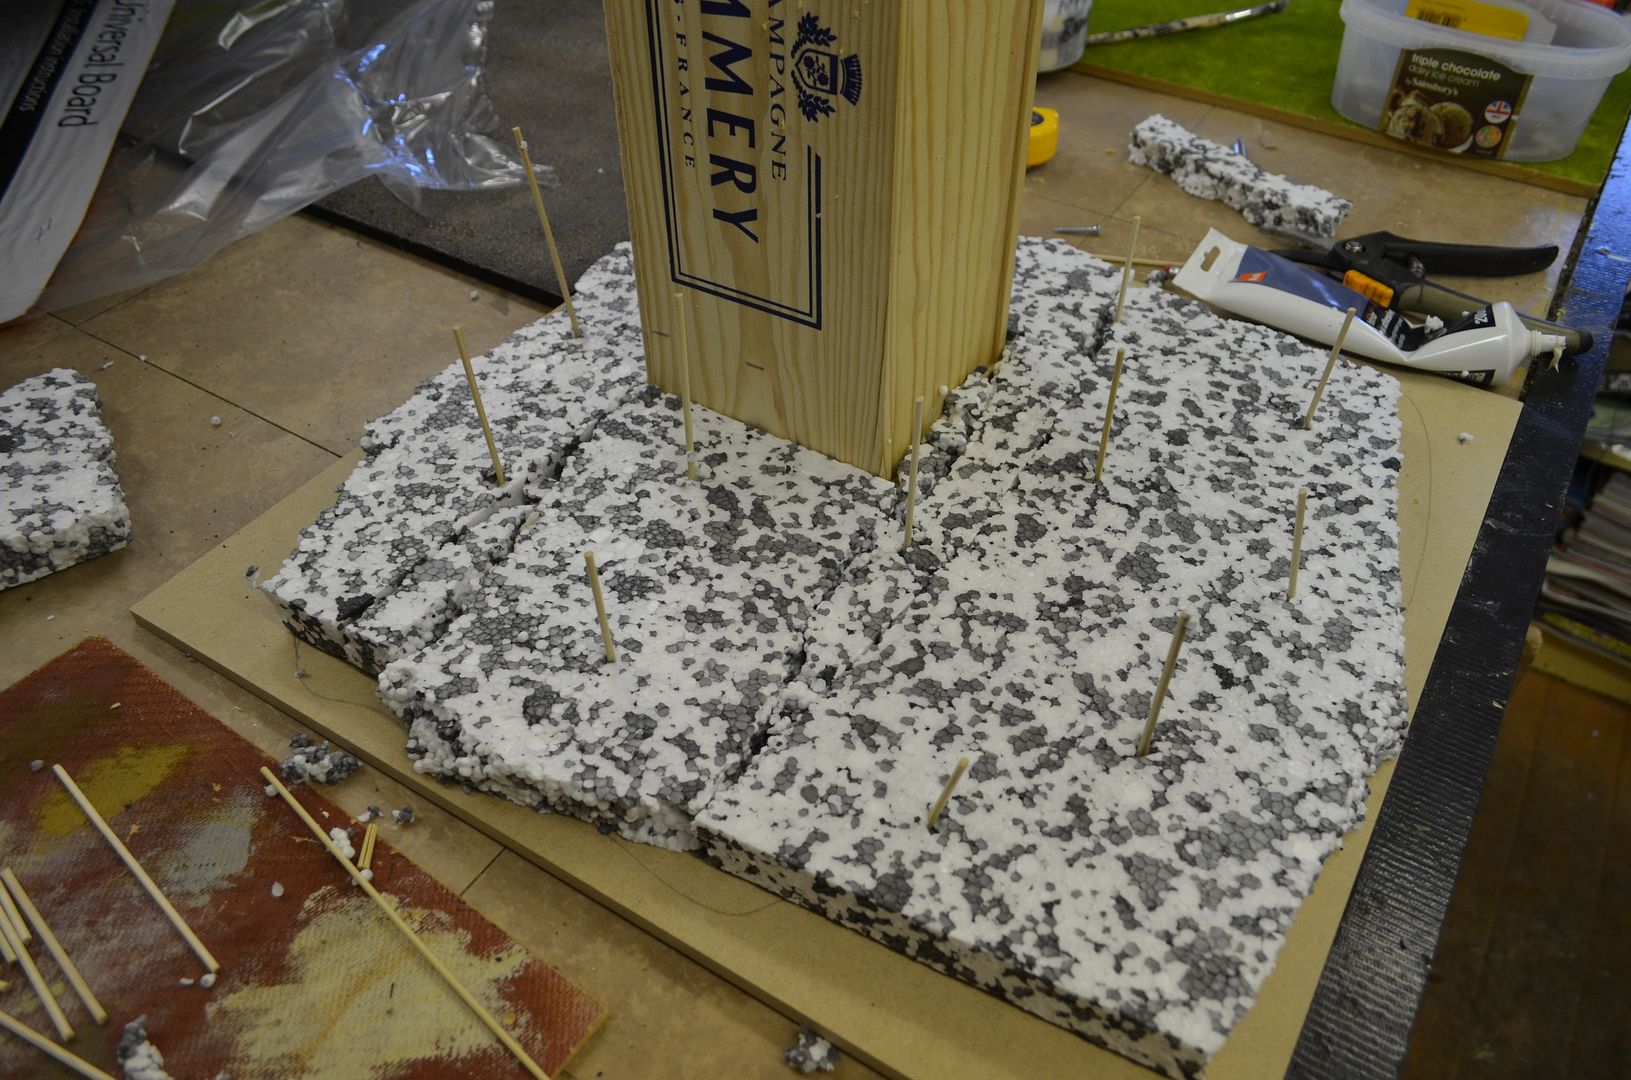 |
| Layer 1 |
Working around the heart of the volcano I start building up the sides. As you can see this in not going to be even all the way round.
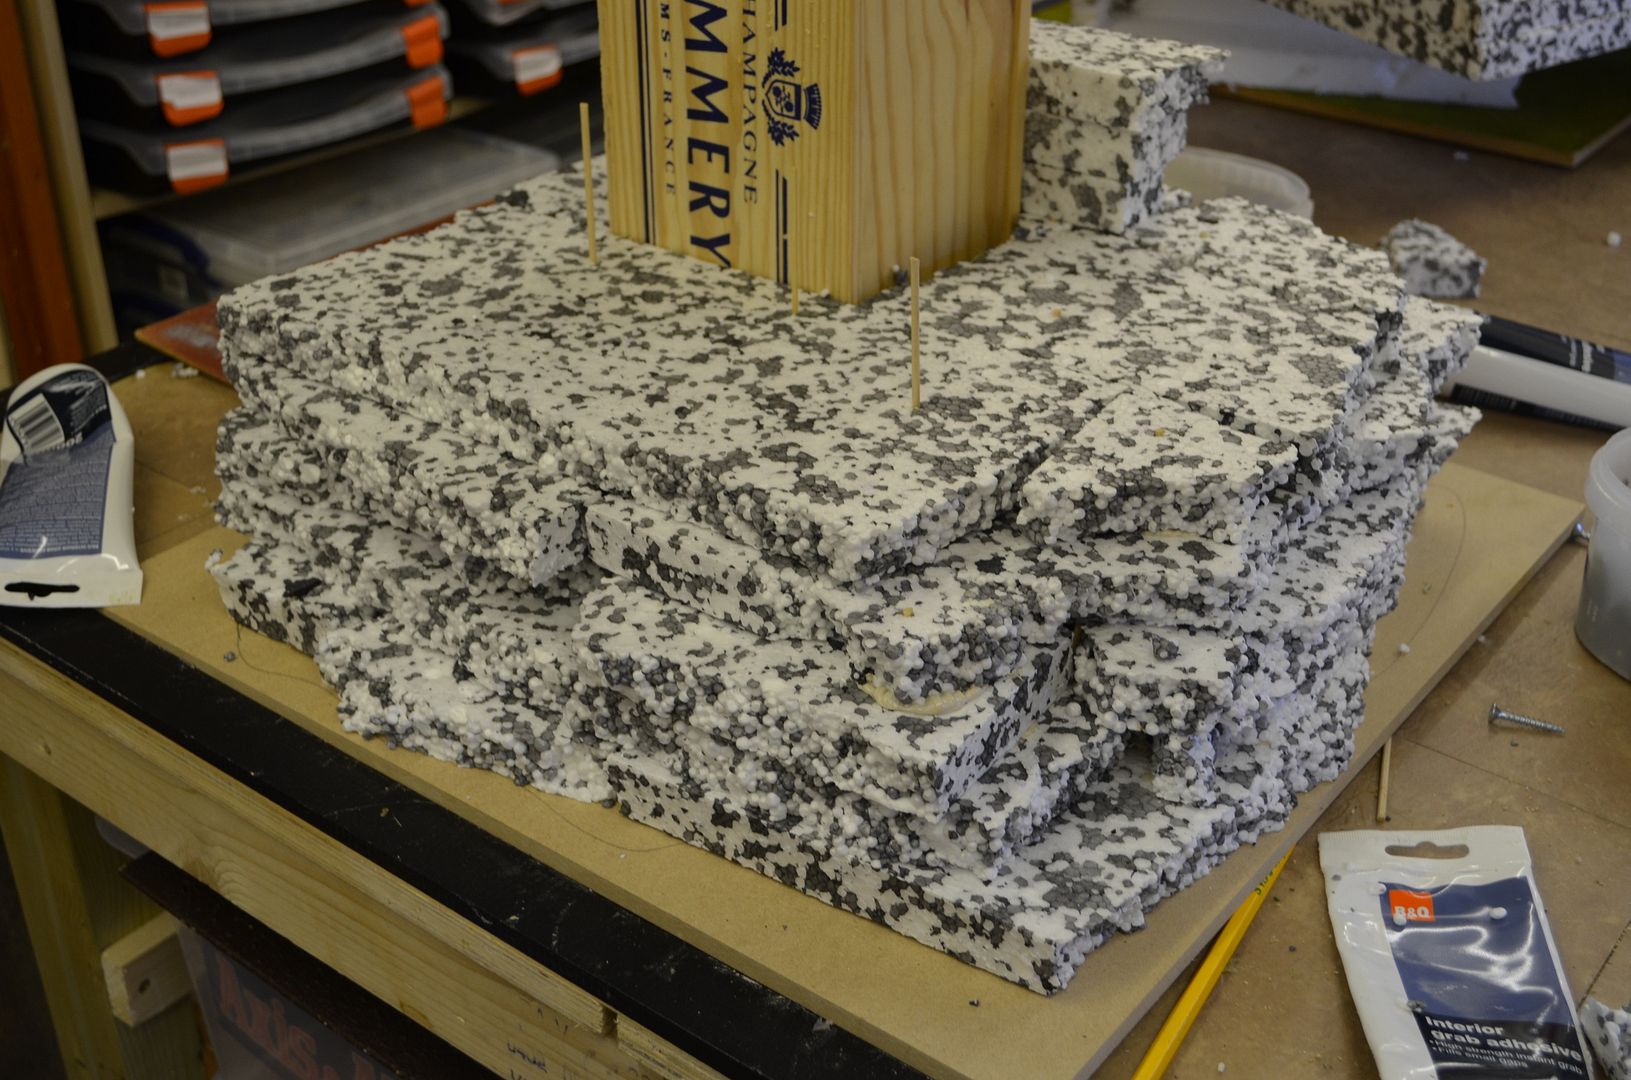 |
| 5 layers |
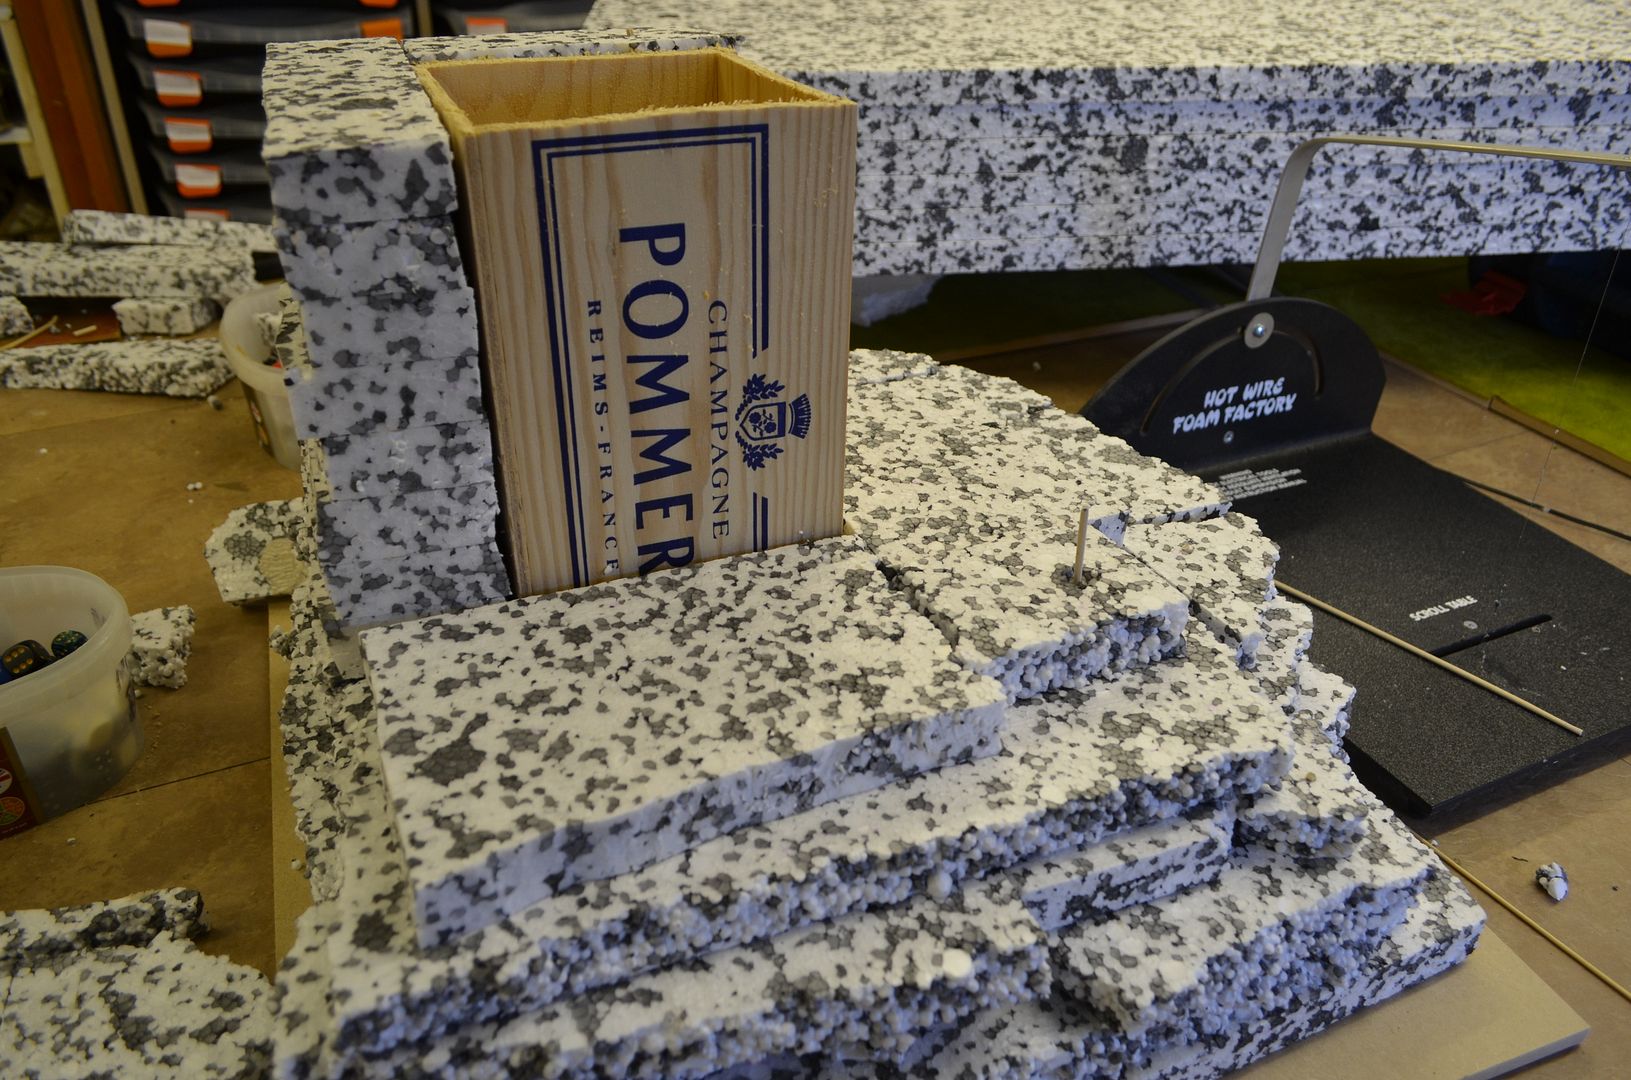 |
| The build is happening |
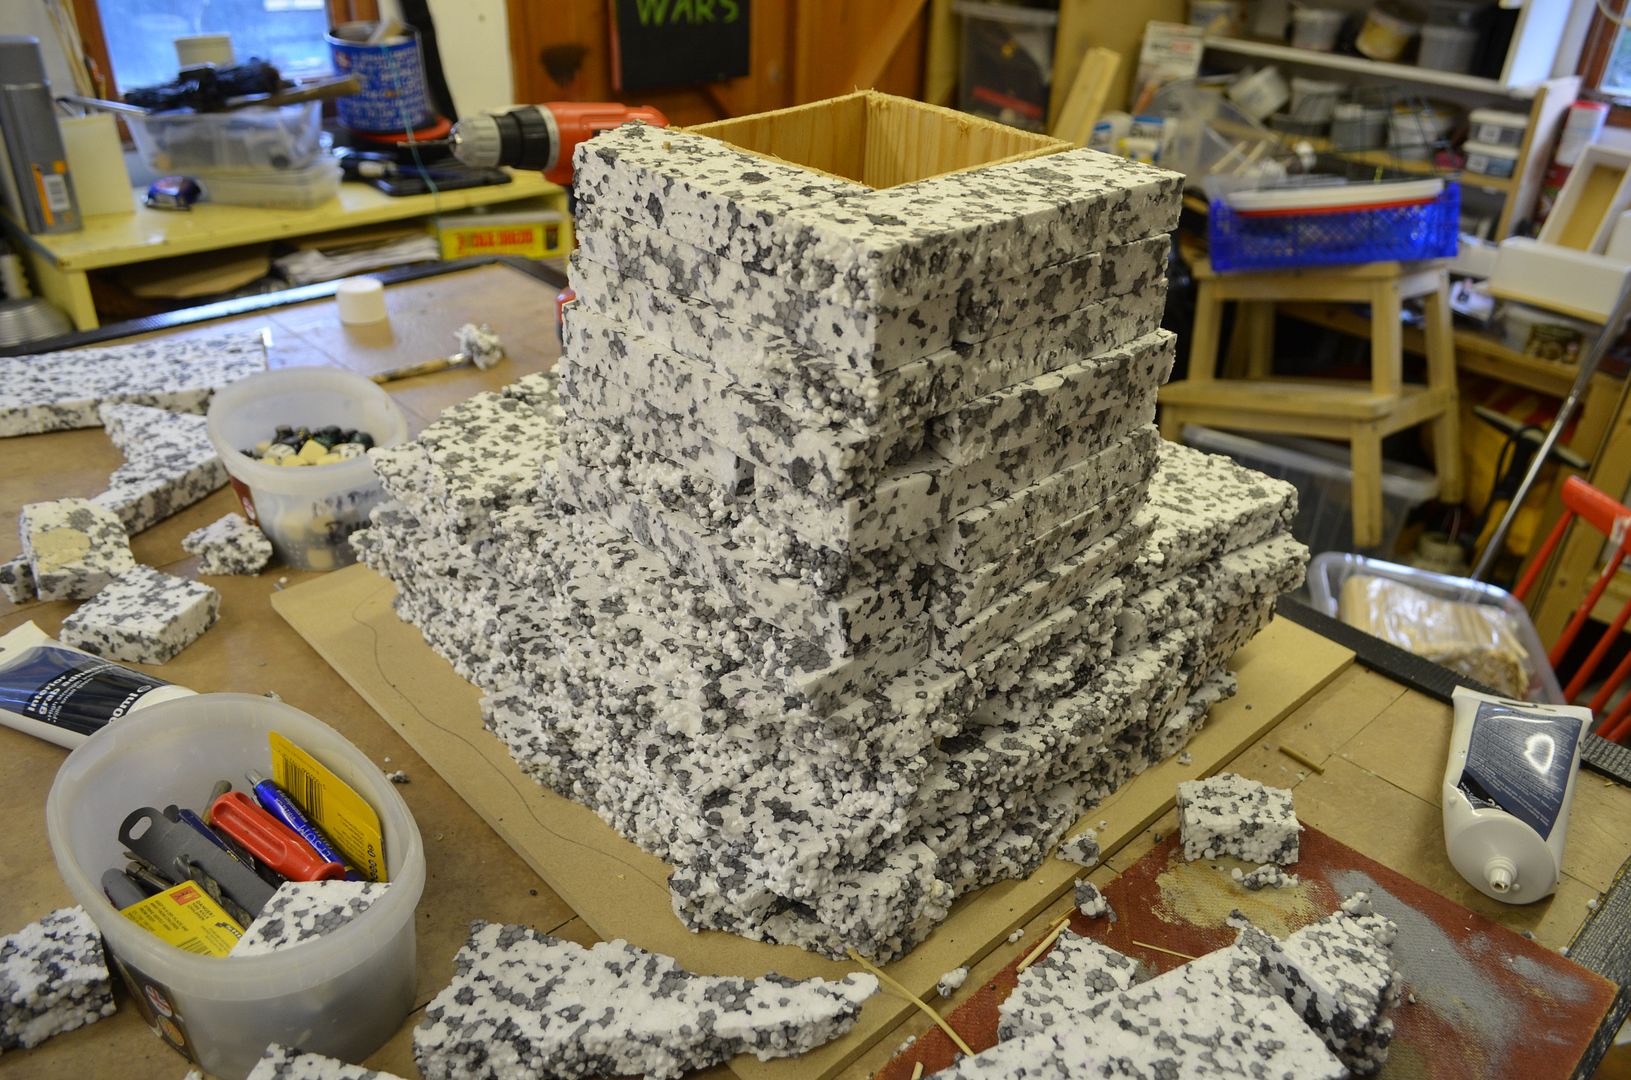 |
| All the way to the top,...
So my final picture of the day...a polystyrene clad box...
|
part 3 can be found here
http://shedwars.blogspot.co.uk/2015/02/building-volcano-part-3.html
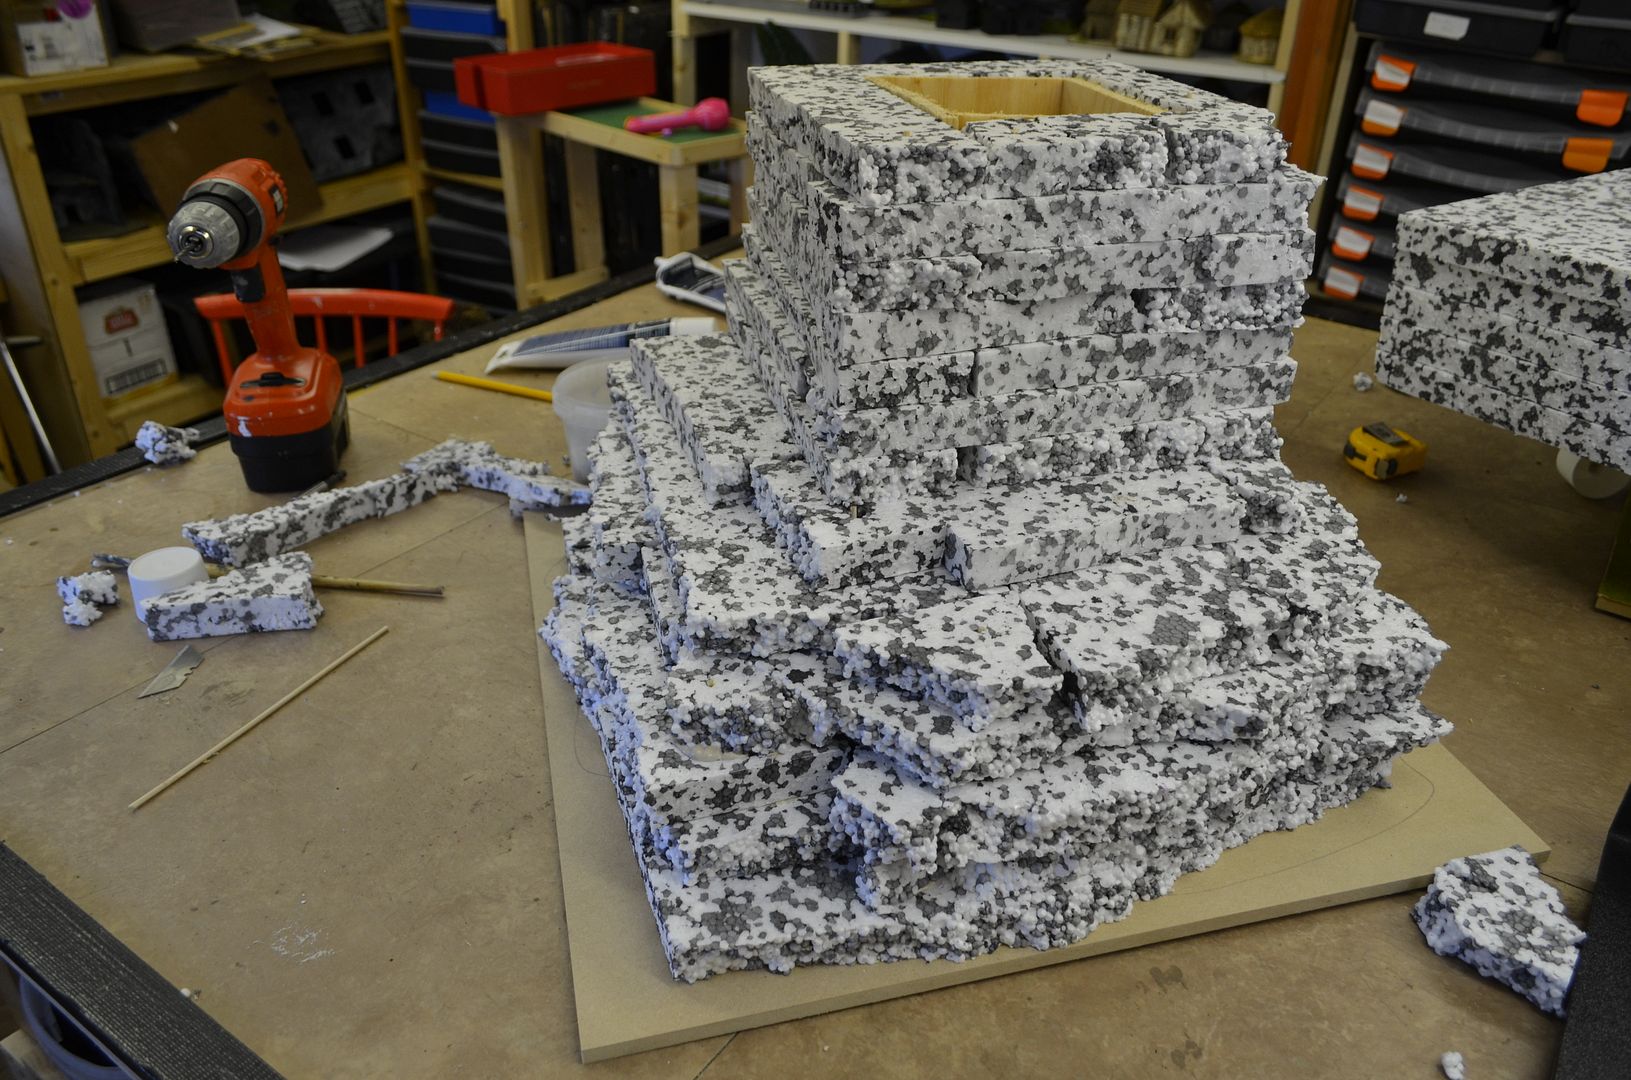
Looking good ! ,Tony
ReplyDeleteI like where this is going!!!
ReplyDeleteNice job so far
ReplyDeleteI promise not to feed any of legatus's figures to the great volcano god !
ReplyDeleteBet you push some barmaids in!
DeleteI bet he takes it out to the back yard in the end, and pops a Roman Candle down that Champagne box for proper "Volcano" effect! ;-)
ReplyDelete