With my extended holiday coming to an end I thought I'd better crack on with the Egyptian temple build. I have a sneaky suspicion that the new job is going to be rather busy for the first few weeks so this weekend is my best chance to put a dent into this project.
When I left you last Id built the basic structure and adorned this with some rather childish images.
If you want to read this build from the beginning head here or to part 2 and links at the end of each post take you to the next.
Part 1
Part 2
The first job was to mount the temple onto one of my standard 50cm x 50cm boards. The walls were fixed using skewers glued into the base.
Once I had filled all the gaps I turned my attention to the inner courtyard. This would be paved using embossed blue foam.
I cut a sheet to fit the inside and then using a ruler and biro embossed the stones. This was then glued into place.
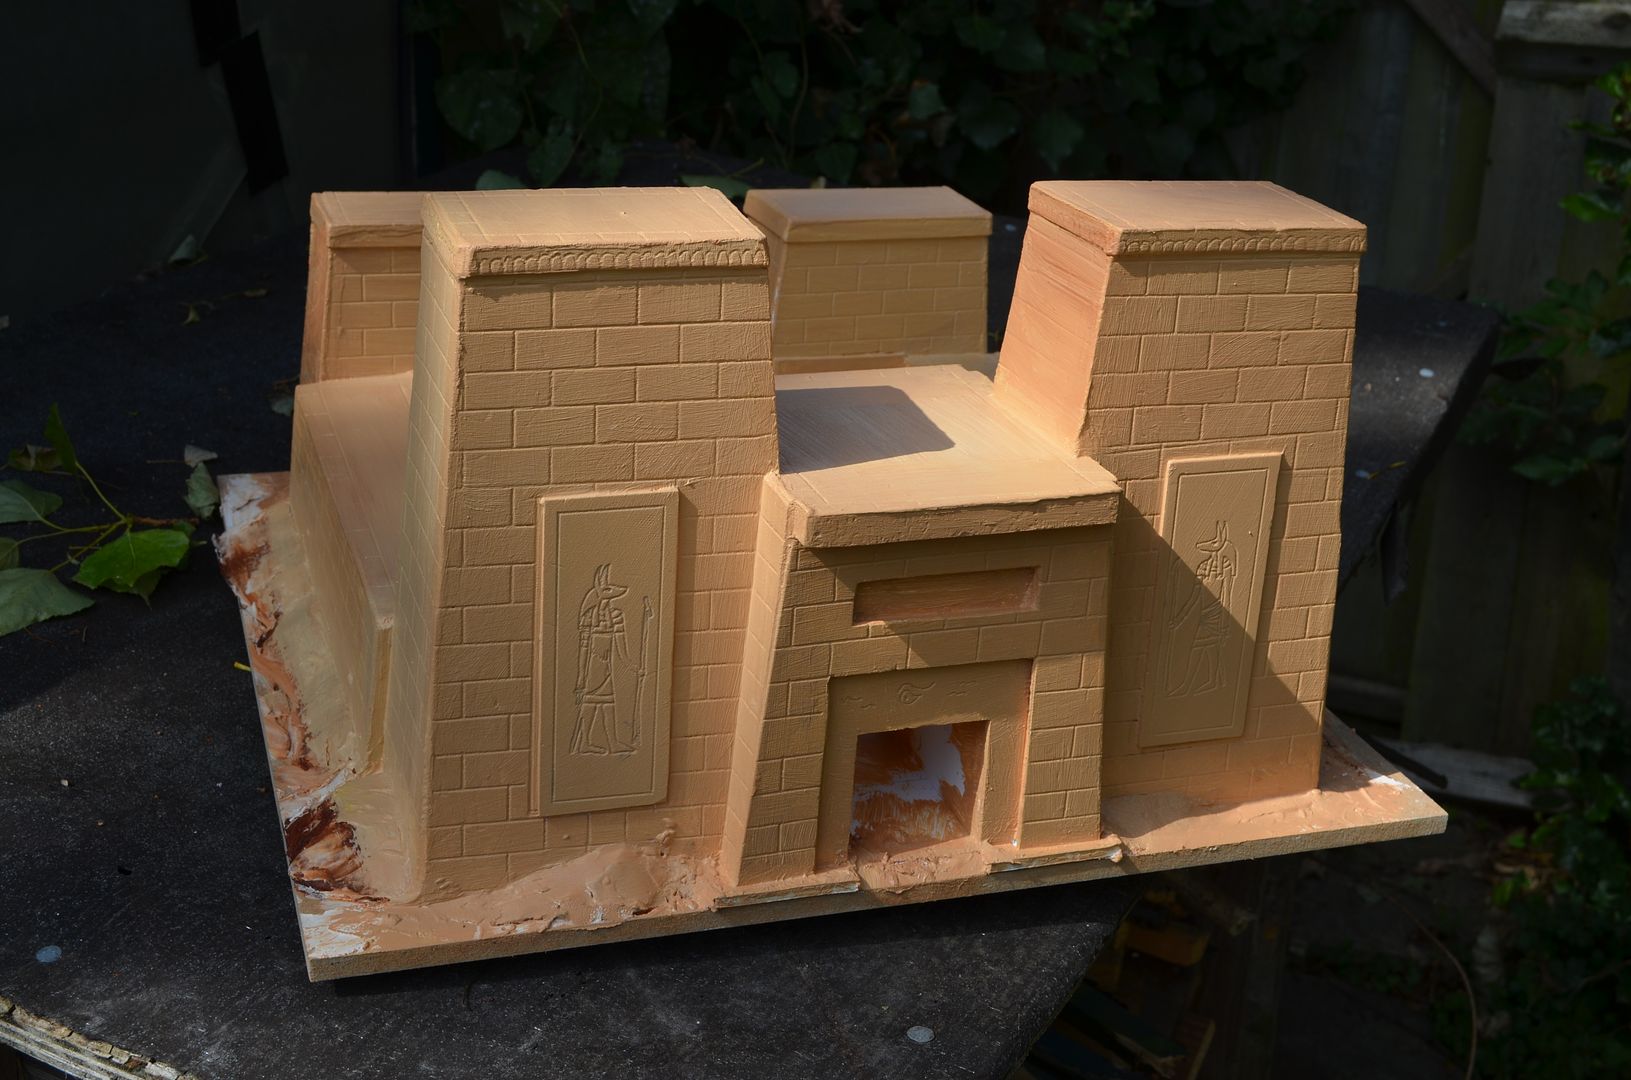
I wanted the outside of the walls to have a sloped bank of sand. Using some off cuts of polystyrene these were glued along the edge of the walls and then covered in filler. The brown stuff is filler with some paint mixed in - trying to kill two birds with one stone but it diodnt work.
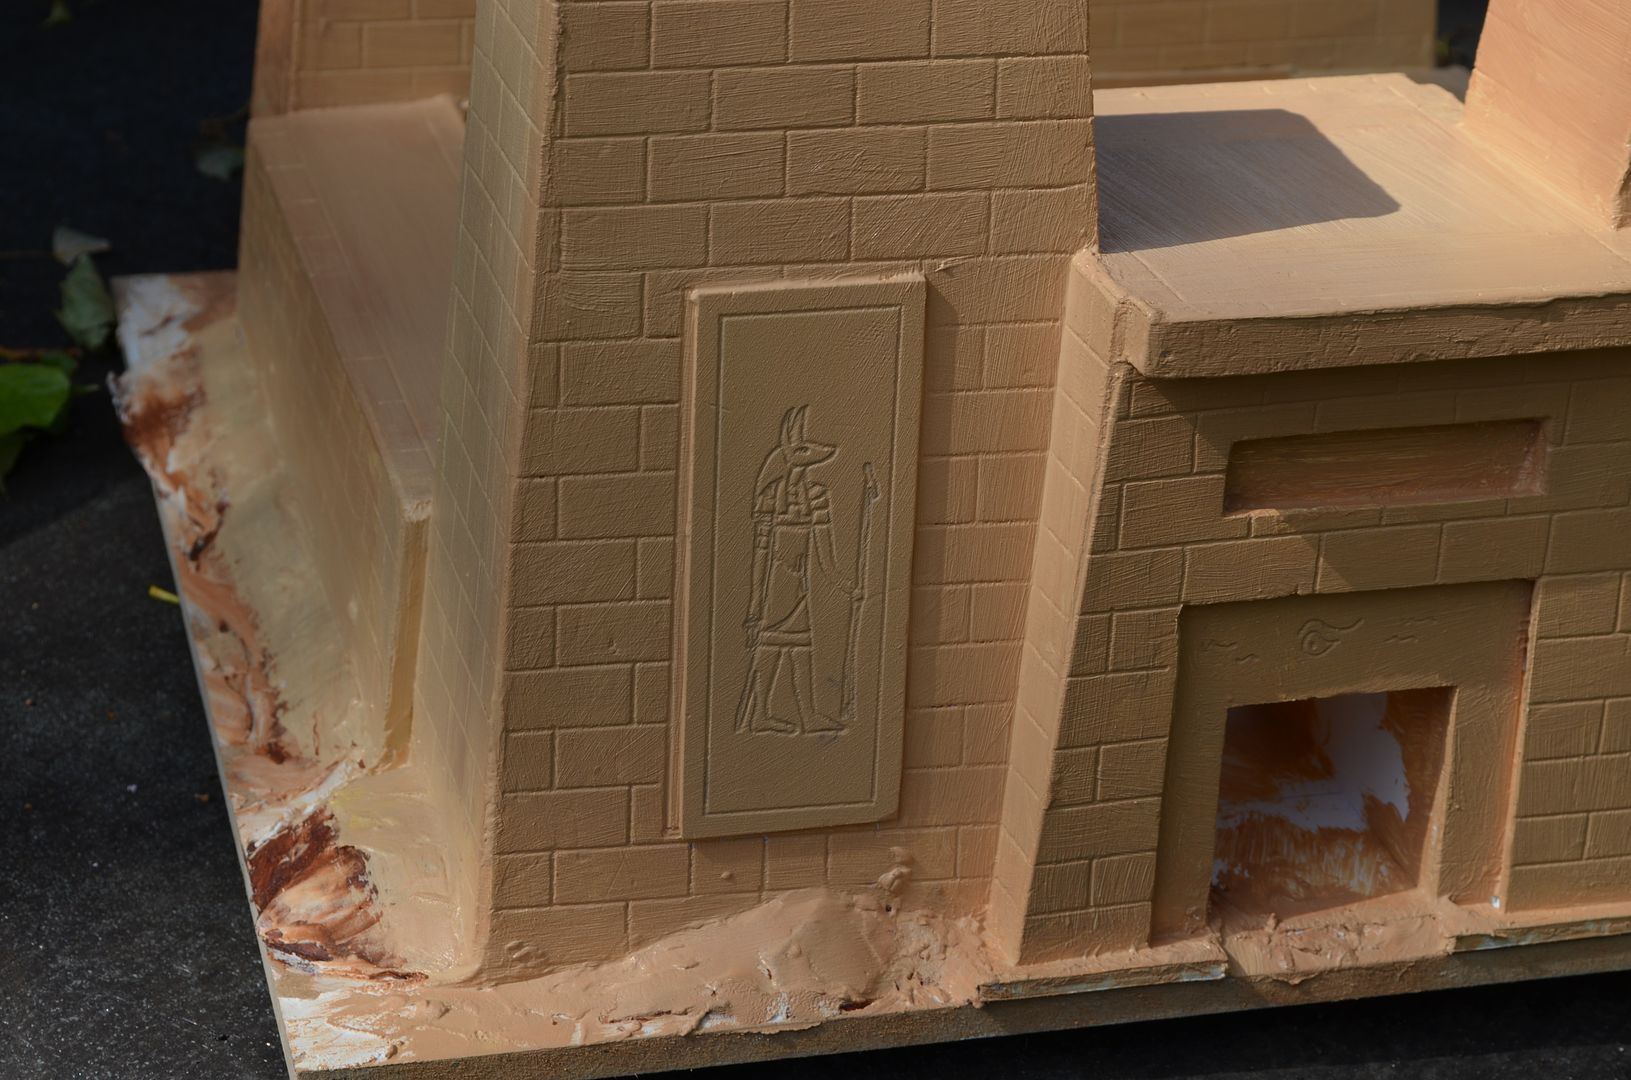
So to get rid of these awful drawings of pharaohs. Simple really Id cover them up with new ones. A google search of Egyptian line drawings revealed a rather nice Anubis. I copied this into power point and reversed the image to create a mirror copy. It was then a straight forward job of tracing these using a sharp pencil onto the blue foam. I thin embossed these drawings with a ball point pen.
The net result is much more effective.
Once the panels were created they were glued onto the walls of the temple
And onto the painting...and as you can see from the picture above and below the temple has taken on various shades of yellows and browns.
Just not happy.
Finding the right colour in acrylic has been a nightmare and in the end I have mixed my own using white, yellow ochre and burnt umber. I just hope I can get the same shade again for the pyramid and statues.
This is a shot with the first coat. I think the colour works really well - not too yellow. Its going to be lighter than this once drybrushed
 |
| The relief has come out really well and ill use the same technique for the hieroglyphics inside the courtyard |
With the sun out I thought it would be a good opportunity to prime all the Egyptian ornaments I have acquired. These have been given a spray using Halfords Grey metal primer - best value and great product on the market. All thanks to the folks on the LAF for this recommendation.
Next job to finish the features on the temple, sand the base edges, and to give it a second coat. Once this is finished it will get some weathering in the foam of drybrushing and inks.
Until next time


This project is looking great!
ReplyDeleteJim
Splendid work! Thanks for sharing this.
ReplyDeleteExcellent looking building so far. I eagerly look forward to the next update.
ReplyDeleteThat's just marvellous you know.
ReplyDeleteWonderful!
ReplyDeleteThis project is absolutely fascinating mate. Keep it up!
ReplyDeleteThe temple is looking superb!
ReplyDeleteLove how this is coming together :-)
ReplyDeleteFWIW, mixing paint with your filler does work, but I add a splash of PVA too to help it grab the foam.
You might be able to take a sample of your DIY sand colour to B&Q (or similar) and ask them to make you up a batch of emulsion to match ;-)
Cheers Richard - thanks for the feedback
DeleteFunny you mention B&Q - I ended up buying some emulsion called Egyptian Sand. The whole temple is about to get a new paint job. Ill explain in my next post.