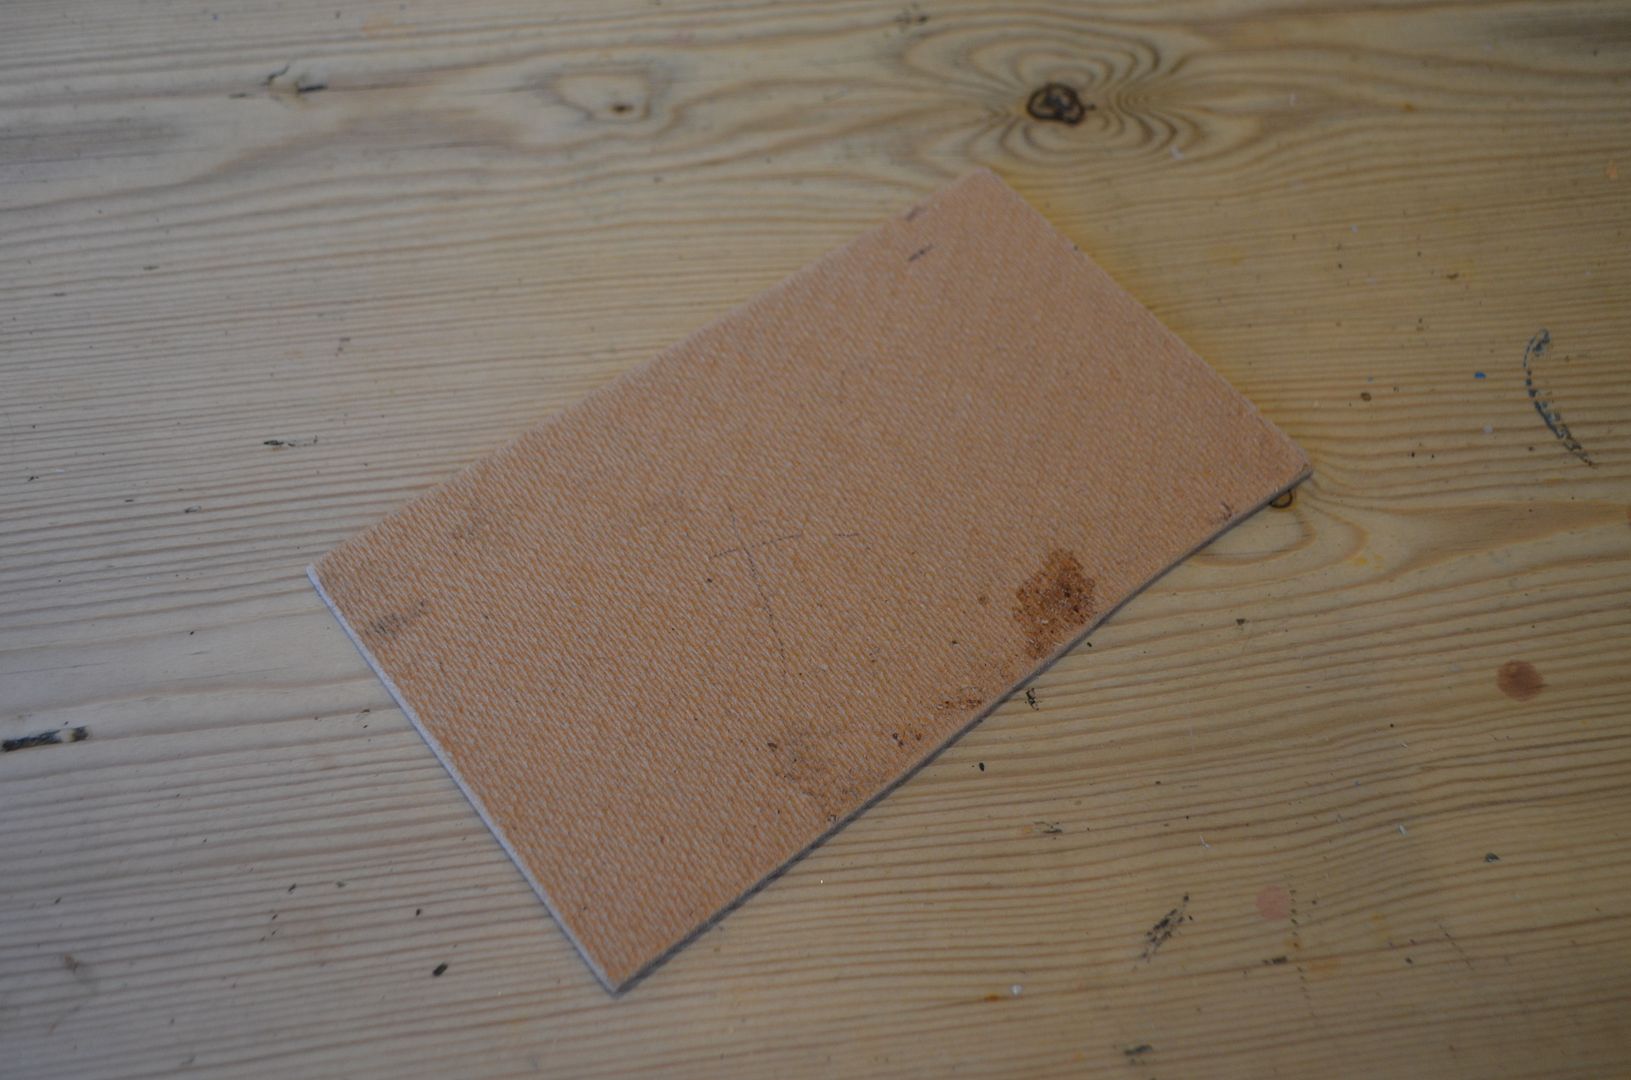
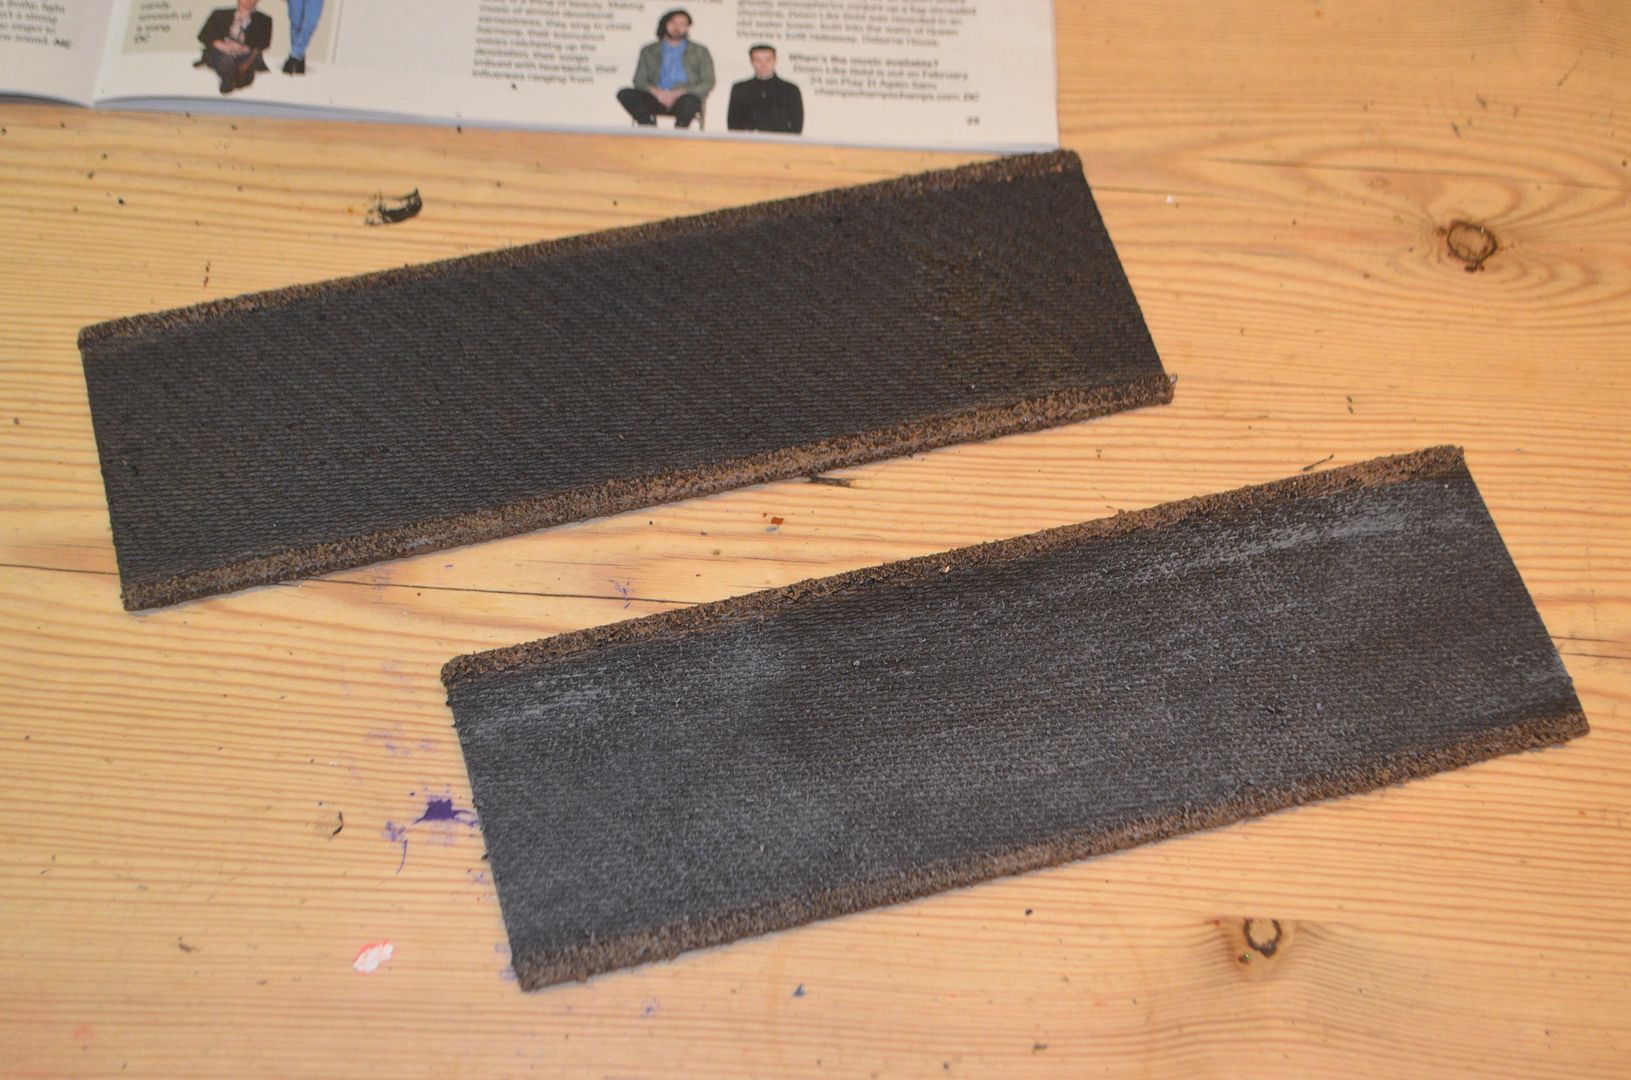
These are dead easy to make. In terms of the base material I settled on my favourite - hardboard. The great thing about this material is that one ride is quite rough and when painted up doies give a road like surface. You can just about make out the pattern in the photo below.
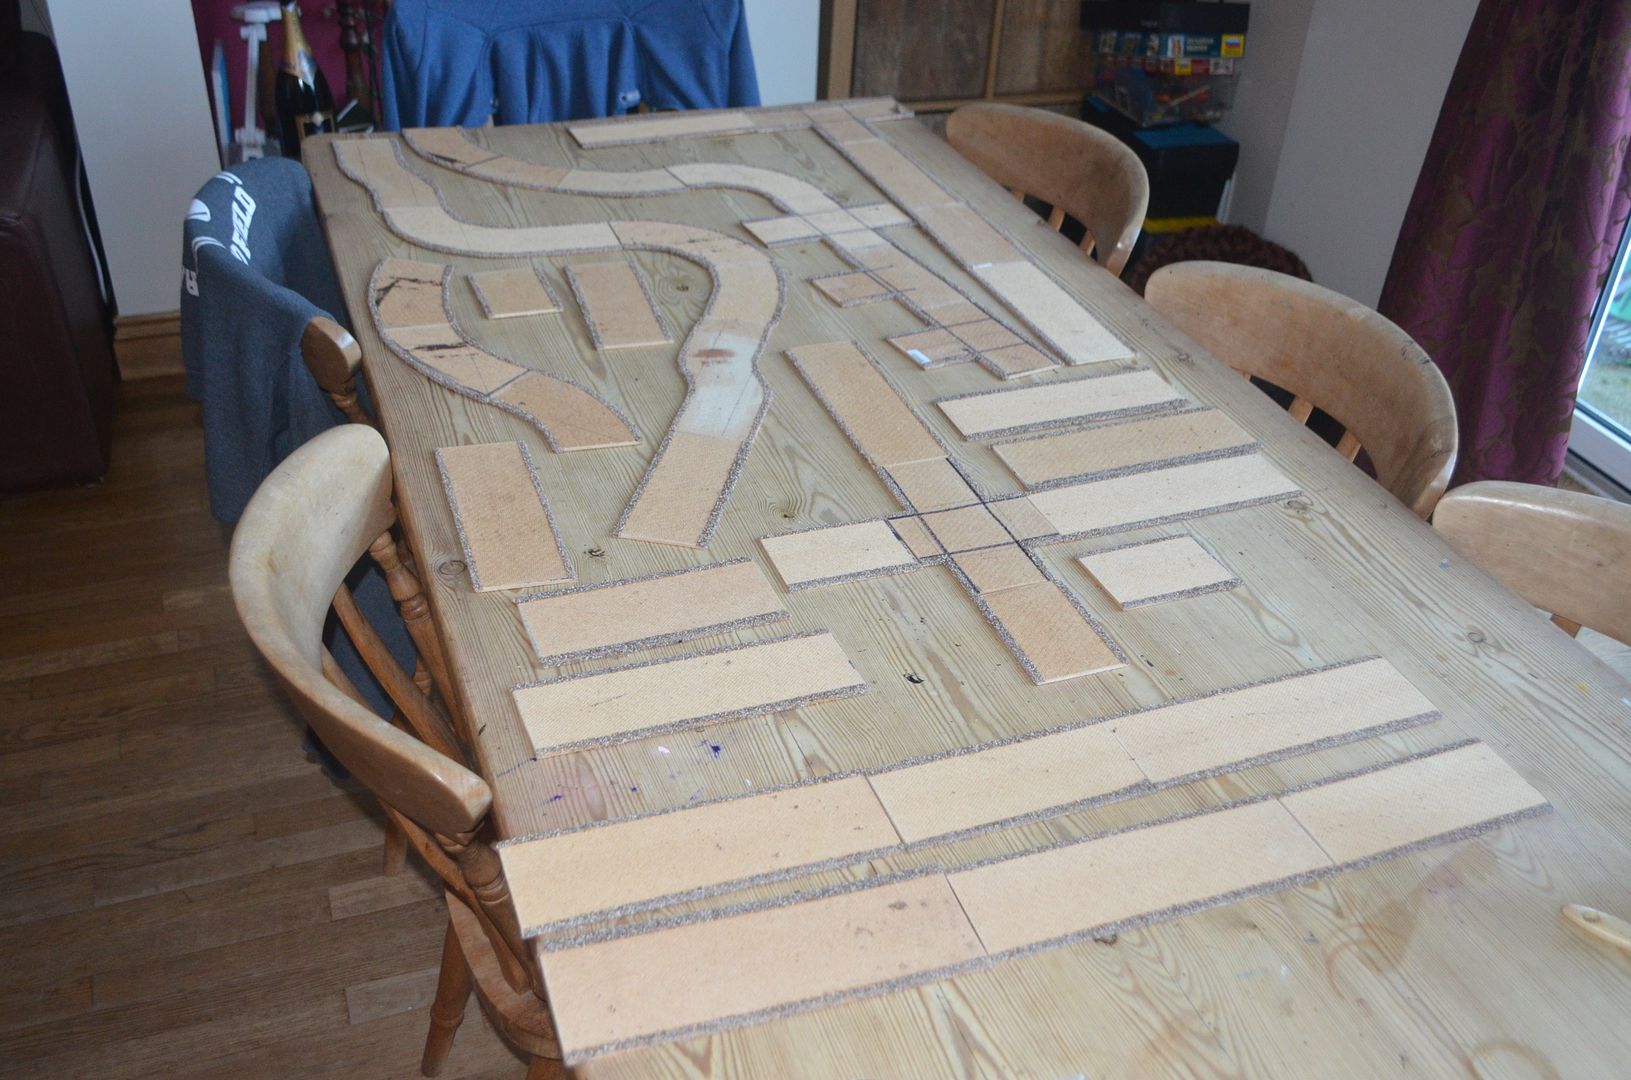
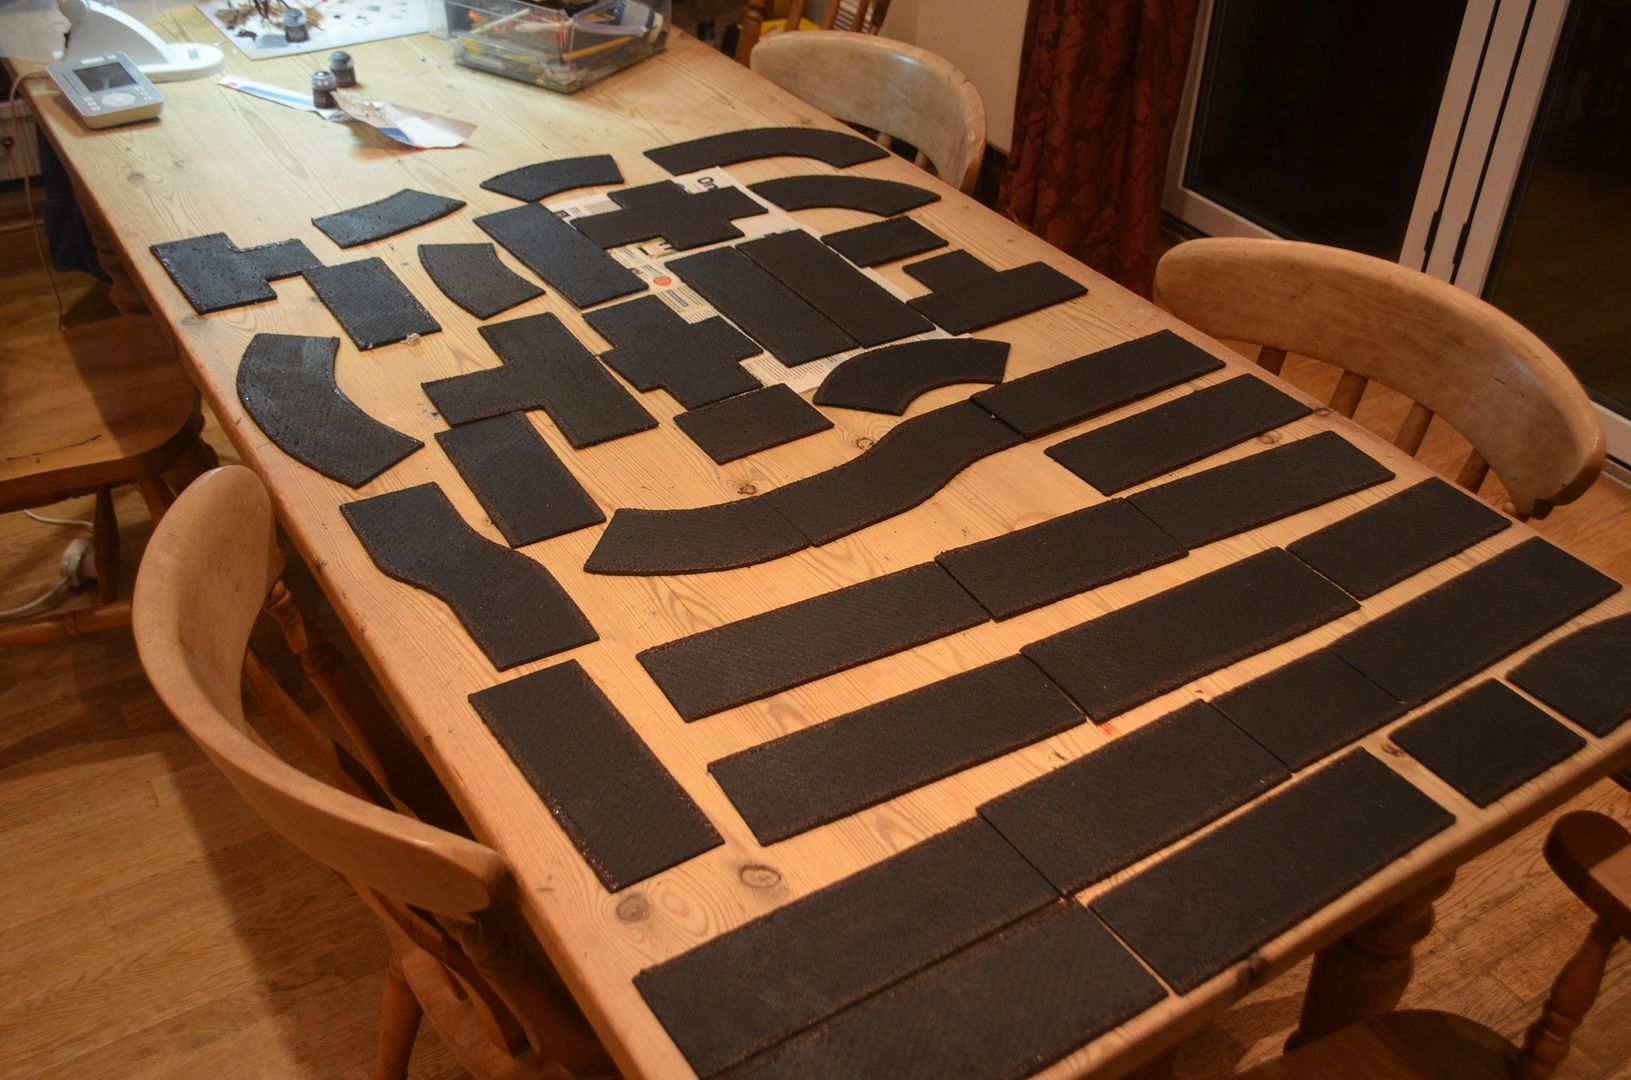
I cut out with a jig saw several length, including corners, bends, t junctions, and crossroads.
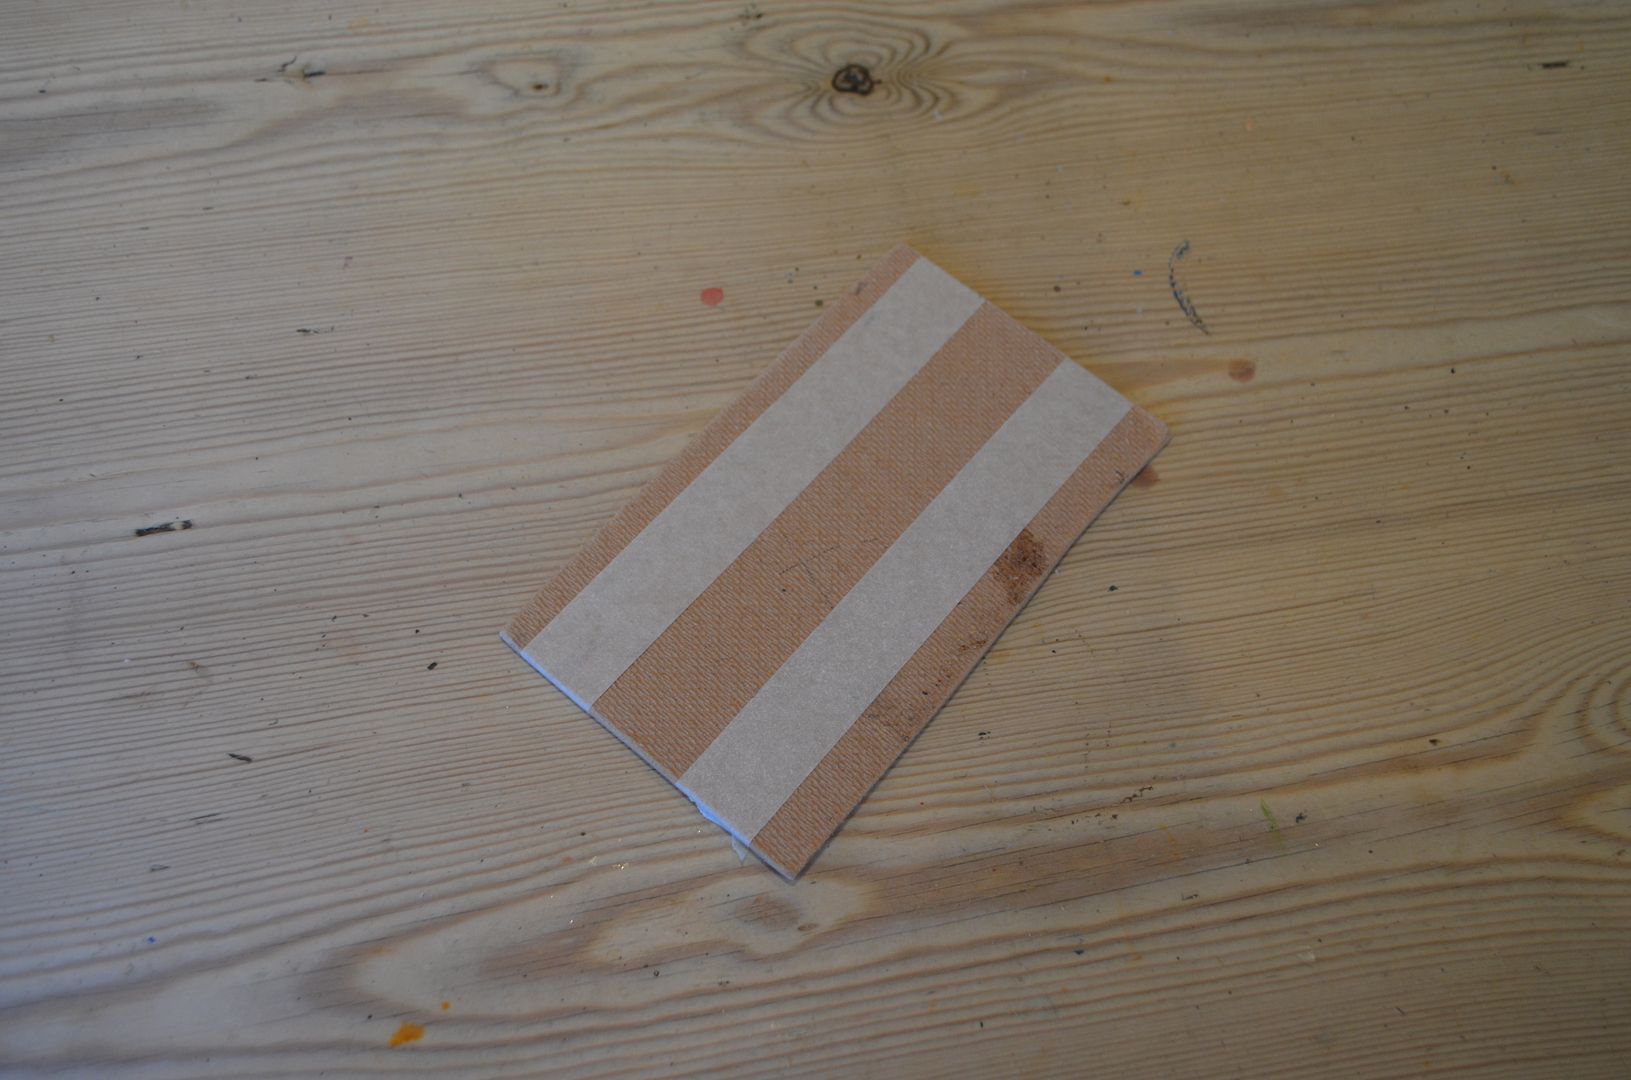
To create the raised curb edge I masked off the road edge with masking tape.
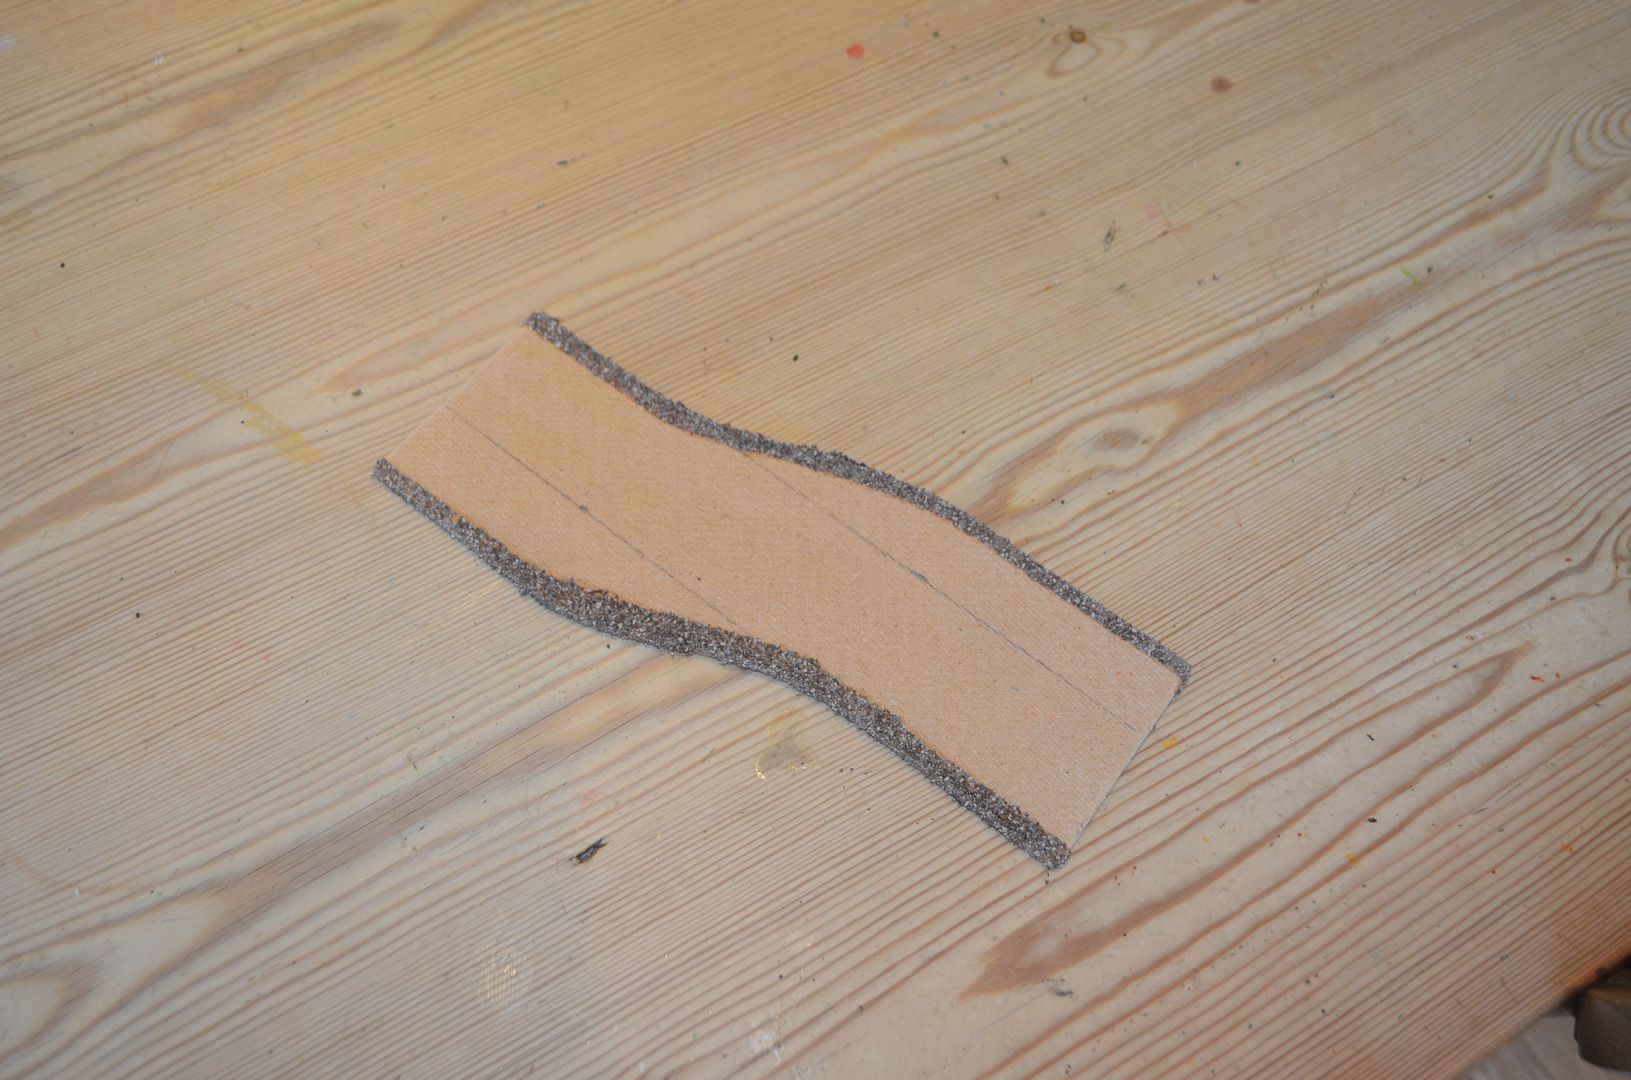
The edges were then covered in pva followed by ballast (the stuff you get from model railway stores)
These were then left to dry. I reckon I have created around 6 metres of roads which should be more than ample for my needs
Once all this lot was dry I painted the raised curbside edges dark brown
The curbside edge then got highlighted with another lighter brown and the road surface itself highlighted with dark grey. The photo below illustrates the before and after the grey on the road surface.
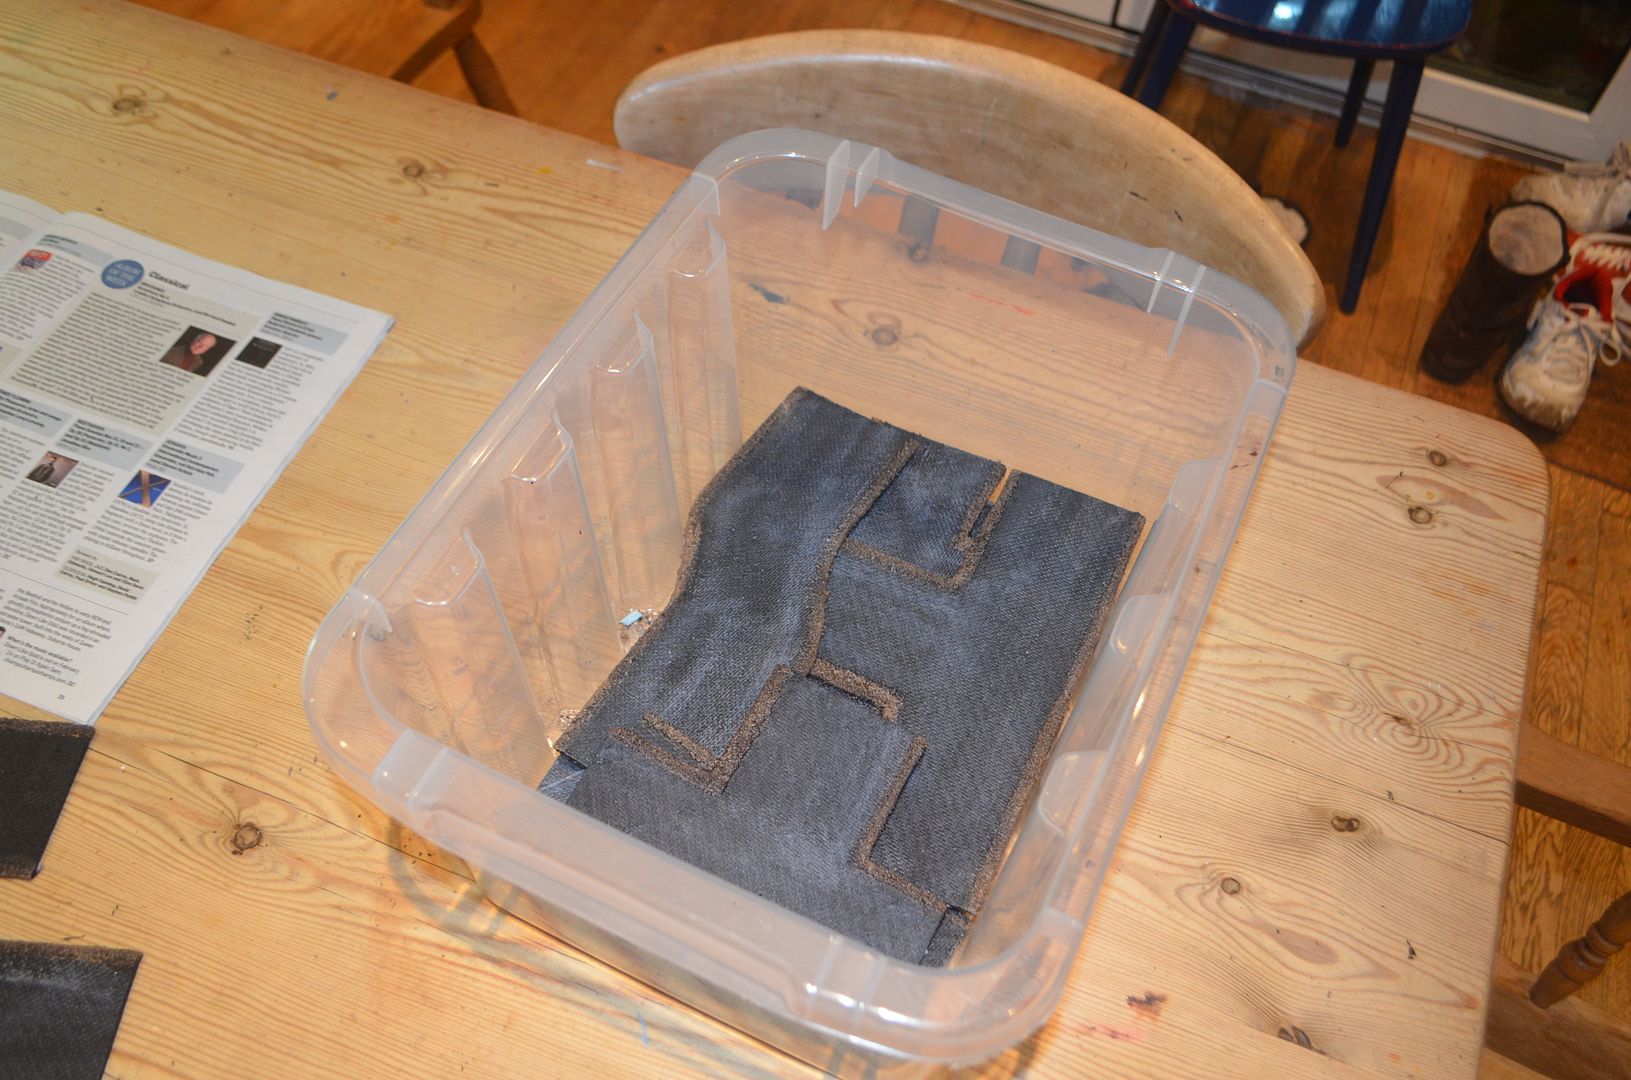
Check to make sure they all fit in the storage container
In the next stage I need to grass up the verges and I'll show the roads off in their full glory.
Until next time
part 2 can now be found here:
Wargaming roads part 2

Looks good, did you get any warping? in my experience hardboard has been to absorbent/flimsy and warped once painted.
ReplyDeletegood question - once they are done I typically paint the reverse side with acrylic
DeleteYou made that look jolly easy, great job.
ReplyDeleteVeru nice, I wish I had a jigsaw..
ReplyDelete